Packard Bell S606 (1998) Sleeper
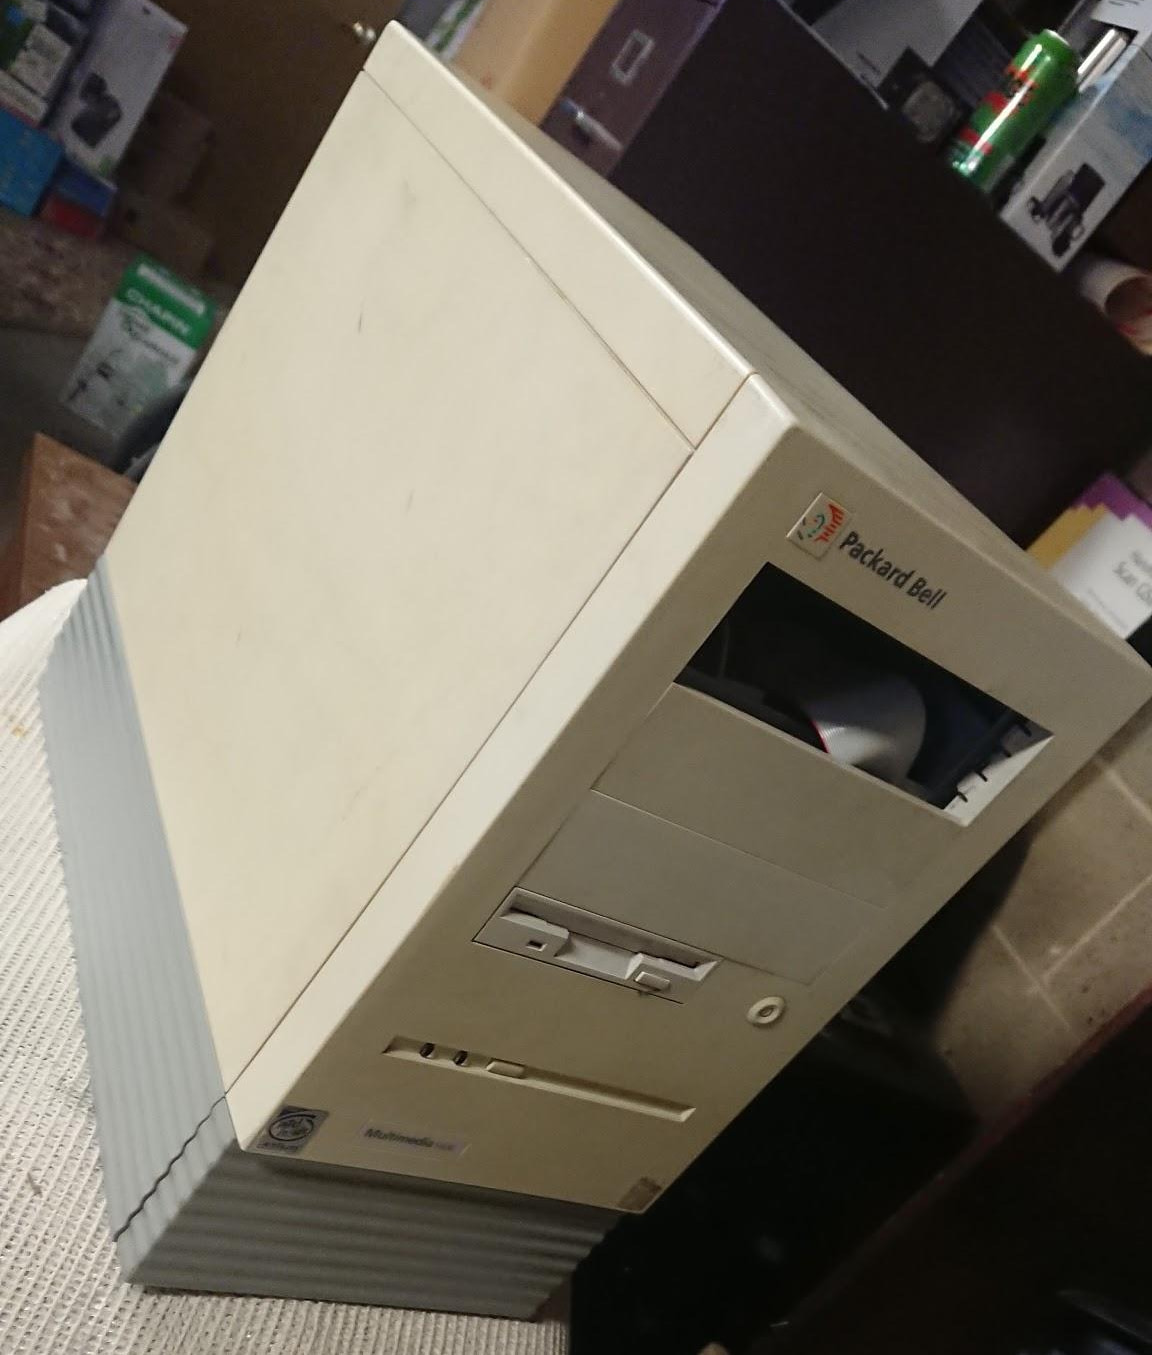
The Multimedia box was collecting dust, some even made it through the mod.
First we start with cleaning out the closet, of computers. Look at that shell!
So I began the quest, as all mods begin, you have an idea. Sleepers are decent idea’s, shame they never have the soul of the classic machines they are mocking. How about two tone Packard Bell goodness, various stages of “beige-ing” a missing 5.25 cover! It’s perfect, the ideal sleeper, heavy as sin, old and crusty, and full of dust.
Now to decipher the space to see what I can cram in it
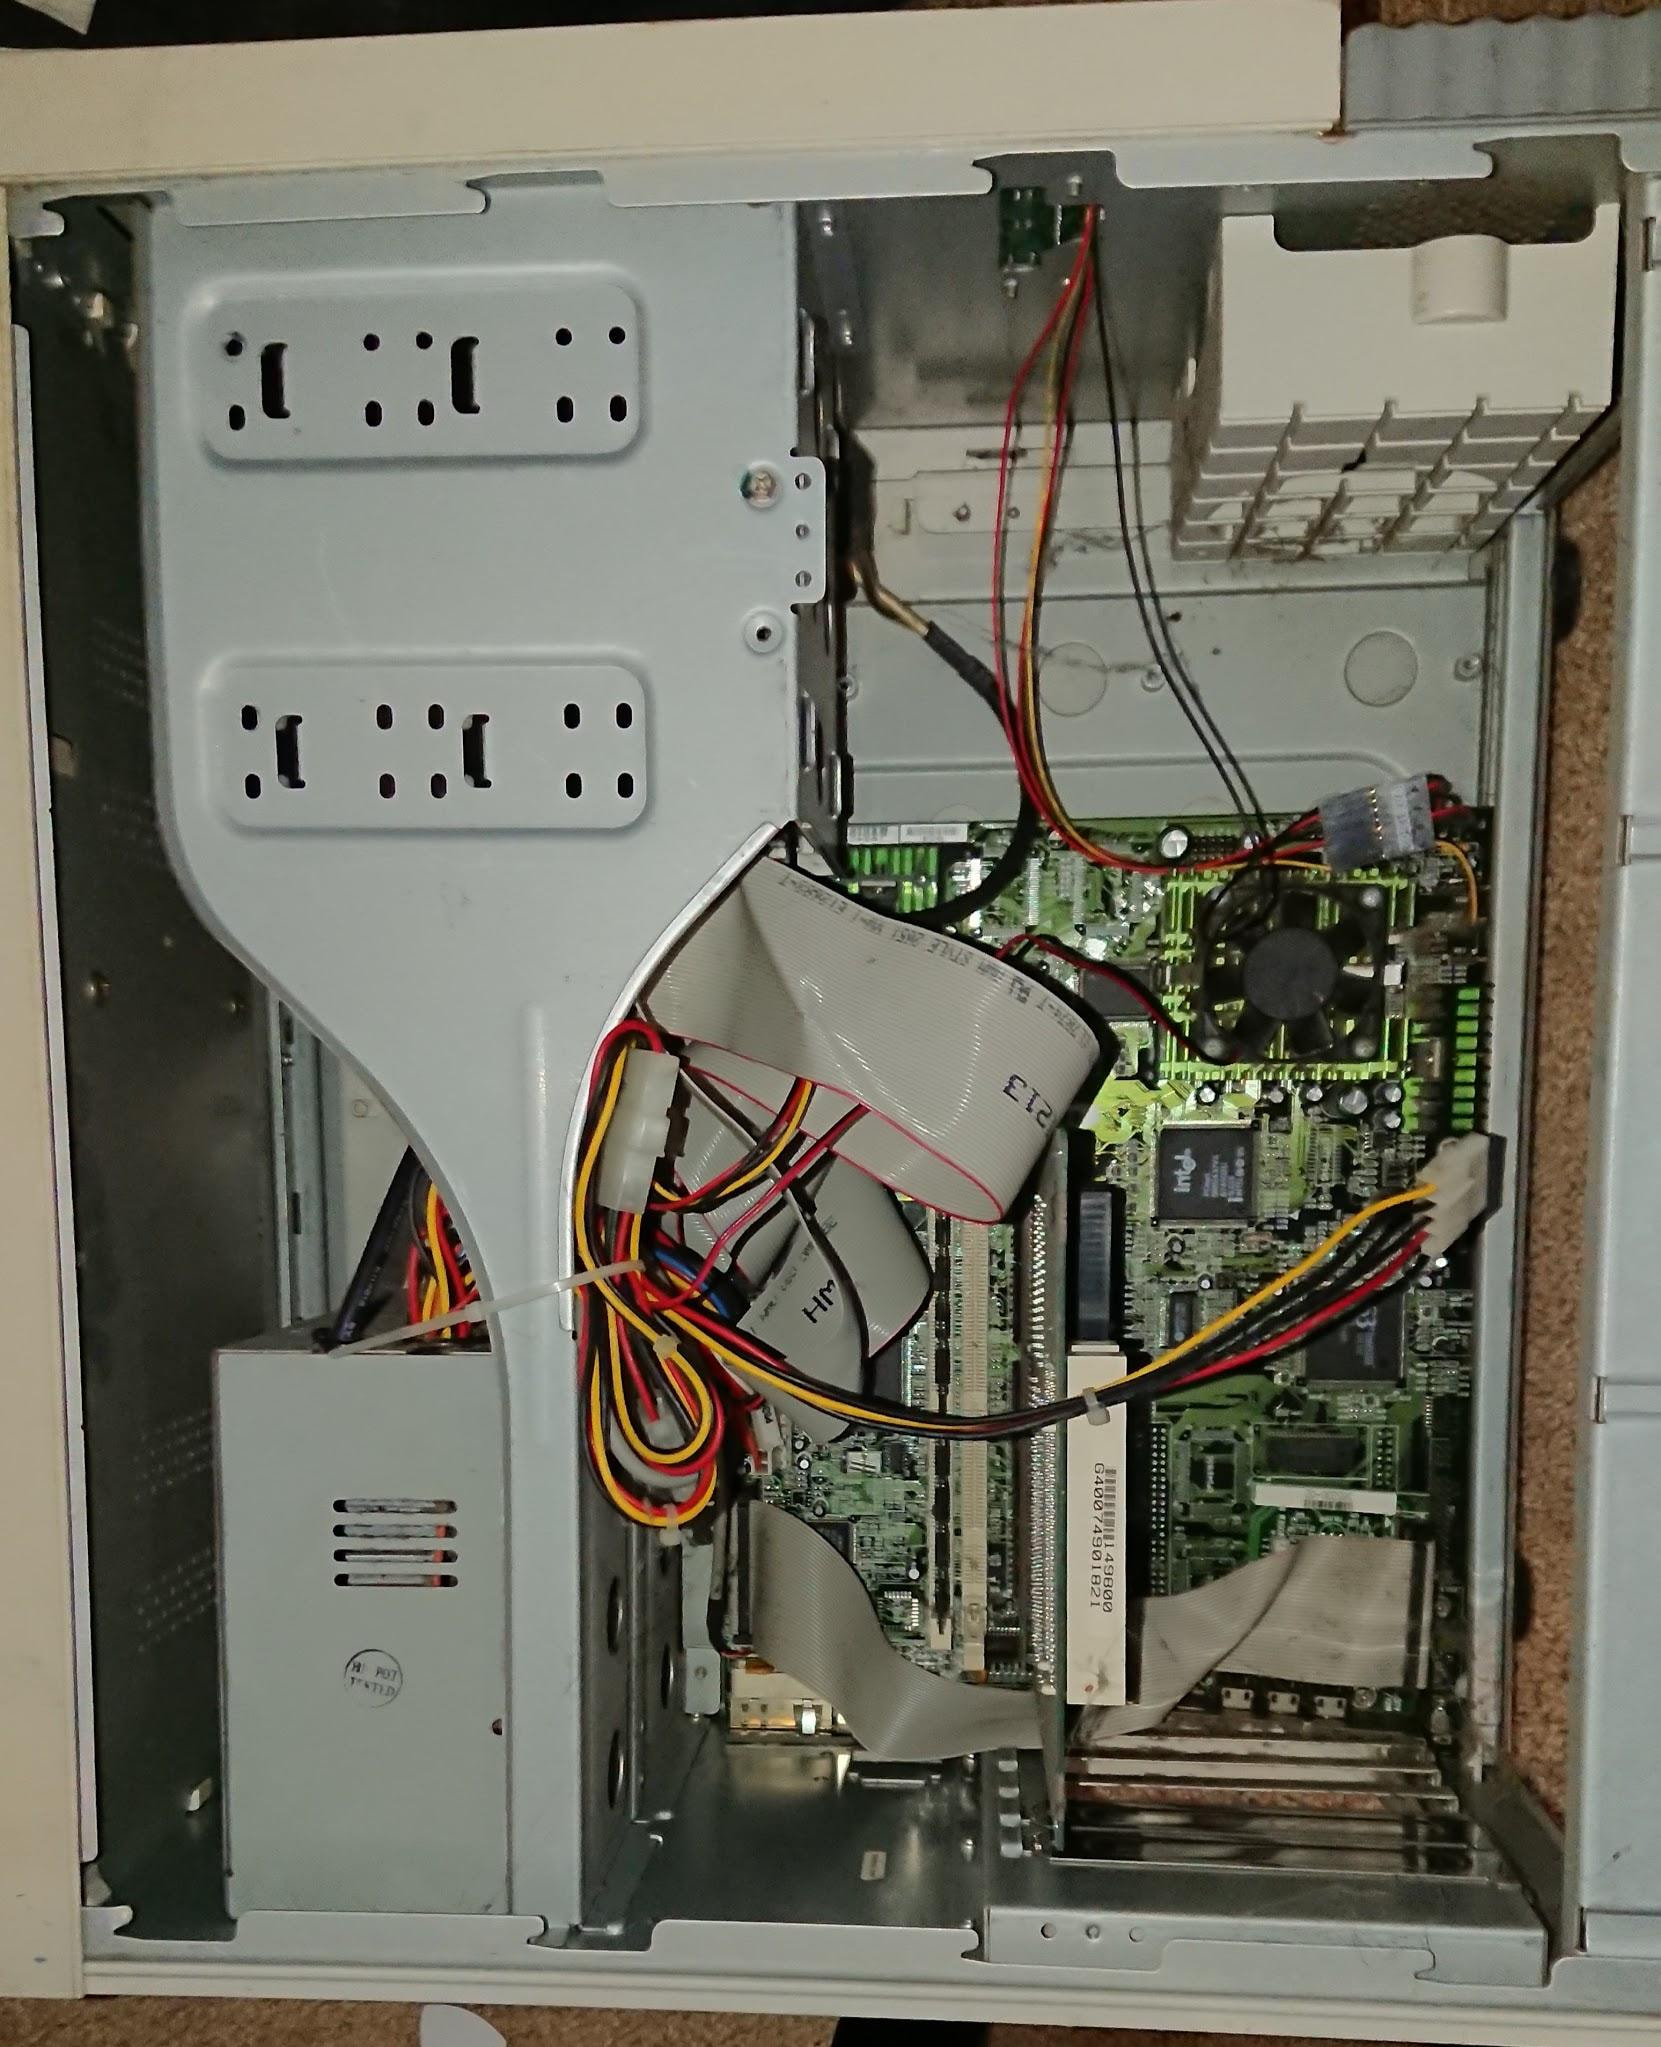
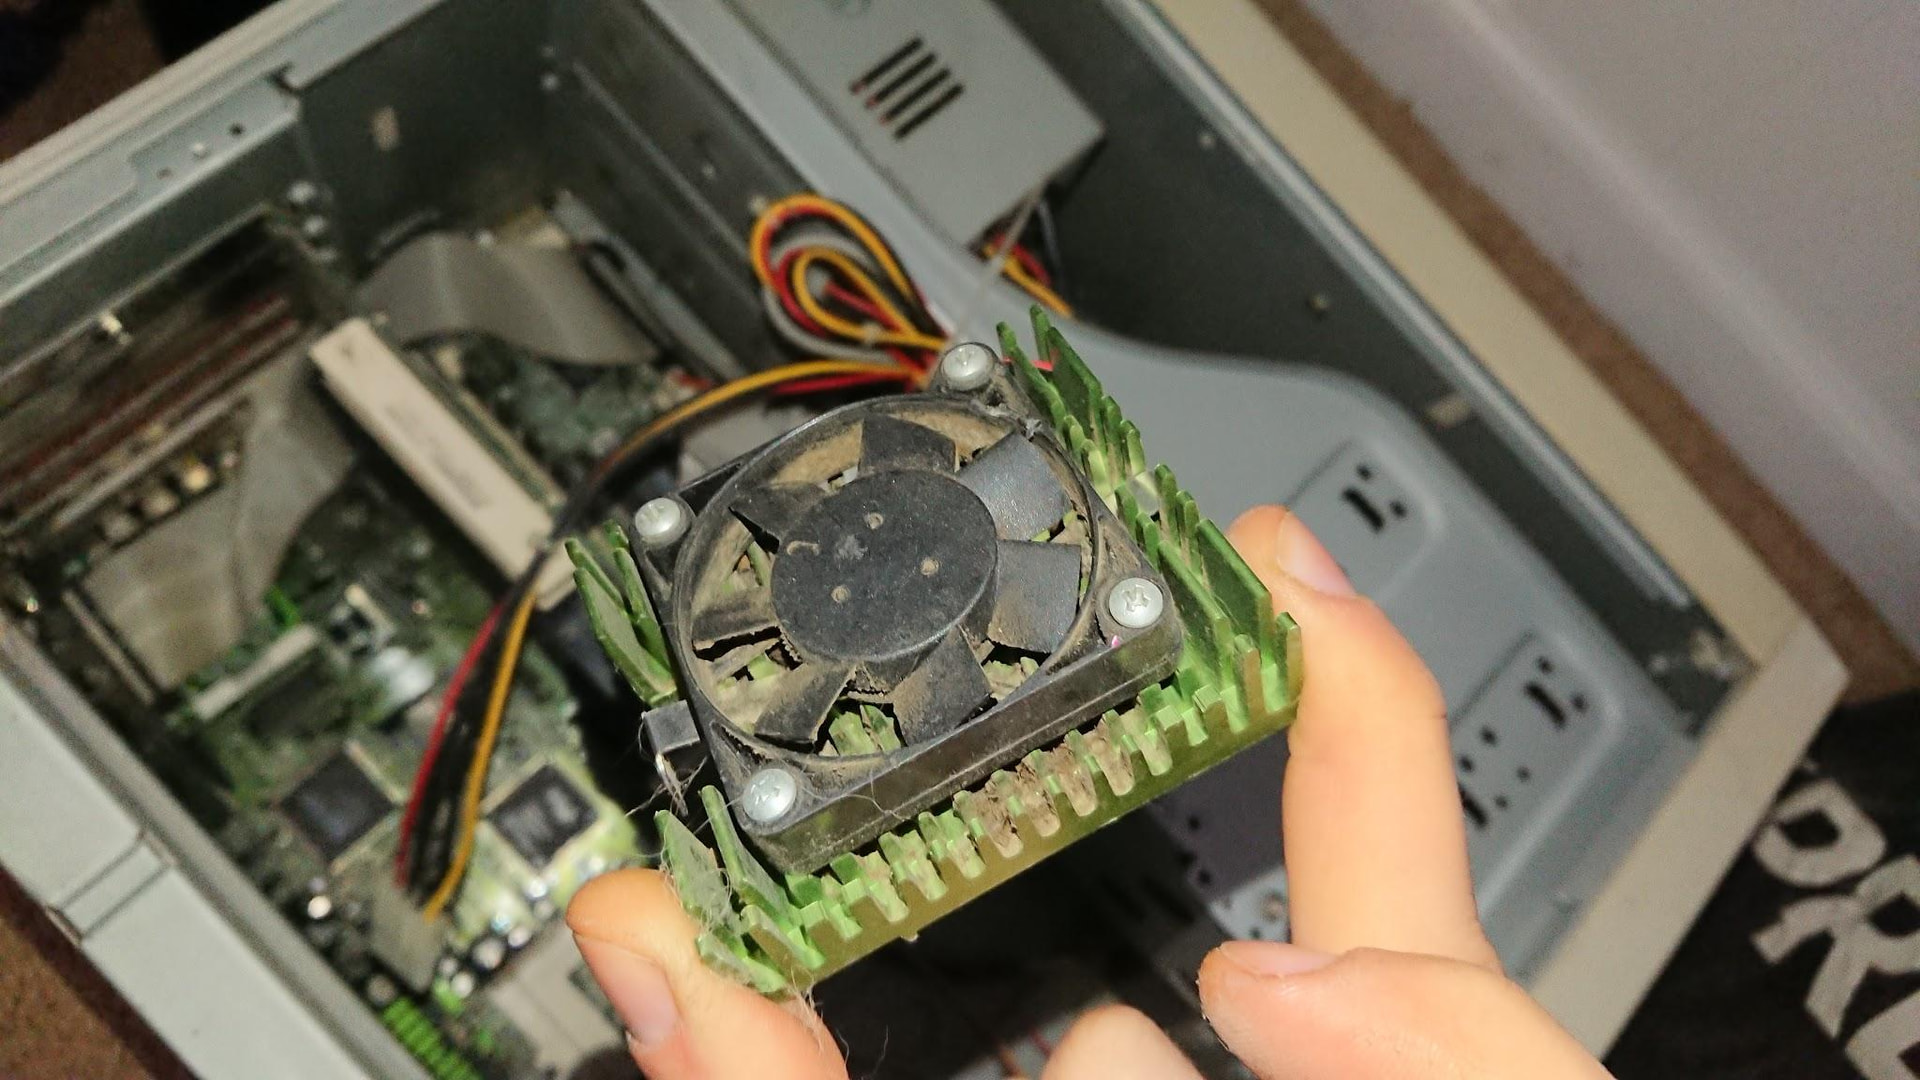
So yeah, it was wild, a expansion board, the classic i/o panel of a thin strip along the board. A green heatsink on the MMX!
Space usage was virtually not present in 1998, lots of dead air, mostly sealed top, with an insulating plastic layer over the steel panels. Wild stuff
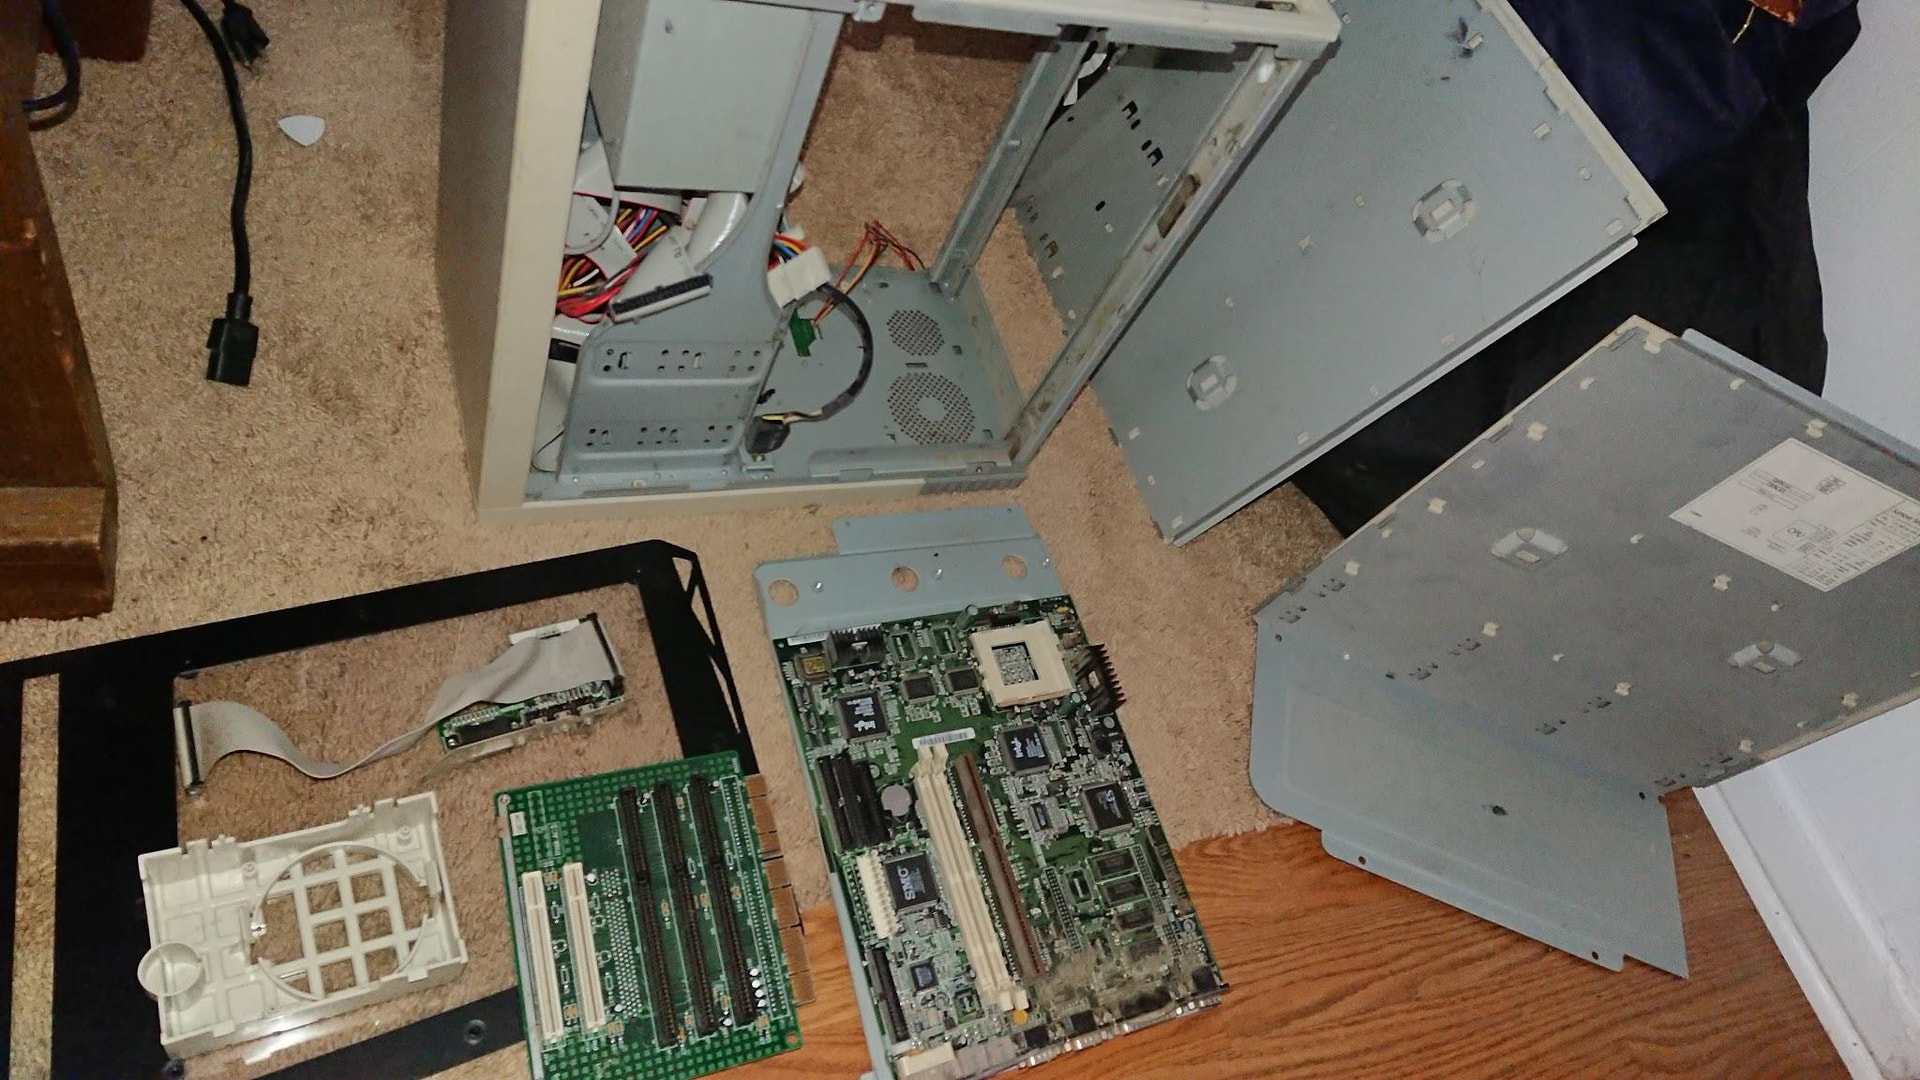
Tear down complete, what fits inside?

Well it looks like we have a concept going. Need to find different gear, Measure some things, do some model testing.
At this point I already have the PSU, GPU and watercooling setup. Just need a Motherboard and CPU. In the model, I used a 3d model of the msi x570 board for a large board to judge the sizes. Tight fit between the PSU and motherboard I/O panel.
Once I found the Ryzen 5950X was coming, I had the board and chip in mind, time to get a motherboard tray setup in the right direction for this wacky backside-up orientation. Fitting the two full depth 240mm rads was fun. Air moves up from below, and out from the PSU and front rad fans. 12mm deep fans were unique

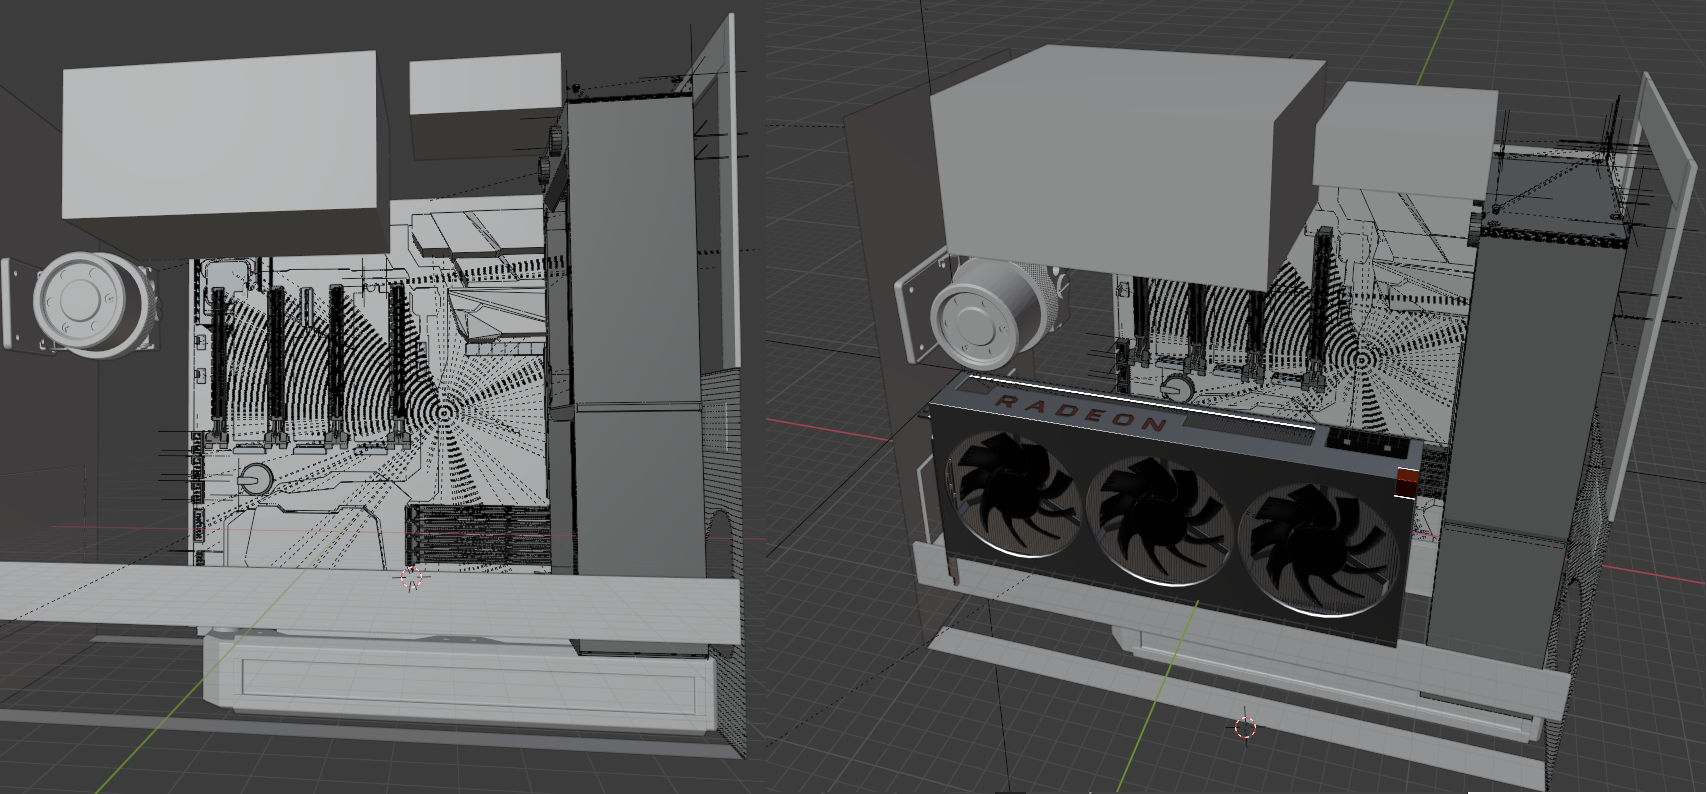
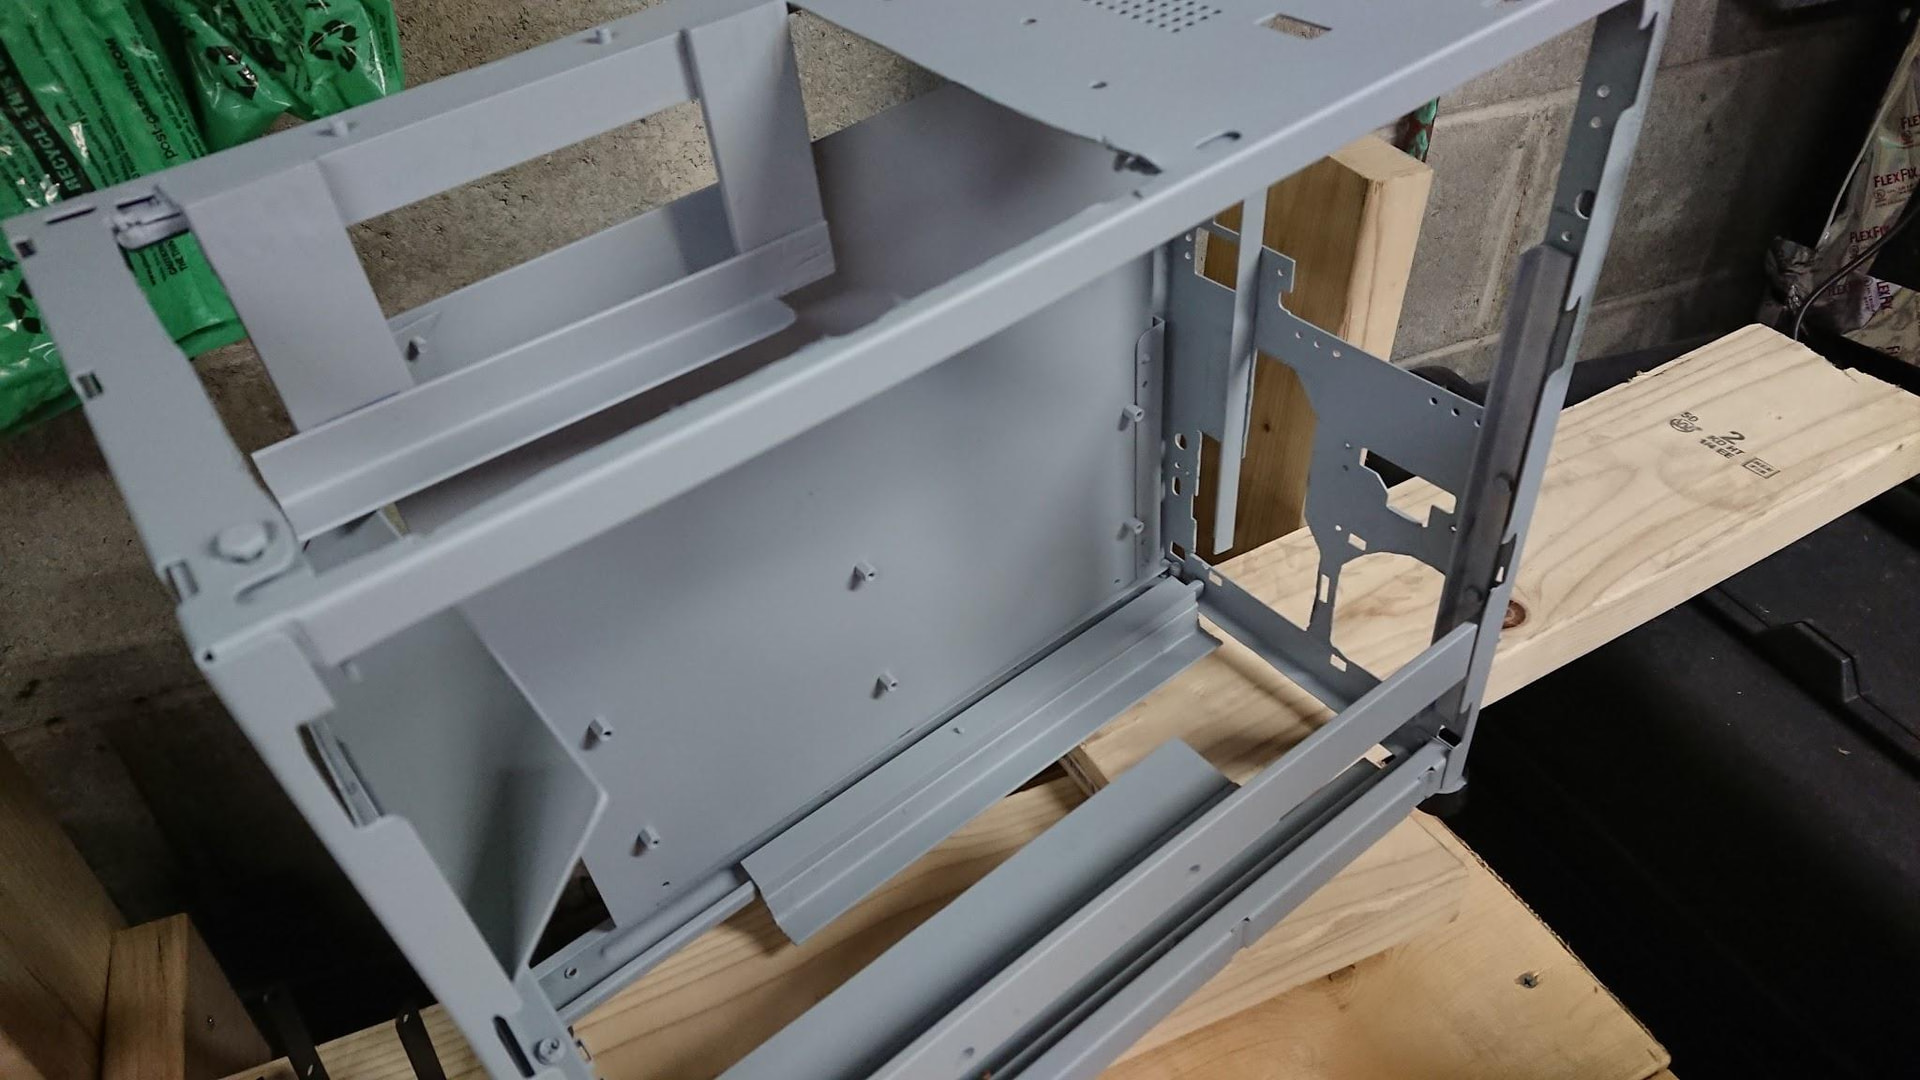
Now for the fun part, fabricating! Made a PSU 3 corner frame along the top of the case, had to cut a space into the top of the skeleton steel because I’m manipulating the plastic bezel, and the extra large gap under the top plastic. Saving about 15mm inside for the motherboard and PCI card space. On top of the power supply mod, I made
-
an arm to hold the far corner of the motherboard tray,
-
a vent duct for the rear PSU heat to direct to the plastic vent on the case exterior,
-
some large cutouts along the front of the case to allow SOME air to get out,
-
and a belly shroud for the rad on the bottom.
-
a custom power switch, the OG was hard wired to the PSU
I’ve secured the PCI card slot panel, which I assume was removable for accessories or some other type of expansion for the home PC market in th 90’s, but otherwise is still in the wrong direction. The fun part is attempting to keep the external stuff looking like 1998.
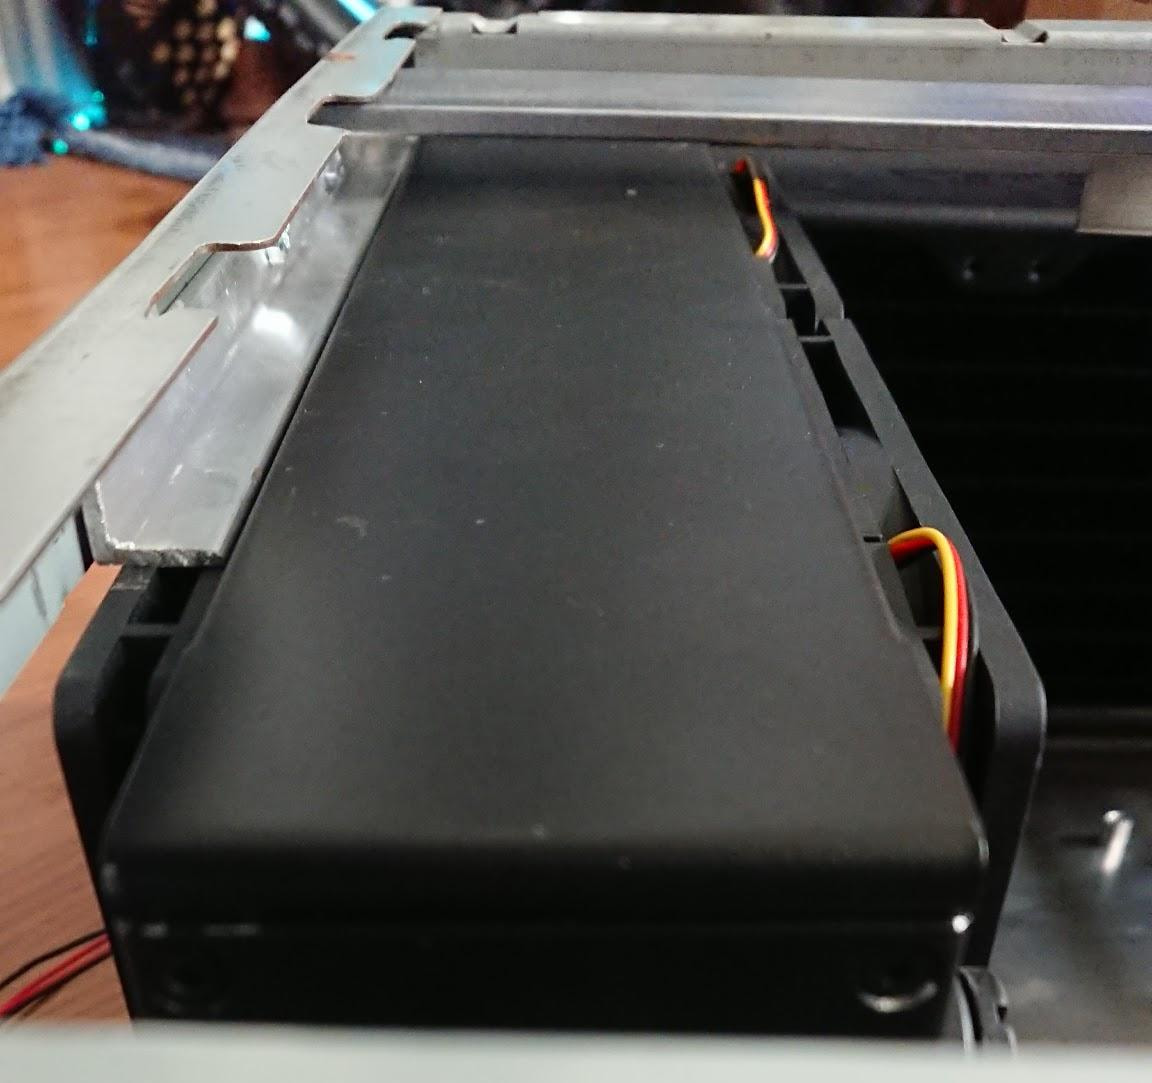
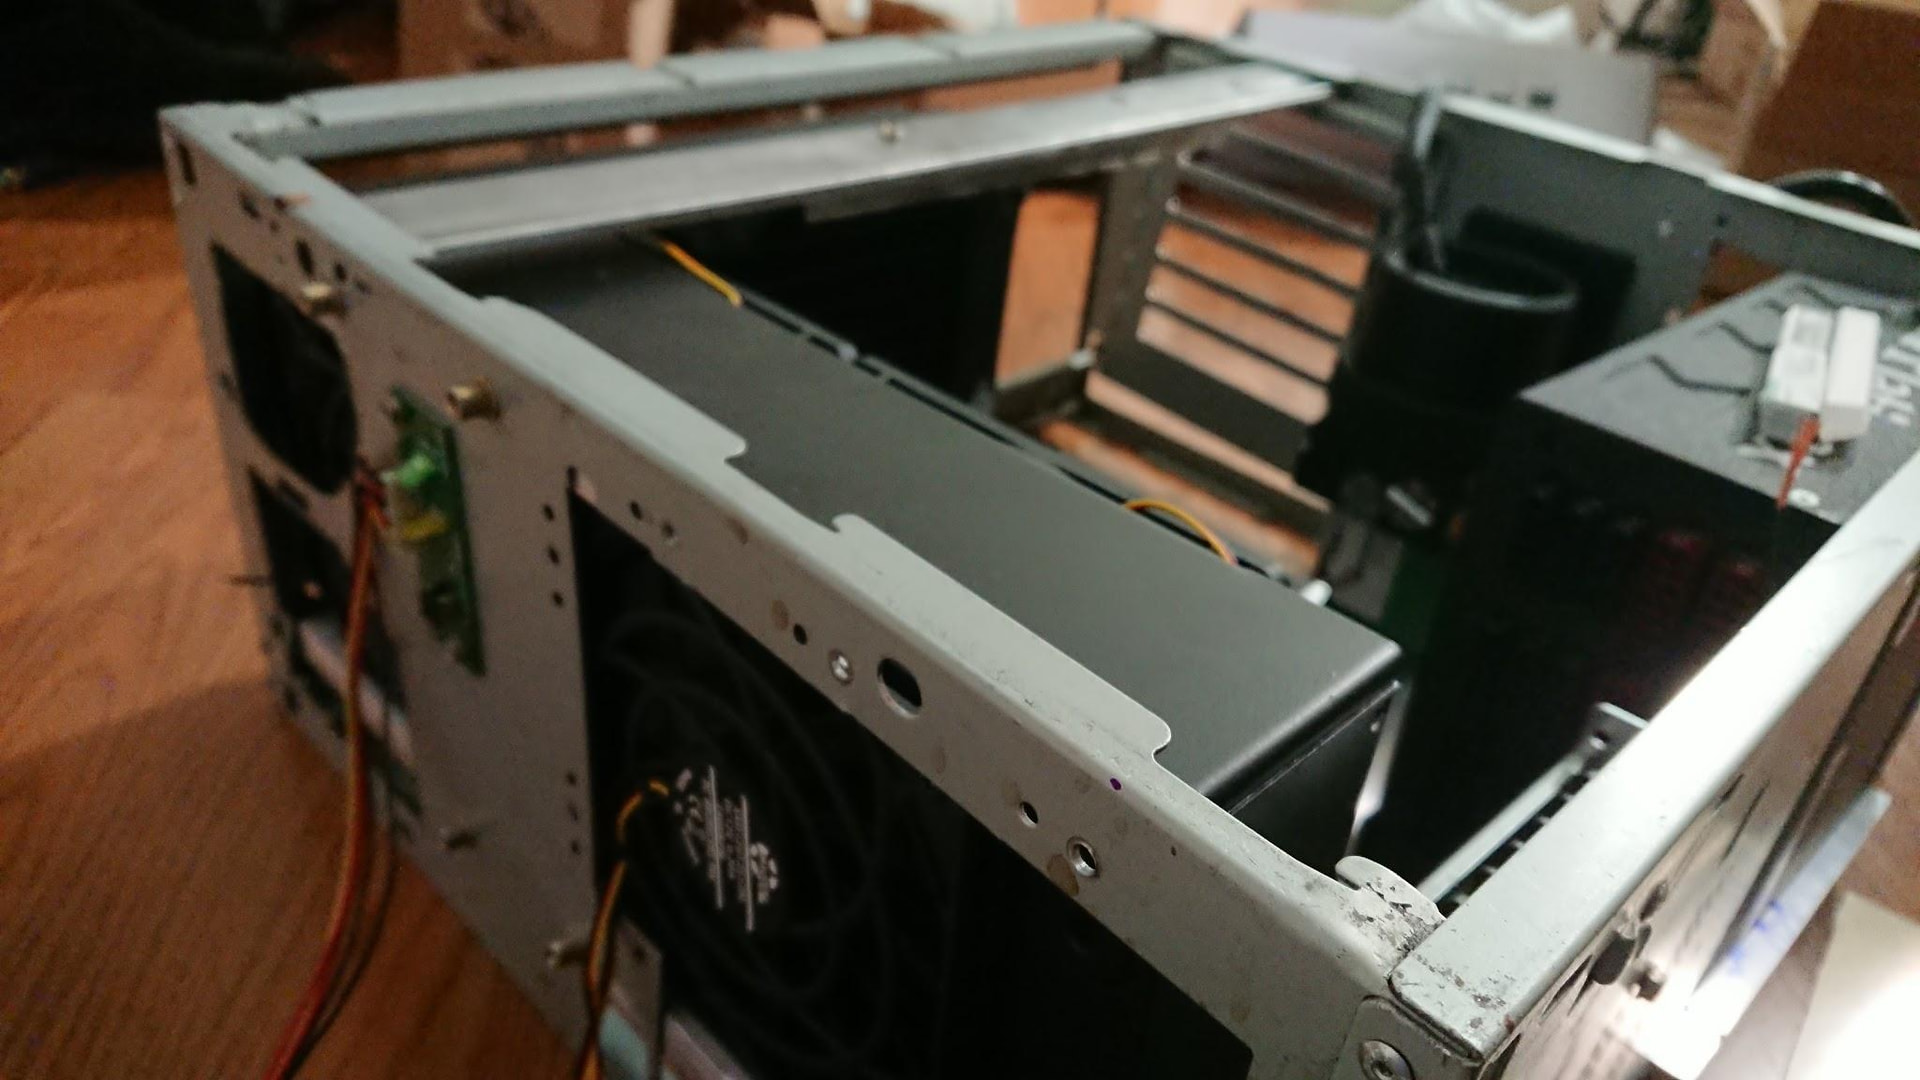
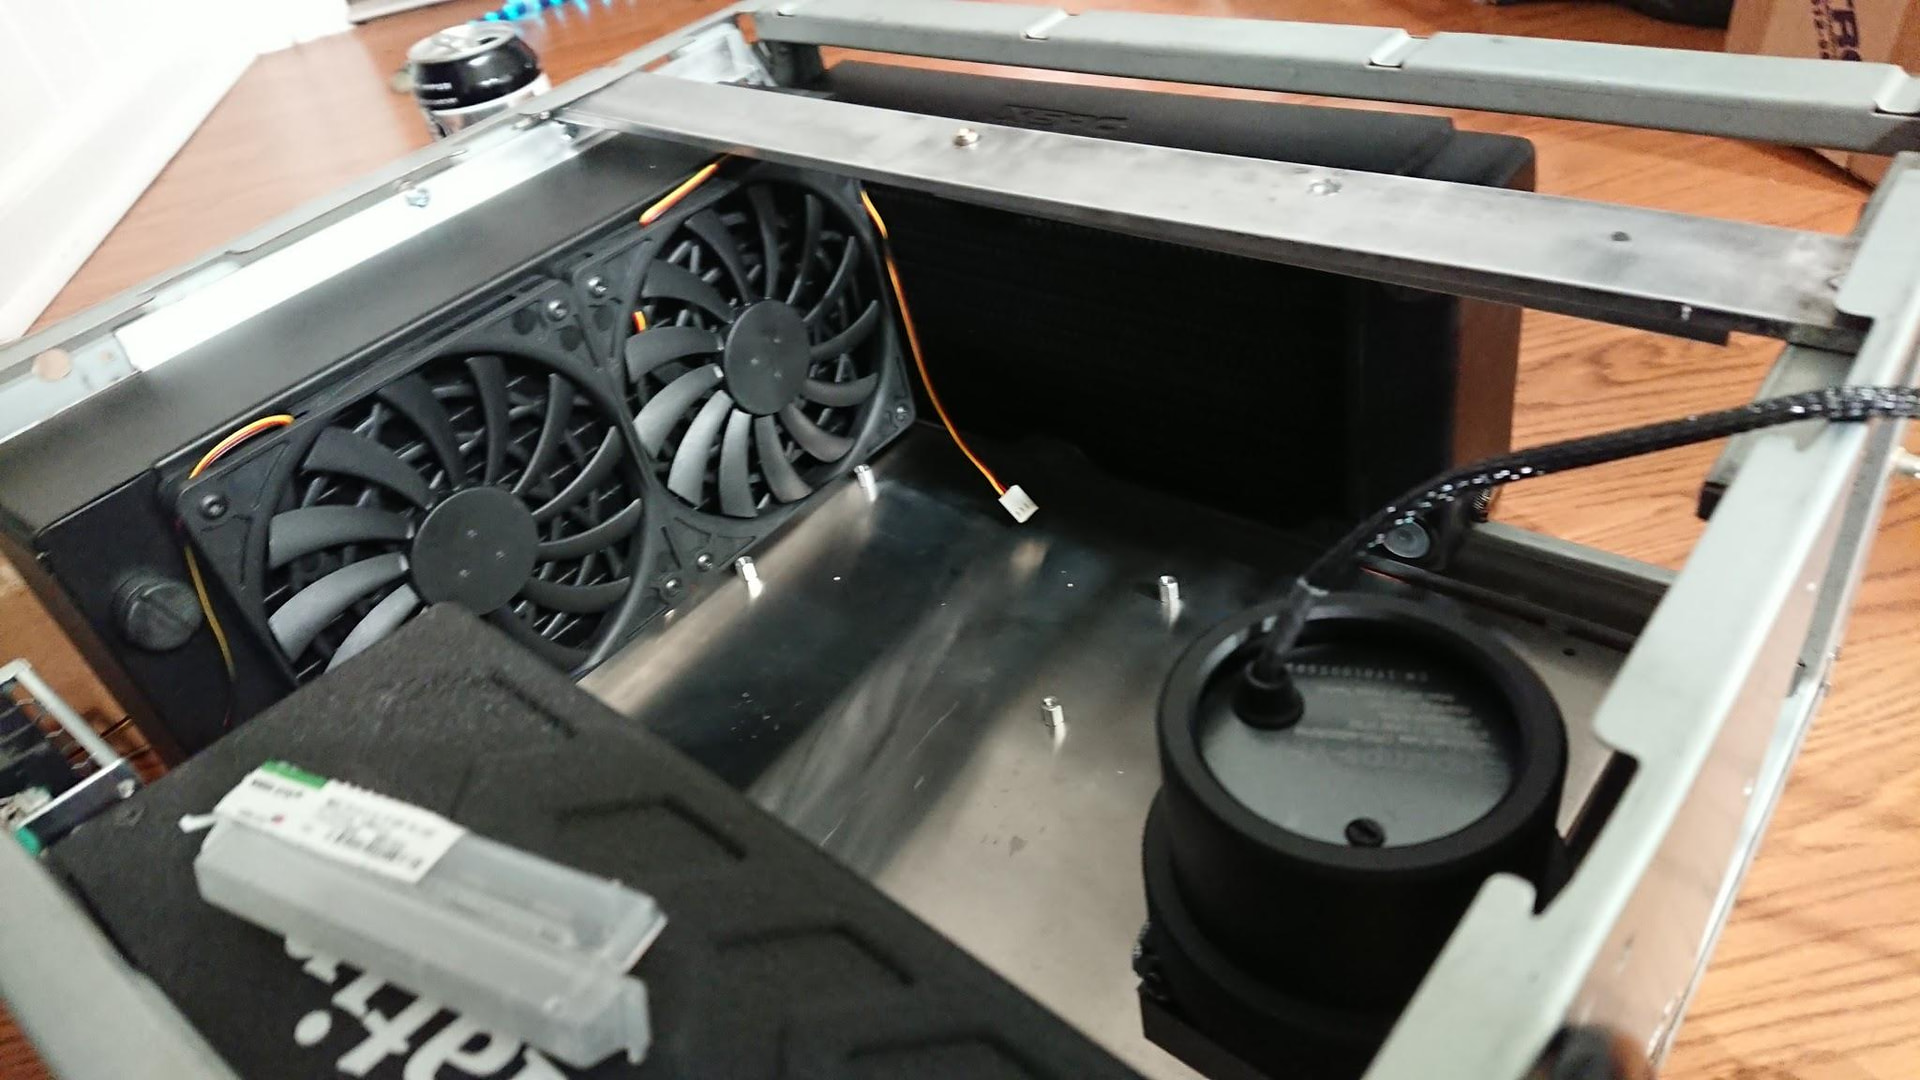
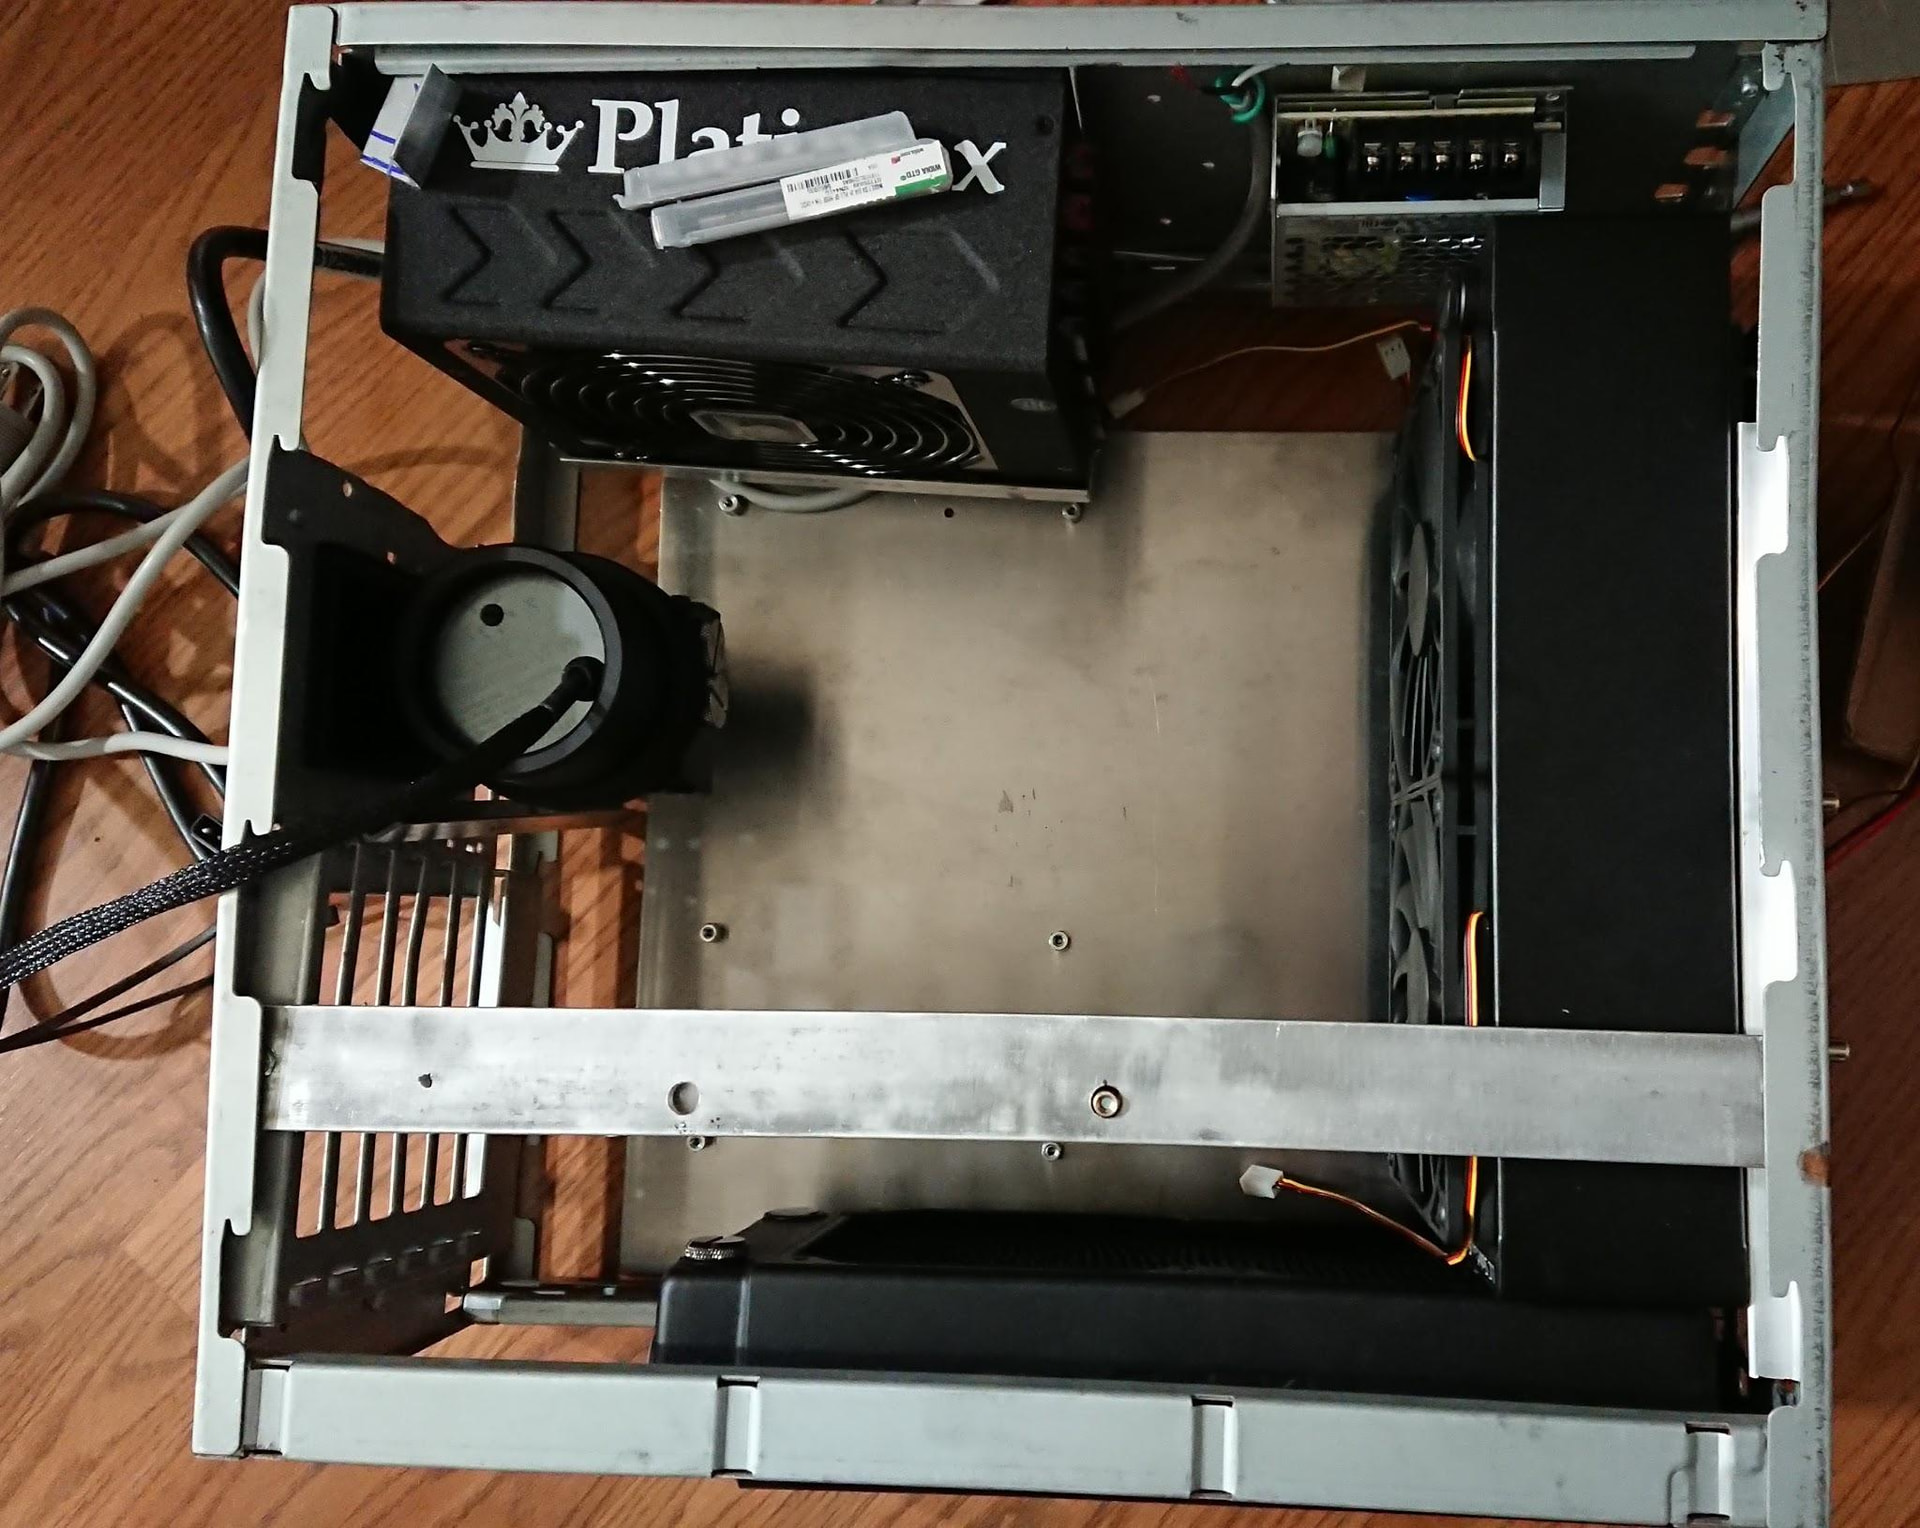
The GPU also needs it’s only vertical horizontal arm, with a indented PCI bracket to allow for the radiator on the bottom of the case. Now things are starting to get tight! I was thinking of a sliding mounted PCIe slot to allow for various card positions. With the PCIe vertical mount from MNPC Tech bolted in, I realized the extension cable wasn’t in need of securement. The card would be solid.
In keeping with the bland 90’s beige boxes, I got “electric panel grey” for the interior finish
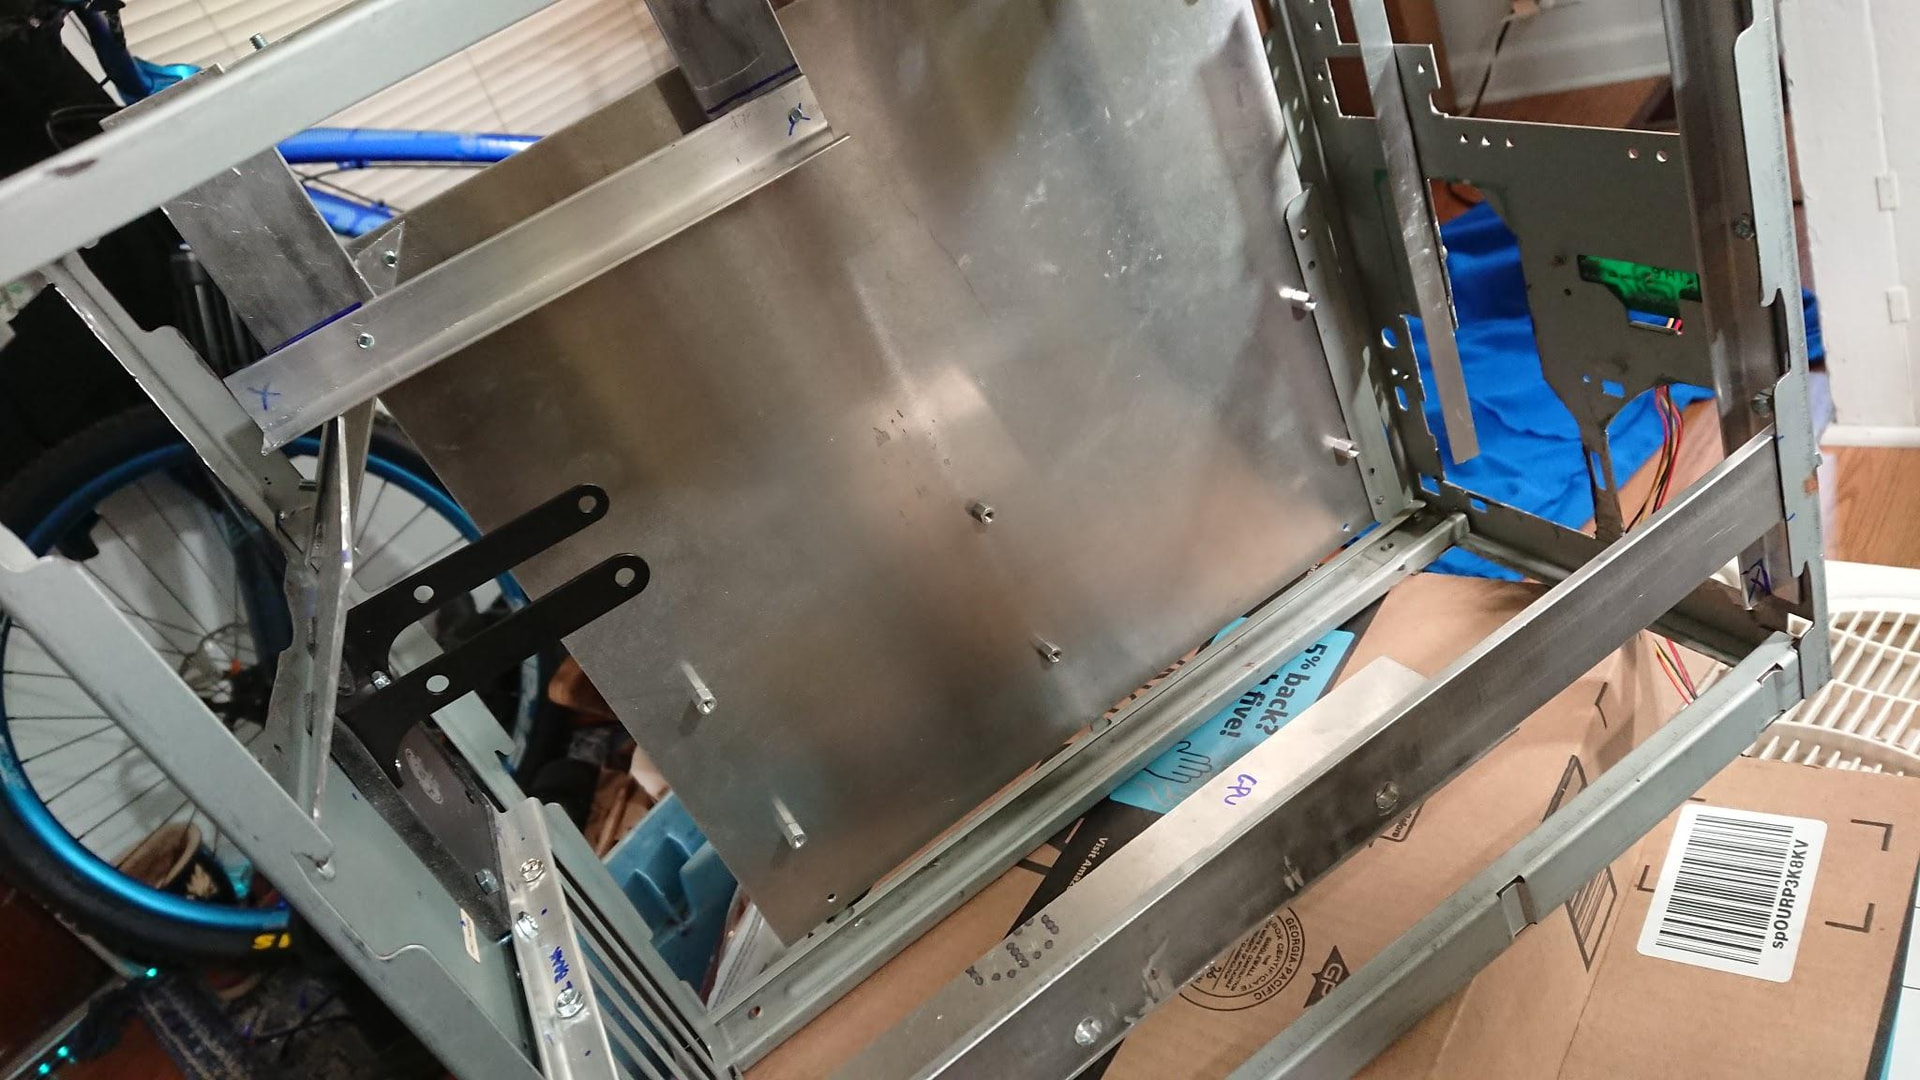
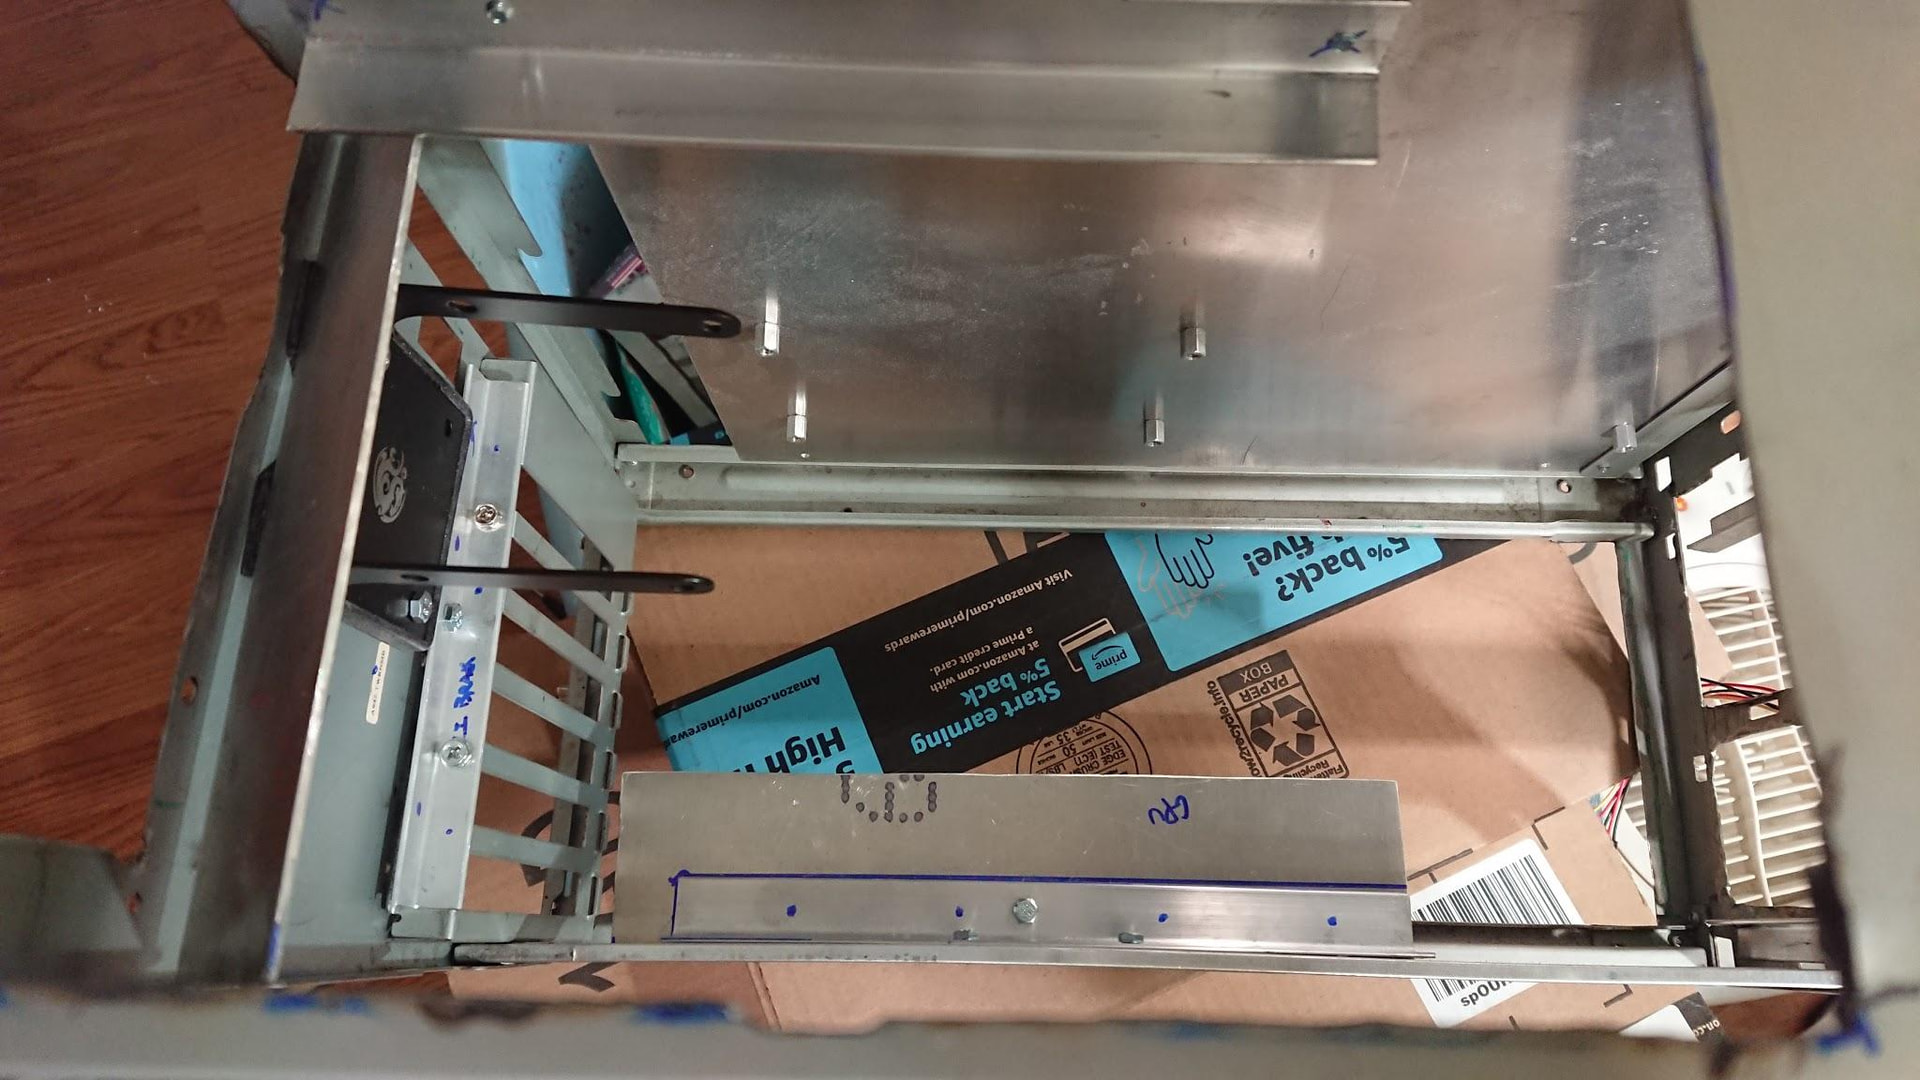

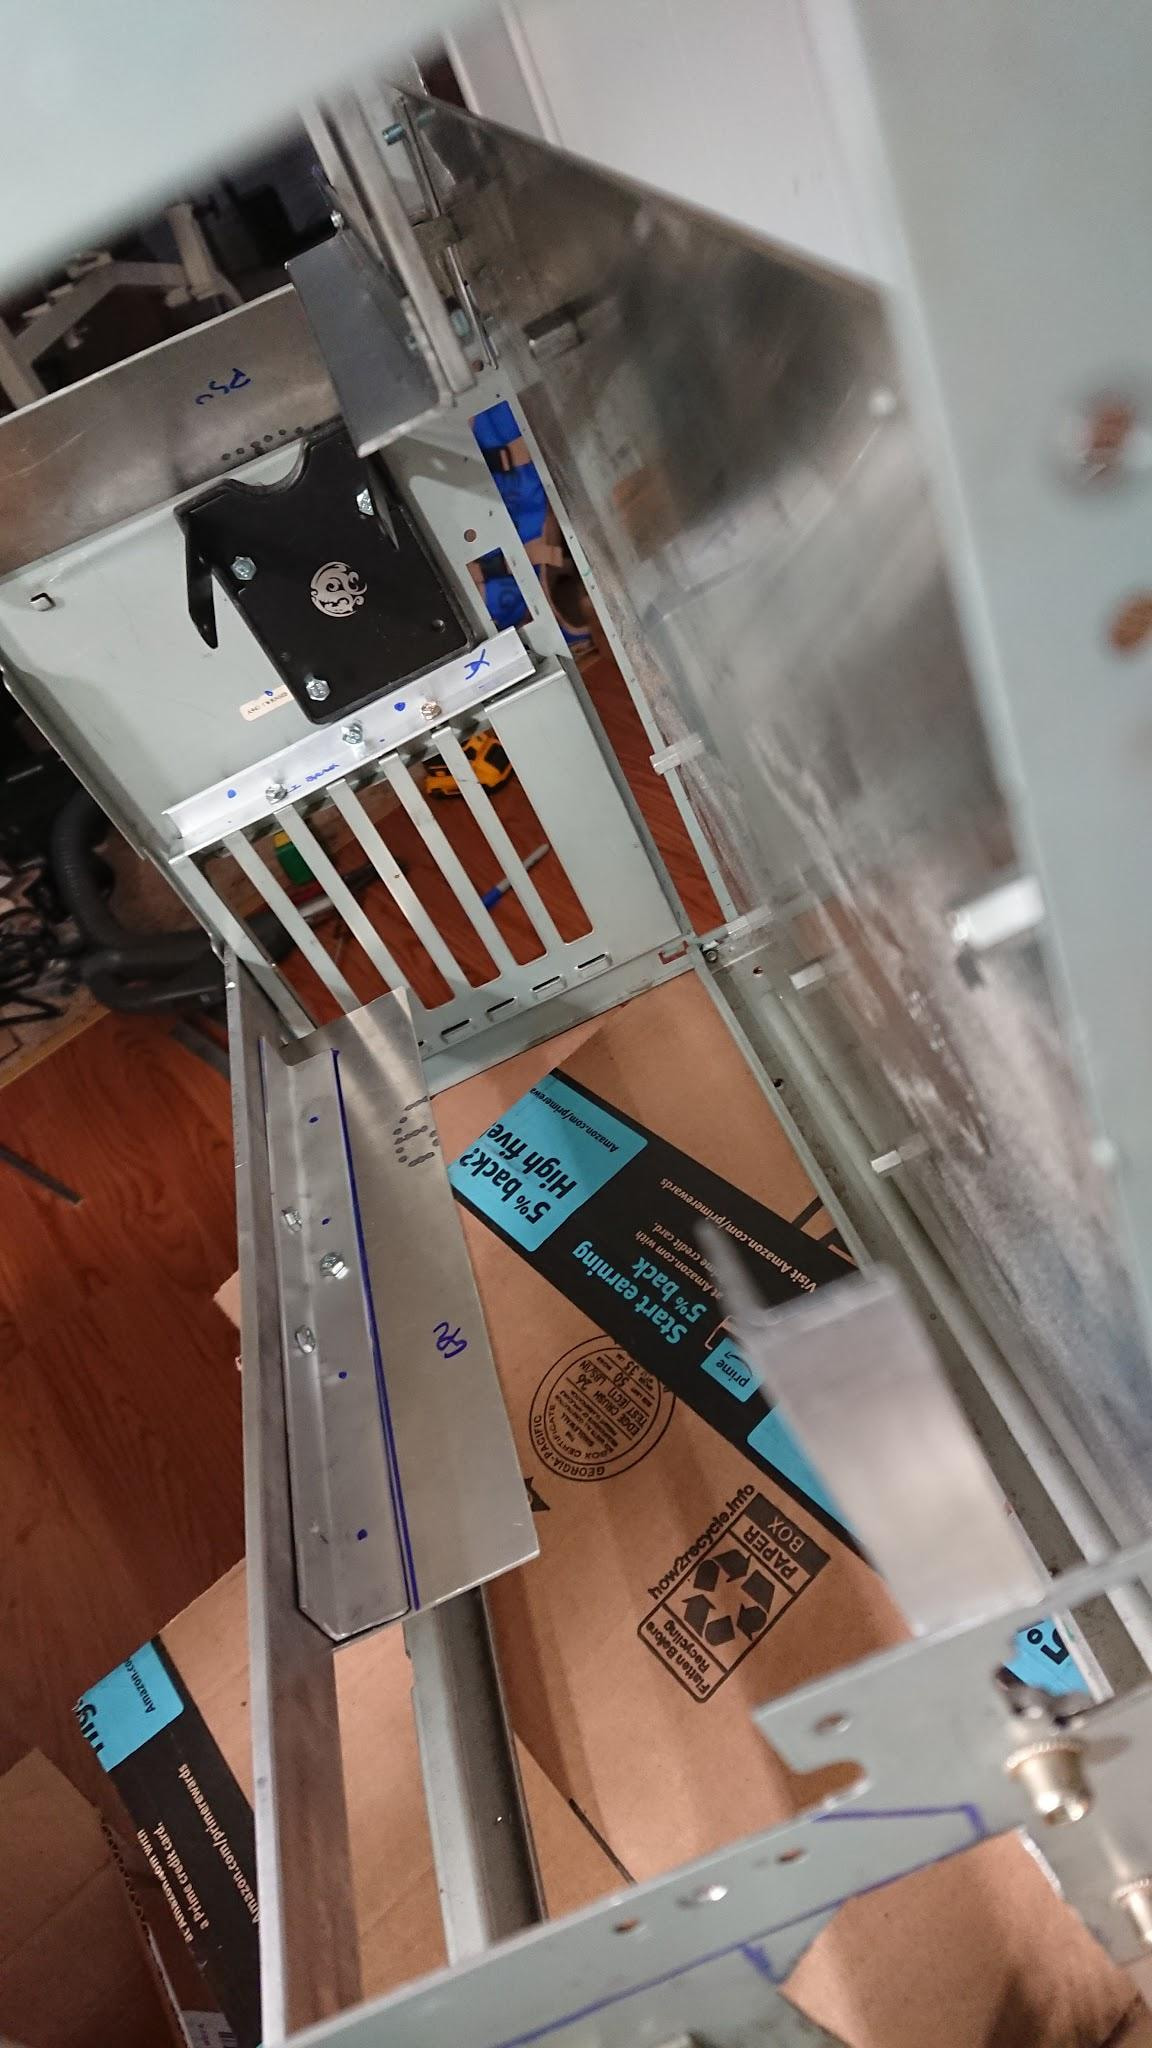
Now the fun begins, the motherboard arrives!, Does it fit beside the PSU?
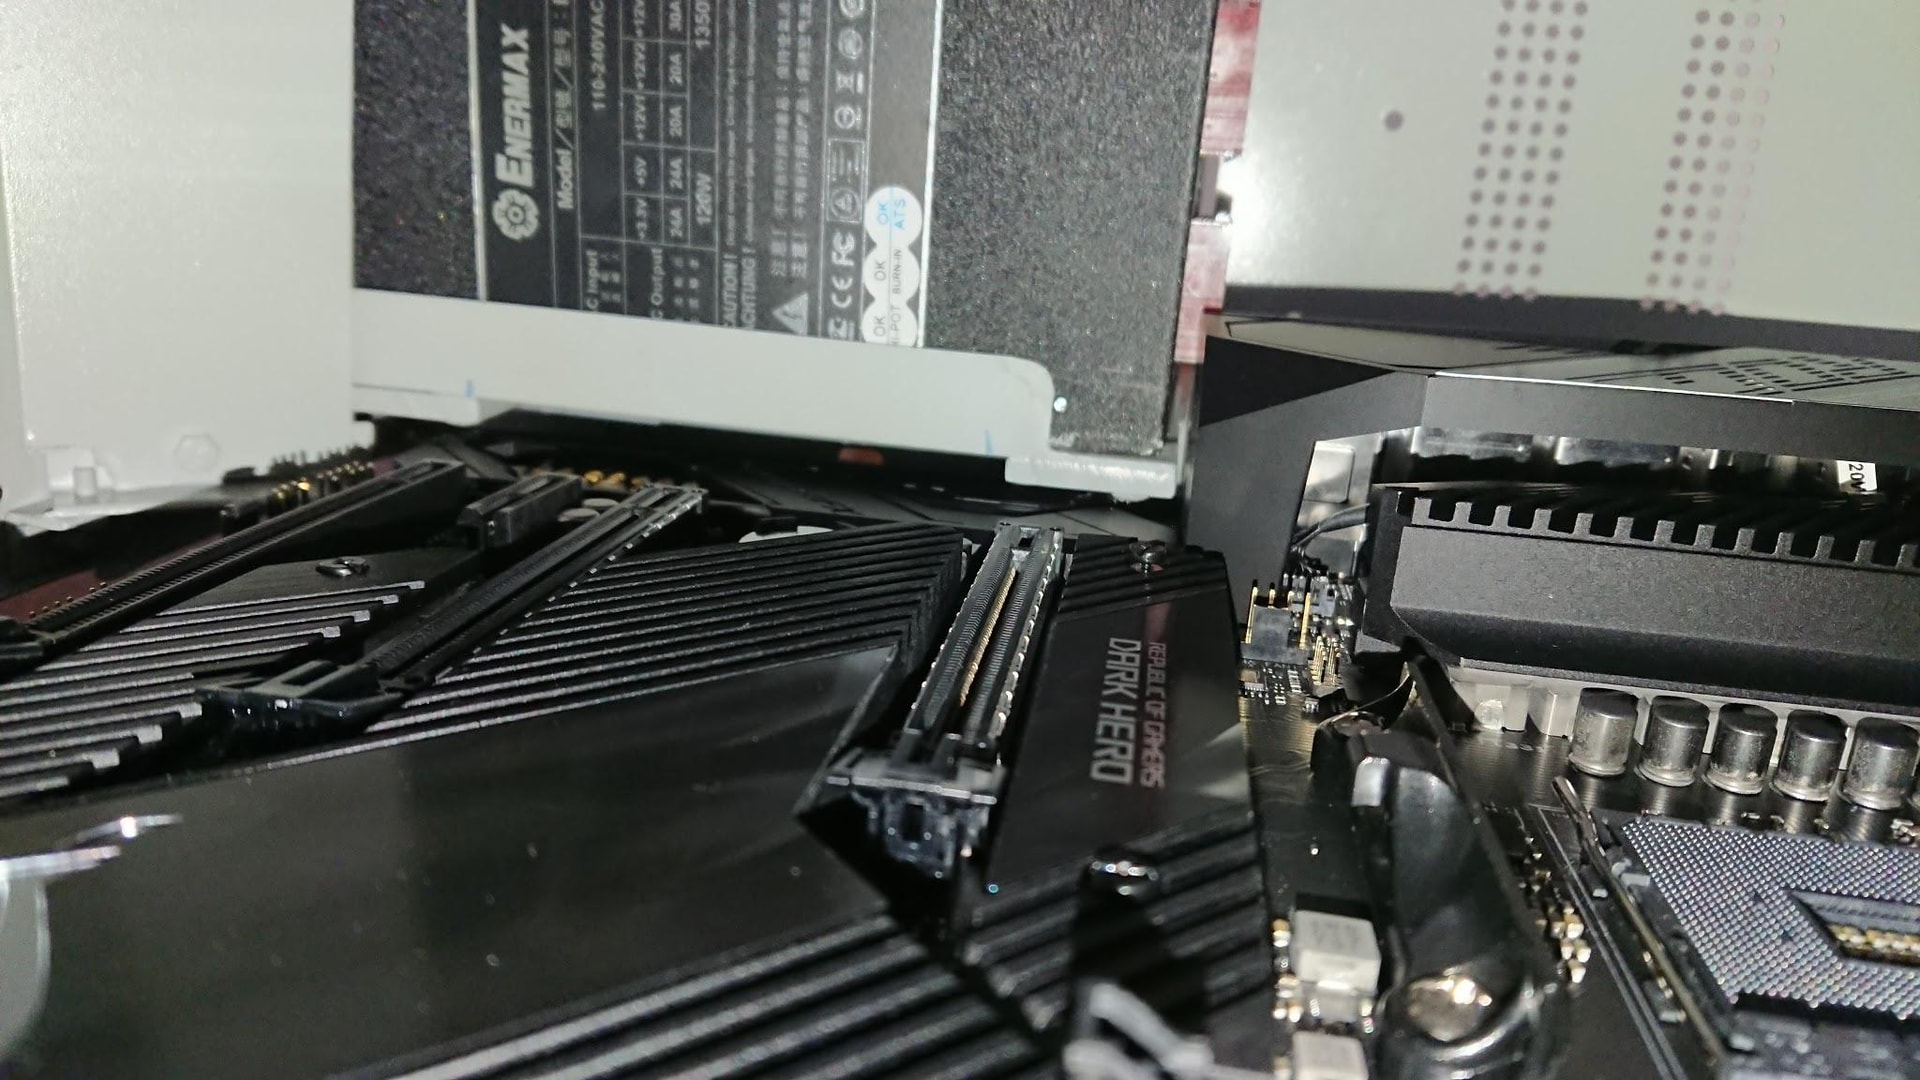
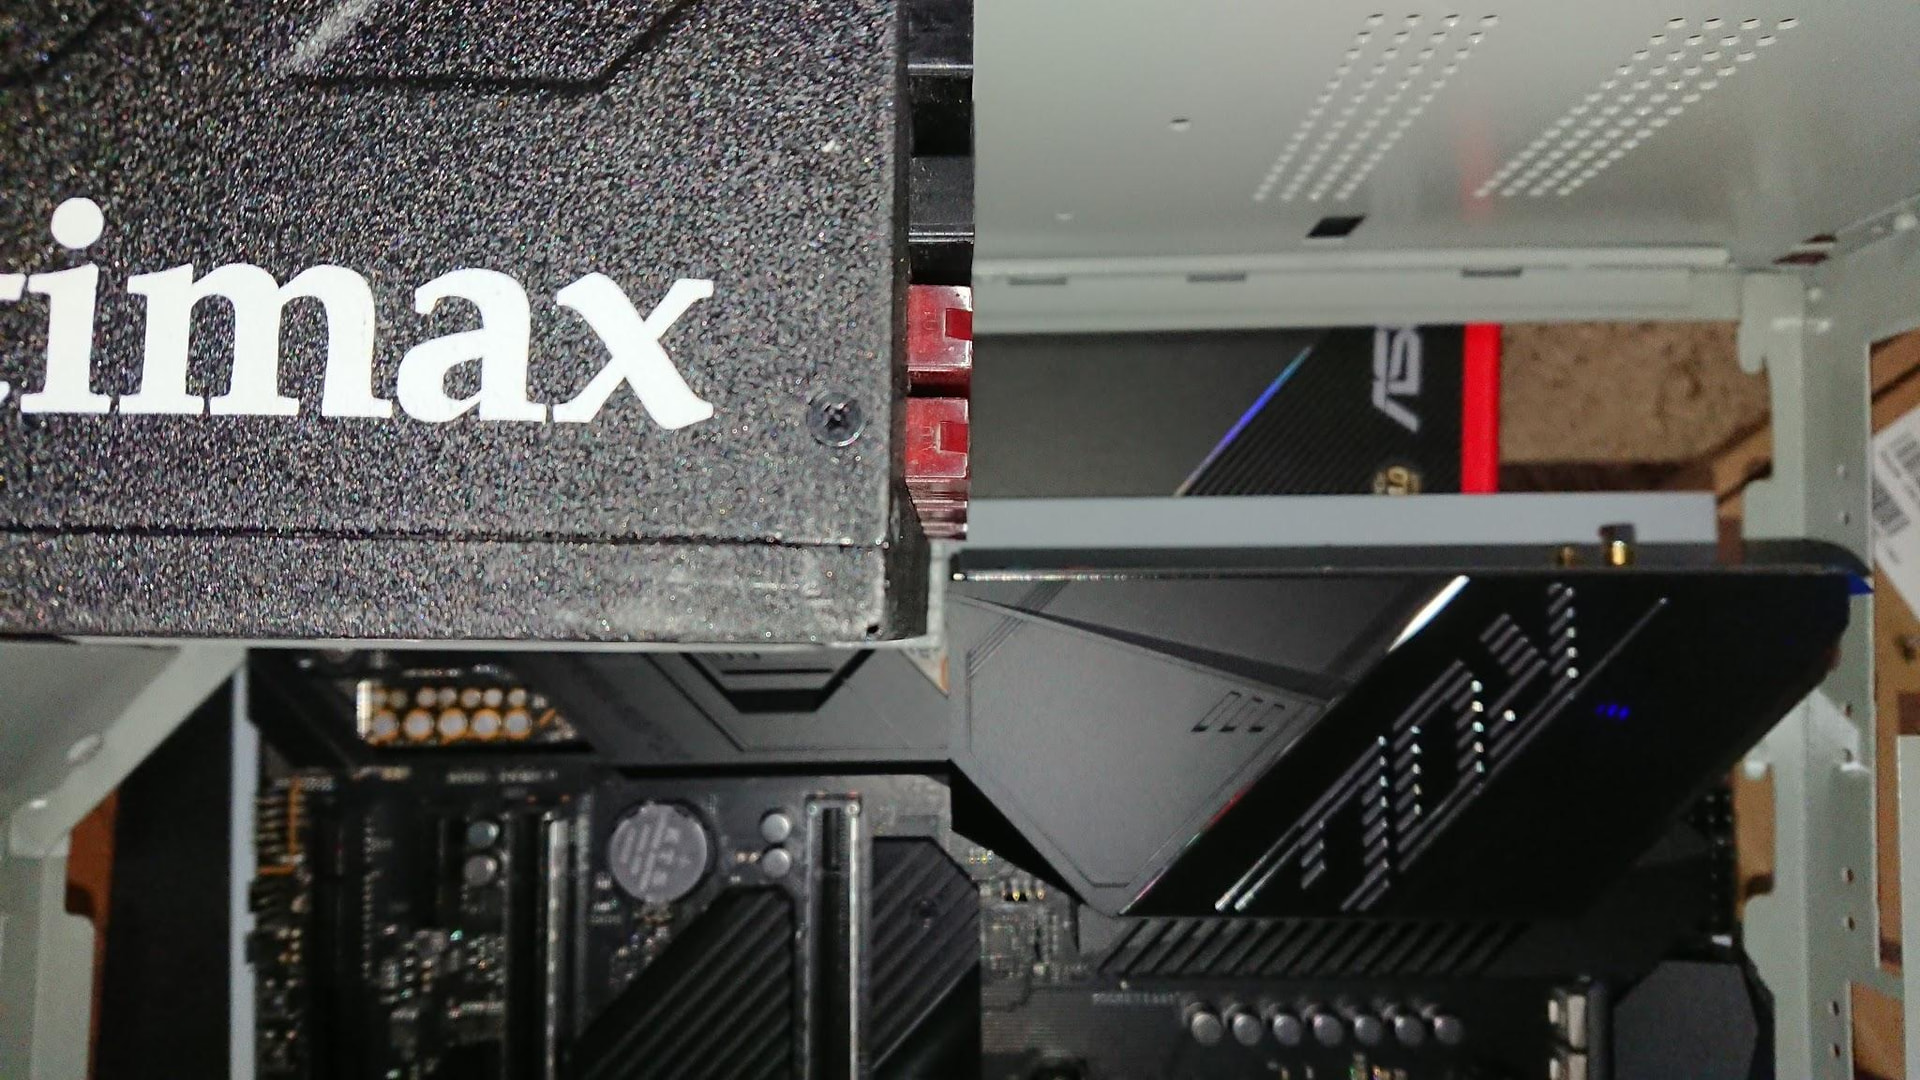
Just barely, I feel like this shroud over the I/O panel is a waste of space, it’s plastic and ugly. Let’s get rid of that

Now that’s better.
So the wifi module was in the way of the front radiator (you can see the blank m.2 port just near the corner of the board), and turns out, so was the RAM heatsinks. Off with their heads!
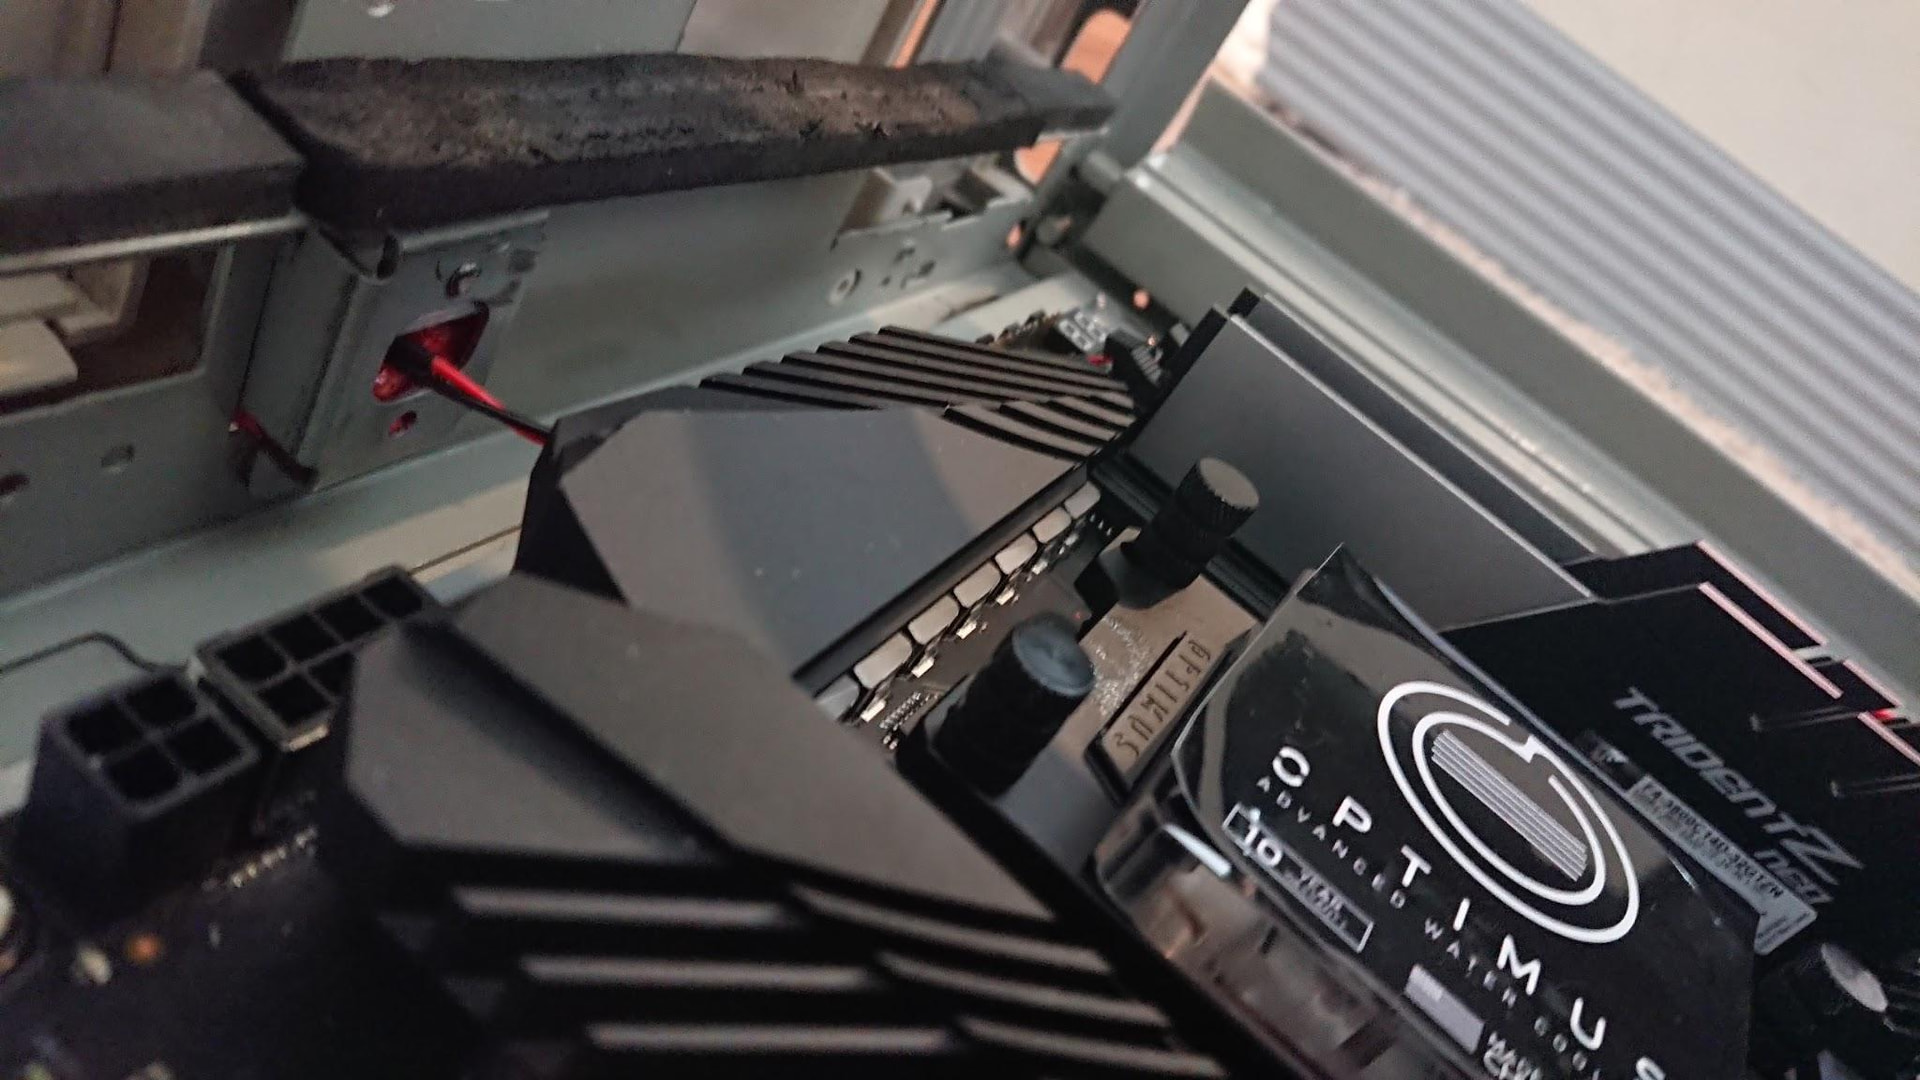
Now with some space! The radiator needs some cushioning so a bump doesn’t crush the DIMMs so I used a couple hard rubber cushions that the case had in it when I cleared the old system. I cut a neoprene piece to fill the gap between them to give it a snug fit. Also pictured is the Optimus block. That black mounting frame was a perfect order.
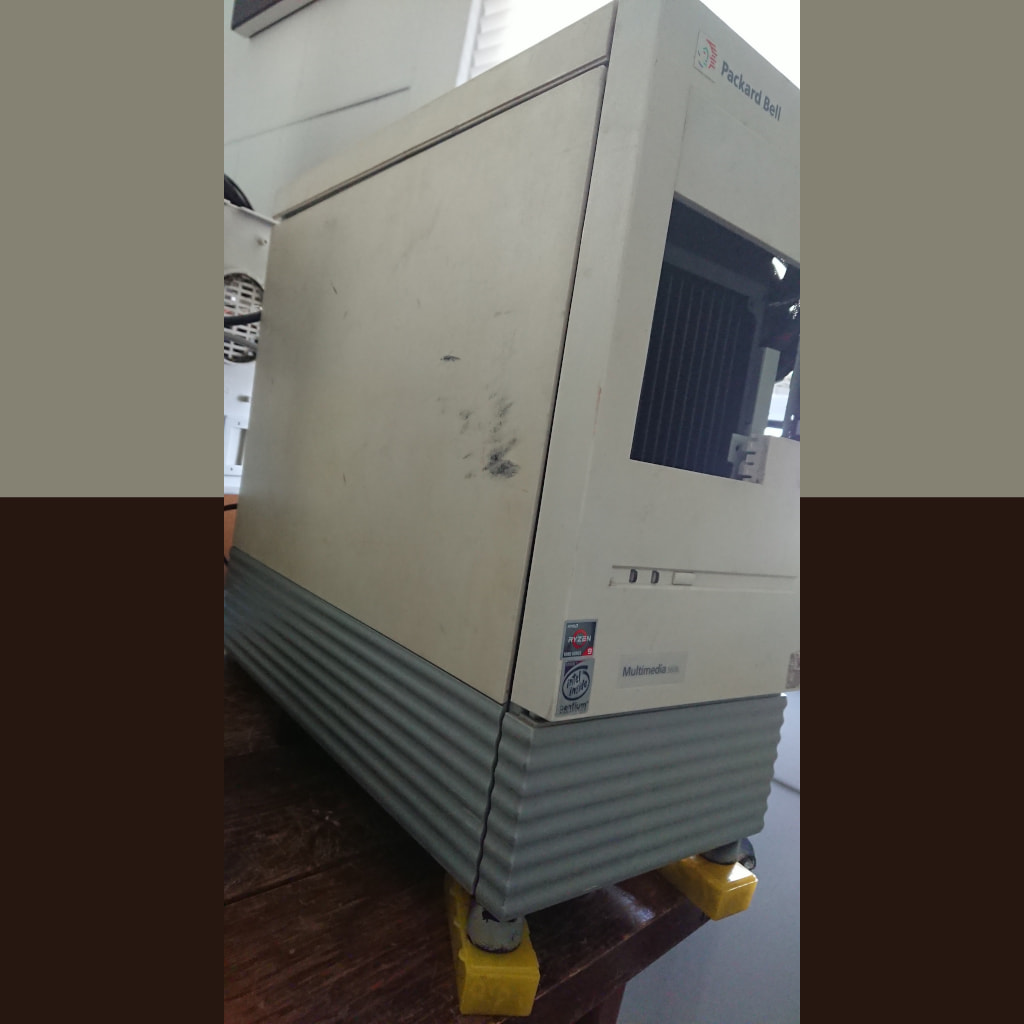
Got it’s badge.
```
I wrote that in the pandemic while attempting to relive my case modding days 15 years prior. It worked, It mined etherium, when I moved and drained the loop I made the executive call to transfer it out of the precarious location and place the 5950x system in my GigabyteChassis–3daurous (570) a much bigger case for the two rads. Once refilled after move, the loop has sustained for multiple years since.
```
