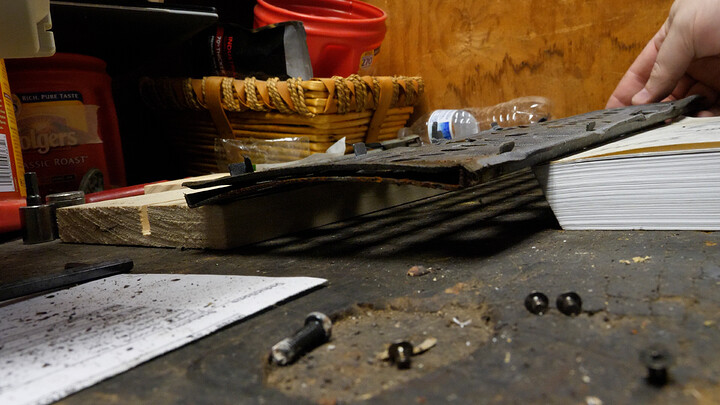
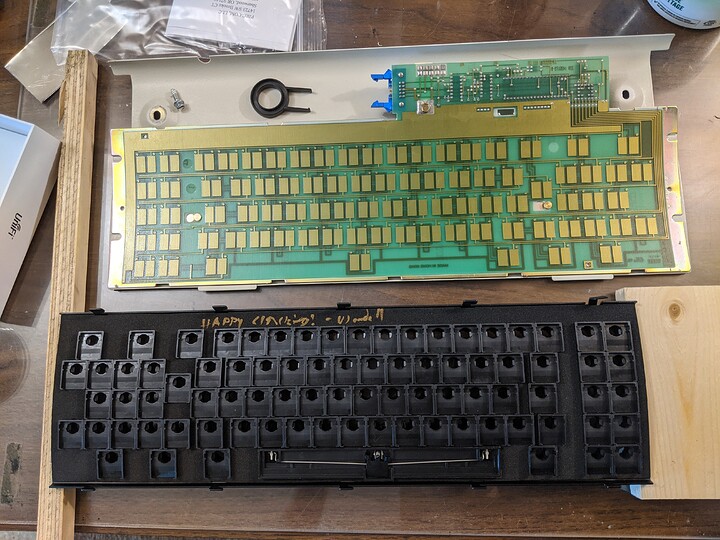
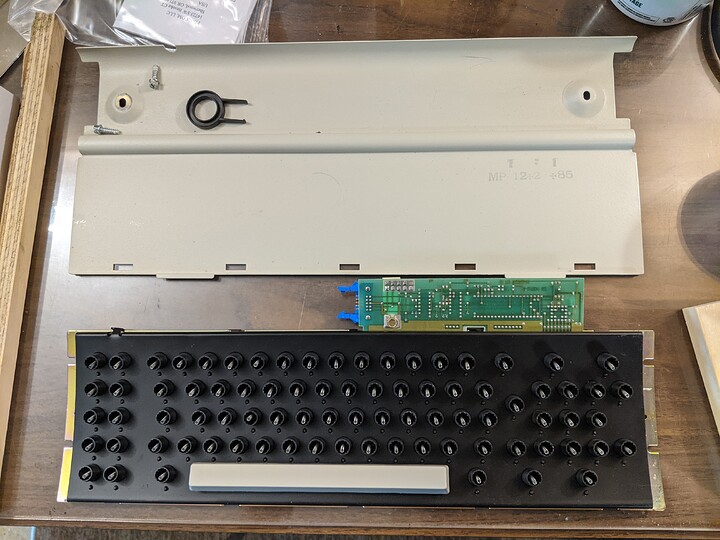
Subtext: Neoprene sheets. Get ya hot fresh ready neoprene sheets.
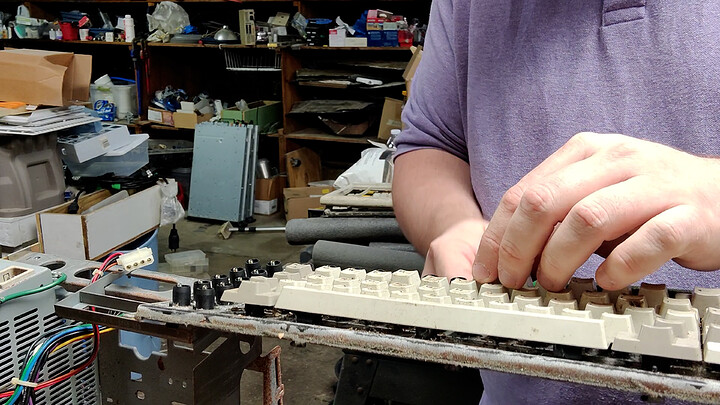
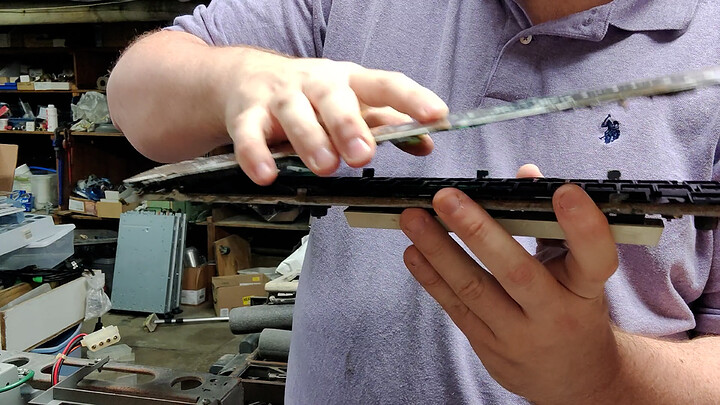
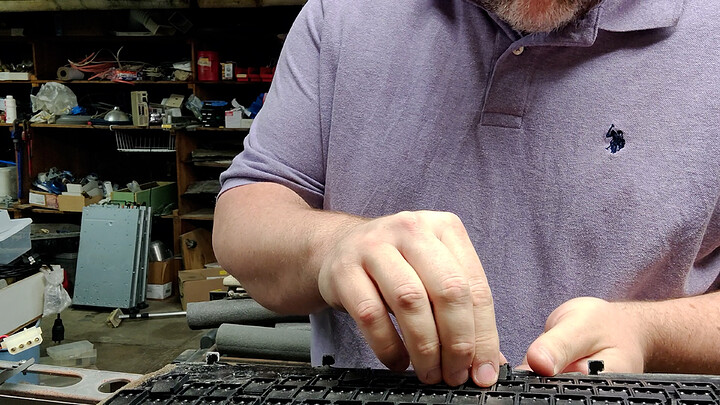
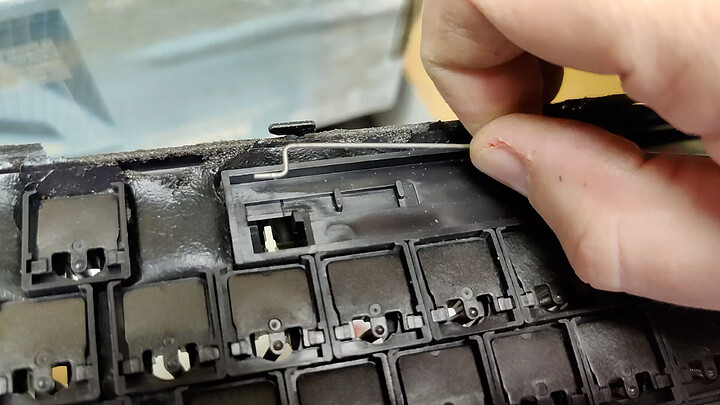
A story in Pictures
Caution
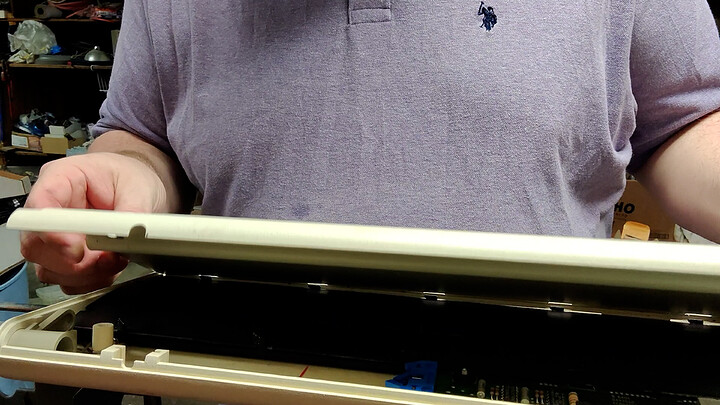
The only thing you can really REALLY screw up here is breaking your spacebar if you remove it before disassembly. Be sure you understand how that is put together before prying it apart!
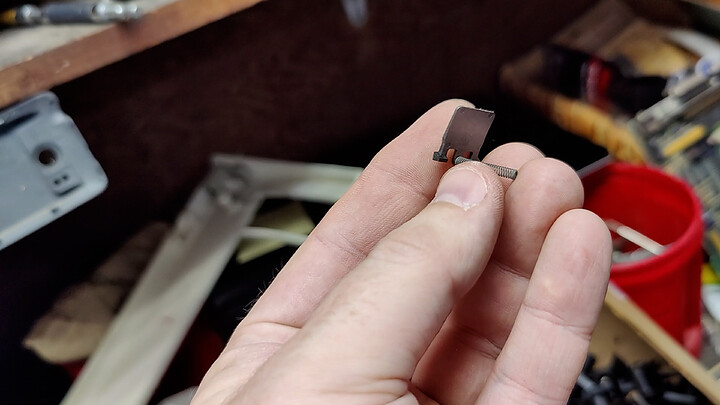
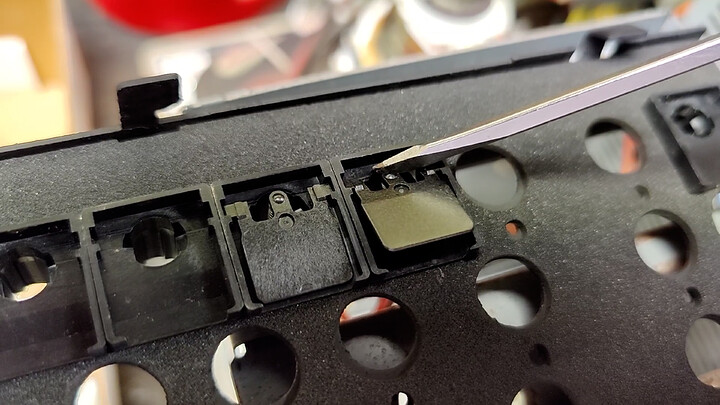
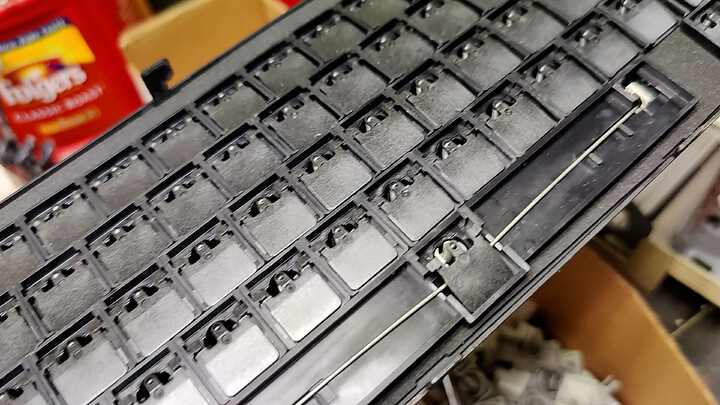
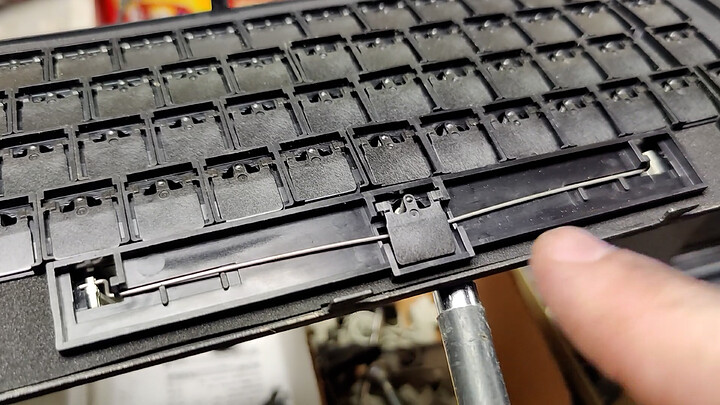
spacebar spring
keep it separate
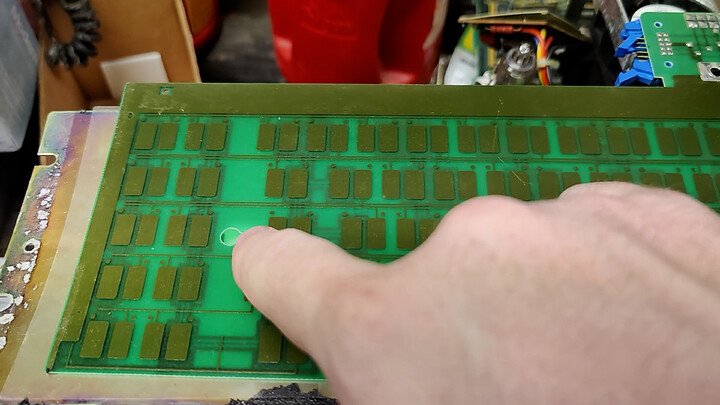
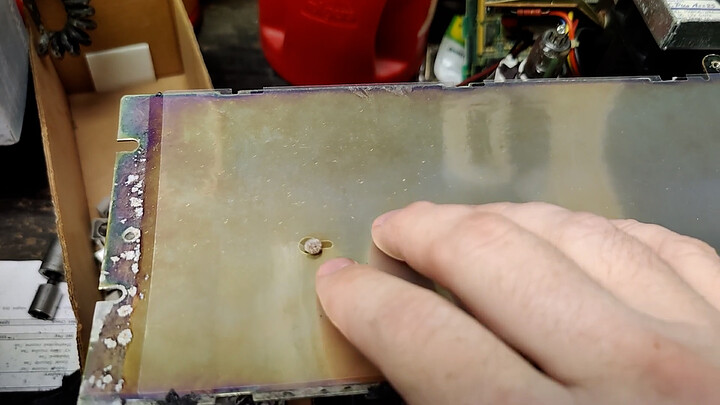
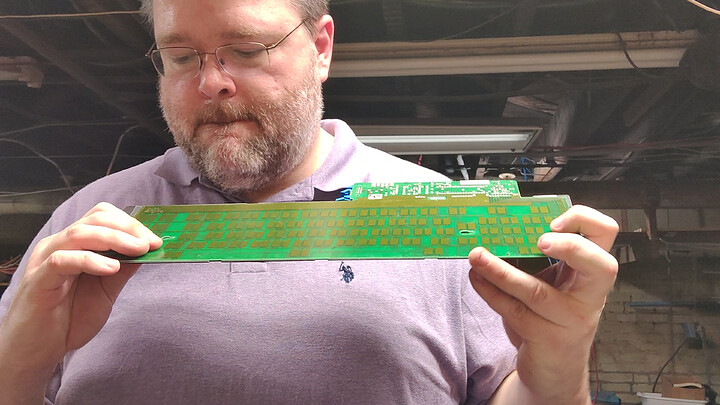
pcb hole for screw thing
fits together like this
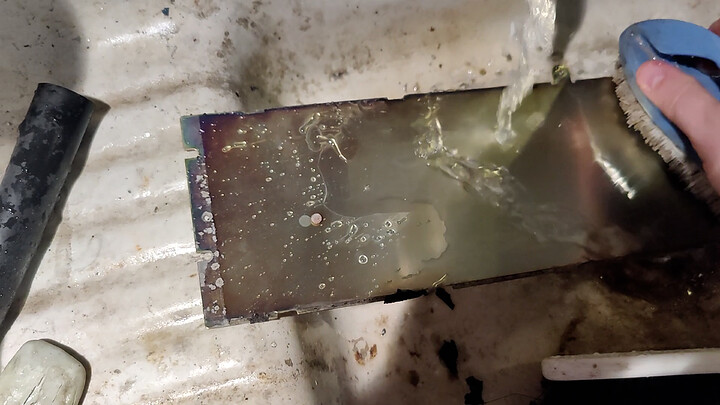
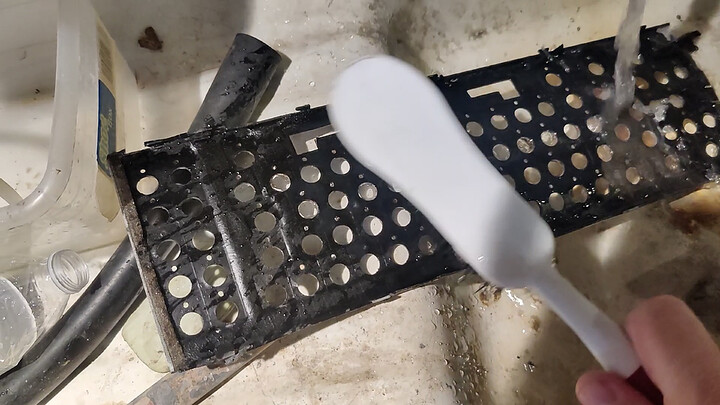
cleaning up
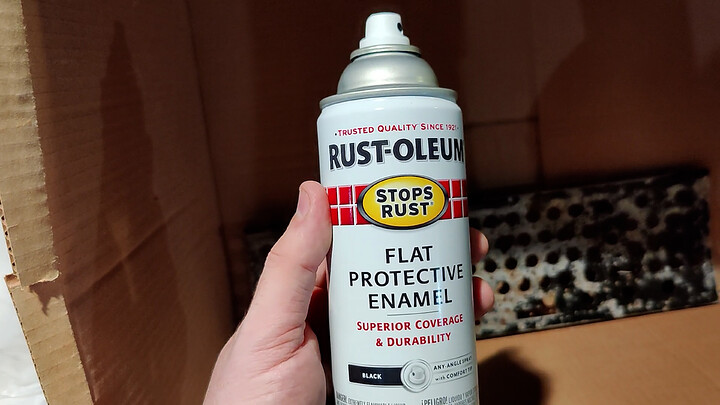
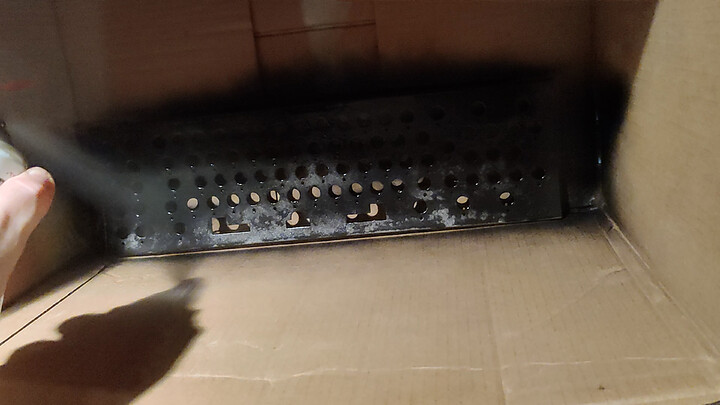
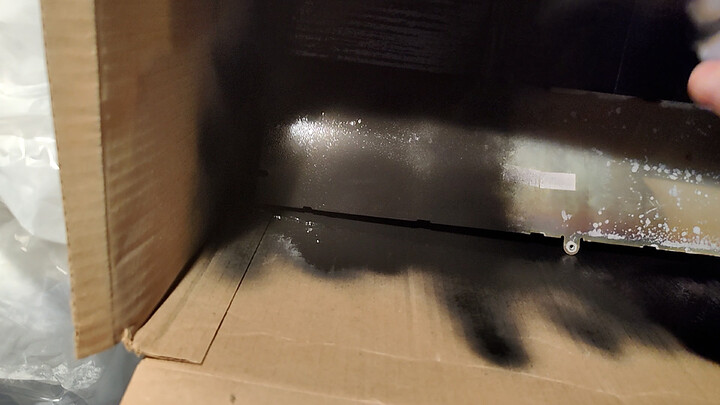
enamel
support ledge
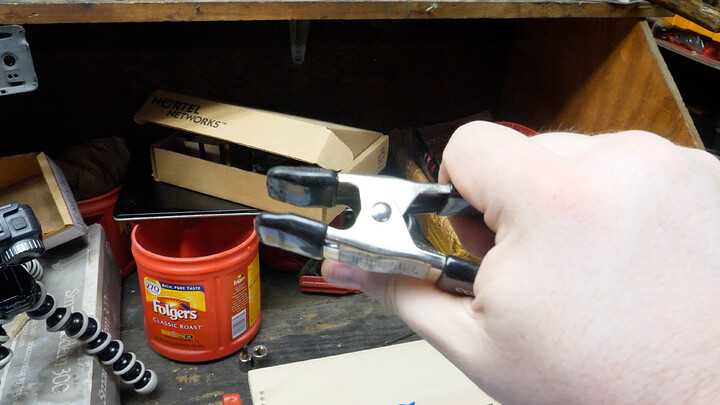
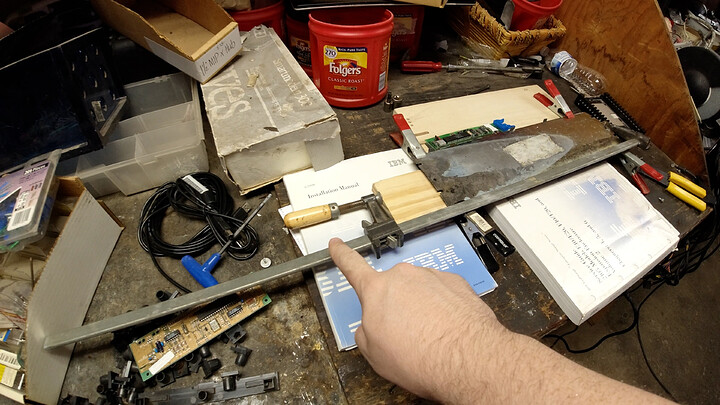
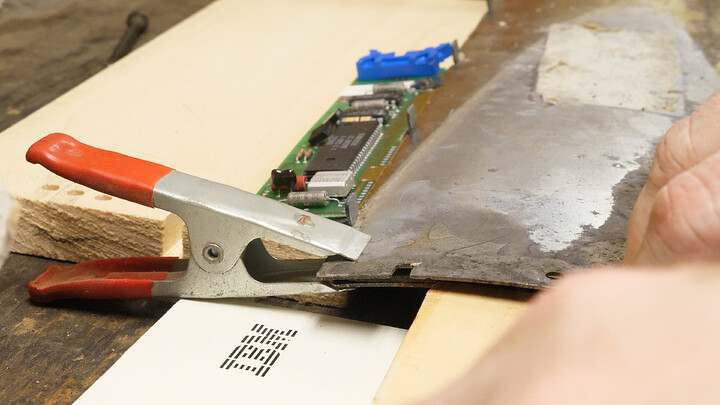
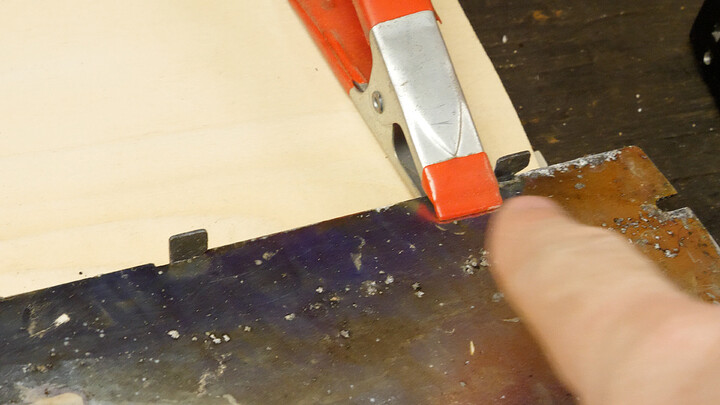
using clamps
tabs aligned
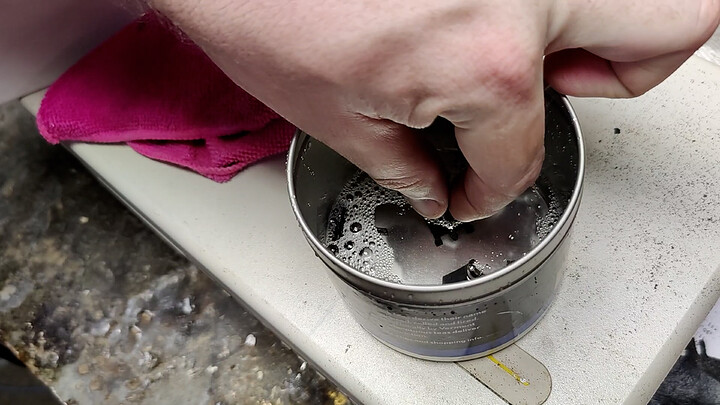
evaporust for keys
install spacebar first
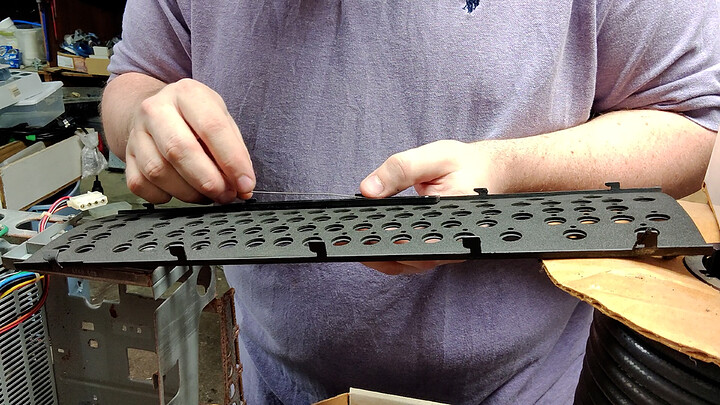
align plastic and pcb
wedge for spacebar
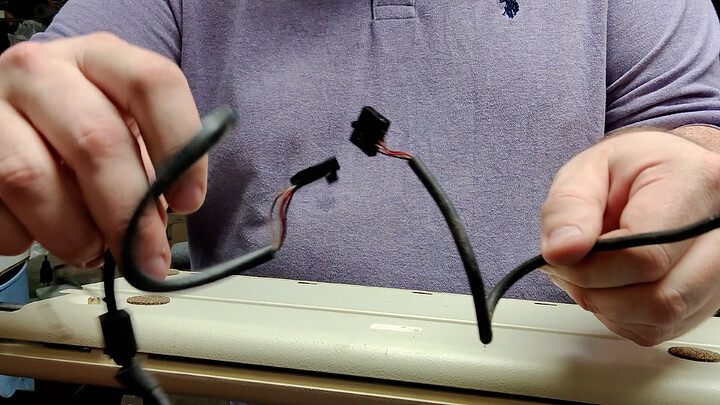
connectors
What’s the pinout for the weird cable?
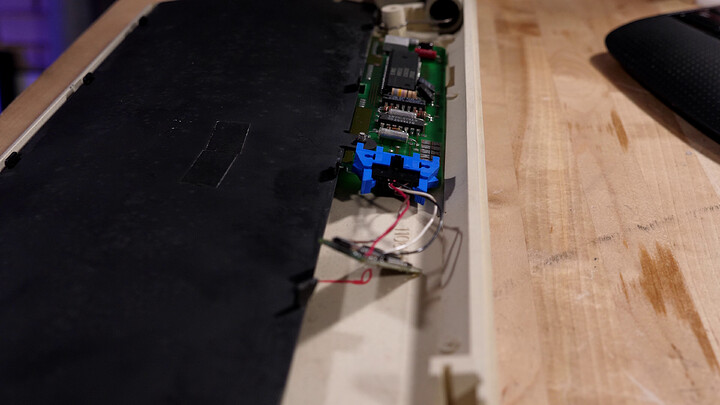
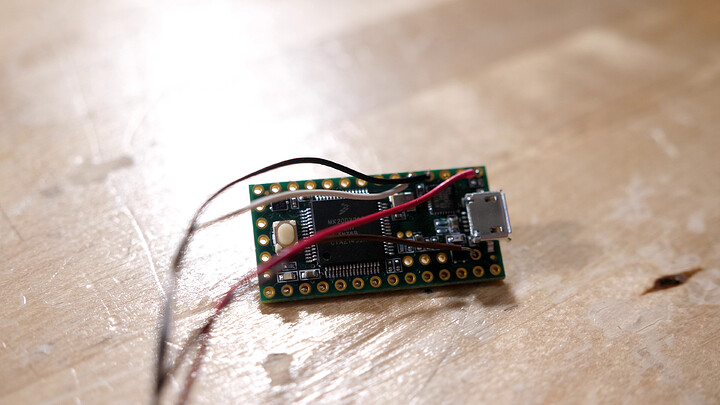
So the idea is you install Teensy v 3.1/3.2 inside the case and plug it directly into the old controller. What’s the pin out?
Brown 5vdc
Red, Bare = Gnd (red? ground? Obviously!)
White = Data
Black = Clock
If you aren’t familiar with Teensy and the extensions for Teensy for The Arduino IDE, check this out:
https://www.pjrc.com/teensy/td_download.html
and specifically Teensy as a Keyboard (or other DIY input device)
https://www.pjrc.com/teensy/td_keyboard.html
It can emulate a keyboard. You just have to select that on the menu.
Then you can download the firmware for teesny that does the model F conversion, load it. As long as you wired it correctly, then that’s it. It’ll be an ordinary USB plug and play keyboard.
If you want to do custom keymaps, you can edit the Arduino sketch and map whatever you want however you want 
Where is the software?
This thread on deskthority:
https://deskthority.net/viewtopic.php?t=12597
Note I made a few tweaks and will share those if you want, but didn’t want to re-post the zip.
Awesome F Restorations I saw on the net
Check these out, they’re awesome:
https://deskthority.net/viewtopic.php?t=12597
I used these to sanity check my own work just to make sure.
If you have trouble getting yours to work, post pics and what you did.
