Recoating my old SteelSeries Sensei mouse

Well here goes. I know I should be working on with my devember challenge, so for that reason I’ll show what I’m working on instead. :smile:

https://forum.level1techs.com/t/the-lounge-2018-11-november-npclivesmatter-edition/134196/3464?u=even747

@anon54210716 suggested a while back I could try to recoat my old SteelSeries Sensei RAW mouse, and now since I’m spending time at my parents place where I have my father’s workshop available, I thought I give this a good old college try.

For whatever reason the spell checking is not working on my Firefox atm, so please excuse all the typos and grammar errors in this log.

Please note that:

  • I don’t guarantee this mouse will be operational after I’m done with it.
  • This is mostly just a test. I’m not 100% sure what I’m doing, but I’ll do it anyway. :smiley:

I didn’t take any pictures how did the mouse look like before I started to disassemble it. Here’s a picture from google how did it look like when it was new:

kuva

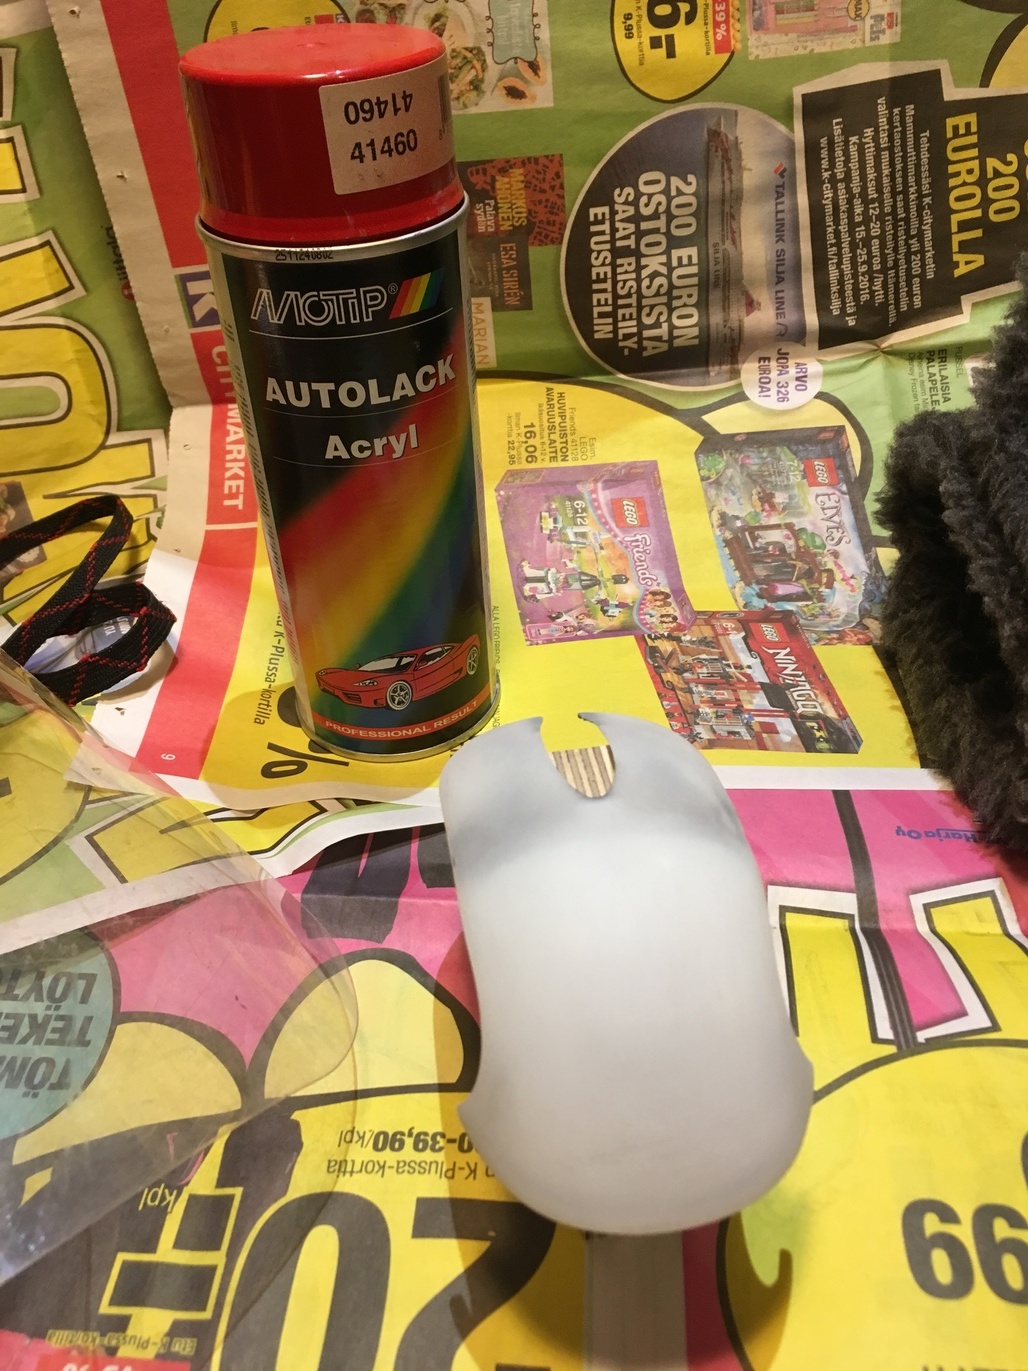
Mouse didn’t actually look bad, the coating looked pretty simmilar to that picture. But oh boy did the coating feel disgusting and sticky. So here I will try to fix this and recoat the mouse. At first I was planned to use some vinyl, but since my father has some spray paints here I might try to repaint the mouse. I know the natural oils from skin will eventually degrade the paint but I’m not too woried. I can always dismantle and repaint mouse again, or try someting else.

First I removed the mouse pads, or what ever they are called. Under them I found four small screws and once those were removed I was able to open the mouse. Side buttons etc. are attached to separate PCB and it was connected with small ribbon cable, that was not soldered to main PCB.

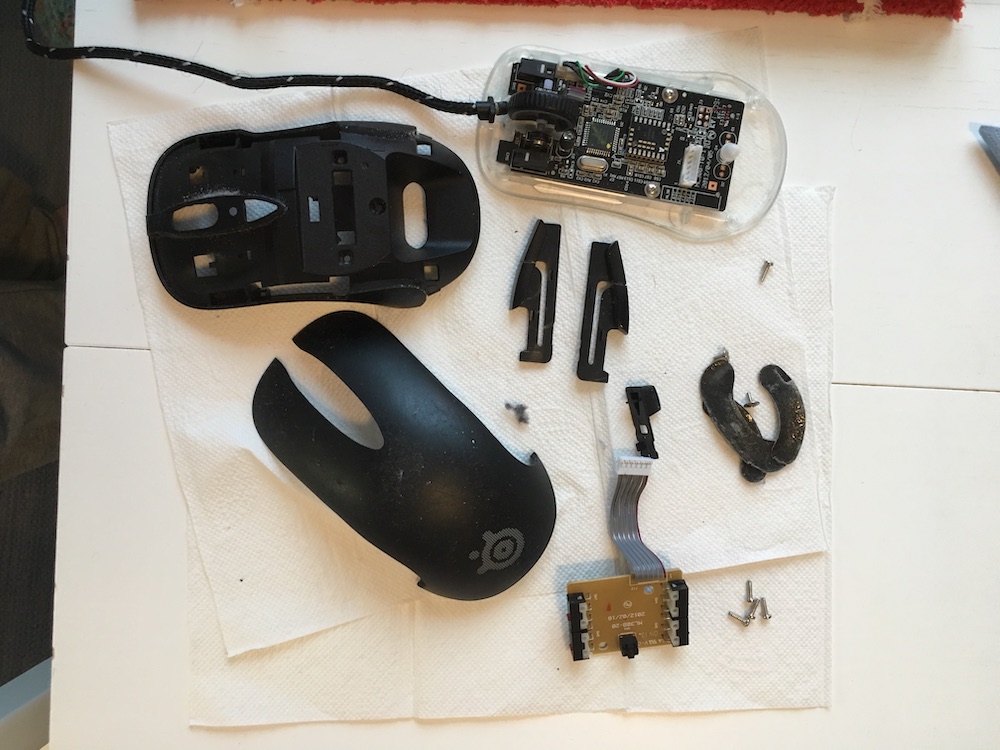
More screws and some platic clips held the top of the mouse together, and this is what it looks like when disassembled. I did clean the mouse wheel sonow it should scroll freely. There was a lot of dust and other gunk in scroll wheel assembly, so no wonder it was bit stiff.

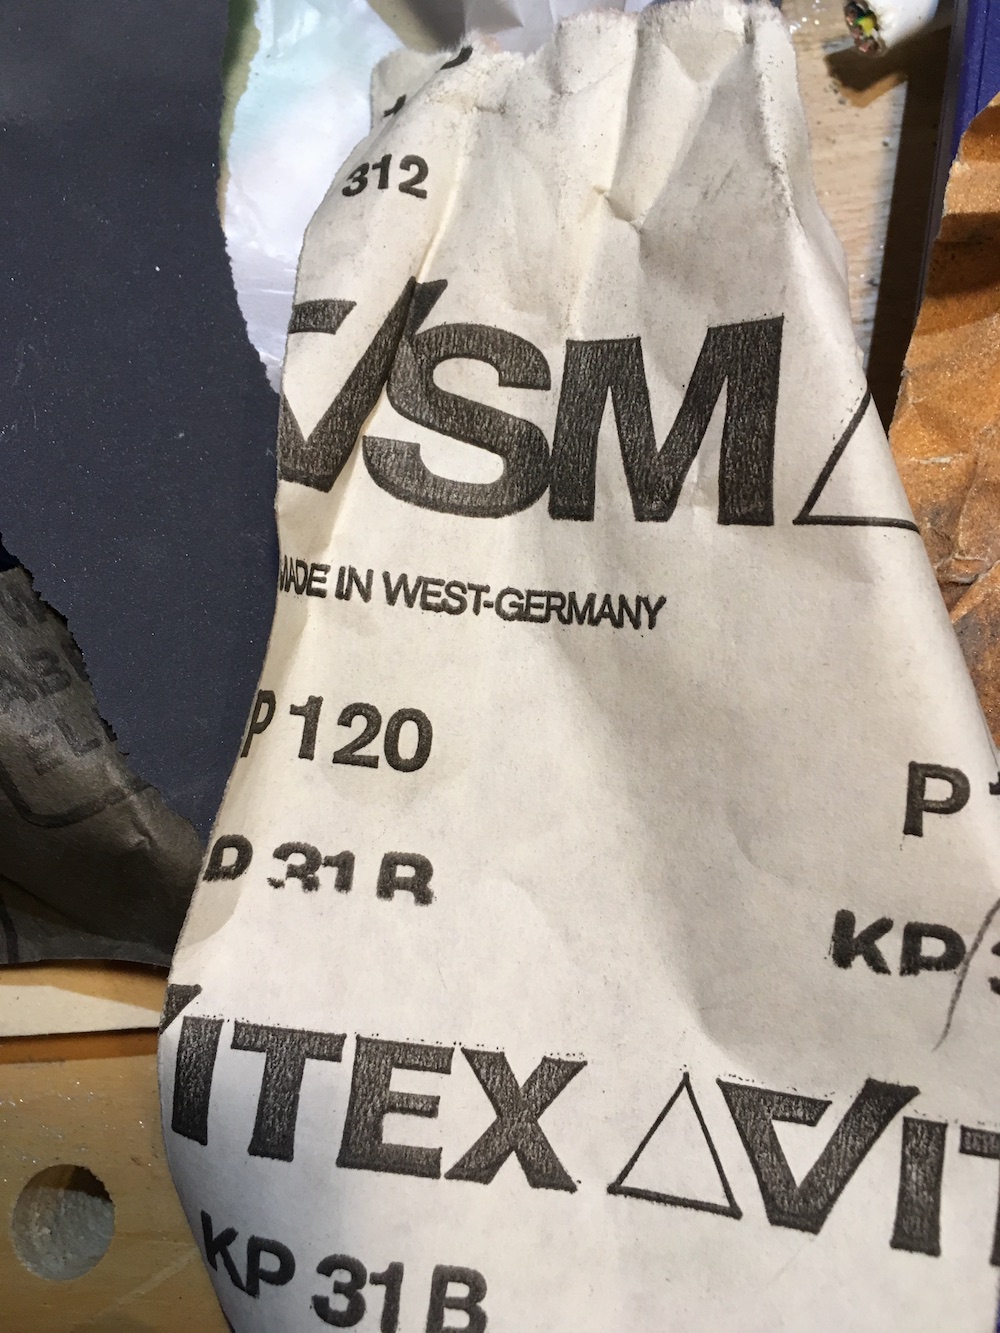
I tired to wash the plastic pieces, but the rubber coating was simply so worn there was no way I could improve it anymore. So, sanding paper to the rescue! I used regular 150 and 80 grit sanding paper to remove the rubber coating from the mouse assemlby. You can see from the picture when I started to get that coating off.

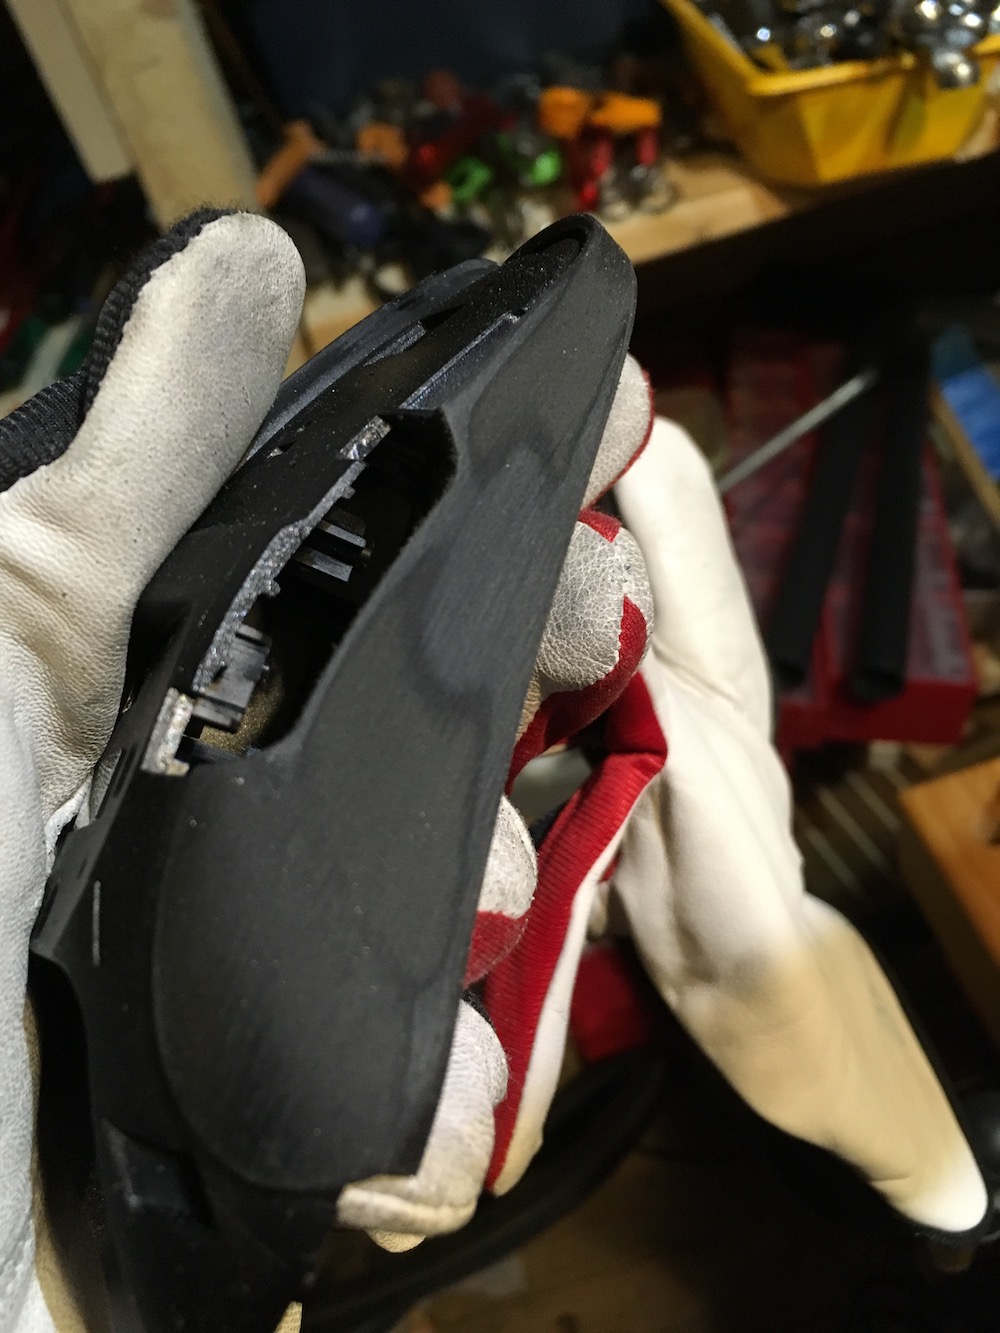
The top piece of the mouse assembly was real pain to work. It took little over one hour to get that damn coating off. I managed to break one plastic clip that was in the top piece, but I hope I can still reasemble this.

And here’s how the top piece looks after intensive sand paper action later. I’ll see if the weather is good enough to paint this tomorrow.

Updates will follow later.

11 Likes

Great job bro.

Thanks for sharing.

2 Likes

4 days

Thank you!

Pinned? Thanks! :smile:

1 Like

Small update: I managed to paint the top piece, despite the fact temperature was freezing in the workshop. I’ll let the paint dry and try to assemble the mouse later this week. I hope it still works. :smiley:

No pictures today, Internet connection is acting up so I’ll post pictures once I get home.

1 Like

Alright, here’s some pictures:

Weather conditions were not ideal for painting. I’m glad I was able to do this in my fathers workshop. Temperature was maybe -5 °C, and the workshop was not heated, so I was little worried if the paint would even stick to the sanded surface.

This was the paint selection available. Some car paint, some primers and even some paint intended to withstand heat. :smile:

Decided to go with red color. I used this color to fix some rust spots from my old Saab 9-3, so my father called this color “Saab red”. I’m fine with that. :smile:

Here’s the painted piece with two coats of paint. It’s not the smoothest surface, but it will do for me. And like I said I might repaint this mouse later if I feel like it, or if the painted surface won’t last.

I’ll try to assemble this over the weekend and see if it still works. :smiley:

3 Likes

Weekend went by, but I had free time today so I tried to assemble the mouse, and see if it works. Spoiler alert, it does! :smiley:

Paint job turned out to be better than I expected. Sides are not painted, I simply sanded the old coating off and left the sides like that.

A funny side effect: The coat of paint is not thick enough to prevent the light shining through. It does not look that nice, so I might disable the light effect, which can be done from SteelSeries setup software. Other option is to put another coat of paint under the top piece, maybe that would be enough to prevent the light shining through.

I’m really happy with the mouse now. It is more “slippery” than before, but now the mouse does not feel gross and disgusting to use. If anyone has any questions I’m happy to answer to them. :slight_smile:

If you are planing to do this yourself, keep in mind the bottom slides of the mouse might need replacing, depending on what kind of glue is used to attach them. I was able to put old slides back, but the glue is not holding that well so I might have to order replacement slides later.

Bonus picture (I forgot to post this earlier): You know the sanding paper is old if the text on it says “Made in West-Germany” :smile:

3 Likes