This is probably one of the cruelest, nastiest, most heresy-ridden projects I have ever done. Under normal circumstances, I would probably have destroyed one of my favourite graphics cards of all time, but just as a spoiler, I would not have posted this in the first place if, post-board-modification, the card didn't output to a display. So bear in mind that so far, the card remains seemingly unharmed.
This is my card: the Sapphire Radeon 7770 GHz edition. It has always been my favorite card because for the past 5 years the 7770 chip has been an excellent budget option for lightweight gaming at medium to high settings at 1080p and under with no filters. It's small, so it fits into most computers without any hassle, and doesn't consume all that much power. It is in my opinion the perfect option for those just starting out in PC Gaming, because you can play a crazy amount of games with it. 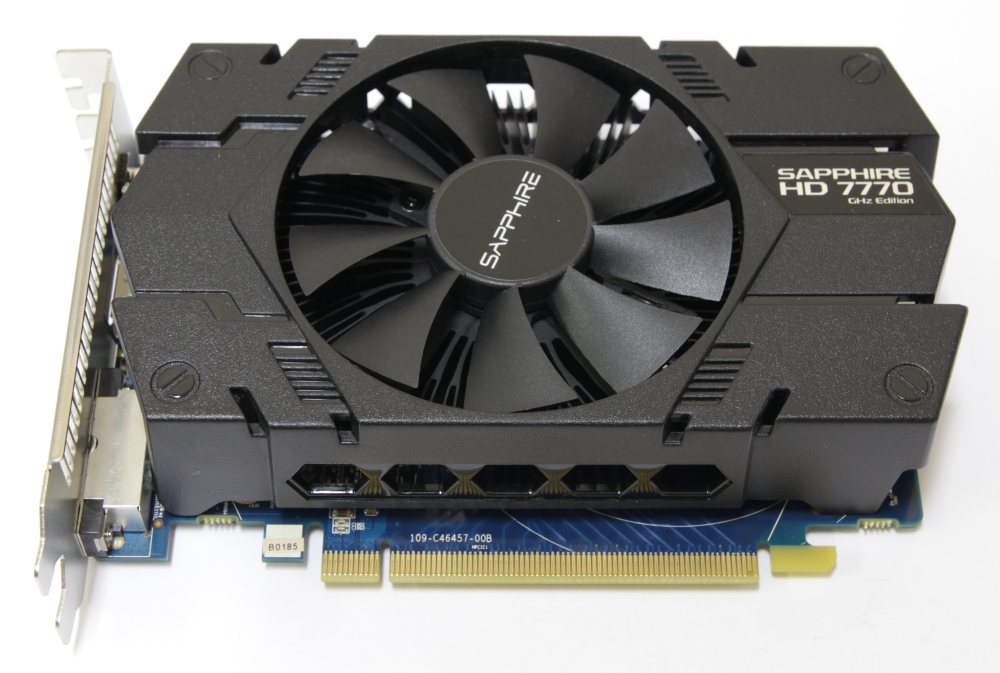
I've had one of these for a while, and I've really enjoyed using it. It's going to be what I use for my linux/capture rig because it's just a very competent all-round GPU. but before I do that, I want to try something out.
I'm going to turn this 7770 into a single-slot card. Why? Because I can. Even though it may give me the reputation of being a complete retard fox loli (:3) who abuses his/her hardware needlessly.
I had in my possession an 8800GT that I picked up in Akihabara. It died. I've always liked the look and slim form factors of the old GT-series Nvidia cards. So I used the cooler for this project. I figure if this can cool a 125W GPU with the dinky little fans the old cards had, it can cool an 80W GPU with a larger blower fan. It might even make a good card for a 1U rackmount server, but that's a story for another day.
So first of all, this mod needs some modifications to the cooler and the board. For the board, this means swapping these capacitors and chokes, plus the fan header, to the other side of the board.

Next step was to cut the fan hub part of the heatsink, as well as a flange off the side (to get out of the way of the power connector) - how it is pictured below is how it will go onto the PCB.

Next was to grind off the original screw points. I only had a bench grinder with which to do this, so that's why there are so many other scuffs on the block. But I didn't hit the copper plate, so that's good.
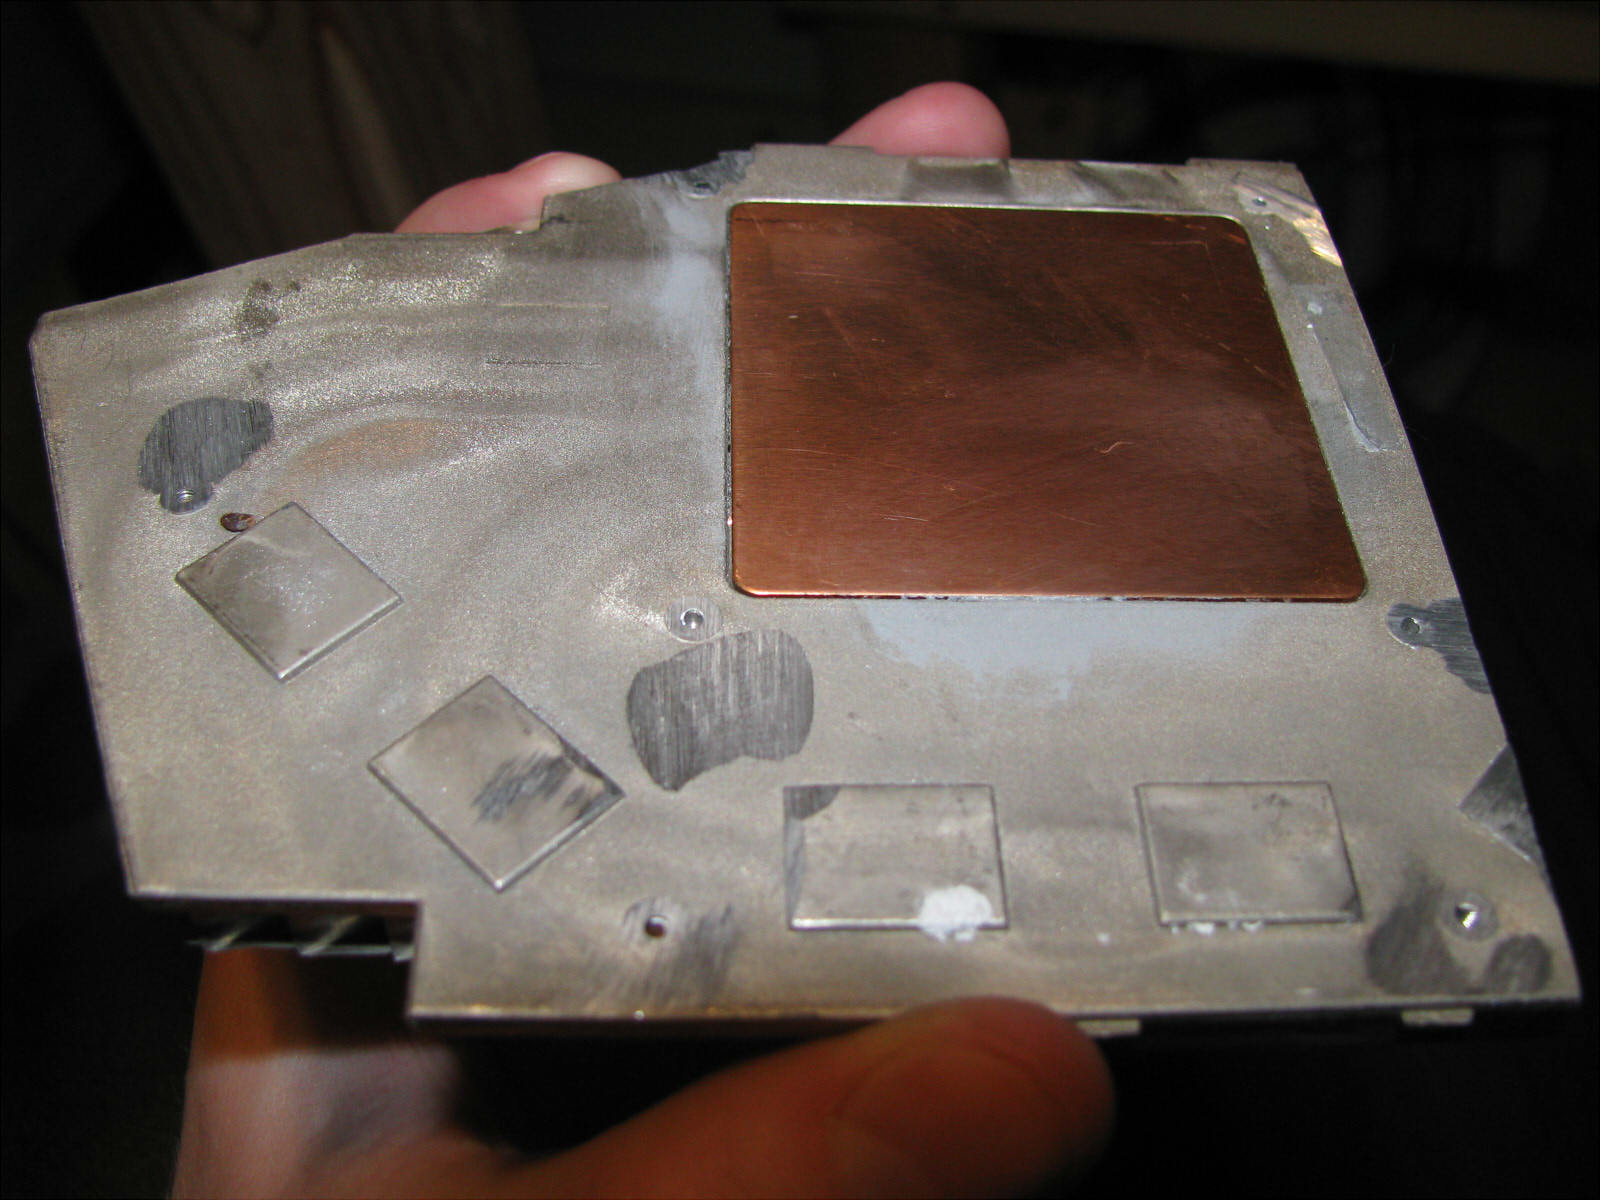
It seems to interface okay with the die with a healthy amount of thermal compound, but at the moment, the problem is going to be attaching the cooler to the PCB. Don't worry - I'll print a shroud for it as well.
Like I said, the card did survive the PCB mod so far - though I won't be aware of any serious component damage until I put it under load, and I'll need to watch the temps as well. I'm amazed it got this far and survived, since I've been hamfistedly attacking it with my atrocious skills with a soldering iron, flux, wick and even a small butane torch, so this should turn out to be a successful project.
I'll keep ya posted as the black sorcery continues! :D