We had an audit at work this week, which pretty much sucked up all of my time, but having passed with with flying colors by midday Thursday, I decided to take Friday off, and while I mostly caught up on sleep, I had a little time to make progress on the project.
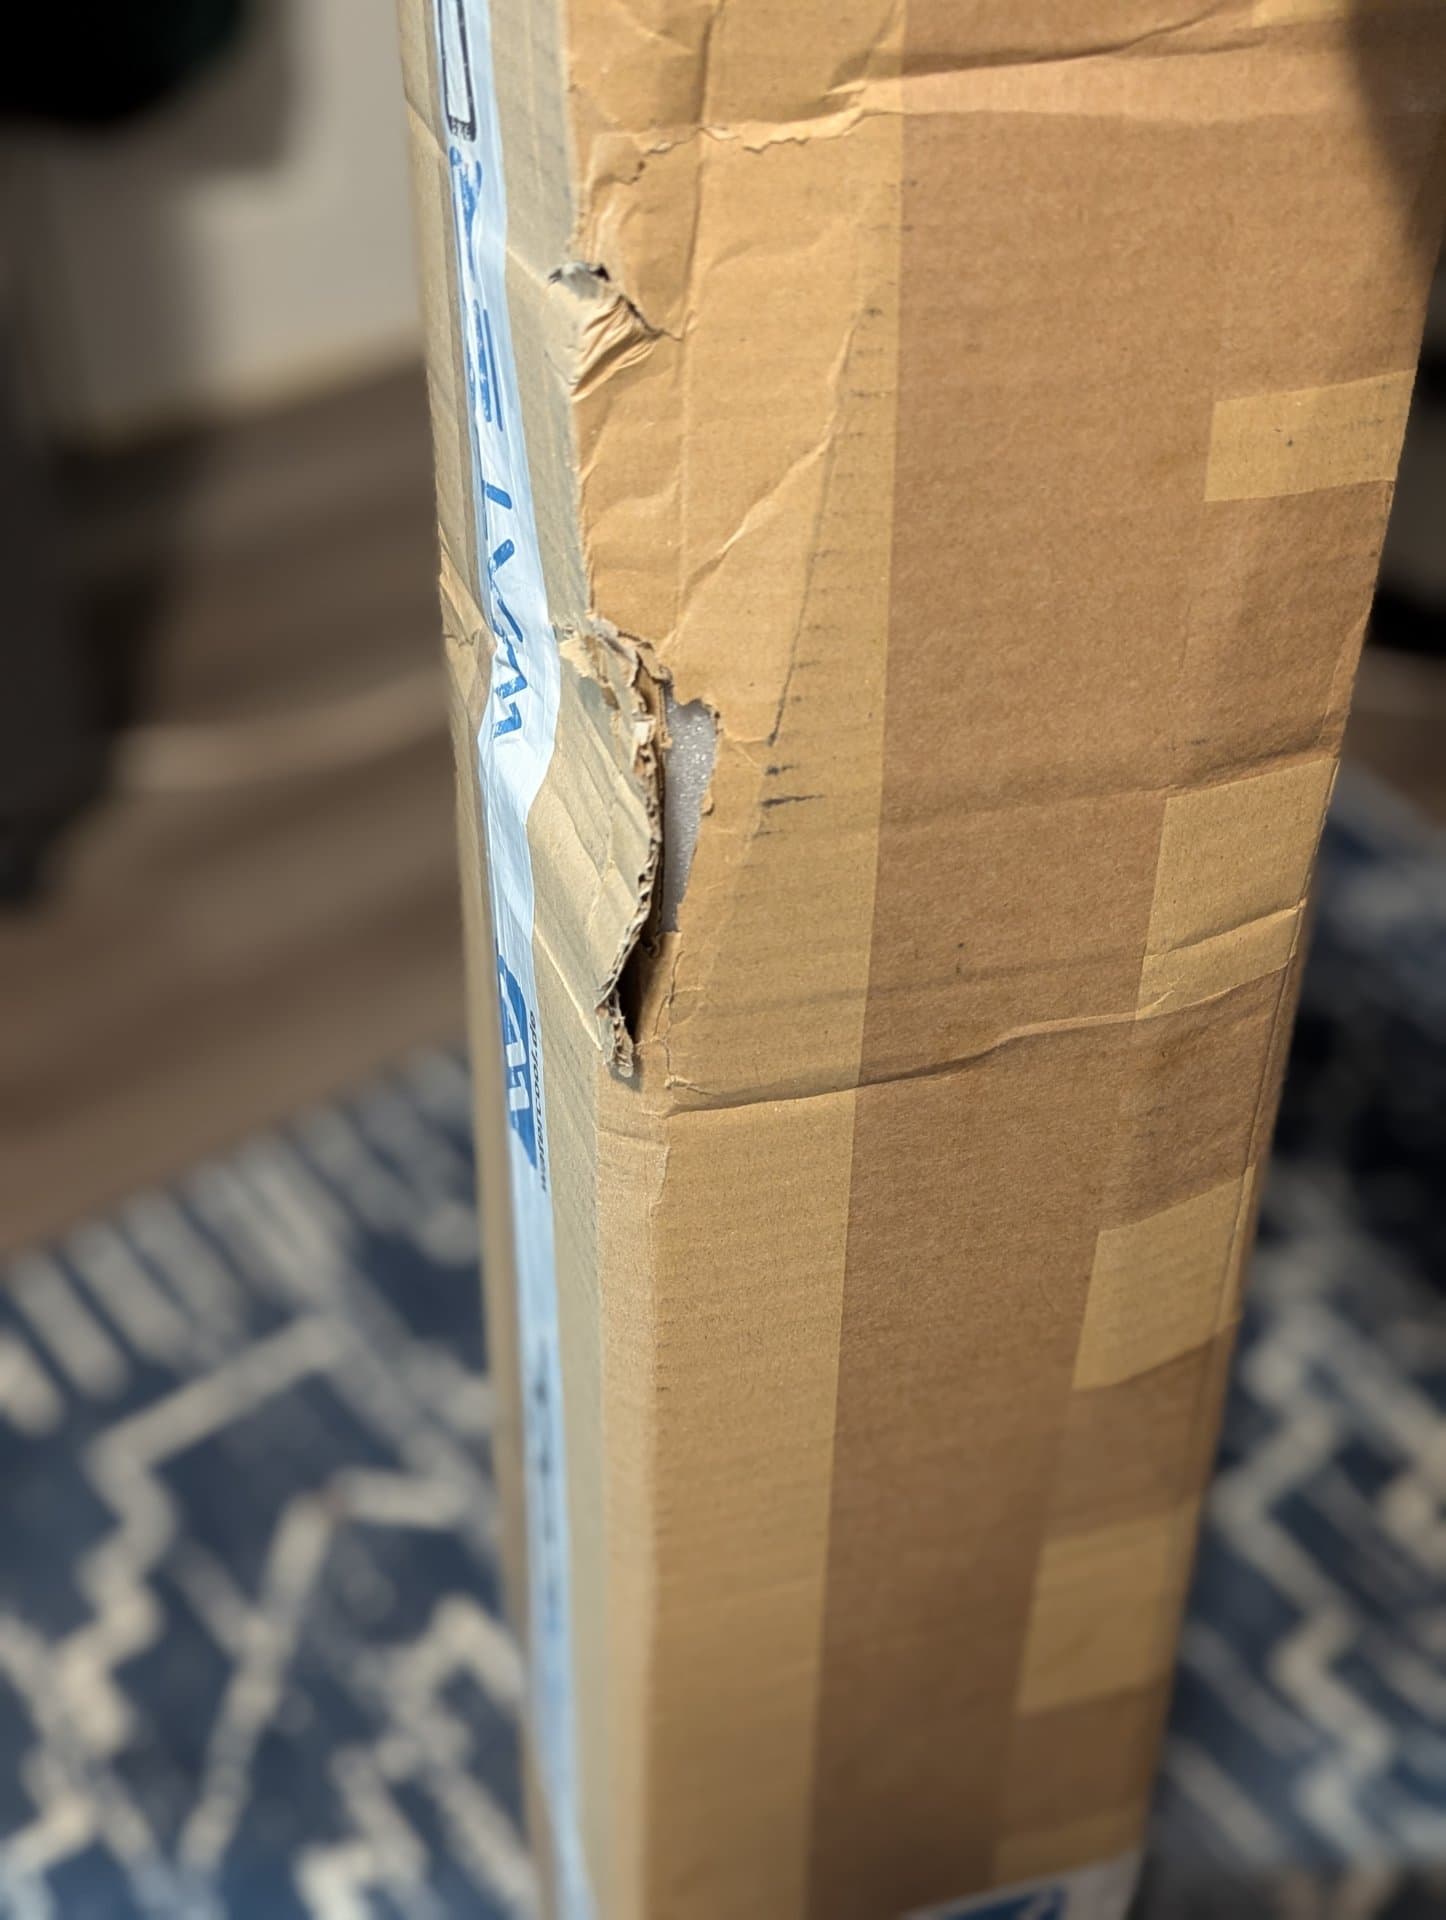
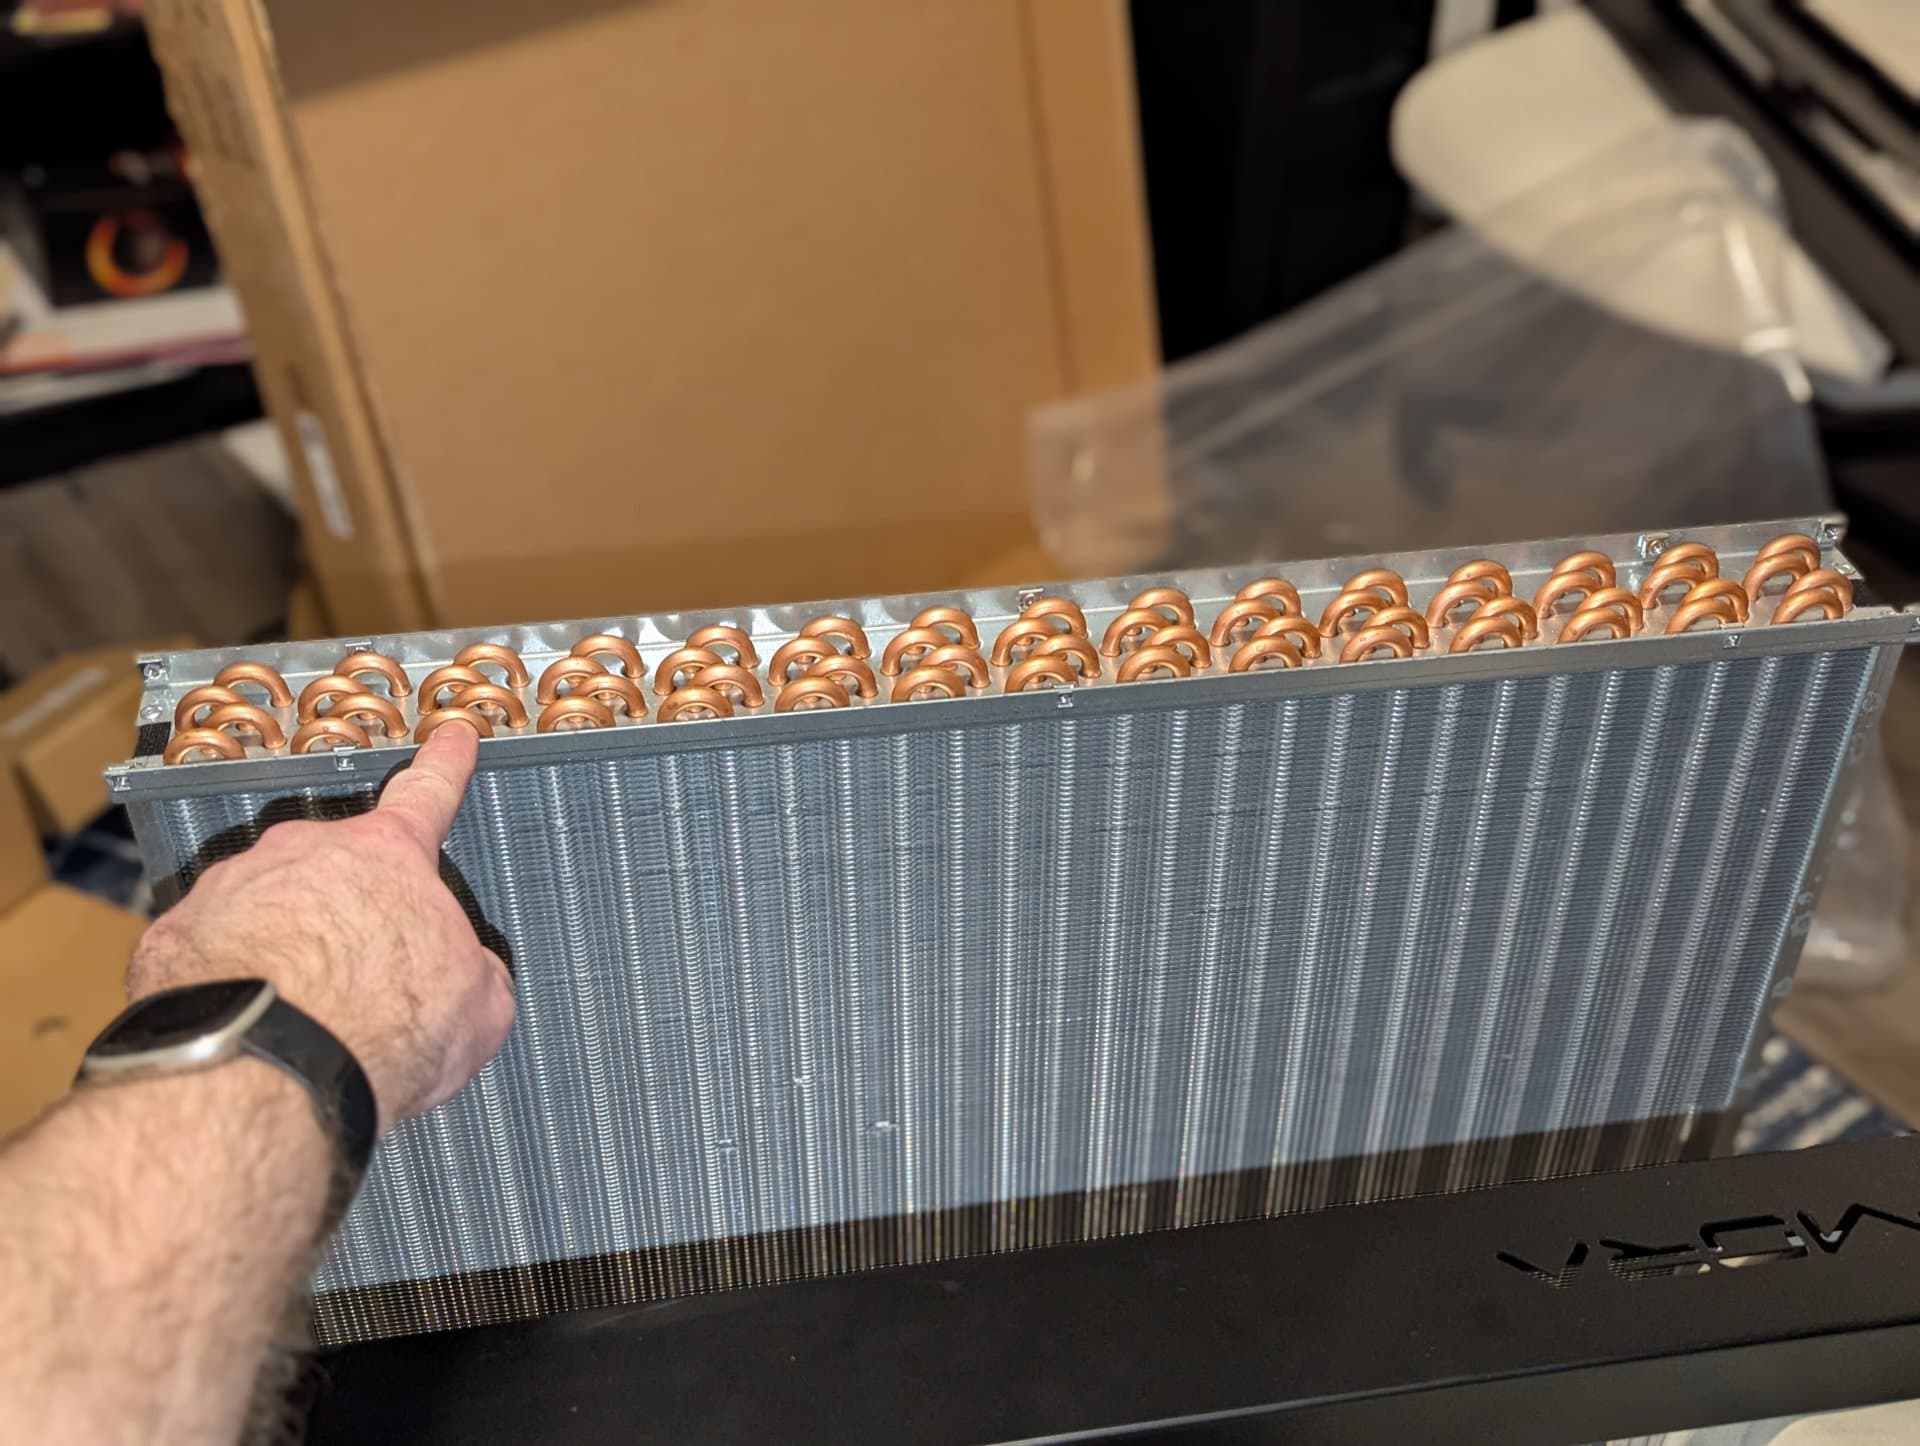
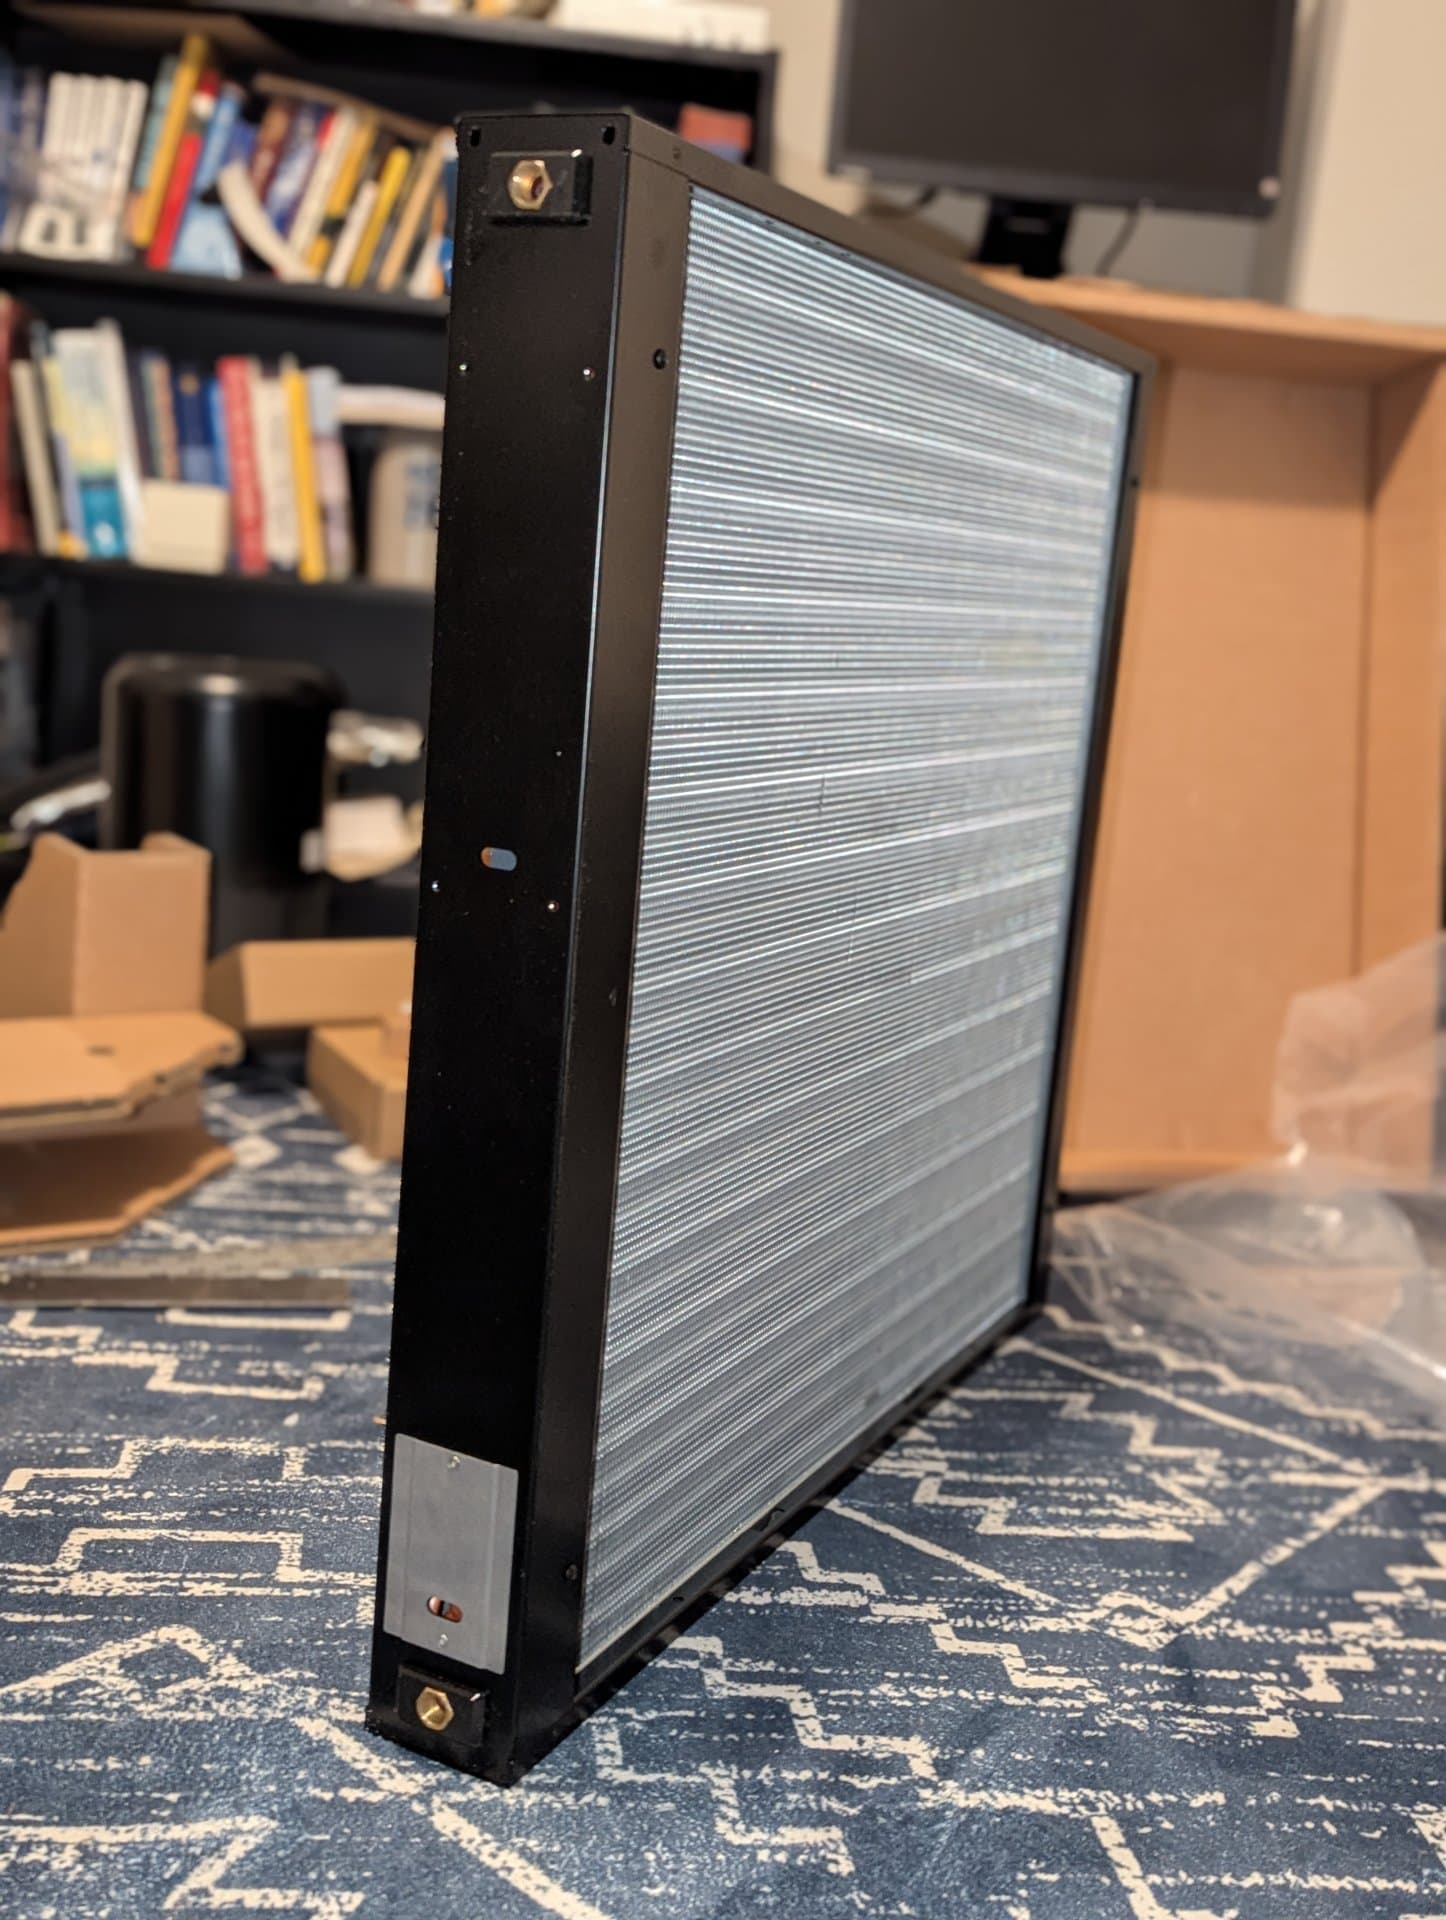
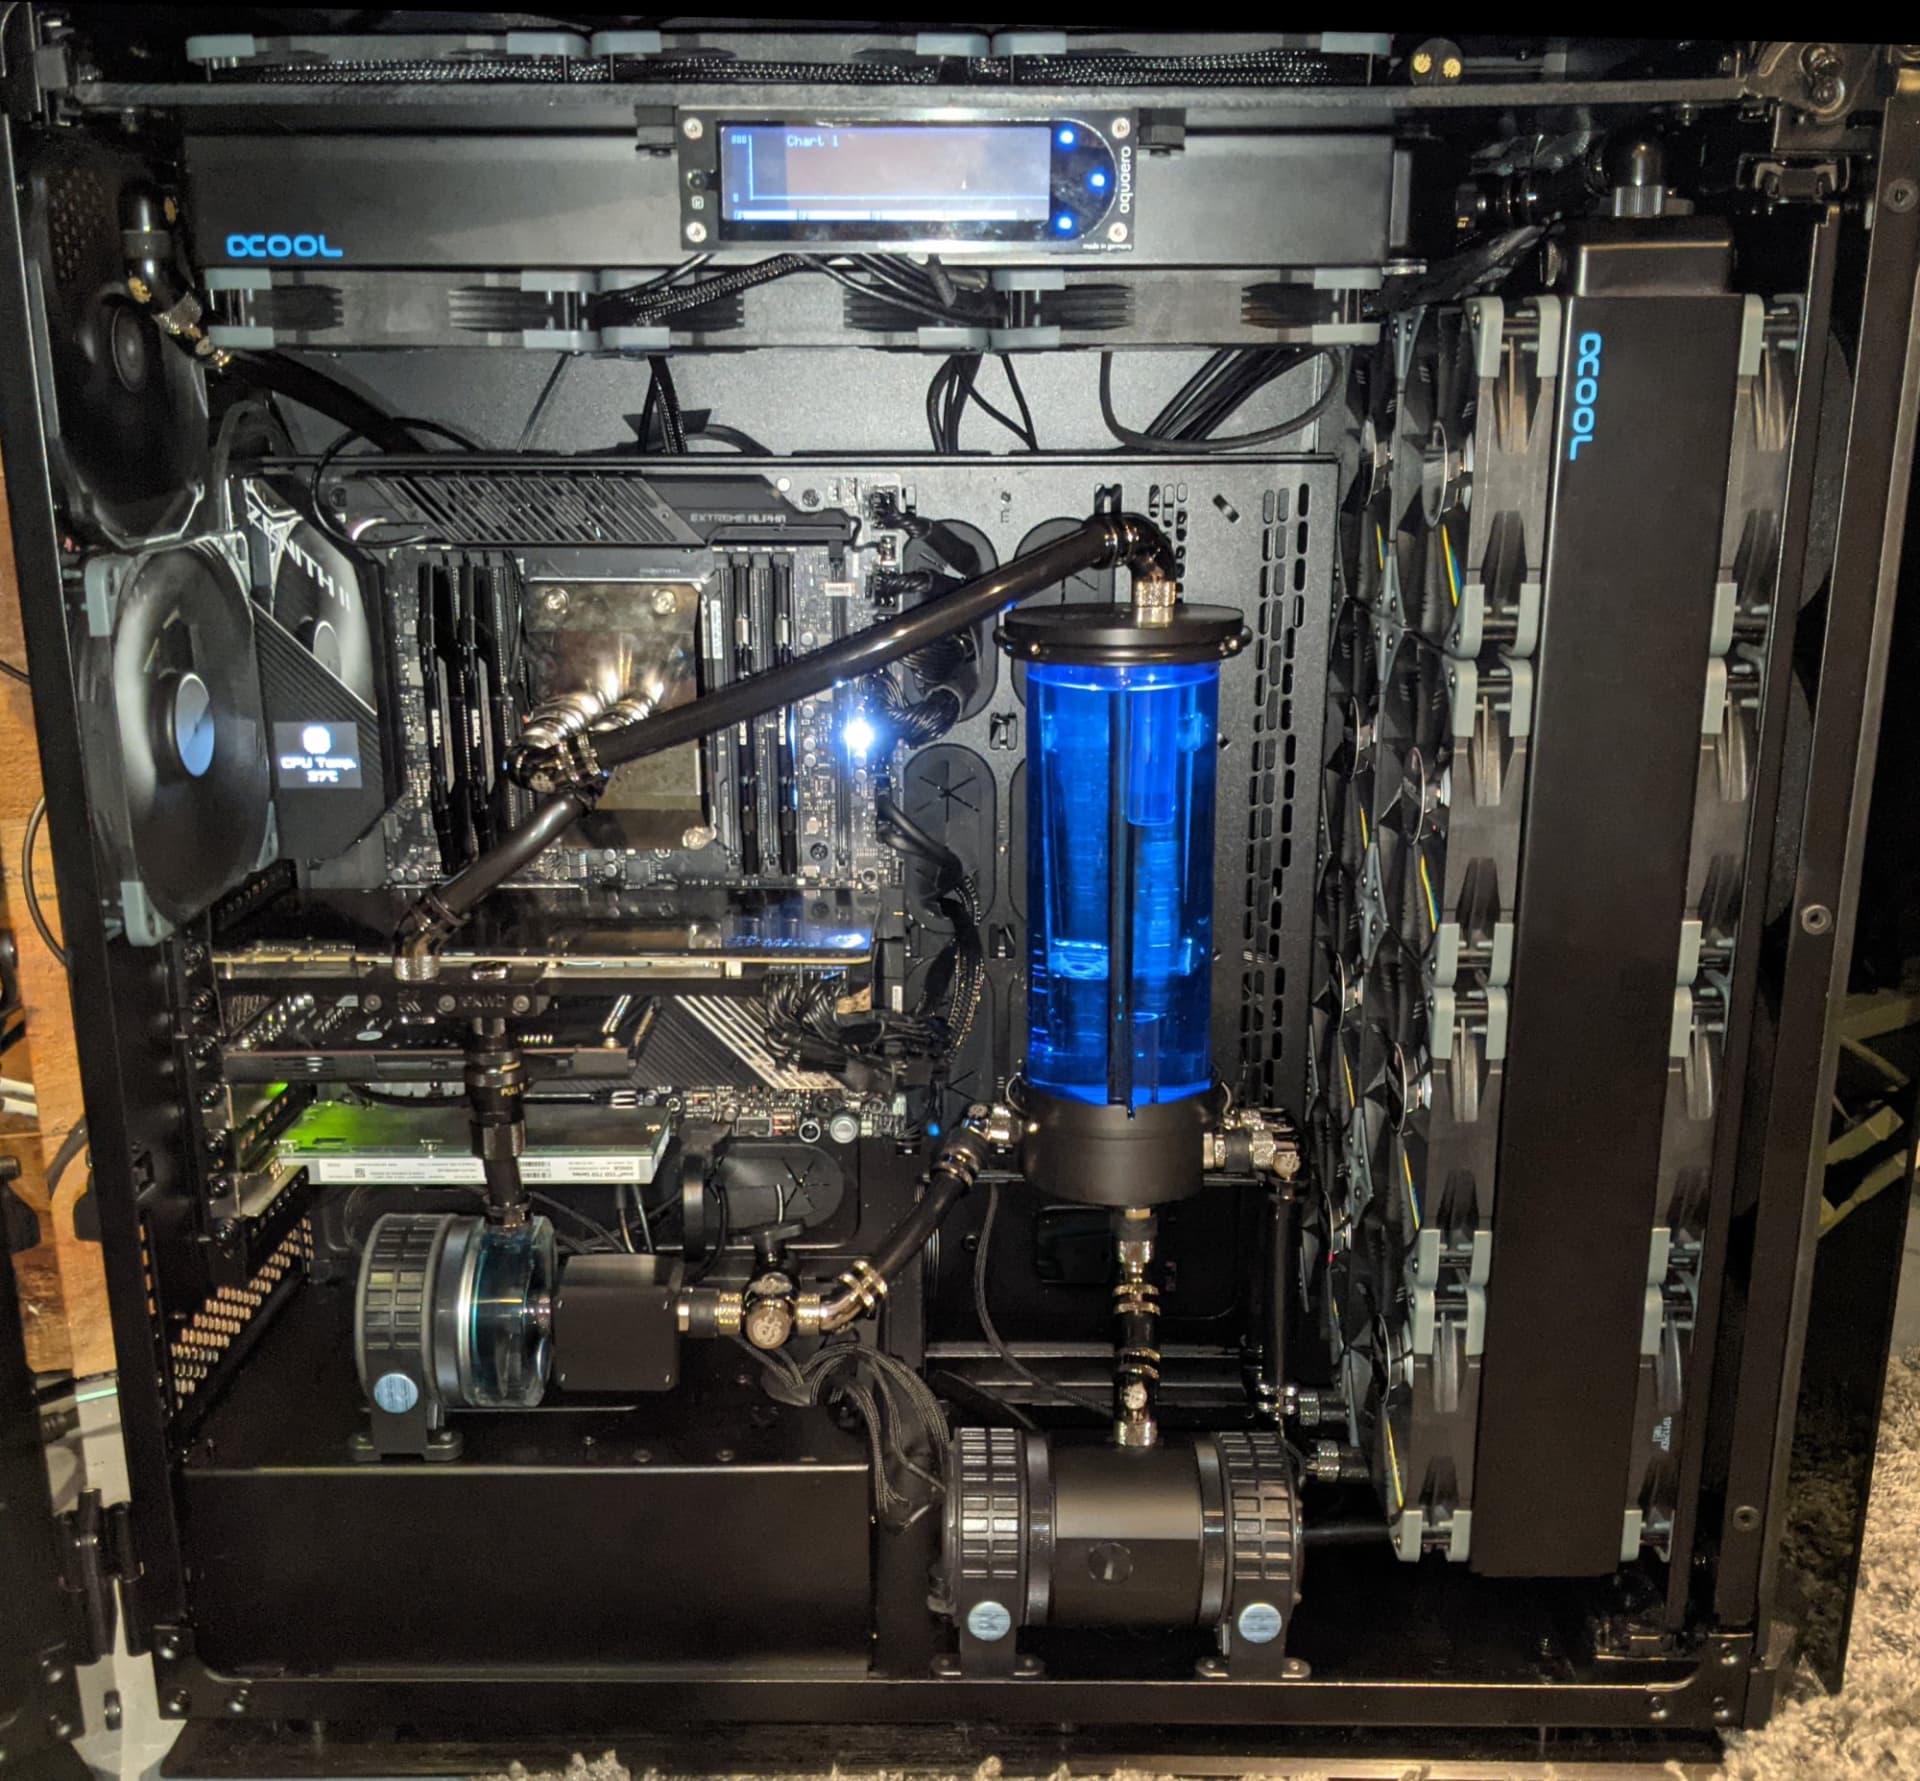
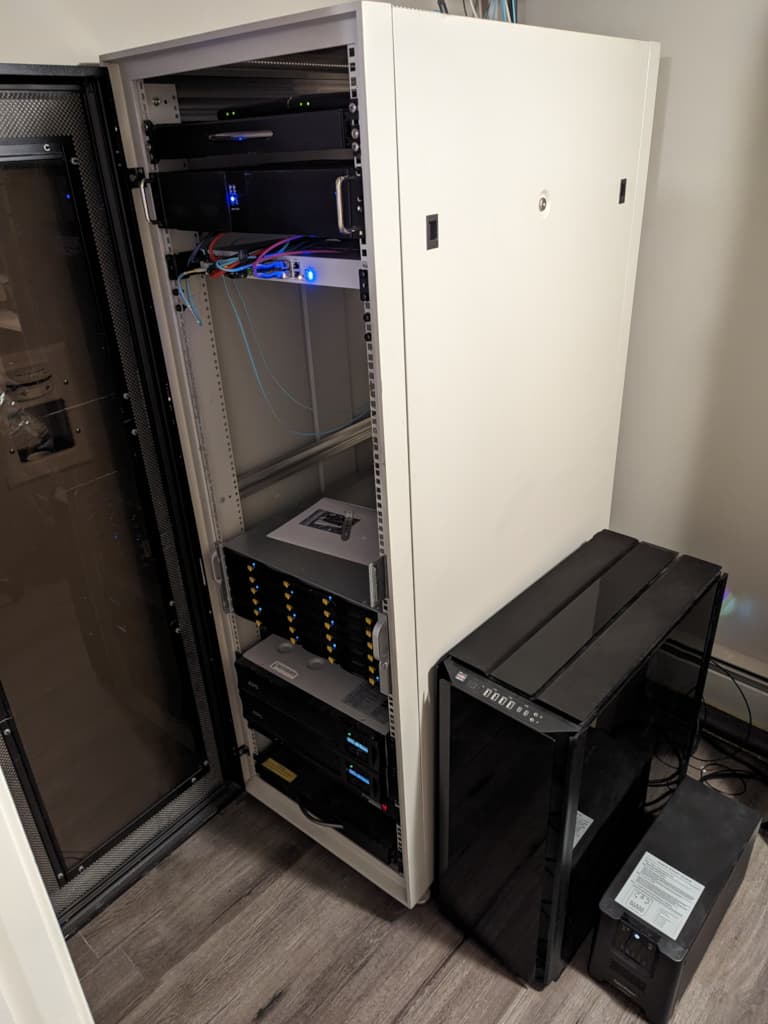
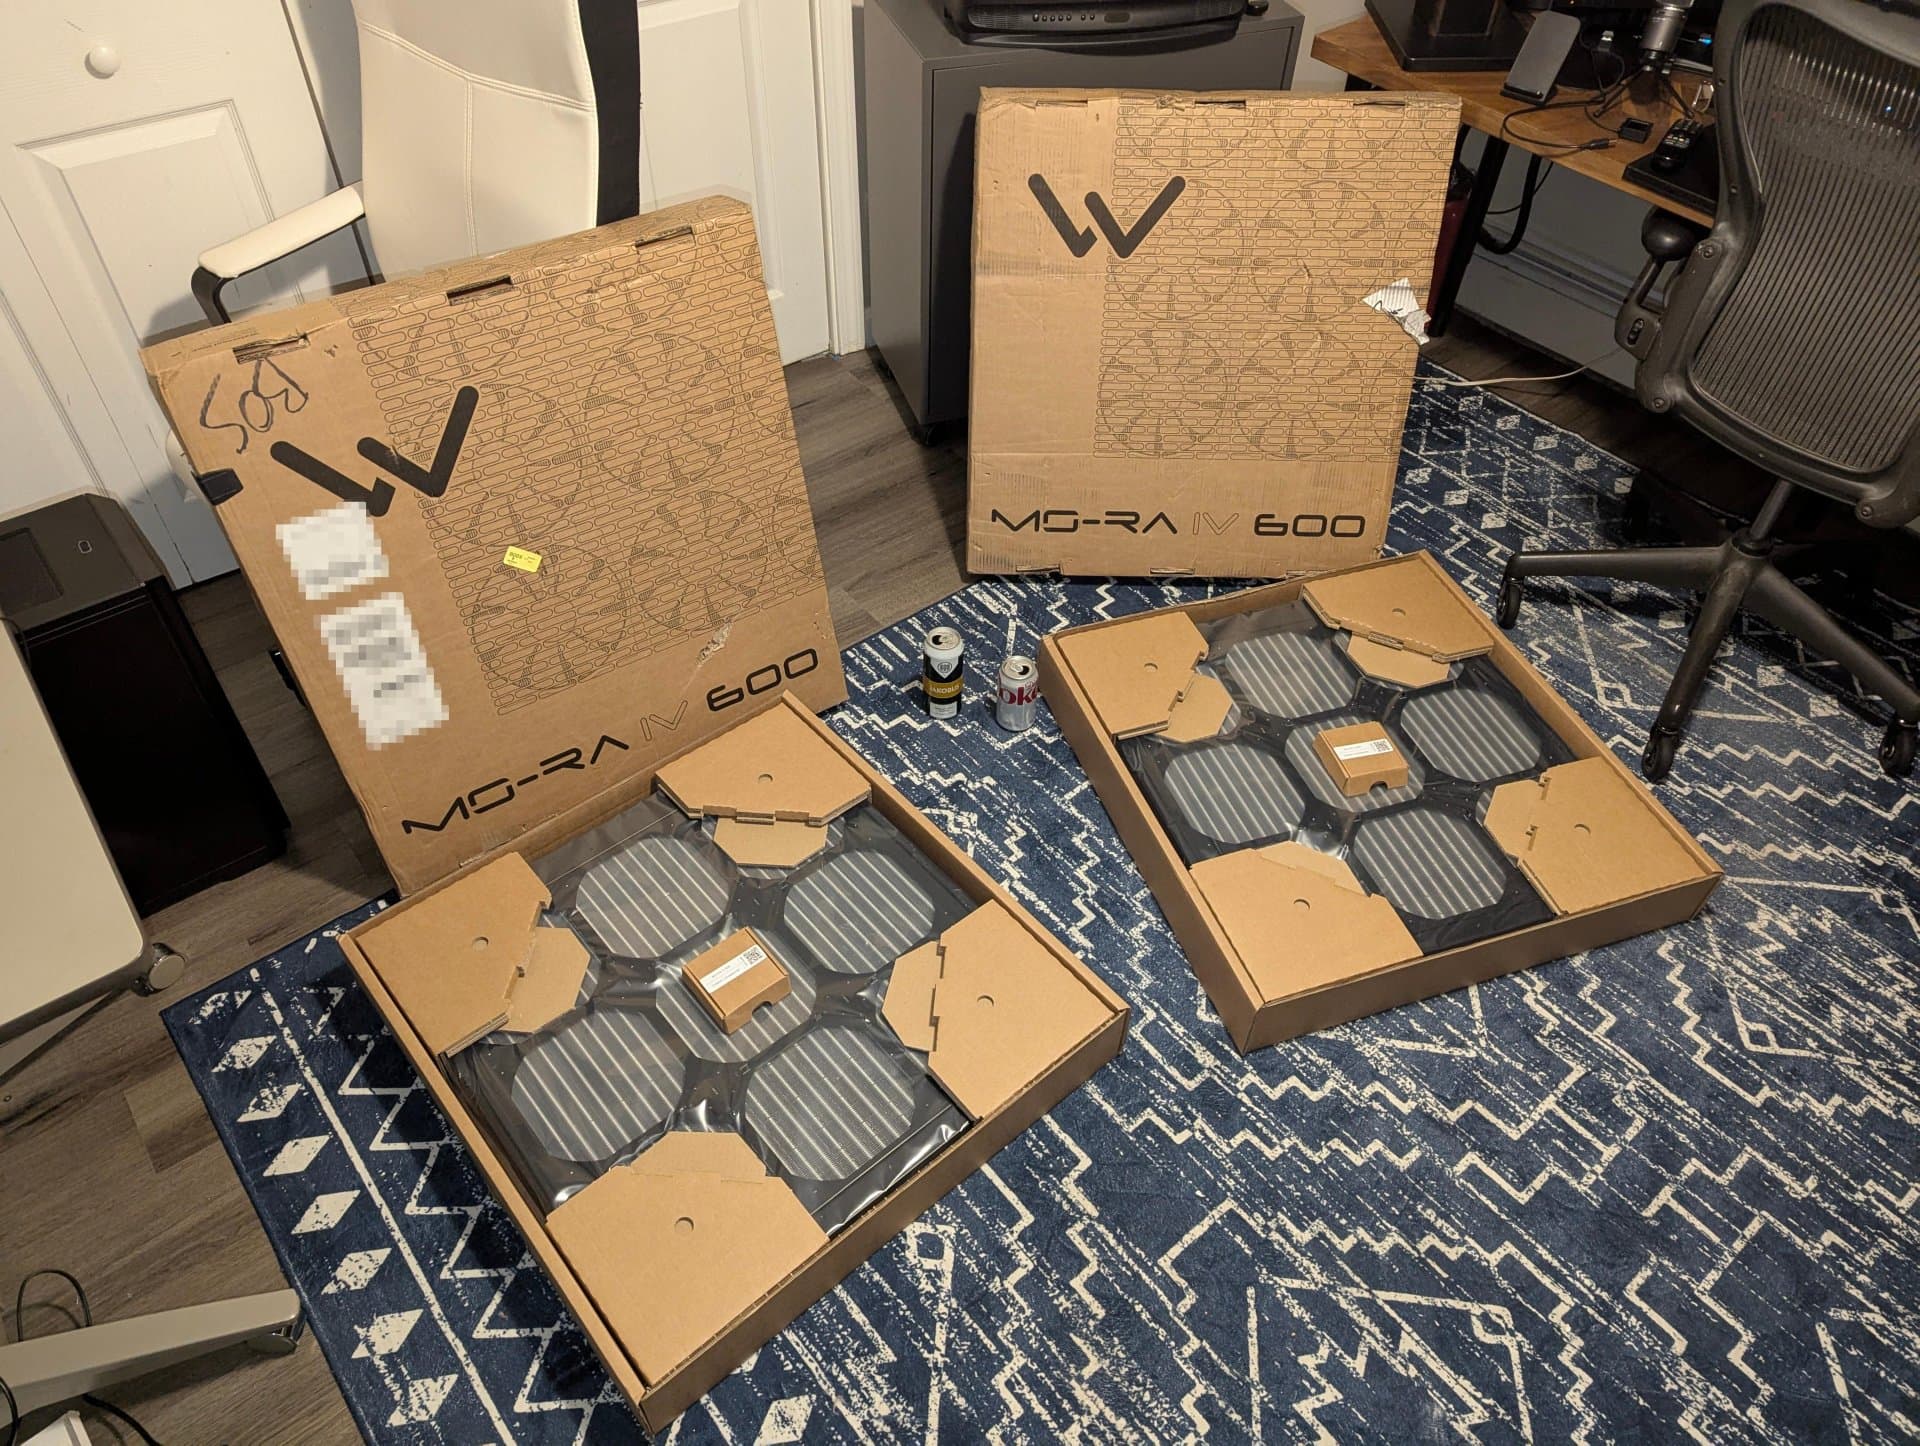
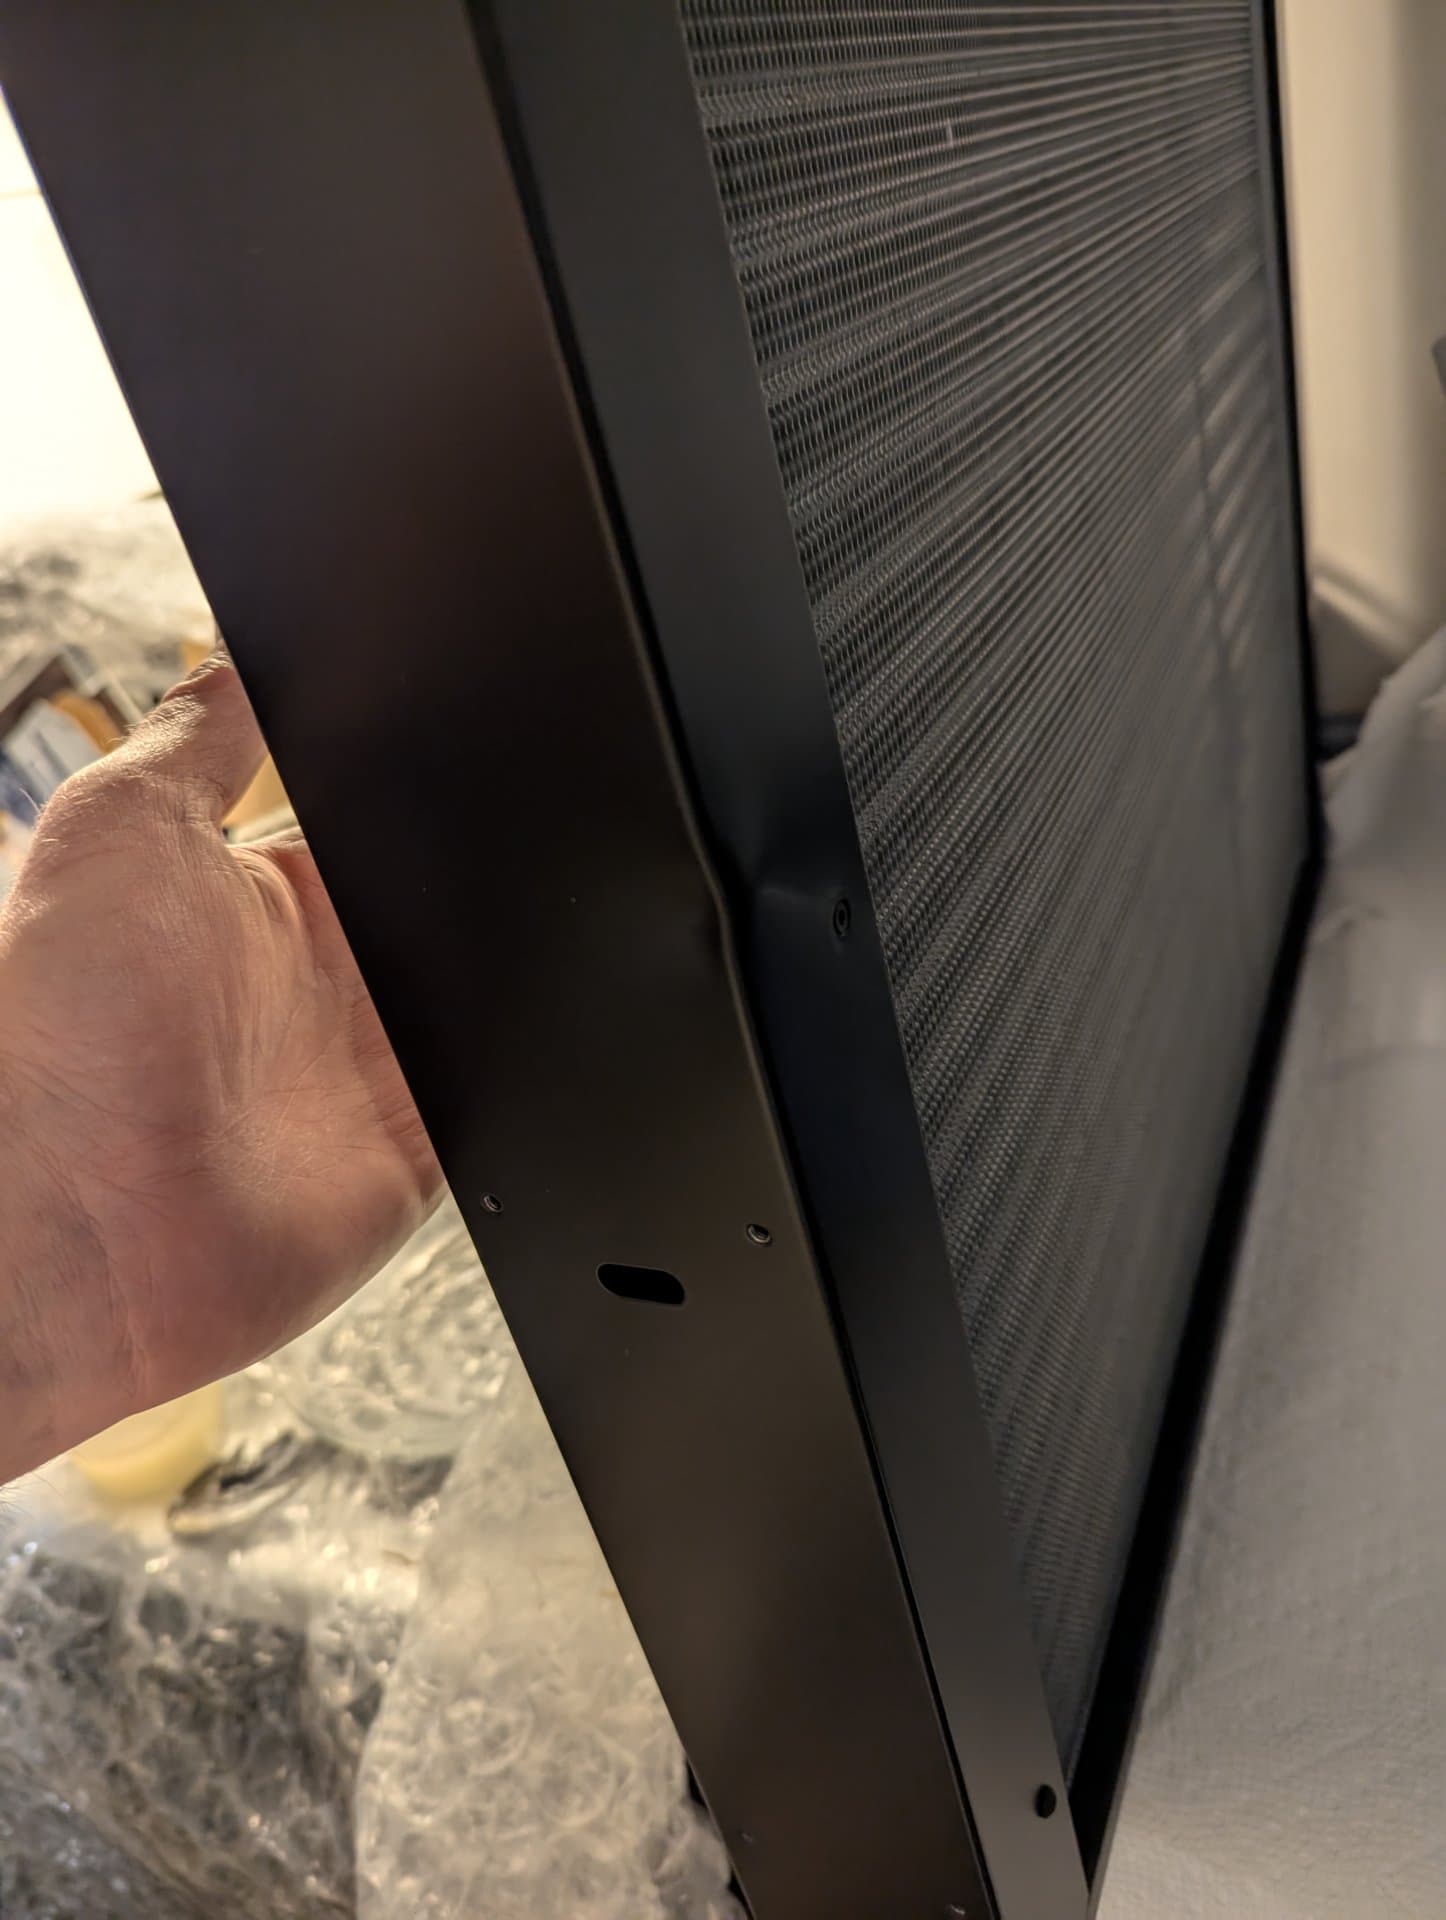
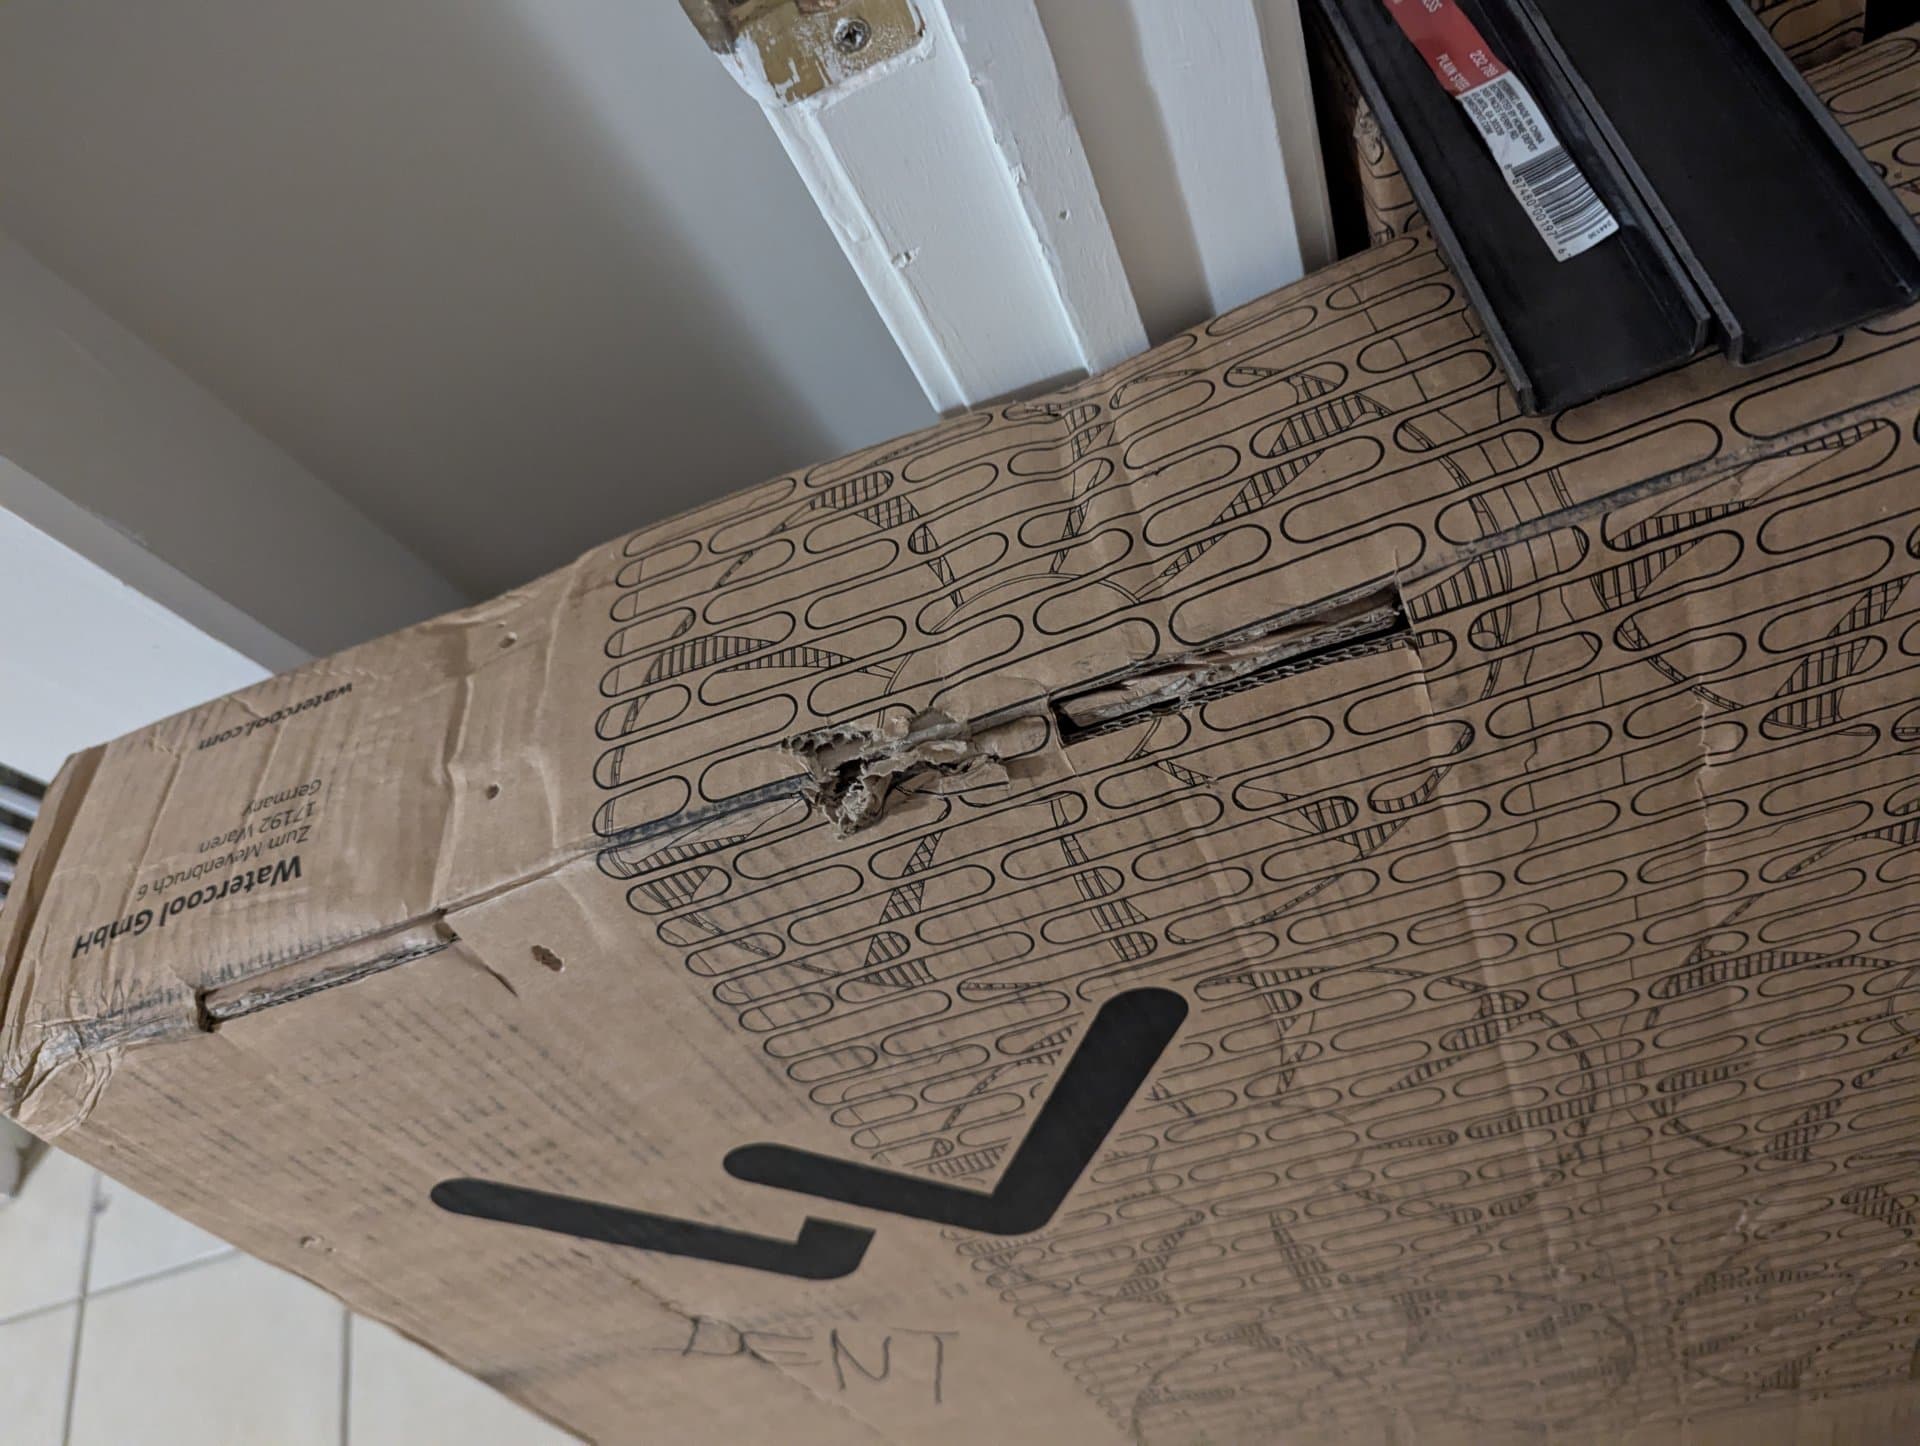
Having had to lift and move these radiators around when I discovered the dent, and started the flush of the un-dented one, I am once again concerned, that the little I did to secure the rack side panel may not be enough to hold the weight of these things, especially when full of coolant.
So, it is belt and suspenders time.
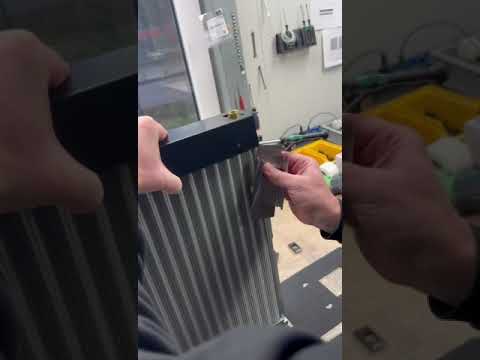
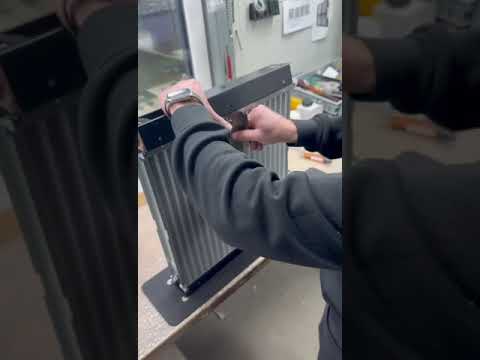
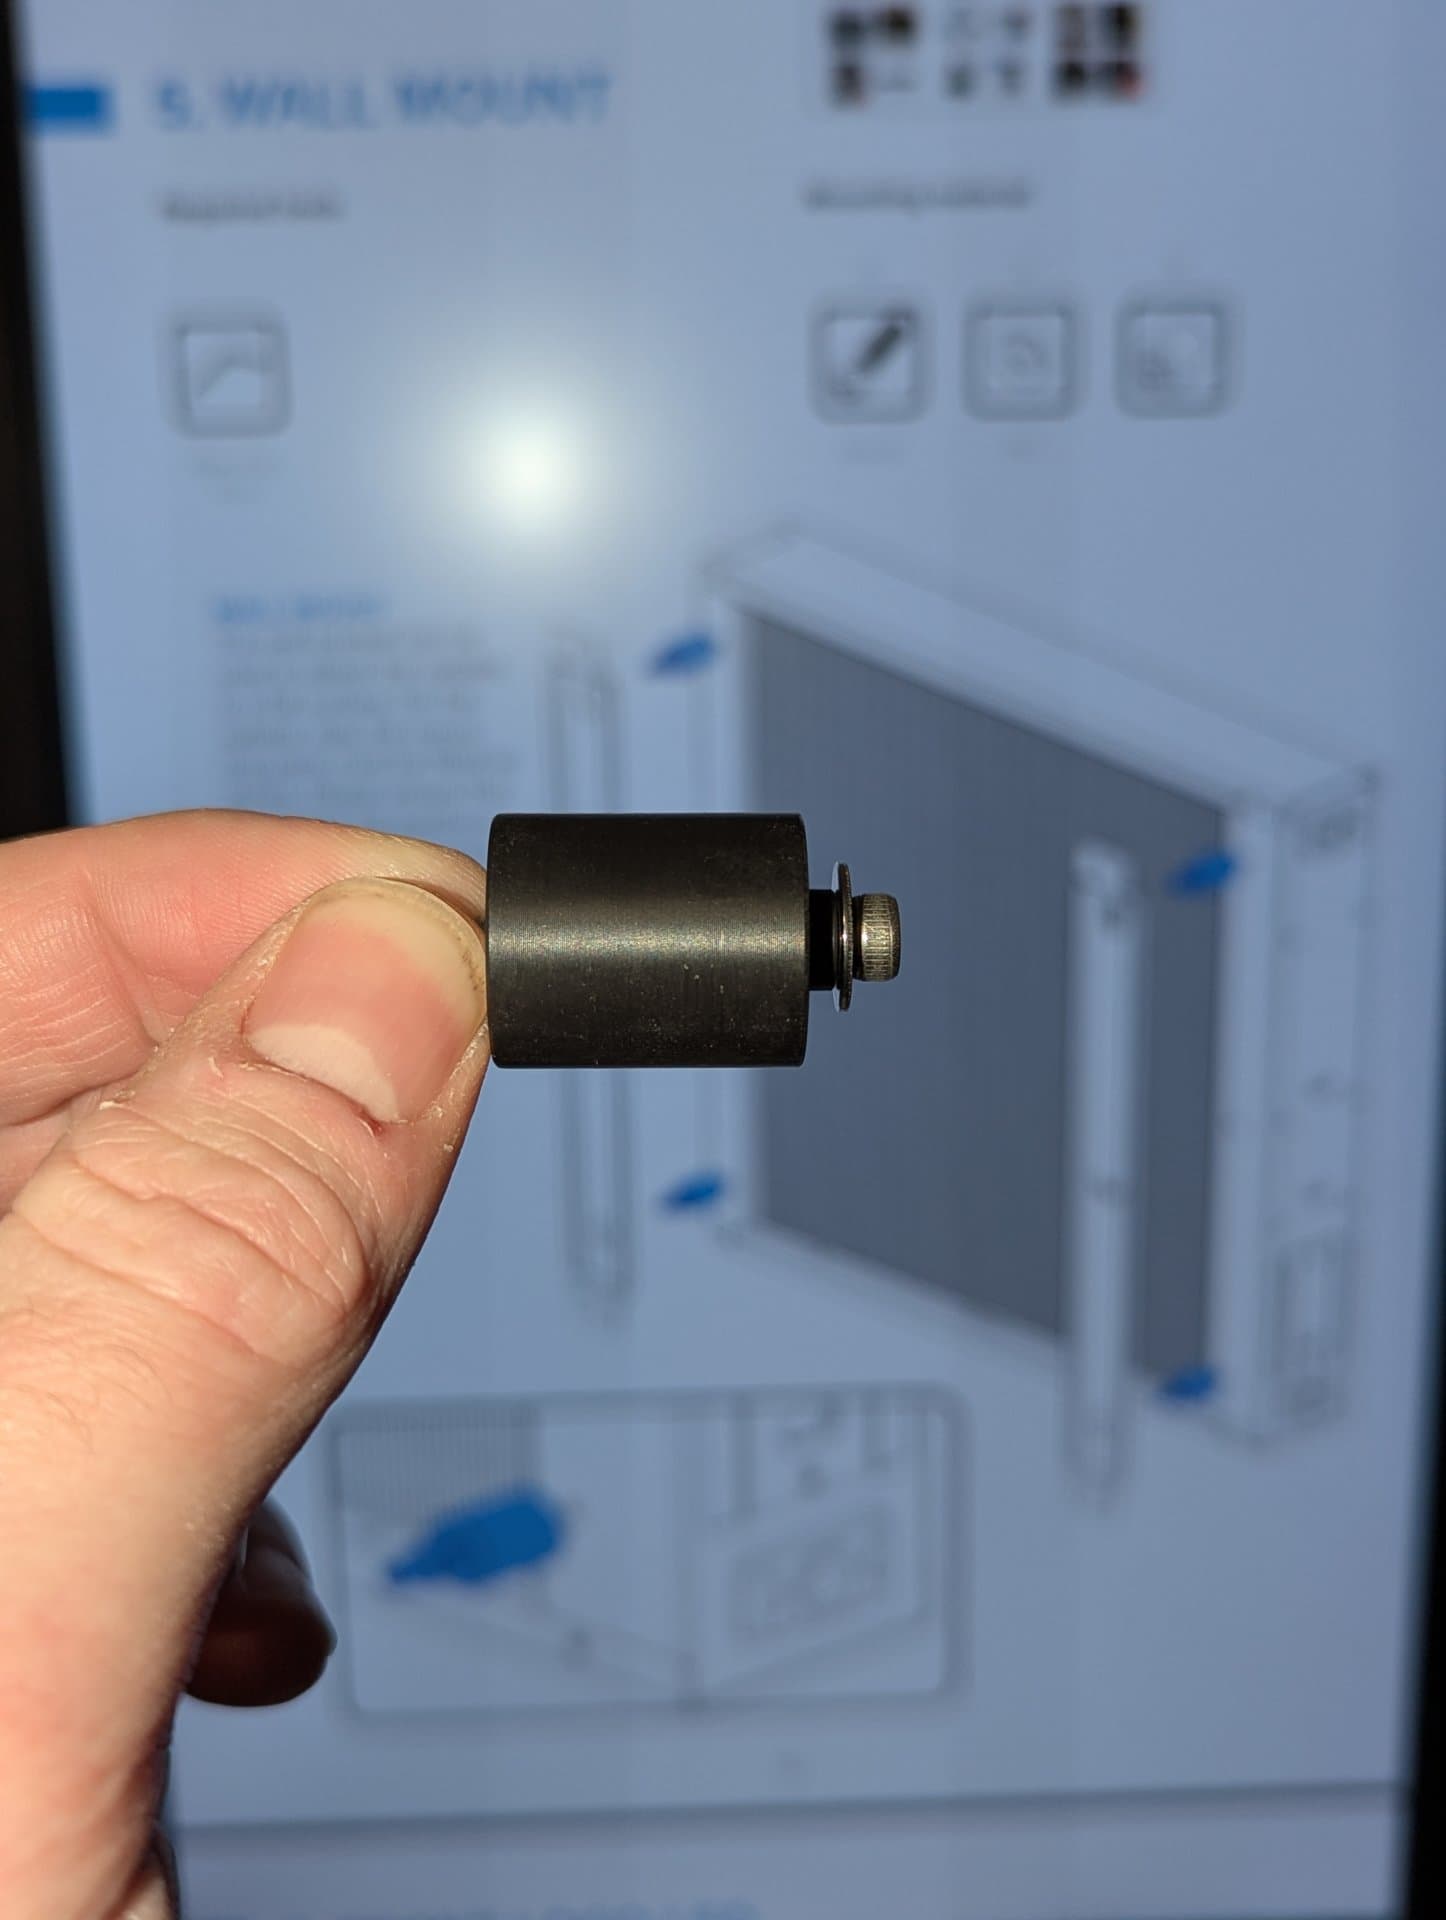
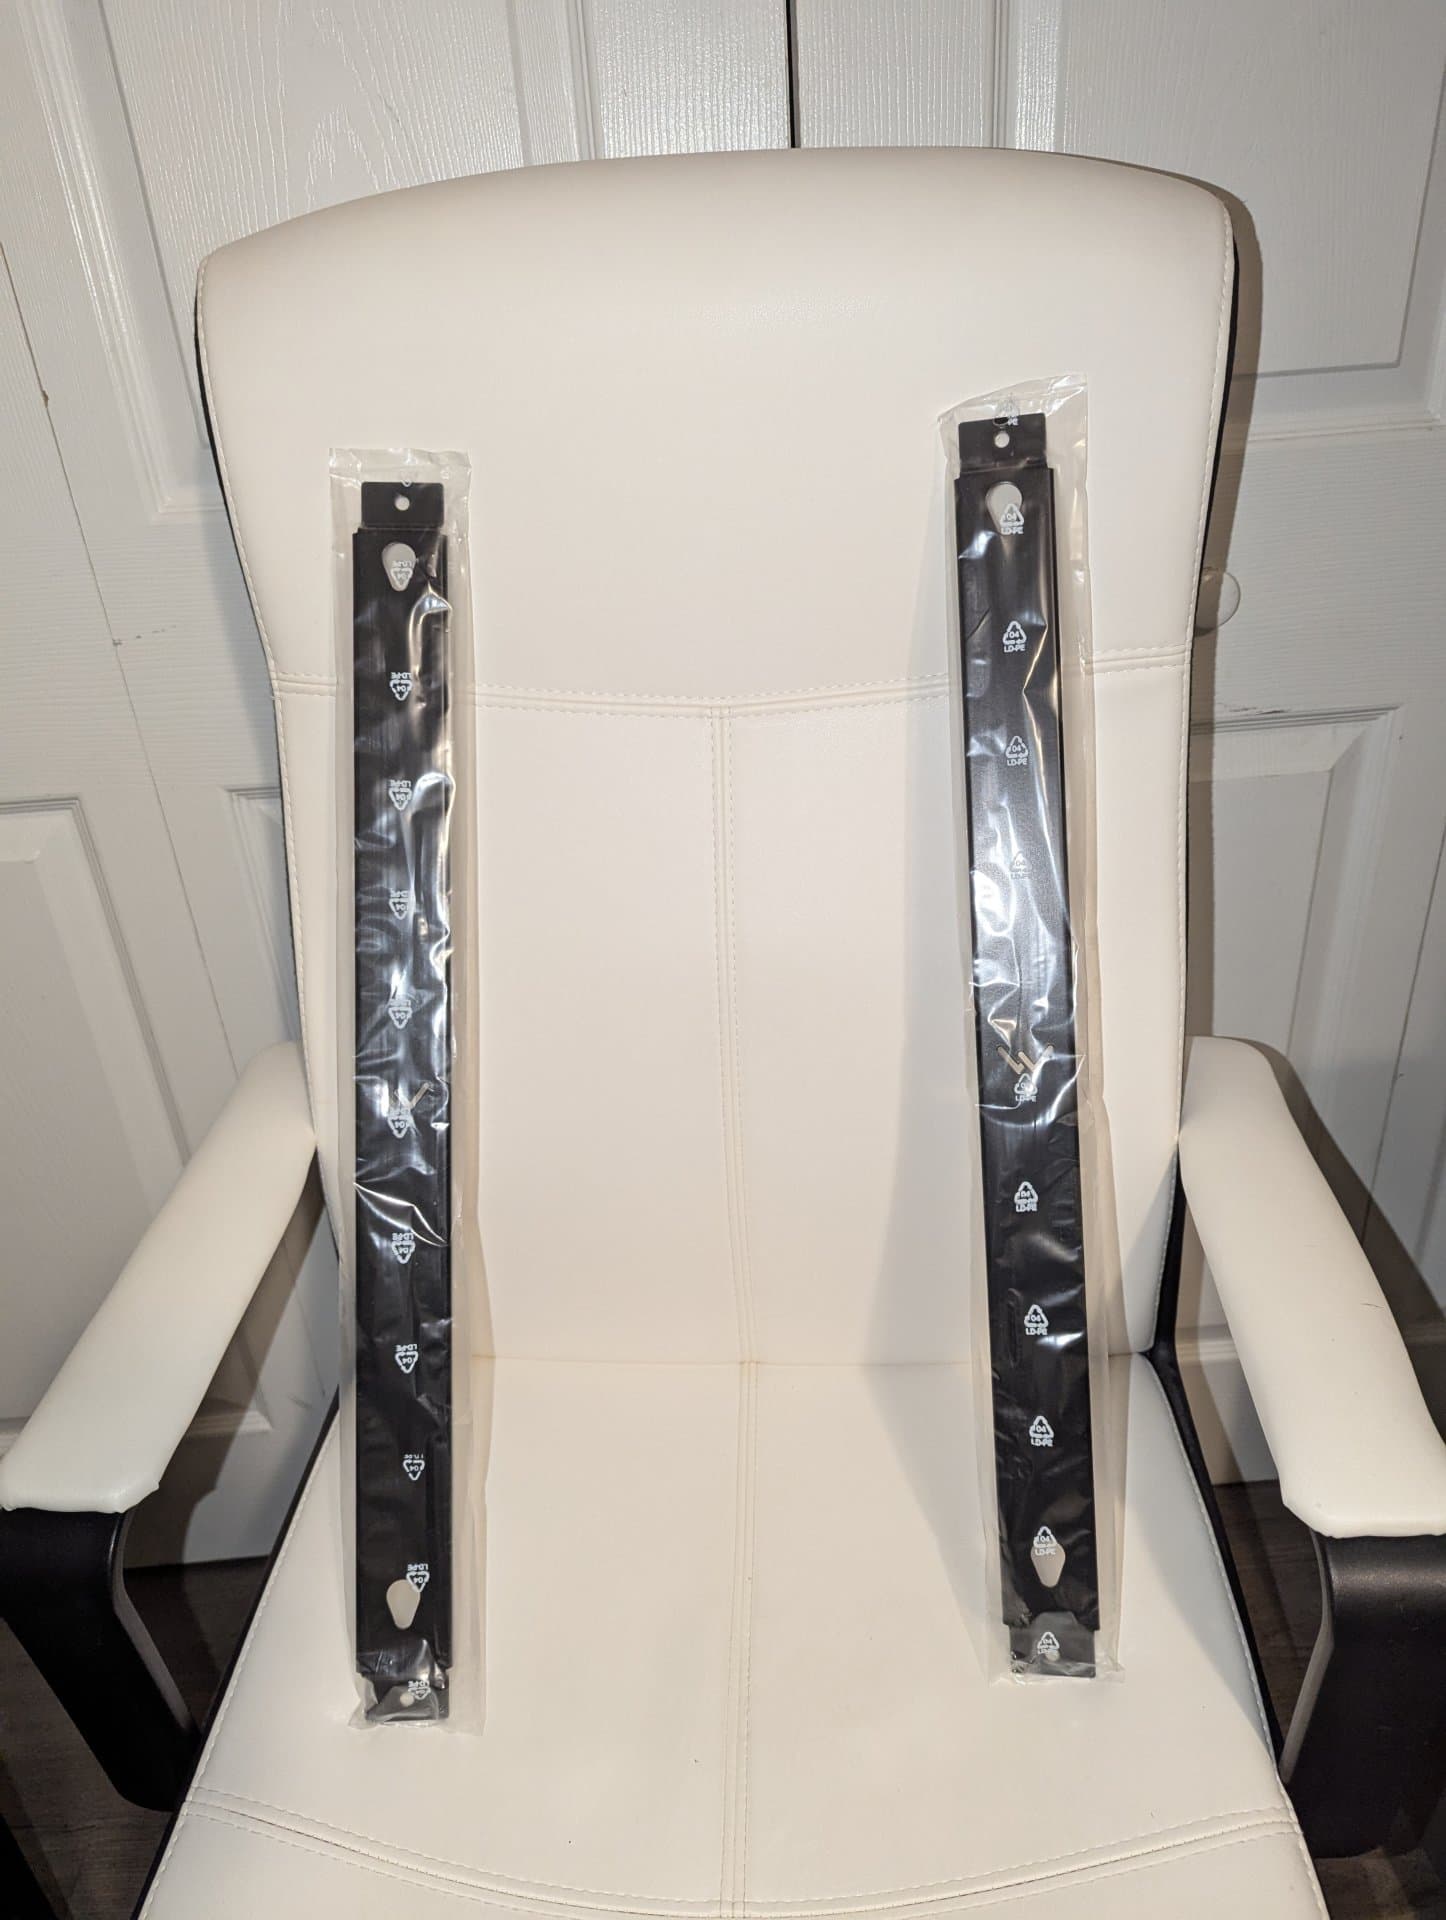
The wall mount brackets look like this.
One quarter inch sized hole at the top and bottom, intended to screw the bracket into the wall, and then some prongs that screw into the radiator hang from the tear-drop shaped openings.
My original intent was just to drill holes in the panel, and screw these brackets straight to the sheet metal, but I am thinking maybe I should reinforce it more.
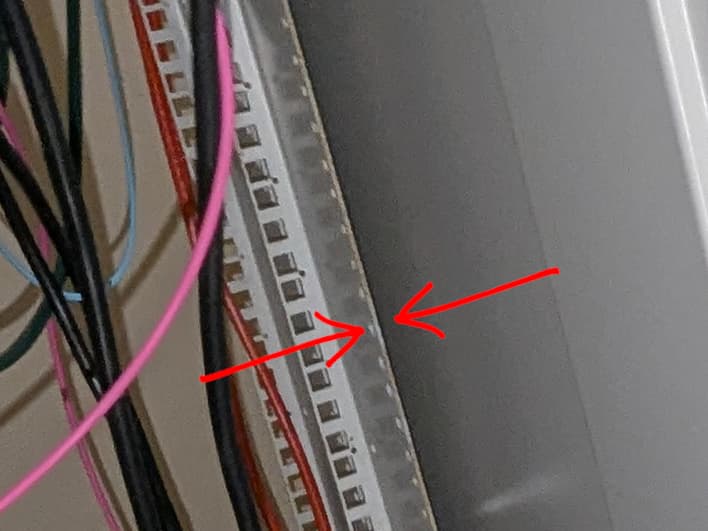
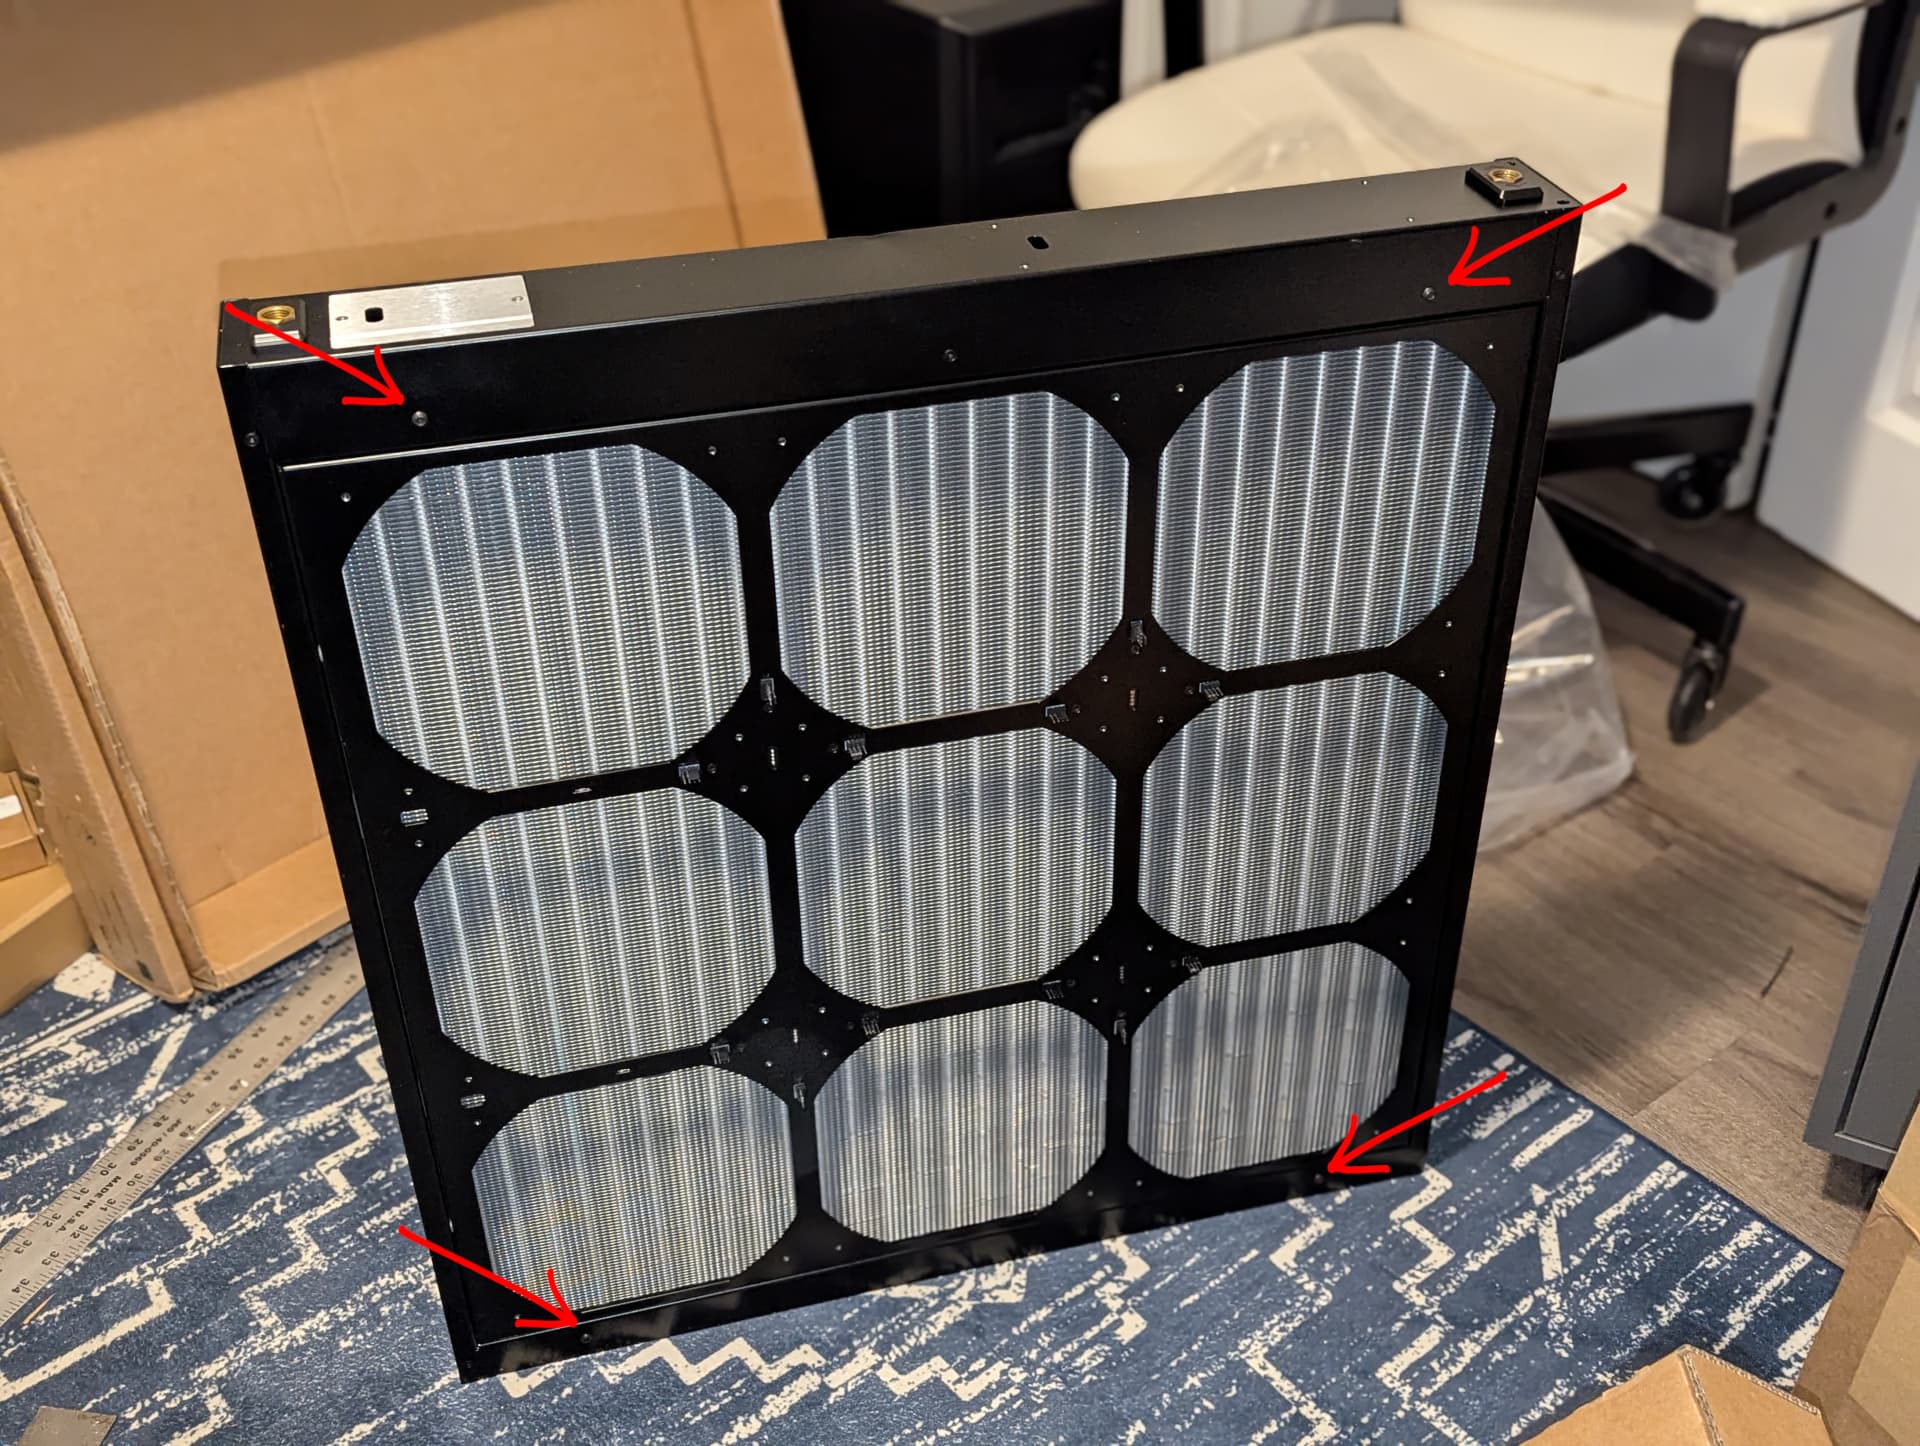
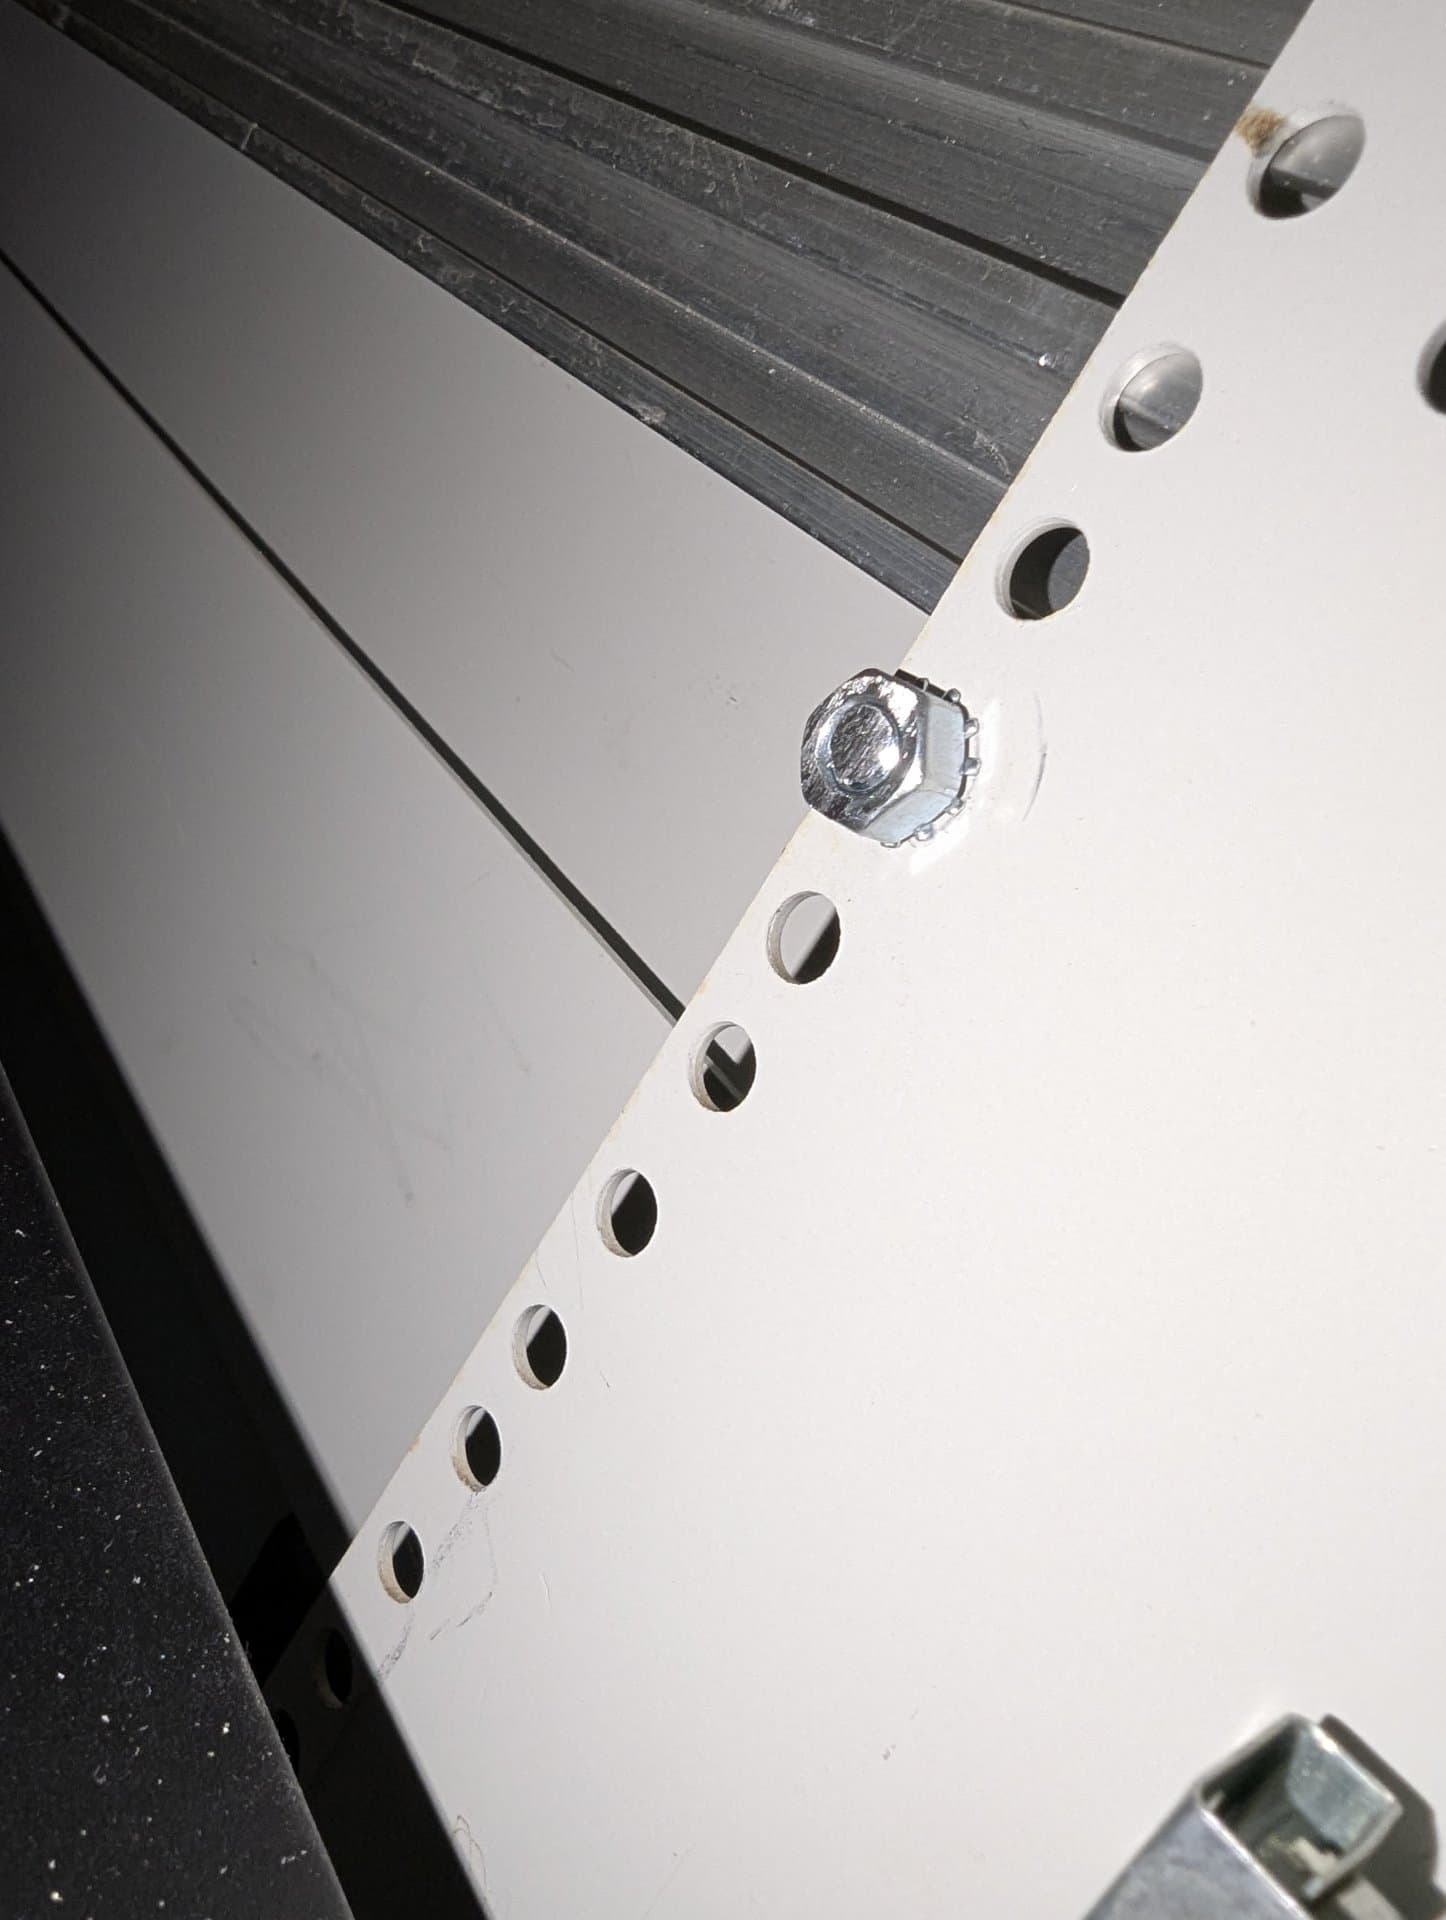
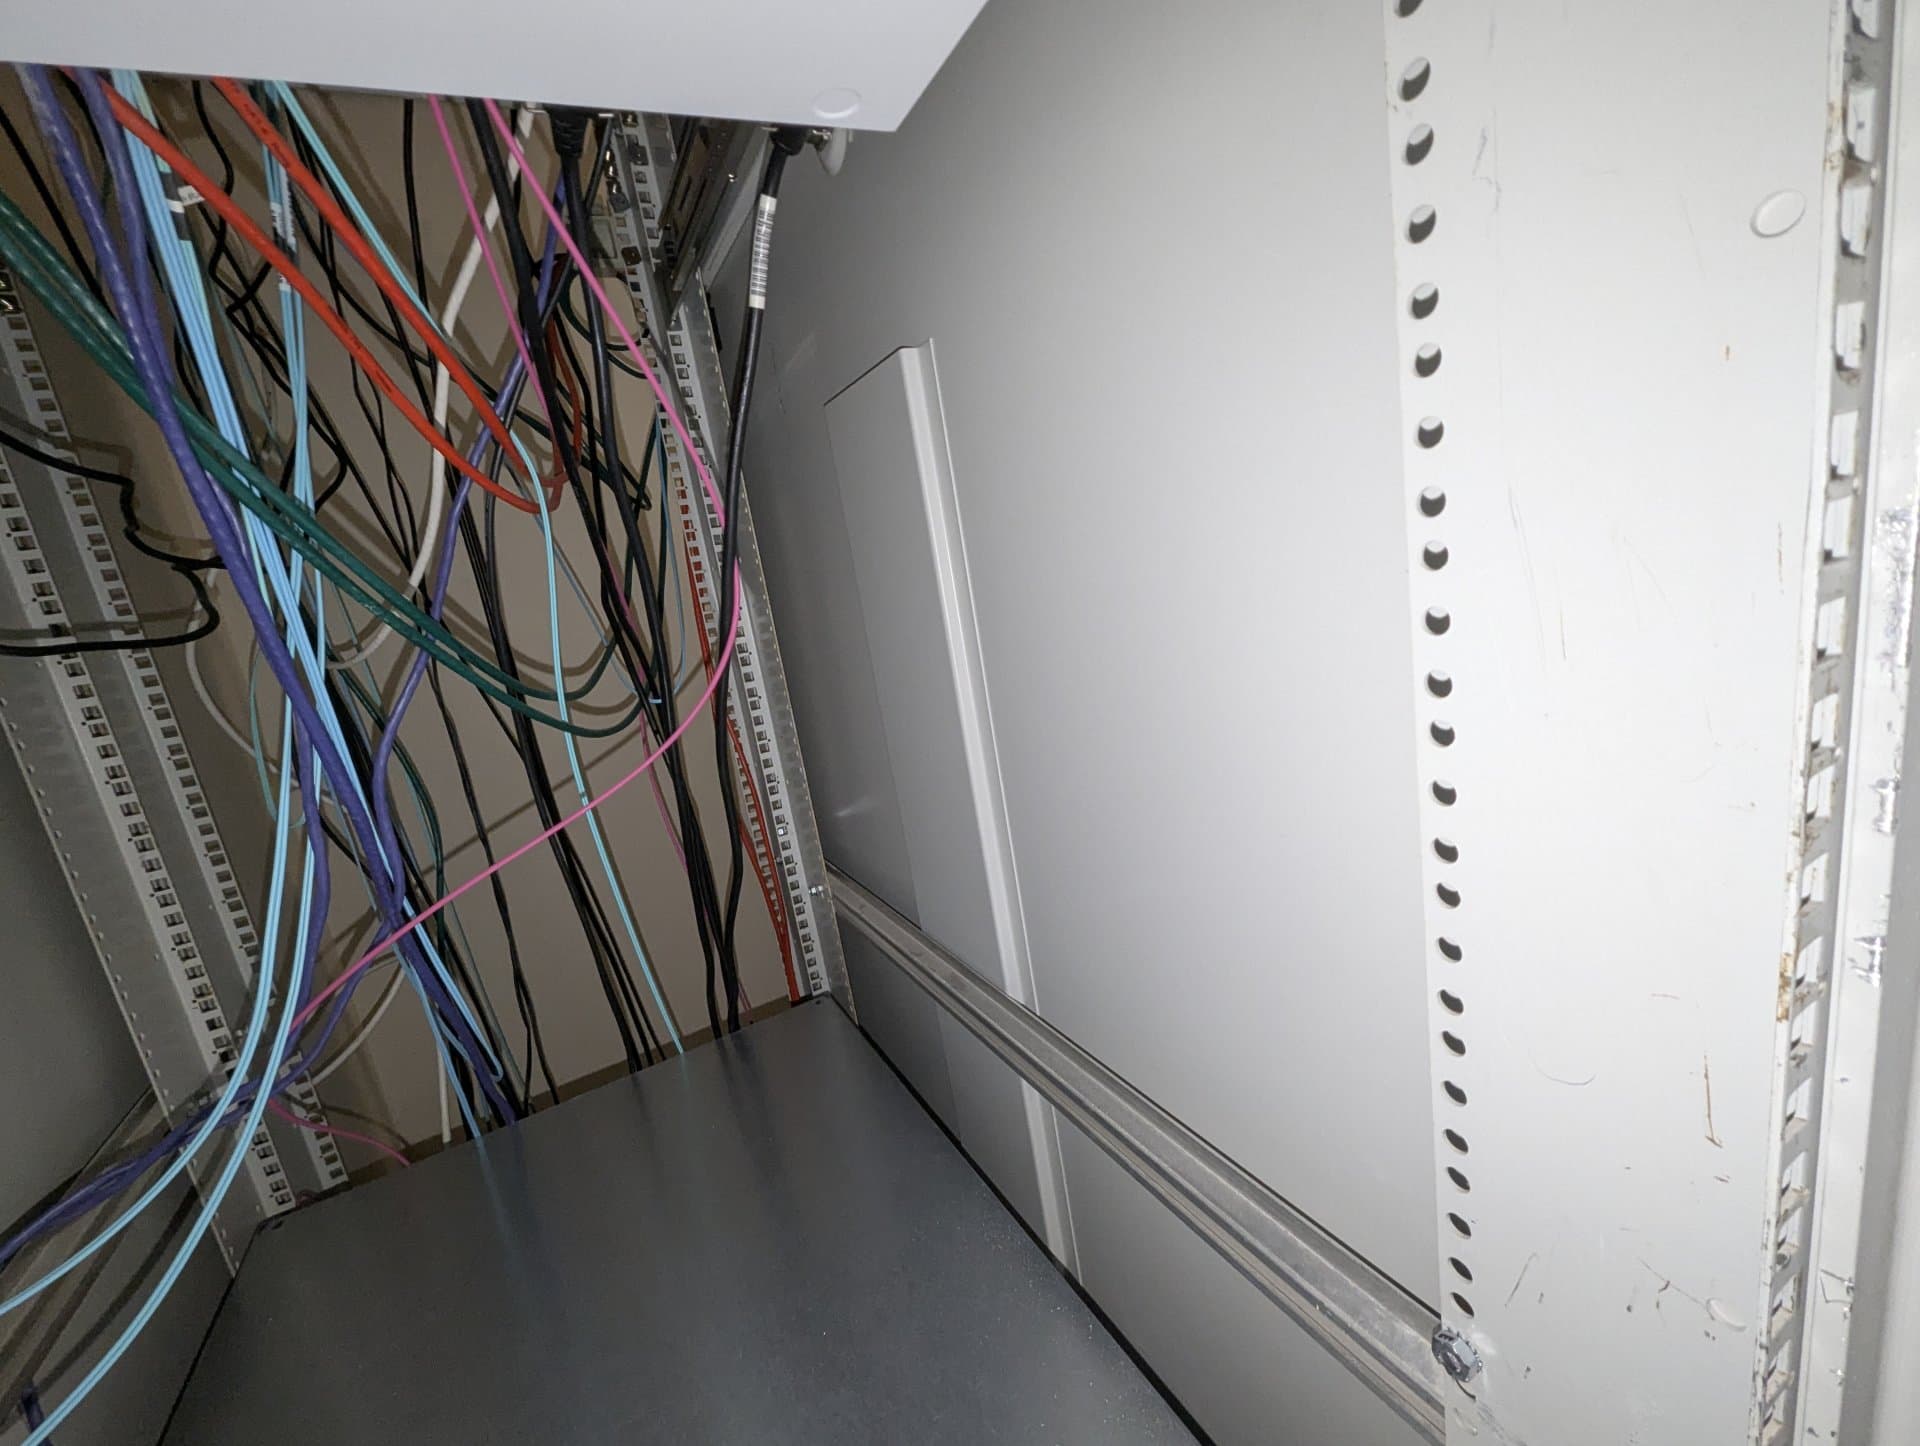
This is what the back of that panel looks like. Note those holes that I used to secure the panel.
I was thinking if I got some metal flat stock, and I mount it across between the front and back through those holes, that will give me a solid frame to anchor the radiators to.
Anyone who notes that this would result in it being offset from the back of the panel, and who has taken an Engineering class in Statics will note the problem with that though.
Allow me to illustrate:
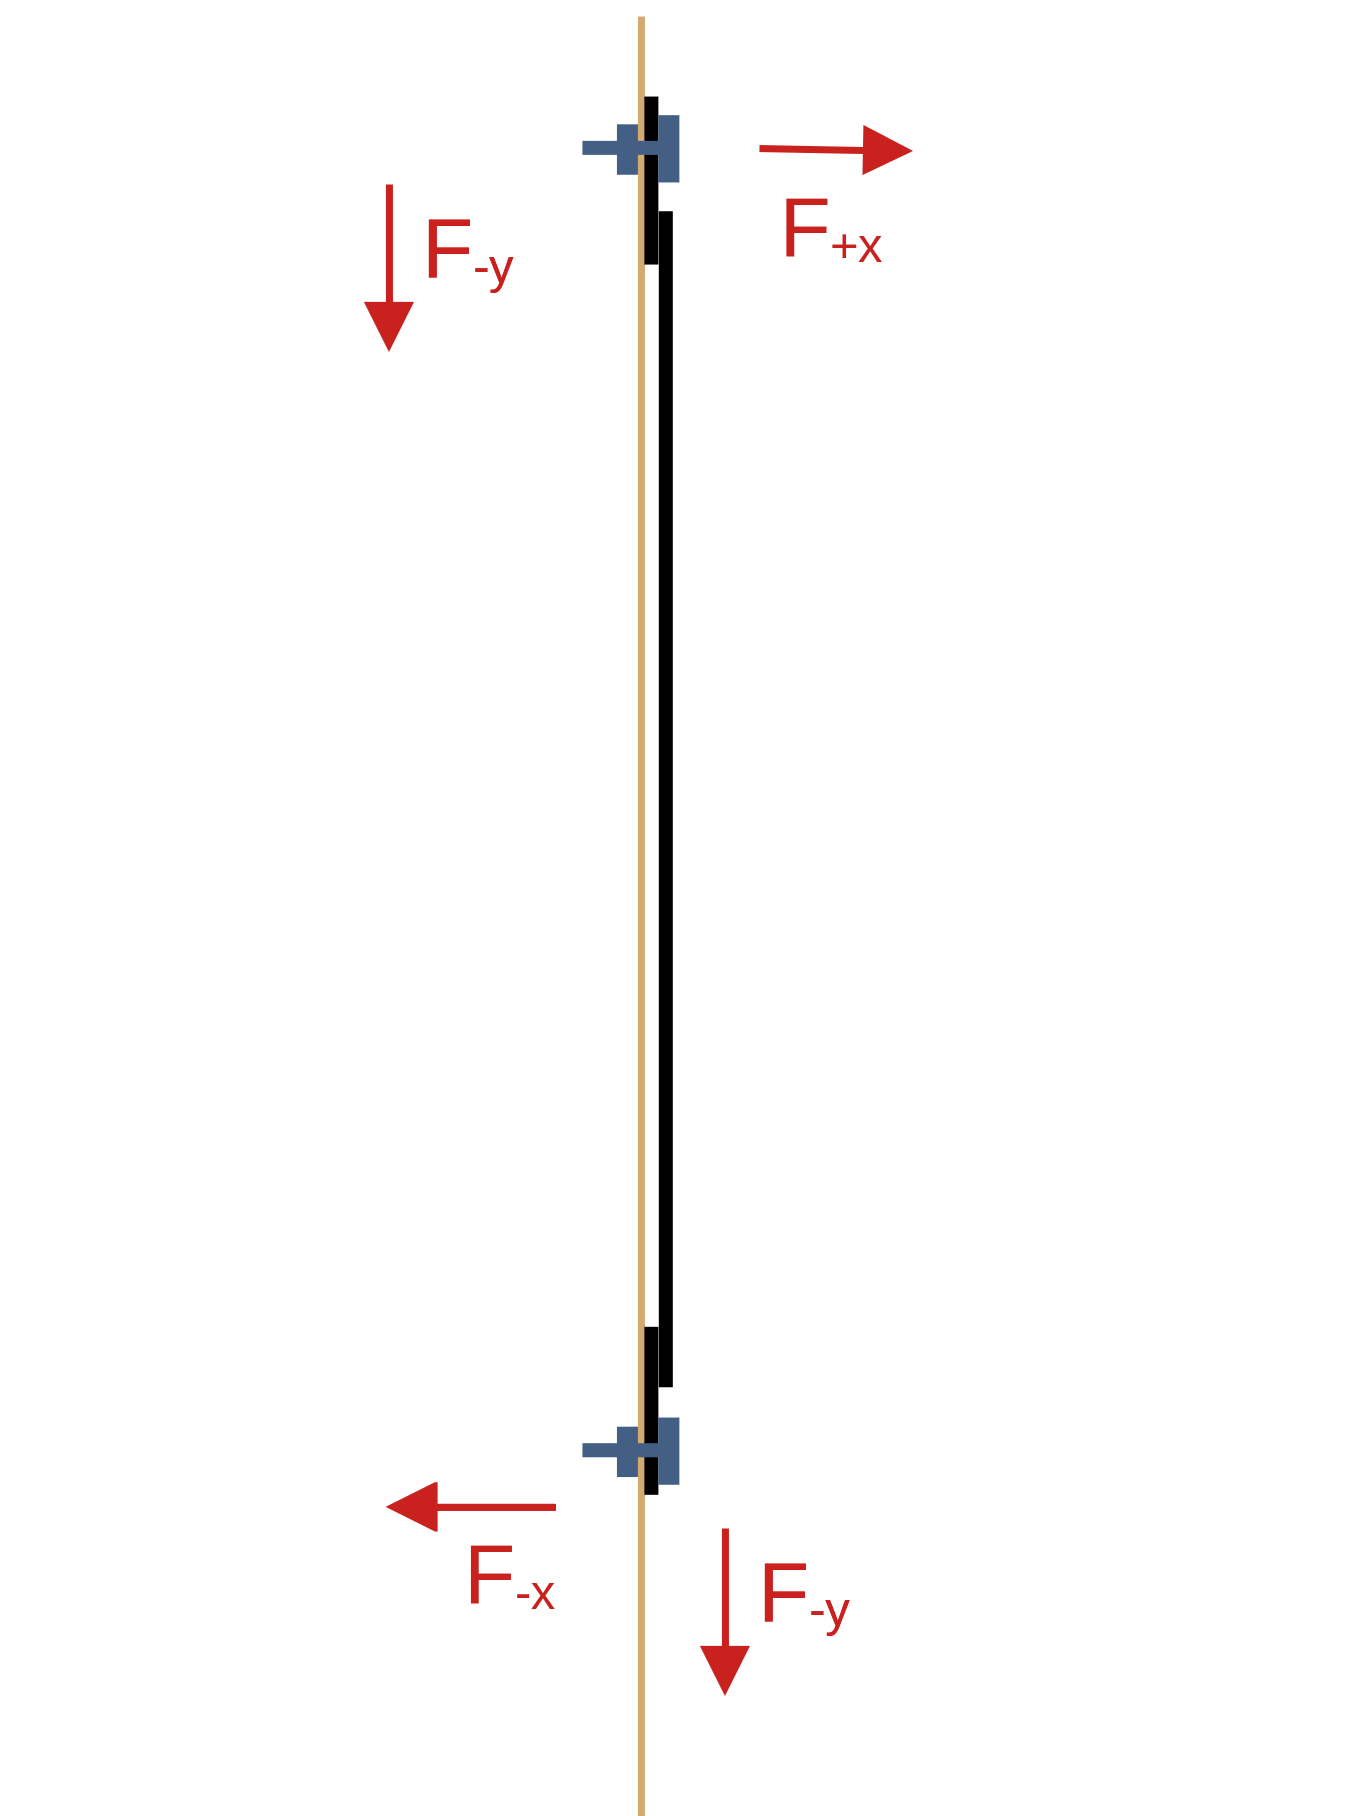
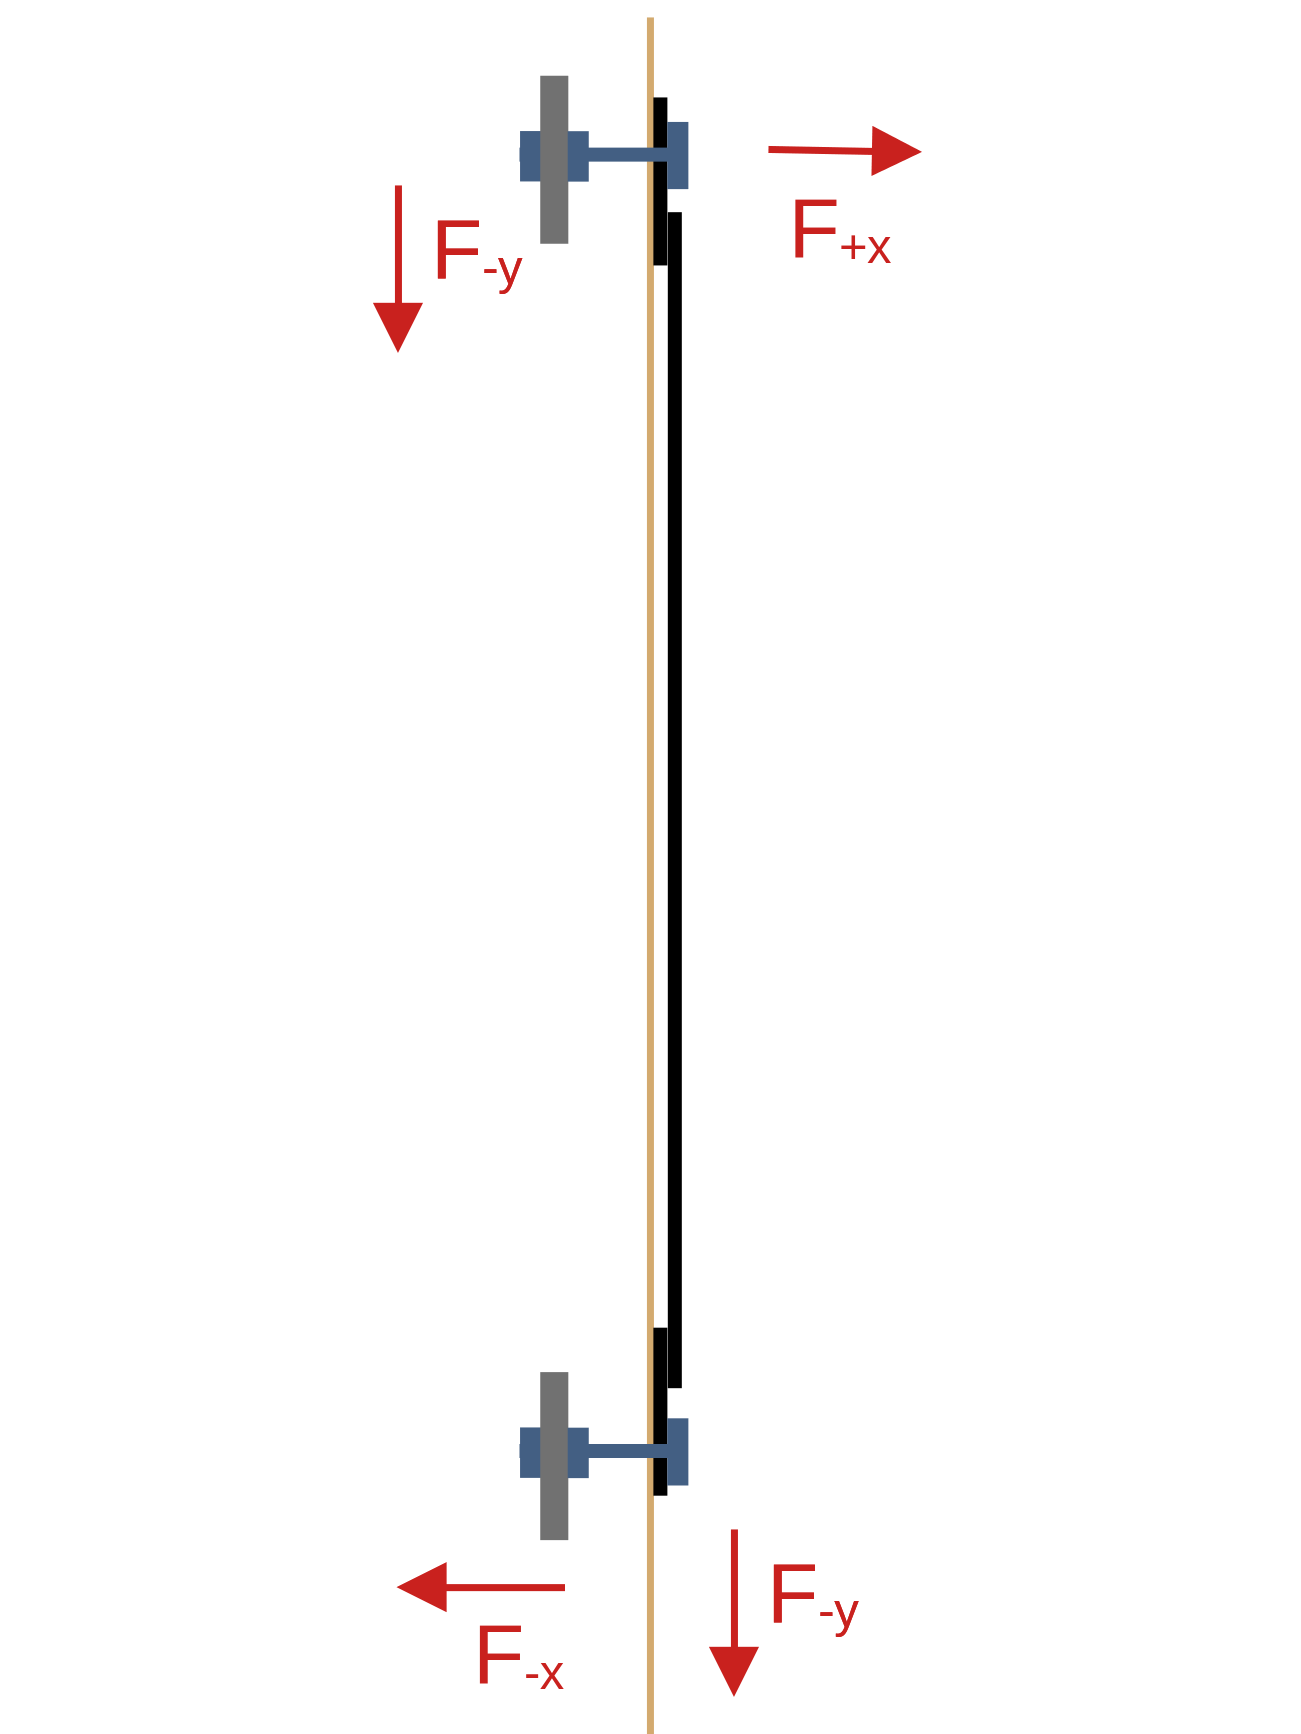
This is what my force components are going to look like if I bolt it directly to the sheet metal.
There is - of course - a downward force component at each hole, but the top hole has an outward force component, whereas the bottom hole has an inward force component.
This is not terrible, as long as the panel can carry the weight, which I am not sure it can.
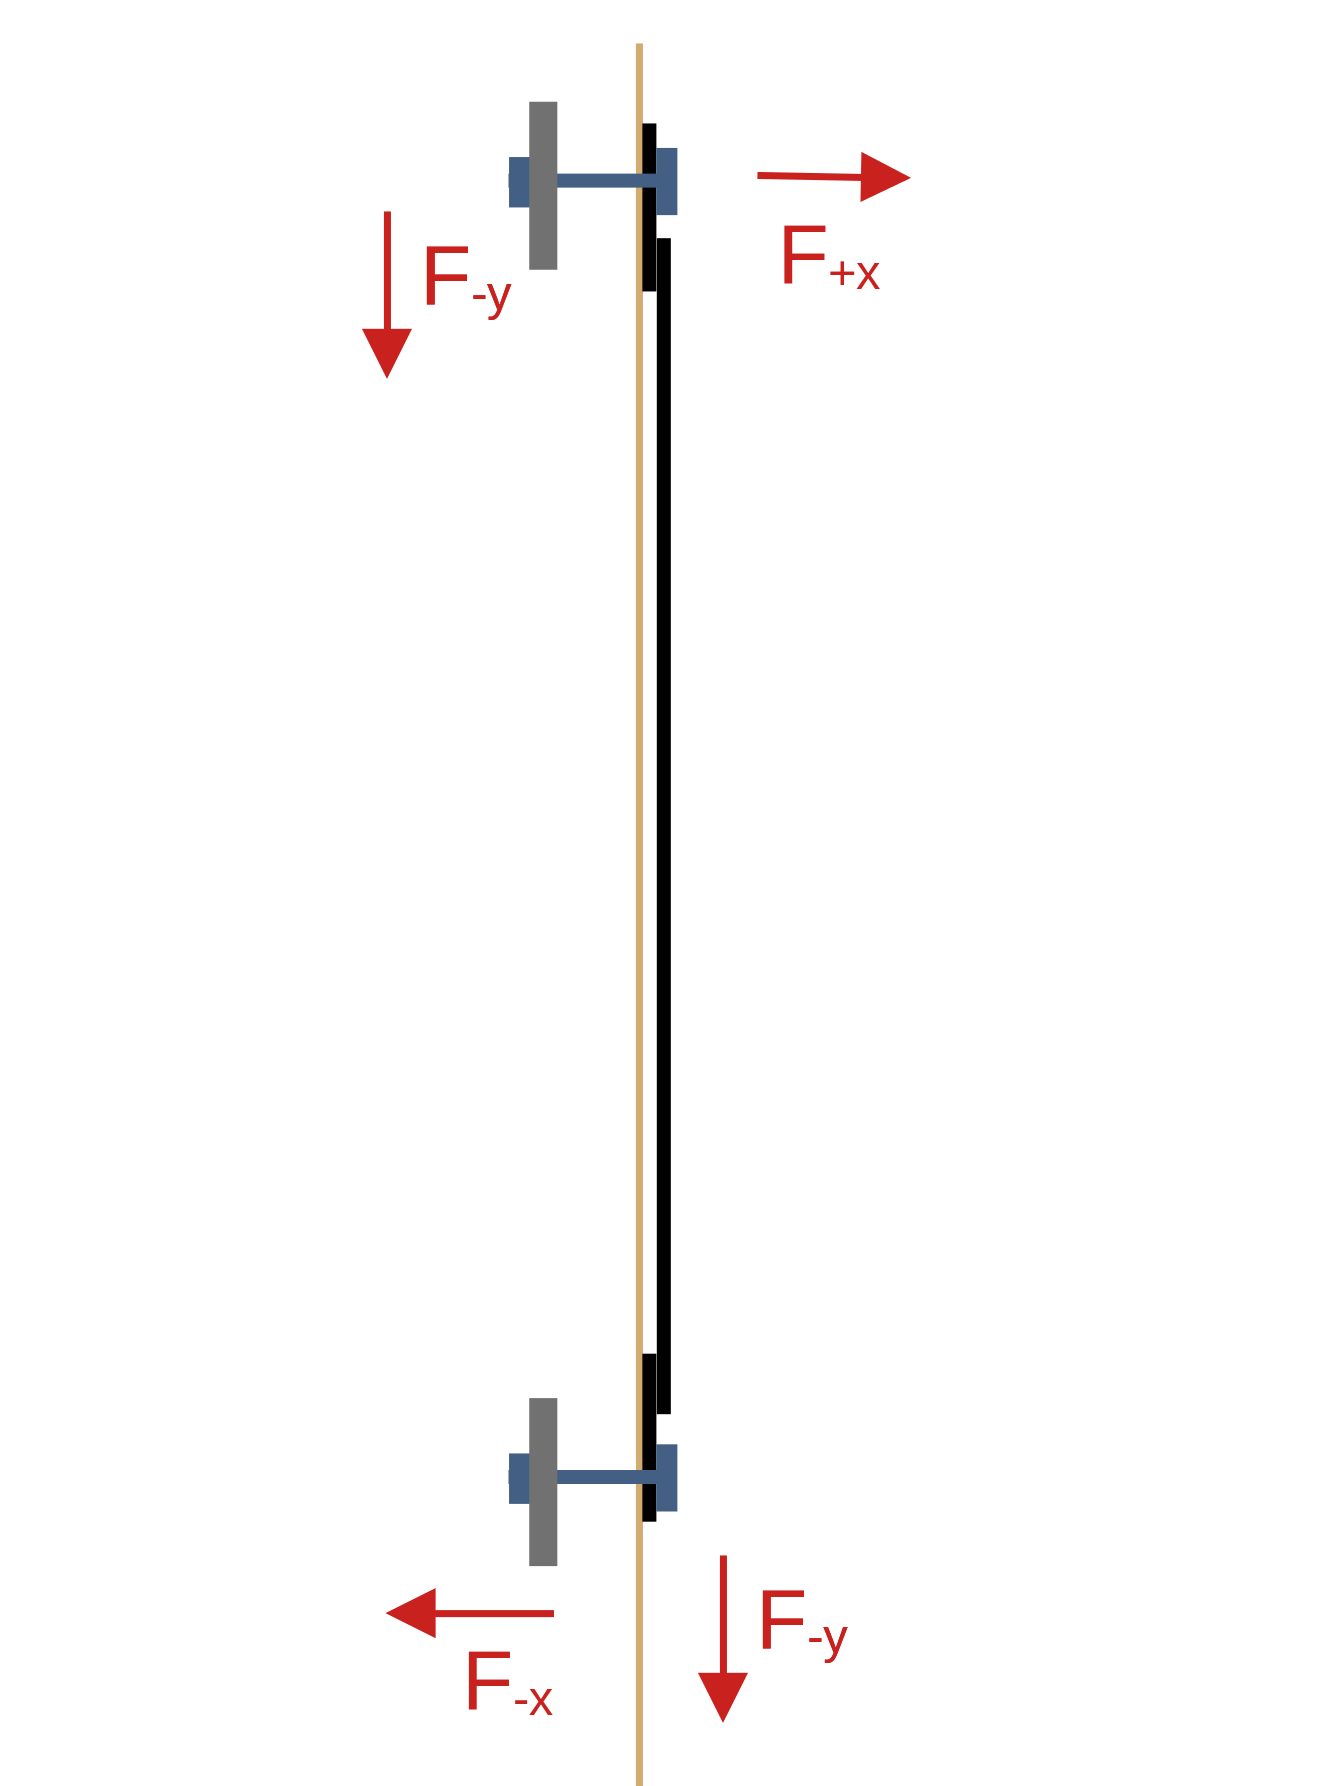
If I instead install the two horizontal bars and bolt into those, I get the illustration below:
The positive part of this is that we mostly remove the F+x force component from the sheet metal up top, as it is pulling on the bar instead of the sheet metal.
The screw that goes through the bar - however - is likely going to tilet downward with the weight, and then the downward force components (F-y) both top and bottom are still going to be pushing on the sheet metal.
So, it might help a little but probably not a whole lot.
Then I though, what if I add a second nut to the other side of the steel bars.
If it is tight, and the bars are rigid enough, it ought keep the screws mostly straight, and offload at least some of that that force on the sheet metal.
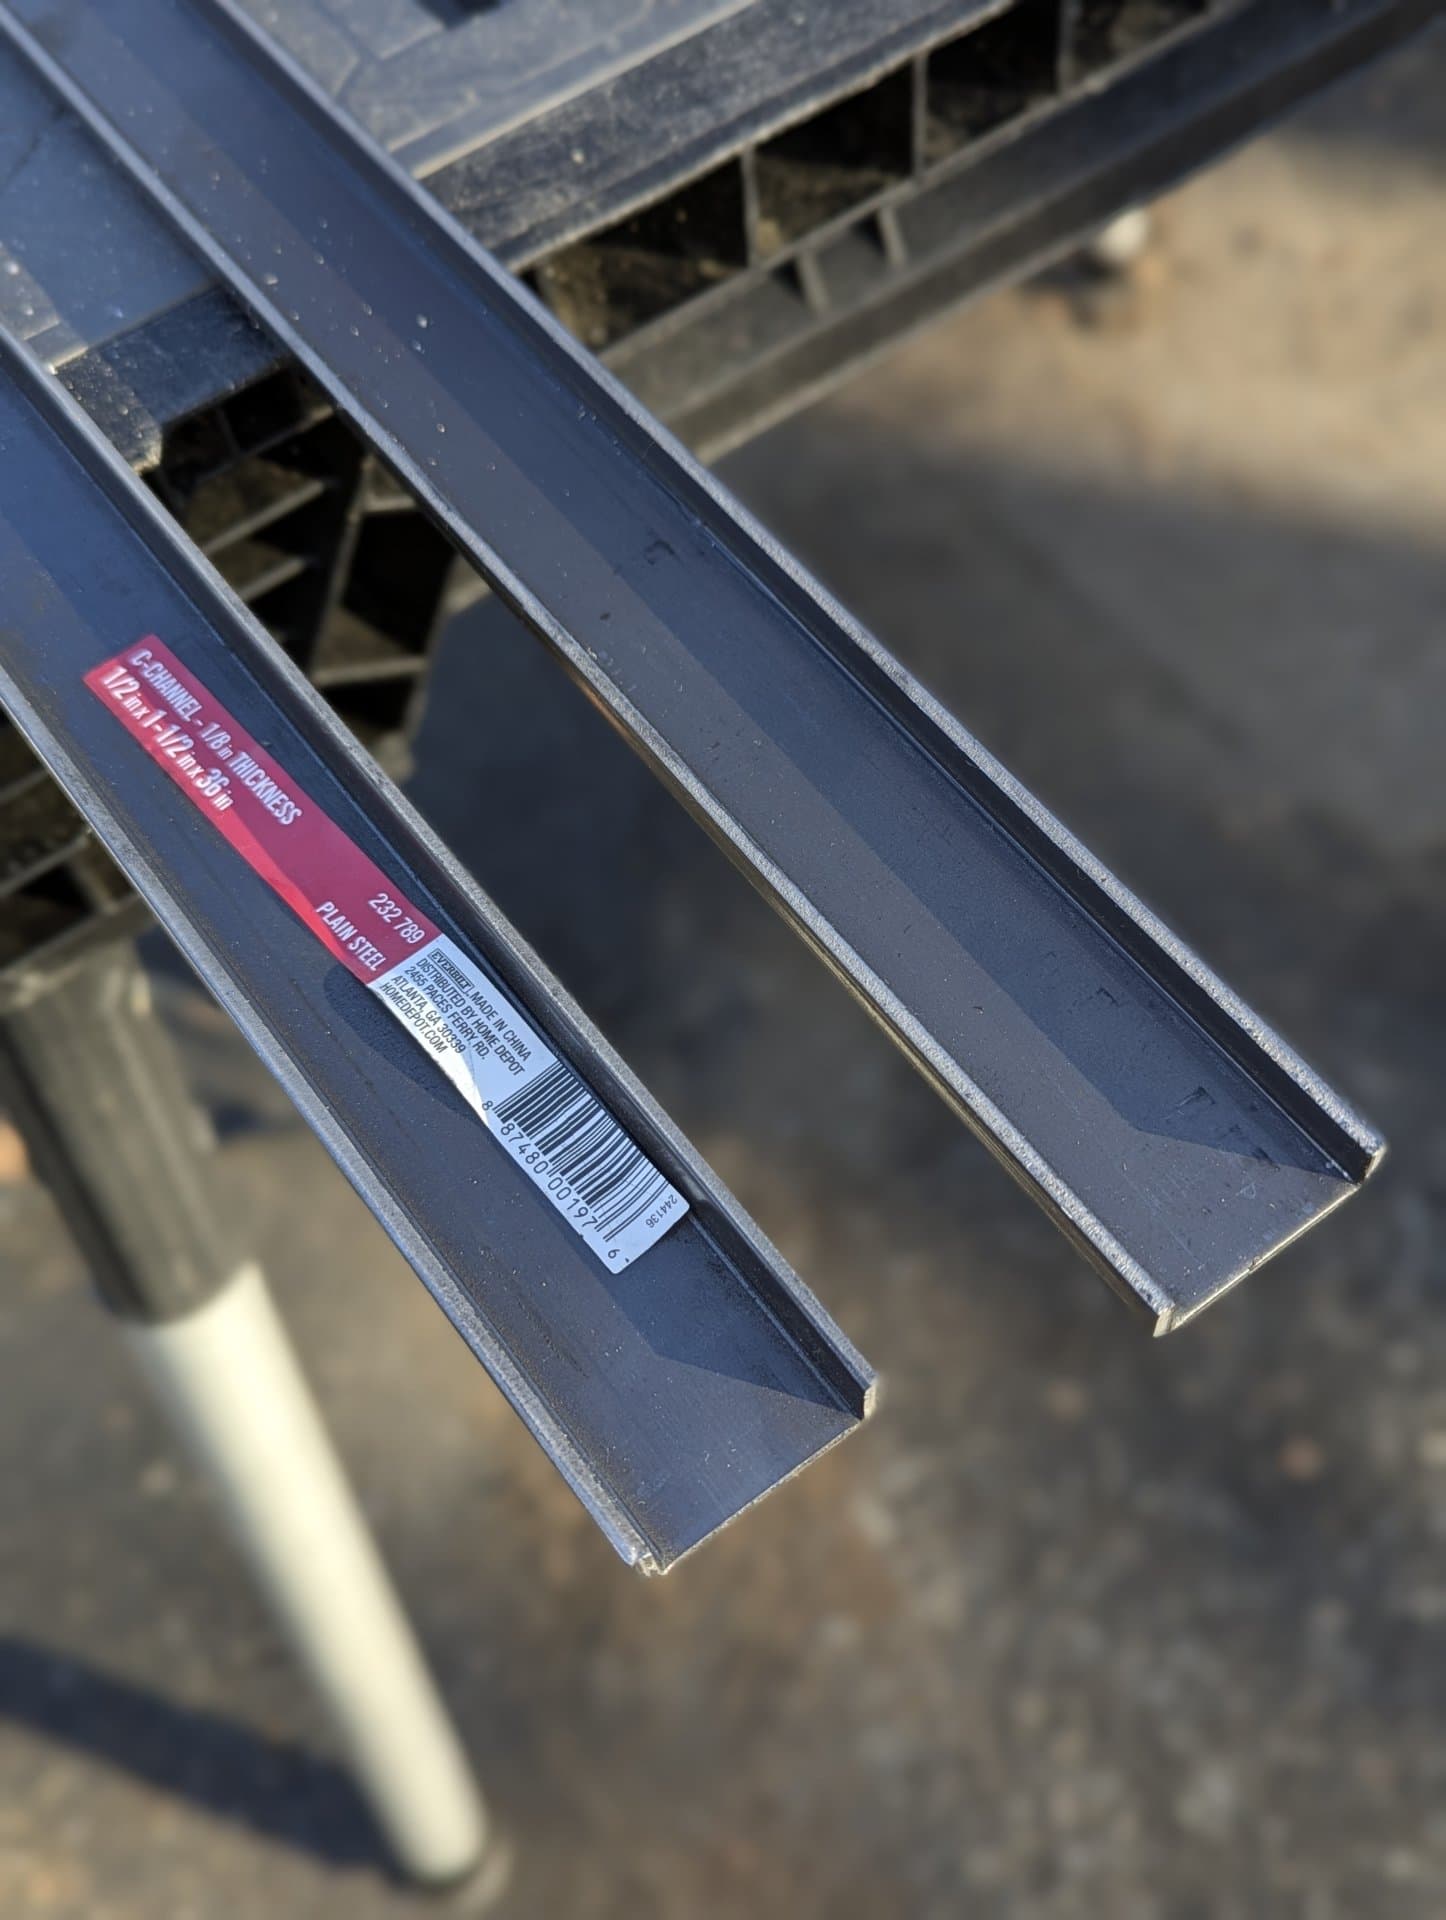
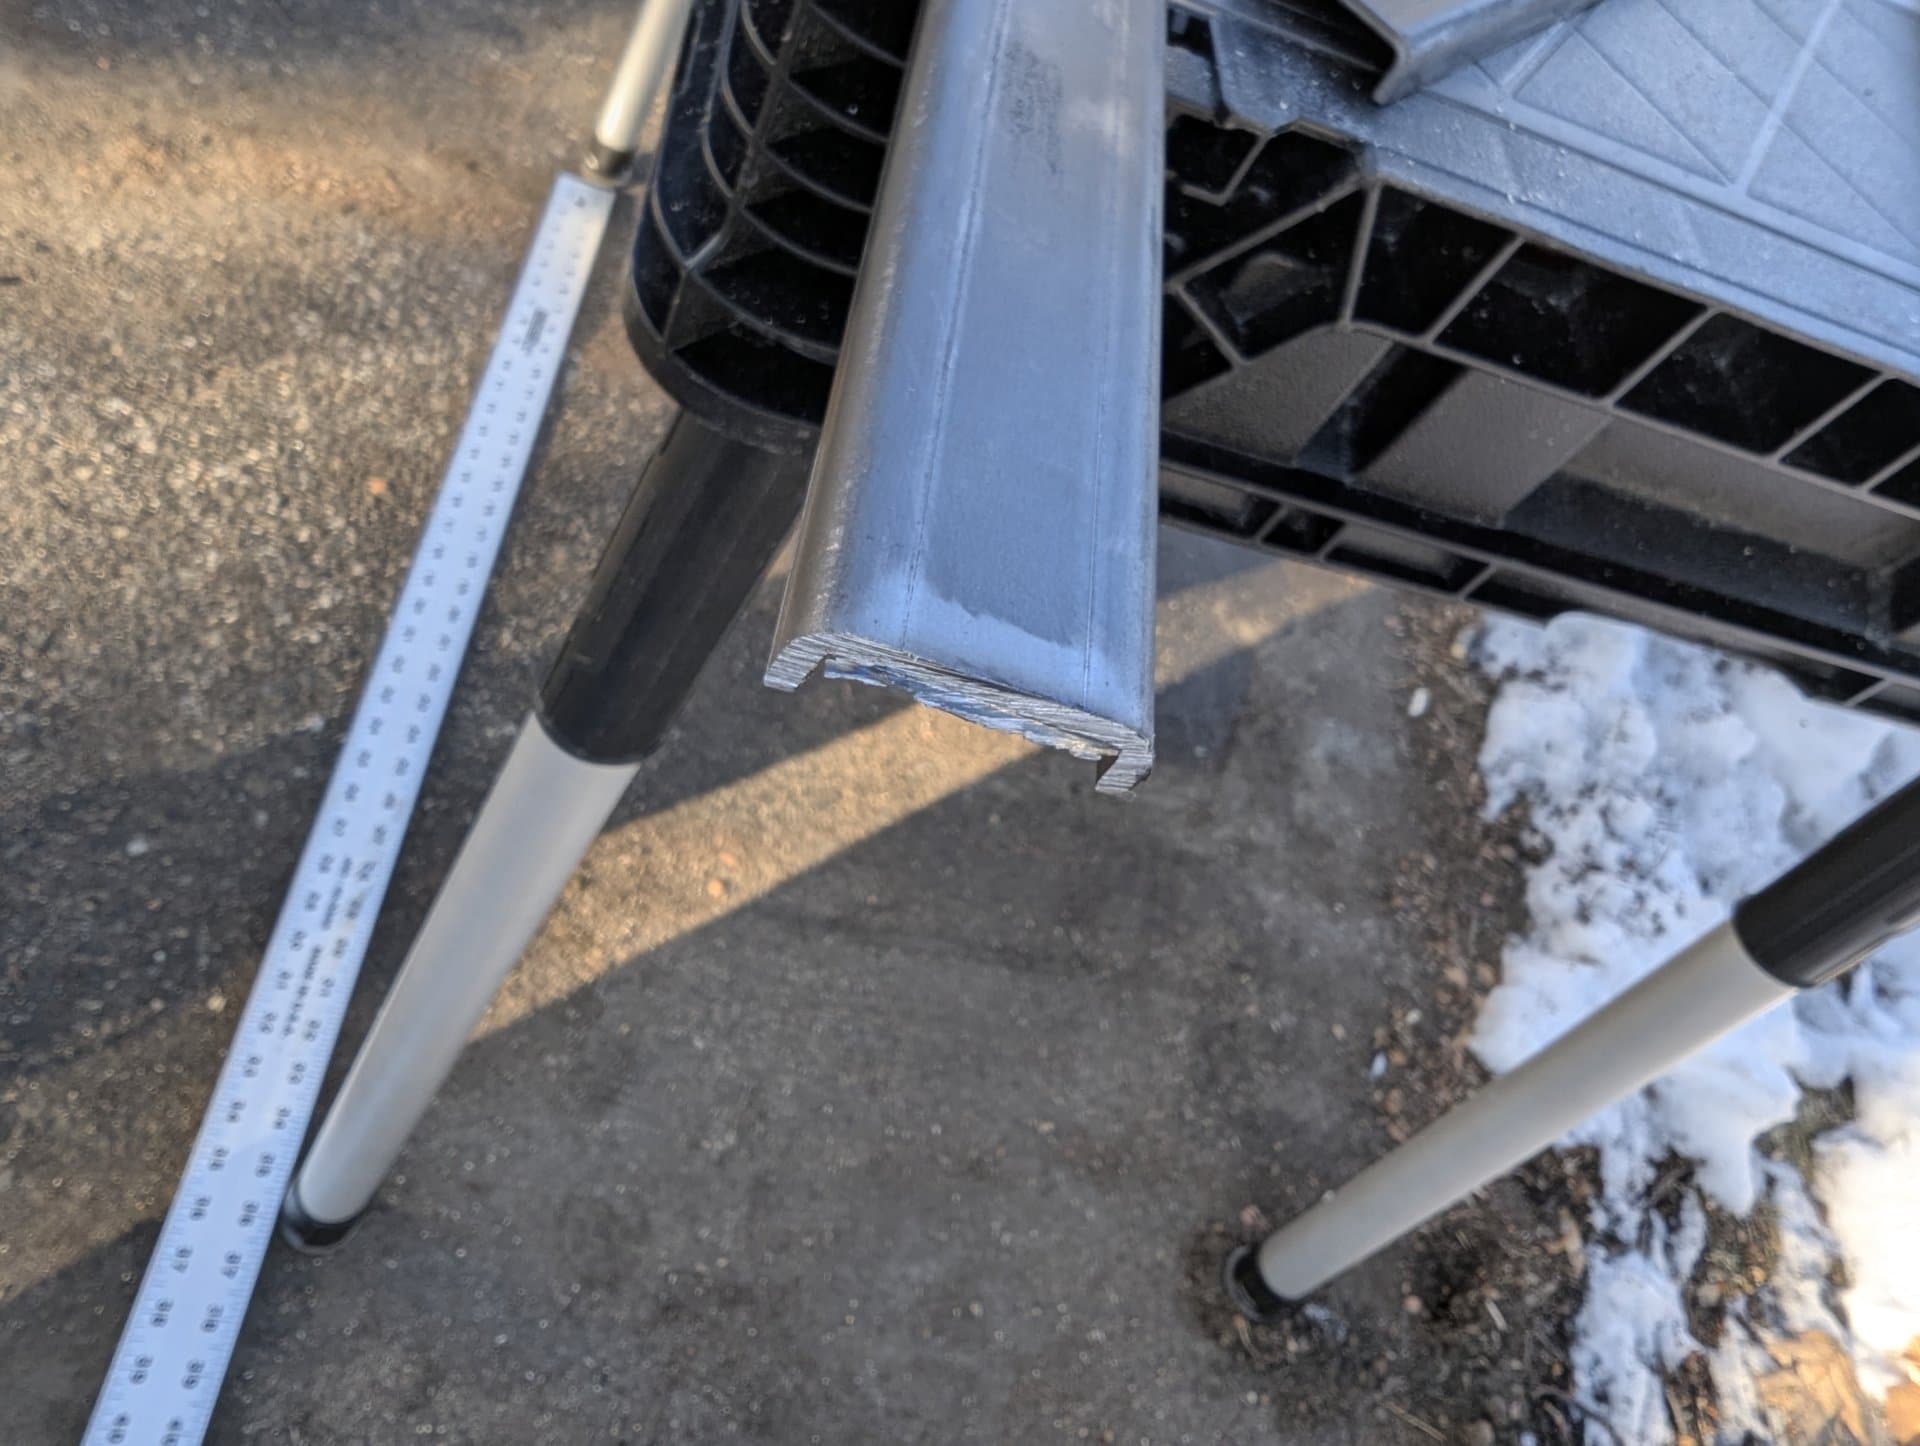
So I wandered the metal flat/bar stock aisle at the Home Depot and found some some 36" long 1/8" thick C-channel stock:
The C-channel gives it MUCH stronger torsional rigidity than the flat stock I had originally intended to use, so it winds up being pretty much perfect for my application.
(I had initially considered some rectangular tube-stock, but everything I could find was too thick, and wouldn’t fit in the rack how I intended.)
36" is a little too long for me though.
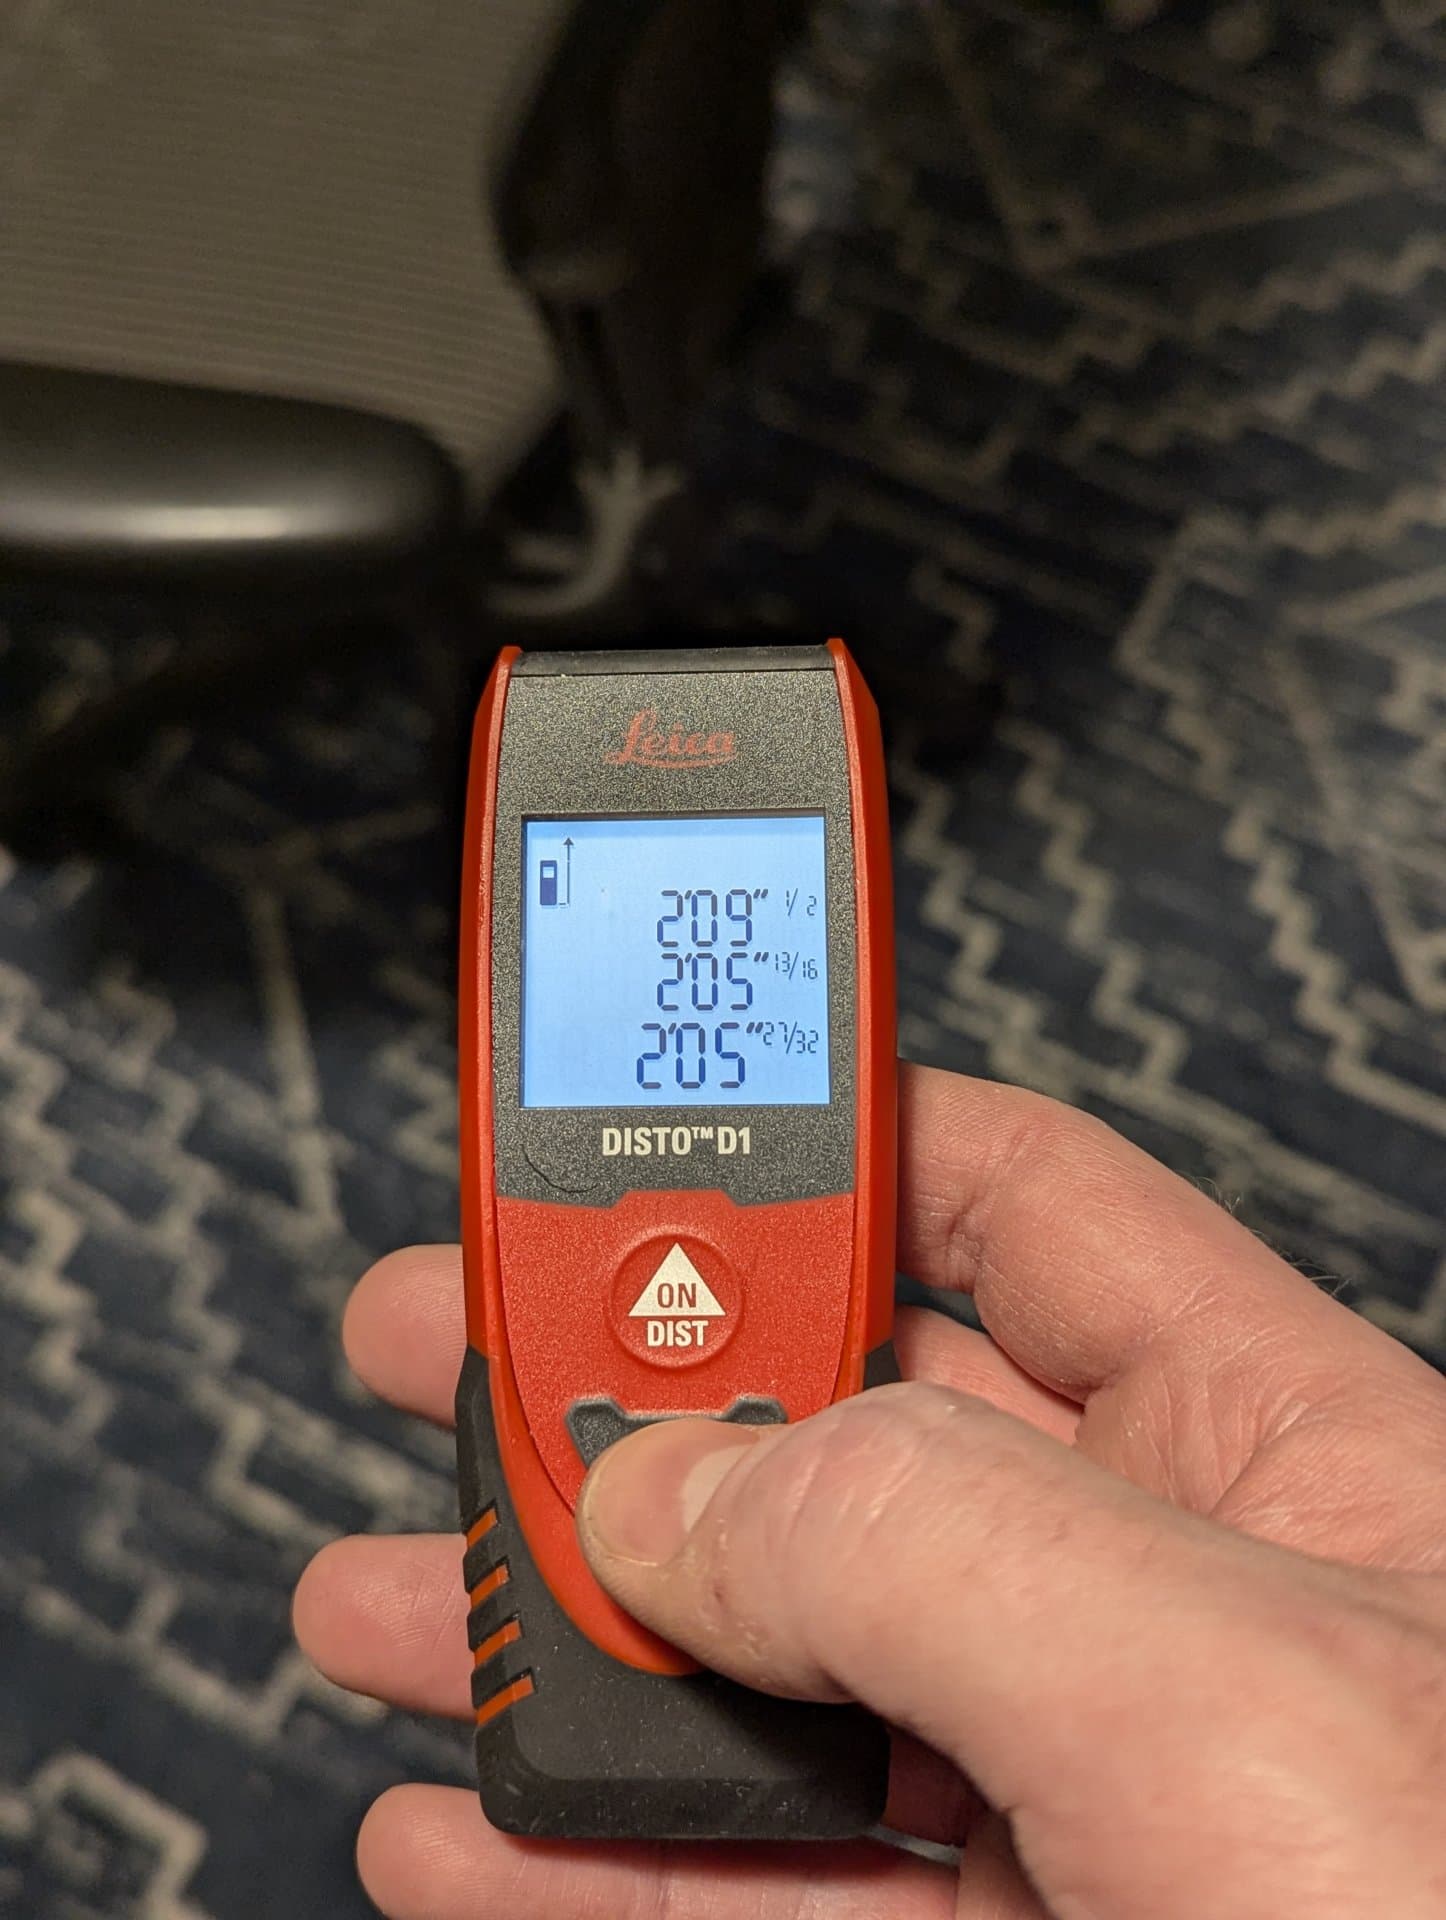
I must have something like 15 measuring tapes at this point, but for whatever reason I couldn’t find any of them, but I did find my laser measuring device:
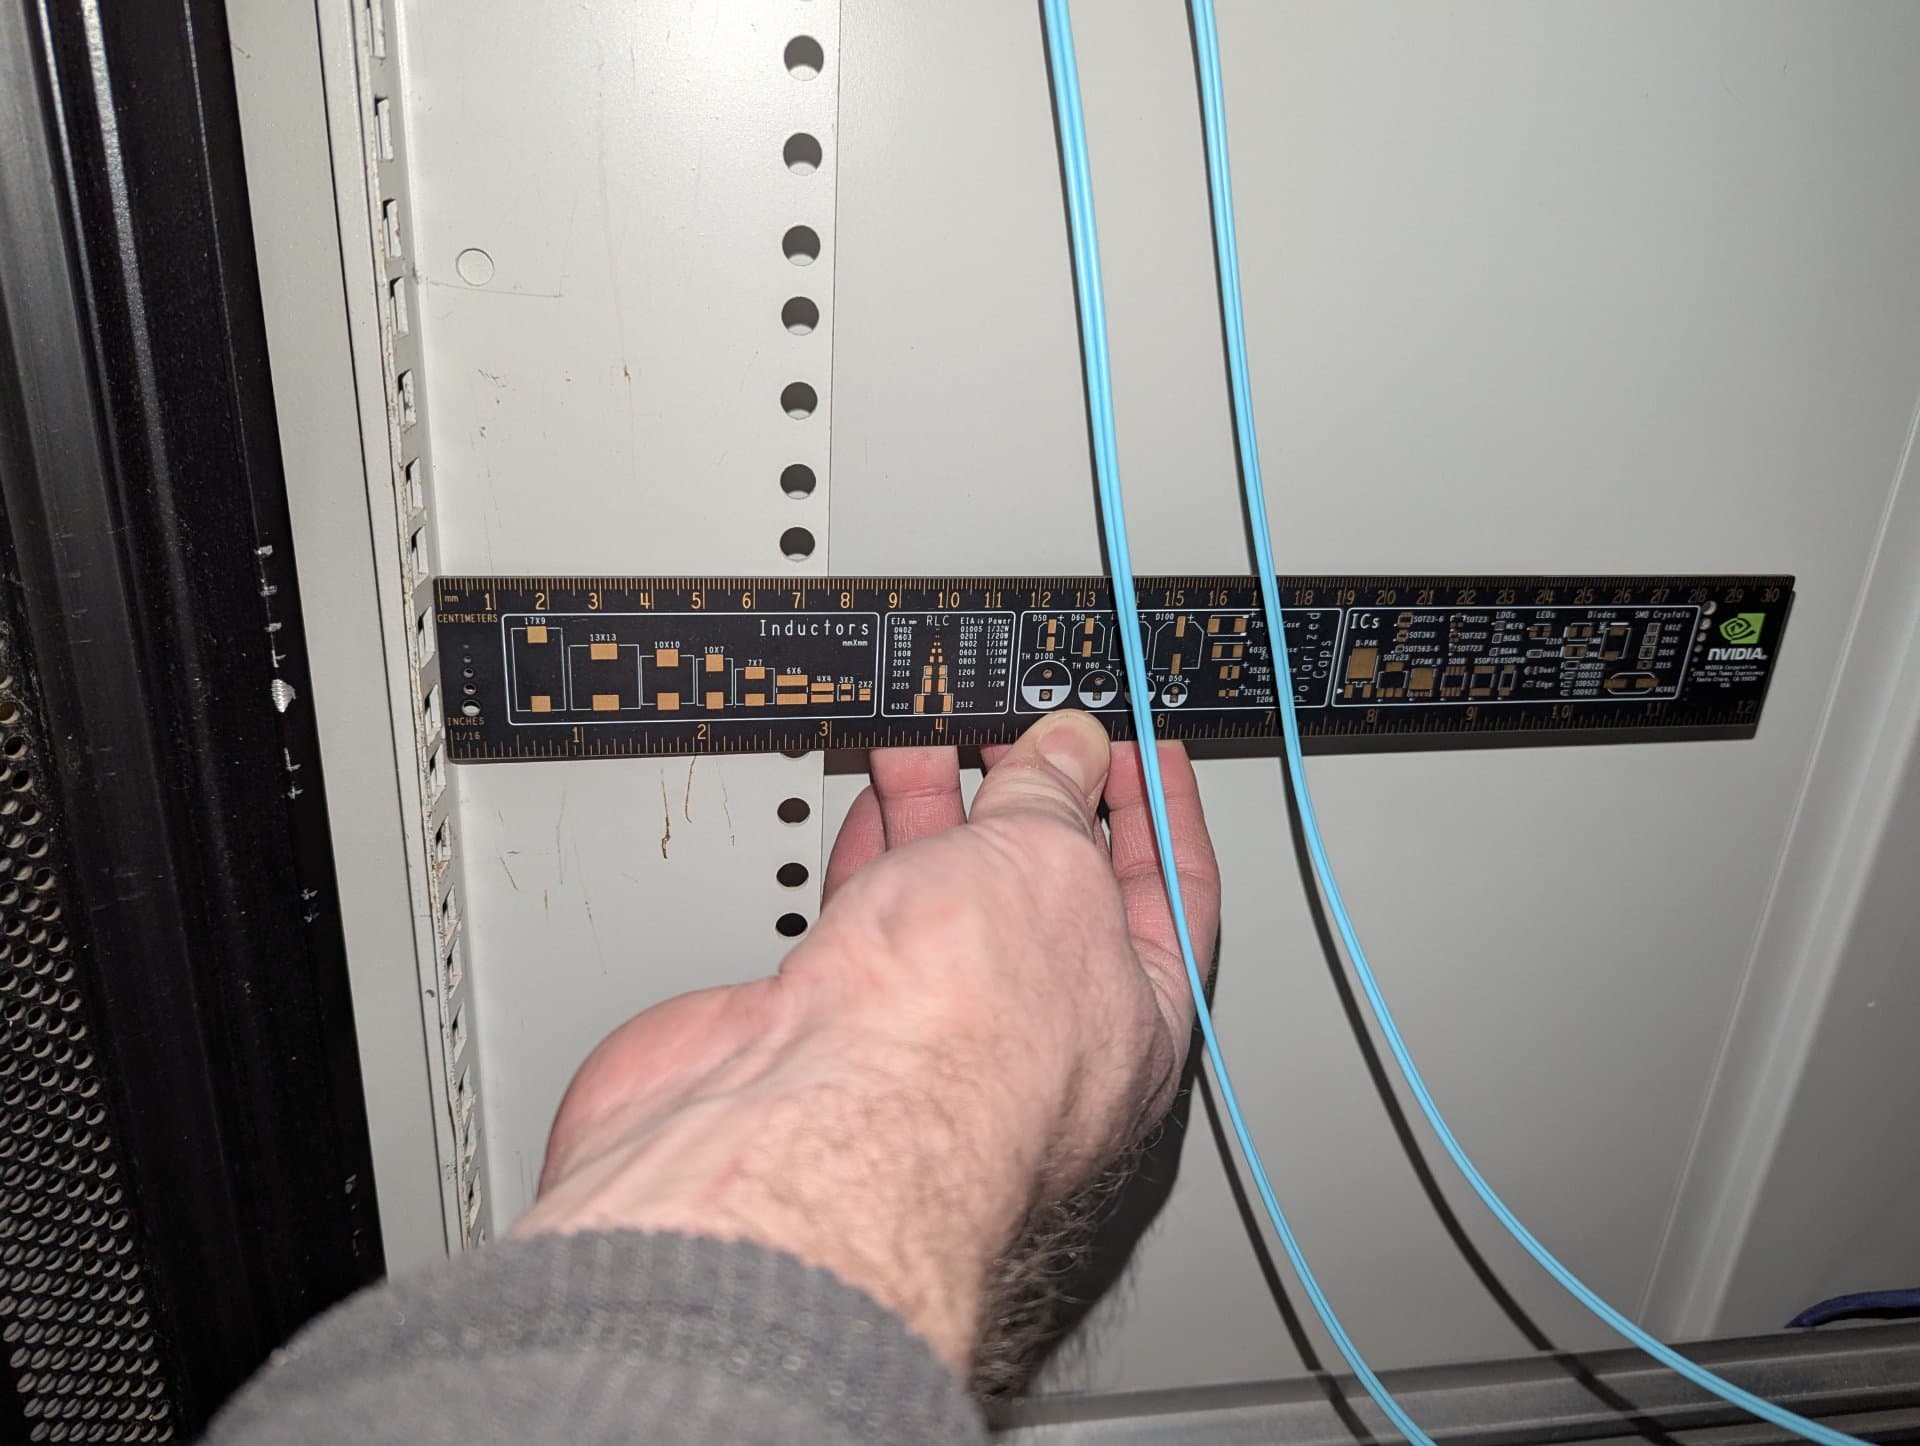
From front to back I measured about 30"
Nut that is from where the sheet metal bends, not from where the holes are.
I figured I could take of ~2" on either side and still have them be long enough, but also short enough to make them easier to finagle into place.
This is where I miss having my nice large oversized two-car garage from my old house. I no longer have a garage. I have a shed, where I have set up a workbench with a grinding wheel, a drill press and a scroll saw, but I have no more space on it. So I was going to have to do this one outside in the cold.
But this is the warmest day in over a week, and the icy cold that is hitting further south is coming our way early next week, so it was pretty much now or never.
Besides, it wasn’t that cold. Only ~34°F and sunny, so it wasn’t even really jacket weather. The fleece sweatshirt did the trick.
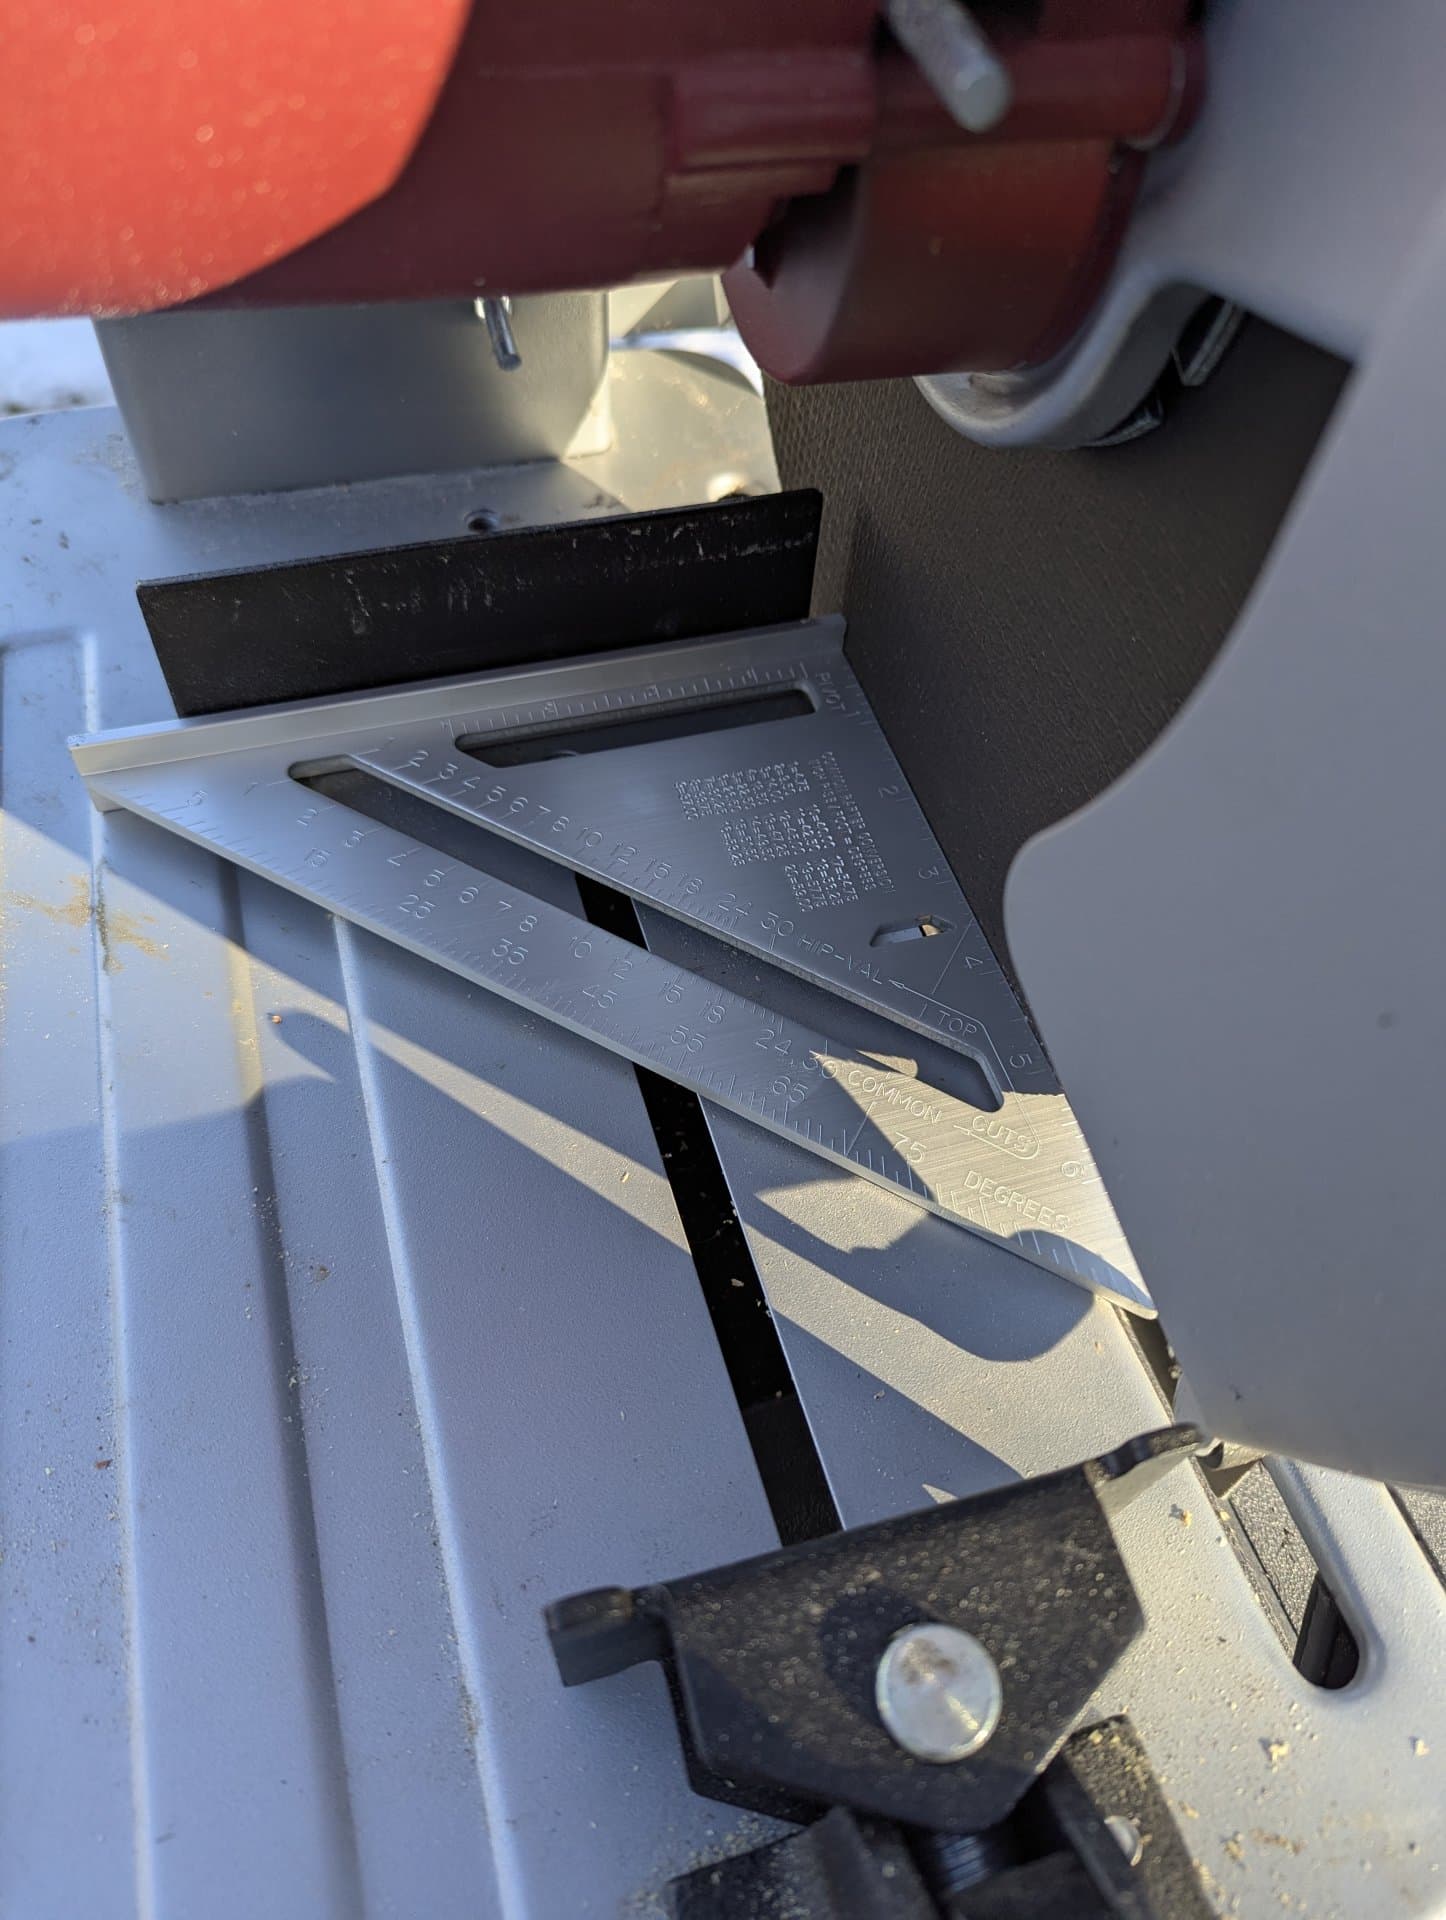
I hadn’t used the trusty Harbor Freight cut-off wheel in a while, so first, I decided to verify everything was straight.
Some very loud noises, and flying sparks later, the cuts were good and straight, but I wound up with some serious burrs.
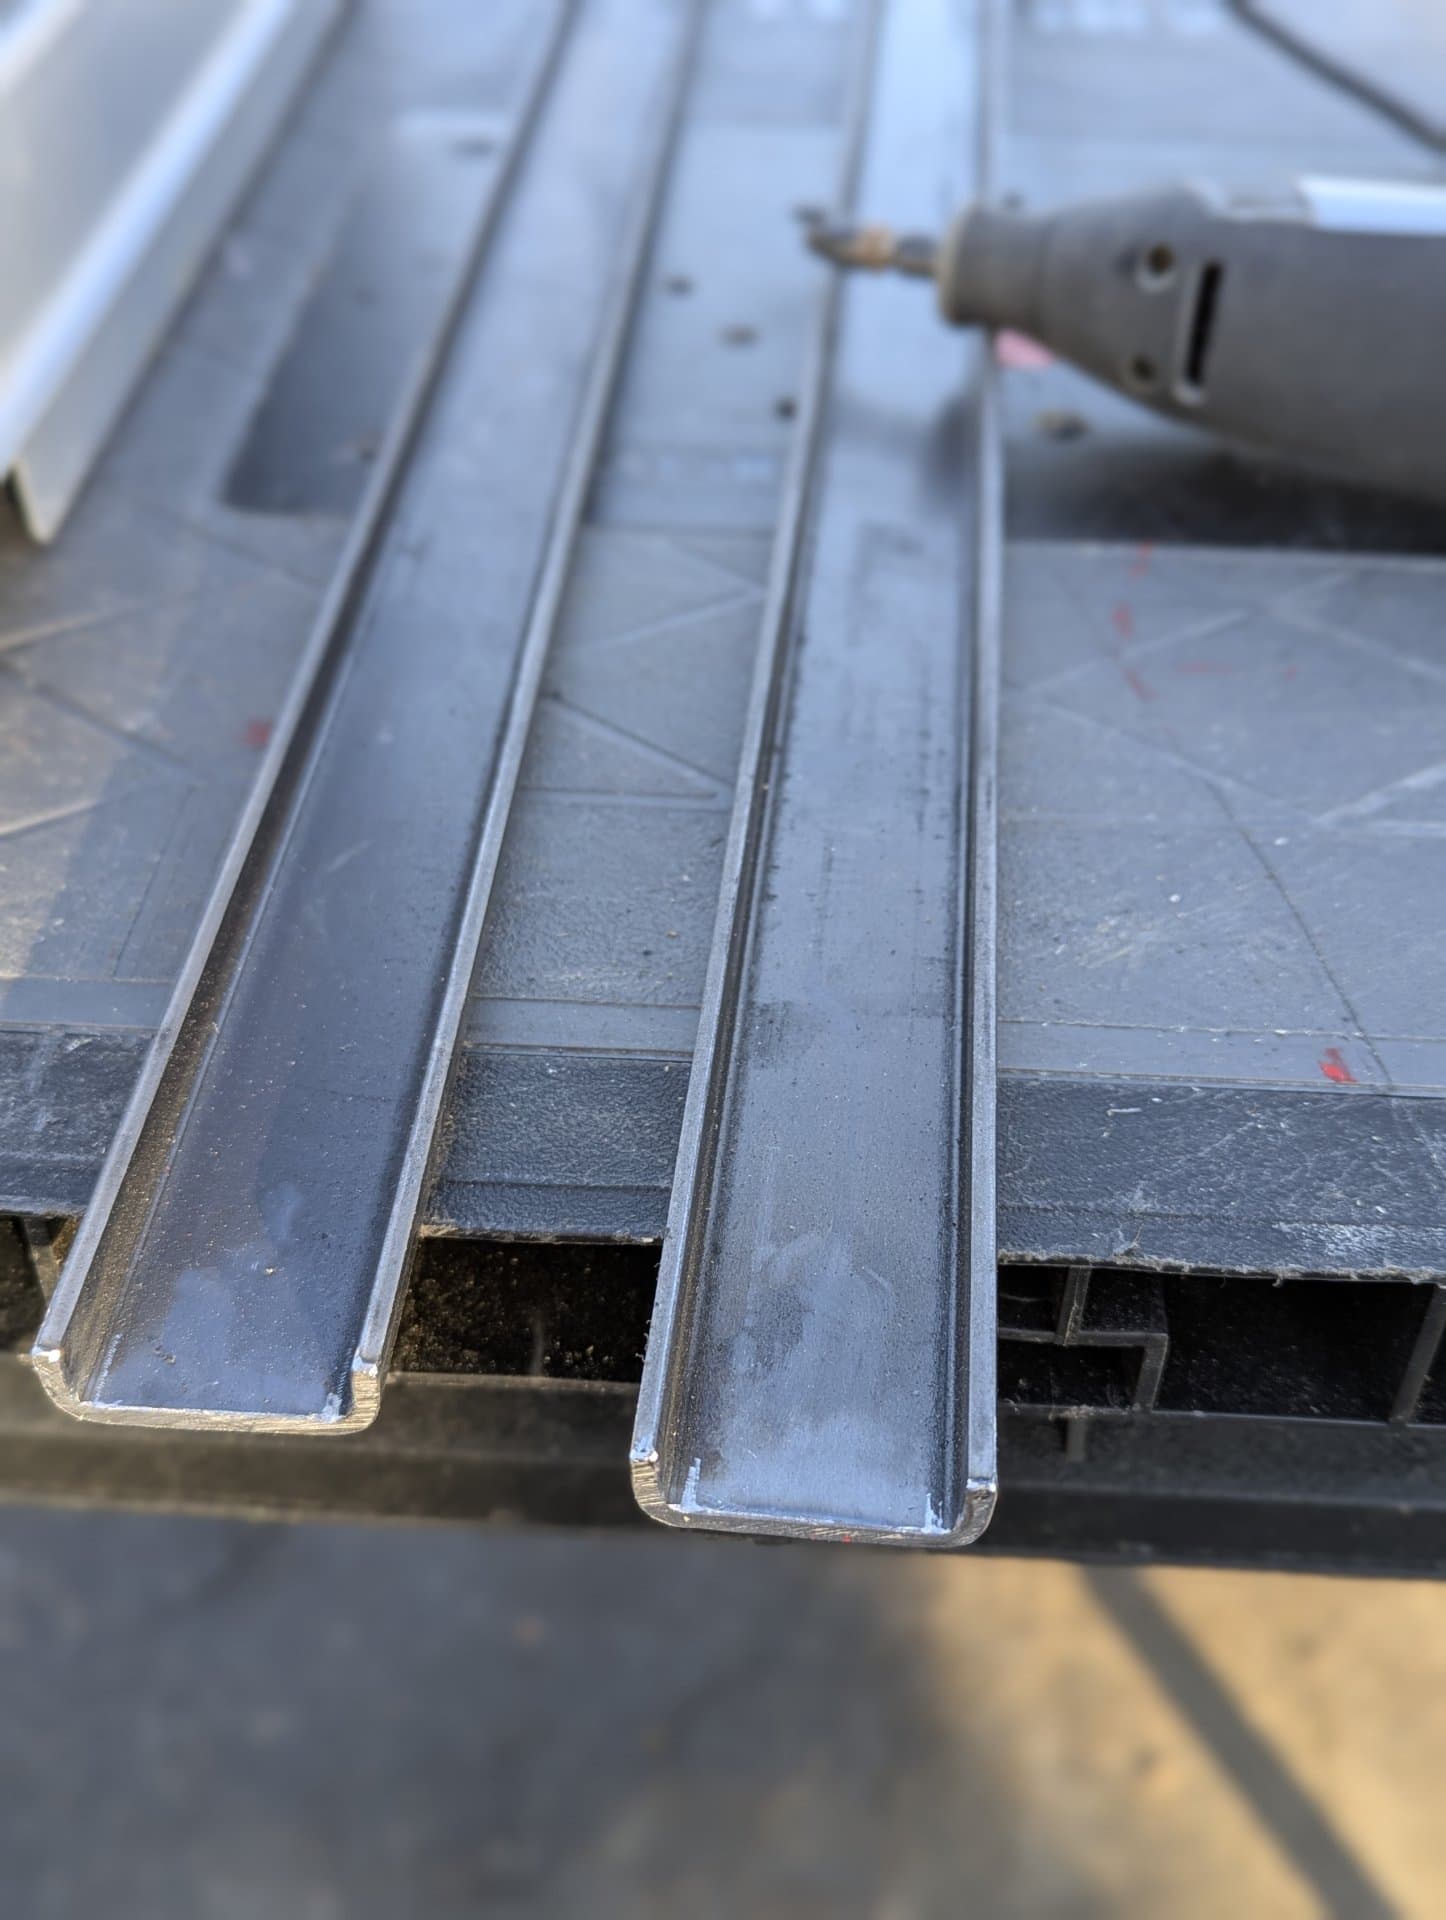
I decided to take the burrs off, and dull off those sharp edges with my Dremel, as I know if I don’t I am going to cut myself on them later…
They wound up maybe not super-clean, but certainly fit for purpose.
Next steps are going to be to drill mounting holes in them so I can mount them inside the rack.
I need to do some thinking about how I mitigate rust on them after that. I could clean them and blast them with some Rustoleum, or maybe rub them with some light oil. Or maybe clean them off and do a gun-style bluing operation, but then I am going to need to find something large enough to quench them in, that can handle hot steel…
I’d value any suggestions here.
Or maybe I am over-thinking it. They will be going indoors, so serious rusting will likely not be a problem, but it does get a bit humid in my basement…





 )
)