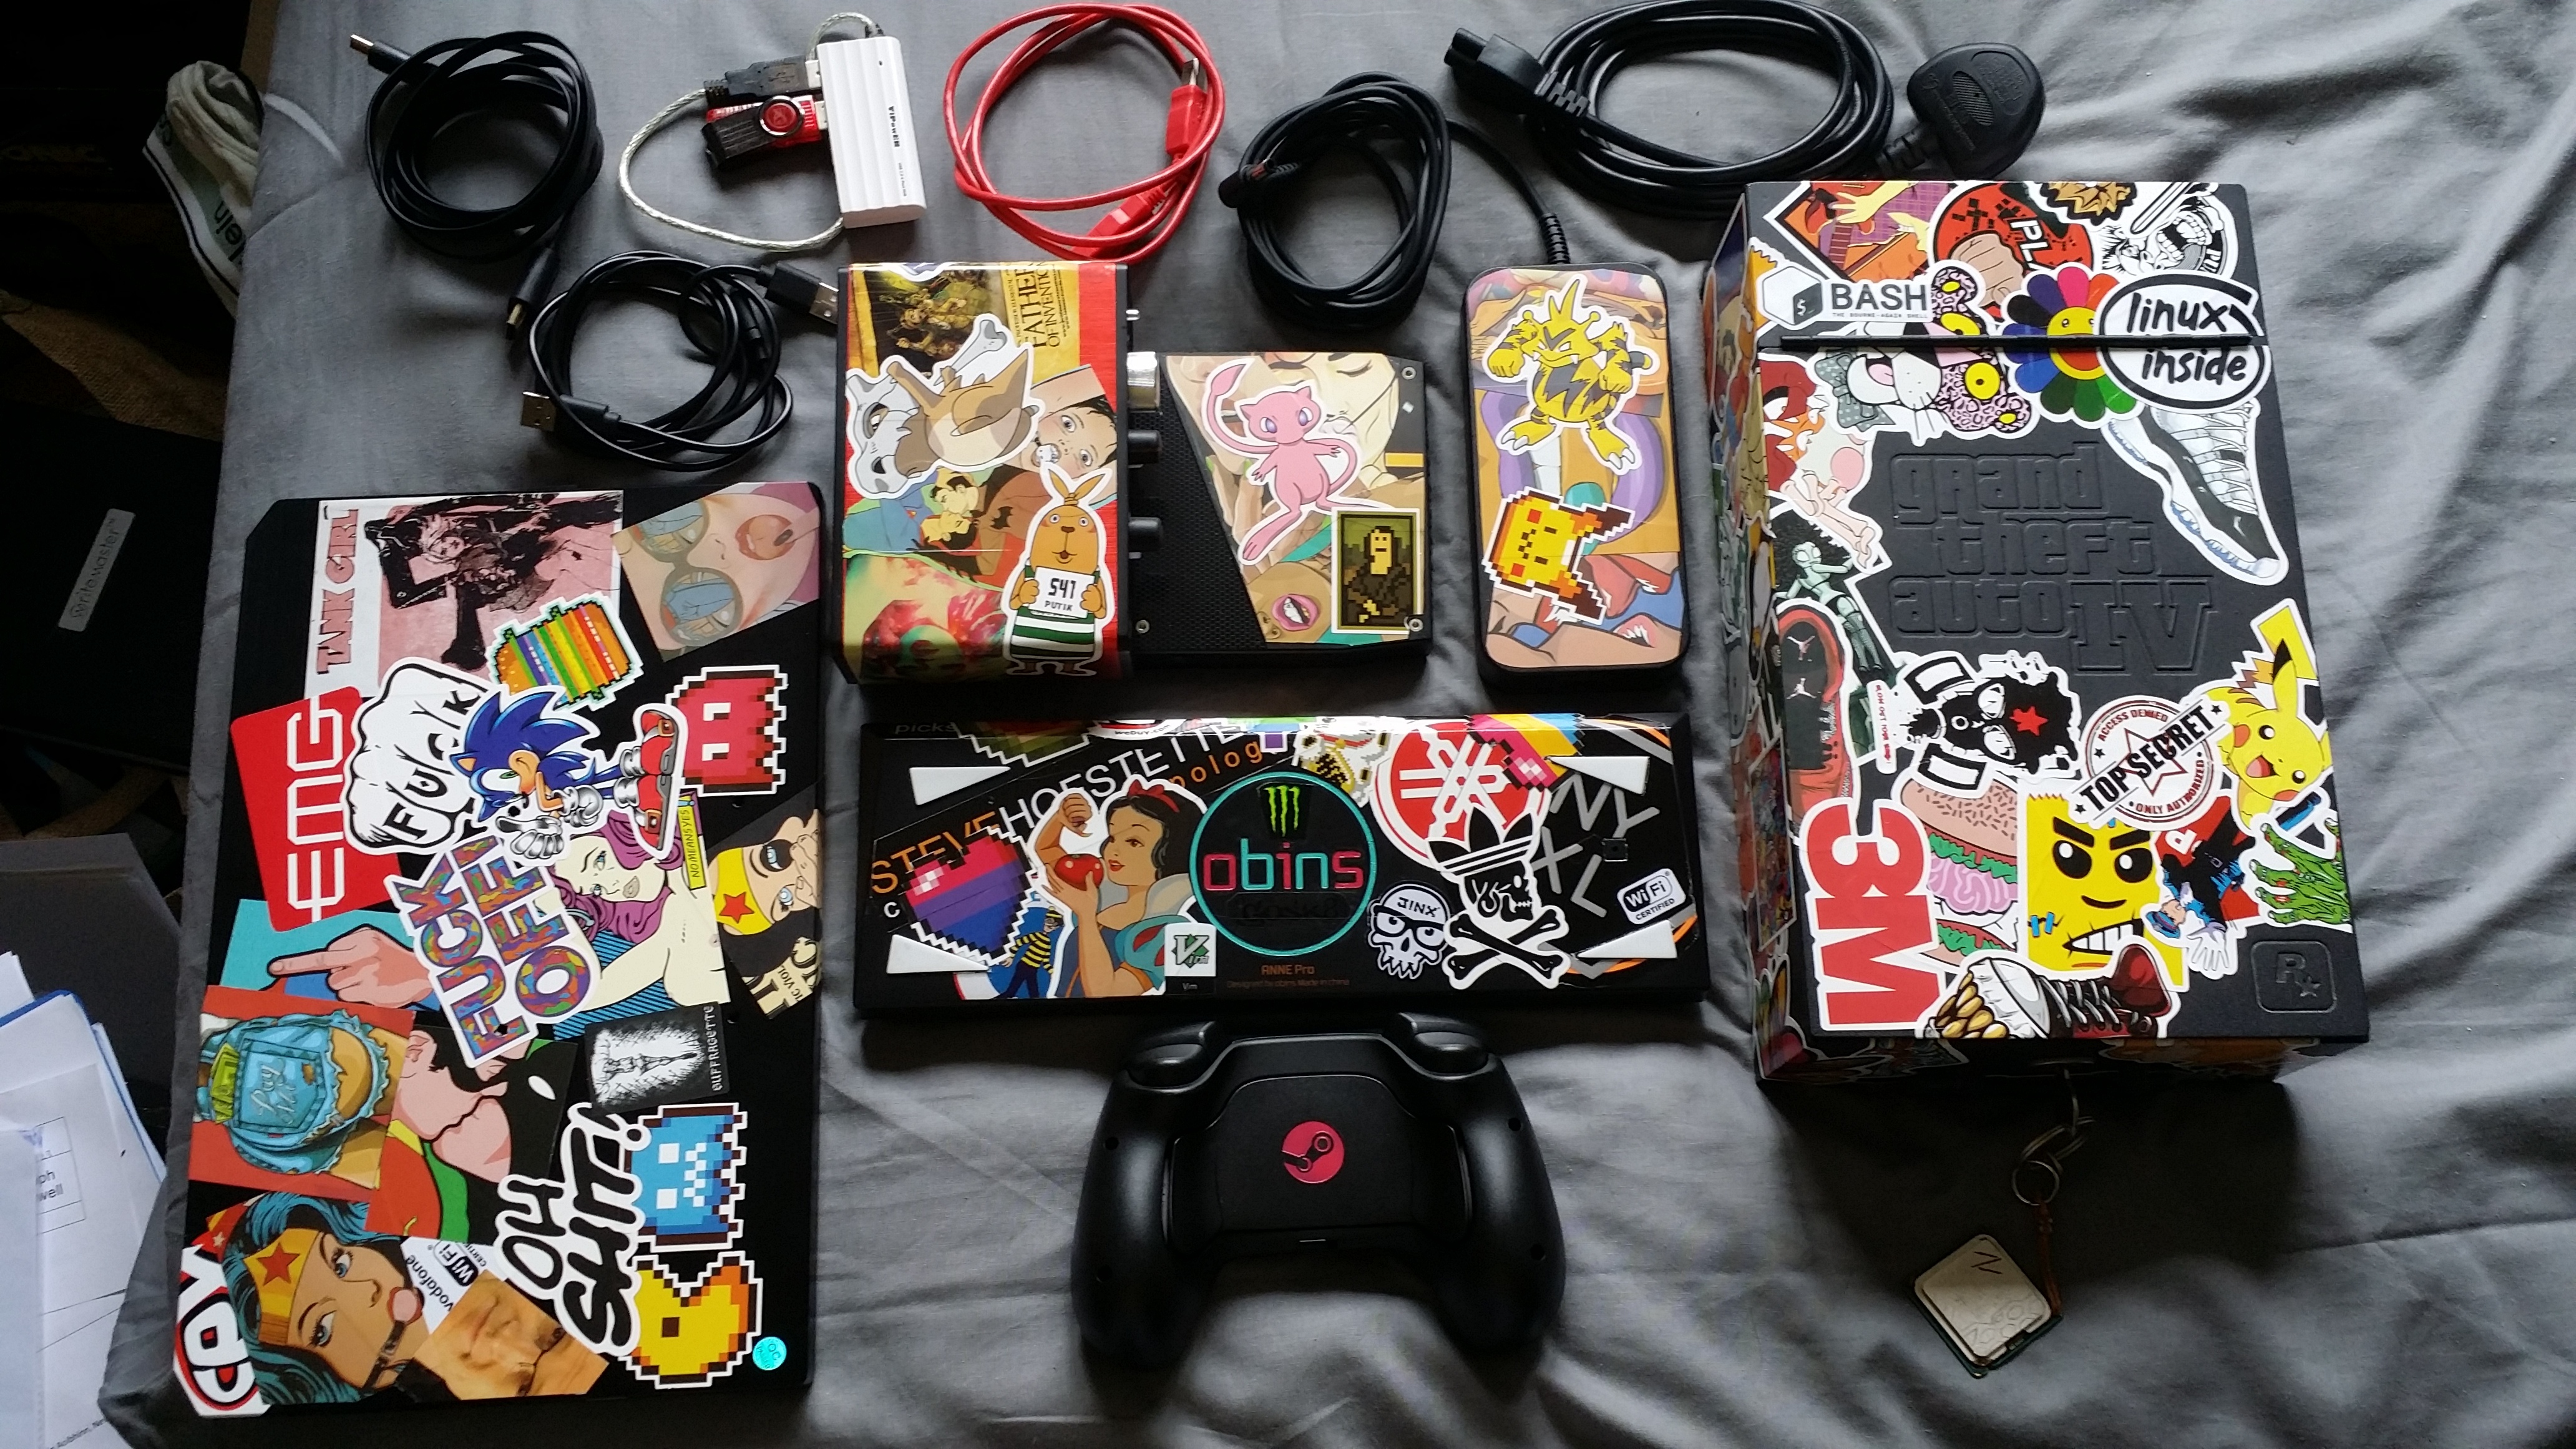
Finally I am ready to do a post about my mobile PC set up in a box.
This has been a long time coming and even longer in creation. Starting as a smaller LAN PC in a BitFenix Prodigy idea, to a small Single Board Computer attached to a screen as a powerful tablet, to finally an Intel 6i7KYK “Gaming” NUC with all the bits to make it a full running mobile PC set up, capable of light gaming and audio production.
The specs are:
Intel Gaming NUC 6i7 KYK
i7 6770HQ 2.6 - 3.5GHz
16GB 2400MHz dual channel
Iris Pro 580 iGPU
512gb Samsung 970 Evo M.2 NVMe SSD

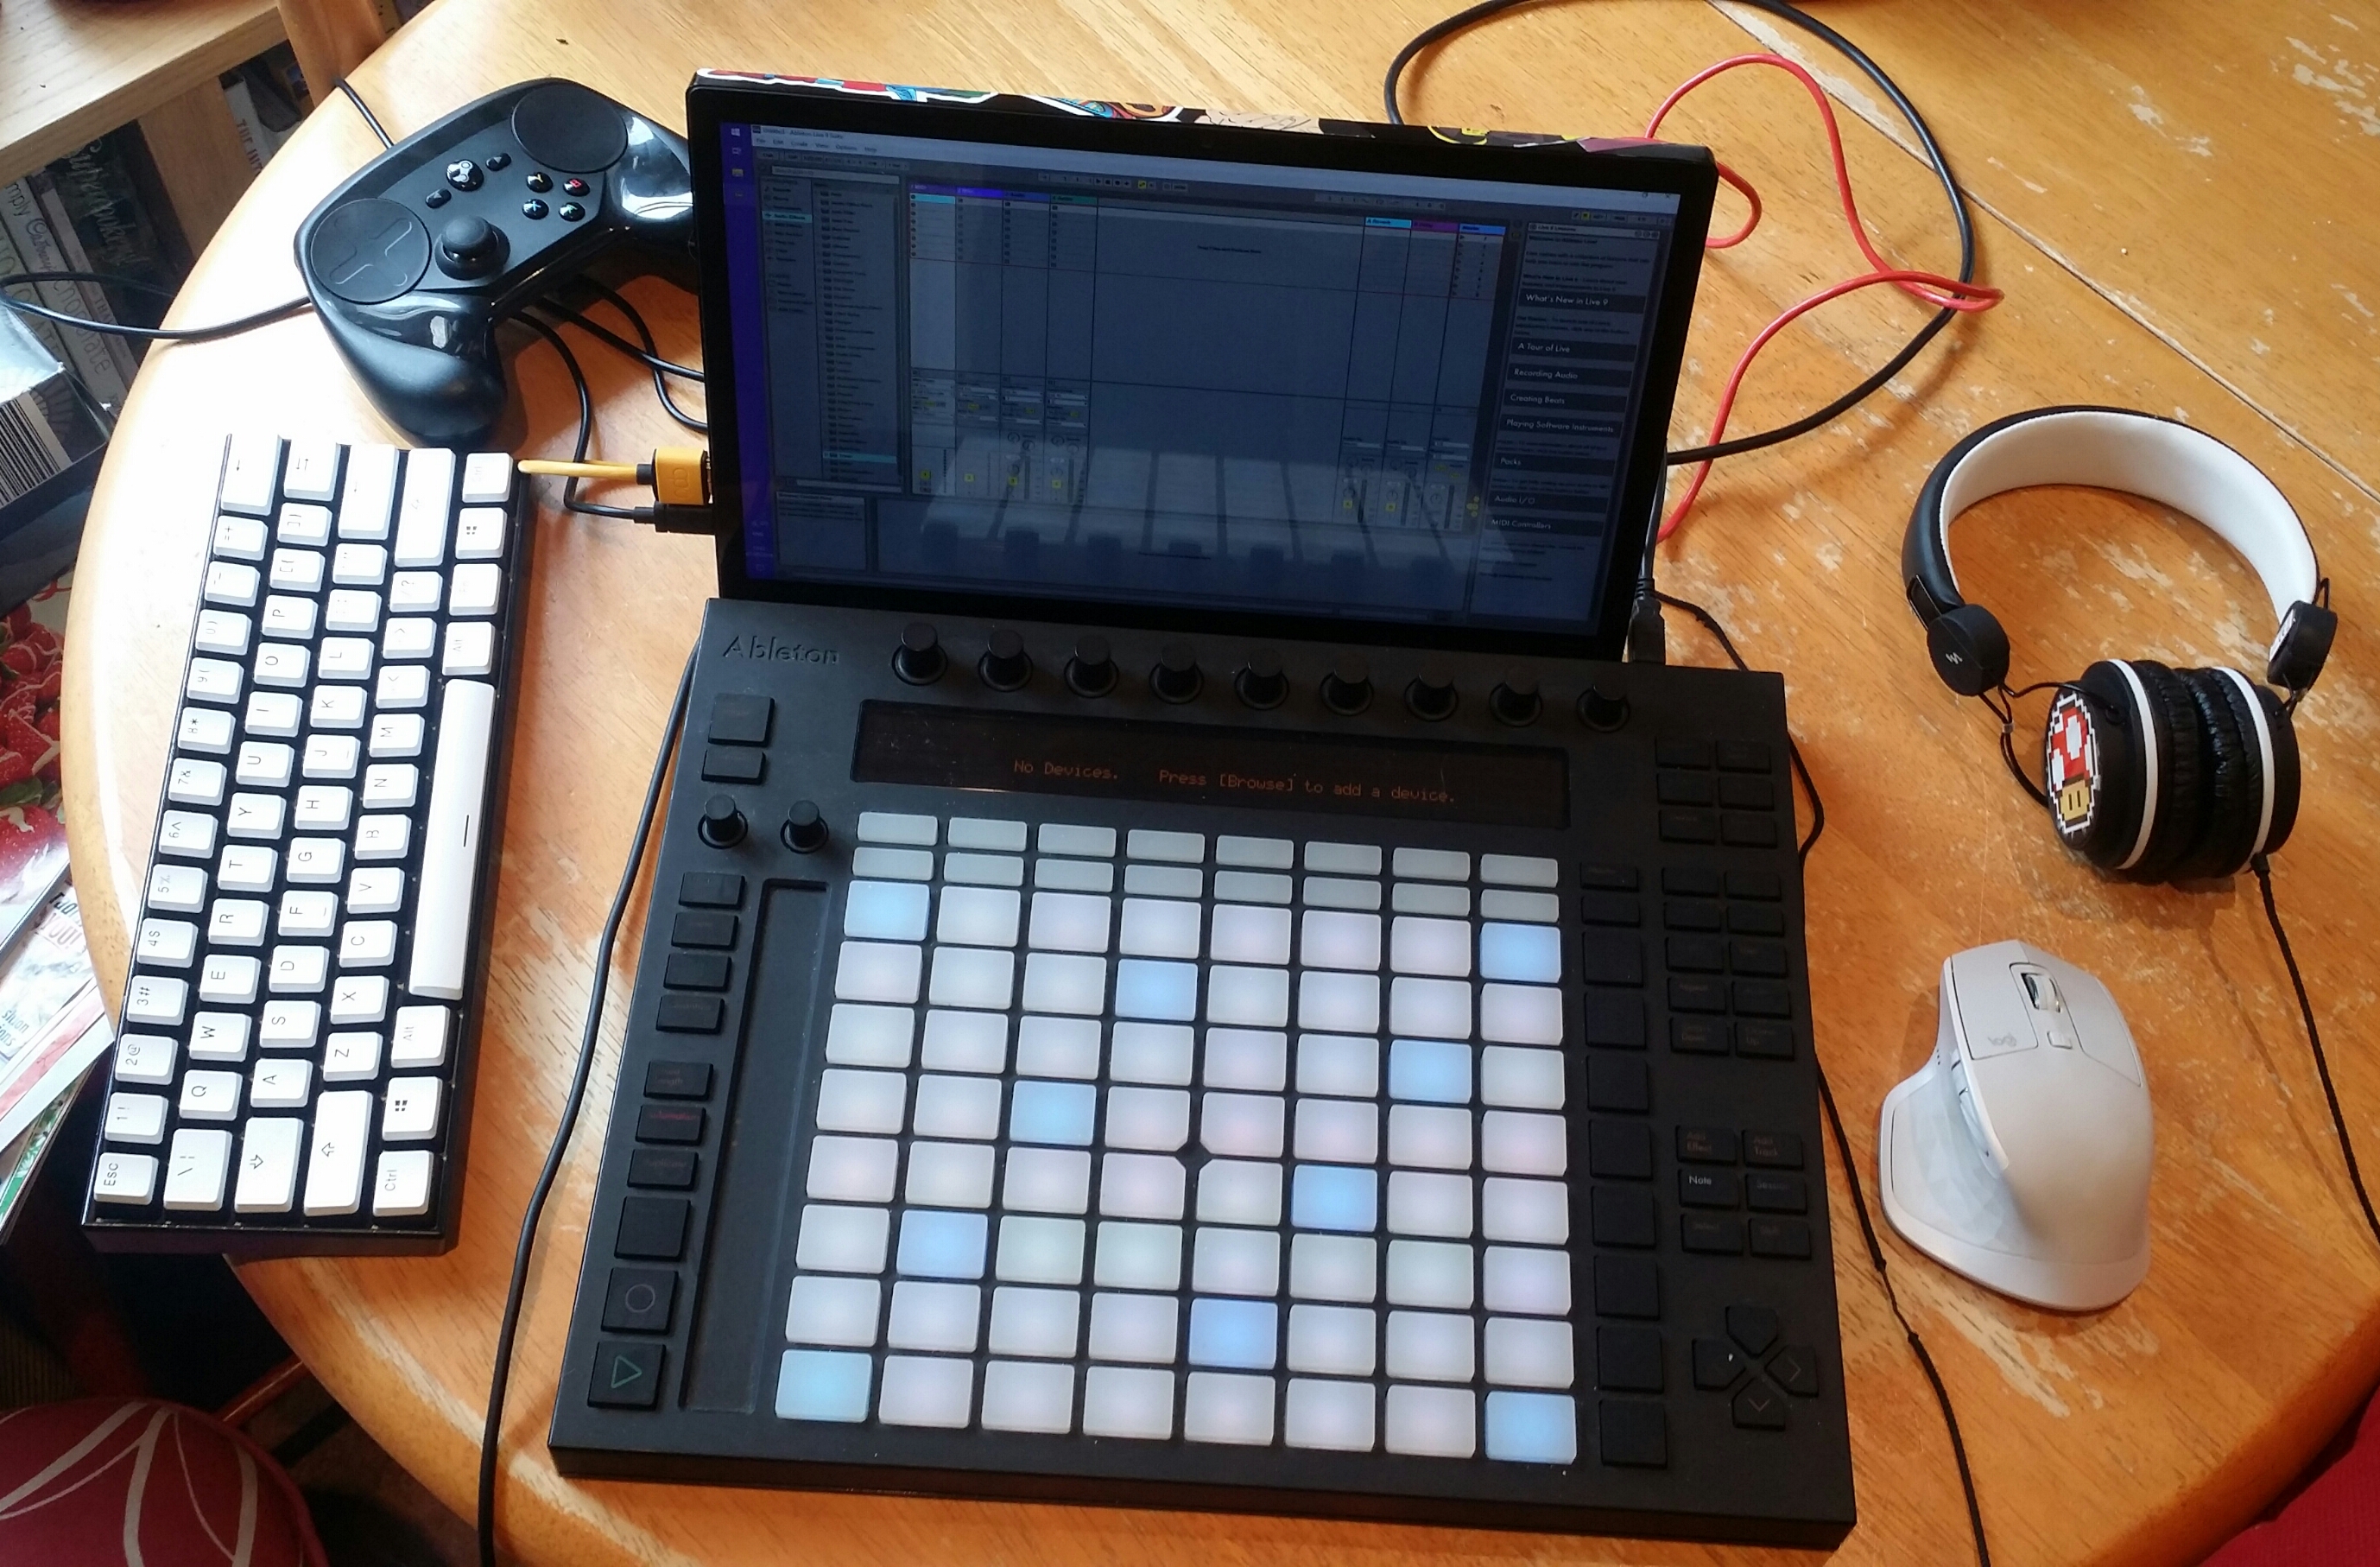
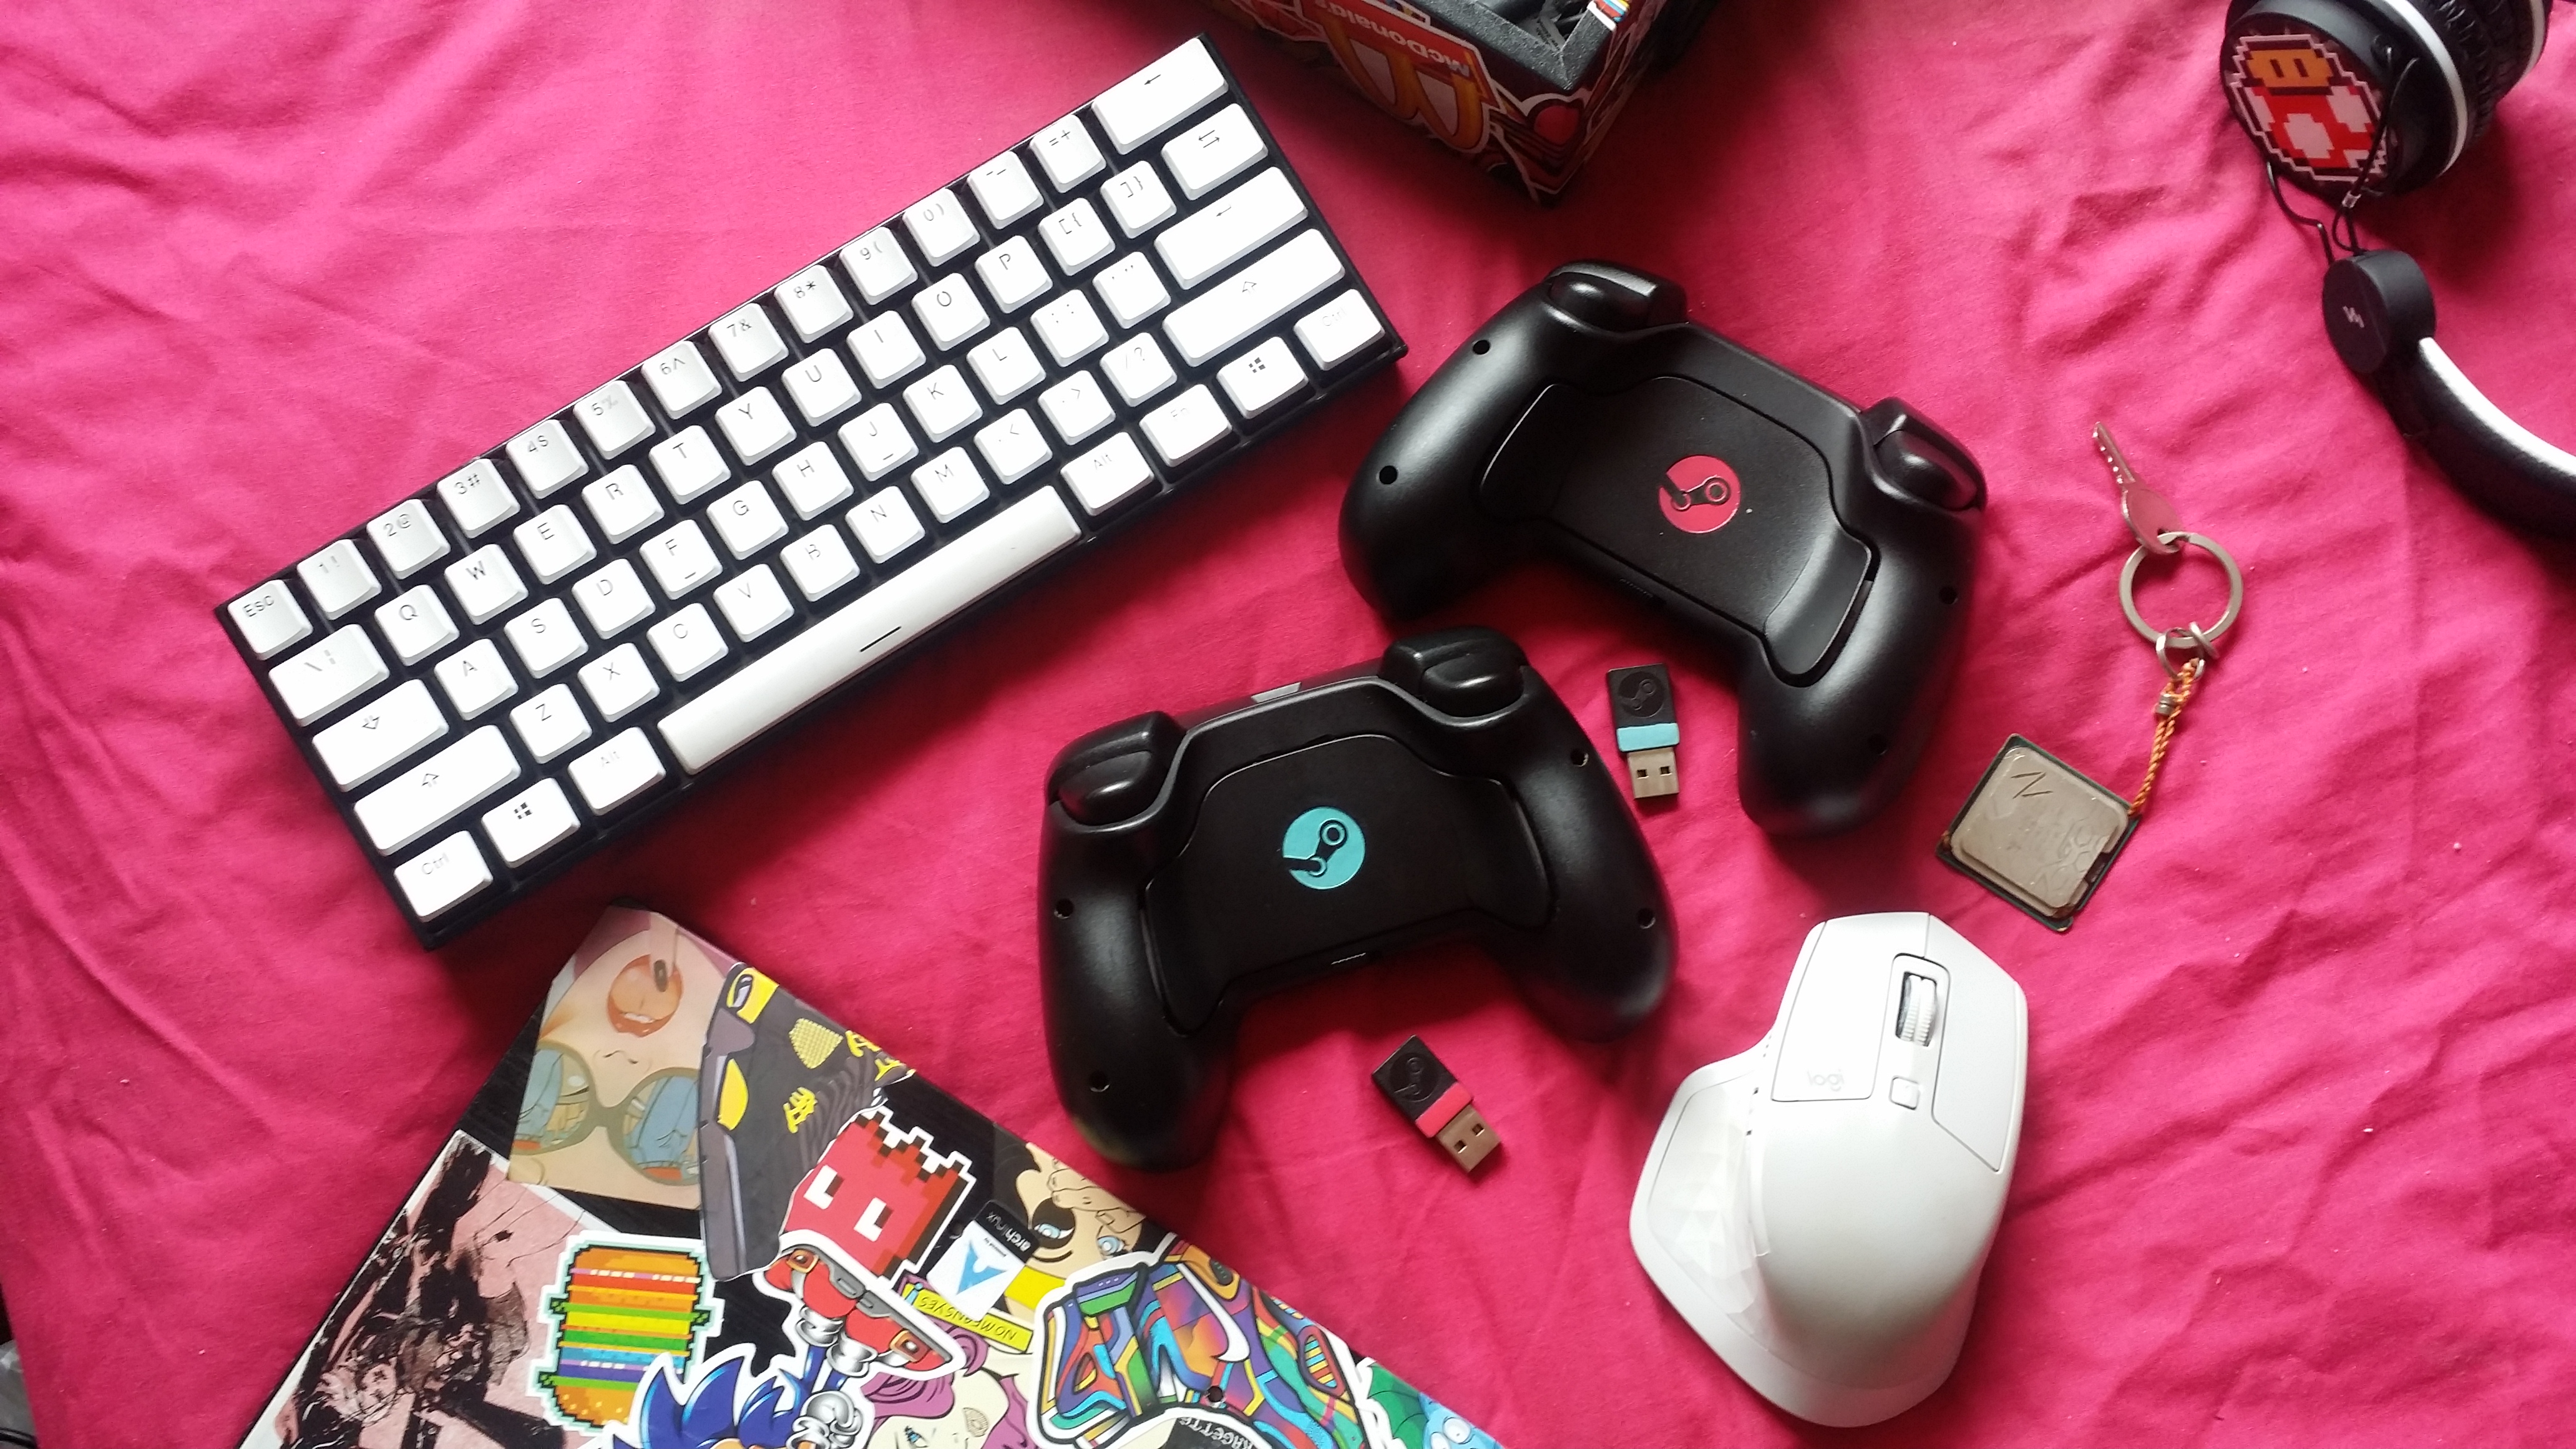
Peripherals:
Logitech MX Master 2S mouse
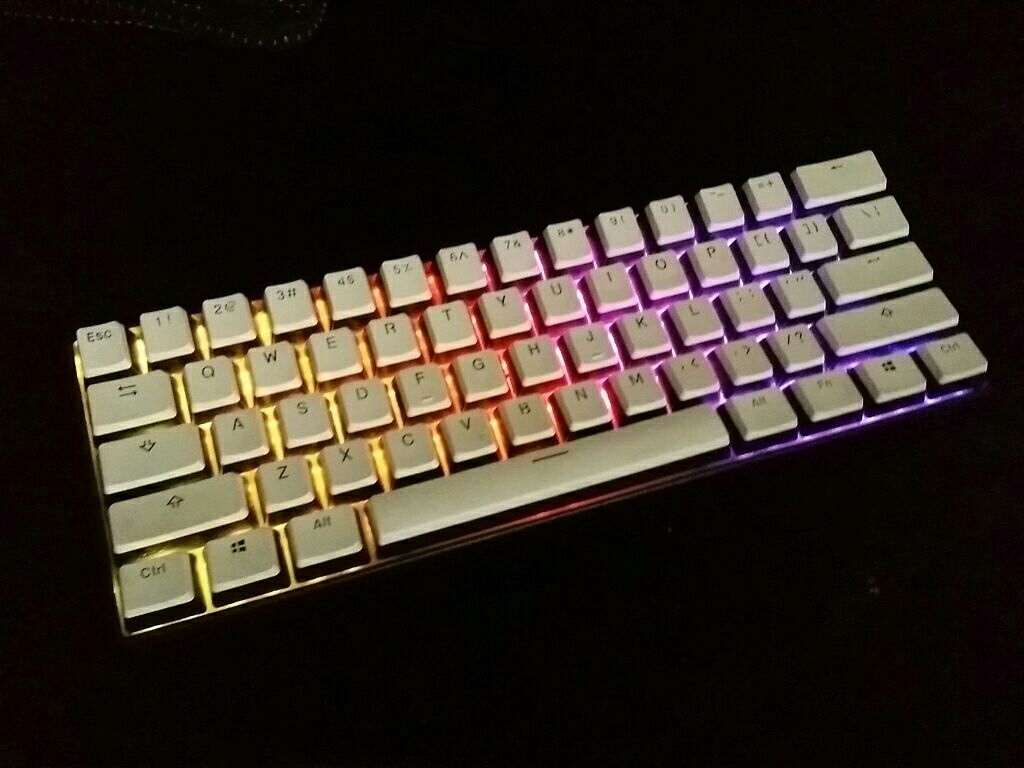
Obins Anne Pro v1 mechanical Bluetooth 60% keyboard
1080p 60Hz portable monitor
Steam Controller (x2)
Focusrite Scarlet Solo gen2 audio interface
Ableton Push control pad
Various headphones
This was all a happy coincidence really that it has worked out as well as it has. I always loved the idea of a LAN PC but have no use for a serious one like I originally had planned for the BitFenix Prodigy, to the the second part to my desktop (Overseer) this would be the Scarab that is on the move. I wanted to spray a Prodigy purple like the iridescent colours on beetles shells. But this was more when I was just into the hardware really so it was more for the sake of building than being useful or affordable.
Then I had the idea for an ultra powerful tablet PC, just a powerful SBC on the back and a touch screen on the front. All bolted together, maybe on the Vesa mount, industrial but good and upgradable. Maybe a Raspberry Pi and then when I get home I can plug the screen into my PC as another screen? Or have it independently function as another PC to look things up in games or work along side the other screens on my desk?
Then I started thinking about audio production, in play the bass too, and like the idea but I am not good and have done nothing with it. So I looked into what that would taken to run mobile. I also like to play some games and nothing crazy on the requirements. So I looked at the nucs but found them all a bit chunky and underpowered. There was one… The gaming line, they were thin and wide rather than cubular. That could almost be mounted to a screen, maybe with some short wires, and they are powerful, this could work. But they are so expensive… I will stick with the small SBC idea for now.
I had previously cobbled together an iPad panel to Display Port monitor for my main PC after seeing Wendell show off his own. This was very barebones, like the bare panel win mounting tabs and all and a PCB with some ribbon cables and Display Port cable coming out of it, mounted with Velcro pads on a piece of plywood. But I Loved it, it is still my main monitor and I play games on it.
So I figured I will get another bare panel with touch capabilities and a Pi and make a plate for the panel to mount to and attach the Pis case to that. I got one but broke the screen, it was way too fragile and hacky of a solution and was never going to work in real world use.
I kept a look out online for the Gaming NUCs and eventually I found someone selling surplus, it was about half price, open box but looked good. Put in a bid and won. When it got to me it was brand new, still protective plastic on it and everything, it had been opened to inventory it and then shelved it looks like. Score.
So a screen was needed and I saw various YouTubers showing off portable monitors, basically tablet screens with HDMI and powered from USB. I looked for my own and found a cheap decent once on AliExpress, not the best but not the most expensive either. There are thinner and better ones out there but this is fine for me and now, this is always open to upgrades.
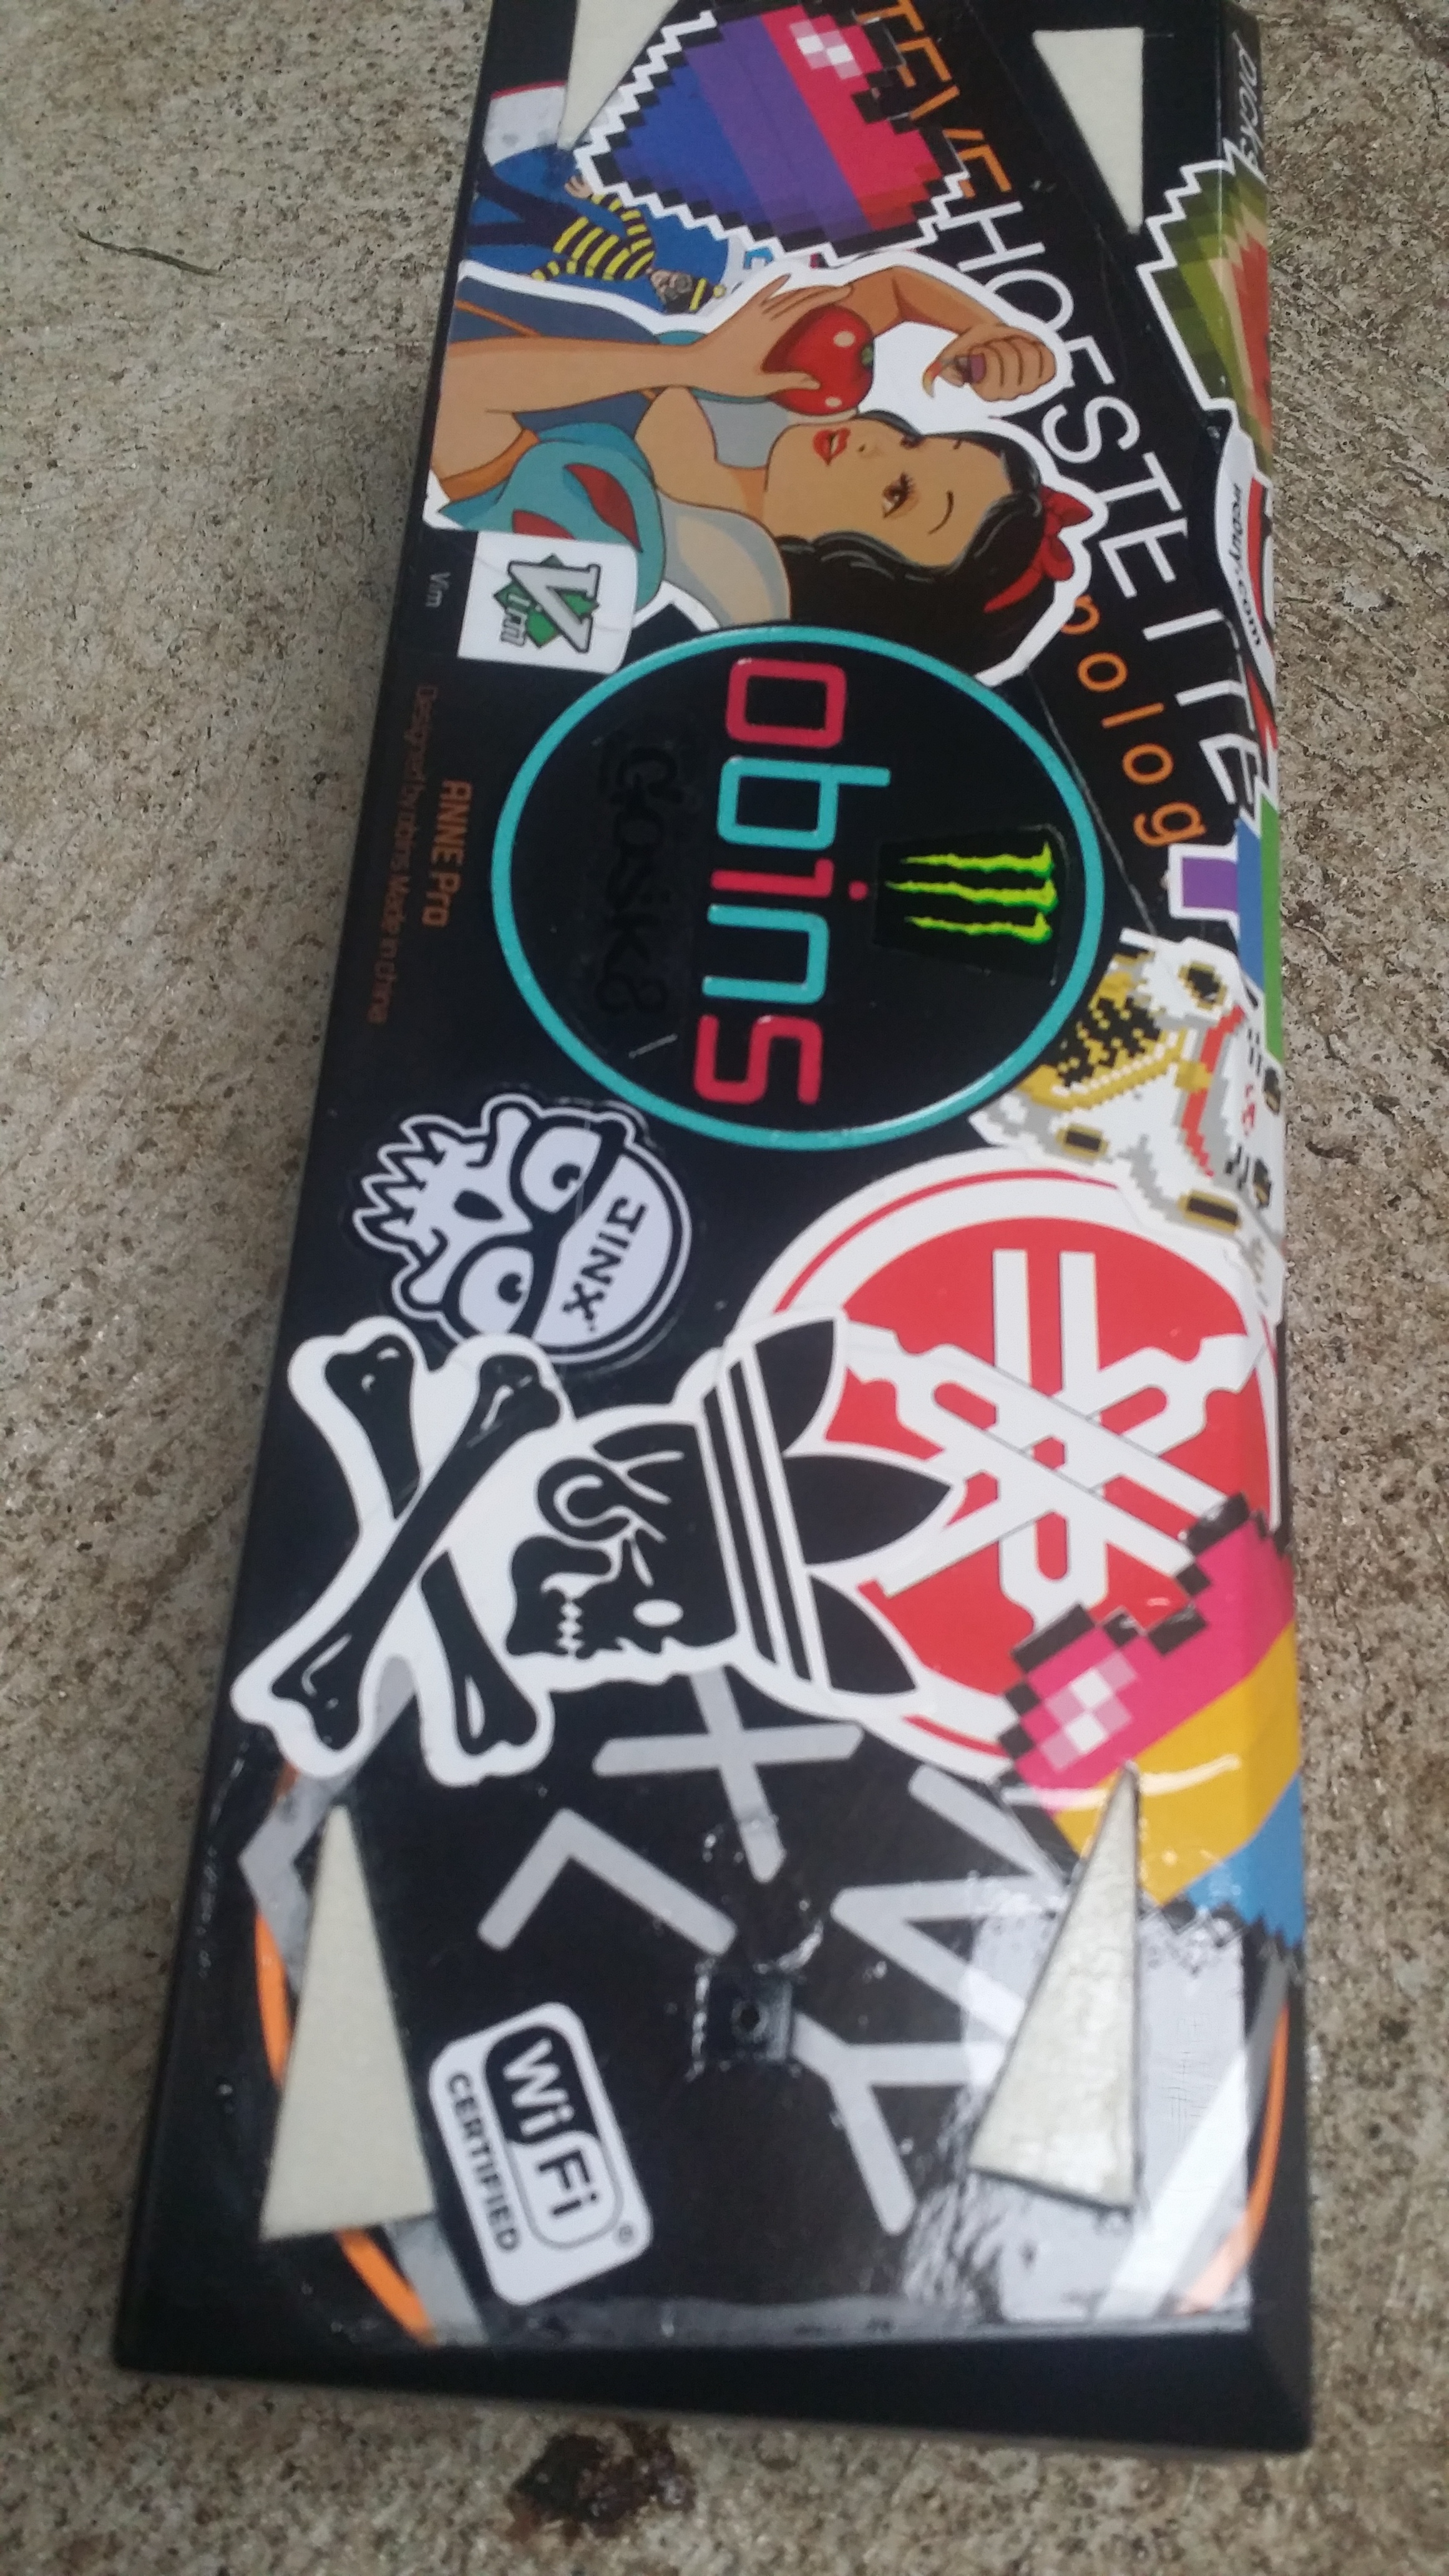
The Anne Pro was bought for this project to be the portable wireless keyboard to go woth the mobile scheme. A 60% board with Bluetooth and RGB. I had planned to test new switches in this board to go with the project, silent mechanical switches and I also wanted to try more tactile switches as I was enjoying them on my desktop. So I got the Anne Pro with black switches and desoldered them all putting in Zeal OC Zilents that I had spring swapped up to 100g. Also got it a nice tuxedo set of caps.
By then now I had the Ableton Push controller and had the parts of the PC in hand but not fully ready. I still needed RAM, SSD, mouse, audio interface and various cables and bits. I had been using the Steam Controller for a while and it actually works really well as a mouse for me, so I bought a second one for this PC. Just on a random look out I saw a Focusrite Scarlett Solo gen2 in a second hand electronics shop here called Cex. I did not really believe it, they susually have console stuff and maybe a GPU and random buts but nothing too obscure, so I asked my friend if they were any good, came back positive and I bought it.
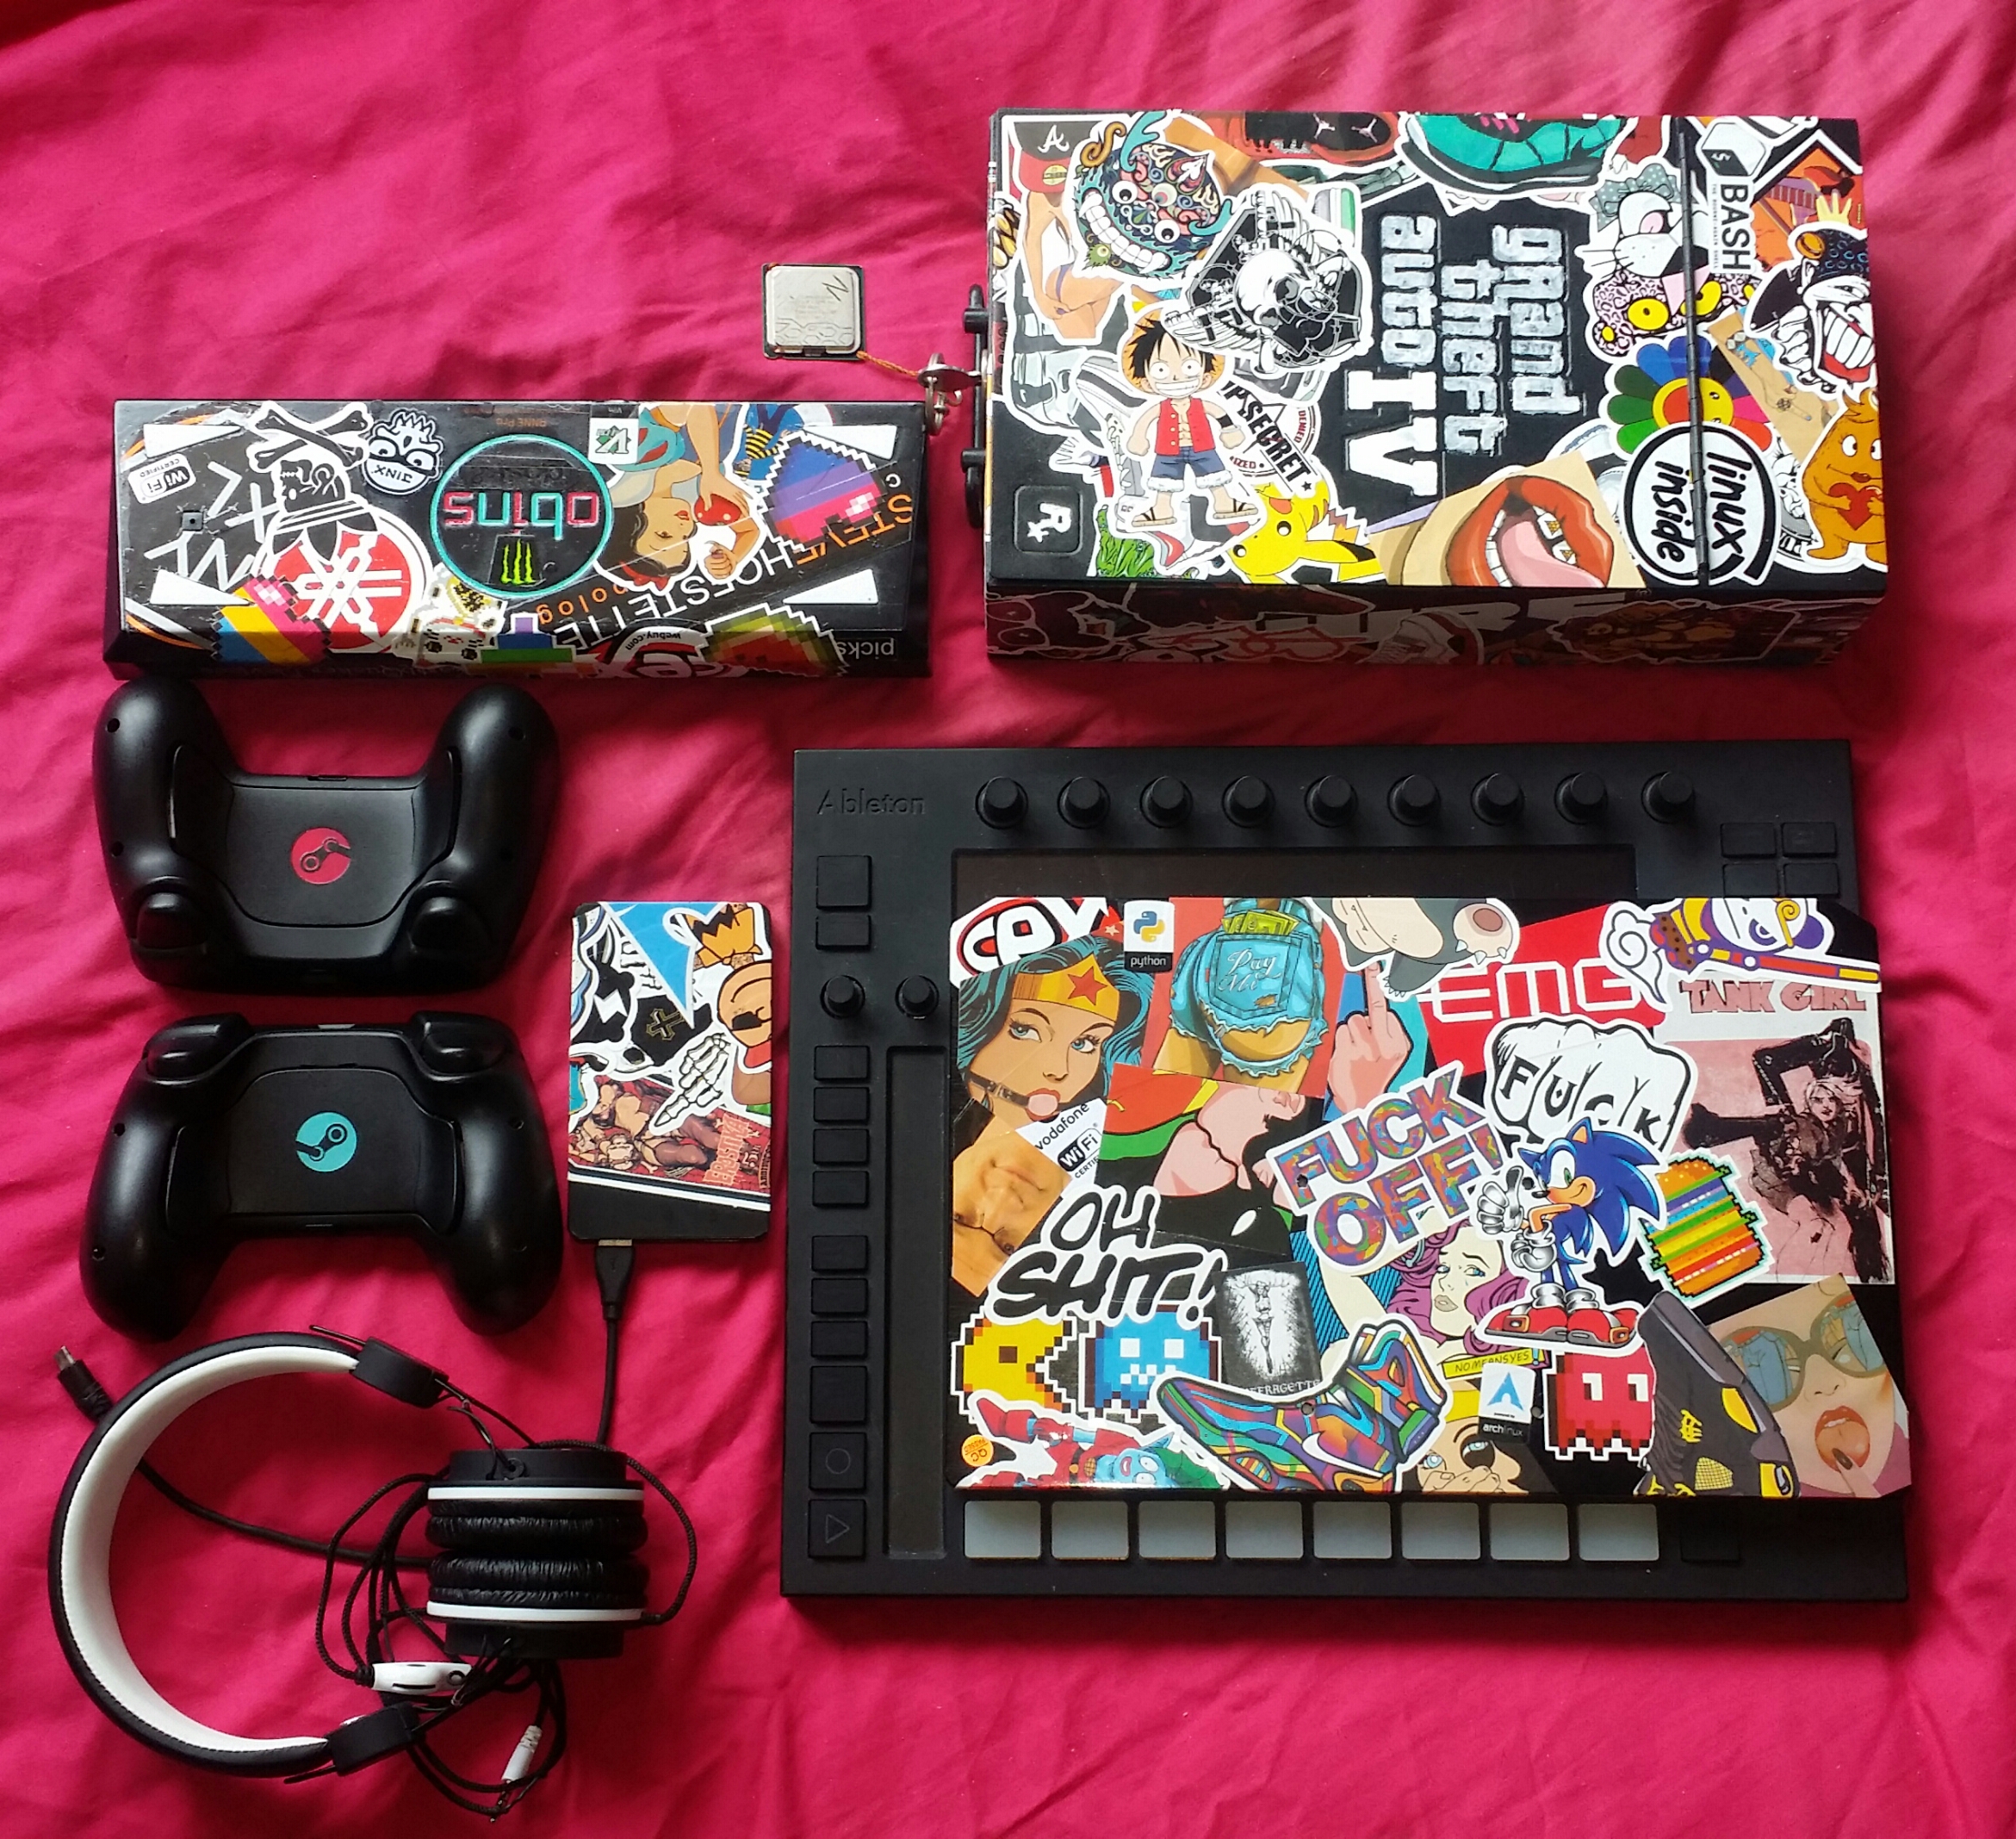
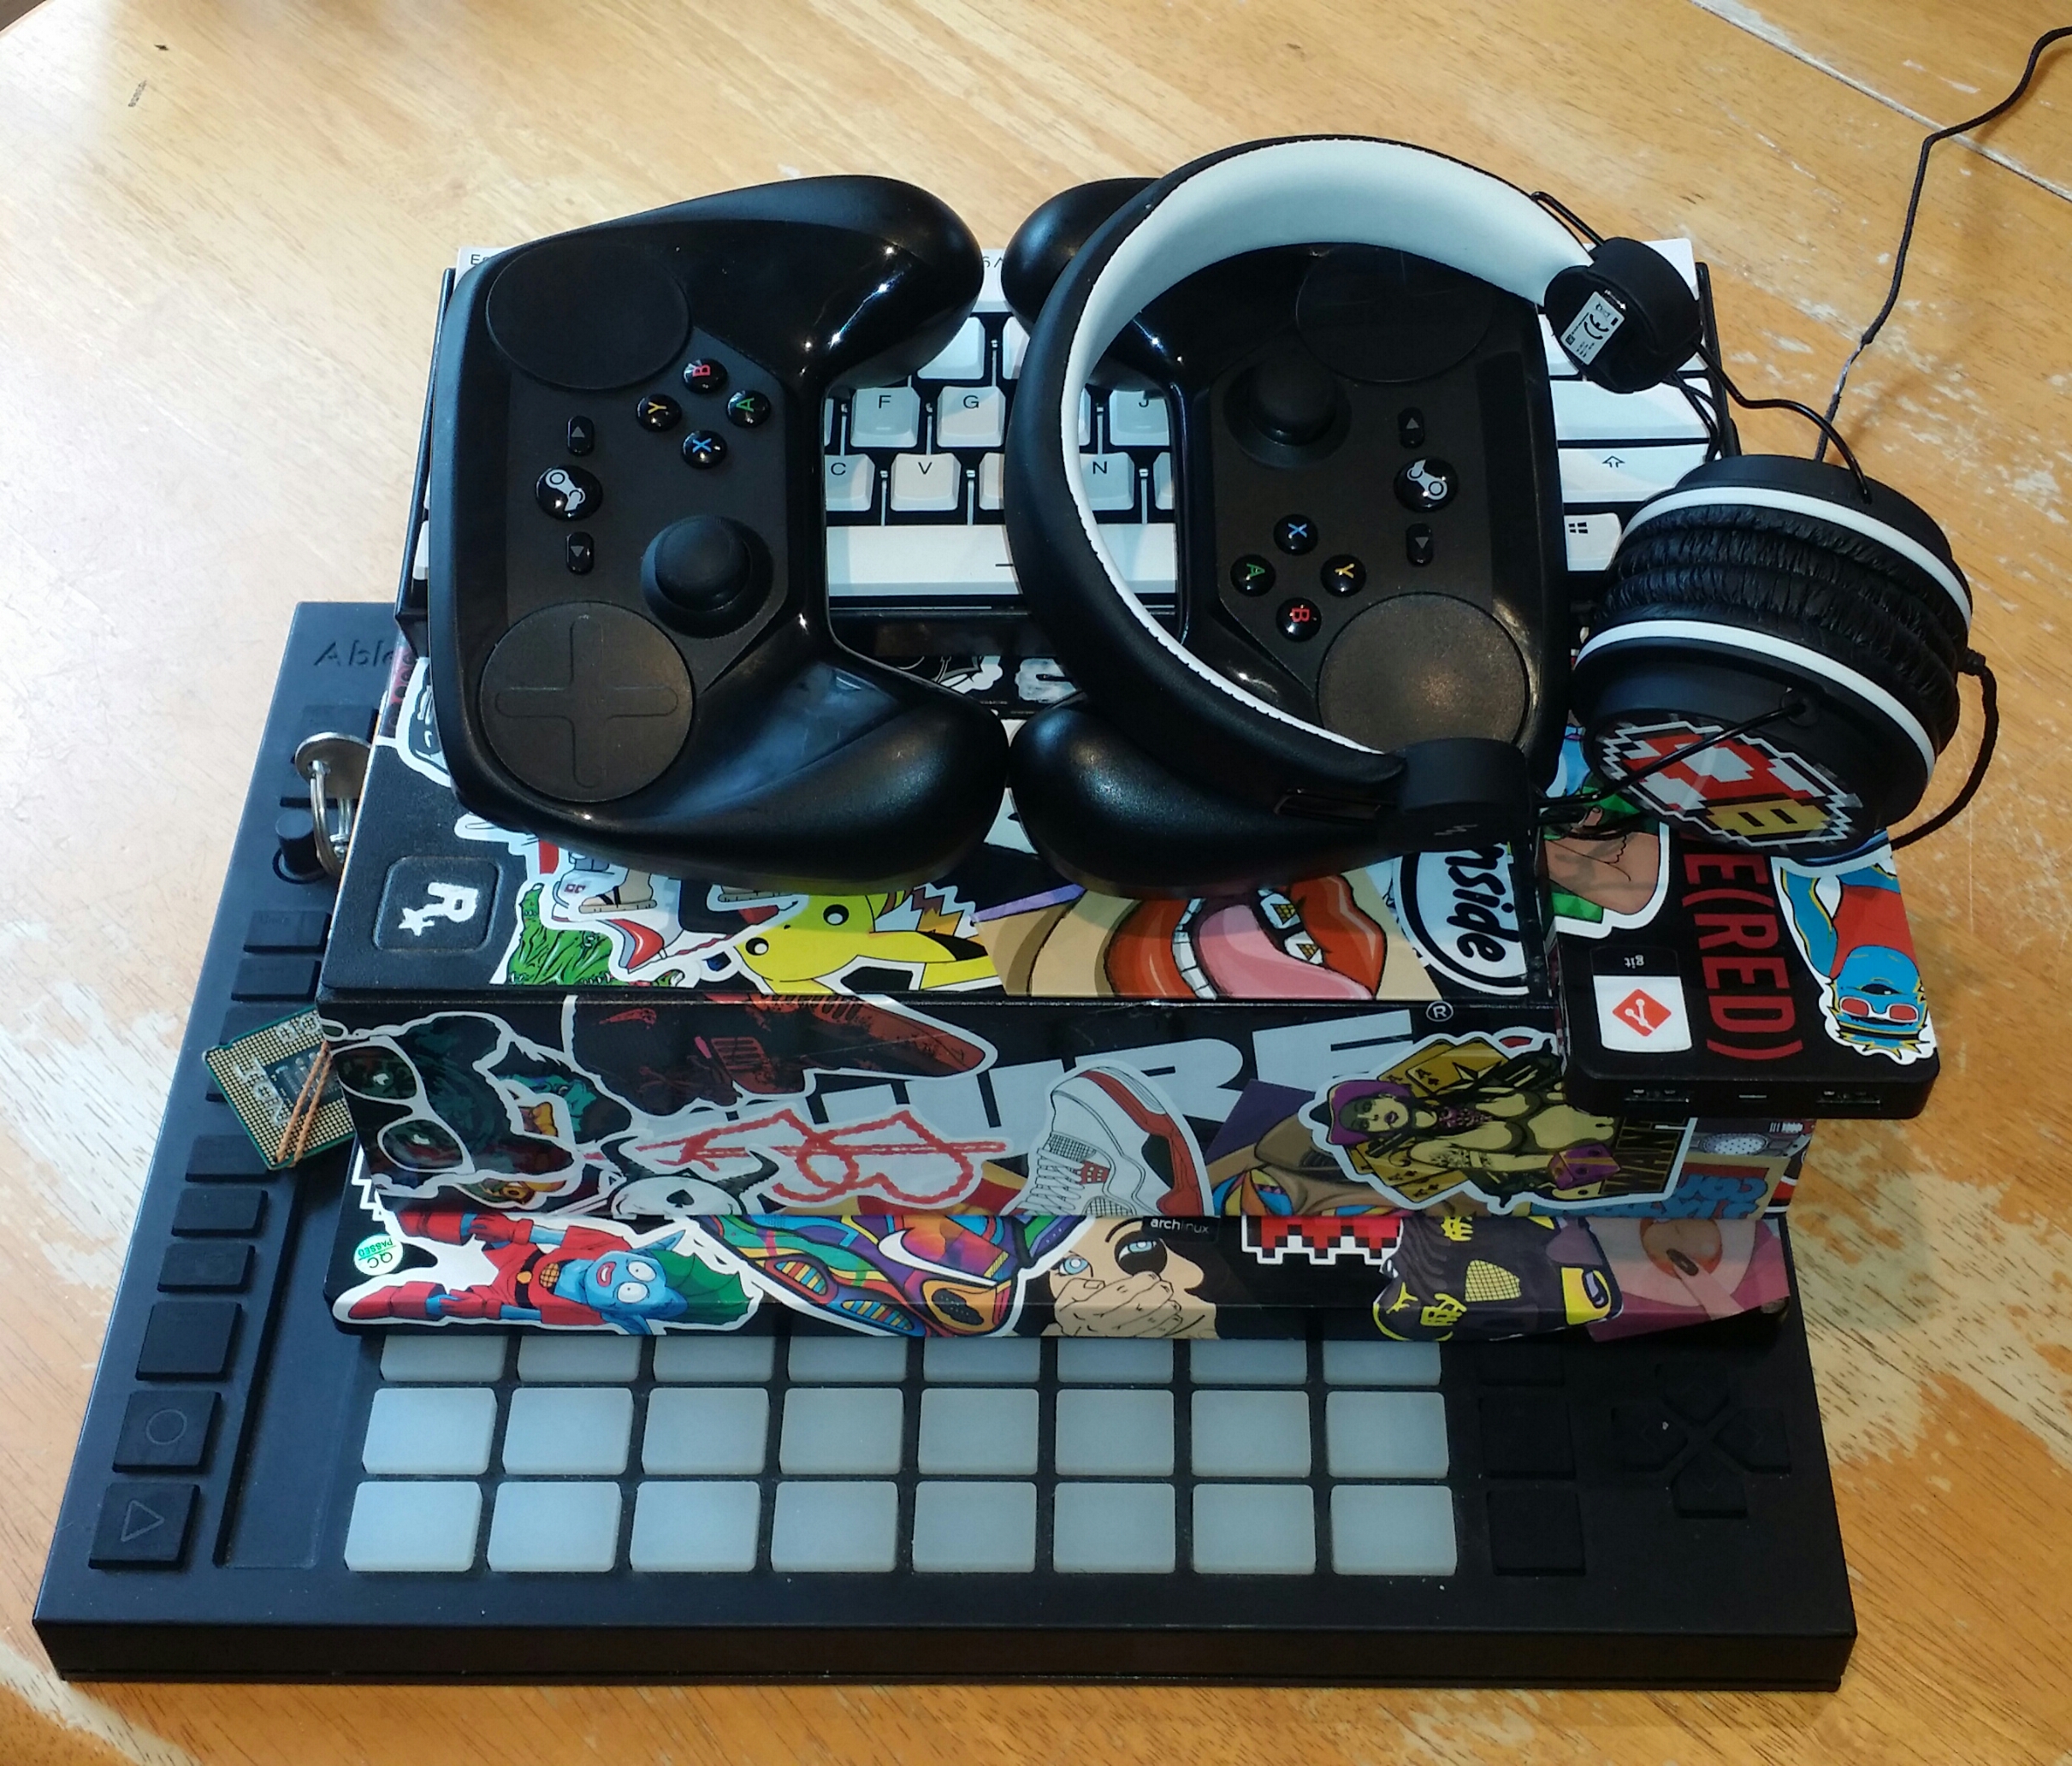
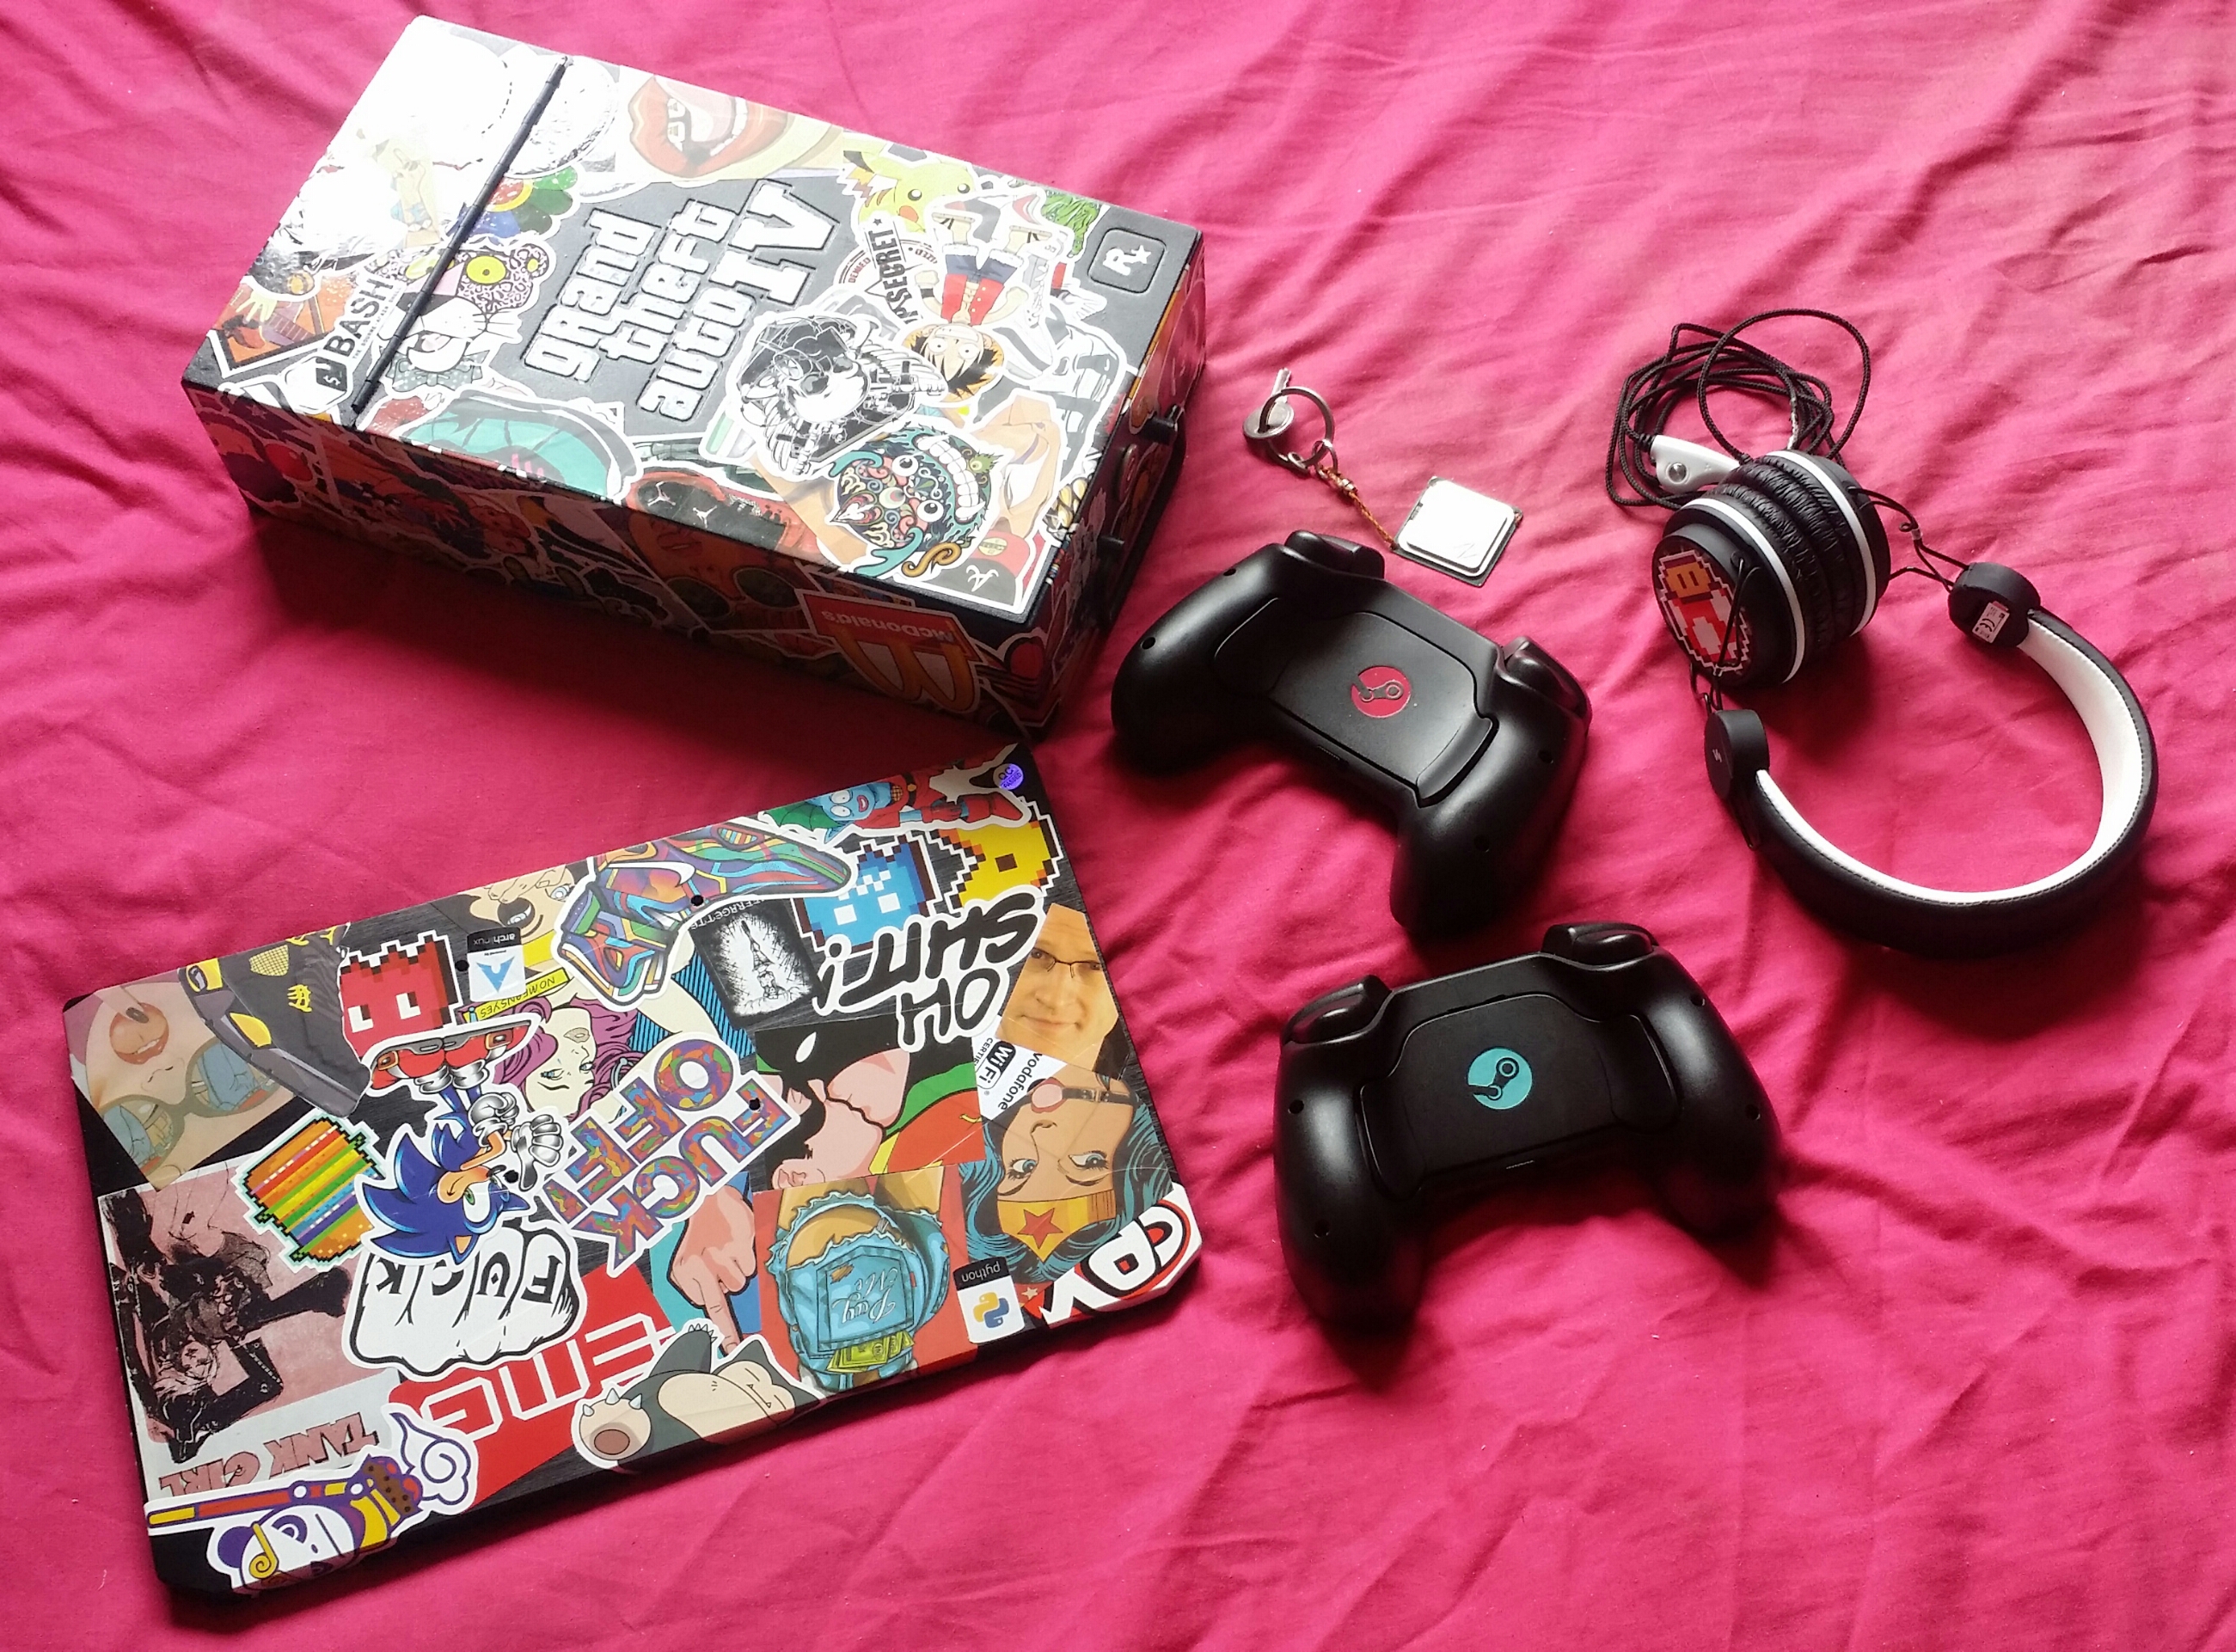
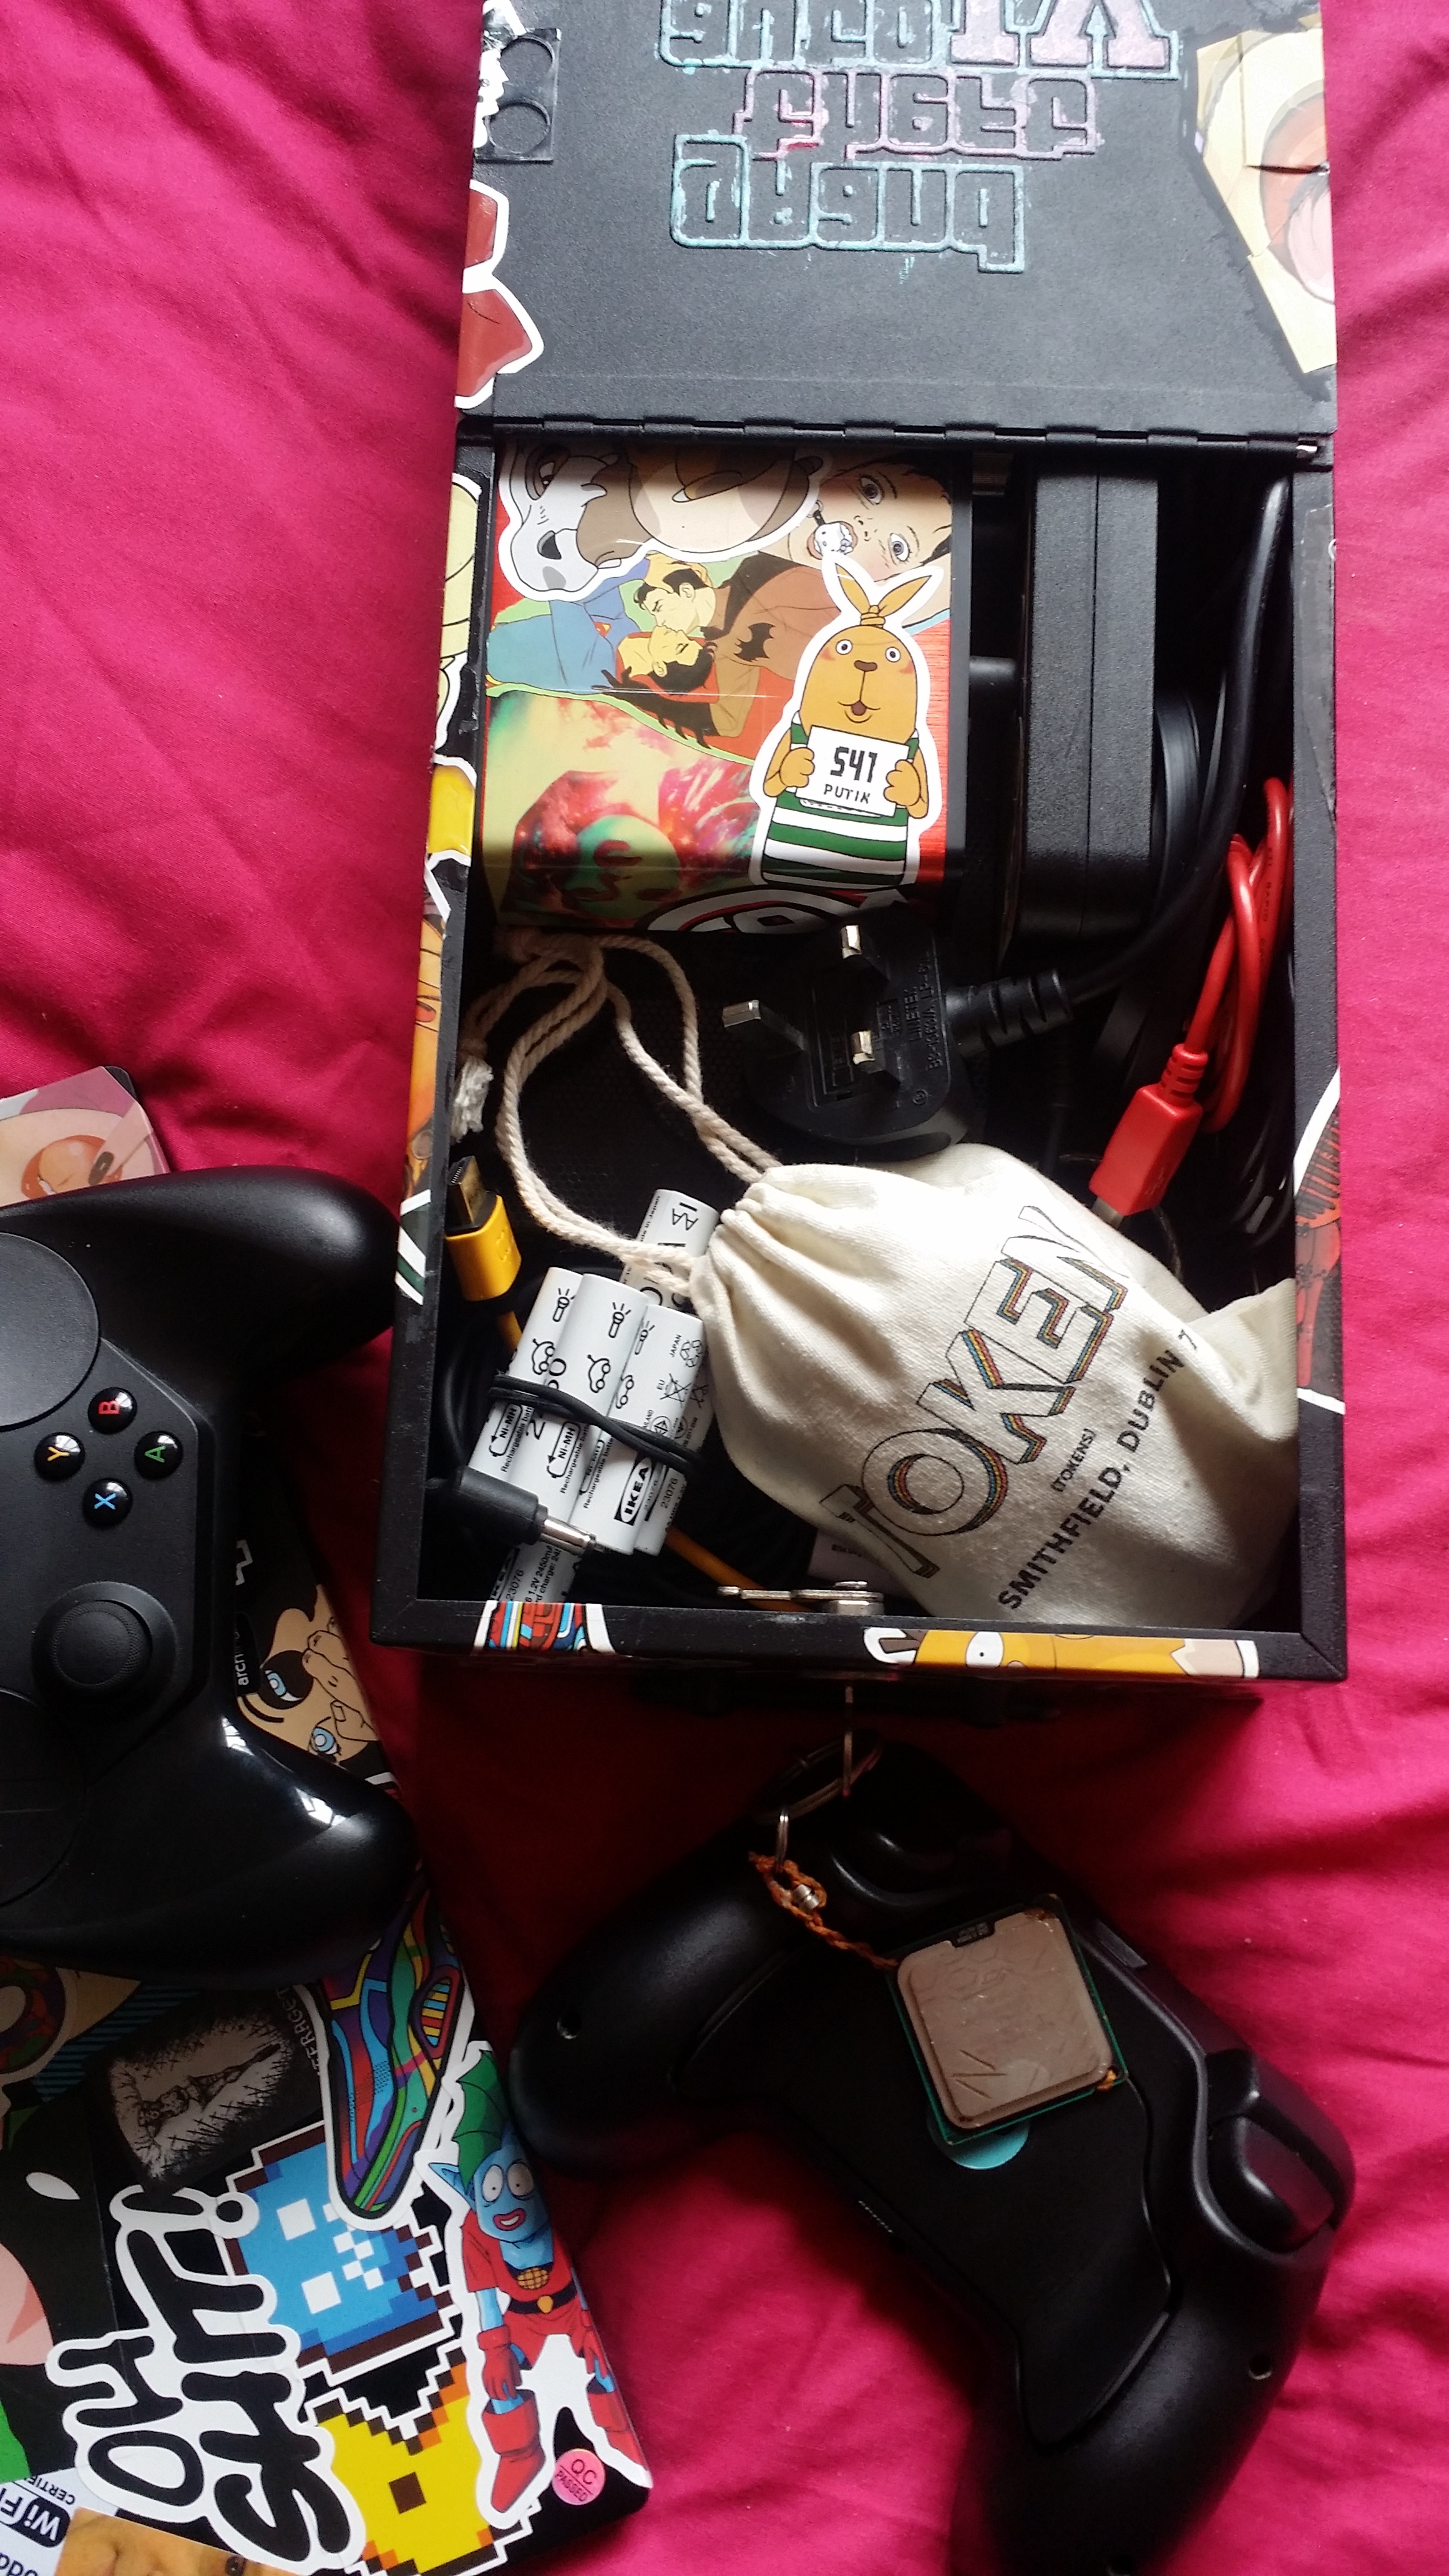
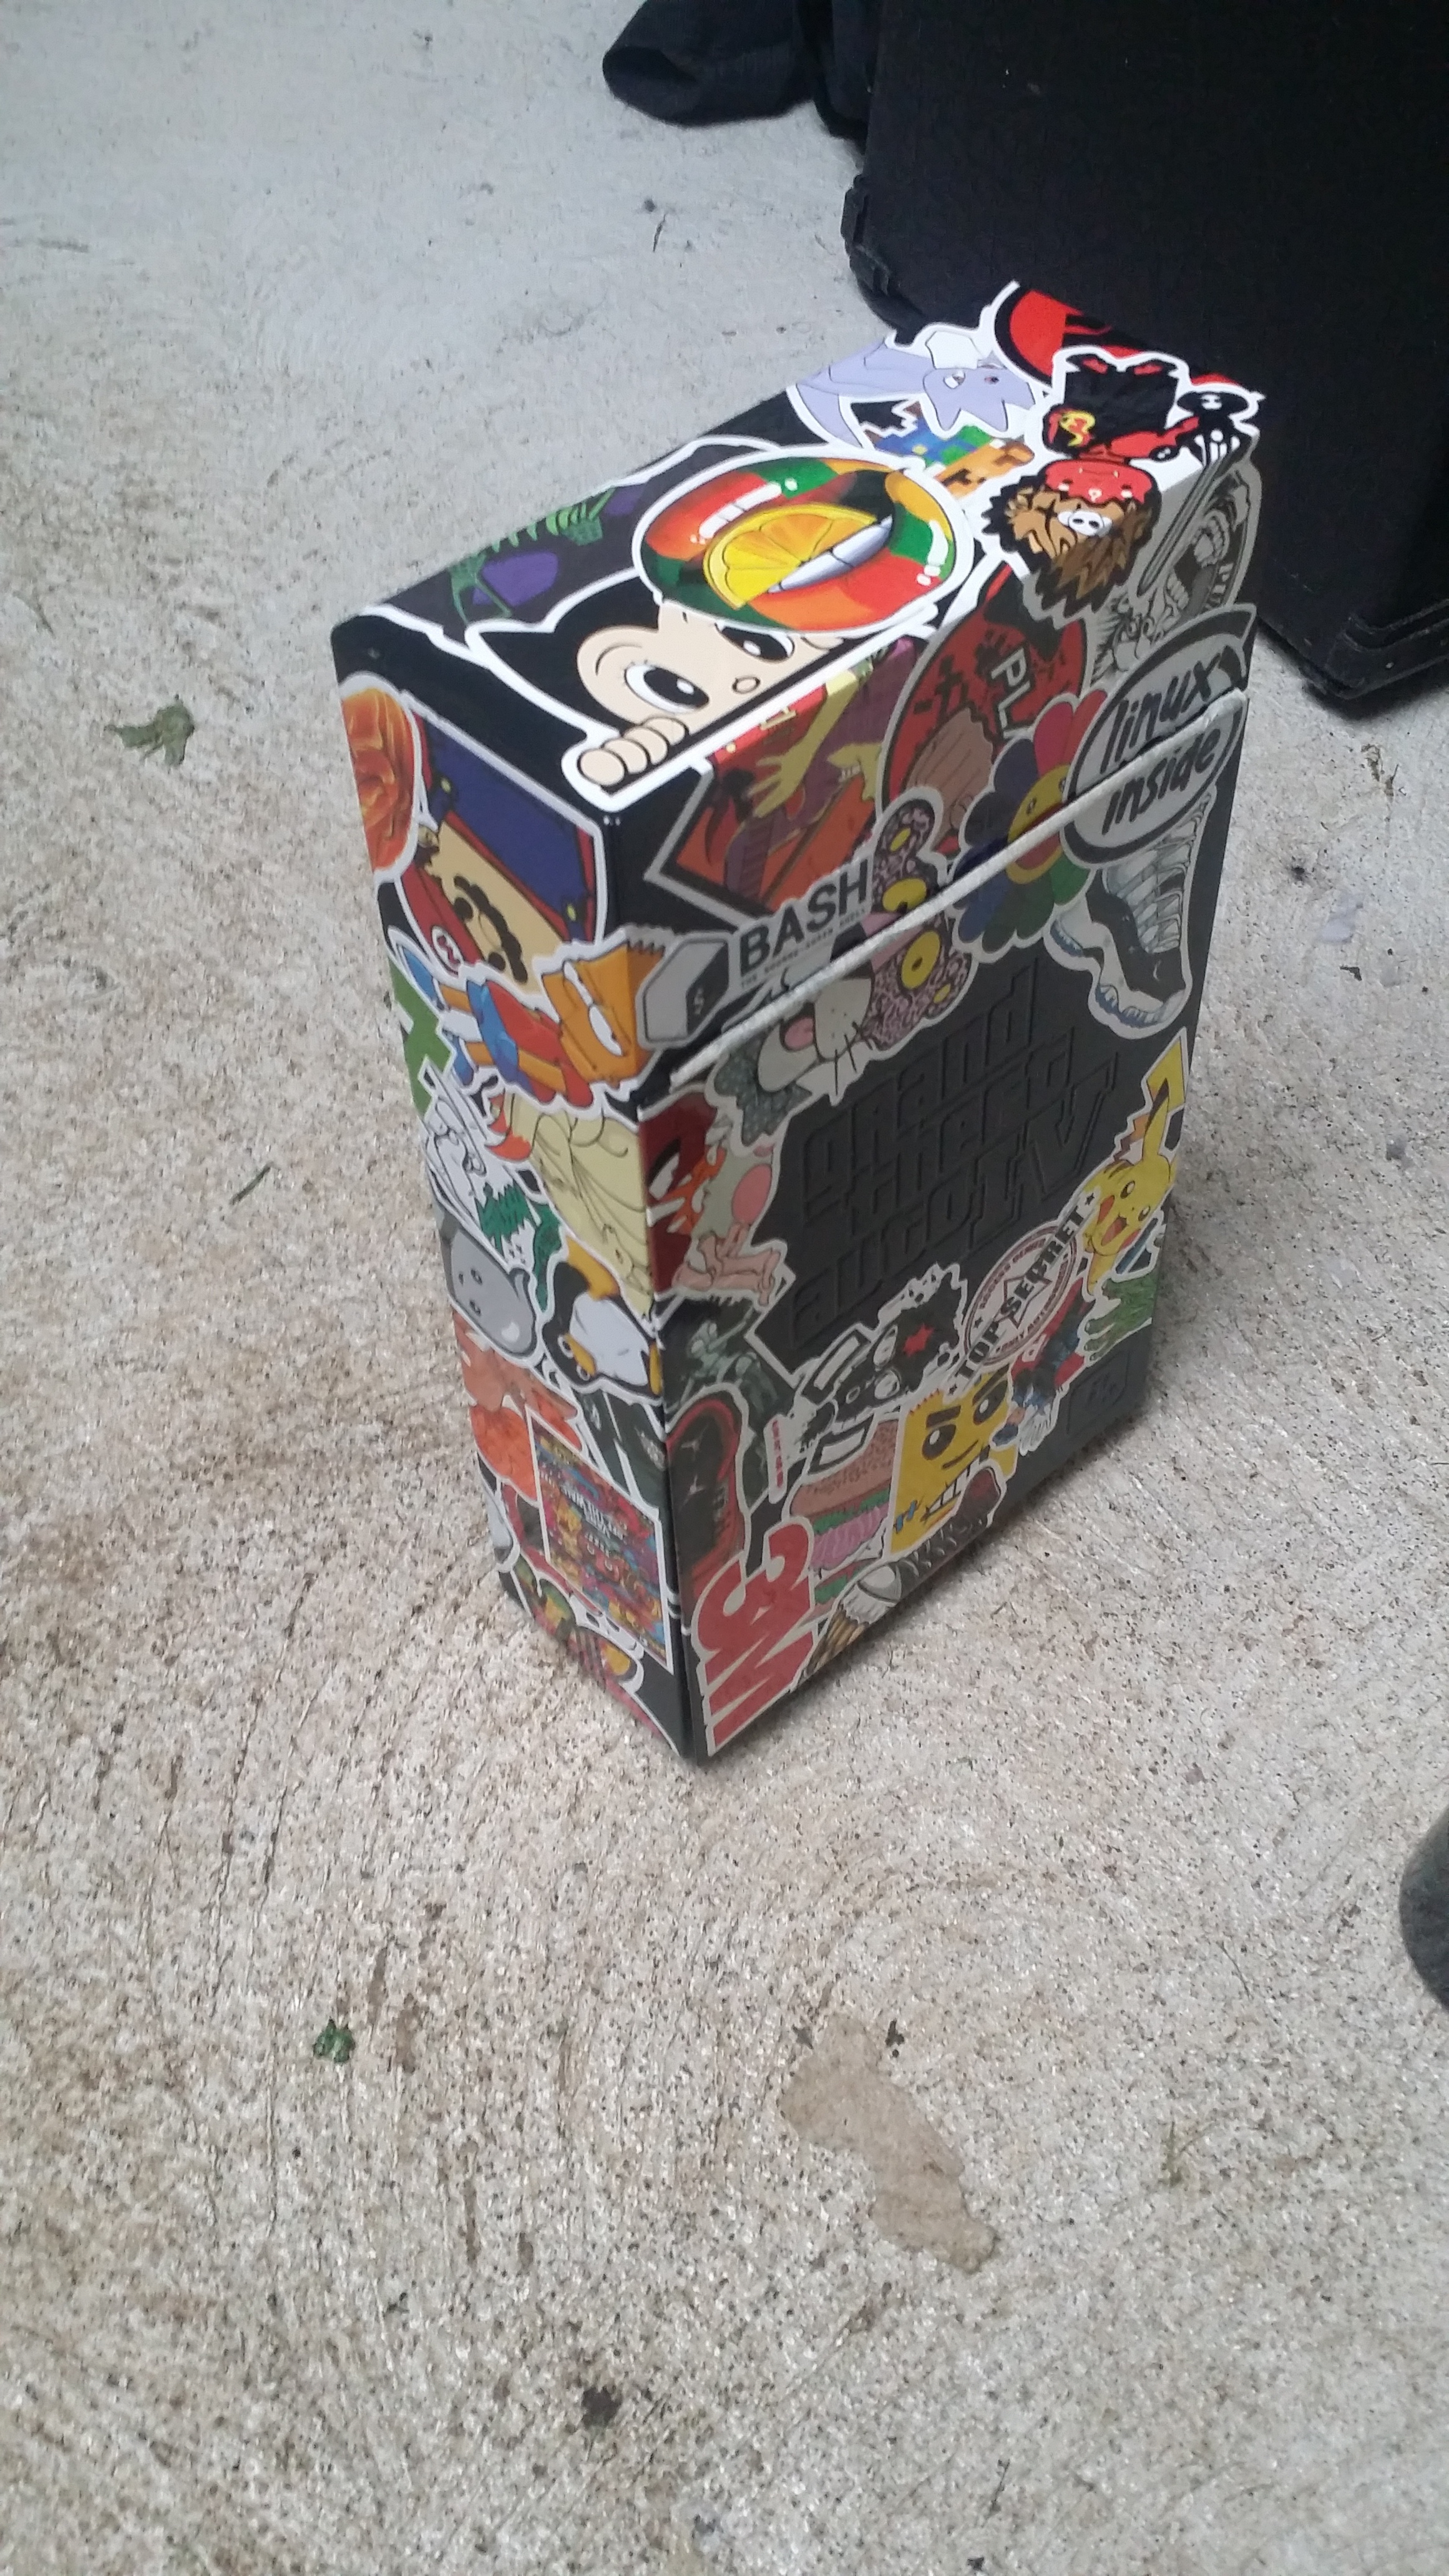
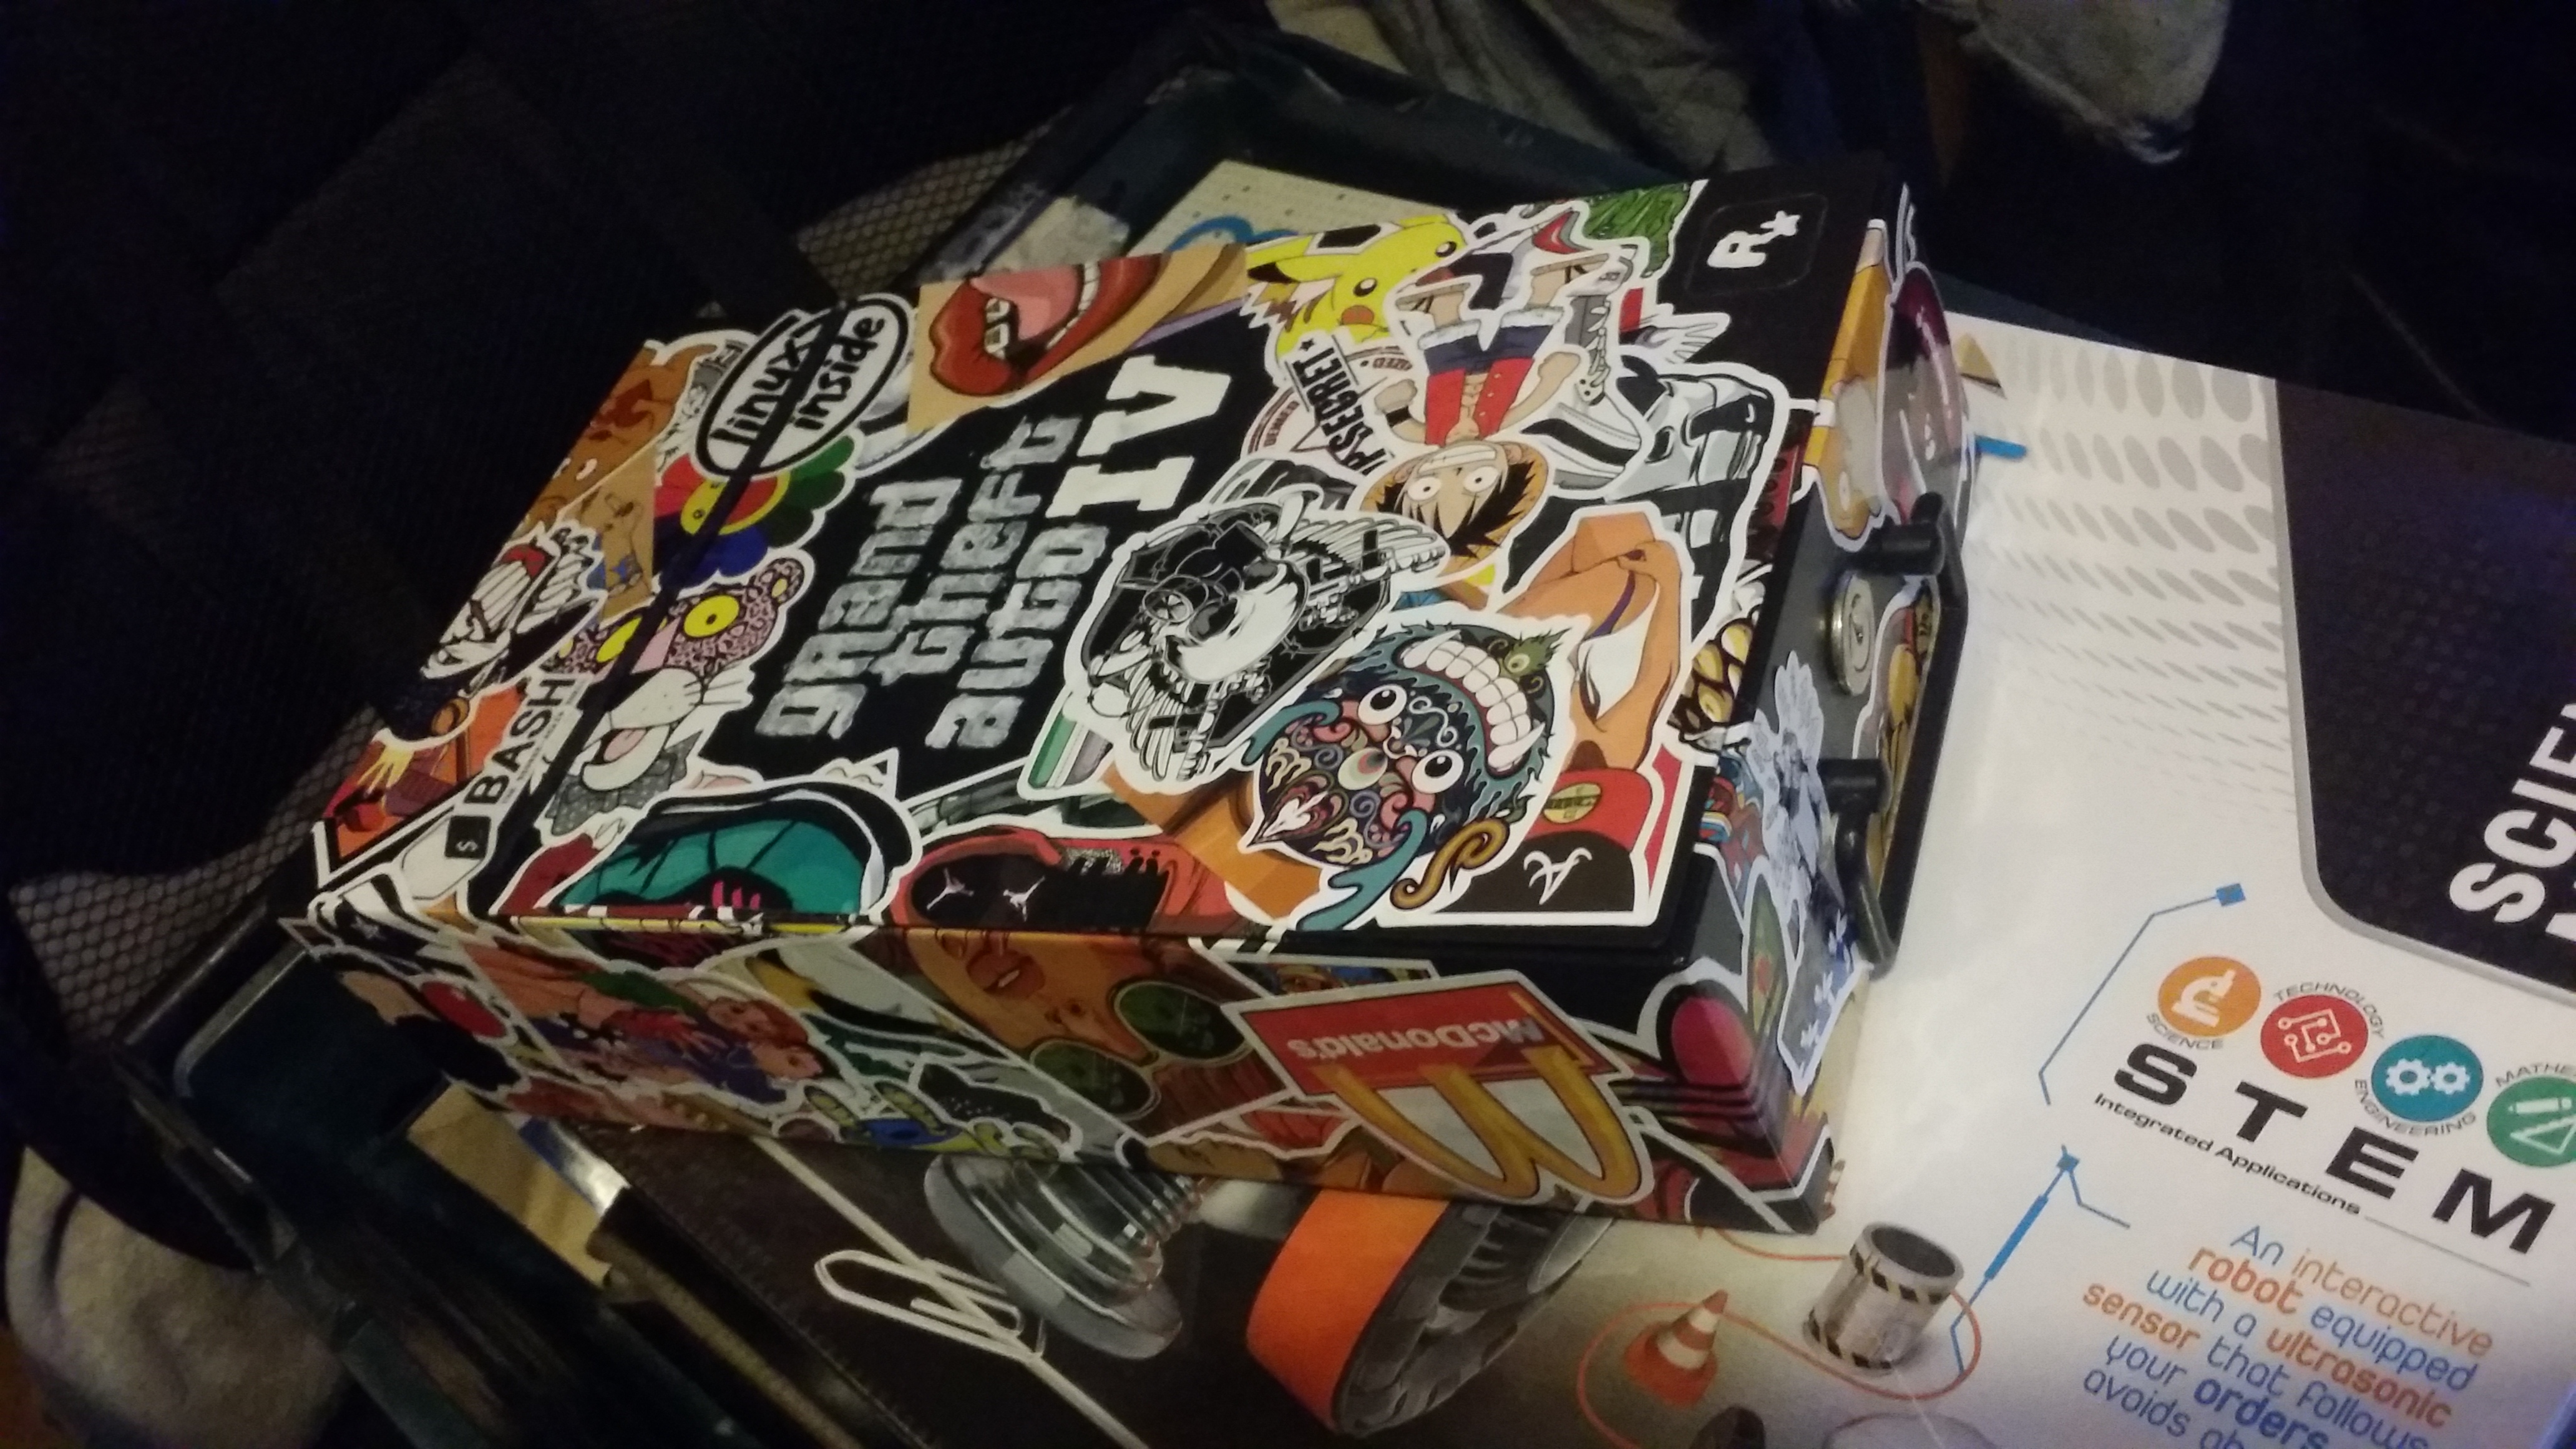
I had already been using the old GTA IV safety deposit box that I got with the special edition to keep the parts in. It never had a purpose, I really did not like the game. But after I got all the parts I found it all fit just perfect. Like the NUC one one side with the interface on top is the perfect height, they end up the same width from above, the power brick on its side was the same perfect height as the stacked NUC and Interface and the inside of the box, this left room to stuff cables beside it to secure it and hold the cables, it was just meant to be. So now the entire PC, power brick, interface, cables, mouse, USB HUB and bateries fit in this safety deposit box. Magic. Now the box serves as a reminder not to pre order games.
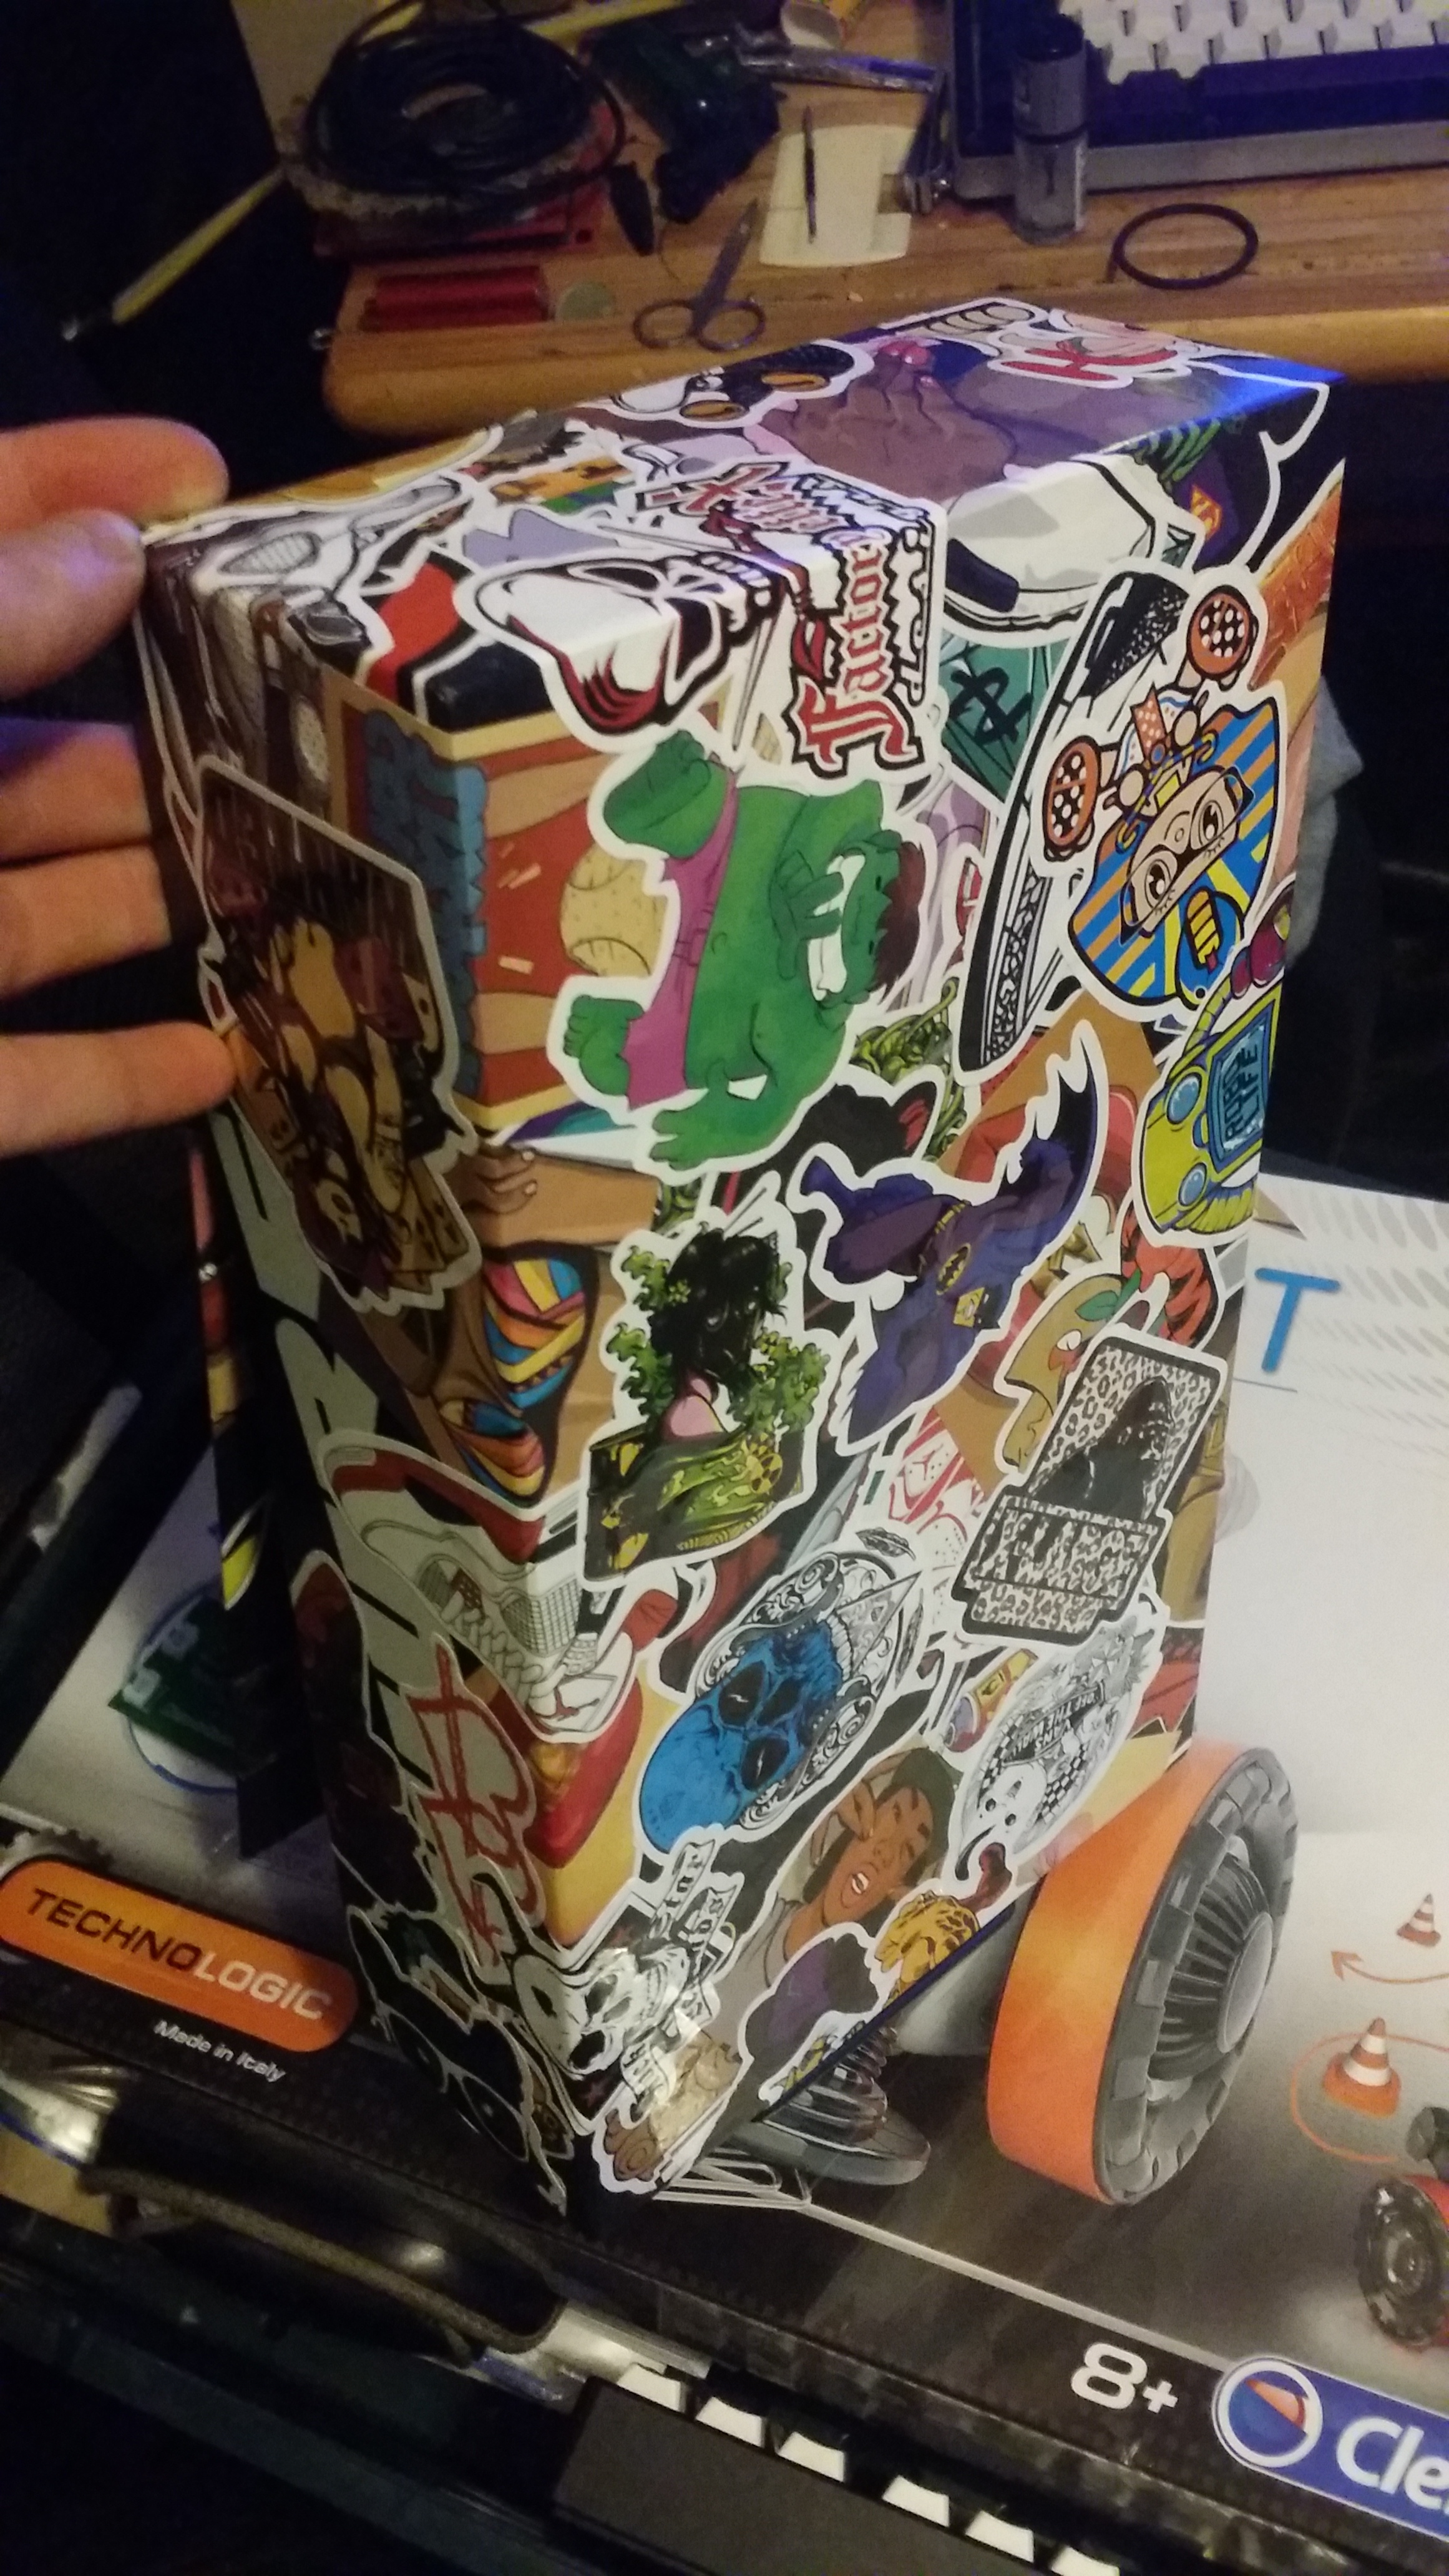
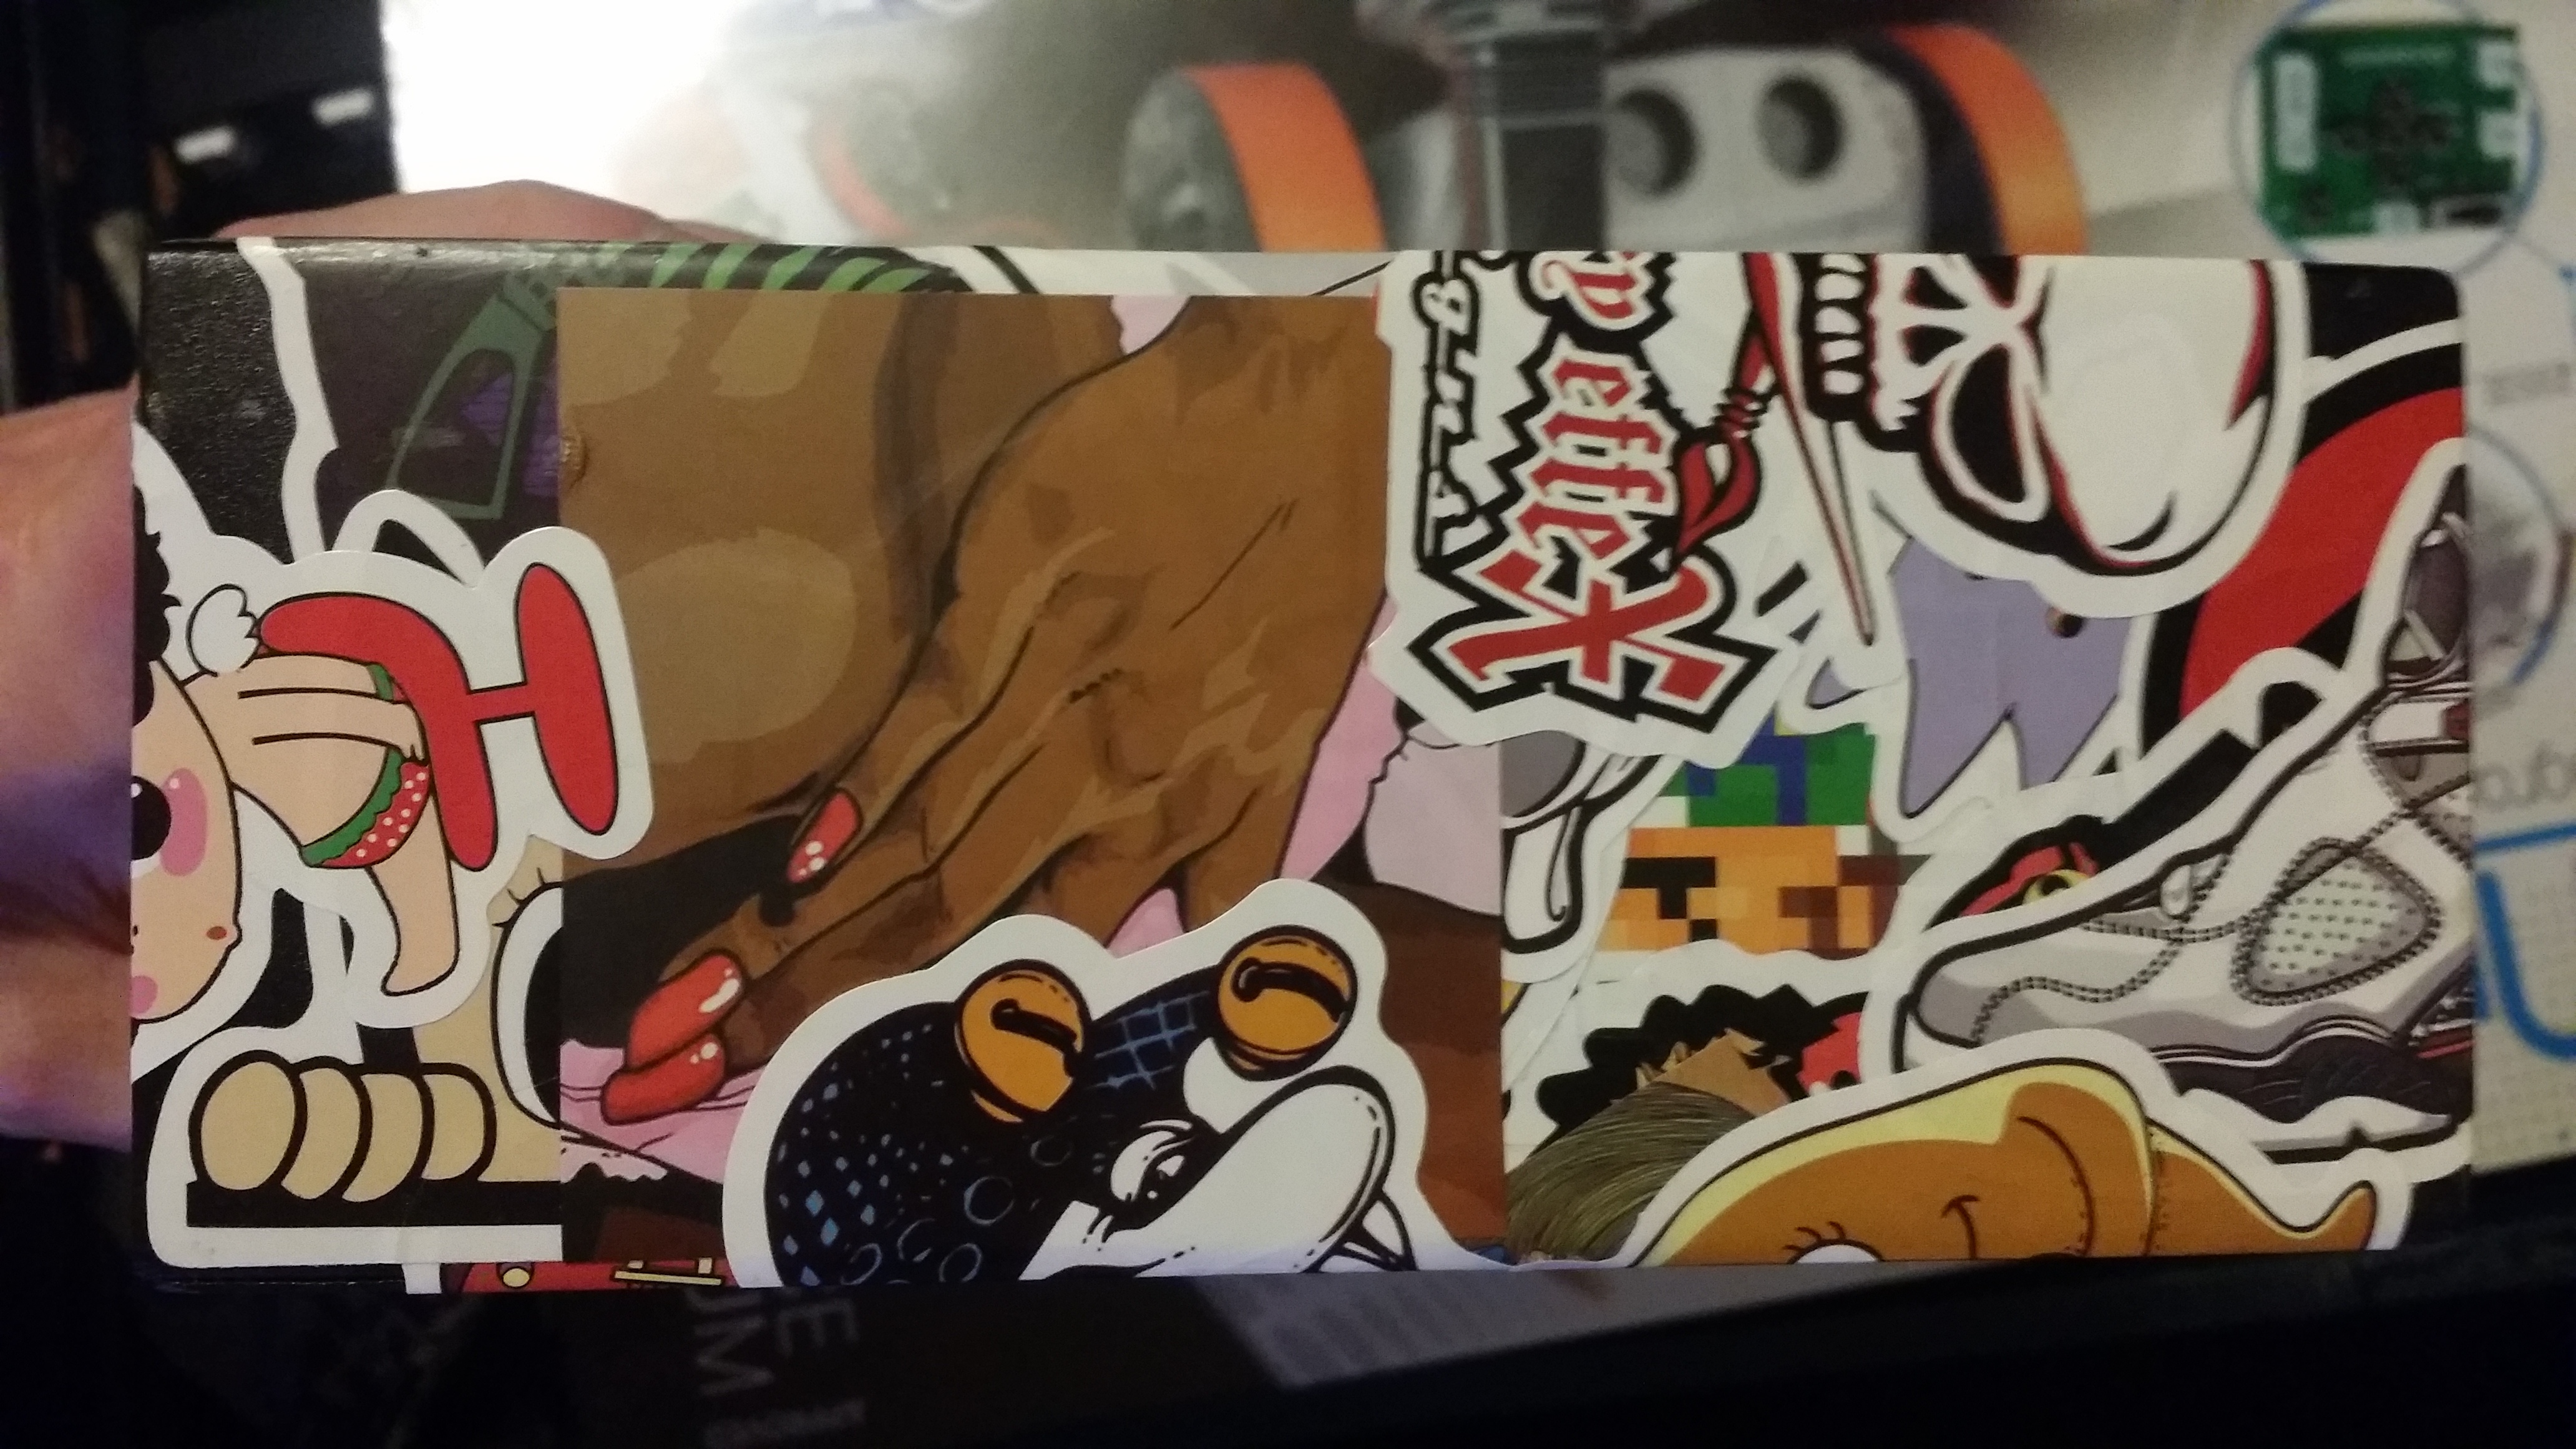
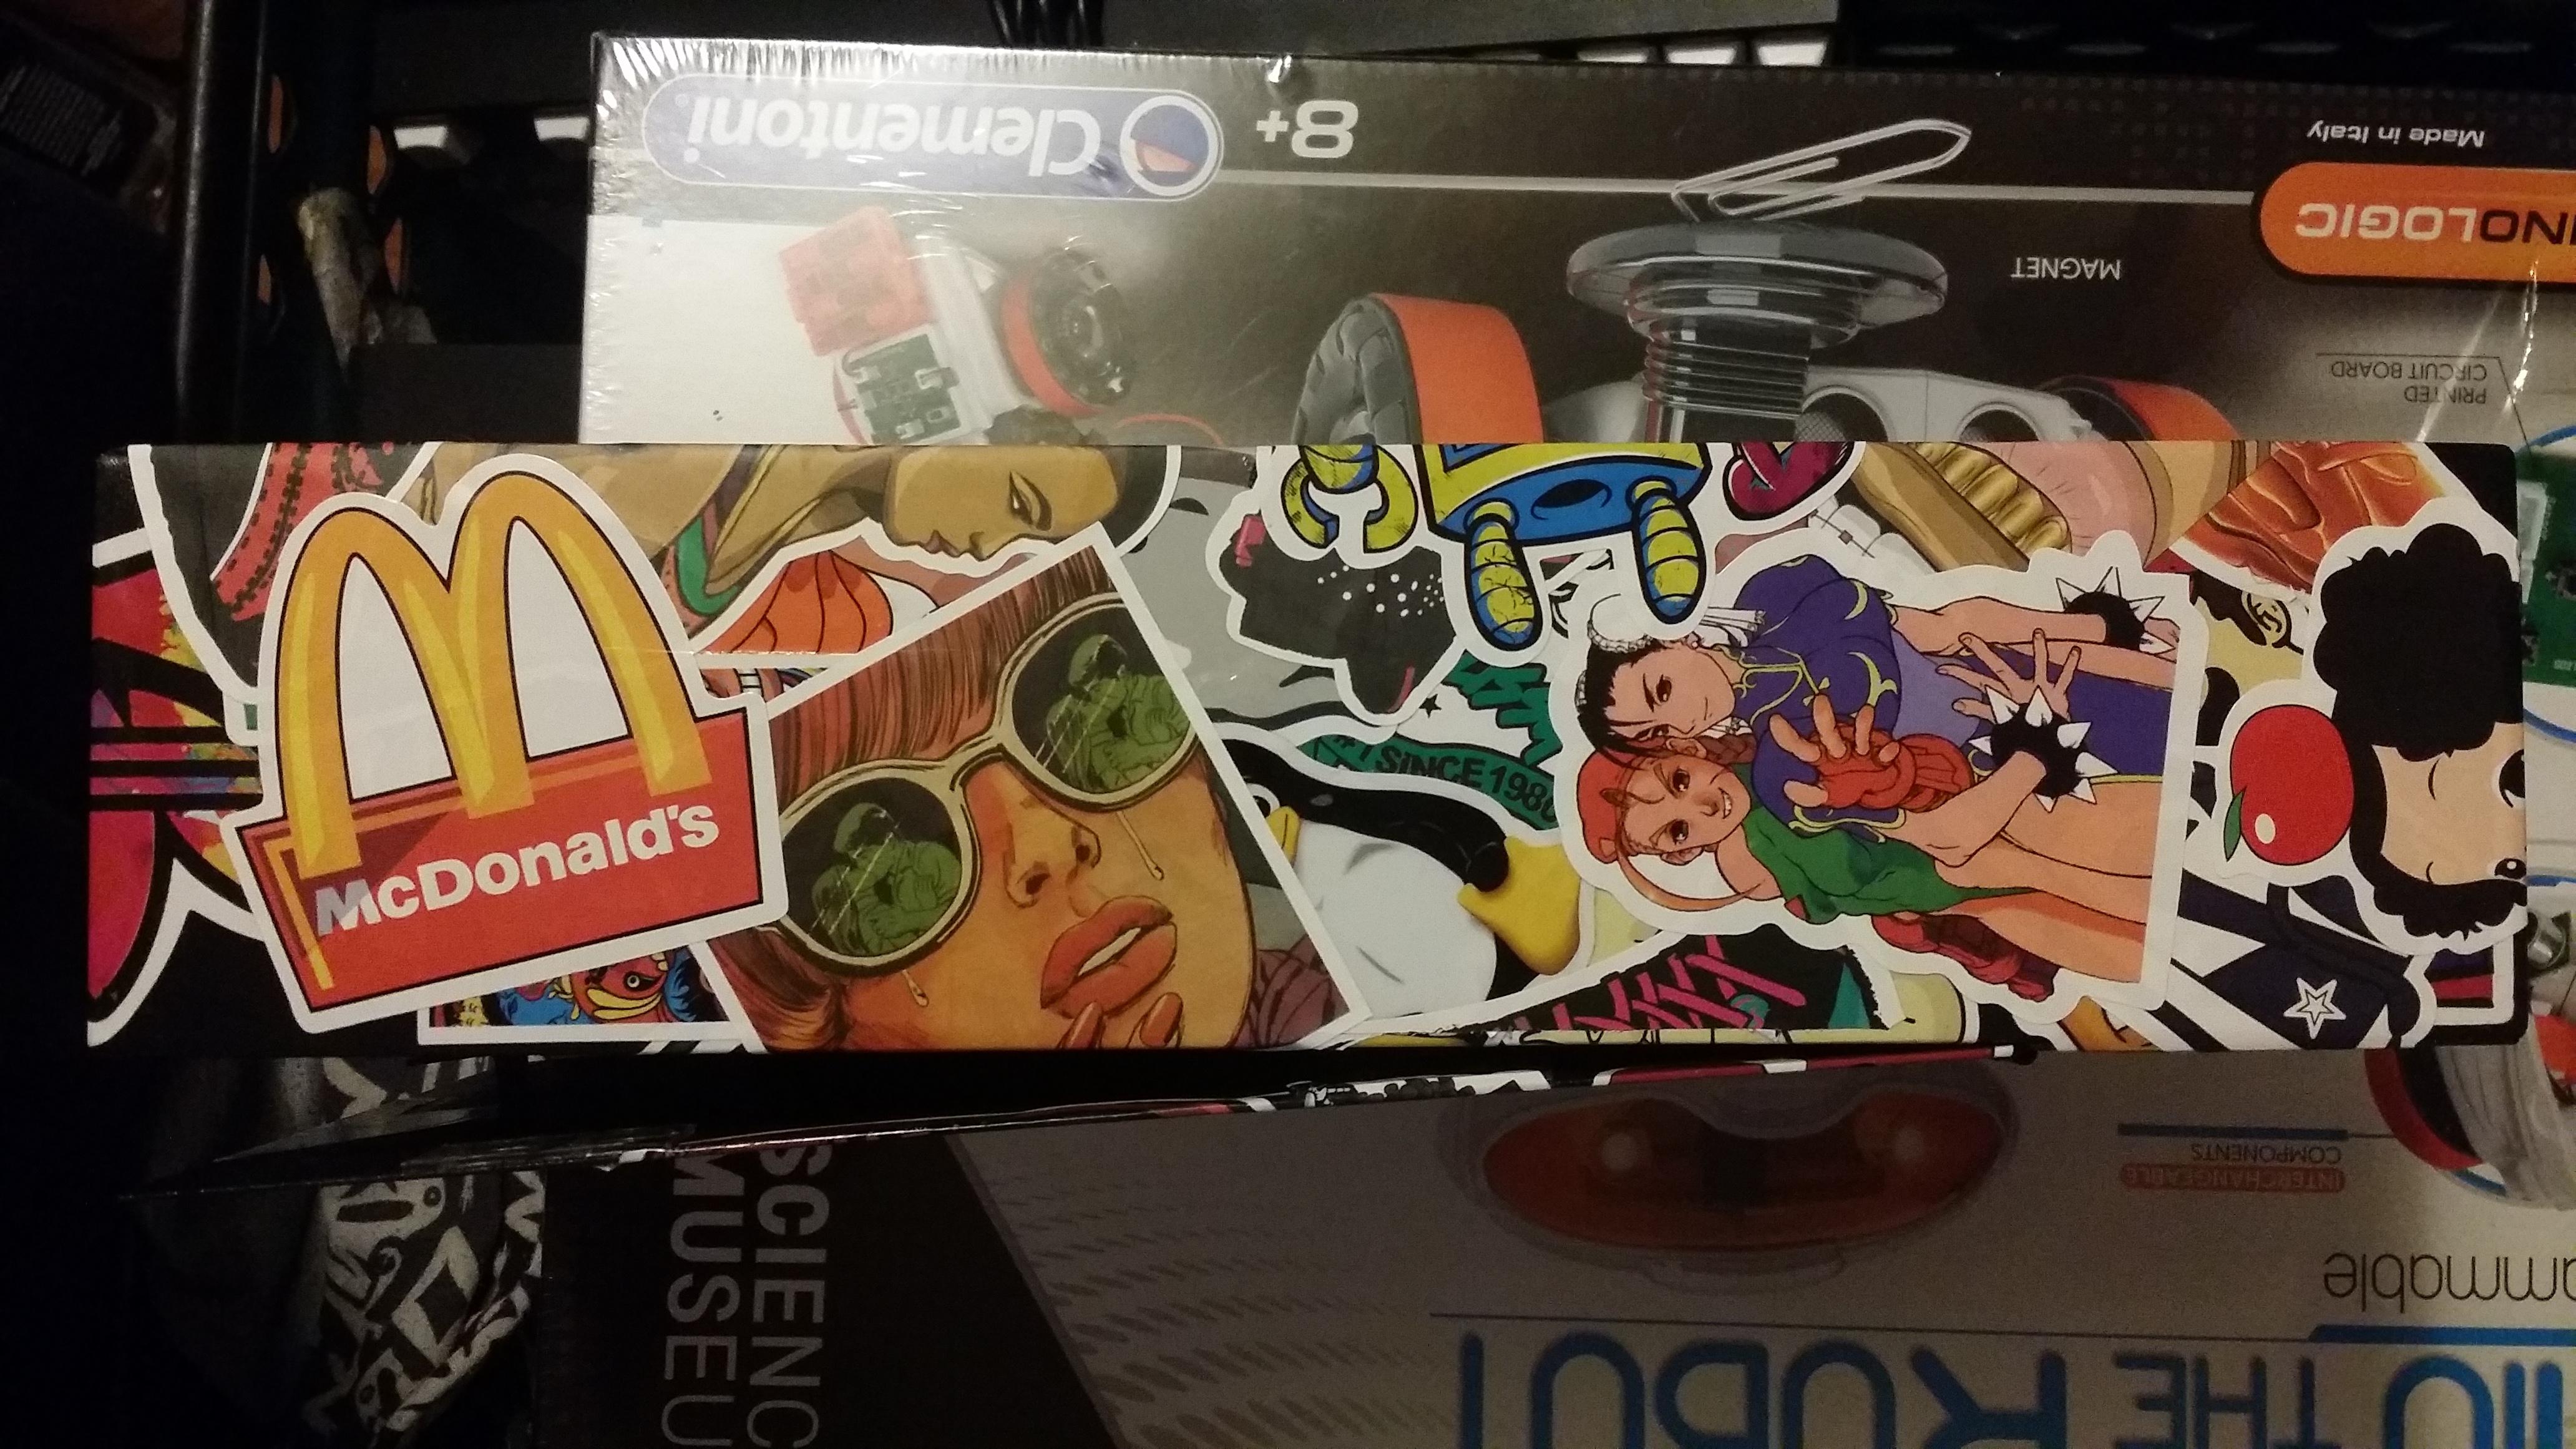
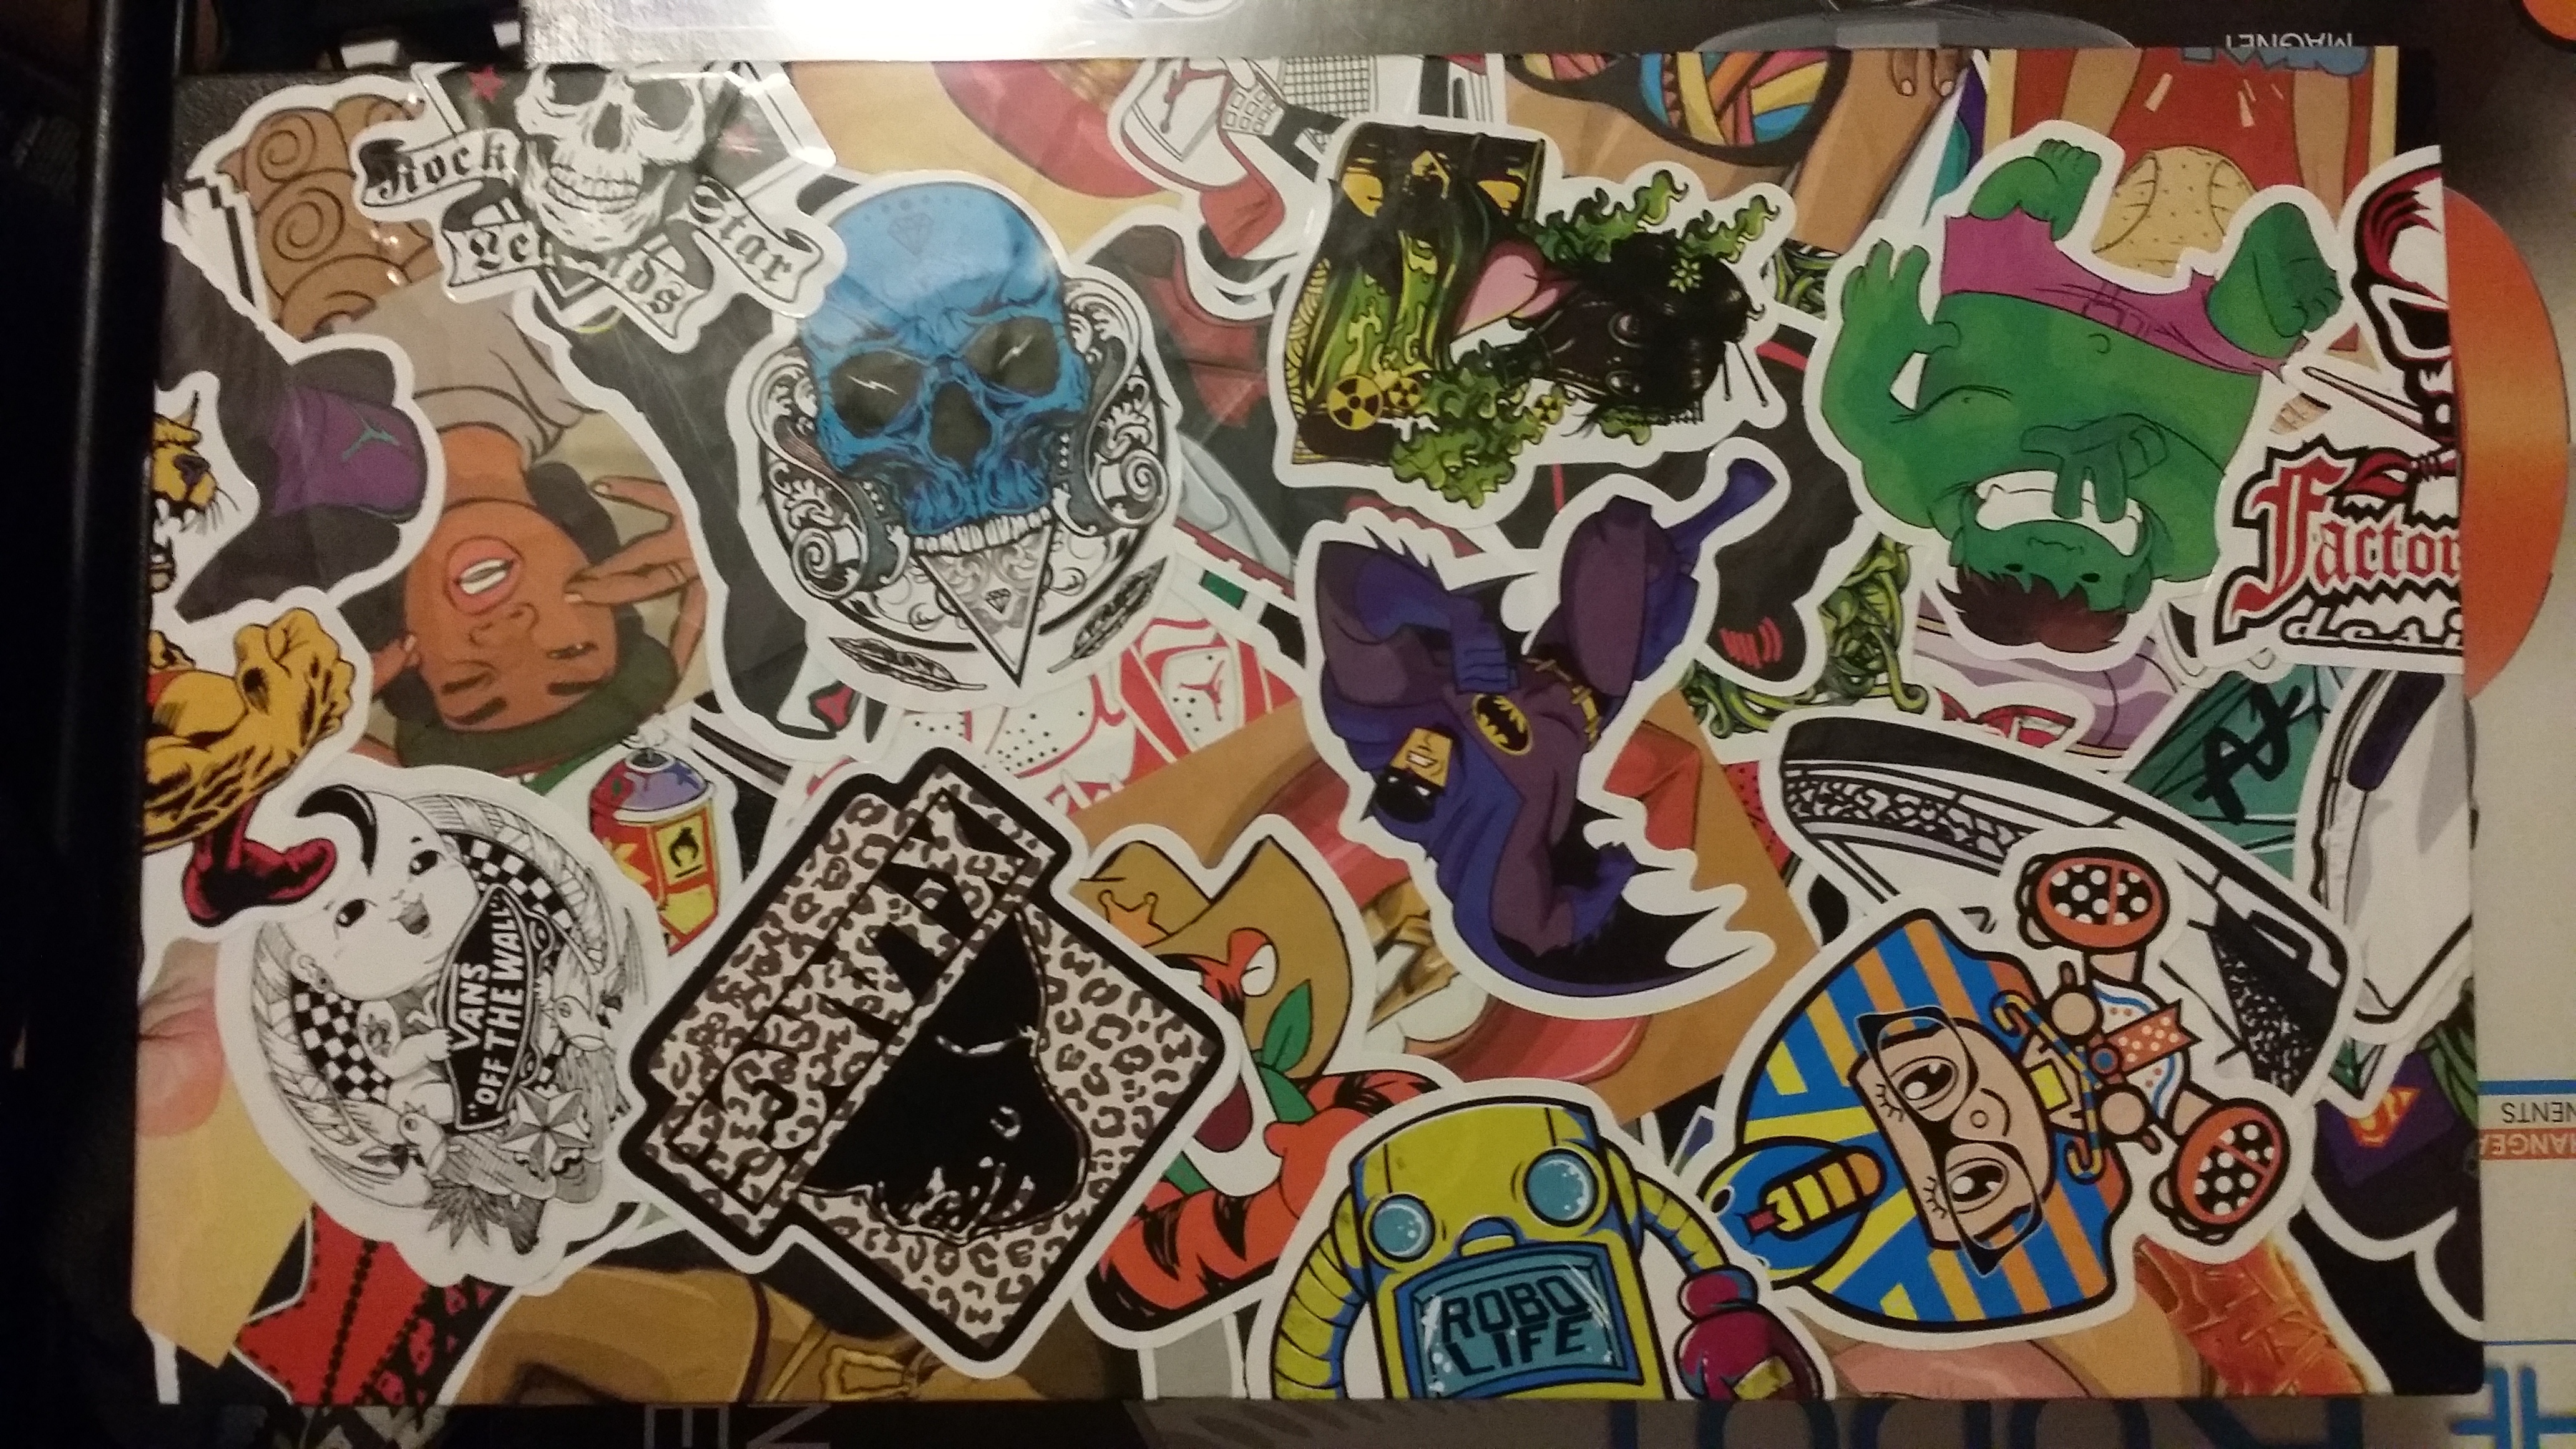
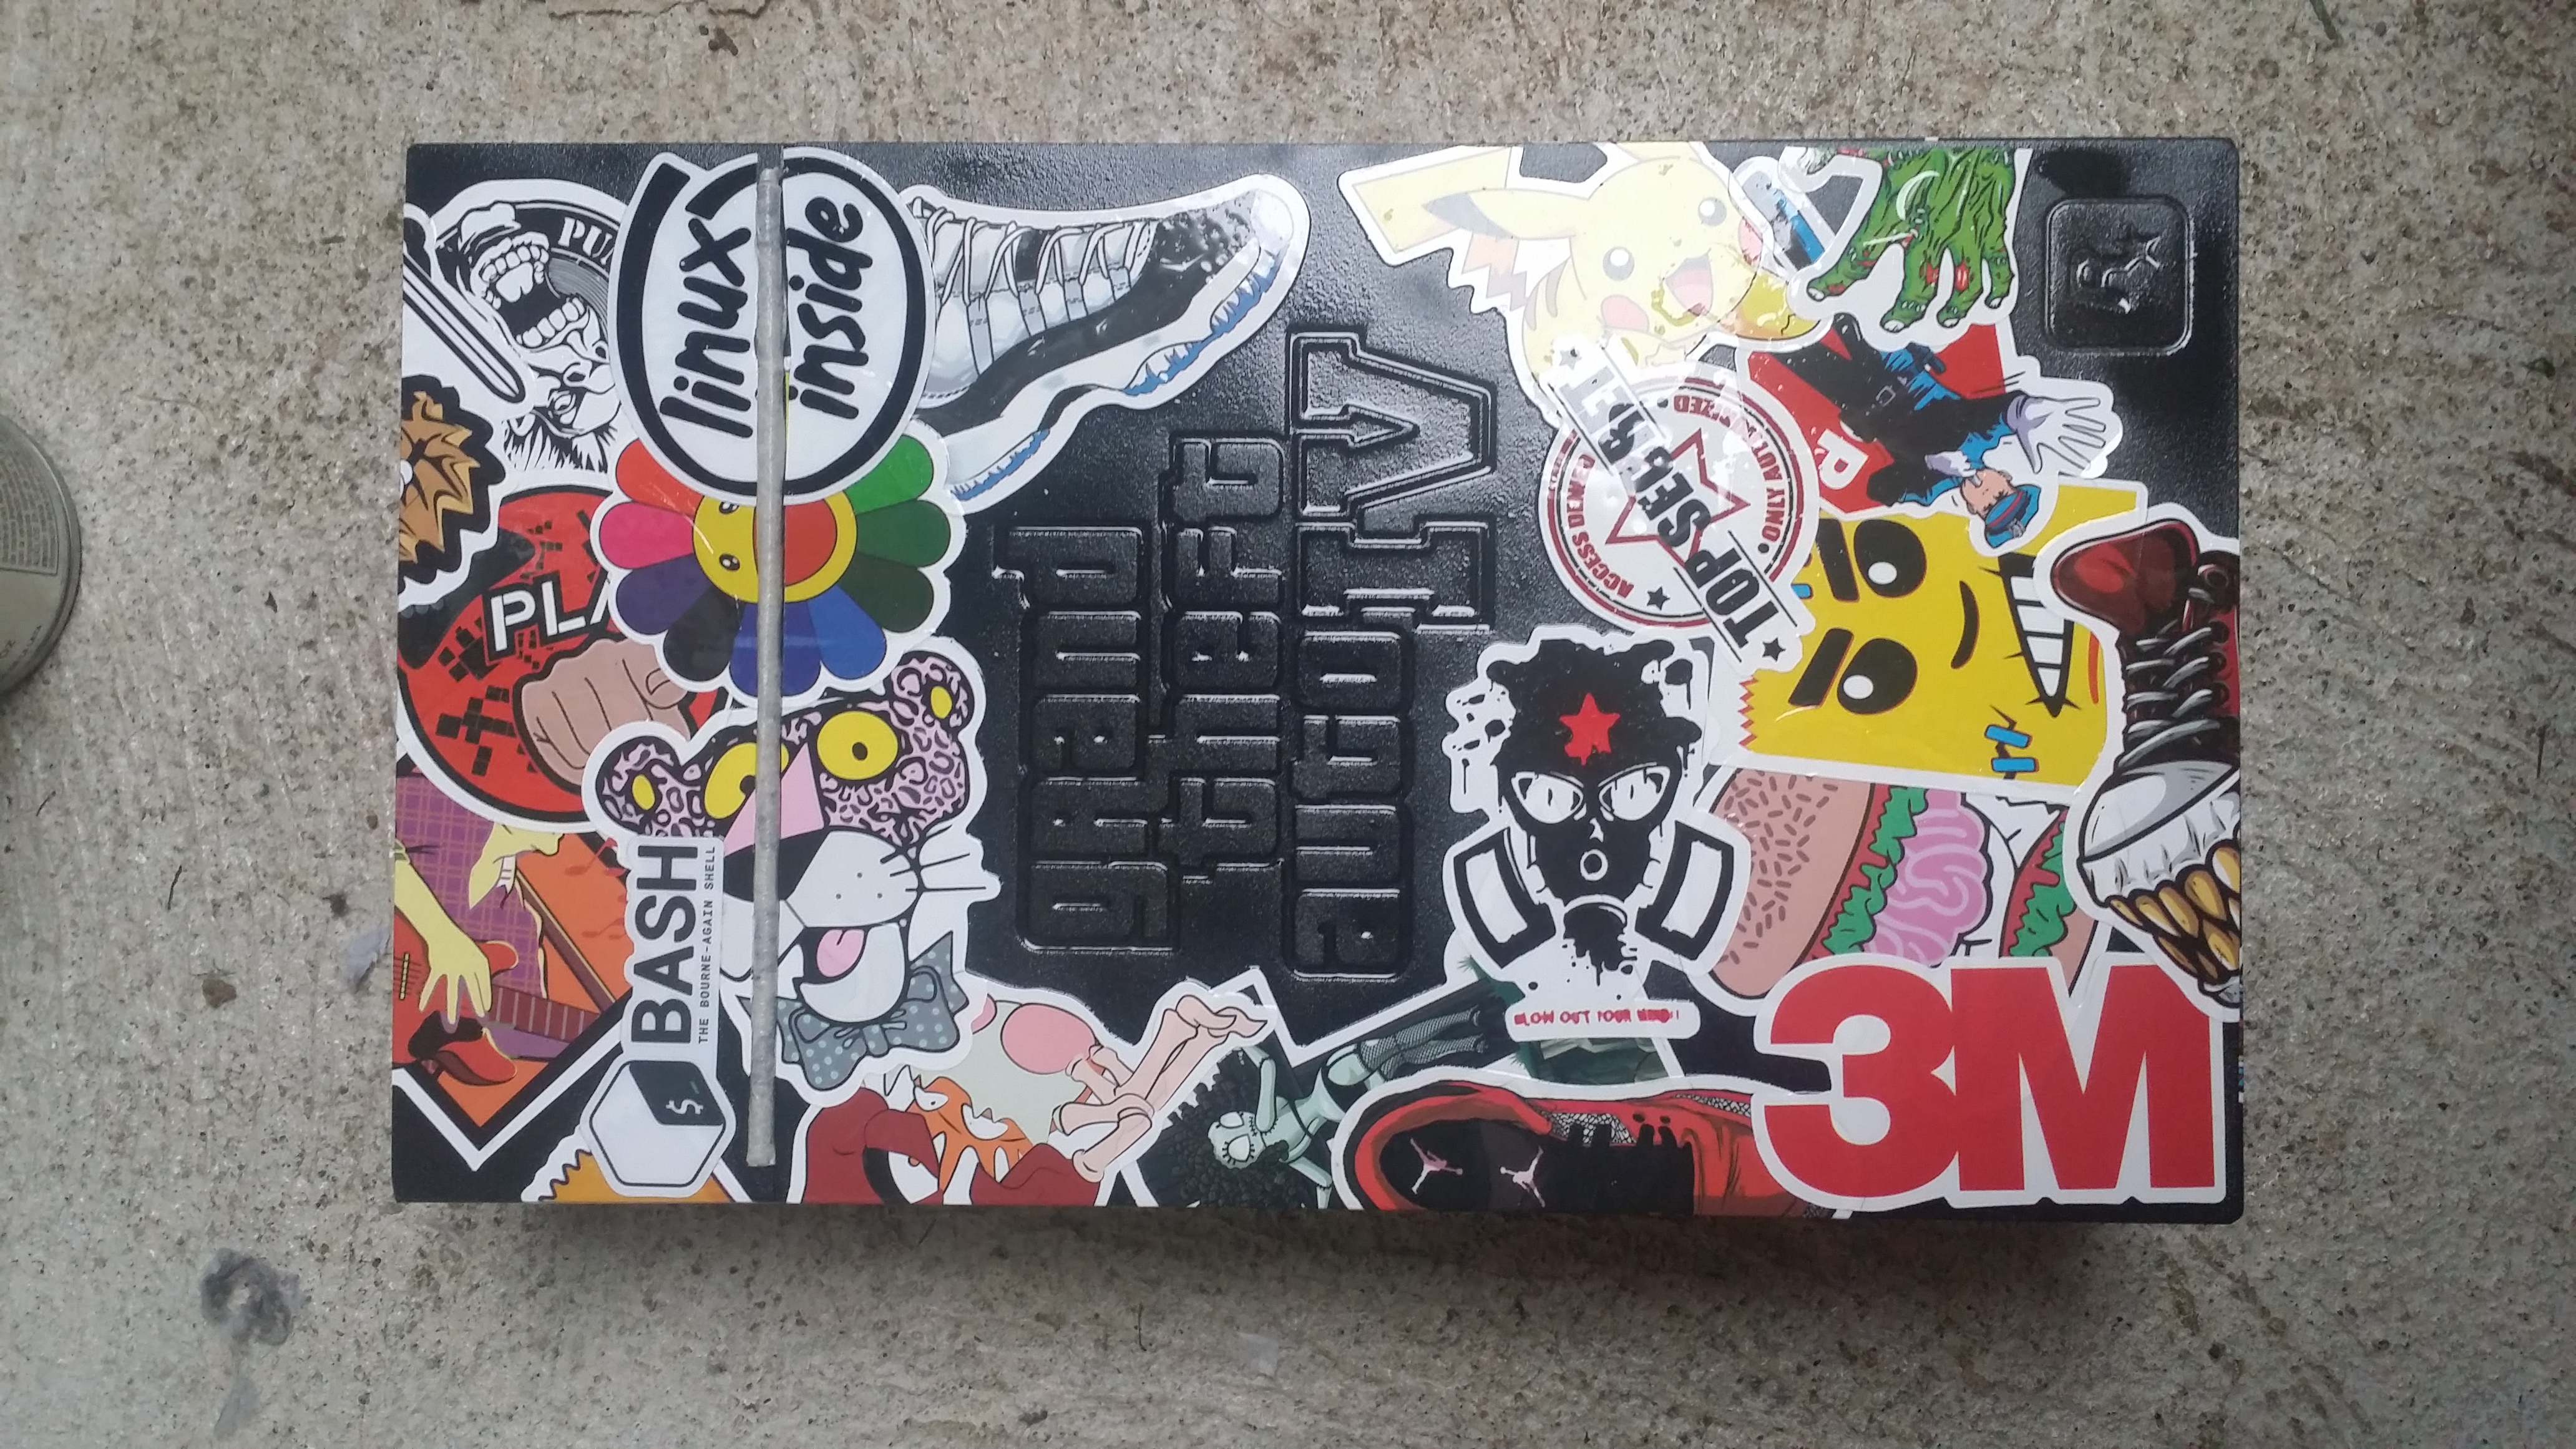
At some stage I saw sticker bombing on PCs and cars and wanted a piece of that. I decided that everything that would be mobile would be sticker bombed. I ended up with about 700 stickers and went to town. Unfortunately they did not take perfectly to the rough texture of the safety deposit box. So I decided to spray clear lacquer on it, but due to me using a razor to trace the edges of all the stickers to help them sit flat, no ripples, the lacquer started to lift the stickers a bit. So I went for a send layer and these stuck great, not gonna cut them this time and it is all holding very nice on the now smoother surface. The keyboard was sprayed deliberately bad as it is going to get the most abuse in bags, it also works with my phone.
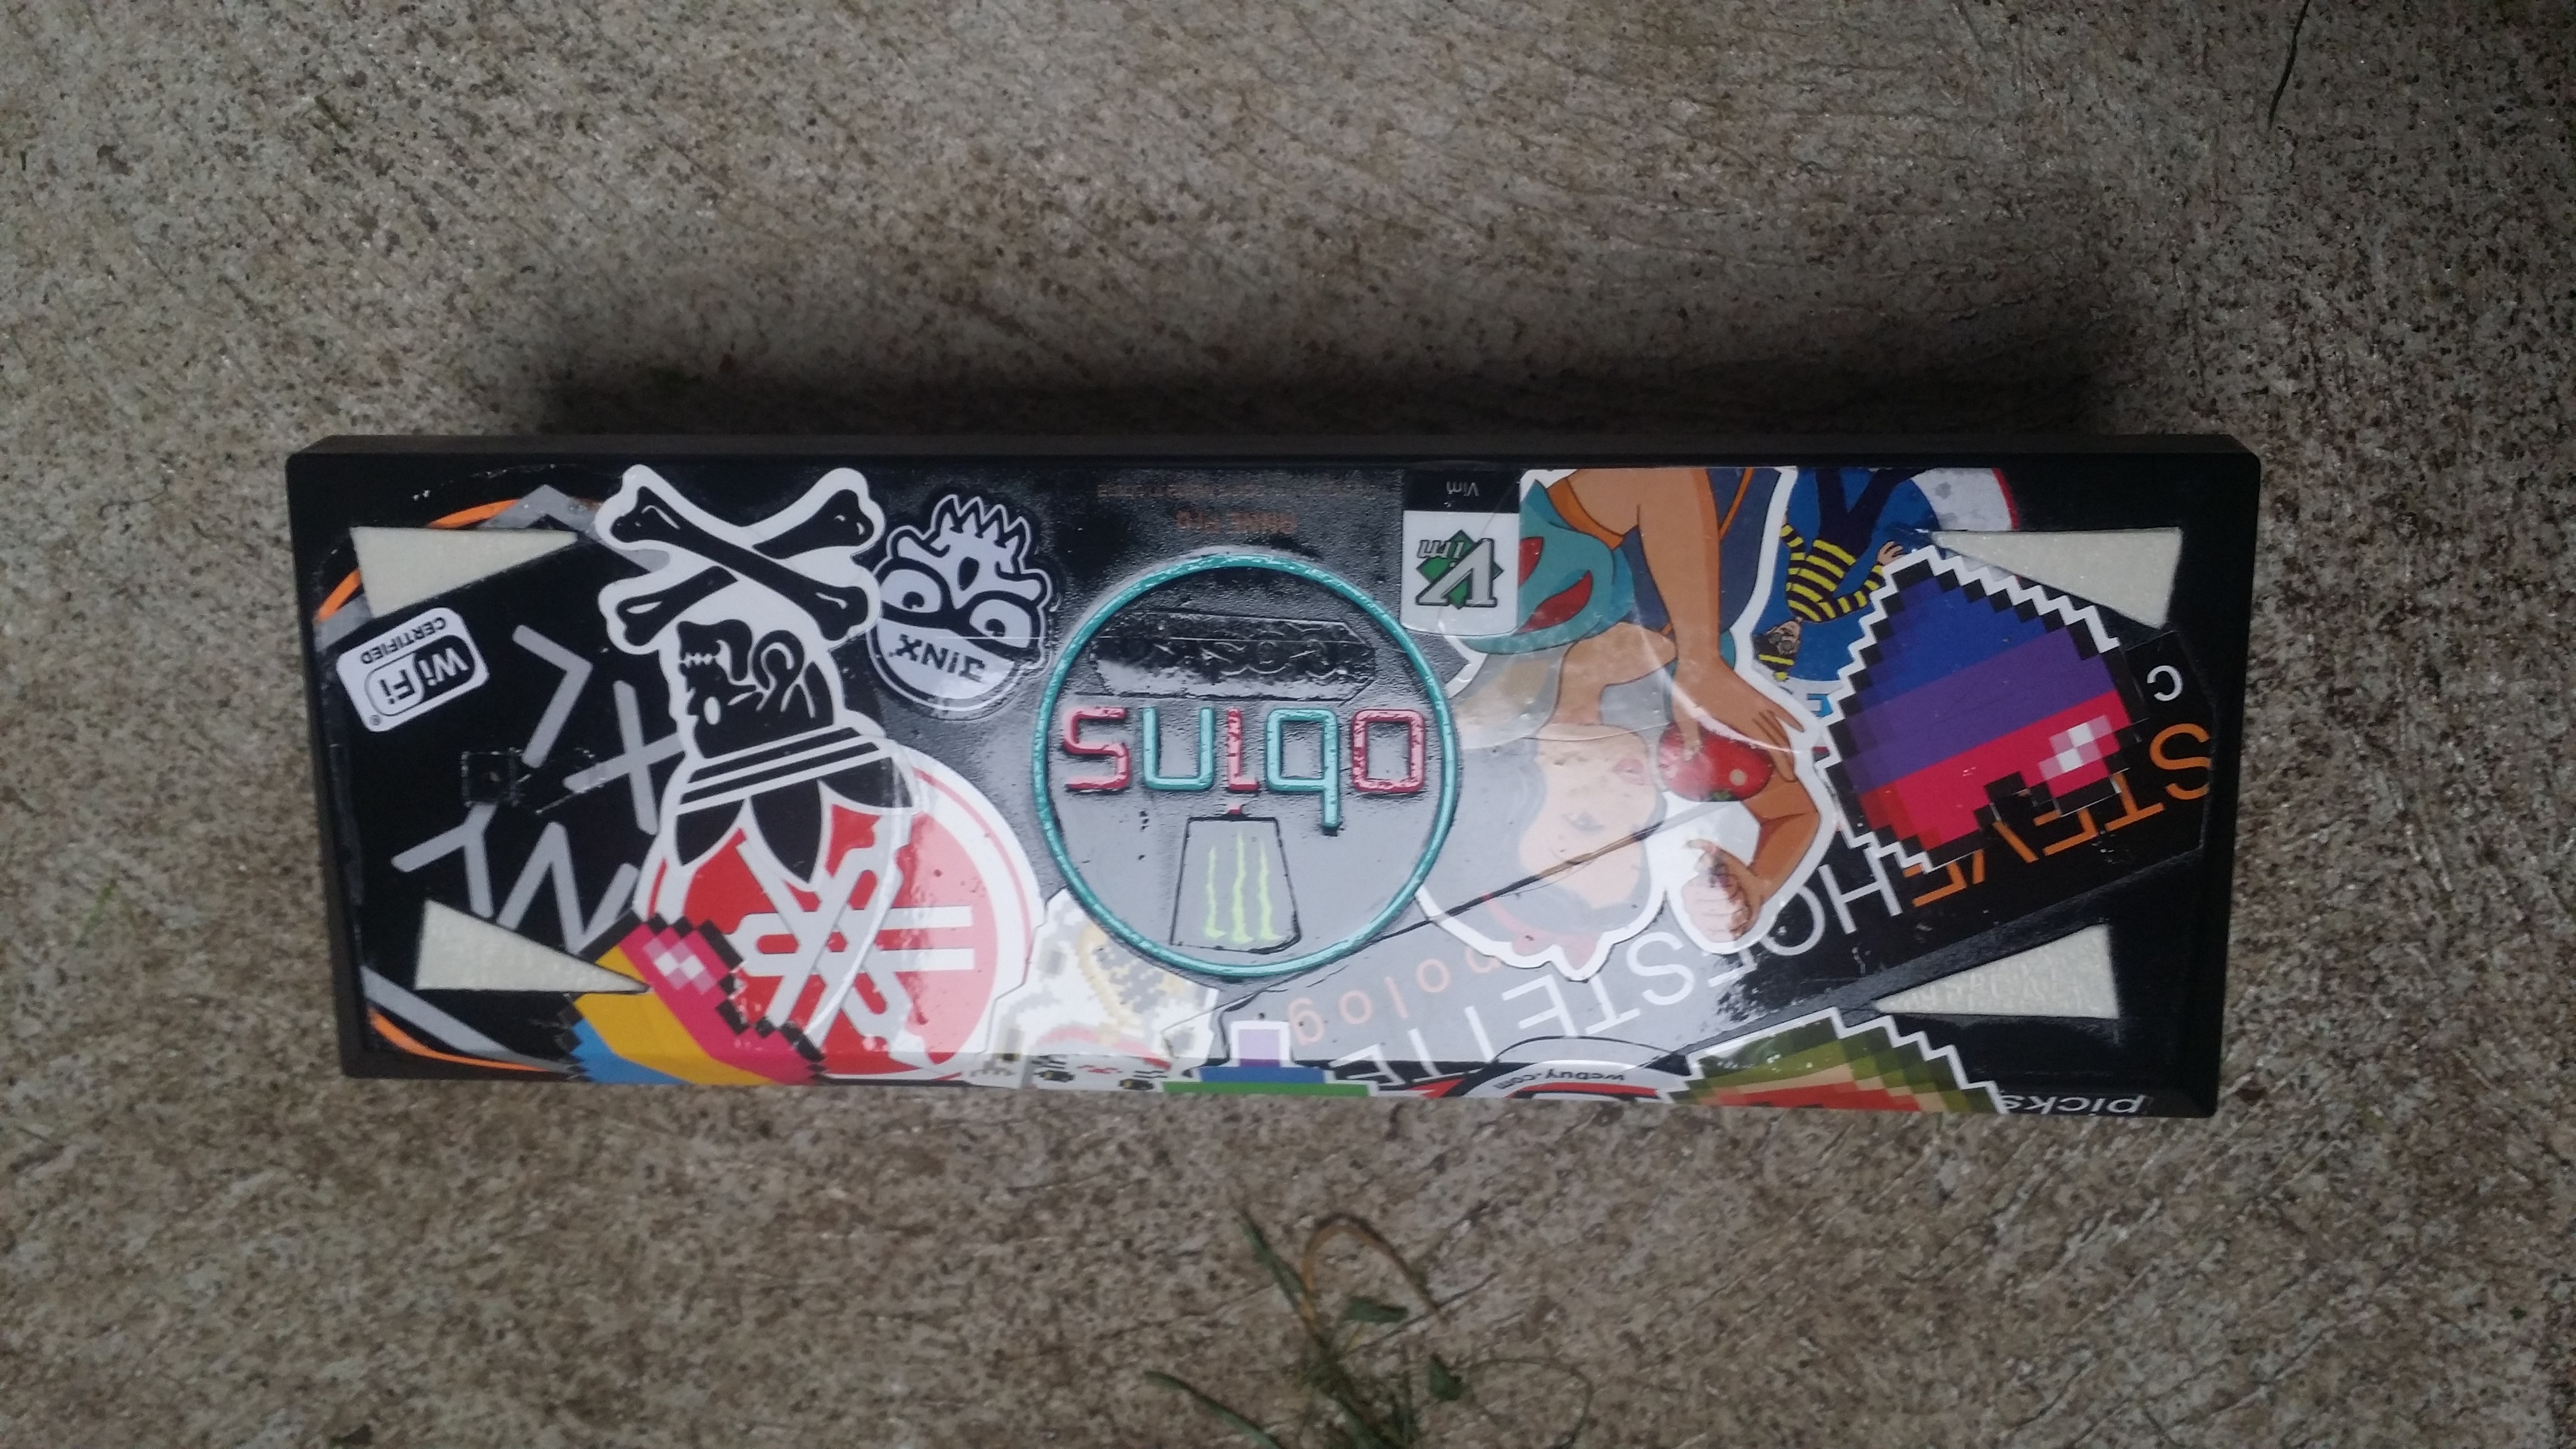
Sticker layer 1
Sticker layer 2
So that it really any questions, just ask? I can update this with stuff I forgot.
Now its just pictures.
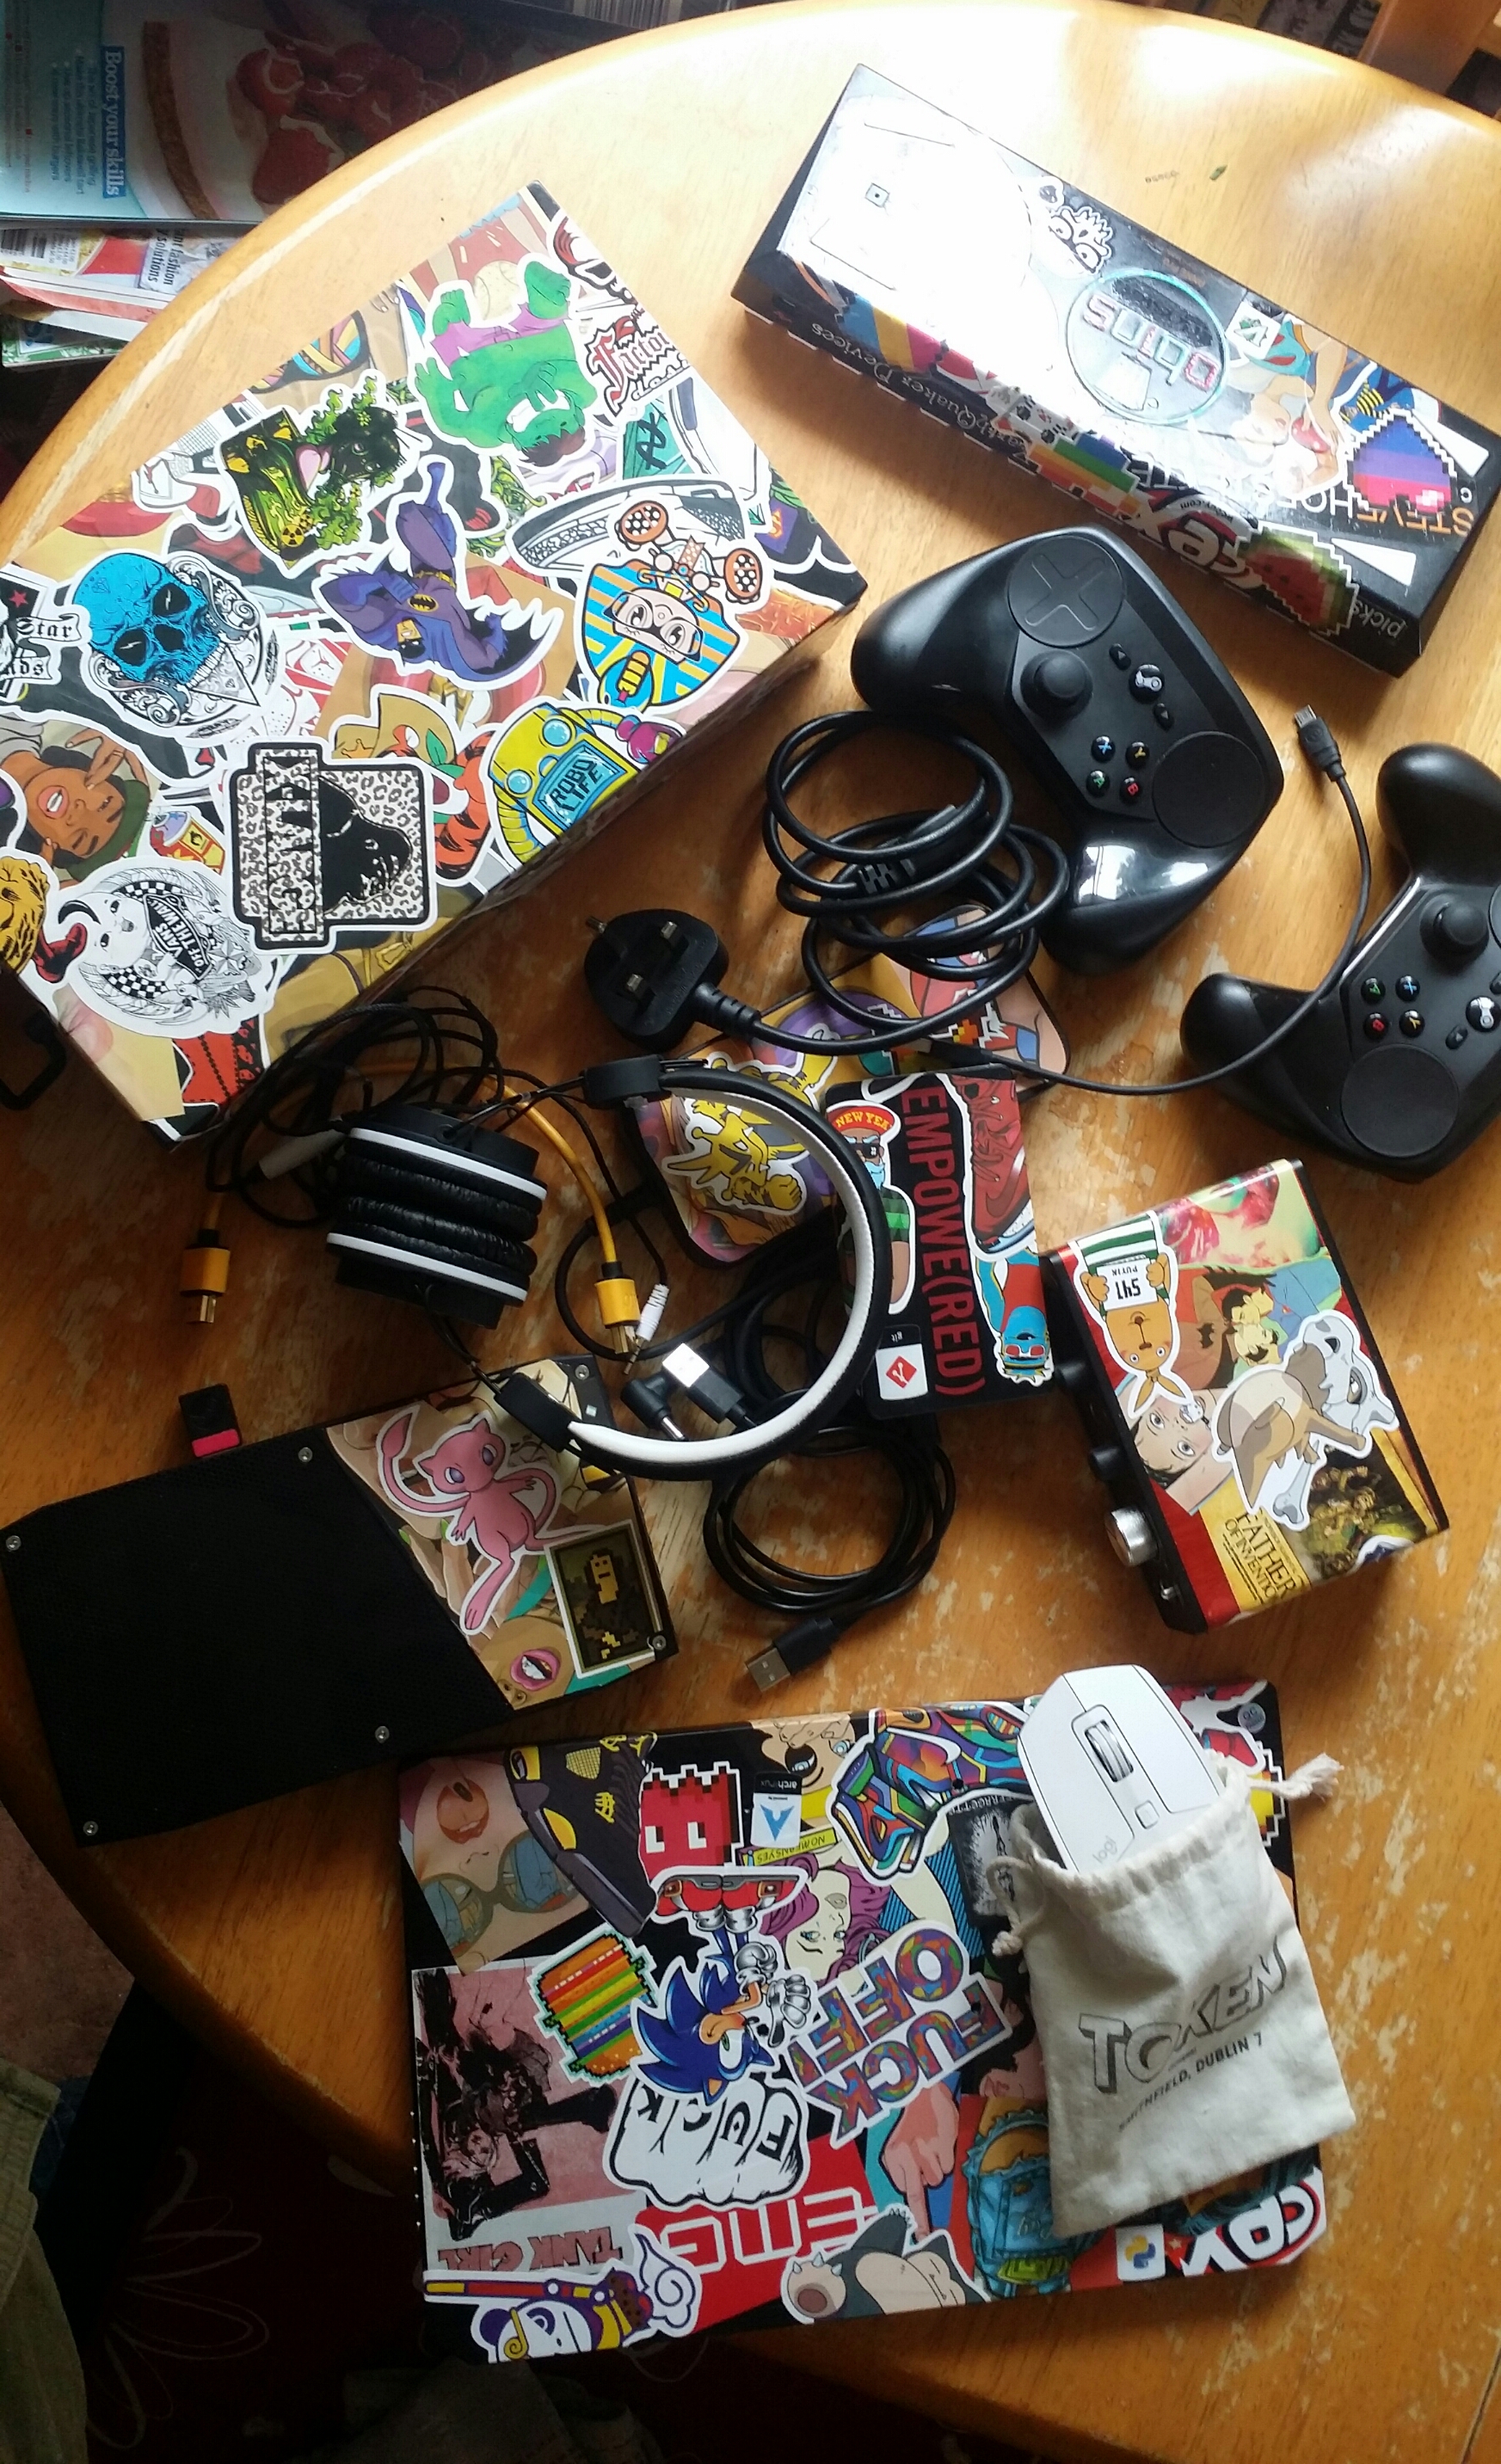
The different sides.of the box:
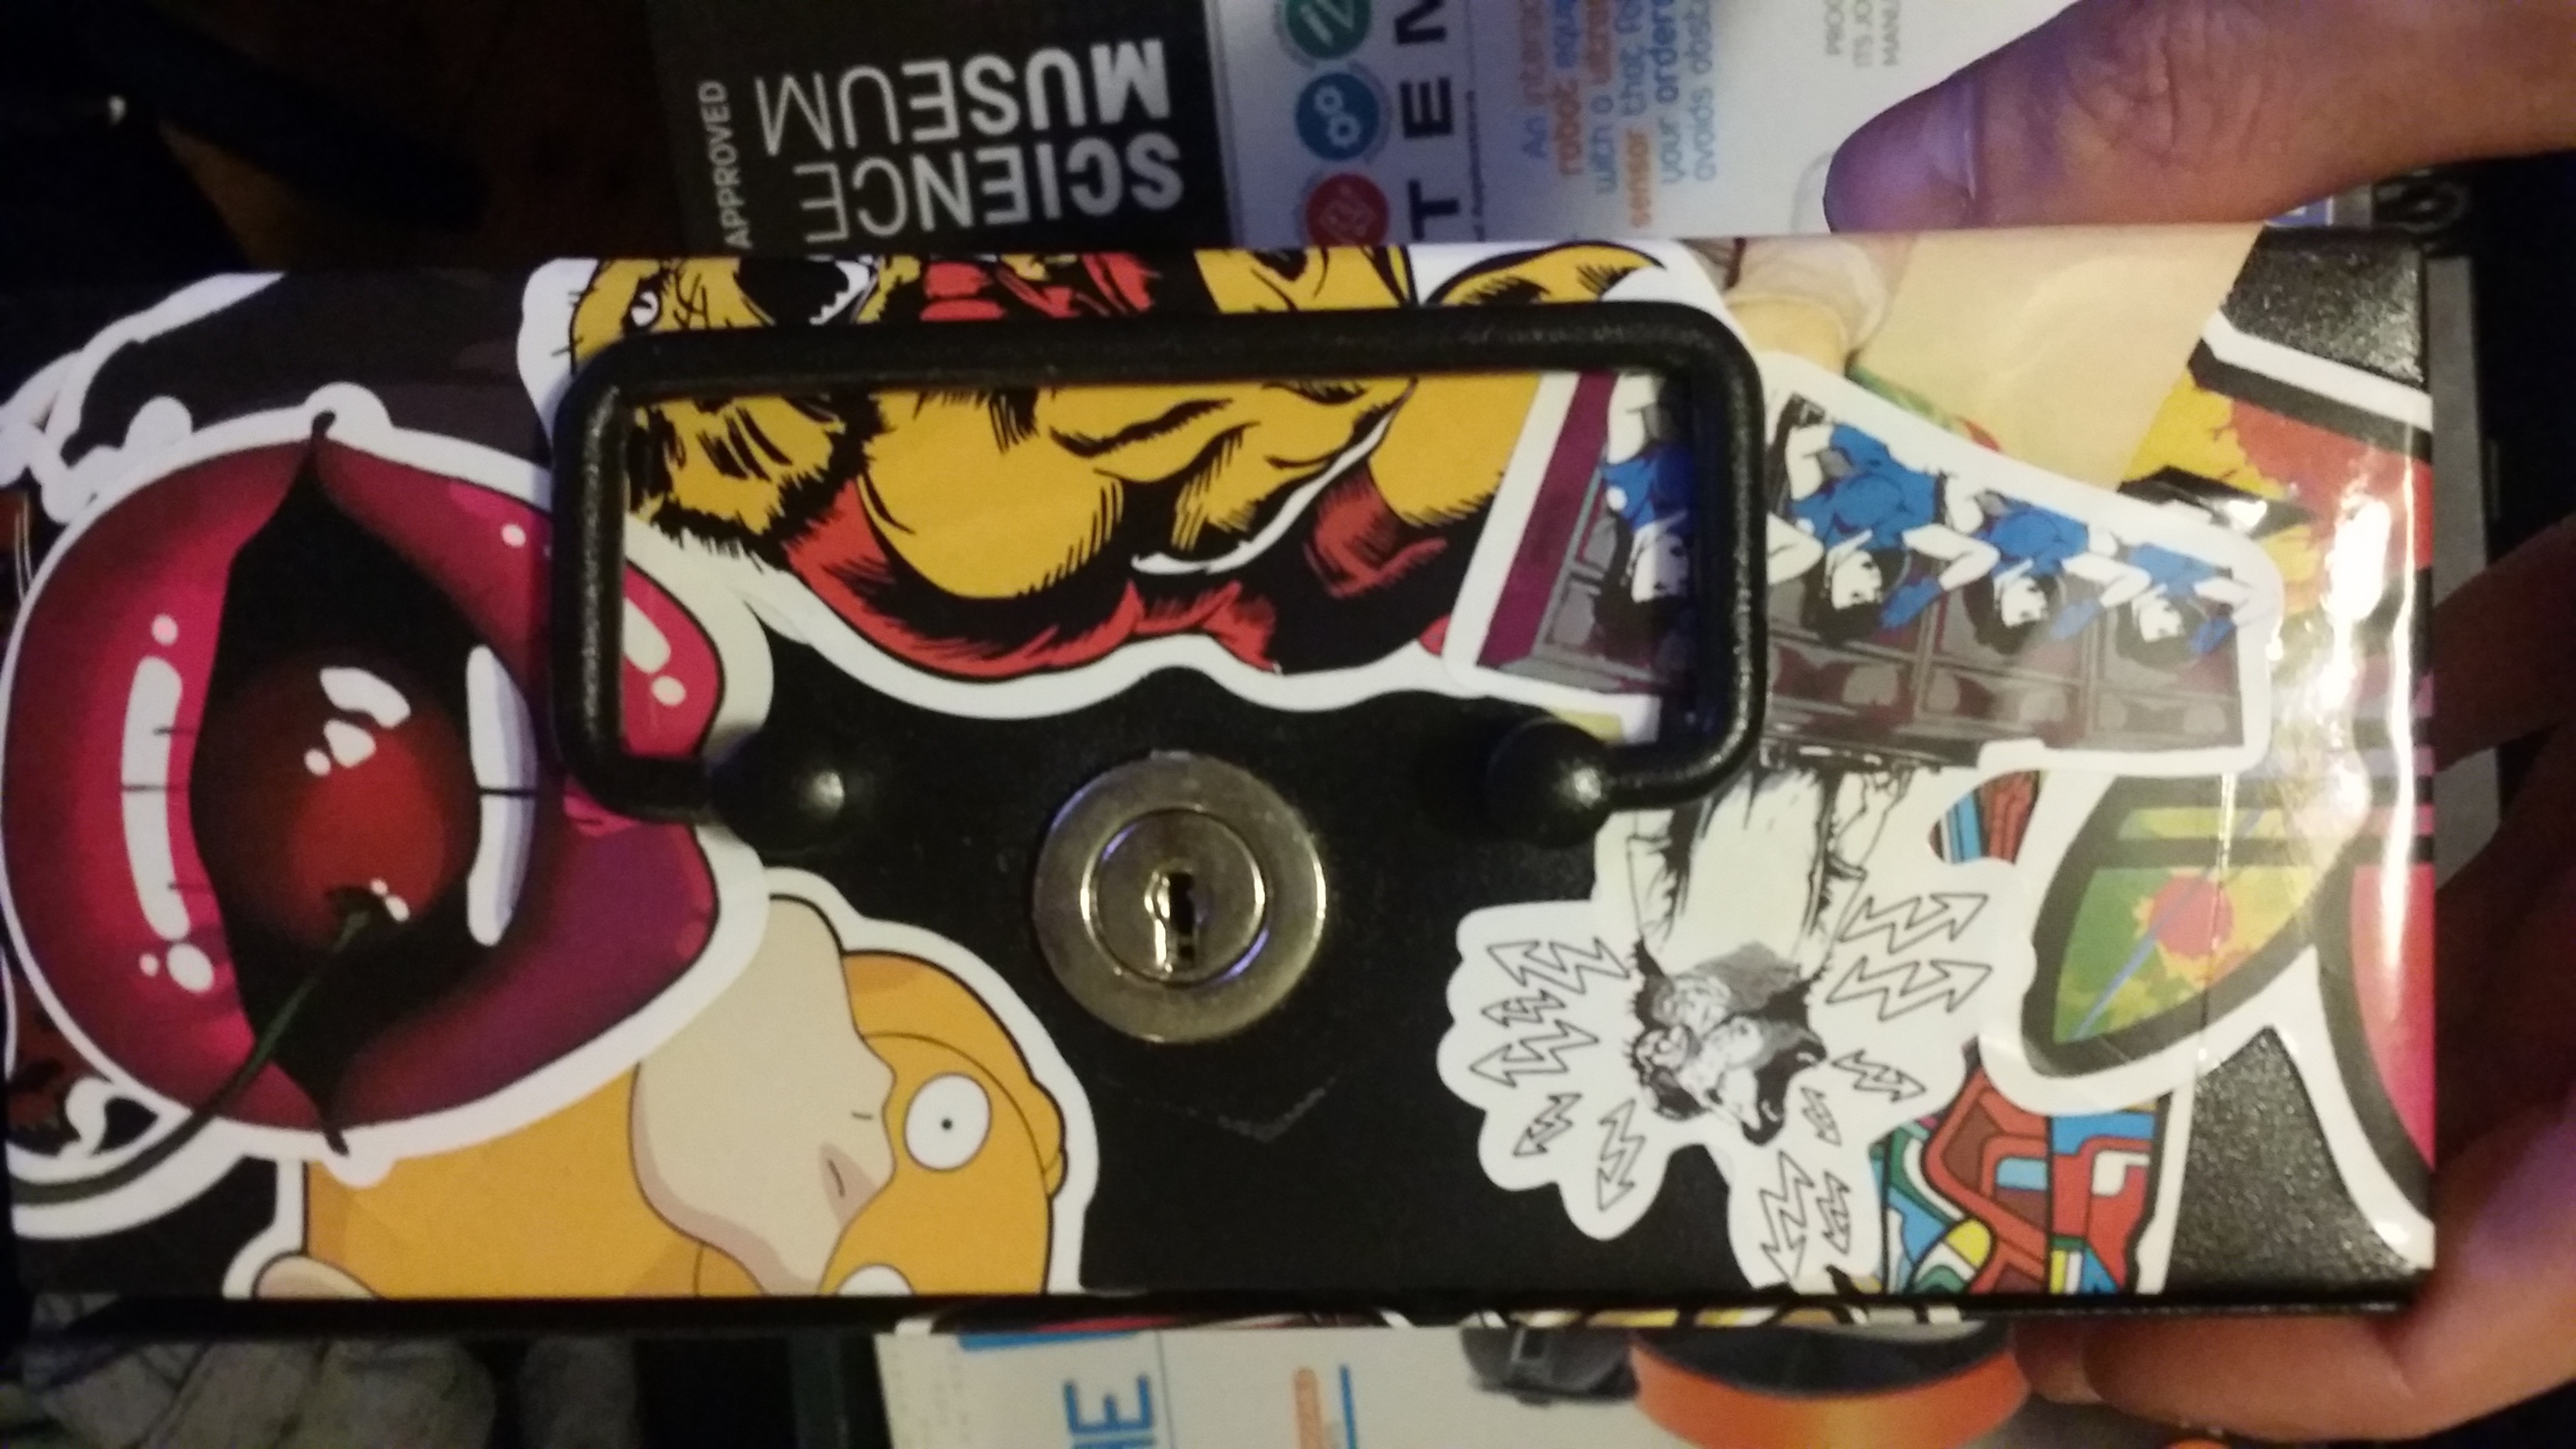

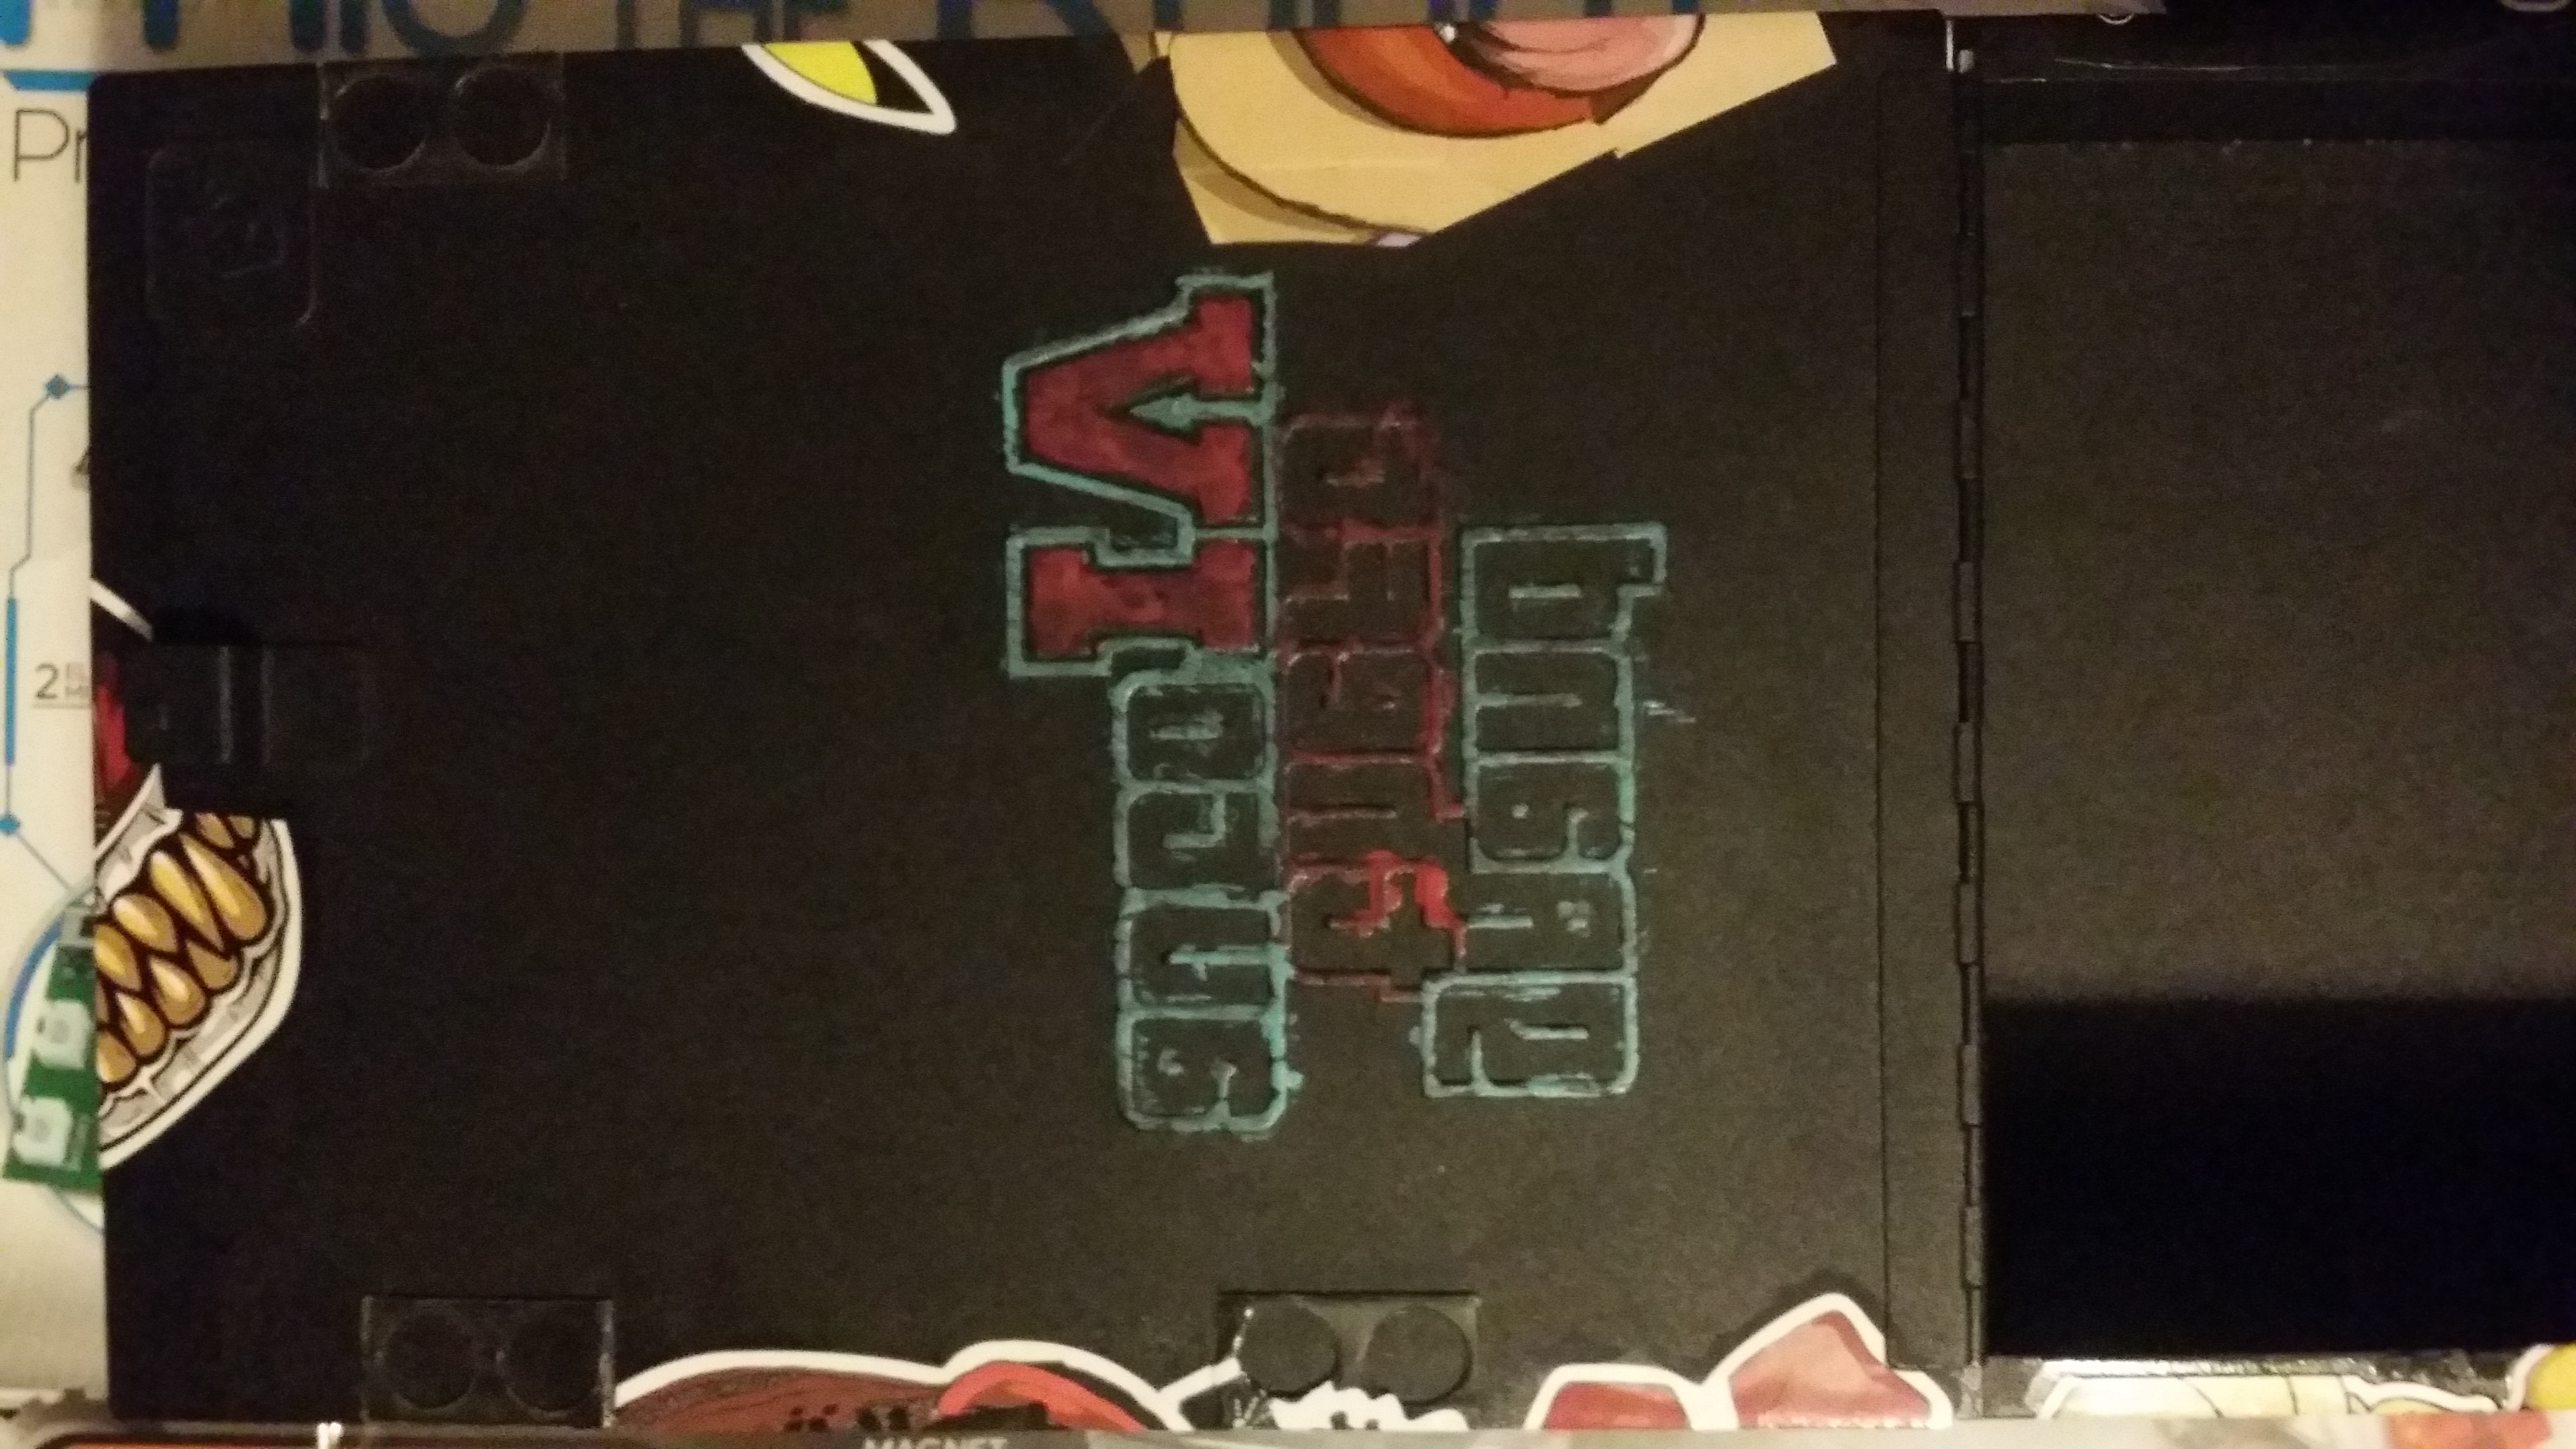

Old top:
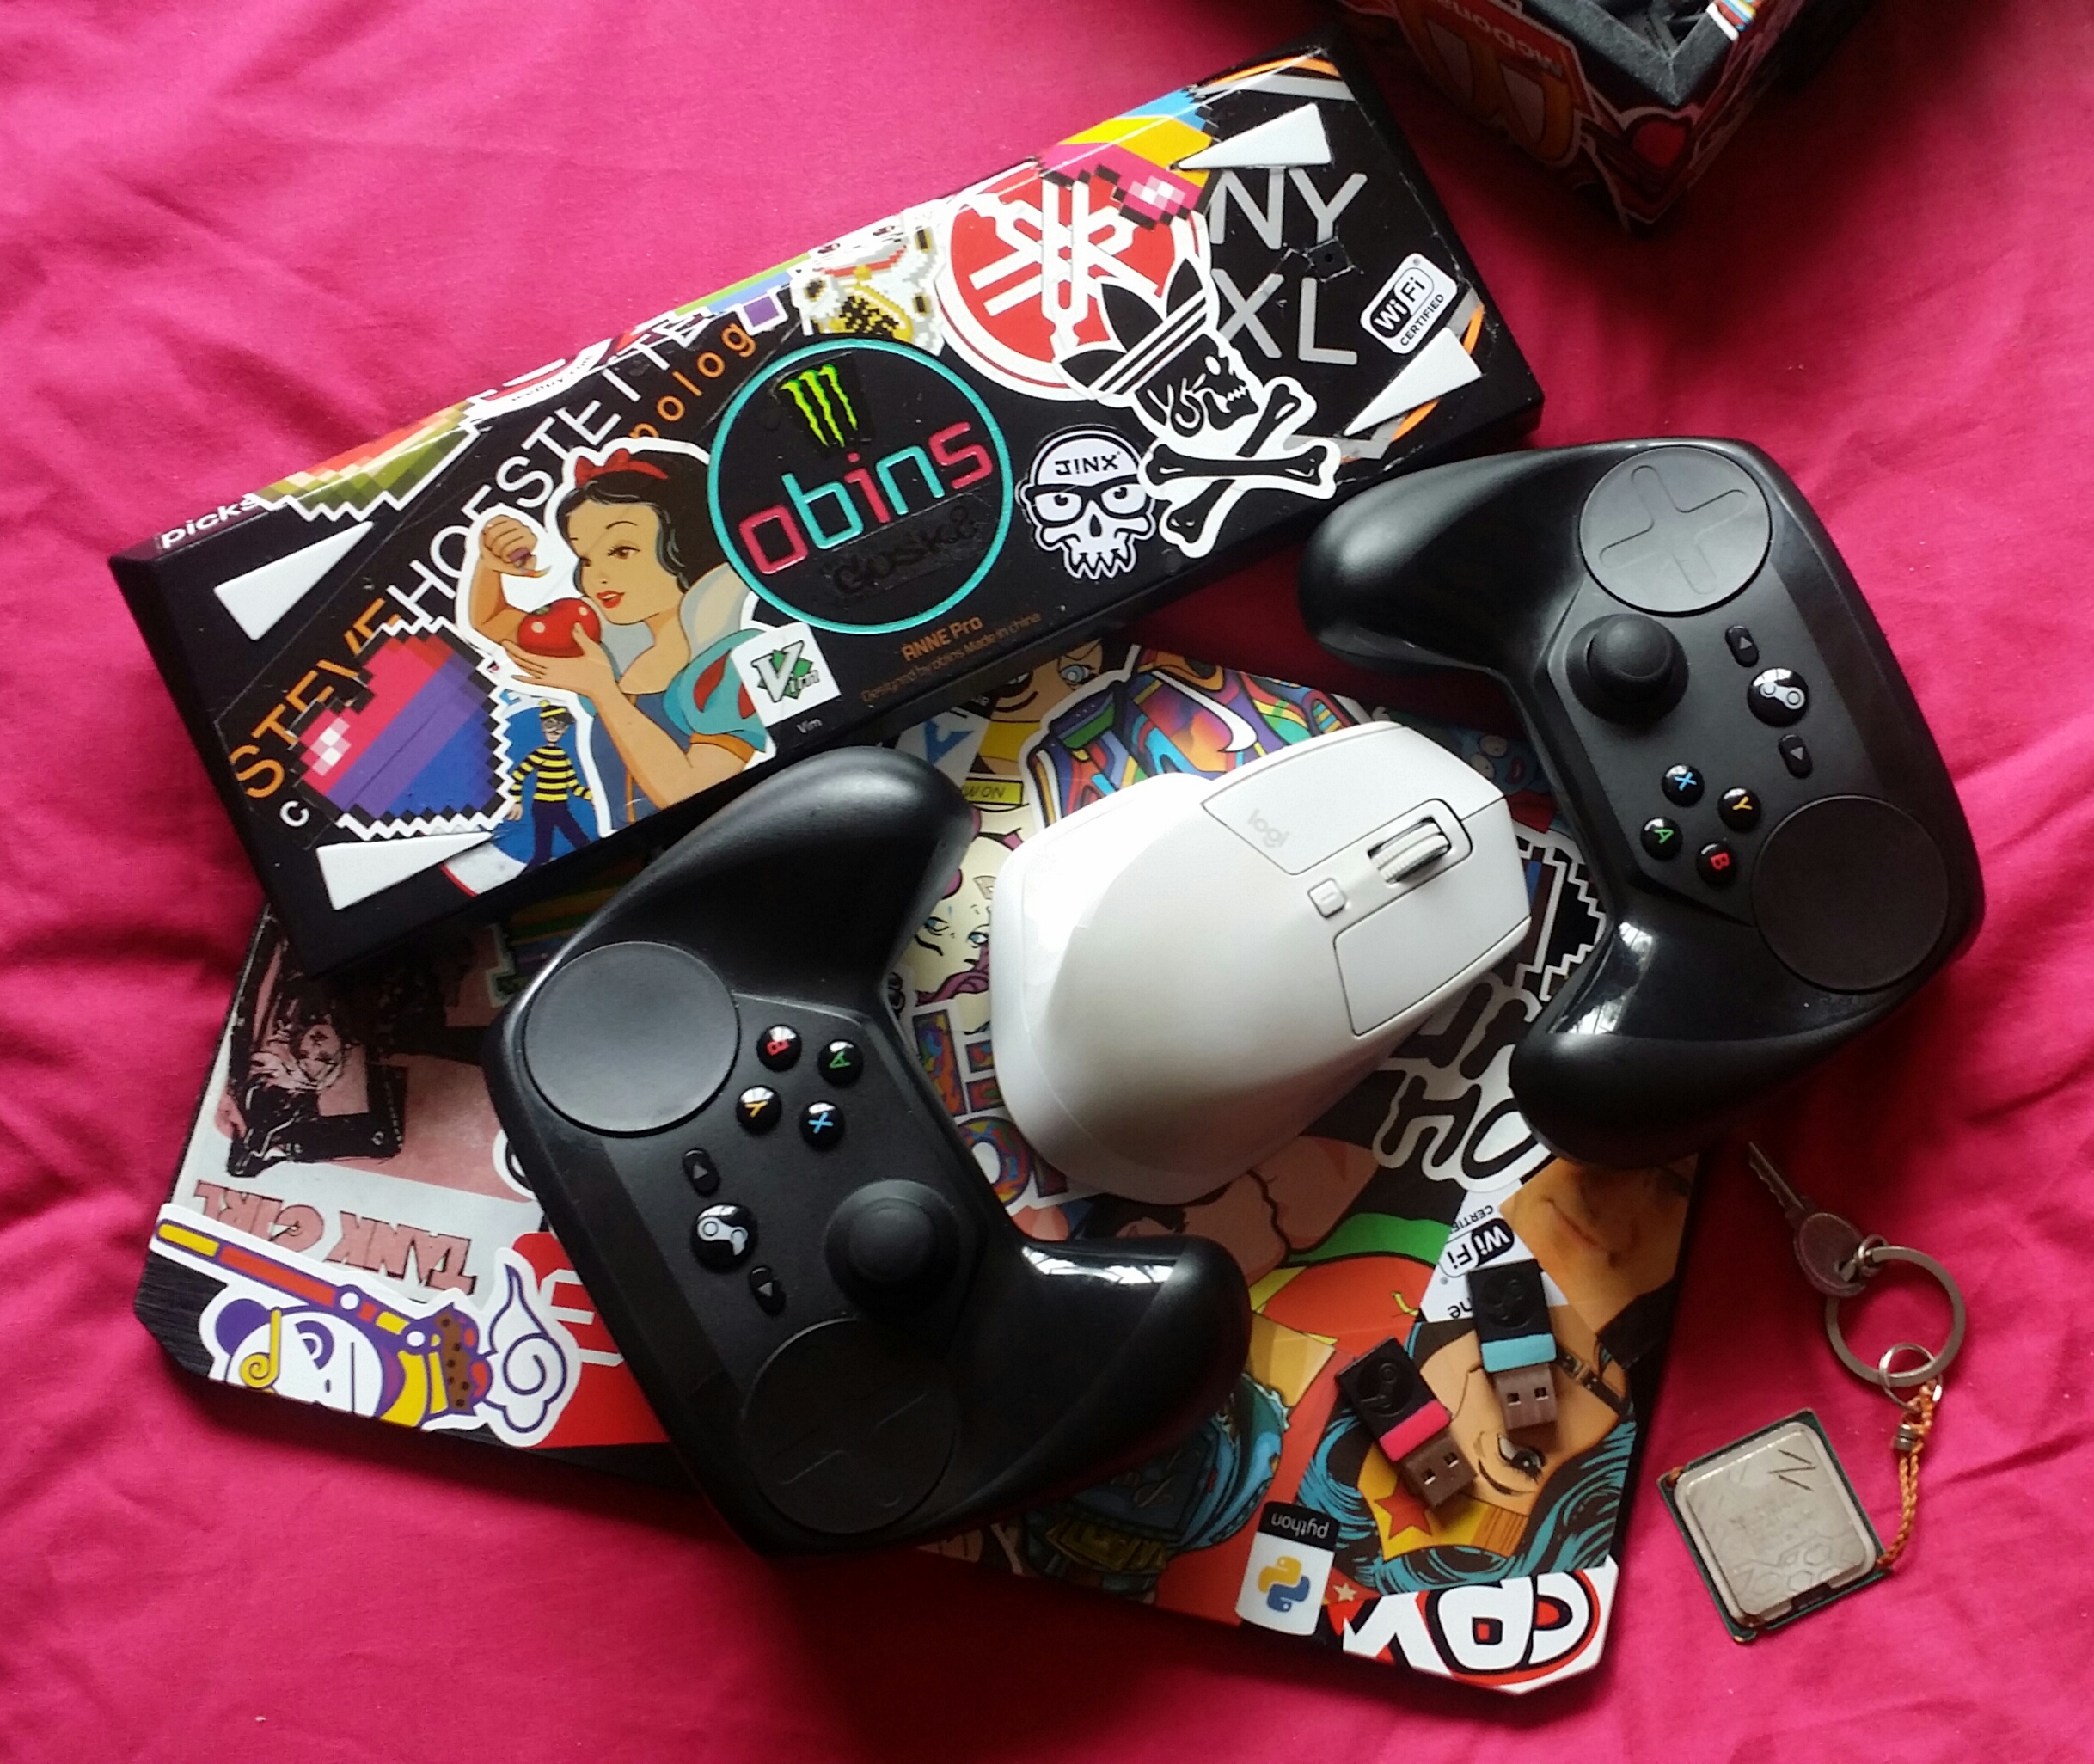
The mouse and its protective bag:


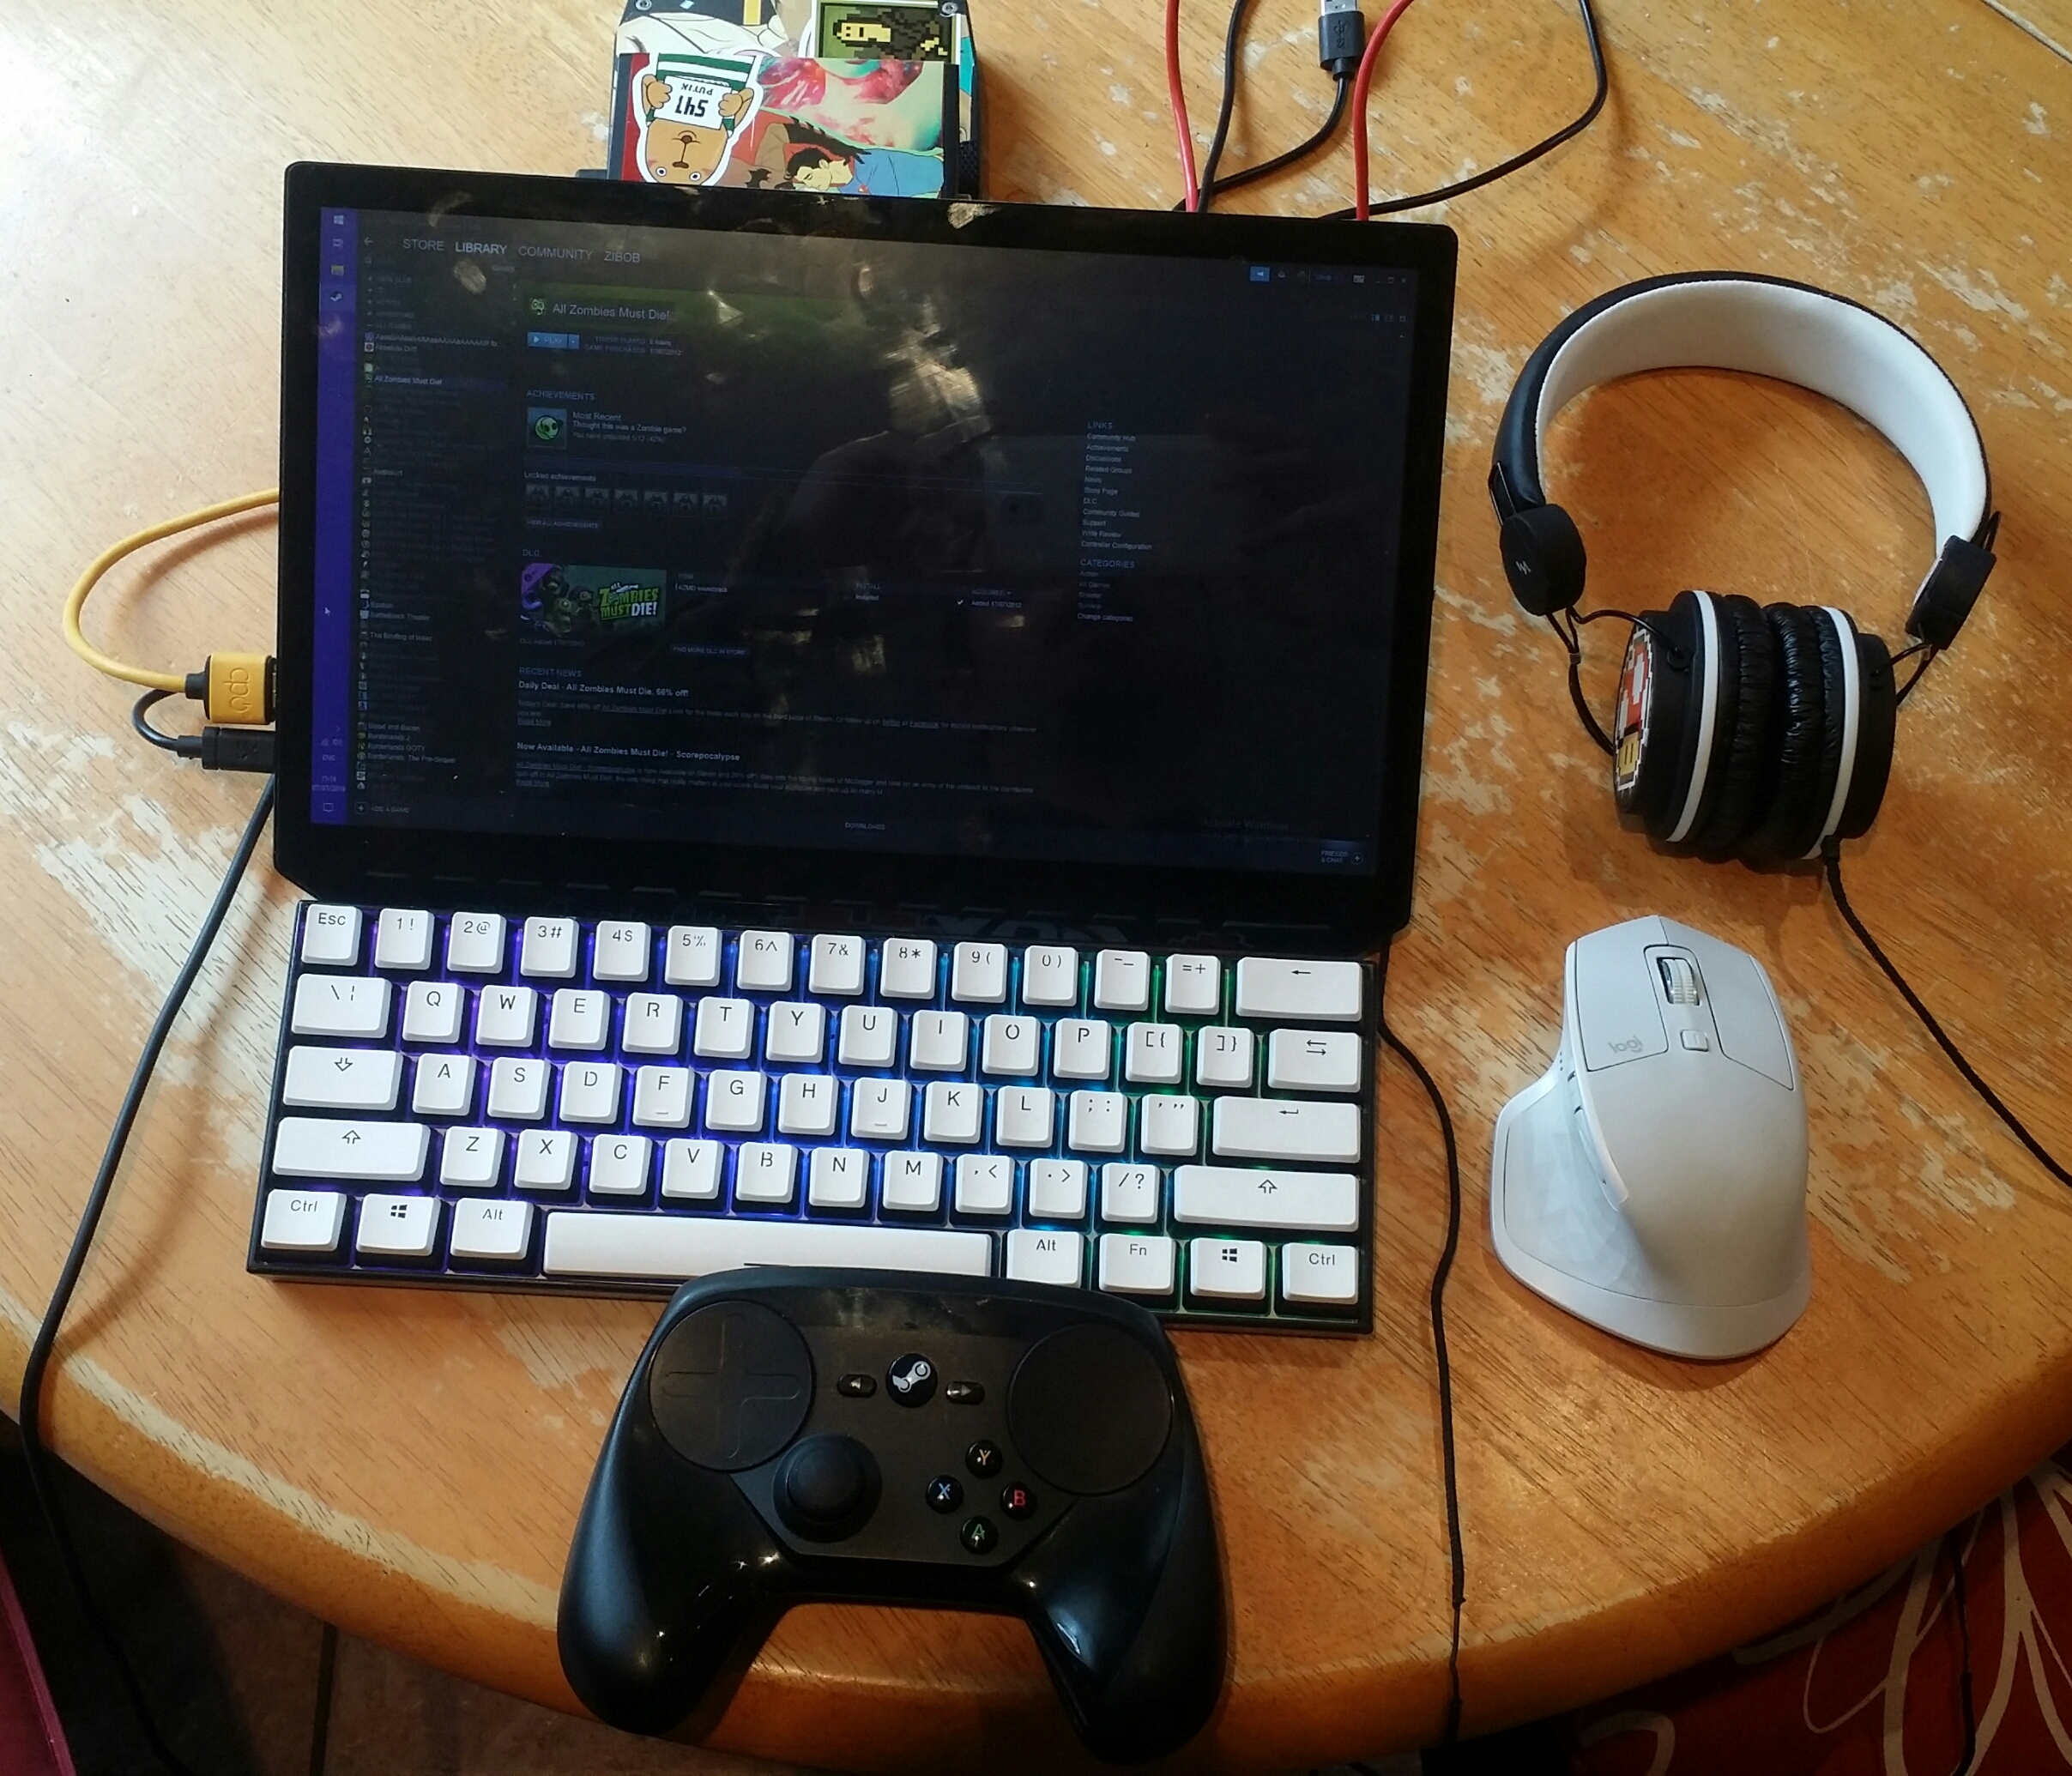
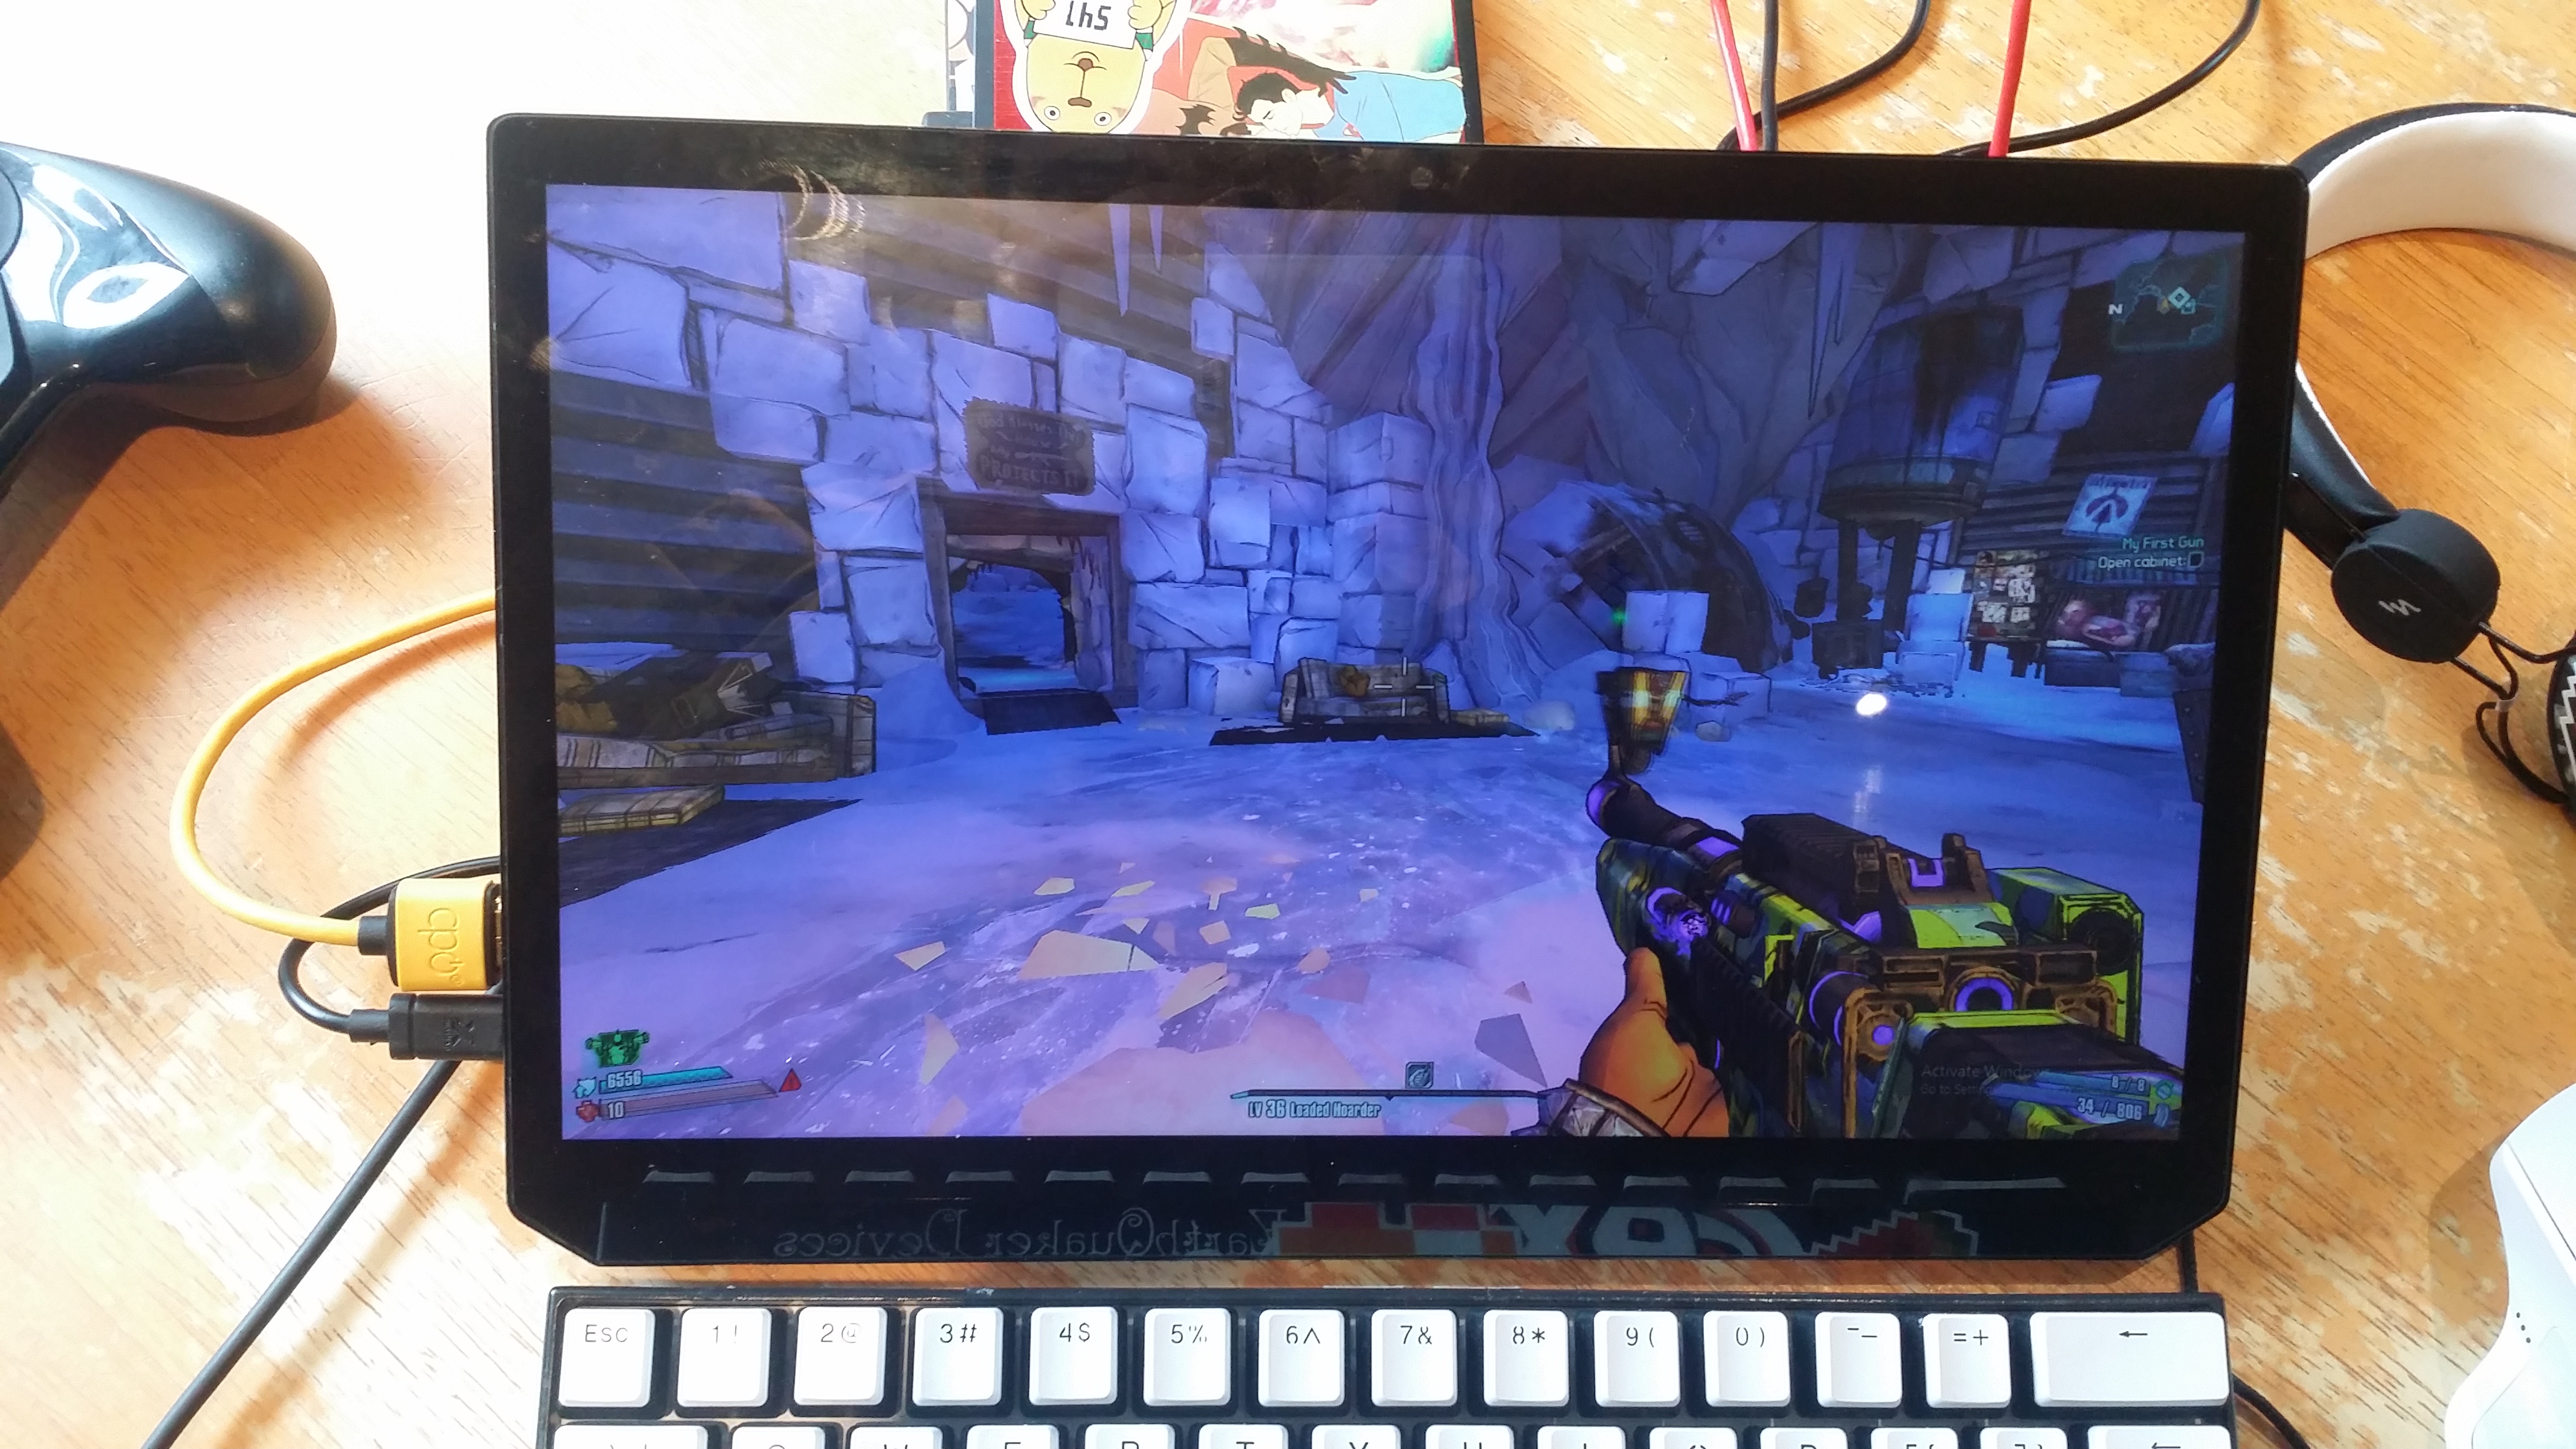
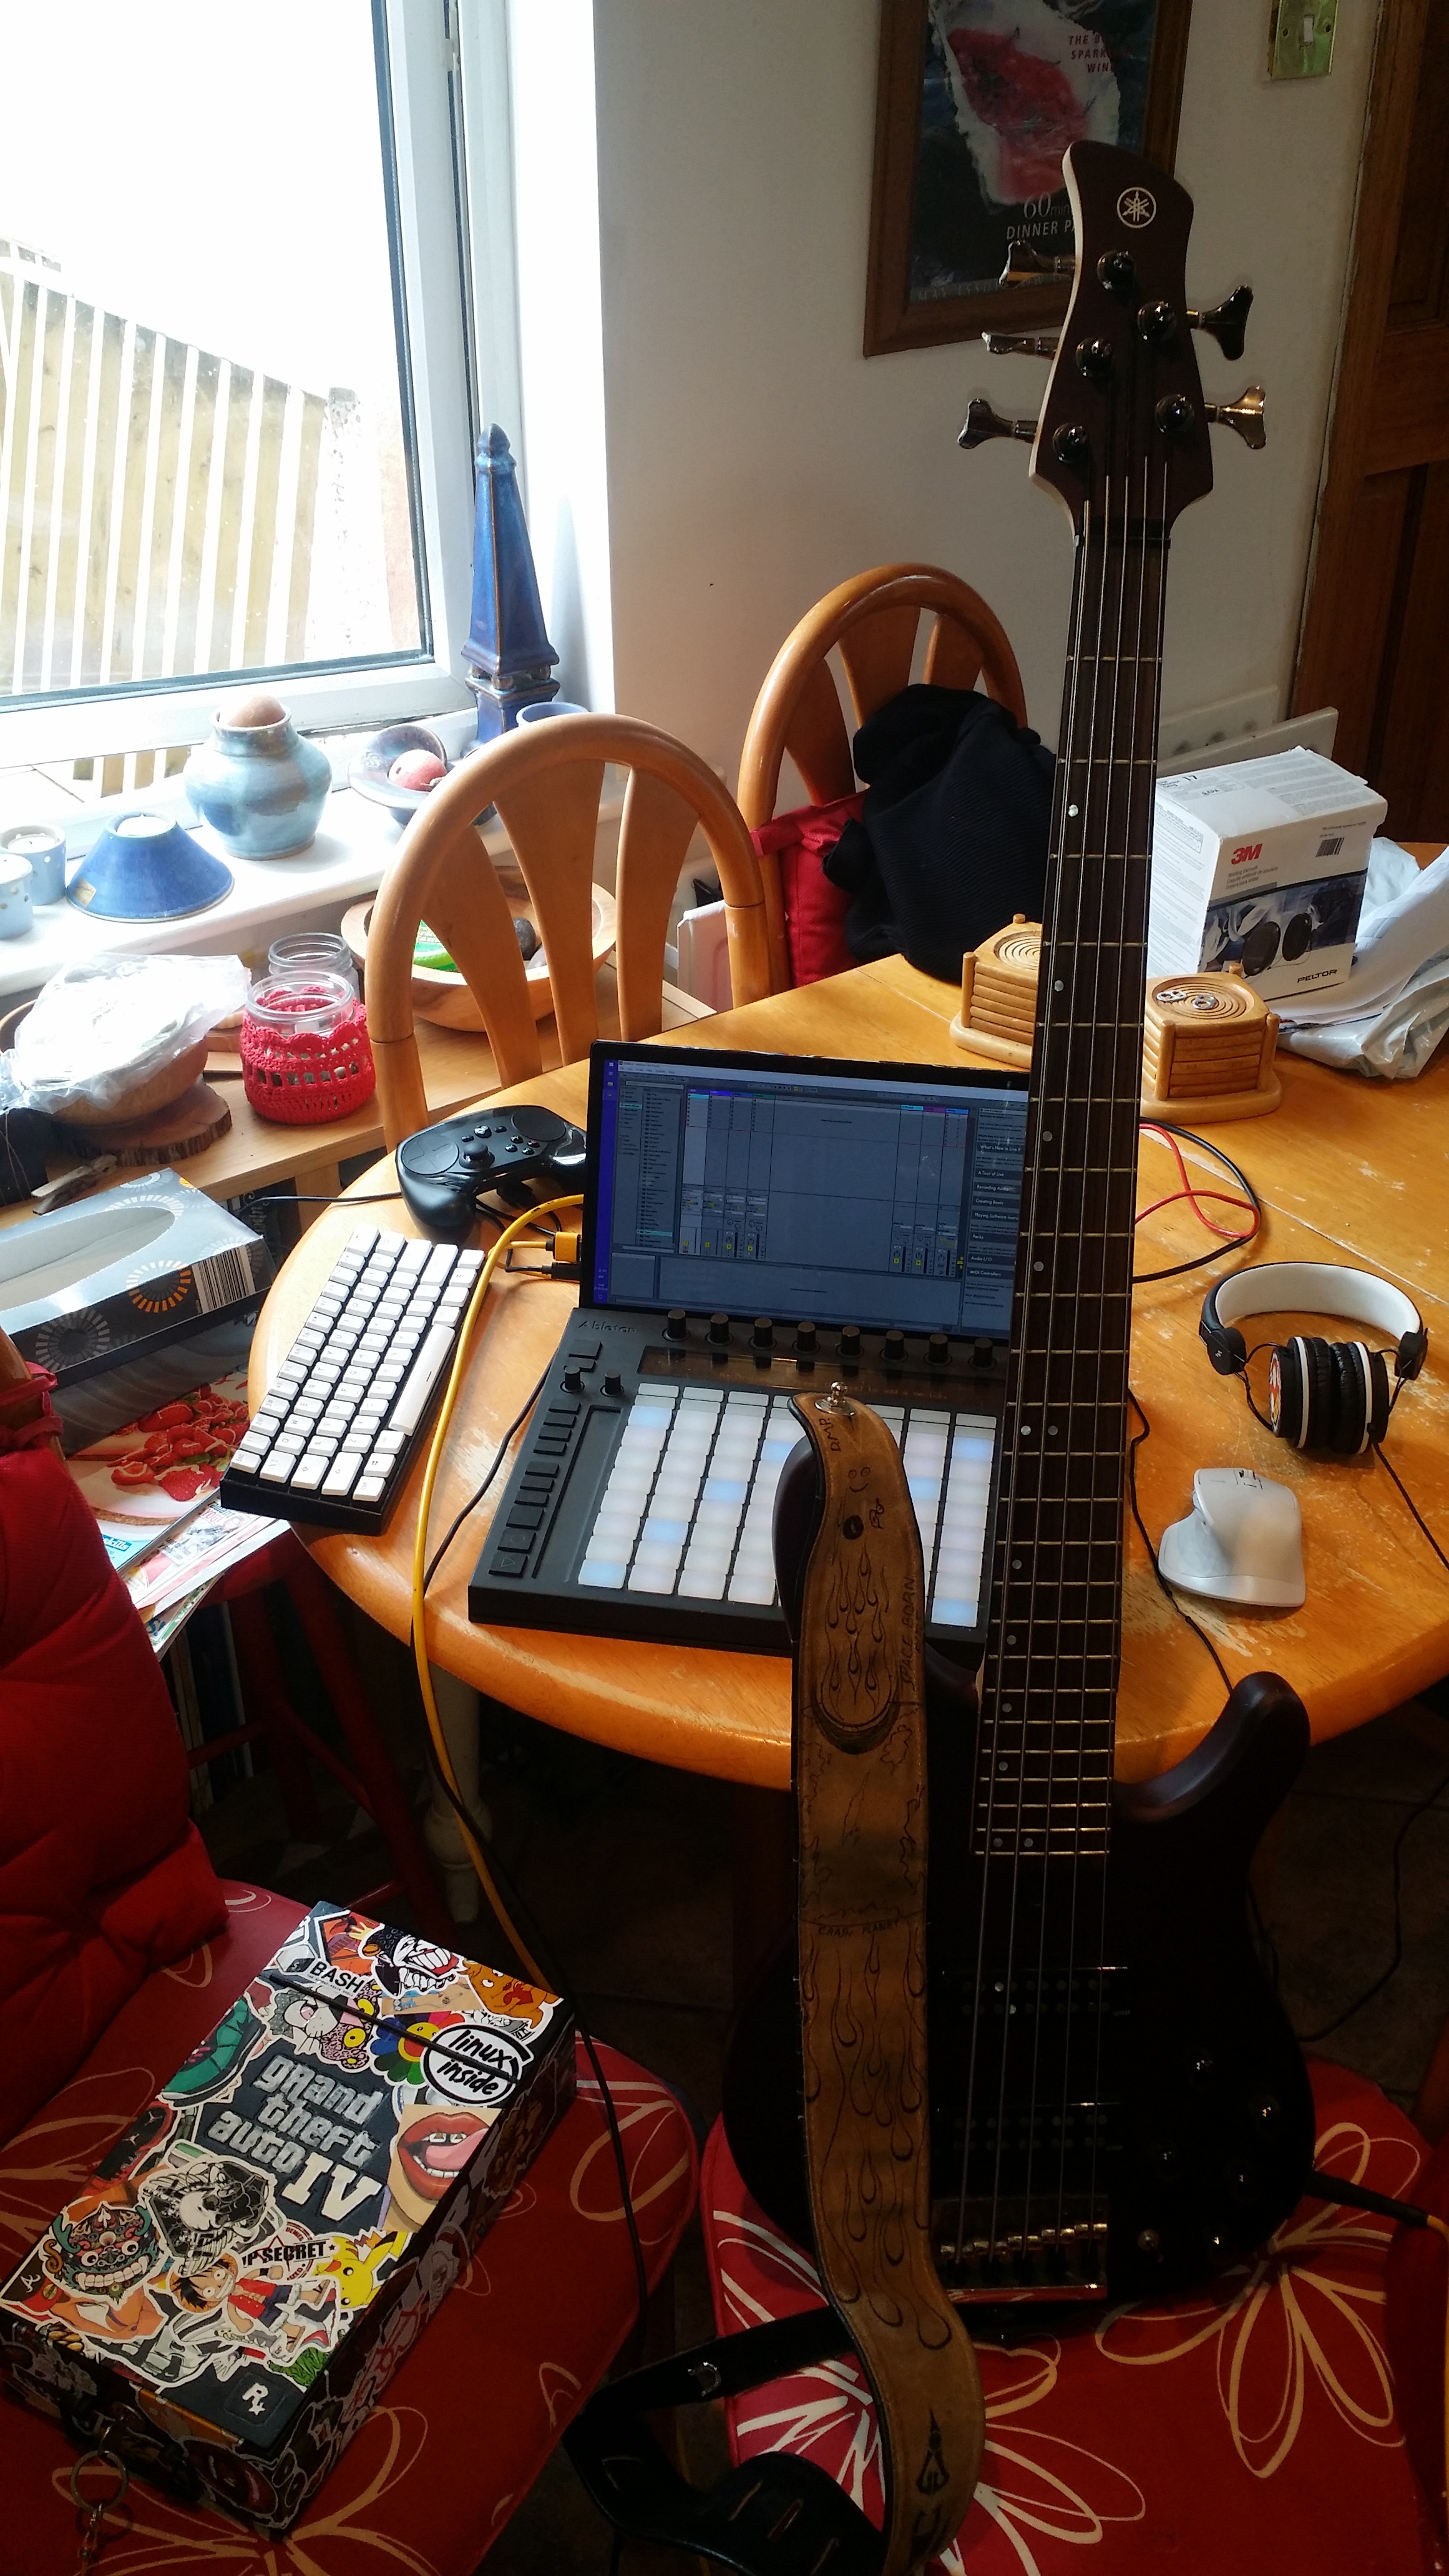
In action in a friends house:
