@Adubs It’s happening.

A long, long time ago in a forum not so far away, there was a discussion taking place about how to improve certain aspects of the forum. From that, an idea thread and a series of *BSD blogs spawned. After that, the small ember of inspiration seems to have faded. Oh, but fret not, for we have a new challenger! @Adubs has expressed interest in learning some new skills that can increase his paycheck significantly bring him inner fulfillment and satisfaction.
So, I figured I’d give my hand at it. This thread is going to be a work in progress and I welcome others to contribute. I didn’t want to do a blog or wiki because that seems like a self-interest endeavor whereas with this I am trying to create a shared, unified resource from experienced, professional Linux users that have used the operating system in a software engineering capacity. For this particular thread, using Linux in the process of Continuous Integration and Continuous Delivery.
Some of the topics that will be written about include:
Automated building and deployment with Jenkins
This will consist of standing up an environment with worker nodes to fetch, compile, build, and release the software. Probably going to go with the Docker image but, there is a nice repo in CentOS and FreeBSD so I might go the “bare metal” route as well.
Version Control with Git
Might go GitHub and GitLab just to over differences. GitLab is a lot easier to self host but I think GitHub has a lot more accessibility.
Infrastructure as Code
I am choosing Ansible, but if anyone is more comfortable with Puppet or Saltstack, go for it! Professionally, I have just worked with Chef. But I want to learn something new as well as help others see how all this stuff works. If anyone is interested, I have a Chef server that I host that I can go over rebuilding and configuring and showing how to write cookbooks.
Containerization
Build images and deploying images with Docker and Kubernetes. This is something I’m still gaining a deeper understanding on, but I think a L1T Kubernetes cluster would be pretty badass lol.
Monitoring
We’re going to spin up an ELK stack with three Elasticsearch nodes, one Logstash node, and one Kibana node. From here we will grab logs from our dummy applications and parse through them and make dashboards (BUZZWORD OF 2019!). I welcome anyone experienced with Prometheus and Grafana to join in and participate.
There is no rhyme or reason for this, but I think it will be a fun endeavor for anyone to participate in. No need to wait for Devember, if you want to containerize an existing application you have or if you’ve been wanting to learn logging then feel free to use this thread to express your R&D efforts or demonstrate your results or blockers.
First things first, we need to get ourselves a Jenkins server.
NOTE ABOUT MY CENTOS SYSTEMS
I upgrade the kernel to at least the latest LTS kernel but, generally, I run the latest mainline kernel. The default CentOS 7 experience is kernel 3.10. If you wish to upgrade you can use this script below (change kernel-ml to kernel-lt for LTS kernel):
For MBR:
#!/bin/bash
yum update -y
rpm --import https://www.elrepo.org/RPM-GPG-KEY-elrepo.org
rpm -Uvh http://www.elrepo.org/elrepo-release-7.0-3.el7.elrepo.noarch.rpm
yum --enablerepo=elrepo-kernel install kernel-ml -y
sed -i 's/saved/0/g' /etc/default/grub
grub2-mkconfig -o /boot/grub2/grub.cfg
reboot
For UEFI
#!/bin/bash
yum update -y
rpm --import https://www.elrepo.org/RPM-GPG-KEY-elrepo.org
rpm -Uvh http://www.elrepo.org/elrepo-release-7.0-3.el7.elrepo.noarch.rpm
yum --enablerepo=elrepo-kernel install kernel-ml -y
sed -i 's/saved/0/g' /etc/default/grub
grub2-mkconfig -o /boot/efi/EFI/centos/grub.cfg
reboot
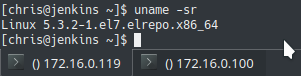
Feel free to run each line individually if you don’t want to create a file and chmod u+x it. My Jenkins server is on kernel 5.3.2-1
All of the instructions should work on any CentOS, RHEL, and (probably) Fedora server.
I am using KVM as my hypervisor but you can use whatever you want. VirtualBox, VMware, Hyper-V – Just make sure you set the networking to Bridged to avoid any confusion when connecting to the server or, eventually, the site.
Once you complete the installation, I recommend installing vim and git on the machine.
sudo yum install vim git -y
I am installing the weekly release of Jenkins, but they offer an LTS version as well (the steps are near identical, I’ll include under this).
sudo curl -o /etc/yum.repos.d/jenkins.repo http://pkg.jenkins-ci.org/redhat-stable/jenkins.repo
sudo rpm --import https://jenkins-ci.org/redhat/jenkins-ci.org.key
sudo yum install jenkins
sudo yum install java
Java is required for Jenkins to run. Sorry.
For LTS version
sudo curl -o /etc/yum.repos.d/jenkins.repo http://pkg.jenkins-ci.org/redhat-stable/jenkins.repo
sudo rpm --import https://jenkins-ci.org/redhat/jenkins-ci.org.key
sudo yum install jenkins
sudo yum install java
Jenkins by default runs on port 8080 (unless you’re on FreeBSD, then it runs on 8081 or something like that, can’t remember but oh how I raged). We’ll need to open the firewall.
sudo firewall-cmd --permanent --add-port=8080/tcp
sudo firewall-cmd --reload
If you like IPTables or another firewall then God help you you’ll have to find those instructions on your own.
I set Jenkins to run on startup and then start the service. I’m using systemd because I believe in a pure, unadulterated system, the init.d commands do work, though.
sudo systemctl enable jenkins && sudo systemctl start jenkins
Depending on your system, it could take several seconds for the service to come online COUGH JAVA COUGH.
Hit up your browser and visit the serverIP:8080
For example:
172.16.0.119:8080
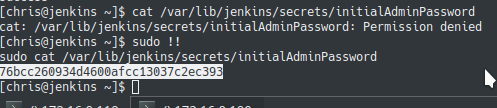
You’ll be presented with a initial authentication screen:

Follow the instructions on your server and copy that password:
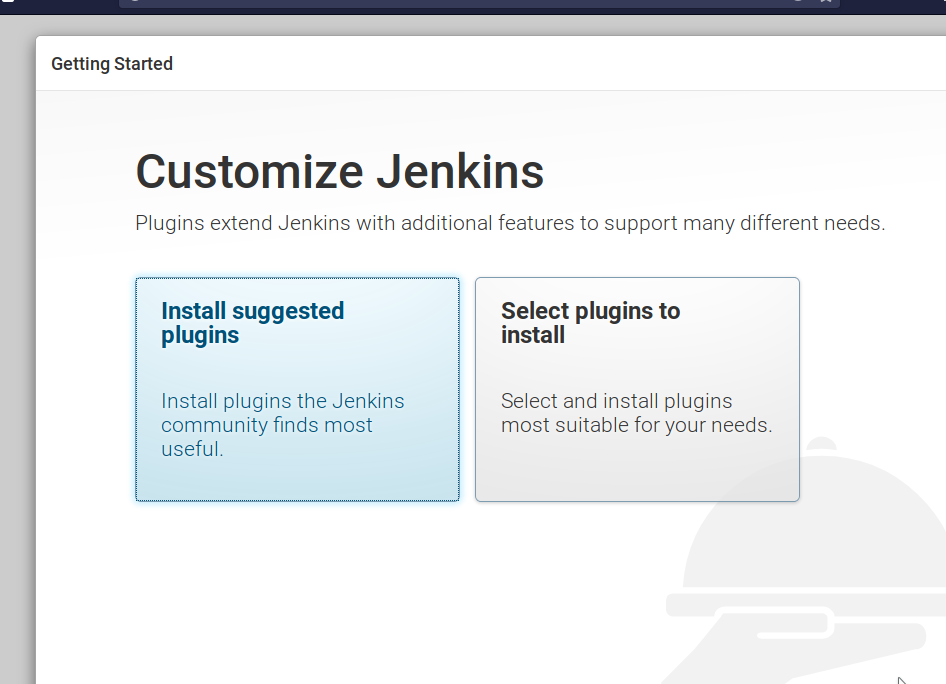
After that you’ll be prompted to install suggested plugins. I highly, strongly, very much recommend doing this to save yourself some frustration and time.
Important Note
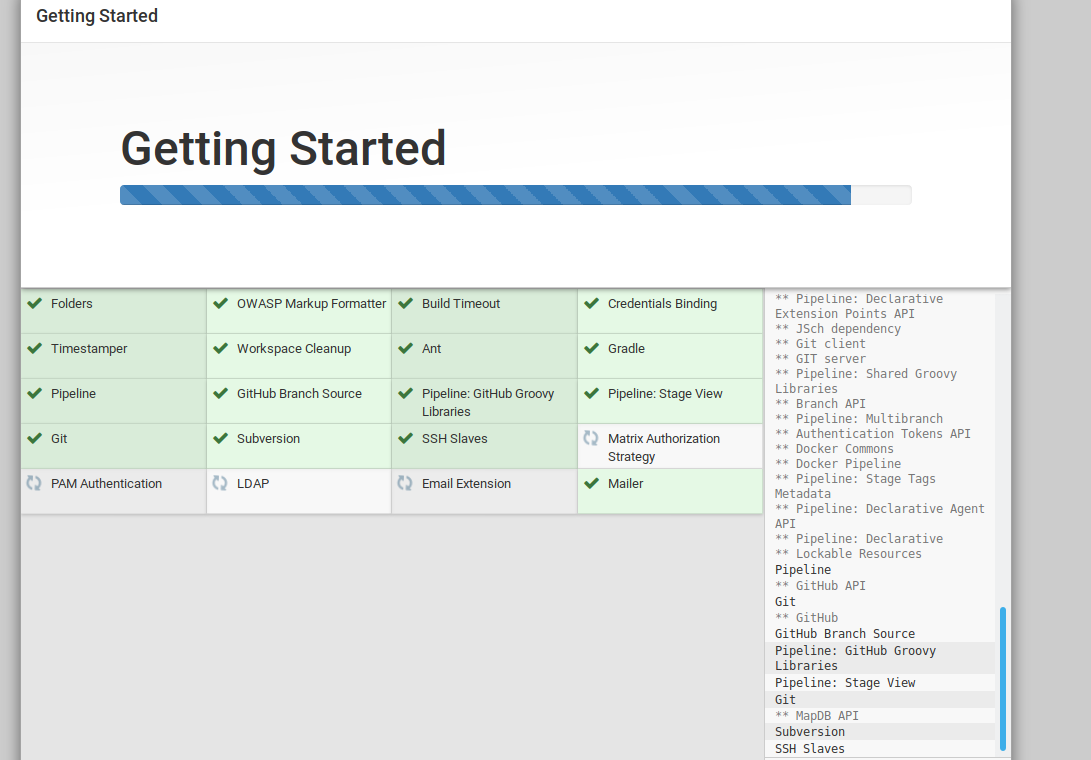
Sometimes Jenkins will load to a blank, white page. Stop the server on your server and start it up. Sometimes these services will fail to install, giving a red box instead of a green box. Don’t panic! (Did you bring your towel?). Restart the Jenkins service and try again. If the installation moves forward and you’re not sure what plugins were installed, check this list. If you’re lost, confused, or unsure of what to do, just ask for help.
Next, you will be asked to create an Administrator. I strongly recommend doing this:
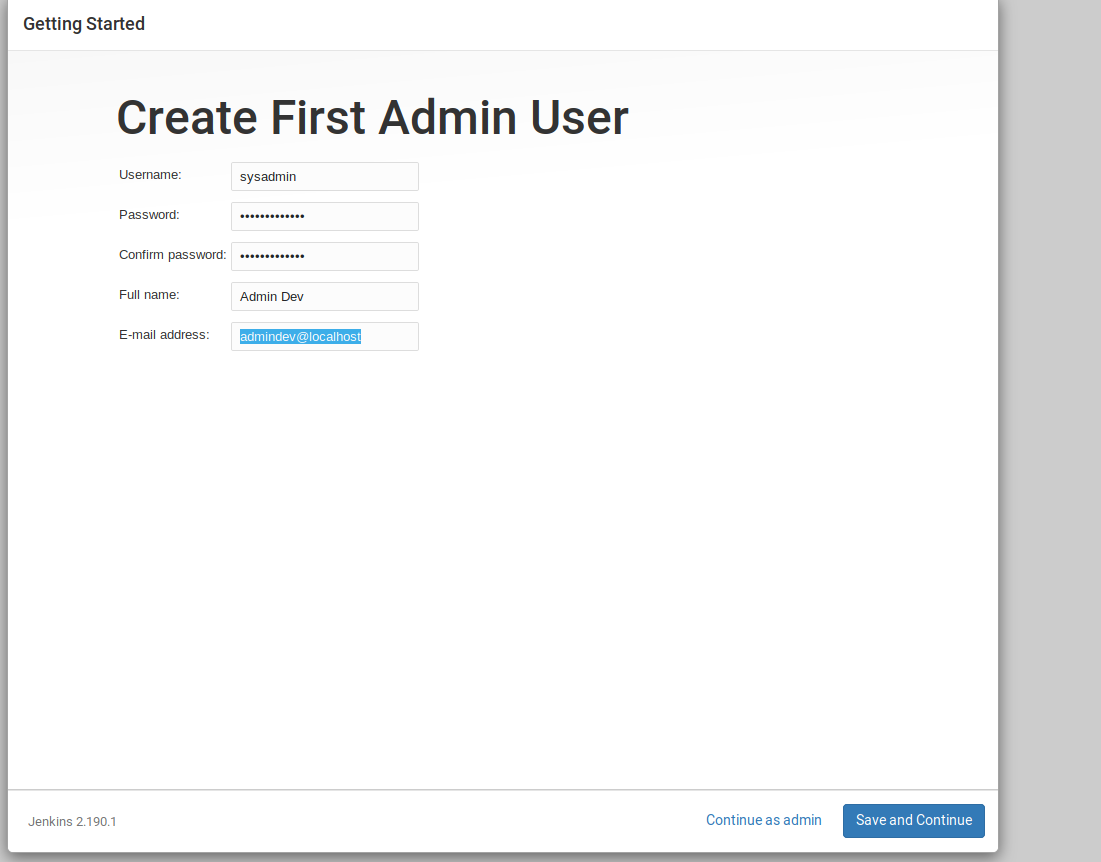
I typically name the user sysadmin or systemsadministrator (cause that’s what you are, baby! No turning back, saddle up and git gud).
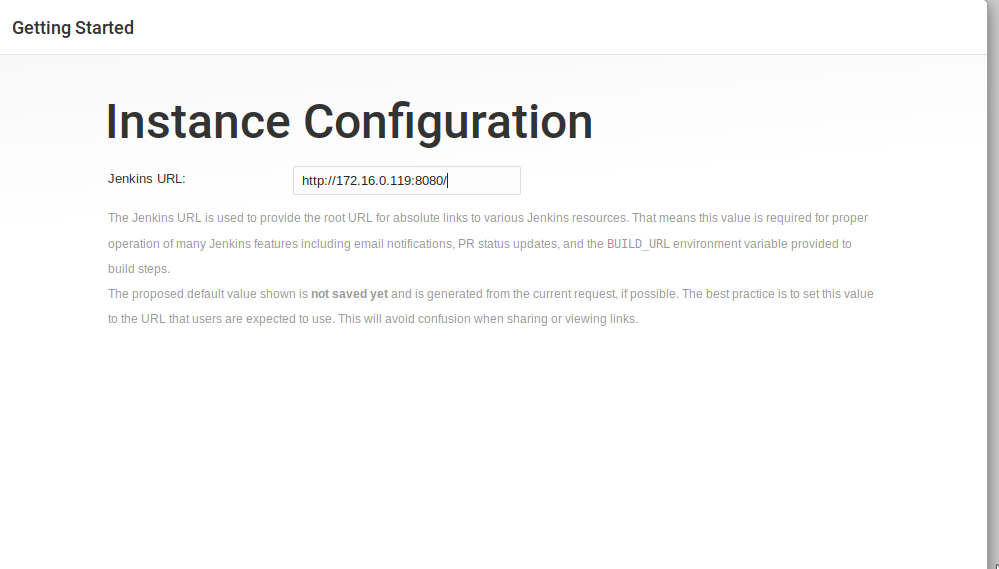
Next, confirm the instance URL. In a production, enterprise environment you’ll want this to be the domain name, usually starting with the word “jenkins”, but here the IP is fine. Well, since you brought it up, in a production environment you’d have port 8080 actually be port 8443 and have that forwarded to 443 with an SSL cert.
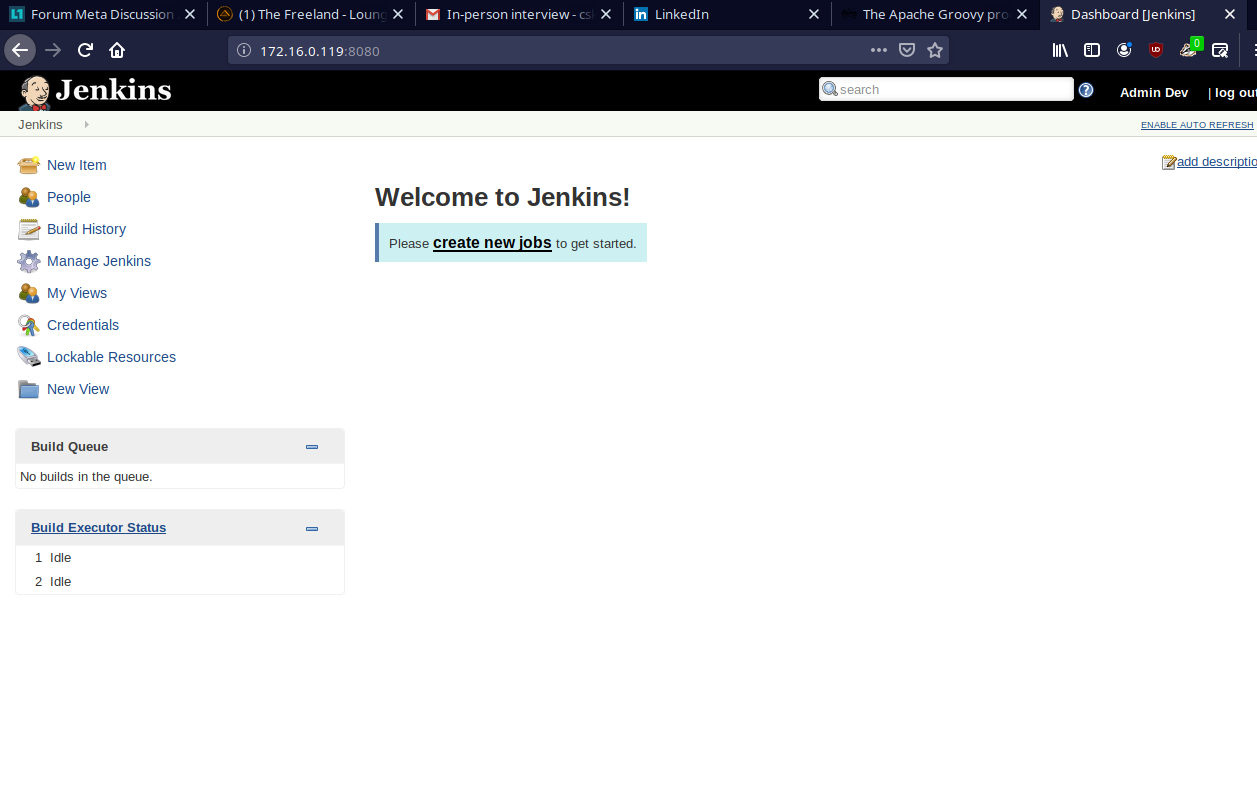
After that, you should be set. Try closing the browser and logging in with the user you created:
TODO
// write application to have Jenkins build
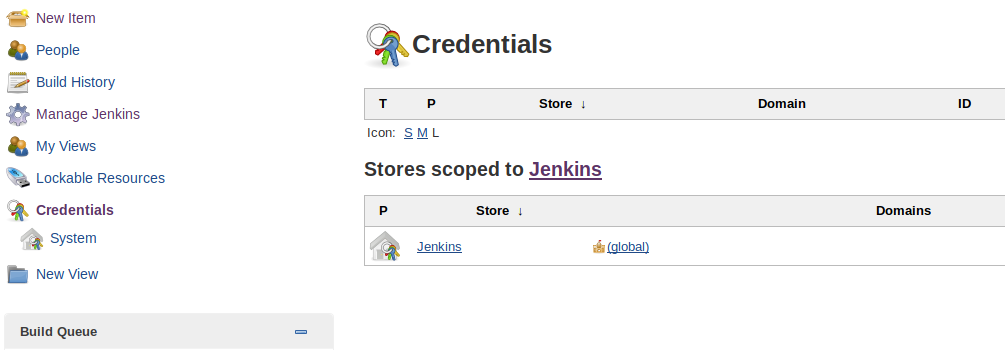
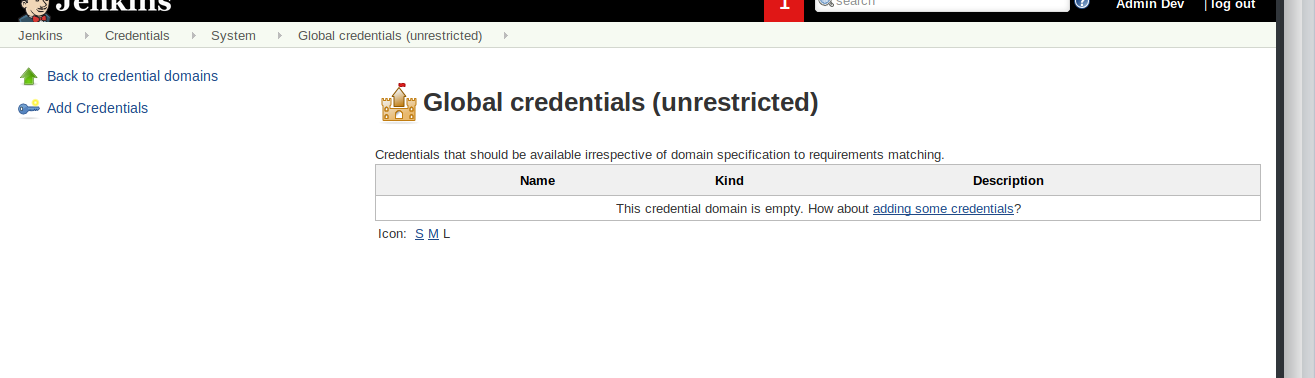
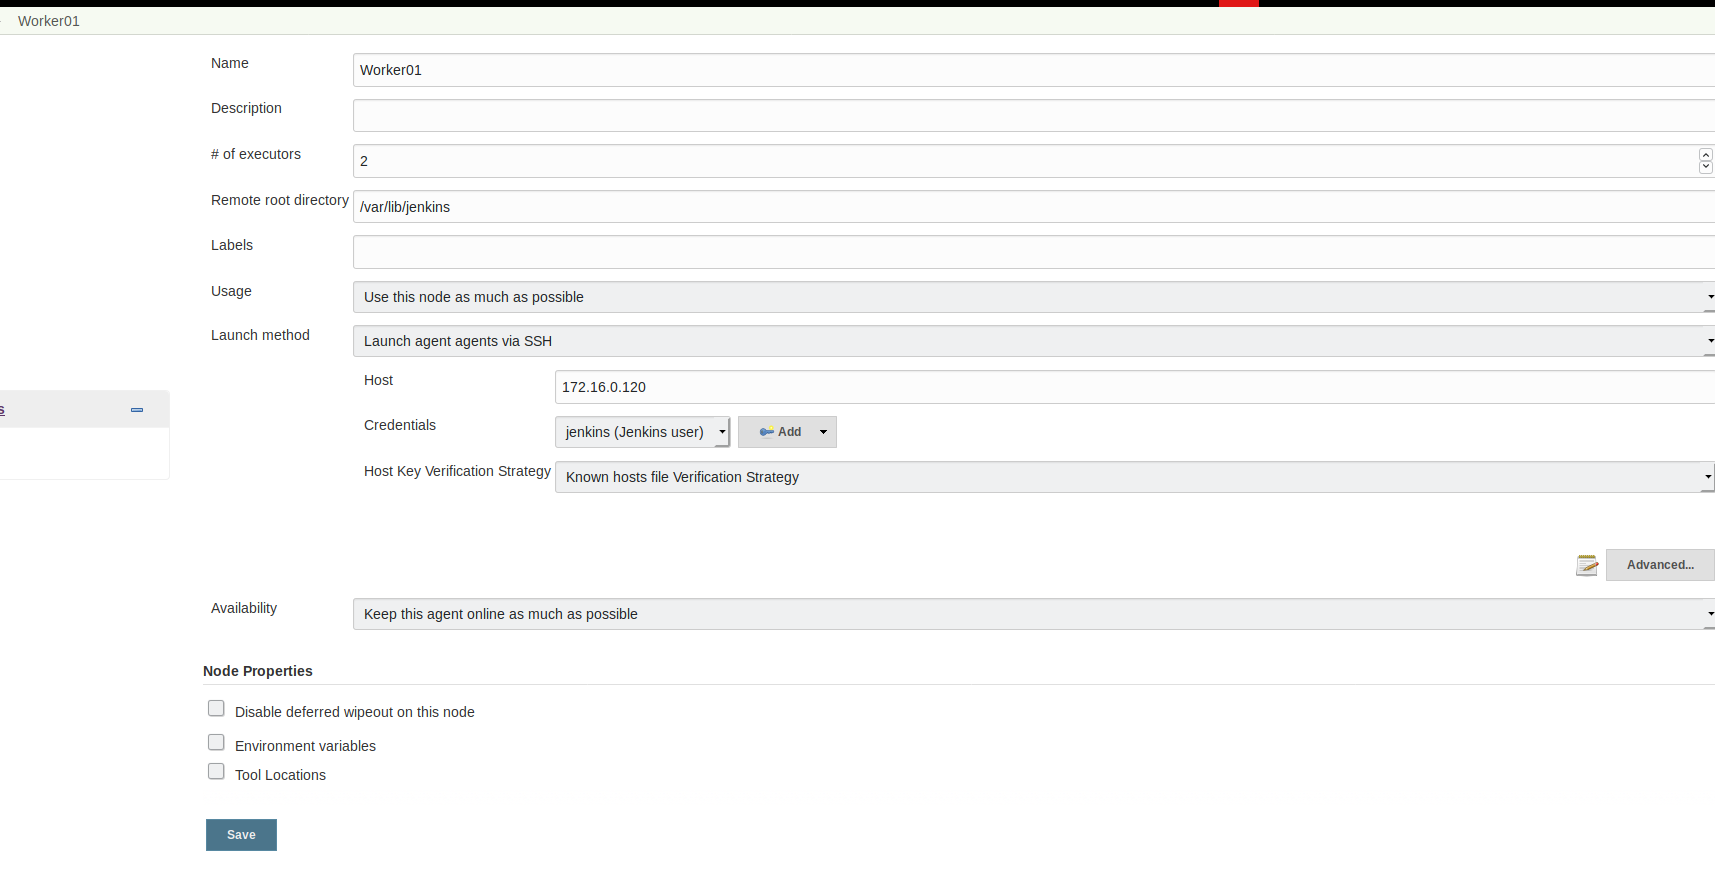
// setup worker node for Jenkins
// create Jenkins project
// aesthetic things (change the blue button to green, etc)