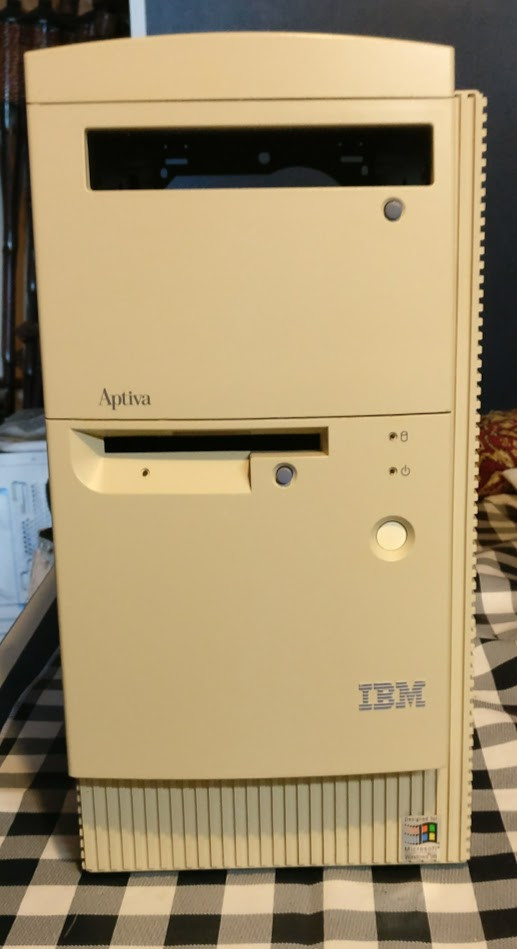
Well after waiting for quite some time I finally got my hands on an IBM Aptiva case.
IBM Aptiva E 2153
I always wanted a smaller system, and a retro one at that so this was the perfect fit since modding would be minimal due to the more modern layout.
However, there were going to be some changes to my current build for this to work out. First was the motherboard. My current system had an ASUS Sabertooth z97 mobo, but being that it was ATX it was not going to work with the Aptiva’s mATX layout. After hours of browsing for a new mATX z97 board all I could come up with was a Super Micro.
Was not the best board, but it would suffice for my needs, plus I get my PS2 port back 
Next was cooling. My NHD-14 was in no way shape or form going to fit inside this case so I stuck with Noctua again and went for this option:
Lastly and most painfully, I had to change my lovely r9 Fury’s  The nearly 15’’ cards were not going fit this system. So they will be sold and a WTS thread will most likely be linked when that time comes (unless I find someone local). So… I had to go team green and become a traitor to my 3 generations of loyalty towards AMD.
The card is going to be a perfect fit at only 8 inches it gives me plenty of breathing room, and obviously all the performance I will need.
Lastly what needs to be done is dremel / drill work to get a front and rear fan mounted in my system (along with cable routing). I plan to have a 92mm Noctua for the rear, and an Industrial Noctua 140mm for the front, this should provide ample air flow for this small case. A top or bottom fan might be an idea in the future.
Lastly will be fitting my 3 HDD’s and SSD in the system but that should be relatively easy since I’m leaving the optical drive bay empty with an old optical drive face to cover the front.
I’ll update as time goes on. Hope to have it done before the end of the month.
9 Likes
Saved for future updates
5/17
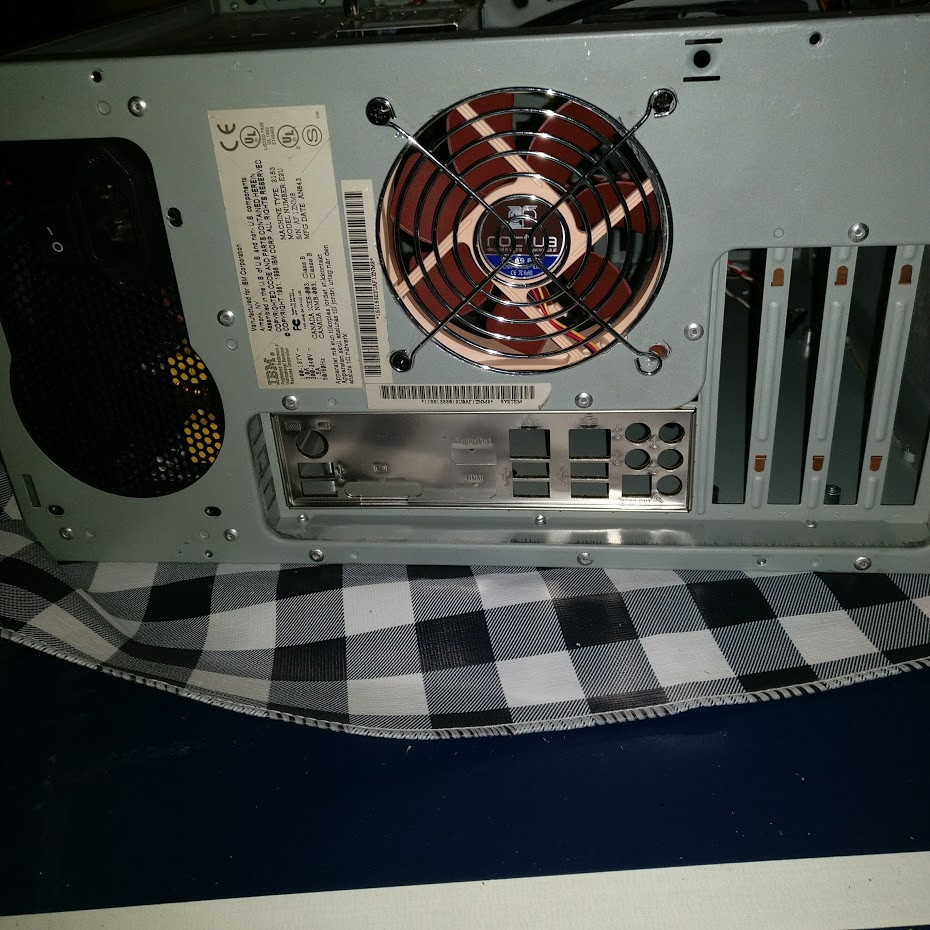
Fans are installed, unfortunately, my drilling techniques are a bit rough, and ended up not being able to put one screw in each of the fans, but they are secure enough that I don't think it will be an issue. (might go back to it later).
I also found out that I can fit my cables between the body and front cover of the case and down through the 3.5'' cage.
The power supply in there was just to test the theory, it could actually fit through the opening where the power supply is sitting but I'm going to be using an RM 850 which is to long for that path.
Lastly I might be using an external usb floppy drive since I was able to make it fit and function just fine. (janky ik, but what about this build isn't lol)
As for the rust, I don't really care. I got most of it off with sandpaper and vinegar... I'm not all that worried about what the system looks on the inside.
My 1080 is coming tomorrow, I'll probably build the system then. But won't be ready to go till the weekend most likely.
2 Likes
For retro atx builds like this , it's common practice to raise the machine on very high feet and cut new fan holes in the floor of the chassis for the additional cooling you WILL need. I did it on my year 2000 pc sleeper. Keeps the original look and adds tons of airflow
2 Likes
Might end up doing that, but honestly the system is so small that there doesn't need to be a ton of airflow. I'll see if I'm happy with my temps when fully built, if not I'll probably end up doing it.
That front fan has about 95% of it's airflow blocked by metal so I'd at least use a hole saw and open that up so it can breathe.
Yea, we'll see. Going to switch the fan for something a little more static optimized, but I think people get a little too worked up about airflow.
If needed you could always turn that rear fan around so you use them both as intakes. The air will have no issues escaping through the holes in the side panel and all the other nooks and crannies.
I'd consider getting a filter for the fan then though.
Possible, but I don't think it would work out that great. My power supply is going to be choked for air as it is, so I'm going to want at least something to get the hot air out of the case.
You may also want a gpu with a reference cooler instead as it will force the air over the gpu and out the back which usually is what is used when cooling in a case is an issue as opposed to a "blow air everywhere" style cooler.
You know I just realized that not only will this case have a 1080 in it but the power supply fan is also blocked as on the ibm the power supply fan is on the back of the power supply not the top. If I were you , I'd break out the saws and just stuff two 120mm fans on the floor of that case.
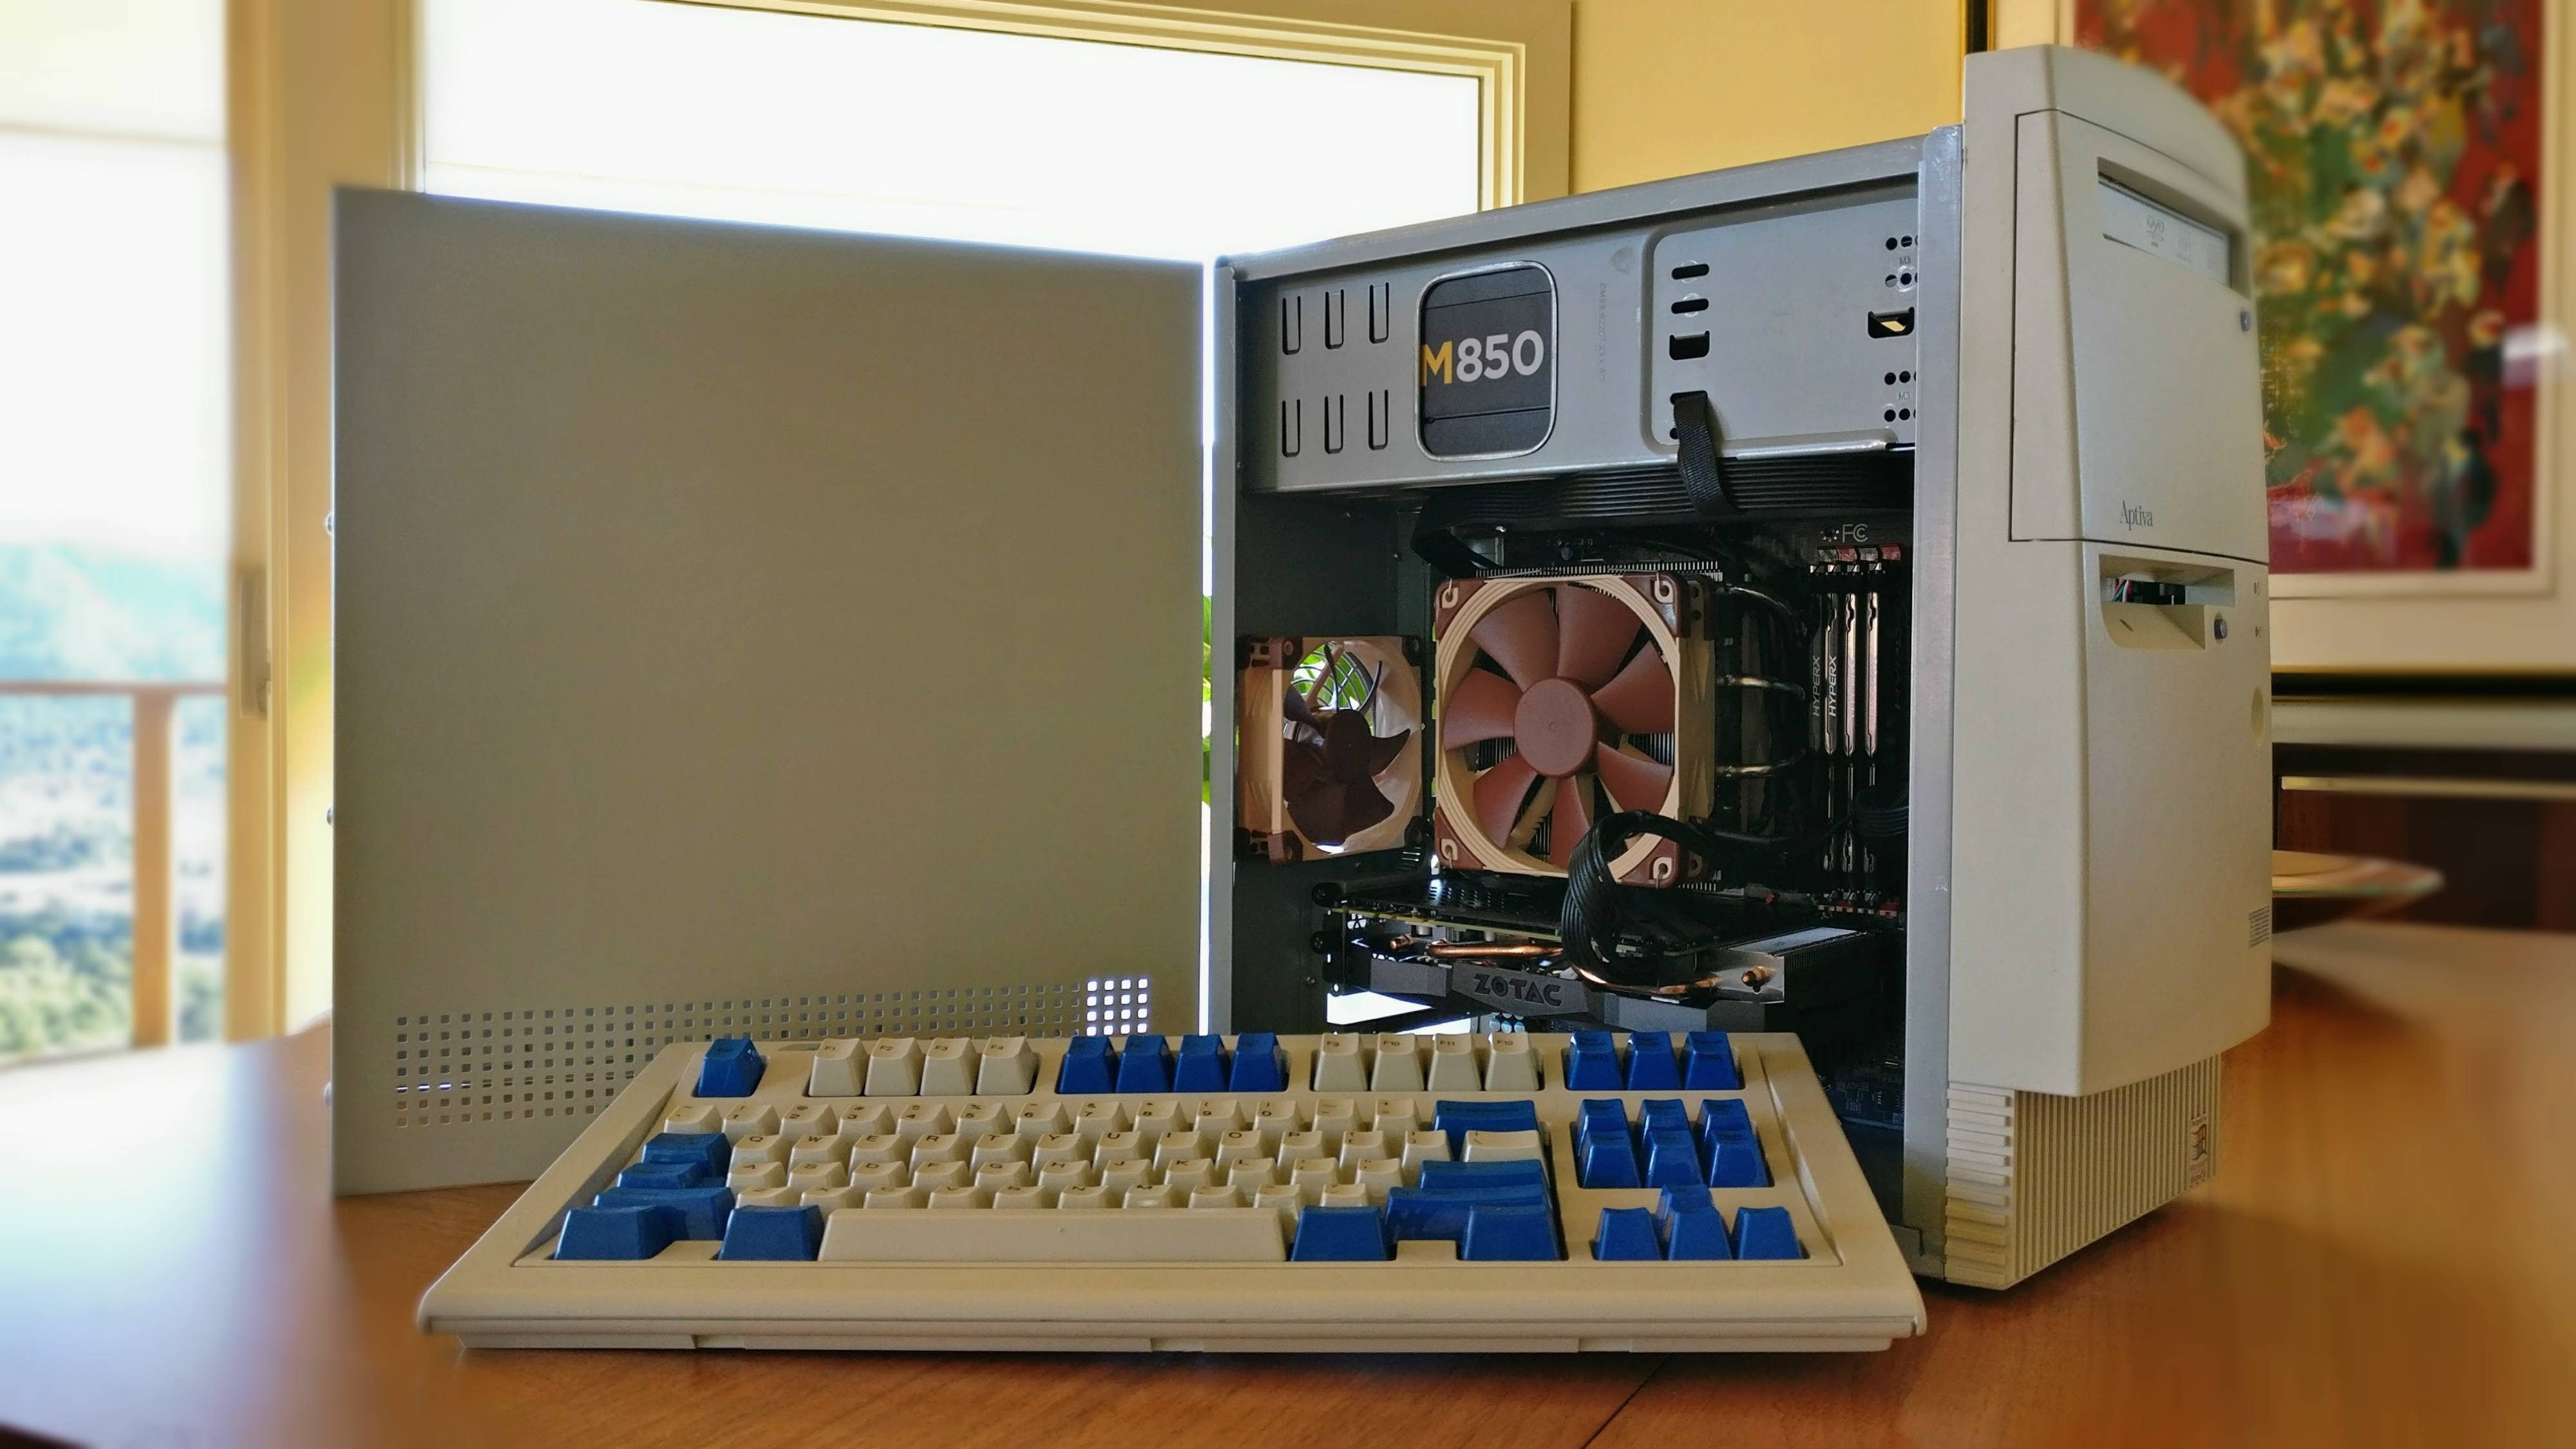
Well pretty much done, checking what I can do for temps, but everything is stable albeit a little on the warm side.
Needed to take at least one glamour shot.
6 Likes
How about a glamor shot (or six) of the keyboard???
Found something that will go well with the theme.
3 Likes