Hello there tek 
Completely new here, watching TheTek though…
Want to share/track my build “log” here.
First: sorry for bad English and terrible drawing skills.
Here we go…
Wanted, long ago, to have a powerful machine.
I followed this [Andy Brown’s post][1]. Basically this was the post that was sent to me and inspired me.
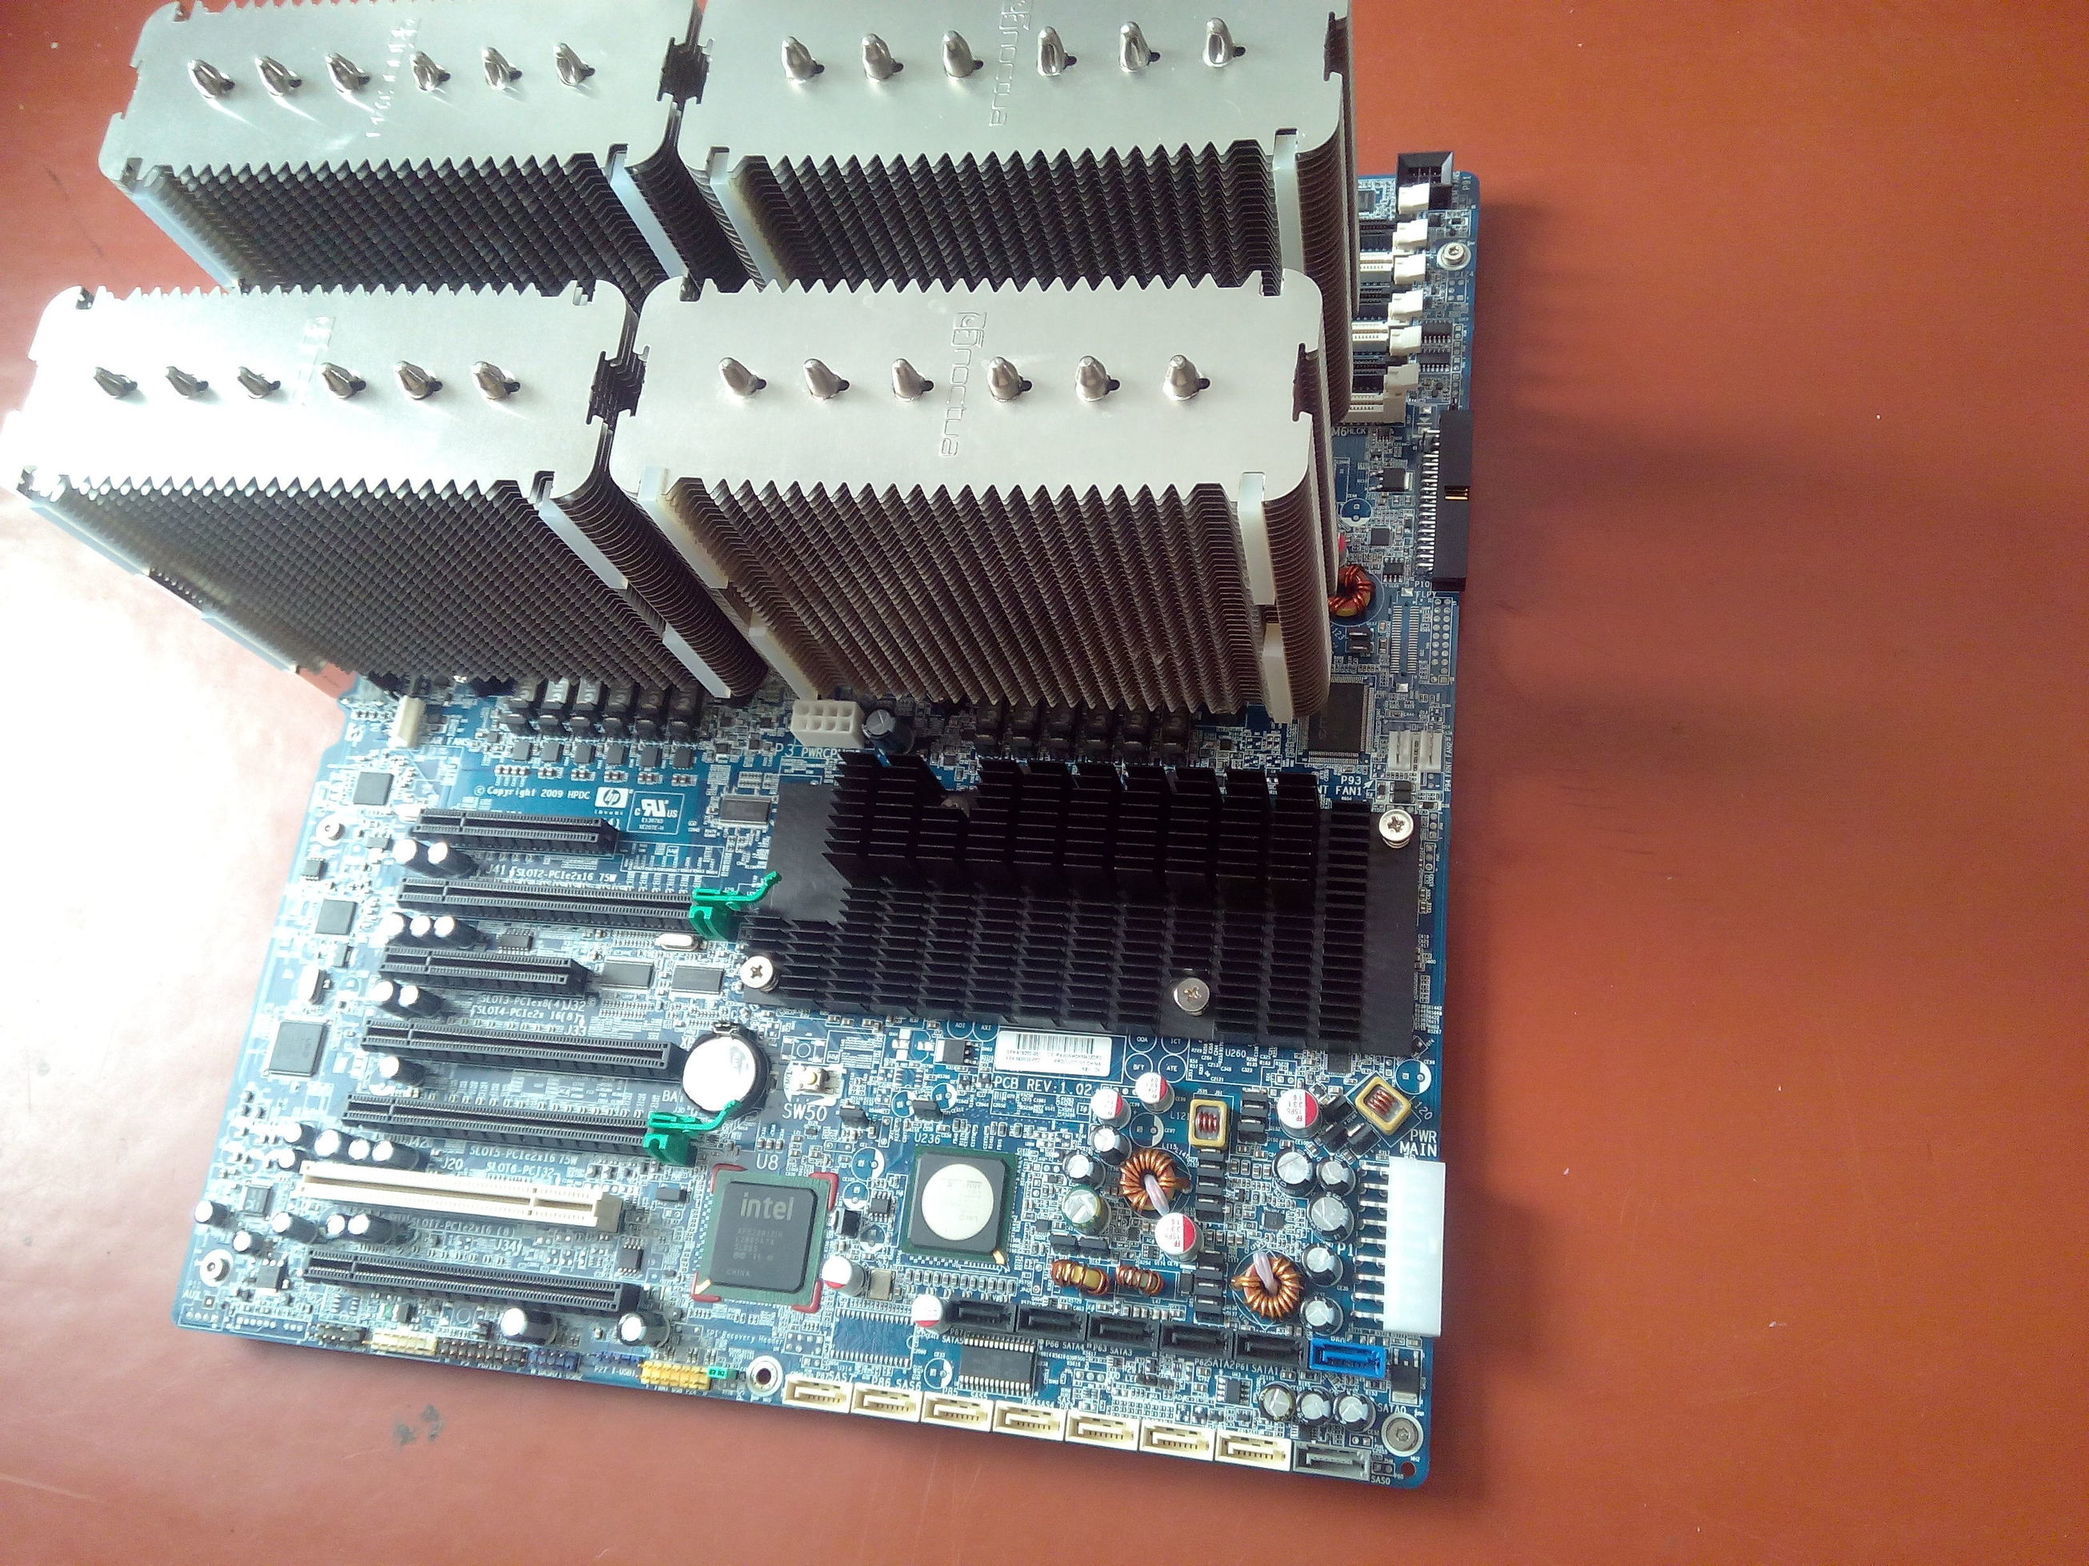
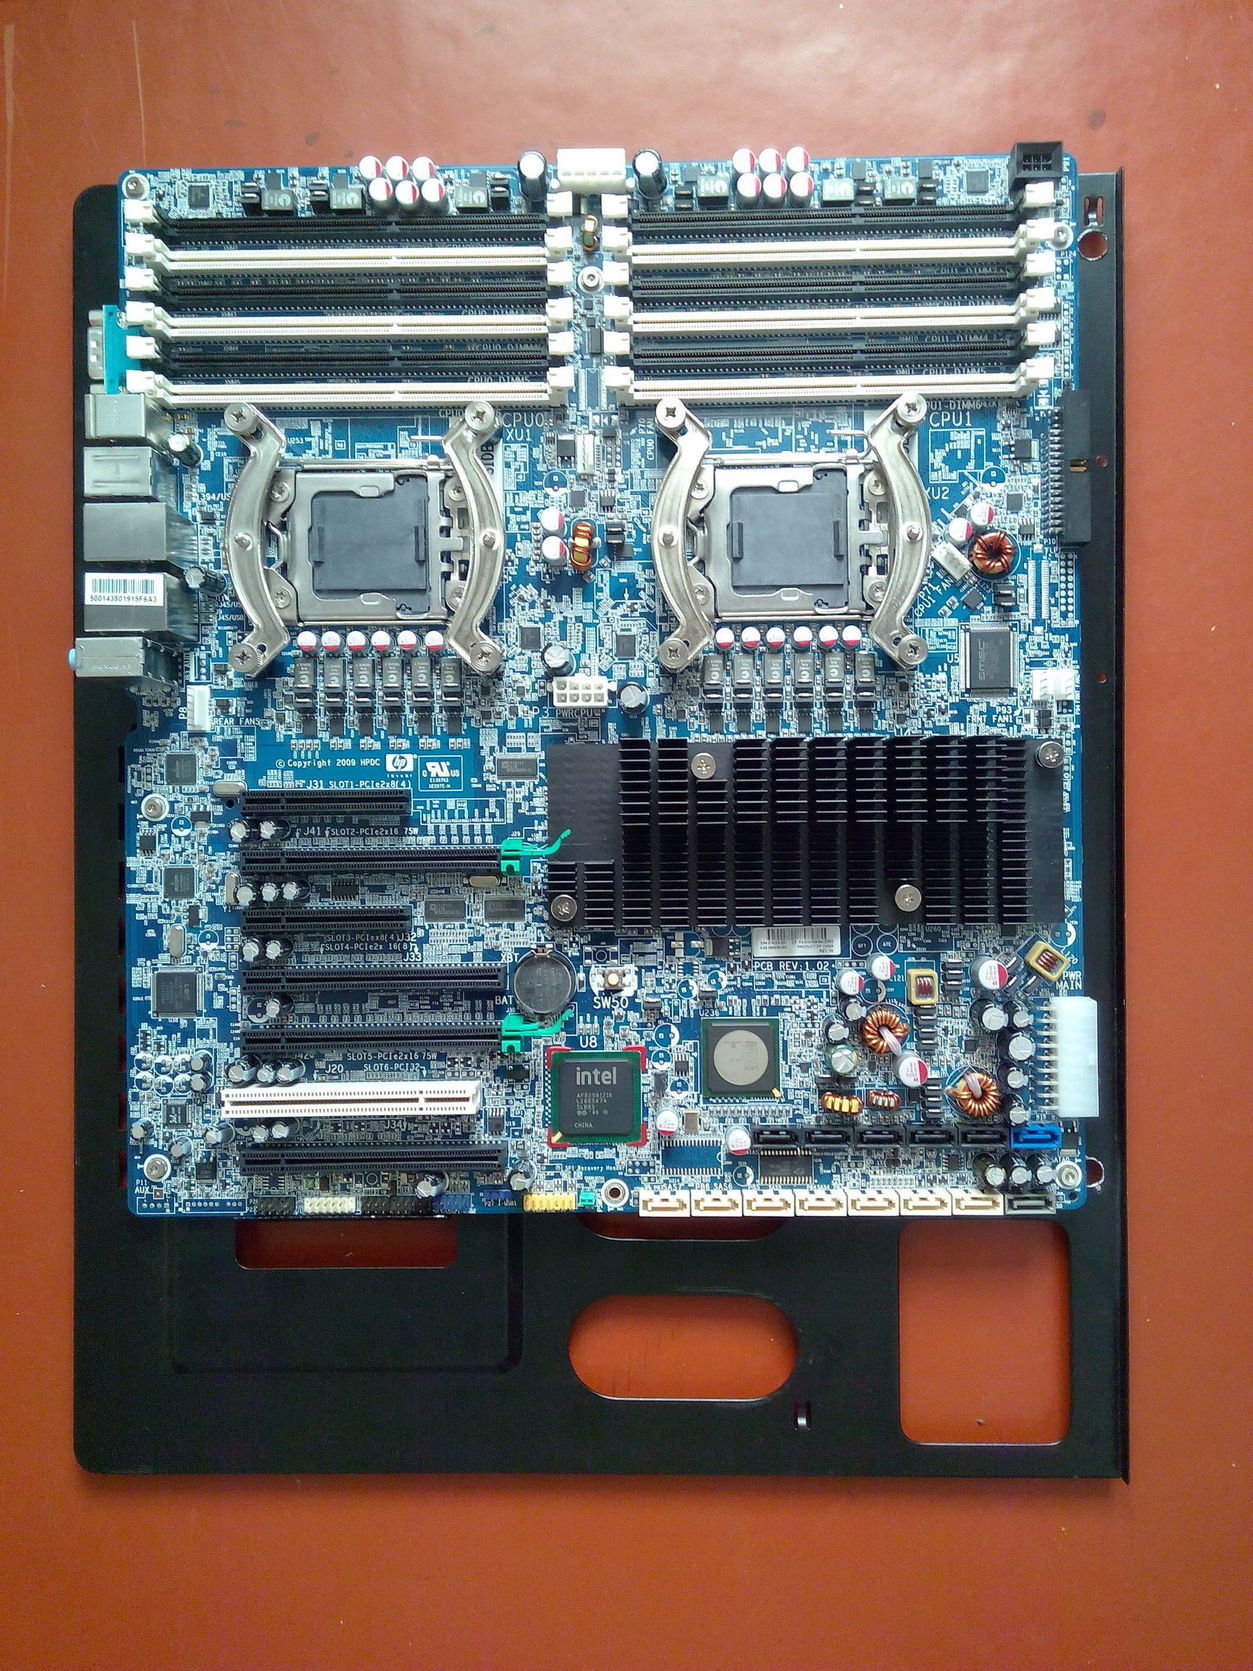
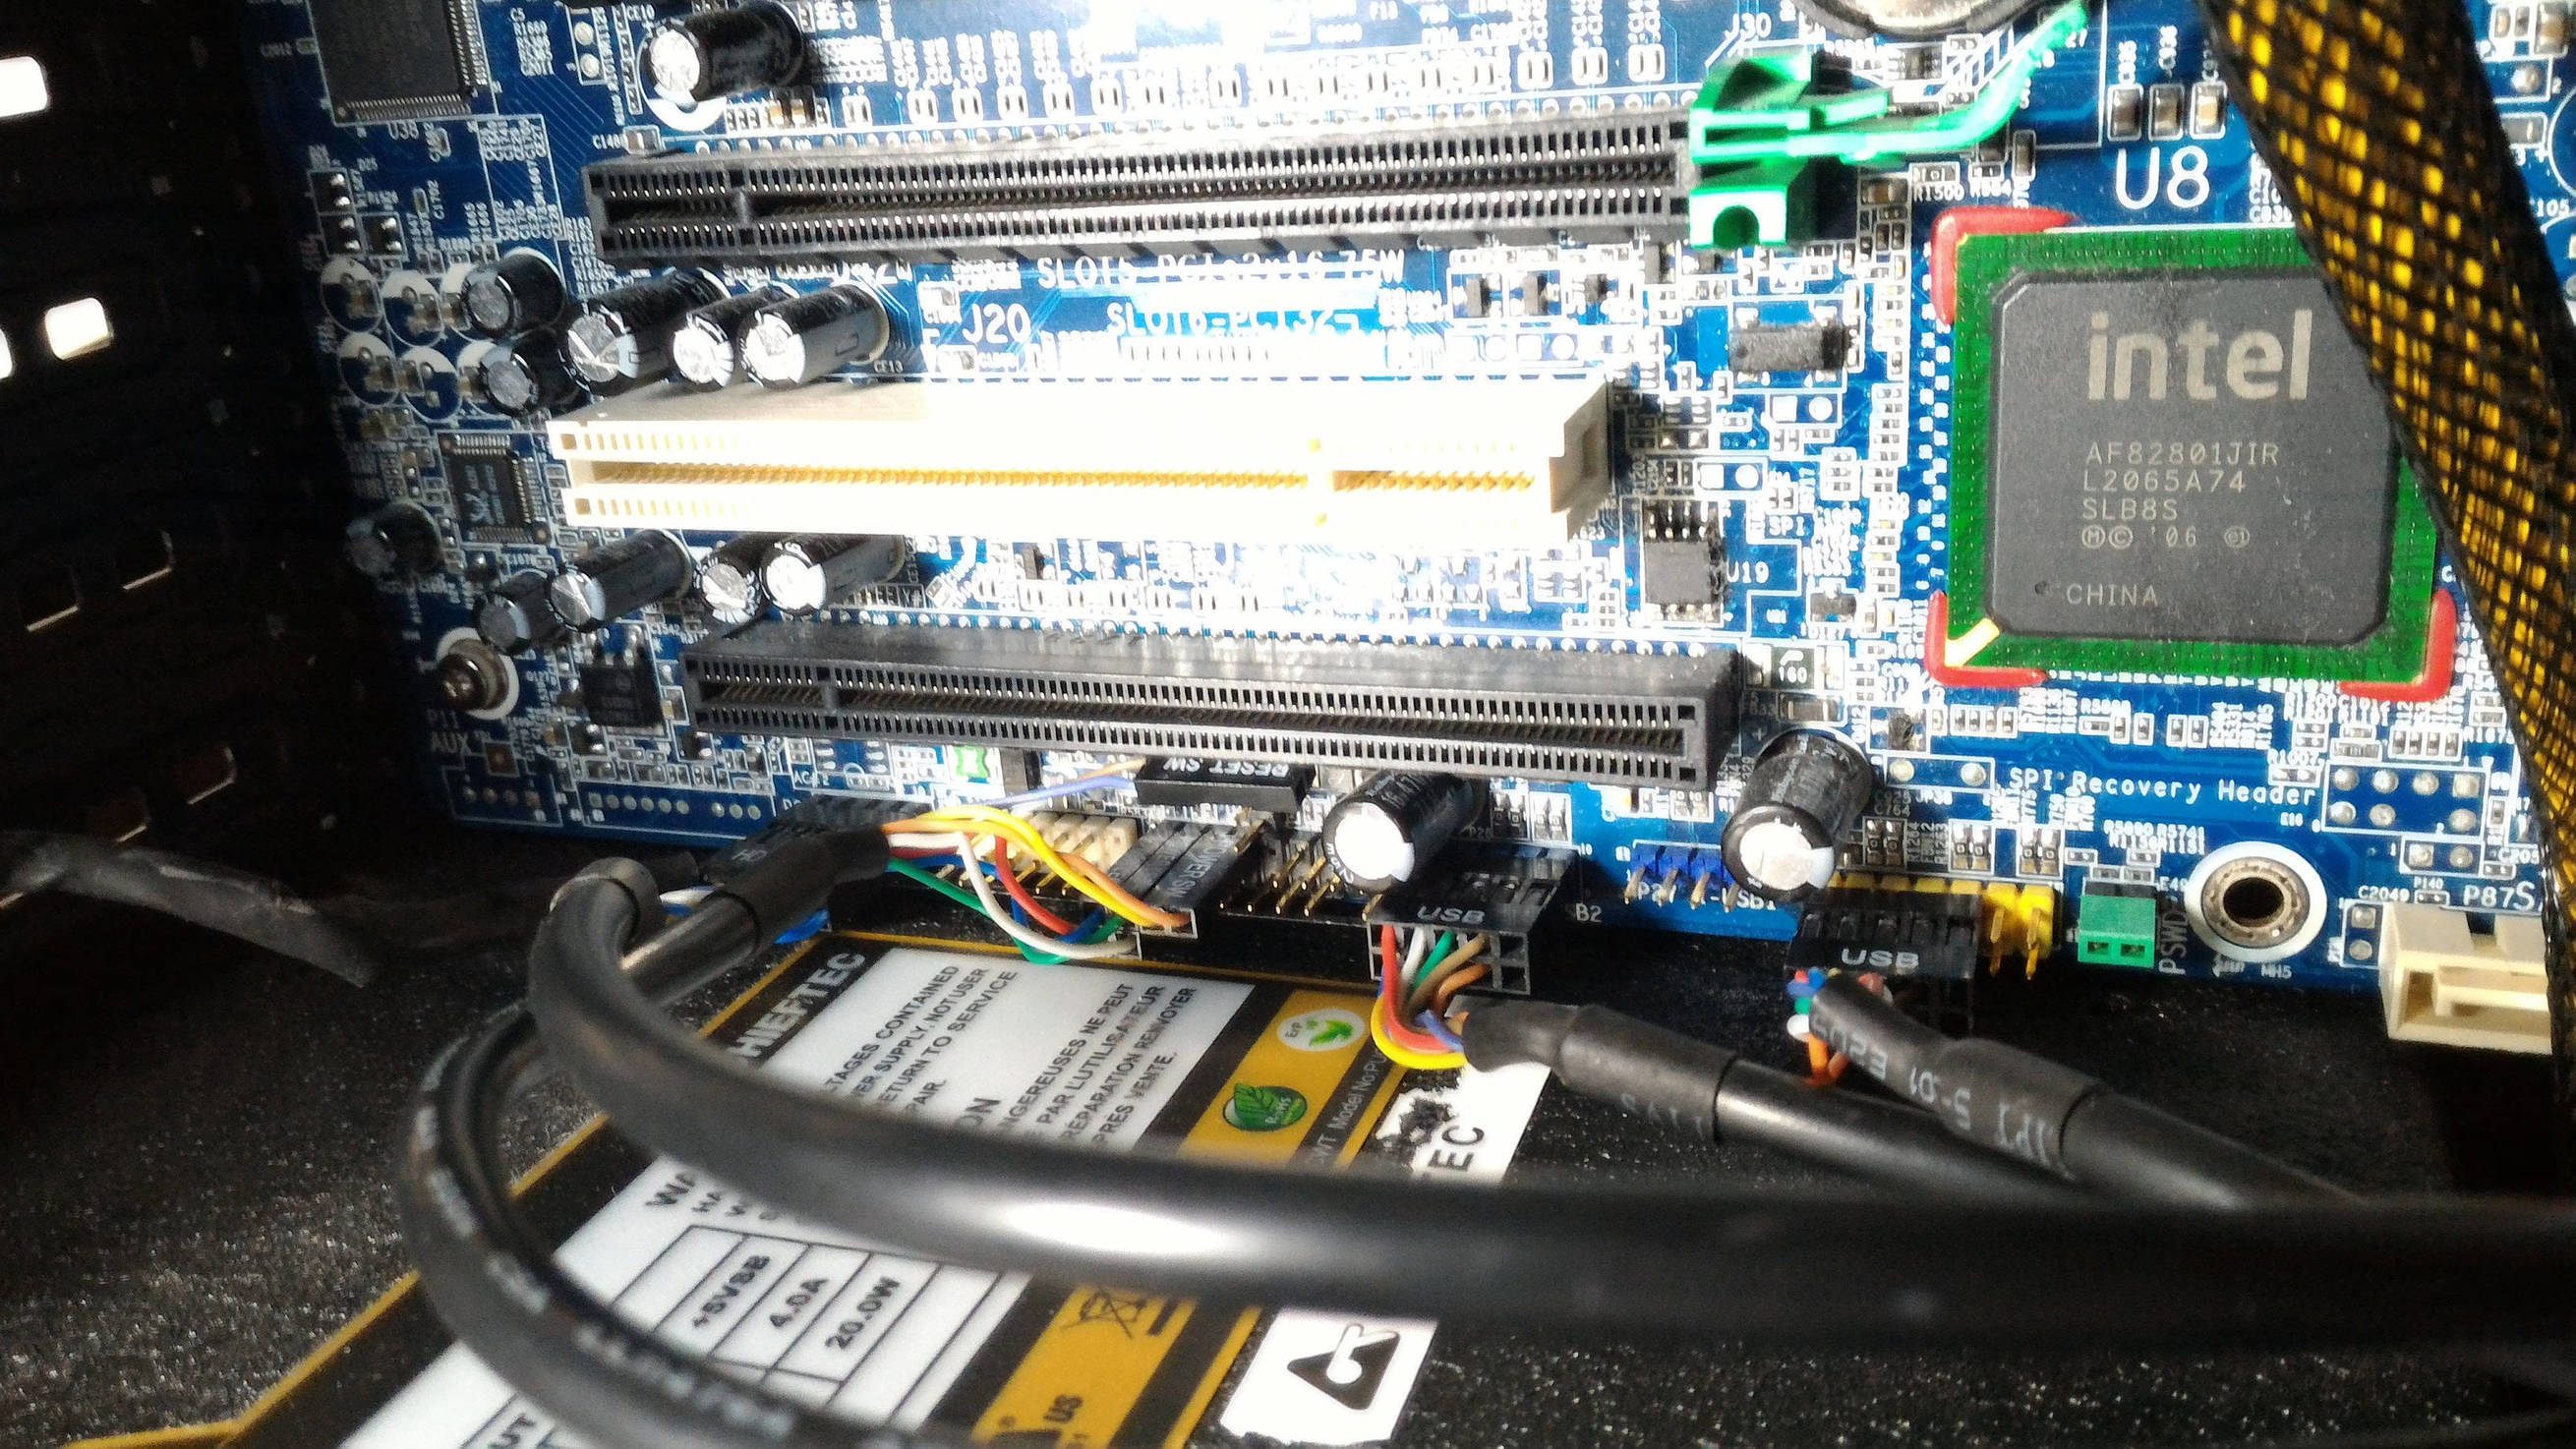
Picked up The HP Z800 (rev 002) board for about 240 $.
The photo of initial board was not done, simply you can just visit the post to see the “naked” board.
Well, get my tools and accumulate some proper tea and sense of excitement,
for this might be a long road…
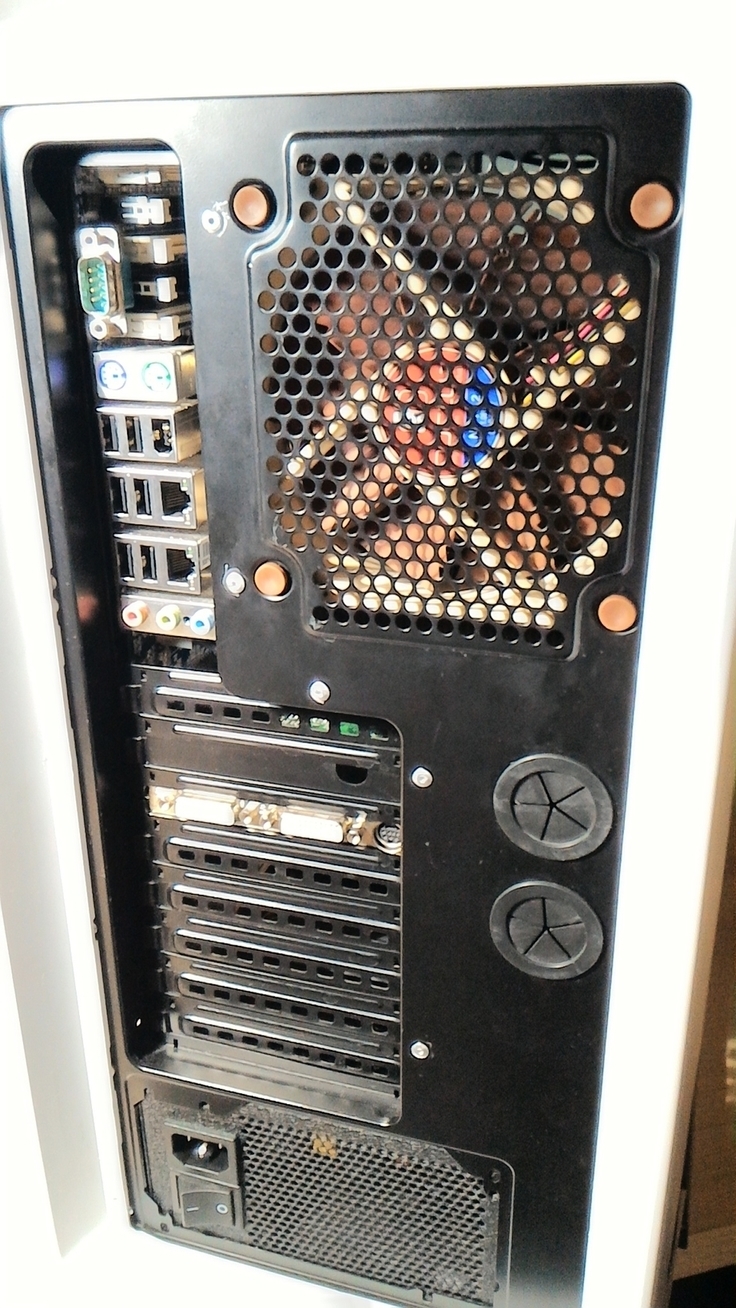
The case… is

Corsair Obsidian 650 D.
- I don’t have any other
- I didn’t found any other suitable case for mobo of that size available.
- I pretty much adore that case and want it to have something special inside.
The power is provided by [Chieftec][2], bought also that day with mobo.
The video is nv gf 8800 GT (G92, AFAIK), bought two of them initially (in 2008) but
one didn’t survived due to overheating.
The CPU, going to wait until my pocket will be filled with money for that.
But want two xeons 5660.
Oh, the main challenge is… the cooling.
In that case for that board it will be pretty tight and with ~35-40 C in summer it will die quickly without something that could cope with two by ~95W and the other stuff that’s heating up like a stove.
I had Noctua NH-D14 since 2010, that is some serious air cooling solution… So I want two of them.
Well that’s basically it, couple hdds and we’re ready to Jentoo…
The most serious part will be the fitting into the case, I think.
Plus I have to finish that before buying the CPUs and RAM, because knowing myself, I’ll try to assemble
the machine no matter if the case is ready or not and can damage something… ah… just have troubles with waiting.
Ok, going to post here the progress from time to time, along with photos, of course.
— Phase 1 (I guess) -----------------------
Ok Hugh Stone we have a slight problem… The cooling… I thought so.
The NH-D14, I’ve checked the mounting mechanism, and here

very cool and hi-tech and I like it… but it can’t be mounted here.

(FACEPALM!)
Aha, th3z0ne is indeed right, noctua guys thought about that too, amazing… ordered two sets of those
and one more NH-D14
— Phase 2 (story about noctua) -----------------------
Alright! Yes! My sets and another NH-D14 arrived!
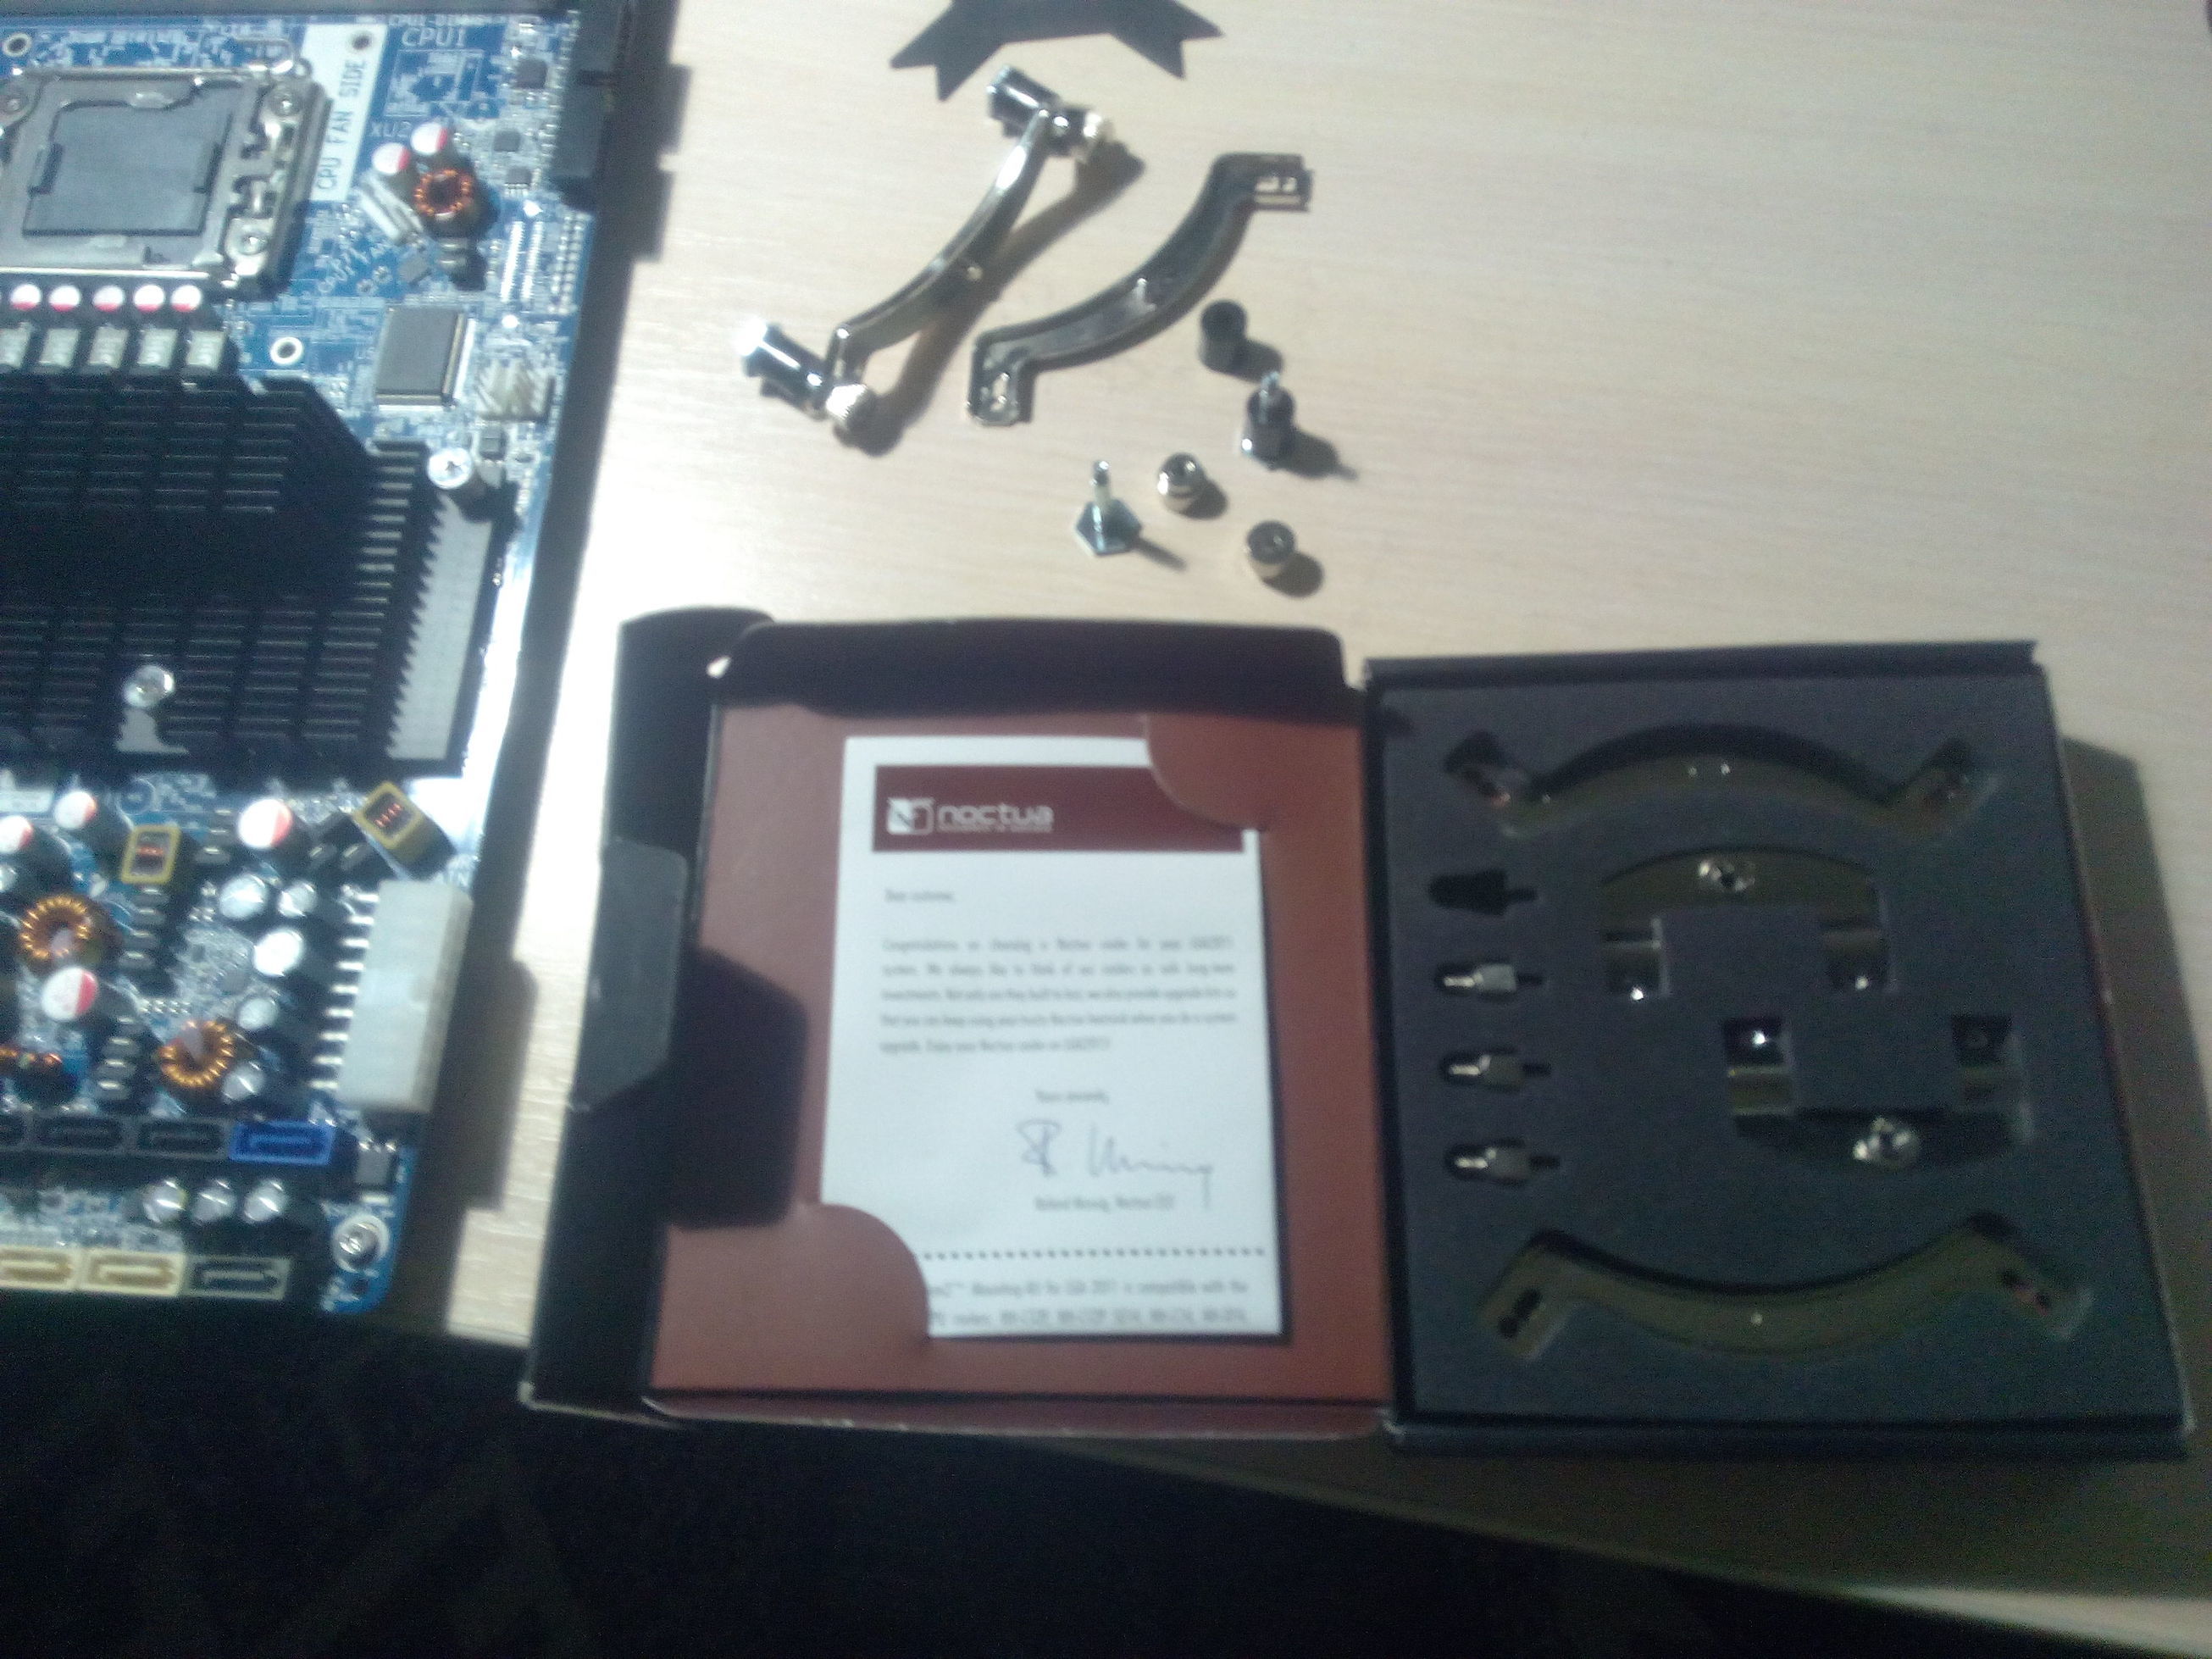
Let’s get to the “shop” and test fit mobo with those big boys, at last!
Just undo the back plate from one socket and see how those 4 little guys fit in…
no! Can’t be!
It doesn’t fit!
The side is correct, but the diameter is different! AAAARGH !
…
Ok, the child in me asks "what if I try another set, maybe that one was done correctly by that noctua company !? "
he he… of course, it’s never my fault
Nope.
Noctua guys managed to do two incorrect sets.
Uhhhh! Ok, there is some job for mr. Dewalt, at last !
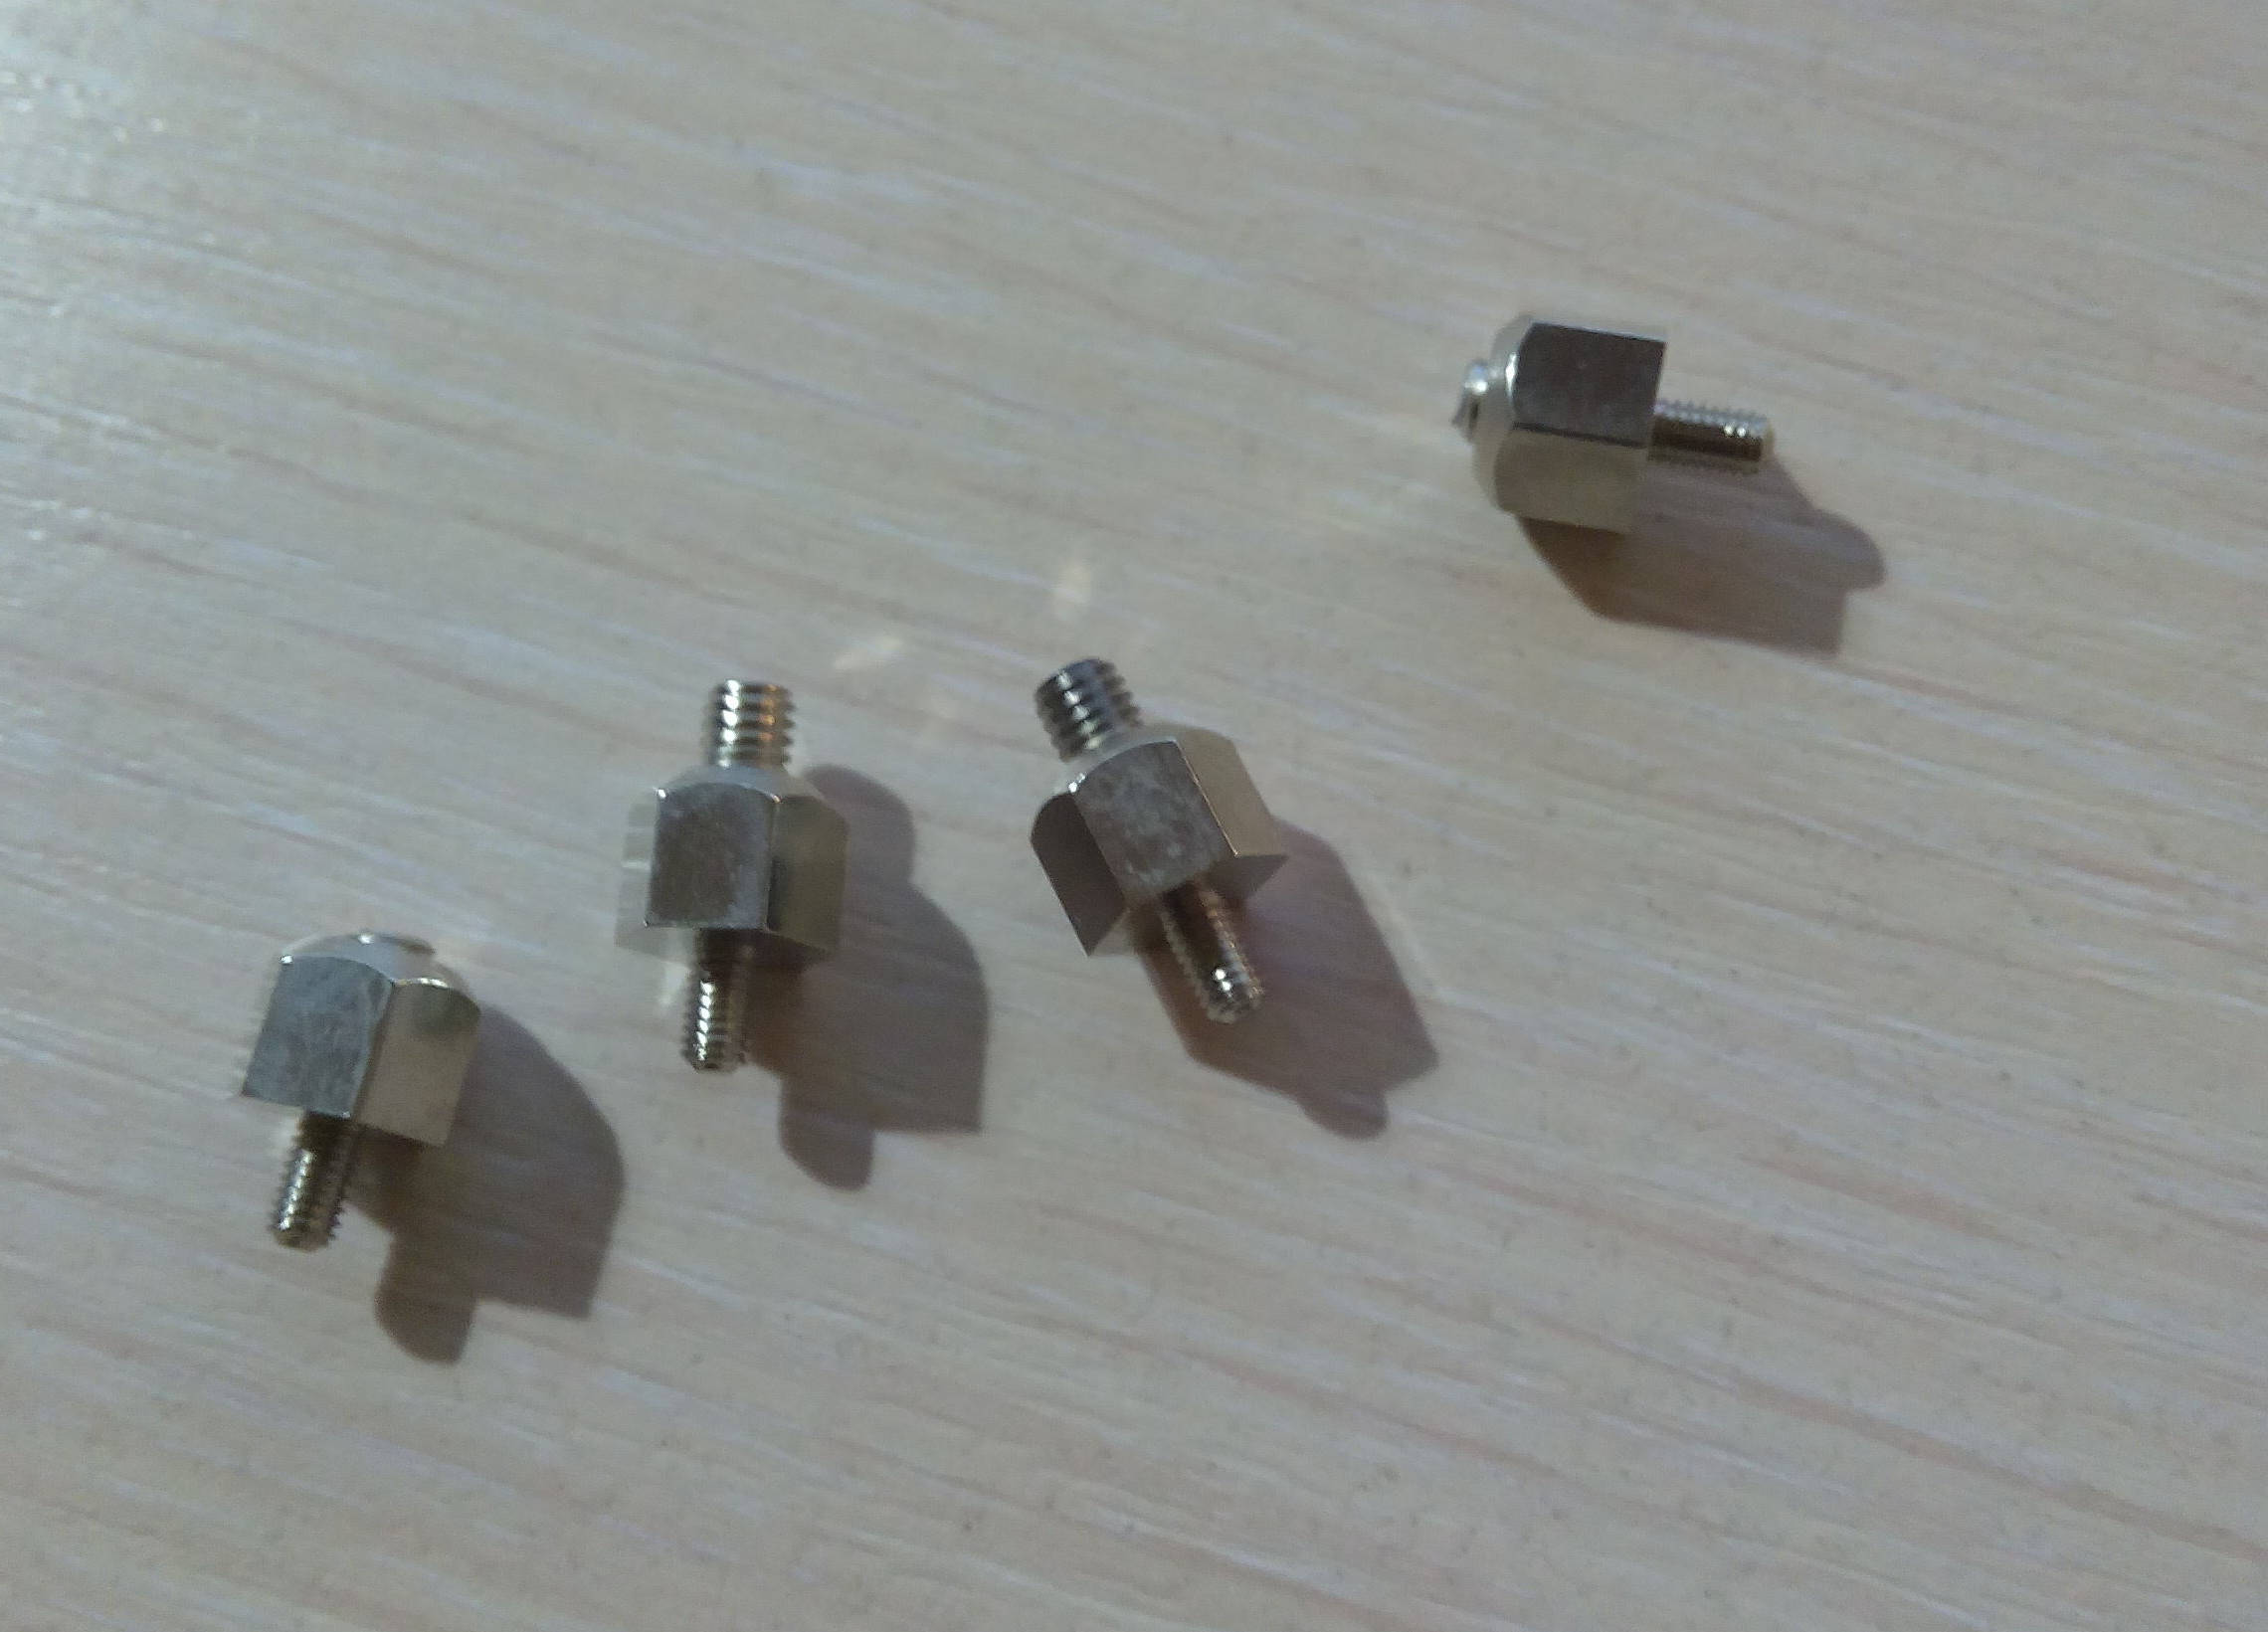
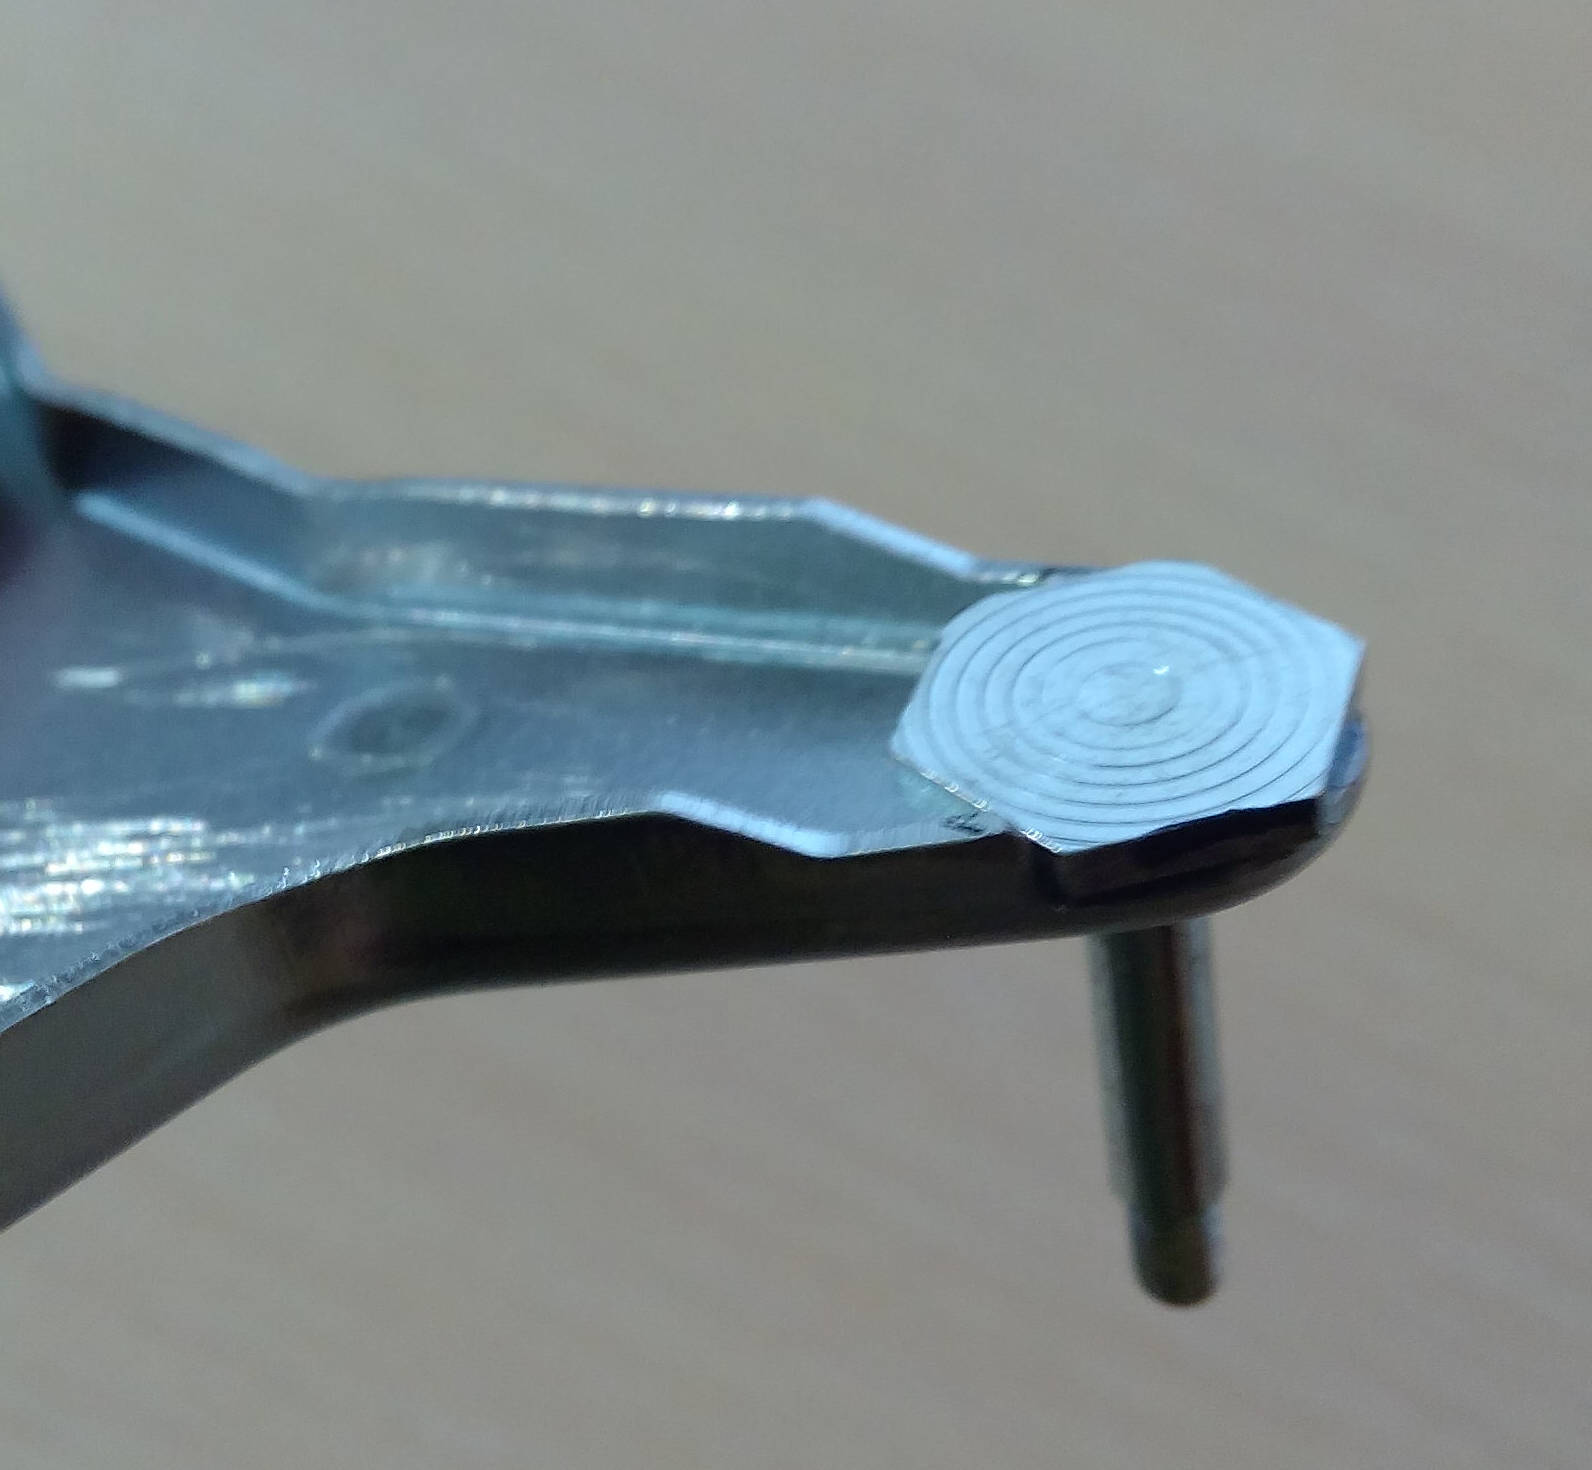
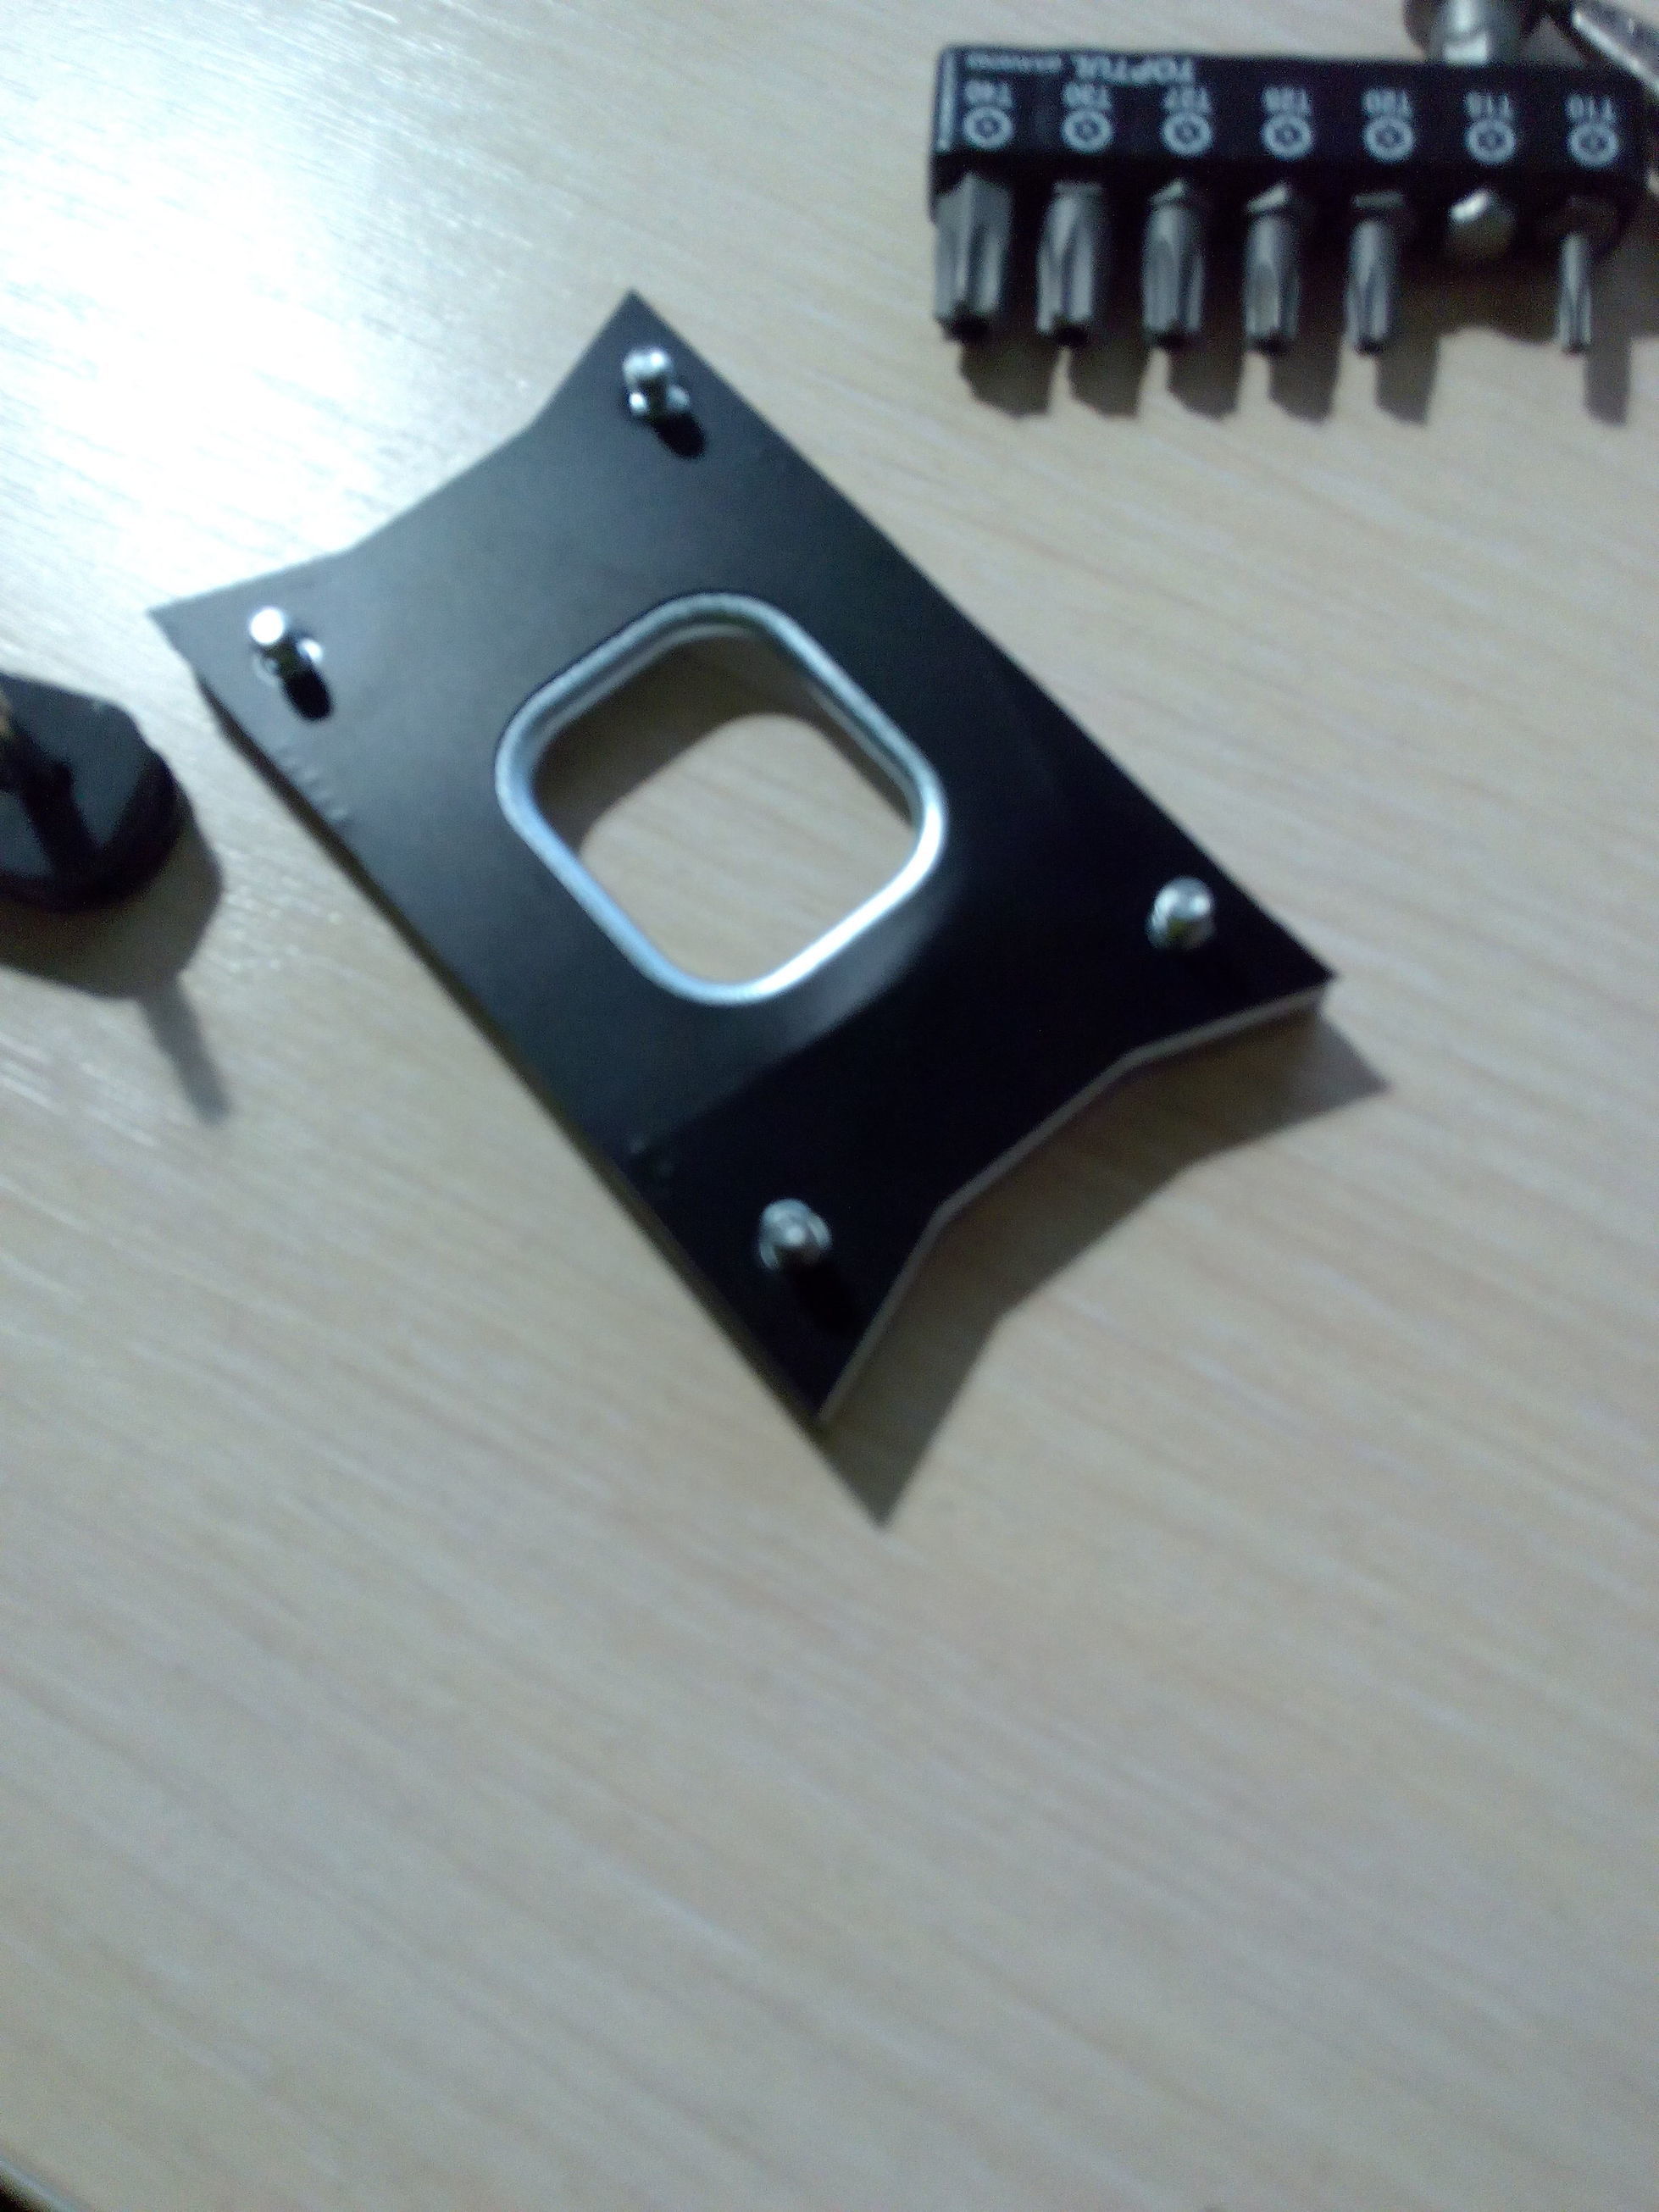
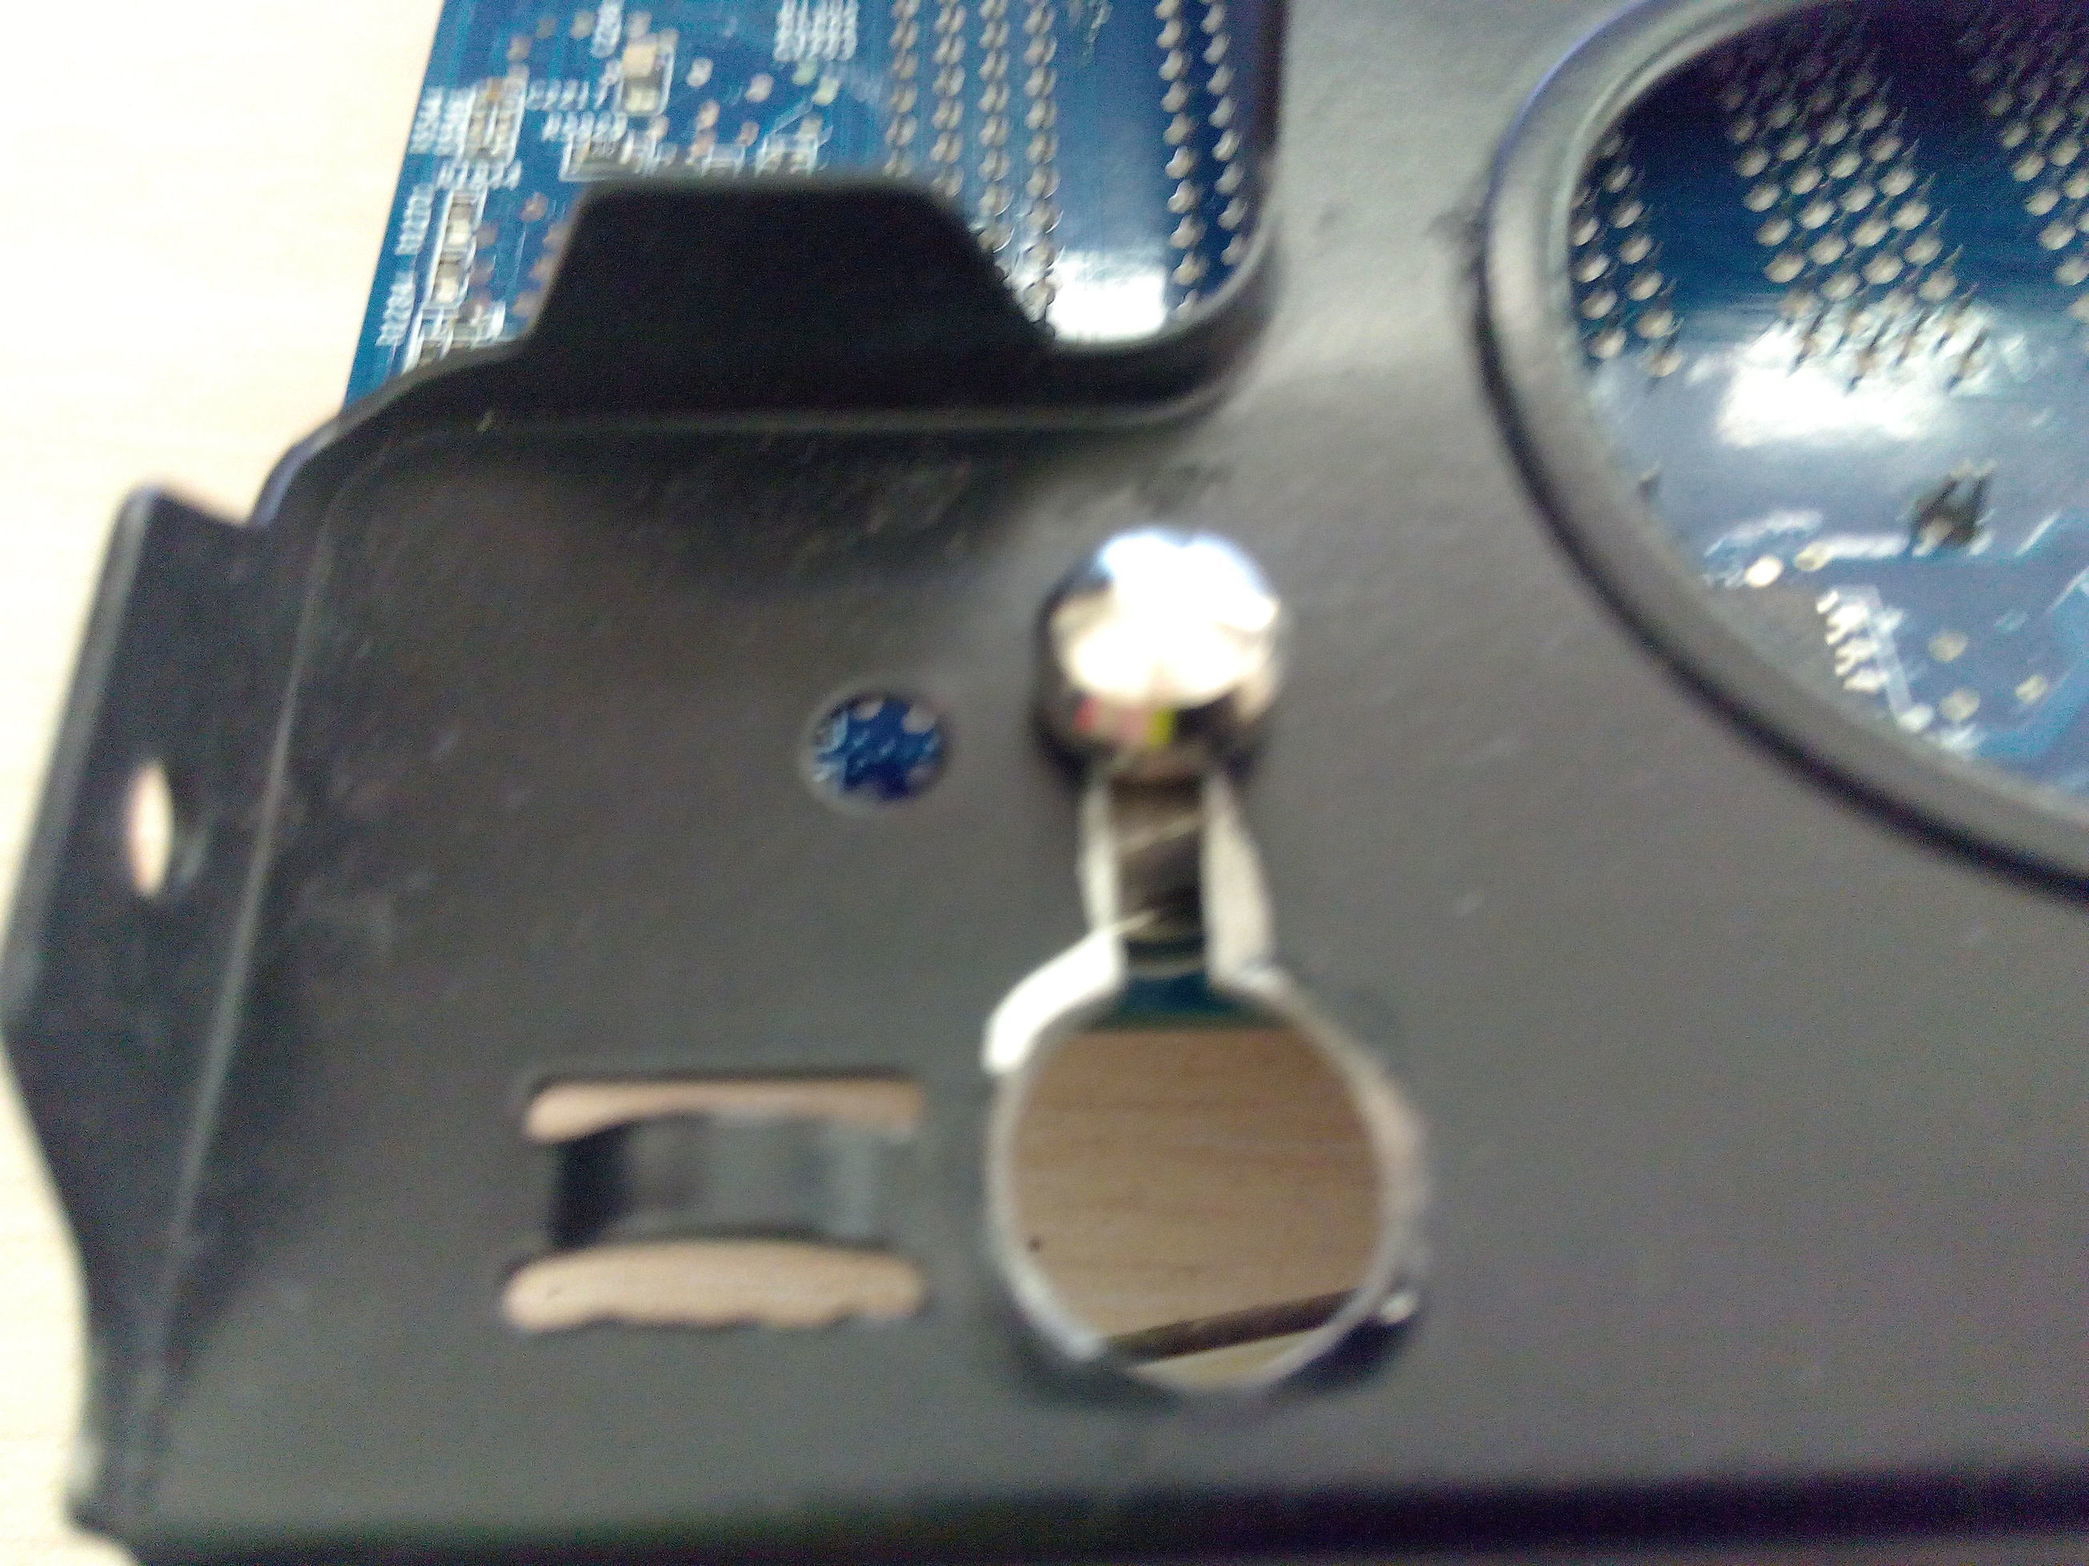
Going to make those 4 connectors fit by applying these.
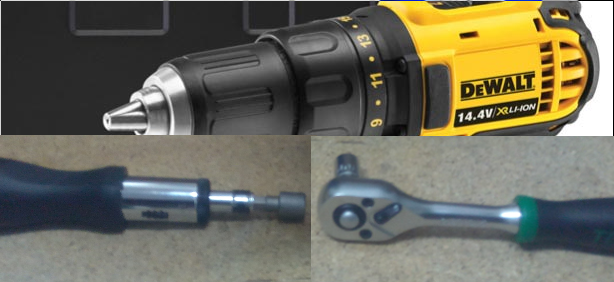
and a drill bit for 4mm.
right. That’s better.
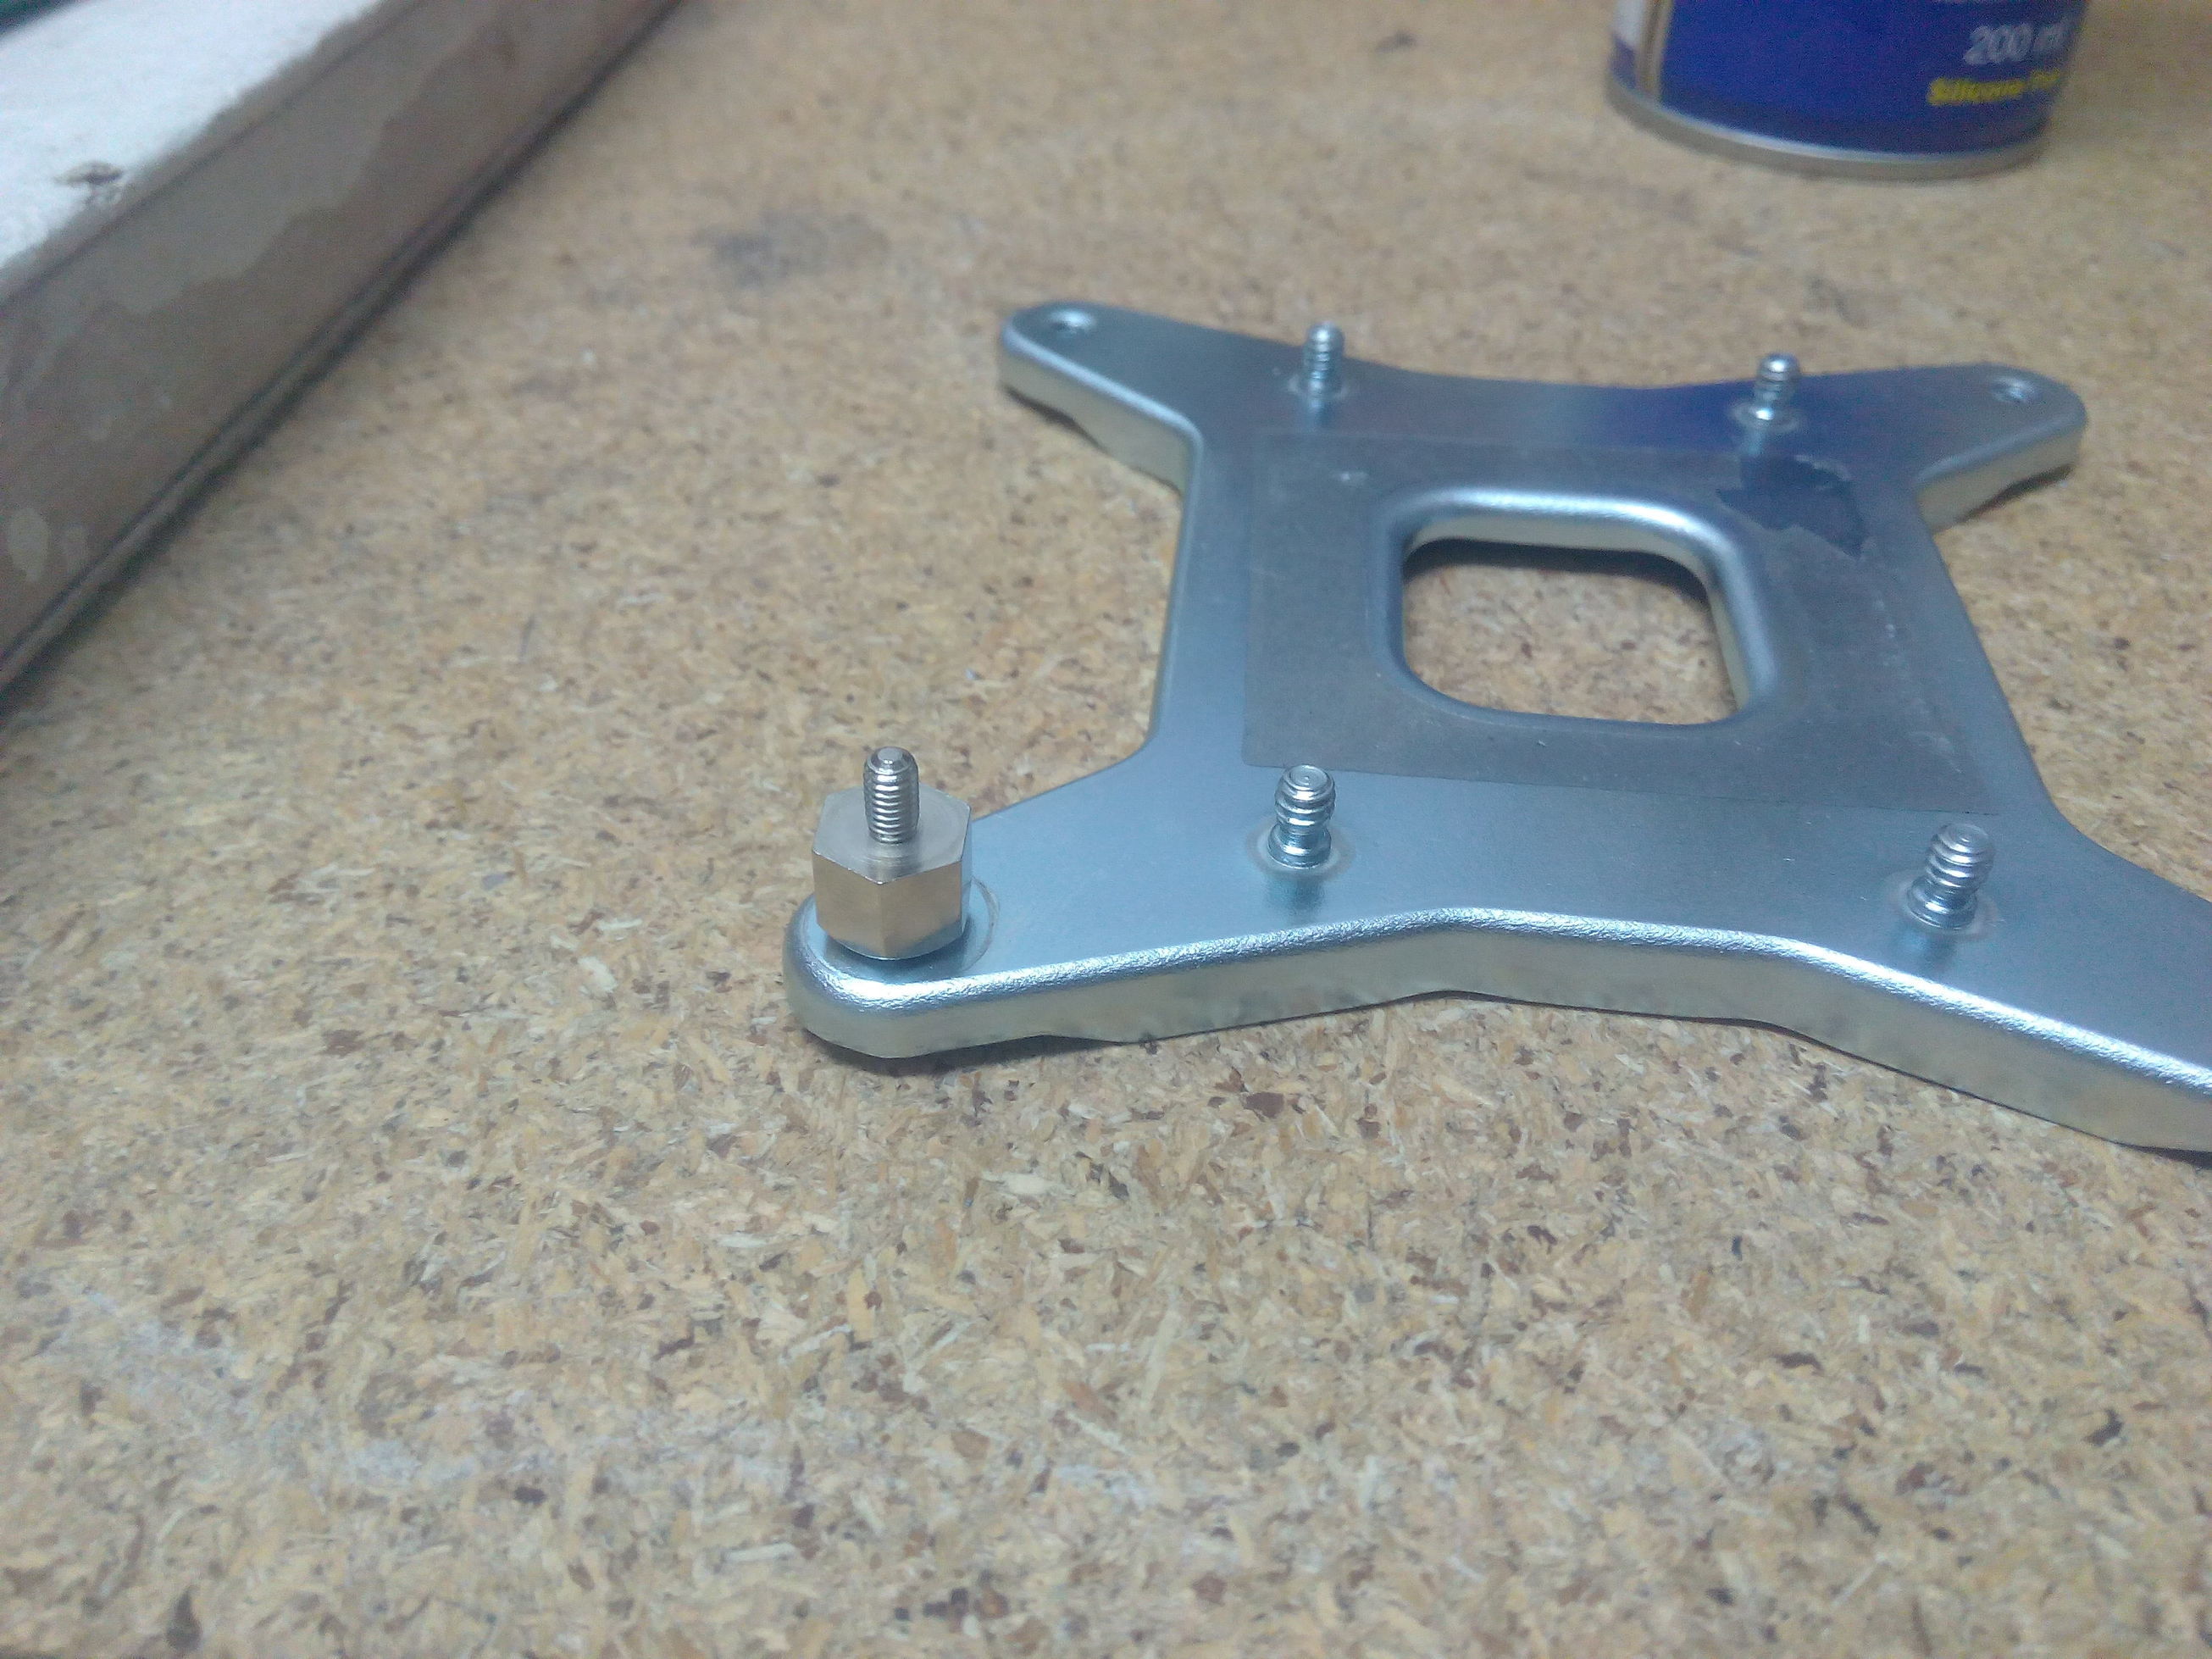
Since these, ehm “pegs”, kind of want to fit but the thread diameter and step I suppose too are completely
different, it is possible to just destroy the native thread, a little, and then place the “peggy” and try to re-thread, gently.
ok, a little group shot
<img src="/uploads/default/original/3X/0/8/0852ffd65dda23101c88dfac44114d08448743a1.jpg" width=“720” height=“539”
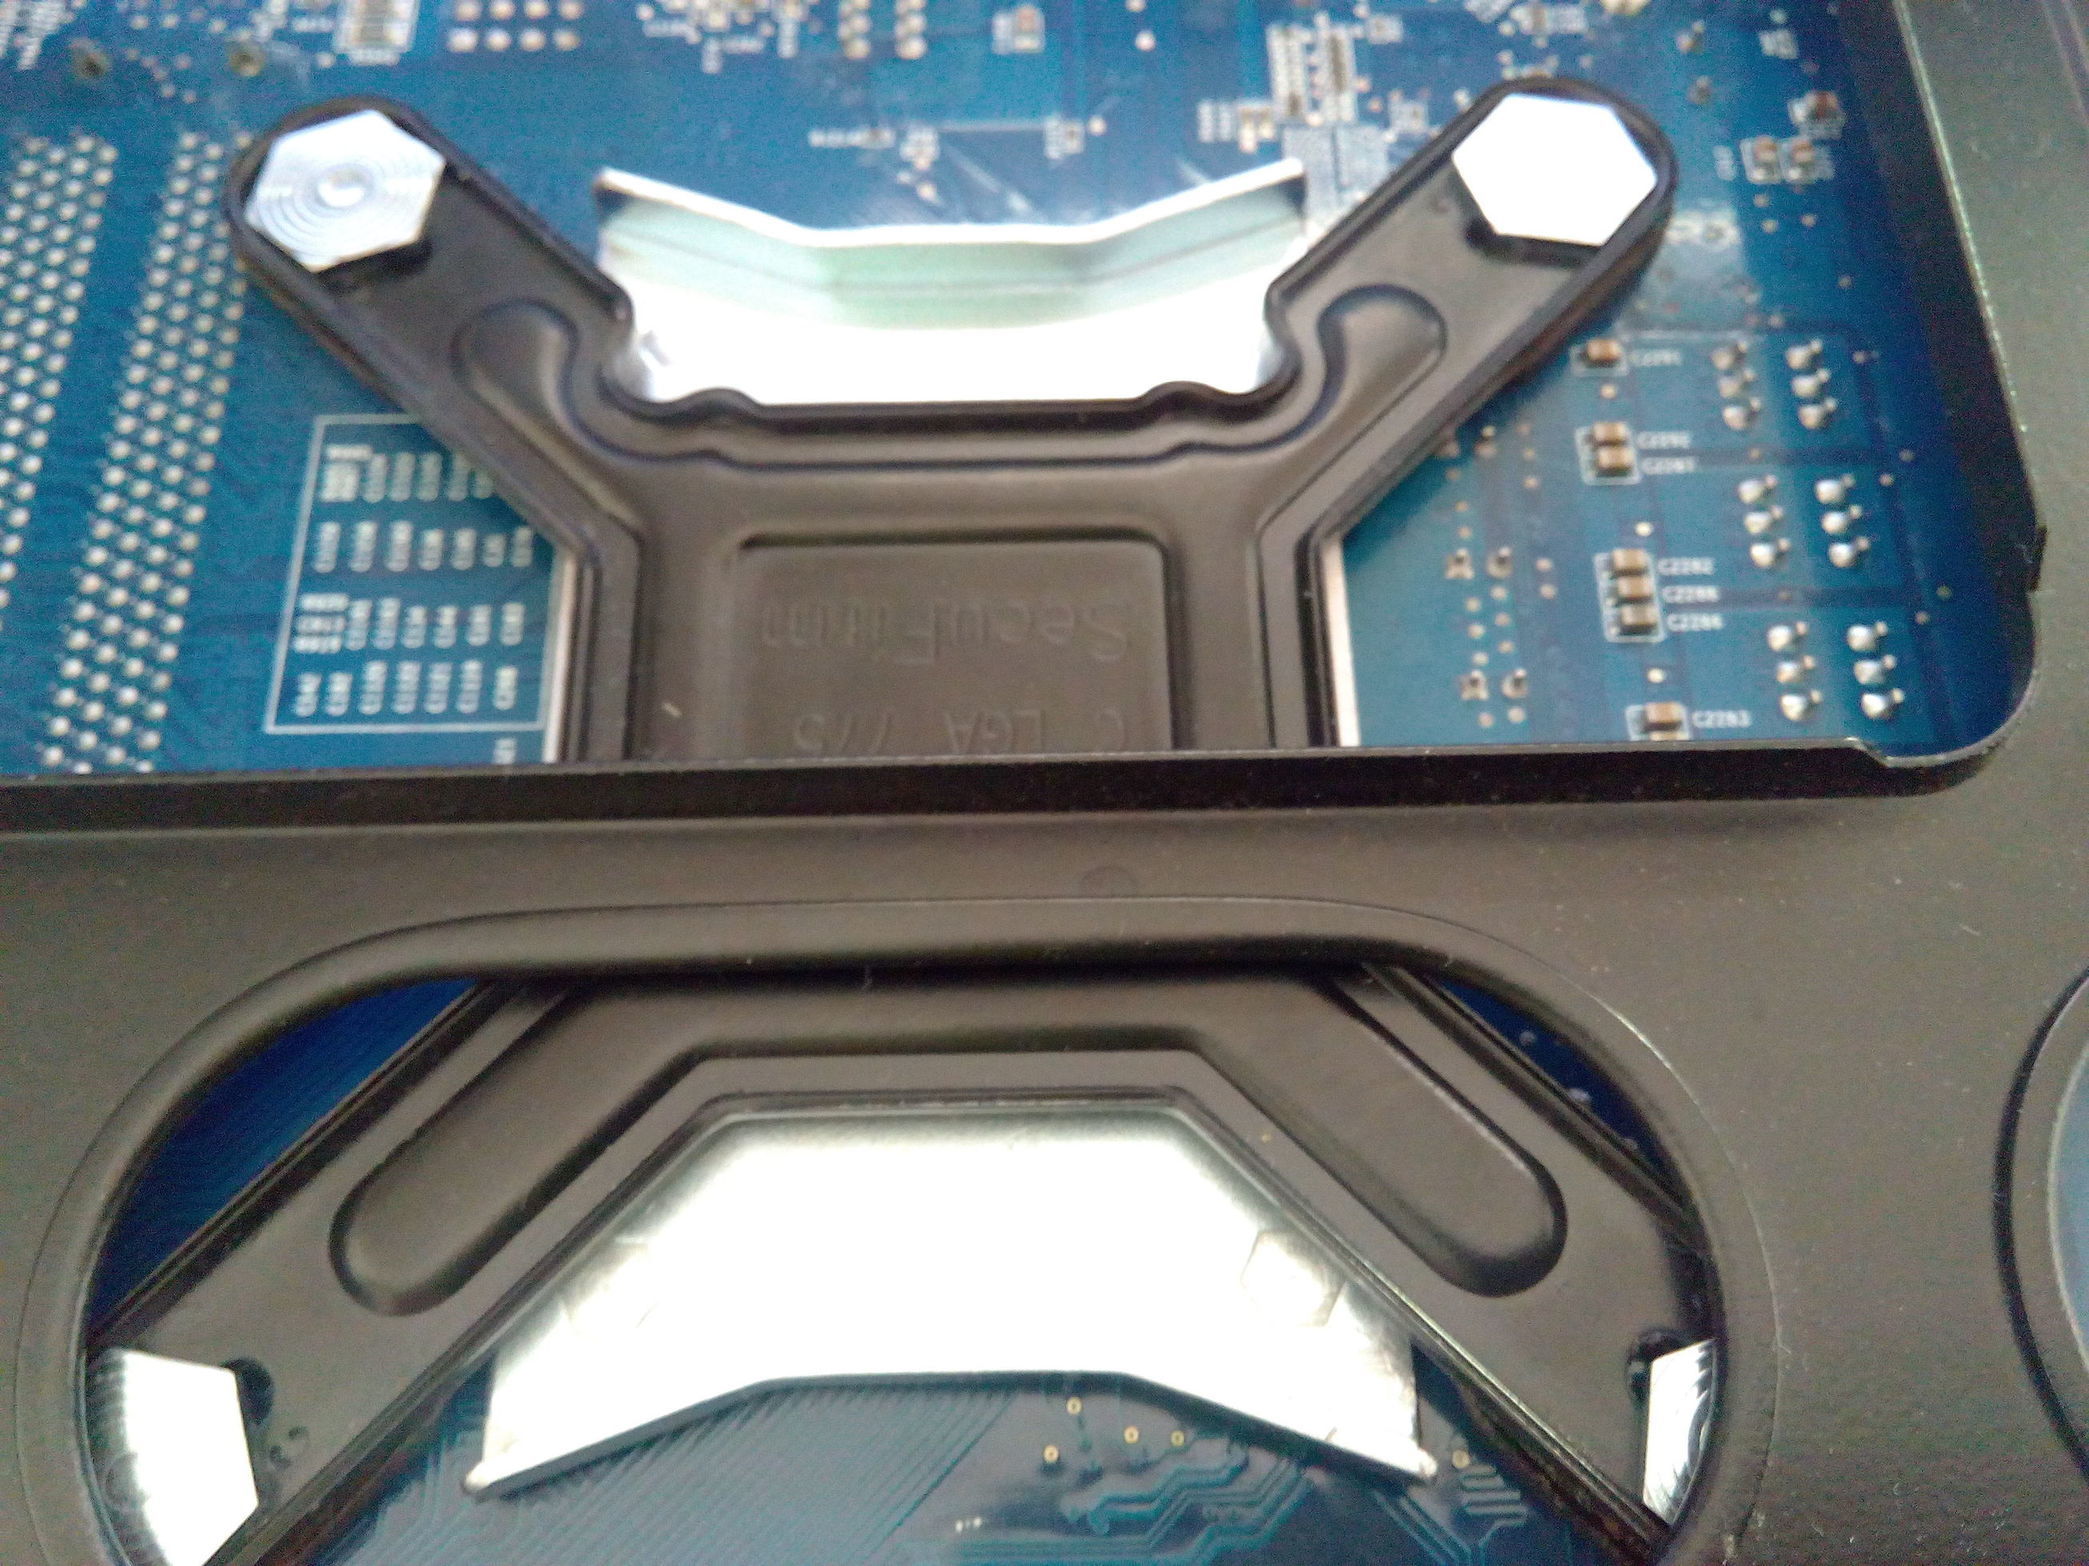
And one plate is done.
Let’s check how the radiator sits ?
…
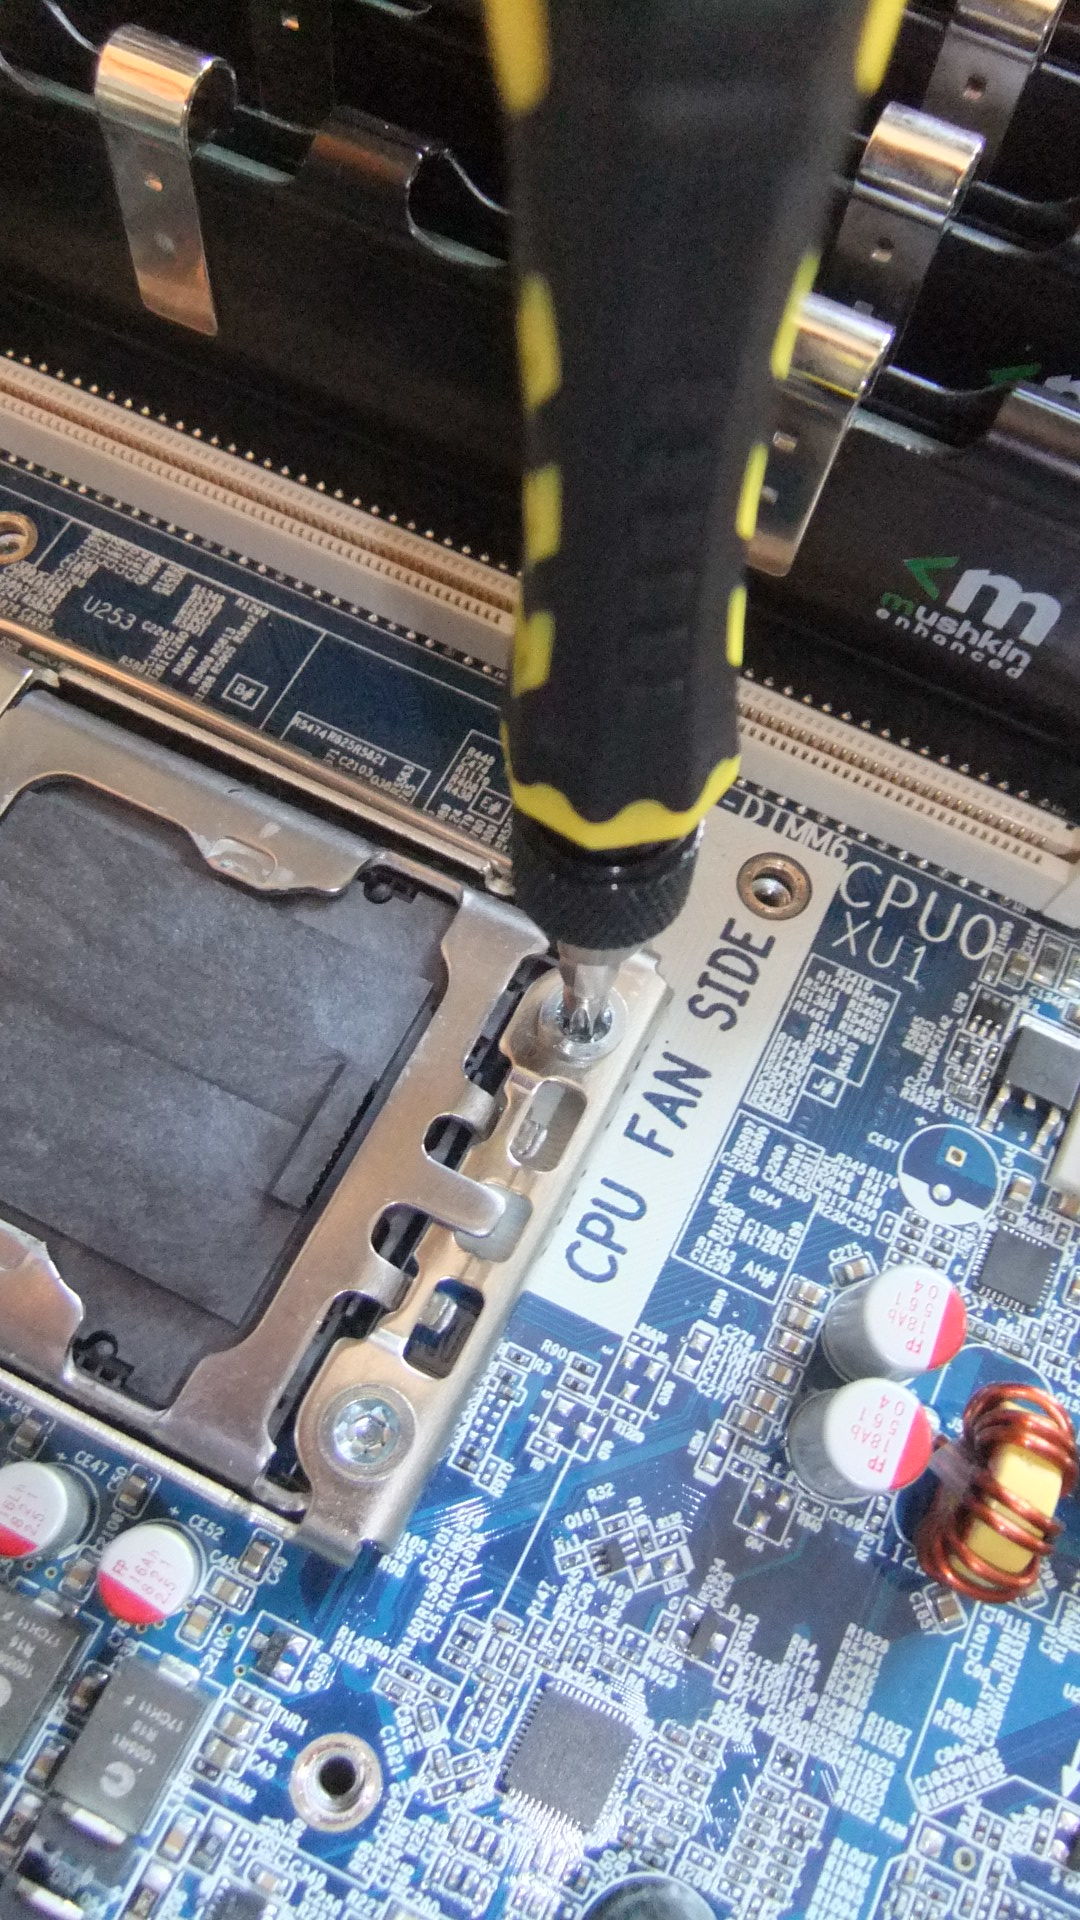
installed backplate back on mobo.

now. Let’s place that radiator…
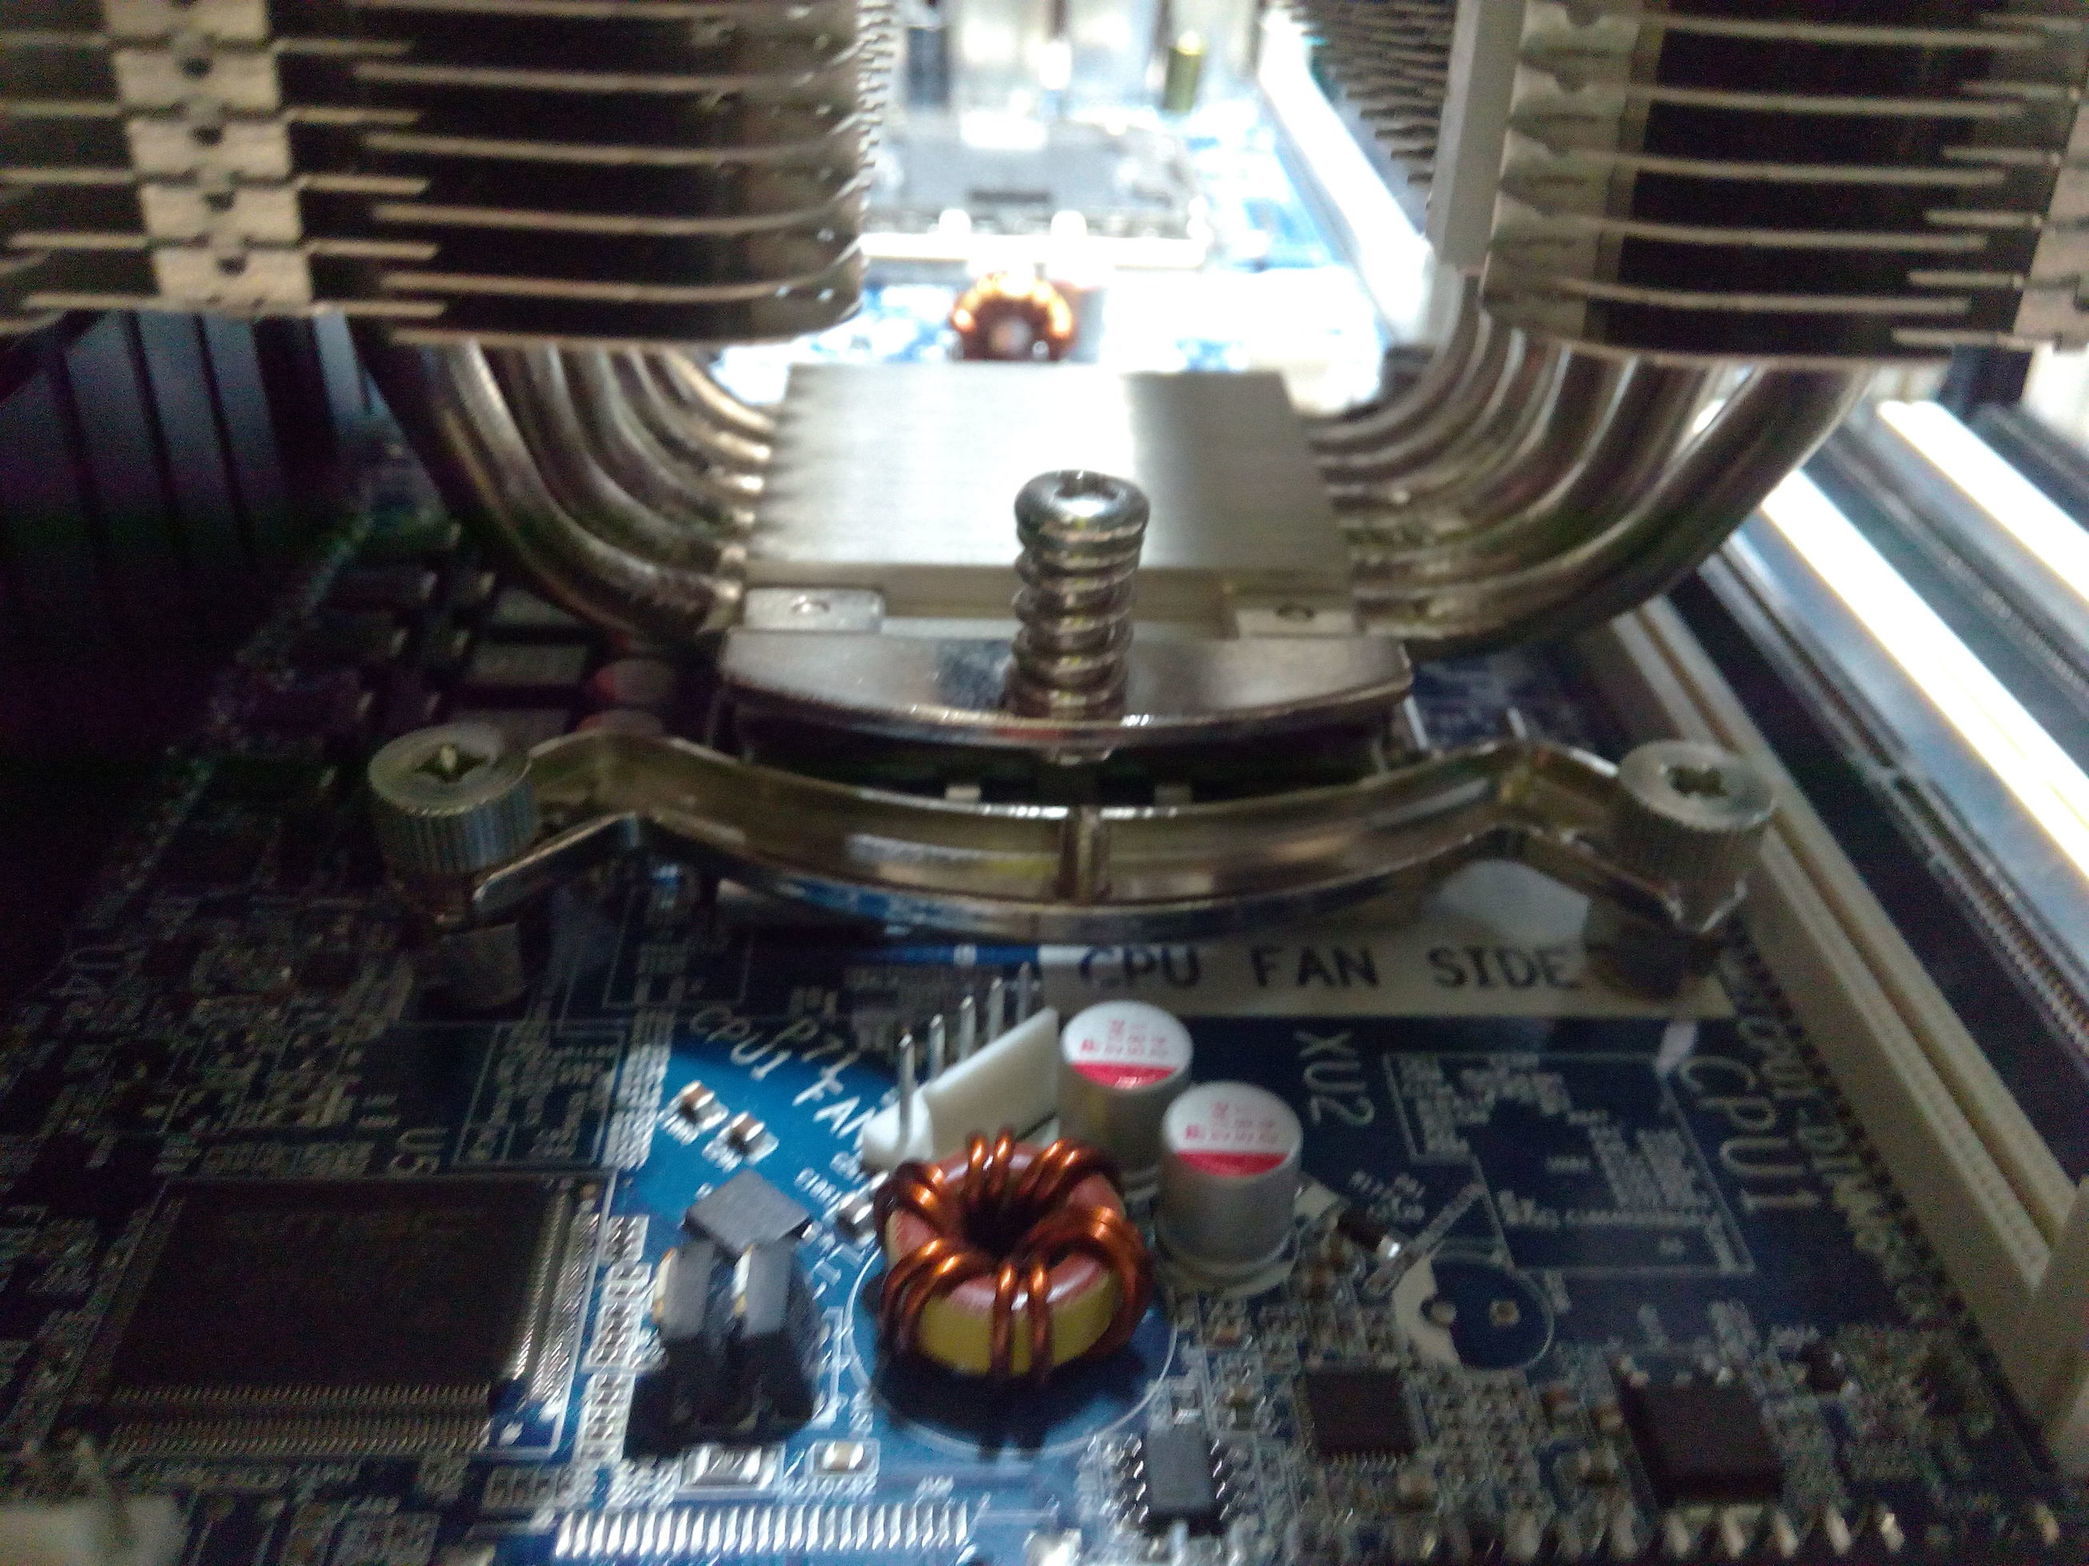
Hm, the main screws are hanging in the air… to high !?
Strange… I though initially that it will be to low.
“Pegs” are lower than plastic washers from standard mount.
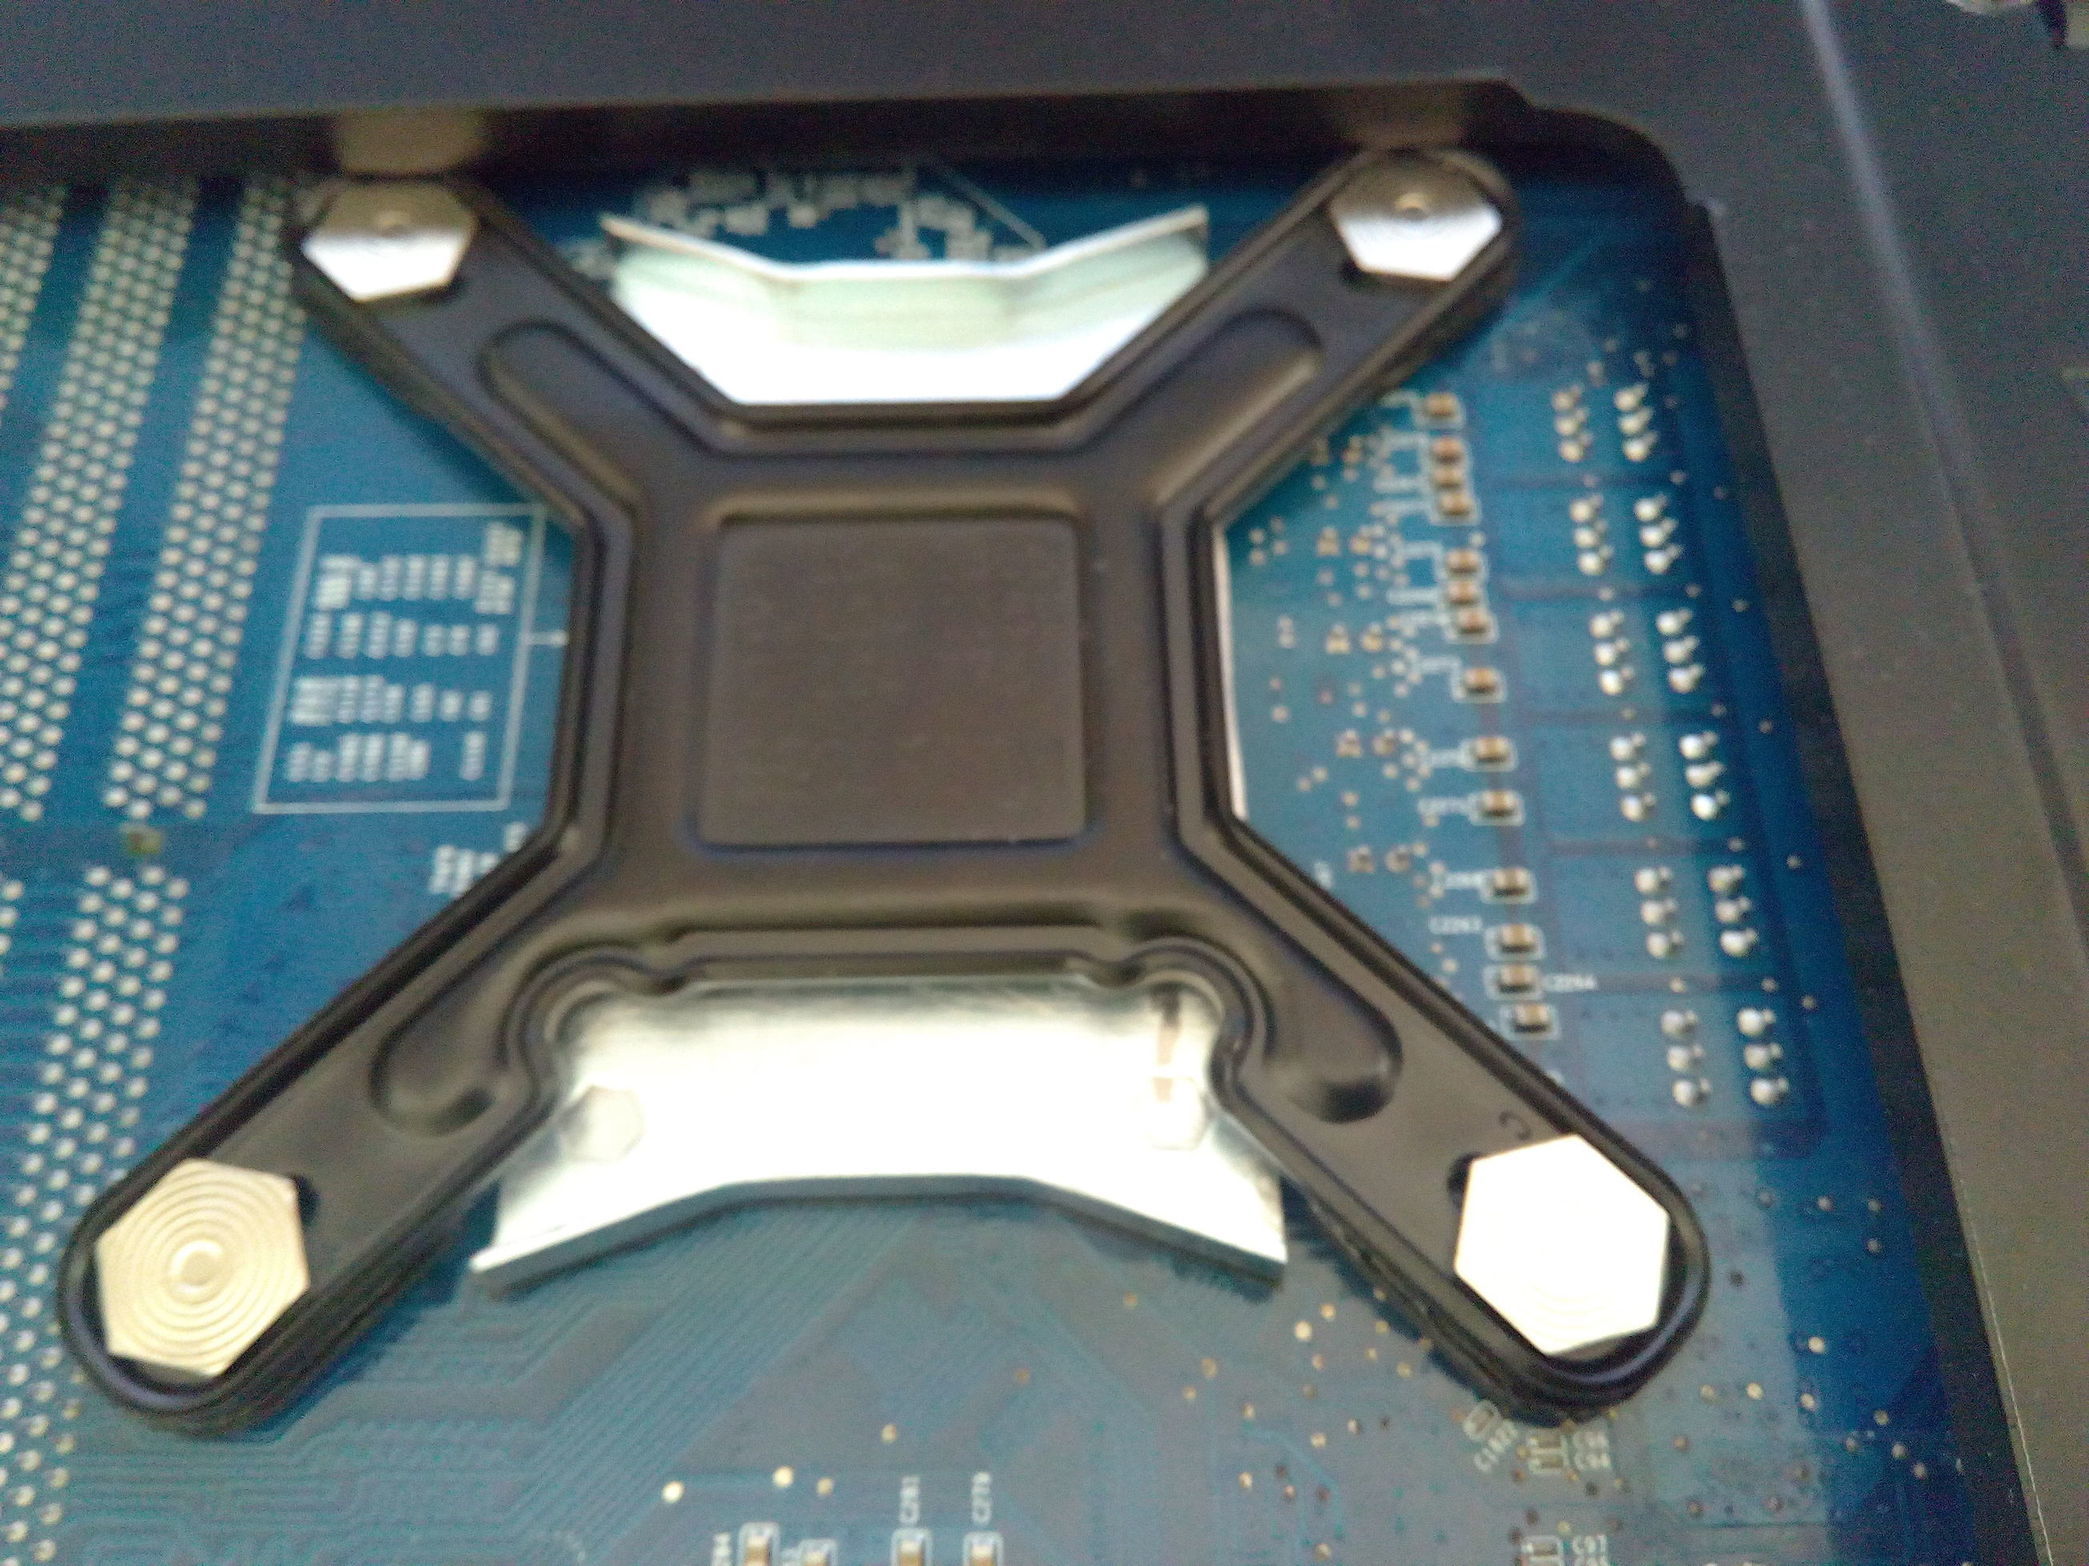
I think that the problem is in these…
reverse them and we will have…

an installed radiator!
wow, this thing is massive! And heavy!
I think I will have to do a support if the case will be standing vertically…
…
ok, let’s do the second back plate.
You just screw it very gently, very gently…
Crack!!! ( -1 peggy, were sitting in the box )
< paused_eye_twichingly >
AAAARGH!!!
ok… lets see if I can make at least three of them, the other I could just try to order from a guy with a lathe…
Crack!!! ( -1 peggy, were setting in a box )
(FACEPALM!) < with_a_noticeable_impact_sound >
< throwed_tools_onto_the_table>
< ragequit_to_watching_kittens_on_youtube >
Ah, alright…
If I will not mount those huge radiators with adaptor sets, I will do it with the standard mounts.
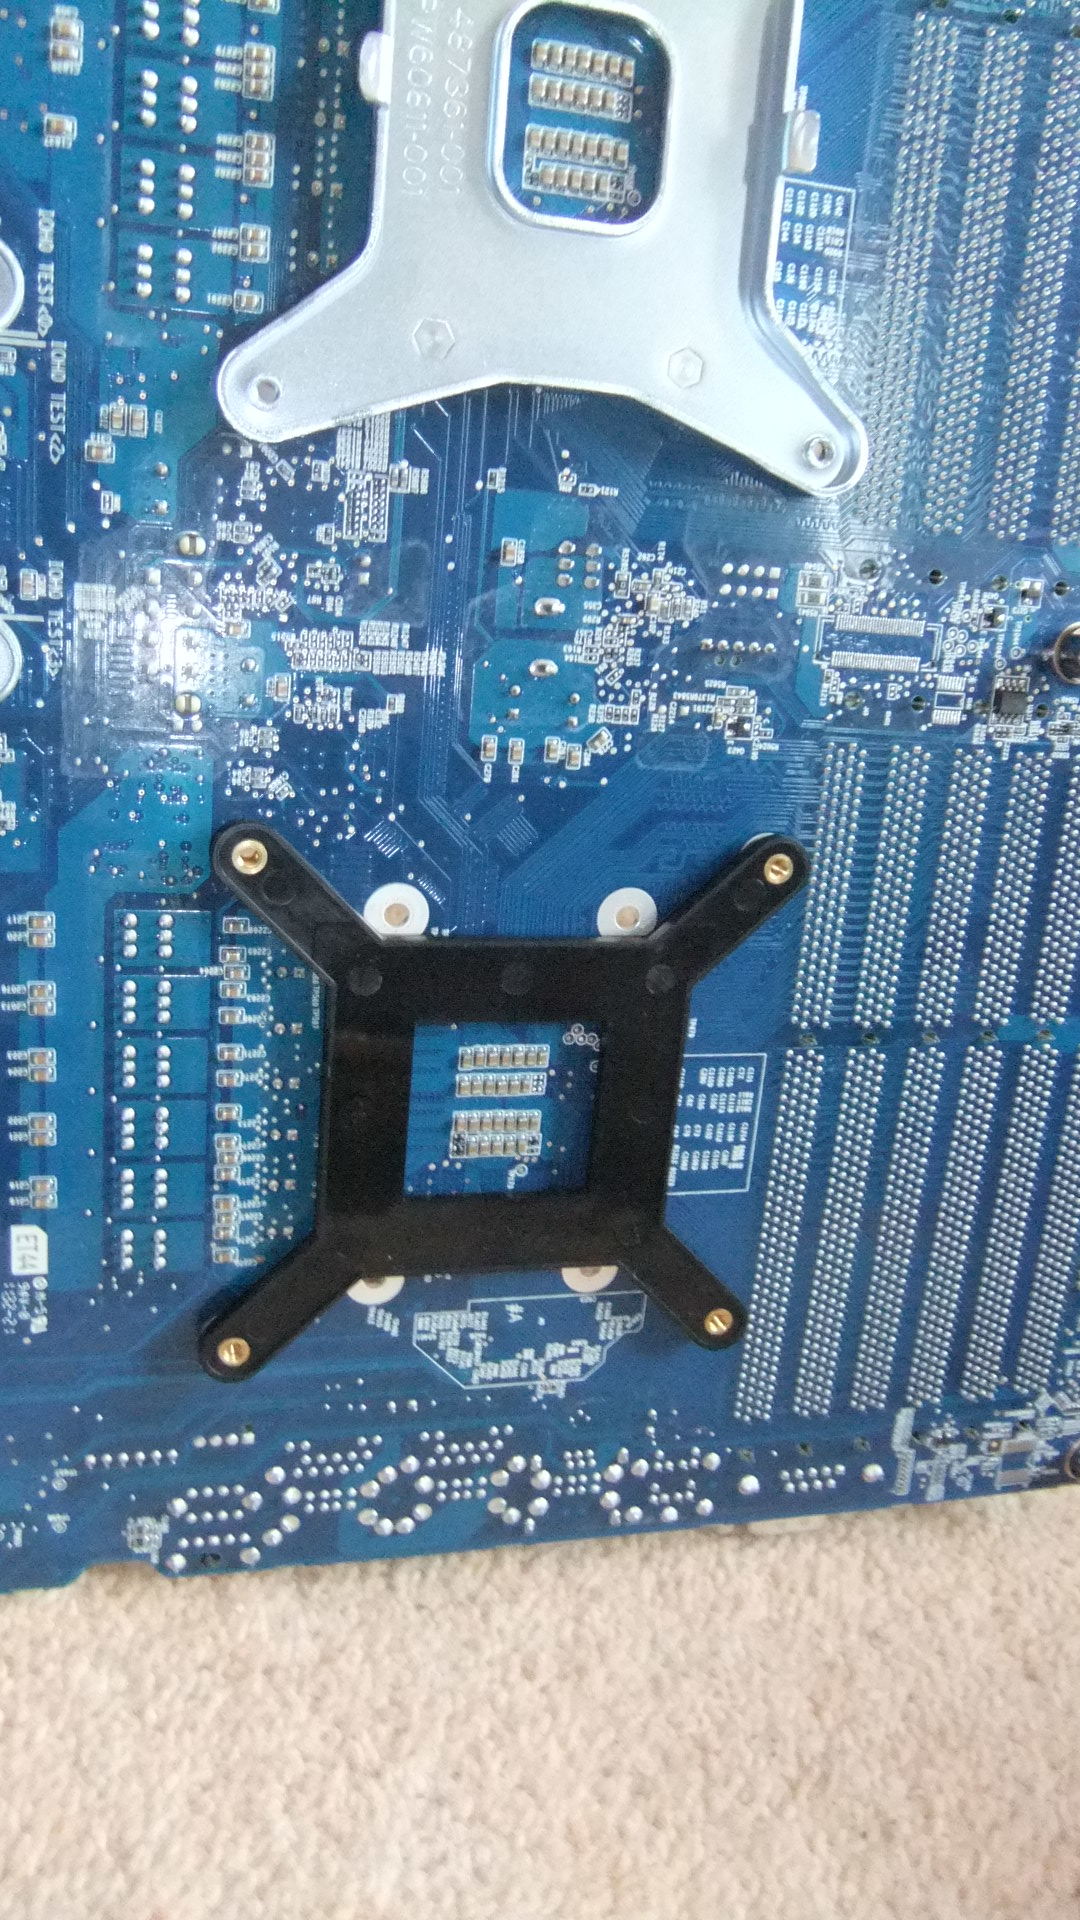
But I want to preserve mobo backplate because that’s a part that will probably require me to buy
new mobo for it to be replaced. So mobo’s own back plate and noctuas parts of mount.
I do want to use that cool noctua backplate, but…
- I don’t know if that plate will make pressure on any “non-standard” placed component
(back side of mobo is pretty much populated) - Standard mobo’s back plate looks like a usable piece of engineering too, I don’t know
if it’s usable in context of nh-d14 weight though.
For that I will need:
- cut 5 mm holes in the standard back plate using.
- cut parts of std back plate to make nh-d14 mounting bolts flush with the line of back plate.
- Oh, yeah. Try to go easy this time.
Ok, kind of like that
Note the sides of std back plate, I did cut them under certain angle, so that bolts would be fixed in position and
haven’t any freedom of rotation when I would screw mount from other side.
and here is the mobo view, with installed isolation plastic plate under std back plate
ah, it has some flaws and undercuts, I did used dremel but the problem was between dremel and the plate.
anyway. I kind of in hurry to see how complete two radiators would look like when they are installed.
Aha! A noticeable flaw!
See, what distance left to cover when the nut is screwed completely ?
Ah…
Alright…
I might get to it later, for now, I won’t deal with that and won’t test radiators.
For them to be tested I figured that I need to place the mobo in the case first.
Now that would be something interesting, since Z800 has it’s own mounting mechanism
by which it mounts to the Z800 case.
…
For past few weeks the case collected some dust

Anyhow…
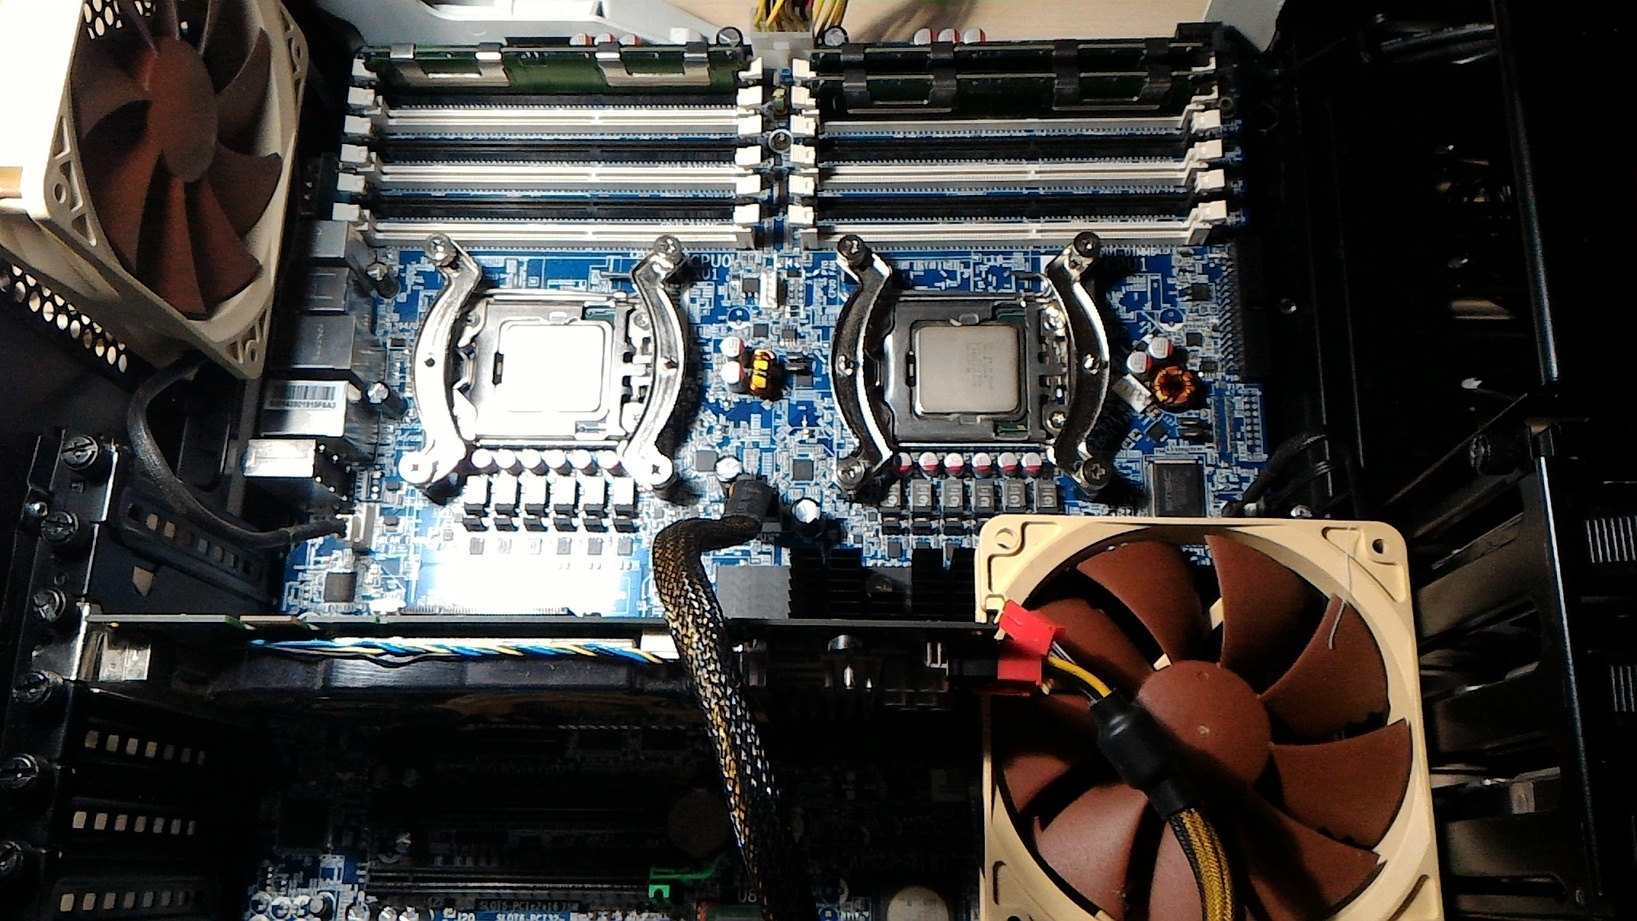
Here is the progress on the radiators.
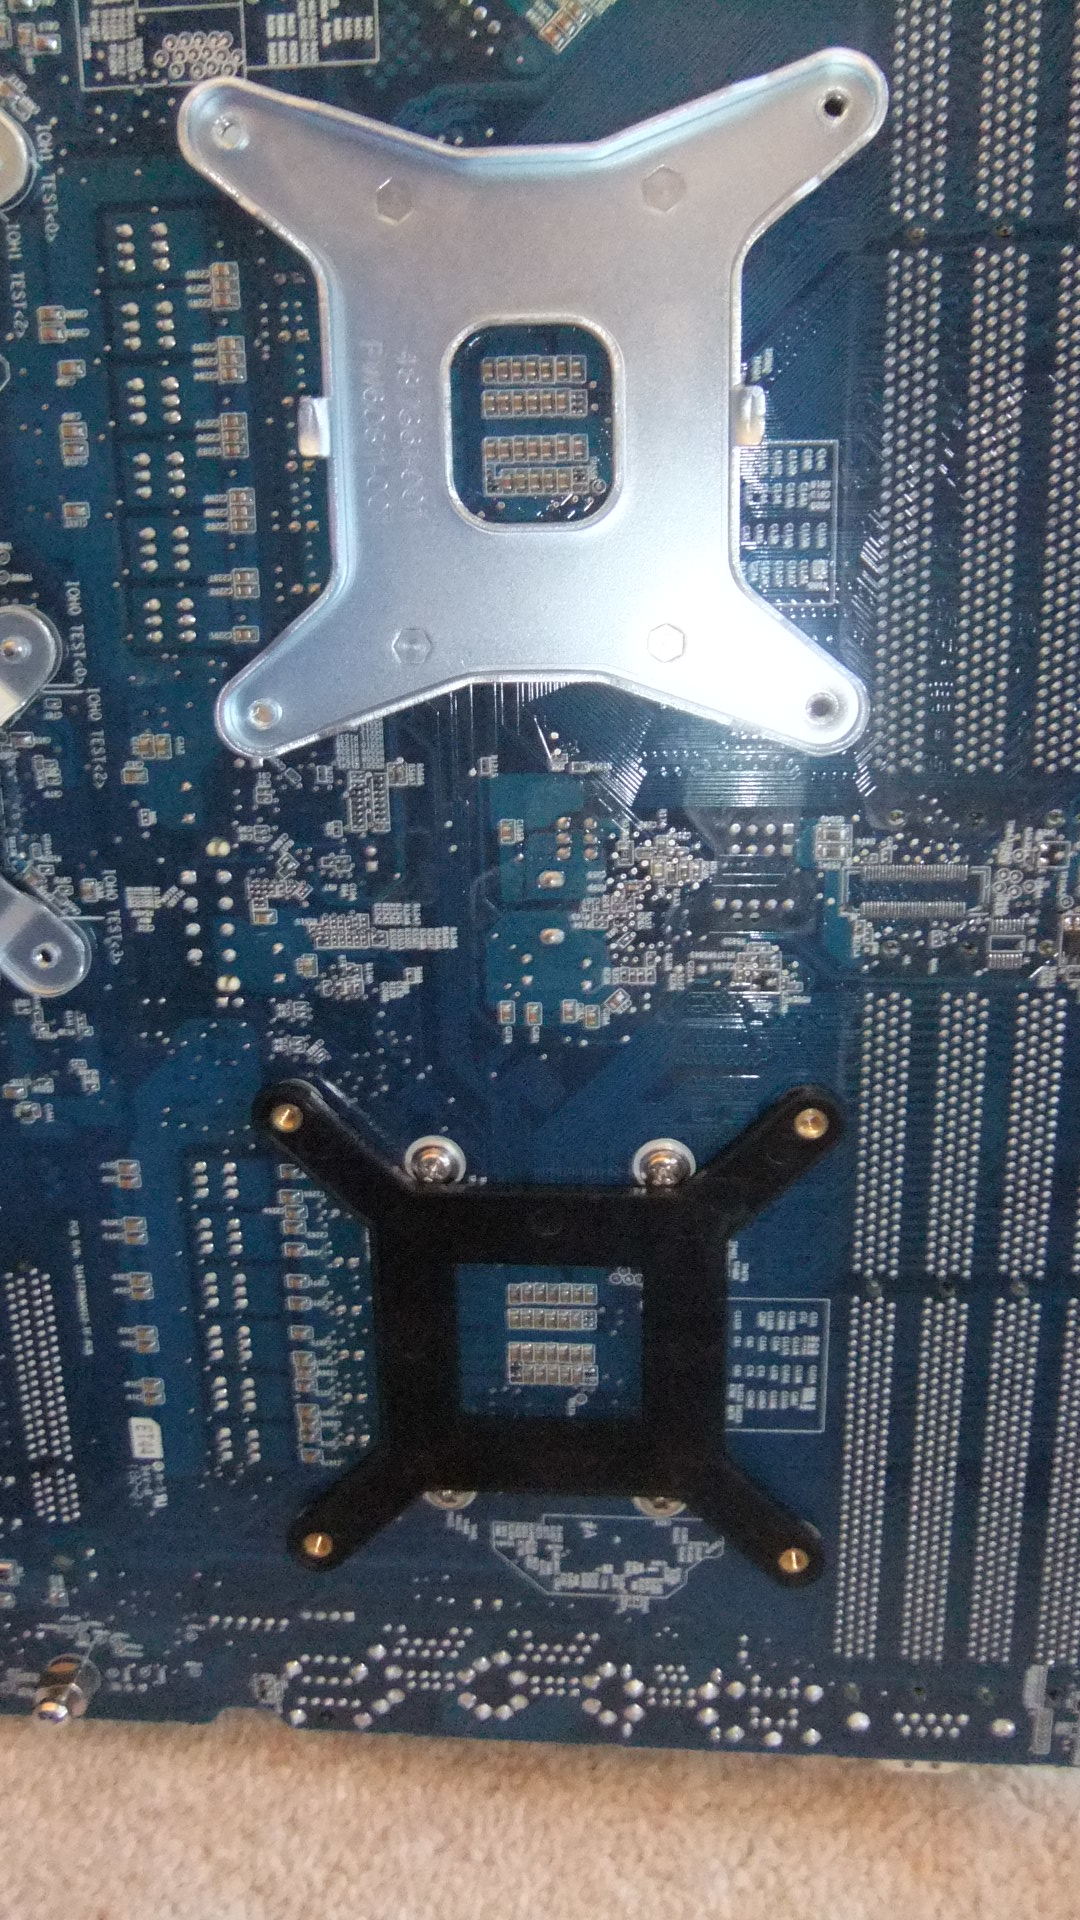
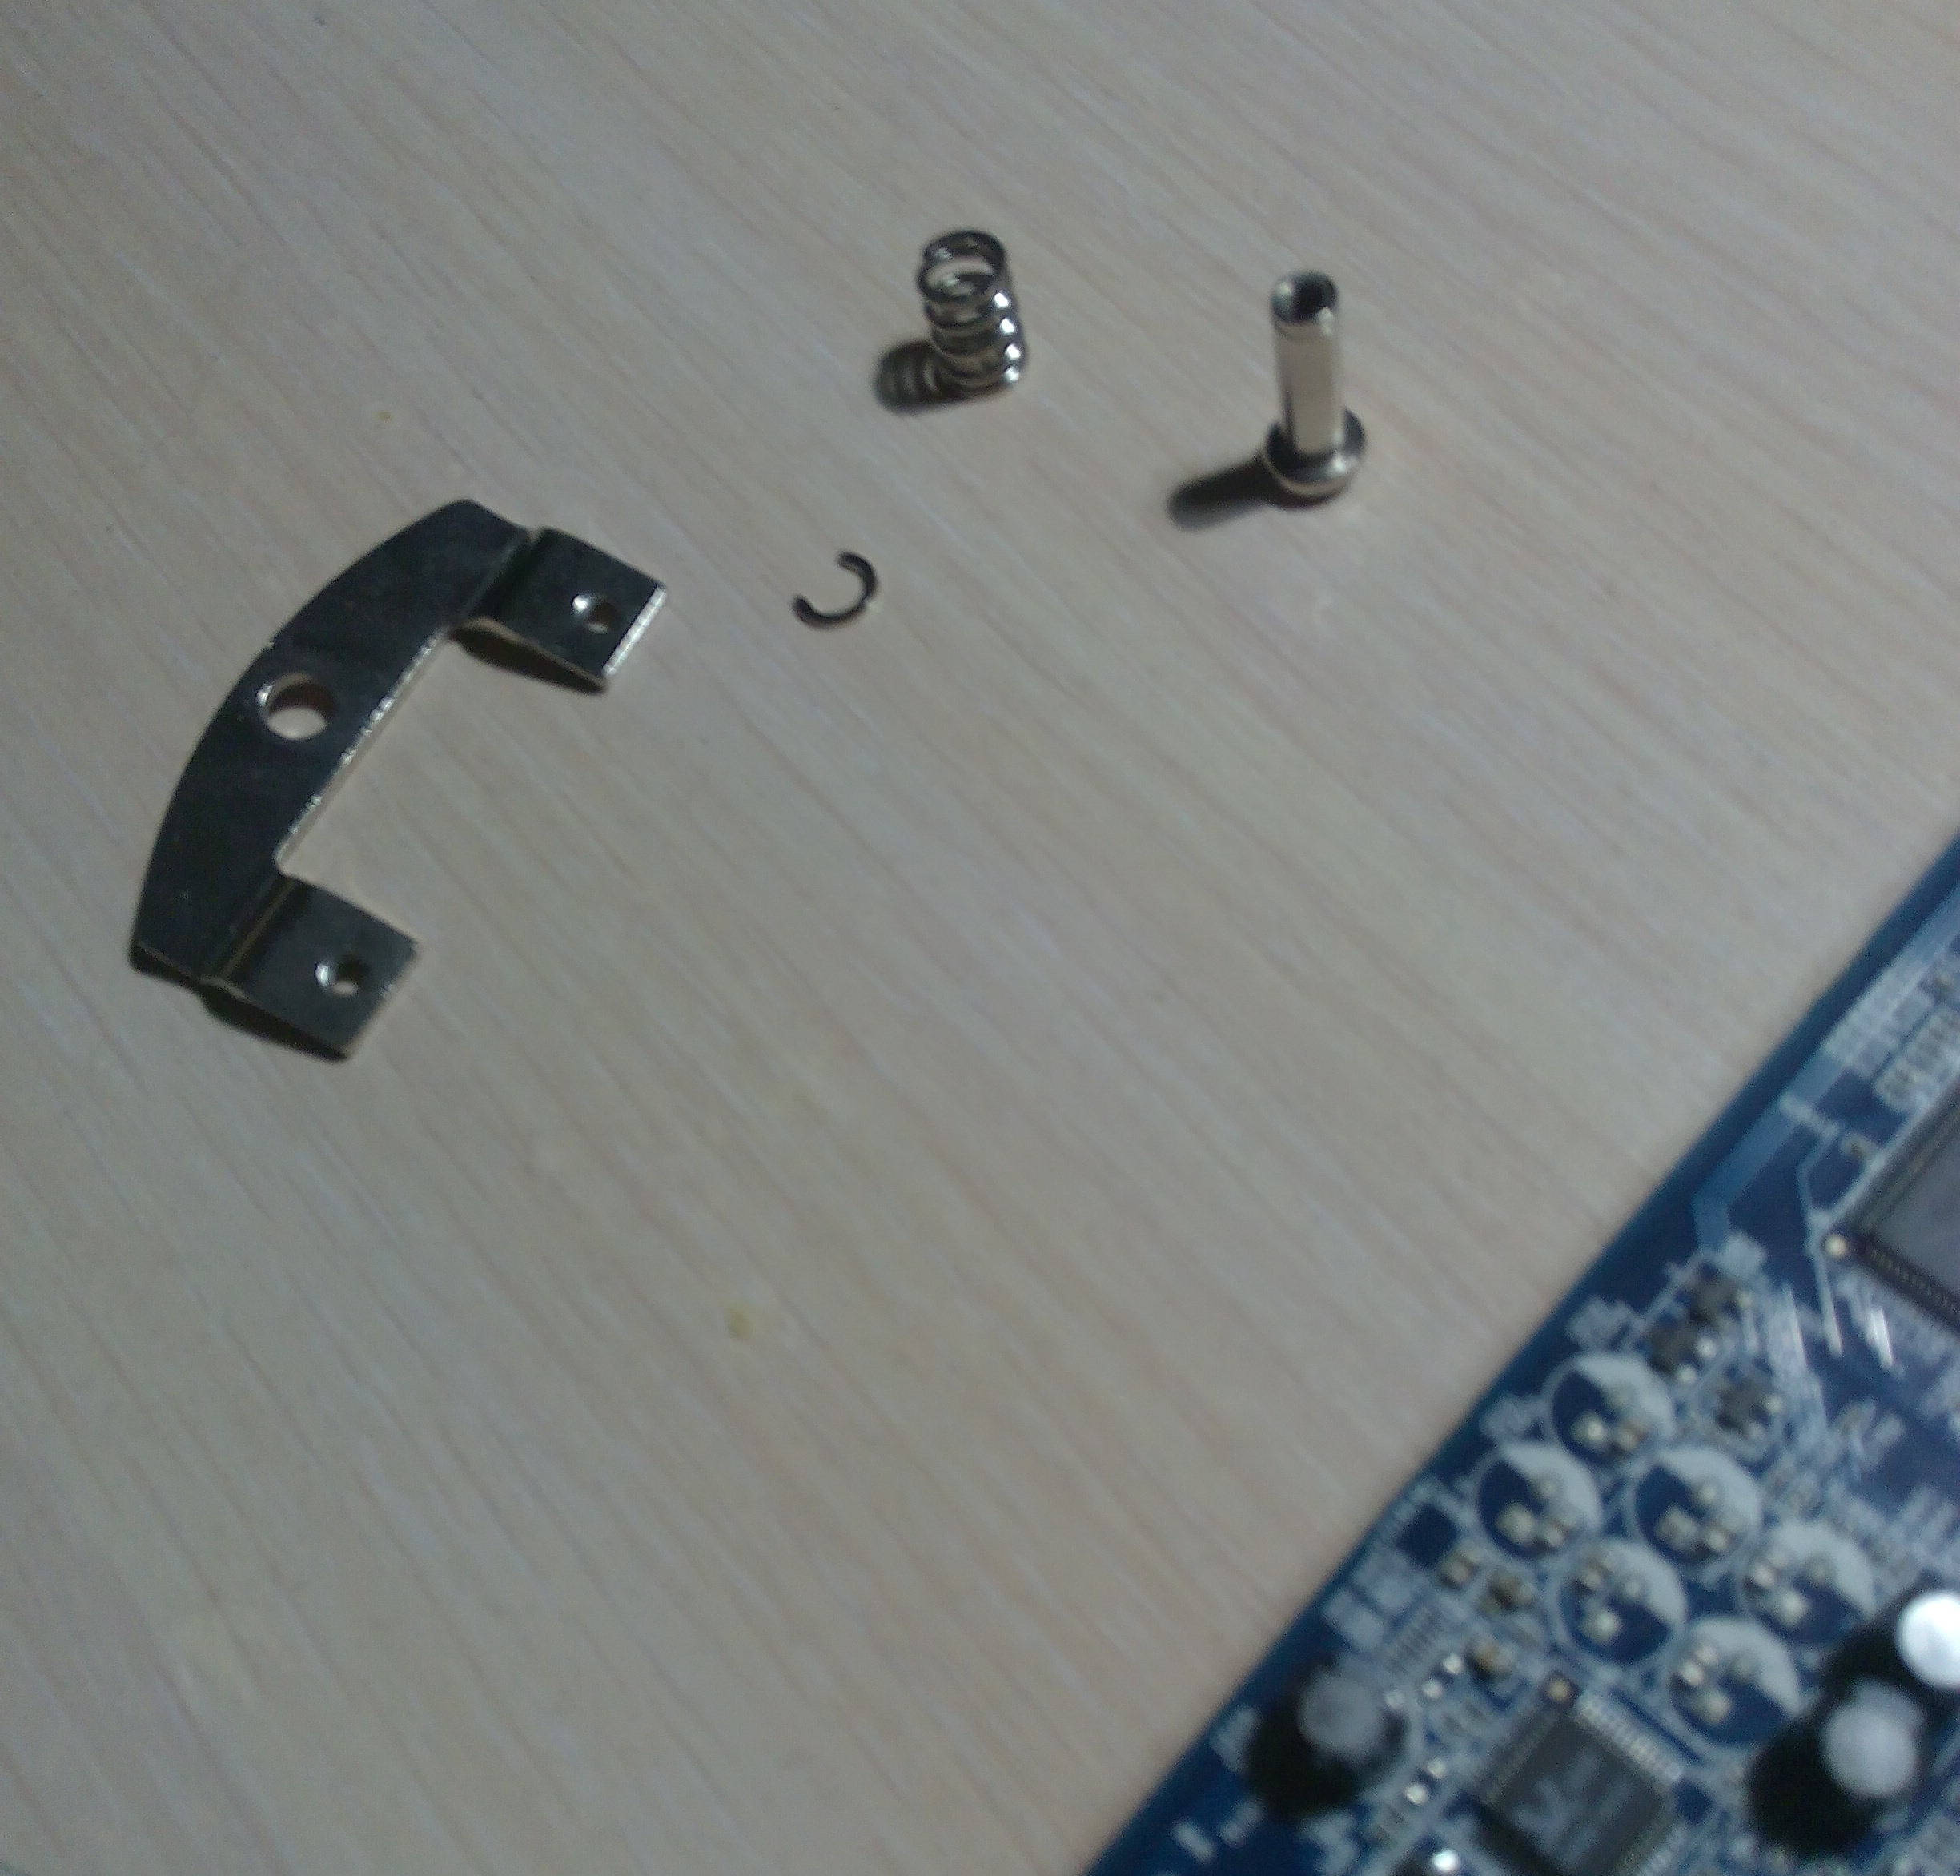
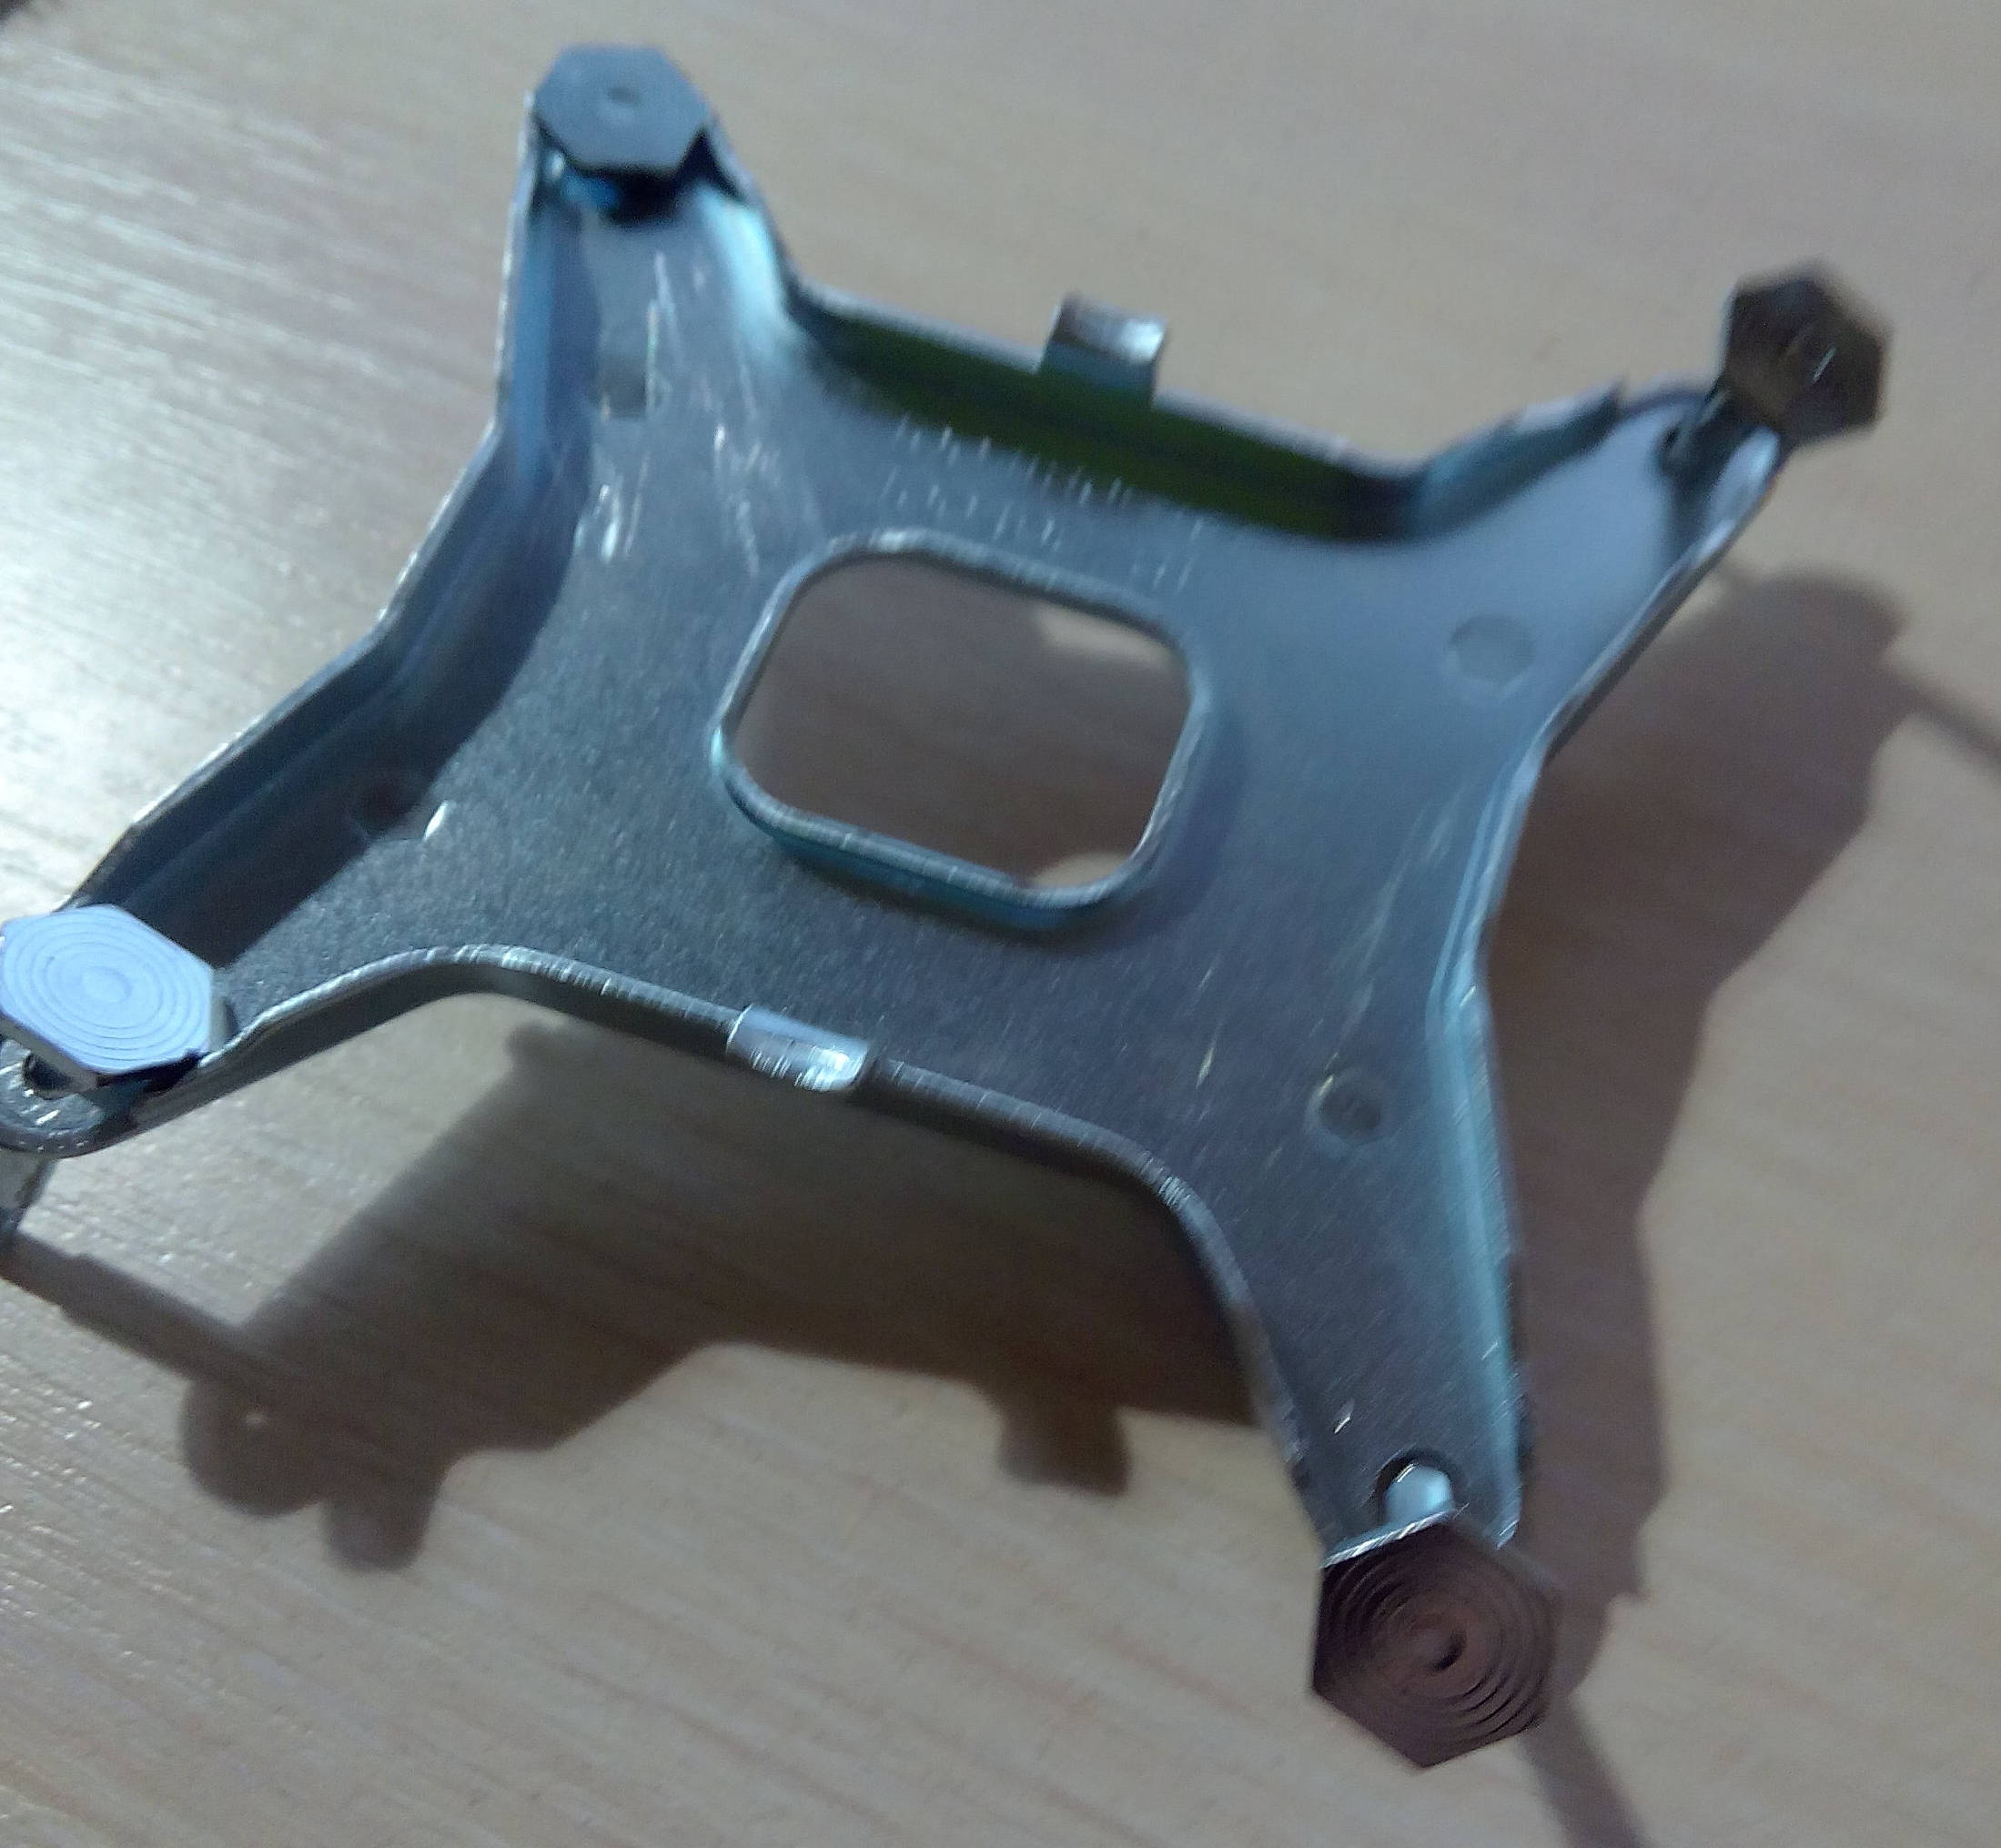
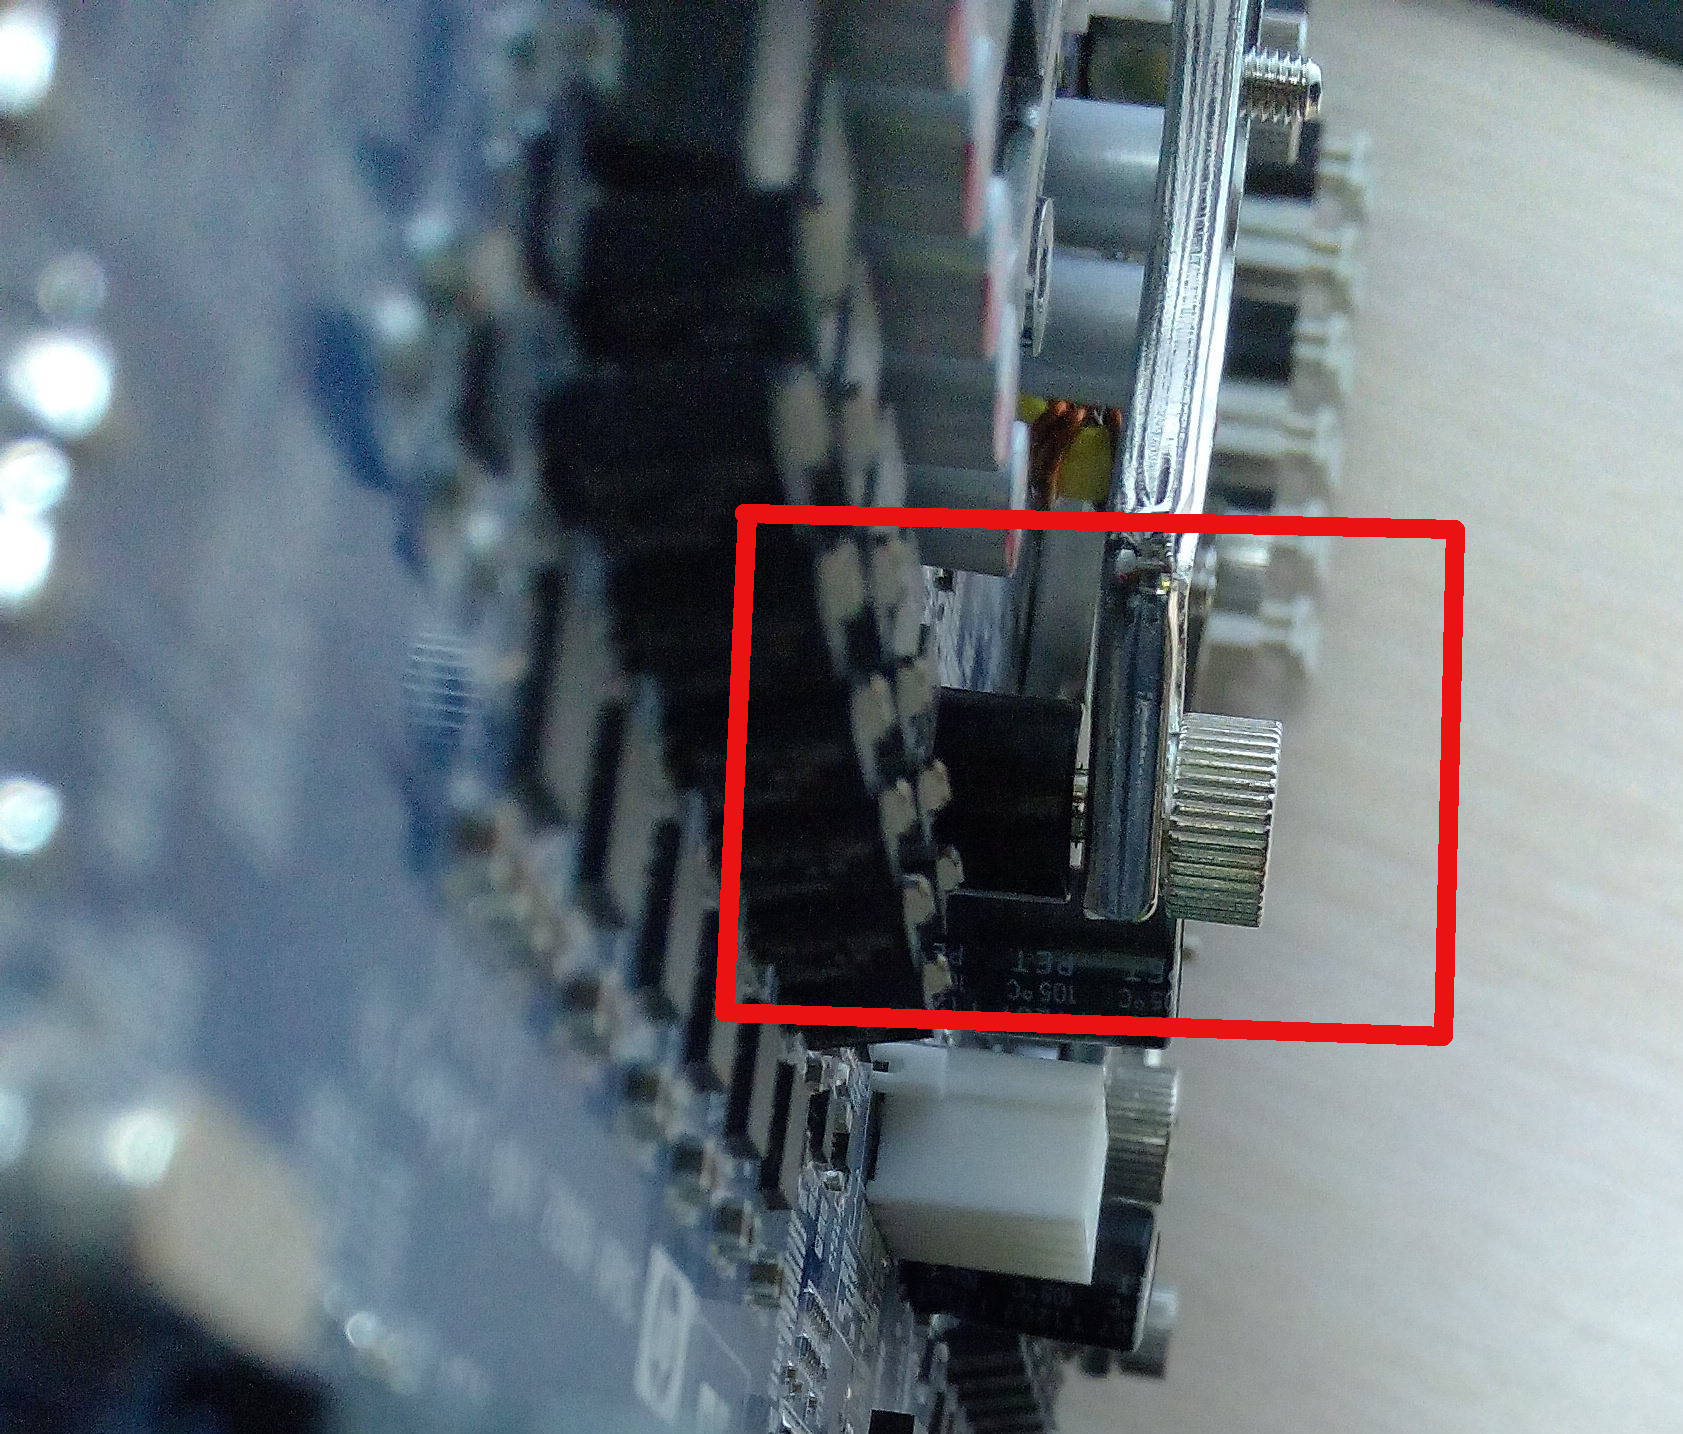
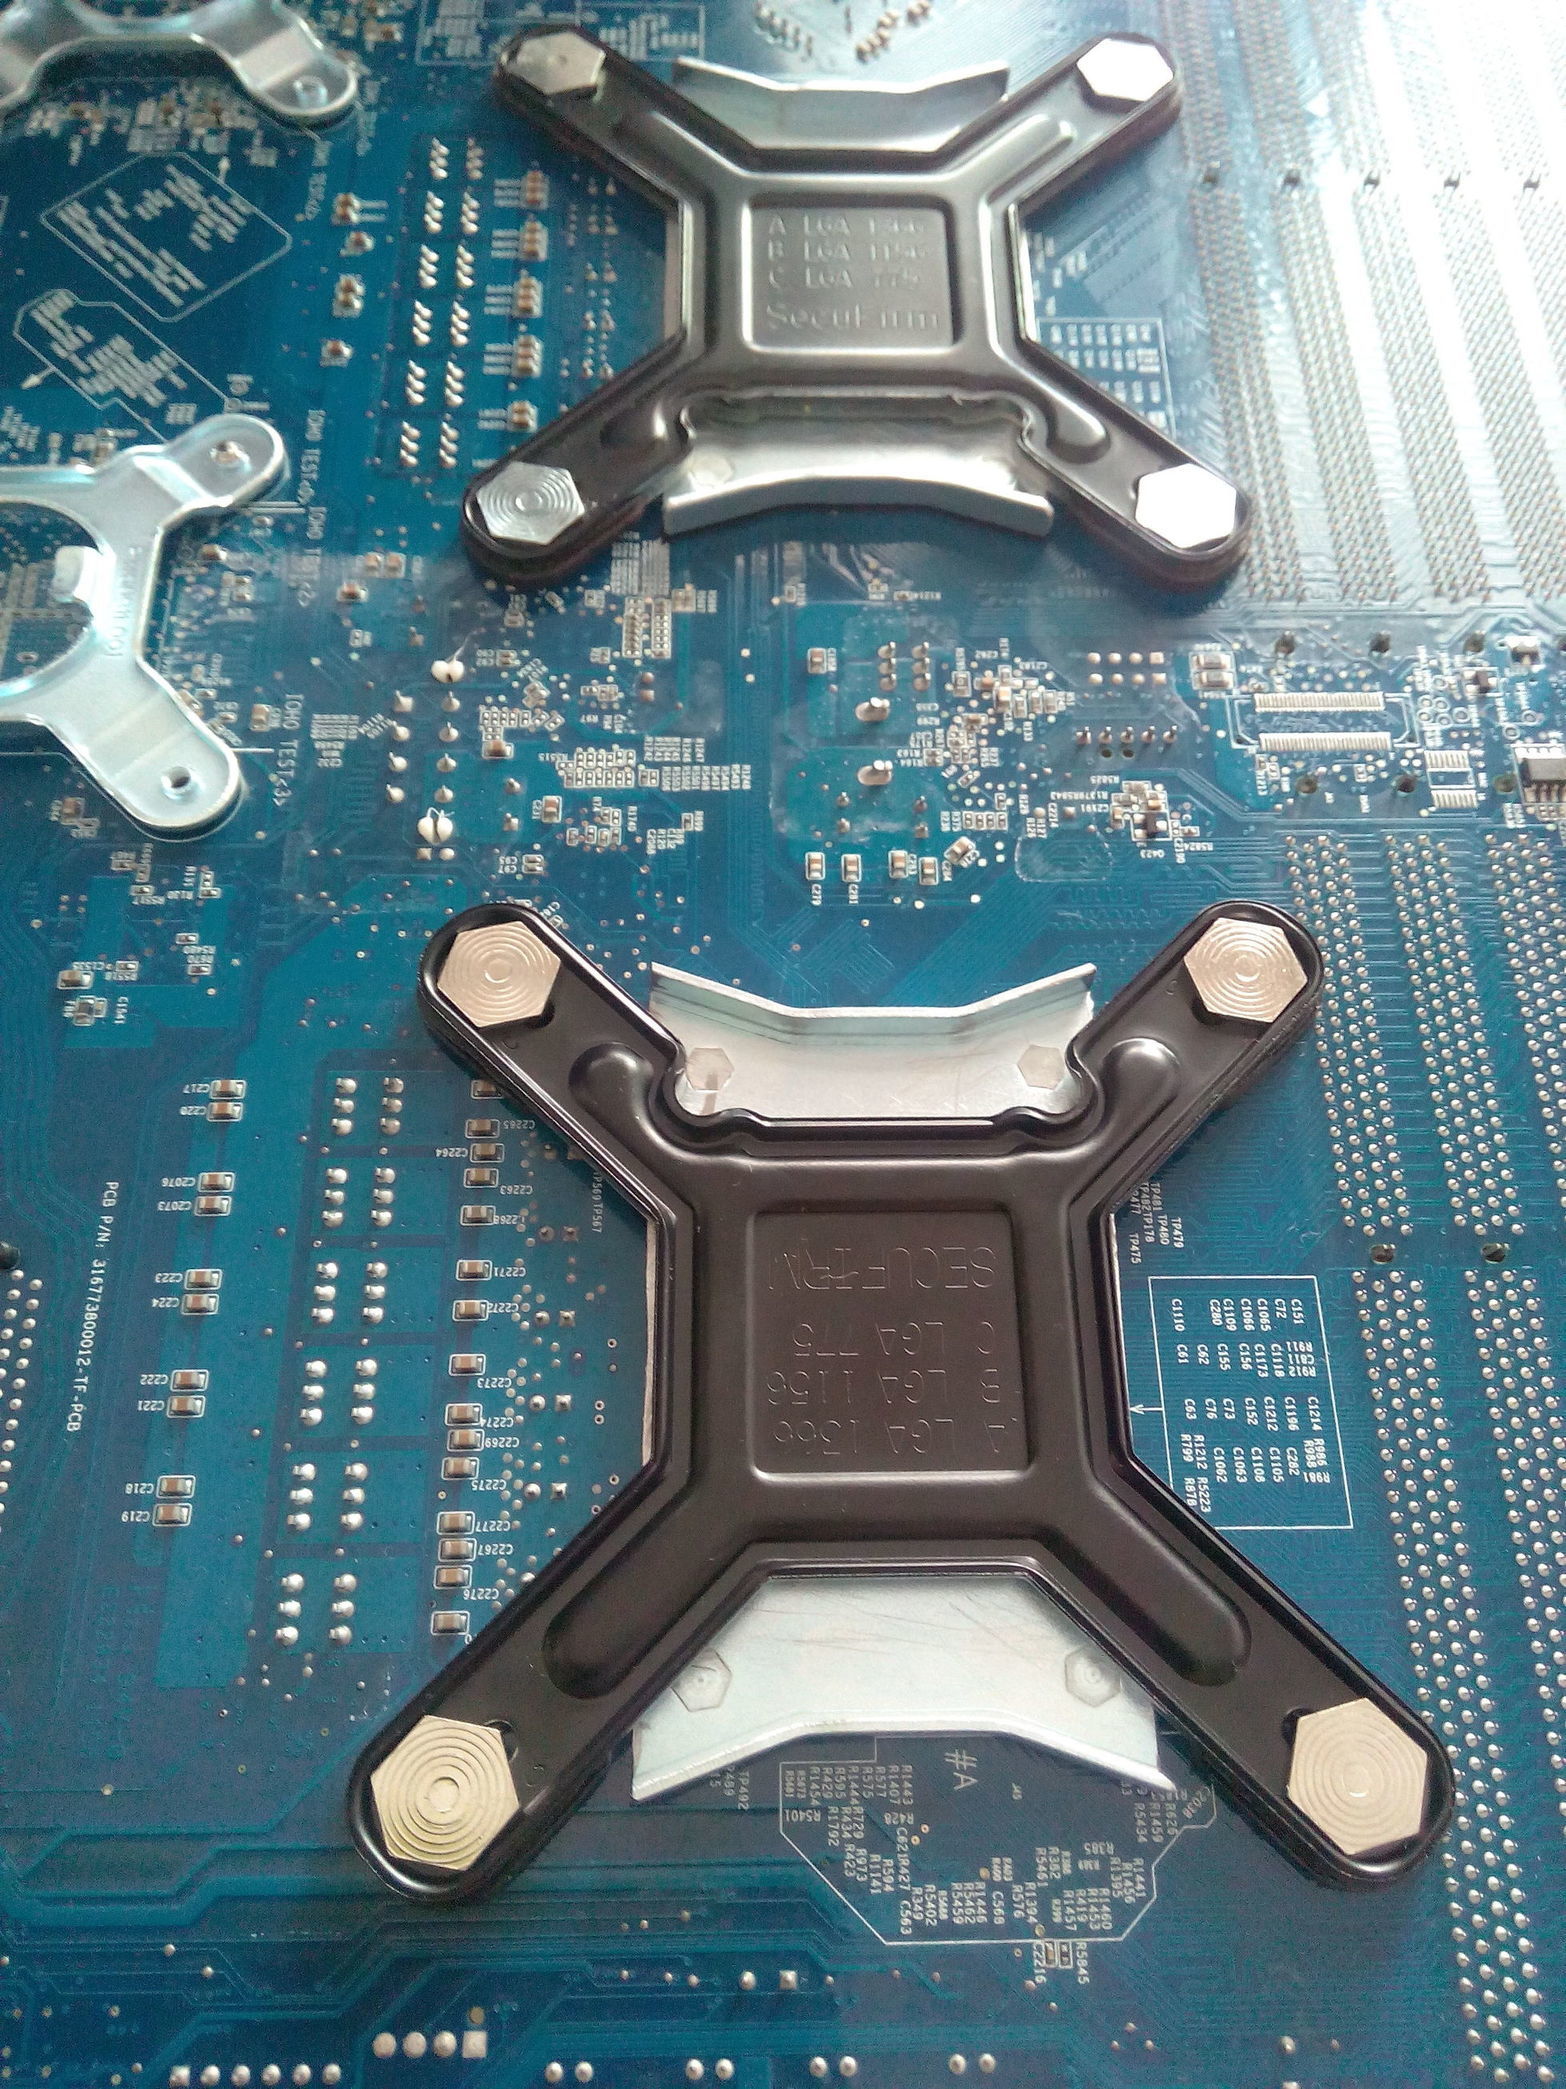
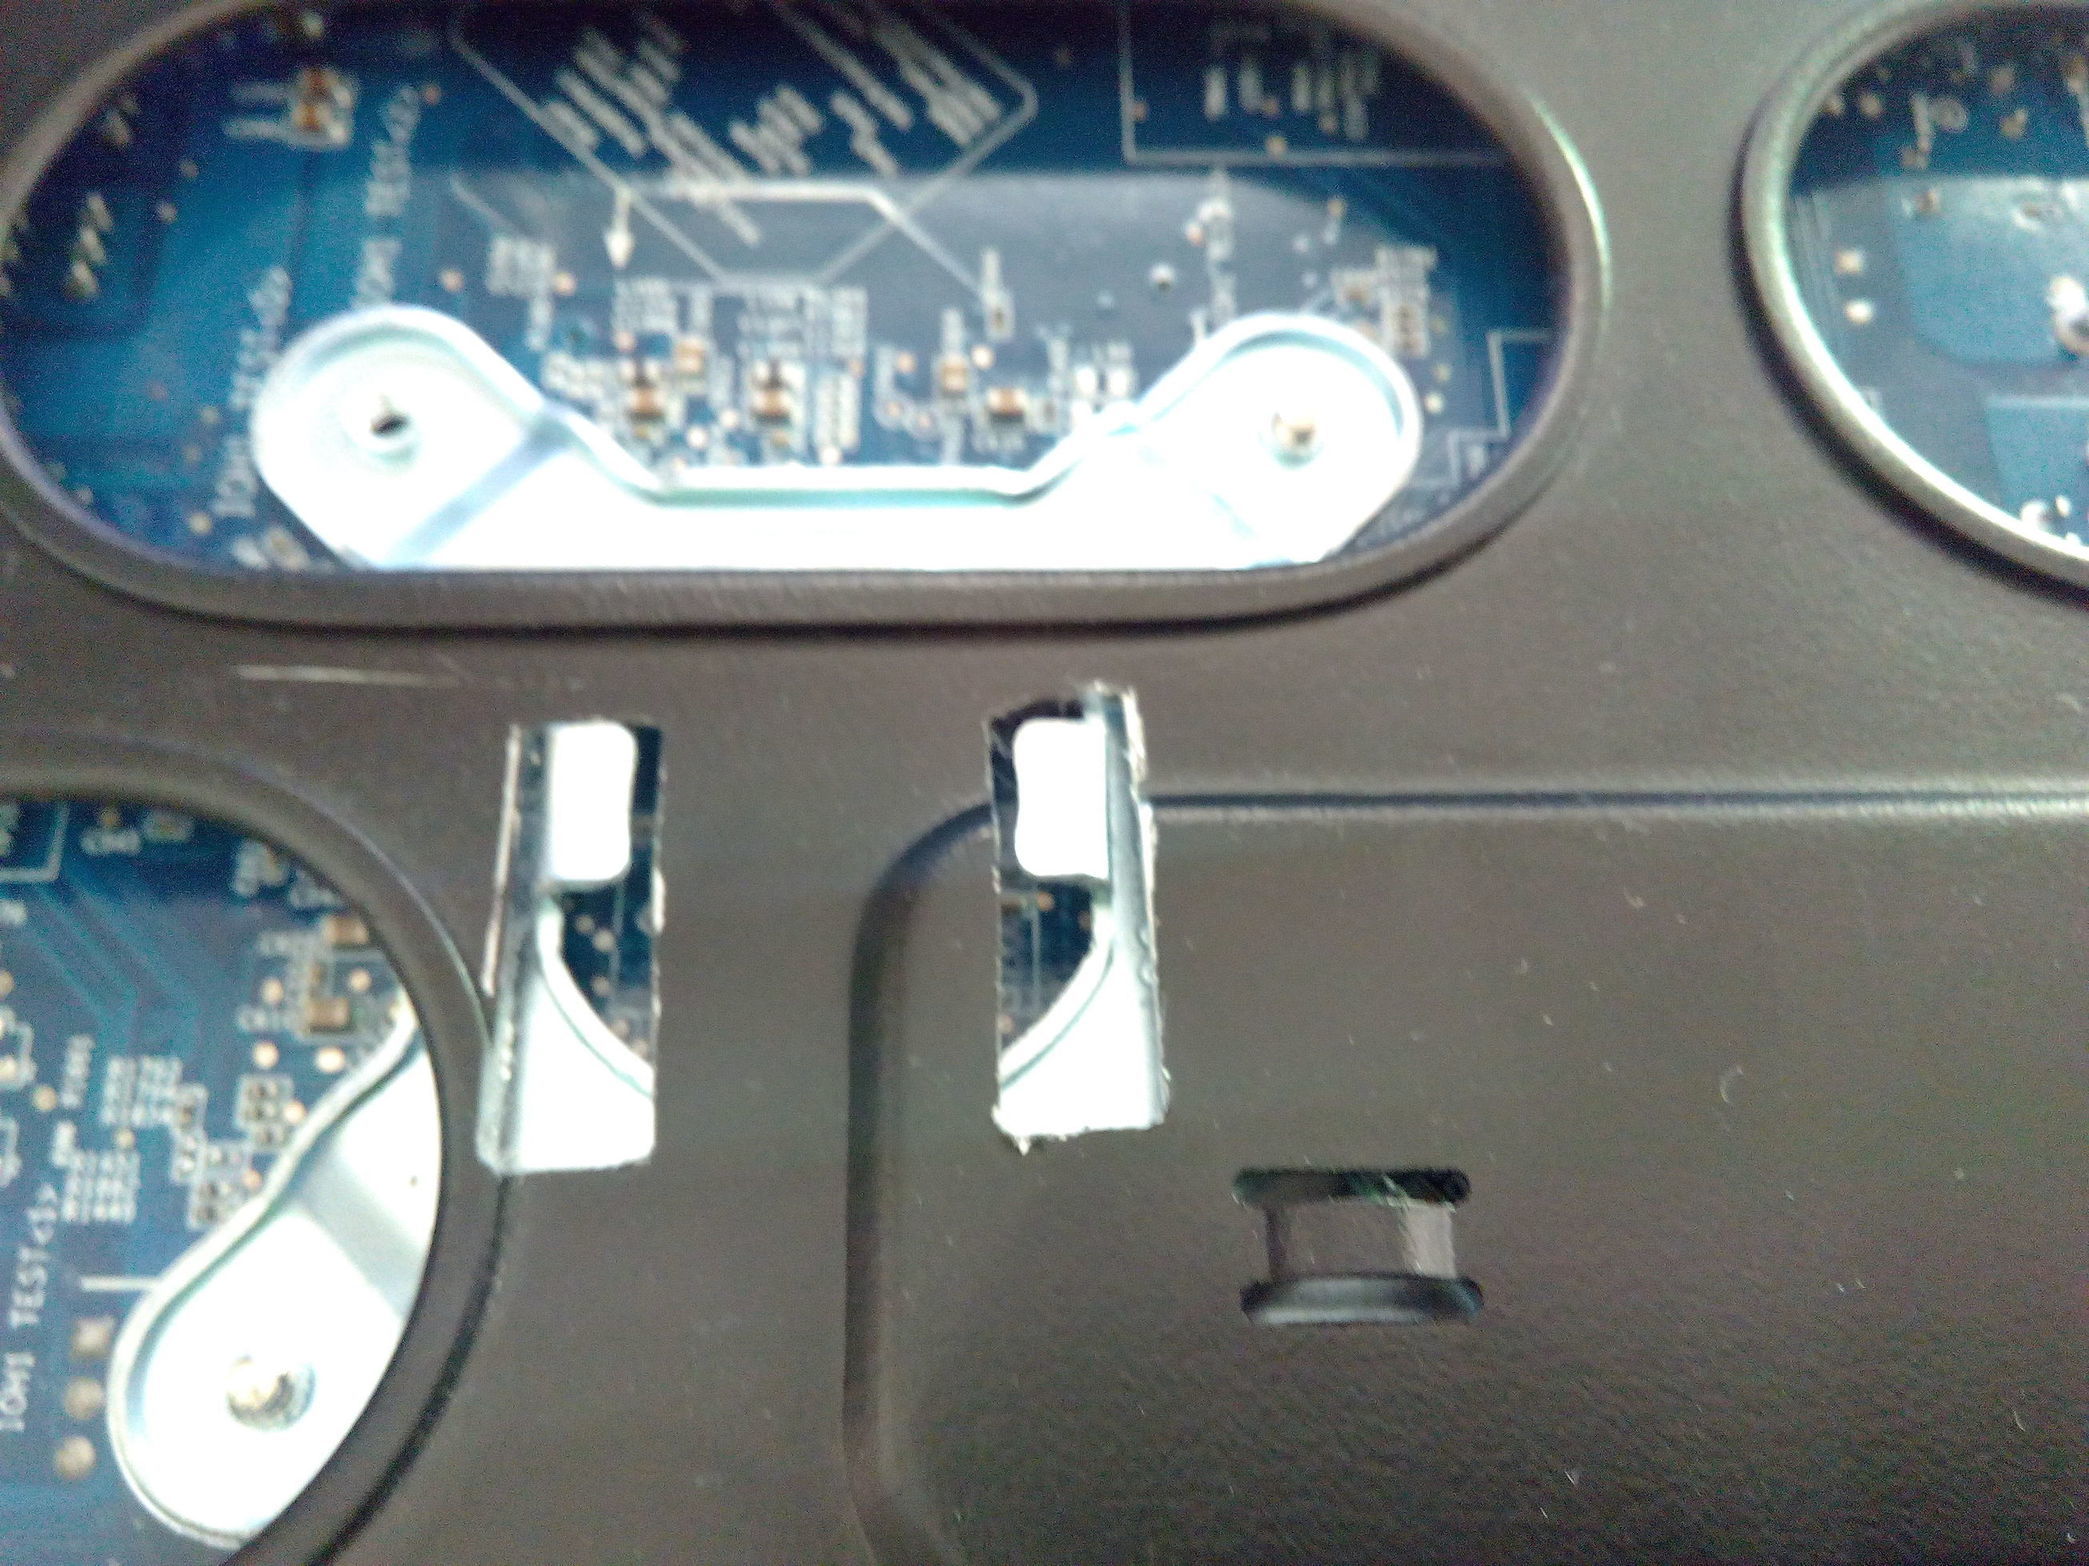
I decided to use the noctua supplied mounting brackets for both sockets and shred the
standard HP brackets to leave them on the board because they support the socket cover that
holds cpu inplace.
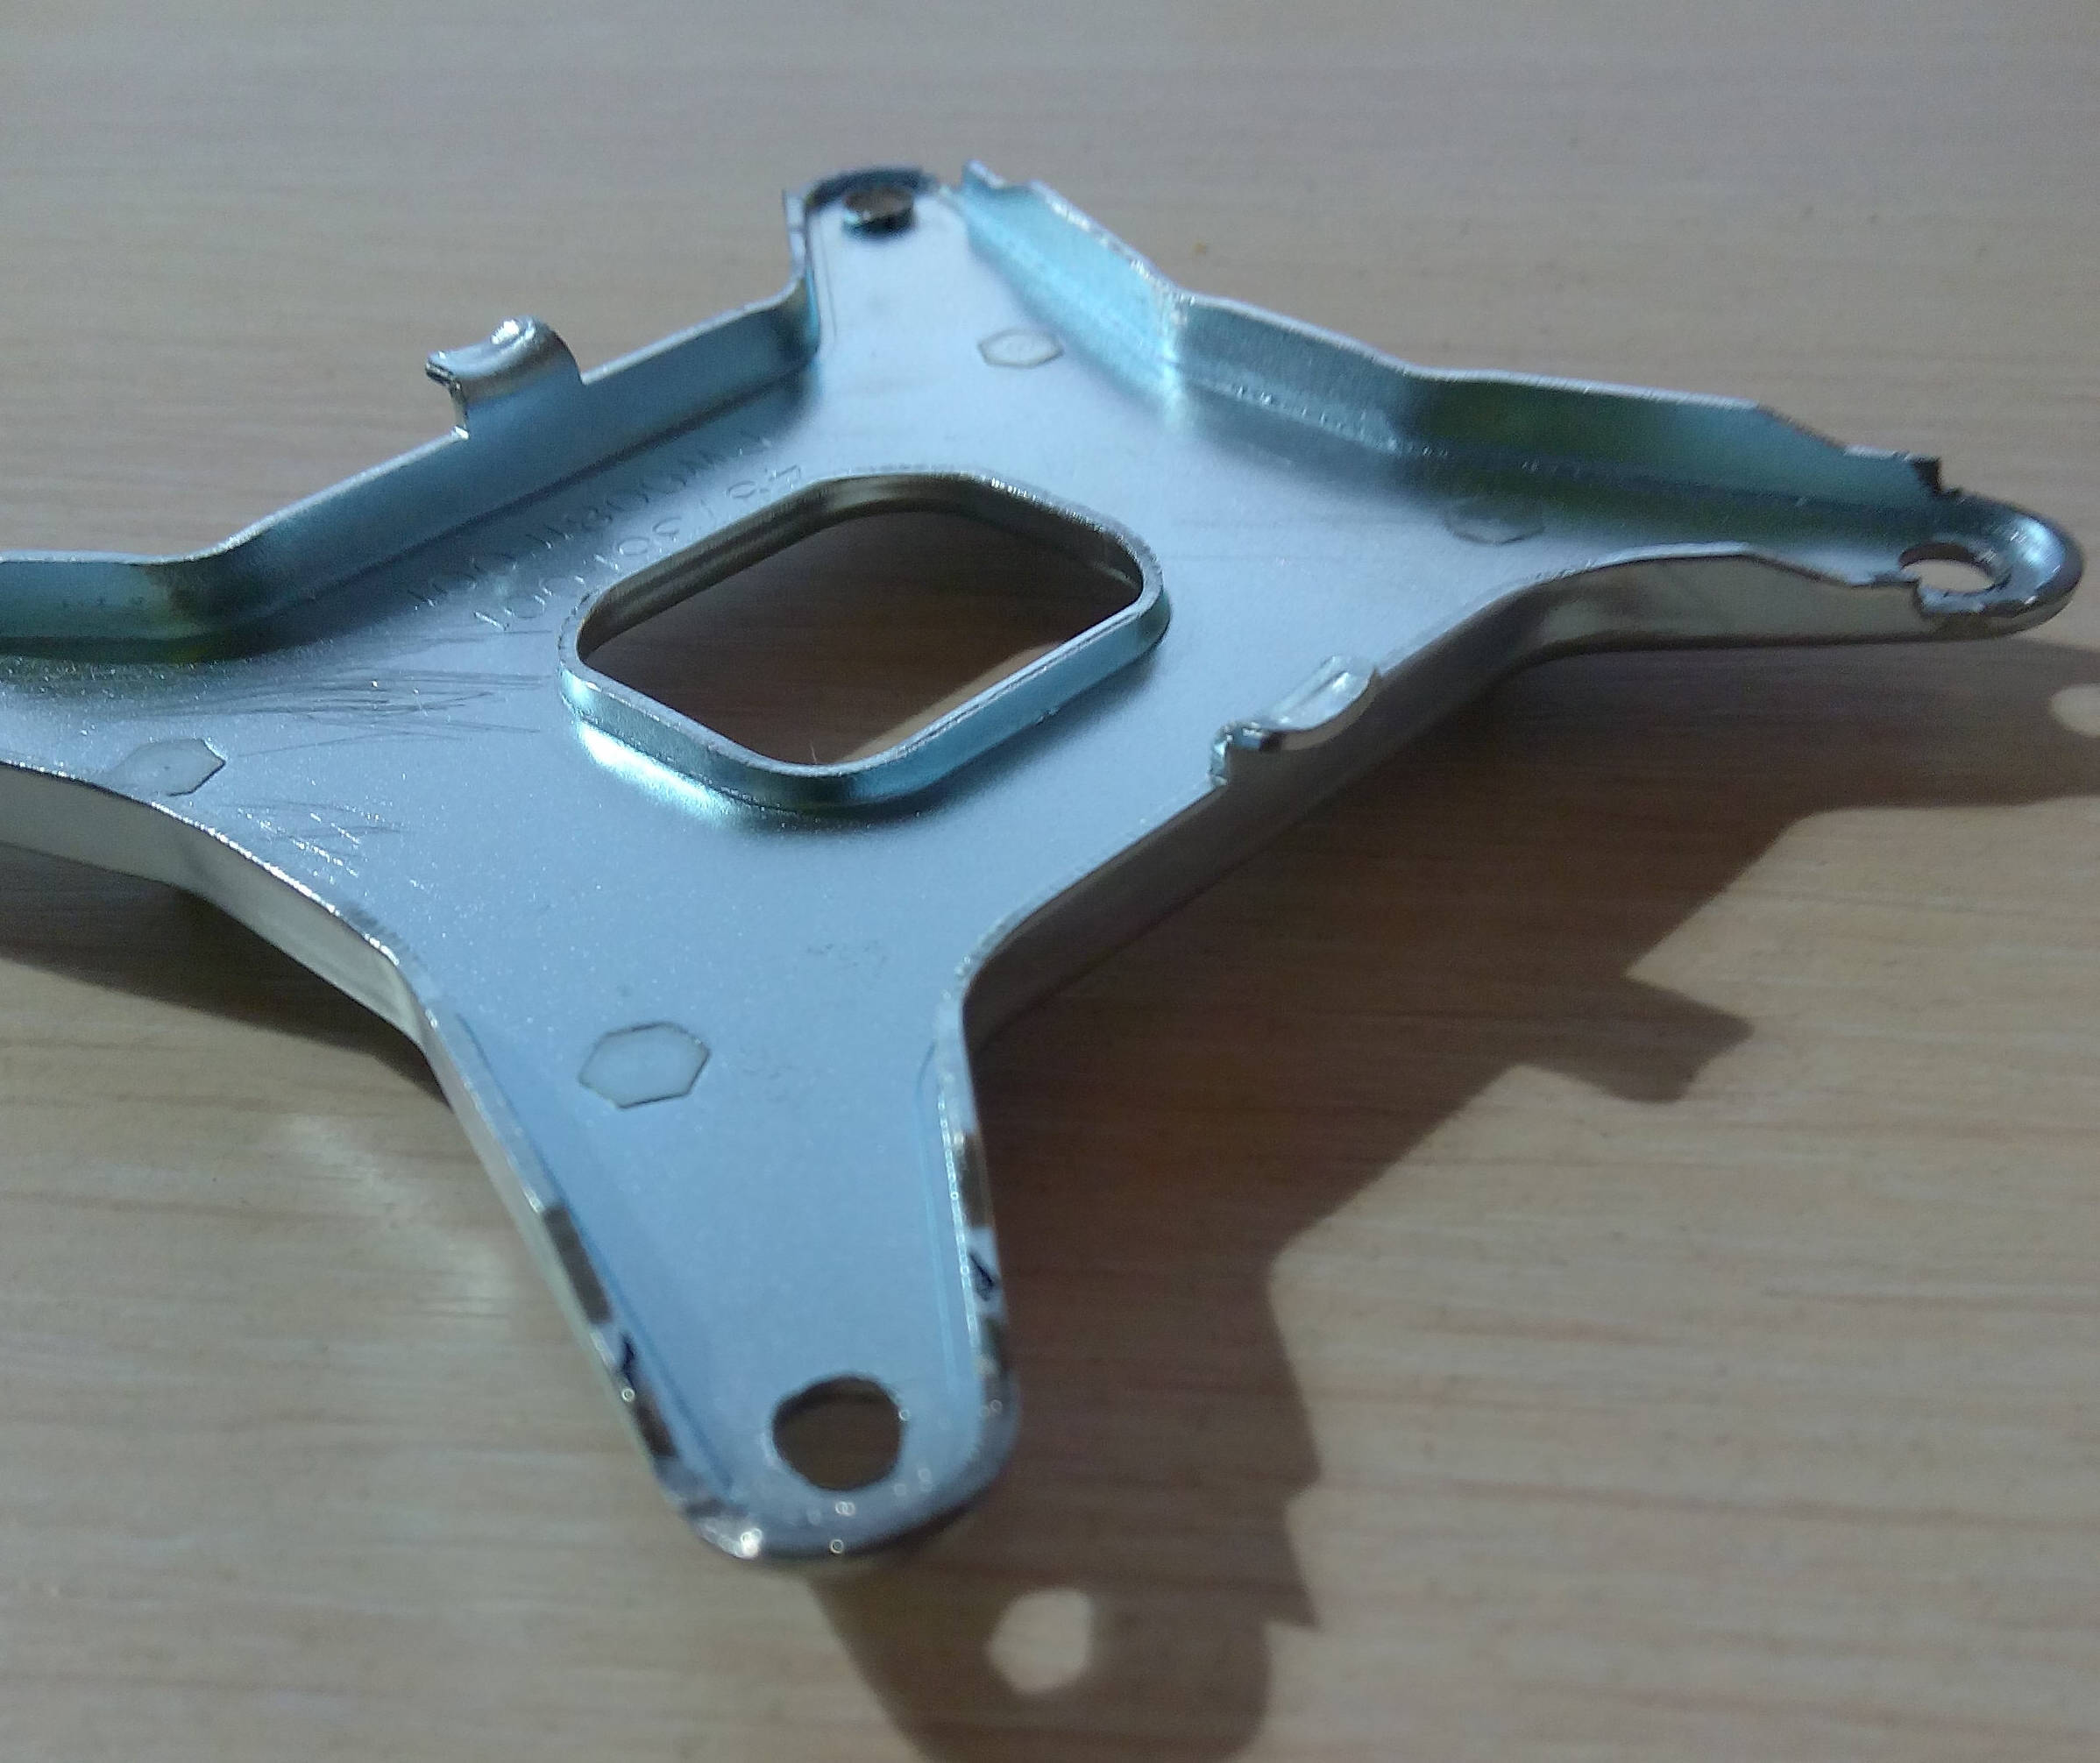
By that I mean turn this
Into this…
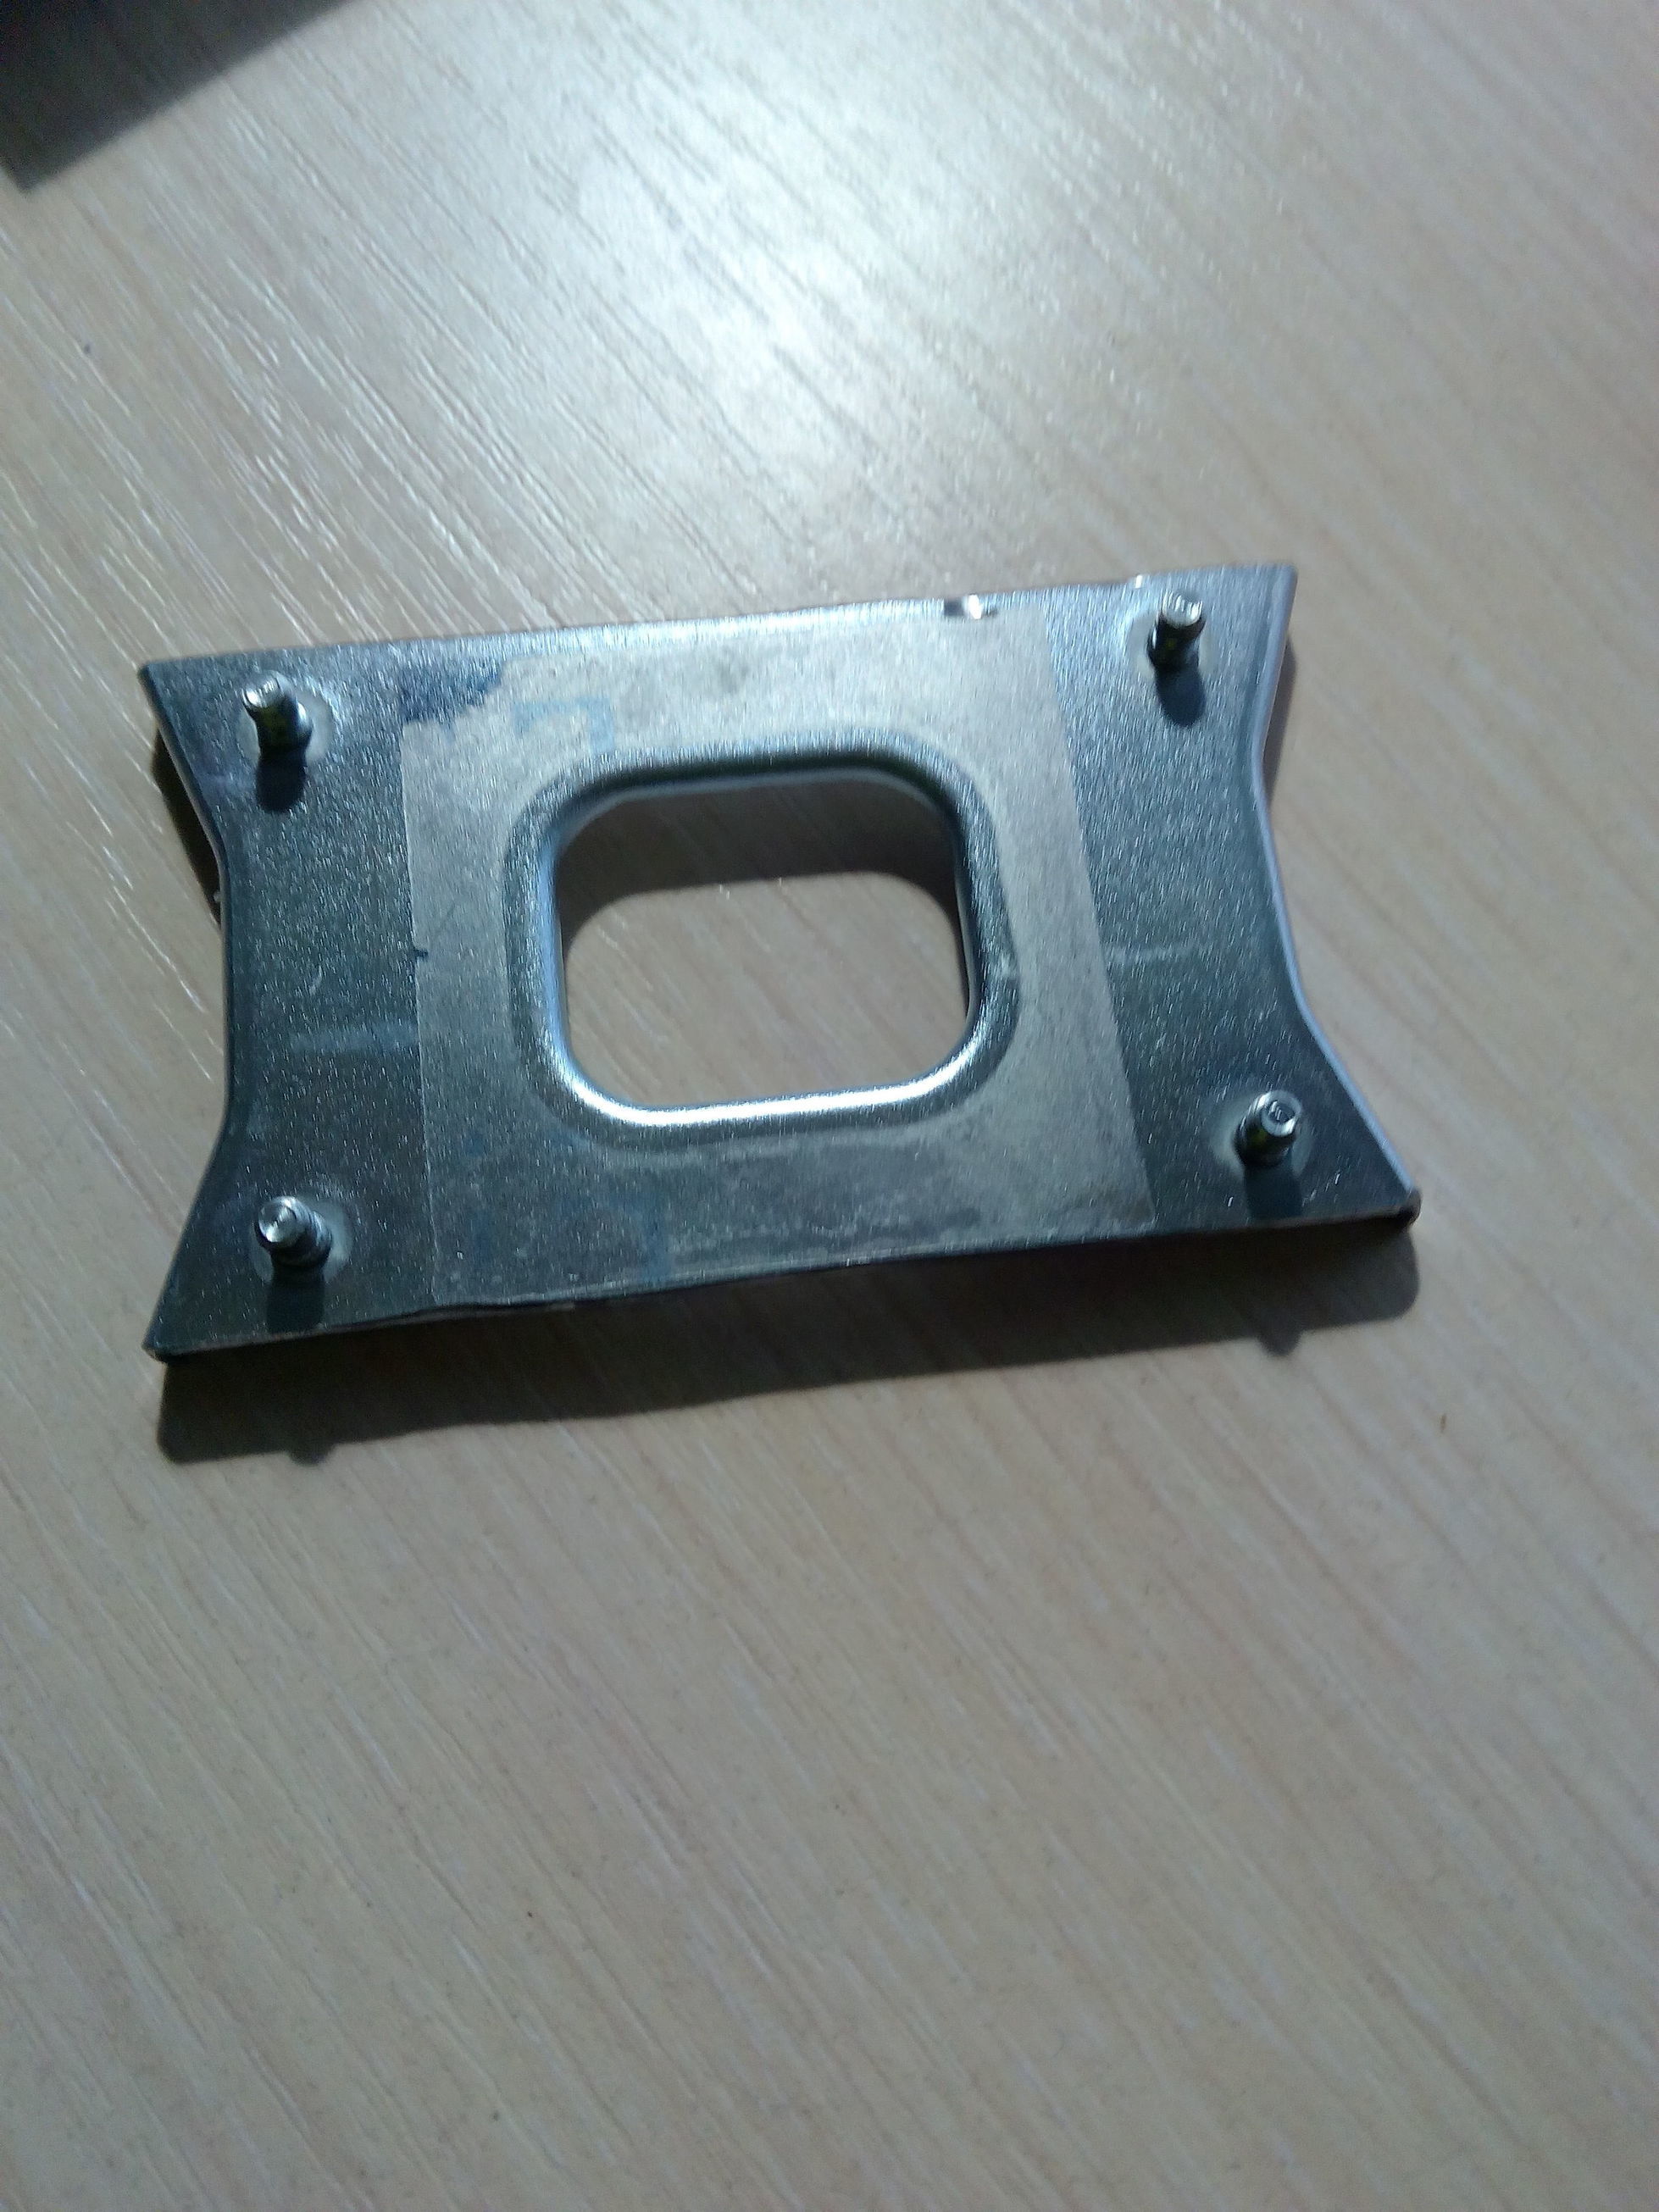
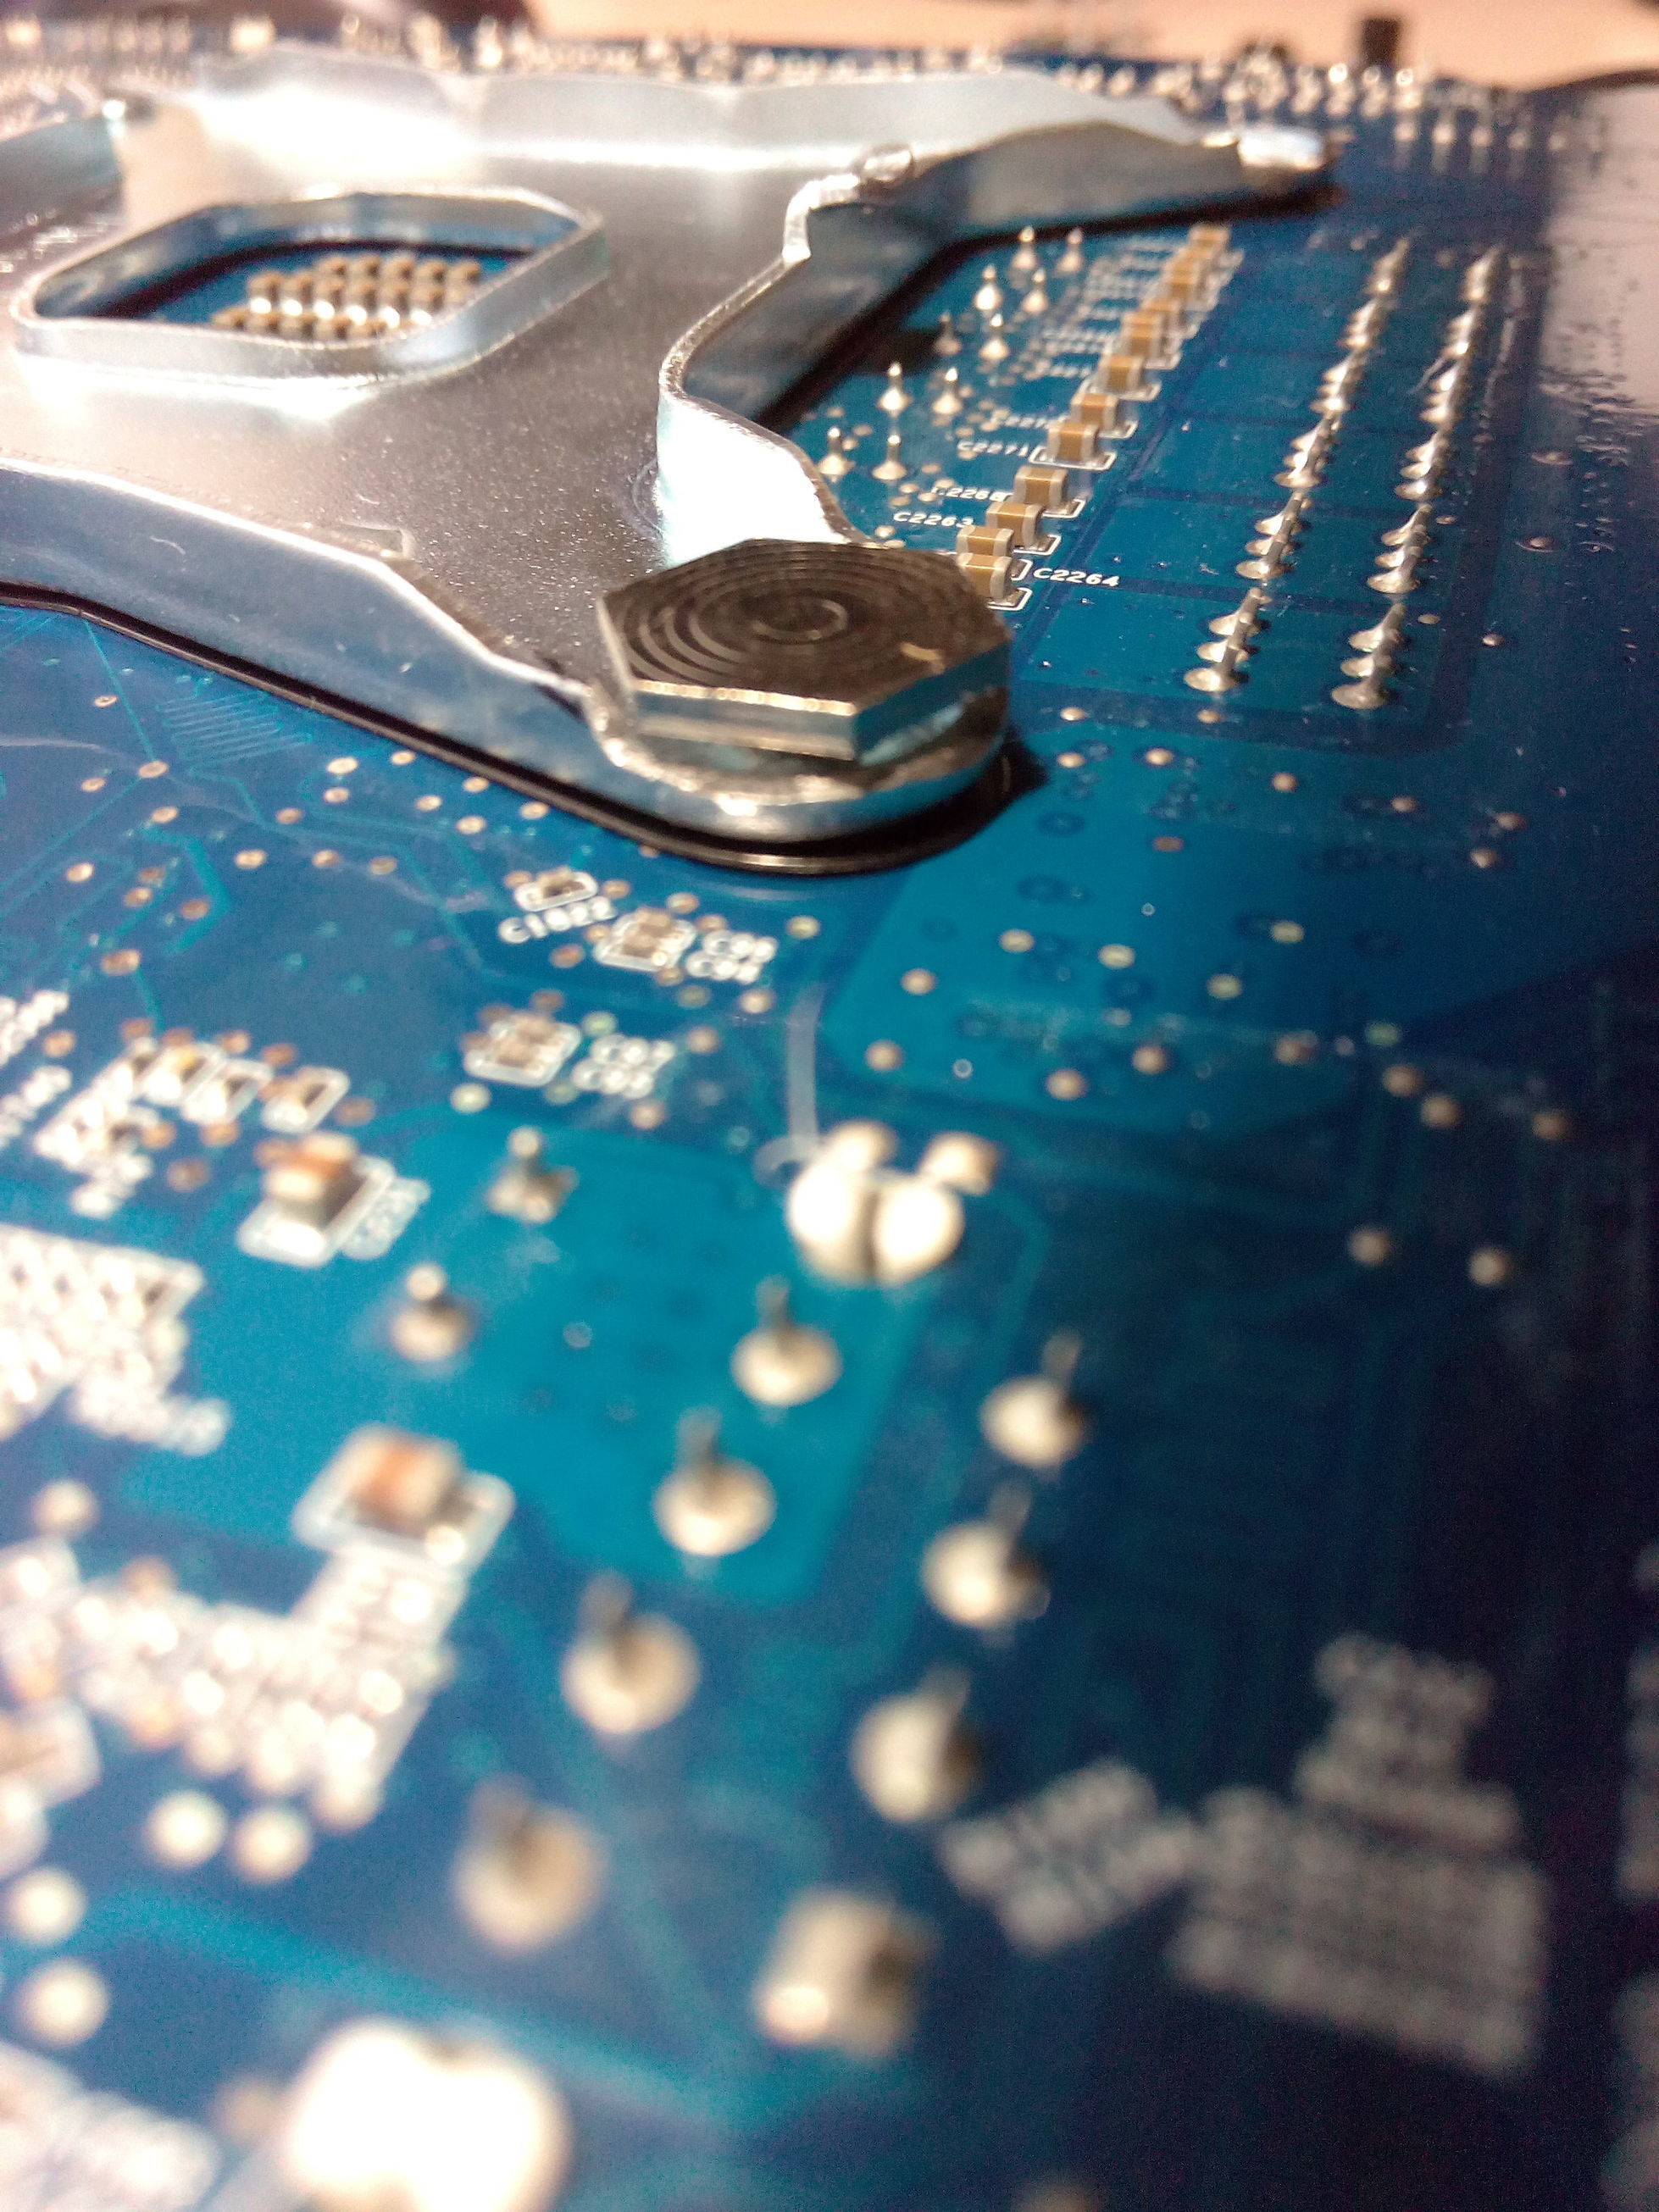
And don’t forget about the insulation, of course.
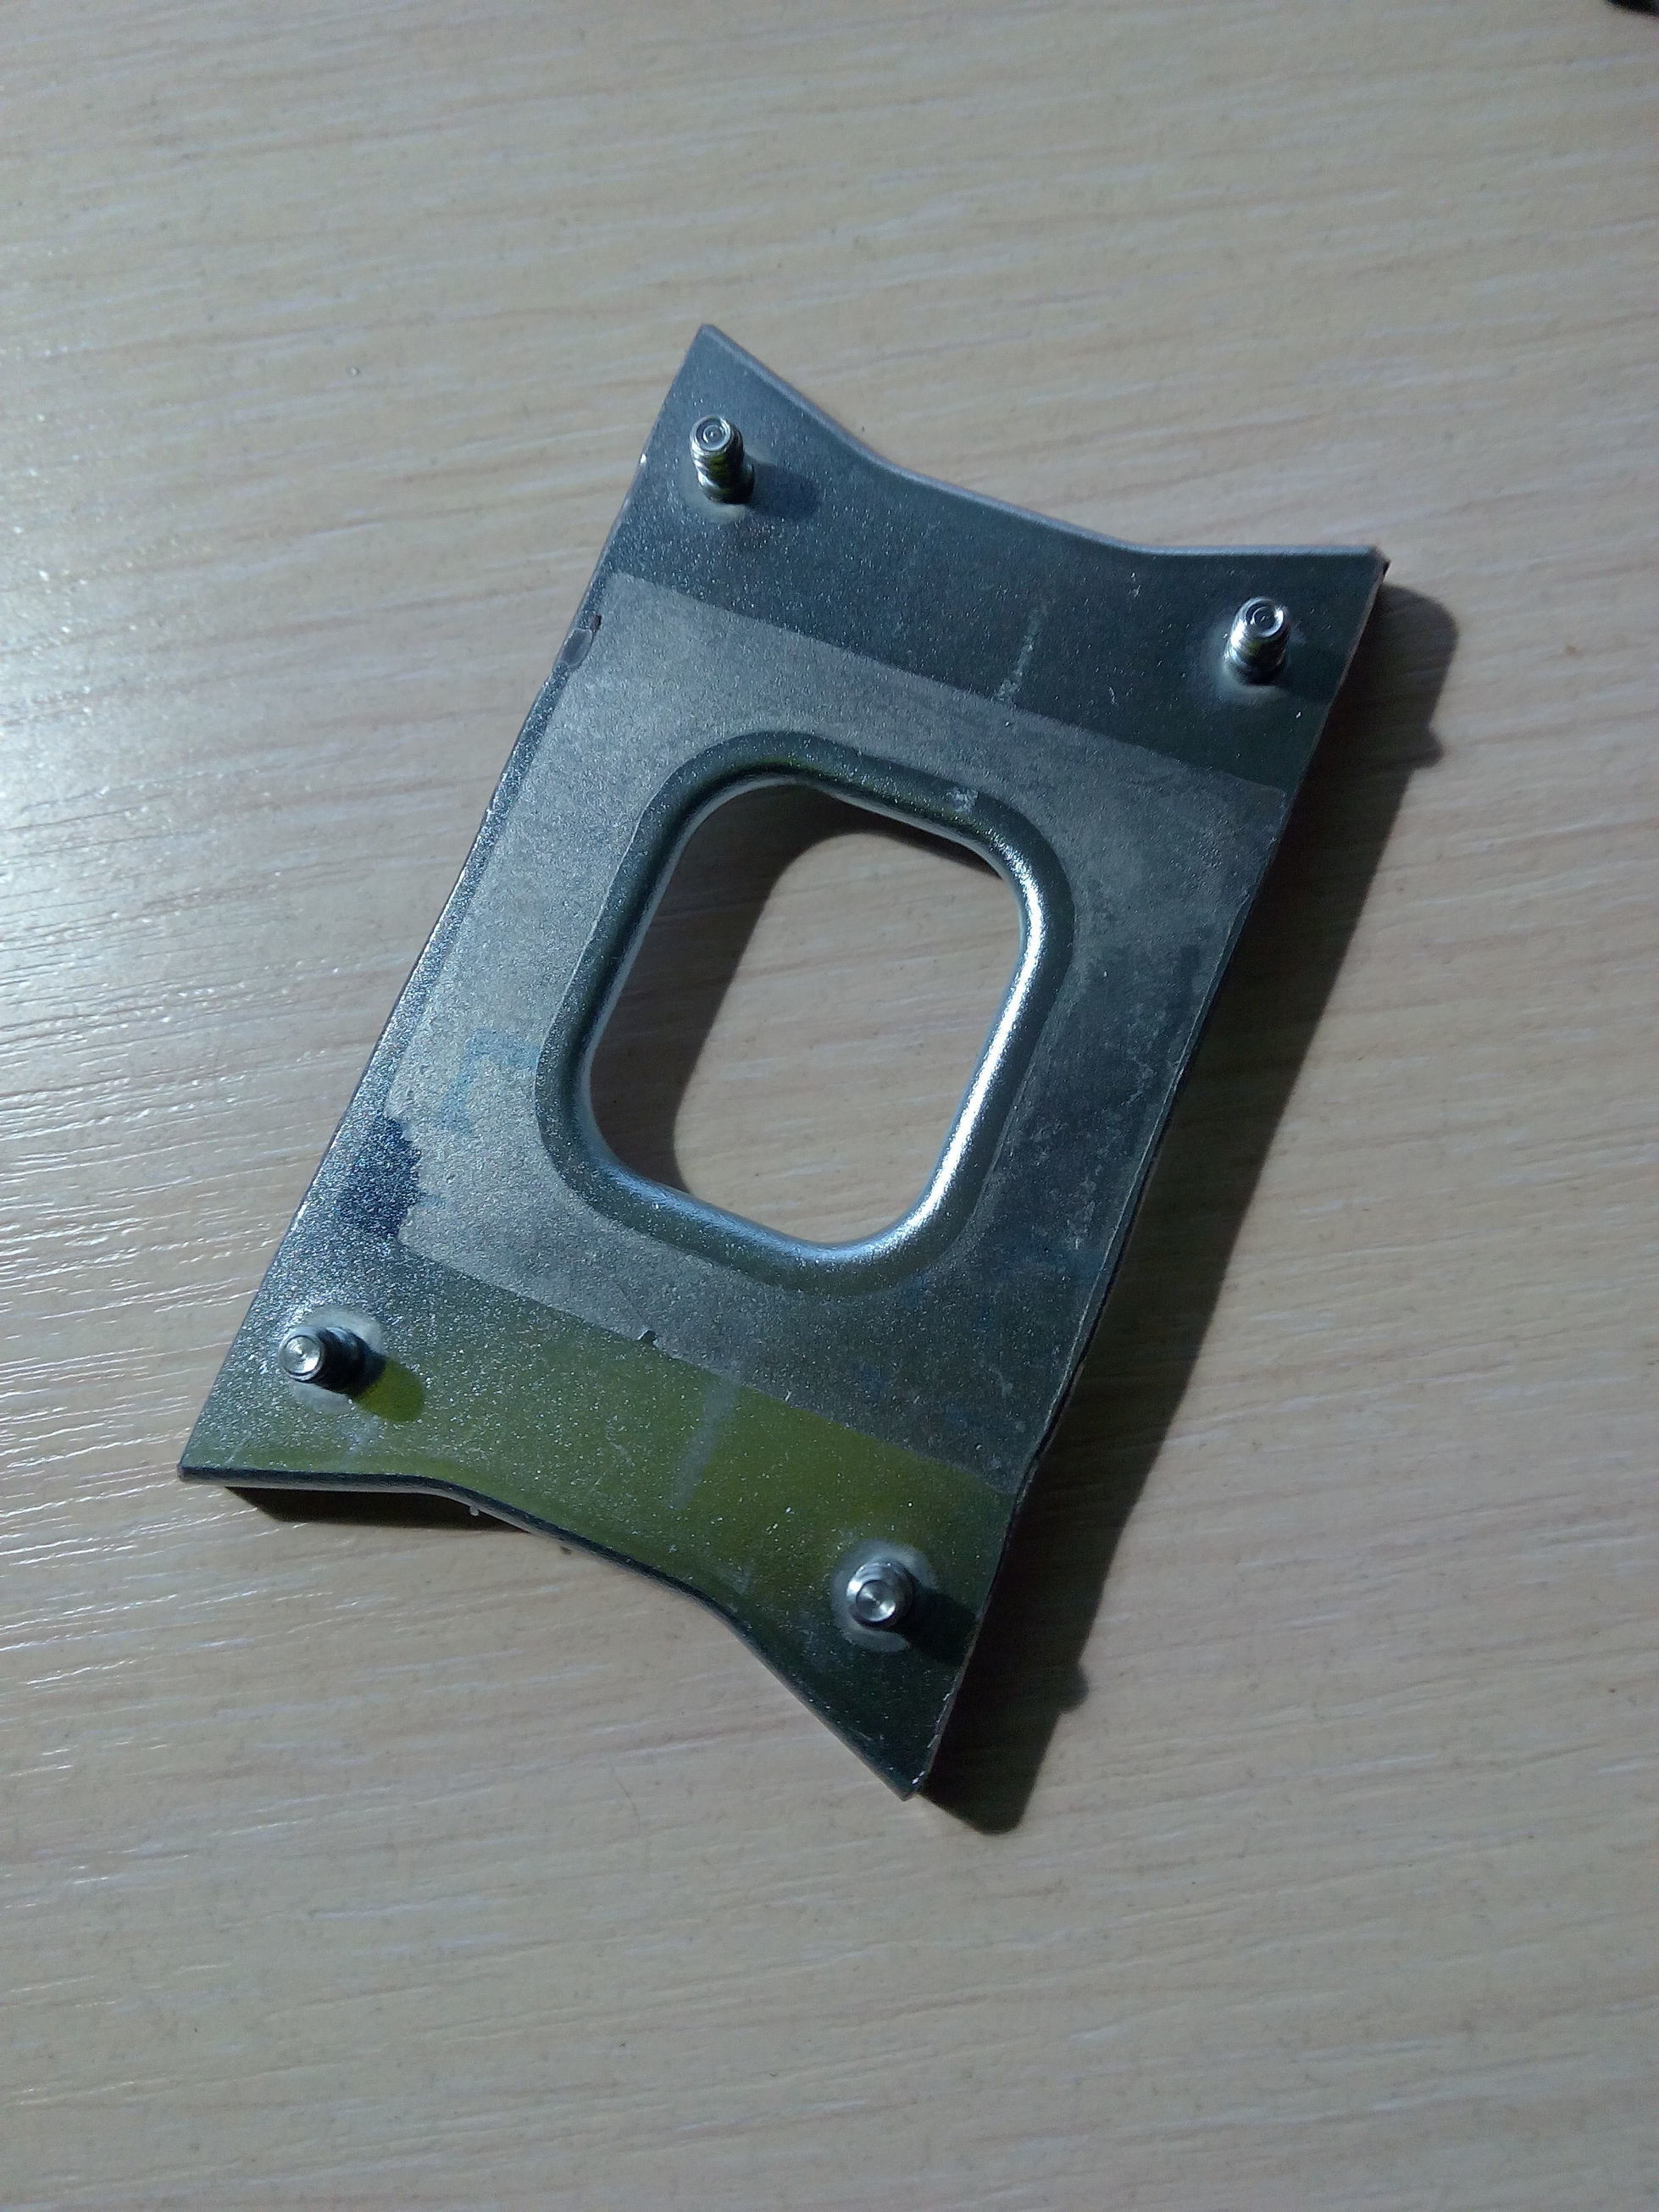
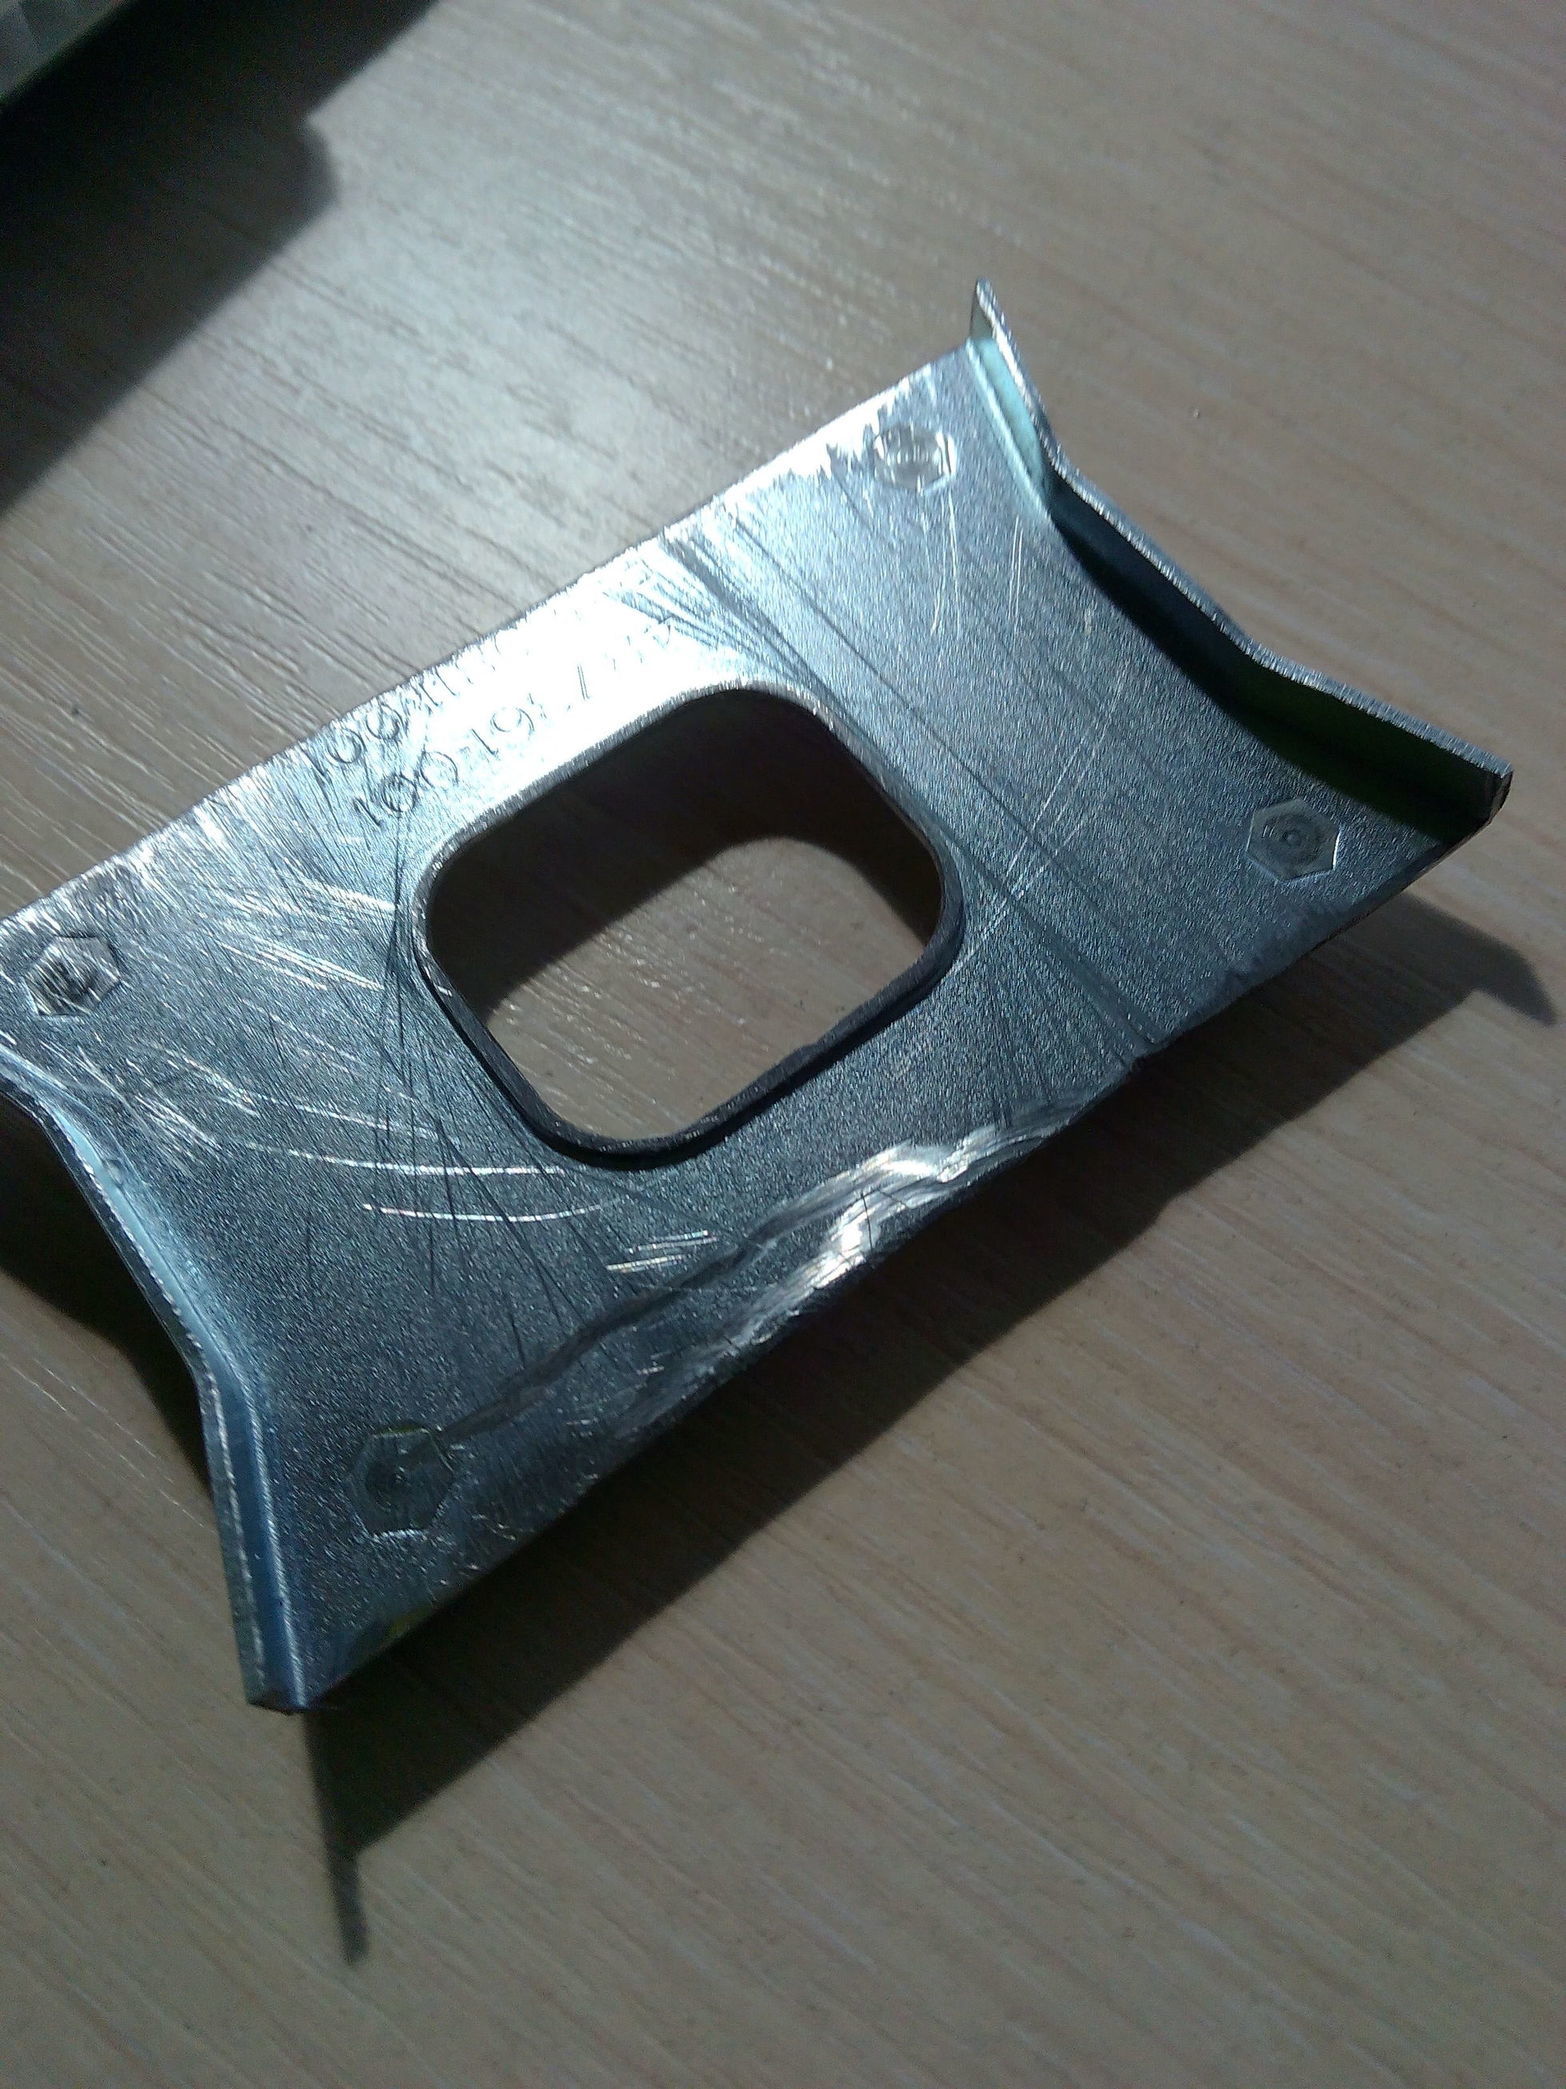
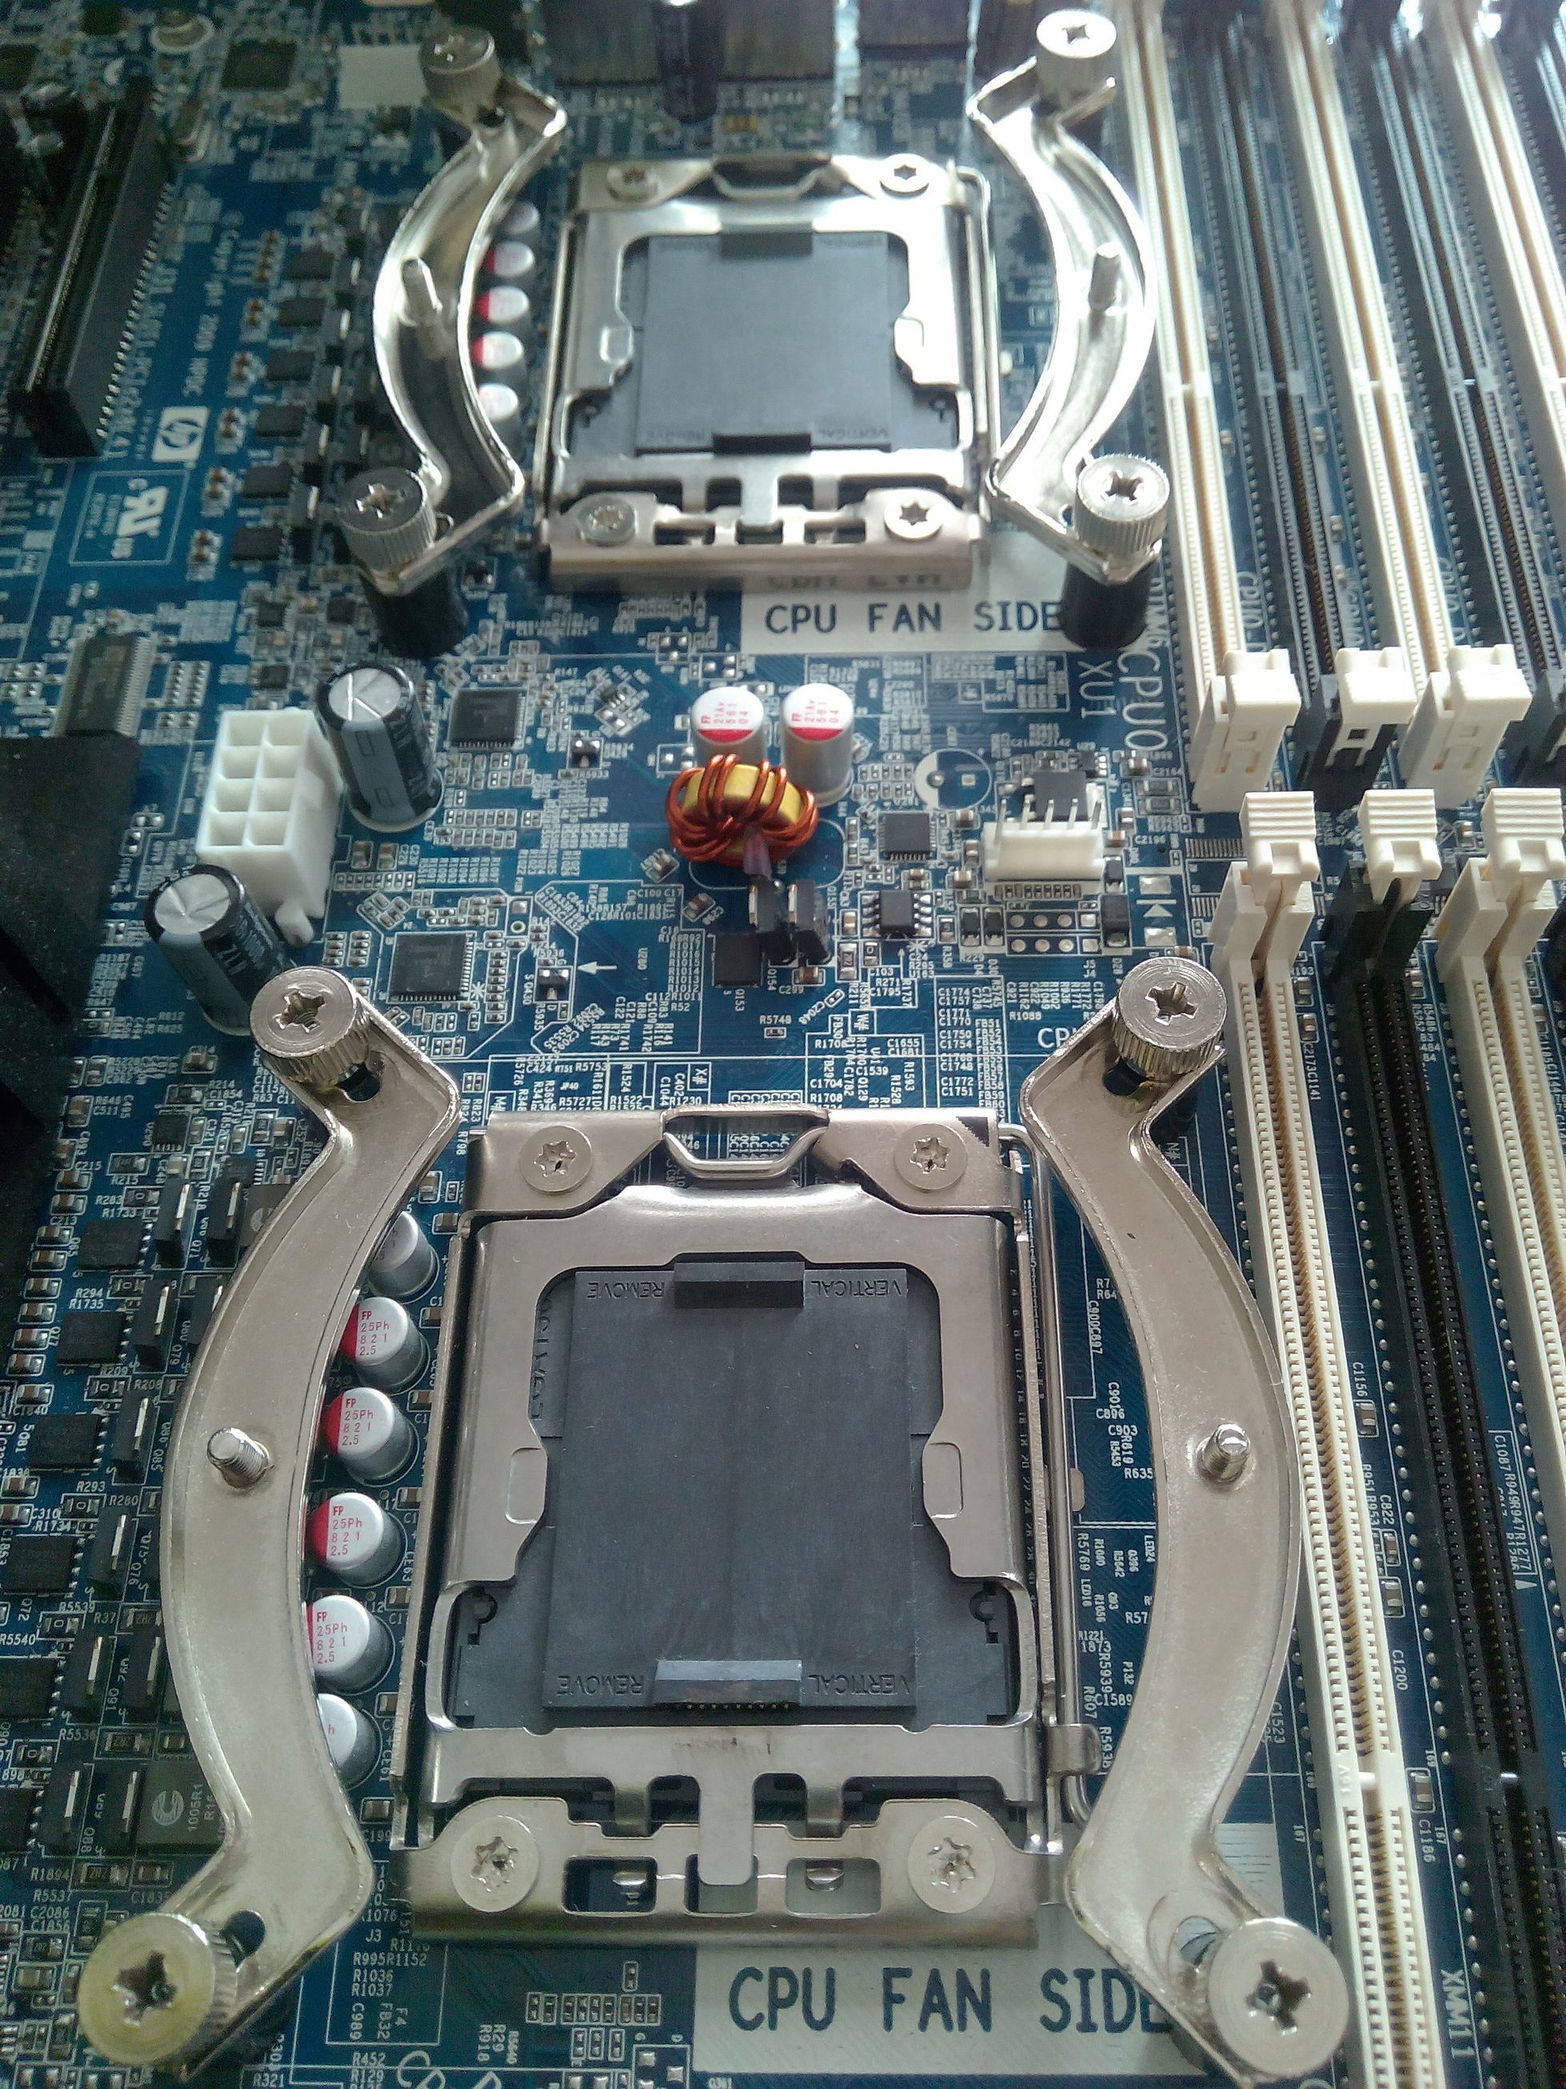
Some amount of filing needed to be done to make central part of the bracket much thinner,
Because that will go on top of noctua’s mount right between it and mobo to support cpu and
hold it in place, while the rest of the job will take noctua’s bracket.
like so…

The rubber pads on noctua’s bracket aren’t thick enough, that’s why I had to file away central part
of HP bracket.
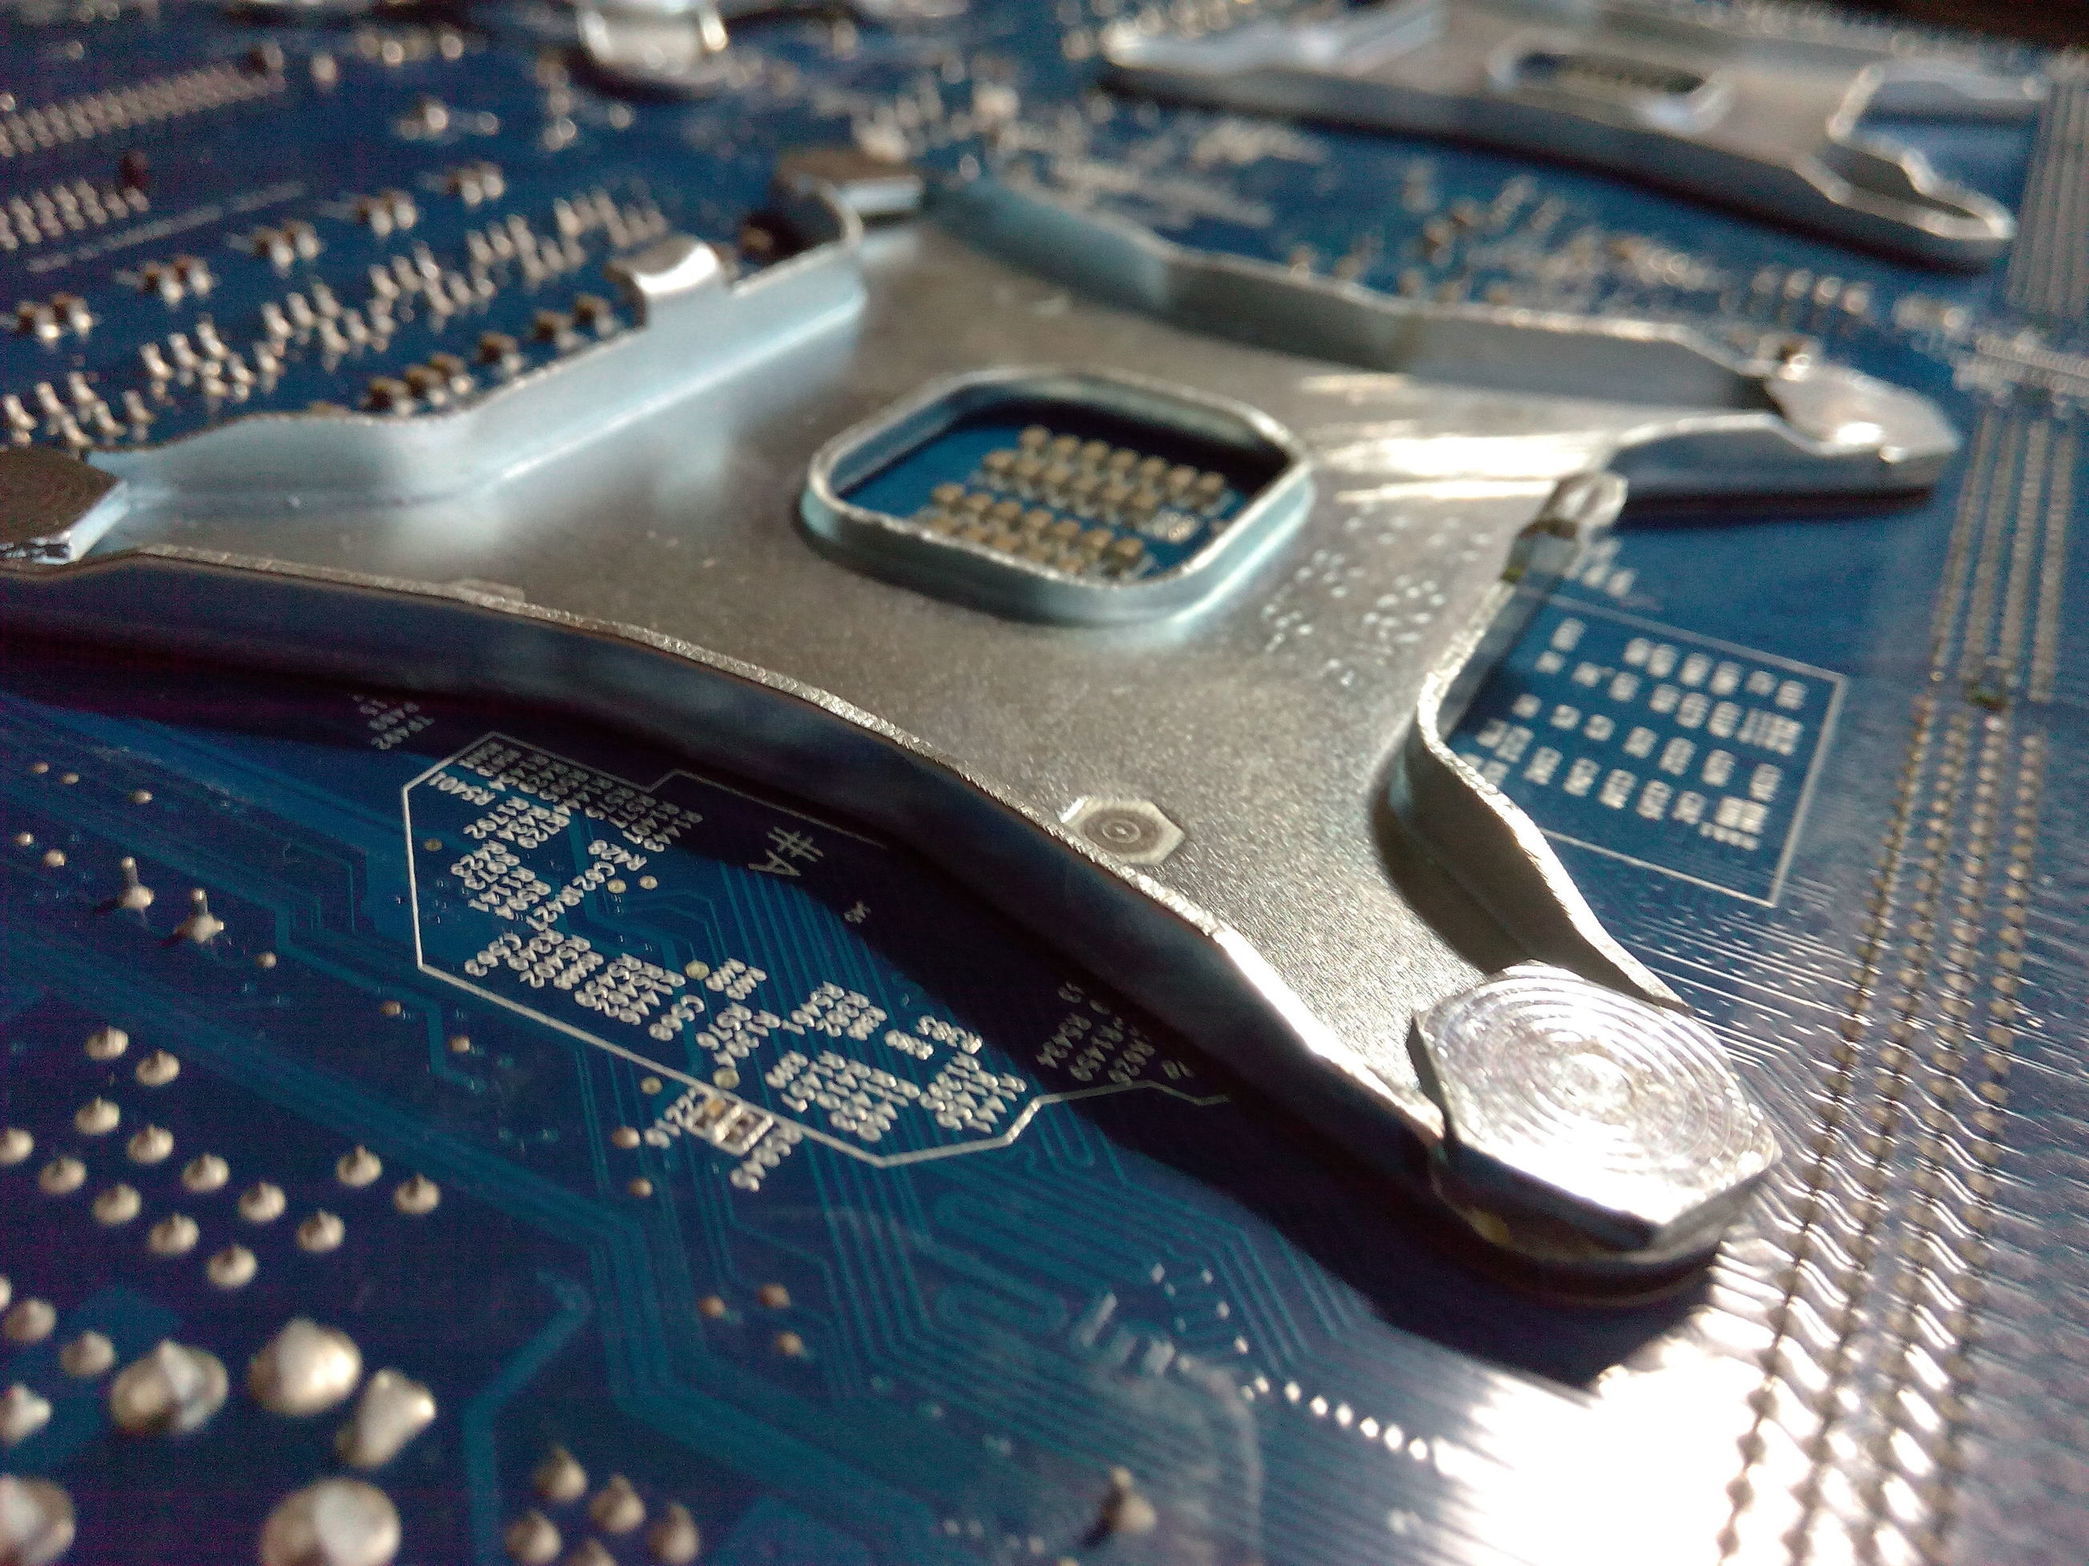
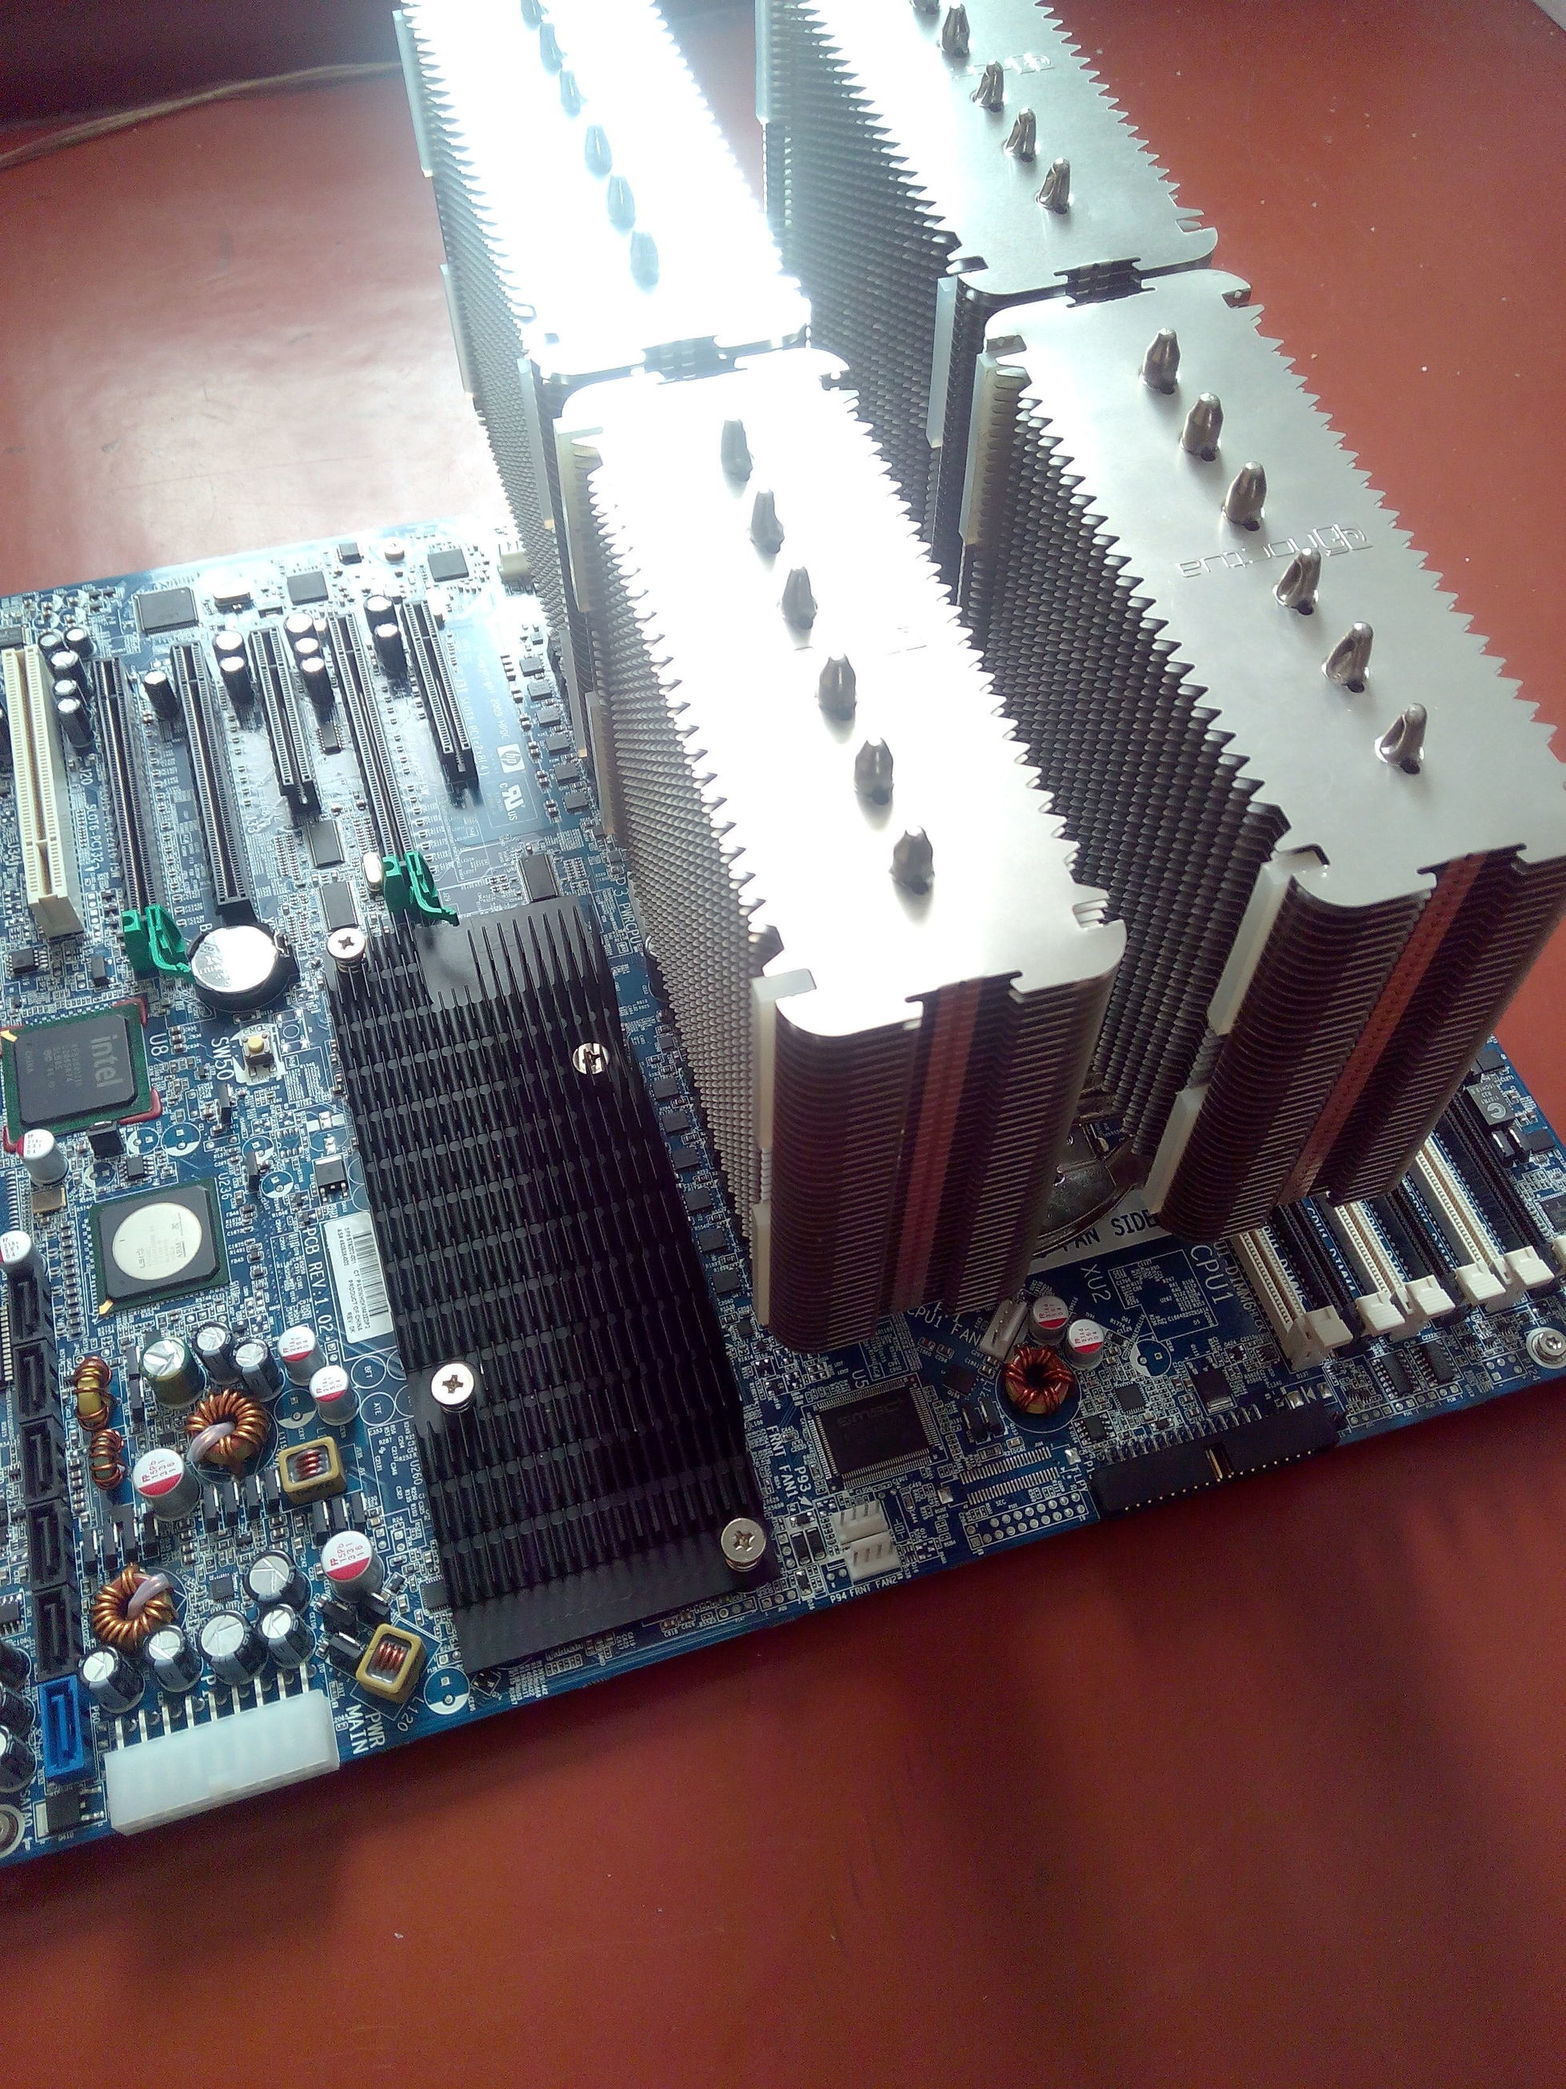
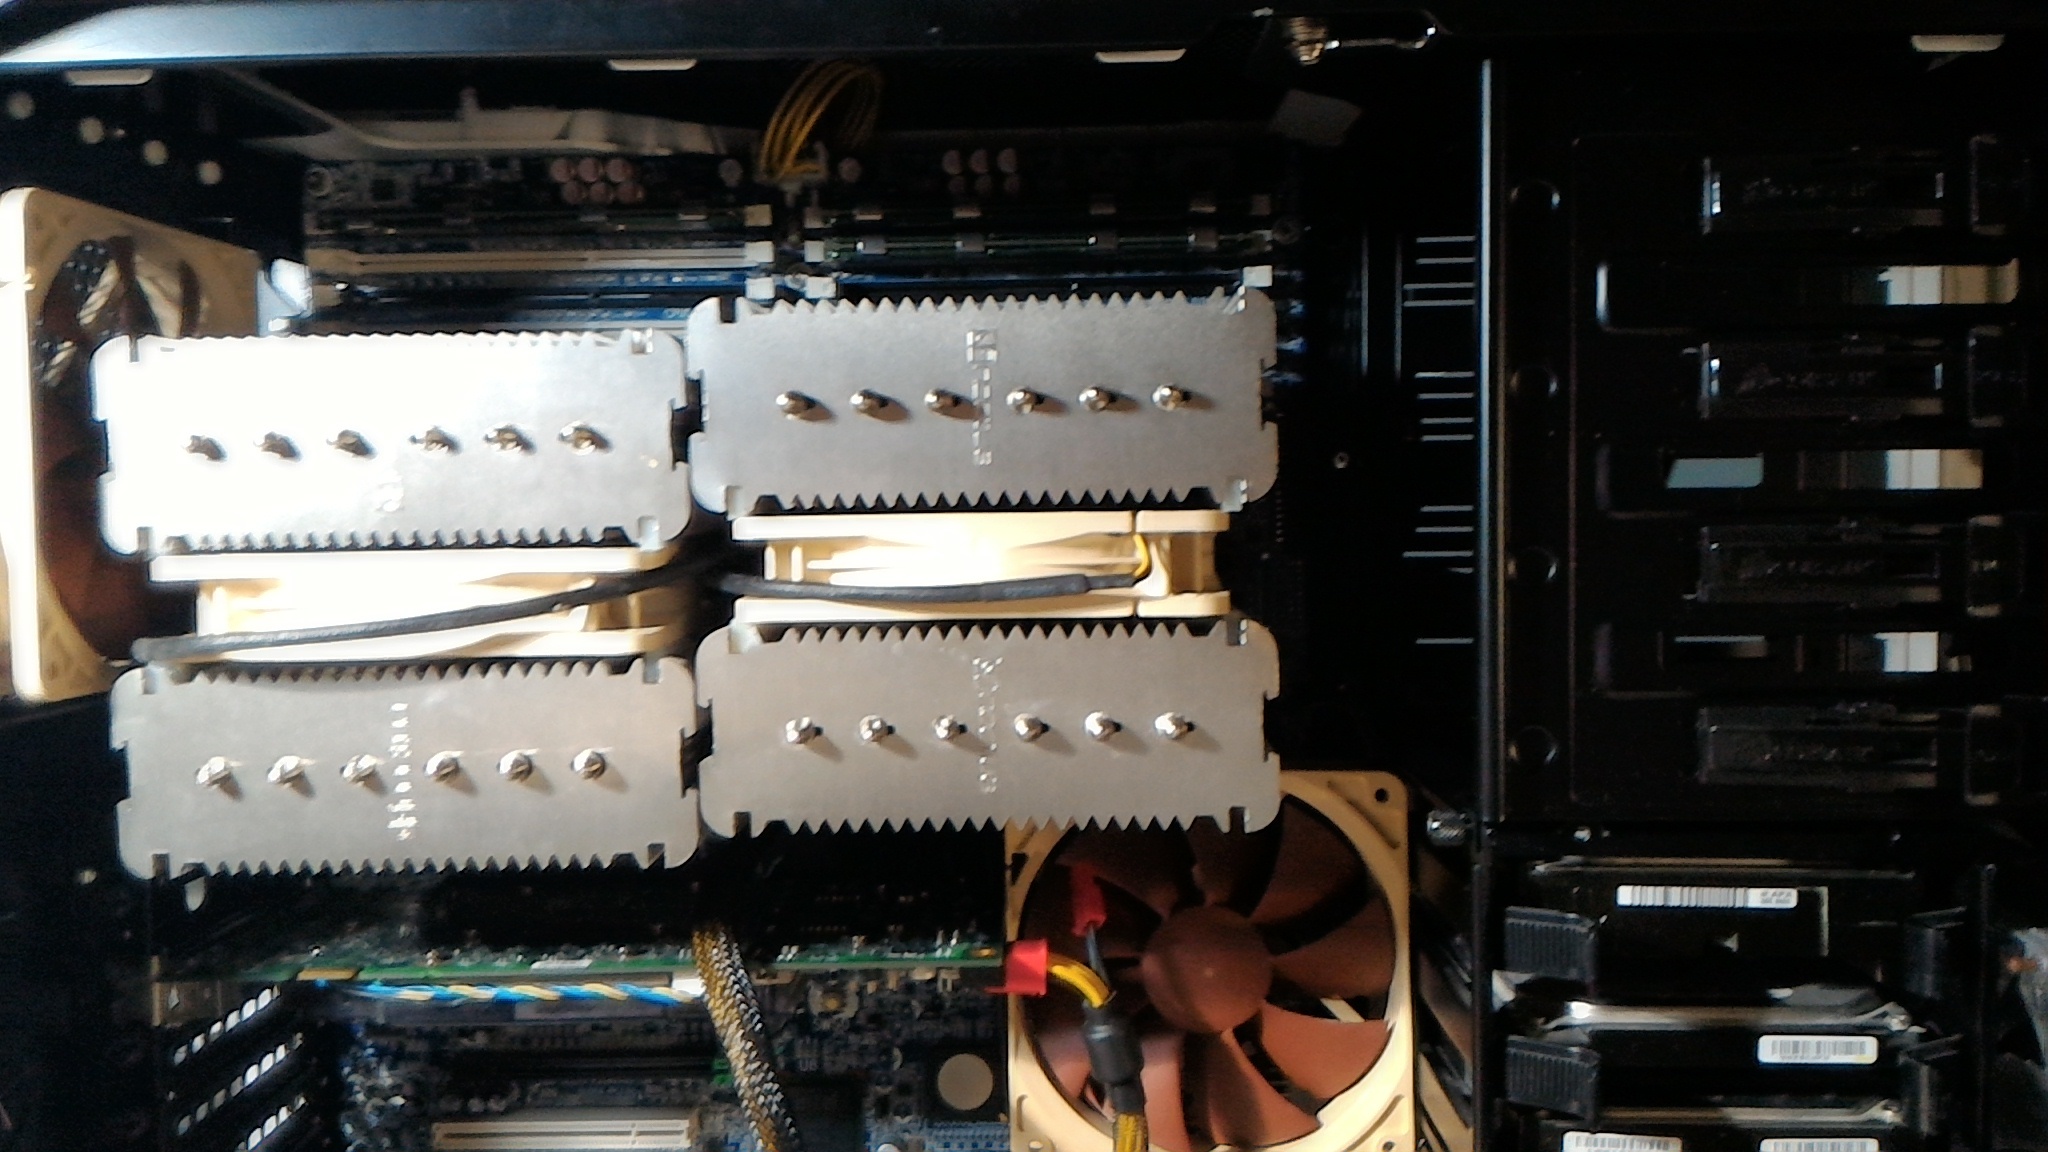
Finished look
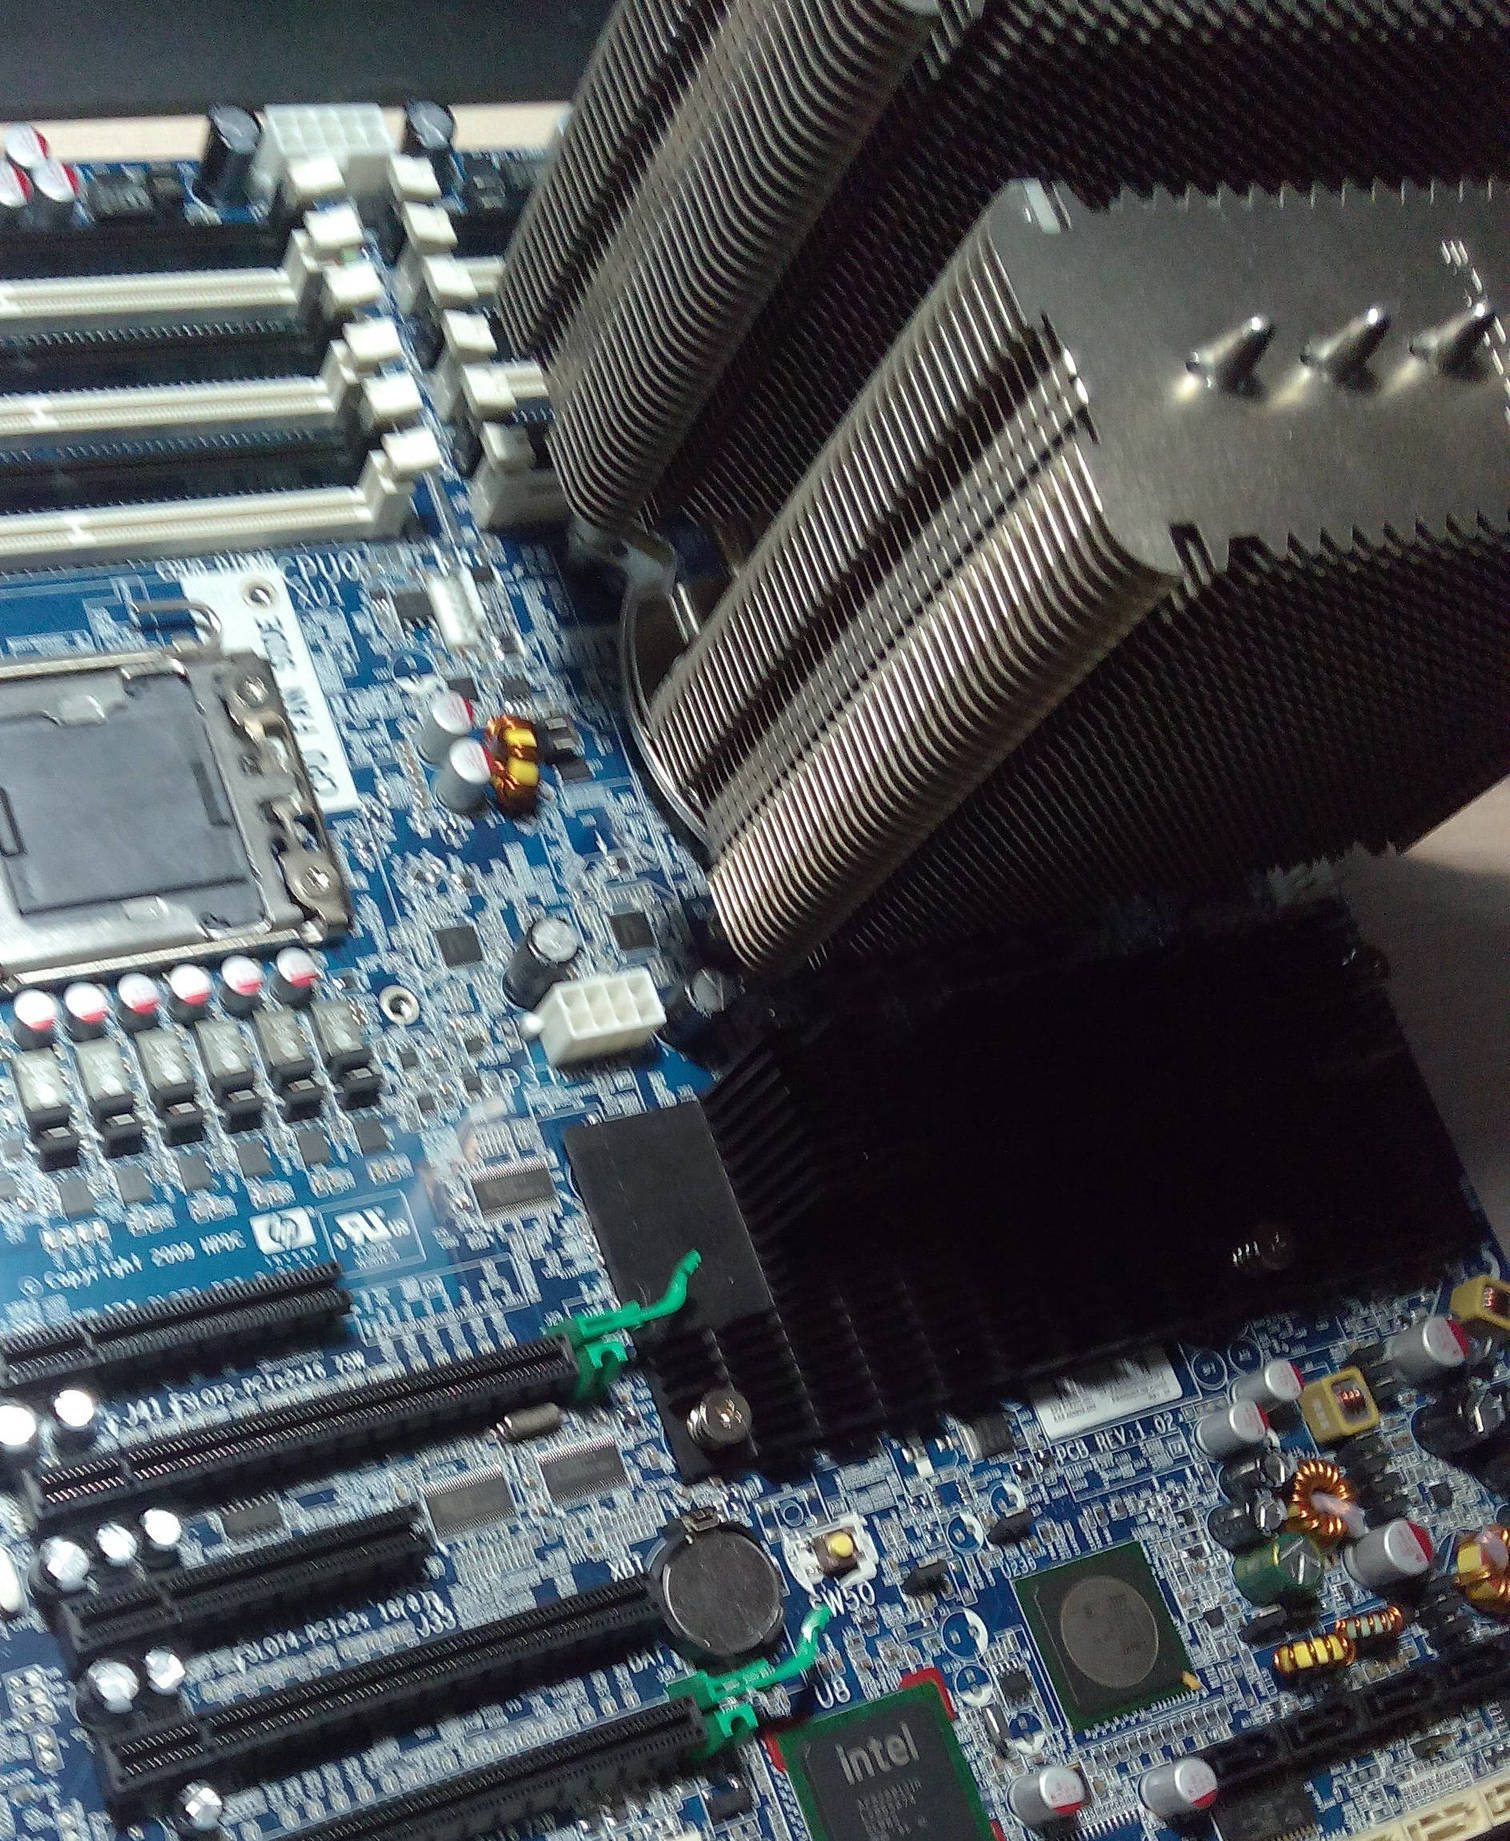
And of course couldn’t resist myself to place the radiators to check it out…
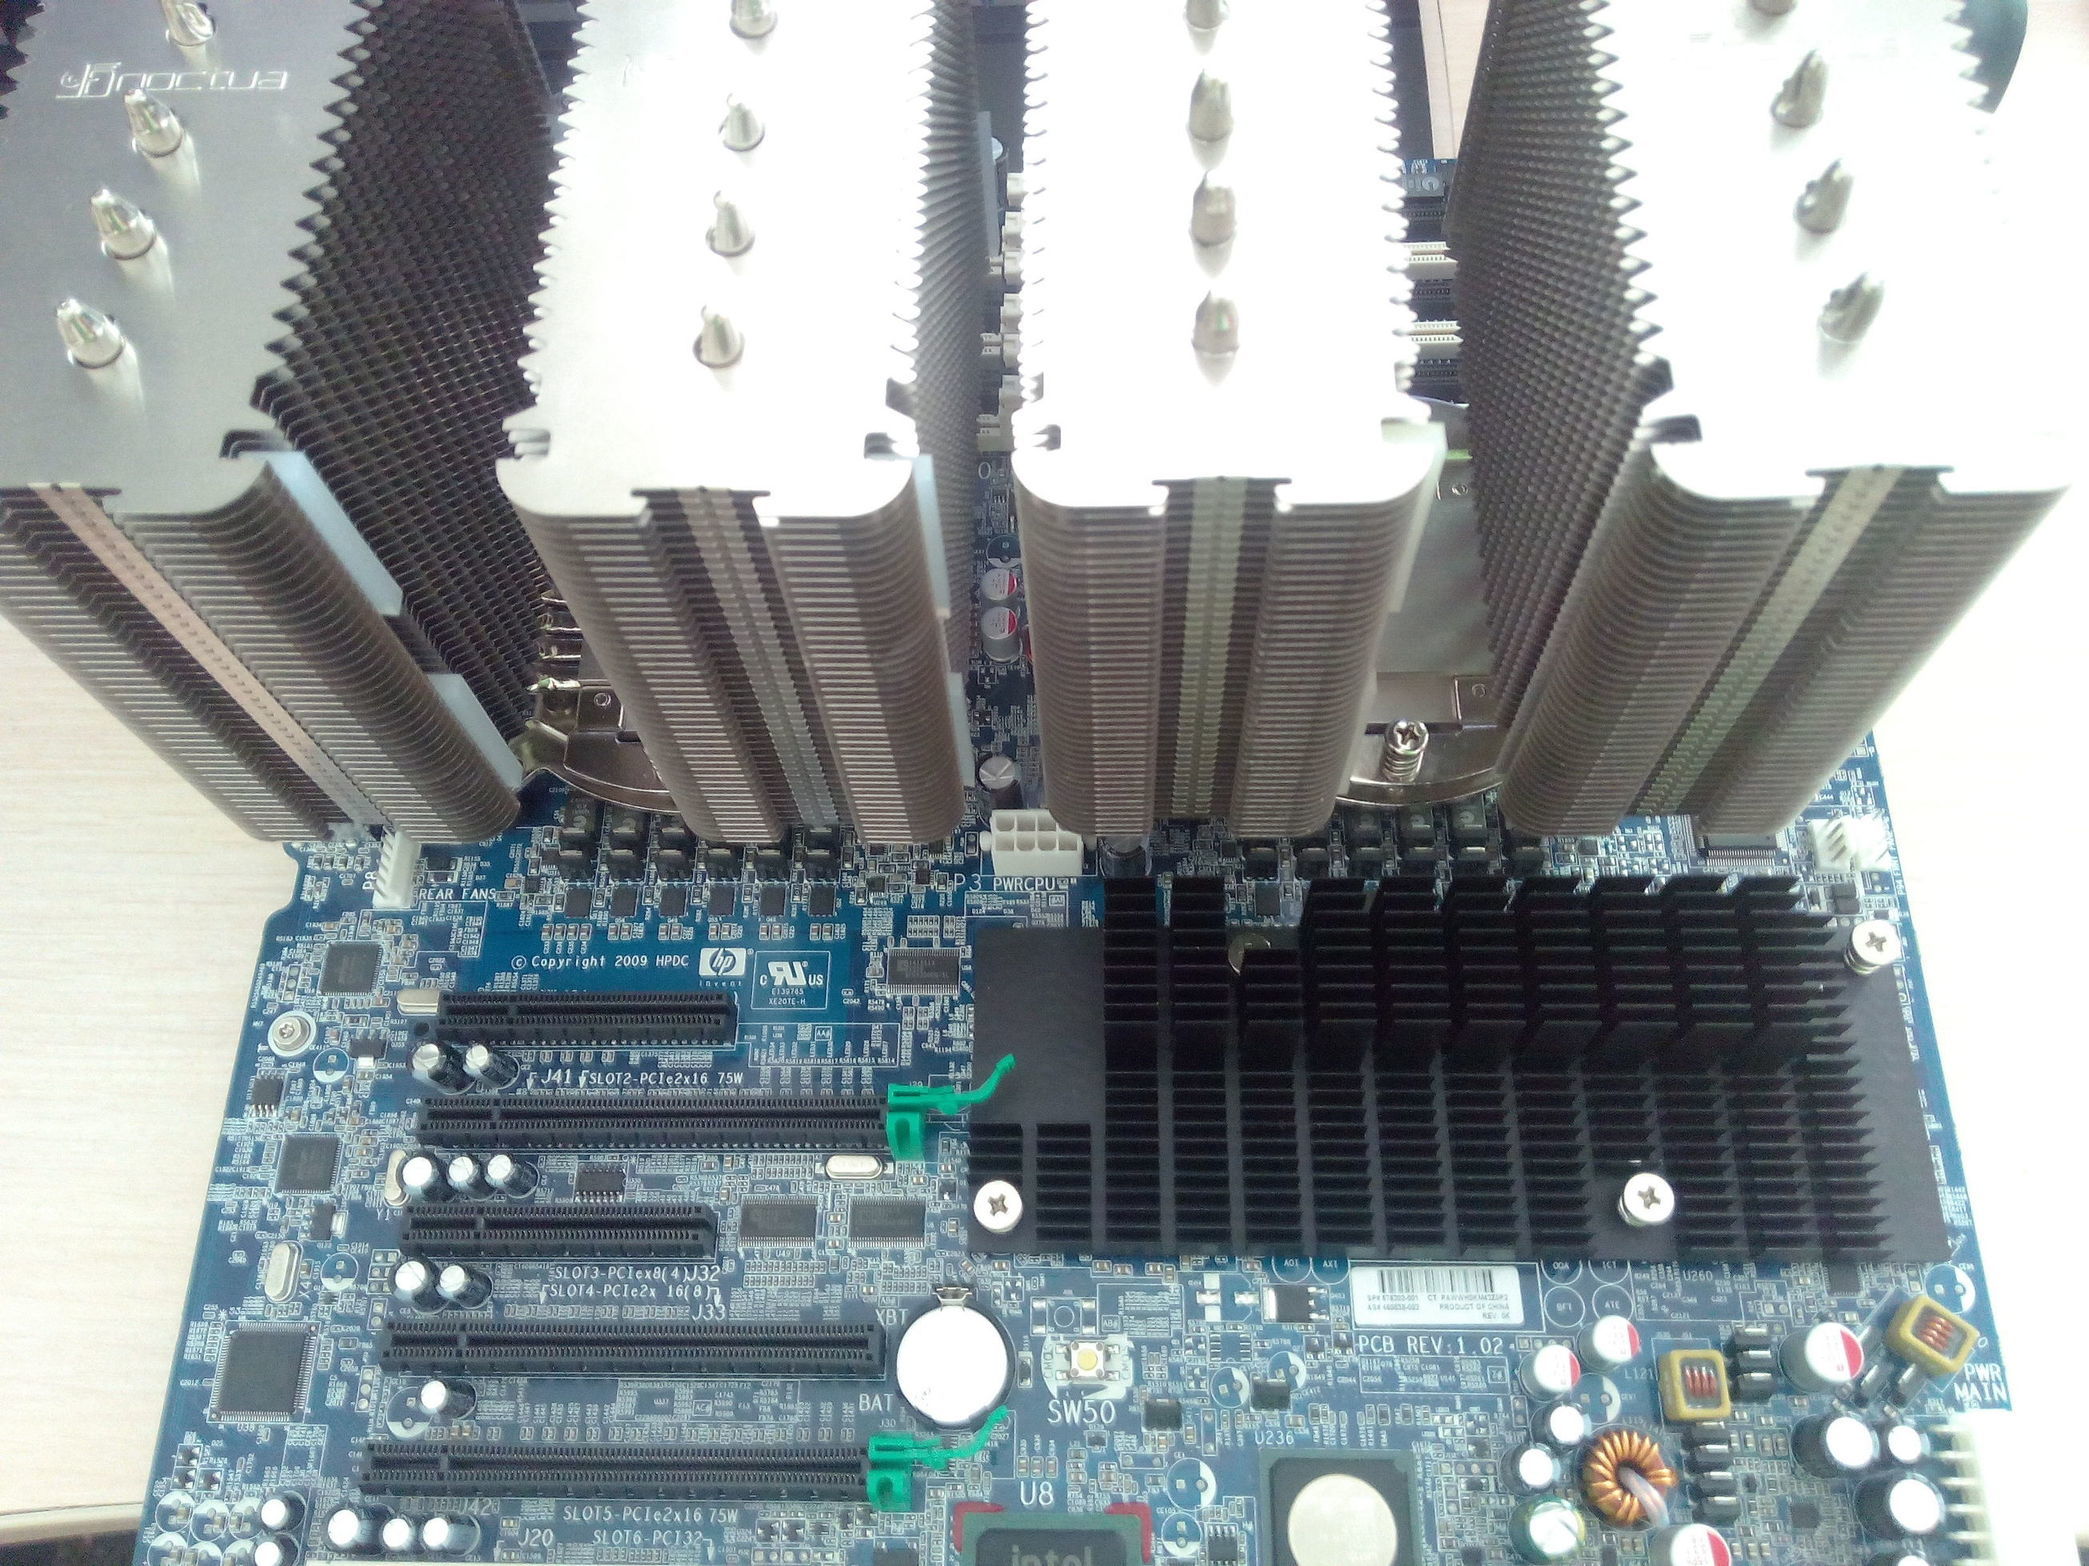
I’ve decided later that placing radiators with fins in horizontal will help
more since fans will blow taking from bottom to the top while flow will go
near (or even onto) RAM and thus will make cooling a bit more effective
here…

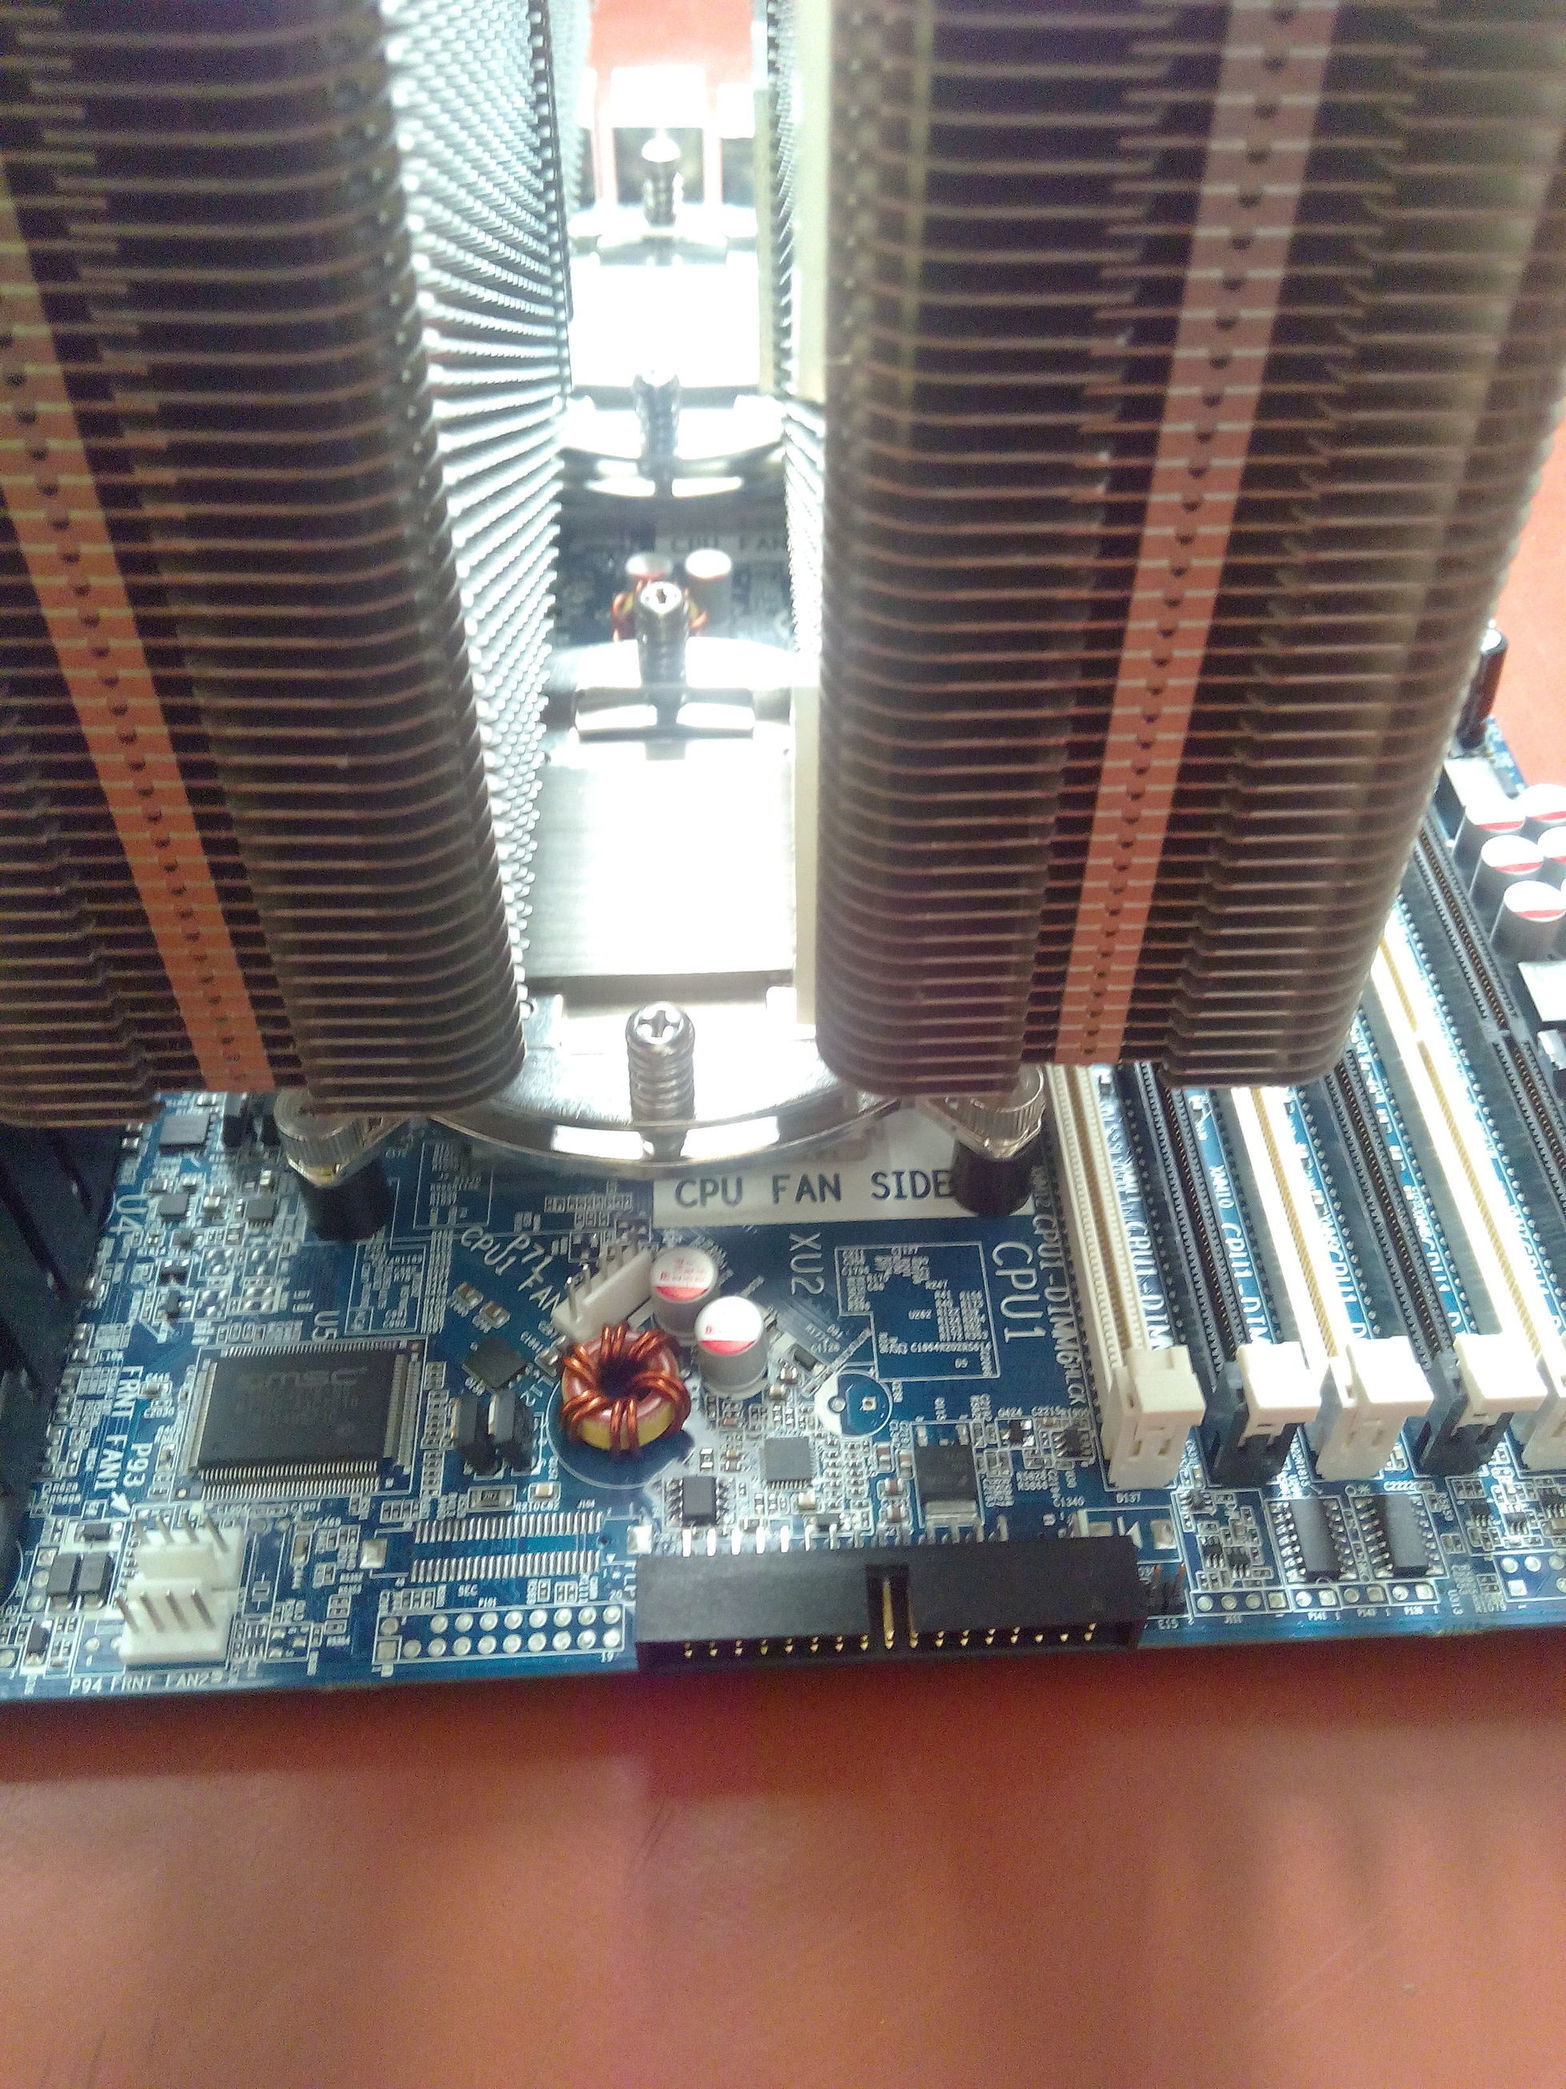
The mass of the radiators is really huge, I am afraid a bit to place mobo vertically in with
the case. I’ll think about alternatives later.
— Phase 3 (placing the mobo) -----------------------
Let’s attach that mobo to the case…
I looked into just do as Andy Brown’s article said, use standard screws and screw the board
to the case, but then… it looks pretty handy to have it kind of slide from case when needed.
Cool bit of design done by HP.
I want it to be usable.
So the idea is pretty simple, to bad I have some limited tool kit and my hands are not that “straight”
as I’d like to think, but anyway.
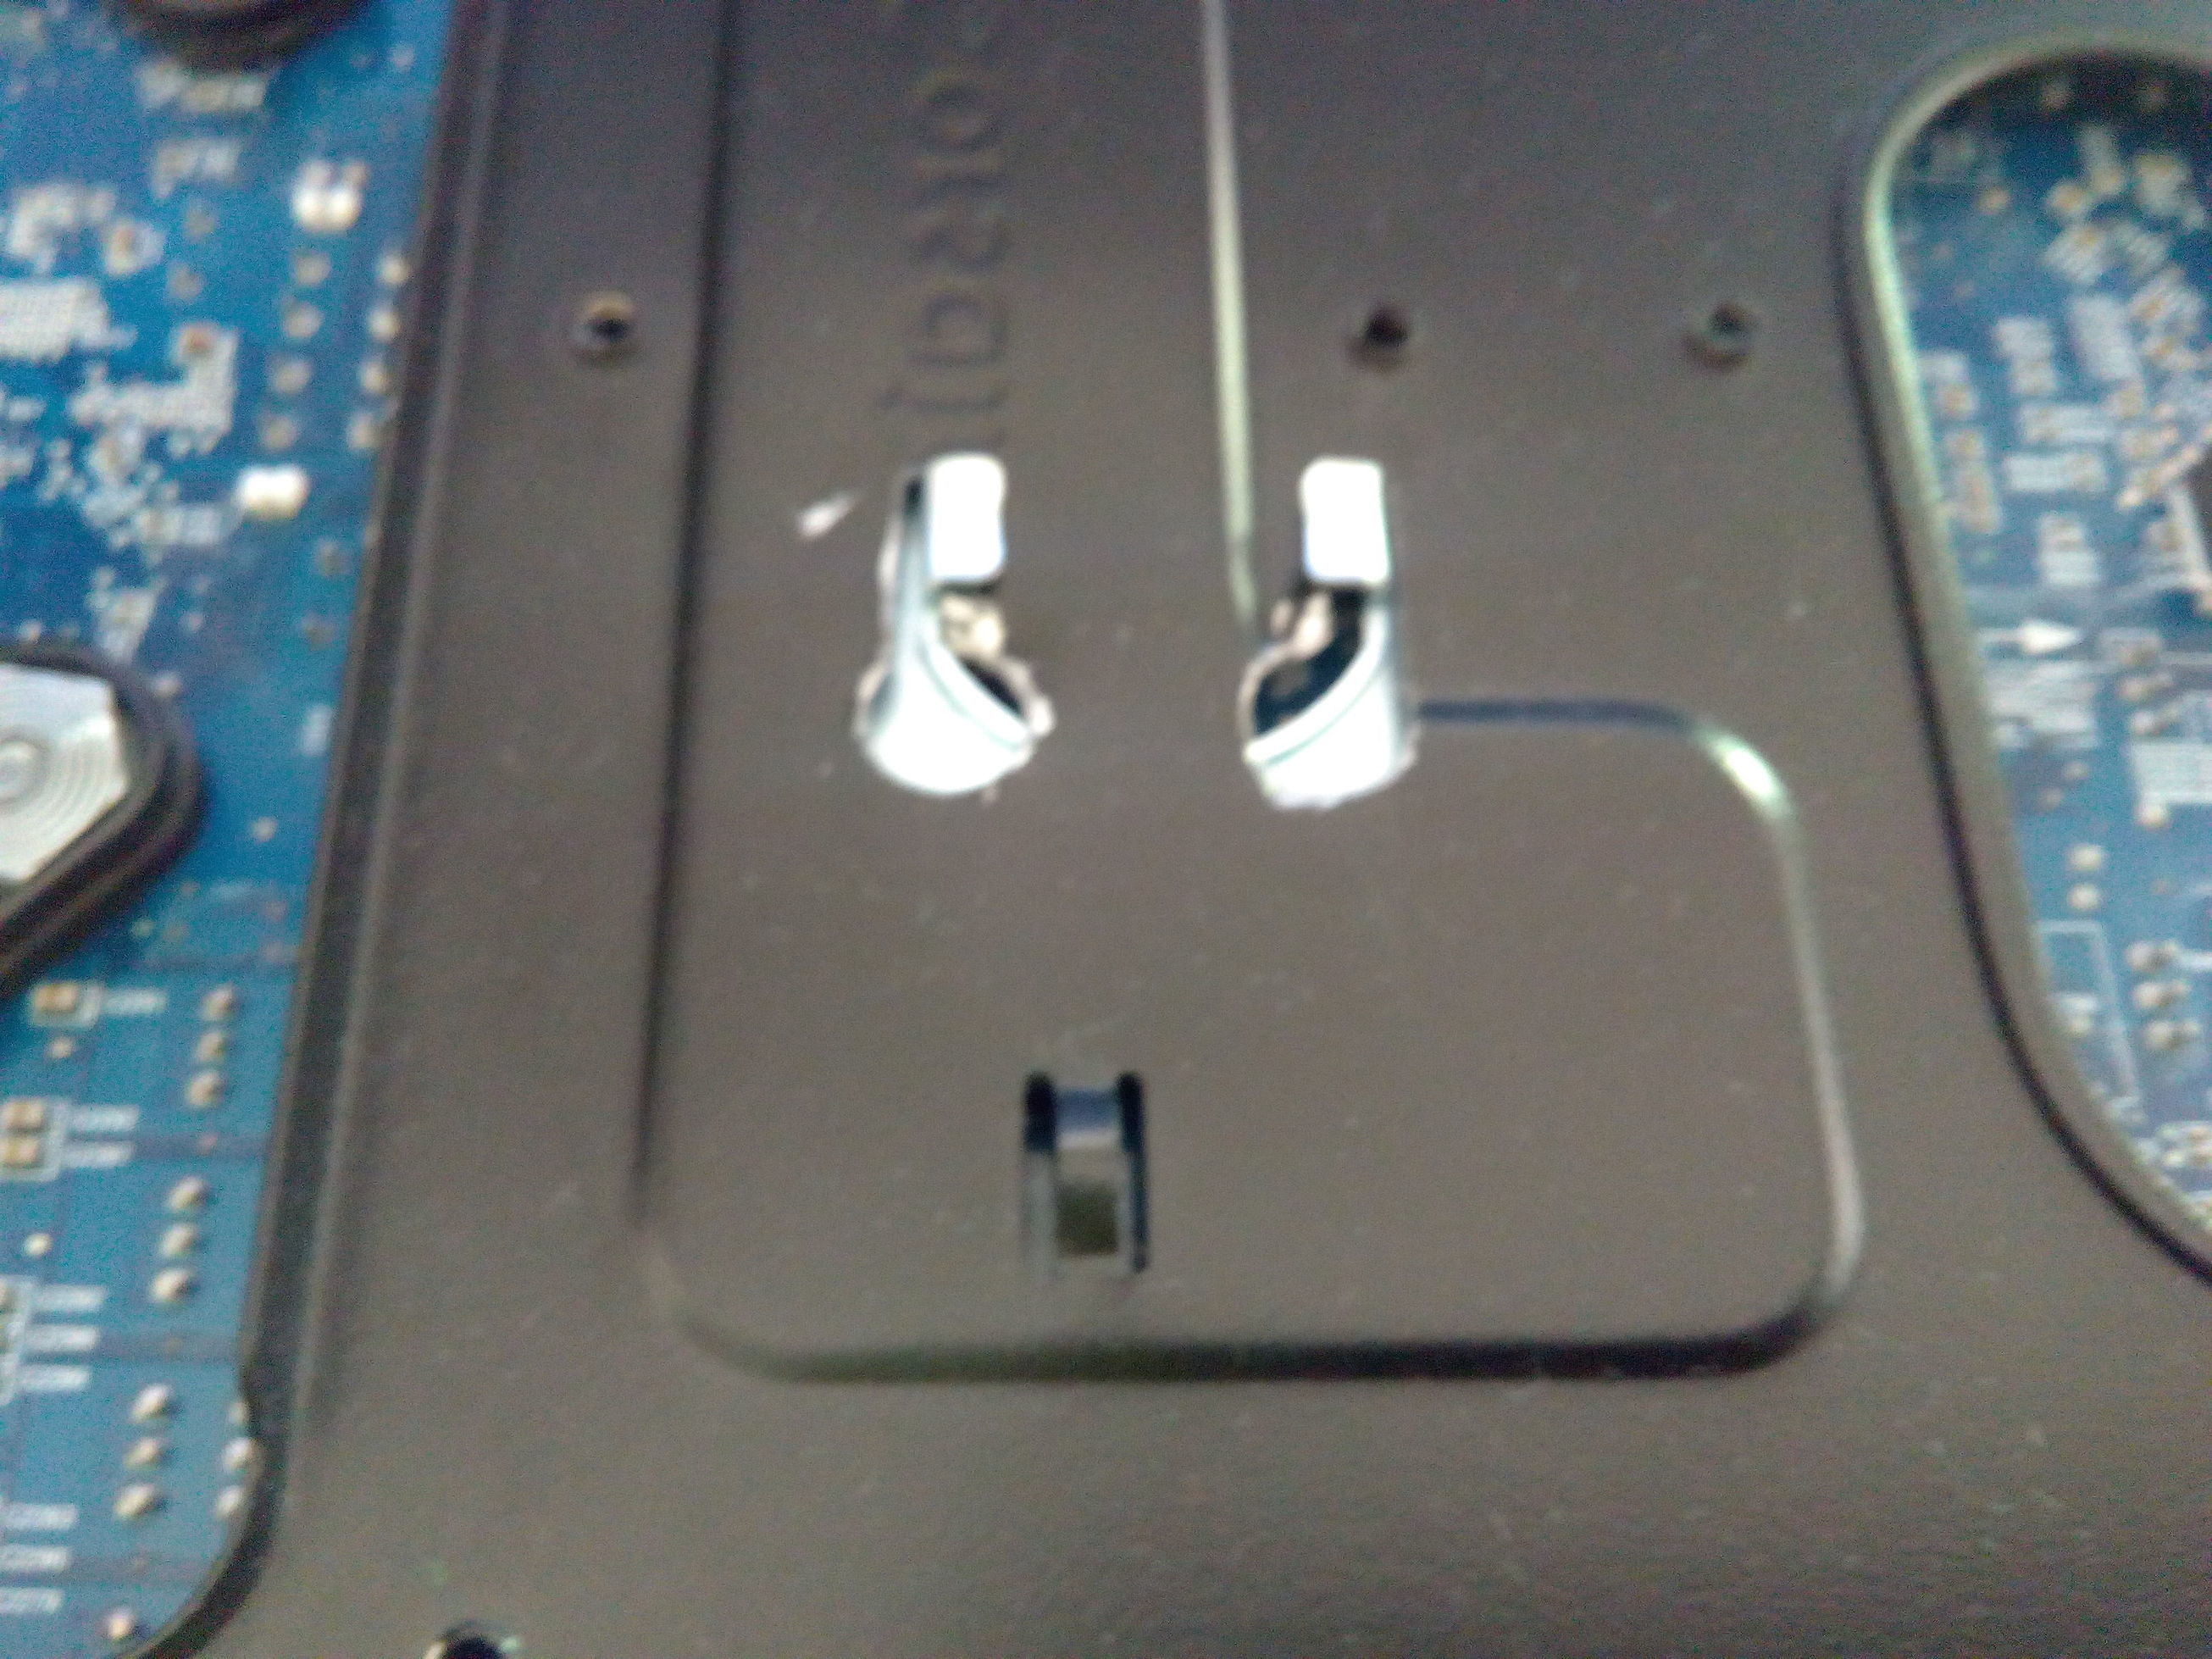
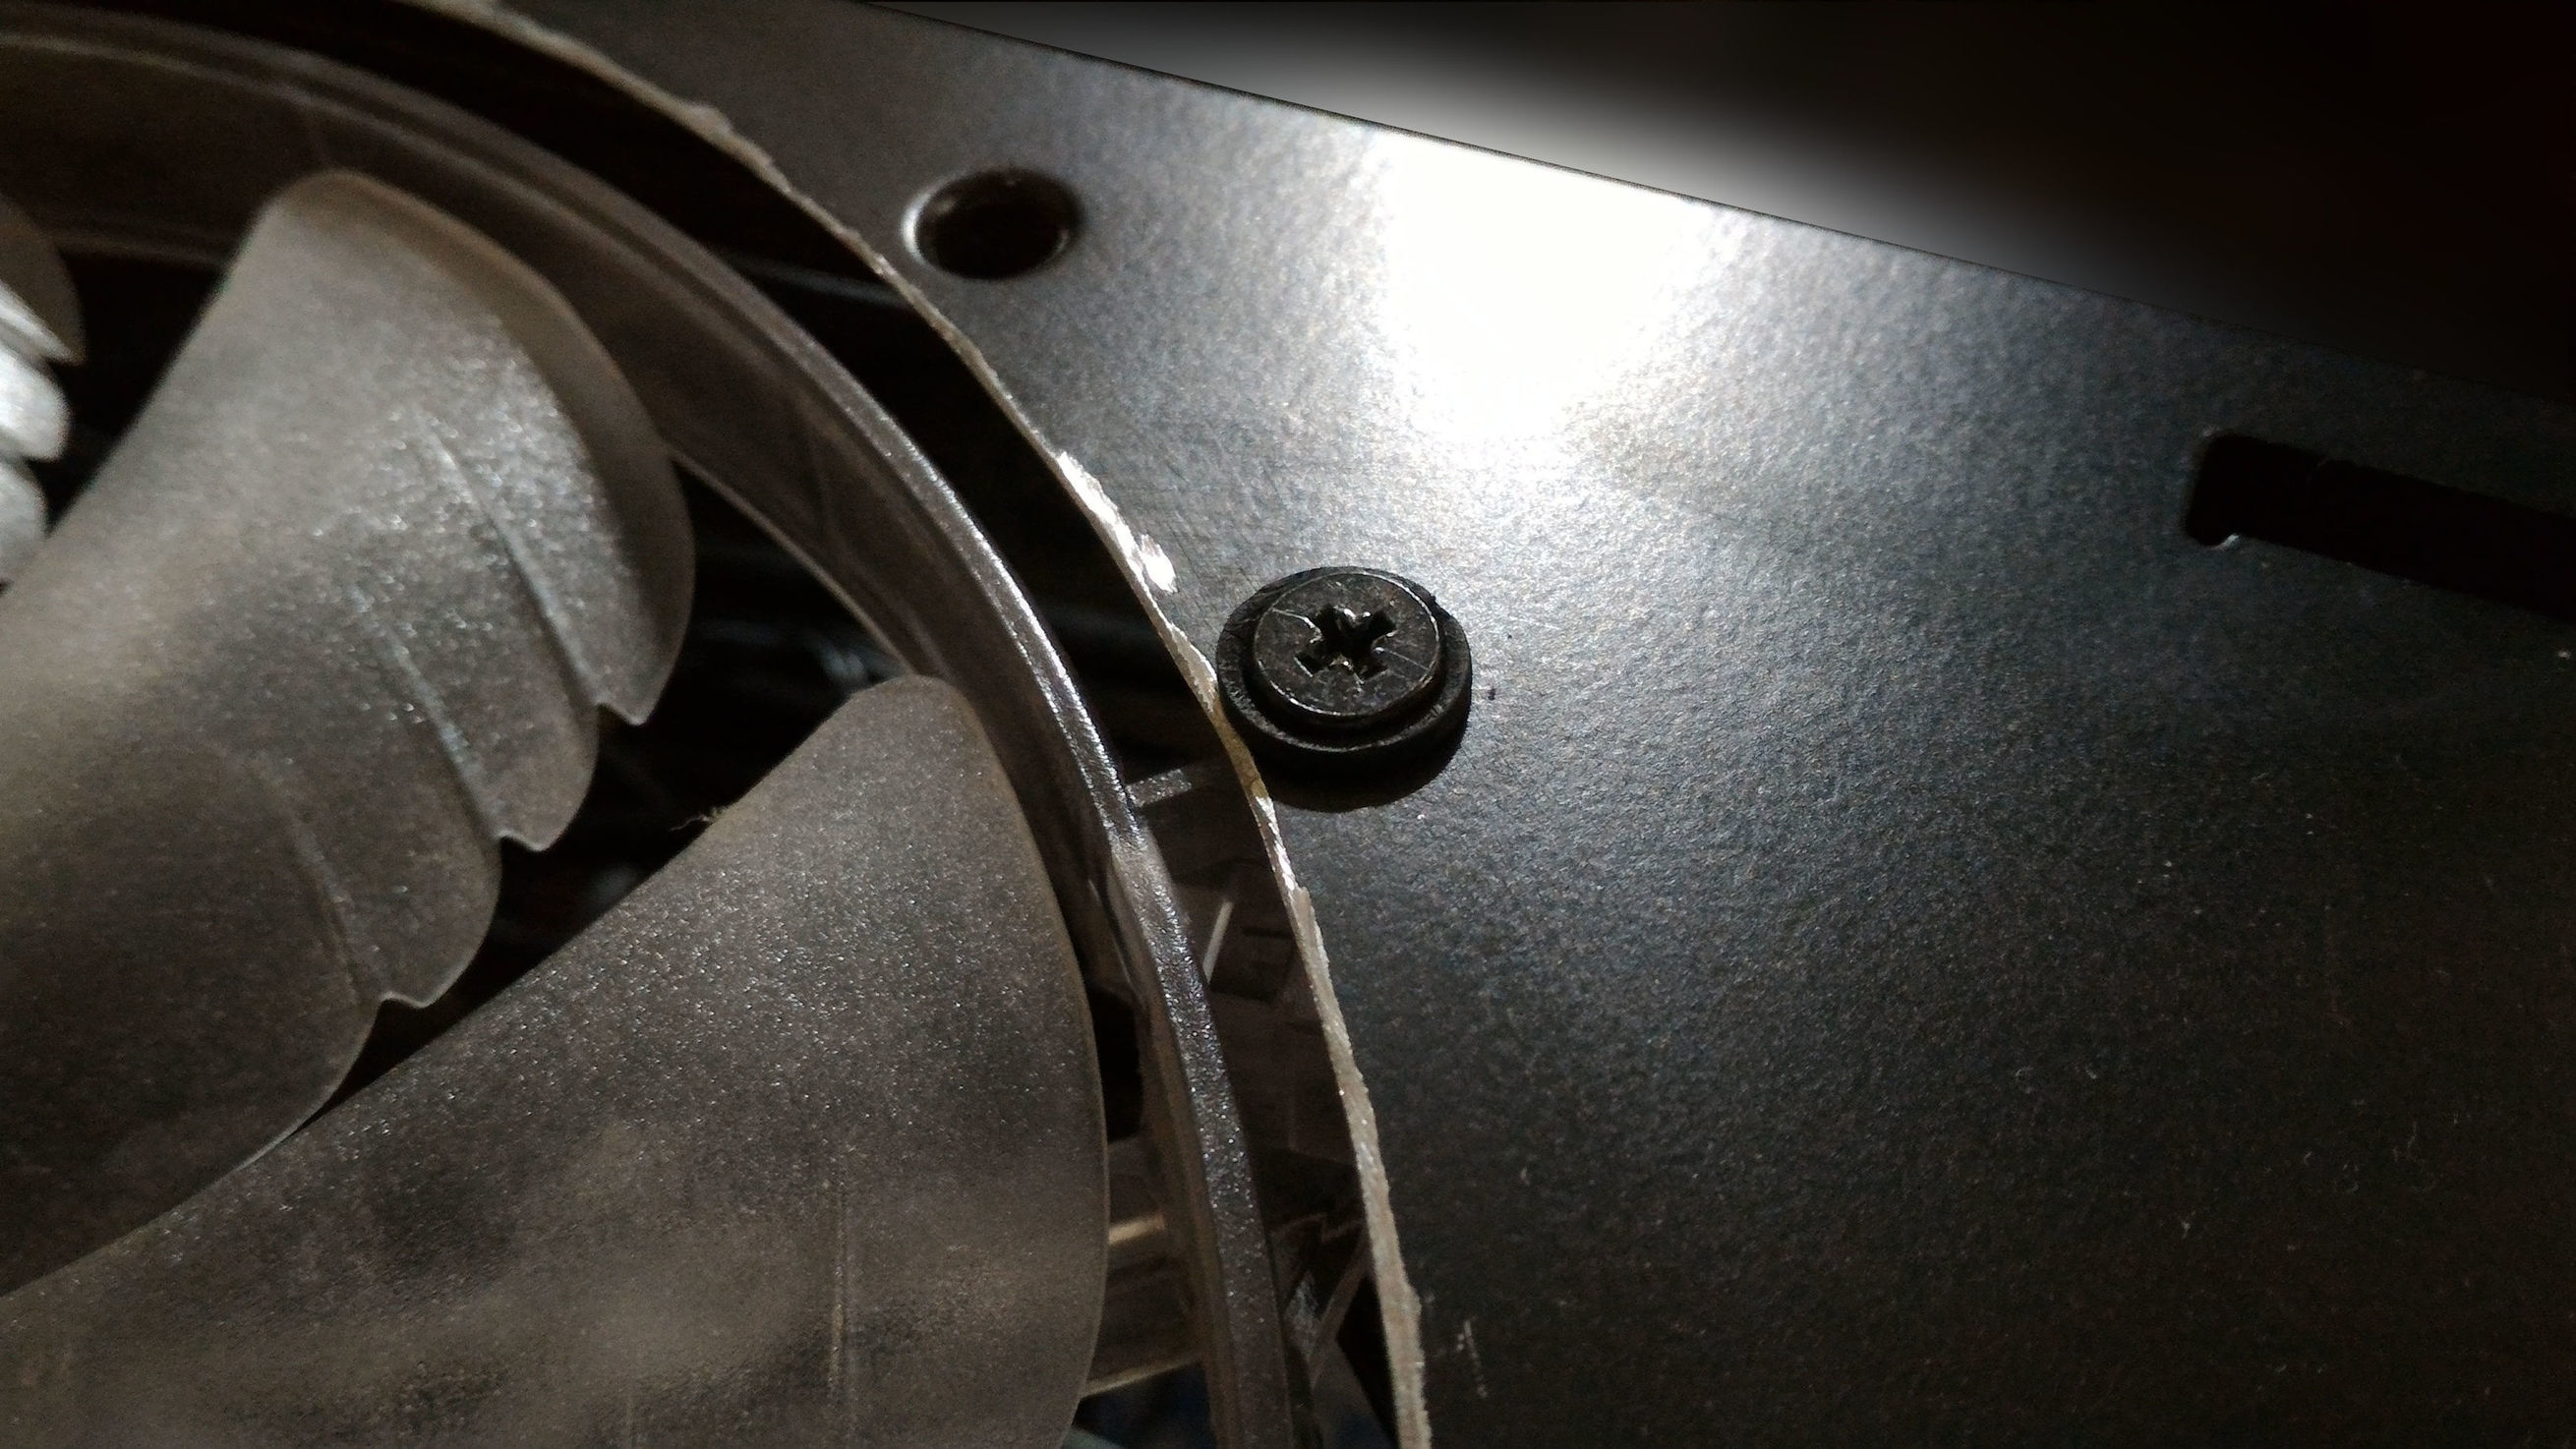
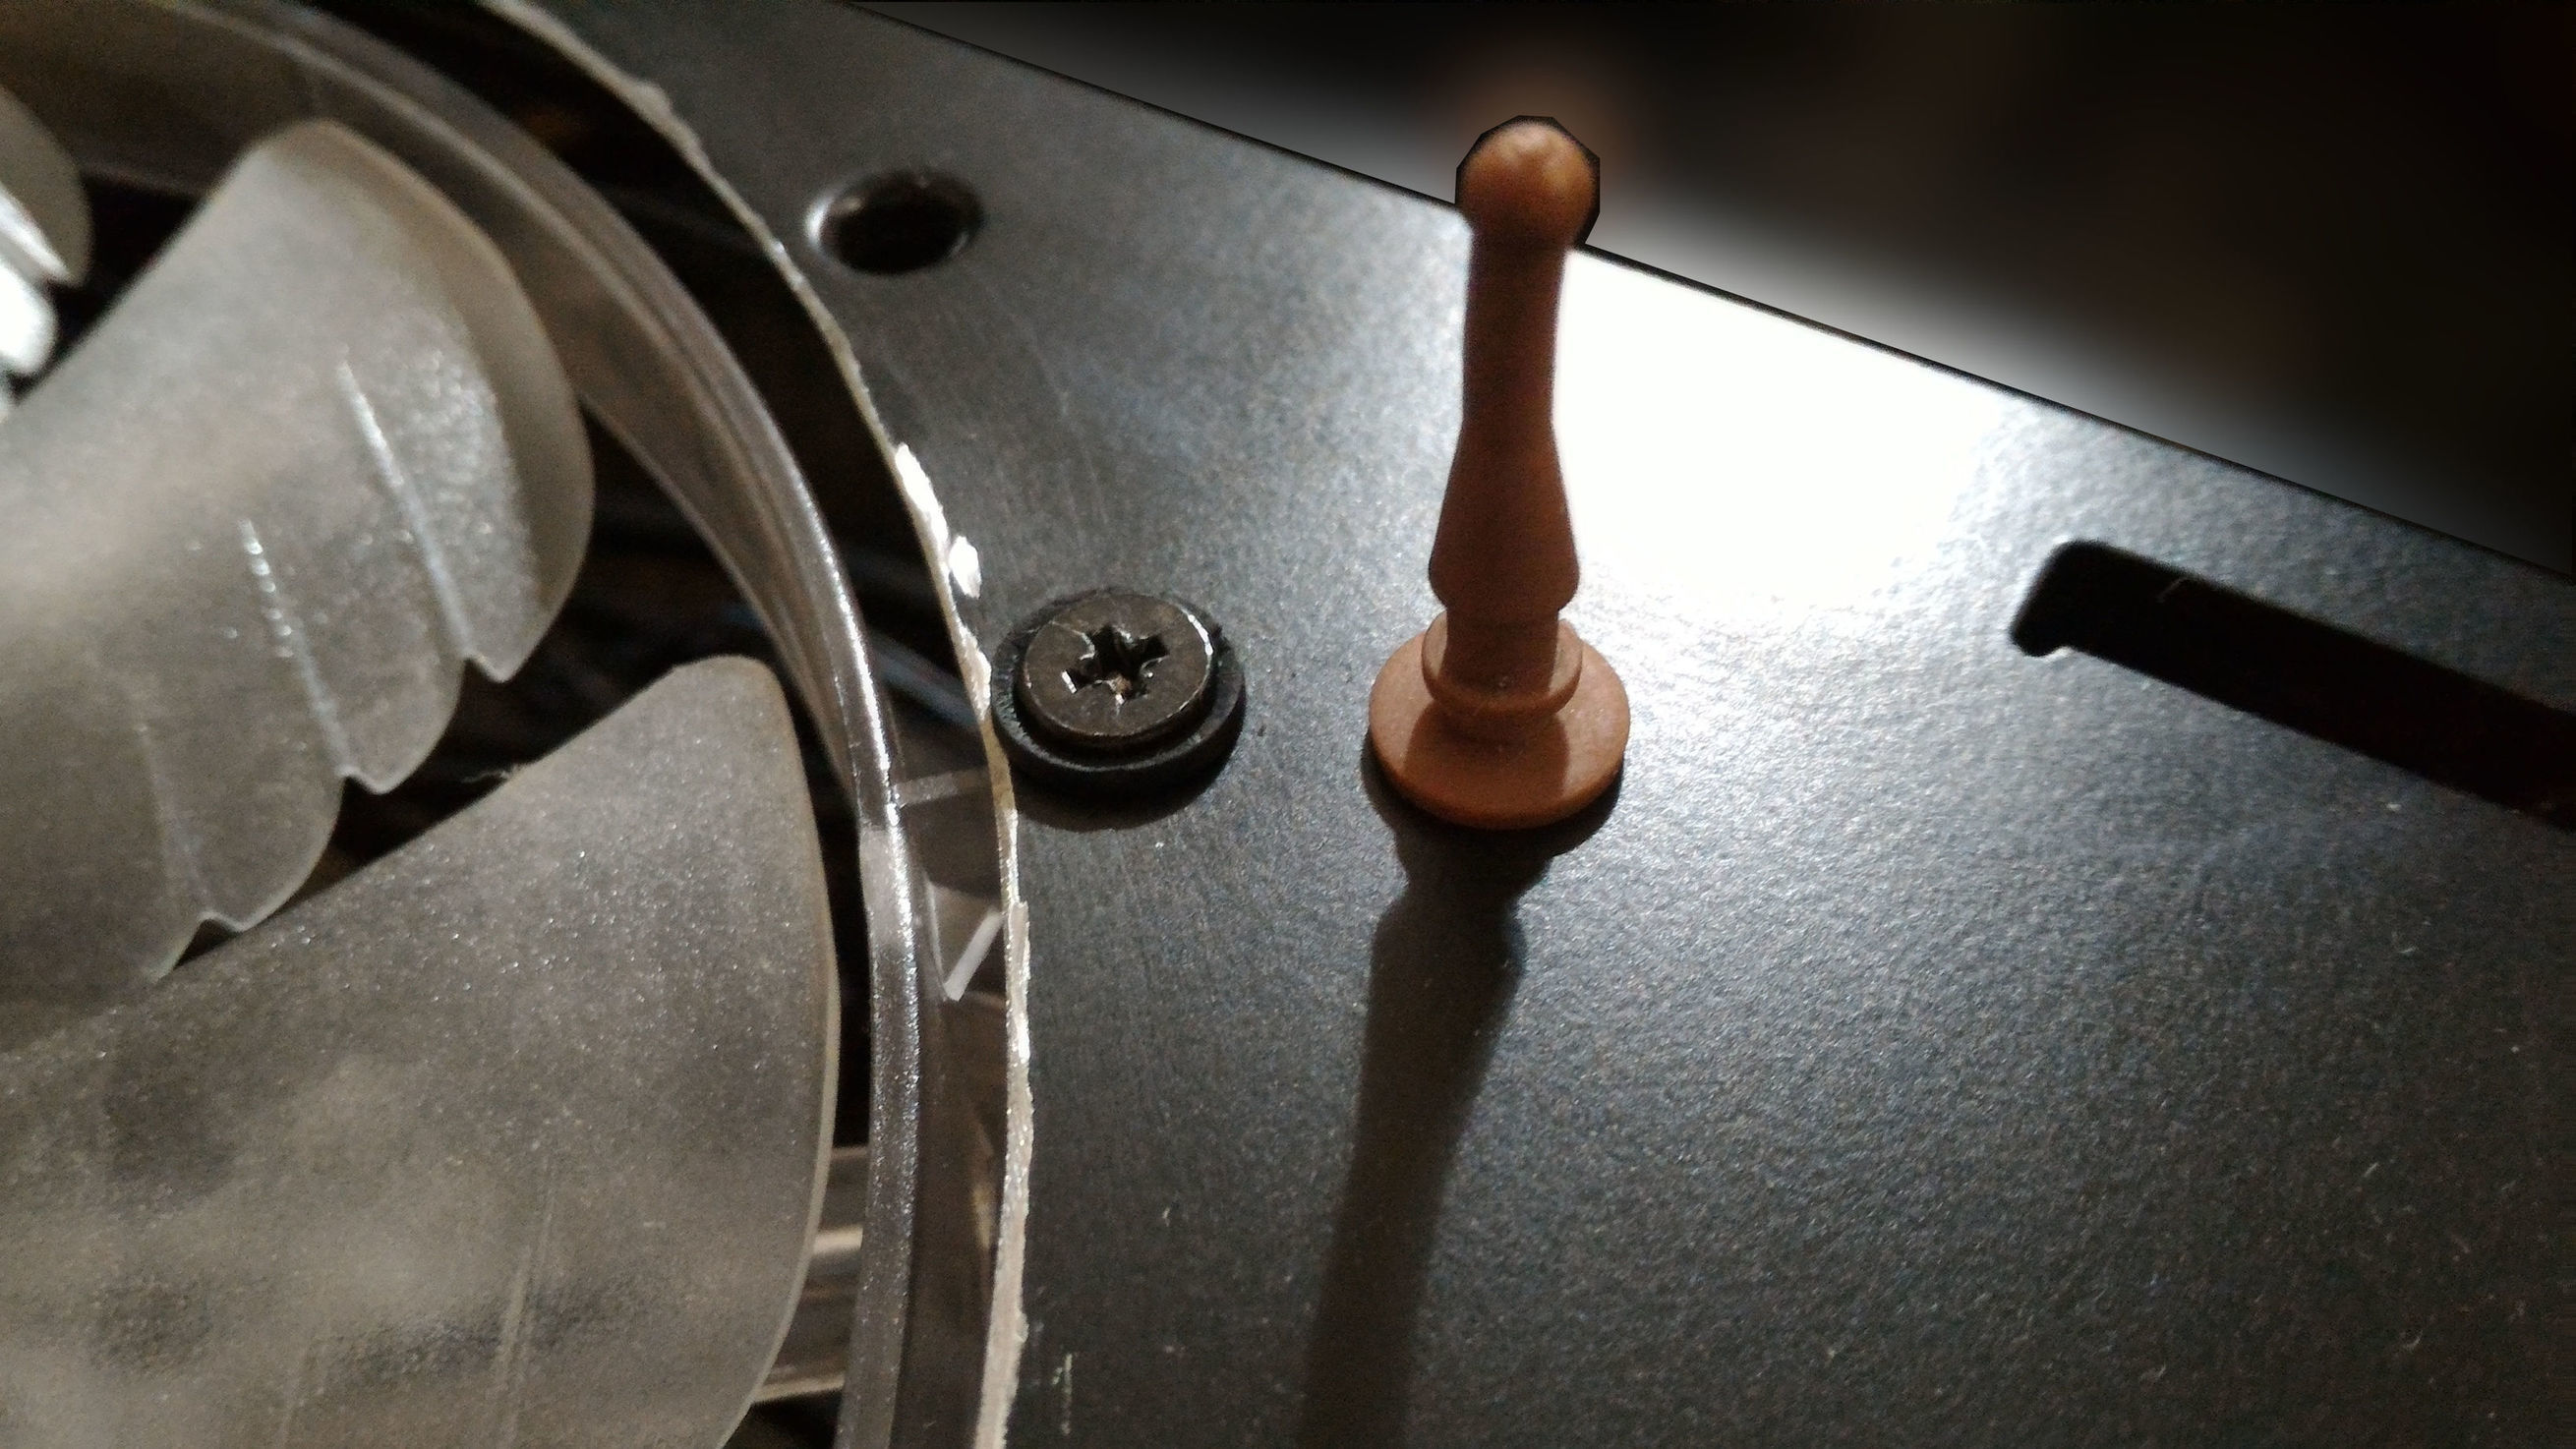
We drill holes for those specially designed mounting points on the board.
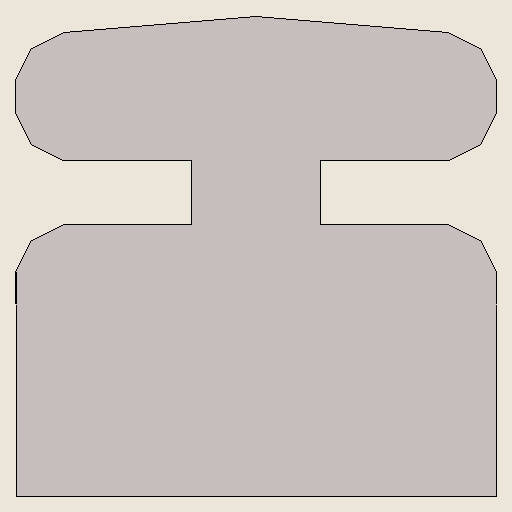
The mounting, ehm… pin cross-section.
Here is the photo what’s done


The hard places were:
-
Special part sticking from the base plate, designed to hold the PSU.
Thank God that turned out to be almost exact size as mobo height.
-
CPU access windows in base plate, though that they will not allow noctua’s brackets
to sit there or there will be some clearance issues, no there wasn’t.
-
Mounting points for chipset on mobo. Those needed a special care.
Unfortunately only I was around so nothing special was done.

Finished look.
In order to align the mobo on the base place so that all parts fit, I had to almost completely
disassemble the case. Top panel was "enhanced with hole to allow mobo to stick from the case,
otherwise it wouldn’t fit.
Atfer some measuring, cutting, filing, and assembling it back again I was able to see the
shape of the new machine.
Photos will be later, since I finally have money to buy the cpu and RAM.
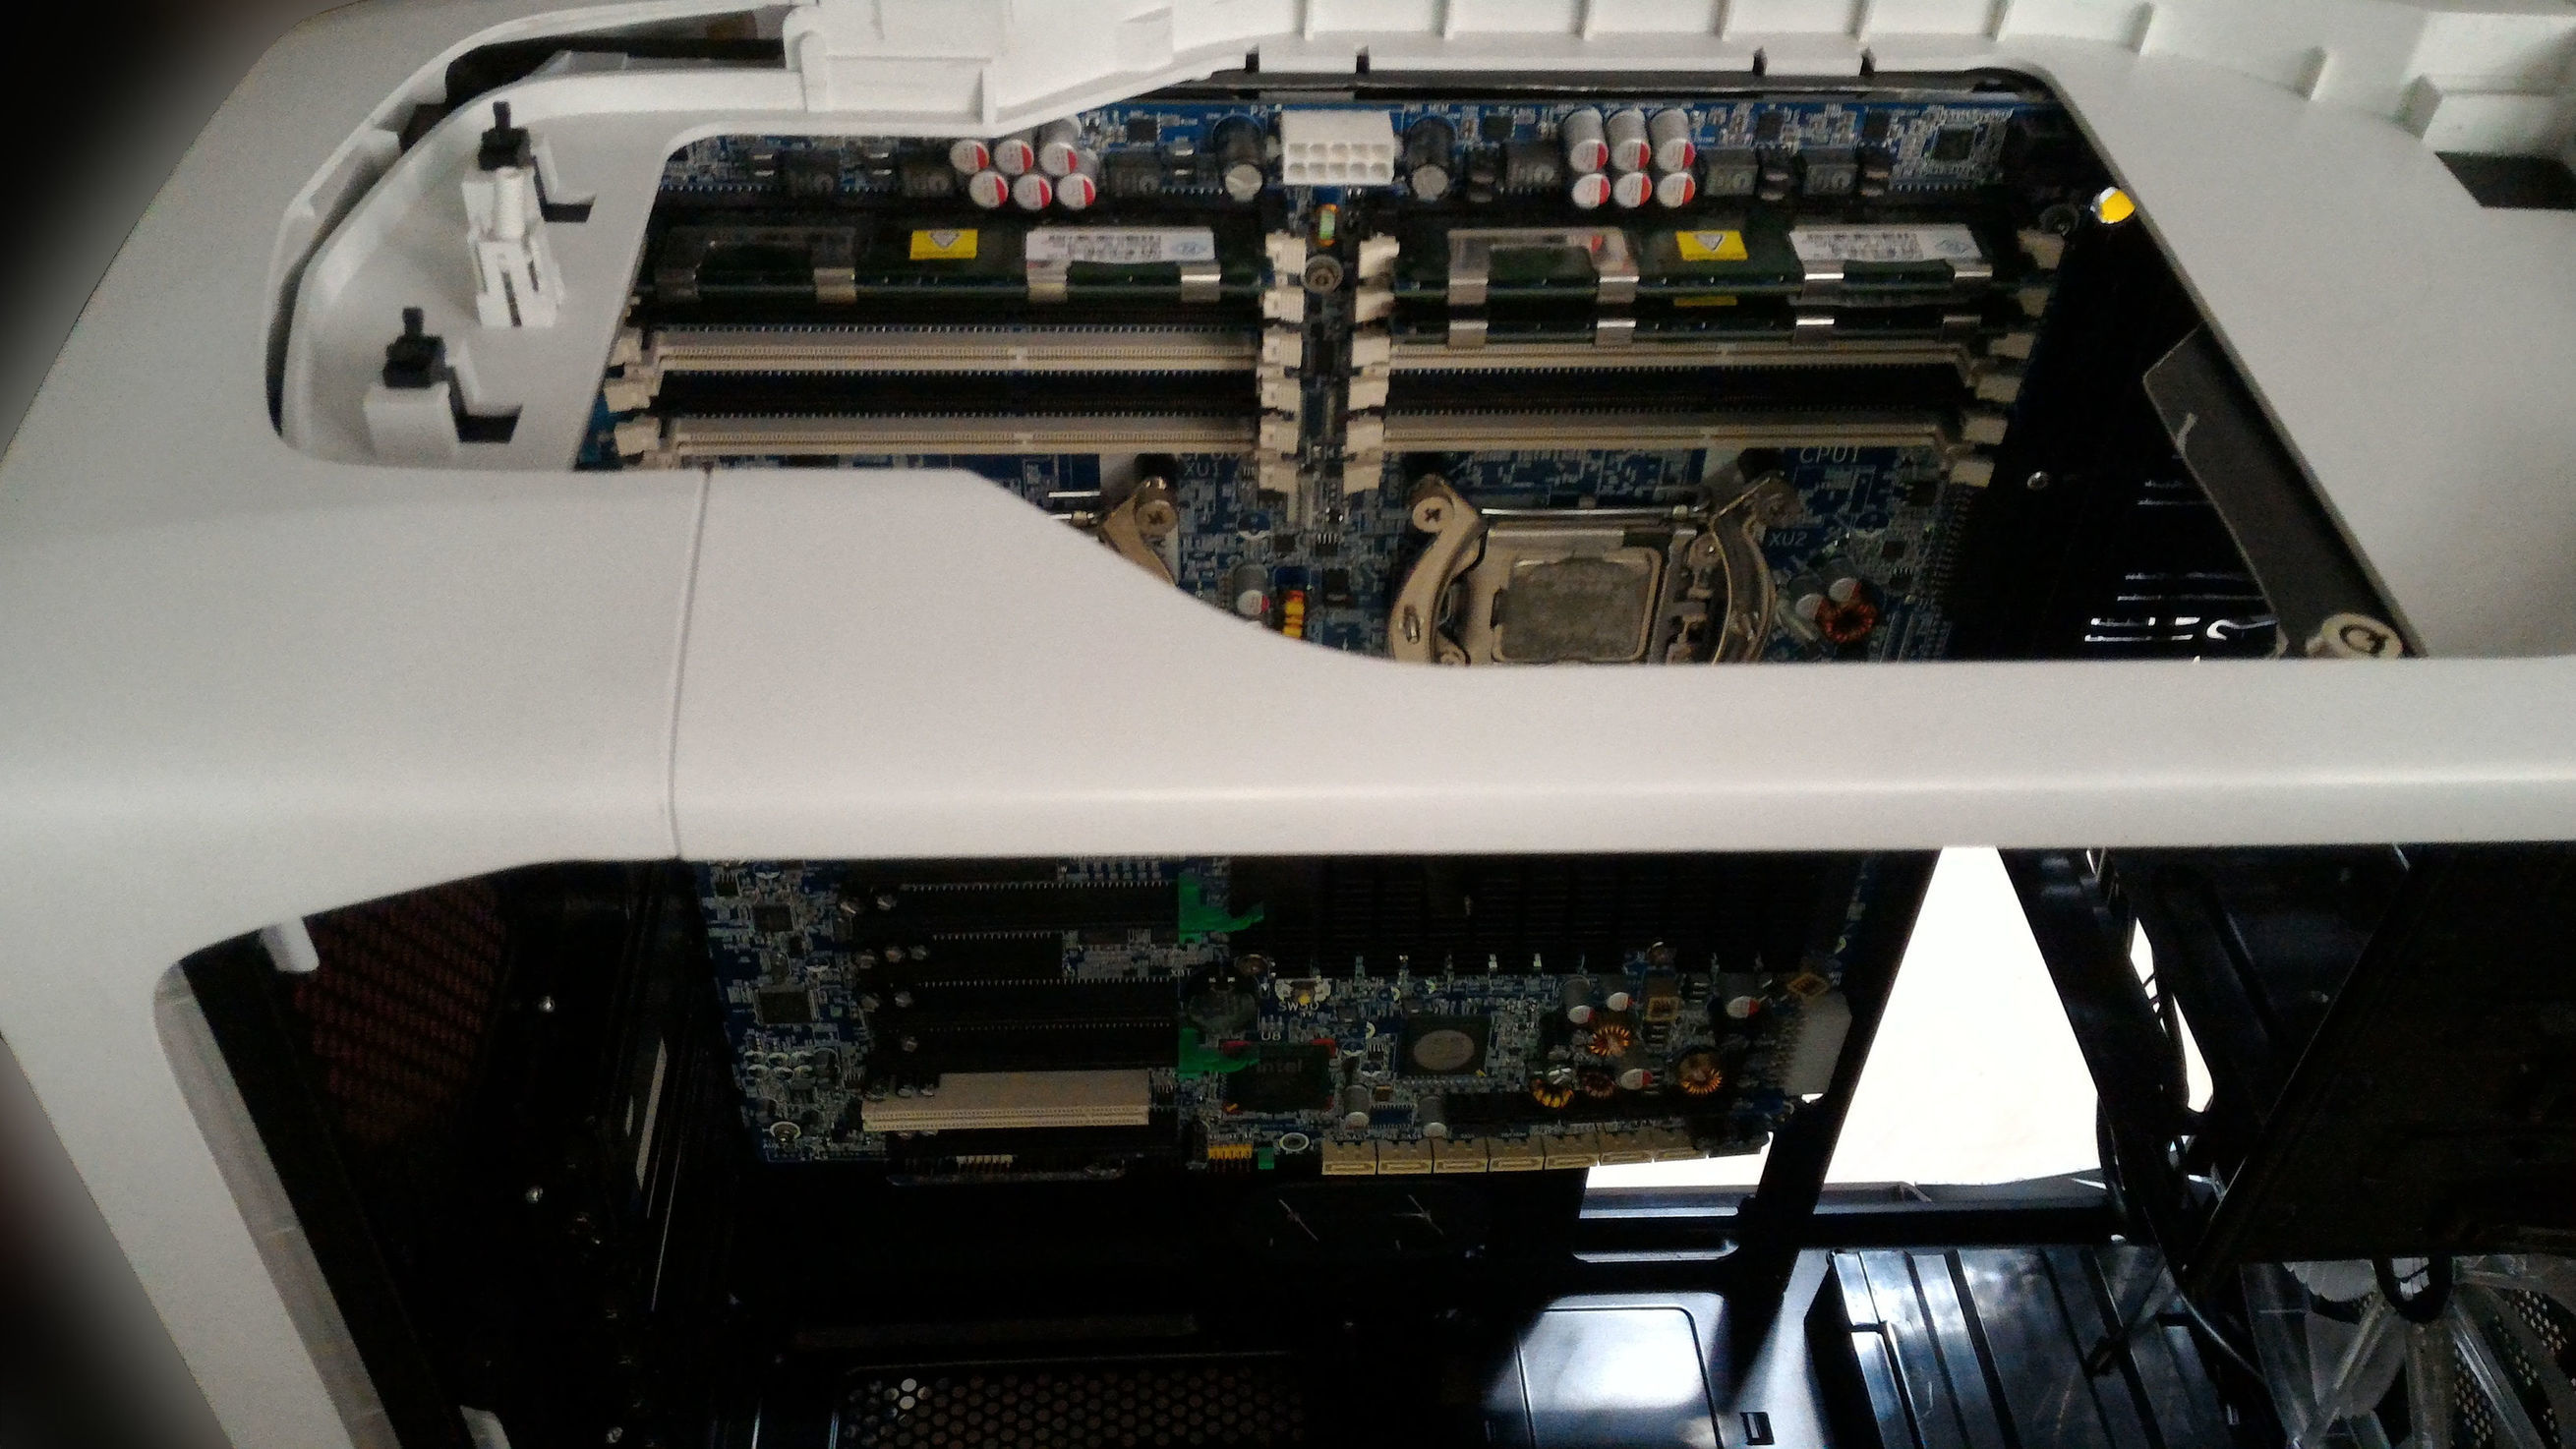
— Phase 4 (assembly of the entire machine) -----------------------
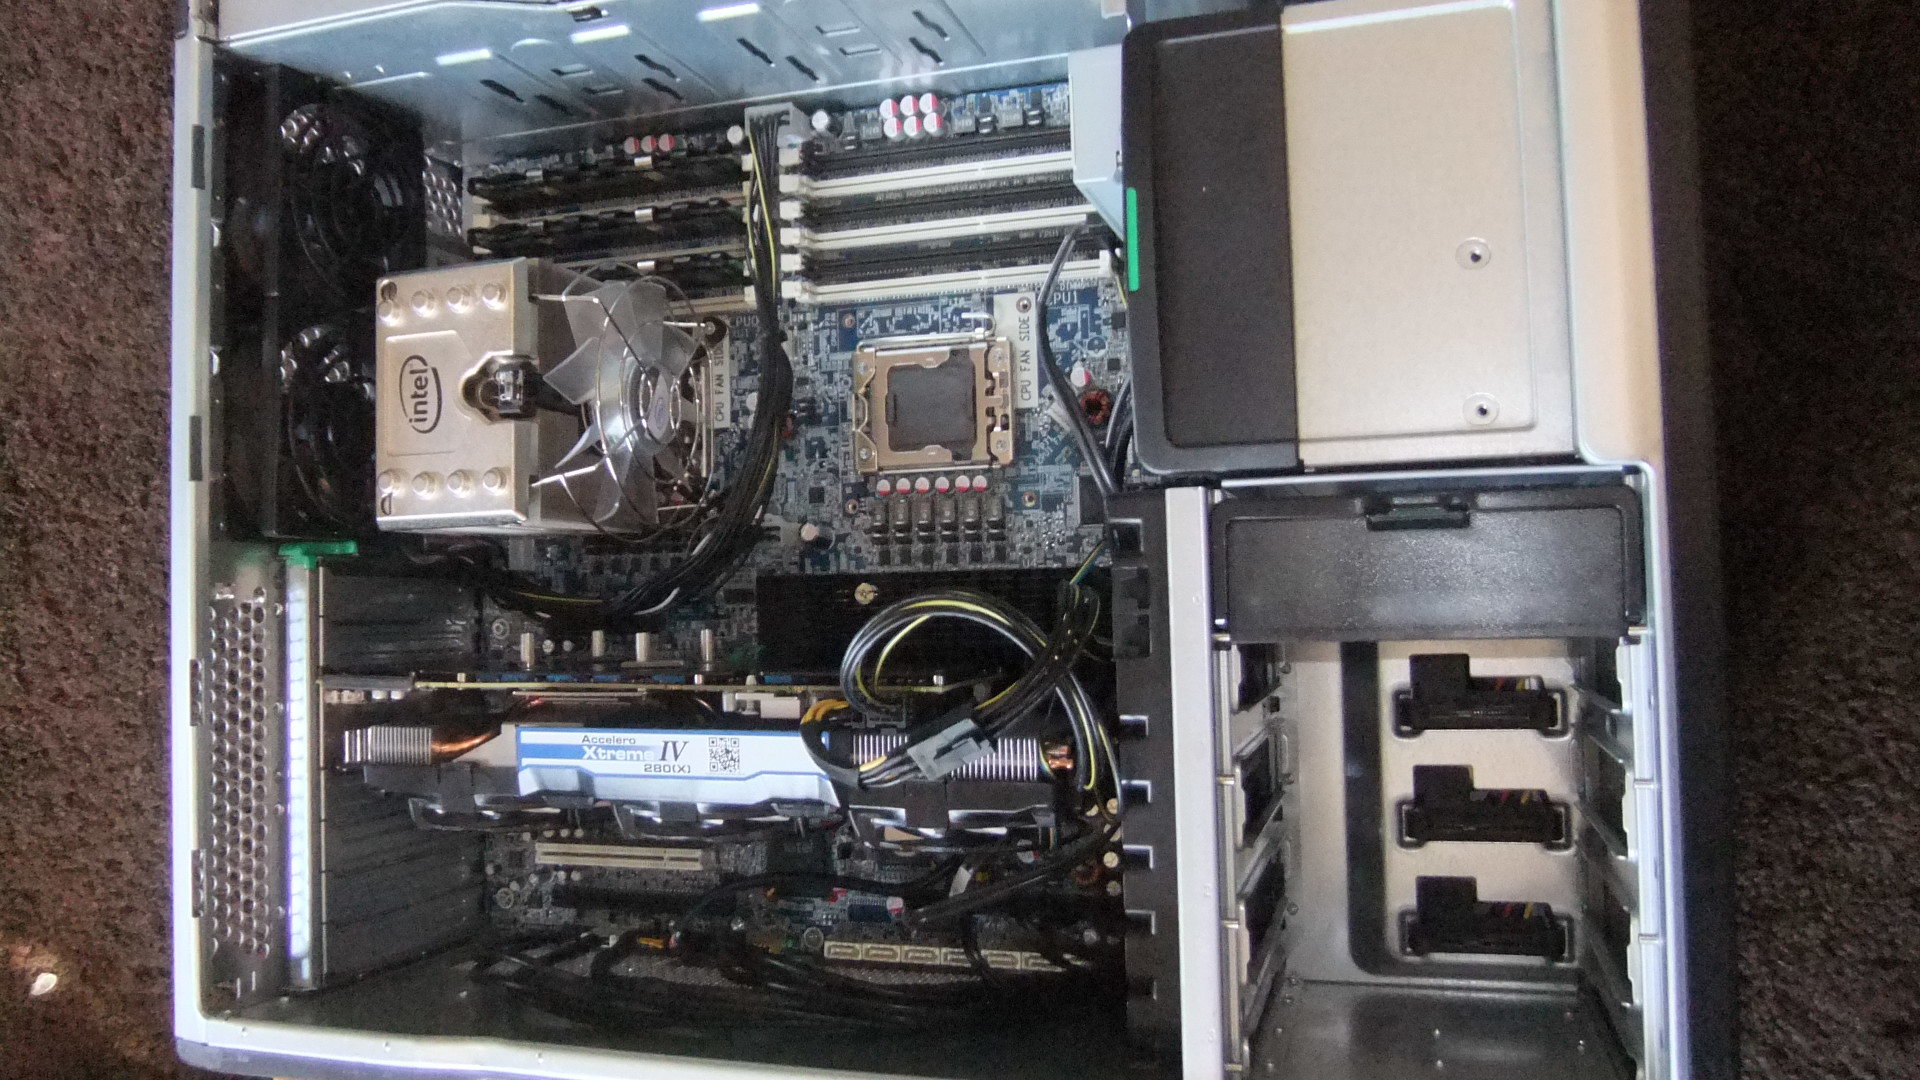
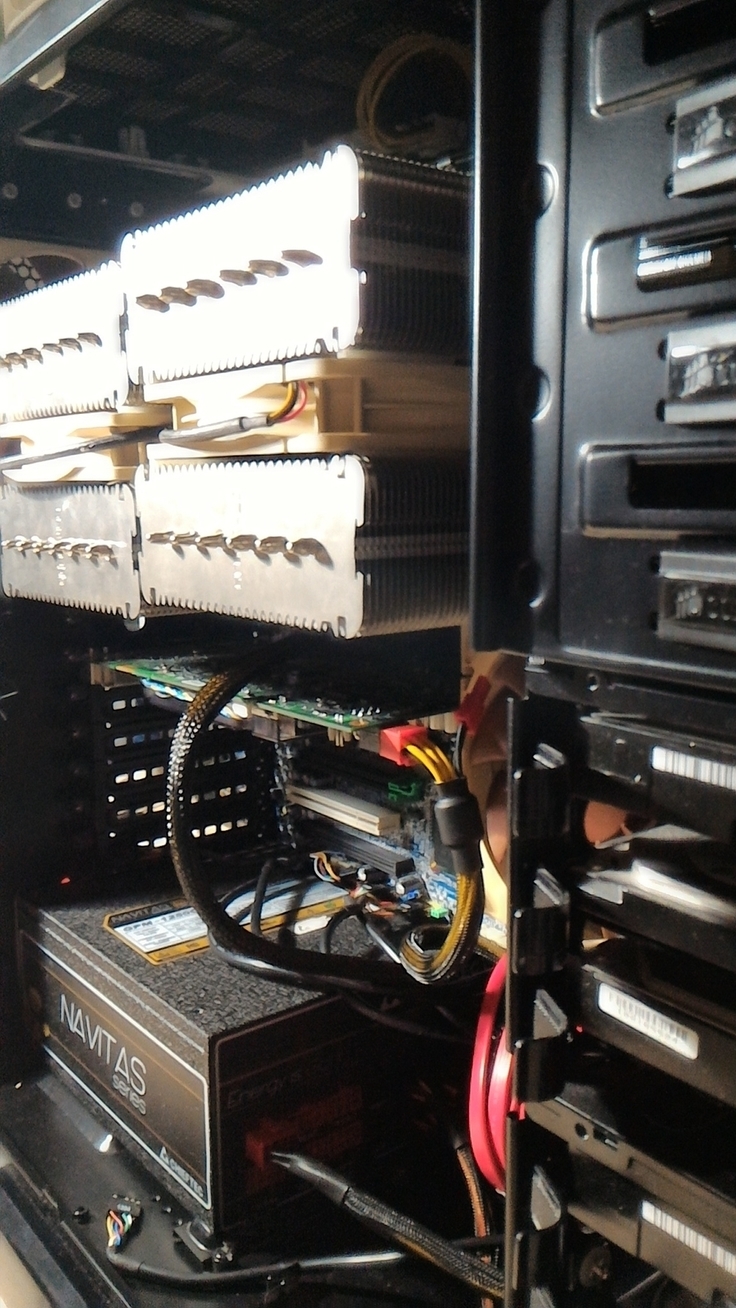
And… it’s time to finally assemble the machine and see what we’ve got.
This is the first try in placing main components into the case.

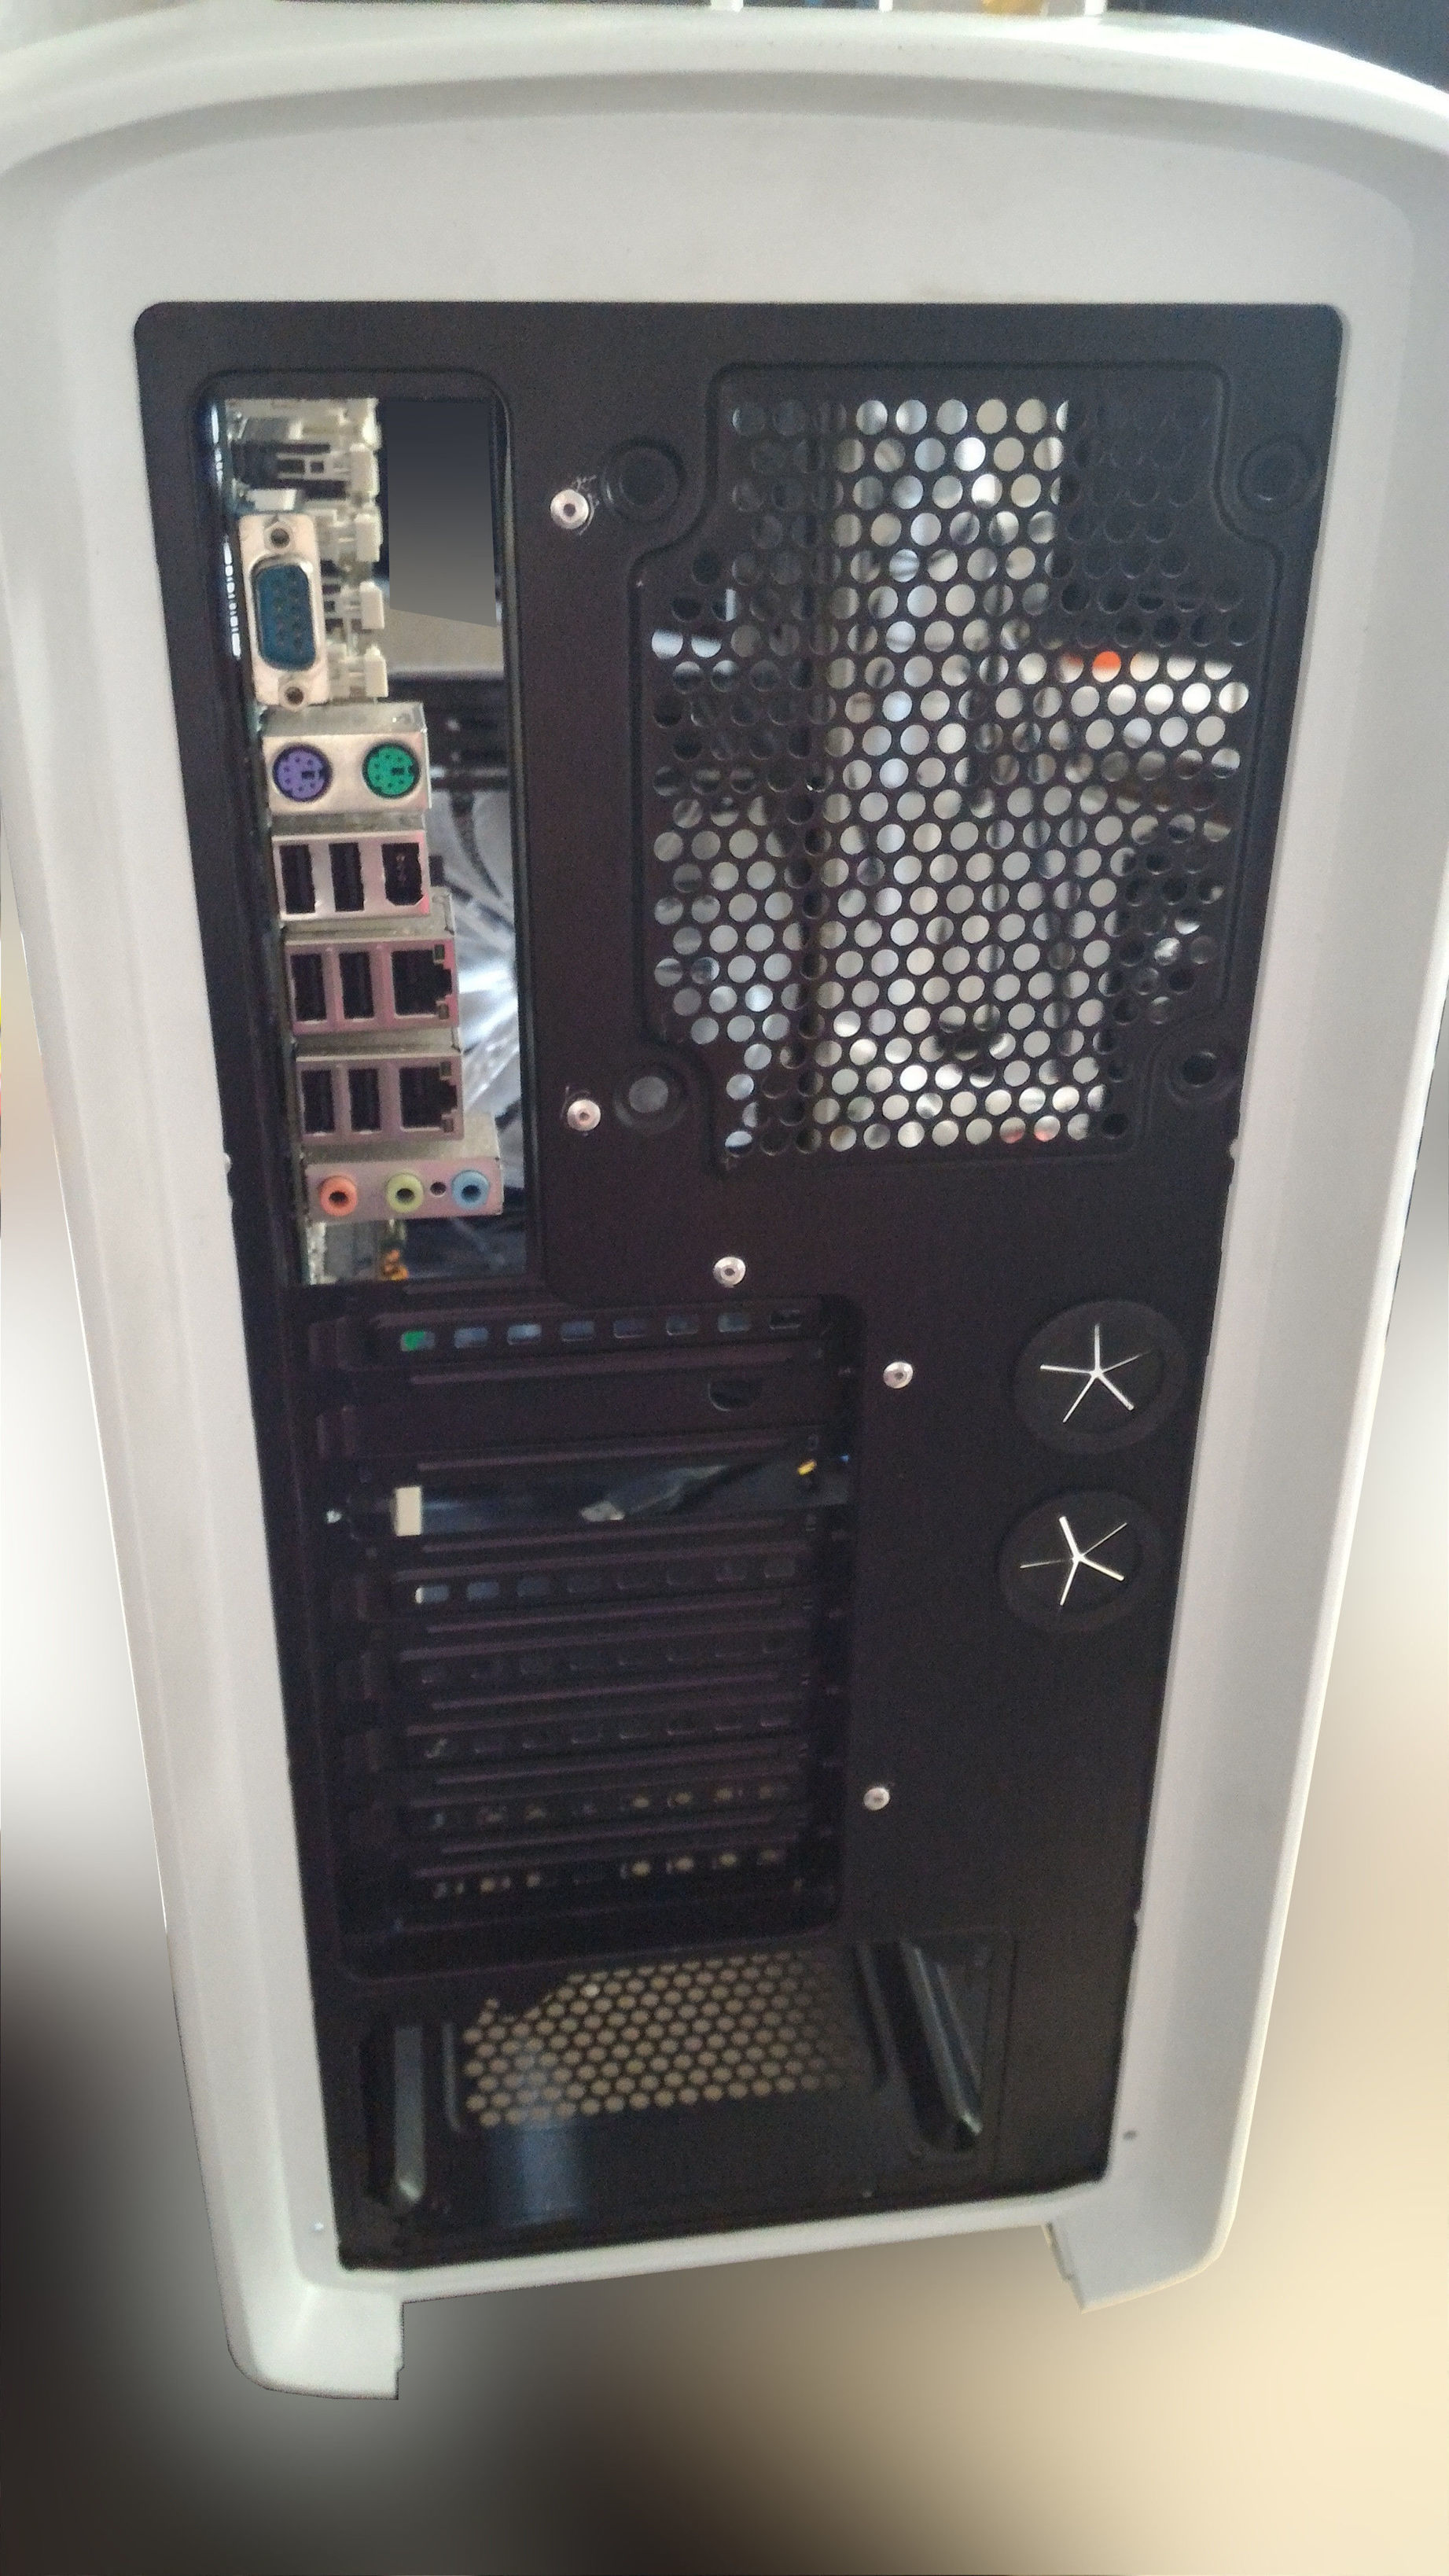
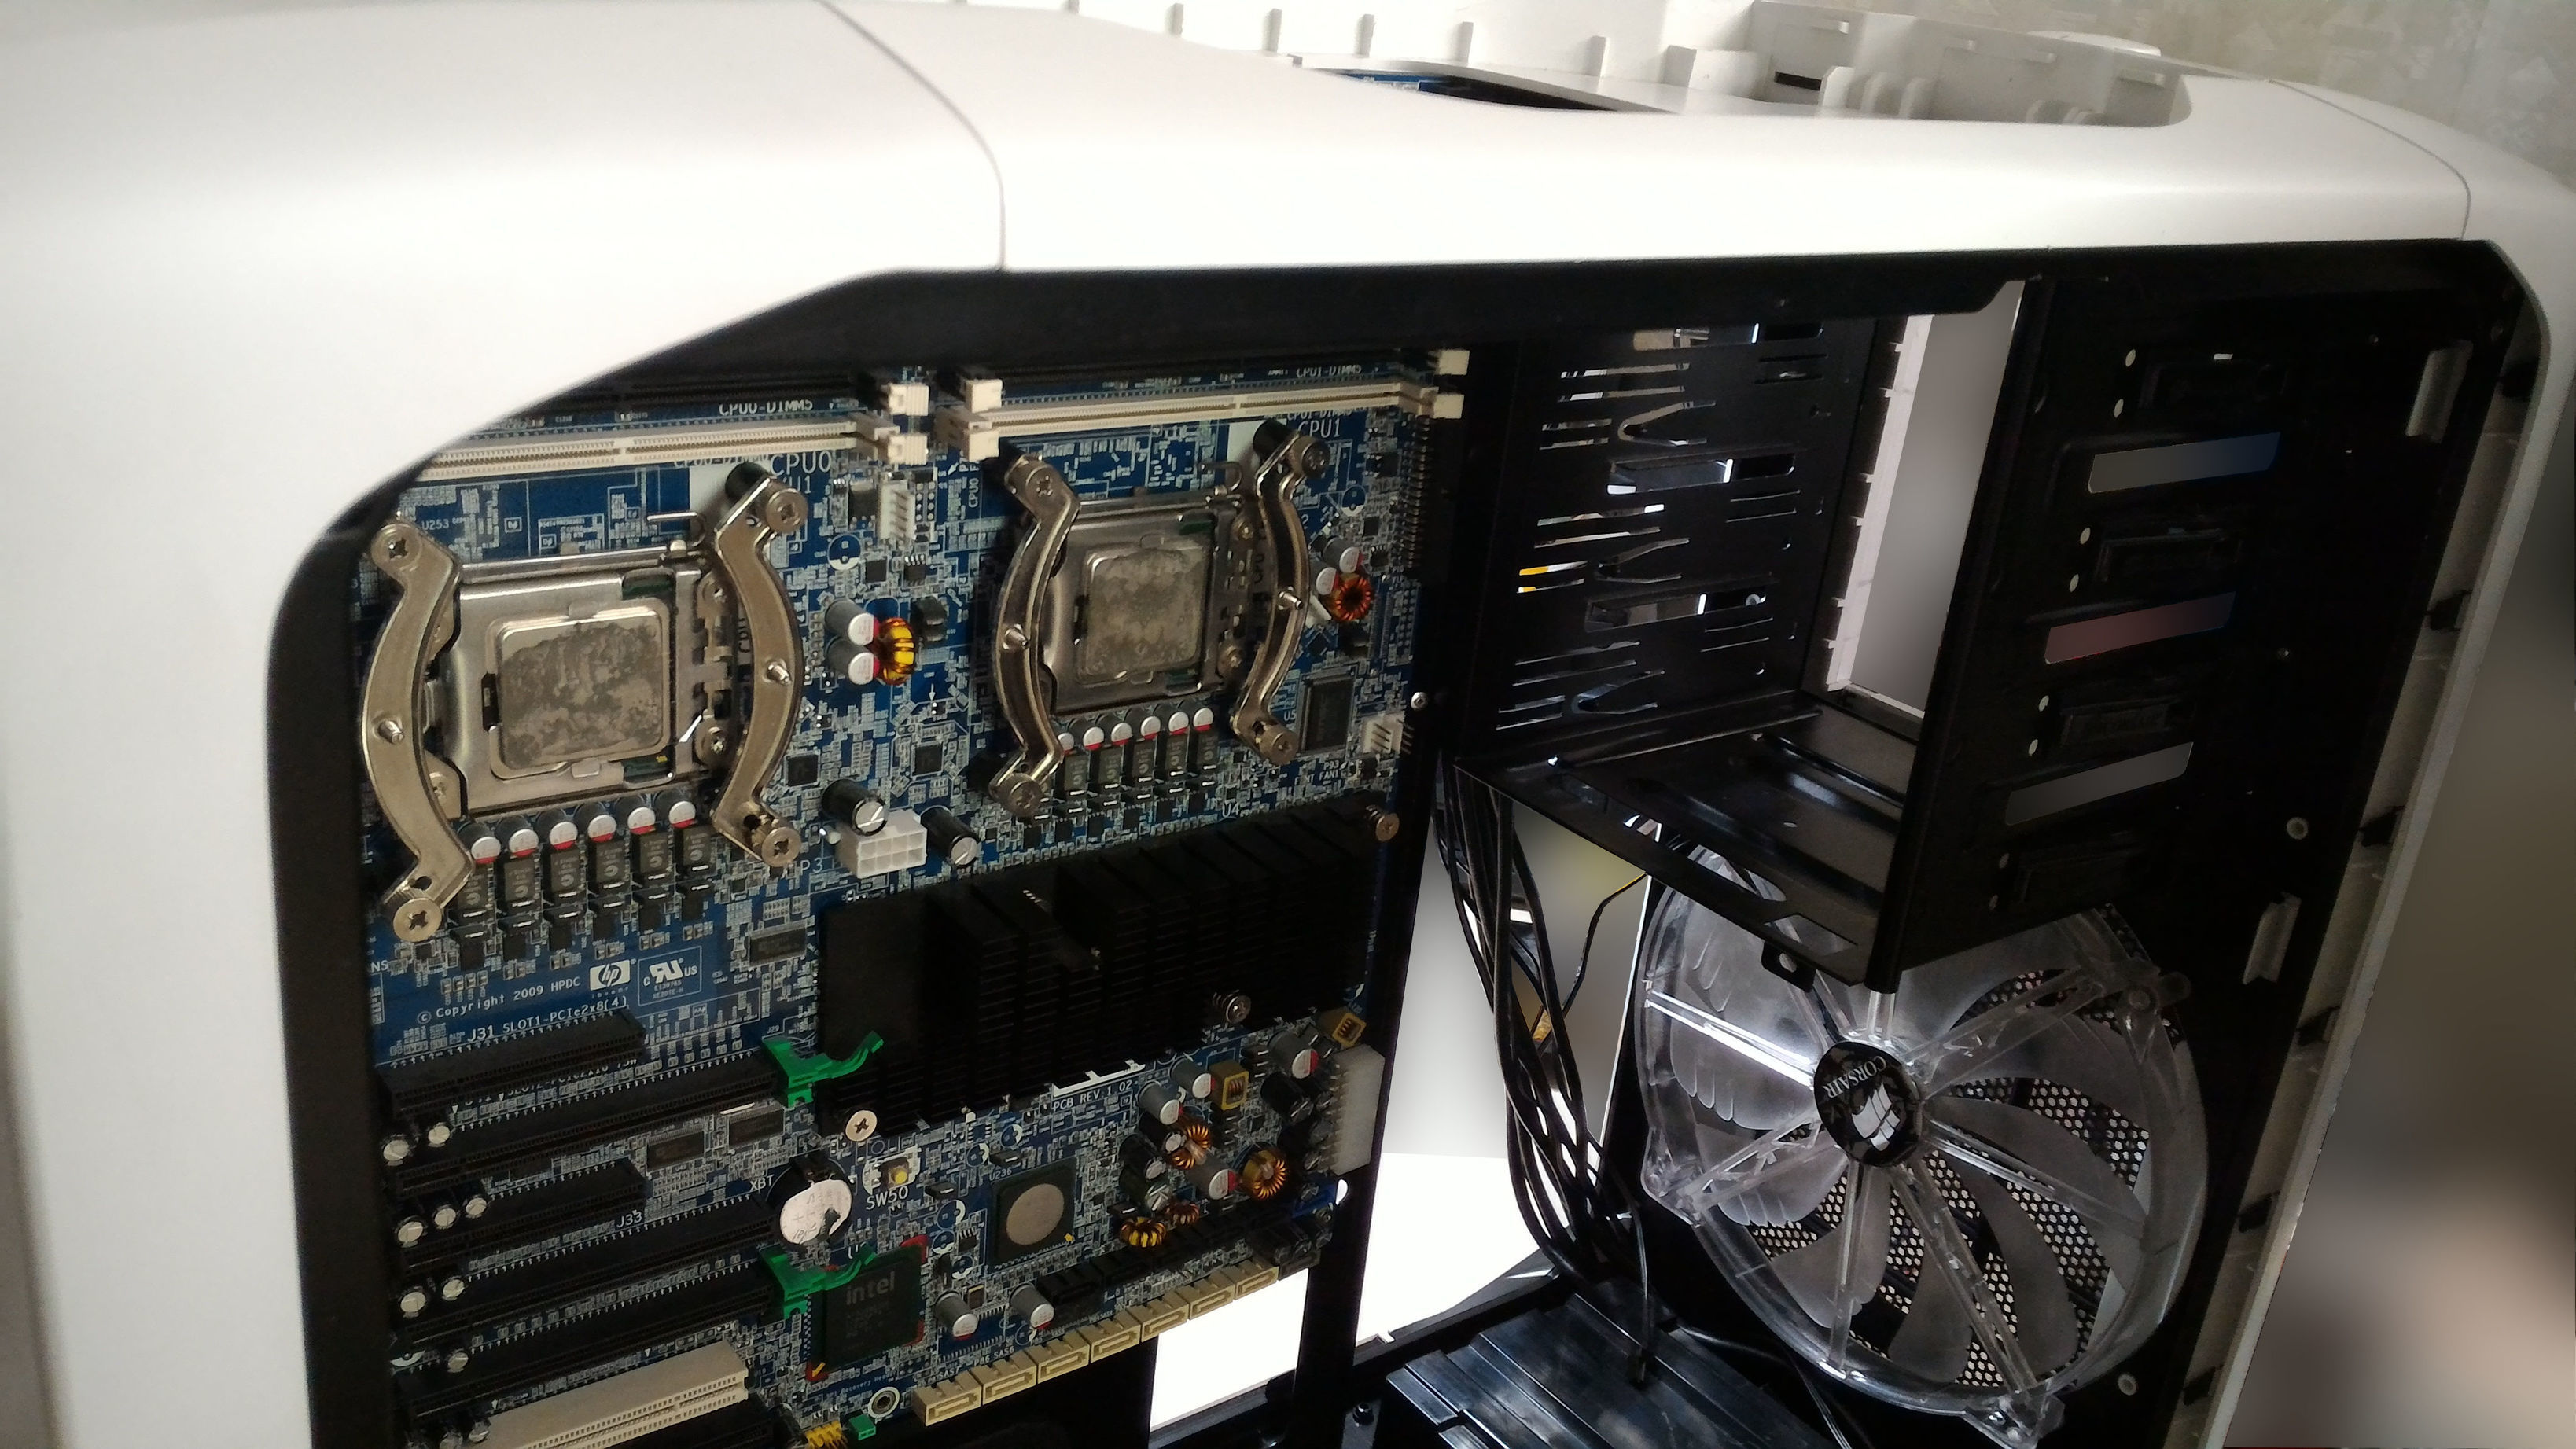
Here you can see that I removed top grill part from case’s body.
Had to do that, previous cut-out semi-window looked ugly and I think was preventing cooling of upper part.

You can see how close the mobo tho the case enclosure limits, it is snuggled there
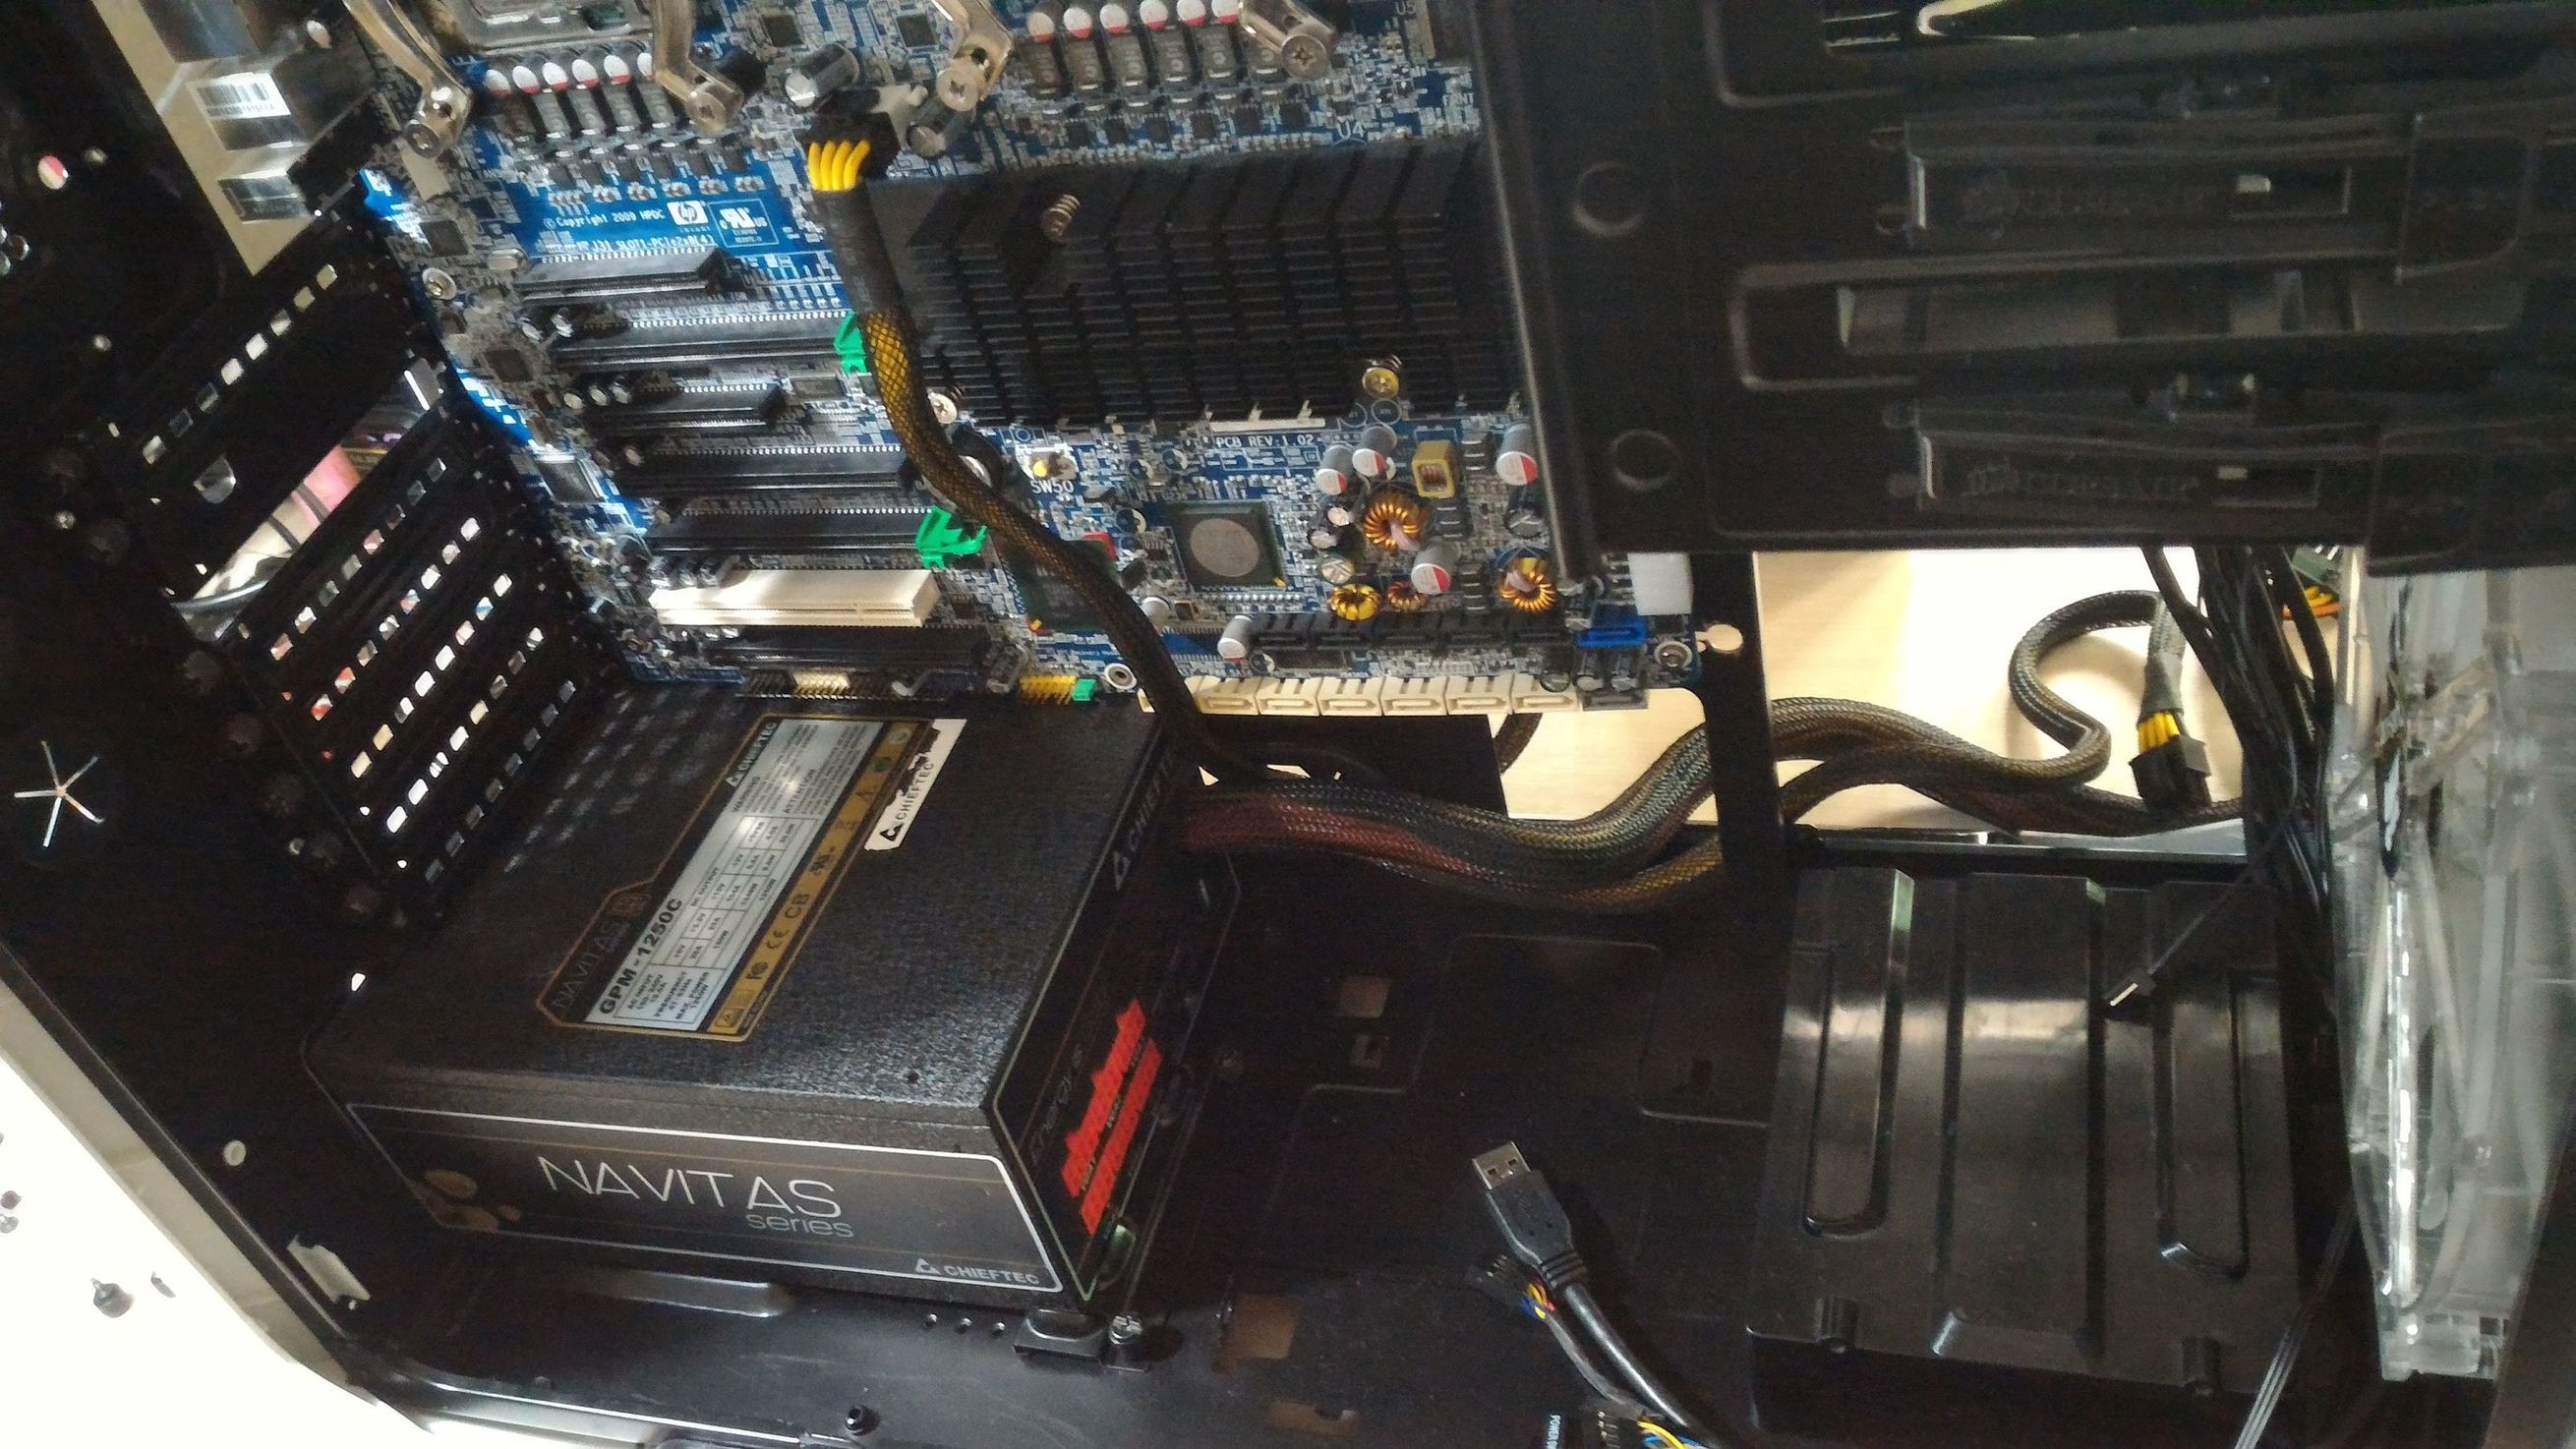
The PAWAAAA!

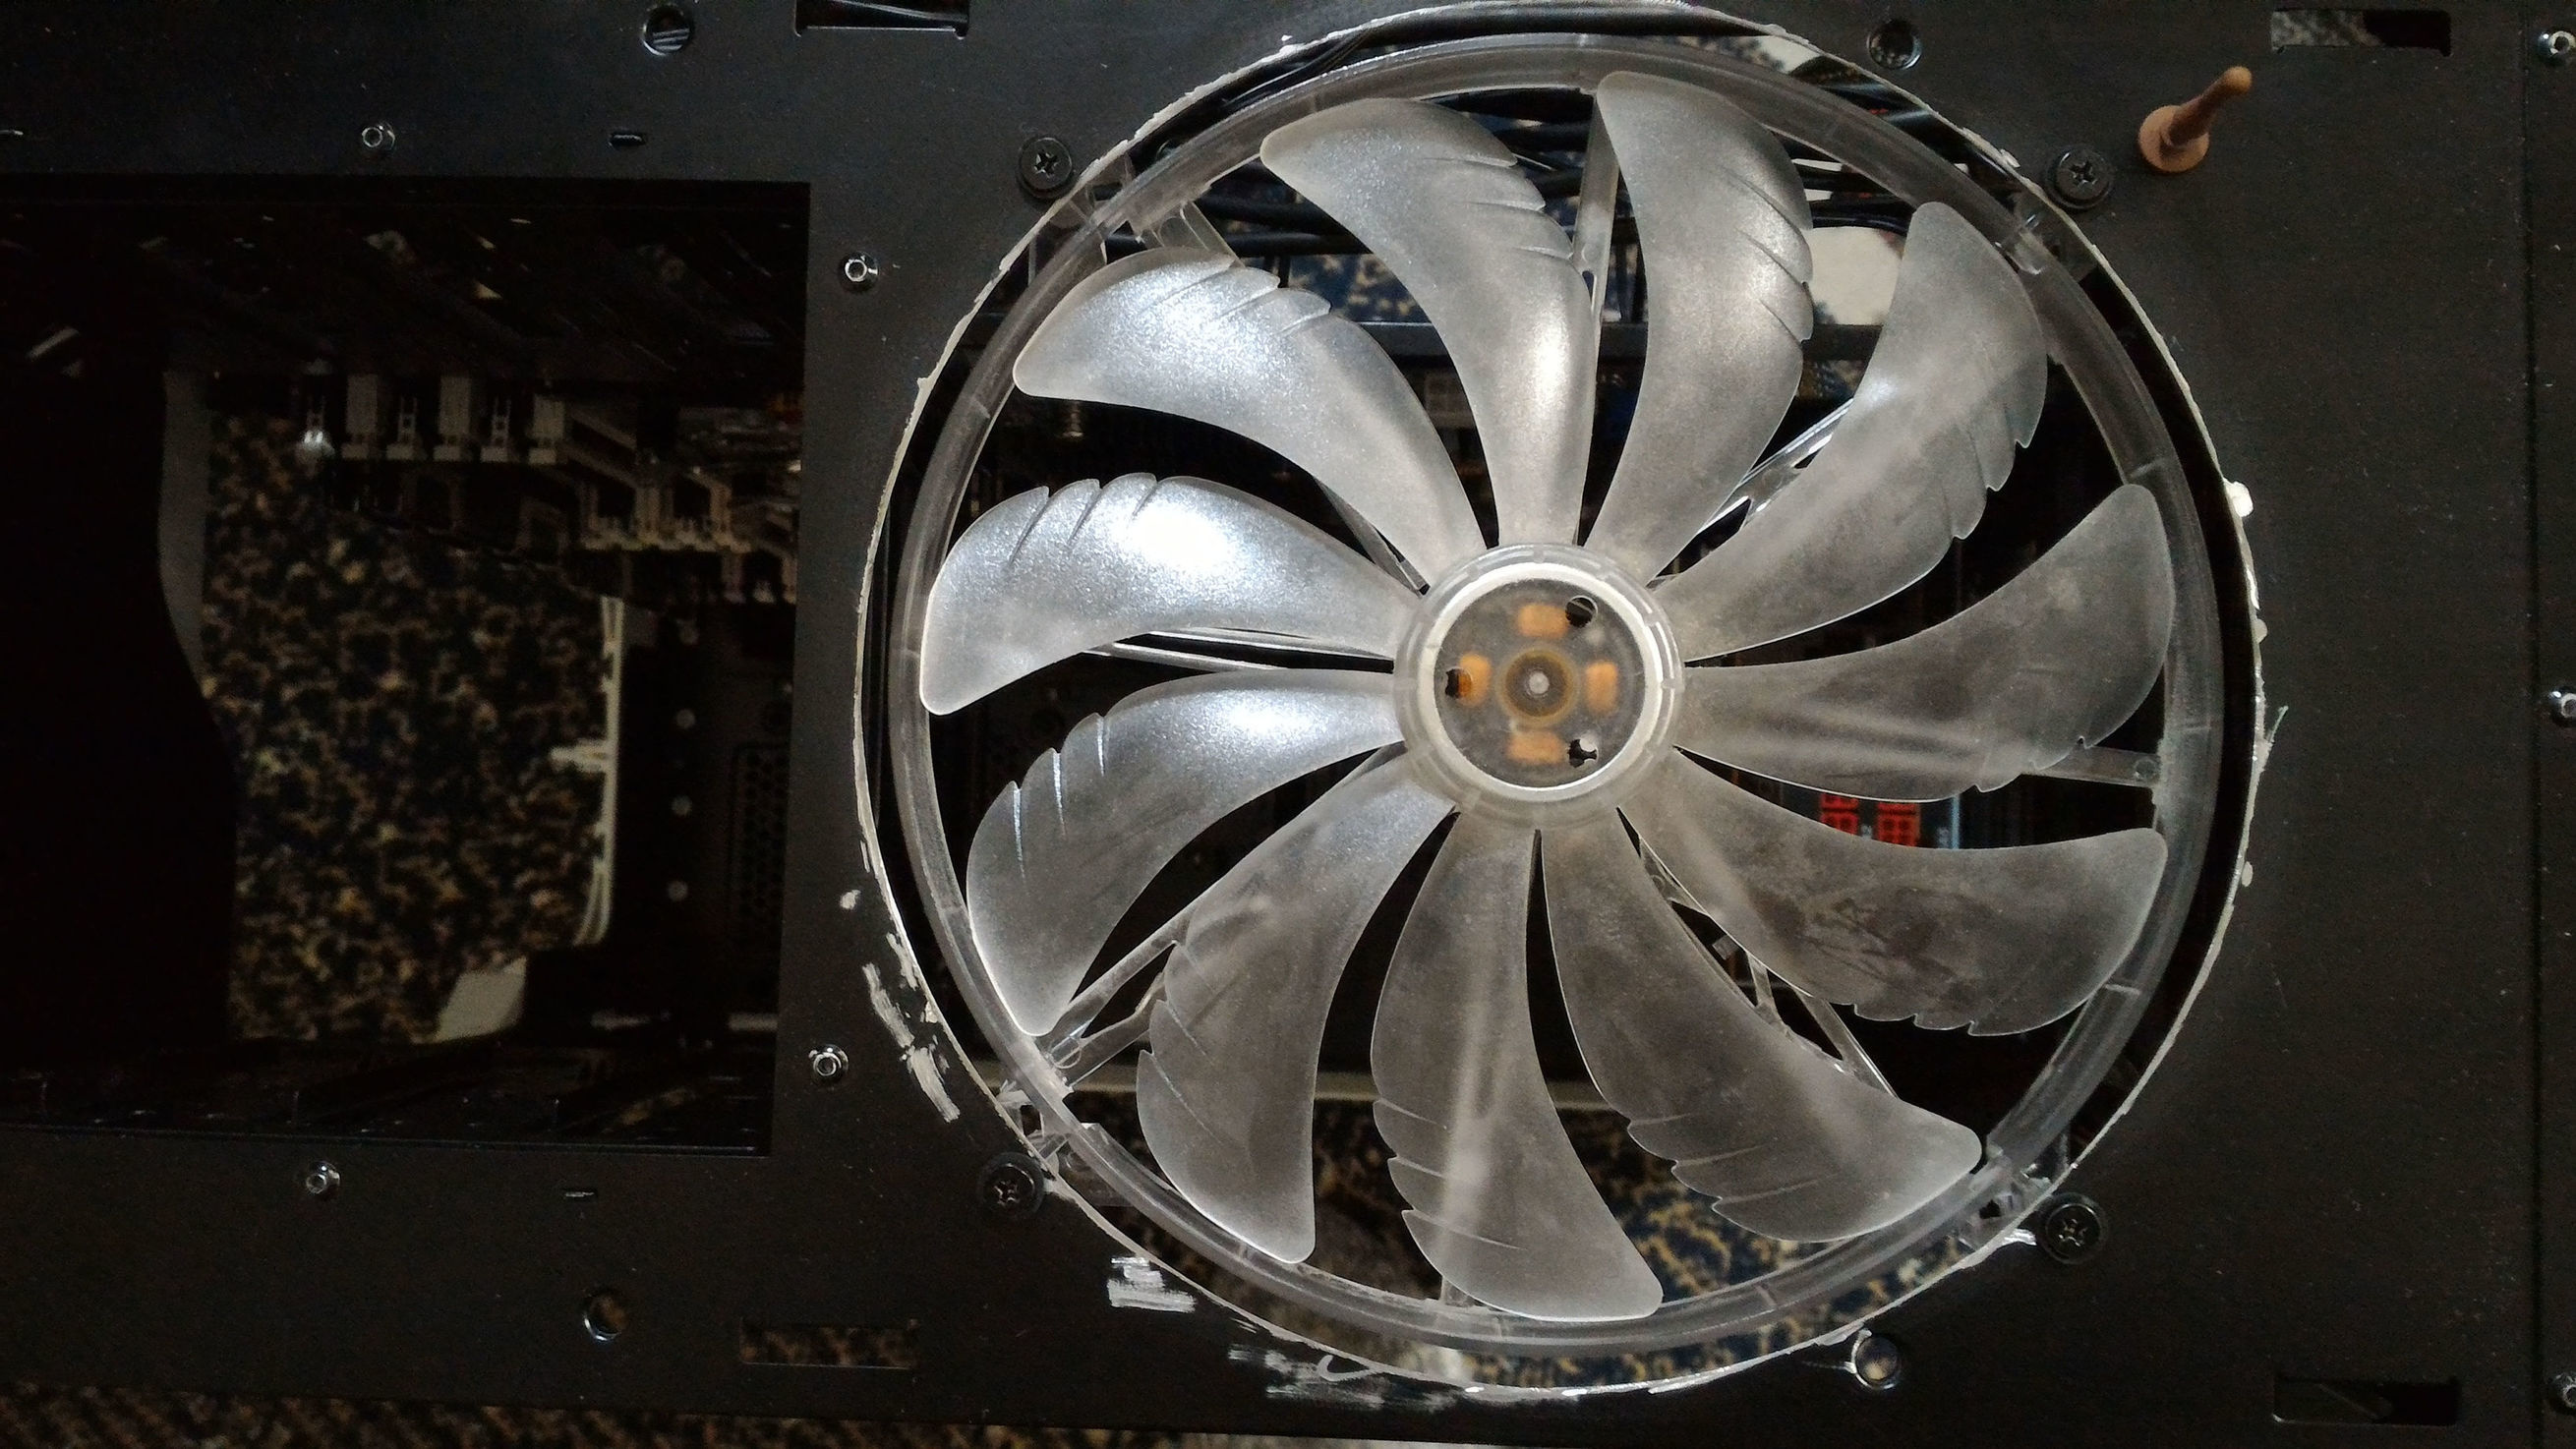
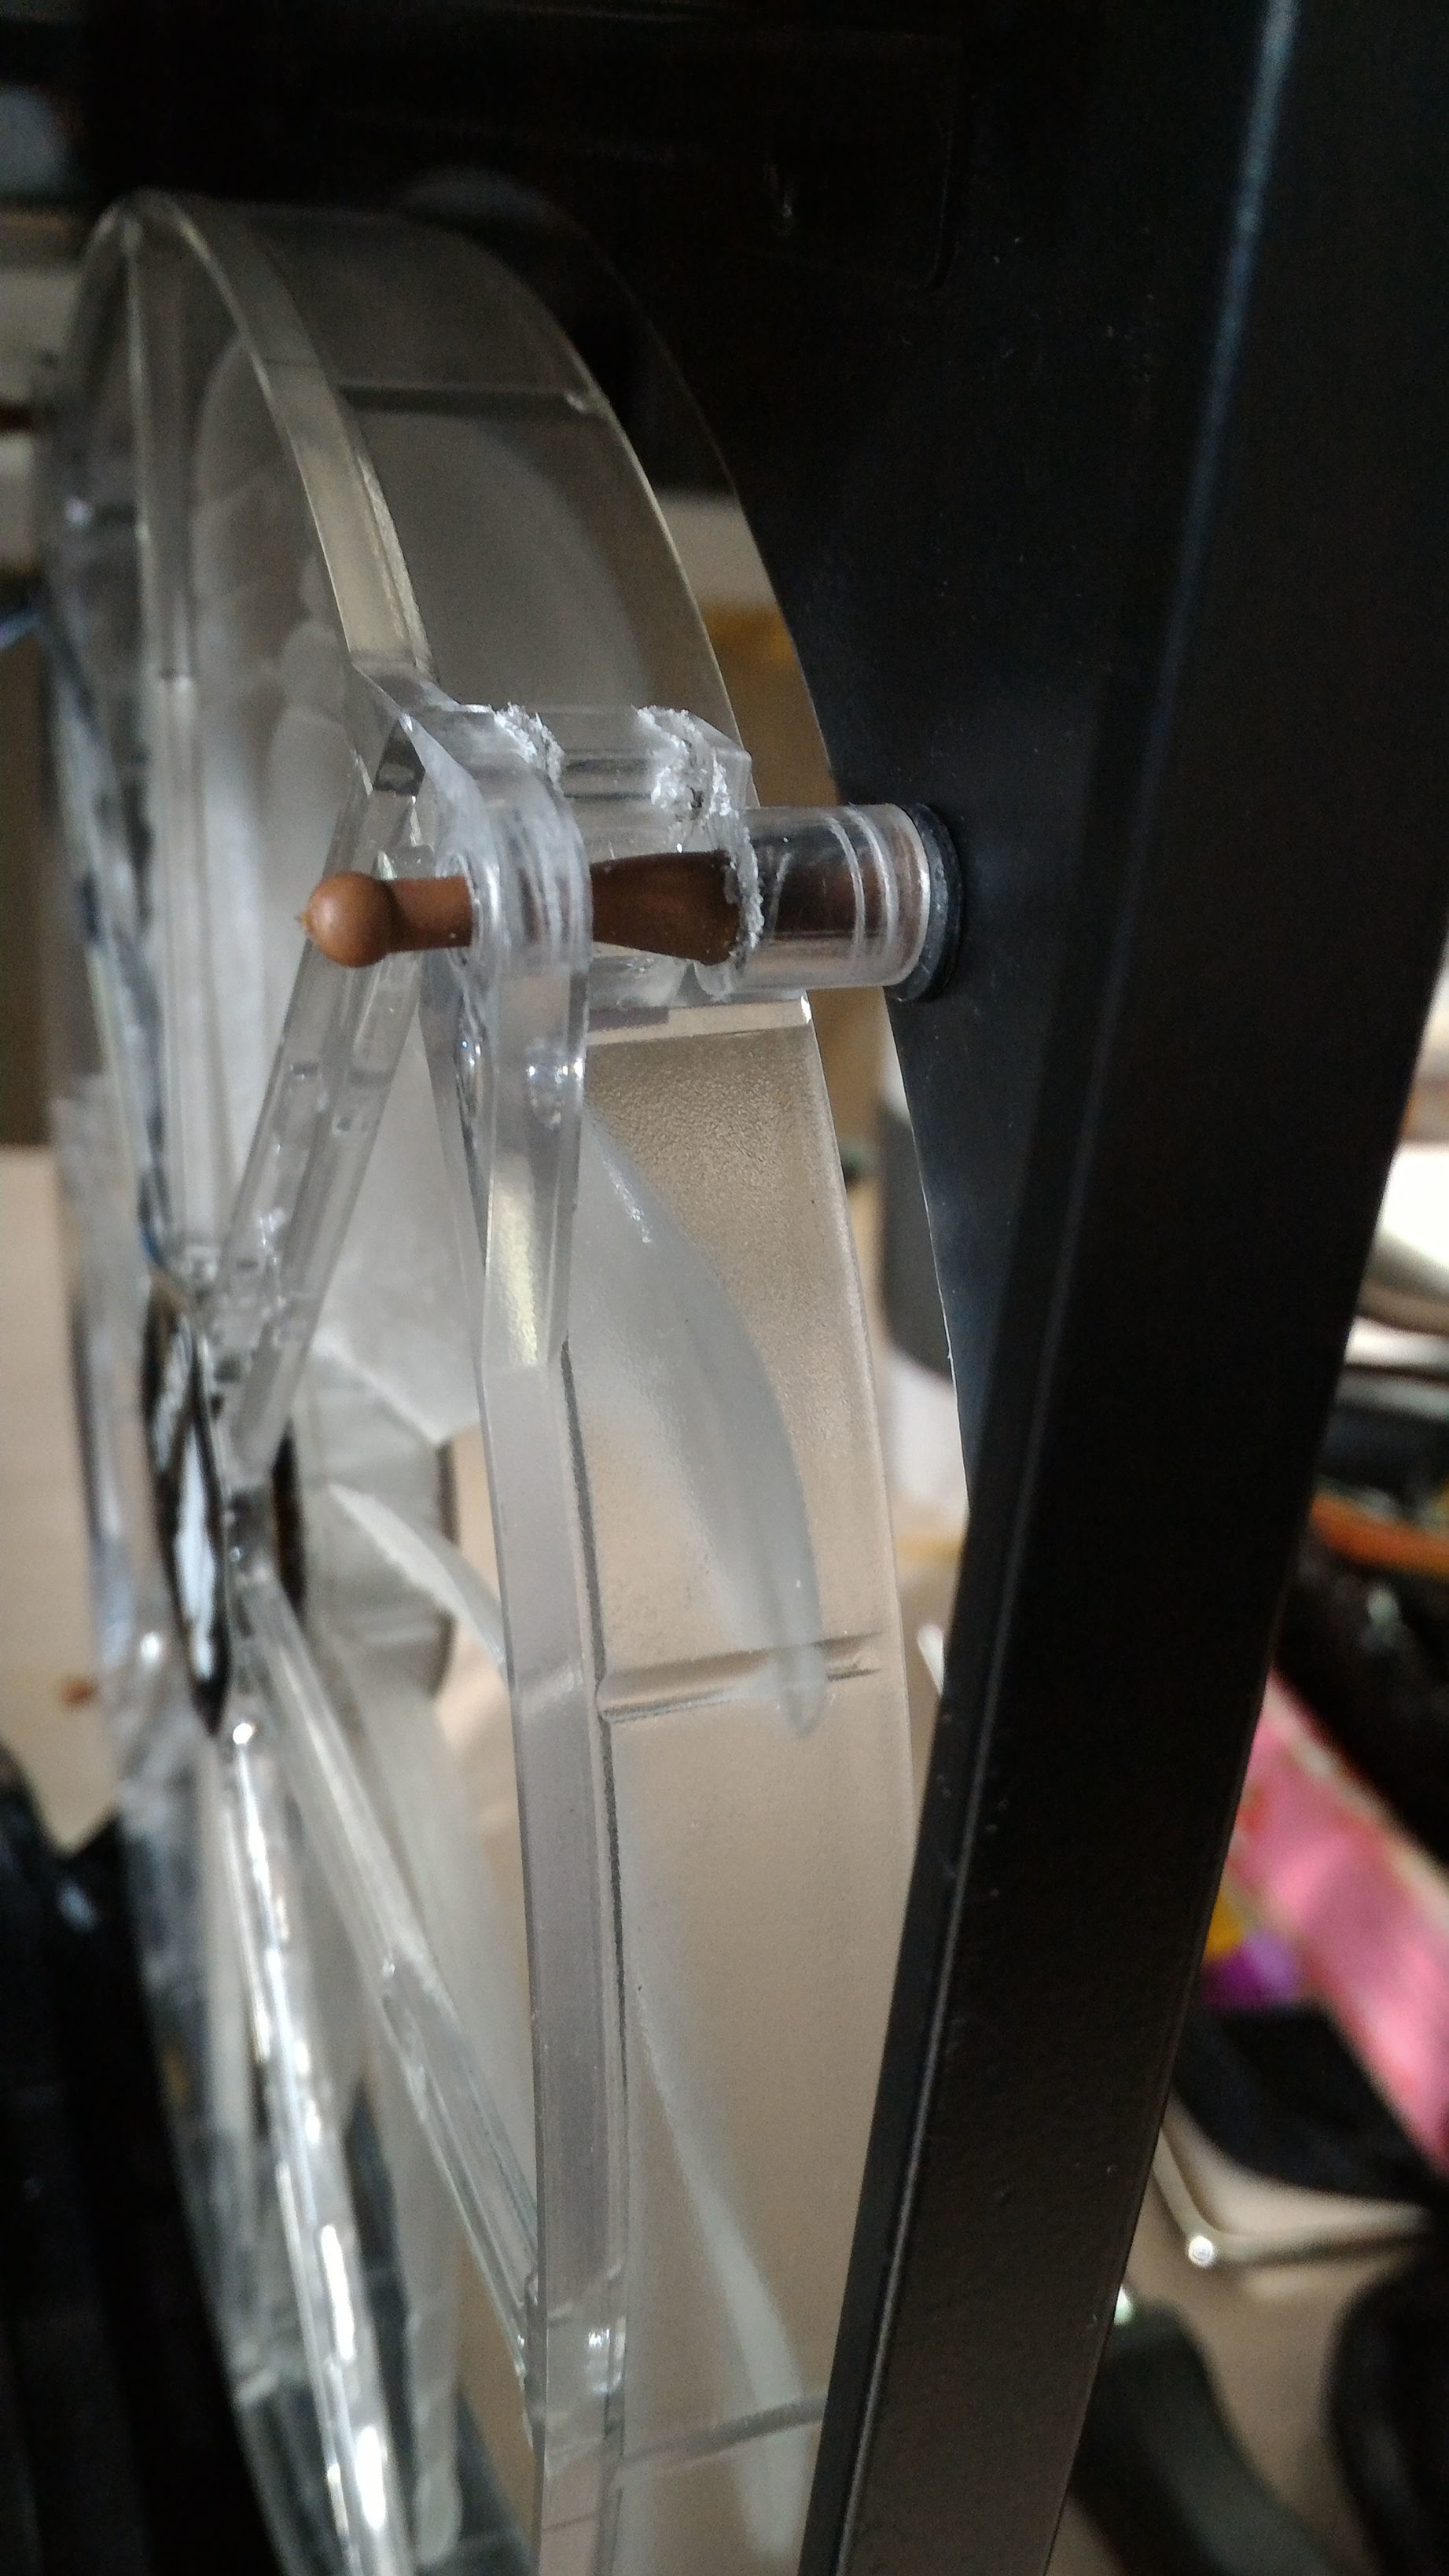
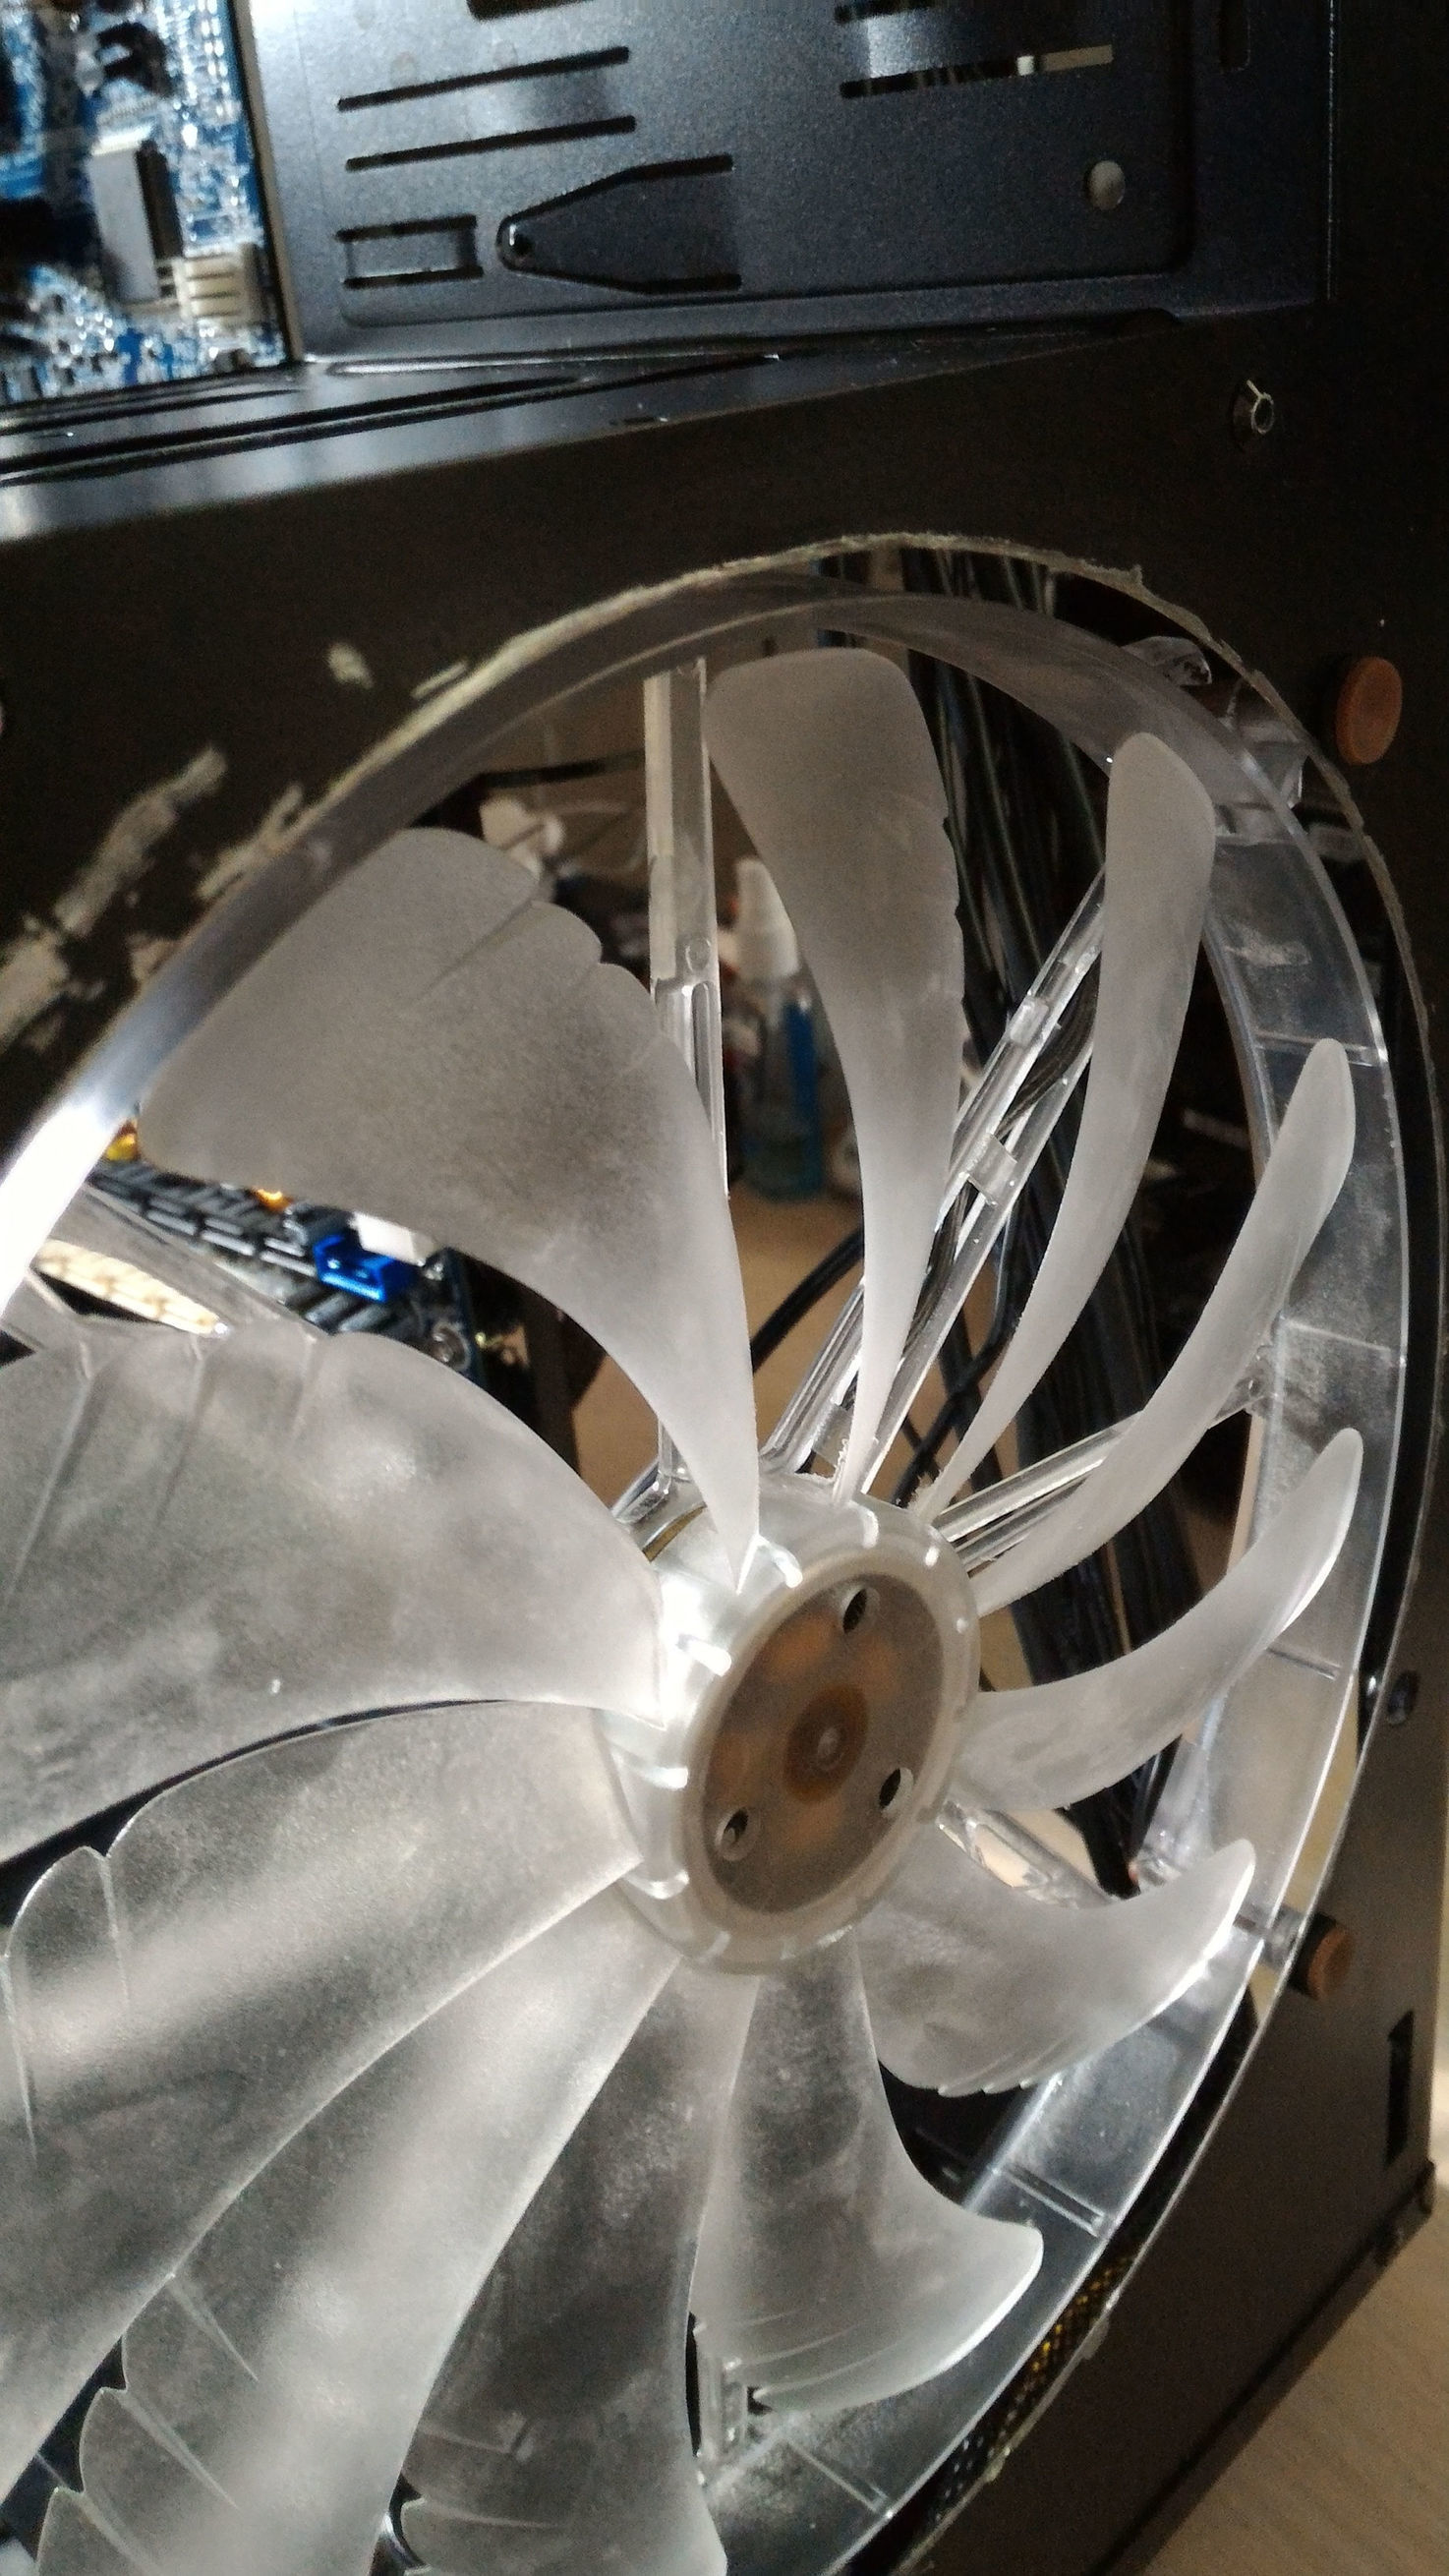
Also… grill on the front fan is removed.
Attached fan with bits from noctua fans.
That actually reduced the noise of it running a bit and made accessing some parts a bit easier.


That actually required to disassemble the case, strip the white panels (again).
Because initially I thought to stay with ugly cut-outs, sort of “for now…” excuse.
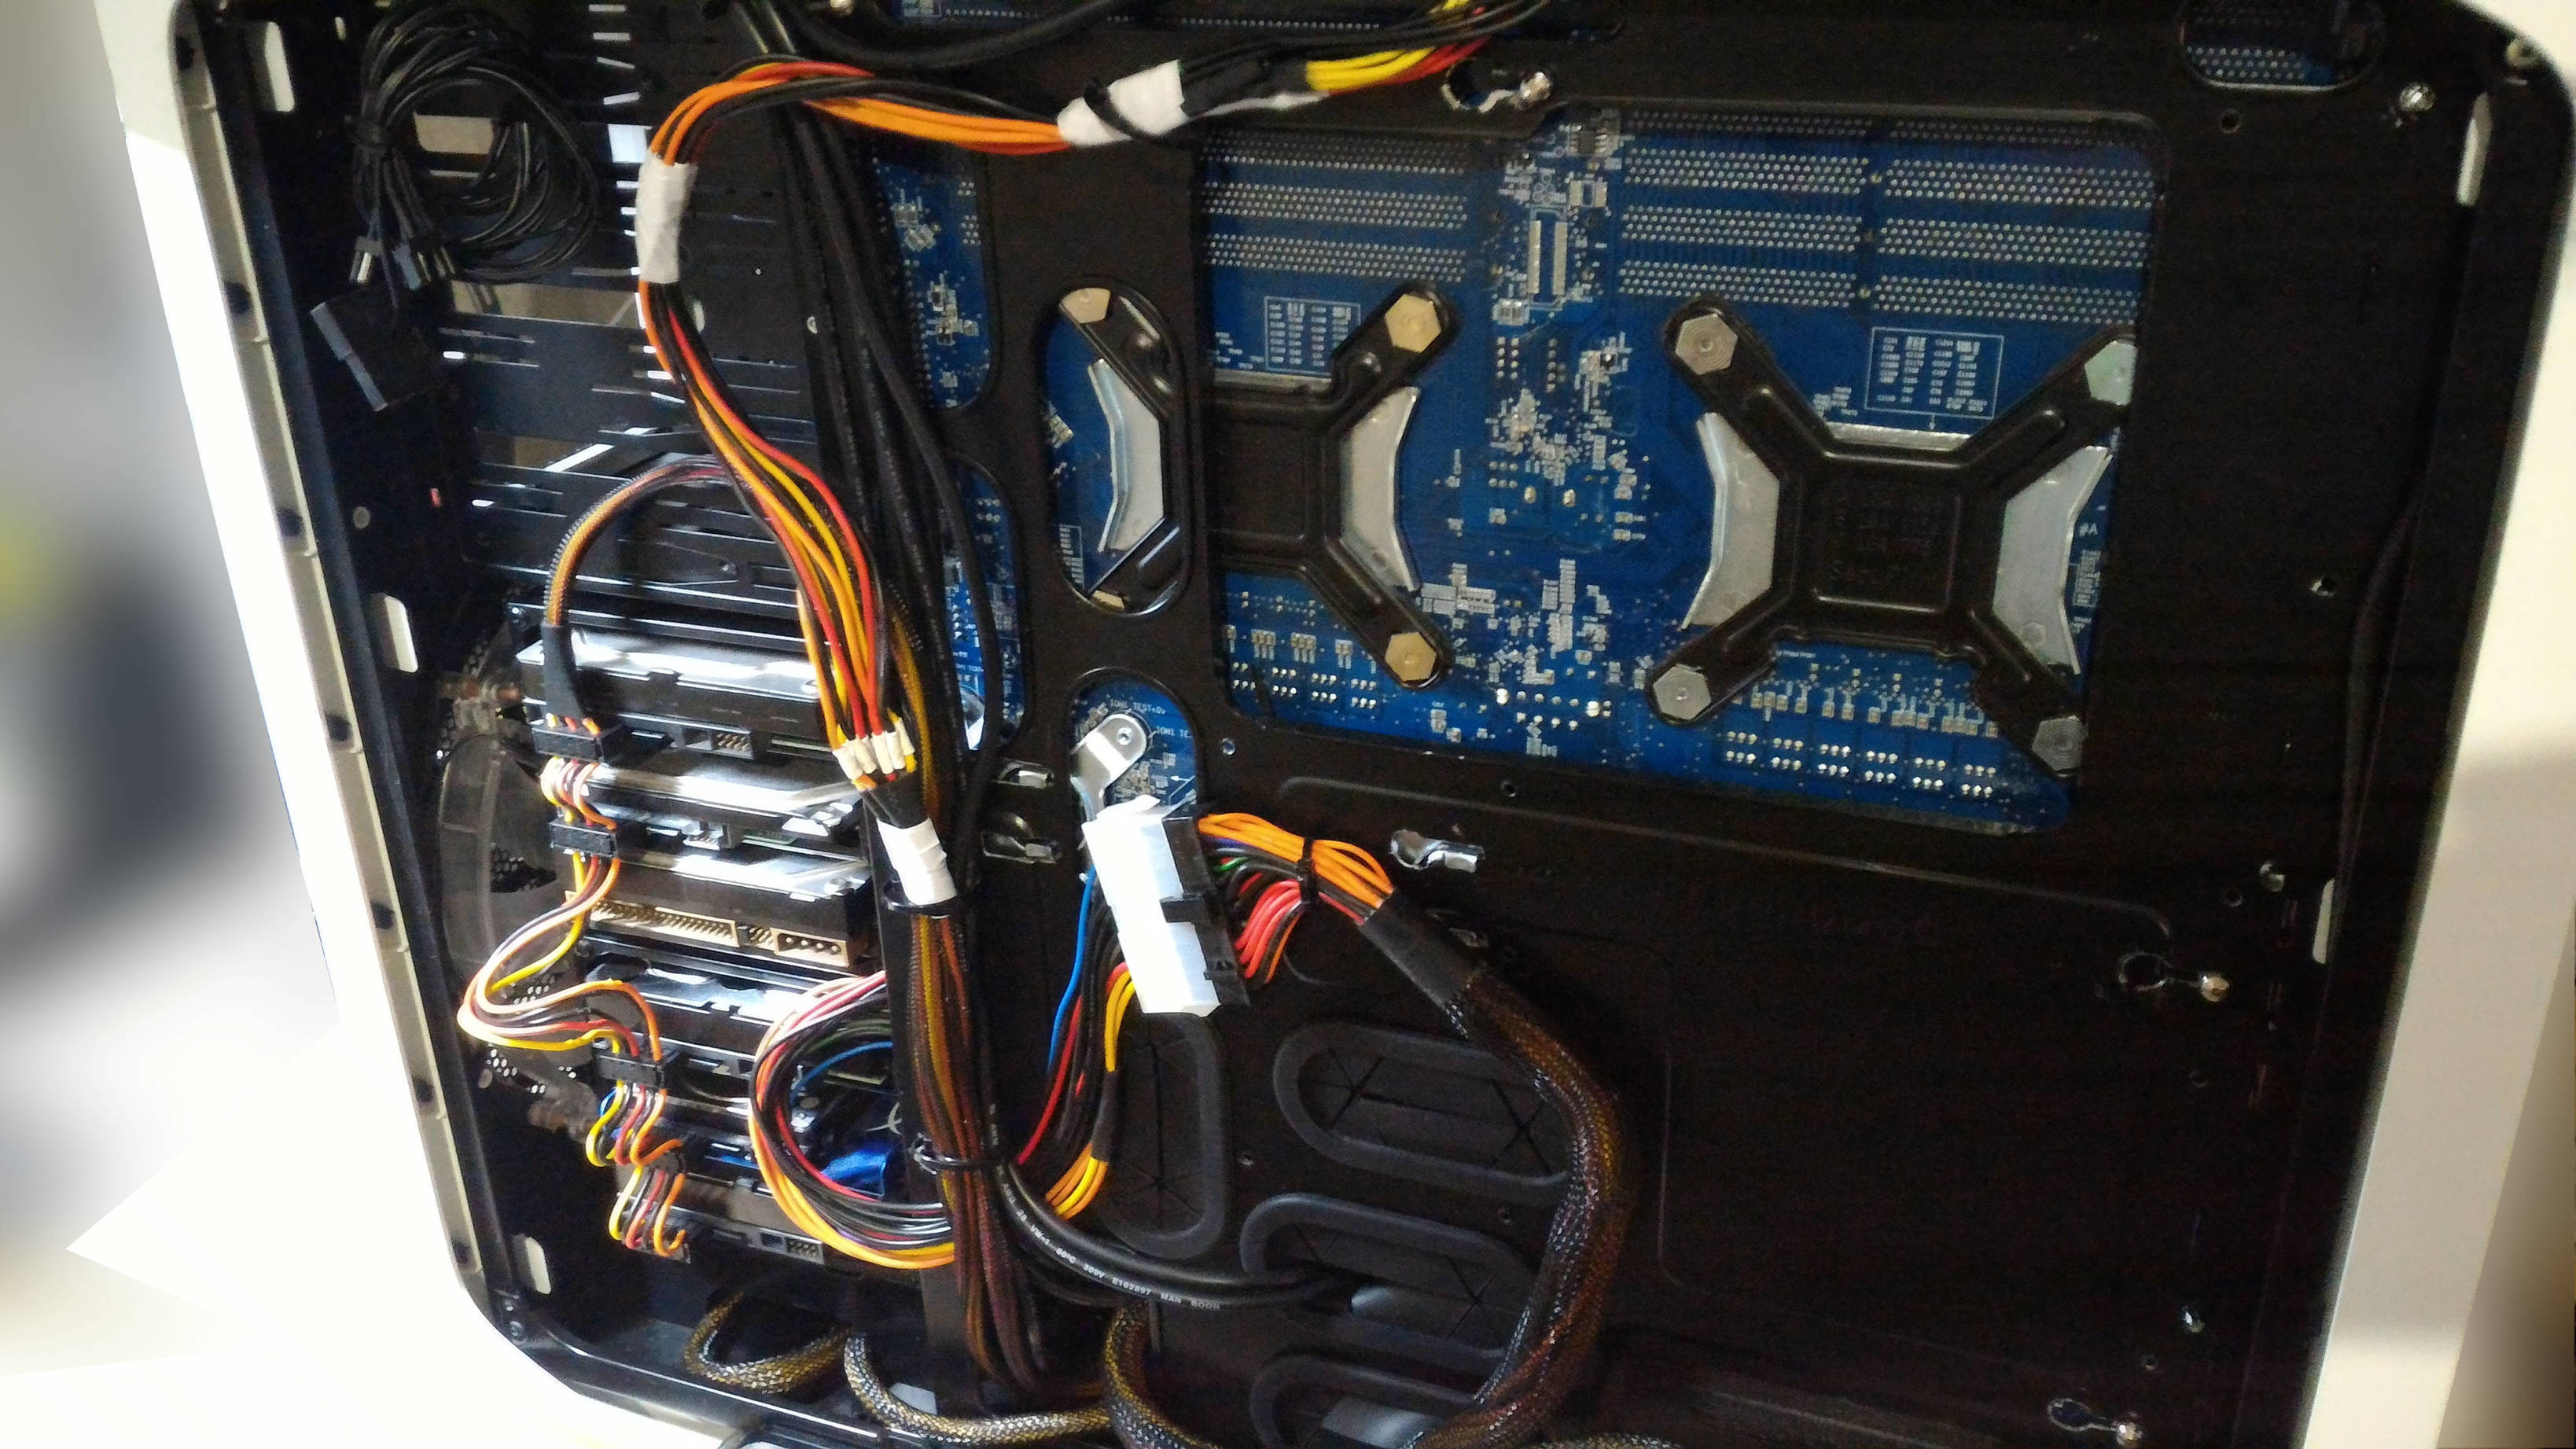
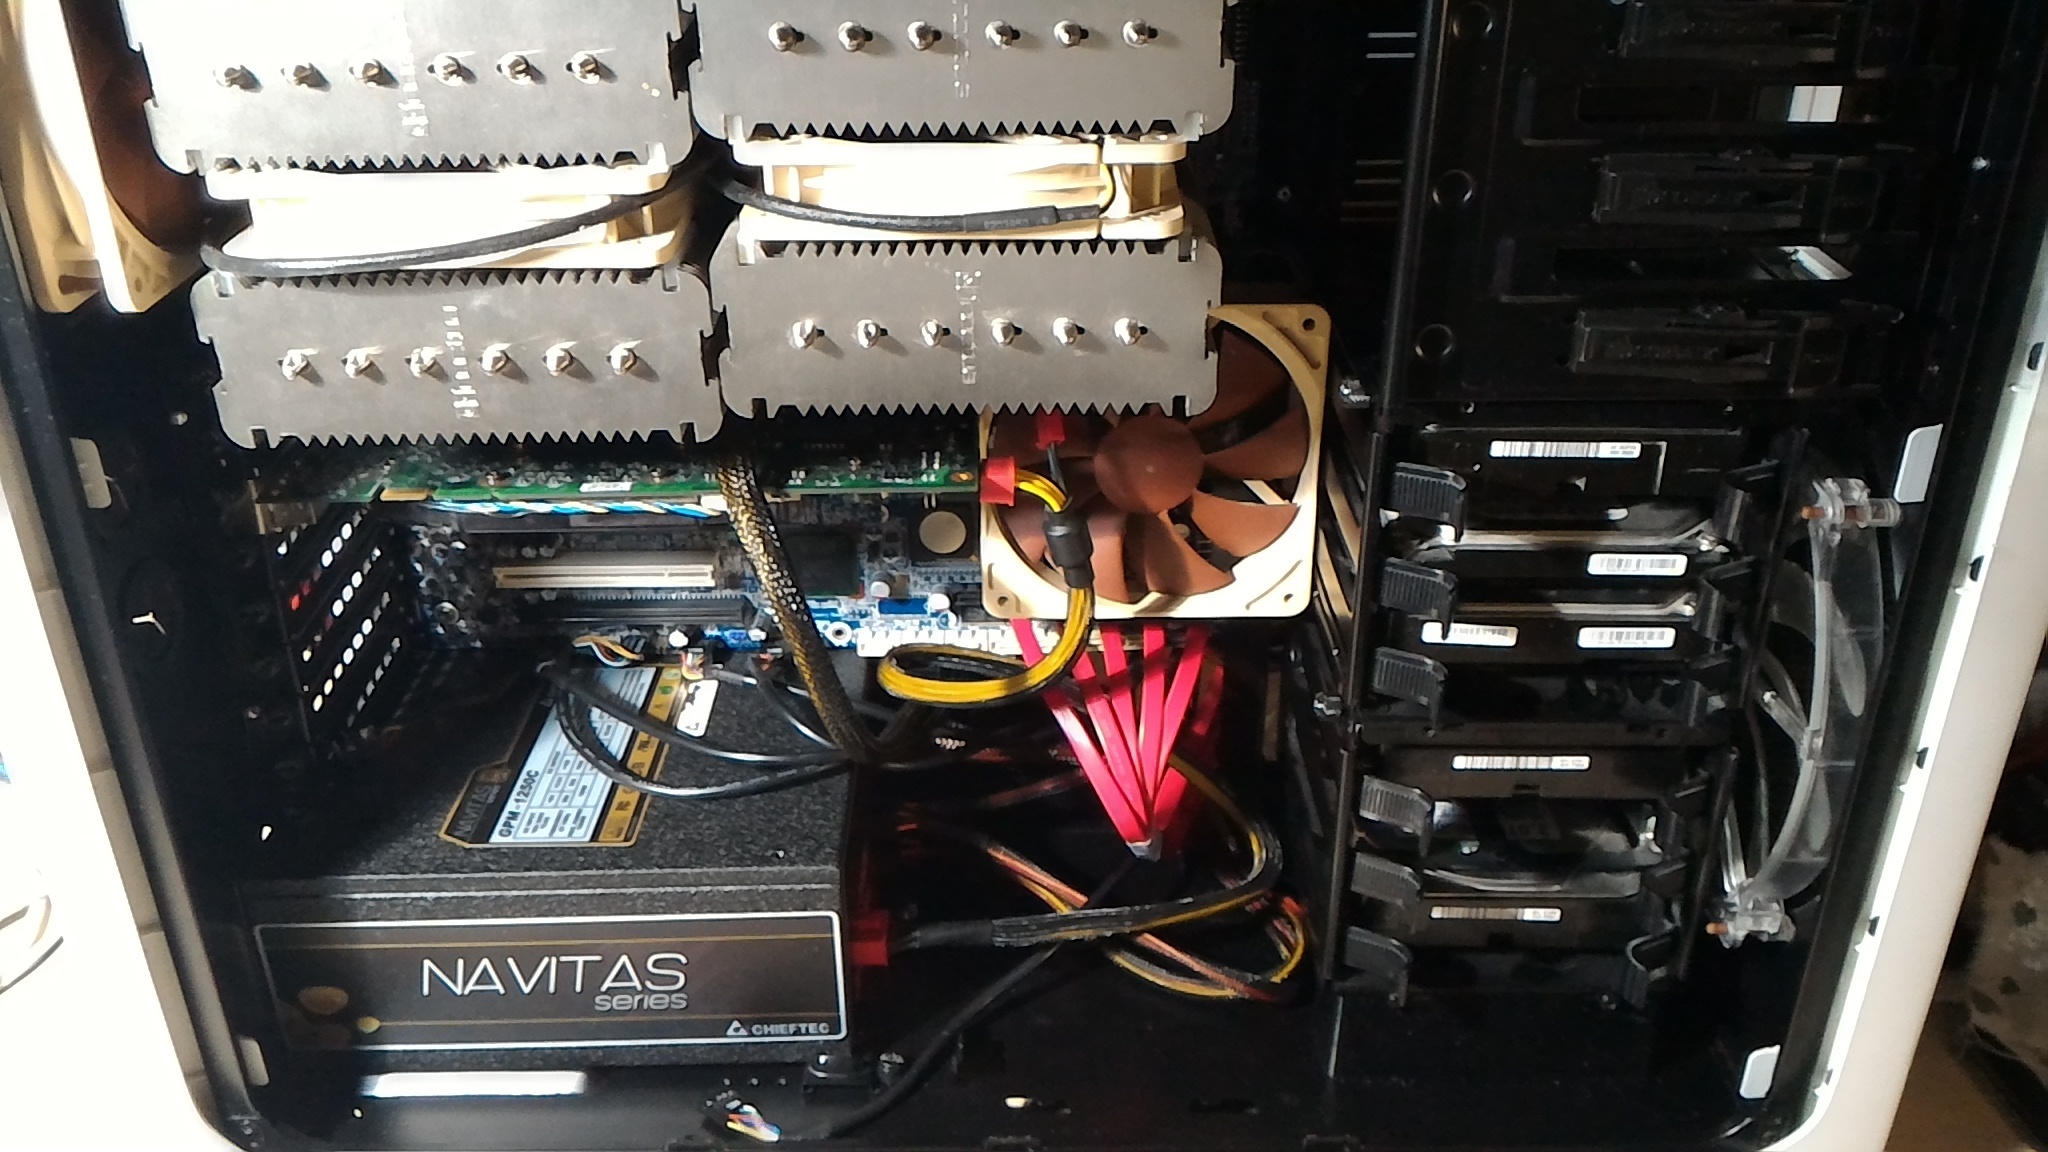
Now… the drives
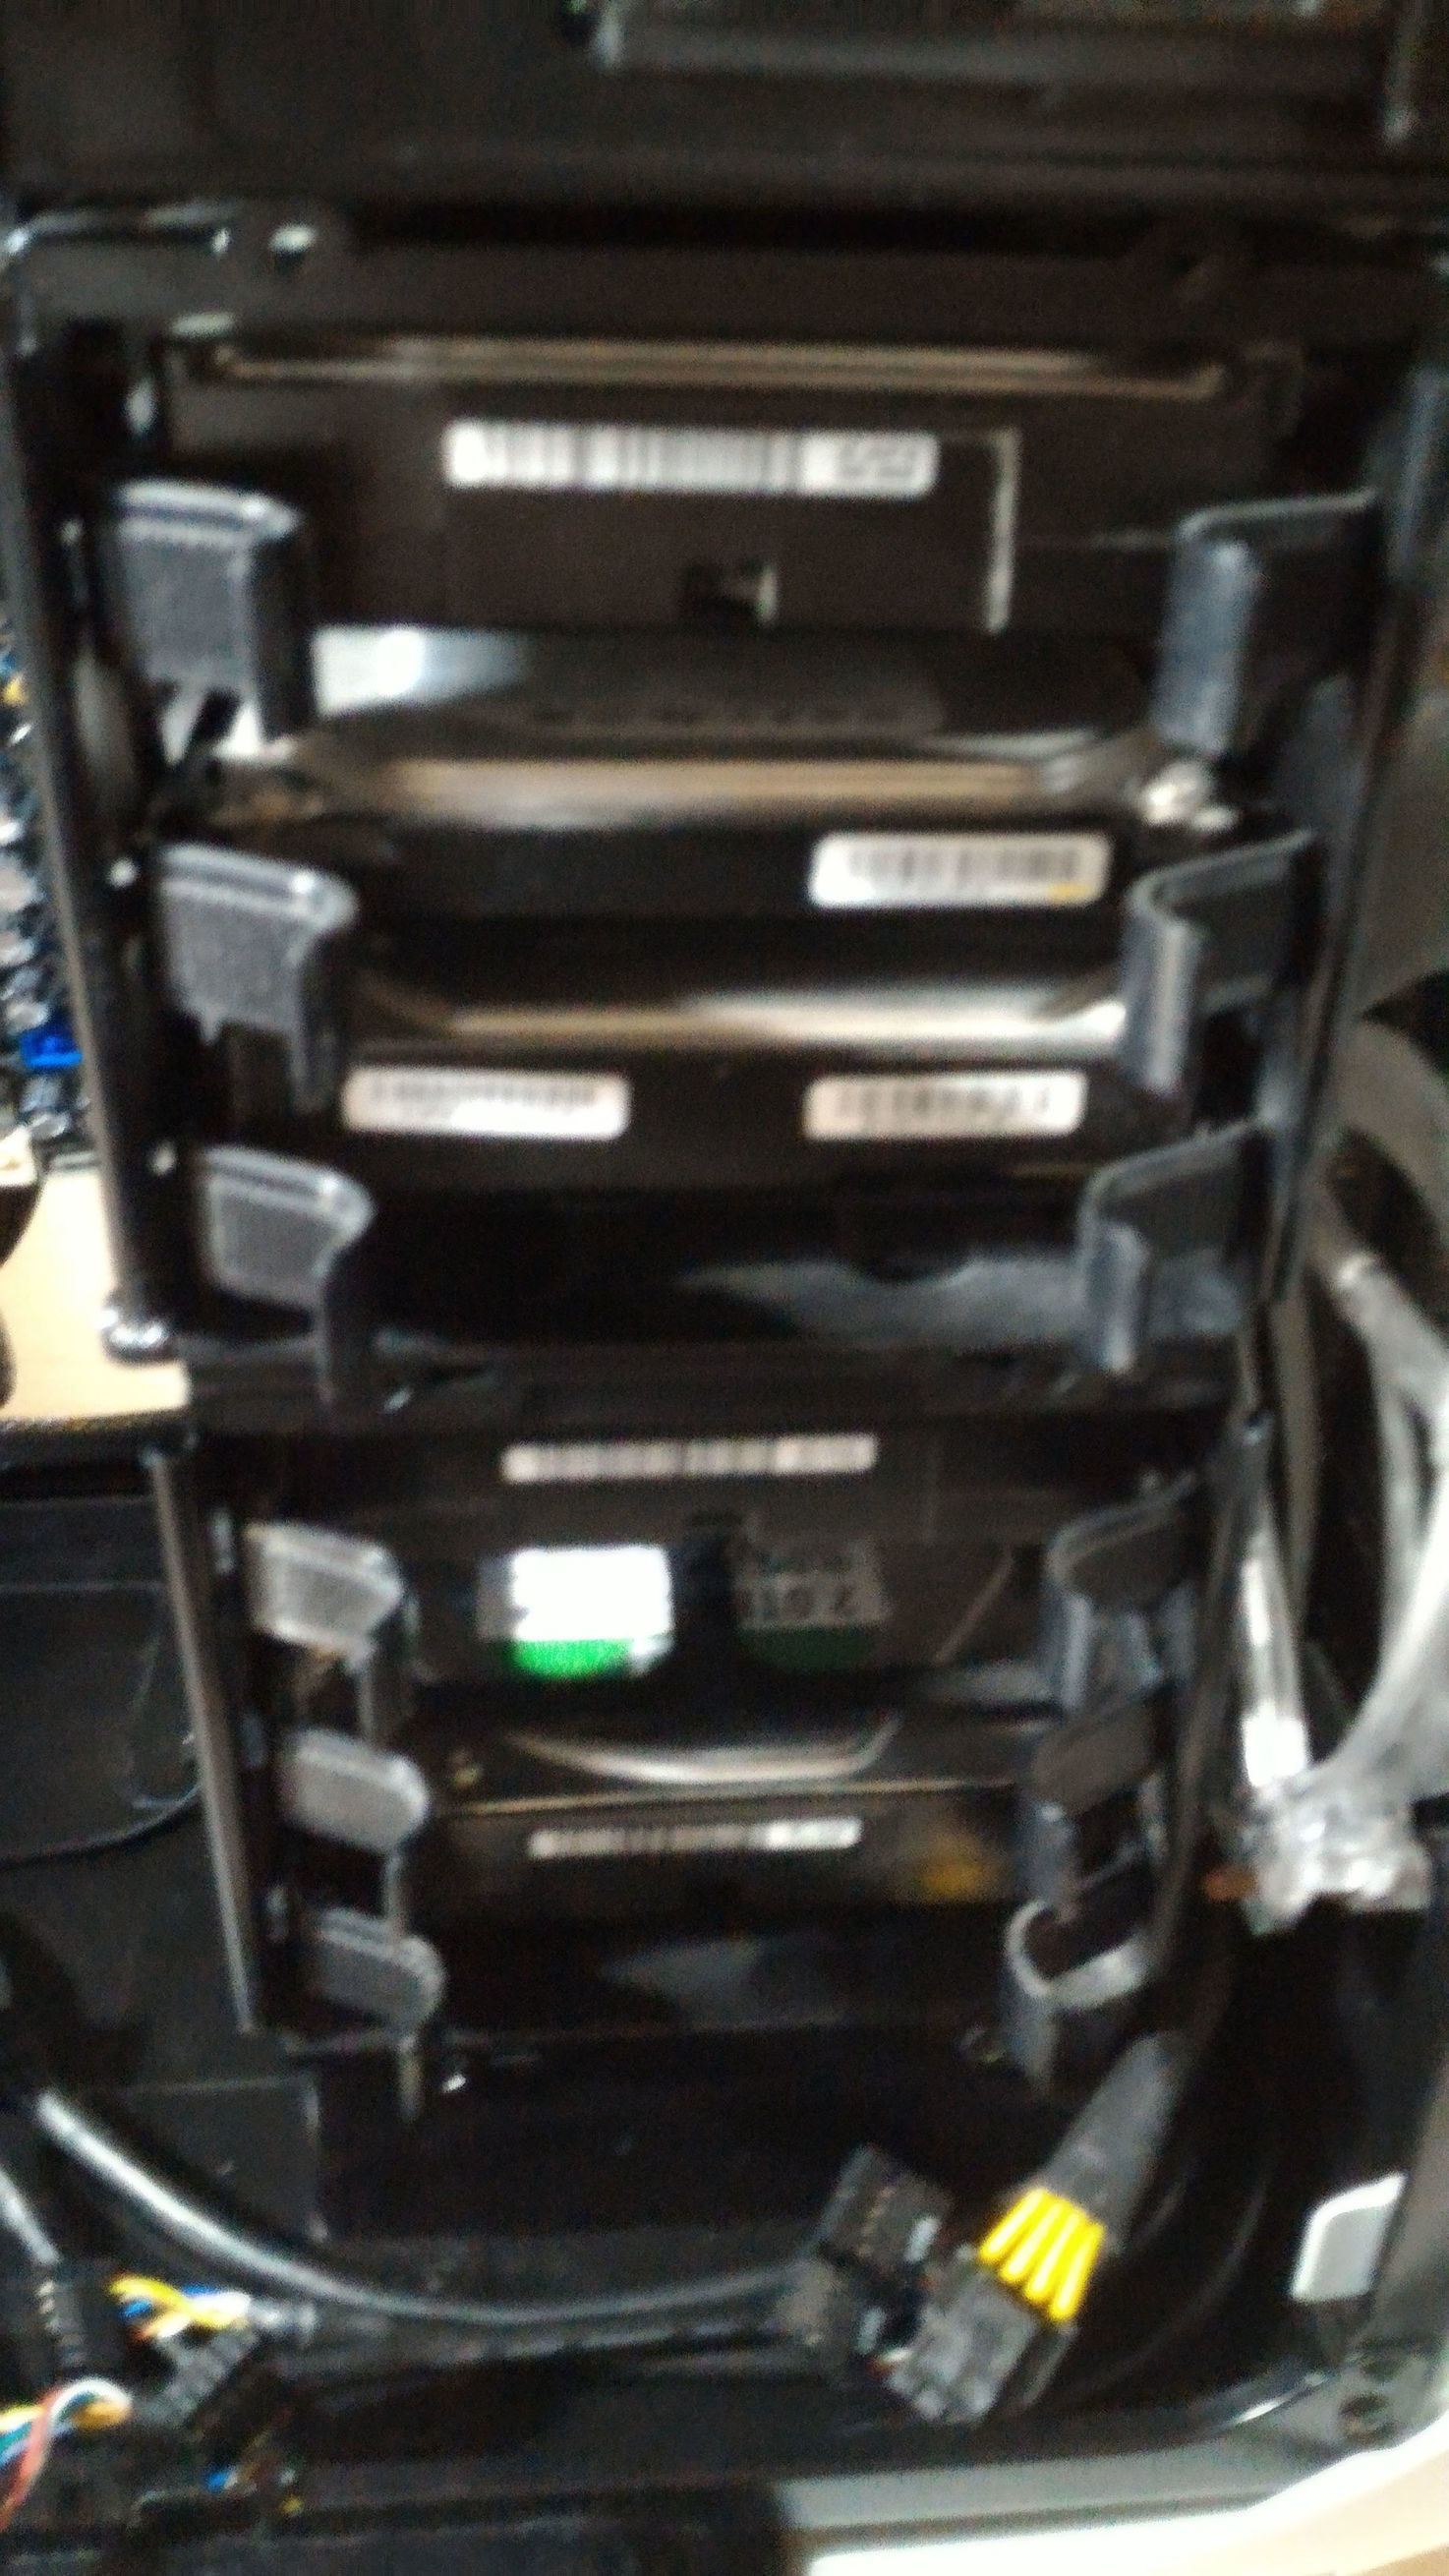
Wiring the drives power connectors…

Actually, after looking at how those are entangled and what pressure they give onto
the drive’s connectors, considered to put them on one “bus”

Wiring the pins for controls and face panel cables…
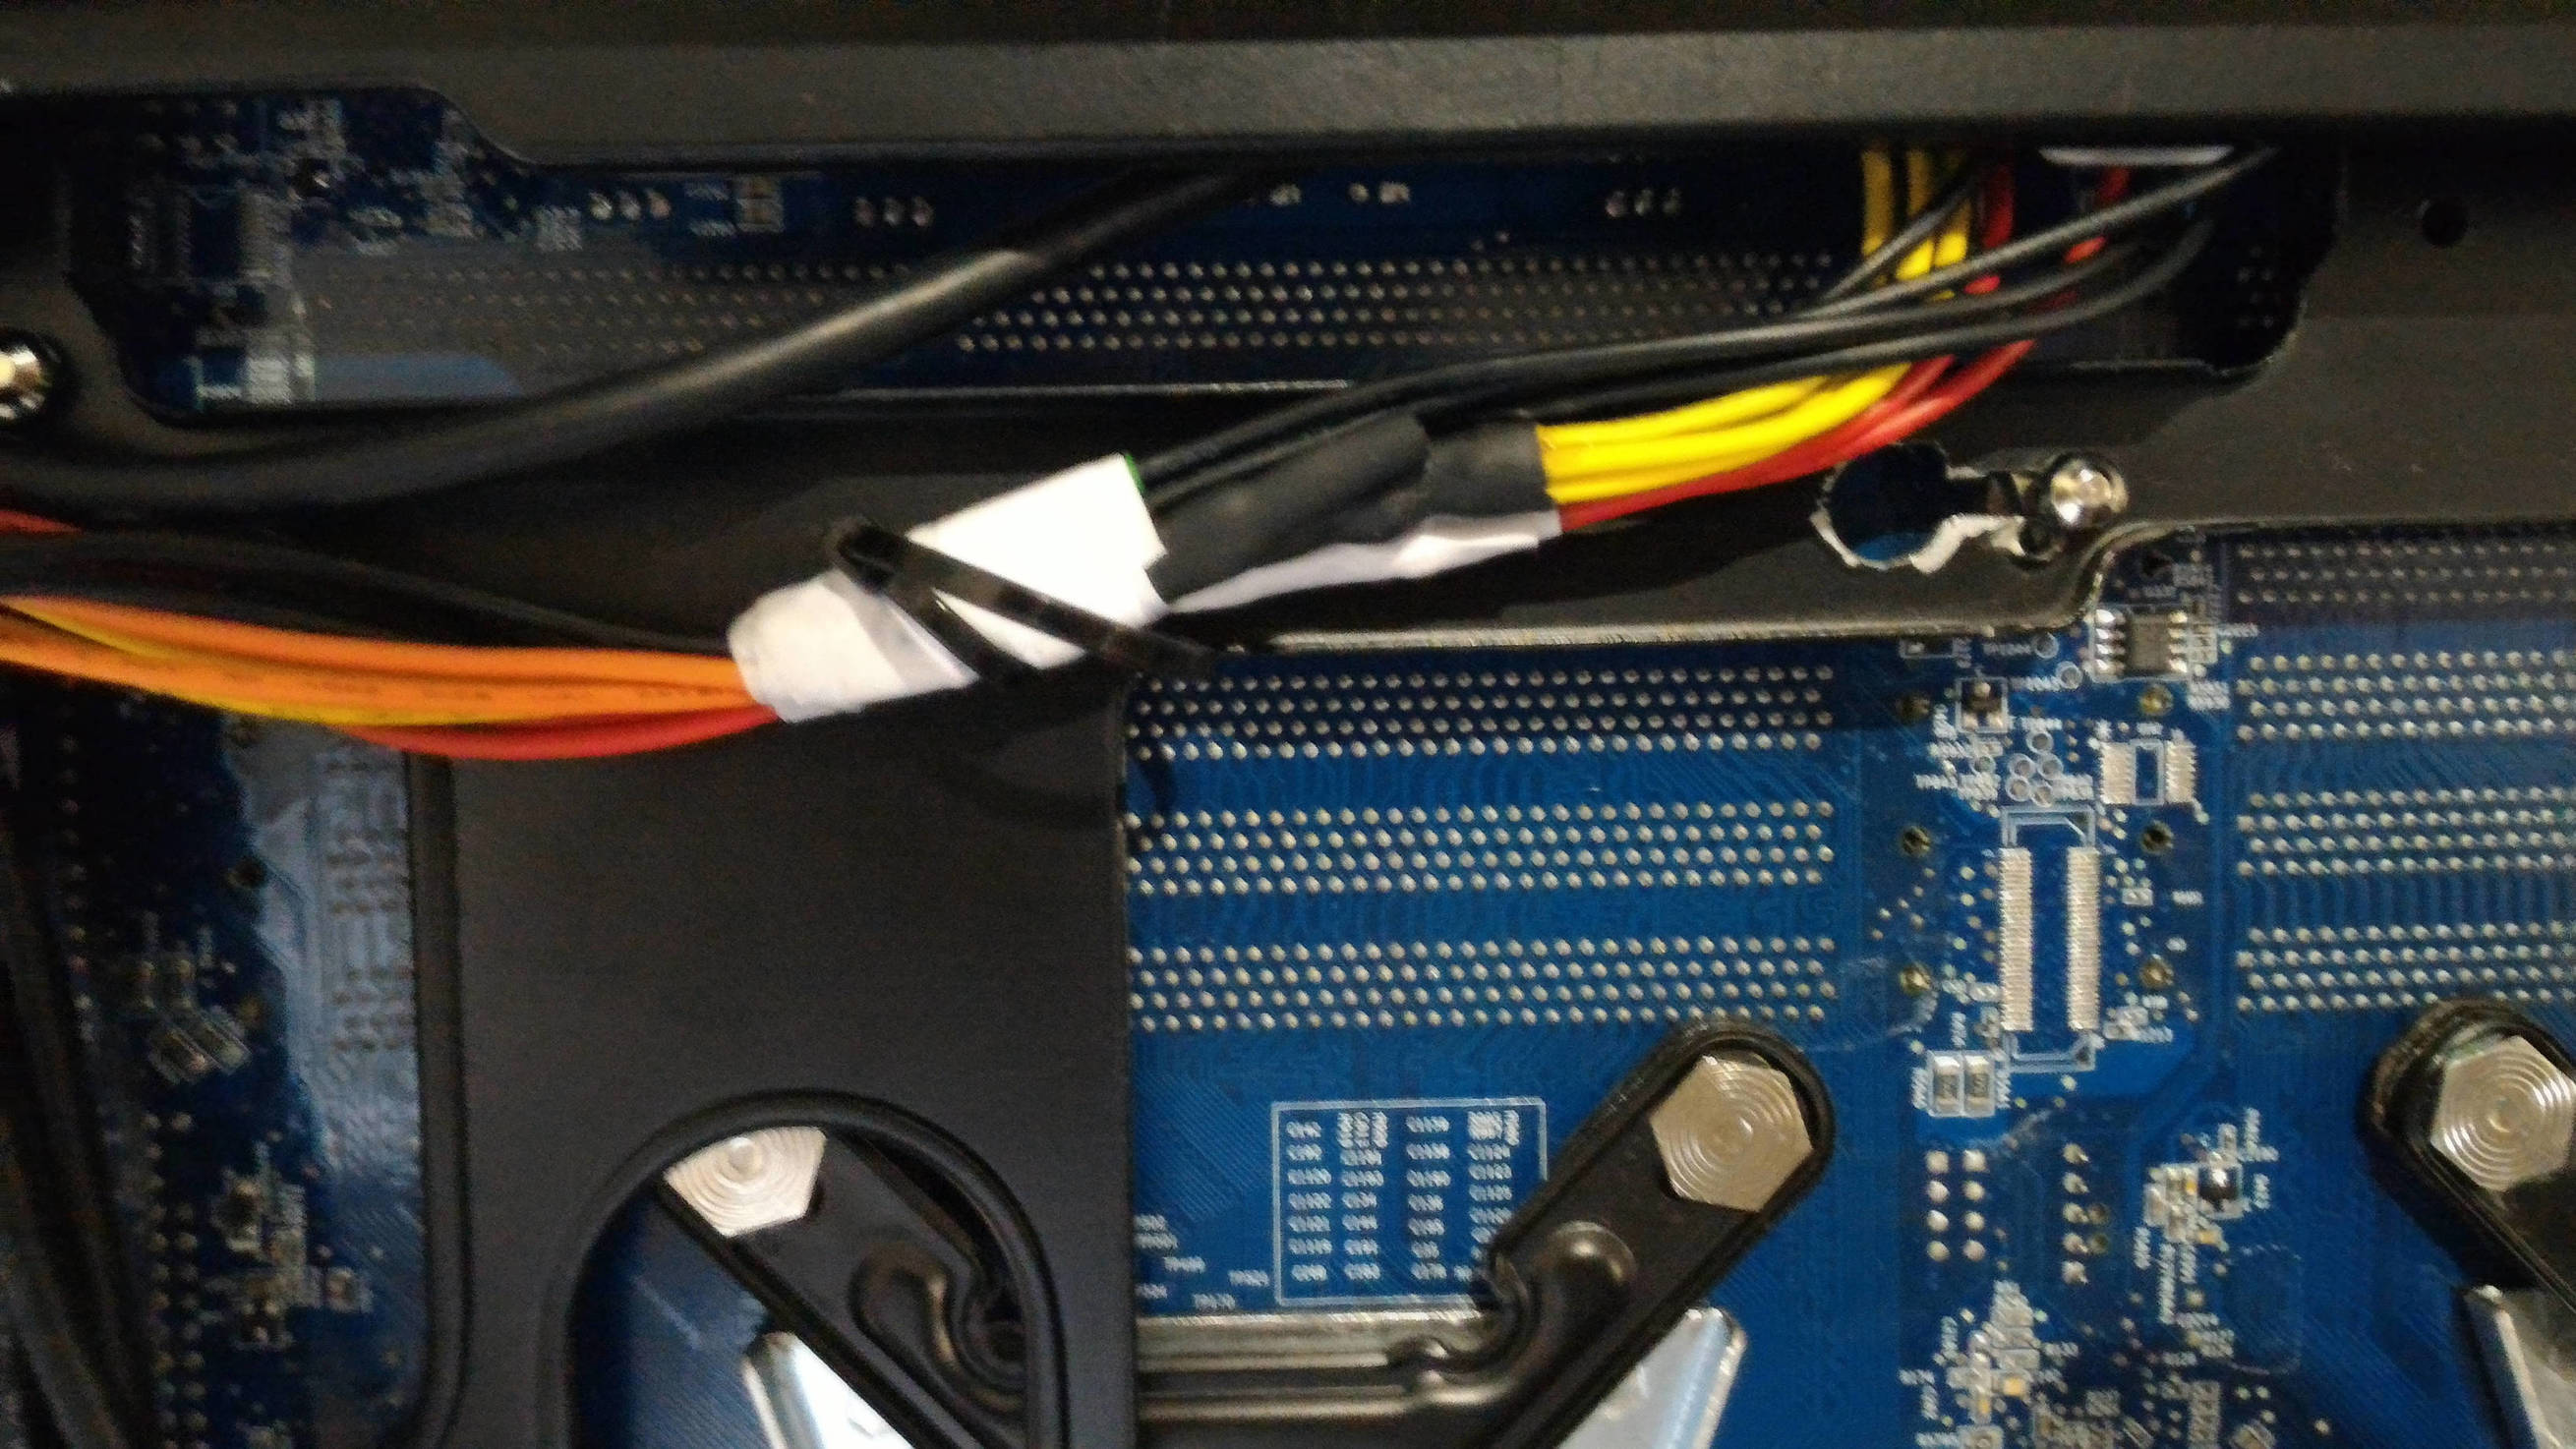
And now the “memory cable”
Previously while doing test run had burned down one of four RAM modules.
Suspect that it is because I used RAM power cable improperly, I’ve connected the cd-rom drive
to it because the RAM cable uses two molexes to drink from PSU. Stupid, I know now.
Well “you live your life and you are learning all your life”, or something like that.
So this time its a big “NO” to using molexes, the cable is soldered together using two
“drive” type (not those from video card) cabled to be healthy on power, hopefully.
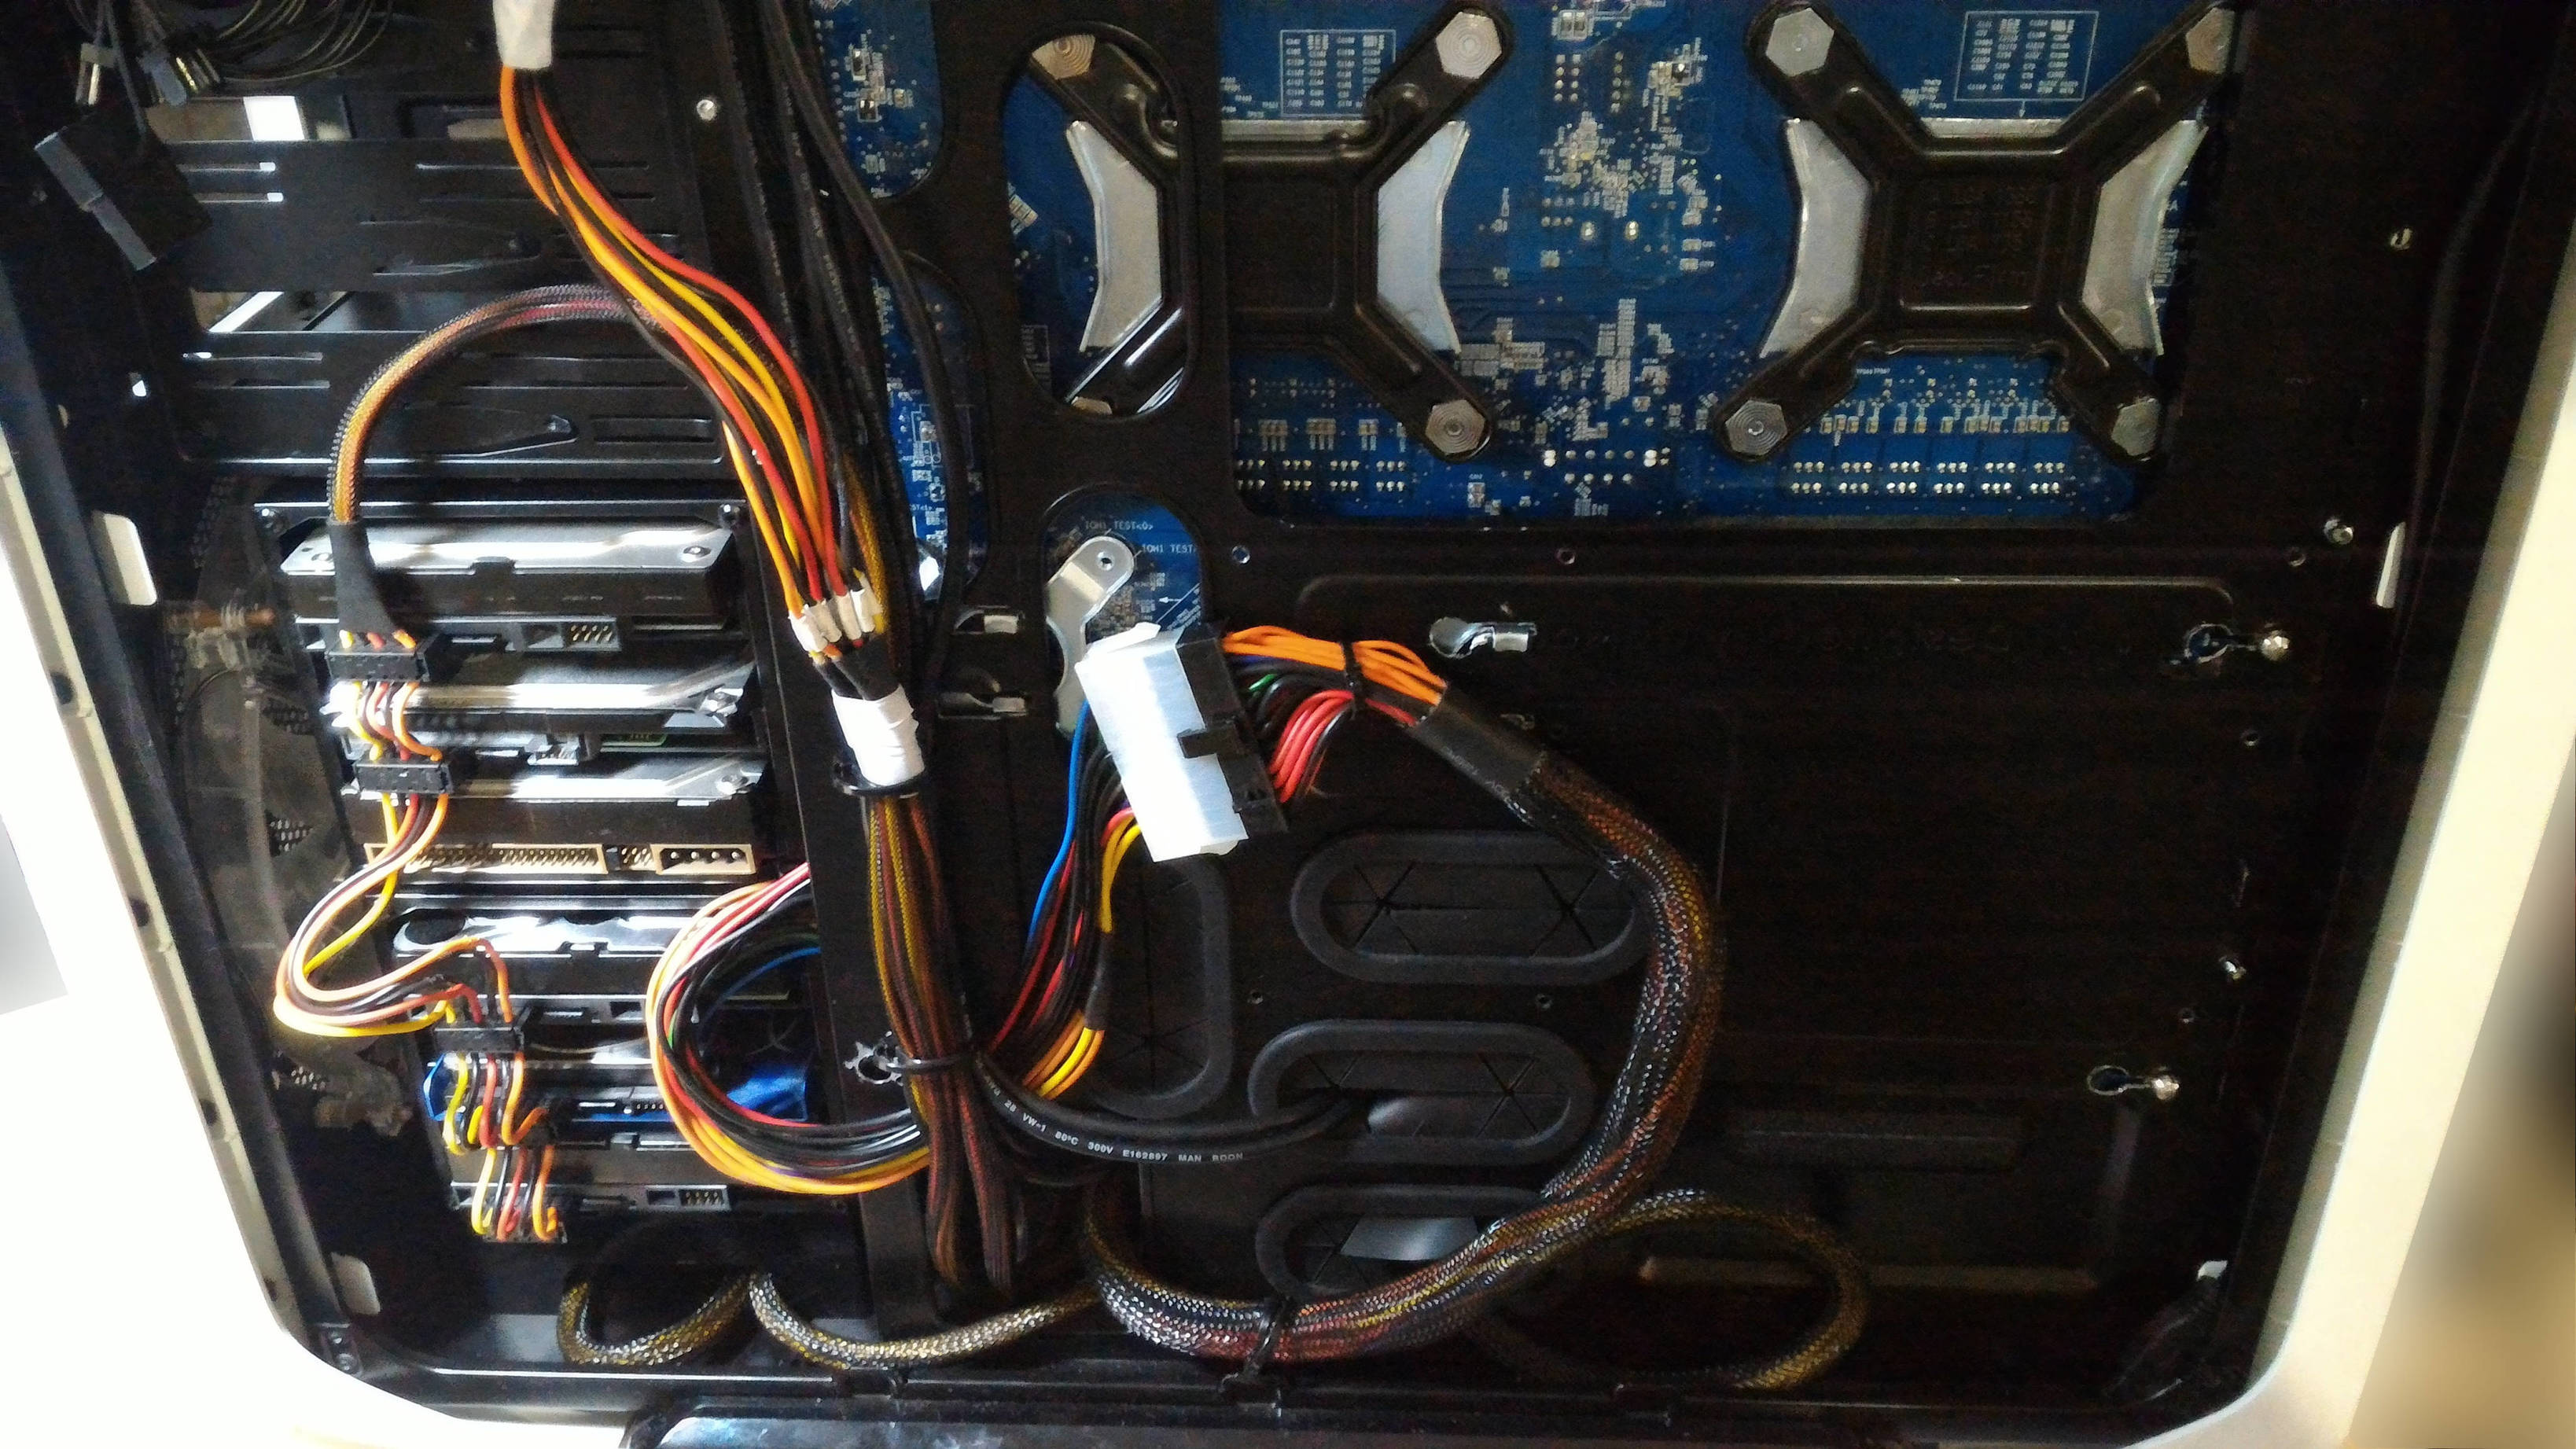
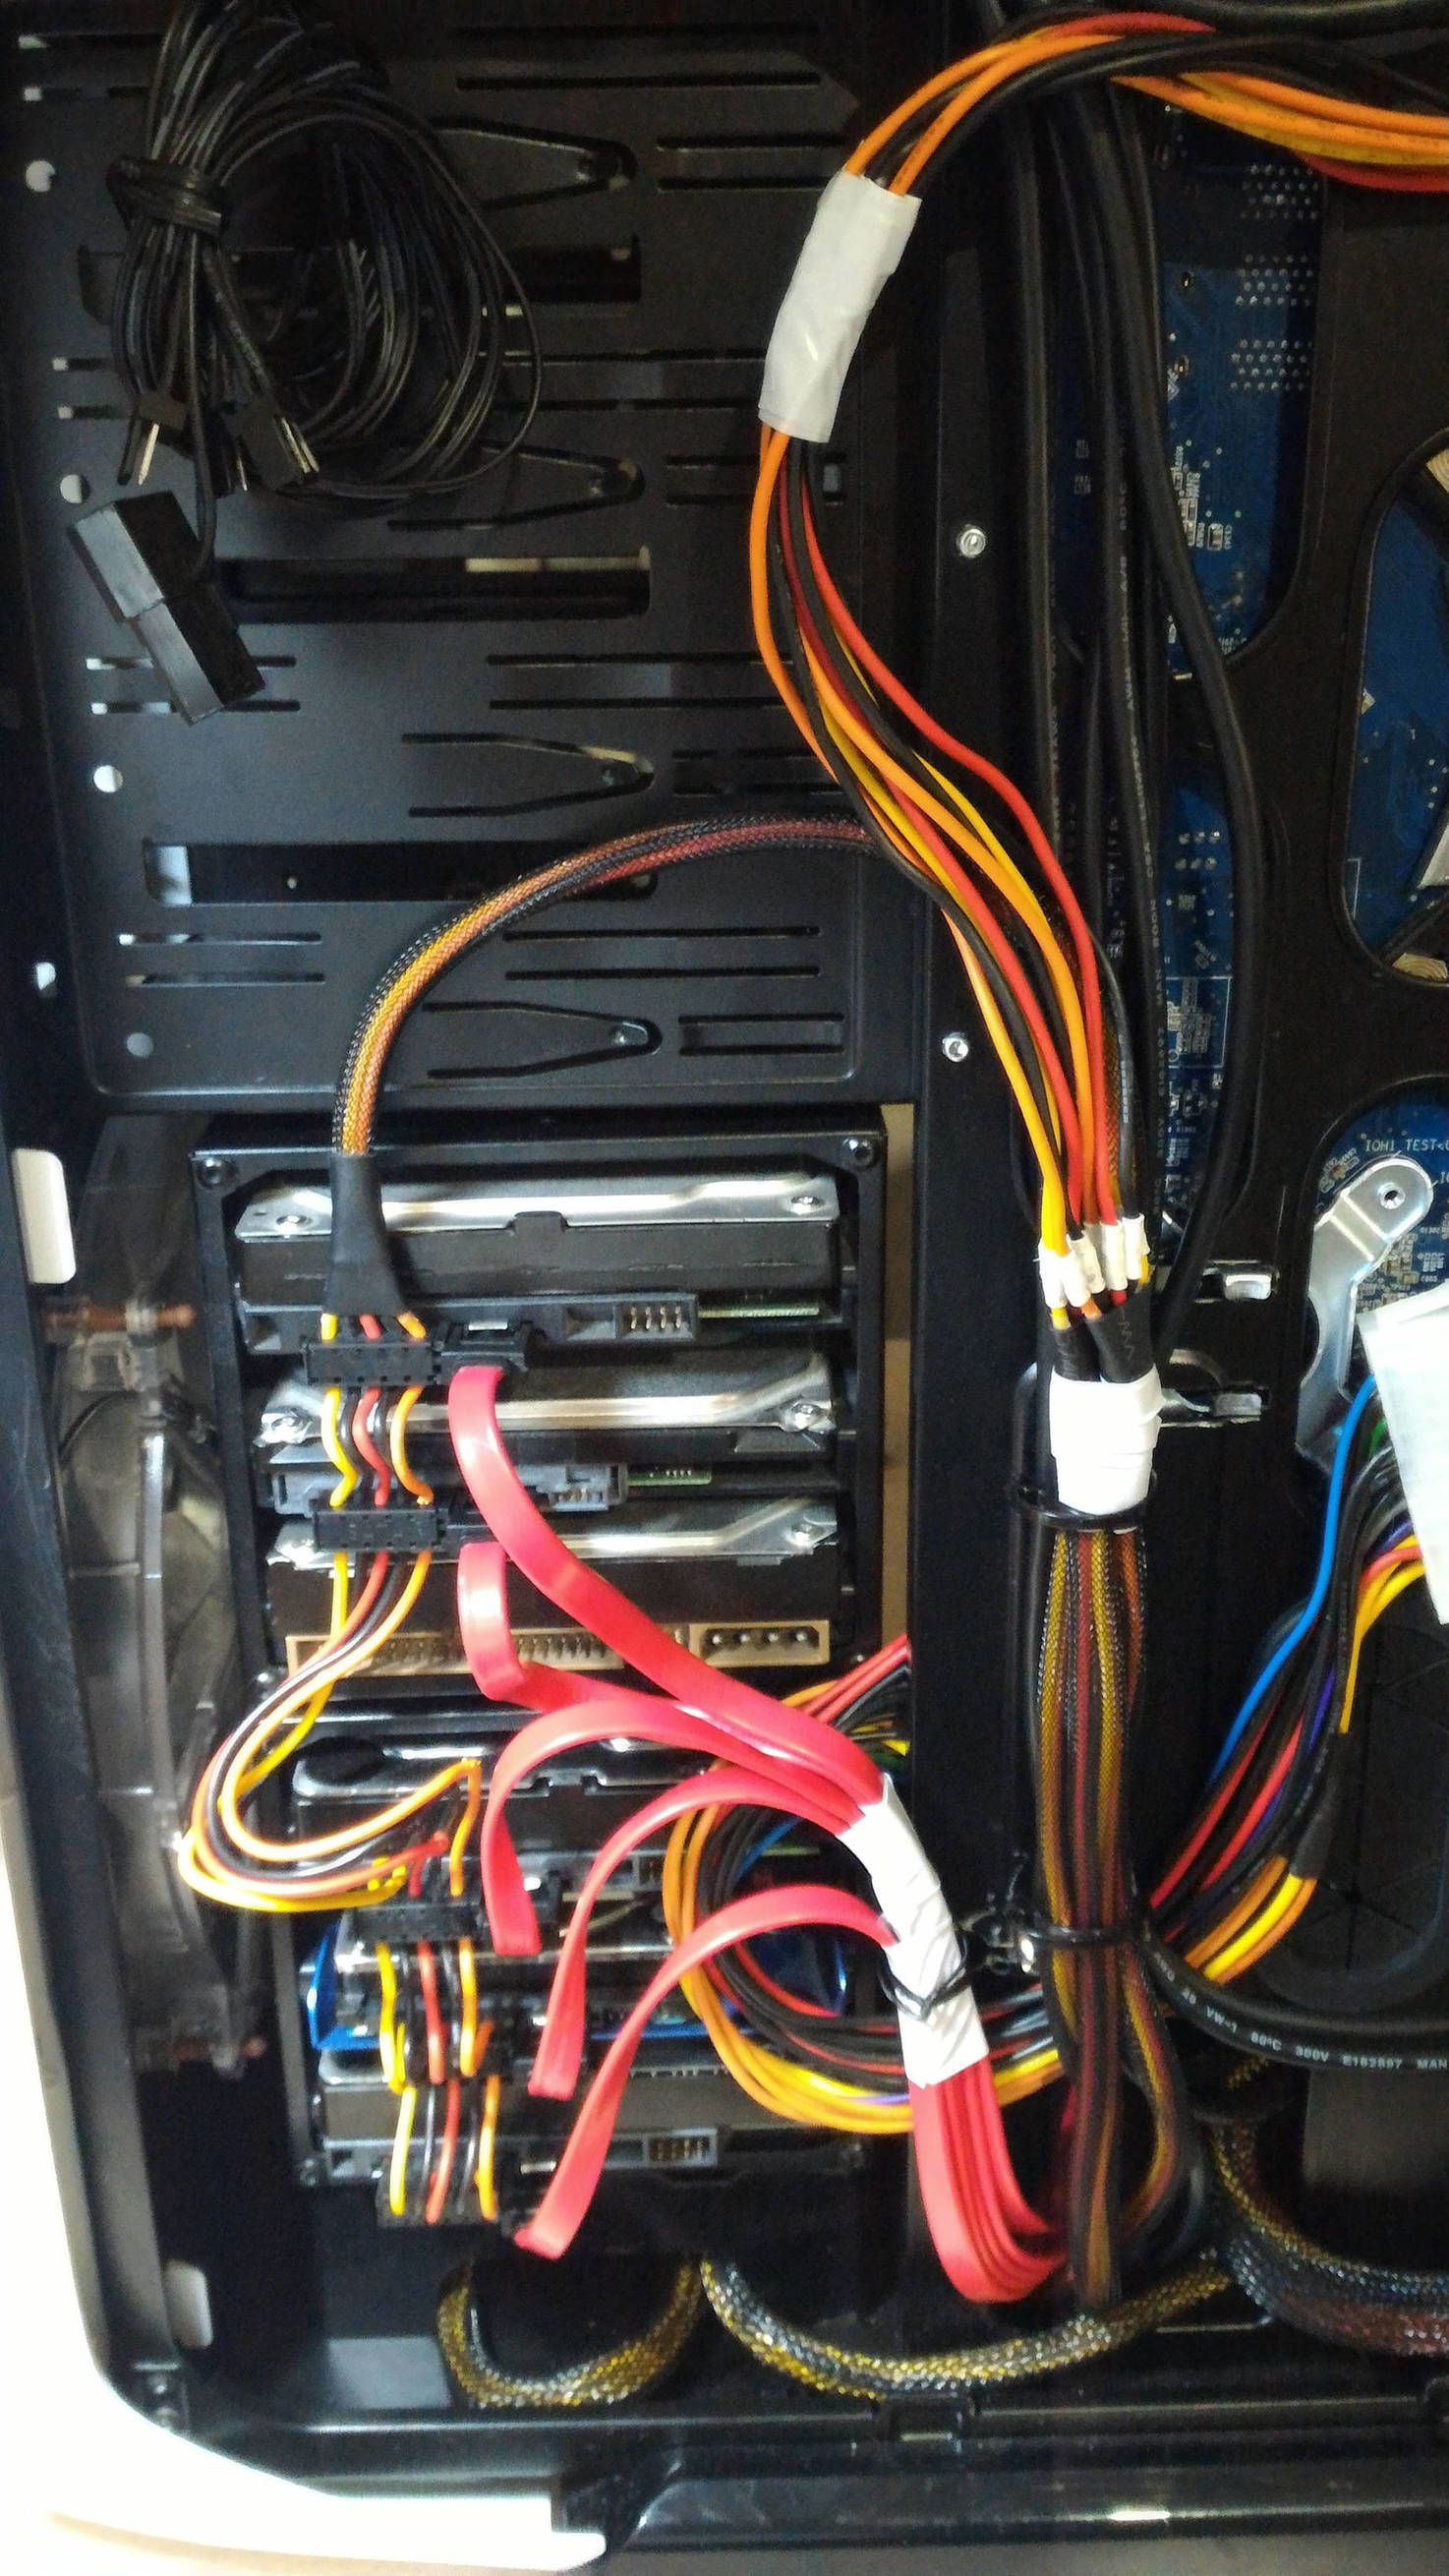

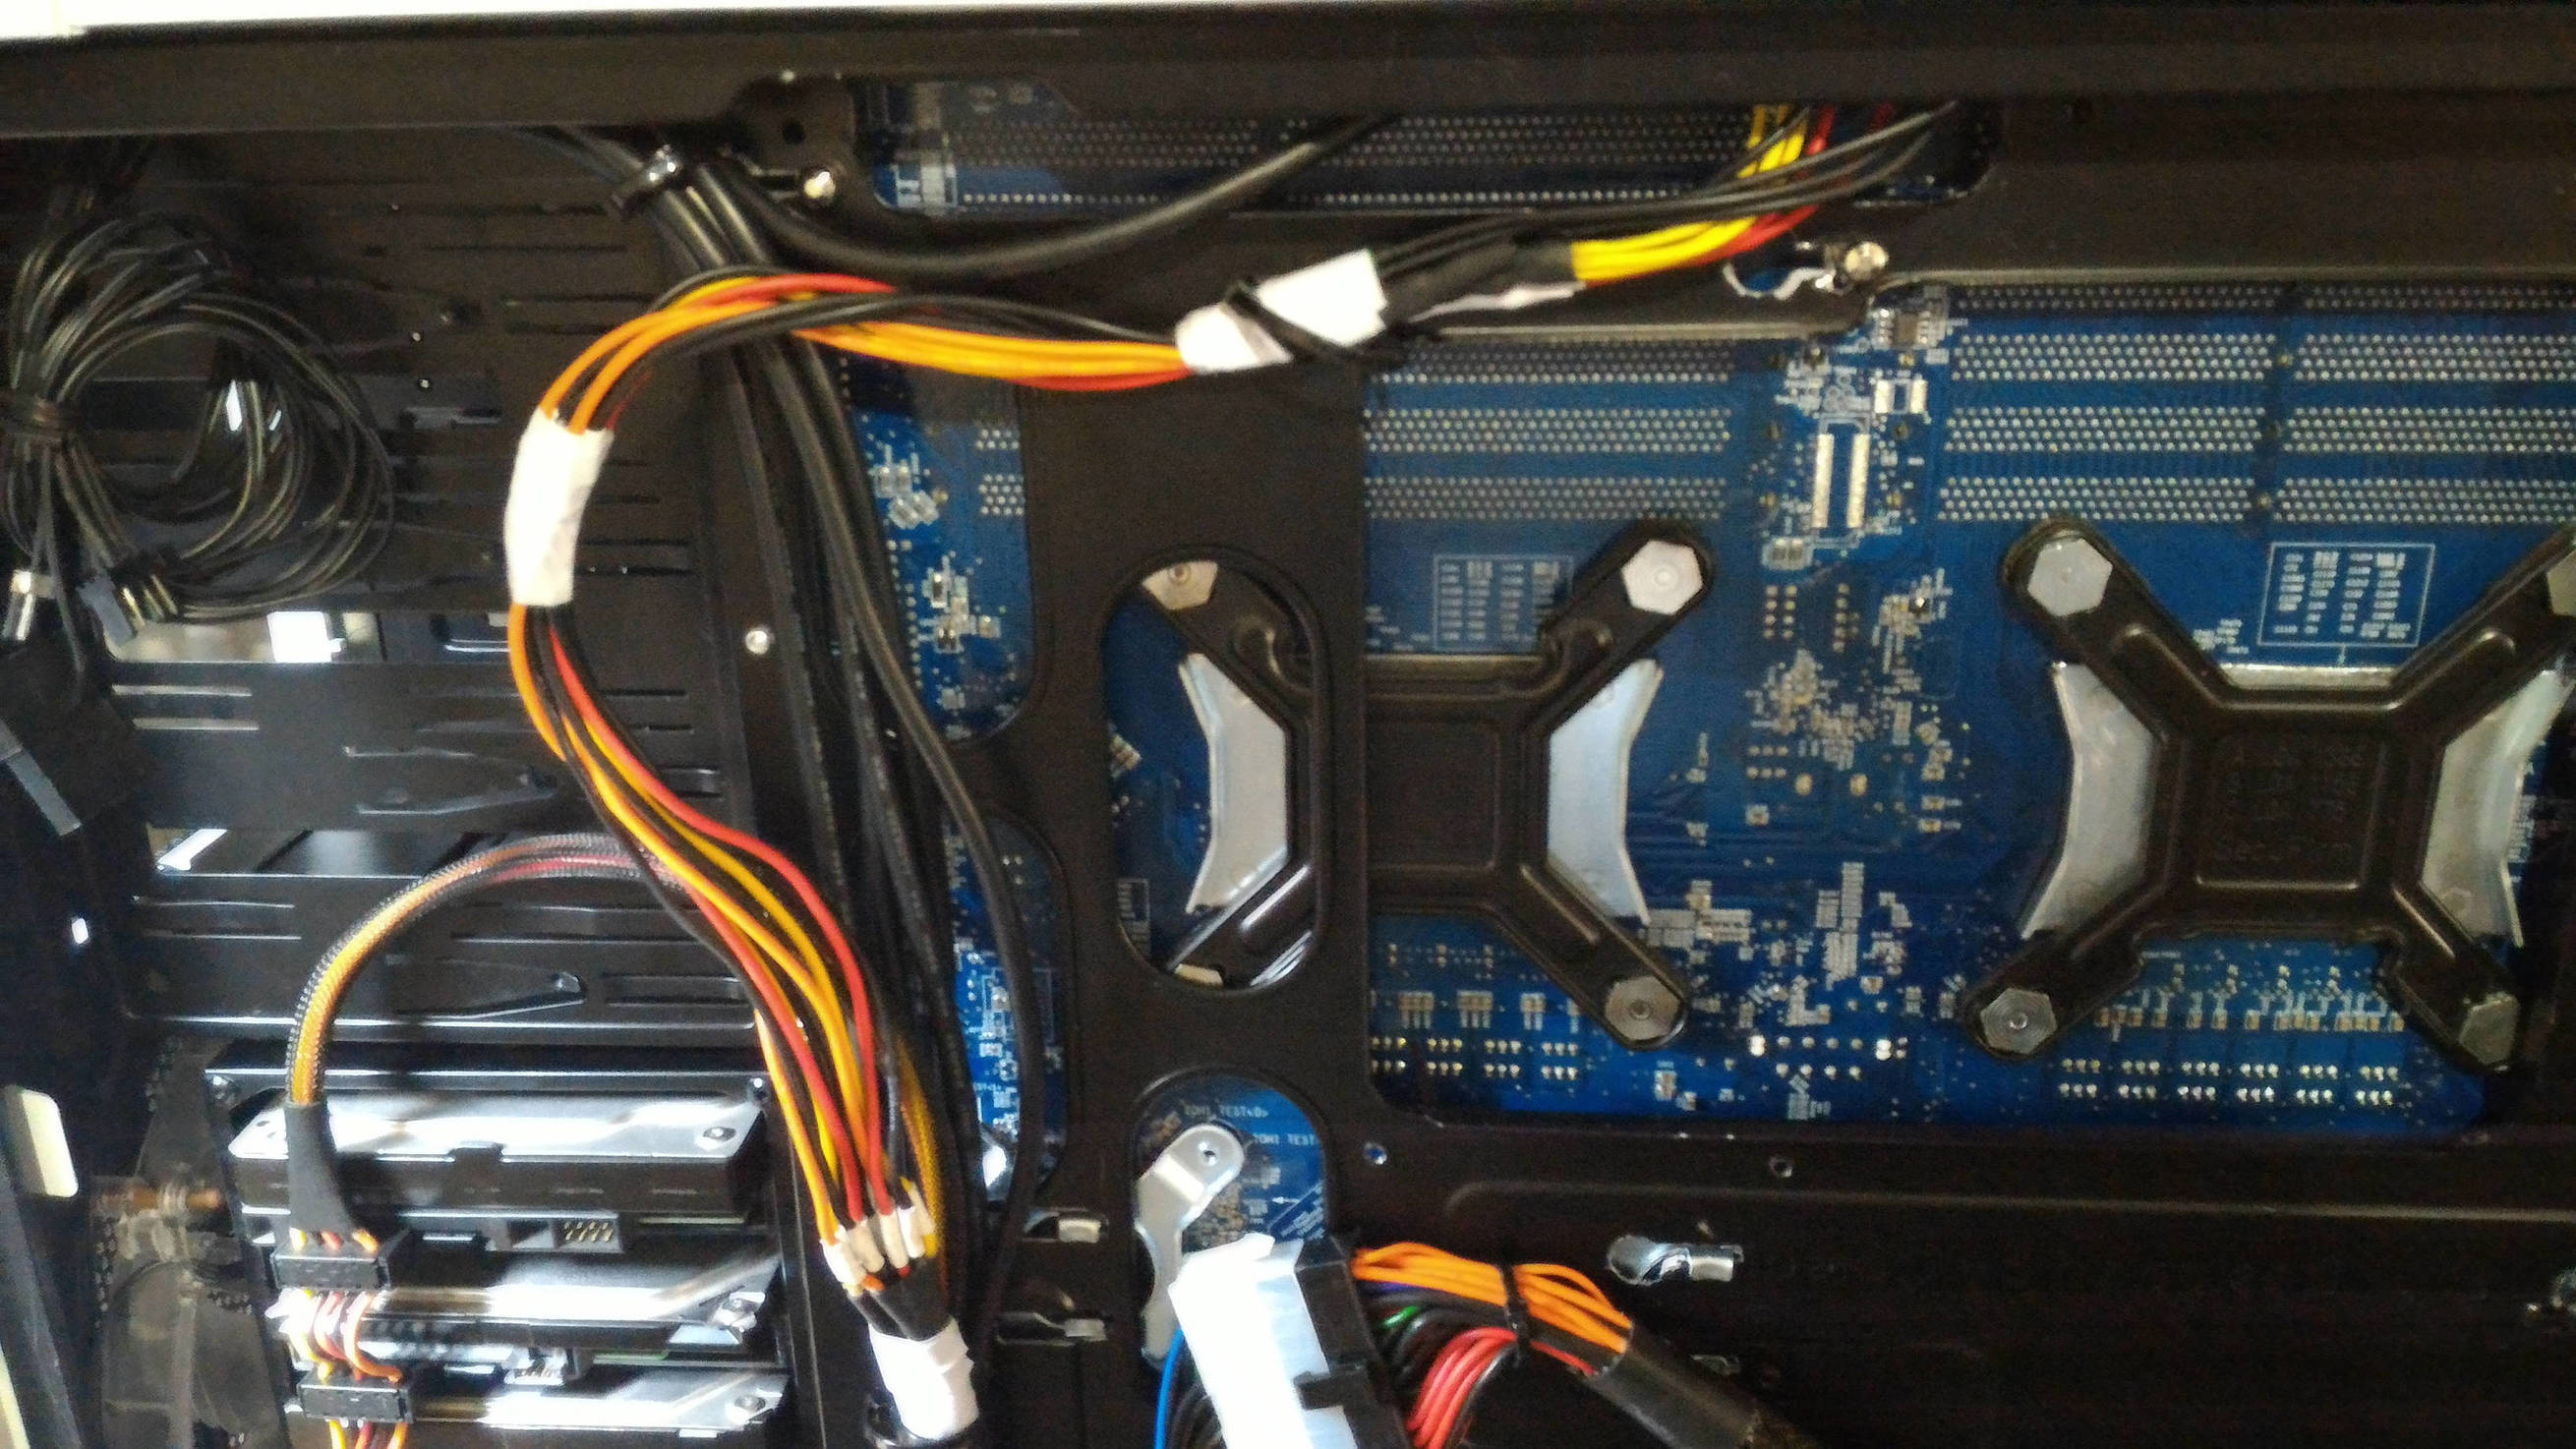
The data cables…


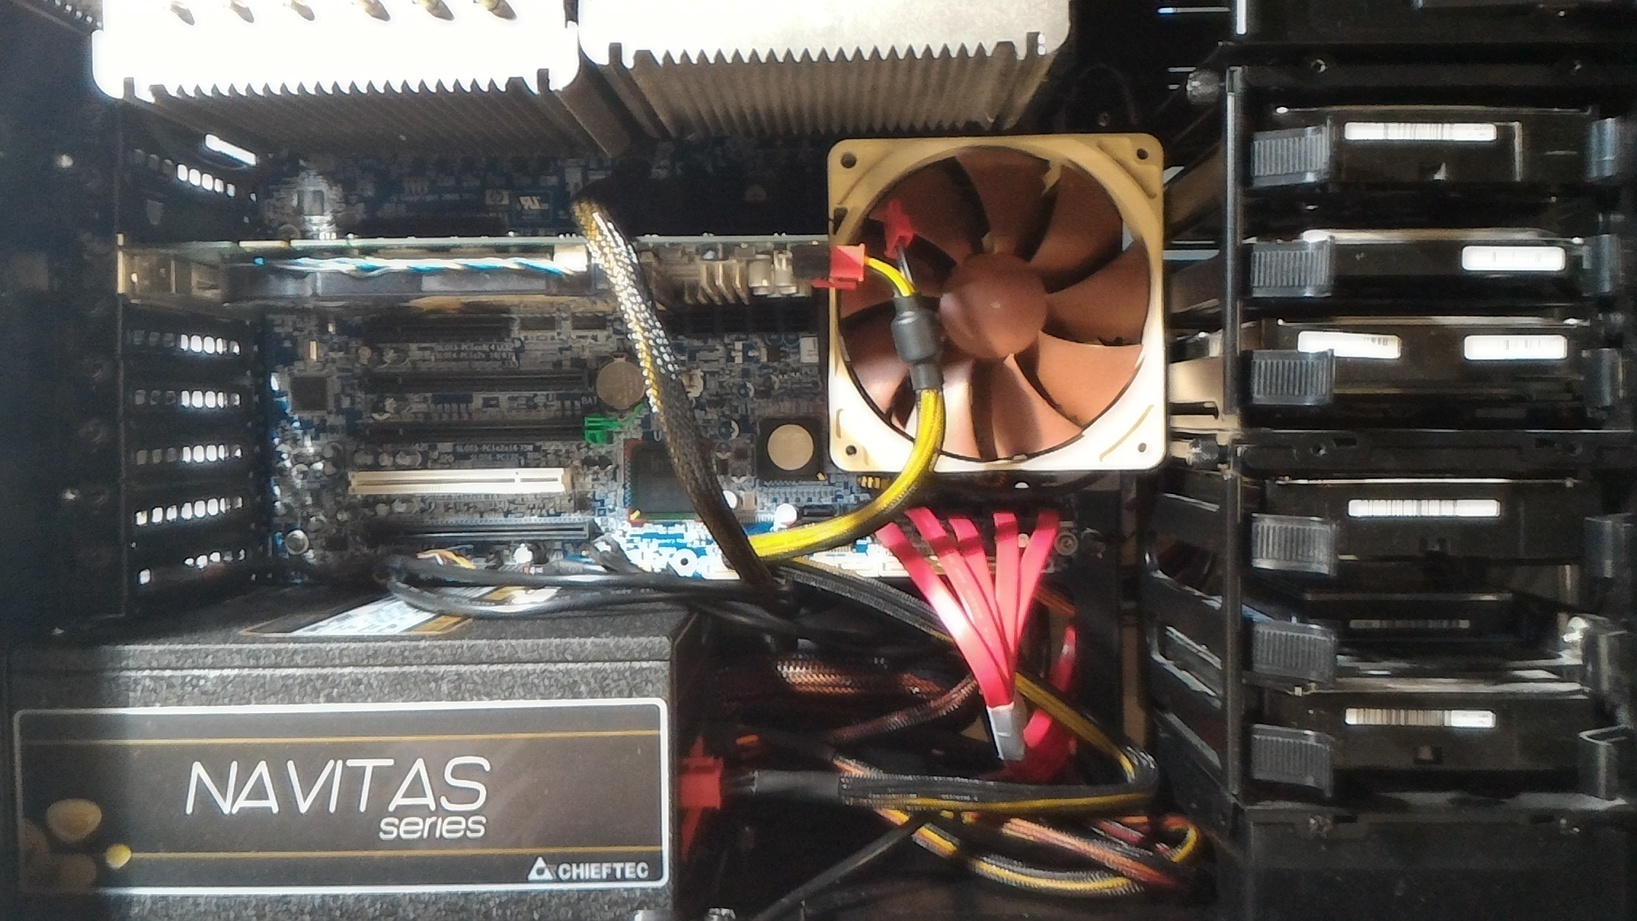
Now the final part, assembling the rest of the components, connecting fans, graphics adapter, etc.
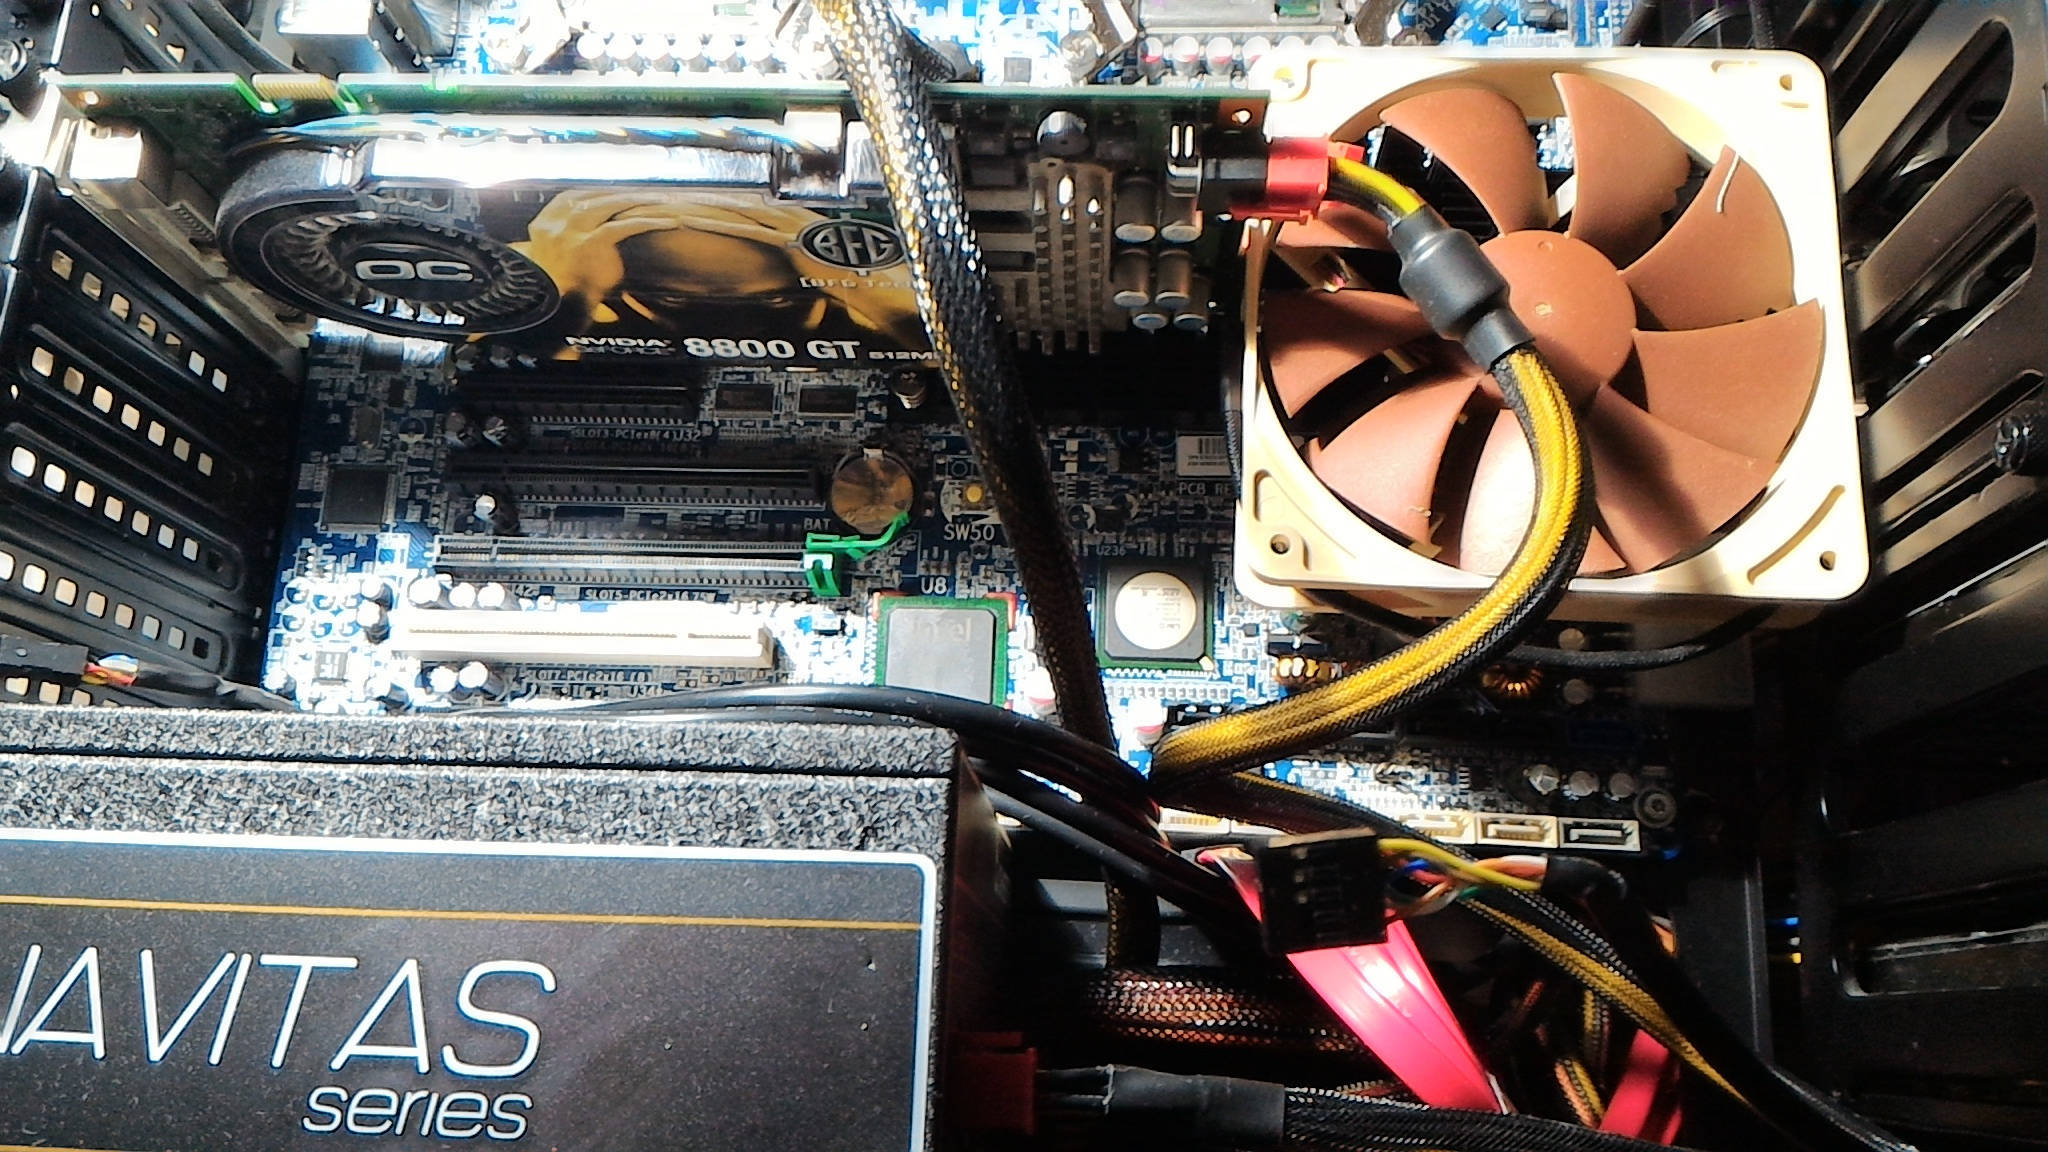
“blow” fan on back panel was also attached using leftover pieces from noctuas
Installing CPU radiators and fans.
Fans were installed without any special clips they shipped with due to inability to install the second one and remove any one later.

And finally some views of the… covers that were put in place.

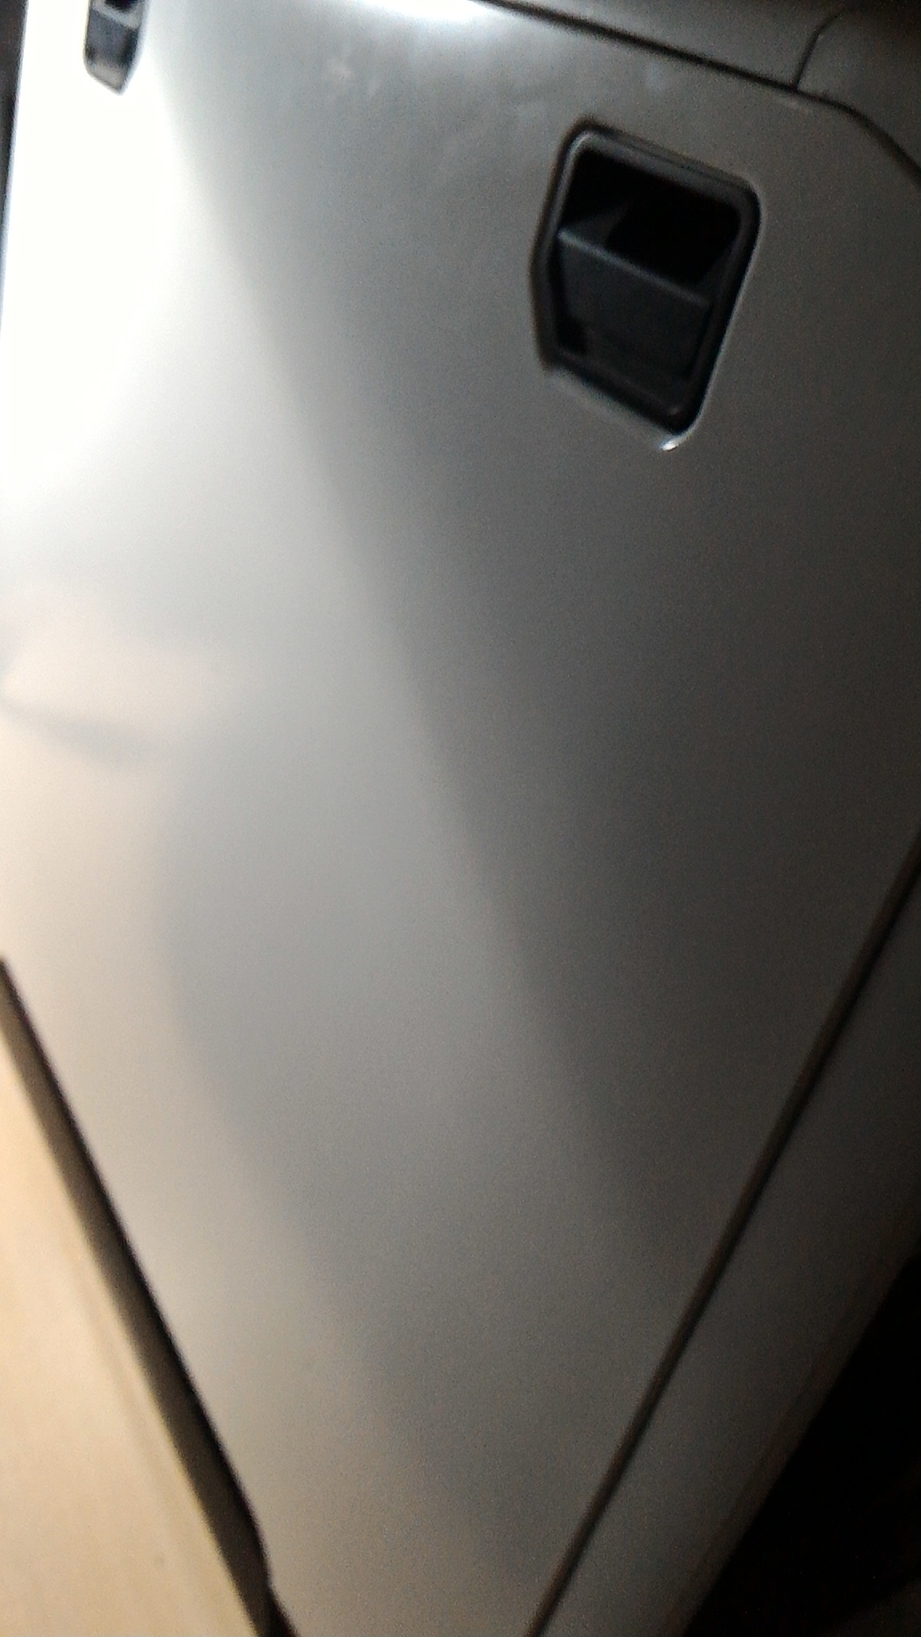
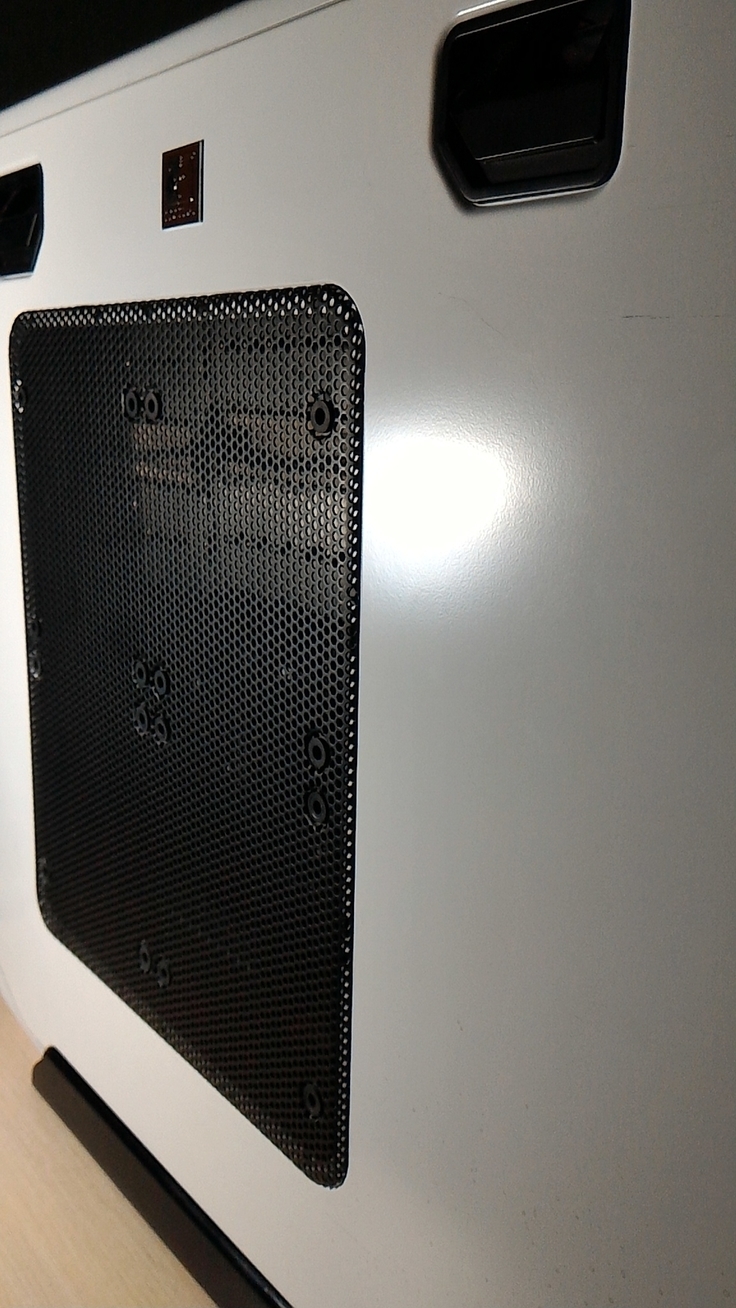
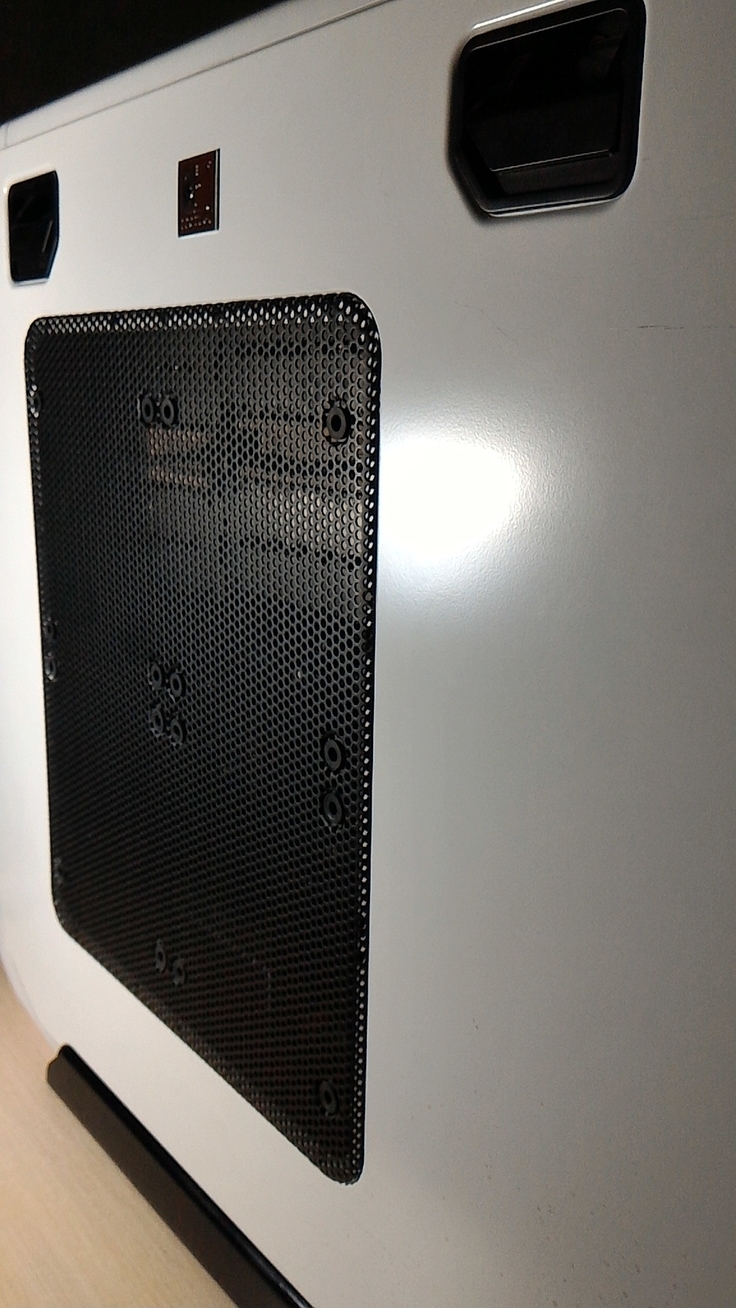
That is basically it!
I am updating this post from the machine at the moment.
Using Gentoo on it, as on every machine in my home and work.
As for performance… It installed firefox 44 in less time than I was getting my hot tea from kitchen,
including heating time of course, so we are talking about ~5 minutes (maybe little bit less/more) on building
the www-client/firefox and couple other small packages with uses:
www-client/firefox gtk3 -wifi -minimal system-sqlite gstreamer doc -dbus bindist custom-cflags custom-optimization system-jpeg system-icu system-cairo system-libvpx system-libevent
as for libreoffice, that takes some time more.
Overall I was able to update entire installed-packages set almost over night (730 packages).
Gaming…
Aha, I knew you were interested in that
I left almost all gaming in the past, games with at least bit of “warmth in heart”
‘Hard Truck 2’ and ‘Infestation’
NFS 5 “Porsche unleashed”
‘Splinter Cell’ was a bit fun.
‘Deus Ex’ (the first part) is the most respected game in my head, no game came close to that.
Since playing those, new games started to just leave kind of negative impact.
All pointless shooting and really immature sence of uncontrolled violence
will leave some associative “neuron bridges” in your brain. It’s hard to live with that.
So, no. I almost don’t play games.
I think “the good party, is the one from which you’ve left at “good” time”.
Minetest and KSP are the exceptions. And from time to time it’s just trying some simple indie game.
Performance-wise, Kerbal Space Program just “flies”.
What else… ah
Blender (using git build) and OpenSCAD are “flying” not just running.
qemu and VM’s are smooth experience too.
All thanks, gratitude, respect and glory goes to my Lord and my God - Jesus Christ.
Without His will i would not have been born.
Without His support and patience i would not grow up (although about me actually ‘growing up’… i have my doubts).
Everything i am and all i have is because of HIM, His Sacrifice on the Cross.
i owe HIM every bit of my life.
May HIS name be blessed in all hearts and without time limits!
Simply, the end.
Comments, suggestions, etc are welcome.
Some links:
[1]: [Andy Brown’s page on his Z800 build] (http://andybrown.me.uk/2014/11/01/z800/)
[2]: [Chieftec PSU link] (http://www.chieftec.eu/en/psus/navitas-serie/gpm-1250c.html)