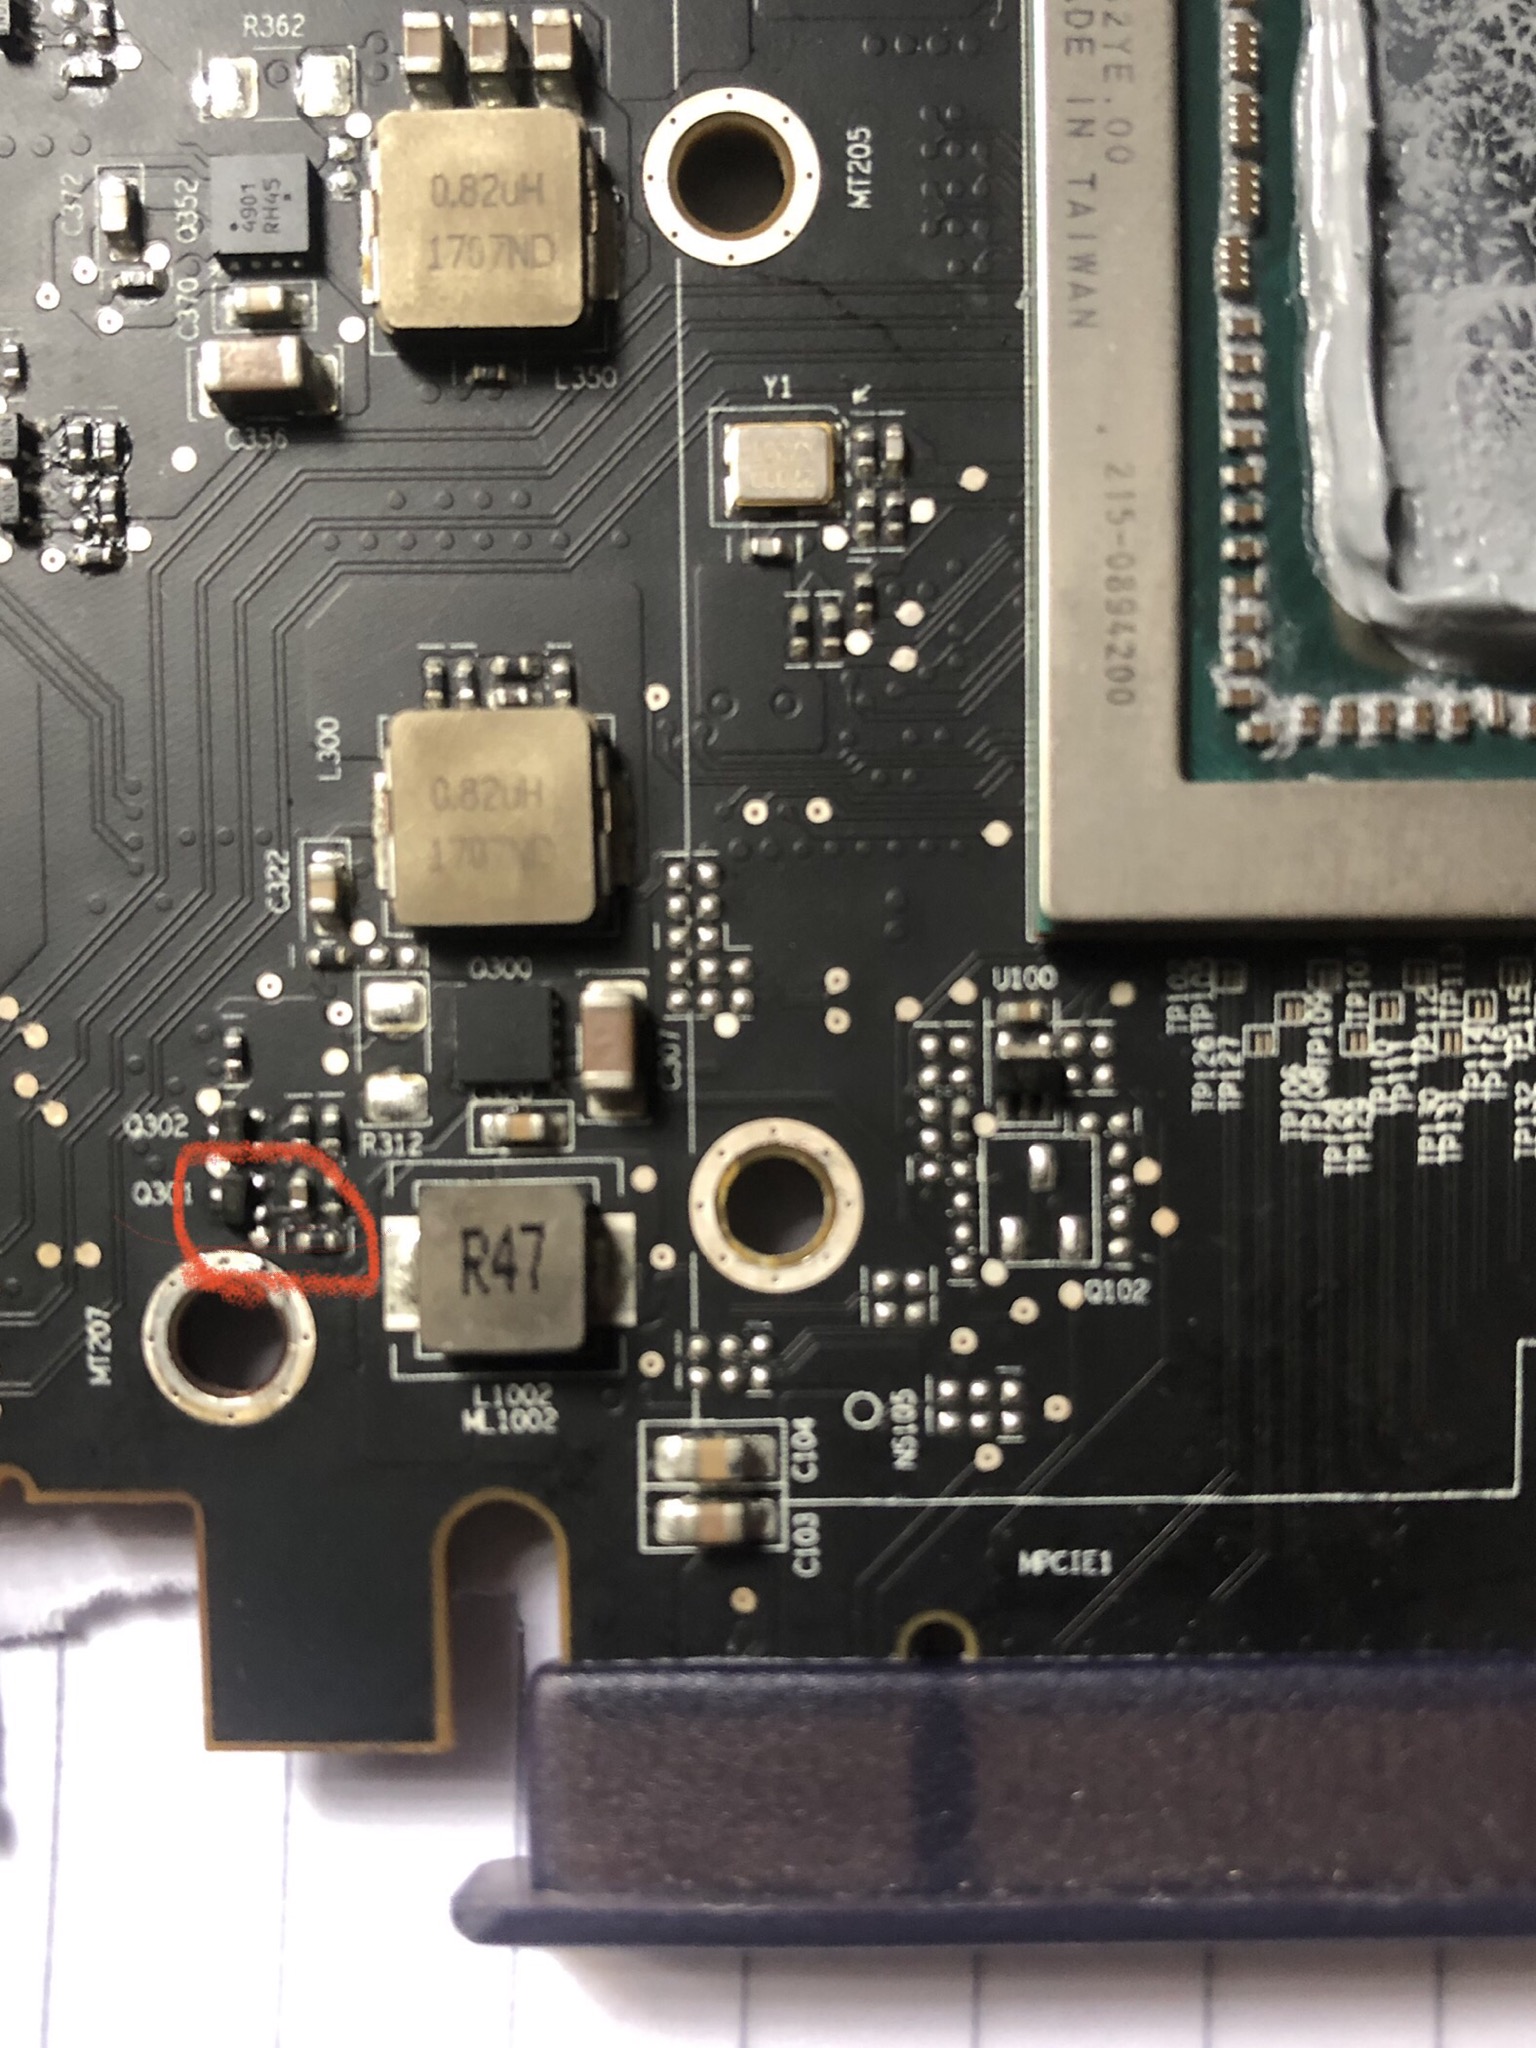
Okay then, I might as well dash this project in here then whilst i’m at it. It’s essentially me assembling my own ATX PSU from used server PSUs off ebay, as a result of needing to power on my dead Vega 64 st the time, to check it’s power stage voltages etc. Don’t worry, she’s all fixed now, shoutout to Buildzoid for that one.
Re: Help dead vega 64 - Hardware / GPU - Level1Techs Forums
Basic idea goes as such (copied and pasted from previous thread)
On a good note though, this whole journey did lead me to discover a method in order to cheaply power a PC with cheap HP server PSU units. Found this out from this video (1:55):
Building a 2X GTX 1060 6gb Mining Rig! - YouTube
Also Here:
Mining Rig Server PSU with ATX Motherboard PICO PSU - YouTube 1
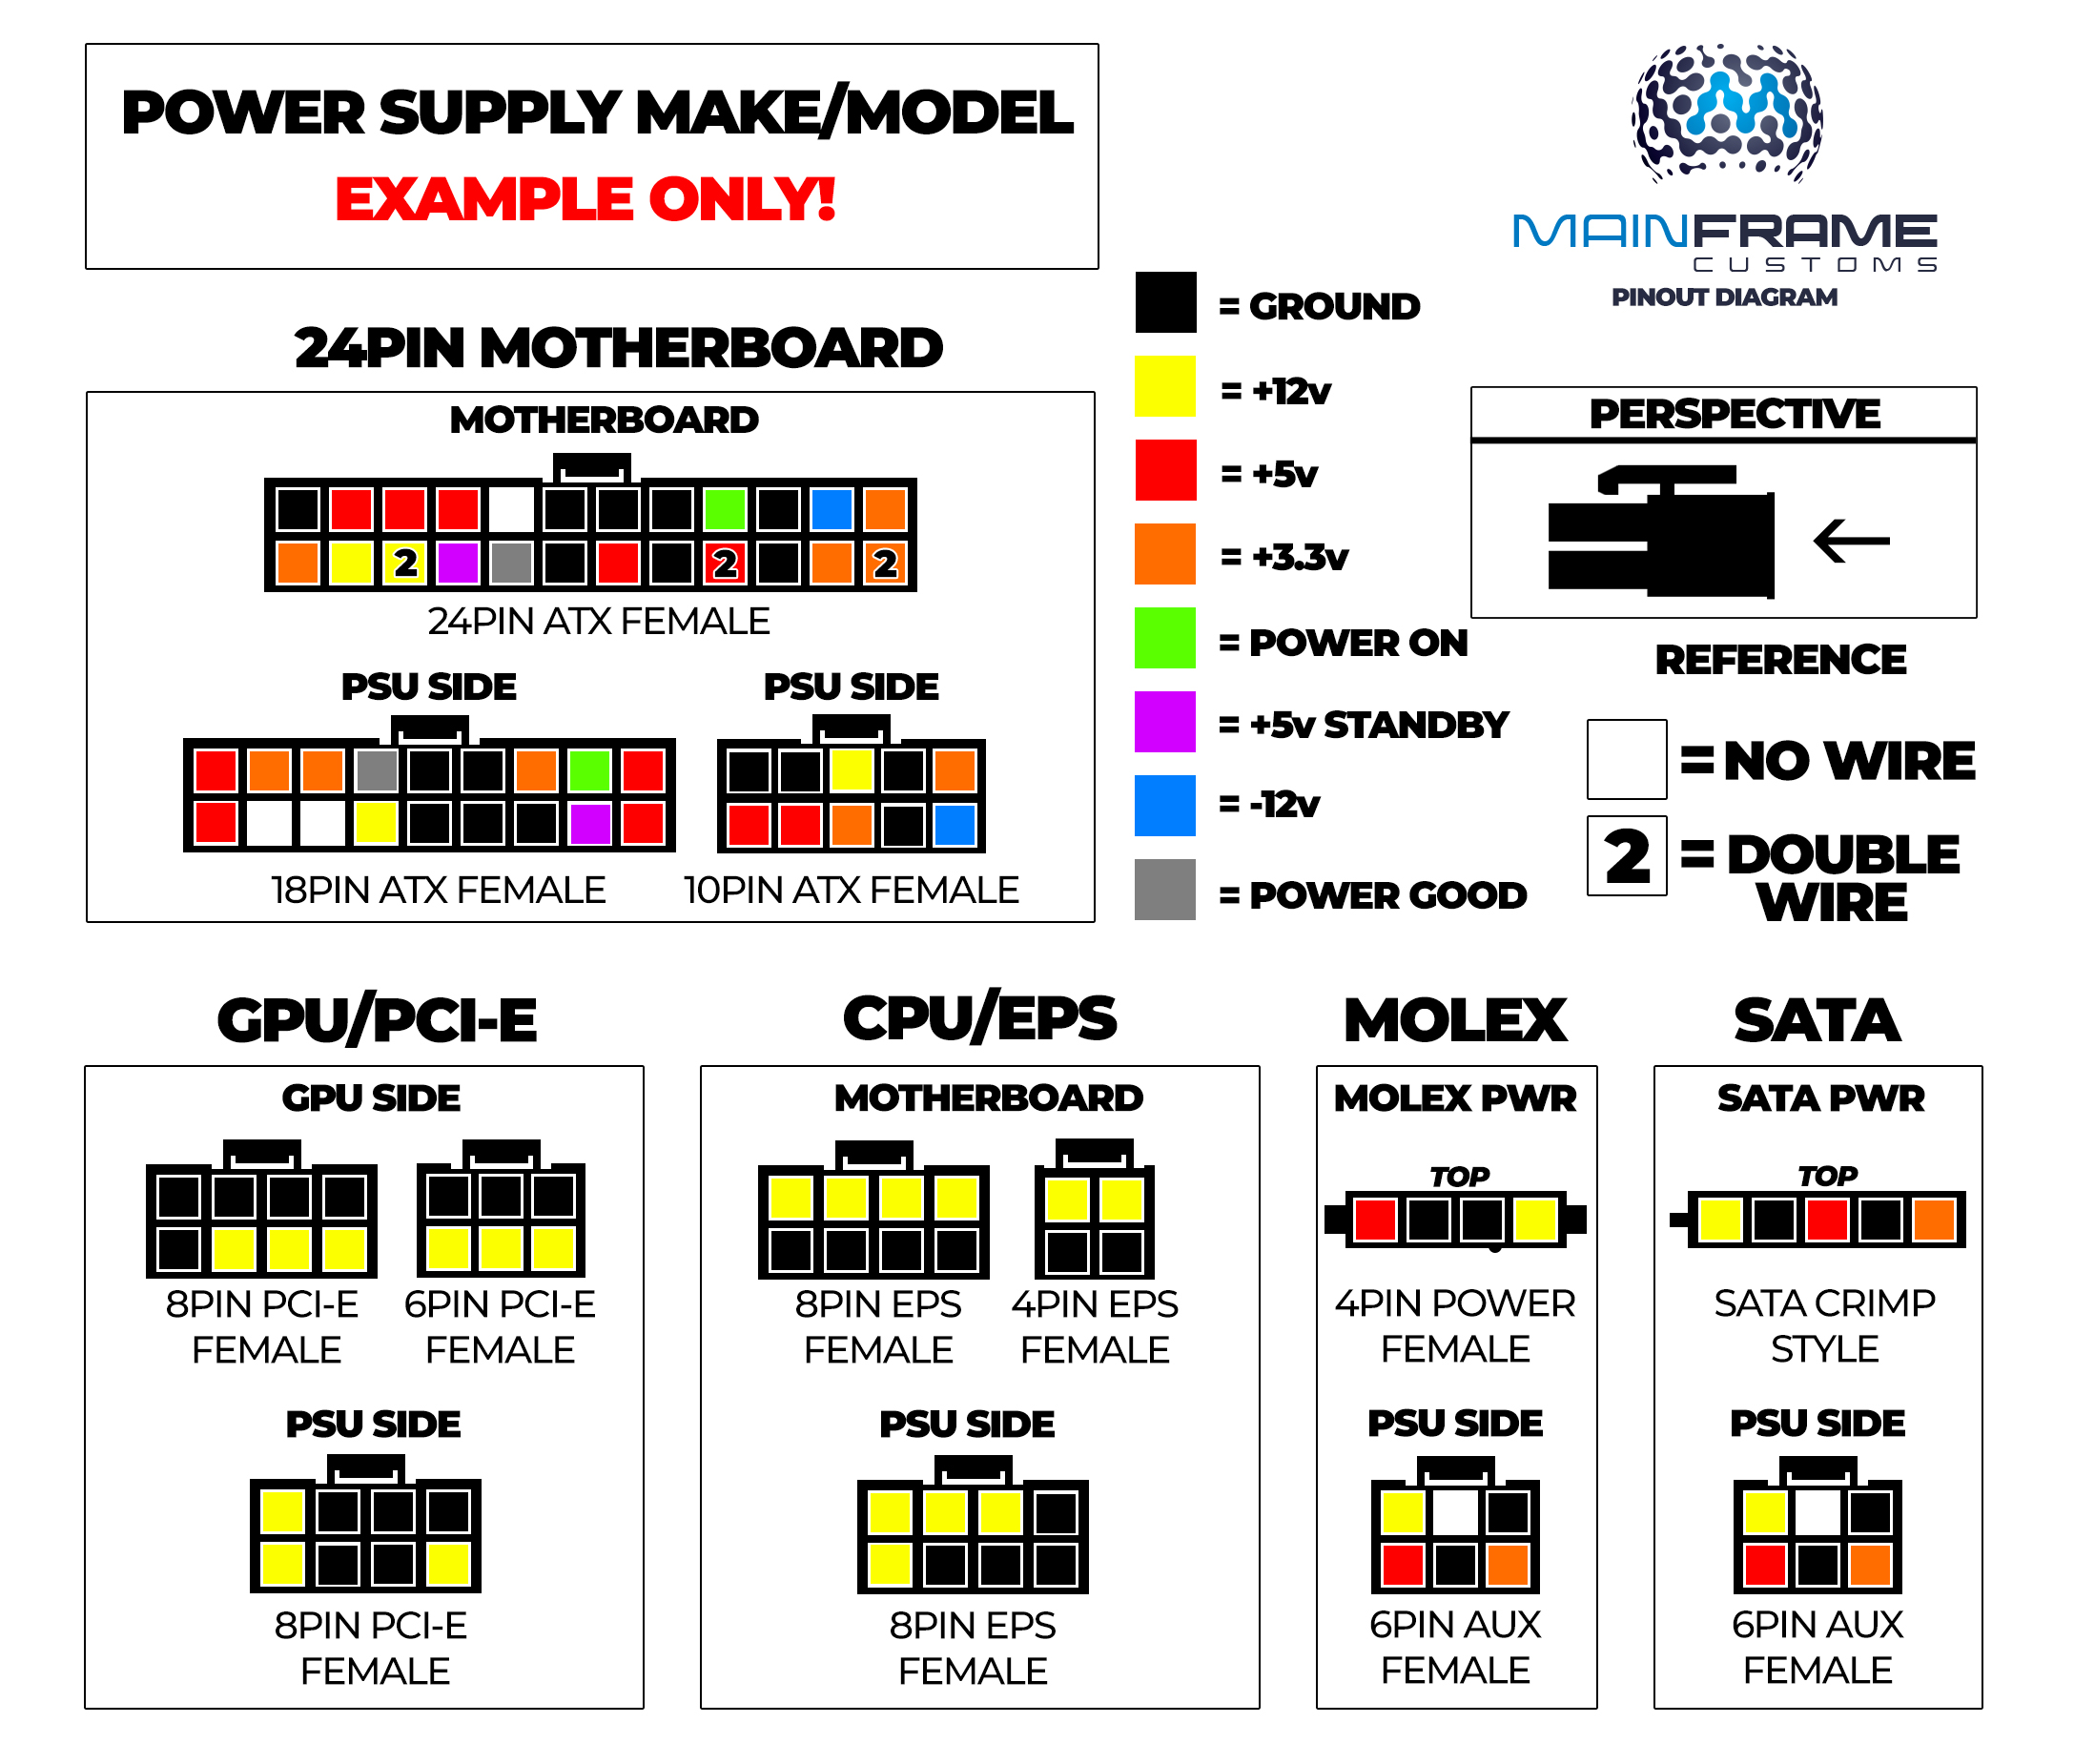
As the server PSU is 12V only, all the 12V devices (CPU, GPU) can be powered off the server PSU itself directly with 6 pin PCIe to 6+2 pin PCIe cables male-male along with PCIe to EPS male-male cables for the CPU. Though you’ll probably have to DIY those EPS cables. This lets you power only the motherboard and other lesser components with the power adapter (PicoPSU, HDplex, or whatever Power Distribution Board used).
Components needed:
-
HP common slot 12V PSU (460,750,1200W)
HP DL380 G6 ML350 G6 750W Server Power Supply Unit 506822-201 506821-001 | eBay
-
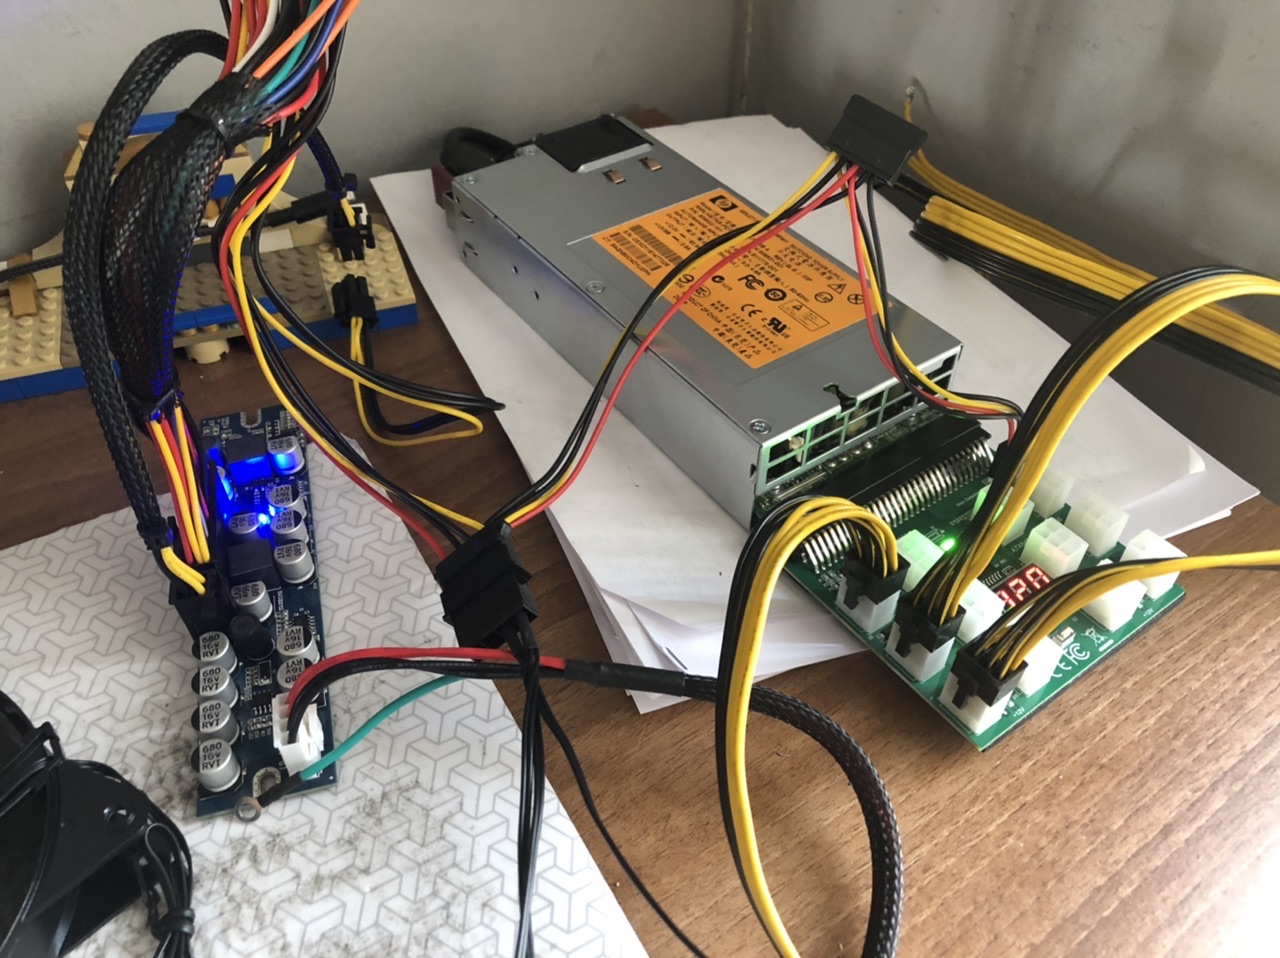
HP server PSU breakout board (provides 12V PCIe outputs), there’s a specific one that I’m using which synchronizes the bootup of the PC and the power supply together with a 4 pin IDE connector
DPS-1200FB A Power Supply Breakout Adapter Board+12 8P Cable for Ethereum Mining | eBay
6Pin Breakout Board For HP PSU GPU Mining LED Display Ethereum Replacements D9V9 | eBay
-
6 pin to 6+2 pin EPS male-male cables, maybe even a couple 6pin Pcie to 4 pin EPS male-male for a power guzzly cpu, some stripping and crimping may be required. Allows you to run all the hefty 12V for CPU and GPU off the server PSU and not the picoPSU/Voltage adapter
5557 4.2mm Double Row Connectors (2-24 Pin) + Crimps (Molex Mini-fit Jr. Style) | eBay
[Both cables and board are in above link]
-
Some sort of power distribution board, PicoPSU/HDPLEX, etc
120/300W 24pin PSU Modular ATX Power Board fr HTPC Mini ITX Car Power Supply SPM | eBay
The one I bought is here (got it for £20):
300W Pico PSU, PC Power Supply Module, DC - RGEEK | eBay
X300 300w output, 16-24v input VR-Ready DC-DC ATX Power Supply - PICO BOX (pico-box.com)
-
An input adapter to take a +12V for PCIe cable to barrel plug
5 Pair DC Power Socket & Plug Screw Terminal 12V Volt CCTV Adaptor 2.1mm x 5.5mm | eBay
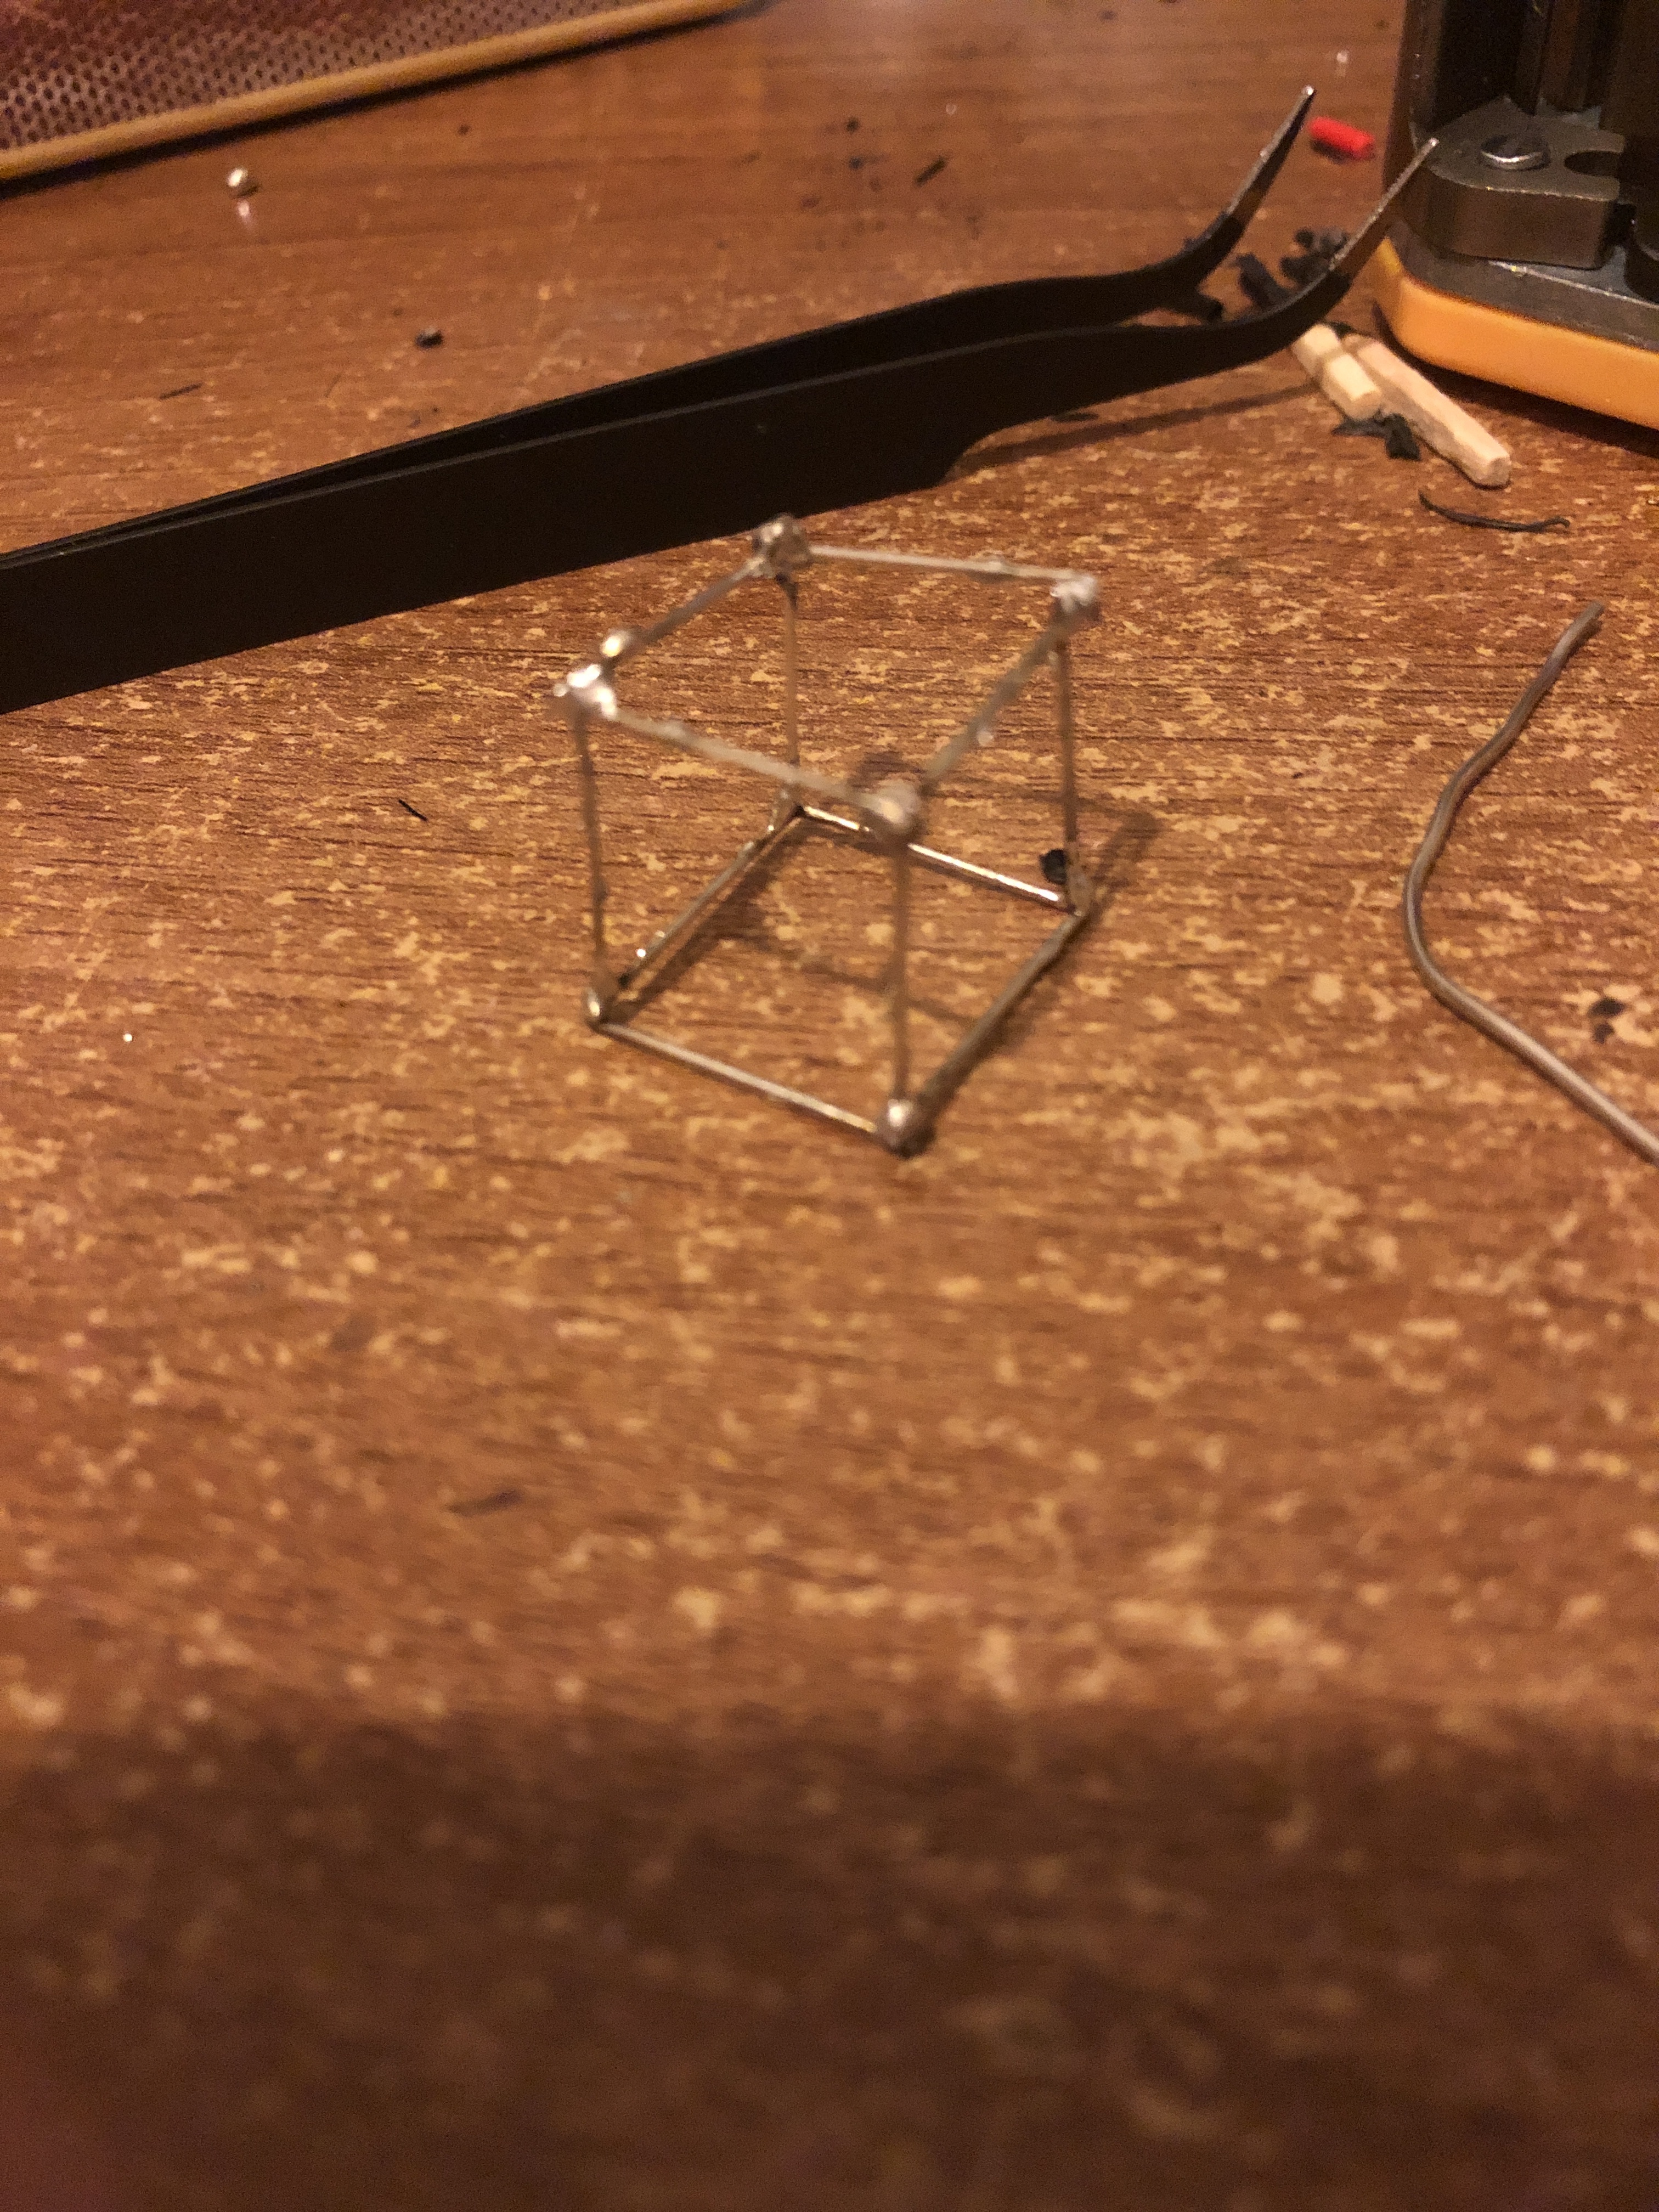
I still have yet to make 4 pin EPS connectors out of the 6 pin PCIe cables I have. They’ll have to be 6 to 4pin each. I’m waiting on a crimpring tool for the crimps. Then it’ll be complete.
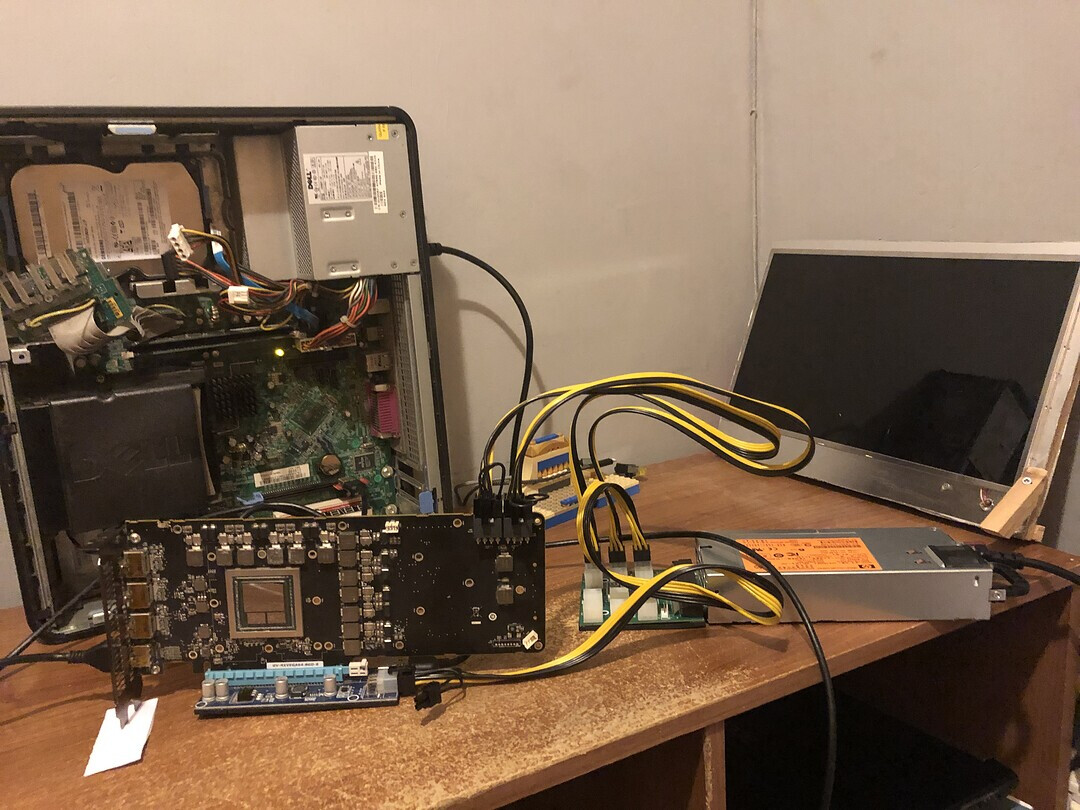
I’ll eventually get round to seeing if I can use it to turn this cheap eBay test PC on, only problem is that the thing won’t even boot normally as there’s no pre-installed OS, so i’ll figure out how to resurrect this piece of junk in my spare time, and then boot it with the DIY PSU solution.
Like stated previously, this has the potential to be a banging solution for one of those small sandwich ITX cases. Think intel NUC9 extreme, where the PSU is along the bottom, except this is messier and can go to 1200W if you’re willing to get a 1200W unit.
And can we for a second stop to consider how much a fucking disaster PCIe power connectors are? I know everyone is supposed to bitch about molex vs sata but the 6+2 pin connector is the most utterly useless piece of garbage ever.
The +2 Pins do
LITERALLY NOTHING. They’re just sense pins that ‘unlock’ an extra 75W when it was already there to begin with. Its a waste of connector space and cabling. Honestly, I really don’te get why manufacturers can’t just switch to using EPS for everything. Making adapters wouldn’t be too hard, besides, Nvidia and AMD already use 8 pin EPS for their server GPU’s, allowing them to pump 300W into those cards with onlt ONE EPIS 8pin, rather than the 2-3 we see today.


 Brexit


