Hi everyone , I’m currently building a “handheld” pc and I just to share all of this with you c:
Here are the specs :
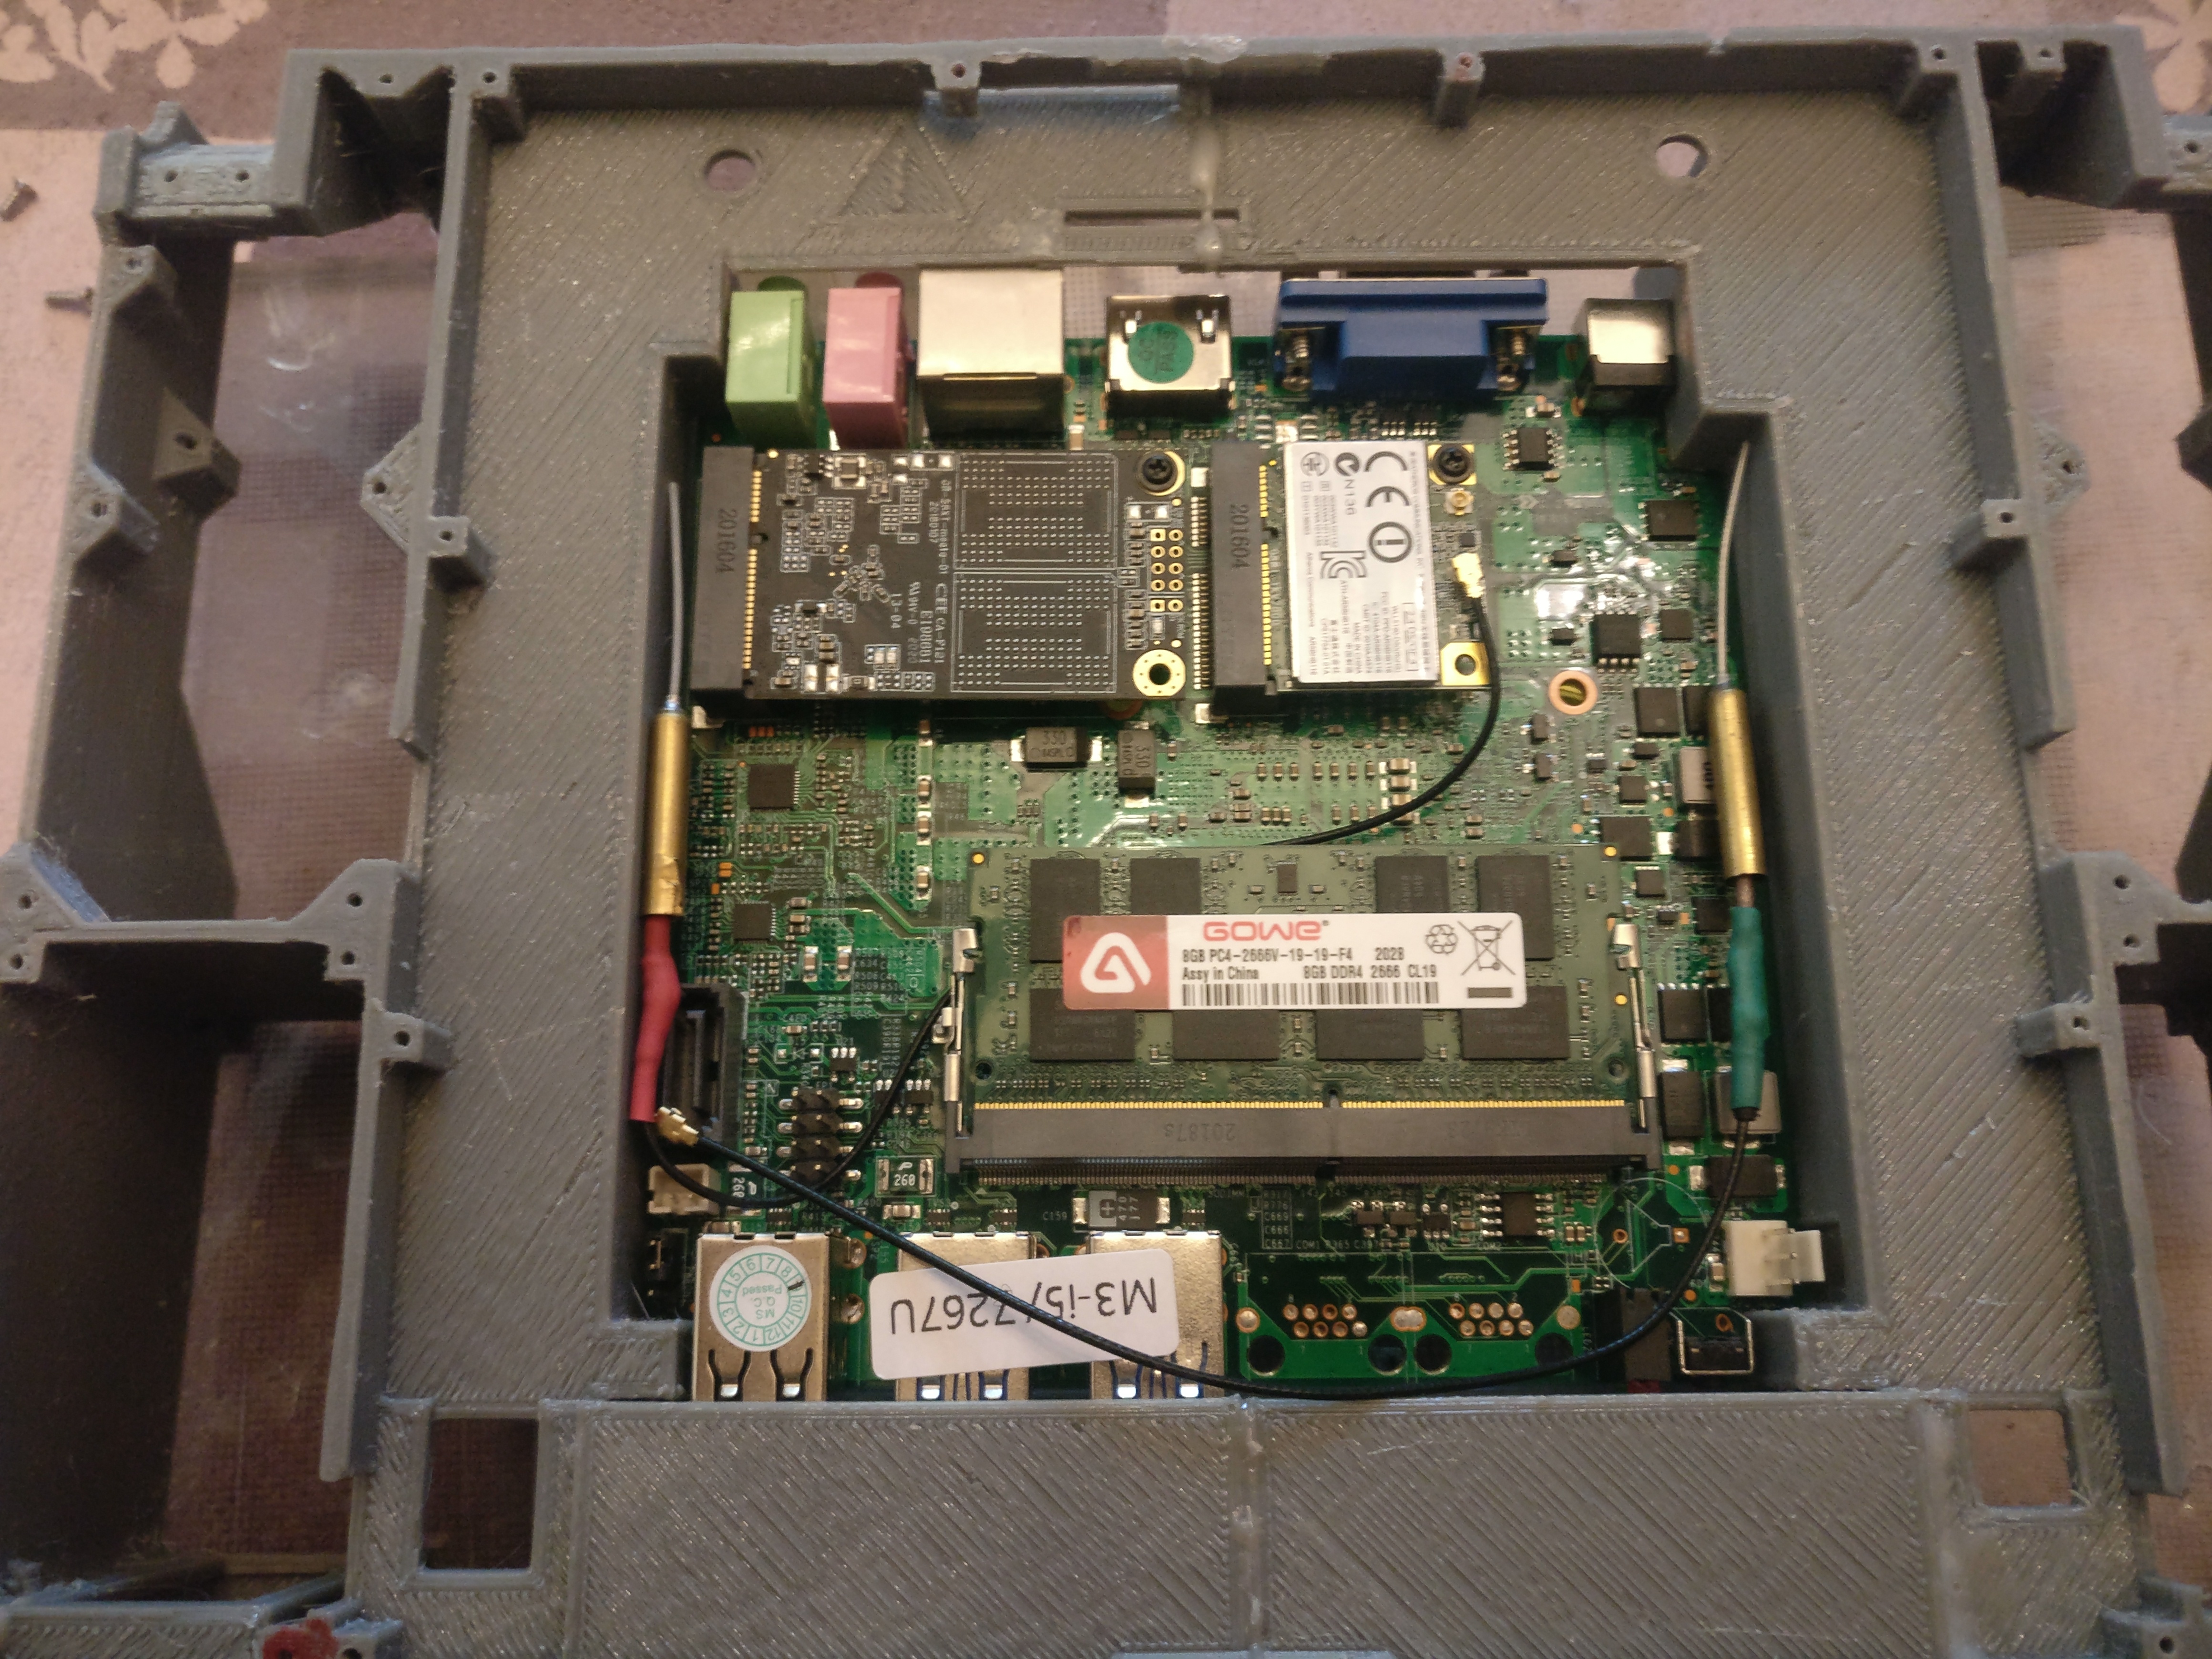
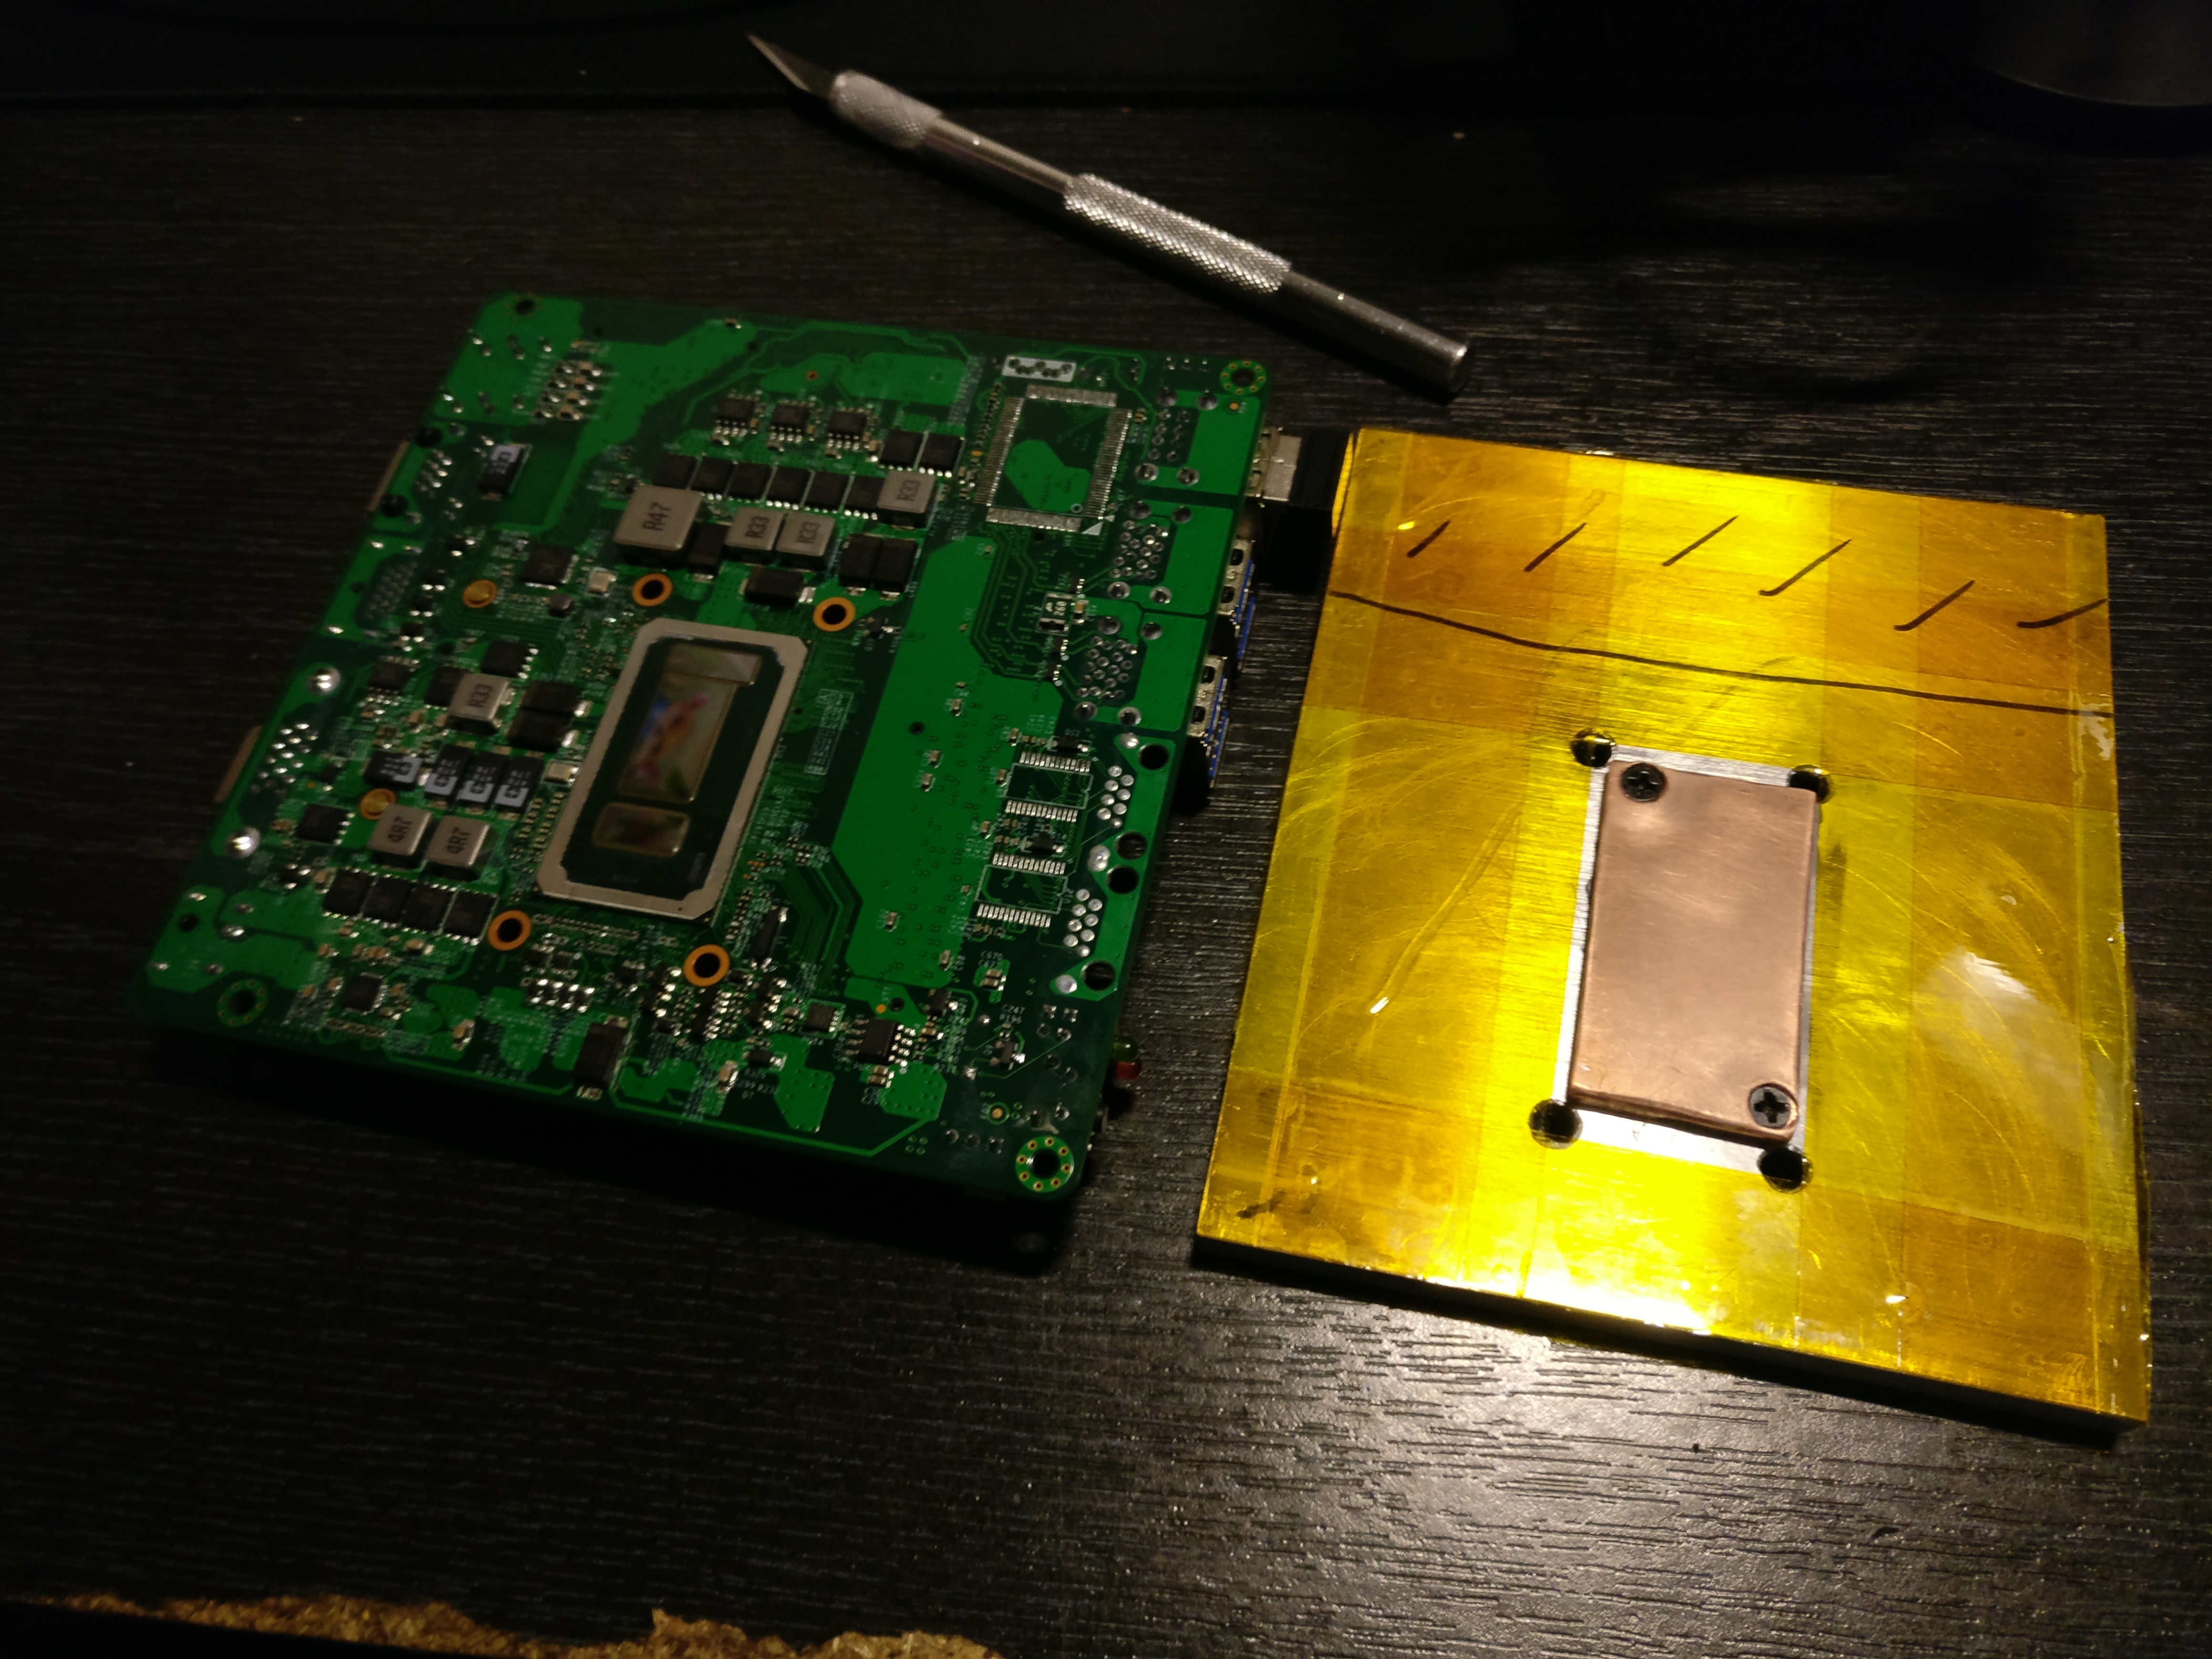
Cpu : I5 7267u
Gpu : iris plus 650
Ram : 8gb 2133 single Chanel unfortunately
Storage : msata 500gb ssd
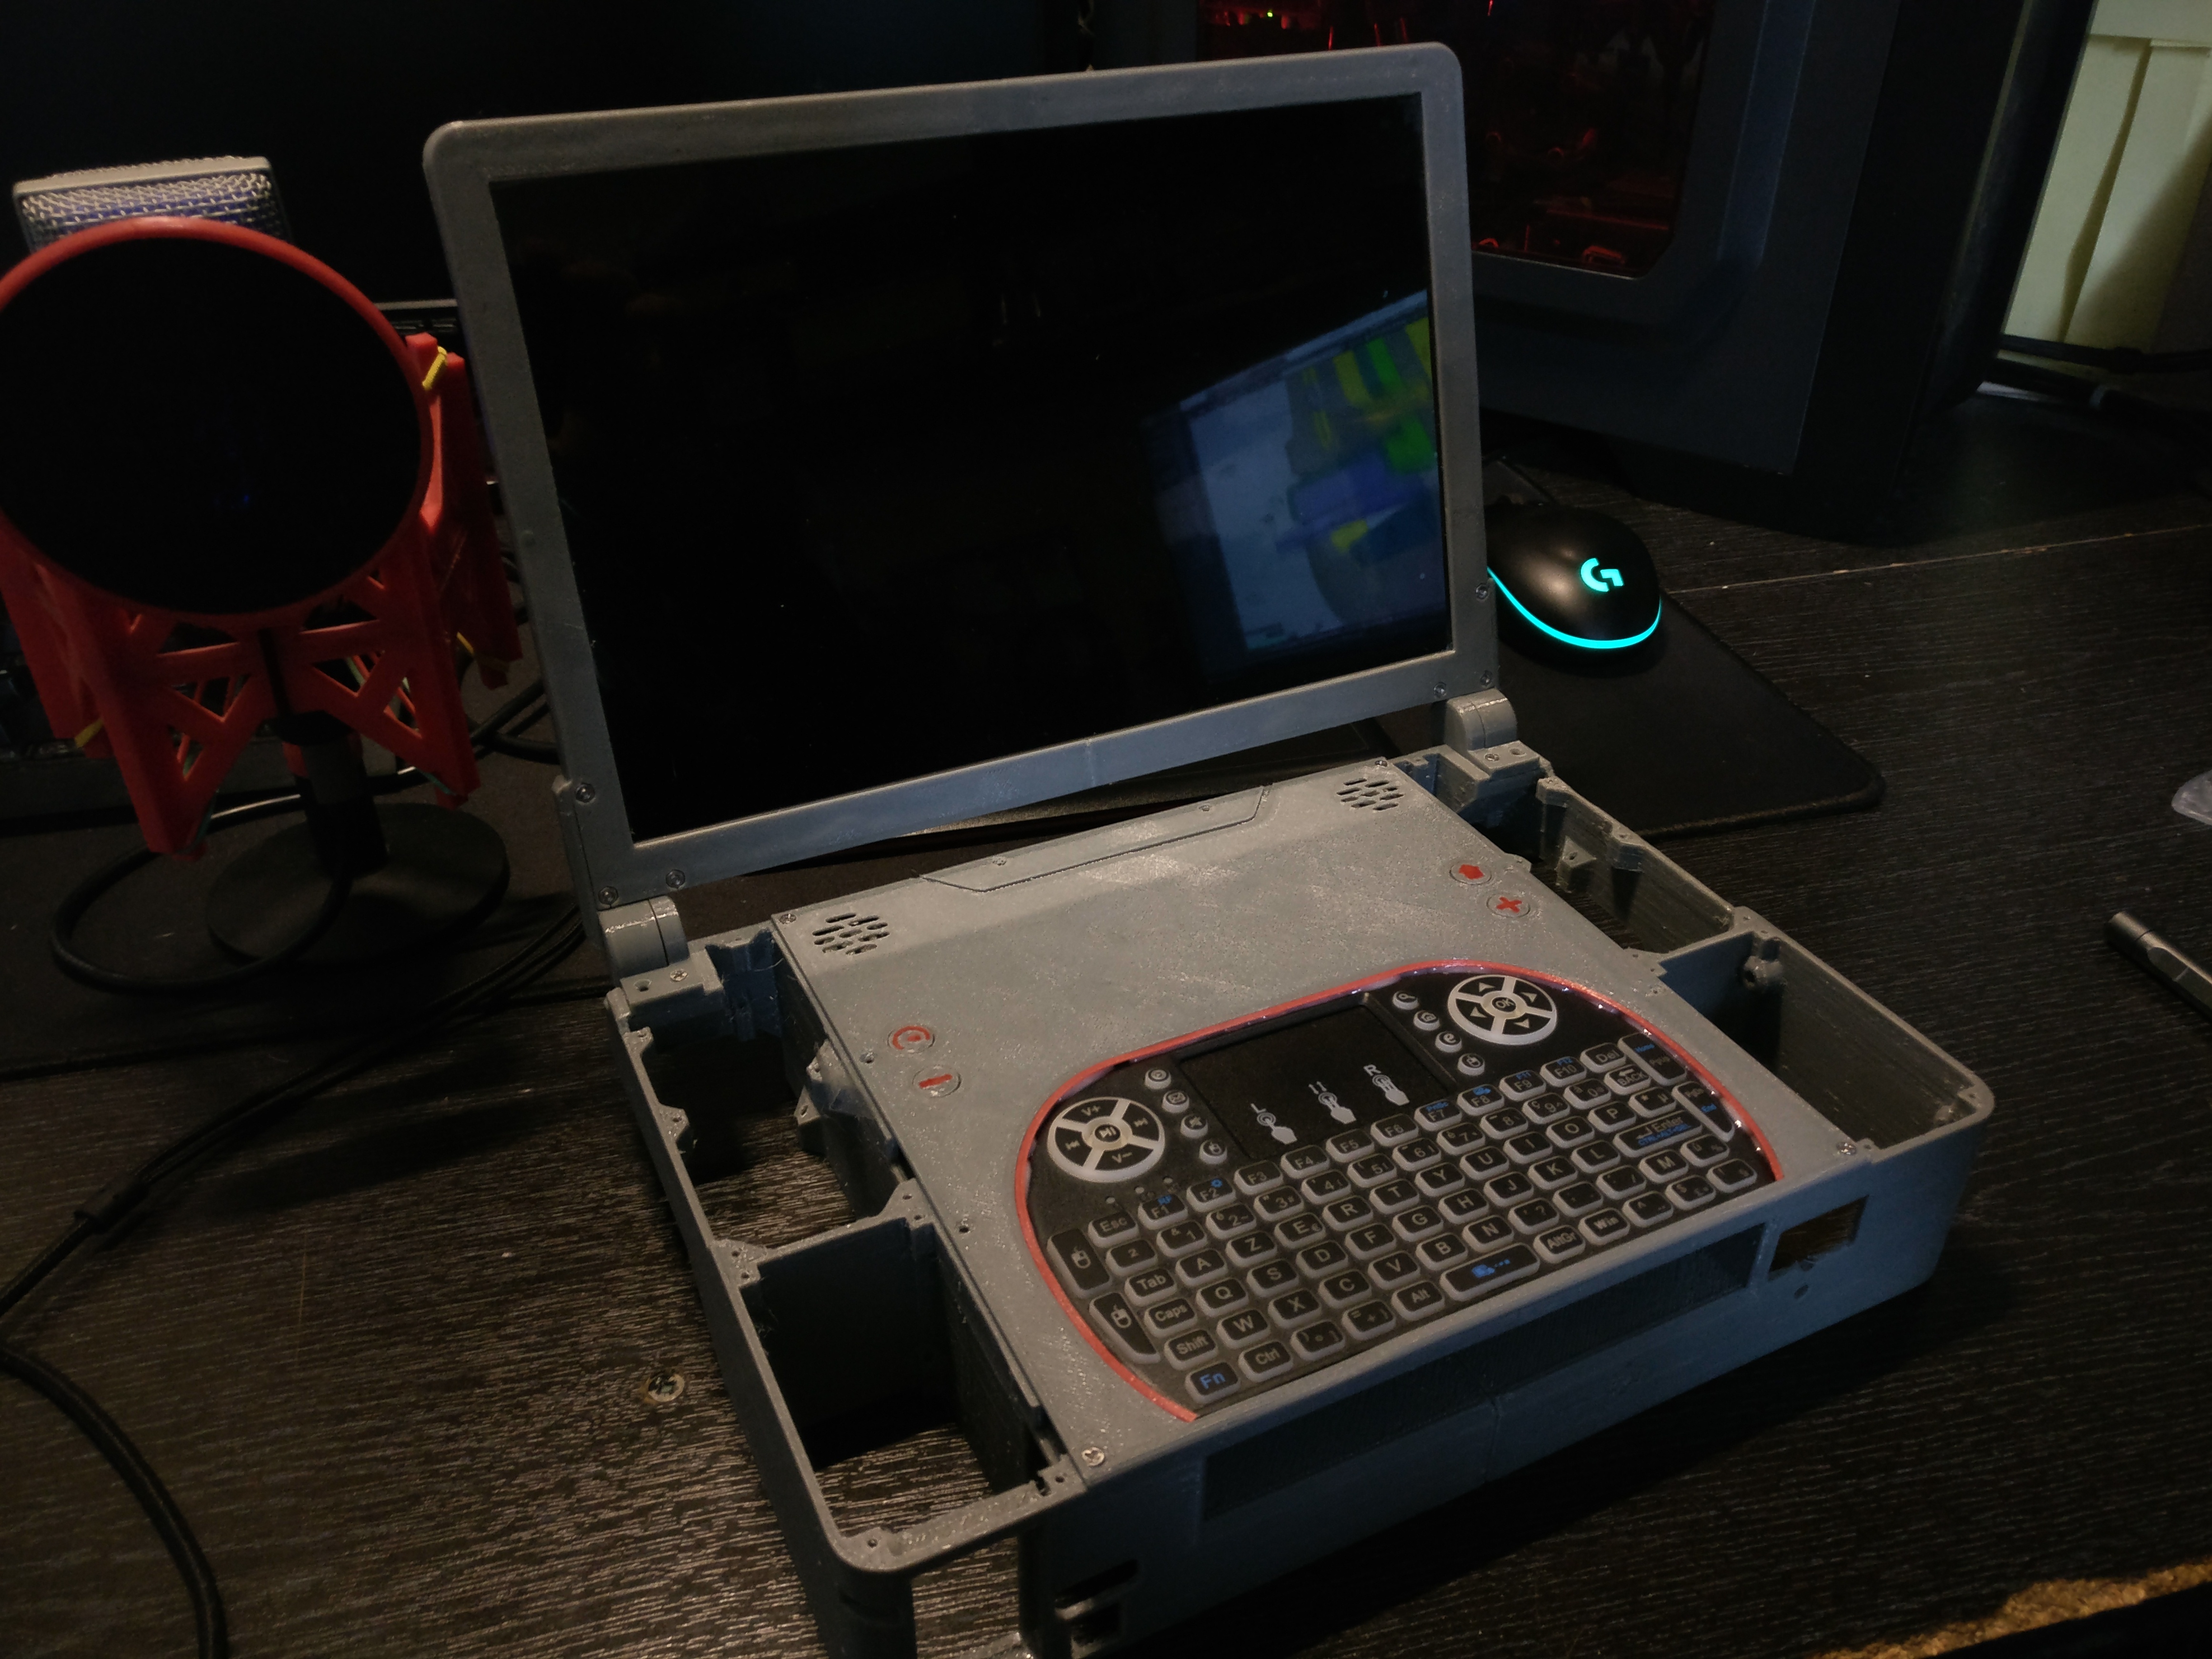
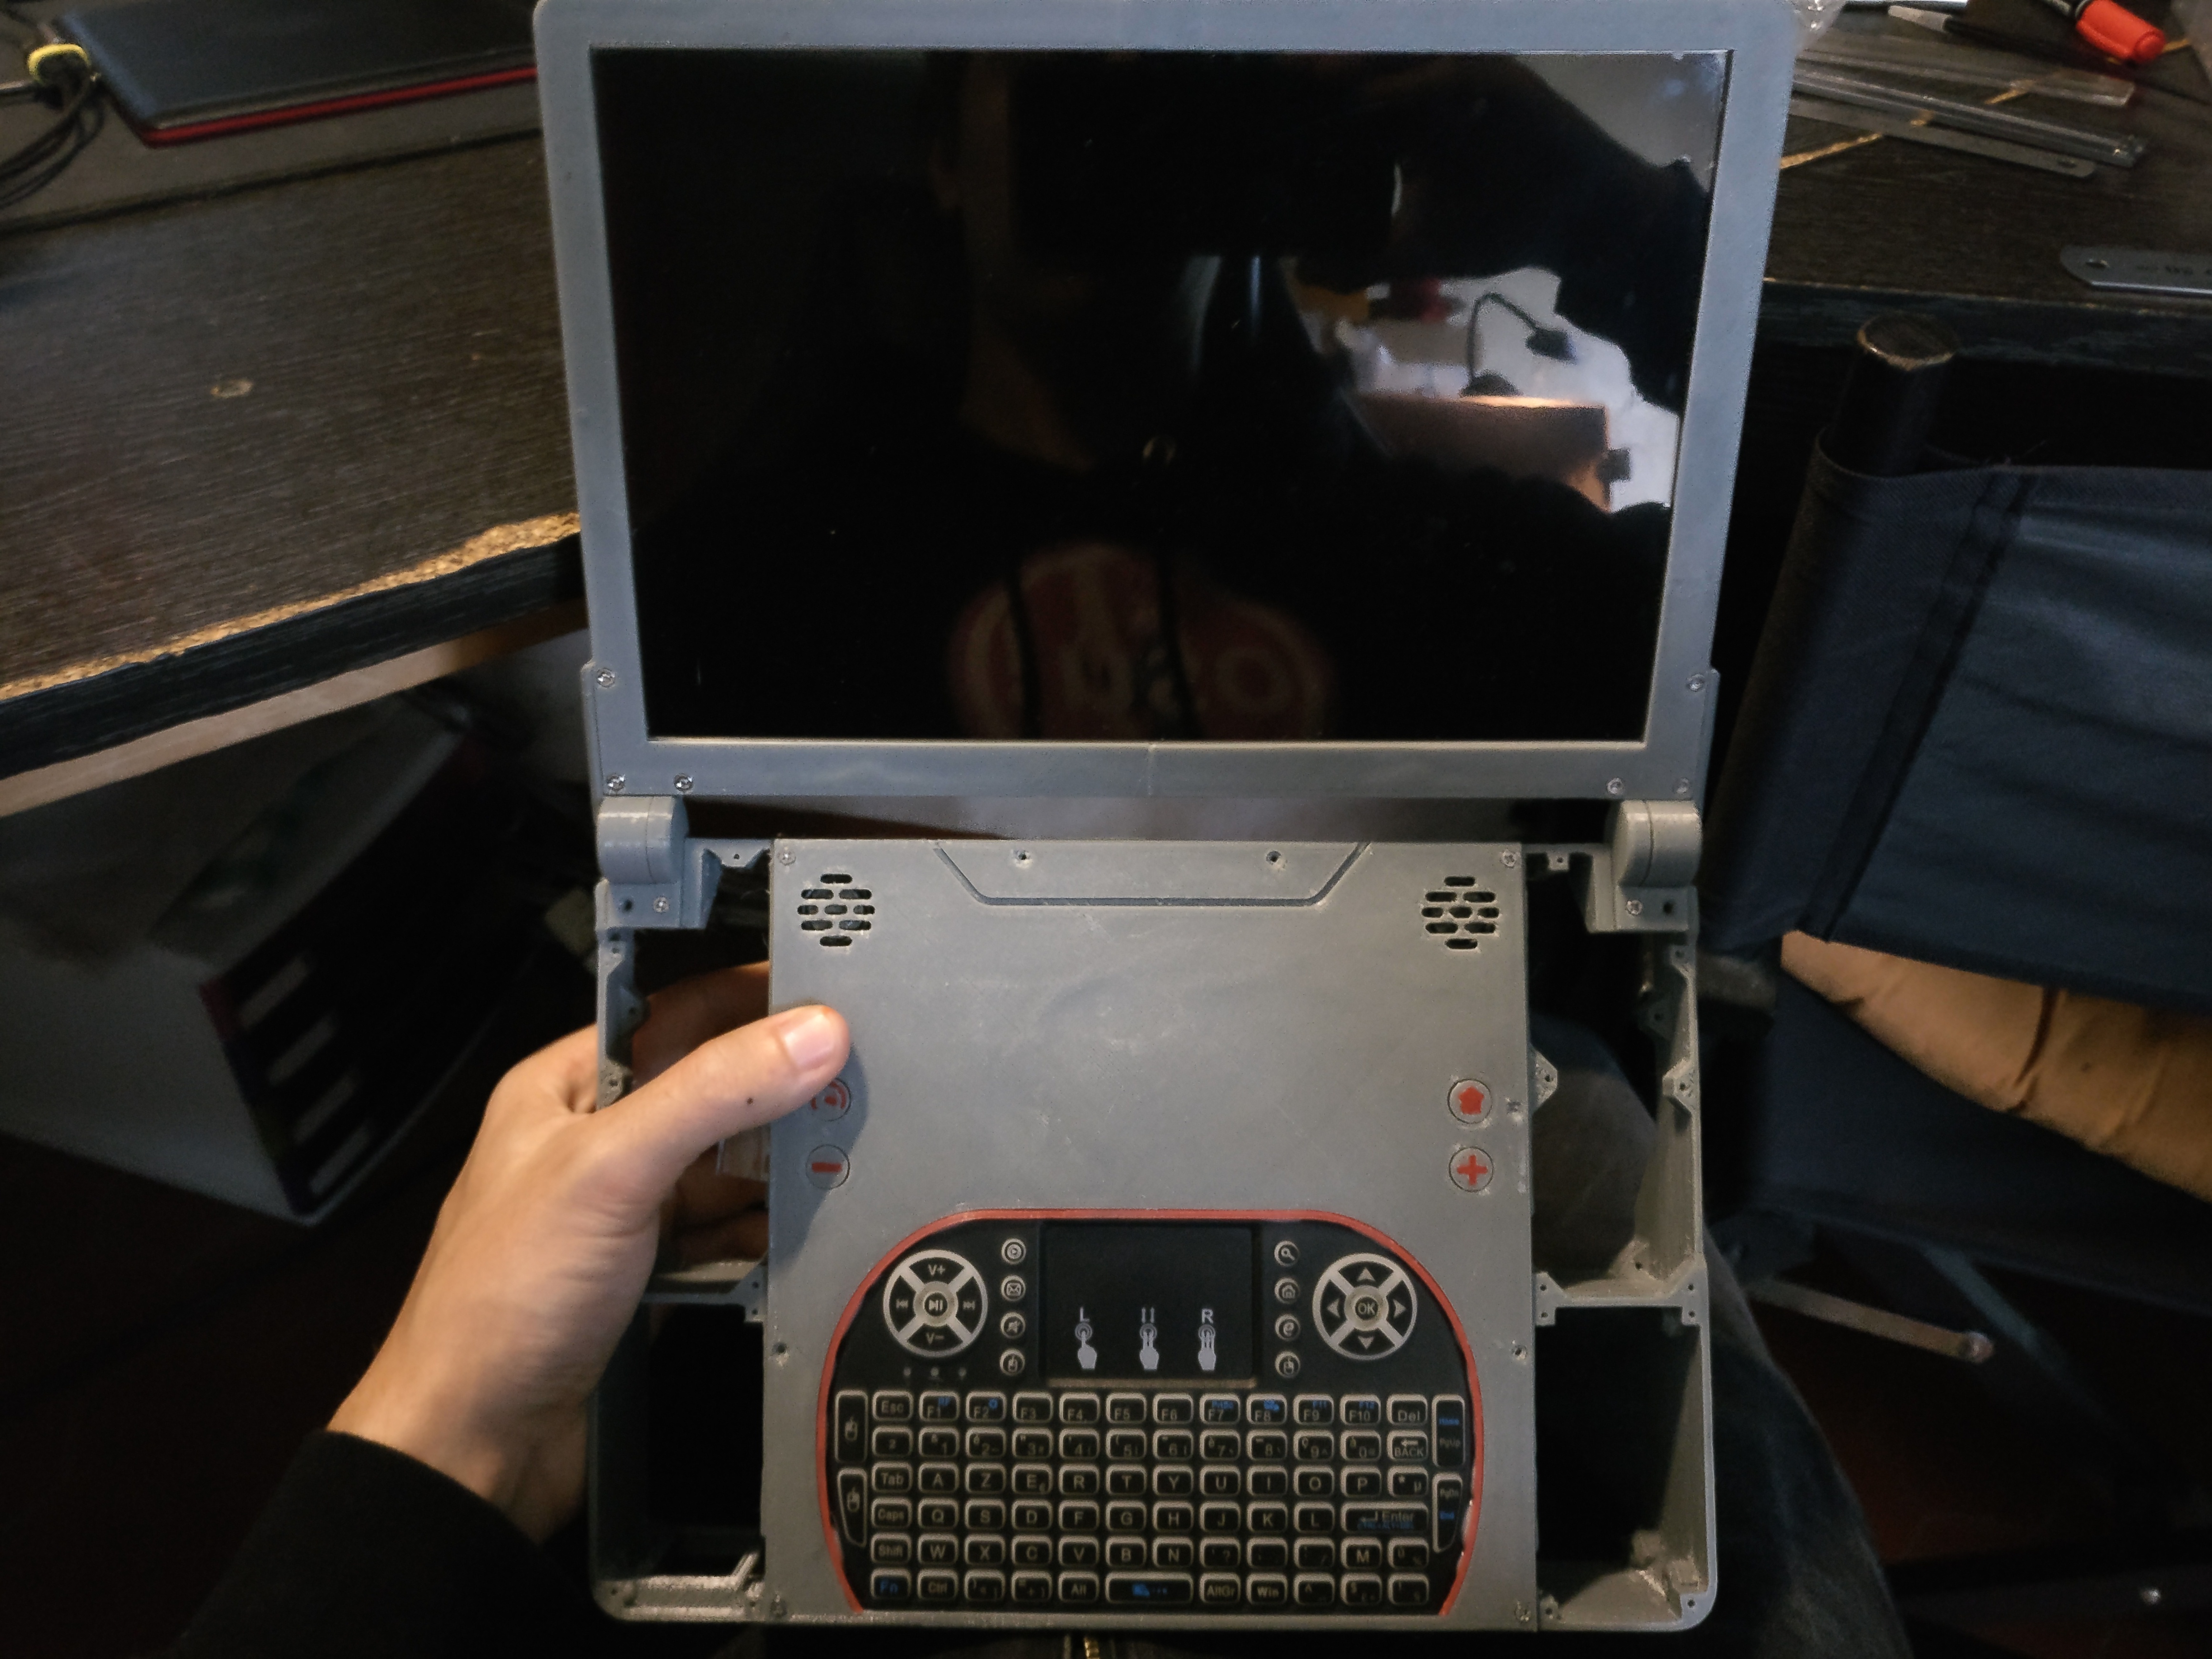
Other stuff : 10.1" screen 16:10 , 8x18650 cells (26000mah about 6h
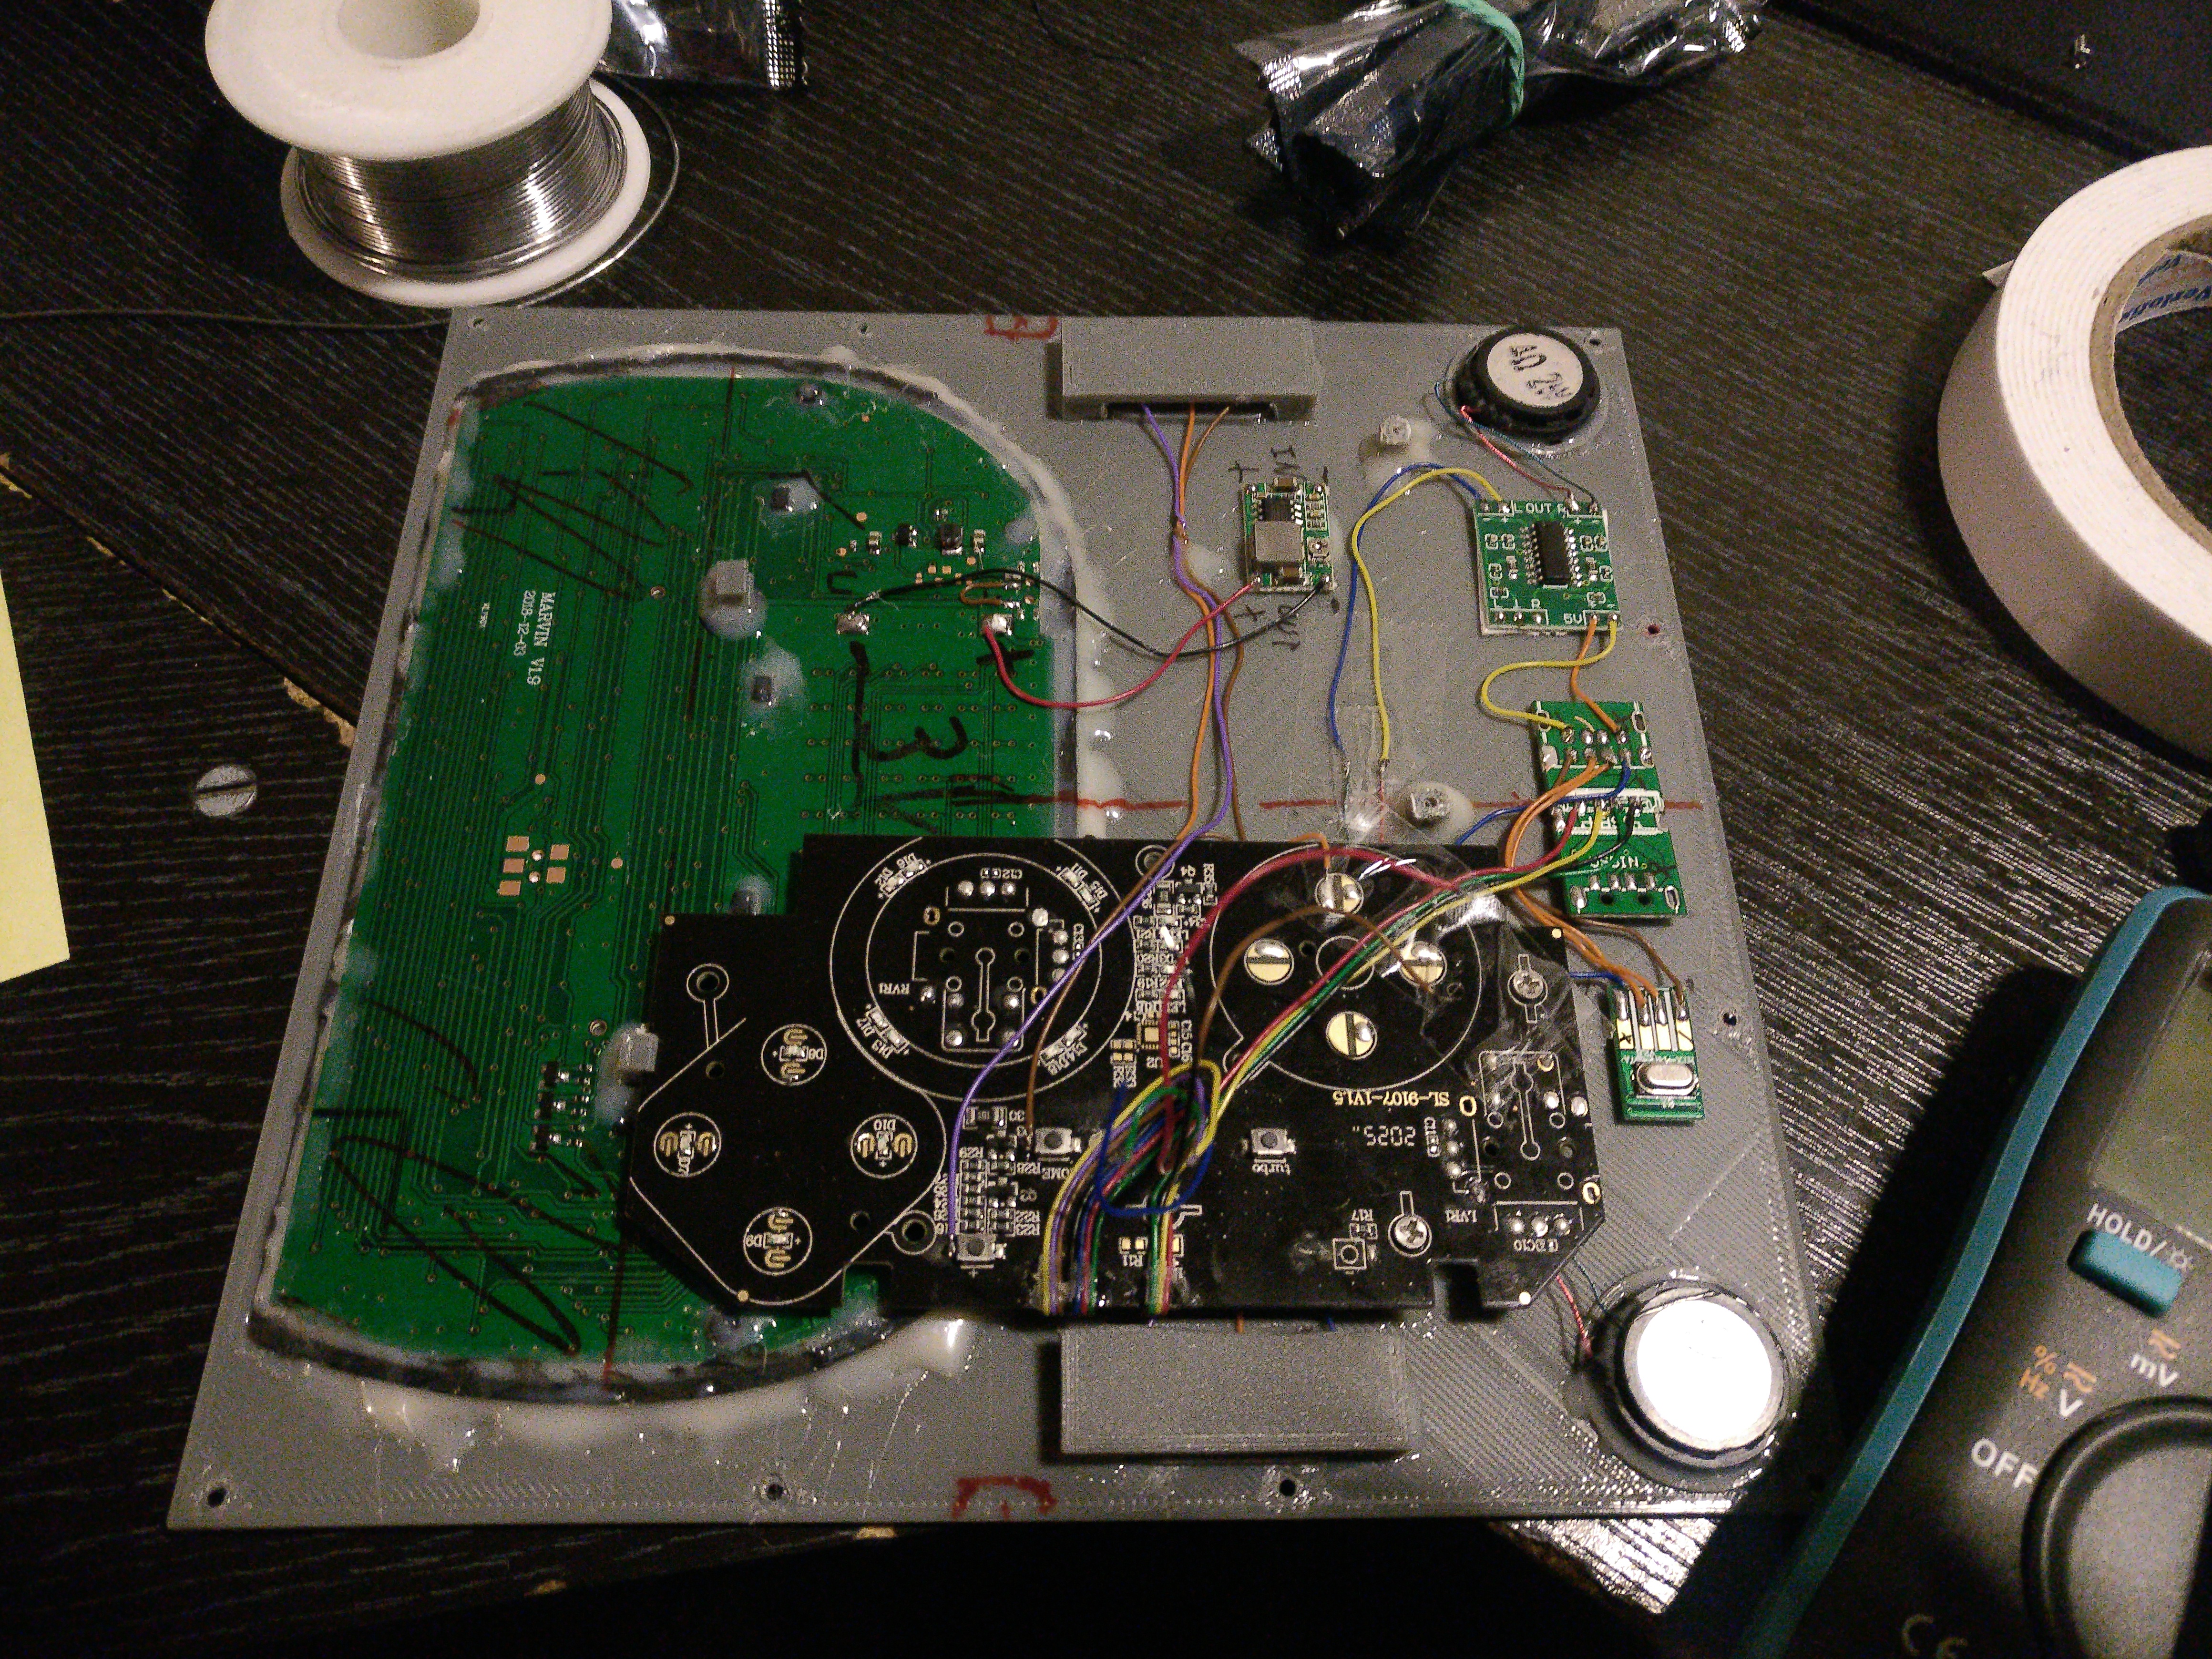
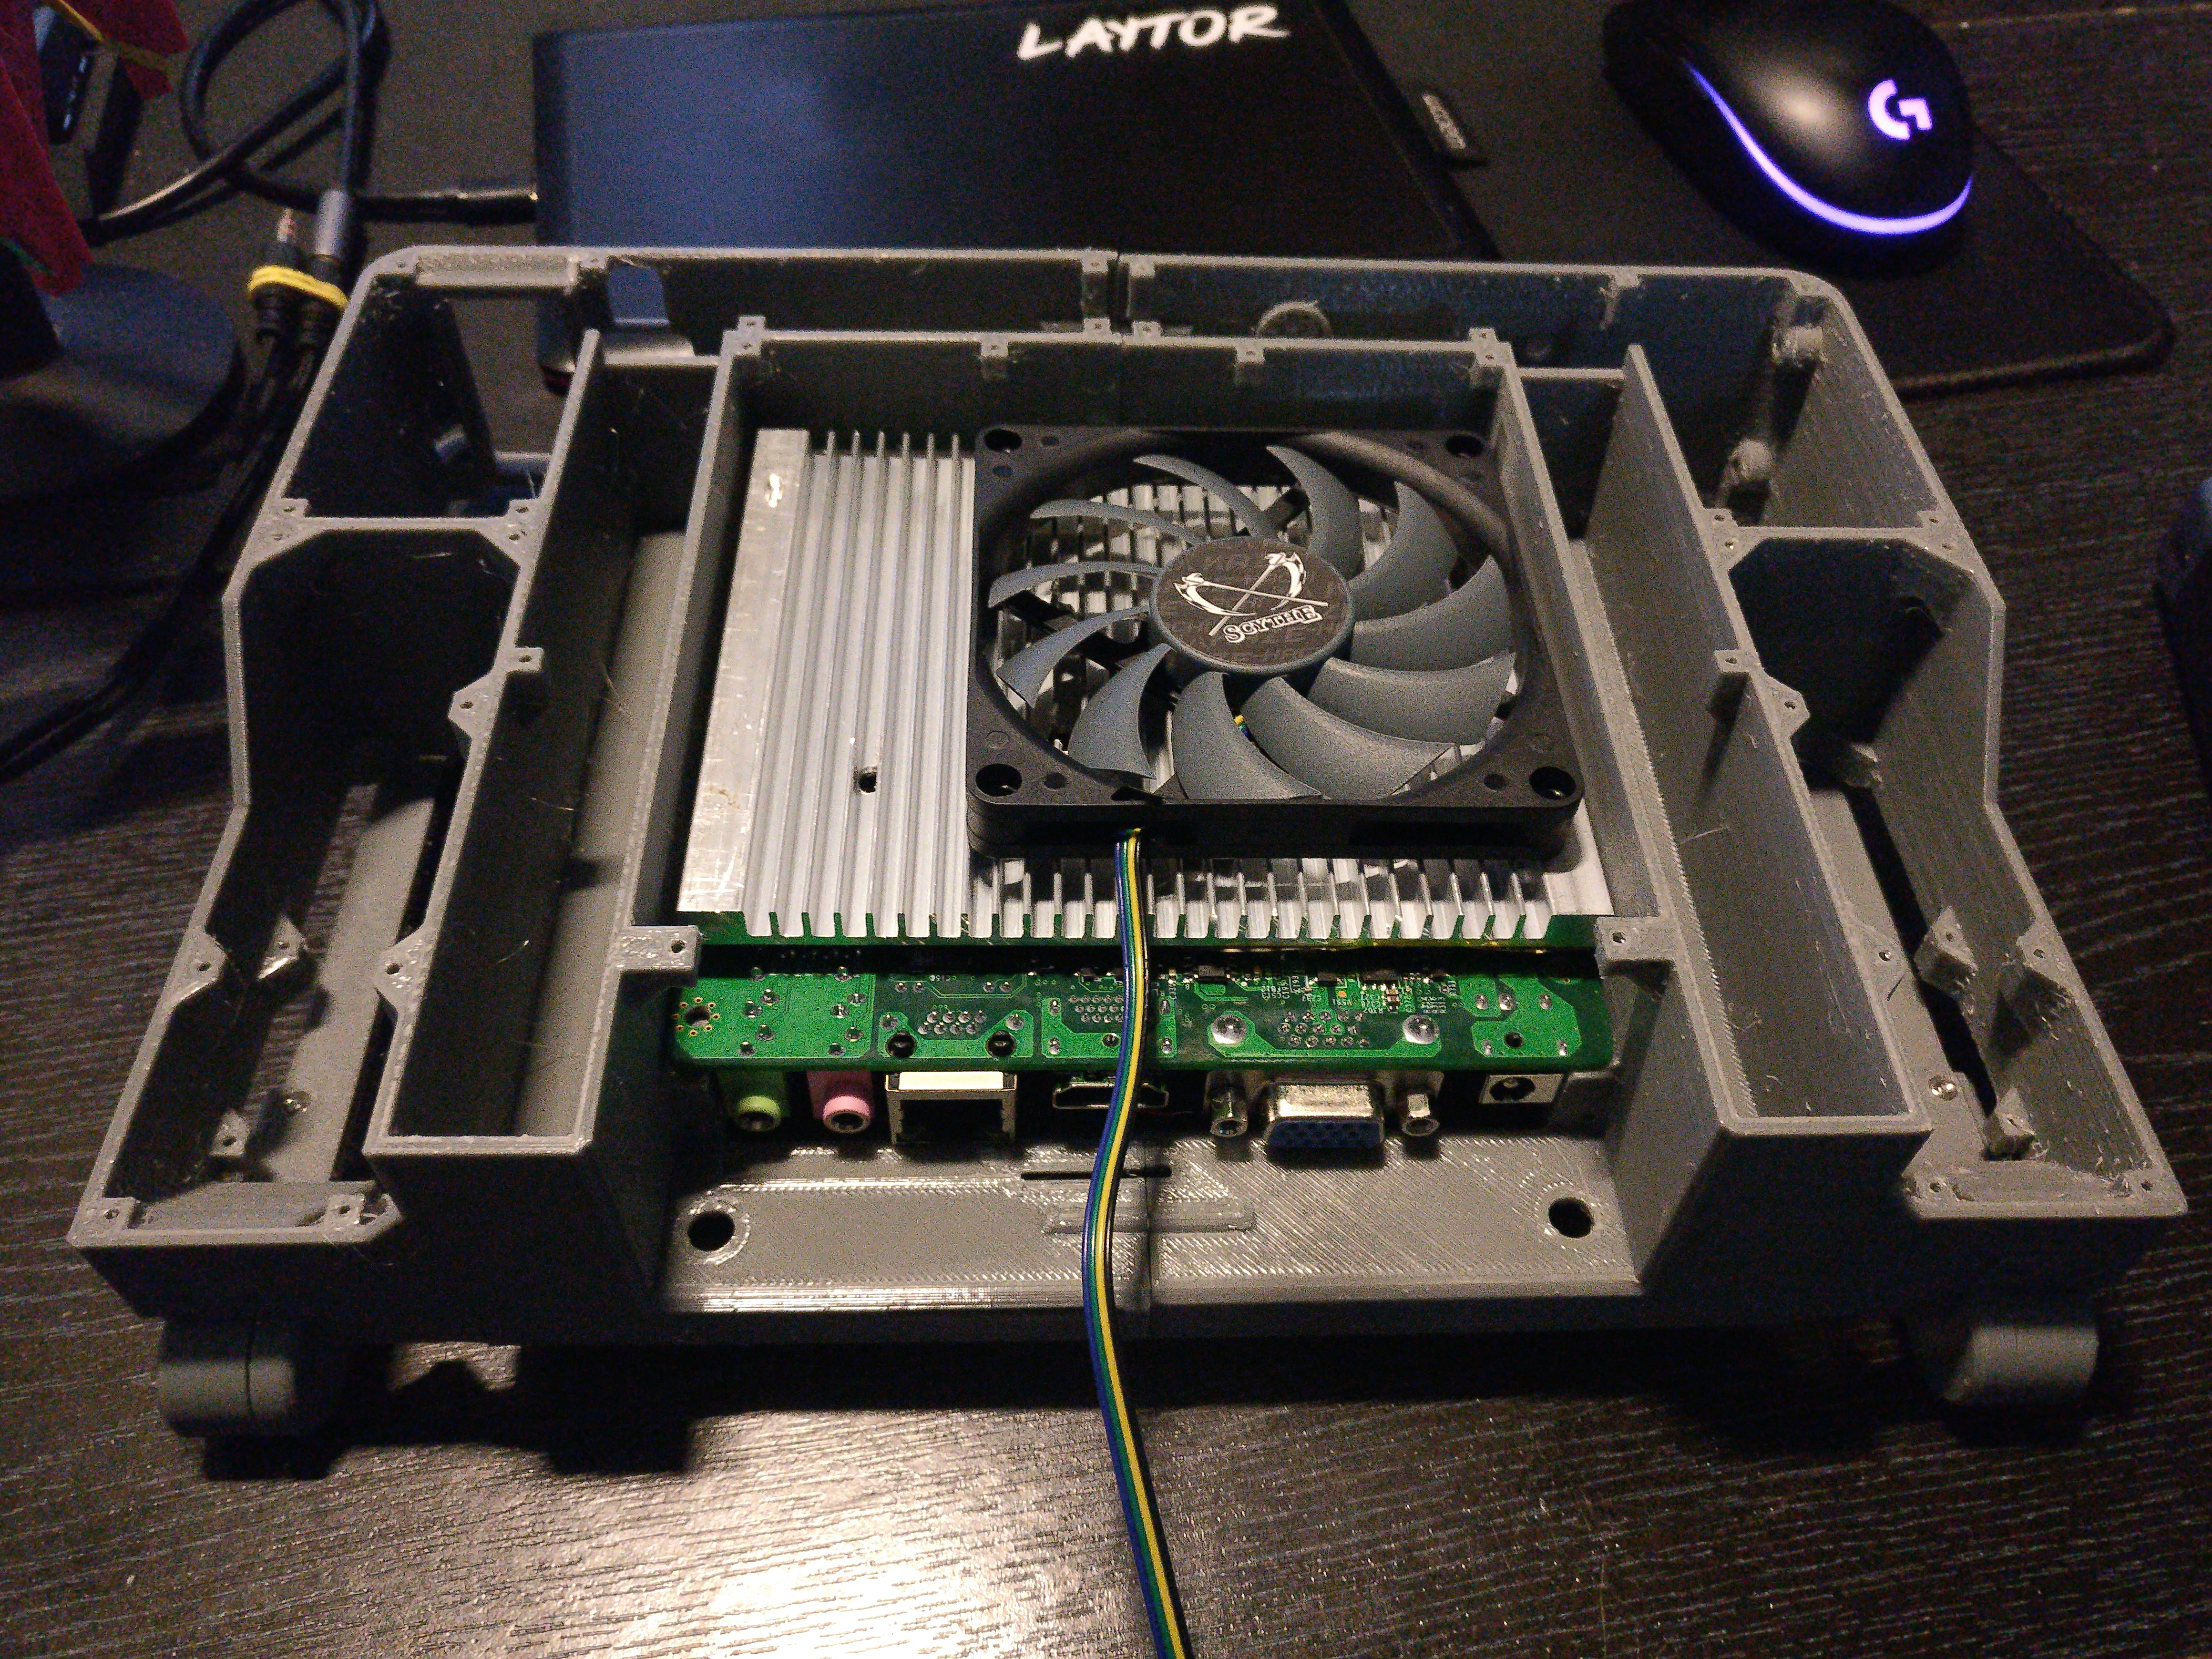
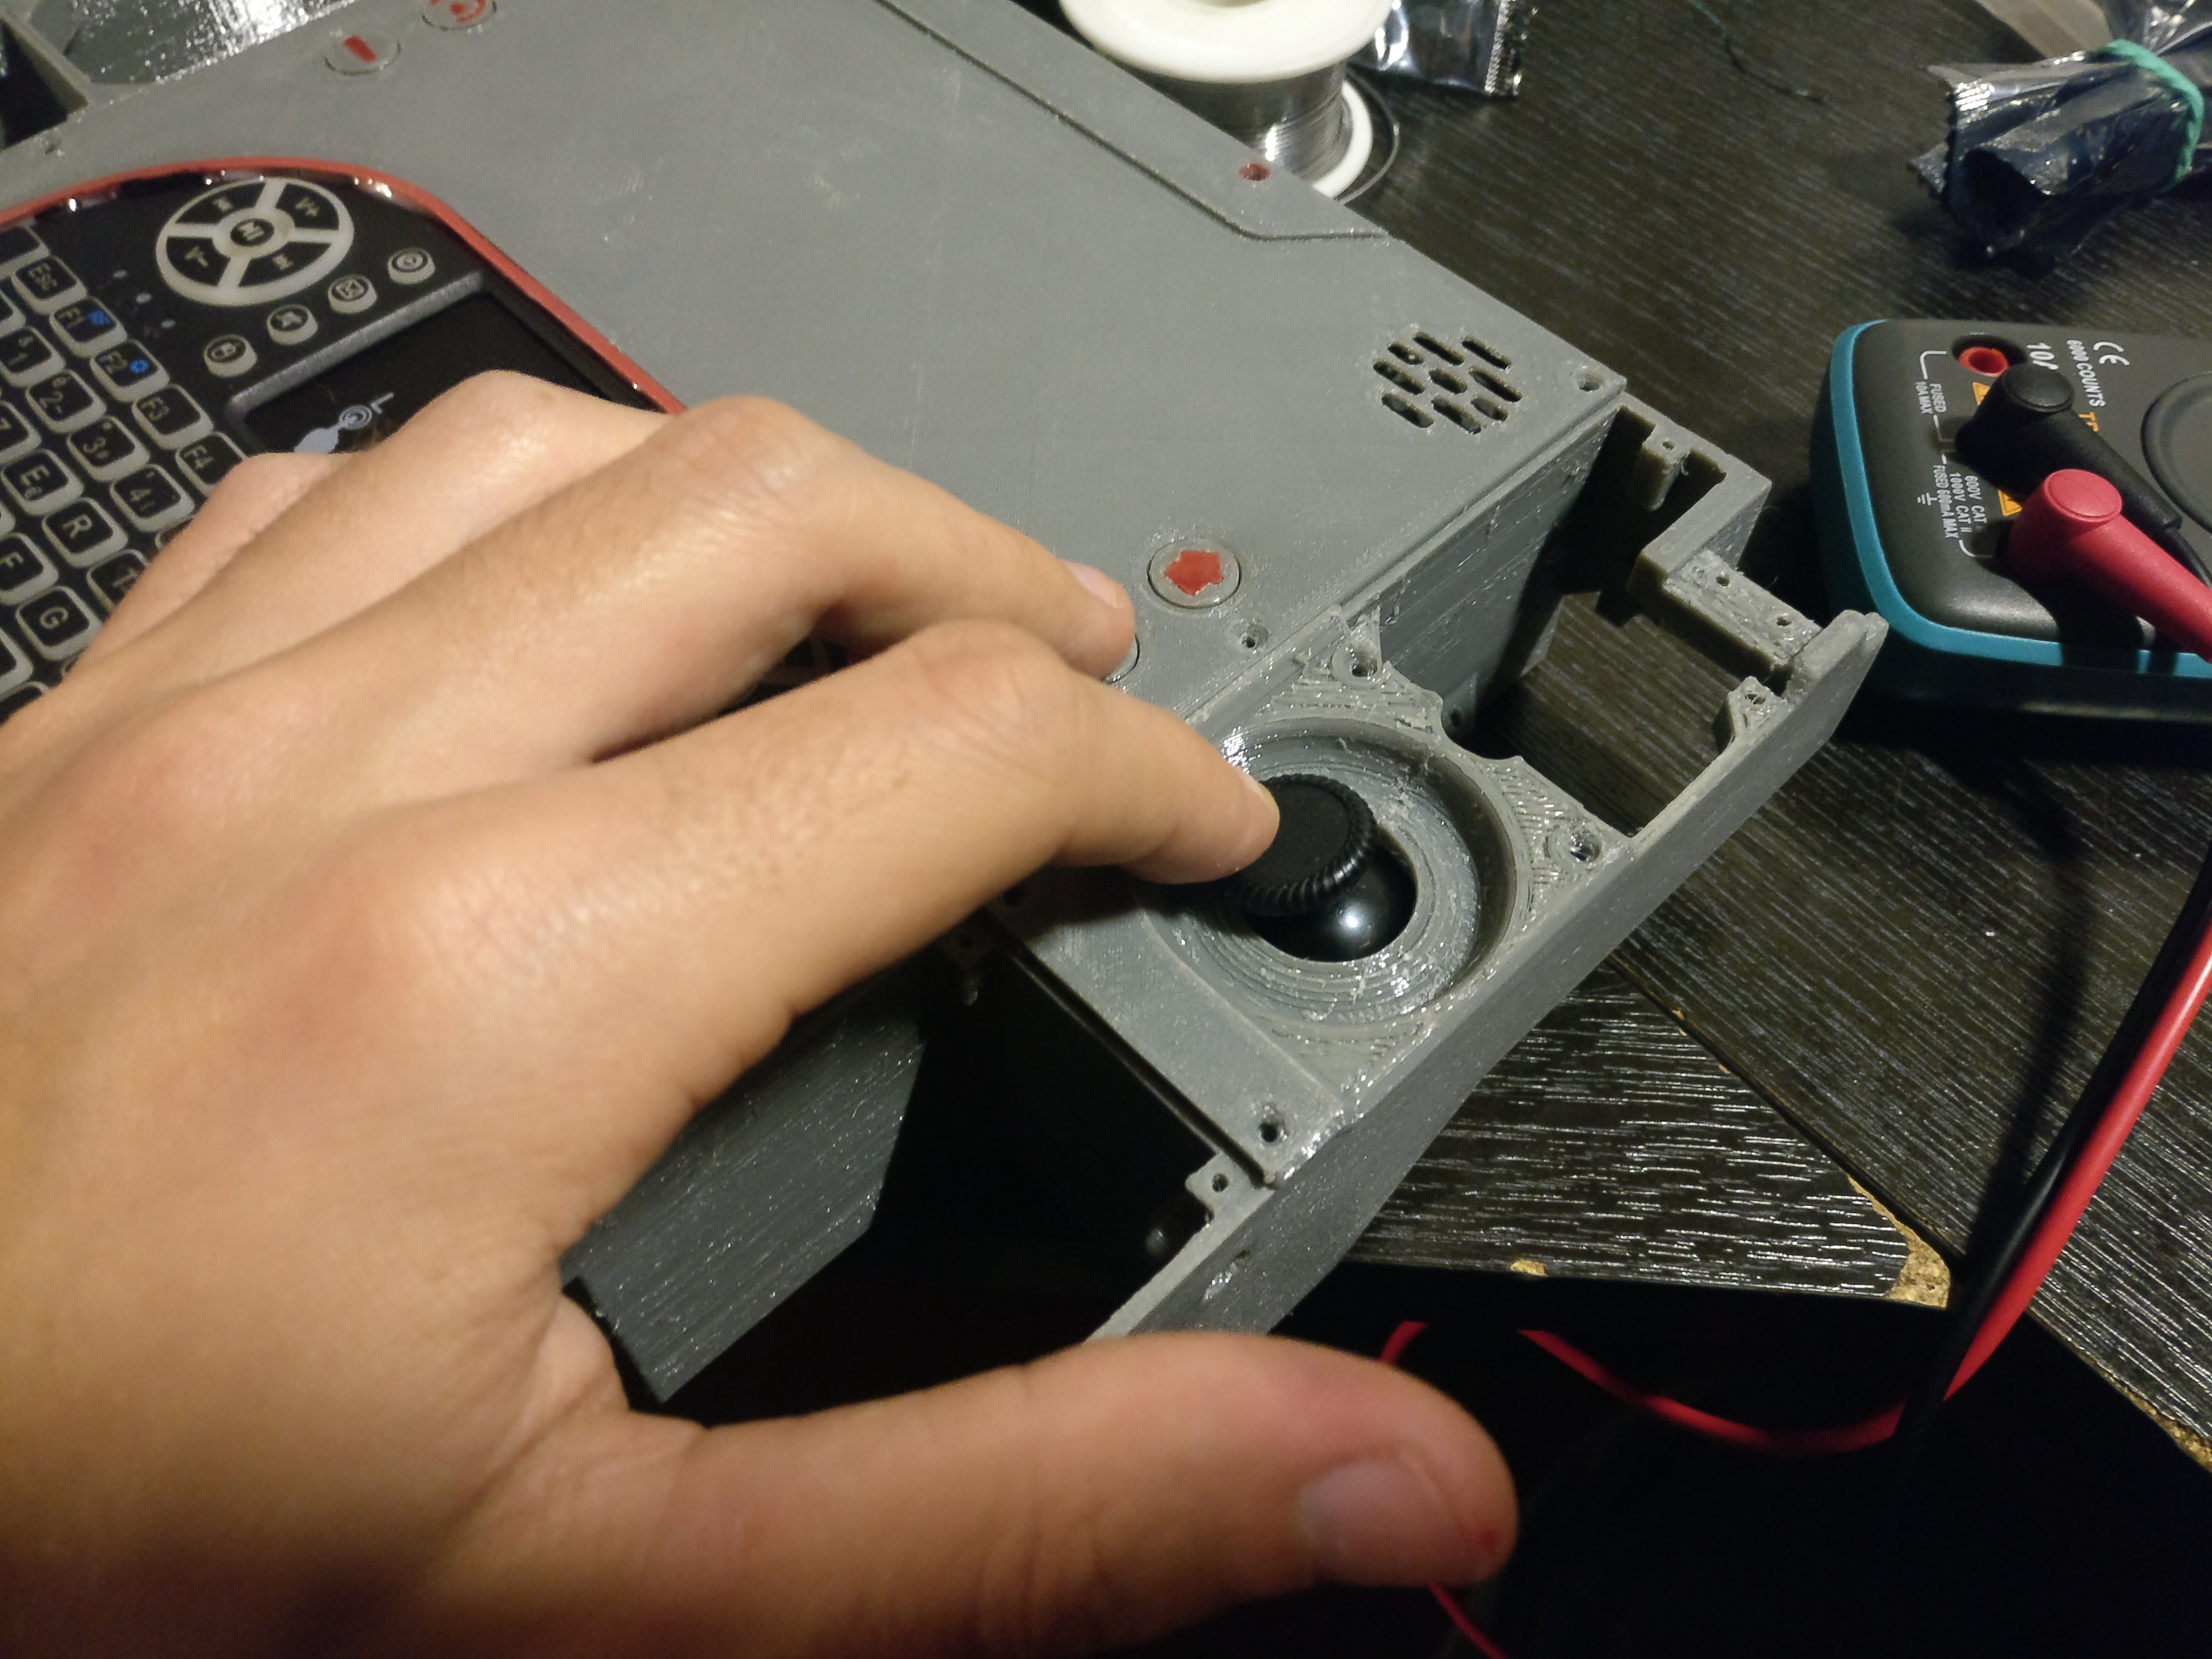
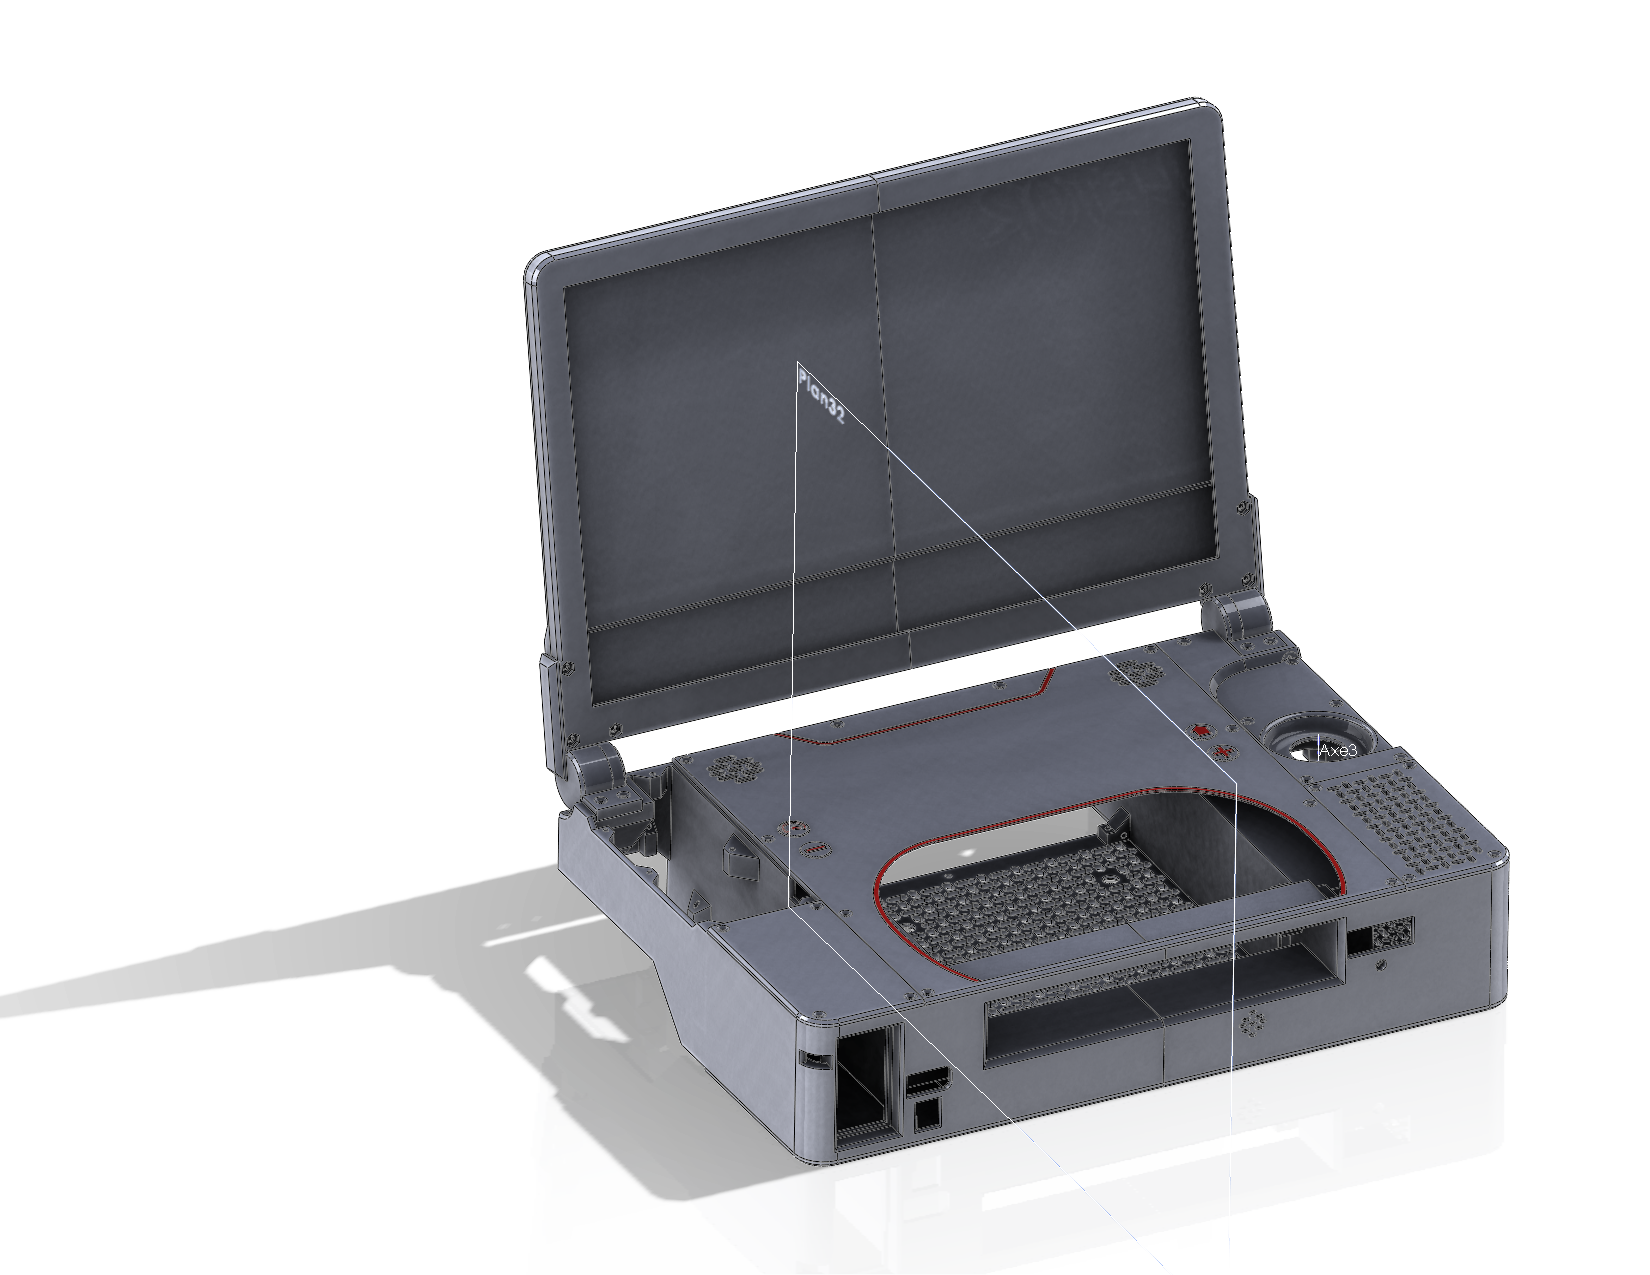
gaming) , mini keyboard with trackpad , custom heatsink for the cpu , all 3d printed case + 3d printed hinges designed by me c: , standard x360 gamepad …
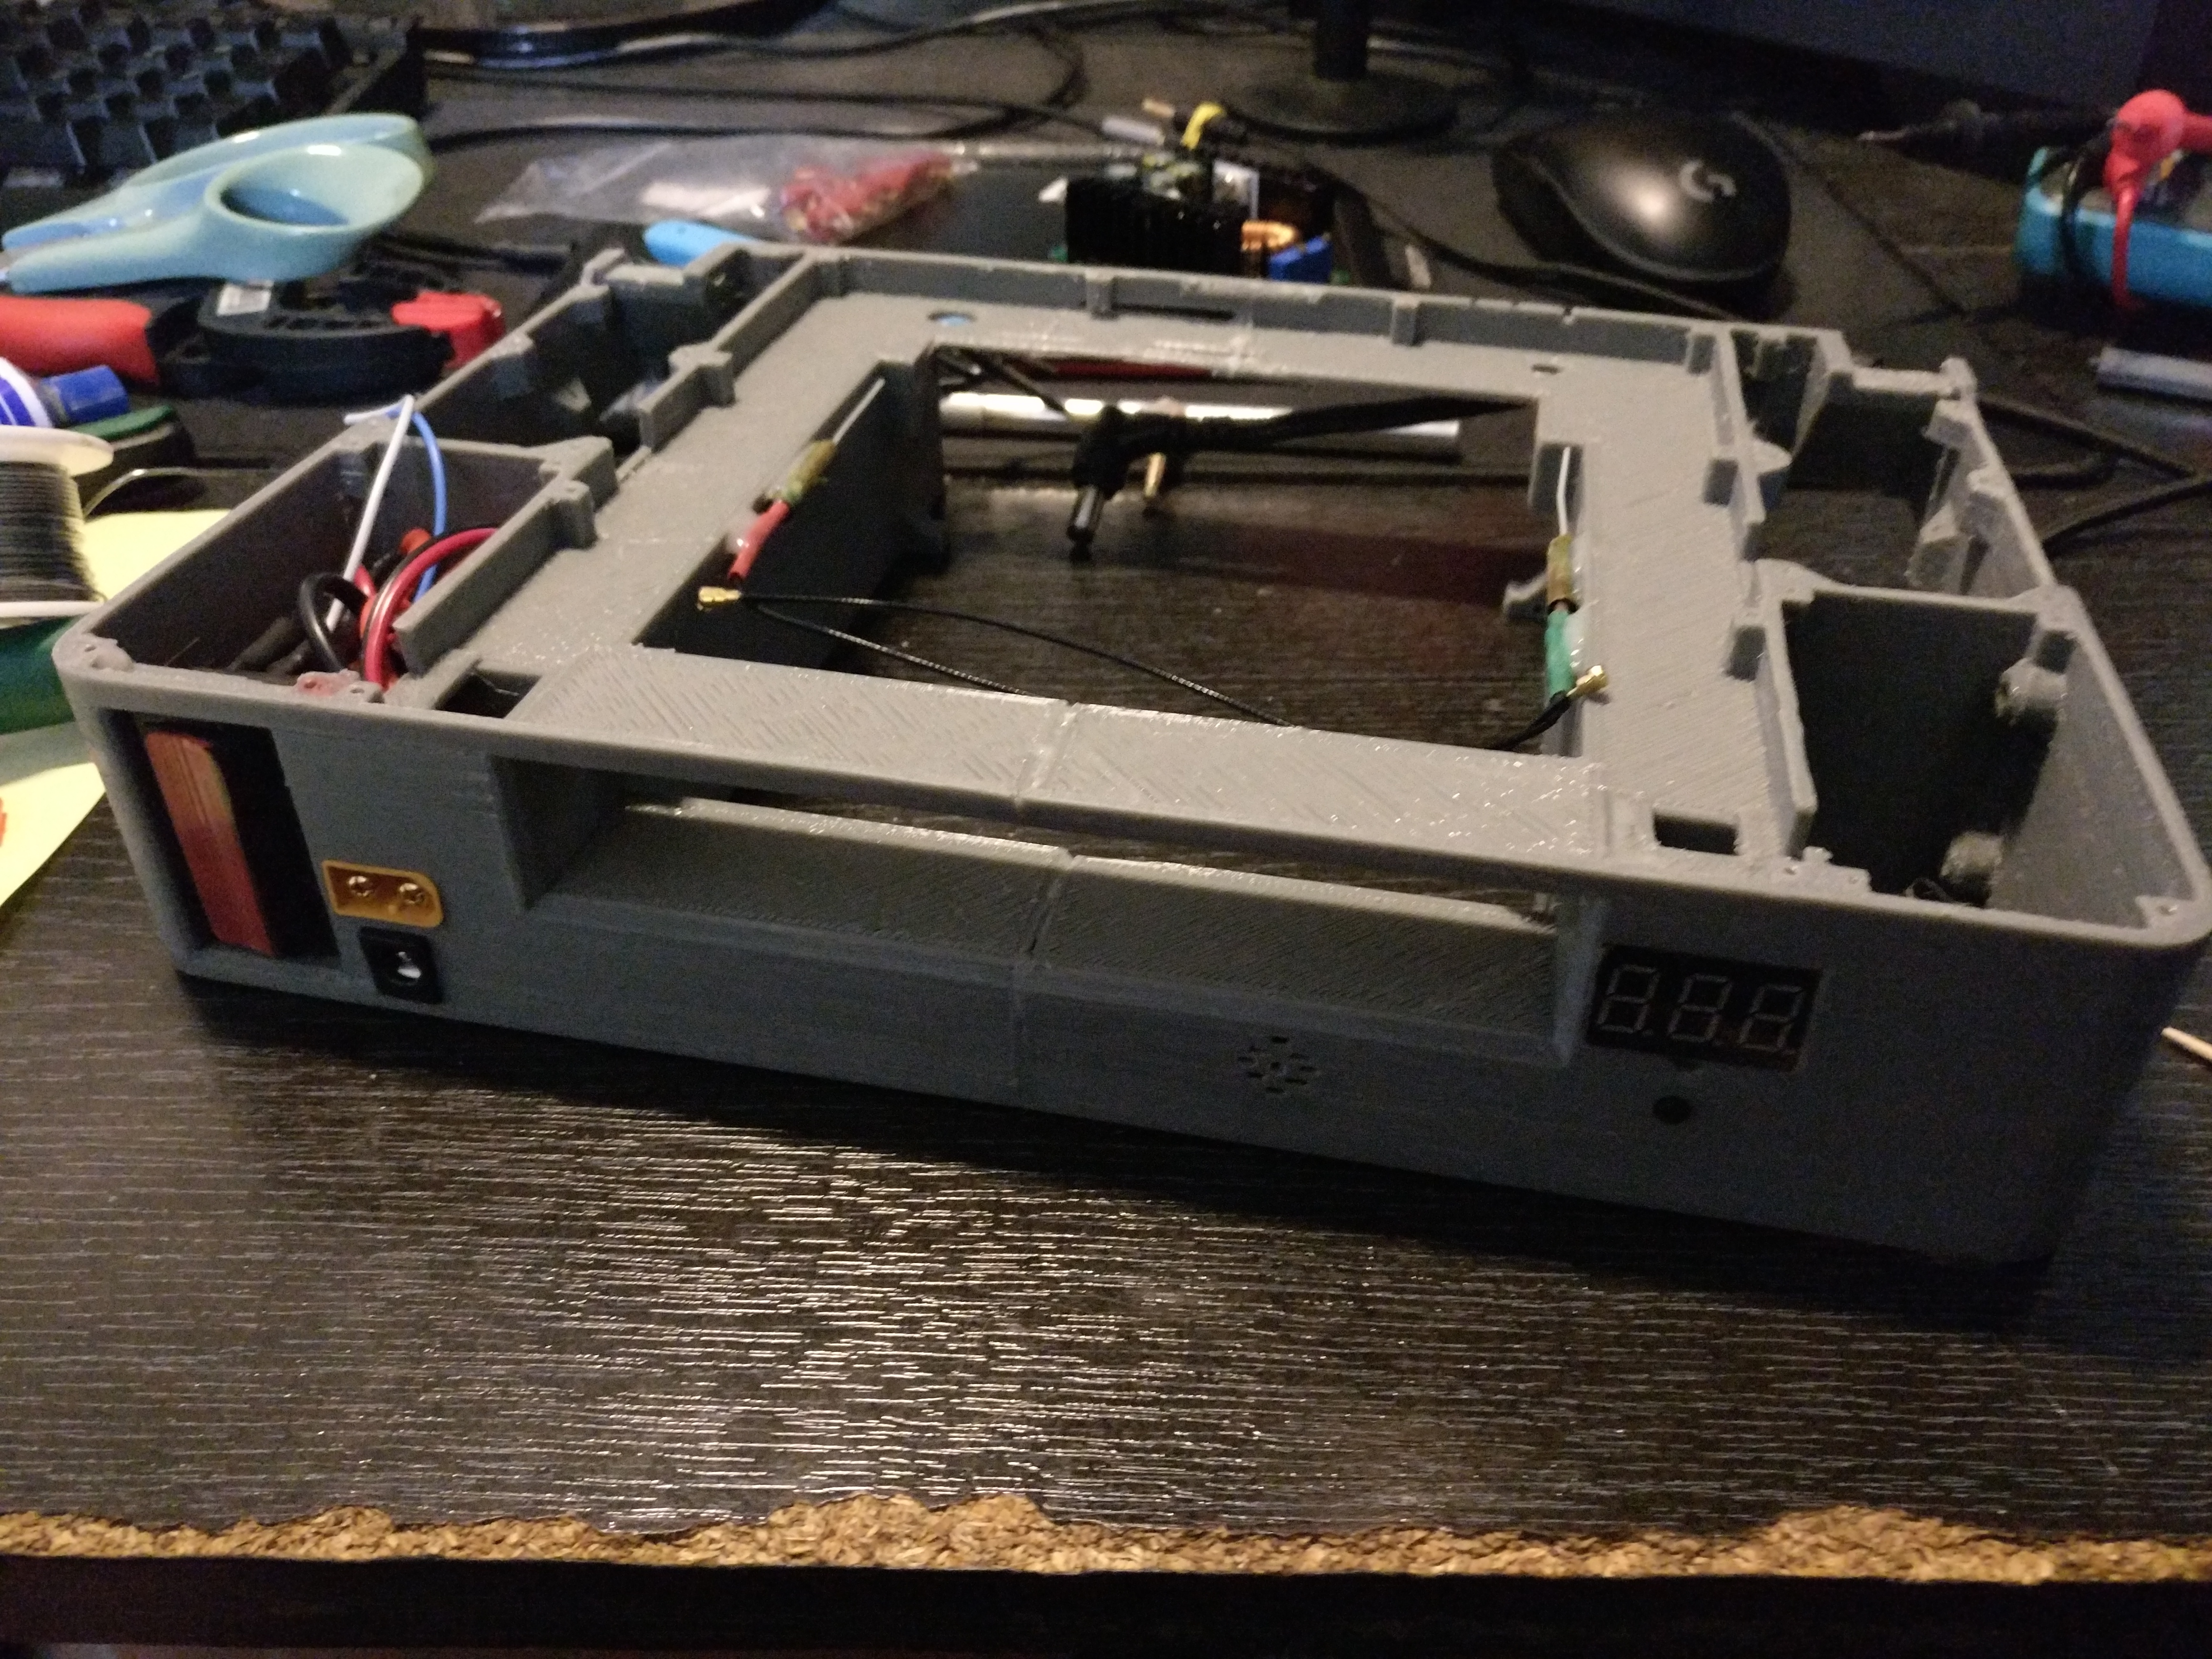
Size : 26x16x6cm with the folded screen
Weight: 1.3 kg (estimated because the build is not done yet)
This is the smallest I could do with the size and power consumption of the pc , I know it’s kinda big and no pocketable at all but it’s at least small enough the be a handheld .
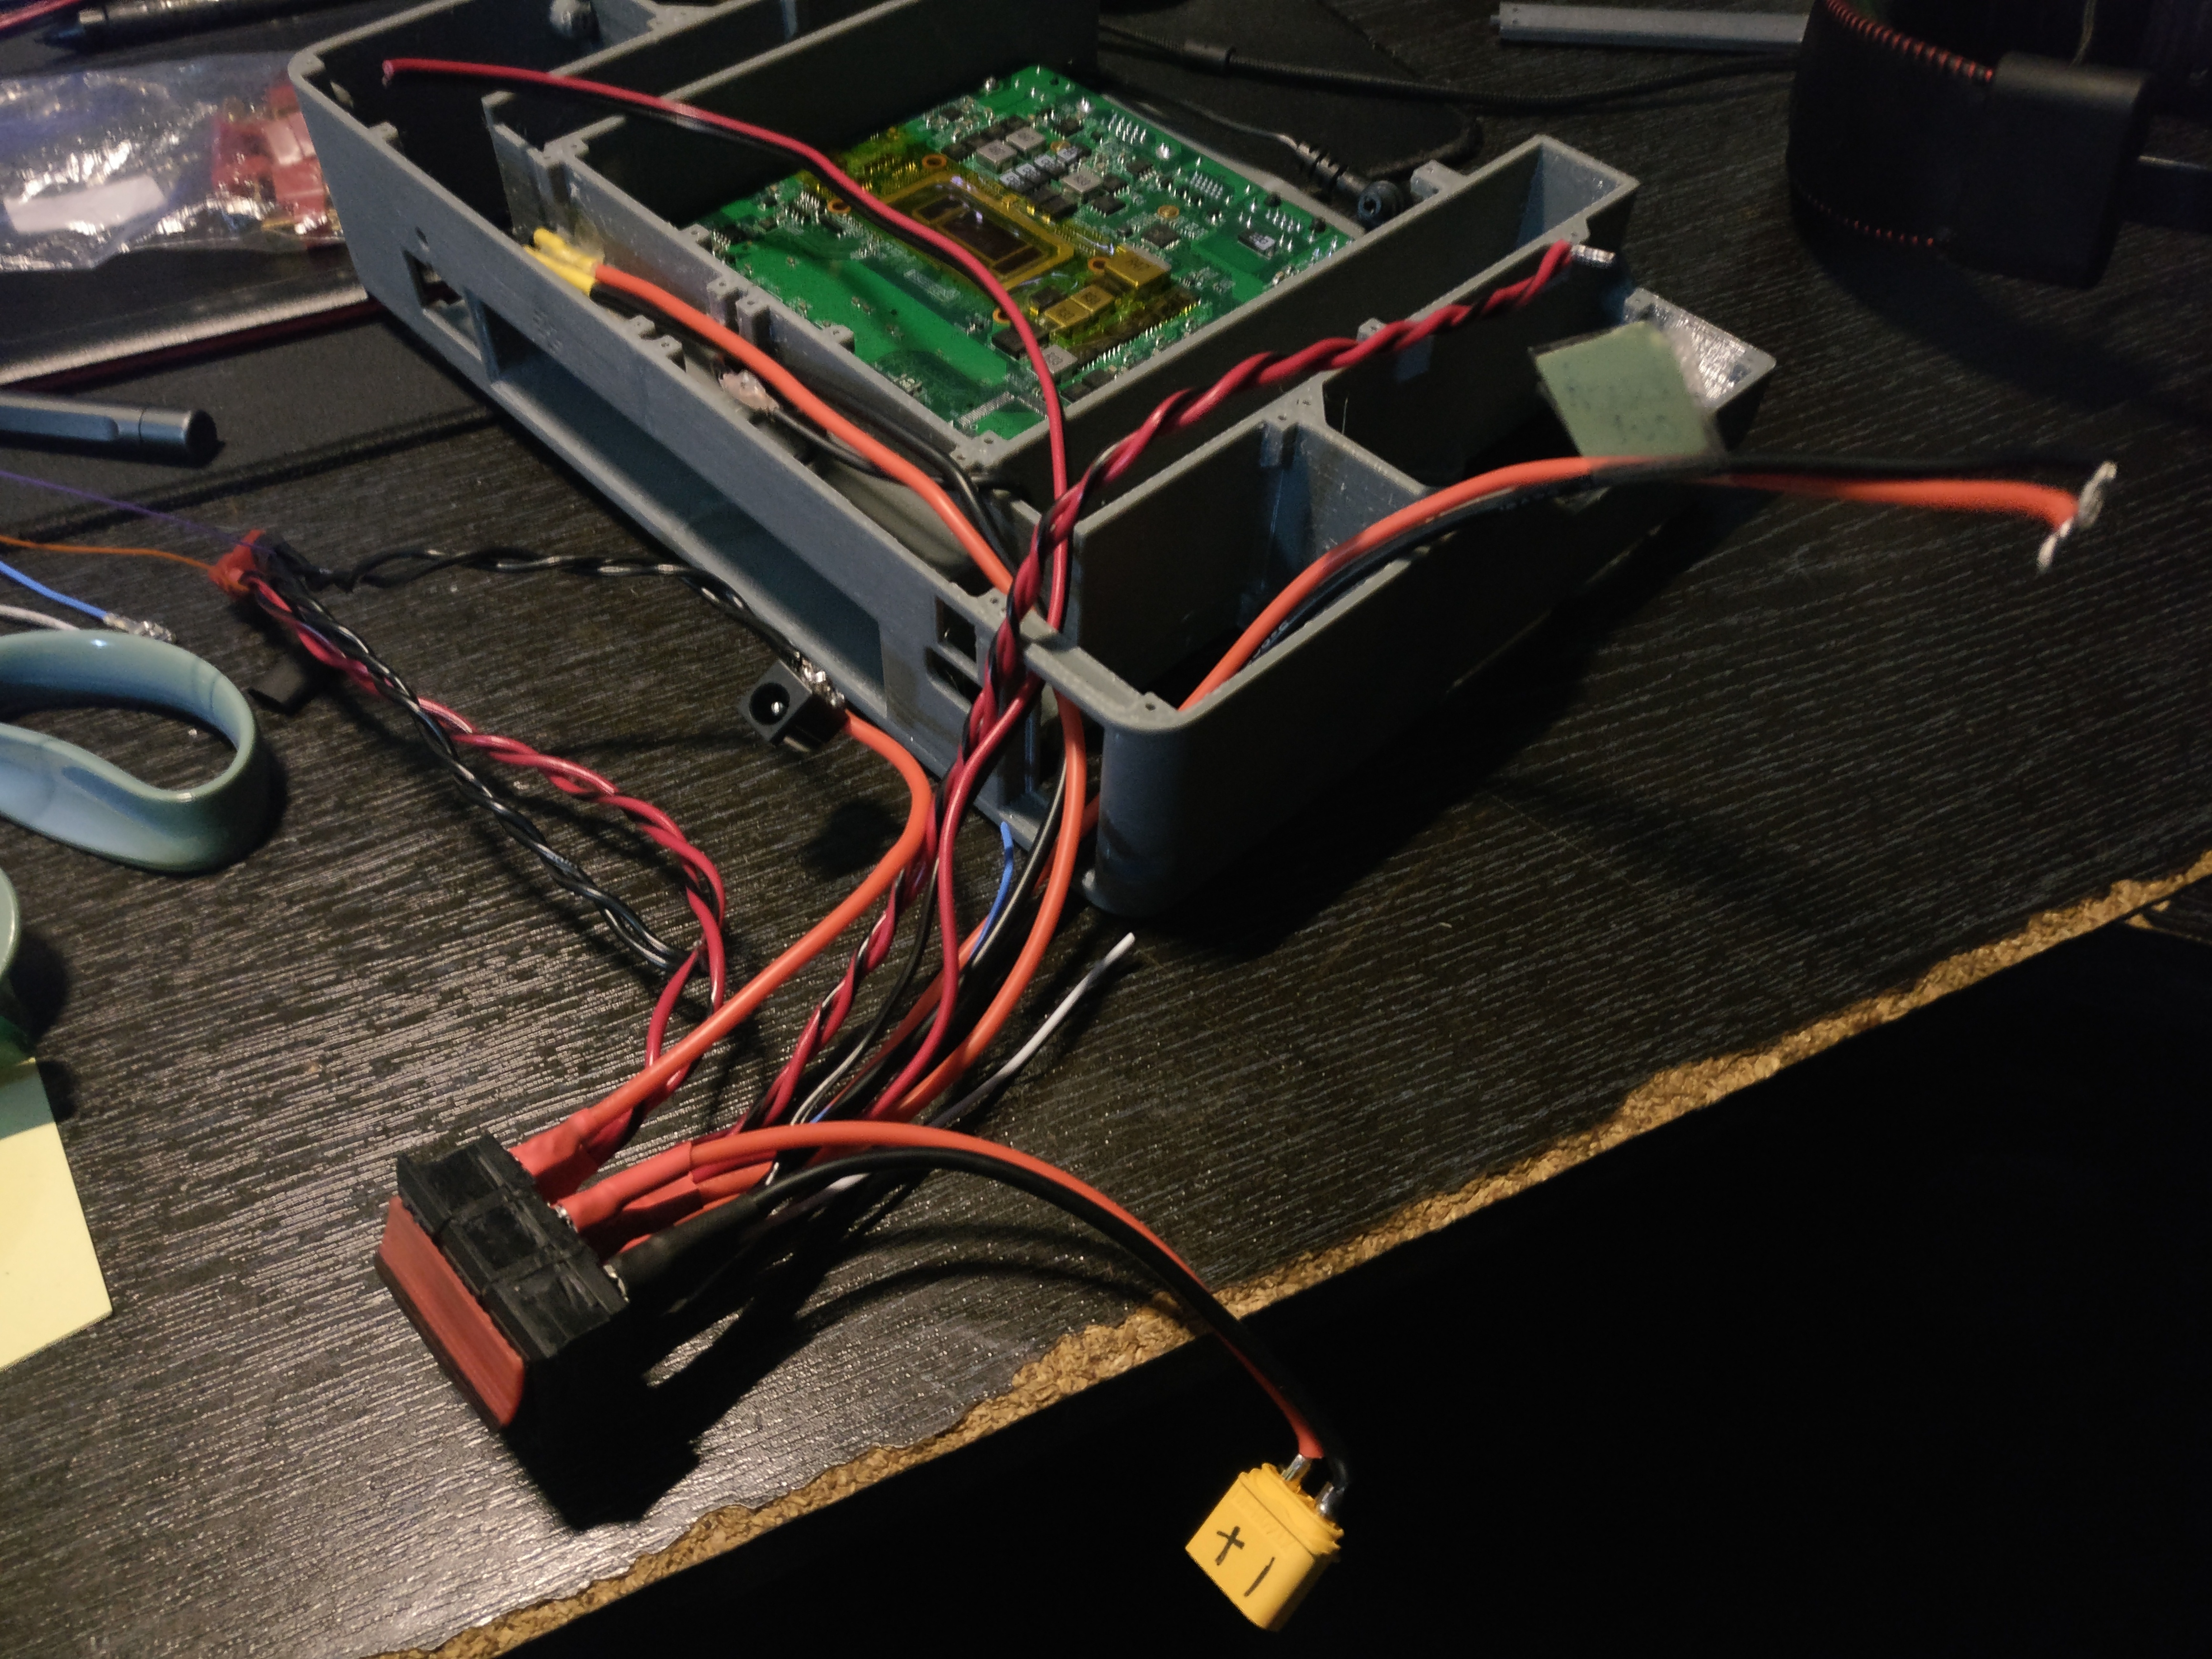
The motherboard came from a mini pc bought on a Chinese site , it’s working well and only heats up to 50c on a 15w tdp with my homemade heatsink, the cpu can go to 28w but the manufacturer of the pc locked the tdp to 15w because of the original fanless design of the pc , I asked him to unlock the tdp and he said he will make a custom bios for me with a unlocked tdp. I can get x2 time better performance on the gpu if I go to 25w . But i’m still waiting for the bios … For now
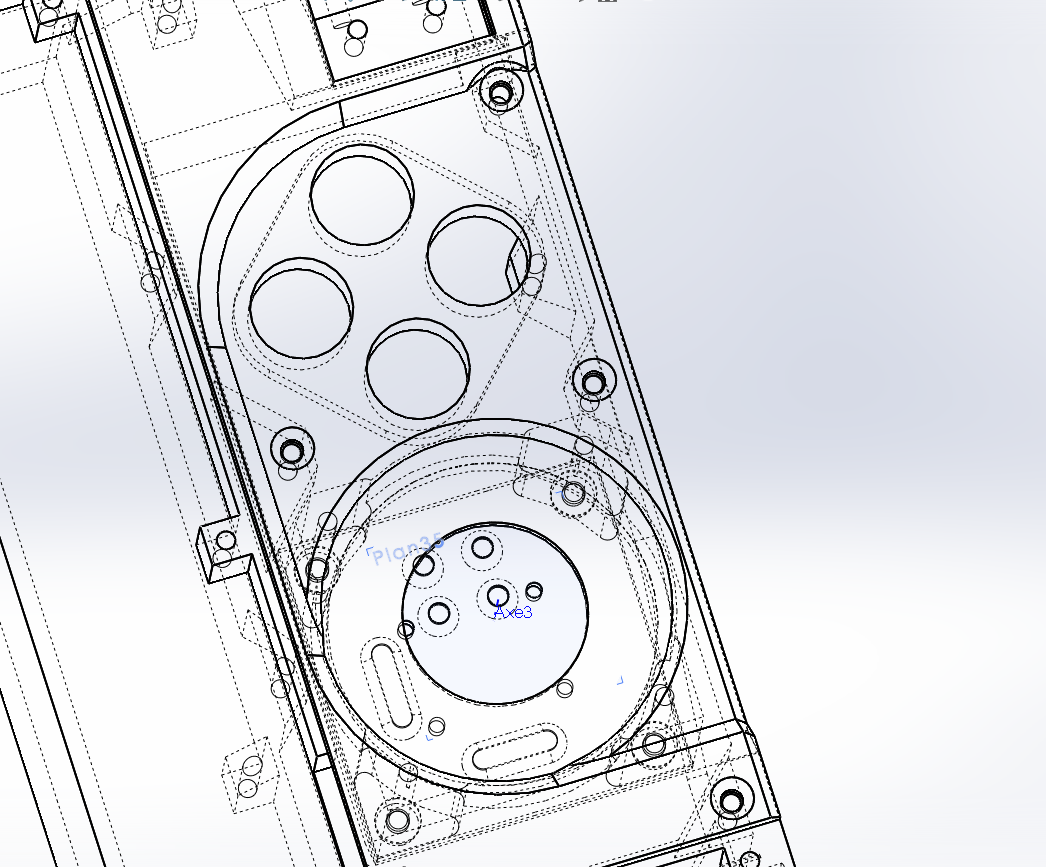
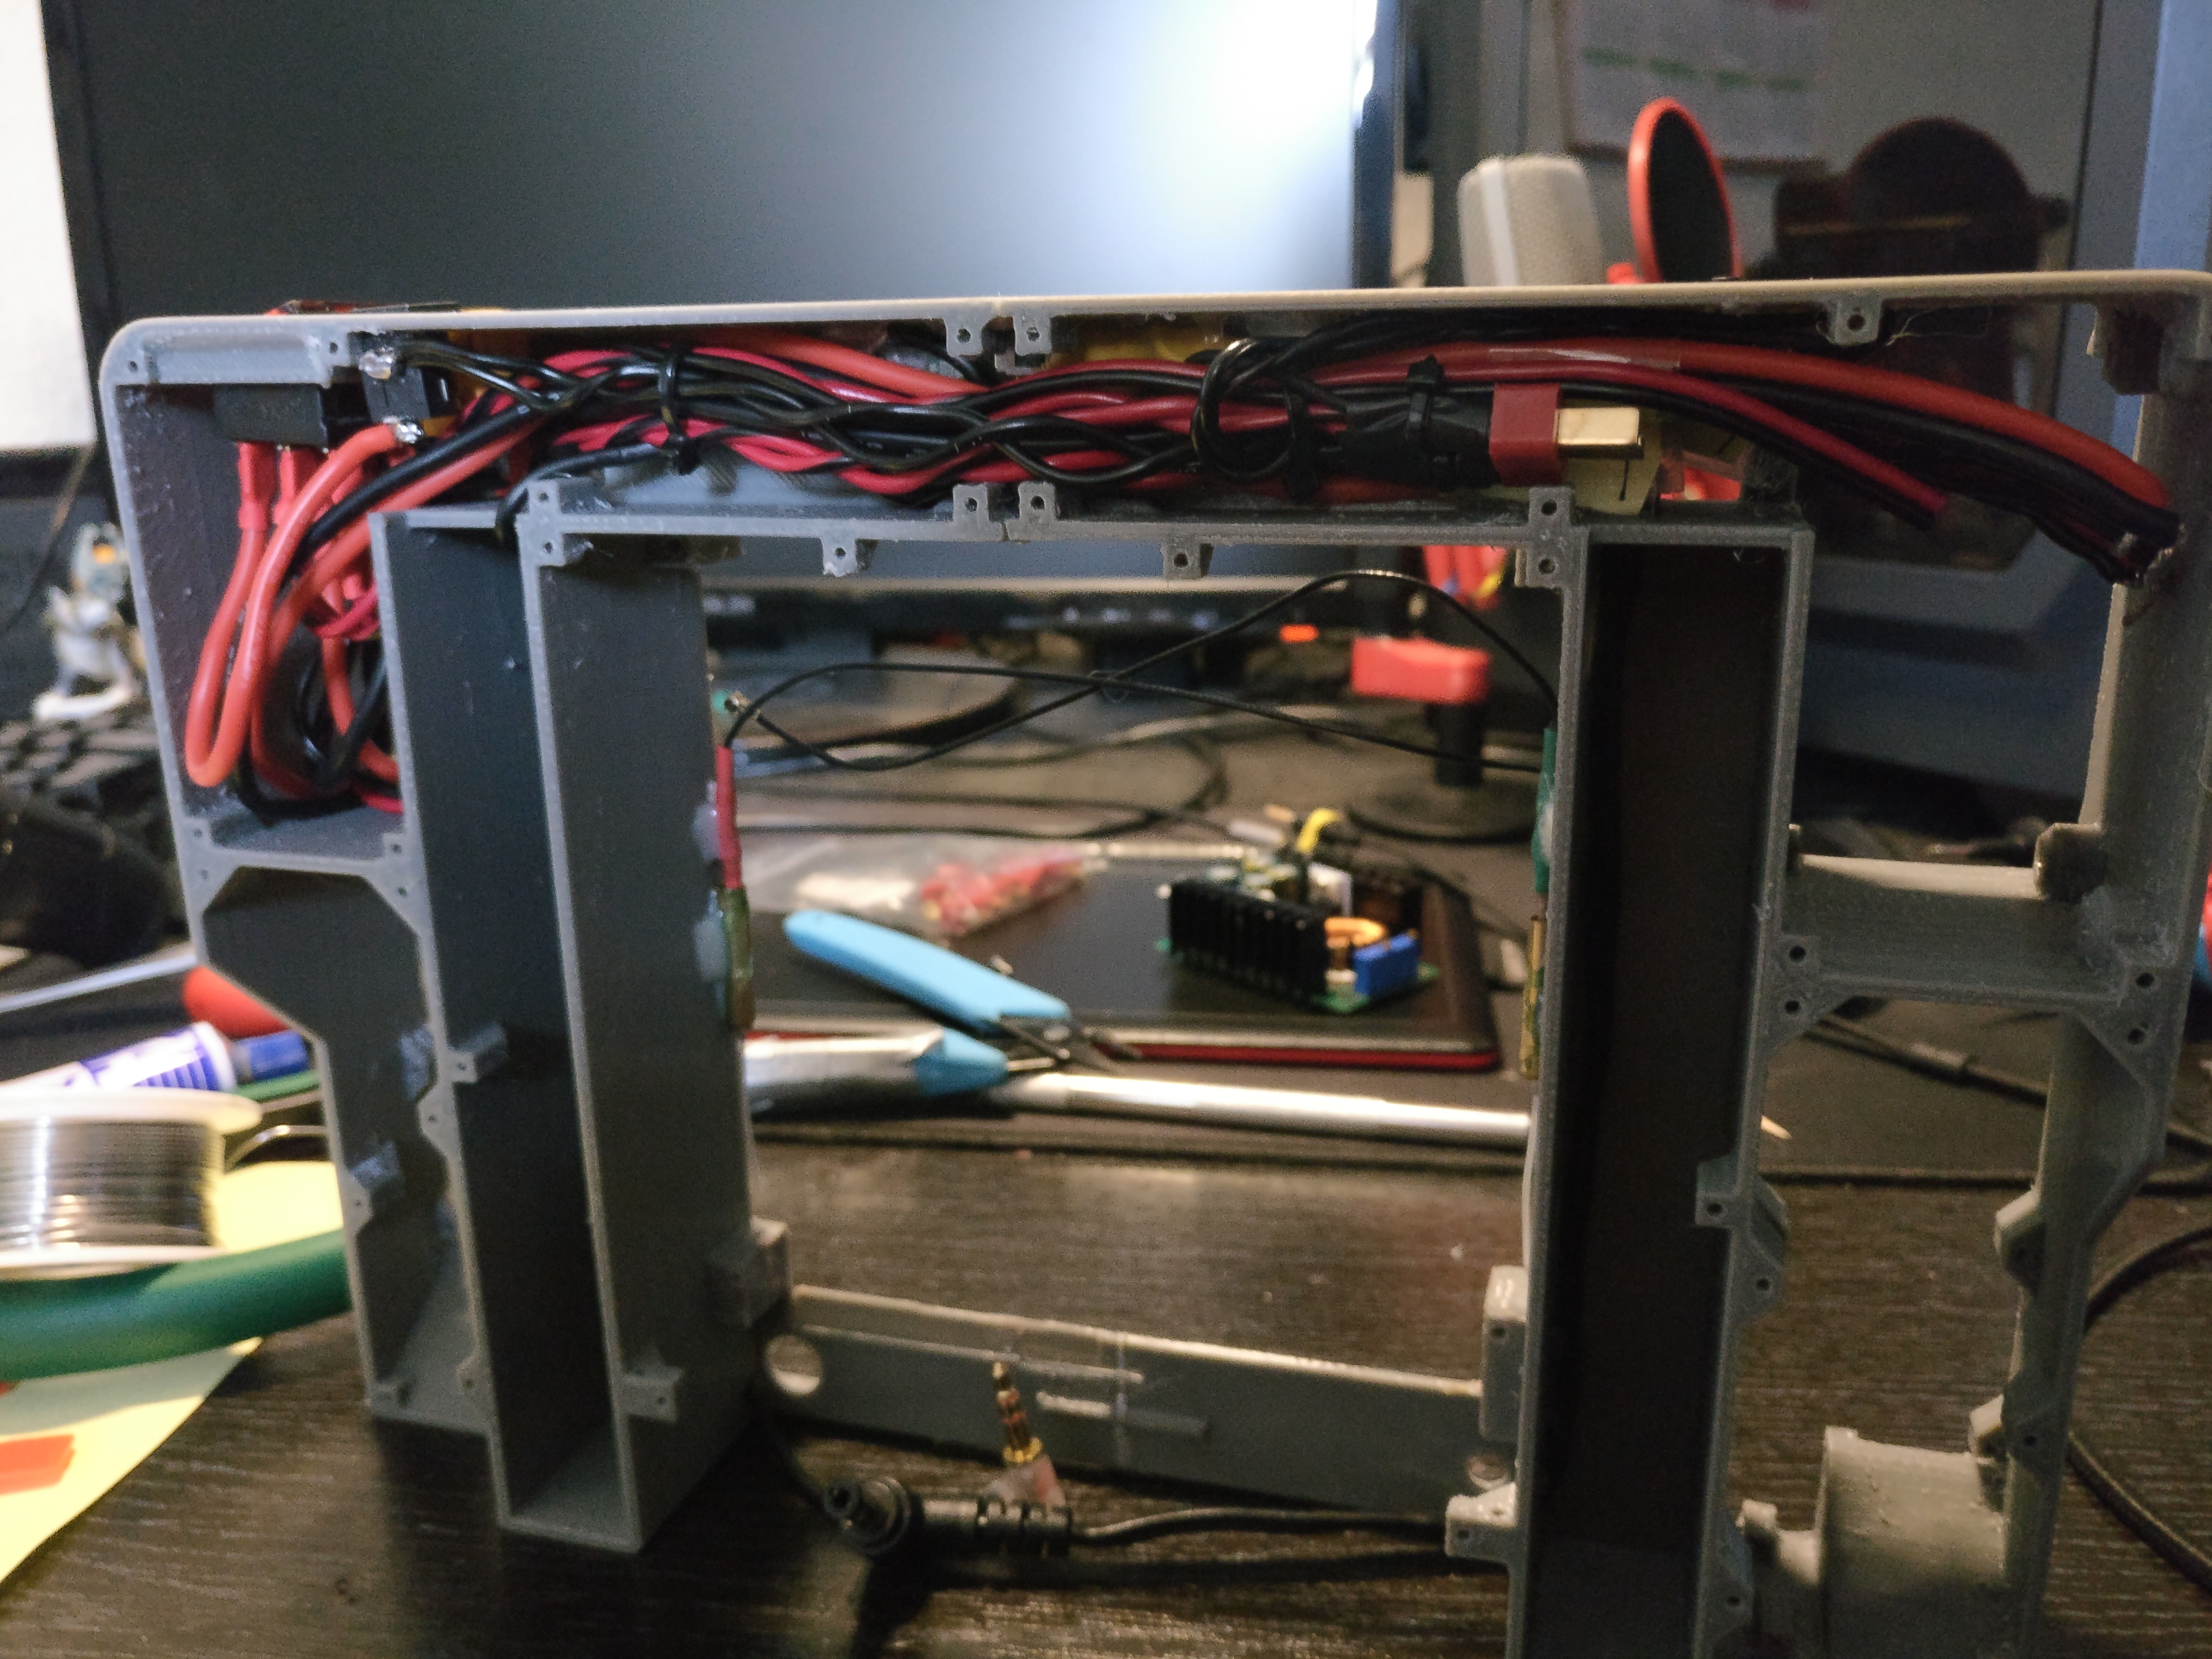
I’m currently printing the case and all the module .
Love these kind of DIY projects, it’s so cool! It was also very nice of the chinese vendor to at least show willingness to provide you a modified BIOS to unlock the full TDP of the chip.
Also the CPU + GPU combo looks perfect for an handheld gaming PC.
Are you going to post performance numbers once you get the new BIOS?
Thanks , I can already give you some results on 15w : gtav 720p normal 30fps(half vsync) , cemu Mario kart 8 720p 60fps , cemu Zelda botw 360p 25fps , Minecraft 1080p optifine 60 FPS(vsync)
Okay, this is pretty rad. Hats off for a sweet mini build.
And hey, that’s the same keyboard-trackpad doodleydad I use in the living room. Genuinely surprised how well that thing works for the nine bucks it cost.
Really impressive only thing I am worried about is ergonomics - you should put face input (gamepad controls) more to the sides, your thumbs will be ever grateful for that.
Edit: NVM, saw that you already figured that out, thought the D Pads in the middle were the gamepad. Doh!


 , I can already give you some results on 15w : gtav 720p normal 30fps(half vsync) , cemu Mario kart 8 720p 60fps , cemu Zelda botw 360p 25fps , Minecraft 1080p optifine 60 FPS(vsync)