HAA: Hardware Addicts Anonymous (Lots of builds...Chasing Ever Cooler and or Ever Smaller)

Hello, I’m HaaStyleCat and I’m a hardware addict. Hi Haastylecat

Ok, not really (In denial). Here’s a place maybe for people to share their love of builds.

Over the past year…well I guess year and a half leading up to and in the beginning of the Pandemic I built upwards of a dozen different PC’s in different configurations. I’m going to post some links to Imgur as to not overload the server. Some of them are in use and some are sold. Some were moved around to different cases or revamped all together. I have a lot of photos from before, and after, my discovery of water cooling.

I was hooked on getting the lowest temps possible (justification was longevity of parts). I loved the idea as I was a mechanic in the past and understood the principles. I did take it to the extreme at one point with the current processor (I7-8086k) when I delided it, applied liquid metal AND replaced the IHS with a solid copper slightly larger profile IHS. (I am now JUST considering direct die…because I have so many PC’s…it never ends…). Then I got into overclocking…then overclocking undervolting etc etc etc down the rabbit hole we go.

So there’s my story… I will do some uploads shortly and leave this as a place holder. I am also open to any questions on the builds. I will attempt to share what I have learned using all the different parts from all the different manufacturers I have used.

I will be sure to add in components. I used to have a lot of Benchmarks, and thermals somewhere I can find… I may try to get that all together.

If others would like to share there experiences with a specific build type (IE- SSF, water cooling, over the top builds whatever) feel free.

I will do my best here but just so people are aware I do have a traumatic brain injury (TBI) so I do forget things or mess up writing them down. Please just ask if I forget something that should be mentioned or I forget something. Thank you.

5 Likes

OK, well lets start with the main rig.
i7 8086k 5.0Ghz All Core, 1.26mv
MSI Z390 MEG ACE w/EK Monoblock
32GB 3200 Corsair
MSI Seahawk 2080Ti (converted with EK Waterblock-sad story there)
EK D5 Pump
Hardware Labs 240mm and 360mm GTS Radiators
Lian-Li O11-Air (Love the Extra 3 120mm Fans in the front!)
All M.2 or SSD Storage
Corsair Commander Pro (best solution for me for a accurate way to cool my system based on coolant temp besides the uber expensive Aquacomputer setup)
Corsair AXi1200
Think thats about all besides fittings and a few odds and ends.

This build was what first drove me to a custom water loop. I had tried AIO and loved it, but I wanted to try to make my own loop. I went with flex tube…but wasnt happy with the discoloration so I had to learn to do hardline. With the advance to PETG it made it much more forgiving than the old acrylic tube. I also invested in the right tools (IE heat gun and a RFB Ridge Finishing Bit from Primochill- they come in all sizes!).

SO… here’s my baby. She a gen behind now but I love her. I called her my “Intel BEAST”

Here was some other interations of the same build back to AIO and previously in the Corsair 680 Crystal (I had dual 280mm rads in that setup), and I think Maybe even back to the Corsair 540 Air.


Ill try to do one a day…That will take me two weeks or better I think. I know theres probably ways to do things better and people have preferences, but I mad eit work for me how I liked. It all works just the way it is but its so much fun to play with fan curves and min max the heck out of each build.

2 Likes

So that is the legacy of the Main Build. I did find some pictures of my “first build as an Adult.” I say this because my father used to work for big tech companies like Burroughs/Unisys, Lucent, Oracle, and a few others when I lived in the home. I used to get told “you dont need any more than that” when it came to wanting parts to upgrade the home PC.

This may have fueled my desire to build overbuilt extreme systems (OK, not that extreme, but more so than the average consumer). Maybe I have a complex lol.

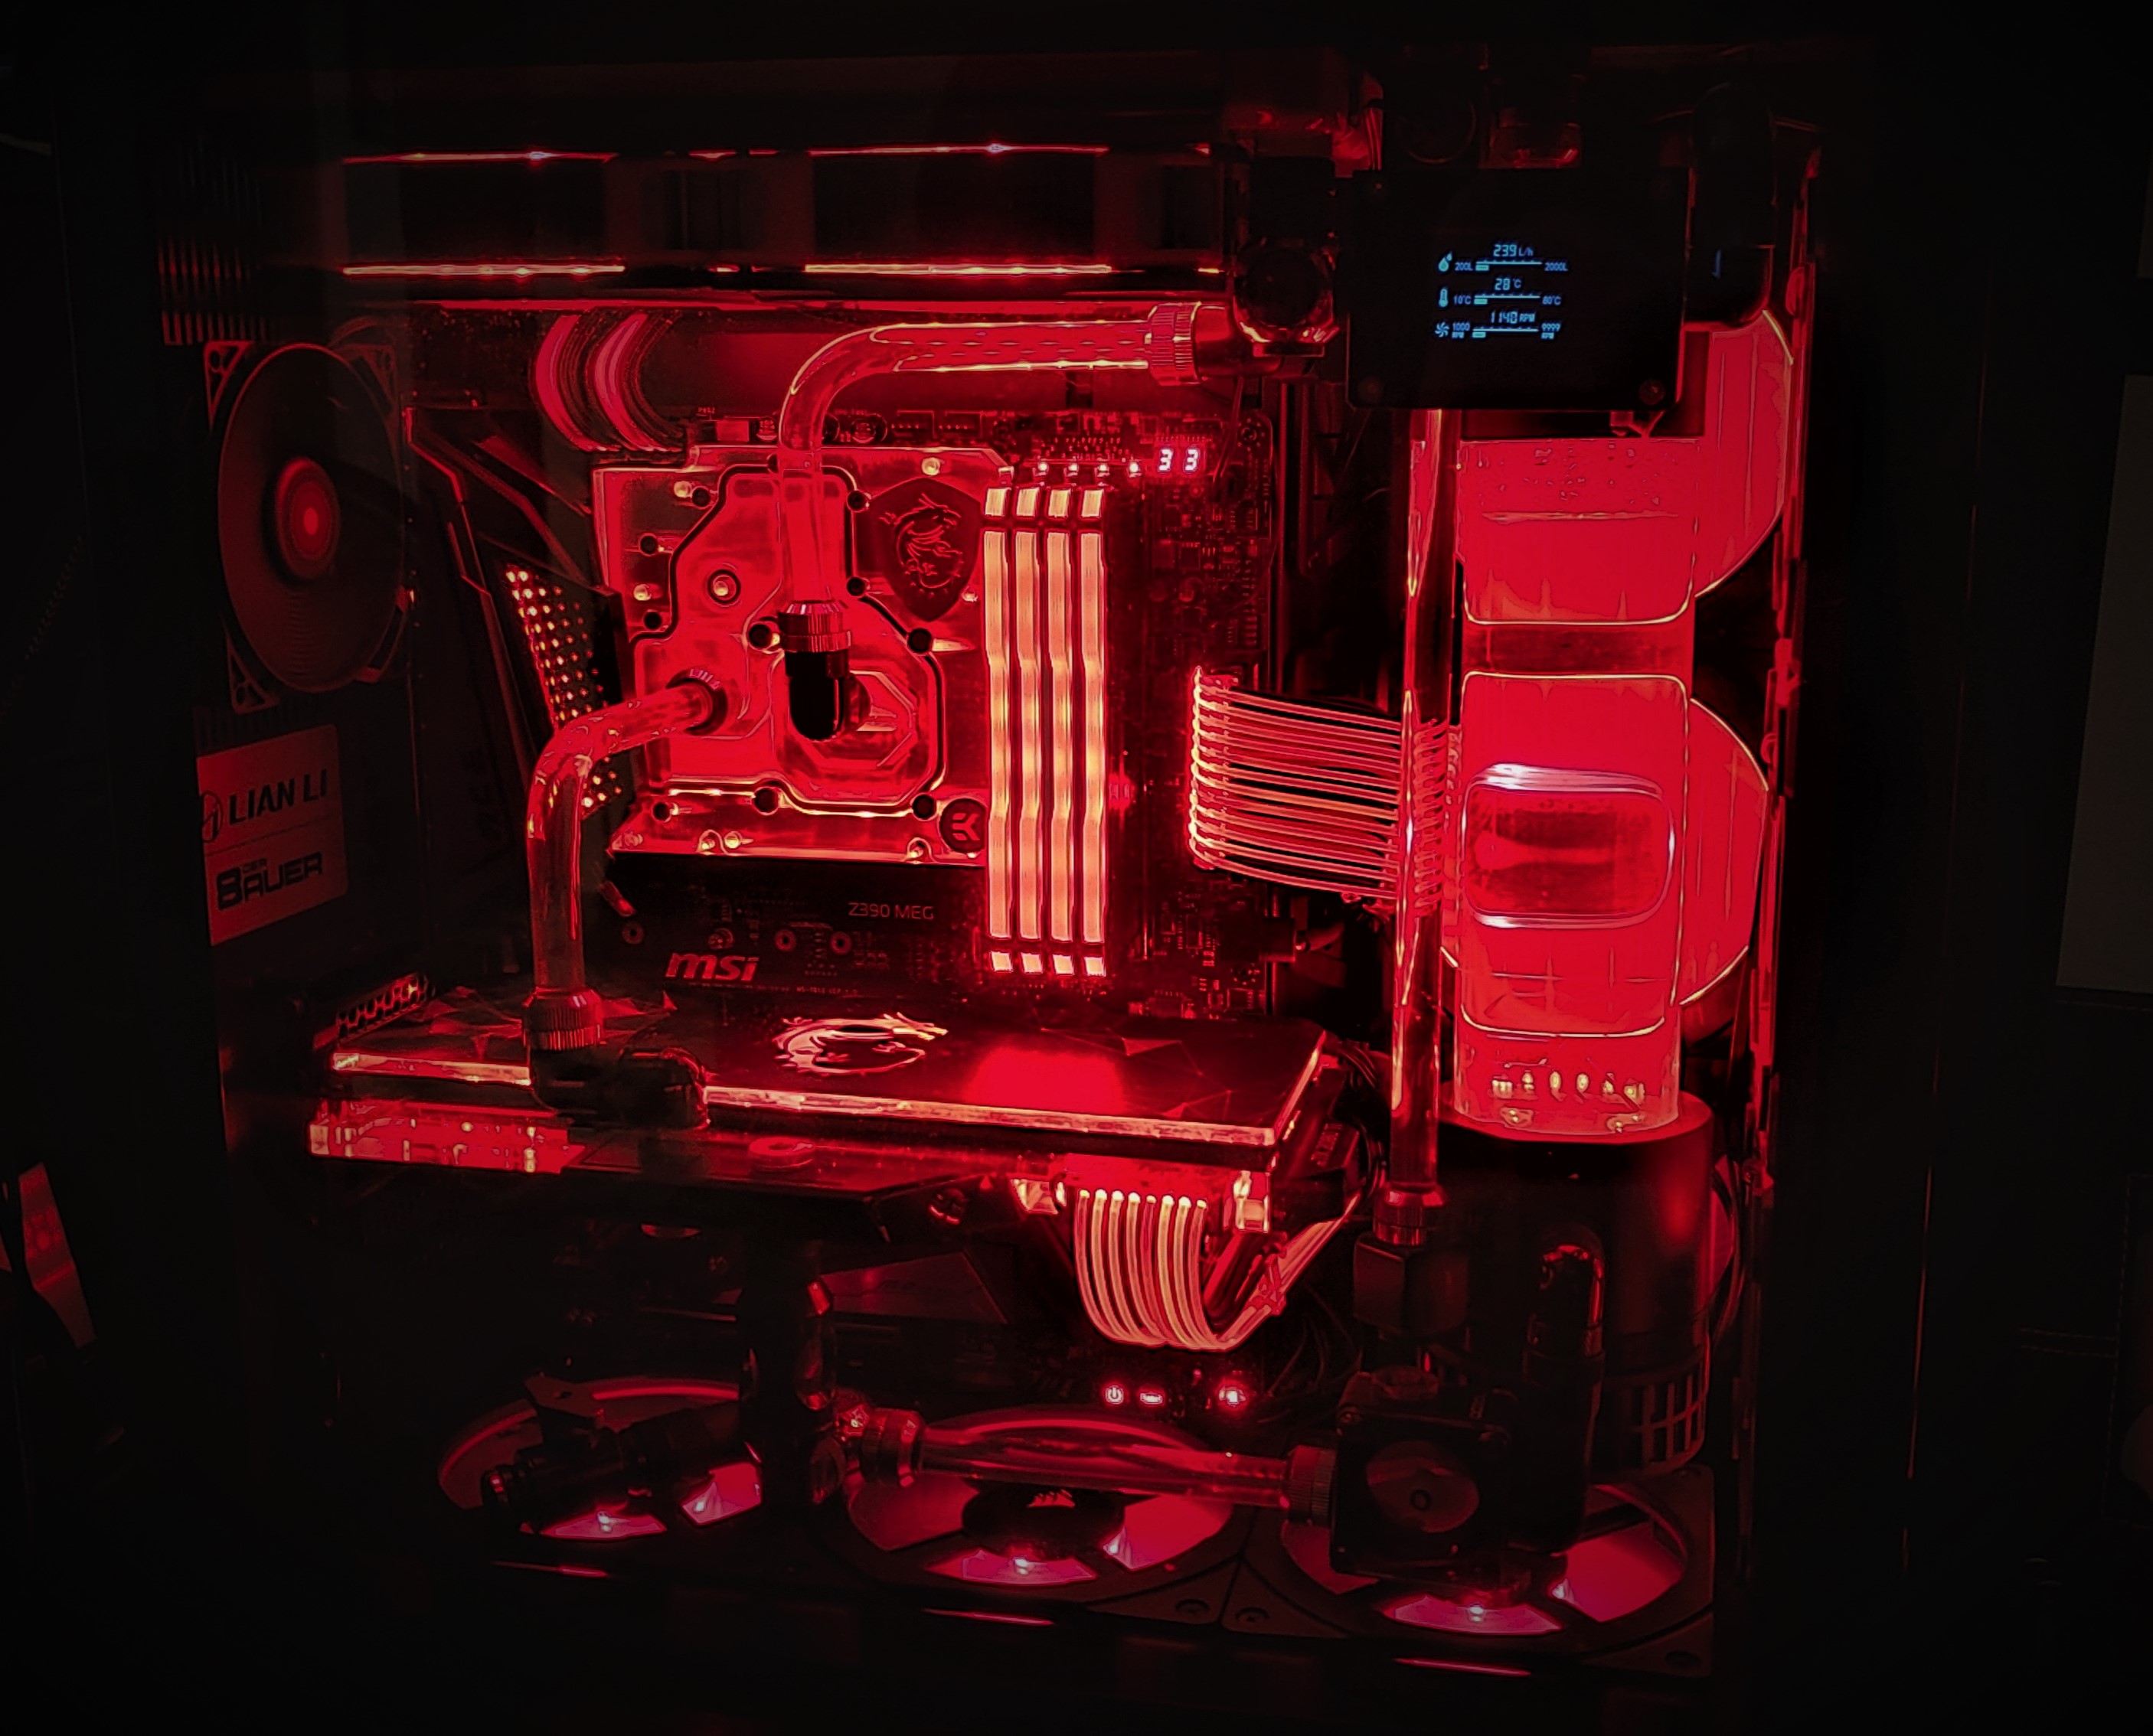
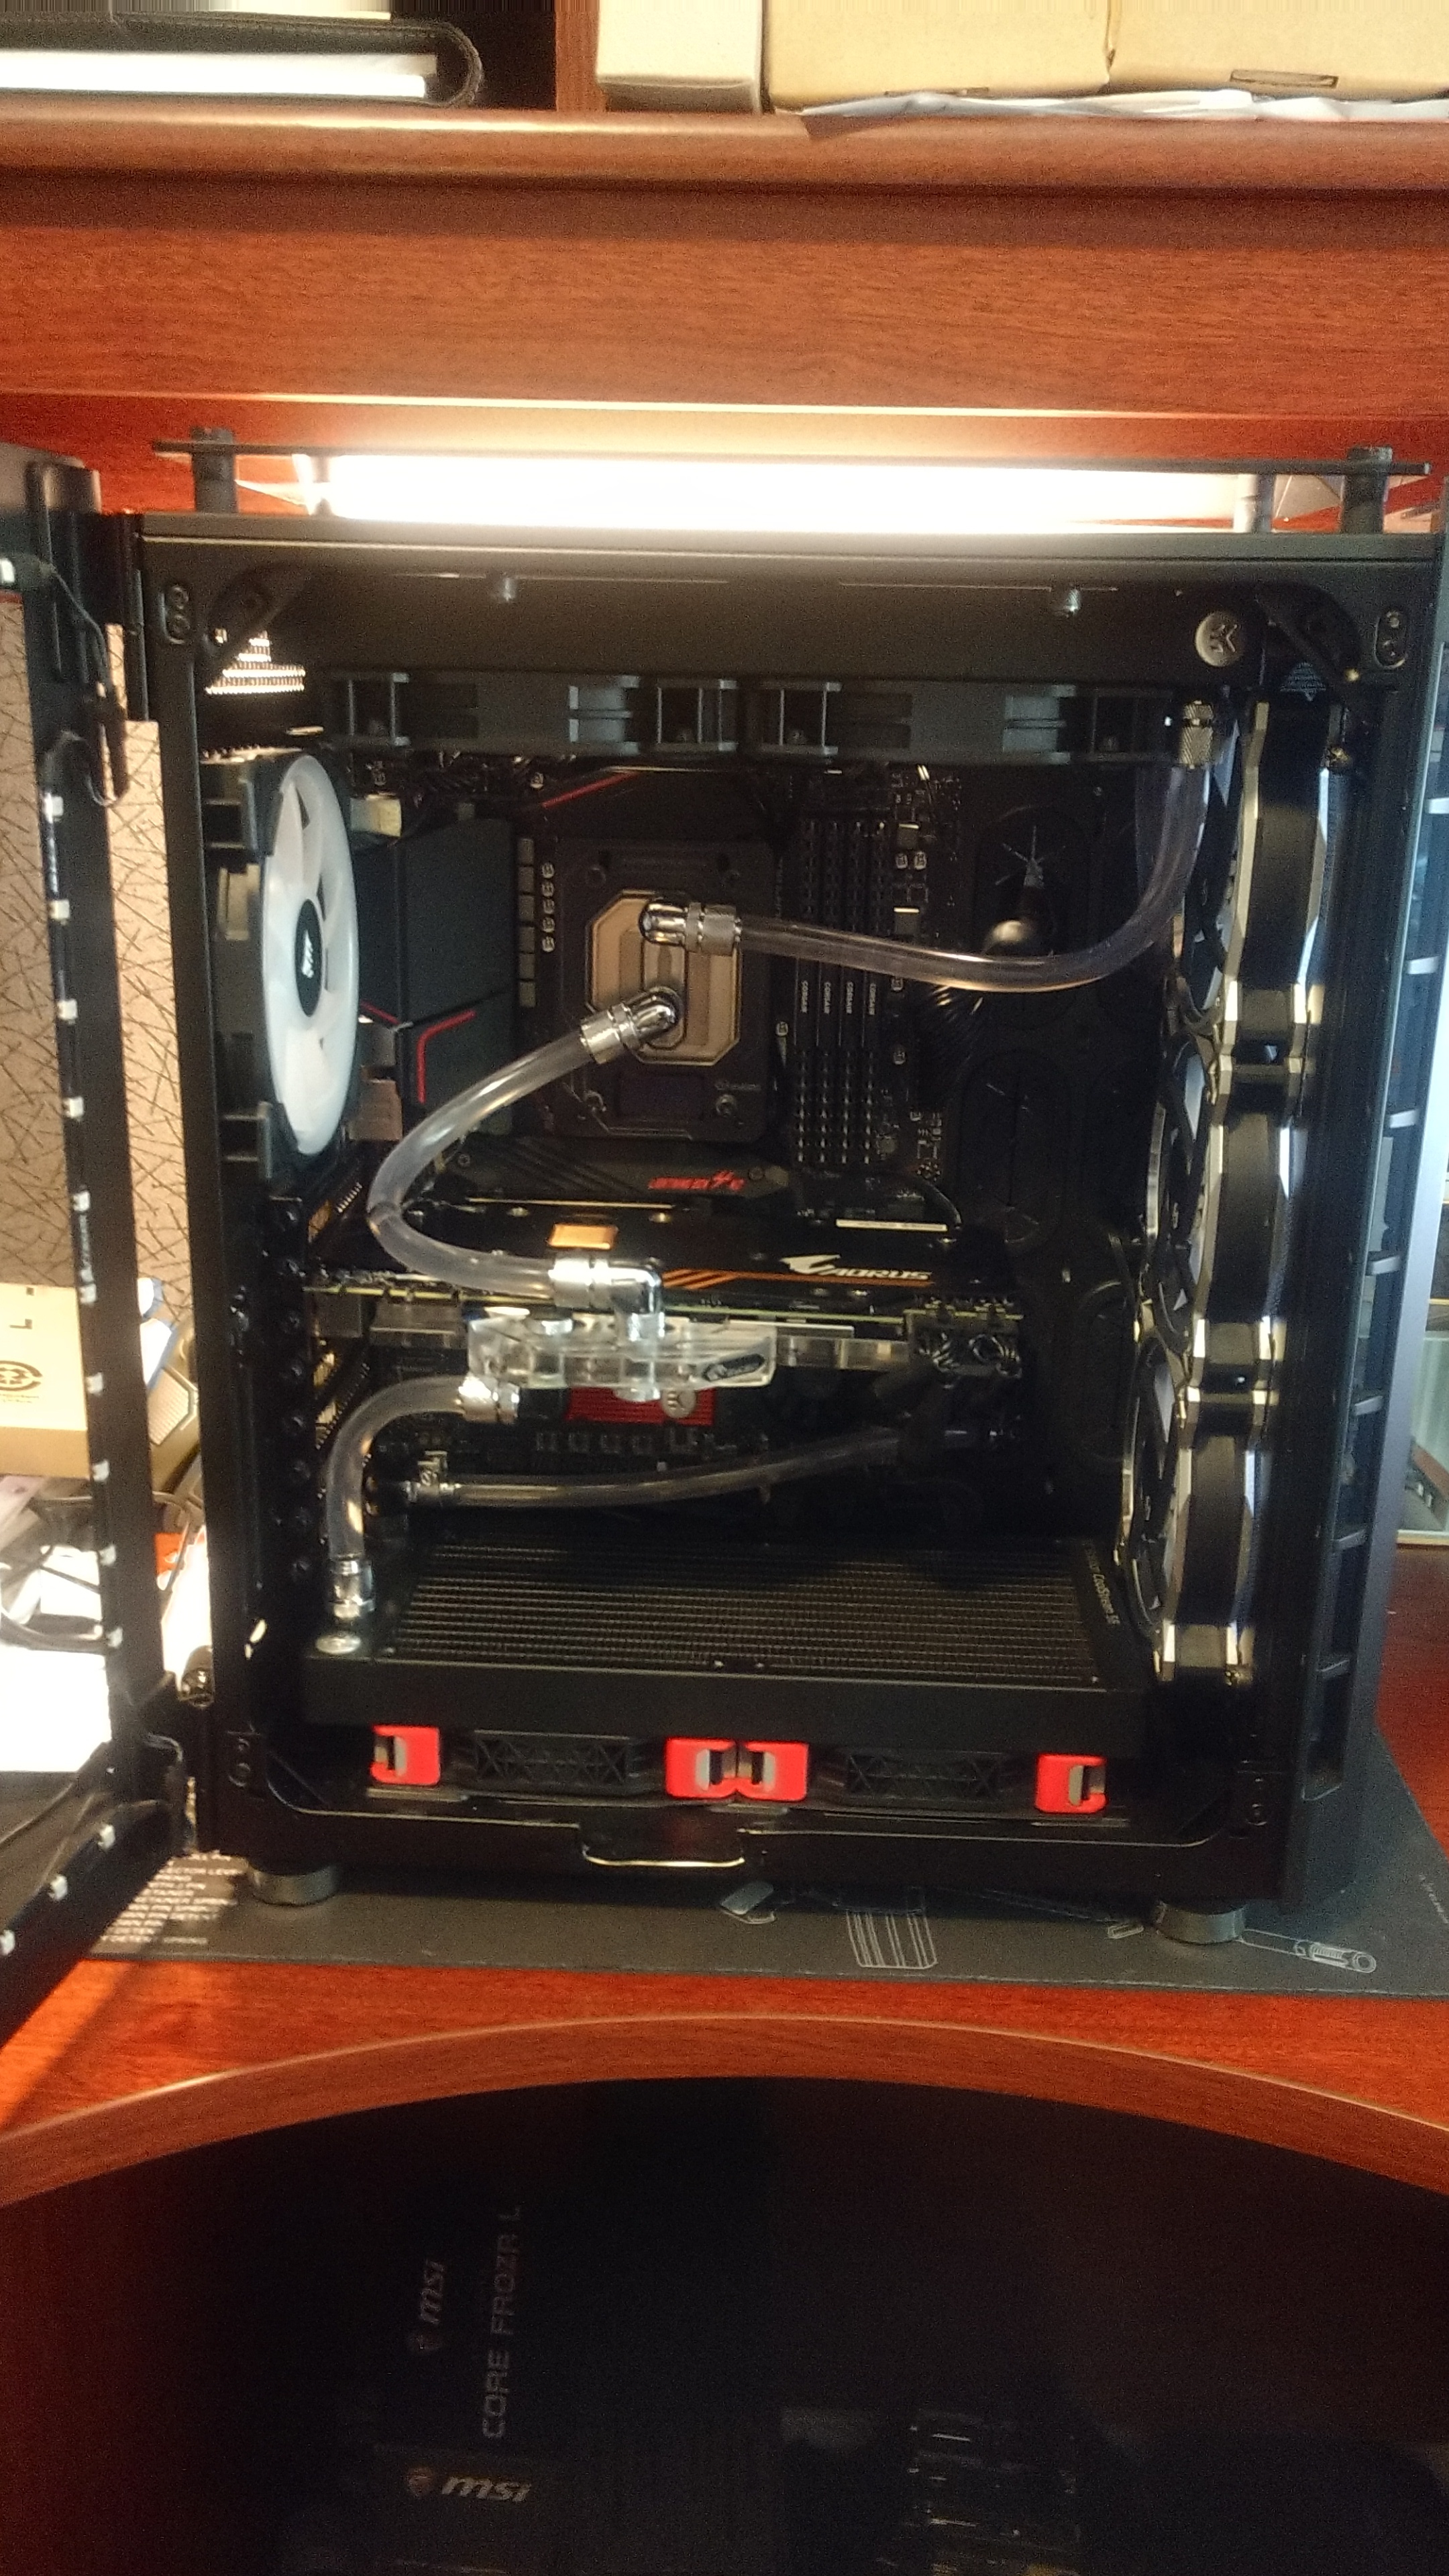
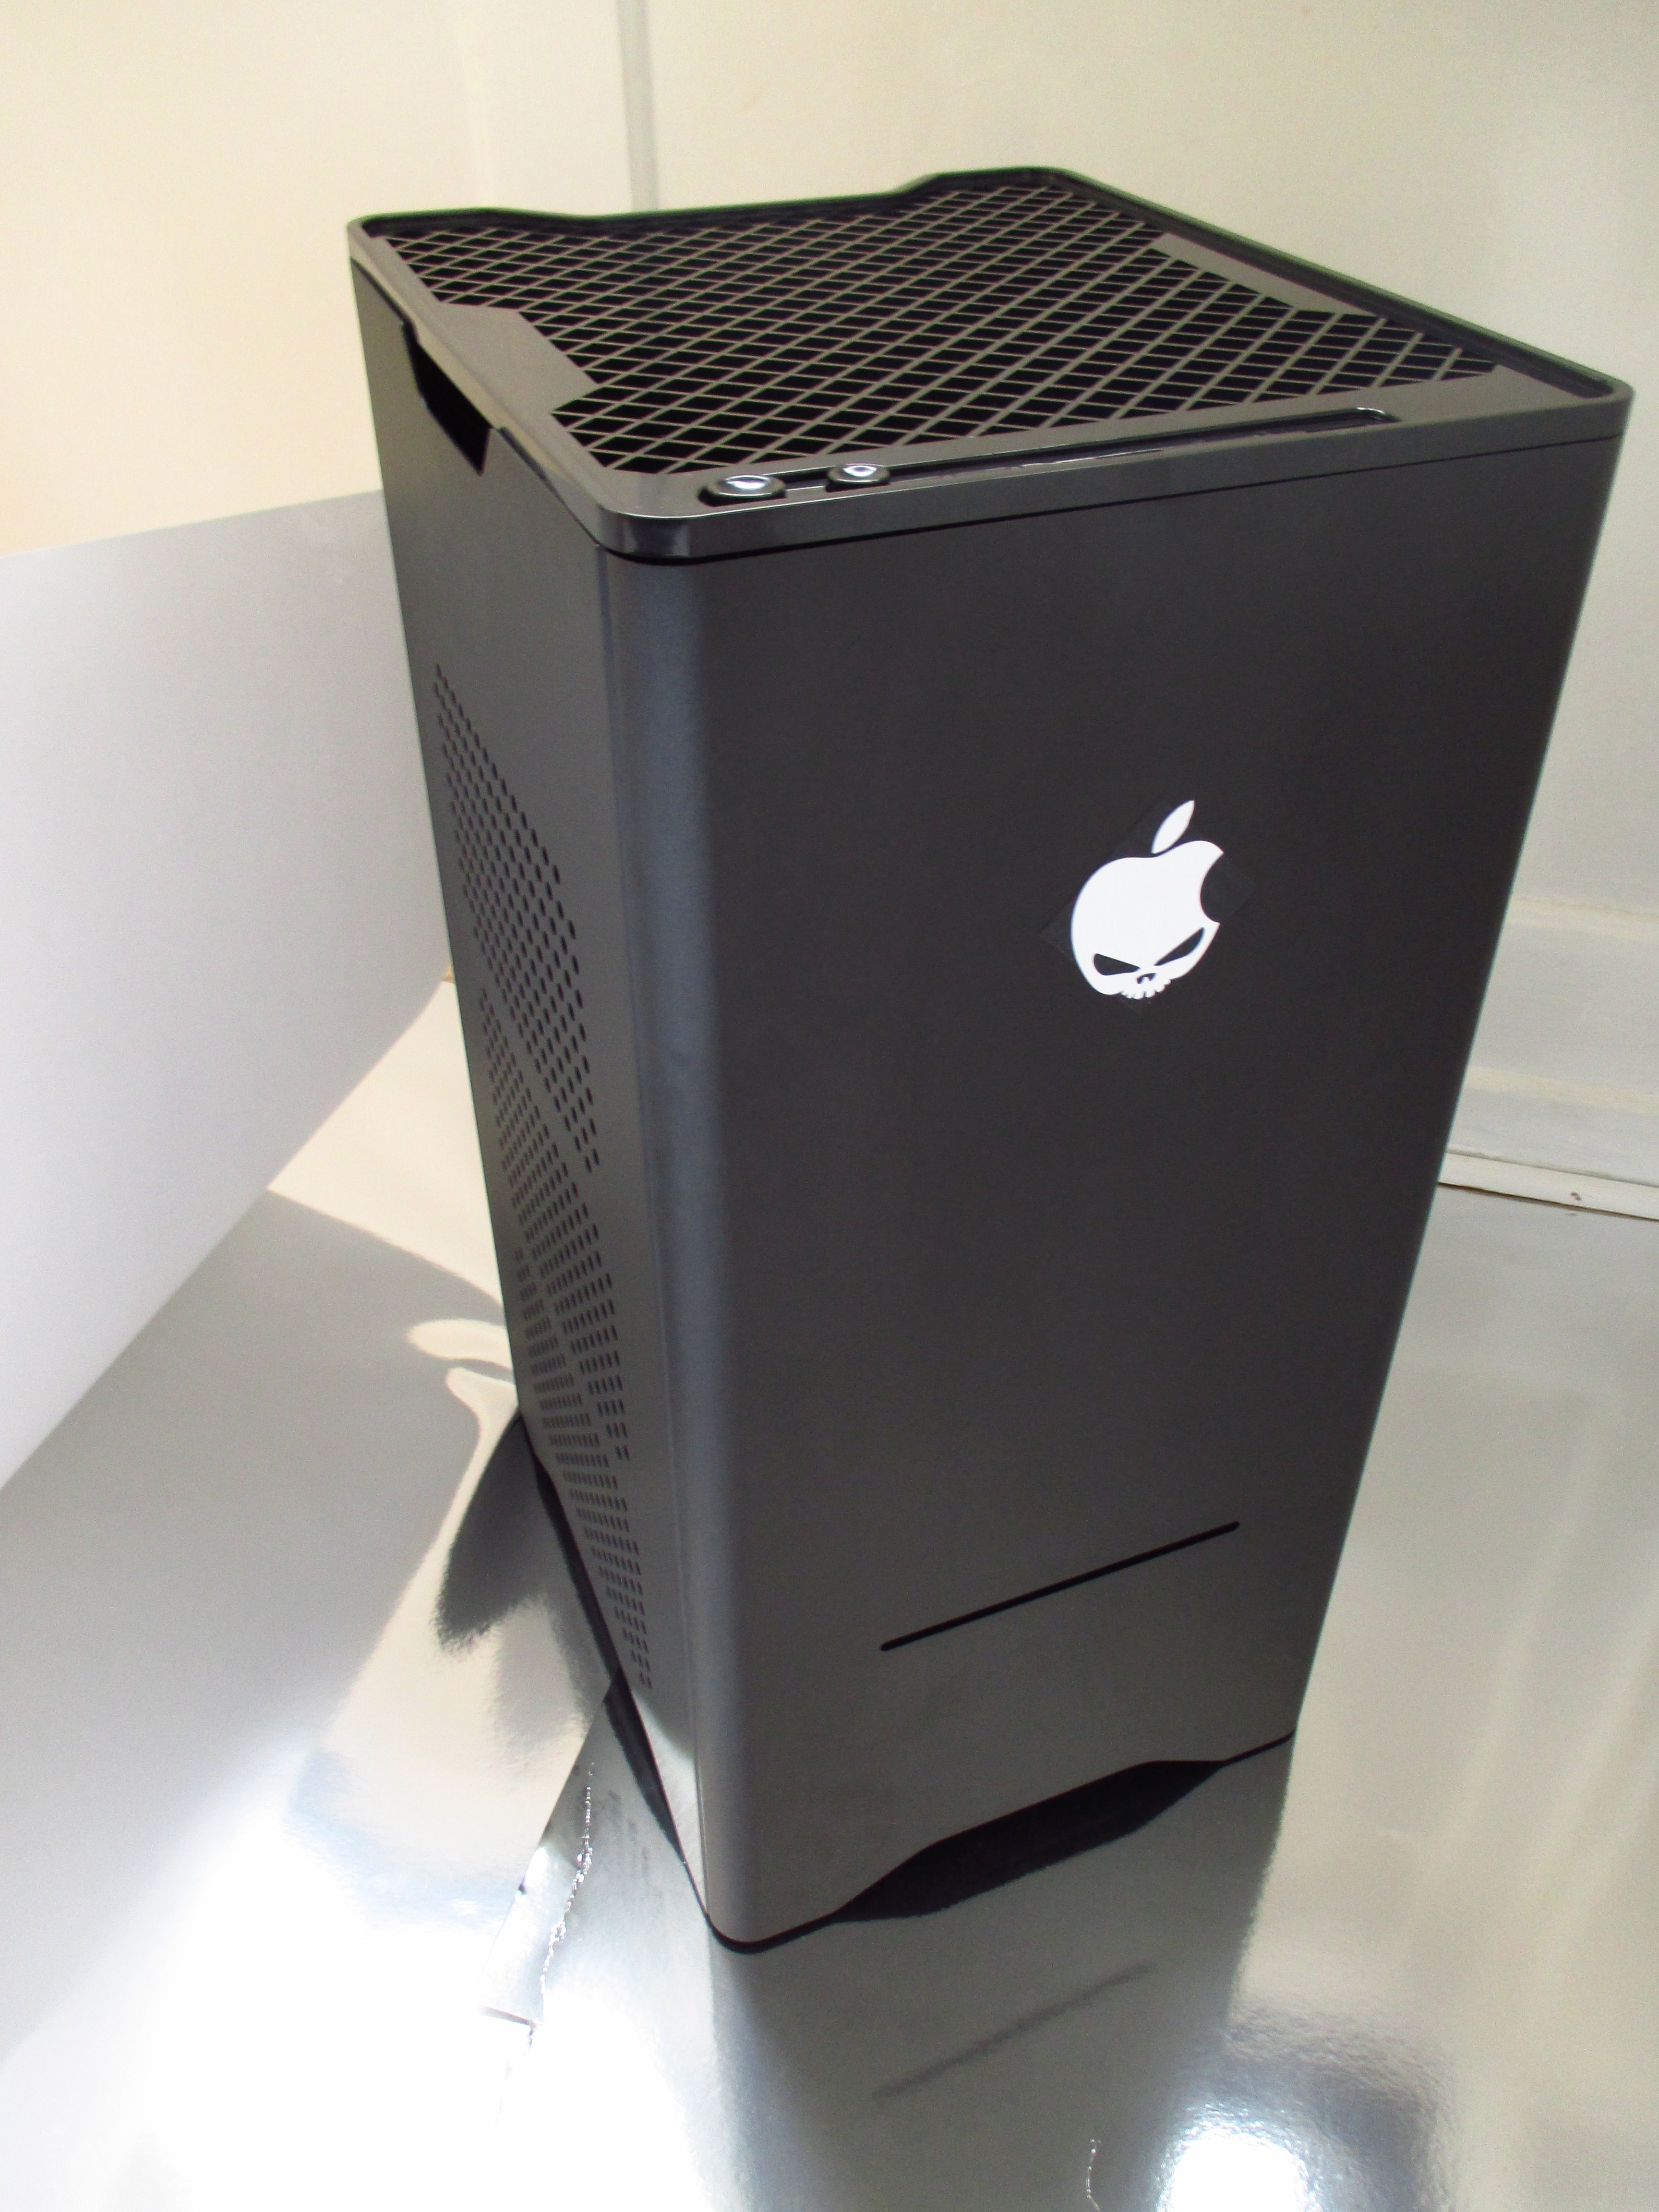
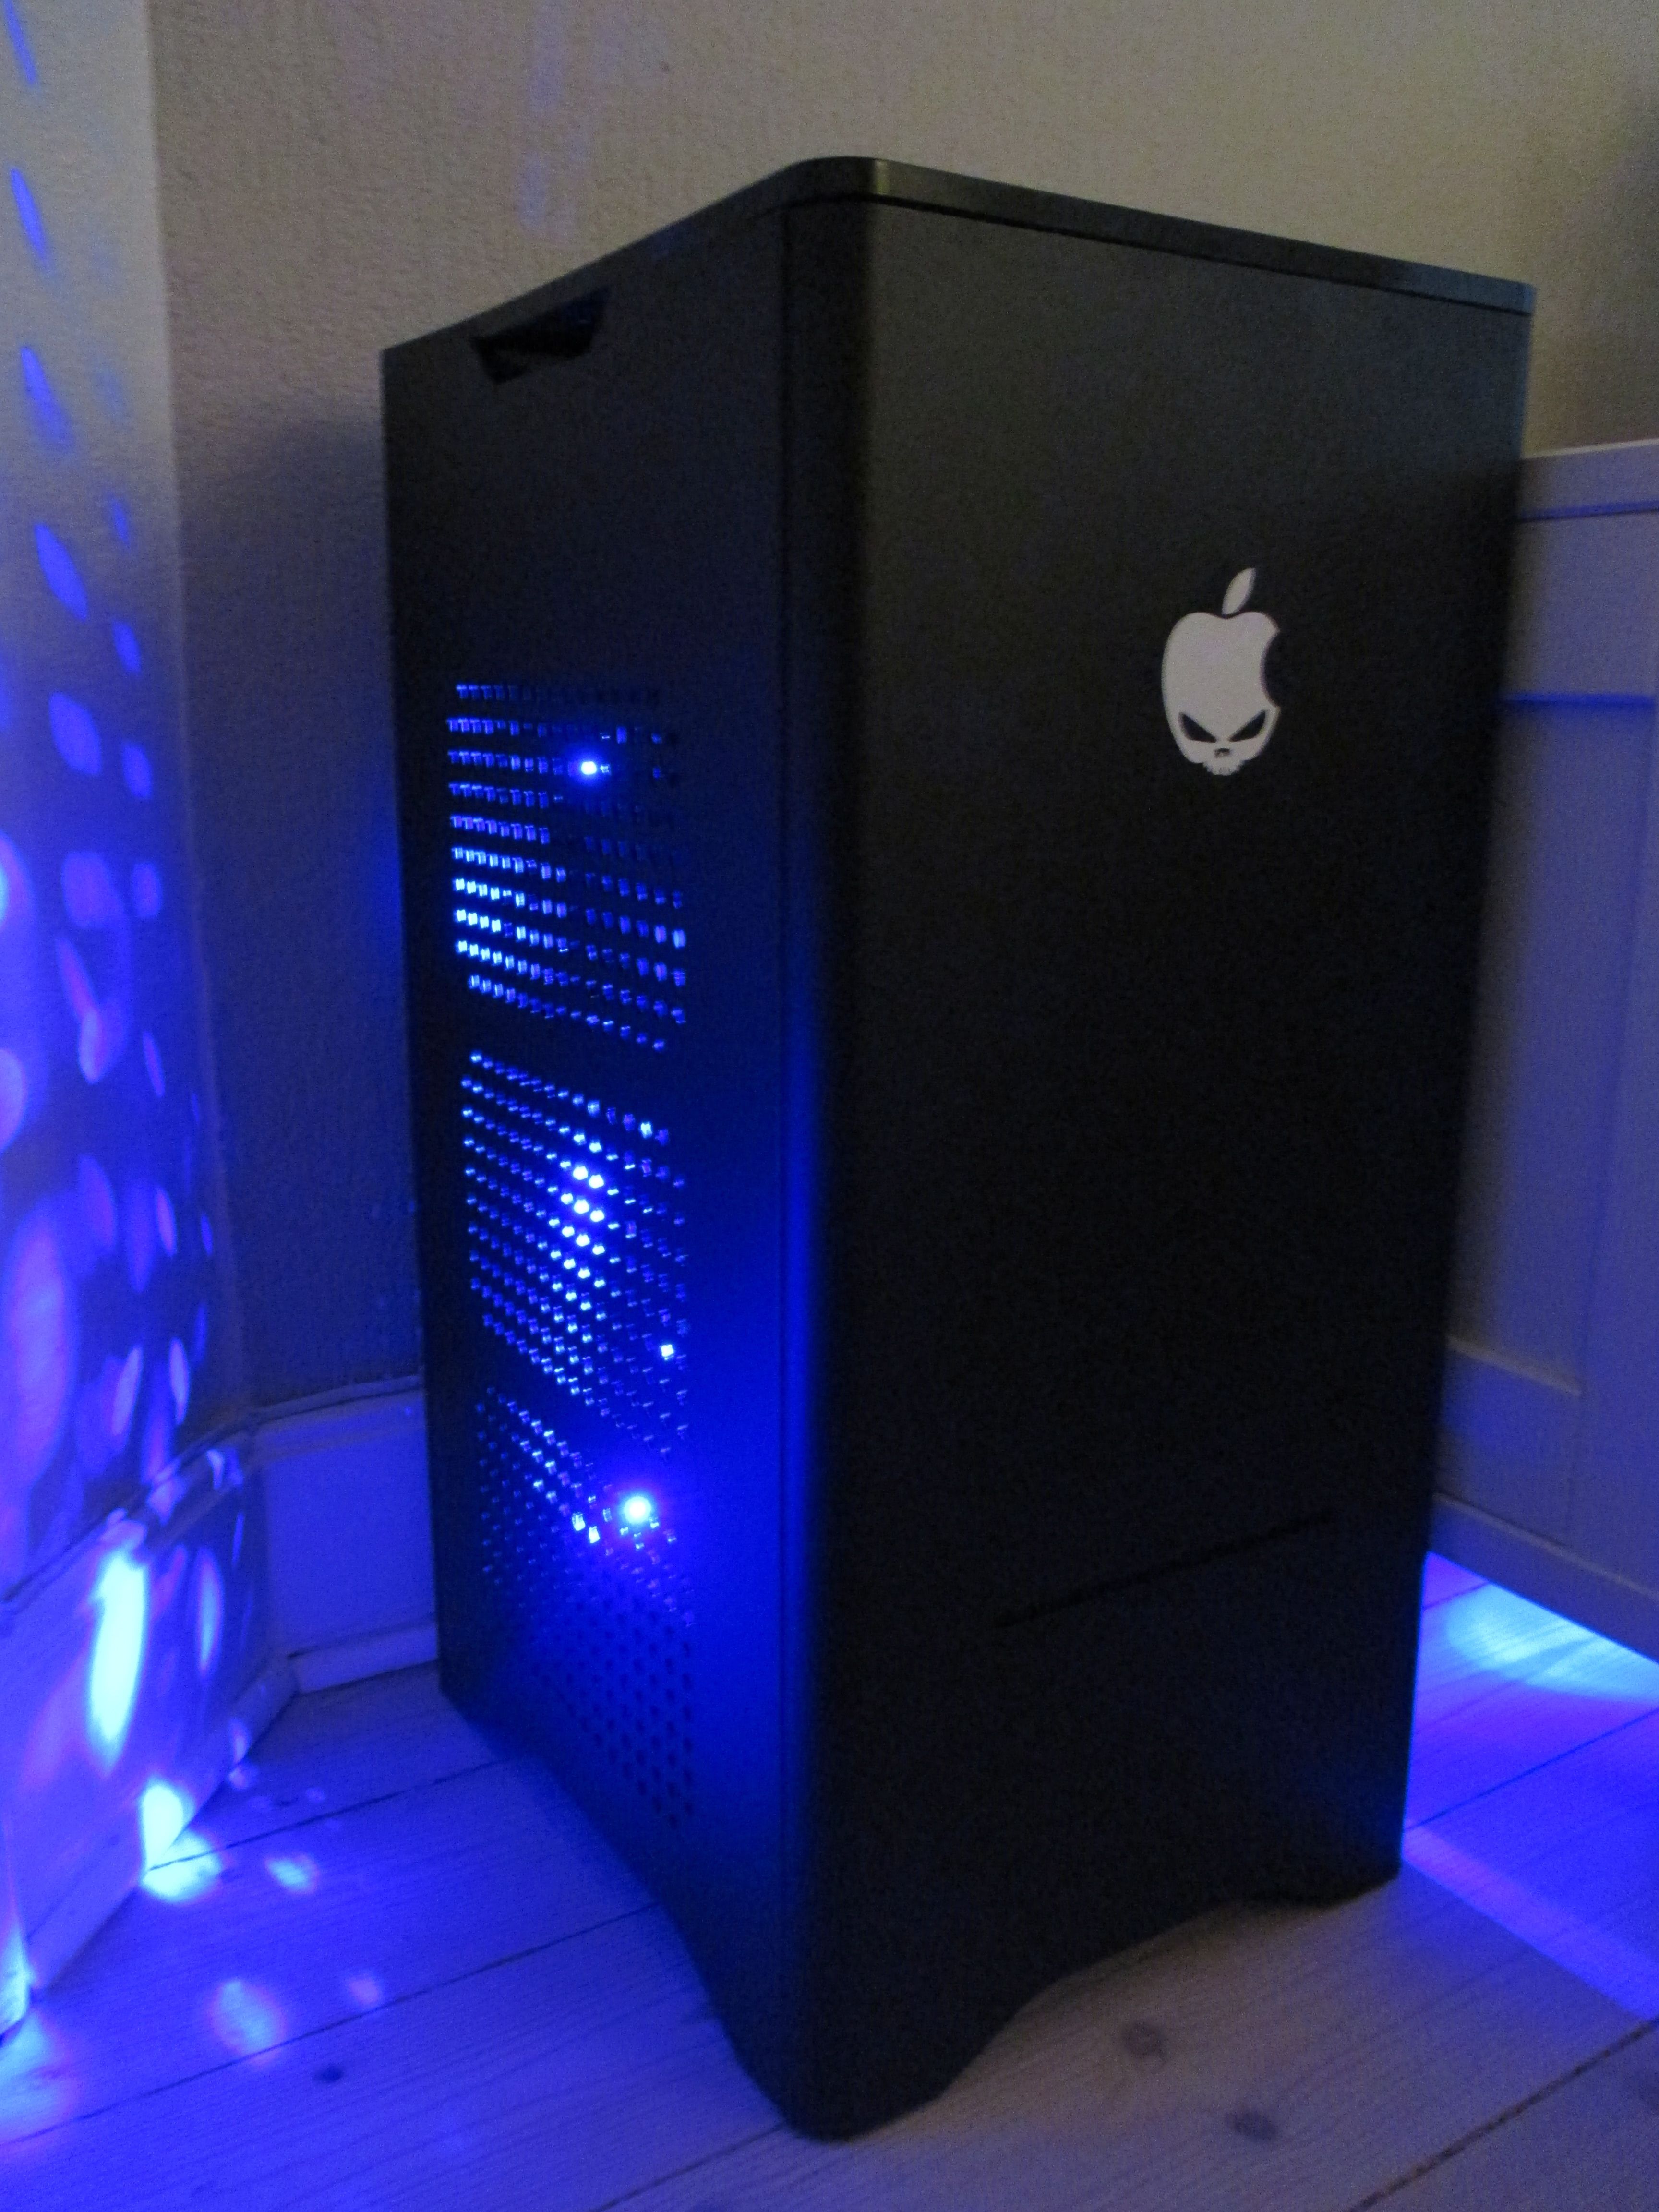
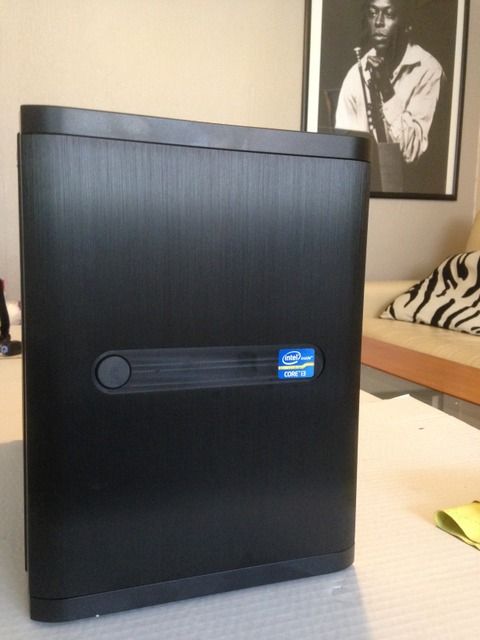
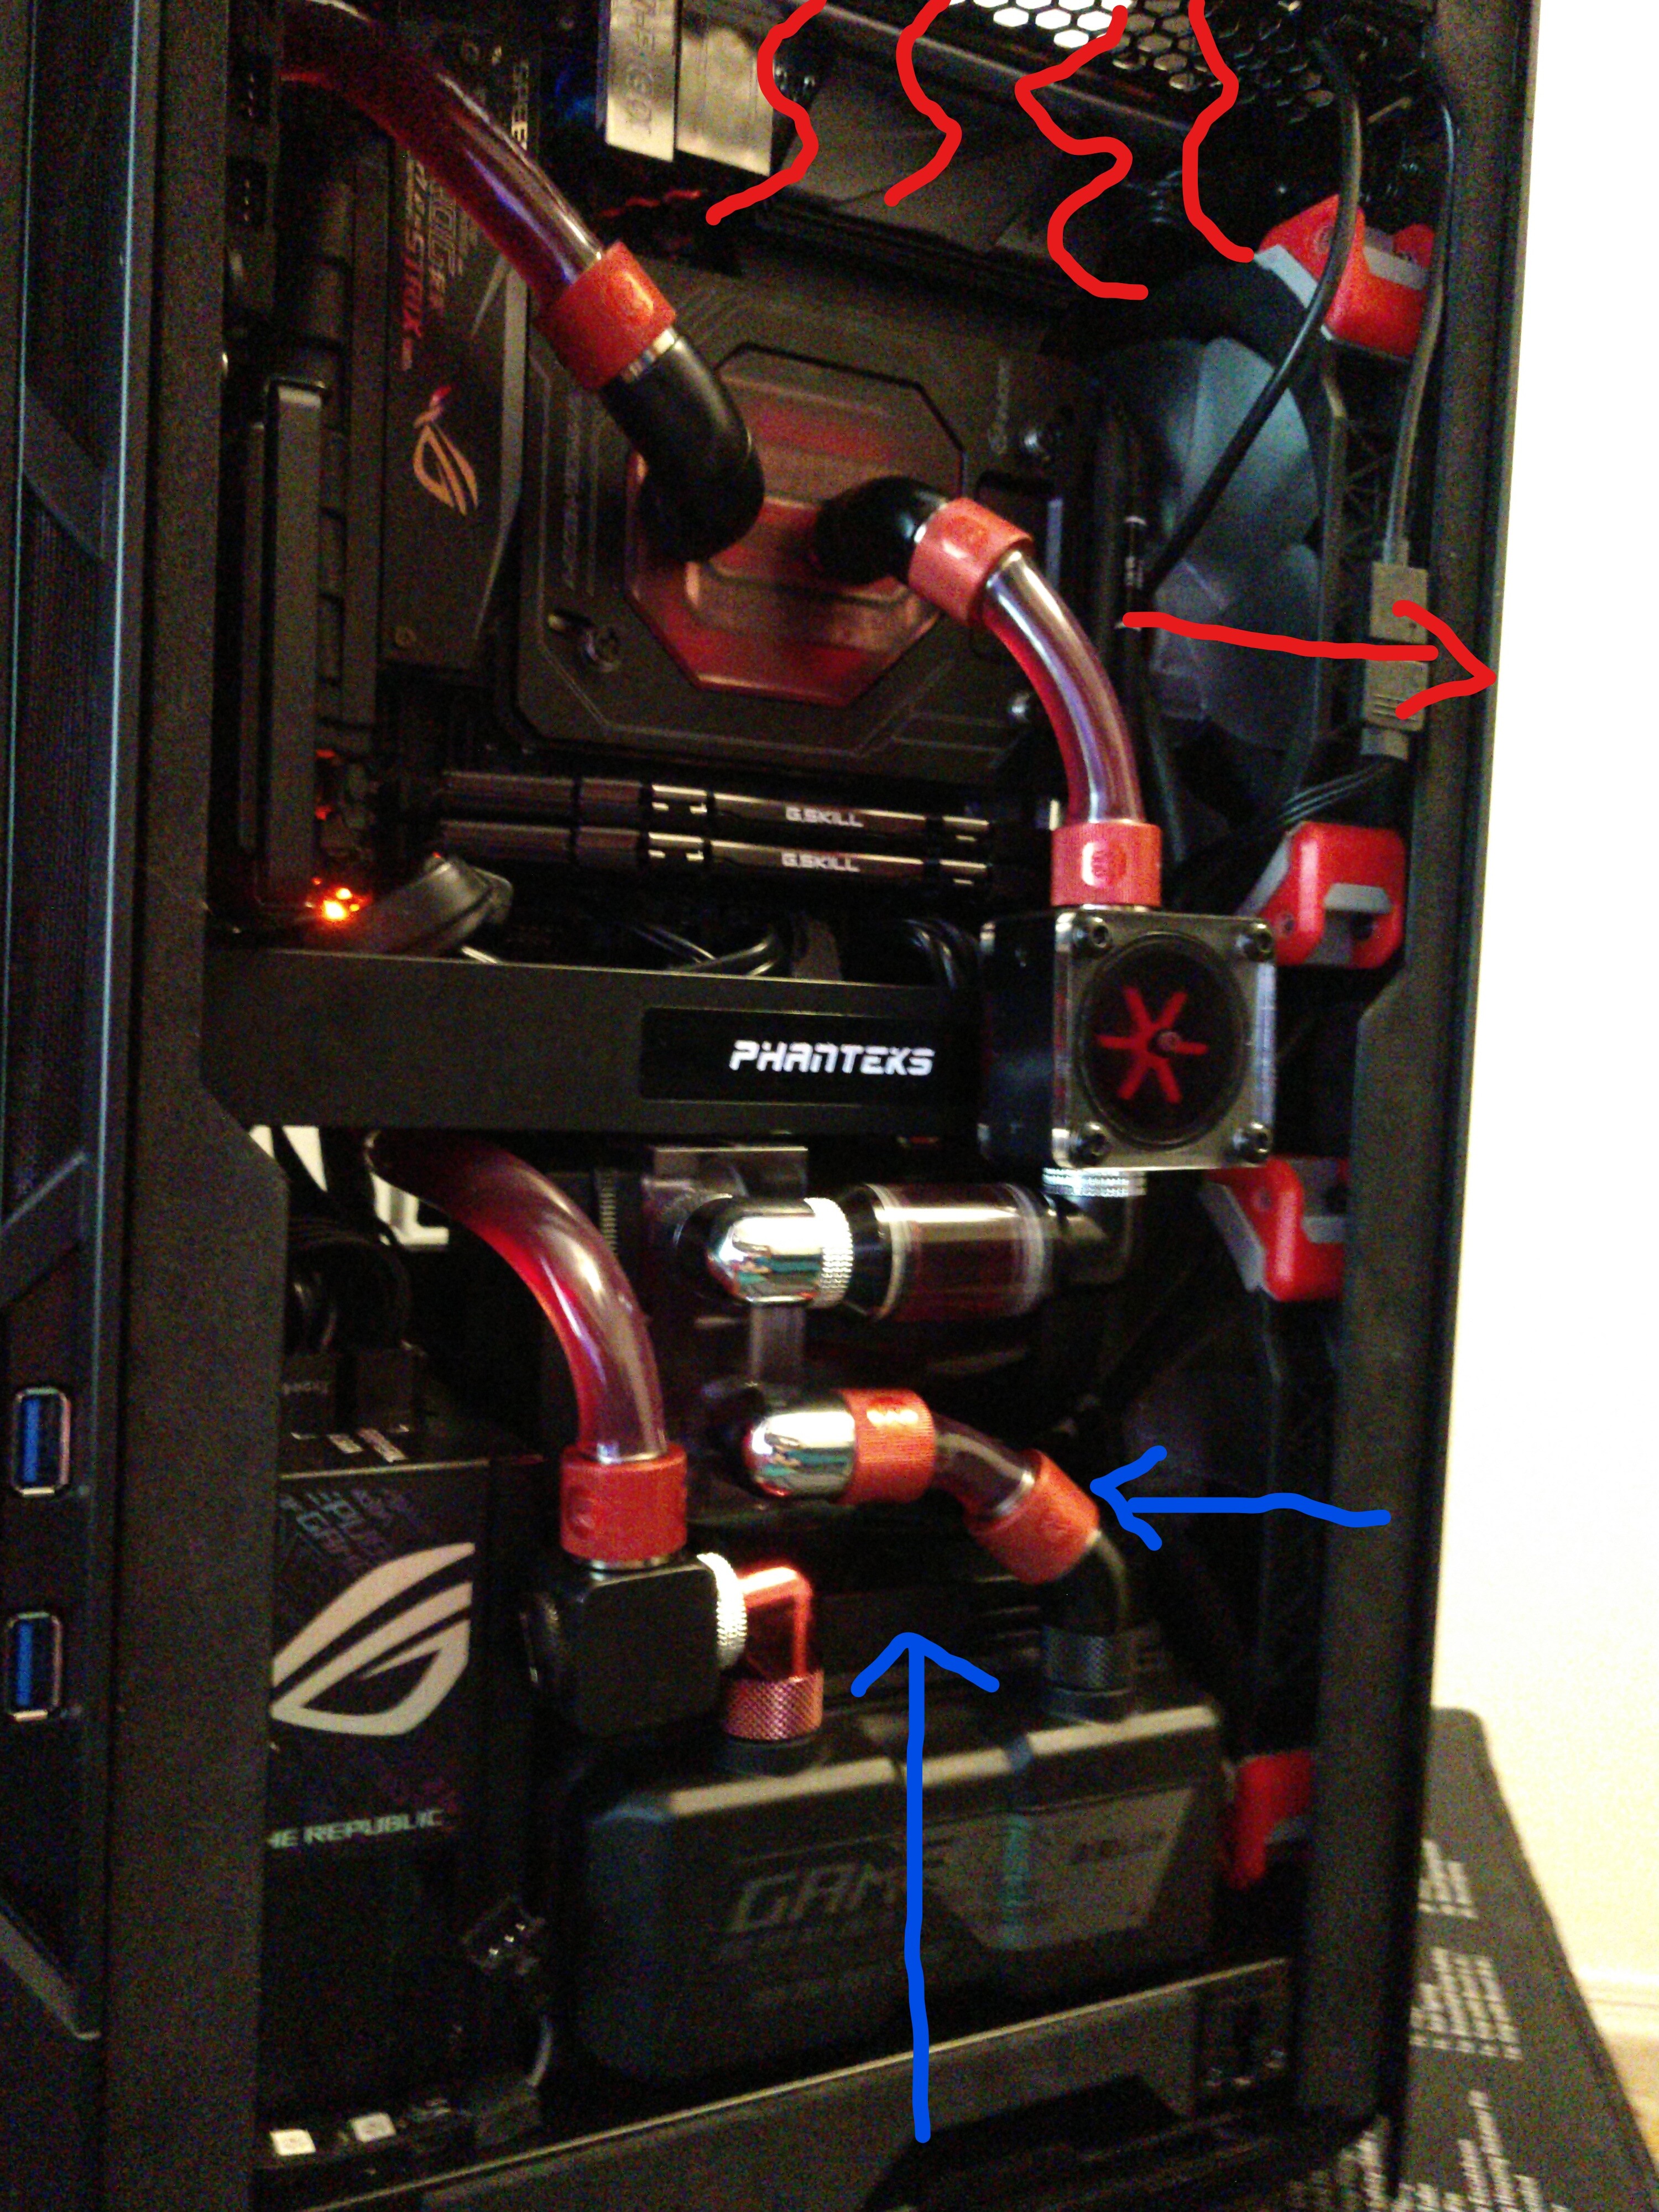
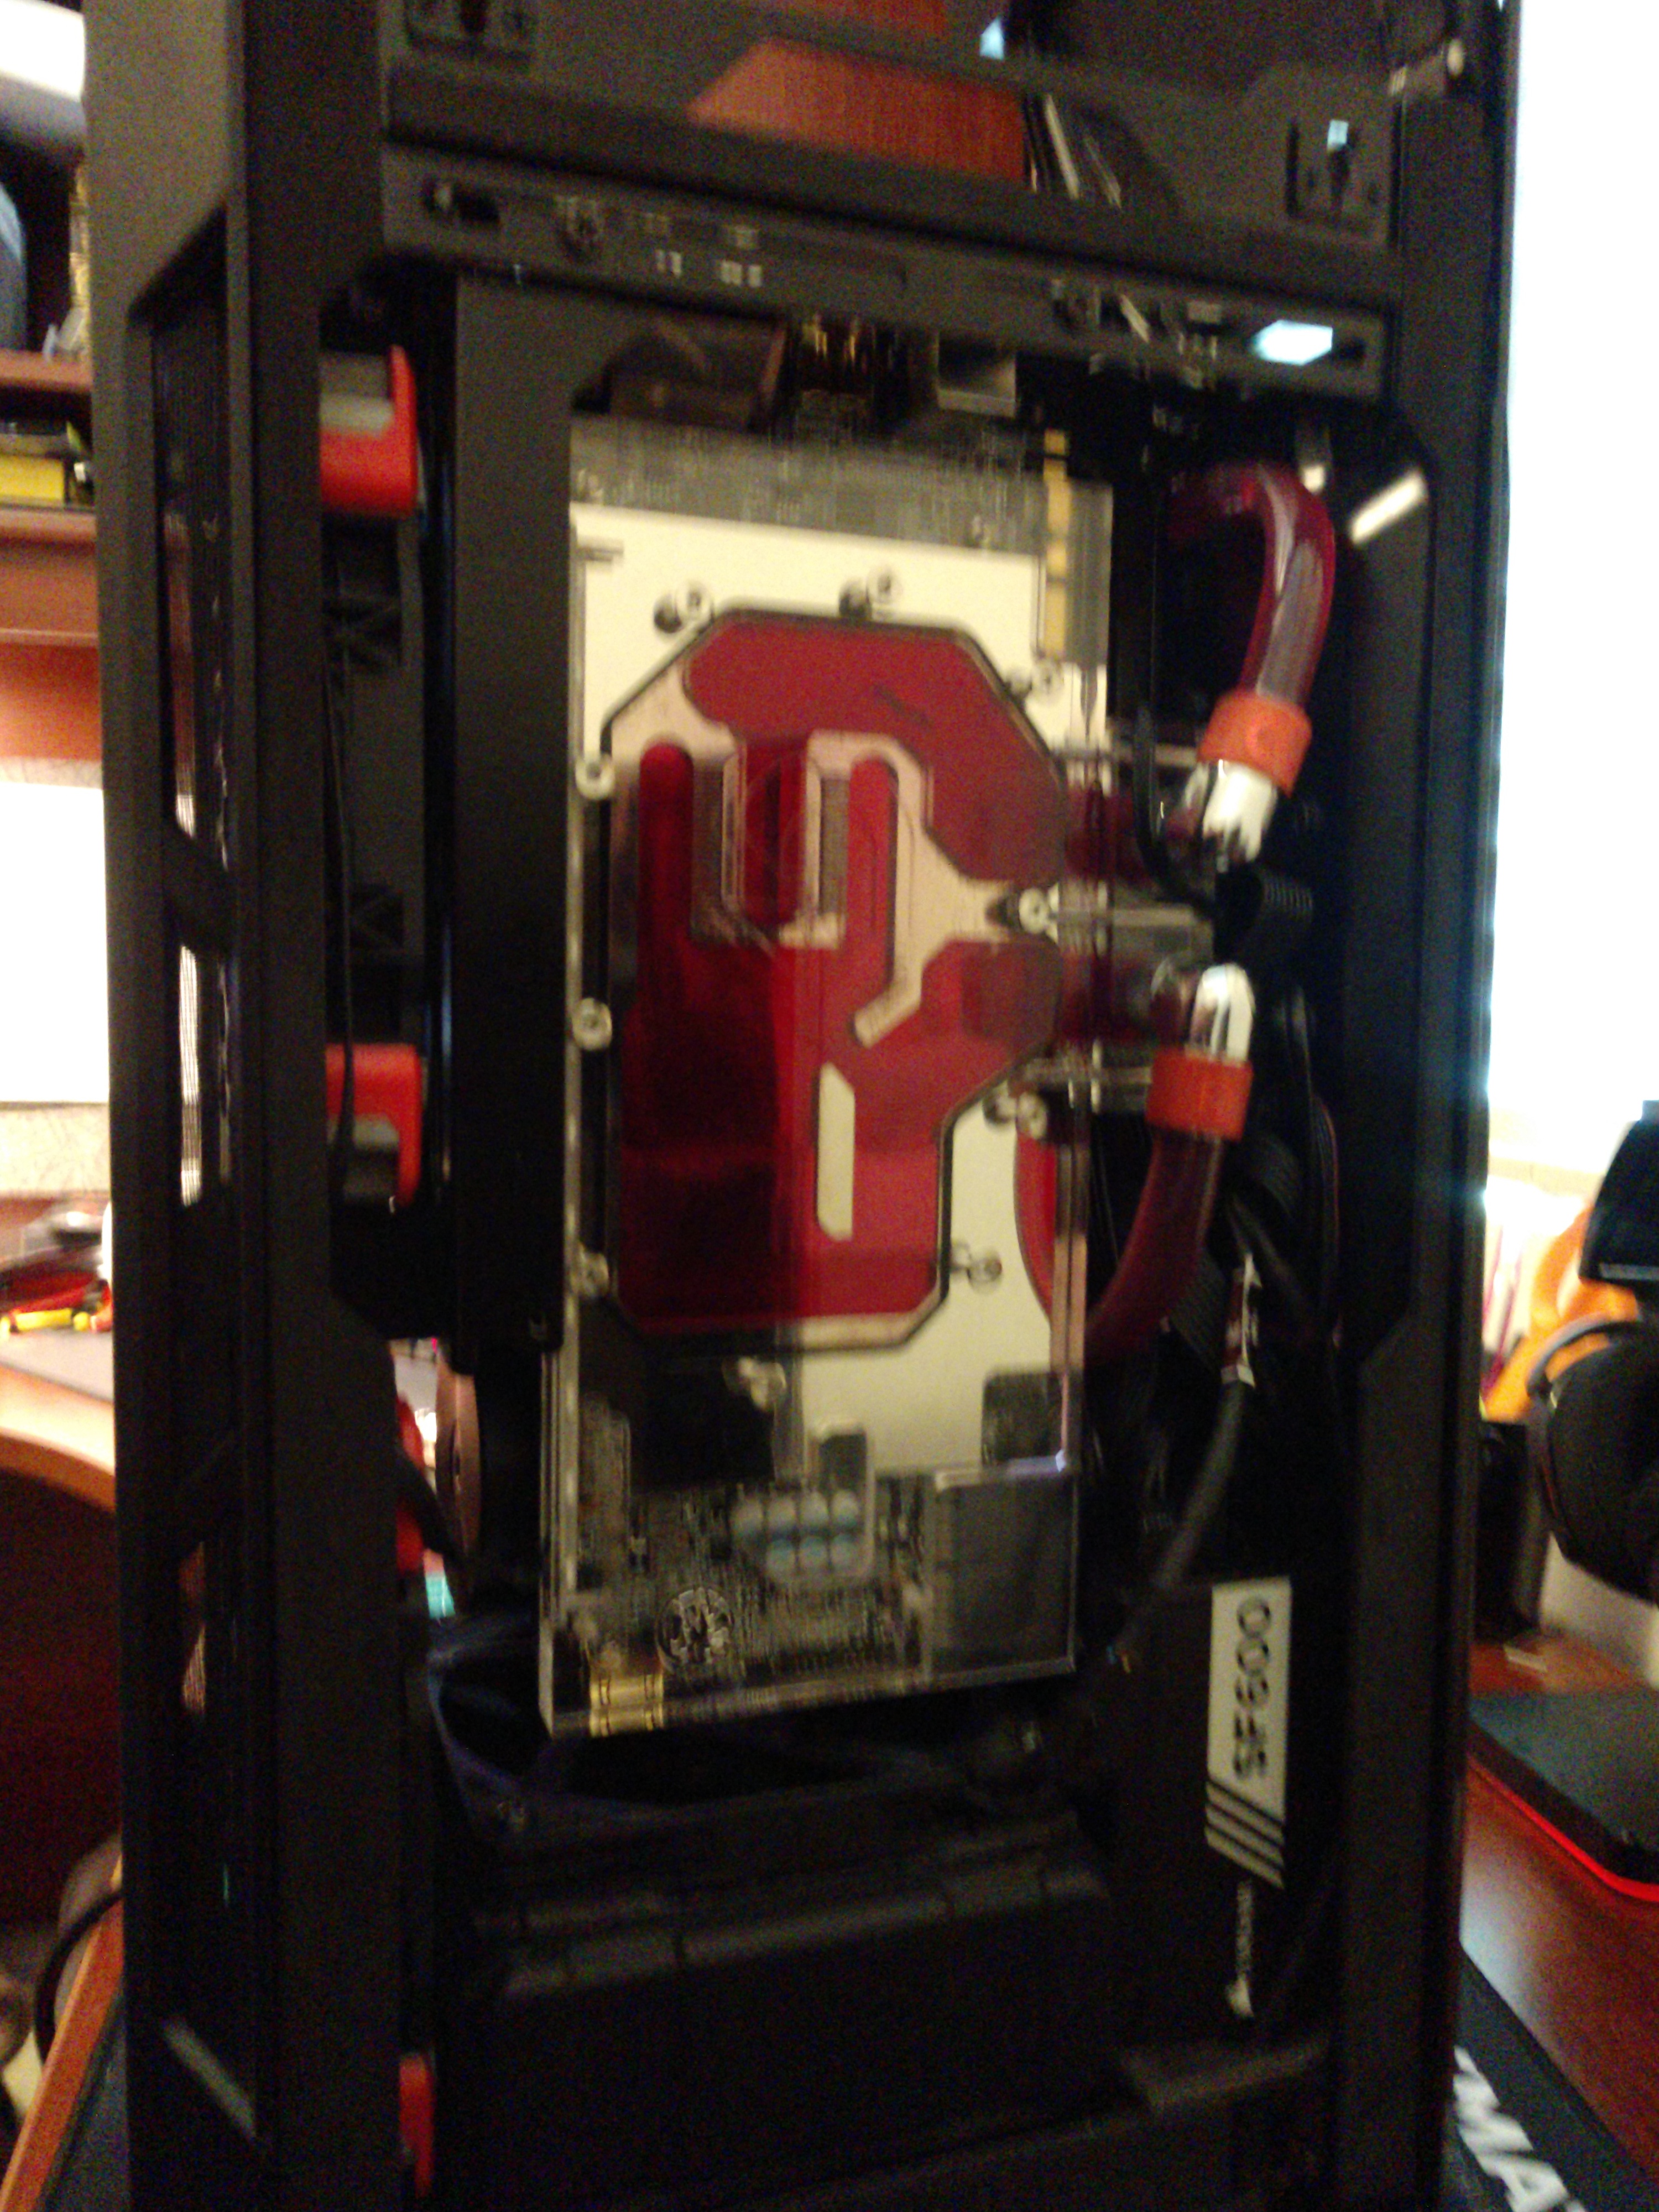
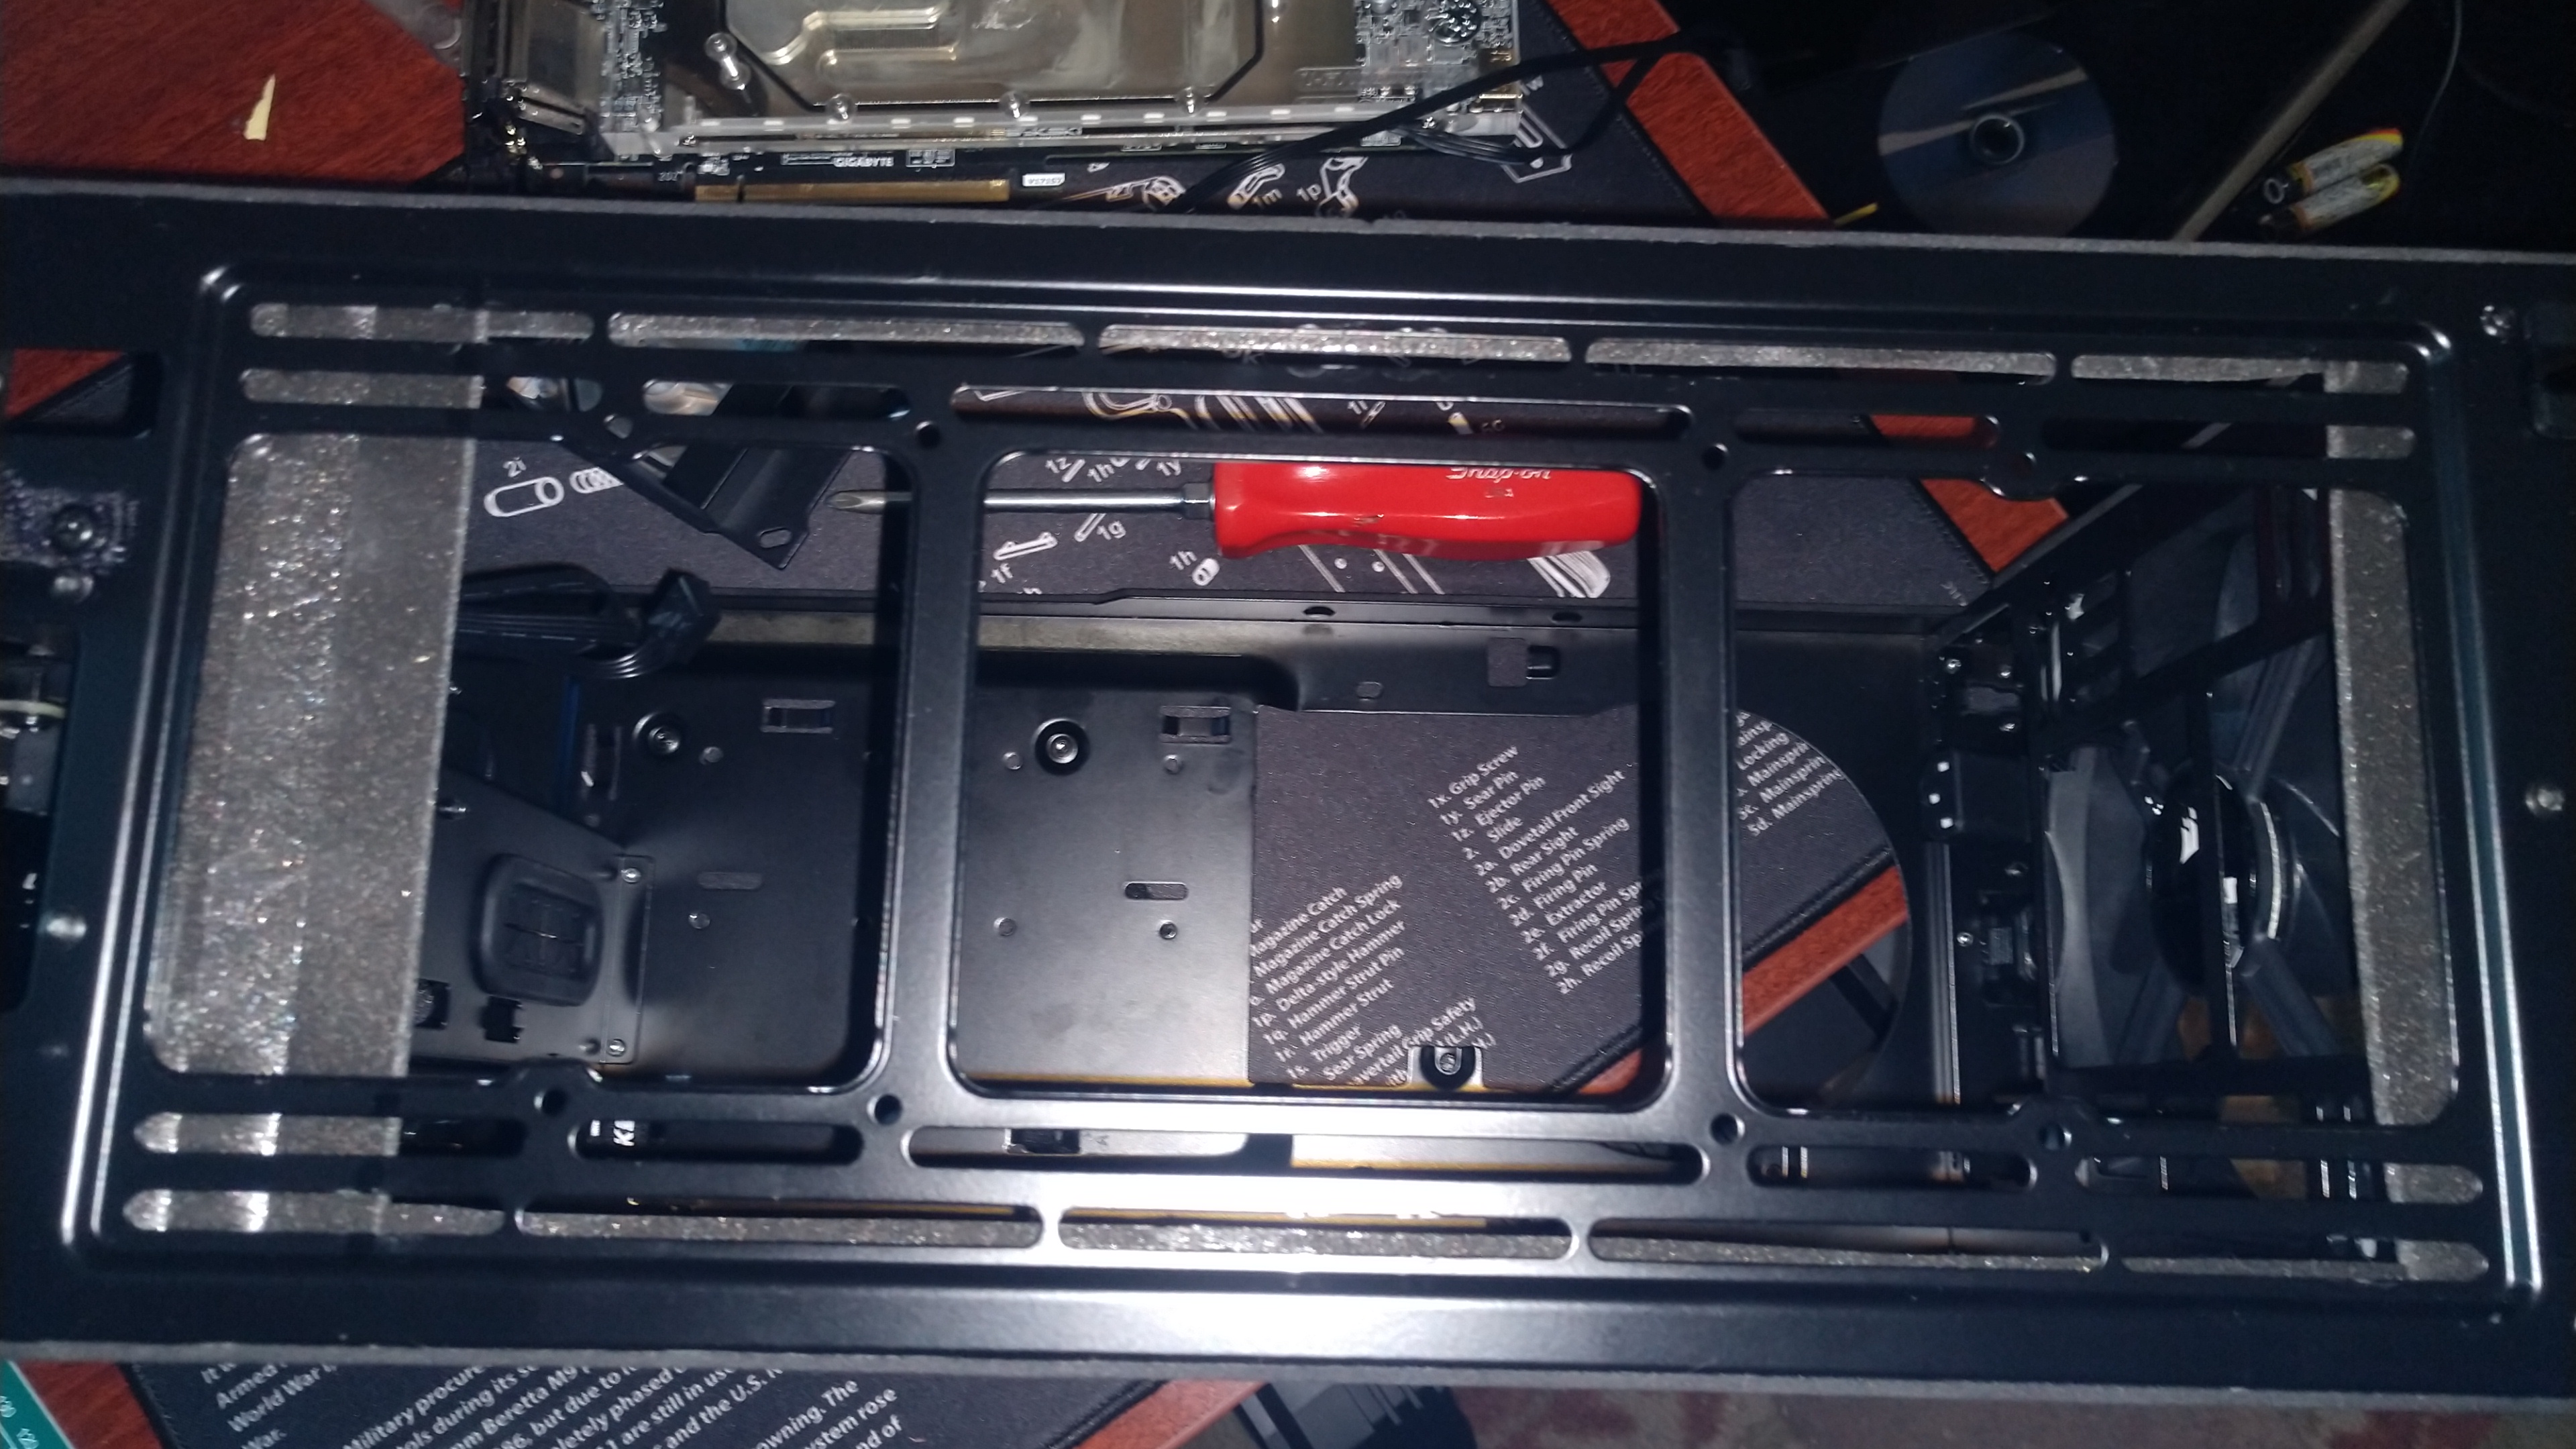
Since I love cooling I should probably mention the last few cases you saw in the above post and my impressions. Both were “Cube” style cases so a little more squat but fatter. The concept of having two chambers is a great one for keeping components cool in my opinion and it opens up nice real-estate for either larger amounts on onboard storage or room for liquid cooling support such as pump mounting and drain and fill locations for a nice clean look if you dont like to see your reservoir. So lets get to it.

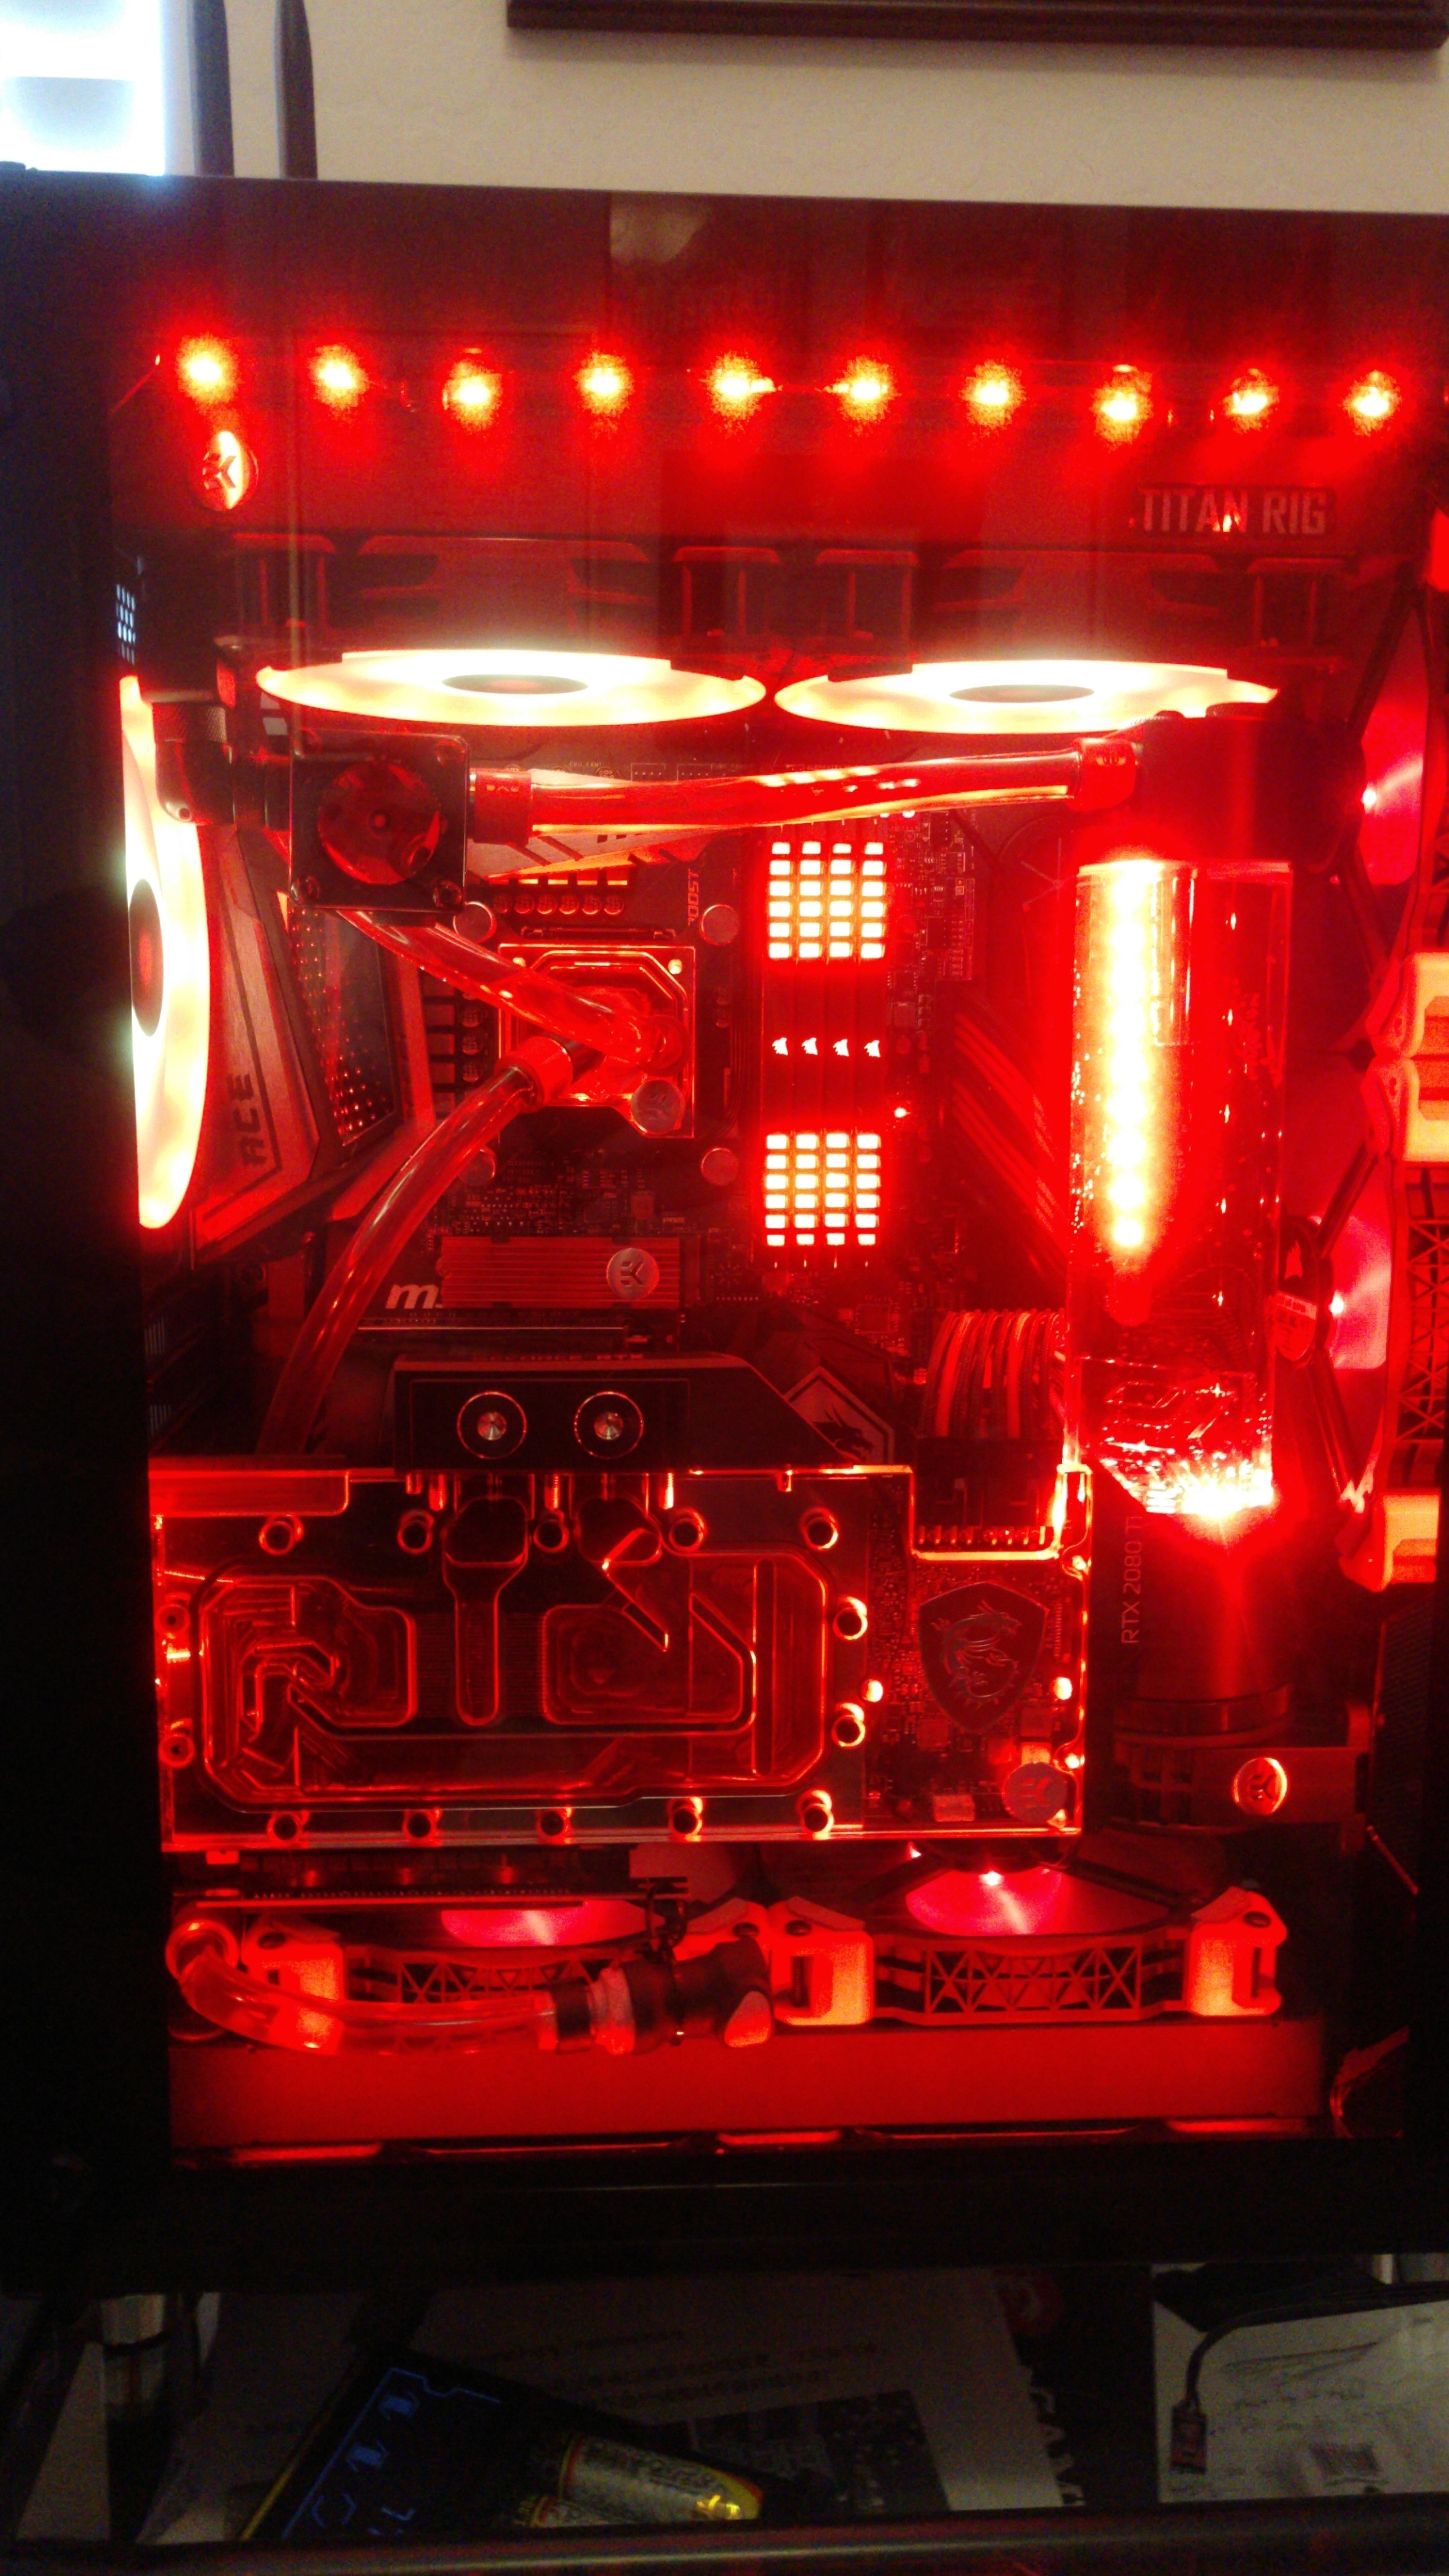
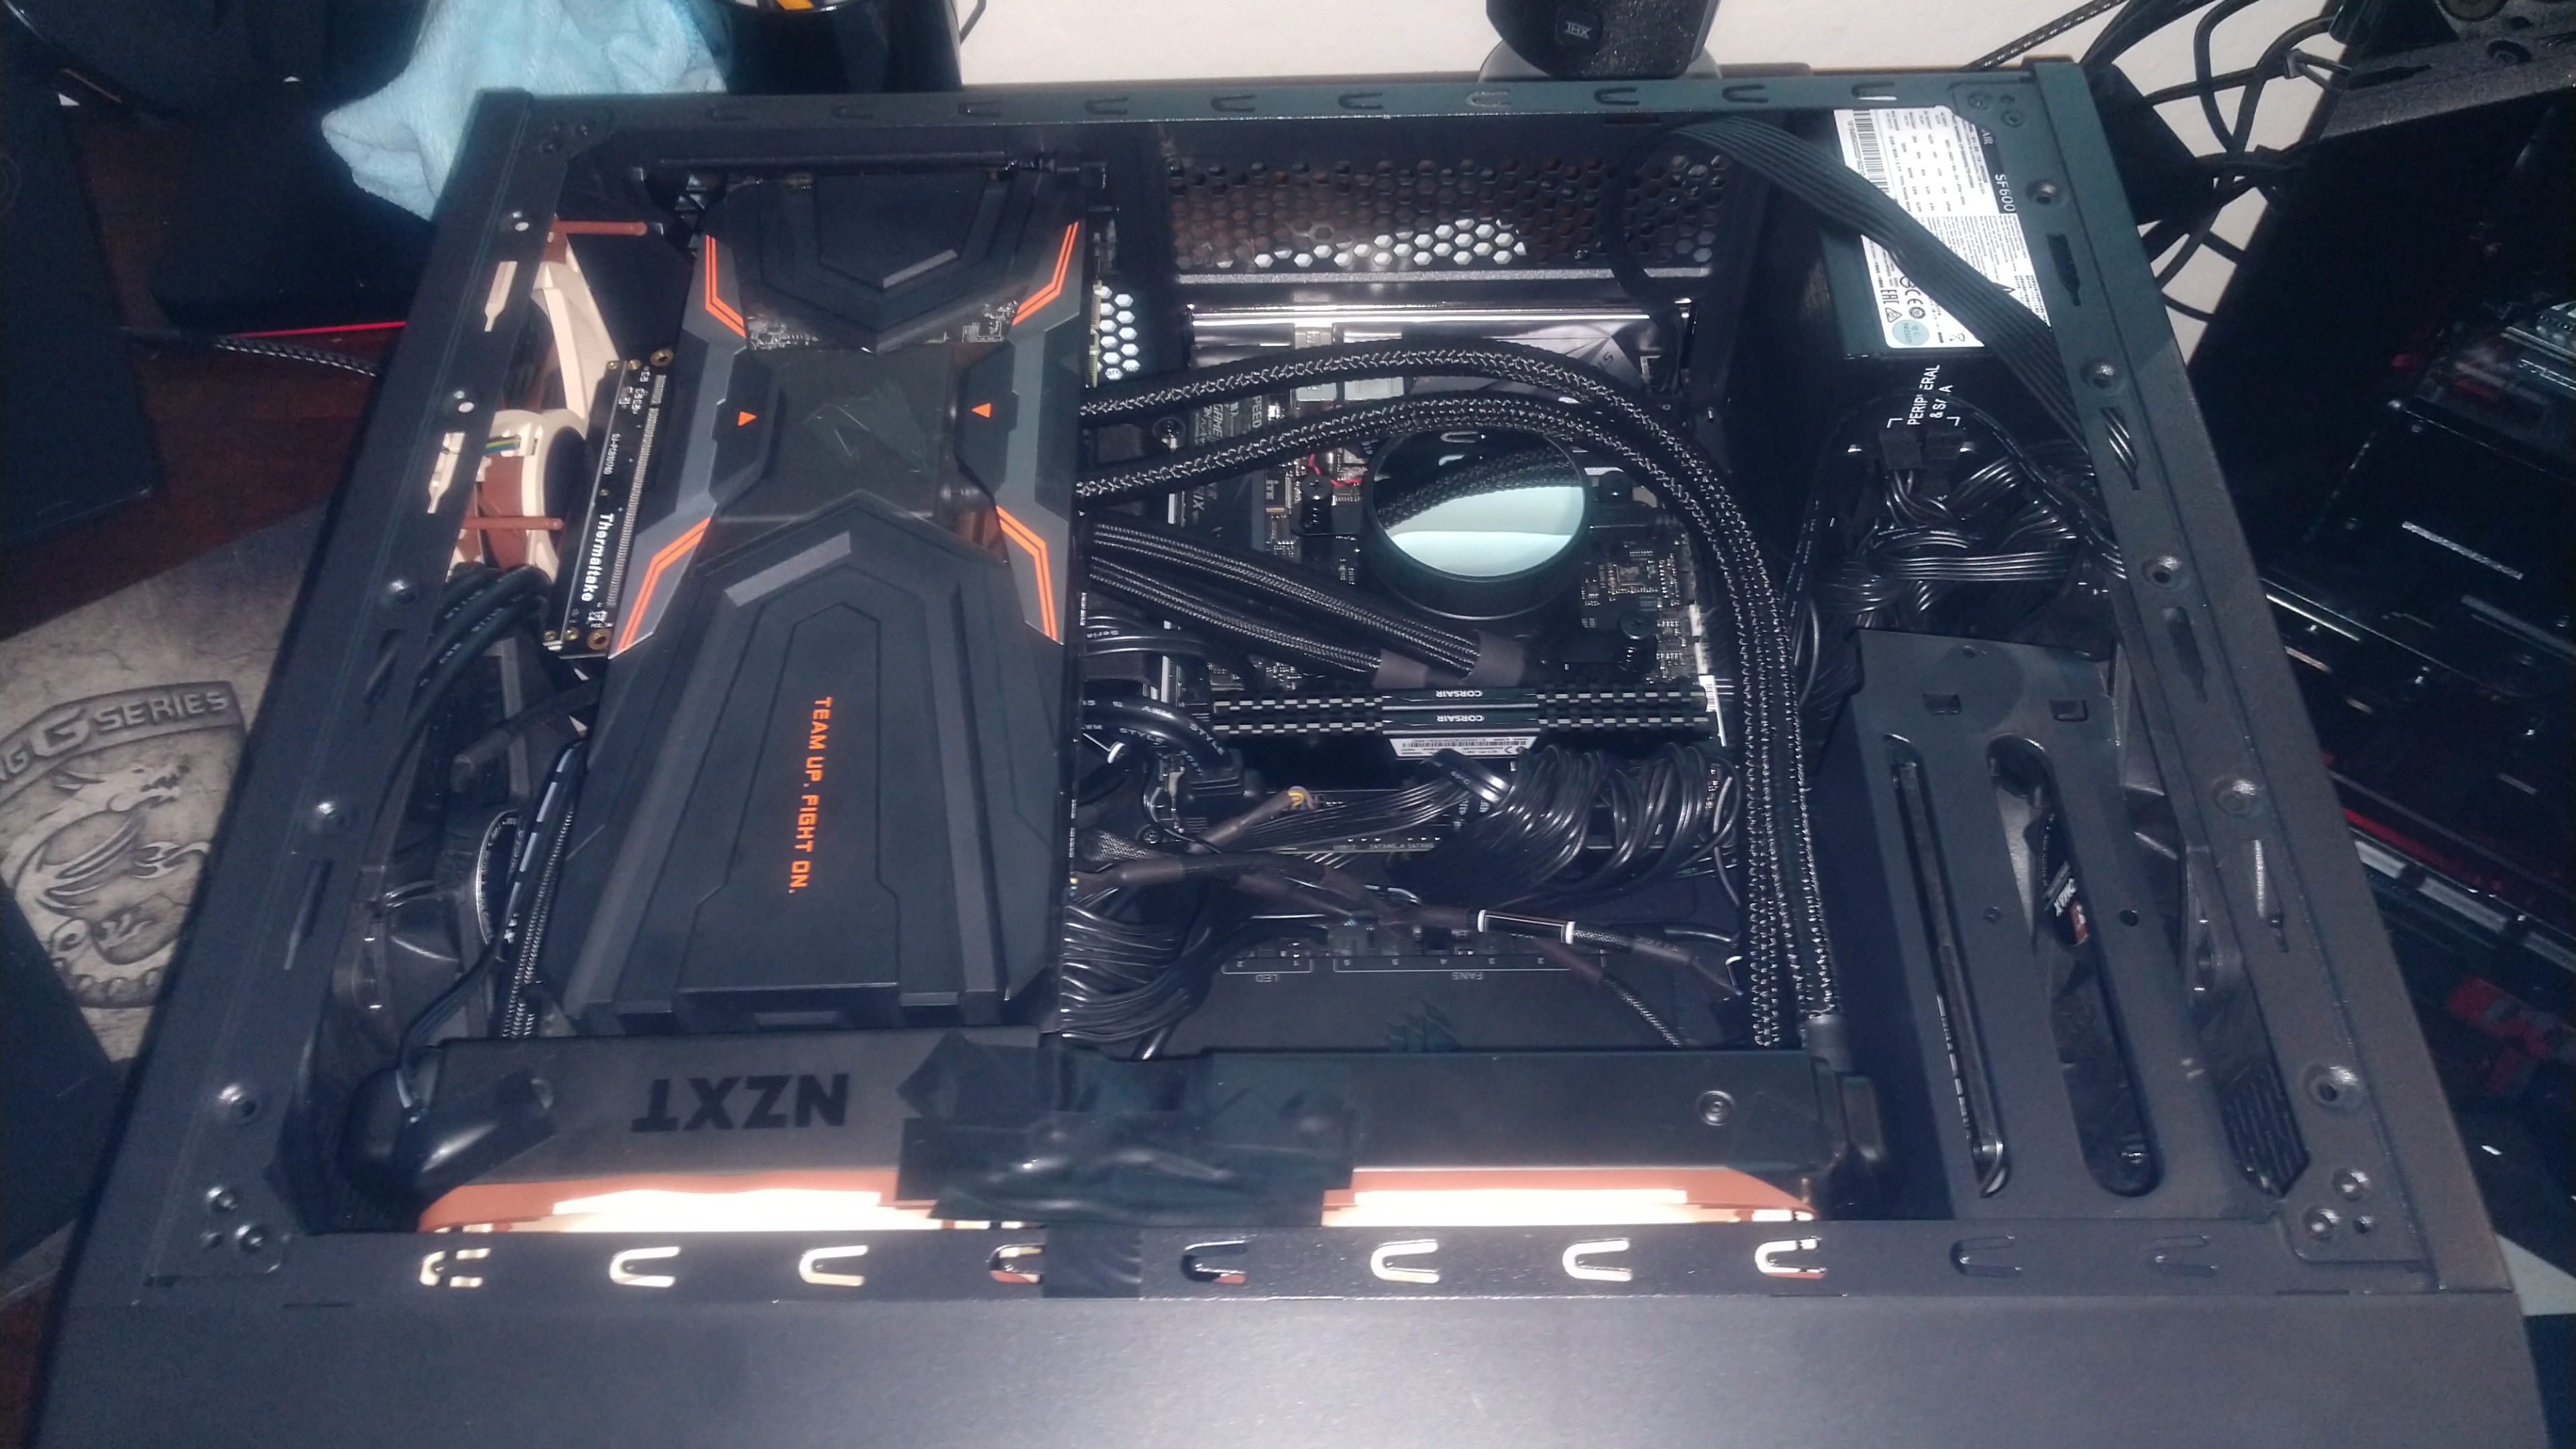
The Corsair 680x (Very similar to the 540 air in capability, but with glass panels instead of mesh).
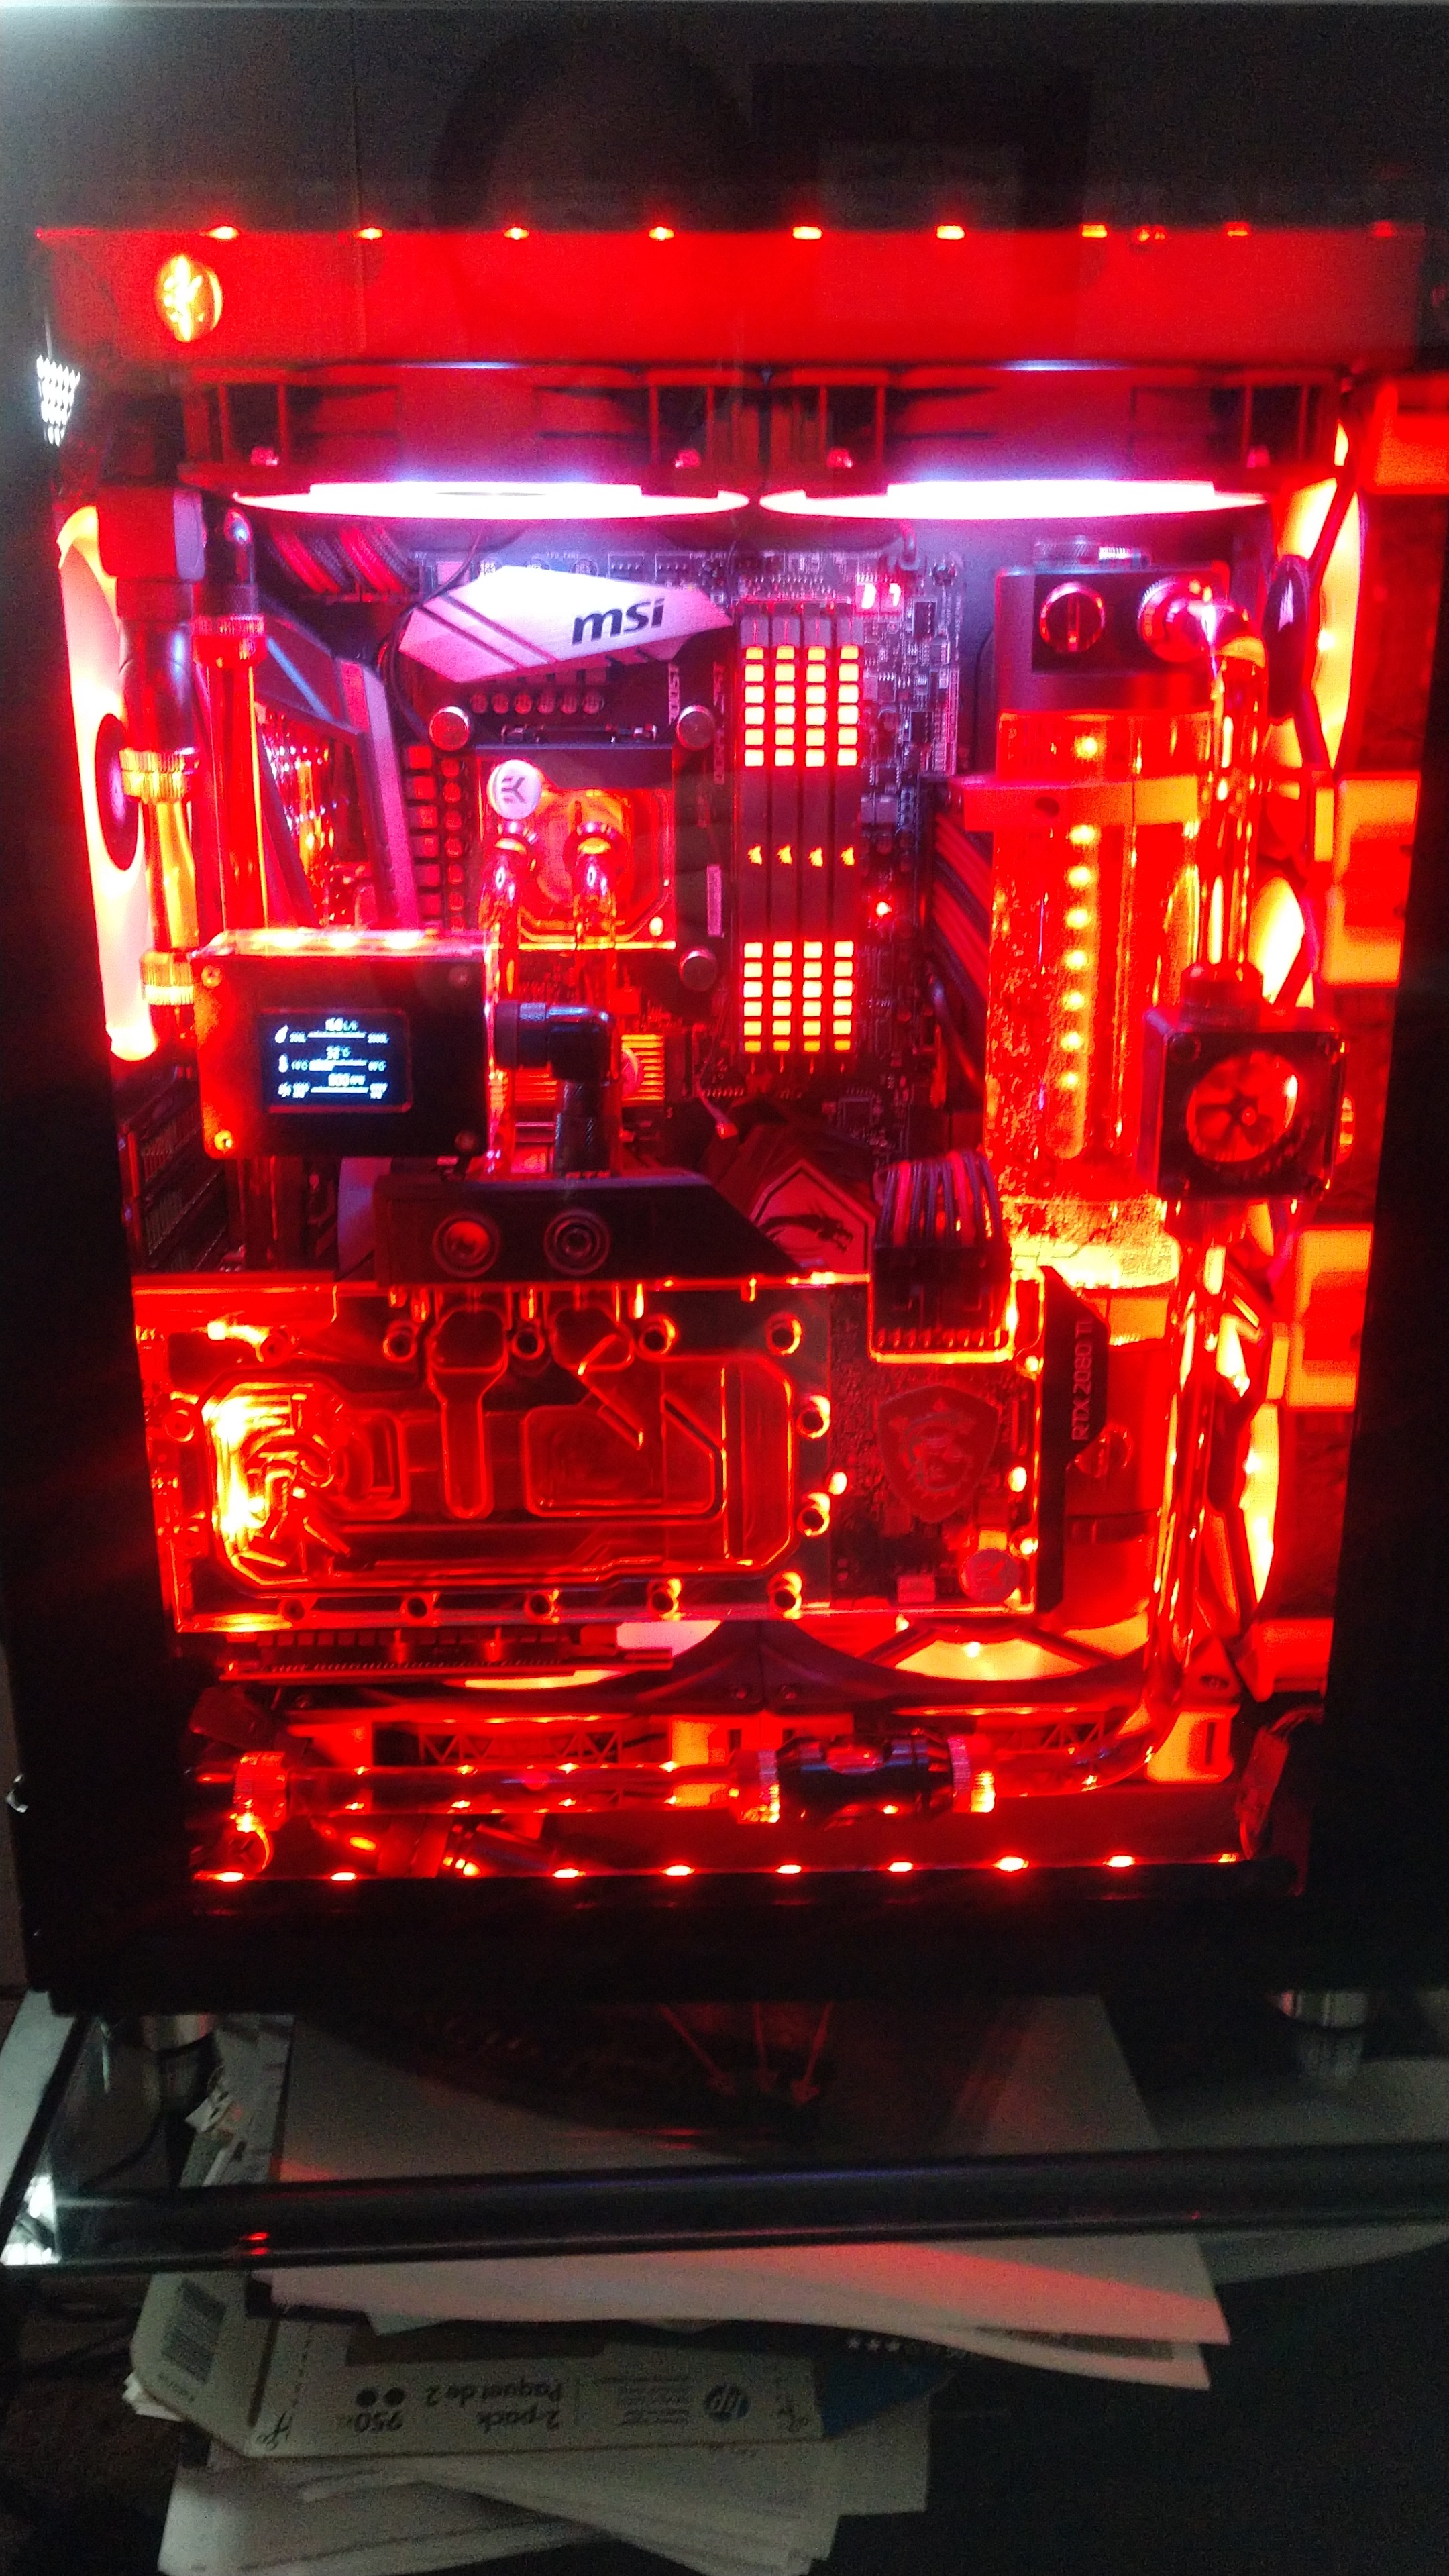
The radiator capabilities of some of these cases can be misleading at first if you don’t read the fine print or do some research of other builds in the case. In the case of the 680x it can handle “up to” (this is what gets you) a 360mm radiator up front (can be thick if it’s the ONLY radiator or you use a 120mm rad top or bottom) and up to a 280mm radiator in the top and bottom of the case. Now these all wont fit at the same time. I had it set up with a 240mm radiator in the top, and a 360mm radiator in the front that set up was fine, but I would get a slight heat soak from warm air being put into the case.

I also had the flow a little wonky so it went through the front cool air in rad, then through the top rad that was actually probably not as effective. I moved the 240mm rad to the bottom to be a intake so all the radiators were intaking cool air. I actually got a few C warmer at longer play times due to heat soak, but I mean 2 to 5 maybe.

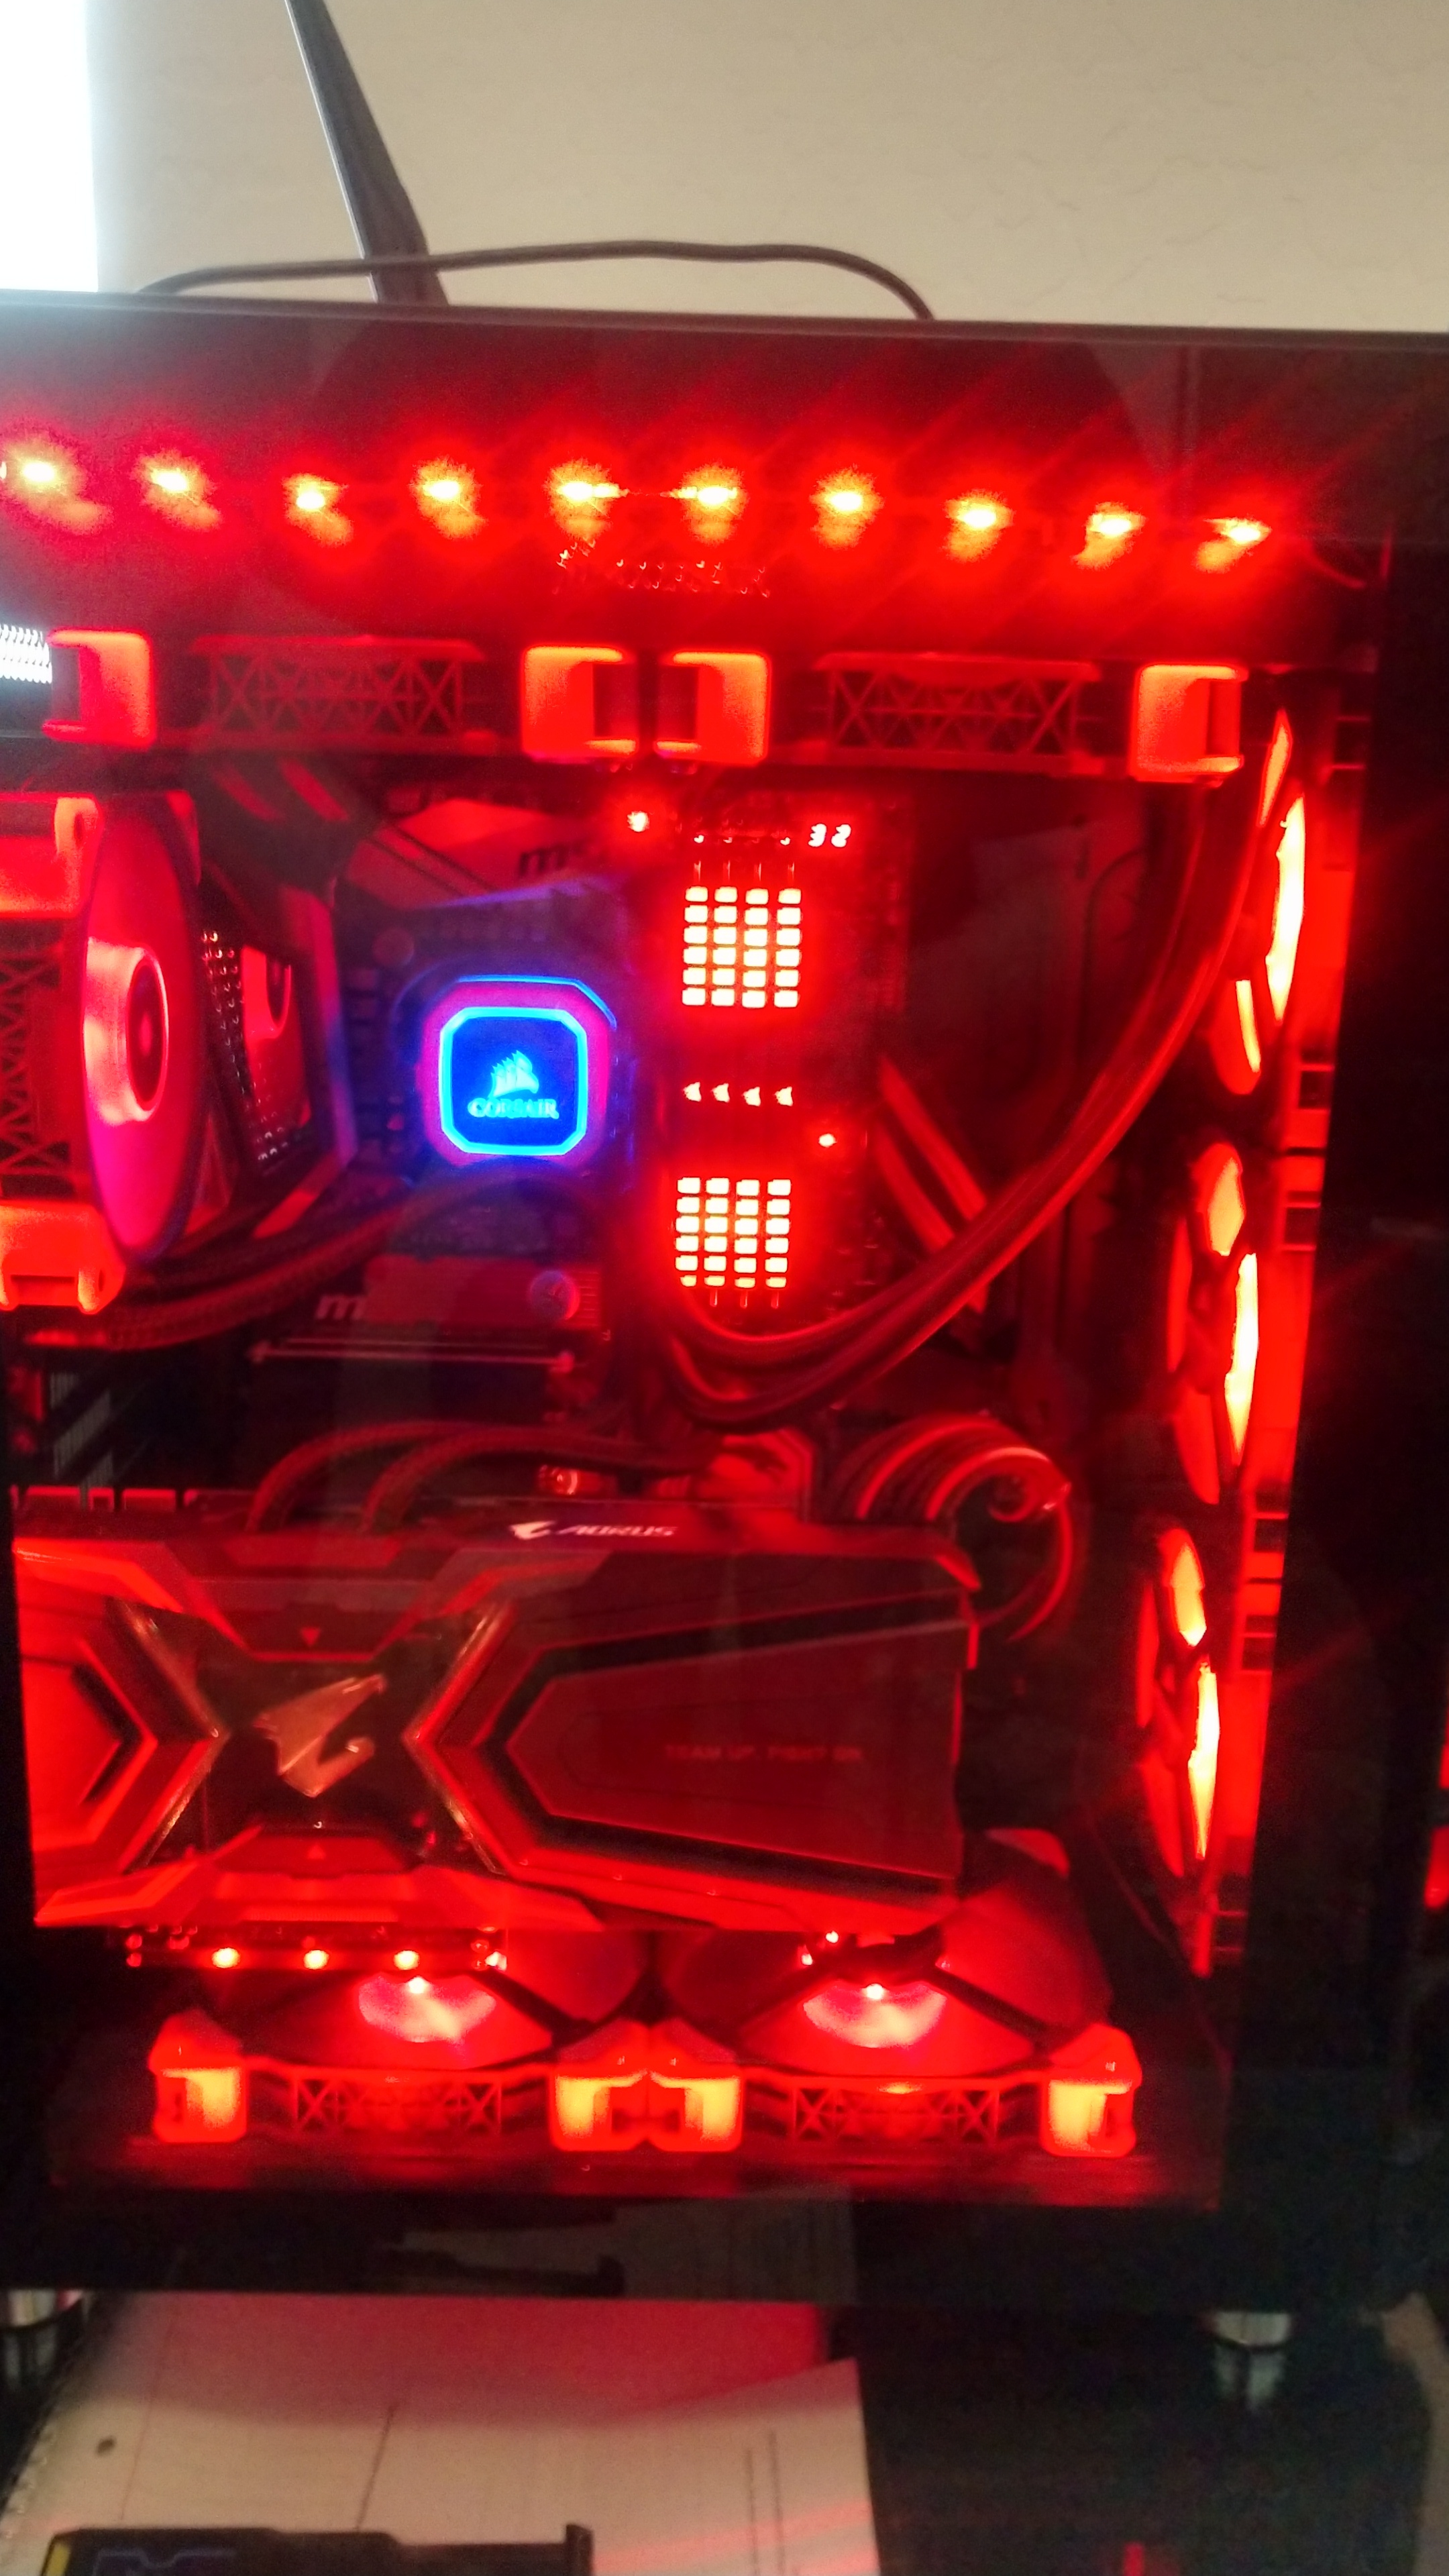
I still wasn’t happy so I moved to a dual 280mm Rad set up which was actually a little more surface area than the 360mm and 240mm (heres the #'s- 360mm and 240mm was 72,000mm2, the dual 280mm was 78,400 only a 8-9% increase in surface area). I also changed the air flow a little against the norm for this one. I had the front as a intake, but I had both the top and bottom rads as exhaust. Usually you want to follow natural convection but fans can easily overcome it with very little effort. Due to only having the front as intake I had to adjust fan curves to keep positive pressure in the case, so the front fans would run almost twice the speed of the radiator fans.

I could go on for hours but I’ll break it up into pieces as I go. BACK to the case itself.
What I liked-
-Tons of storage, Cooling options, room to build, case build quality was impressive and firm, easy mostly tool less assembly and looks clean. The easily removeable radiator or fan mounts that come out of the unit for the top and from mounts with just thumb screws are nice for easy cleaning. The lower part of the case does not have this option but a nice built in filter. The other front and top materials are only plastic filters with holes. I’m kind of a snob though and prefer nylon mesh for everything.
Not so good- I’m being nitpicky here but the glass the way its mounted and the amount of it doesn’t allow for the BEST airflow like a all mesh intake would. Also, the top panel causes some heat to be recycled into the case because the channel lines right up with the front intake panel. It’s the short side, but there was a few degrees C difference between the upper portion of the intake and the lower end measured from inside the case. It can get a bit cramped as you can see from the images in the first post and here as well.

I had a lot of fun tuning this case and building it the way I liked. I finally put together a build to sell with it here- I sold it with the 280mm radiators because they aren’t was universally adaptable to a case. Most are geared towards 120mm width rads in the ATX formfactor range.

Im actually really regretting selling the 1080 Ti. This was before prices got crazy for used GPU’s.

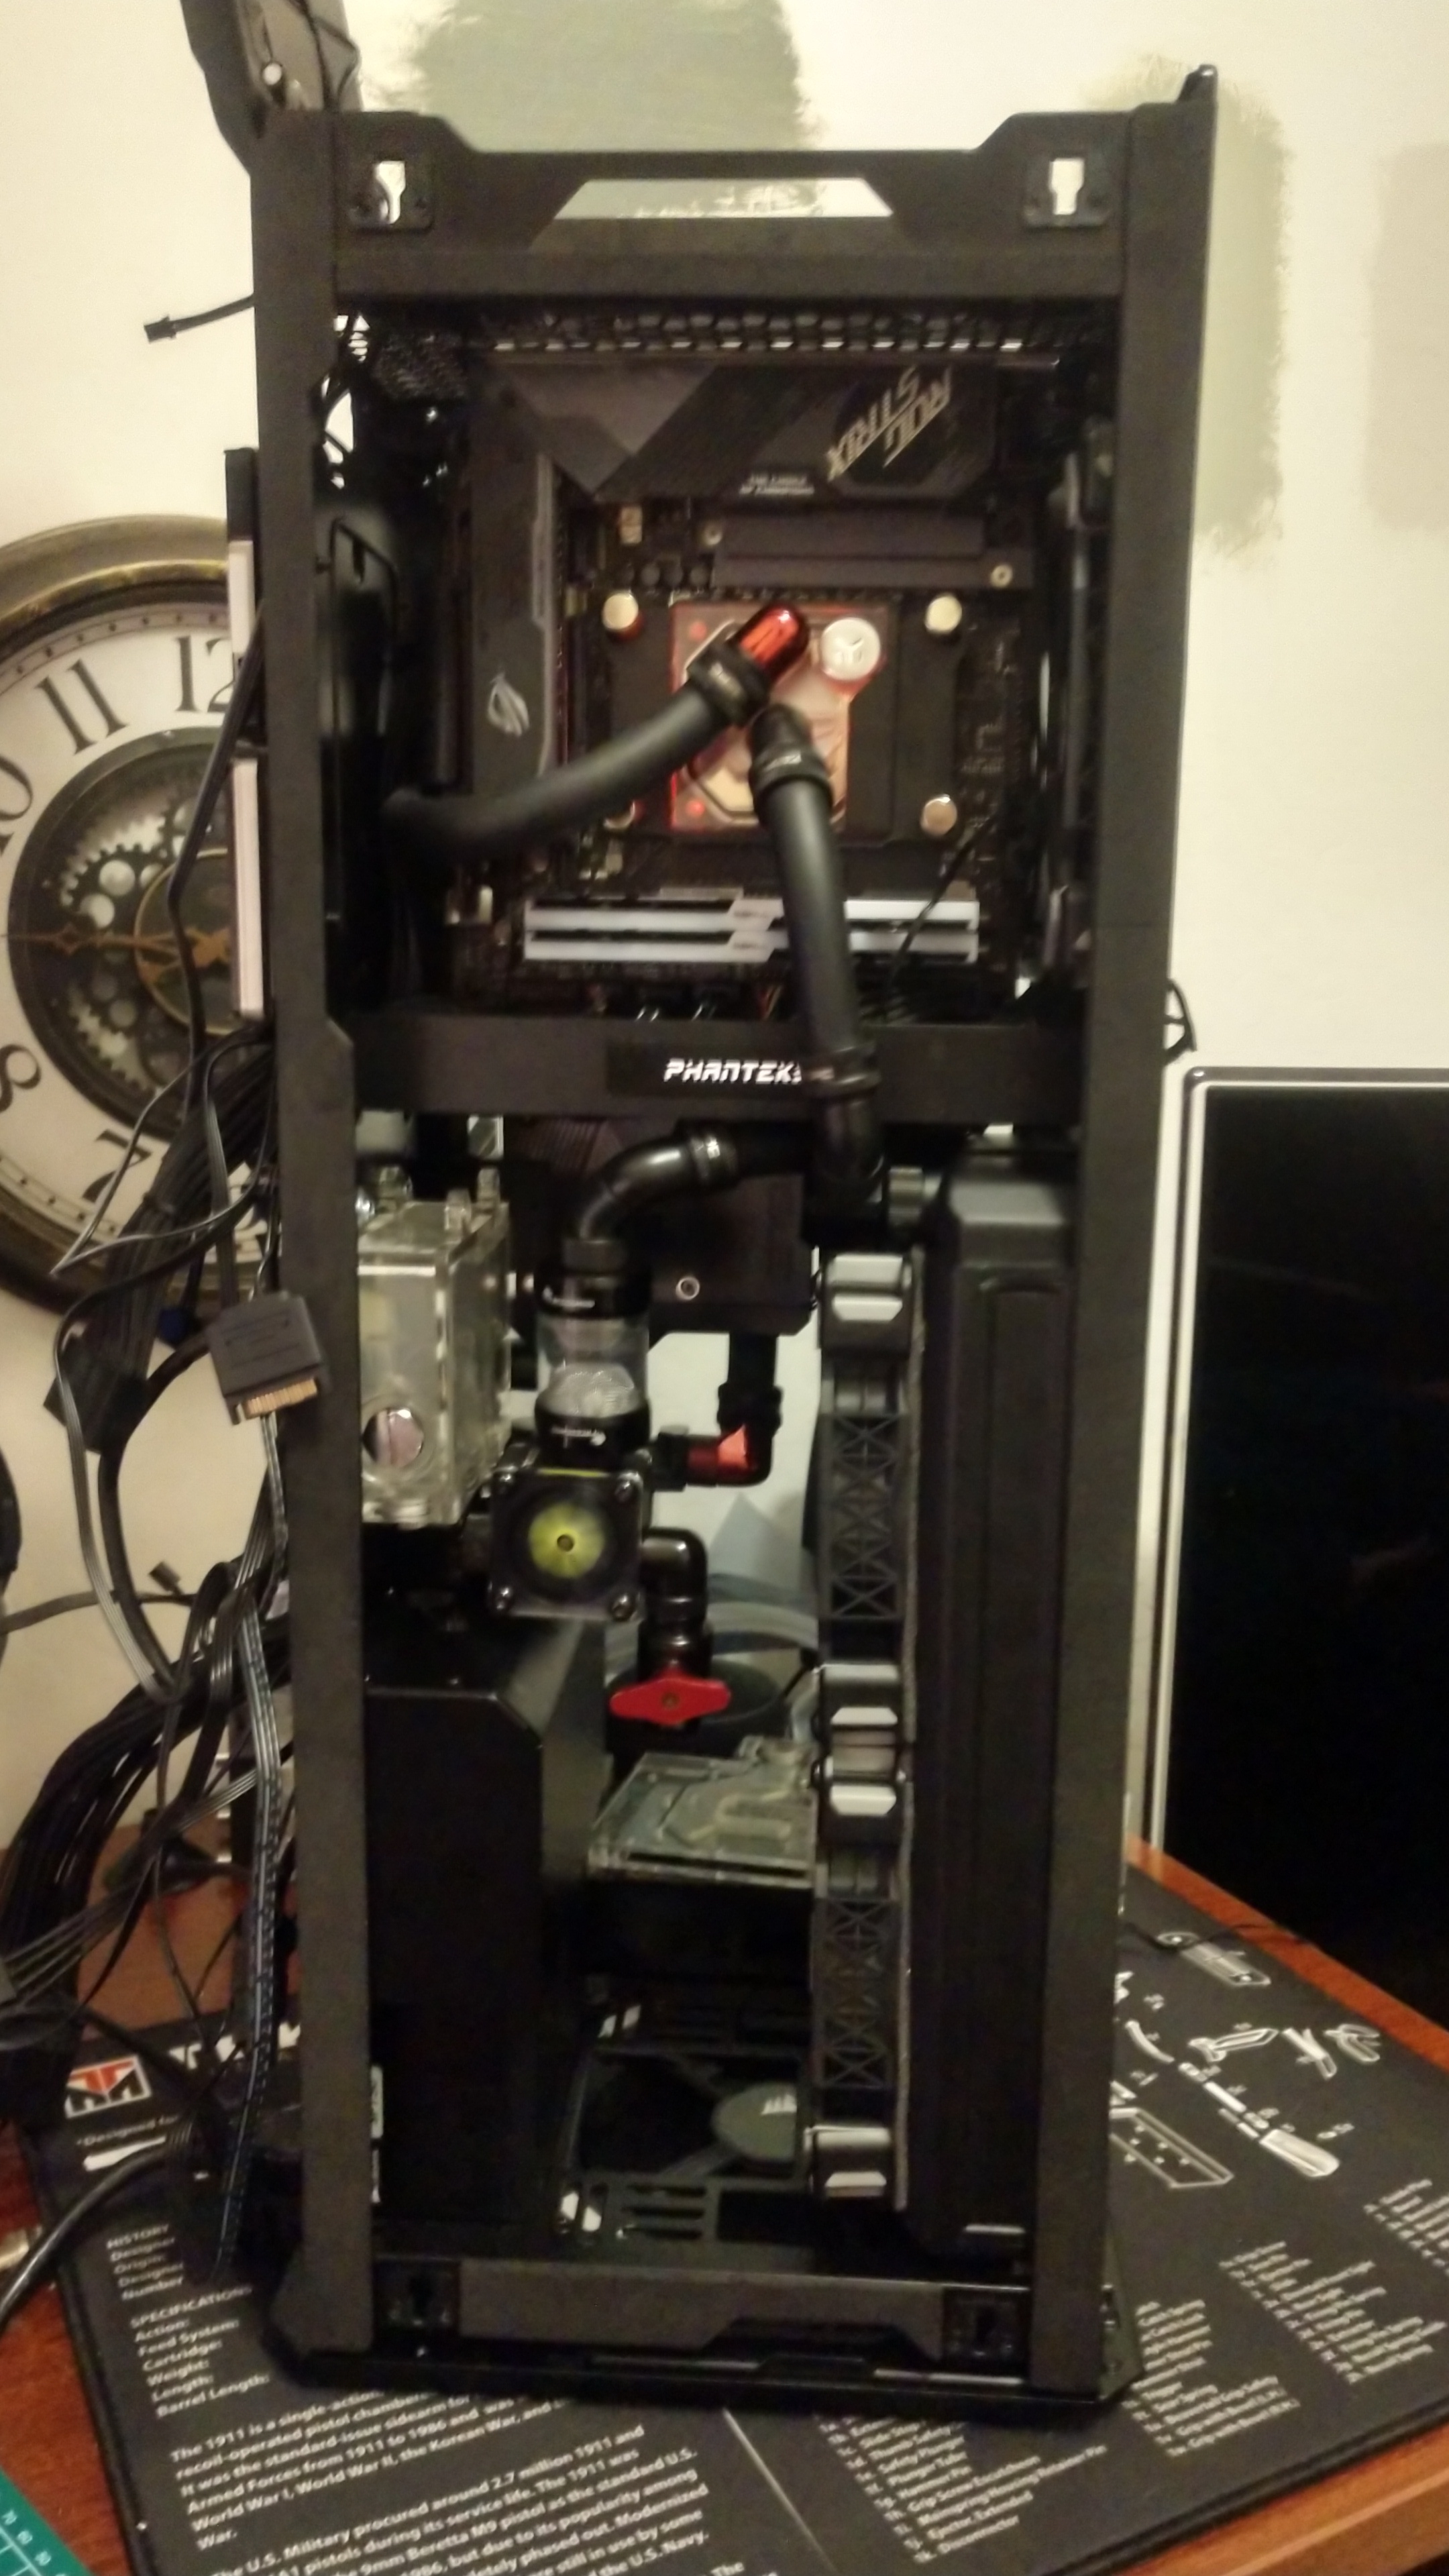
Well thats all for today. I’ll have another post tomorrow. I think I’ll be moving on to my shift towards building a itx or SFF pc. This is where I got the itch to MAKE IT SMALLER…and liquid cool it!!! lol

1 Like

nice rigs!

im for sure bit by some kinda hardware bug, I have somewhere north of 10 PCs (actually think its 15 now, but kinda lost count) in my house, all for a specific reason.

its even gone so far that for my gaming rig, I made holes in the house wall, so I can exchange the warm air with the colder air from outside…

the beauty of it all is, i used to build high end home cinemas for 10 years, so i know a thing or 2 about hiding stuff, so my wife kinda dont know that the whole house is plastered in cables and systems, she cant really see them.

wait a second, i think i have that same power supply in one of my systems, the AX1200 Gold from Corsair

1 Like

Thank you. Nice! Feel free to post here anything interesting you did and why…I know if I can find ways to hide the holes from my wife that would be awesome! Lol

One of my early builds is actually a Mac, I used to use Mac Mini in the home cinema setups I build, so it was natural to try and re-think them a little

These pictures are from 2010

It’s not a black/white picture, it’s me who made it black/white
You can see I even changed the white LED to blue

I can’t find all the pictures because it’s so long ago, but here is a few
I made the whole buttom one big thermal pad, with this powder mixture than turns into the same kinda material as thermal pads are made out of. It looked like baking a cake, but it spread the heat evenly all over the buttom

I also upgraded the wifi, as I remember it the wifi in the iMac at the time was faster, so I switched it out with one of those cards and the antennas.

it was supported in the OS as it was original parts, just not parts you usually find in this model.
also upgraded the harddrive to max capacity, dont remember what it was at the time.
and i upgraded the RAM to the fastest speed in max capacity, also dont remember anymore

it ended up looking like this when assembled and everything just plain worked

oh, btw you might notice, but I also switched the heatsink of aluminum to one of cobber instead, I found out that one SuperMicro made at the time for one of their servers, had the exact dimensions.
just had to shorten the height a little and it fit perfectly

in the end the machine was faster, had more storage space and was cooler than a regular mac mini at the time (less fan noise) - it was a big success, and I ended up getting a pretty good price for it when I sold it later on

2 Likes

I also had this this machine for a while, never took any real good pictures of it.

It was my home server sort of, in a Fractal Design Node 304
I used a fanless power supply, but added very silent fans throughout the case, even souped up the Noctua cooler with even more silent fans than stock

It sat under our couch, in the corner. Super cool, super quiet. wife never thought about it

1 Like

Next on the list of note worty builds I made, was this

Kinda a mix of the mac and the server, some of the parts from the server was used here, and made it run OSX

I think I had a GTX660 in this thing and absolute loved it, it was again super quiet and kinda stylish.
Case was a modded SilverStone case, someone called NoFan made this version of it

Let me just say, I build way more than these, these are just the most interesting ones

1 Like

This is actually the server that replaced the other one, I had one of those weird little Silverstone cases with space for multiple harddrives

it had terrible thermals, absolutely a hot box.
so i ended up not having it for a very long time but it was a good little server

1 Like

lol i actually made this graphic to compare it to a few of my other PCs at the time

The next one where a bit wild

Same case, the NoFan, but everything else inside got switched out, specially the graphics card, man the 290X was a beast! paired it with a 3570K

Changed the lights to red LEDs and it looked genuine evil

Same time I took parts from the silverstone server, and made a little daily driver “mac mini copy”

It worked super well, until one of the later OSX versions completely broke compatibility and I had to quit the idea for good

well thats it for now, ill dig more and find some other ones, but yeah, i build a lot of PCs and some really weird ones sometimes

1 Like

WOW, Sweet builds sir. Yeah I’m parsing through my builds a bit at a time the photos are everywhere so I’m consolidating. Thanks for contributing! Good inspiration. Love the Mac Mods.

1 Like

Well on to the next evolution. I had worked on watercooling, using hardline, overclocking, under-volting, I delided and applied liquid metal. I was happy with that build for a Intel Machine for gaming. The i7-8086k with only 6 cores, but 12 threads at 5.0Ghz (I could go more but on only 1.26-8 mv it runs so cool) was a consideration for upgrade. I’ve decided it not needed as of yet with the RTX 2080Ti.

So then I turned away from team Blue (Due to their lack of innovation or serious improvement over my current CPU), and decided I would try team Red. I had never built or used a AMD system. I decided I wanted to build one, but not ONLY that I wanted to build a ITX or Small Form Factor SFF build…AND make it liquid cooled. This is what drove my next series of builds.

First on the list. The Phanteks Evolv Shift. Notorious for being a heat box especially with more powerful components I wanted to see if I could tame it with watercooling.

The first attempt was with AIO cooling.
-Ryzen 5 3600
-NZXT 120mm AIO/ ASUS ROG RYUO 120mm AIO
-AORUS 1080Ti Extreme Waterforce
-ASUS ROG X470-i
-G.Skill Ripjaws V 3600/ G.Skill Trident Z Neo Series 32GB 3600C16
-Corsair SF 600
-Corsair ML Pro 120 or 140mm

I guess I didnt save any of those pictures weren’t saved or I don’t have them. Ill keep looking and edit when I find them. Needless to say this set up was problematic. The only way either of the two 120mm AIO rads were effective was was a intake…BUT that would lead to an eventual overheating and shut down. With one in and one out was stable but very warm…and with both on the bottom as exhaust the one that exhausted to the solid front panel had heat soak issues because flow was so restricted.

So my next step was a custom loop with some left over parts I had and new blocks for these components. I also wanted to try using ONE 120mm radiator for both components. That being said I decided to go for a push pull on a thick 120mm radiator, so I picked a Hardware Labs GTX 120mm. Here was how it came out with a legacy EK Pump/Res combo. I also upgraded the front fans to ML140Pro’s. One as a intake and other as exhaust.

It actually worked. Even with a overclocked 1080Ti.

One take away was that the “seal” between the upper and lower fans on the front of the case is just a little bit of plastic. This caused a lot of hot air to be recycled into the case. I managed to get a better seal and lower internal temps close to 3 to 5c with a well placed piece of adhesive foam rubber. Photo to follow…

I then moved on to the next build I will outline tomorrow taking what I learned from this build which I will return to later for a second custom loop that involved a case modification to allow for 120mm AND a 240mm radiator in this case.

More about it here

https://imgur.com/gallery/ILk5aWG

Is it just me or do 3000 ryzens run hot for some reason? Like, it seems like they’re on or off, no nuance in temps.

Maybe I’ve just got a dud chip.

1 Like

@SgtAwesomesauce They do seem to run warm. Some updates have allowed me to run better at idle, but any background task does make them shoot up. ICUE changes idle temp from 34 to 38c up to almost 43 to 45c. It’s not that intensive as its not controlling no LEDS. Especially coming from Intel (Delided, liquid metal and undervolted). Overclocking these chips has eluded me. I always go back to stock…even when I got the XT version.

Yeah, overclocking 3000 series seems like a lost cause.

I can get 4.3GHz on 4 cores of my 3900x but that’s about as far as it’ll go. It’s more reliable with the stock overclocking, so I just leave it at that.

1 Like

@SgtAwesomesauce I tried really hard, but the internal management is like a black box. With Intel I can do A LOT… IE set lower power for idle reliably, and peak power. The management of that chip eludes me. I always get better peaks clocks from single to dual core loads way above any all core I set. I read up on all the settings etc and still no real progress sadly. Still the chips perform theres no denying that but do run warmer than older intel CPU’s with higher TDP’s. I’m happy with stock and just doing a memory OC to up performance a little.

I was thinking of doing some videos, but I haven’t tackled that beast yet. I’m not sure anyone would be interested anyways because it’s all been done before so nothing really original I guess.

1 Like

So because I am a cooling madman, ahem…enthusiast Thought I’d put this up in place of a build for those who want to know more than you ever wanted to about fans and what all those fun numbers mean…in real life application vs just on a box. I came across this today…

Fan Basics: Air Flow, Static Pressure, and Impedance

I promise I’ll get off my butt tomorrow when the wife’s away at work for another installment.

1 Like

Time for today’s build I made. I had forgotten the AIO build I did in the Thermaltake G3.
Almost all the same parts here, but I had the AIO on the 1080Ti Aorus Extreme.


With this build I ended up being able to fit a “top/side” 120mm NF-A12x15 fan and NF-S12 Chromax. I also cut down the front facing drive cage to add in a NF-S12 Chromax in the bottom, all as intakes. I did end up using some electrical tape to seal up some airflow through both the 120mm radiators that exhaust out the front of the case.
It was effective, but at this point the 120mm AIO didn’t seem to be enough for the Ryzen 5 3600… BUT I was also getting used to AMD. Looking back the temps were probably fine for me to use. I however was still thinking it was too BIG…I wanted SMALLER… SO thats when I moved to the above set up in the Phanteks Evolv Shift.

I still thought I could improve and have better air flow than the Shift Project, so I got a Cougar QBX. I changed over to the custom look for this one. I had purchased a Phanteks Glacier Reservoir and put a DDC pump in it. I used the Barrow cpu block for AMD and Threadripper. I also had a 240mm Hardwarelabs GTS radiator. This one had a total of 7 Fans. 2 of the NF-a12x15 inakes on the bottom, Side intake with 2 NF-a12’s on the radiator, and 2 NF-S12’s exhausting out the top. Overclocking the 1080Ti was a bit much for this 240mm rad and set up. It worked, but I wanted it cooler. Here it is below…


I did have to remove the front Drive cage and slim disk drive tray, but not too much case modification.
I think this case would be great for a air cooling build, I didnt have the parts for it, but I bet it would work great with how open it is. The build itself is a little flimsy, and the hinged side panel is great for space economy, BUT… it says it can fit a standard ATX PSU, but I think airflow and cable management would become an issue with this setup.

Up next will be the Silverstone Raven RVZ03 and its first iteration and the way to fit 360mm worth of radiator in that case with ease.

2 Likes

So next we have the livingroom gaming solution. I had taken what I have learned from previous ITX builds, and knew roughly how much performance I wanted for gaming in the livingroom. I wanted either 1080p with sustained 60fps (TV does not have Variable Refresh Rate VRR like the one in my office with the 2080Ti), or 4k gaming with maybe some slightly lowered settings. This lead me to some newer components from what I’ve been using (and it was before the pandemic scarcity). For this build I will be using:

-ASUS ROG X570-i
-Ryzen 5 3600XT (EK waterblock)
-ASUS Dual 2070 Super (EK waterblock)
-G.Skill Trident Z Neo Series 32GB DDR4 3600 CL16
-Corsair SF750 Platinum
-Cooling:

  • Hardwarelabs GTX 280mm (54mm) Radiator
  • EK Waterblocks
  • EK Zero Maintenance Tubing
  • Swiftech MCRES Micro Rev2 Reservoir
  • EK DDC pump top and pump with cooling case
  • 4 Corsair ML-140 Pro 140mm fans
  • 2 NF-A12x15 Chromax fans.

All stuffed into a Phanteks Evolv Shift X (the big boy)

This build also gives credit to ModMyMods.com for their machining of the front case panel.

I give you project “BLACKOUT”- Not using any of the RGB because it sits under the TV.


Here is the bare bones case with all the panels off making it very easy to build in and do cable routing that’s hidden. The “Phanteks” panel in the middle is magnetic to help keep motherboard connections clean.


Here is the back of the motherboard where the other M.2 drive on the ROG X570-i sits. I had to offset the M.2 cooler to make it fit.


Here I added some rubberized foam to keep warm air from recycling back into the case.


Here it is being filled and running a leak test for 24 hours before turning on.


Here are the two 120mm fans helping to remove heat from the radiator. I had to do 120mmx15mm fans because nothing else would fit between the frame and the cover as you will see.


This is the cover from ModMyMods, they did a great job. The material they use for a filter was very dense and i wanted something finer that breathed better so I used a stocking to create a nylon filter. I streched the material around the inner plastic frame, cut it to fit and used hot glue to hold it in place. See below.


This is it assembled for testing minus the glass top panel.

All in all really enjoy this machine. It was used for Plex for a while till I built the server I’m using now. It was significant overkill for that purpose but my shield was a bit lacking.

Thermals perform very well. I keep the 120mm outter fans going faster than the inner 140mm fans to keep the air flow even. Heres a picture of the airflow I found worked best.


I used the “top” fan and “bottom” if its oriented as a tower for intakes and exhausted out the radiator to cut down on heat soak with a push-pull.

1 Like

lol you leak test?

When I’m doing maintenance on my loop, I drip water on my GPU, reroute the lines, then turn it on with not a fuck given.

2 Likes