Welcome
I’ve done/am doing a series of videos on home automation. This may give you some more context than just this quick how-to (my notes) on getting Home Assistant talking to Z-wave devices.
First, setup the Z-wave device
Read this: Z-Wave - Home Assistant
I tried the GUI way; it doesn’t work.
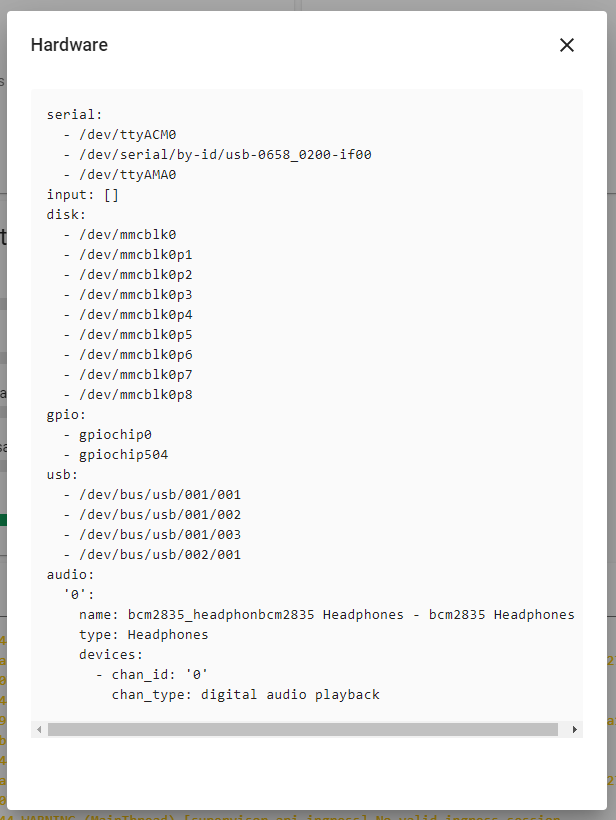
First thing is to know where your device showed up. Mine showed up at /dev/ttyACM0 .
navigate to /hassio/system and click the … on hosy system, then go to Hardware.
Depending on how you’ve setup Home Assistant (manually, via docker, etc) it may not be just a matter of plugging in the path to the device here. You may have to allow the Docker container to access the device path, or you may have other hoops to jump through. I am working from the 64-bit RaspberryPi HA image for this guide, which does have its own set of problems and limitations. Access to the serial port for the Z-wave device, however, was not one of them. Still, I’m not sure why specifying /dev/ttyACM0 via the gui for adding Z-wave integration did not work as it seems like it should have.
Home assistant docs are good, but then appalling when things don’t exactly go according to the docs. The GUI for adding the z-wave integration was completely broken for me. It did not work. Manually adding the two required lines to the configuration.yml, however, worked perfectly!
So follow that manual process in their guide.
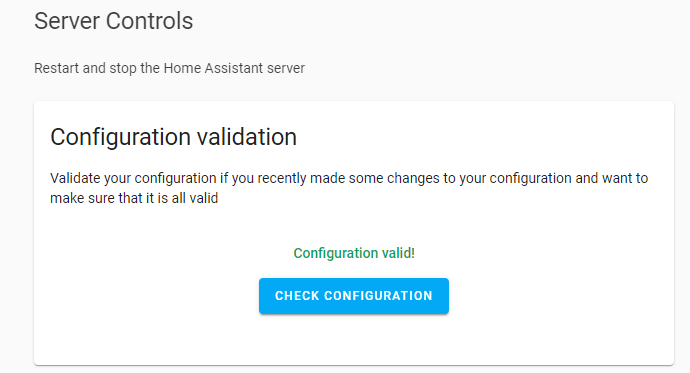
Any time you’re editing the config, make use of the configuration validation tool at /config/server_control:

Sometimes it reports the configuration is valid, even when it isn’t (e.g. automation problems). So check the logs to be sure.
Overall, adding integration for Envisalink (alarm system integration, if you didn’t see that guide yet) via the gui was similarly broken. This contributes to my overall opinion that while this is the best system from a design perspective, it is not for mass consumption yet.

I editing configuration.yaml by going to supervisor > addons and adding the Visual Studio Code extension from the community section.
Once you do that go to the Configuration> Server page and restart HA/reload the Yaml files.
After that’s done Configuration> Integrations should show z-wave. If not, check the docs, post here, or refer back to the video.
Adding Devices
Notes not in the how to: Usually, you need to be in close proximity to your z-wave device. For sure, with the First Alert combo Smoke/Carbon Monoxide detector, the process is as follows:
- Pop the battery drawer open on the Smoke/CO detector
- Press and hold the test button as you reinsert the battery. Keep this button held for ~5 seconds.
- On my Aeotek 5 reciever, I saw a rapid blue blink from the LEDs, and another device showed up
Optionally, if you’re having trouble, complete these steps to totally reset that smoke/co detector:
- Pop the battery drawer open
- Press and hold the test button down as you re-insert the battery drawer
- Keep the test button held down for 30 solid seconds. It may beep after 5 seconds or so. Don’t let go!
Then you can repeat the above pairing procedure and it should work.
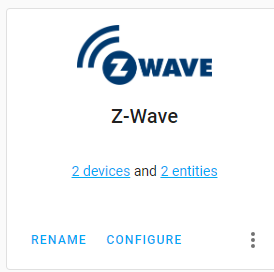
When you do that it should show up almost immediately on the Integration card:

Notice I now have 2 devices, instead of 1 device ( which is the Z-wave stick).
There are other sticks that are combination z-wave and zigbee. I wish I’d gotten one of those because I have some zigbee devices myself.
Why not Z-wave light switches for everything (see also S31 smart switch guide here on Level1)
you may find that it takes some time for that to be reflected in Home Assistant. That’s because Lutron had patents on the status updates using the Hail command class, the traditional way of allowing devices to tell the controller that something happened locally.
The S31-based switches are more interesting and faster to respond and update, in my experience. It’s probably fine to mix though depending on what your goals are.
