Background
TODO
Getting Started
The first step is configuring the switch. Even (especially) if you have a pre-existing router.
Our goal is to configure some of the ports on the switch to be on a separate vlan. This is very close to the same setup as it would be if your ISP’s equipment (modem, ont bridge, whatever) was plugged into a dumb switch and then into your router.
Before we do that, we should take stock of the current (working?) configuration.
Understand that only about half of ISP equipment is designed to talk to one device at a time. The other half is both a bridge to the ISP’s network and a router.. so you could plug a dumb switch into your ISP equipment to have more wired ethernet ports. If your ISP equipment also has wireless, chances are it’s a bridge+router and you’re going to want to put it in bridge mode.
Generally, though, we want the “real” IP from your ISP assigned to the router virtual machine.
Before making any changes try to assess what situation you’re in by looking at your existing router’s configuration.
Make a note of:
- Do you see a public IP on your router?
- Does it match what you get from i.e. ipchicken.com
- Save the MAC address on the WAN side of your router (it often shows in the gui)
Getting Started - VLANs
With that mindset, and notes made, it should be safe to configure the switch so that some ports are on their own VLANs.
Mikrotik Edition
We showed two models in the video
CRS326-4C+20G+2Q+RM and
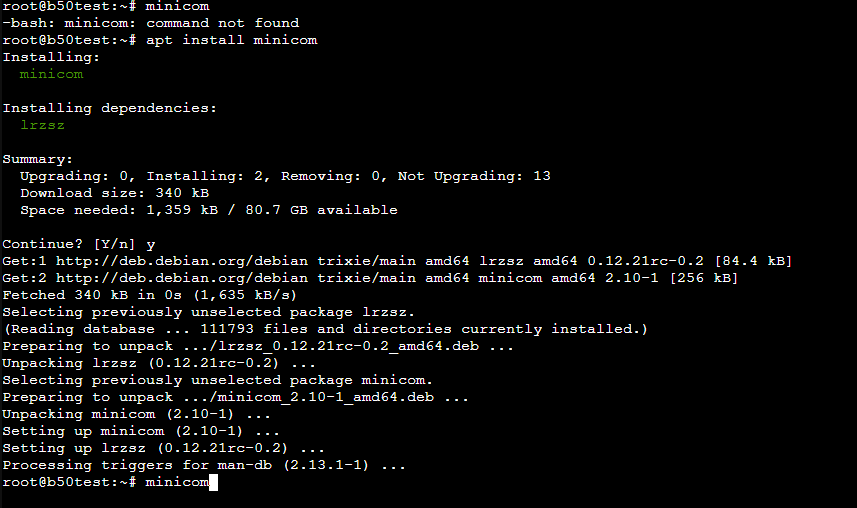
For the fancier mikrotik you can connect the console port with a serial cable. I’m just doing it on one of the Proxmox hosts. apt install minicom if you need to.
The goal is to create a new vlan100 and combo1 will be untagged to this vlan. combo2 will be tagged vlan1 and vlan100 into our proxmox machine.
If we had a second ISP/connection, that should be vlan200 and the other port pairs should be similar.
If your ISP speed is under 2.5gb, it makes more sense to use one of the 2.5g copper ports like ether1 for your untagged vlan ISP connection port.
Our Mikrotik with 8x 2.5gbe and 2x10g sfp+ does not have a console port like the other one does, which is fine. Winbox can also be used, or go to the IP to configure it.
it has
ether1-ether8 and sfp-sfpplus1 and sfp-sfpplus2
similarly, we configure
ether1 for the ISP – vlan100 only
ether2 is for our “small” proxmox host.. it doesn’t have a fast interface
sfp-sfpplus1 is for our 10g computer or "other’ 10g switch
sfp-sfpplus2 is for our 10g nas “big” proxmox node as we showed in the video
Also note vlan 1 is “special” – it is a best practice not to use it for this kind of trunking.
Here are the commands I used to setup the mikrotik switch
# show details of the vlans config to start
/interface/bridge/vlan/print detail

# and port details
/interface/ethernet/print
My thinking is:
ether1 = VLAN 100 (untagged)
ether3–8 = VLAN 10 untagged
ether2 and sfp-sfpplus2 = trunk (admit-all, PVID 1, effectively vlan100 and vlan10 are “both” on these ports )
# 0) Safer to edit with filtering off
/interface/bridge set bridgeLocal vlan-filtering=no protocol-mode=none

# 1) Bridge ports: set access vs trunk roles
/interface/bridge/port
# VLAN100 access
set [find interface=ether1] pvid=100 frame-types=admit-only-untagged-and-priority-tagged

# VLAN10 access on ether3..8
:for i from=3 to=8 do={
  set [find interface=("ether".$i)] pvid=10 frame-types=admit-only-untagged-and-priority-tagged
}

# VLAN10 access on sfp-sfpplus1
set [find interface=sfp-sfpplus1] pvid=10 frame-types=admit-only-untagged-and-priority-tagged

# Trunks on ether2 and sfp-sfpplus2 (carry 1,10,100); PVID 1 for untagged ingress
set [find interface=ether2] pvid=1 frame-types=admit-all
set [find interface=sfp-sfpplus2] pvid=1 frame-types=admit-all

# 2) Bridge VLAN table (who is tagged/untagged per VLAN)
/interface/bridge/vlan remove [find]
/interface/bridge/vlan
# VLAN 1 (management core / native on trunks)
add bridge=bridgeLocal vlan-ids=1 \
    tagged=bridgeLocal,ether2,sfp-sfpplus2 \
    untagged=
# VLAN 10 (user/access on ether3-8 + sfp1)
add bridge=bridgeLocal vlan-ids=10 \
    tagged=bridgeLocal,ether2,sfp-sfpplus2 \
    untagged=ether3,ether4,ether5,ether6,ether7,ether8,sfp-sfpplus1
# VLAN 100 (WAN/other access on ether1)
add bridge=bridgeLocal vlan-ids=100 \
    tagged=bridgeLocal,ether2,sfp-sfpplus2 \
    untagged=ether1

# 3) Management SVIs
# VLAN1: DHCP client (primary mgmt)
/interface/vlan add name=mgmt-vlan1 interface=bridgeLocal vlan-id=1
/ip/dhcp-client add interface=mgmt-vlan1 use-peer-dns=yes use-peer-ntp=yes add-default-route=yes

# VLAN10 + VLAN100: add IPs for reachability (pick static addresses or use DHCP if you have servers there)
/interface/vlan add name=mgmt-vlan10 interface=bridgeLocal vlan-id=10
/interface/vlan add name=mgmt-vlan100 interface=bridgeLocal vlan-id=100
# Example static IPs (change to your subnets or swap to DHCP)
/ip/address add interface=mgmt-vlan10 address=192.168.10.2/24 comment="Mgmt on VLAN10"
/ip/address add interface=mgmt-vlan100 address=192.168.100.2/24 comment="Mgmt on VLAN100"
# (Optional) If you prefer DHCP on those too, use instead:
# /ip/dhcp-client add interface=mgmt-vlan10 use-peer-dns=no use-peer-ntp=no add-default-route=no
# /ip/dhcp-client add interface=mgmt-vlan100 use-peer-dns=no use-peer-ntp=no add-default-route=no

# 4) Lock management services to your mgmt subnets (adjust networks)
/ip/service
set [find name=winbox] address=192.168.1.0/24,192.168.10.0/24,192.168.100.0/24
set [find name=ssh]    address=192.168.1.0/24,192.168.10.0/24,192.168.100.0/24
set [find name=www]    address=192.168.1.0/24,192.168.10.0/24,192.168.100.0/24

# 5) Enable filtering (programs hardware tables)
/interface/bridge set bridgeLocal vlan-filtering=yes
Avaya E-waste Edition
TODO how to do the same thing on the 24 gbe + 2 sfp+ Avayia
Proxmox side of things
I am assuming the proxmox install and cluster setup are not needed as part of this tutorial. There are some great resources for that here, and elsewhere on the internet. If you have trouble for that, feel free to make a separate post in the appropriate section of this forum.
Post-Install
I showed these scripts in the video for helping Grant get a quick start with immich, nextcloud, calibre book server, jellyfin and many other cool proxmox bits.
Before we get to that we need to do the networking configuration
Proxmox Networking config for Vlans
As I mentioned in the video “ideally” in a proxmox cluster you have a couple network interfaces. You can use a 1gb or “slow” interface for management and the cluster sync “corosync” services, and the “fast” interface for synchronization, vm migration and that sort of thing. The main reason for this is that proxmox doesn’t prioritize corosync traffic and loss/delay of sync traffic between nodes while a migration is going on can cause wonky behavior on the cluster.
In general this danger is somewhat overblown imho on a “home” cluster like this. For Grant’s setup I experimented with both vmbr0 and vmbr1, but did a lot of “torture testing” with vmbr1 as the only interface.
Ultimately, that’s our setup here.
Two Node Cluster?
This requires a little bit of reason, and it would be a good idea to watch the video.
In “production” environments one wants a 3-node cluster, ideally. The least-bad option for a 2-node cluster is to have a special quorum voting instance called a qdevice. This is a part of the cluster, and can help the remaining node know if it’s in a split-brain situation (meaning both cluster nodes are up but they can’t see each other for some communication reason) or if a node really is down.
With replication, and a down node, the remaining node will boot up its last-synced VM. That could be hours old. That might be really bad! You, the administrator, can decide what to do.
The ‘best’ option here for Grant’s setup was actually to rely on OPNSense (or pfSense) built-in HA. In this case there is no need to replicate that VM between hosts directly – the HA is managed by having two ‘router’ VMs that are running all the time and software features in the routing software manage HA. This is also the way to handle mysql/mariadb and postgresql type databases.
Corosync does have a ‘special’ two-node mode that is usable as a third option. It’s not recommended and seems frowned-upon to even mention.
# /etc/pve/corosync.conf -- I added these two lines
 two_node: 1
 wait_for_all: 0
