Introduction
What is this machine?
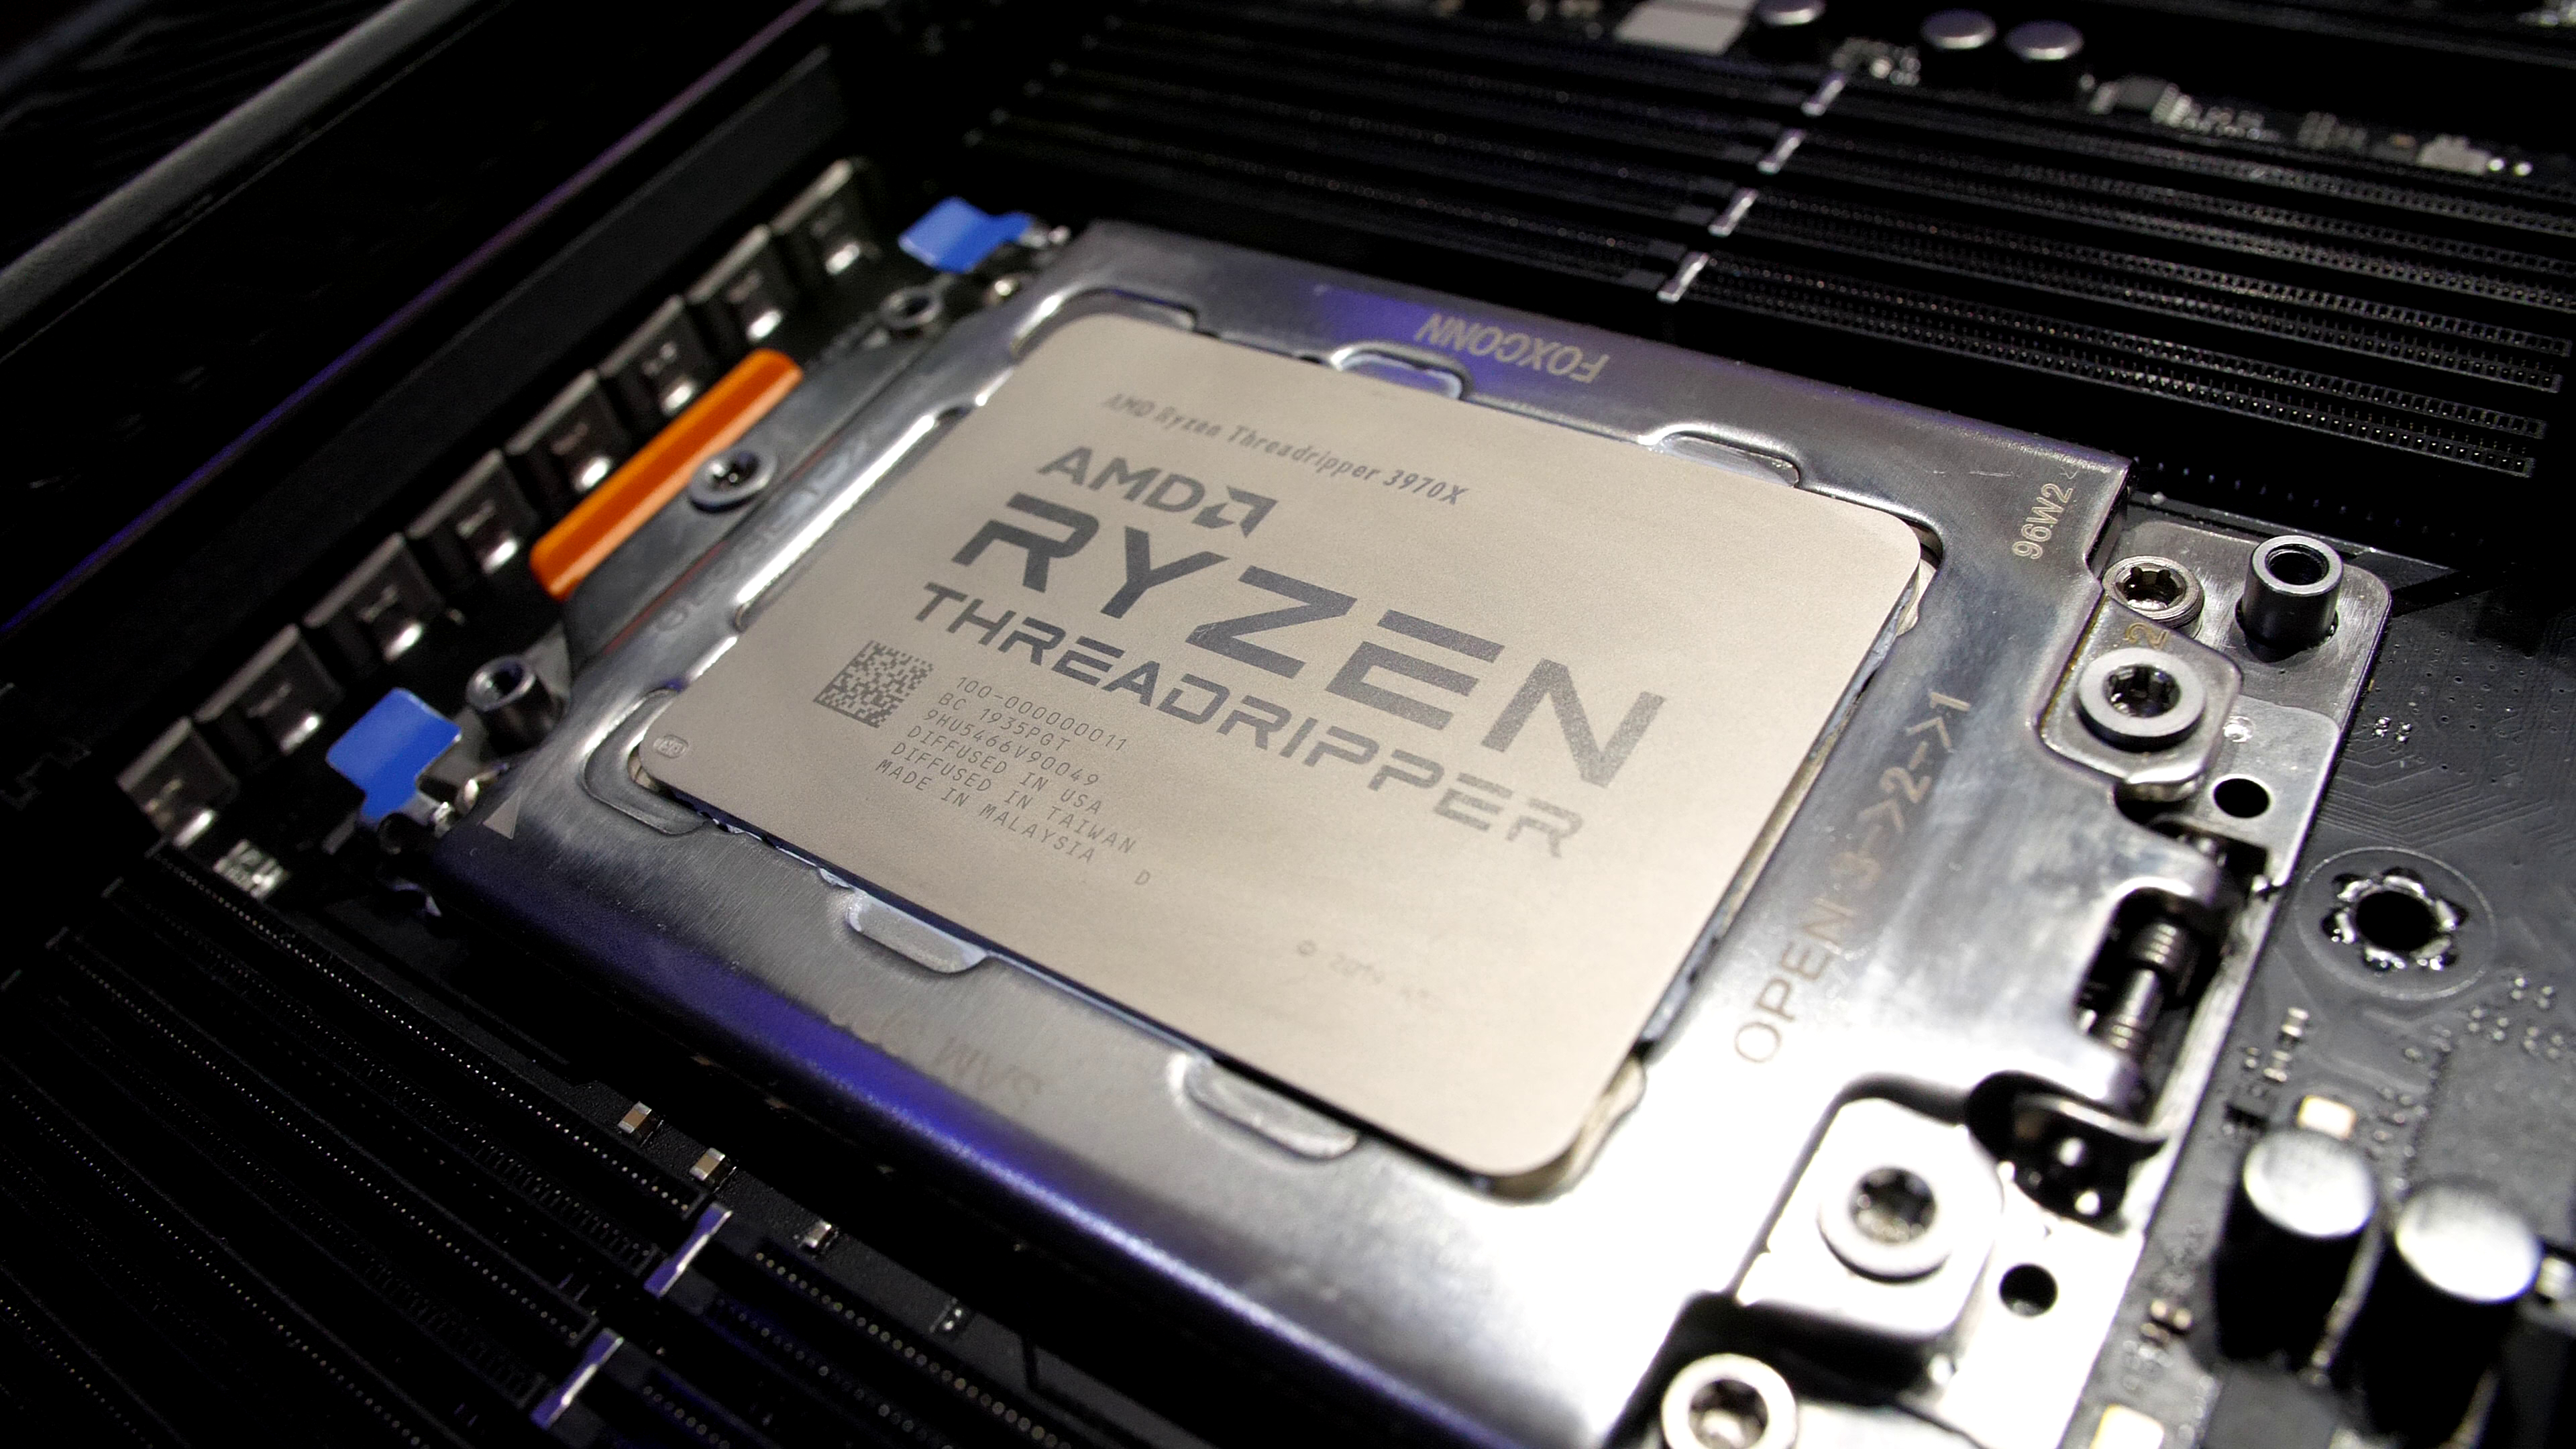
- CPU: AMD Ryzen Threadripper 3970X 32-Core - http://www.amazon.com/dp/B0815JJQQ8/?tag=level1techs-20
- Motherboard: MSI Creator TRX40 - http://www.amazon.com/dp/B081FXBWTD/?tag=level1techs-20

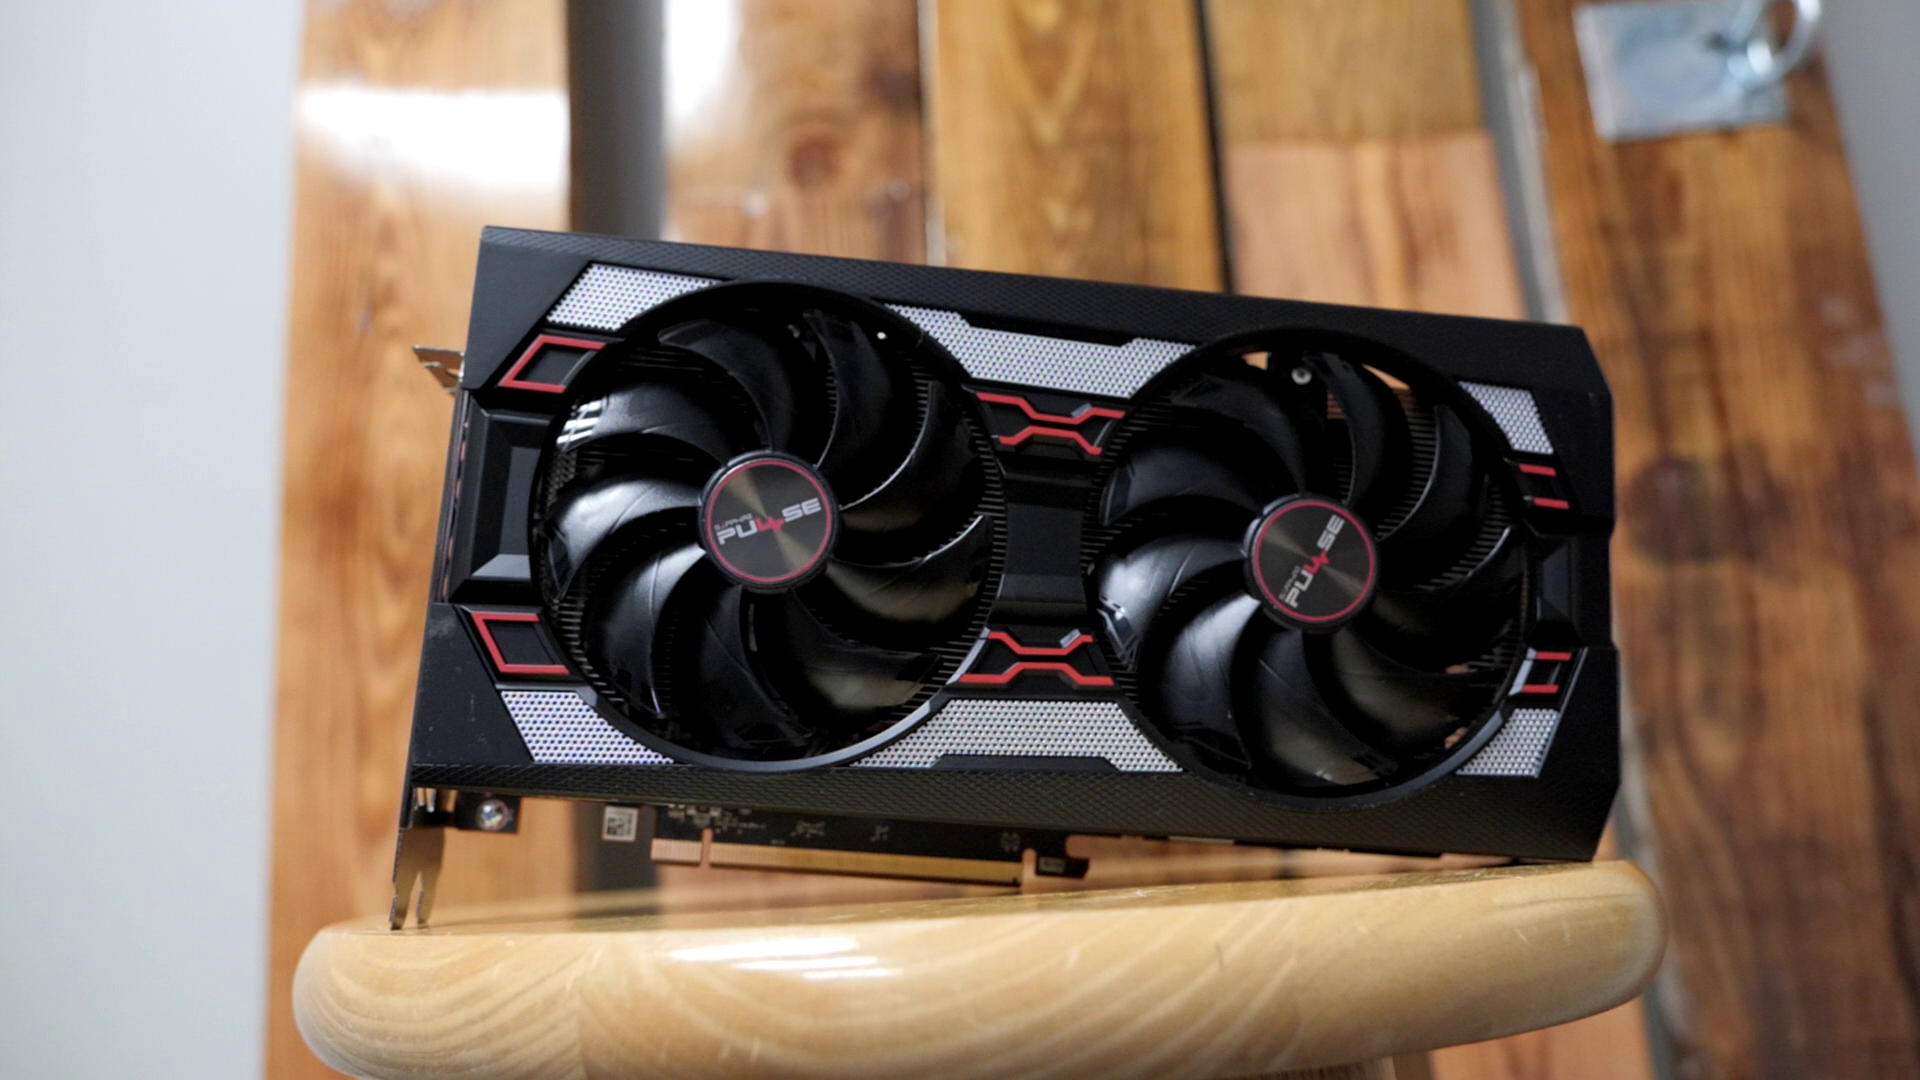
- AMD GPU, because open source, obviously: Sapphire Radeon Pulse RX 5600 XT - http://www.amazon.com/dp/B083R25Z94/?tag=level1techs-20
- Case: be quiet! Pure Base 500DX - http://www.amazon.com/dp/B087D7KNL9/?tag=level1techs-20
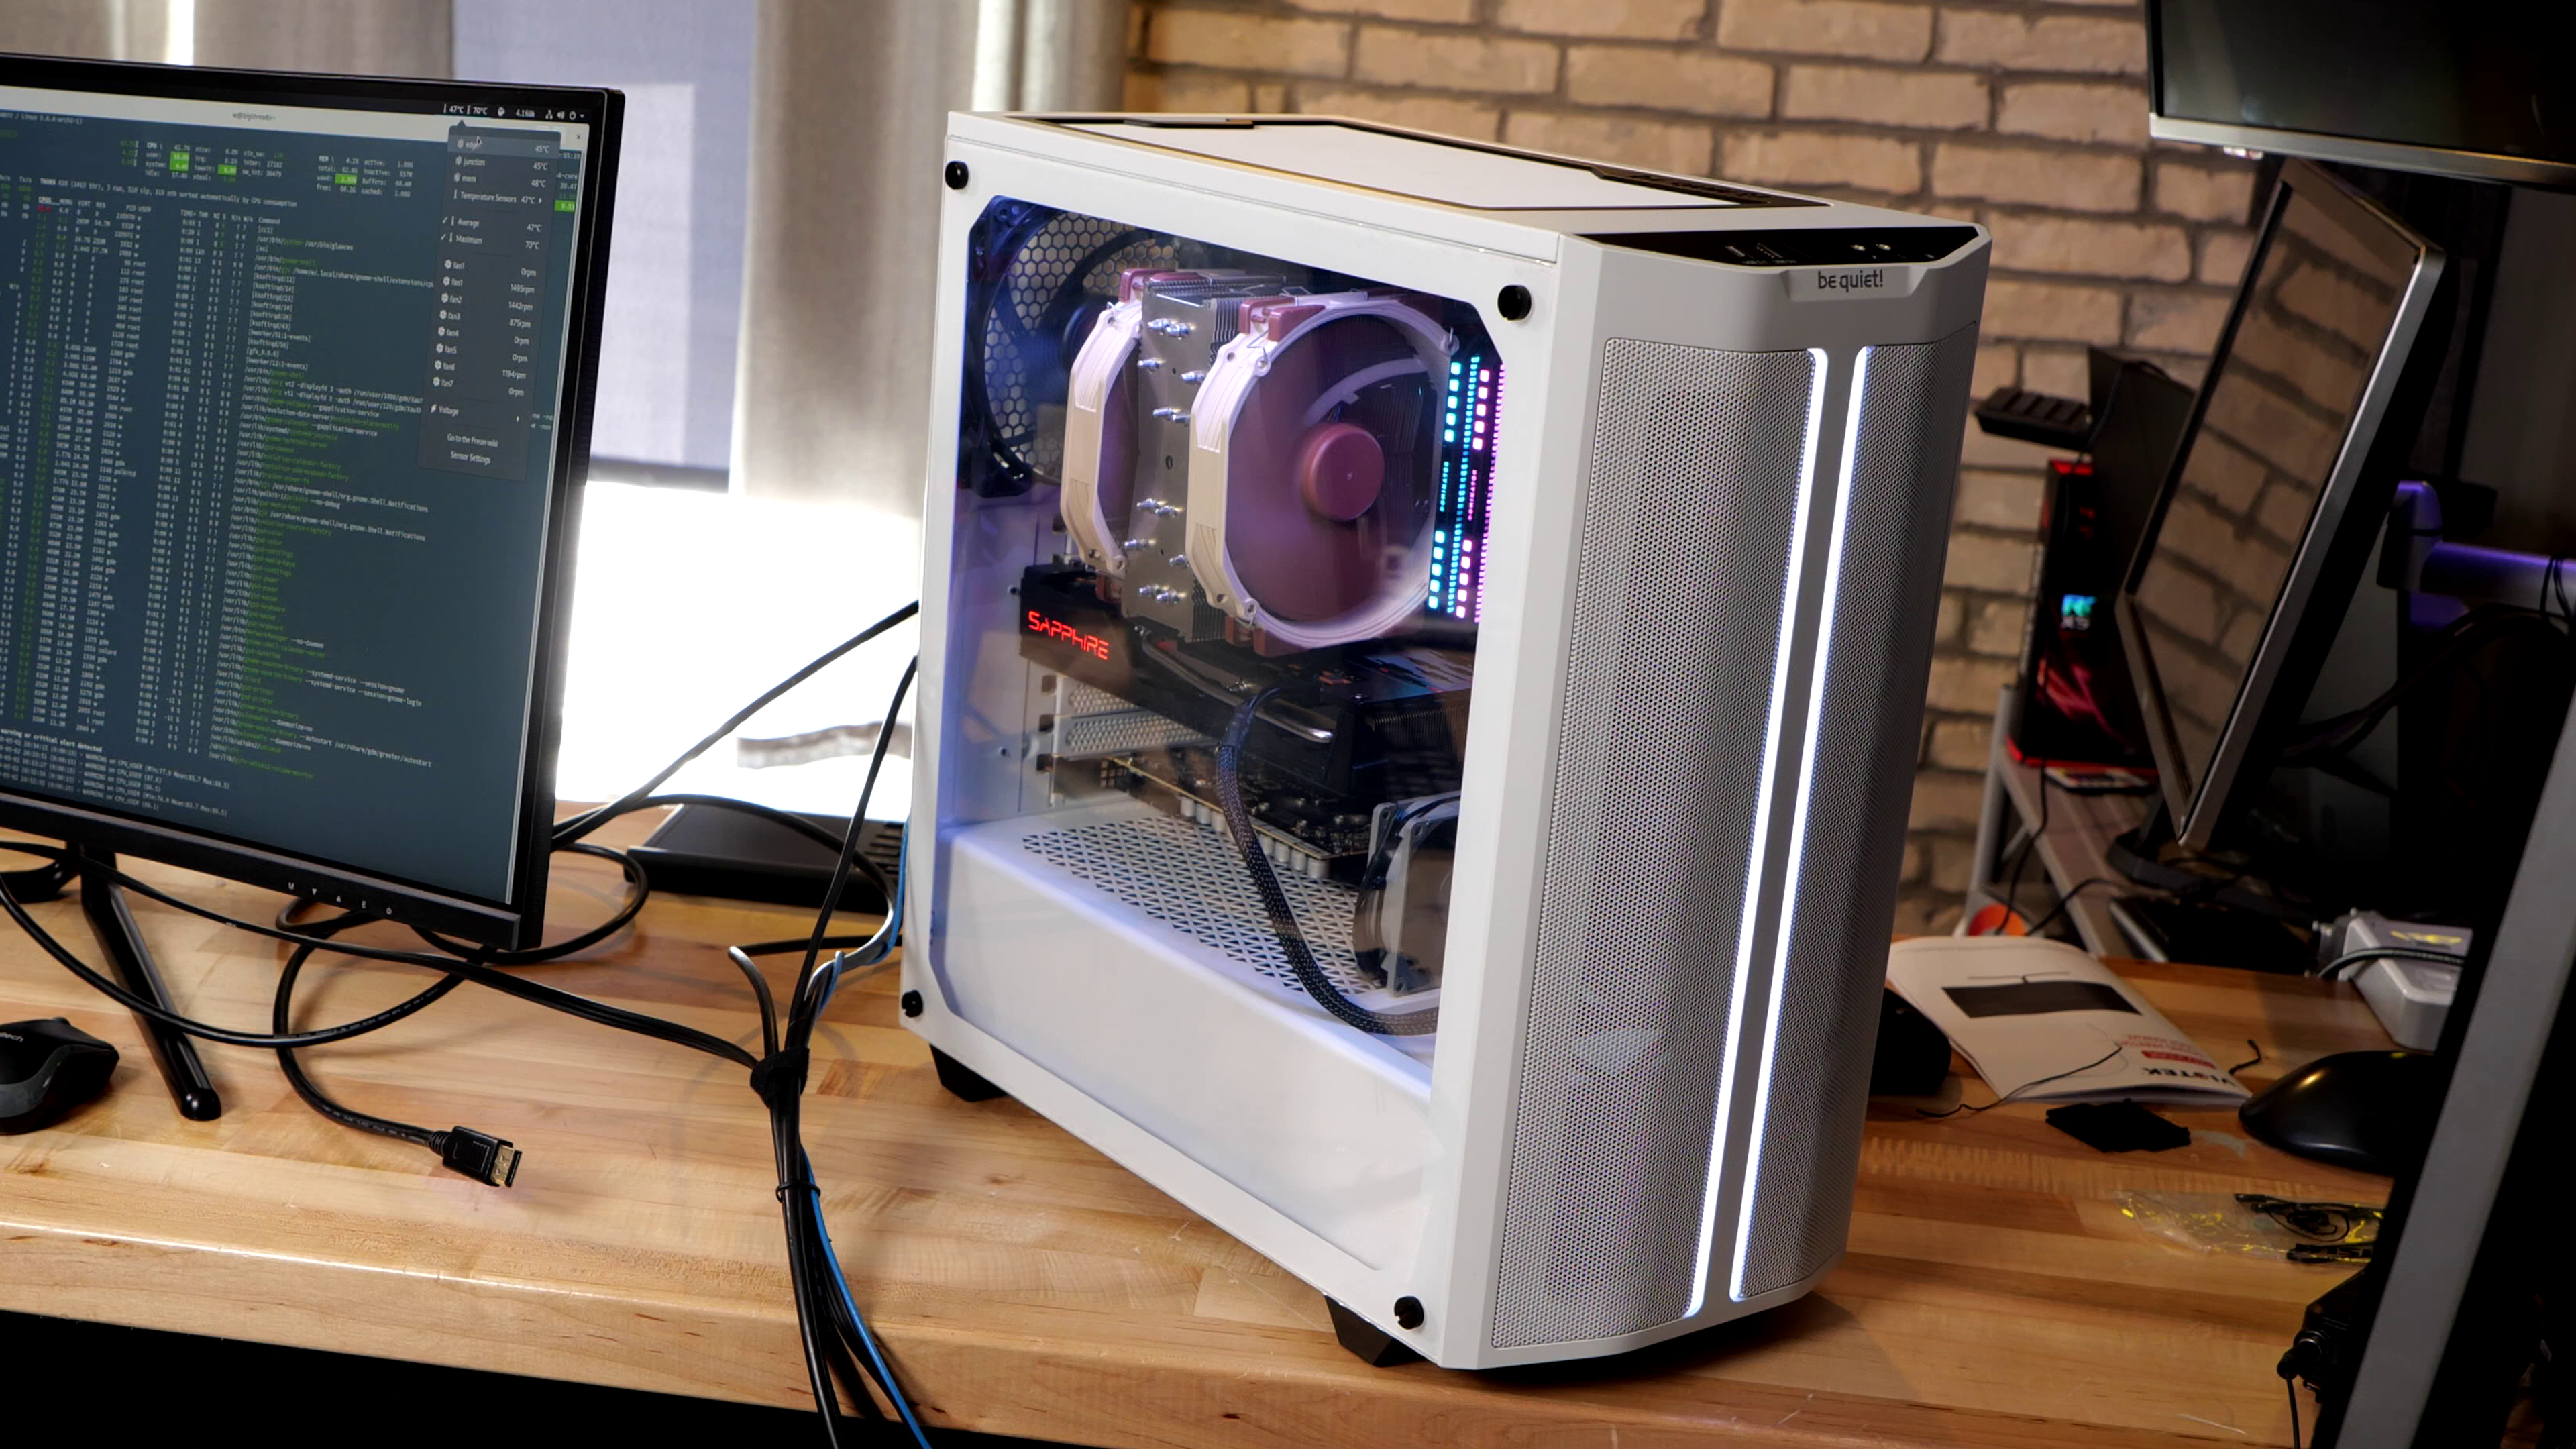
- Extra Pure Wings 140mm fan - http://www.amazon.com/dp/B00ECWKE3A/?tag=level1techs-20

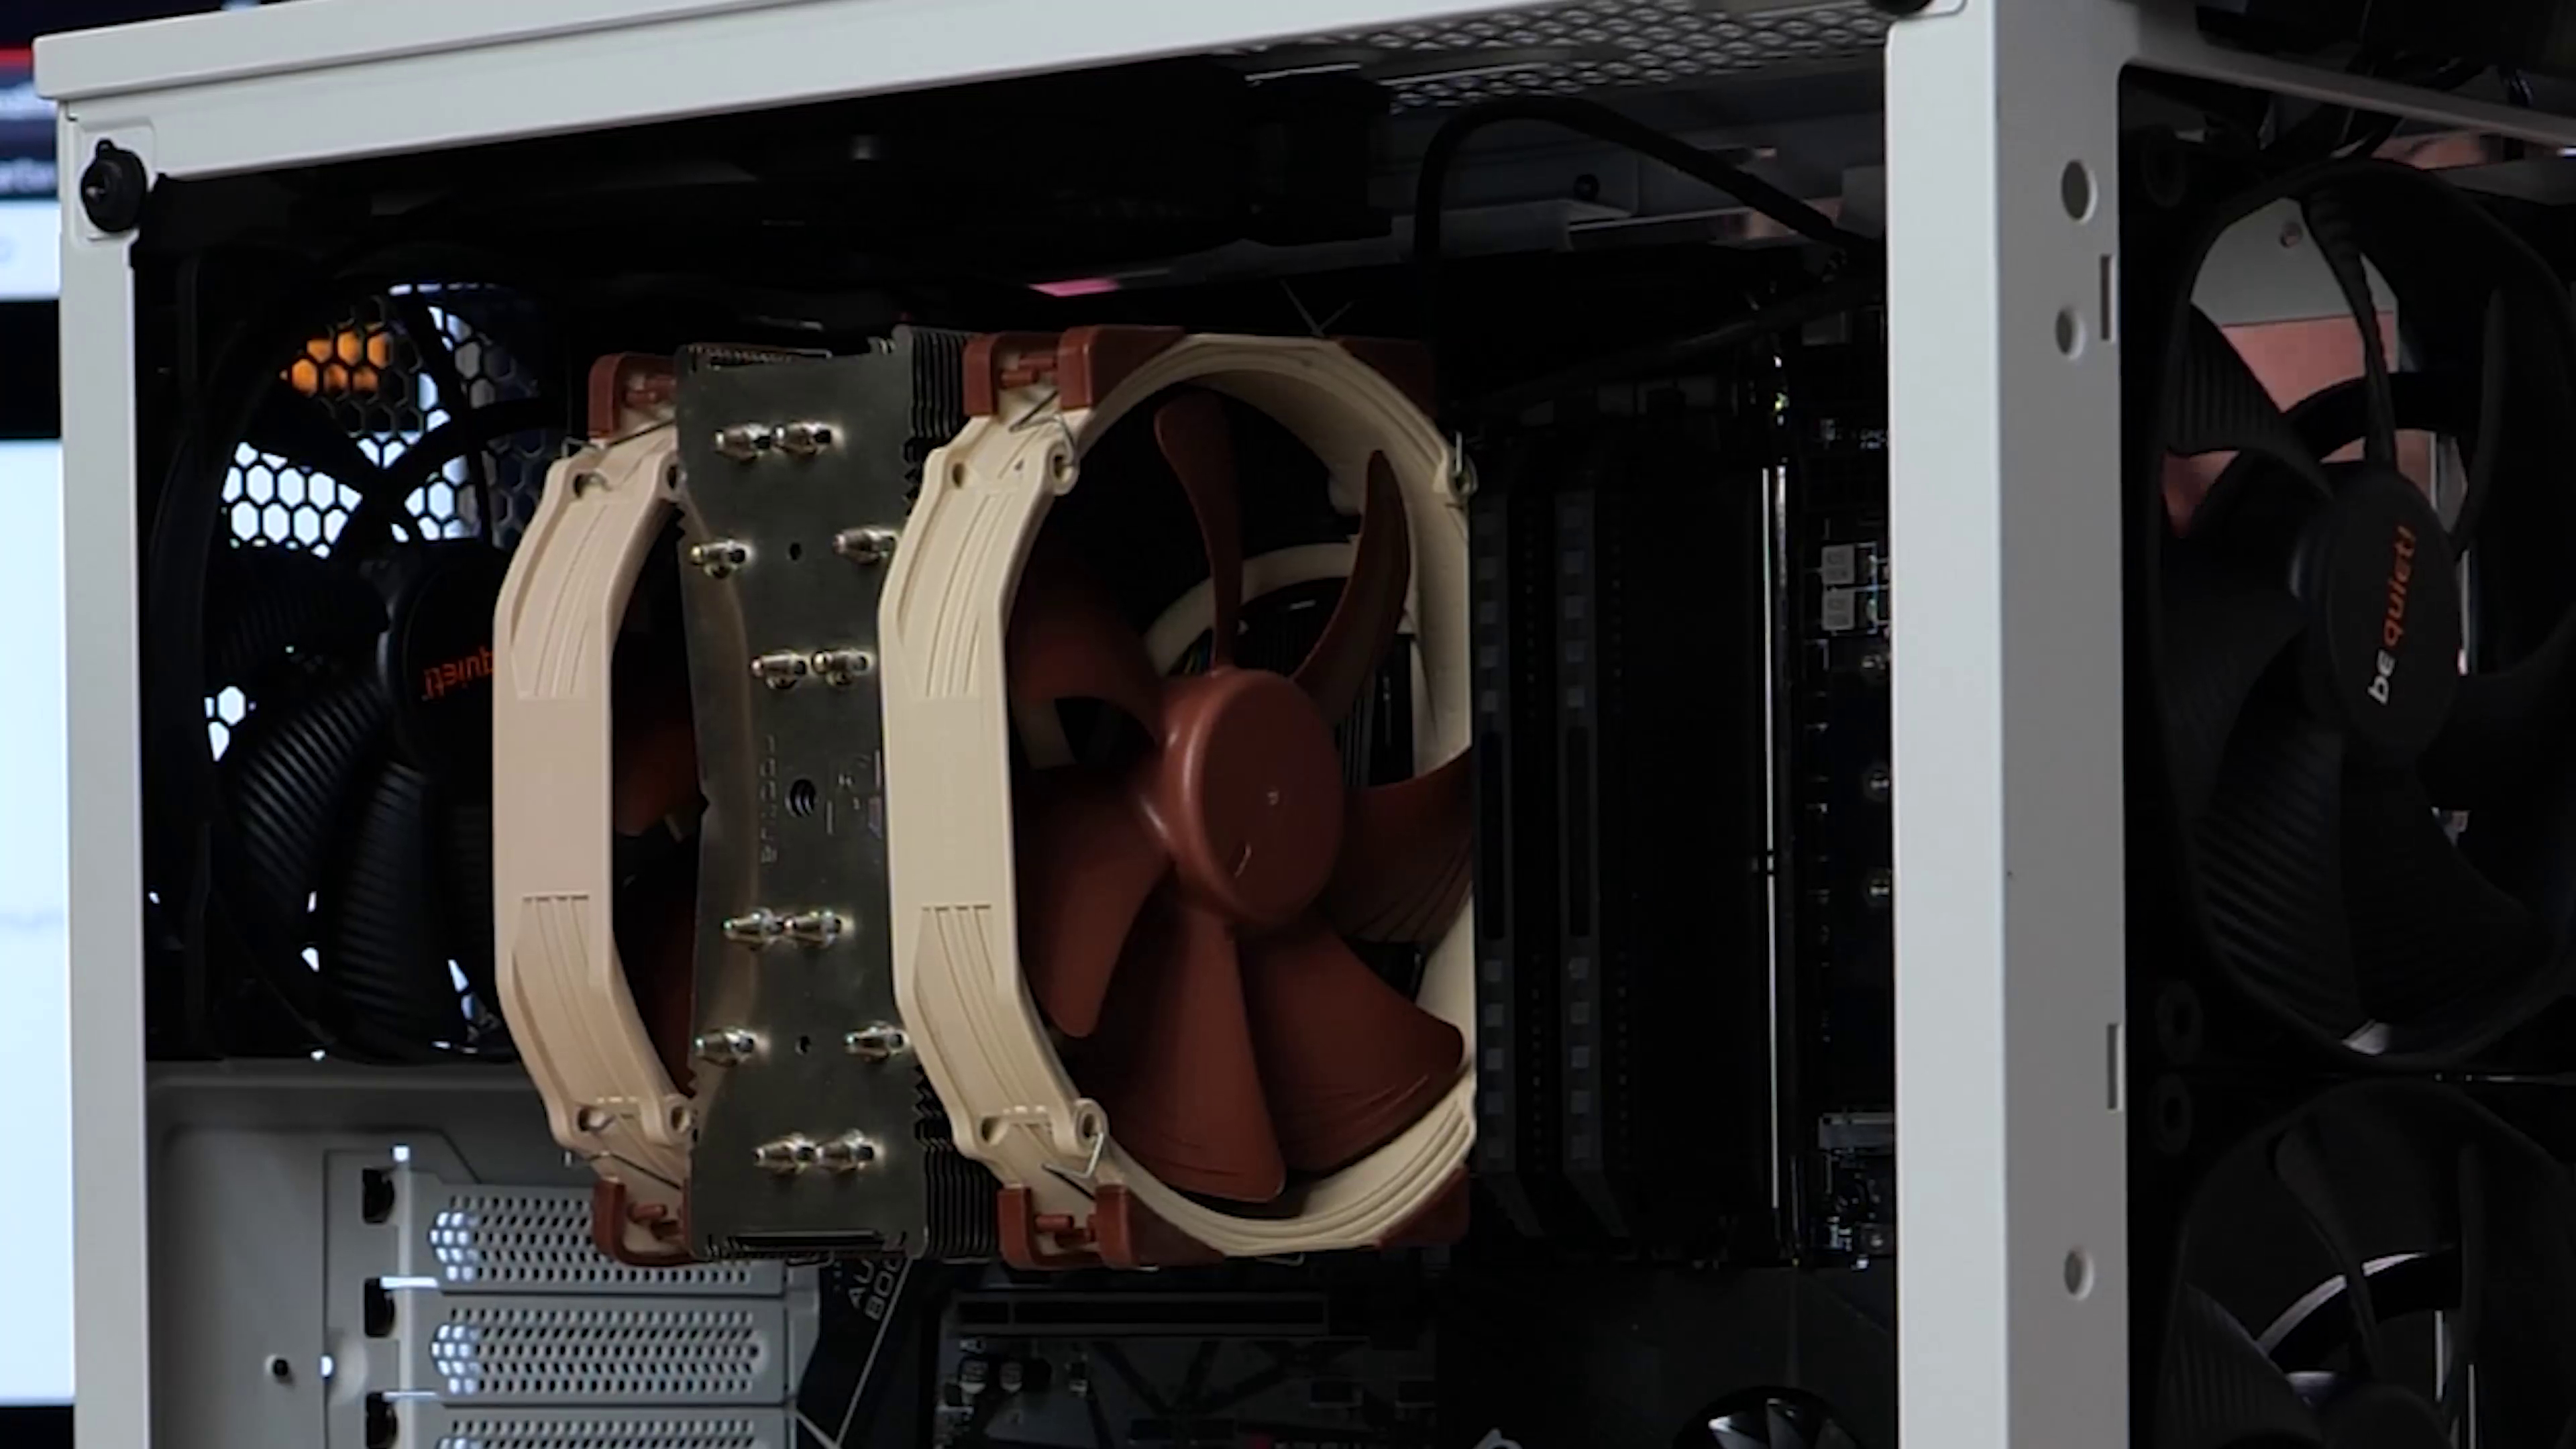
- CPU Cooler: Noctua NH-U14S TR4-SP3 - http://www.amazon.com/dp/B074DX2SX7/?tag=level1techs-20
- PSU: be quiet! Straight Power 11 Platinum 1000W - http://www.amazon.com/dp/B085WW32T2/?tag=level1techs-20

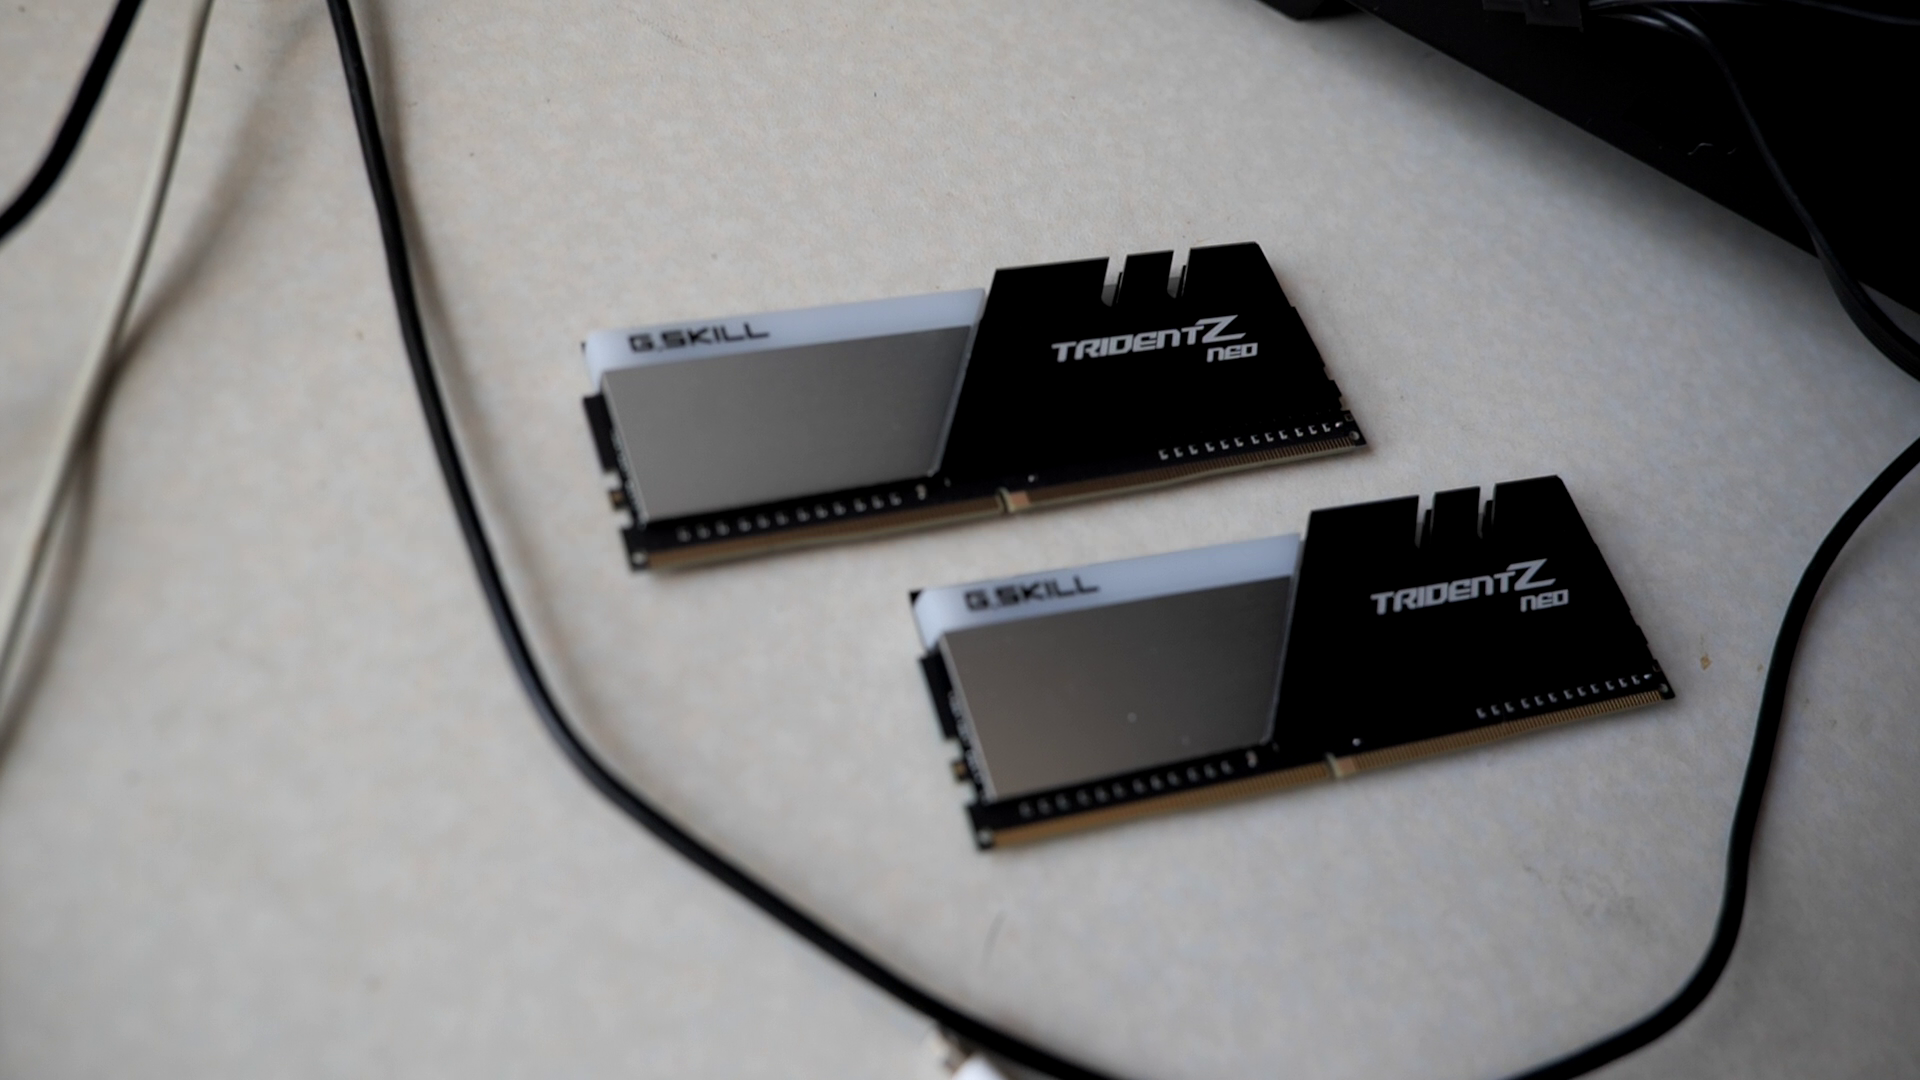
- Preferred Memory Kit: 256gb/3600 memory kit -
https://www.gskill.com/product/165/326/1582267558/F4-3600C18Q2-256GTZNTrident-Z-NeoDDR4-3600MHz-CL18-22-22-42-1.35V256GB-(8x32GB)
*Note 3600 on 8 sticks is hard to attain! It is very much an overclock on this platform.
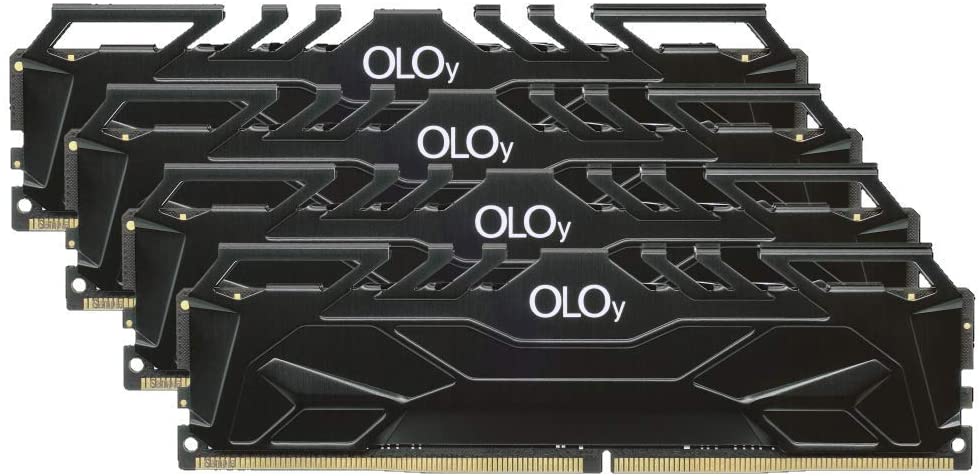
- Backup/“Plan B” Memory Kit: 128gb memory kit: - http://www.amazon.com/dp/B0836C8XD6/?tag=level1techs-20
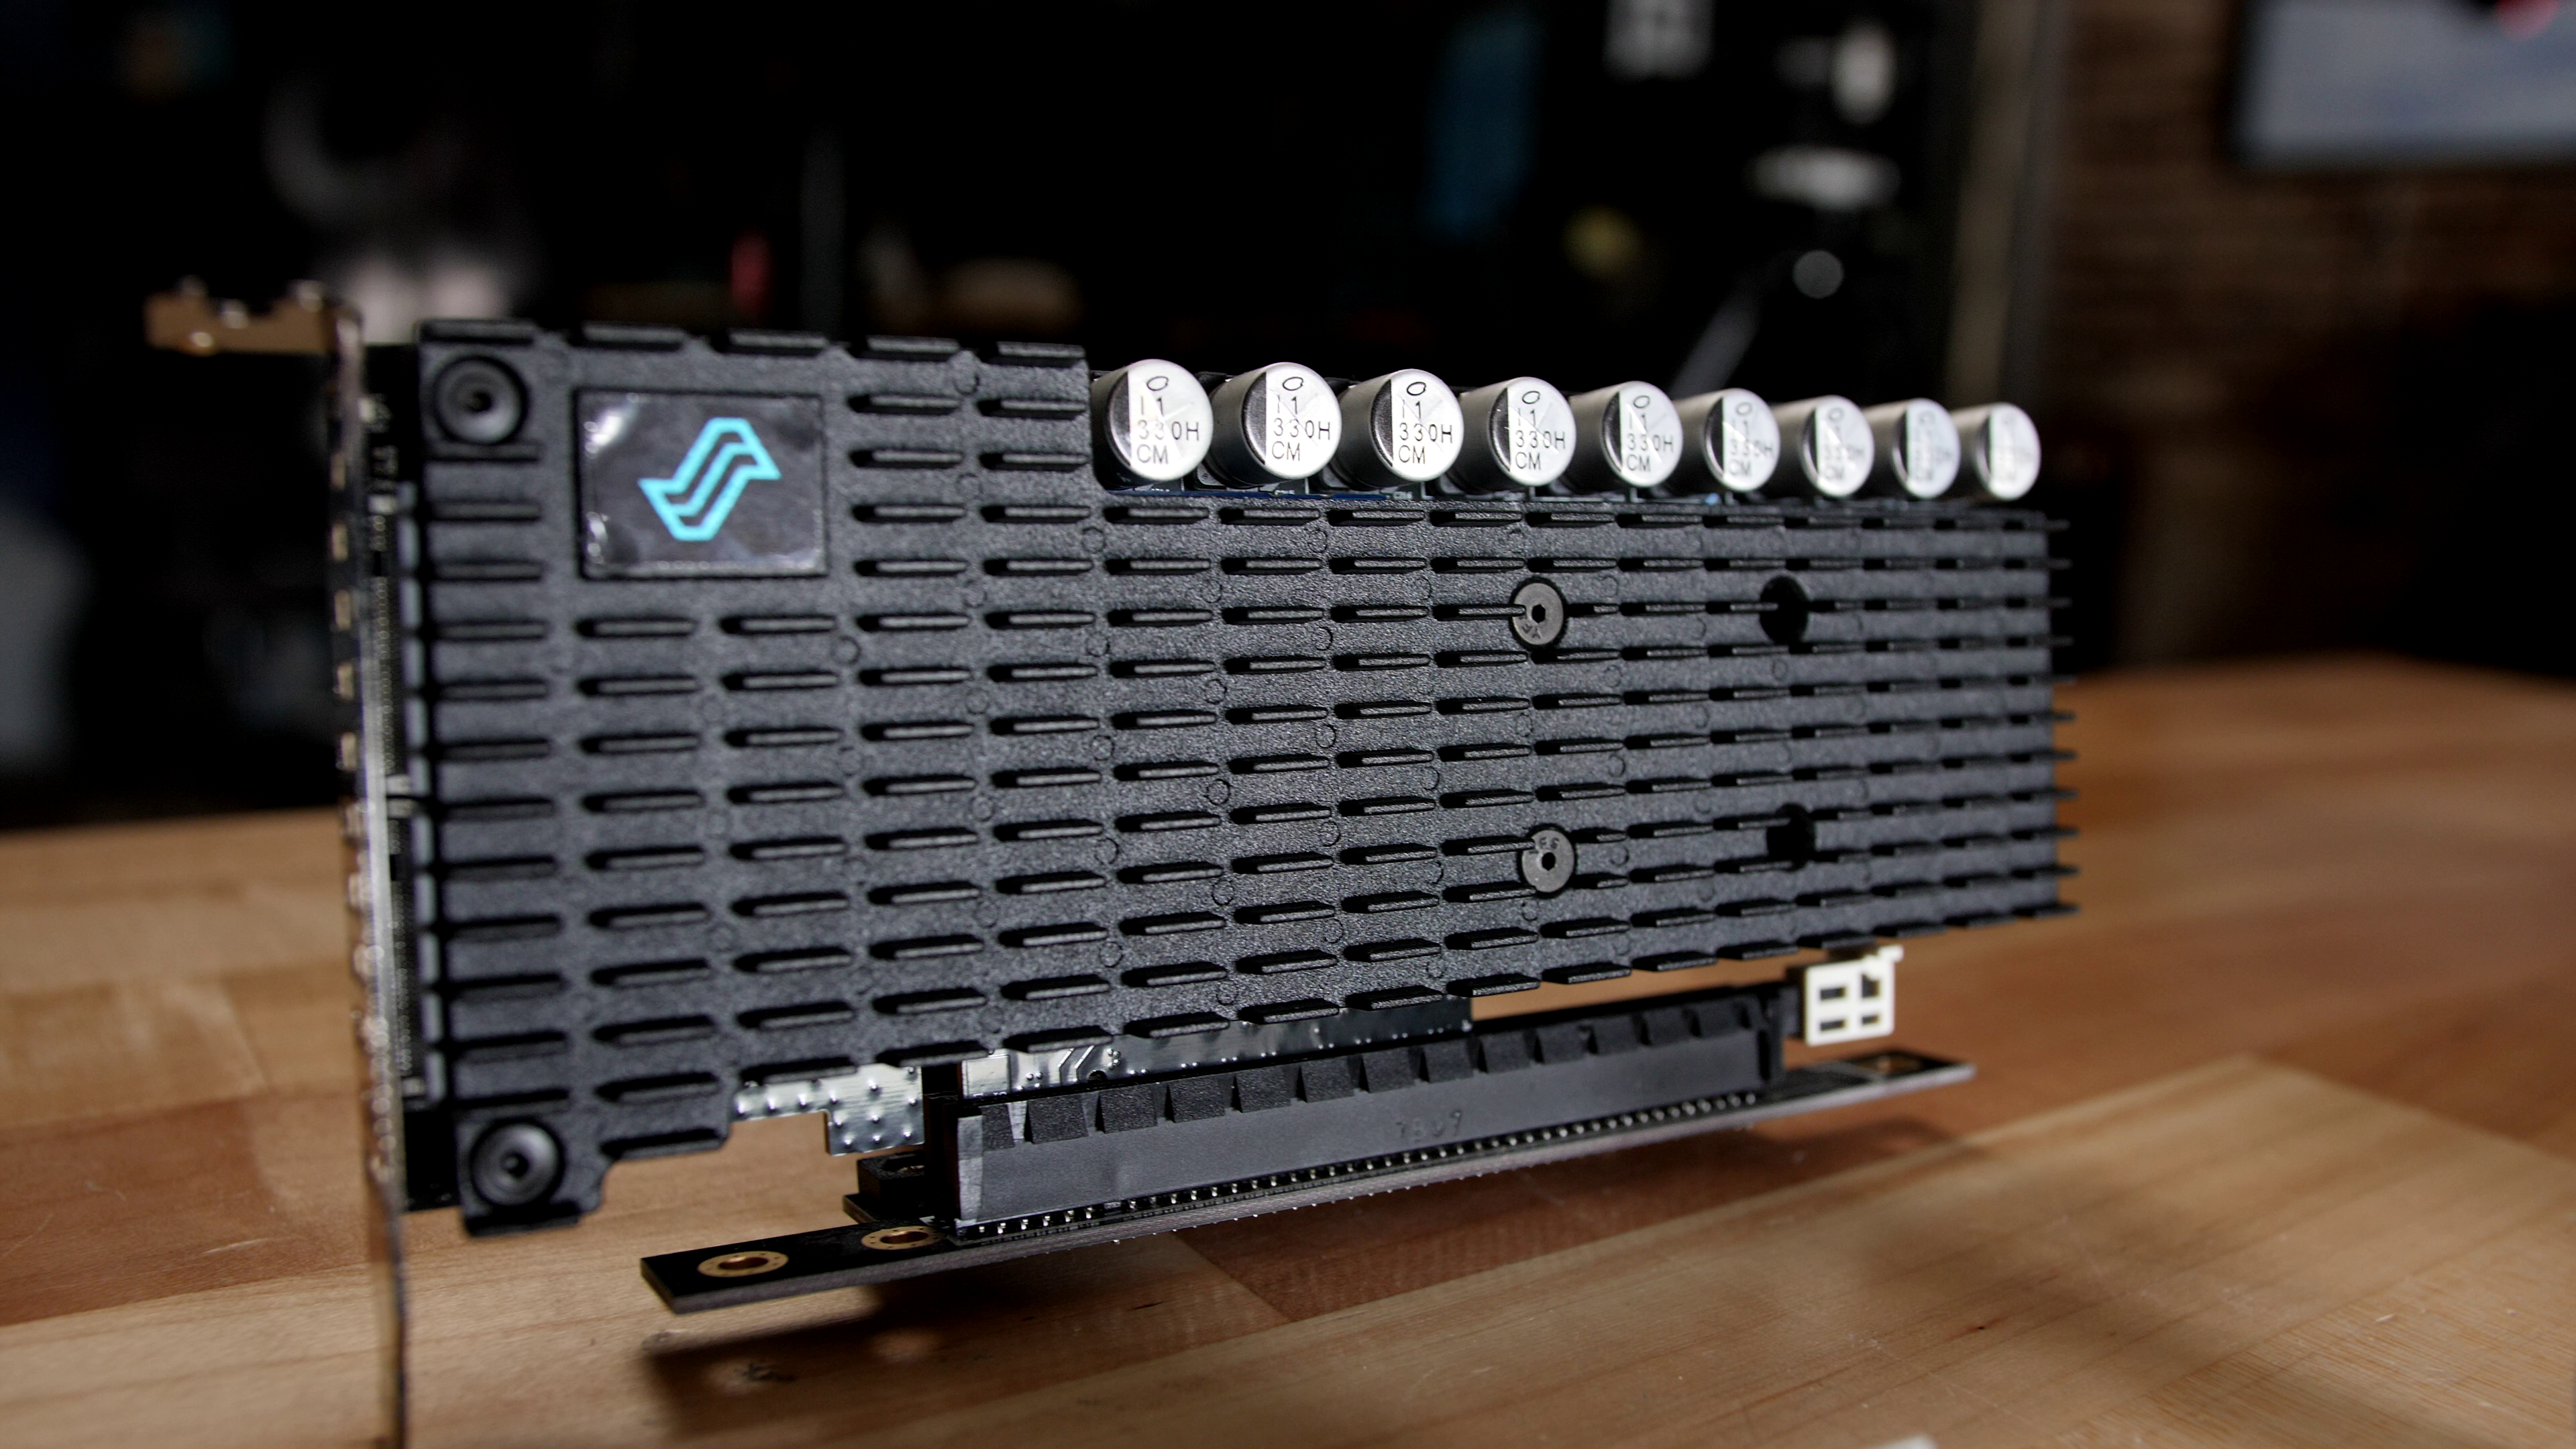
- Storage, because we gotta go fast: Liqid Element LQD3000 - https://www.liqid.com/products/composable-storage/element-lqd3000-aic-pcie-ssd
Rationale Fluff TODO
Arch Linux Setup Notes
This roughly follows the arch wiki installation guide, found here:
https://wiki.archlinux.org/index.php/installation_guide
These steps are “extra” steps you can do early in the install process to setup Linux MD for raid, LVM and (optionally) LUKS v2 Encryption).
It would roughly slot in/replace the “Partition the Disks” section with this – " A Grand Adventure In Raid And Partitioning The Disks"
Arch Linux Pre-Installation Steps
First, we want to partition the NVMe. See the arch wiki for more info, but in general terms we’re going to need 1) an EFI partition (because we’re booting modern UEFI not legacy) 2) a boot partition (because we’ll be using linux md raid, or lvm, or lvm+luks or luks+lvm, etc) and 3) the data storage partition.
lsblk


gdisk /dev/nvme0n1
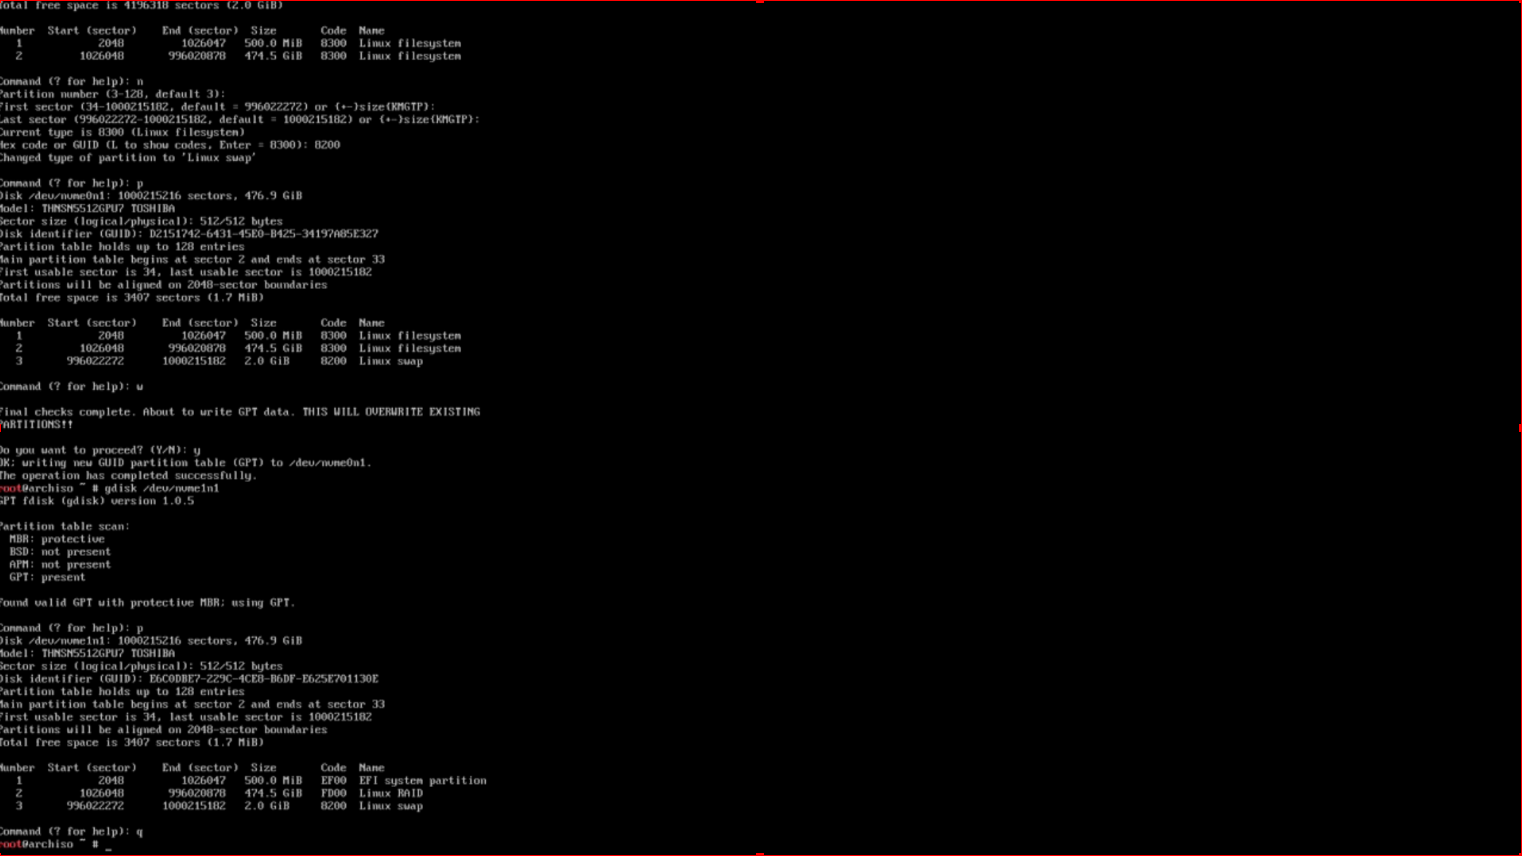
I am choosing to change the partition types to Linux Raid here in this setup step to help mdadm auto-detect and auto-assemble the md array.
I have also chosen to have my EFI partition on one NVMe device and my boot partition on another device. They are both 500m. This is an arbitrary (and somewhat larger than necessary) value.
I have also created a 2gb swap partition. This setup assume we do NOT need suspend/resume functionality.
If you DO want suspend-to-disk/resume functionality, I recommend the even-more-complicated setup of a LUKS v1 encrypted /boot partition plus a Luks v2 / root file system. But this setup isn’t covered in this how-to. Perhaps in a future how to!?
In the video, I created the partition layout manually on the first two disks because it is slightly different. If you’d rather you could create 4 partitions – EFI, Boot, root fs, swap – so that each disk is identical.
Here’s a handy shortcut for copying partition layouts from disk to disk:
#copy partition layout from nvme 0 to nvme 2
sgdisk /dev/nvme0n1 -R /dev/nvme2n1

#we copied the random guid, which is not desirable having two disks with the same guid. Let's randomize again!
sgdisk -G /dev/nvme2n1
You can verify by running gdisk and using p to print the parition info of the nvme devices, and verify they all have different GUID (as they should).
Setting up Swap
It’s pretty easy to setup swap at the pre-install phase. If we want to “upgrade” to encrypted swap (a must if you’re encrypting your root file system!) later.
for the partition layout given above where partition 3 is the Linux Swap type on all 4 NVMe devices, you would do:
mkswap /dev/nvme0n1p3
mkswap /dev/nvme1n1p3
mkswap /dev/nvme2n1p3
mkswap /dev/nvme3n1p3
Then you can turn swap on
swapon /dev/nvme[0-3]n1p3
(the bracket weirdness is just shell expansion because this command will take more than one argument. You can type out /dev/nvmeblahblah 4 times for each nvme if you aren’t ready for that yet)
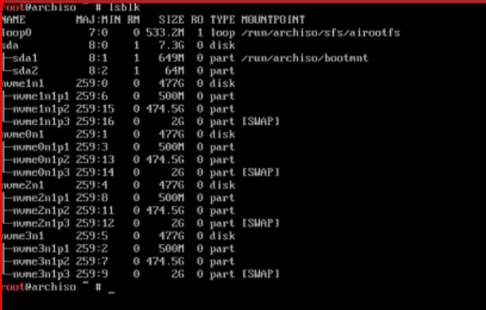
lsblk
will confirm swap is operating now:
The arch wiki has some more info about encrypted swap, and the suspend-to-disk option:
https://wiki.archlinux.org/index.php/Dm-crypt/Swap_encryption
I mostly wanted to put this here because the Arch Wiki, in at least one place, talks about creating a 4-way raid 1 (???) partition on the md device and using that as swap… but this is extra unnecessary overhead since the swap subsystem on Linux will stripe across devices anyway. If you lose an nvme disk, though, it could crash the system. For desktops this doesn’t matter. For servers I would either make a small swap file on the file system (yes, lots of overhead, but on a server I’d mostly rather out-of-memory than get really deep into swap) OR otherwise not use a nand flash device for swap in a server or serverish context.
Option 1 of 2 - Setting up Linux MD Raid (what we did for GKH)
This option is to use Linux Multi-Disk Admin (mdadm) to setup soft raid in Linux. This is an extremely well-tested and battle-hardened software raid solution that works great with NVMe devices like this.
$ mdadm --create /dev/md0 --chunk=128K --level=0 --raid-devices=4 /dev/nvme0n1p2  /dev/nvme1n1p2 /dev/nvme2n1p2 /dev/nvme3n1p2

--

mdadm: Defaulting to version 1.2 metadata
mdadm: array /dev/md0 started.
It will tell you what md device it created. In our case it was /dev/md0. Sometimes it might be /dev/md127 or some number other than 0. Just be aware 
Then you can cat /proc/mdstat to see if it created the array properly:
$ cat /proc/mdstat
Personalities : [raid0]
md0 : active raid0 nvme3n1p2[3] nvme2n1p2[2] nvme1n1p2[1] nvme0n1p2[0]
      1560264704 blocks super 1.2 128k chunks

unused devices: <none>
If it did, we can do the LVM thing on this large array device.
# mark a "physical" volume as it can be used for LVM. If you really want to, you could use gdisk to partition the md0 device so you have md0p1 as partition type LVM.. but.. strictly speaking that isn't necessary.
pvcreate /dev/md0

# then create a group of "physical" volumes. Only one thing in our group doing it this way, the md array:
vgcreate volgrp1 /dev/md0

# finally create the logical volume using the available space. About 900 gigabytes (gibibytes) in my case. Not sure? use lvdisplay or pvdisplay to give you info about your physical and logical volumes.
lvcreate -L 900GiB -n notazpool volgrp1
Option 2 of 2 - Using LVM for the RAID bits
We have 4 NVMe devices with one big partition each.
If you intend to use LVM without Linux MD proper, then first it is important to make sure you selected the right partition type.
Instead of Linux Raid type, you want Linux LVM type (8e00 instead of fd00) for your partition type.
This is one place where the Arch Wiki isn’t as good of a reference as RedHat’s documentation:
^ This is a good supplemental read to understand what LVM offers today. If you research too much you might see 5+ year old threads that talk about LVM shortcomings vs mdadm but since 2019/2020 this is mostly not really a thing anymore.
An example:

# mark the physical volumes as usable
pvcreate /dev/nvme0n1p2 /dev/nvme1n1p2  /dev/nvme2n1p2 /dev/nvme3n1p2

# create a volume group in which to put logical volumes
vgcreate volgrp1 /dev/nvme0n1p2 /dev/nvme1n1p2  /dev/nvme2n1p2 /dev/nvme3n1p2

# create one or more raided logical volumes
lvcreate --type raid10 -i 2 -m 1 -L 900GiB --maxrecoveryrate 128 -n notazpool volgrp1
*Note: notazpool is just my cheeky name for this logical volume. haha. And volgrp1 is another arbitrary name. *
Continuing on – What about encryption??
You can skip this step if you don’t want to encrypt your root partition. Skip down to ##No crypto for me please!
The Arch wiki has some good info:
https://wiki.archlinux.org/index.php/Dm-crypt/Encrypting_an_entire_system
You can elect where in the stack to insert encryption. Before LVM (no matter what way you’re using LVM – with or without Linux MD), After LVM, between Linux MD and LVM, etc. There are also “side effects” given that the /boot partition (where the initial ram disk should be) can only be LUKS v1 encrypted and generally cannot be a Linux MD array or another “complex” disk option.
For this guide, I am not going to cover encrypting the /boot partition because your encrypted /boot LUKSv1 partition will likely be setup to contain your LUKSv2 decryption key, if you go that route. Otherwise it’ll ask you for two decryption keys on boot – one for /boot and one for / – which is undesirable. Just be aware that this is an option that exists.
To continue on I’m assuming you’ve assembled your raw disks into one big pool. Either at /dev/volgrp1/notazpool OR /dev/md0 depending on if you went with LVM or Linux MD to handle your needs.
This should work whether you went with a LVM on Linux MD or just plain LVM, above:
# Setup Luks and format, then open the crypto device.
# you'll be promoted to create, then re-enter the passphrase.
 cryptsetup luksFormat /dev/volgrp1/notazpool
 cryptsetup open /dev/volgrp1/notazpool root

# then we can make the file system
 mkfs.ext4 /dev/mapper/root

# and mount it for the arch installer to use
 mount /dev/mapper/root /mnt
It is important to configure the system so that it will boot again with this same config, which is a bit tricky and the Arch documentation seems to be incomplete/wrong.
I had a lot of trouble with this step, actually, because I initially opted to use system-d for the initial ramdisk. In /etc/mkinitcpio.conf I had a setup such as:
HOOKS=(base systemd autodetect keyboard sd-vconsole modconf block sd-lvm2 sd-encrypt filesystems keyboard fsck)
However when booting, this would result in systemd immediately trying to mount /dev/mapper/root without ever prompting for the luks password! I even tried enabling GRUB’s luks support (which, really is only for the v1 boot partition support, not what we’re doing here).
Of course that would fail, and you’d get the omenous “Control+D to continue” root maintenance shell. From the maintenance shell I could do
crypsetup open /dev/volgrp1/notazpool root
then just type exit and arch would boot normally.
What I ended up with in my mkinicpio.conf that does work:
HOOKS=(base udev autodetect keyboard modconf block lvm2 encrypt sd-encrypt filesystems keyboard fsck)
And my /etc/default/grub configuration:
GRUB_CMDLINE_LINUX_DEFAULT="loglevel=3 cryptdevice=/dev/volgrp1/notazpool:root rd.luks.name=e7a0167e-d313-4ac7-89c8-1e593e0de2cc:root root=/dev/mapper/root "
Useful commands to help you achieve this, maybe:
# commands to give you uuids of devices if you want to try the rd.luks.name kernel param
blkid
lsblk -f

#regen your initial ramdisk
mkinitcpio -p linux

#regen your grub conf after modifying /etc/default/grub
grub-mkconfig -o /boot/grub/grub.cfg
The rd.luks.name syntax is supposed to be the sd-encrypt syntax, however without the encrypt package, the cryptsetup binary is not packaged into the initial ramdisk. It does NOT hurt to have both and having both is handy for that maintenance shell, if you ever need it. Otherwise you have some systemd manipulation to do to try to get it to start the crypt service. Systemd may work better with /etc/crypttab for the encrypted boot scenario where you really just unlock /boot with the passphrase, which then contains keys for unlocking one or more other partitions.
NOTE: It would be a good idea to setup encrypted swap in crypttab! There is even a facility for this where, at boot, it uses a random password. Effectively swap is scrambled on every reboot AND it is somewhat lower overhead vs being part of the LVM volumes, which is super nice. Also note that this setup gives a way a bit of info in that you can see how much space is used within LVM. You want to read over the arch wiki that talks about discard and trim. I think you probably want trim/discard, for performance, but that lets an adversary see how much data you’ve actually used on your SSD. For truly high security I would probably do something completely different with this setup. A tangent for another day…
I was kinda surprised the Arch documentation was lacking here, and that sd-encrypt was, apparently, hot garbage. I checked another (older) machine I was doing LUKS experiments on and I do think there has been some kind of regression with Arch + Systemd on the initial ram disk, when using luks inside of LVM because on that other machine w/older packages it worked fine.
No crypto for me please!
Mostly the Arch Wiki still applies:
https://wiki.archlinux.org/index.php/Install_Arch_Linux_on_LVM
We just need to format the logical volume you created earlier, if it is not to be encrypted, and mount it at /mnt for the Arch installer:
mkfs.ext4 /dev/volgrp1/notazpool
mount /dev/volgrp1/notazpool /mnt
It is safe to proceed with the rest of the arch install from here. HOWEVER, be sure that before you reboot you verify that your mkinitcpio.cfg file contains the modules you’ll need for the LVM, Luks (optional) and Raid stuff to work:
See ## Configure the system on the Arch Linux on LVM link above, and the LUKS link to add the modules.
For example mine is similar to:
/etc/mkinitcpio.conf
MODULES=(dm-raid raid0 raid1 raid10 raid456)
HOOKS=(base systemd ... block sd-lvm2 filesystems)
Arch Post-Installation Config
SSD Trim Support in Arch
Need to make sure Trim is setup on the SSDs the way you want, or eventually it’ll slow down (/home partition is not trimmed by default, I guess?)
https://bbs.archlinux.org/viewtopic.php?id=247751
running sudo fstrim / is maybe a good idea from time to time. There is a service you can enable that will do it periodically.
Using Crypto? Make sure your SSD properly supports trim (see Arch docs) then you can append
cryptdevice=/dev/volgrp1/notazpool:root:allow-discards
as well as updating lvm.conf to allow discards:
issue_discards = 1
(it has a section comment about this, read it!)
Packages needed for dev, testing and monitoring:
sudo pacman -Sy chromium base-devle bc time net-tools inetutils hdparm htop lm-sensors

sudo sensors-detect
I also installed cpufreq and freon, since I was using the Gnome desktop environment for this build.
https://extensions.gnome.org/extension/841/freon/
https://extensions.gnome.org/extension/1082/cpufreq/
RAID Performance Notes
Fast. We’re going to go fast.
LVM vs MDADM
Performance
Performance governor set to on-demand.
Kernel Compile Benchmark:
[w@bigthreads kcbench]$ bash kcbench
Warning: Could not find a default version to compile for your system.
Will use Linux kernel 4.19. Please report this and the output of
'gcc --version' to [email protected]. tia!
Downloading source of Linux 4.19: this might take a while... Done.
Processor:          AMD Ryzen Threadripper 3970X 32-Core Processor [64 CPUs]
Cpufreq; Memory:    acpi-cpufreq, ondemand; 64256 MByte RAM
Linux running:      5.6.4-arch1-1 [x86_64]
Linux compiled:     4.19.0 [/home/w/.cache/kcbench/linux-4.19]
Compiler:           gcc (Arch Linux 9.3.0-1) 9.3.0
Make:               defconfig vmlinux
Filling caches:     This might take a while... Done
Run 1 (-j 64):      e:23.47 sec, 42607 points (P:4504% U:935.29sec S:122.17sec)
Run 2 (-j 64):      e:23.77 sec, 42069 points (P:4450% U:936.75sec S:121.56sec)
Run 3 (-j 72):      e:23.62 sec, 42337 points (P:4518% U:947.75sec S:119.80sec)
Run 4 (-j 72):      e:23.72 sec, 42158 points (P:4499% U:946.40sec S:121.26sec)
Run 5 (-j 32):      e:27.60 sec, 36231 points (P:2607% U:637.05sec S:82.53sec)
Run 6 (-j 32):      e:28.60 sec, 34965 points (P:2547% U:645.40sec S:83.47sec)
Run 7 (-j 38):      e:27.04 sec, 36982 points (P:2995% U:717.16sec S:93.01sec)
Run 8 (-j 38):      e:26.62 sec, 37565 points (P:3044% U:717.44sec S:93.10sec)


[w@bigthreads kcbench]$ cat /proc/mdstat
Personalities : [raid0]
md0 : active raid0 nvme3n1p2[3] nvme2n1p2[2] nvme0n1p2[0] nvme1n1p2[1]
      1560264704 blocks super 1.2 128k chunks

unused devices: <none>

[w@bigthreads kcbench]$ sudo hdparm -t /dev/md0

/dev/md0:
 HDIO_DRIVE_CMD(identify) failed: Inappropriate ioctl for device
 Timing buffered disk reads: 13876 MB in  3.00 seconds = 4625.23 MB/sec
What about ZFS?
This might seem like this is a bit of a patchwork: Linux MD is doing some things, LVM is doing some things, LUKS is doing some crypto things, etc.
Each of those components has been hardened and has been well-battle-tested over the ages. It is modular.
ZFS, on the other hand, features similar components but also provides even more features (albeit with somewhat more overhead). The ZFS answer for snapshots, encryption and volume management is mostly very clean as compared with the above patchwork, but is perhaps somewhat less flexible in one or two use-cases such as expanding the volume after-the-fact (vs what LVM is capable of).
Also, we’ll get to you. I want to do this same sort of writeup, but a “ZFS on root” sort of version of this.