DIY Trackball build log

I am a fan of trackballs, but as I don’t want to pay lots of money on them, I decided to make my own. Be advised, this build log includes lots of janky components and bits of plastic kept in place with hot-glue, as I don’t have a 3D printer and neither artistic skills, all I want is a functional design. My designs are the ones that would probably get you arrested by airport security. You have been warned.

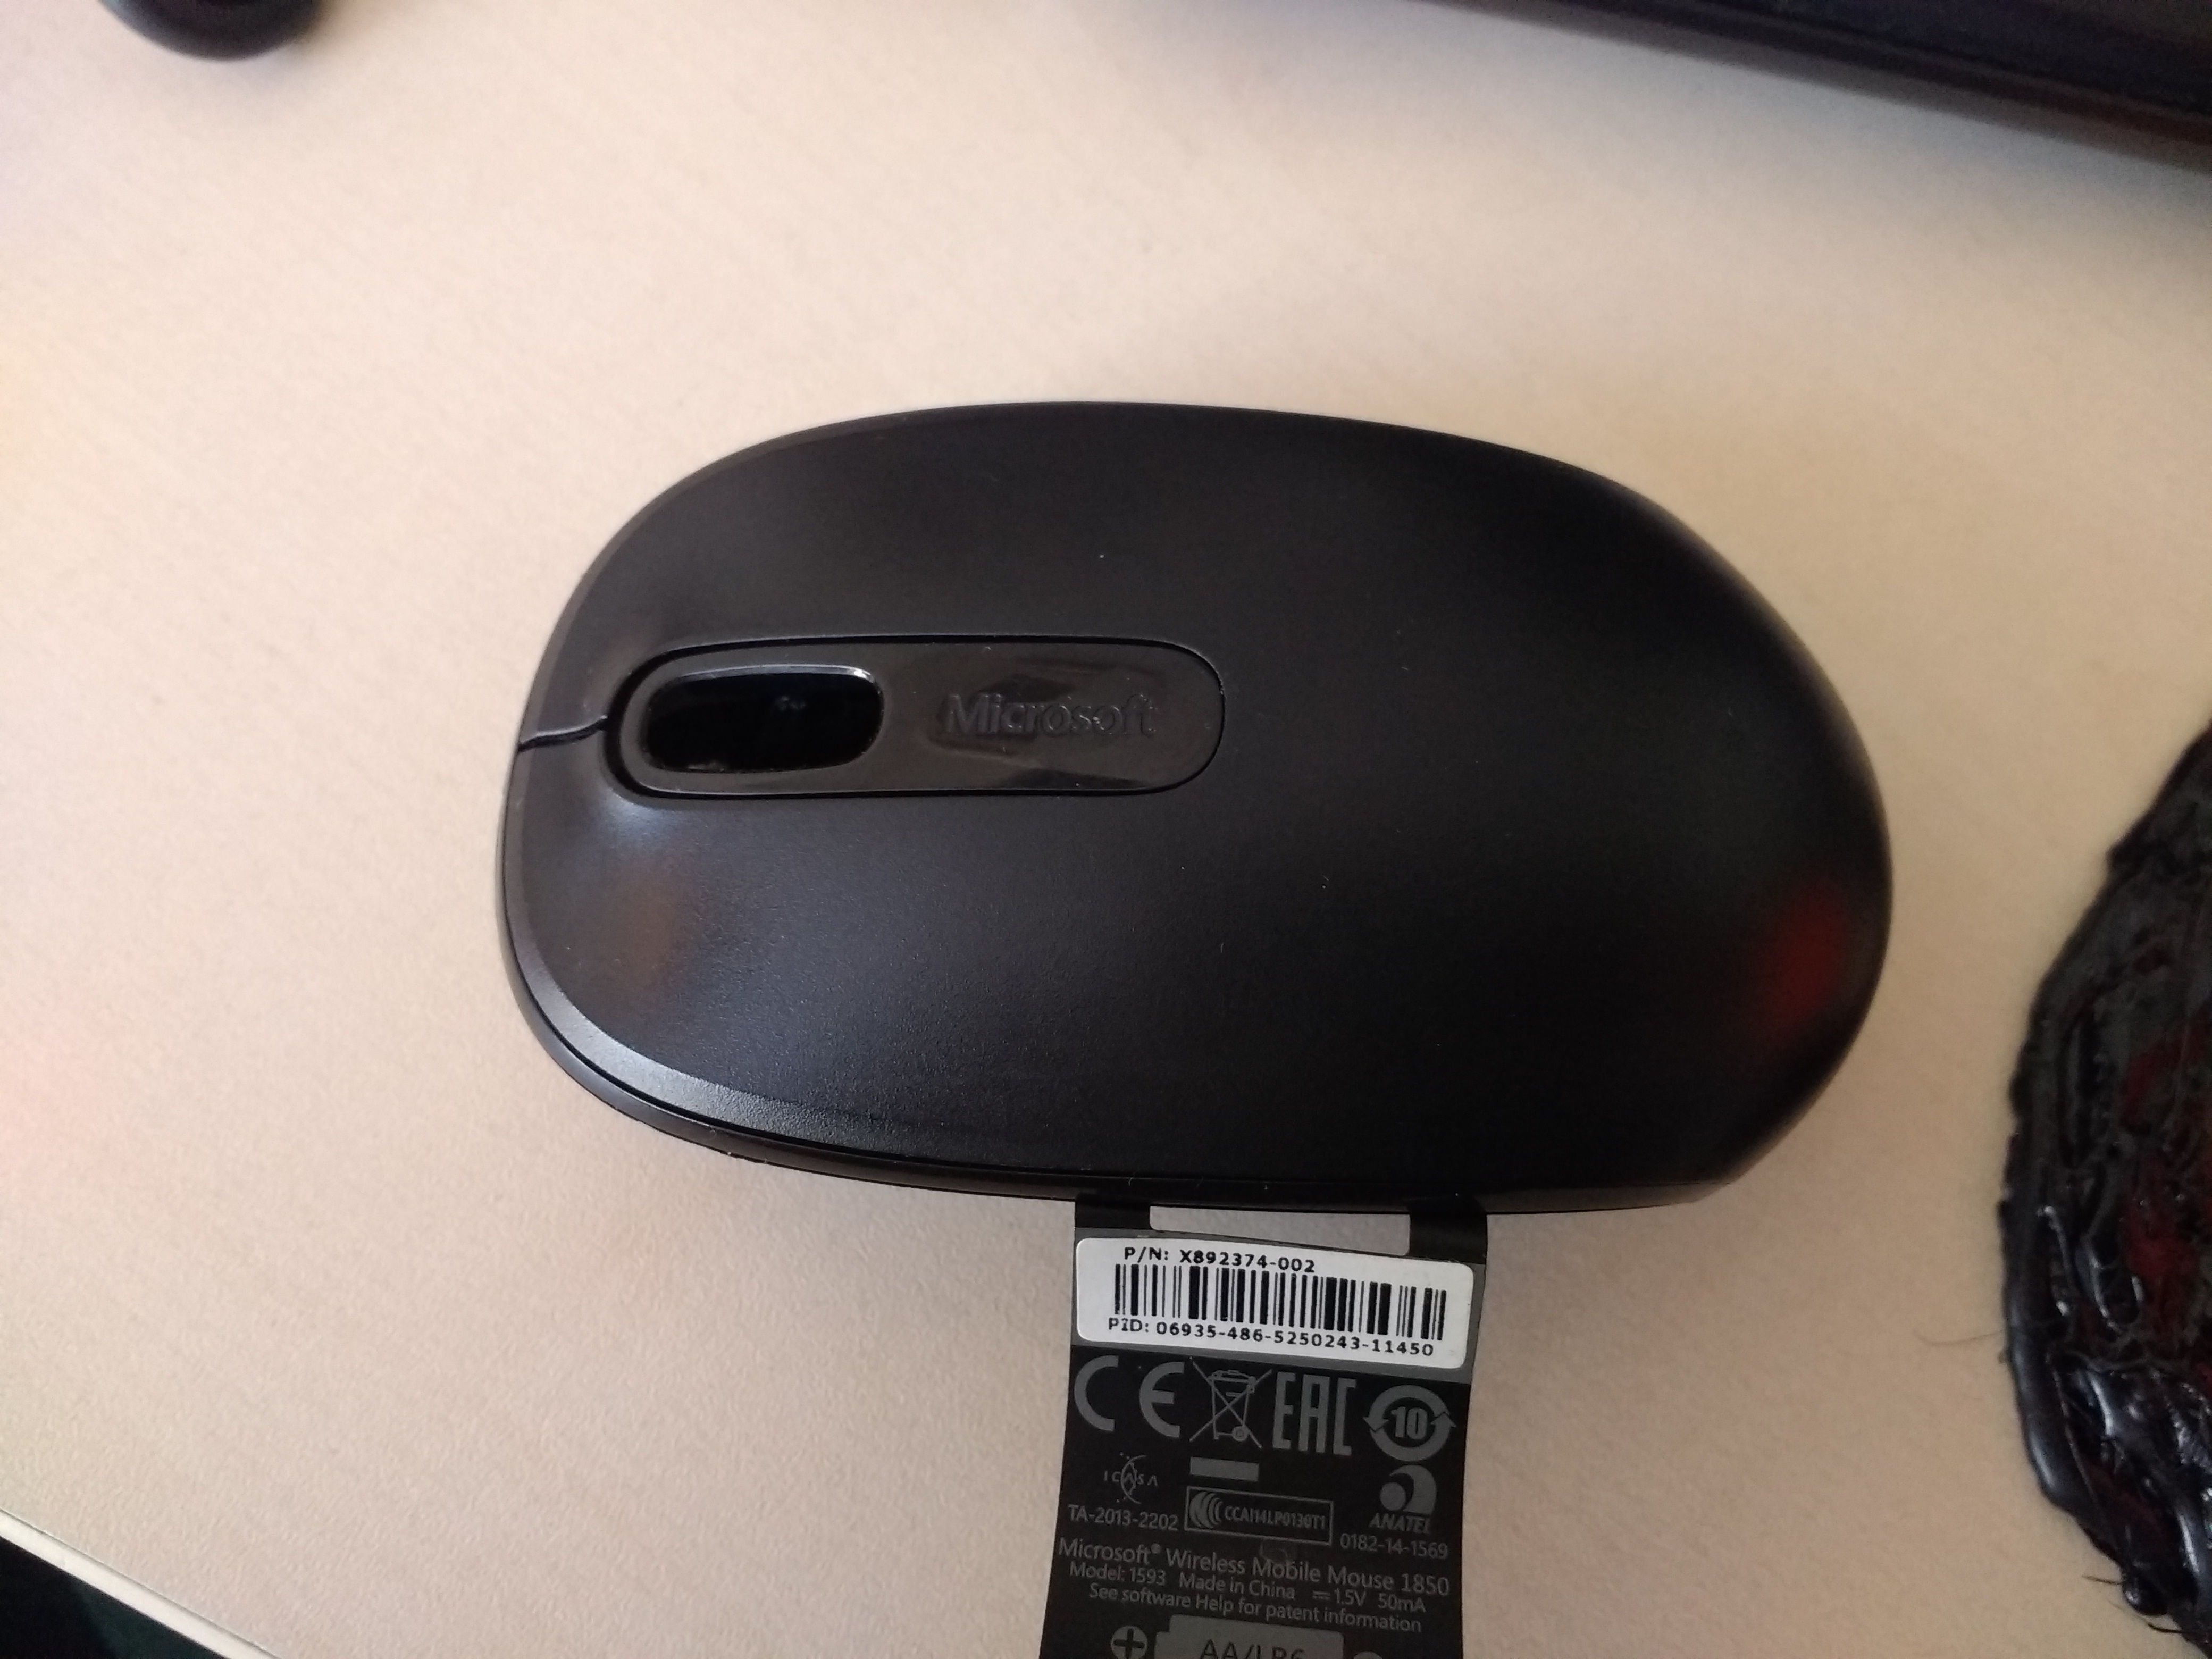
I will be making index / middle finger / palm trackballs. In this build log, I will be using old mice as the base, billiard balls as the trackballs and some buttons from old mice around the base. For the first one (actually 3rd, the first one broke, the 2nd one is still functional, but it’s a thumb-baller and hard to use when making fine movements, I could post pics and more details if you ask), I will be using a Microsoft Mobile Mouse 1850.

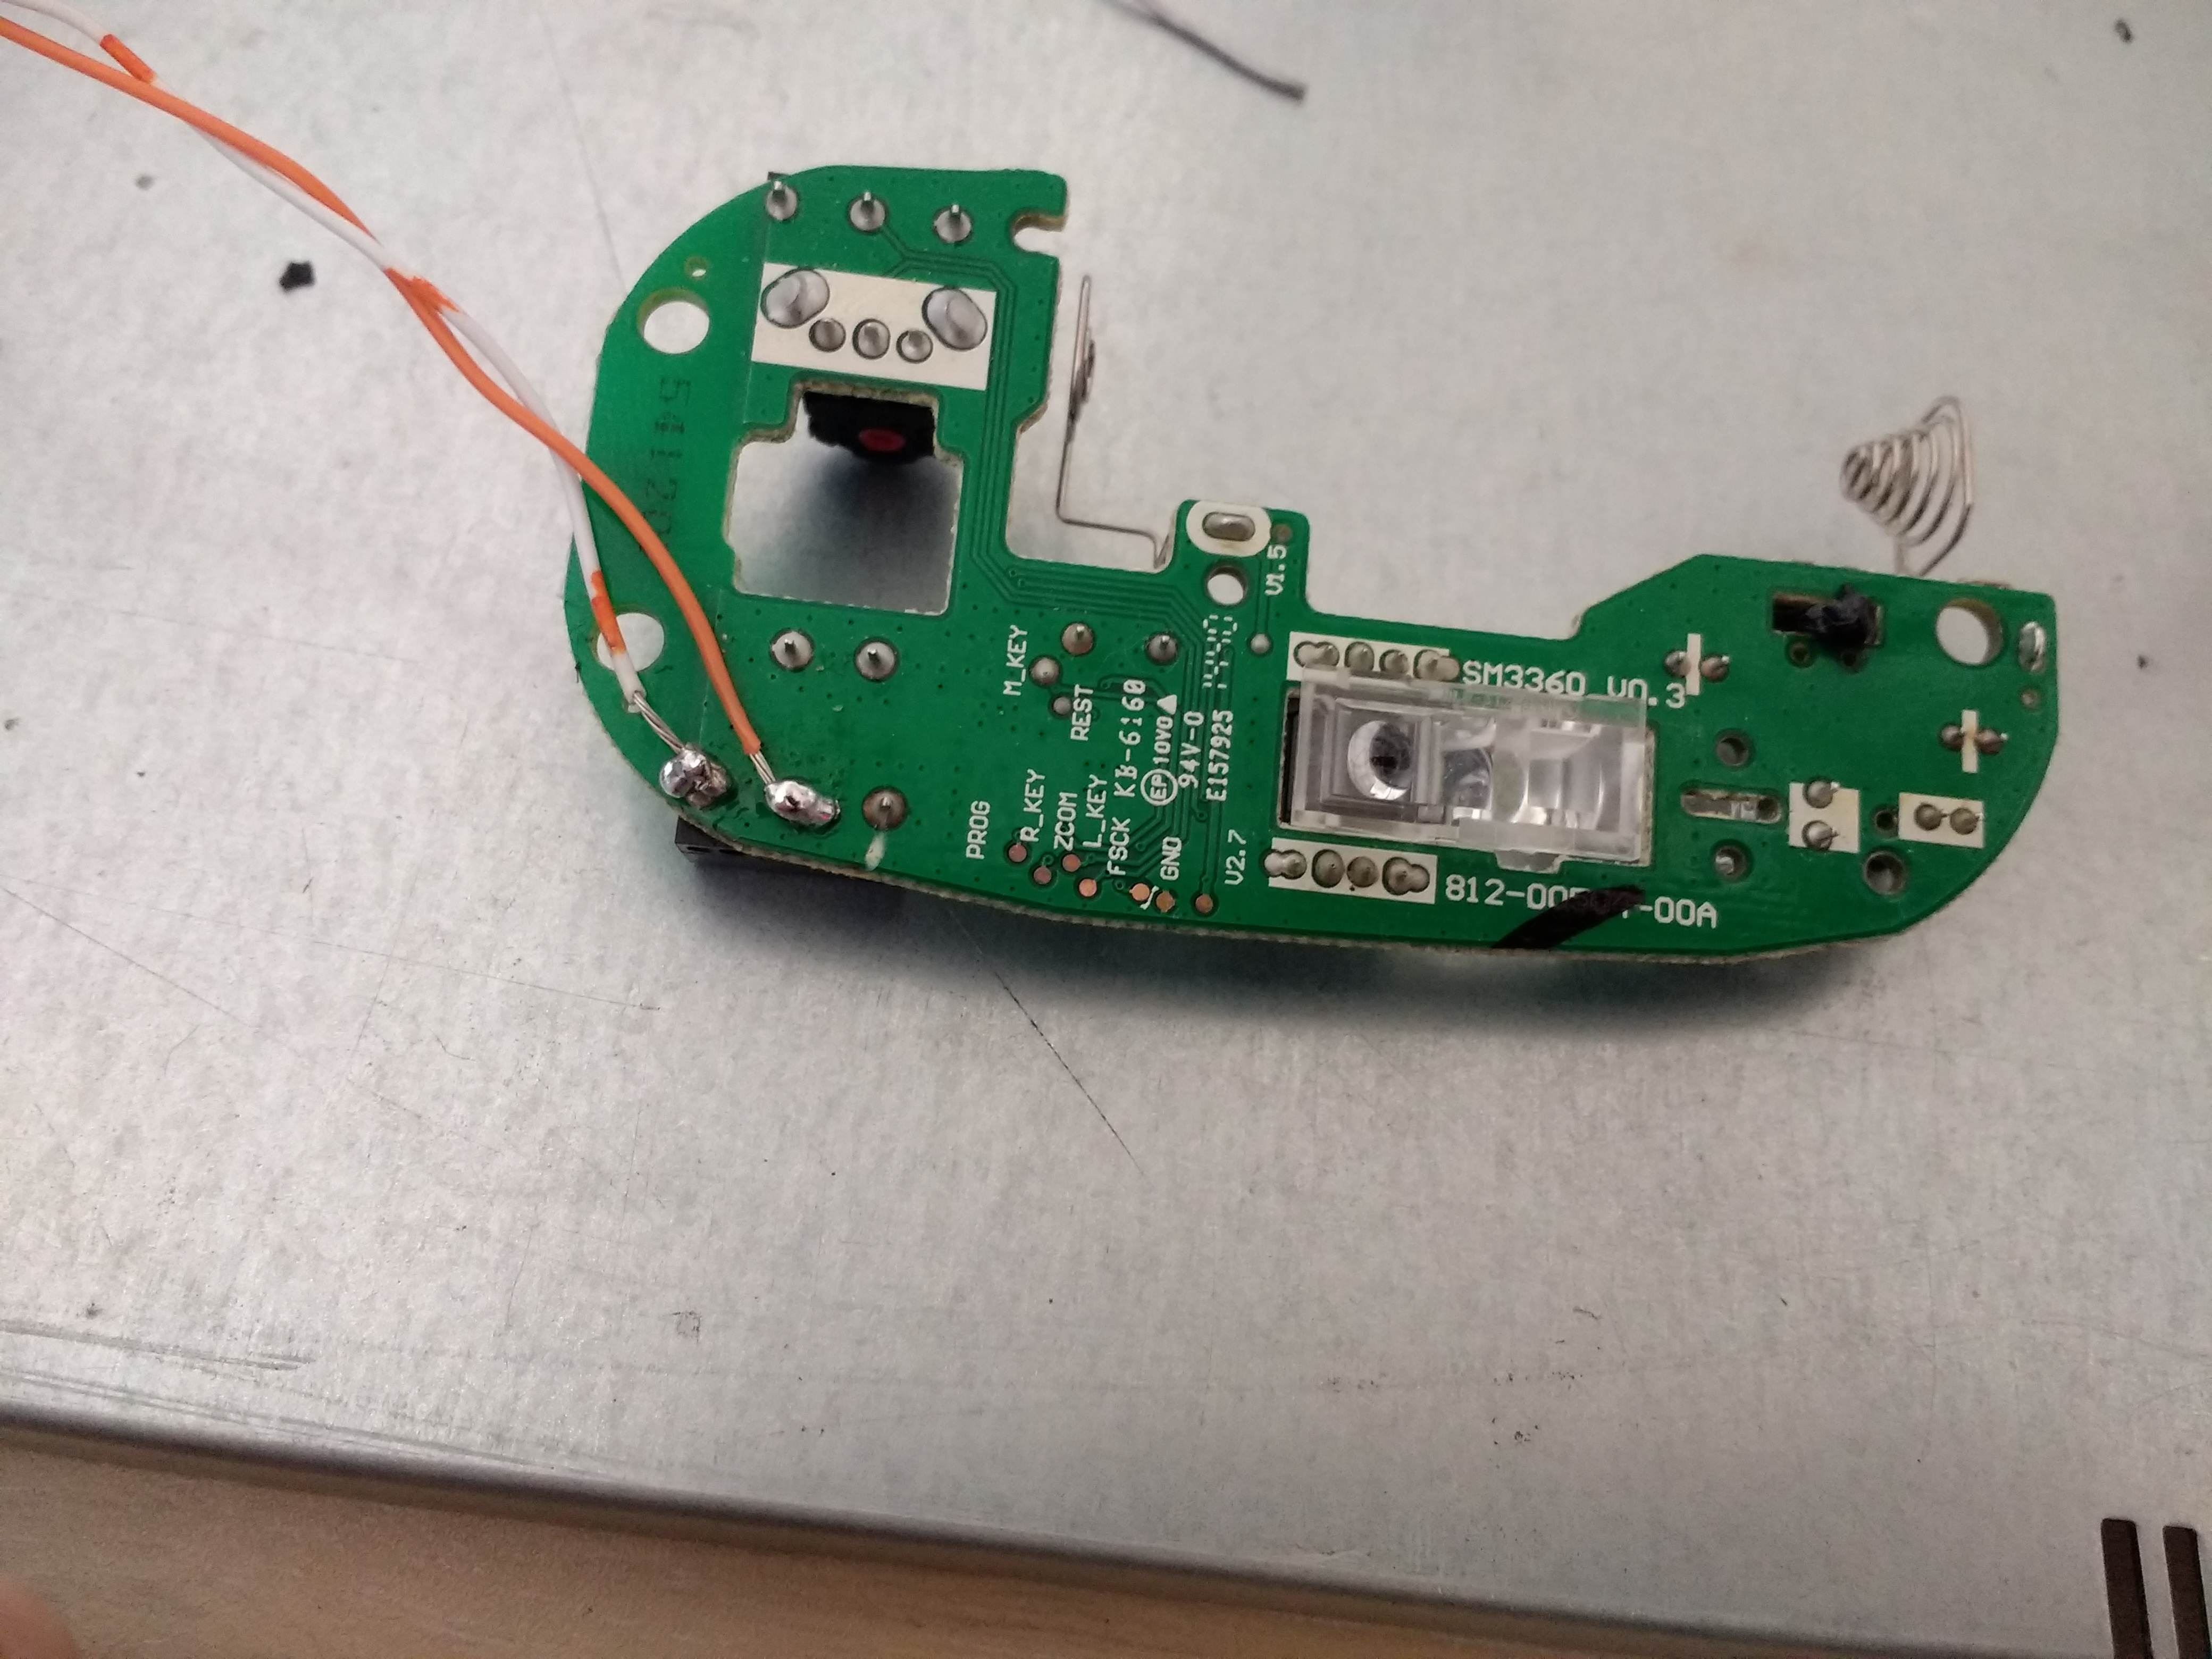
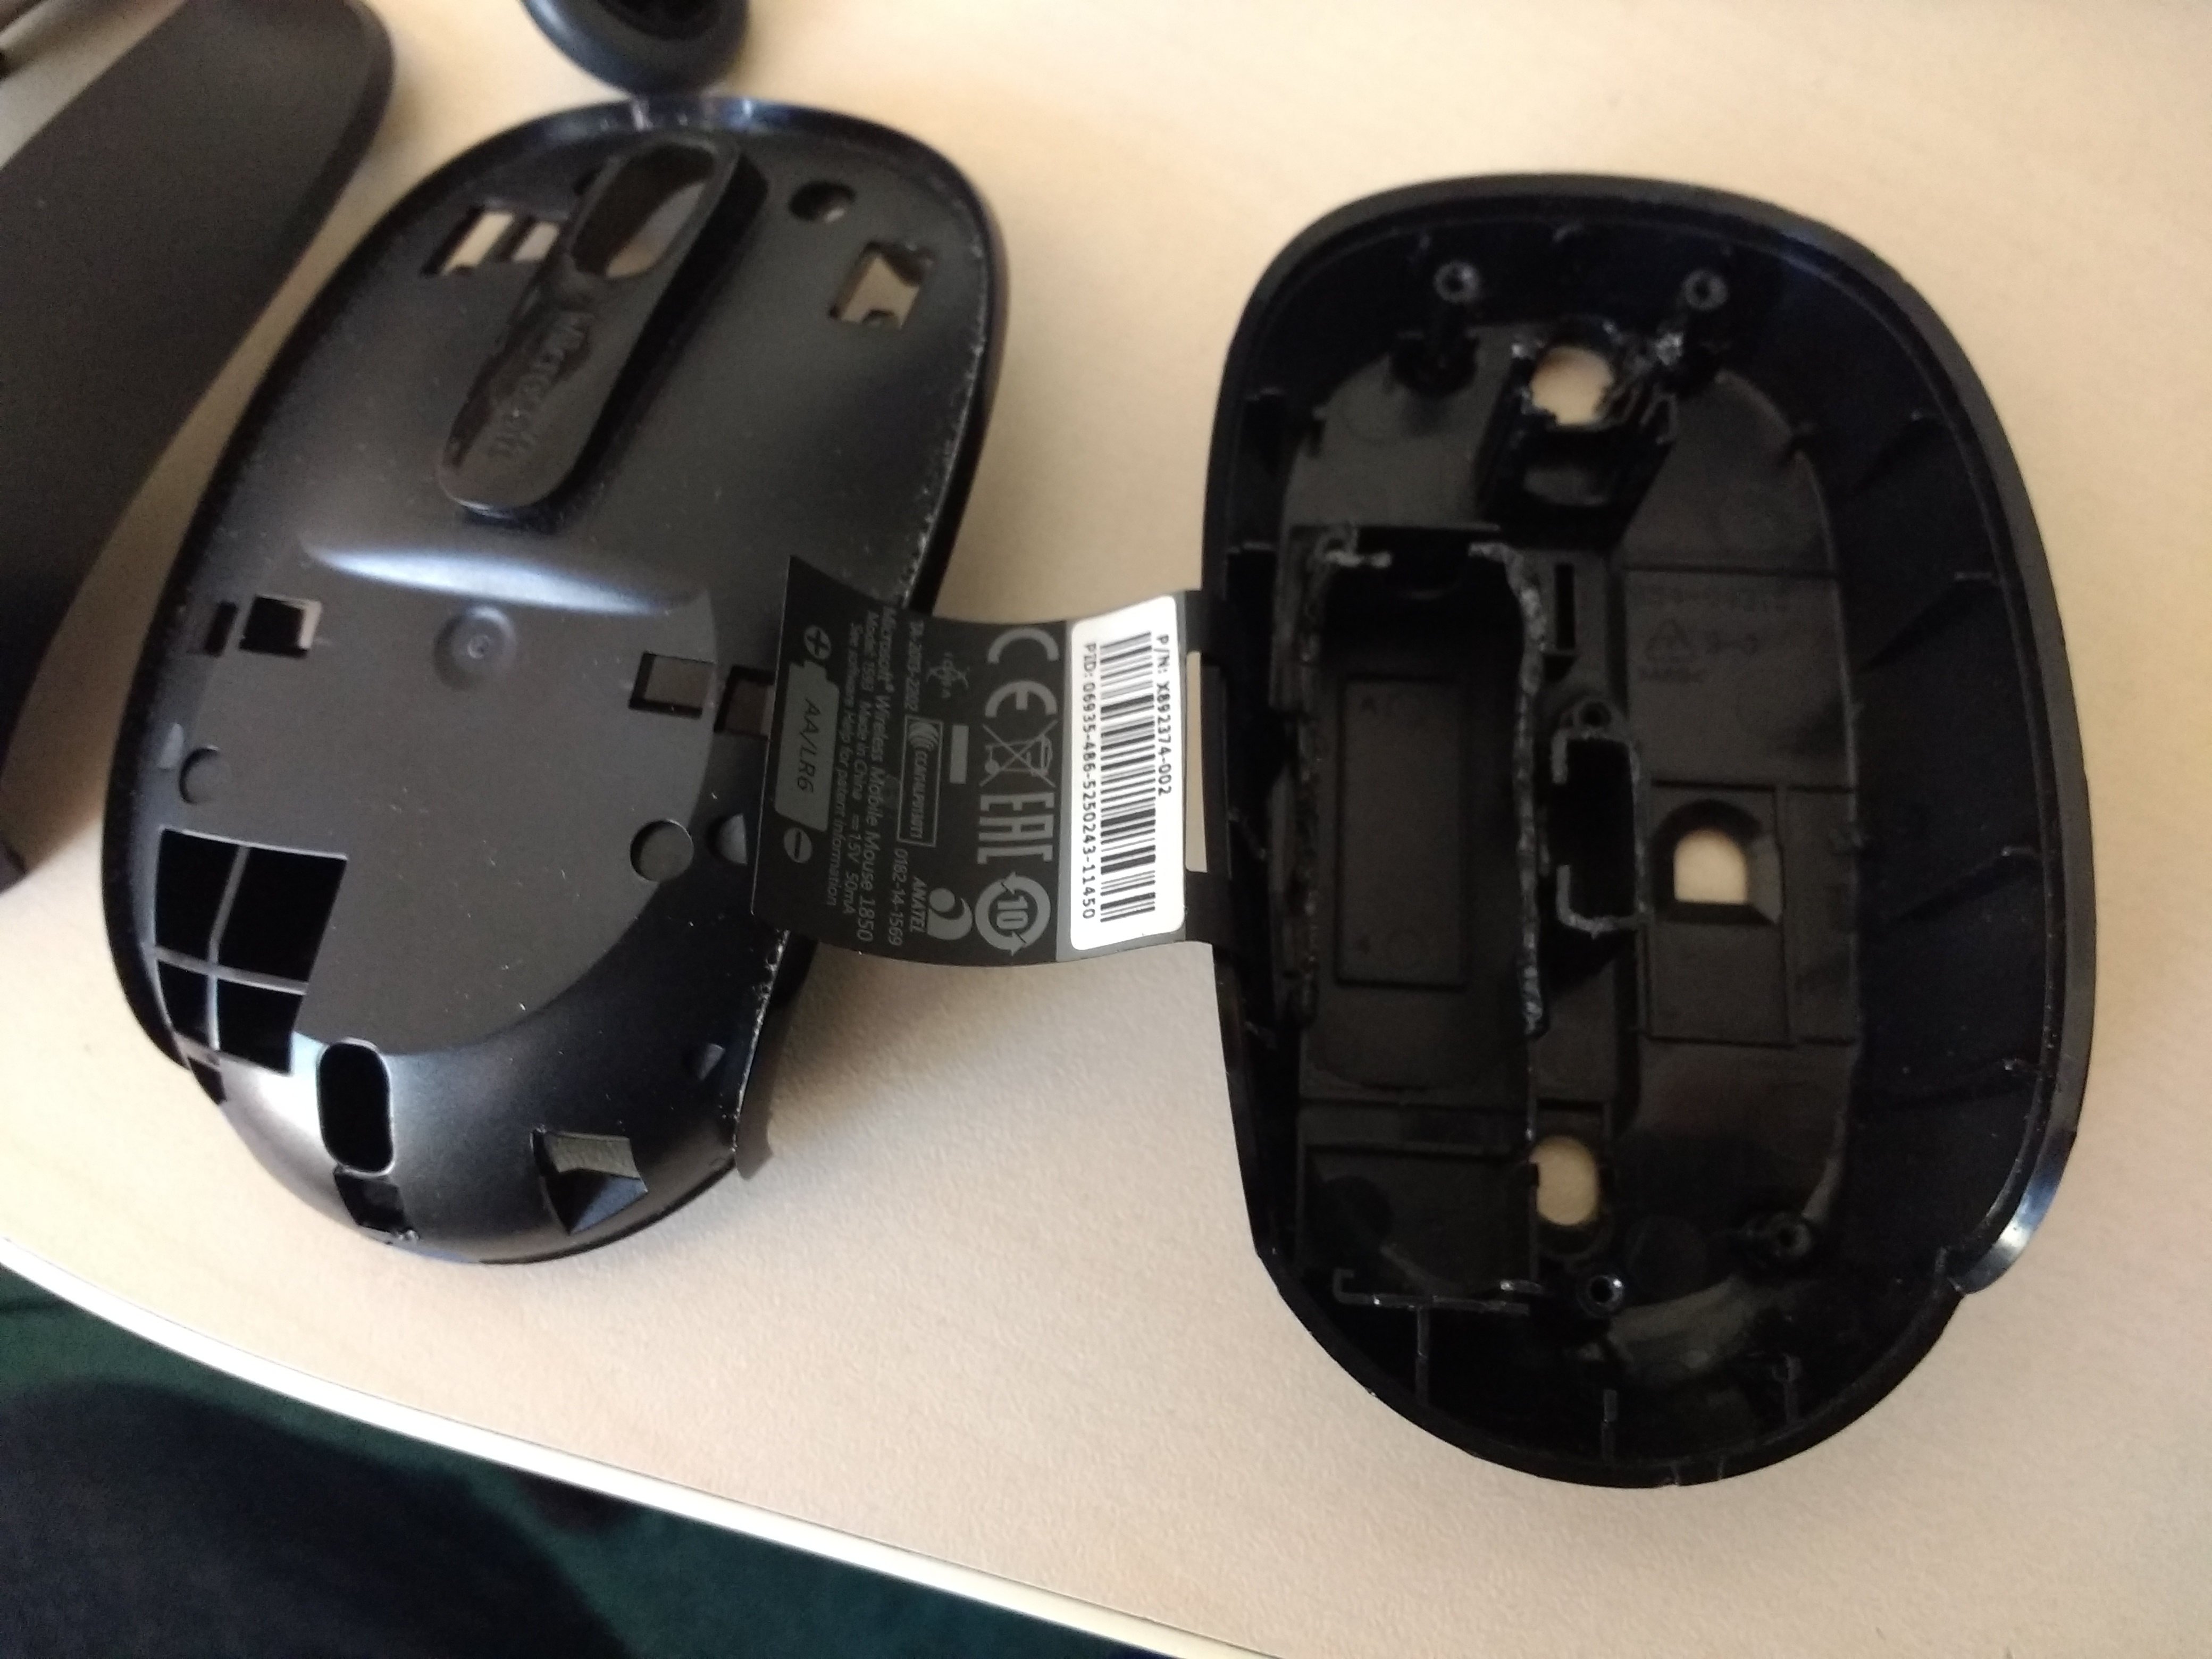
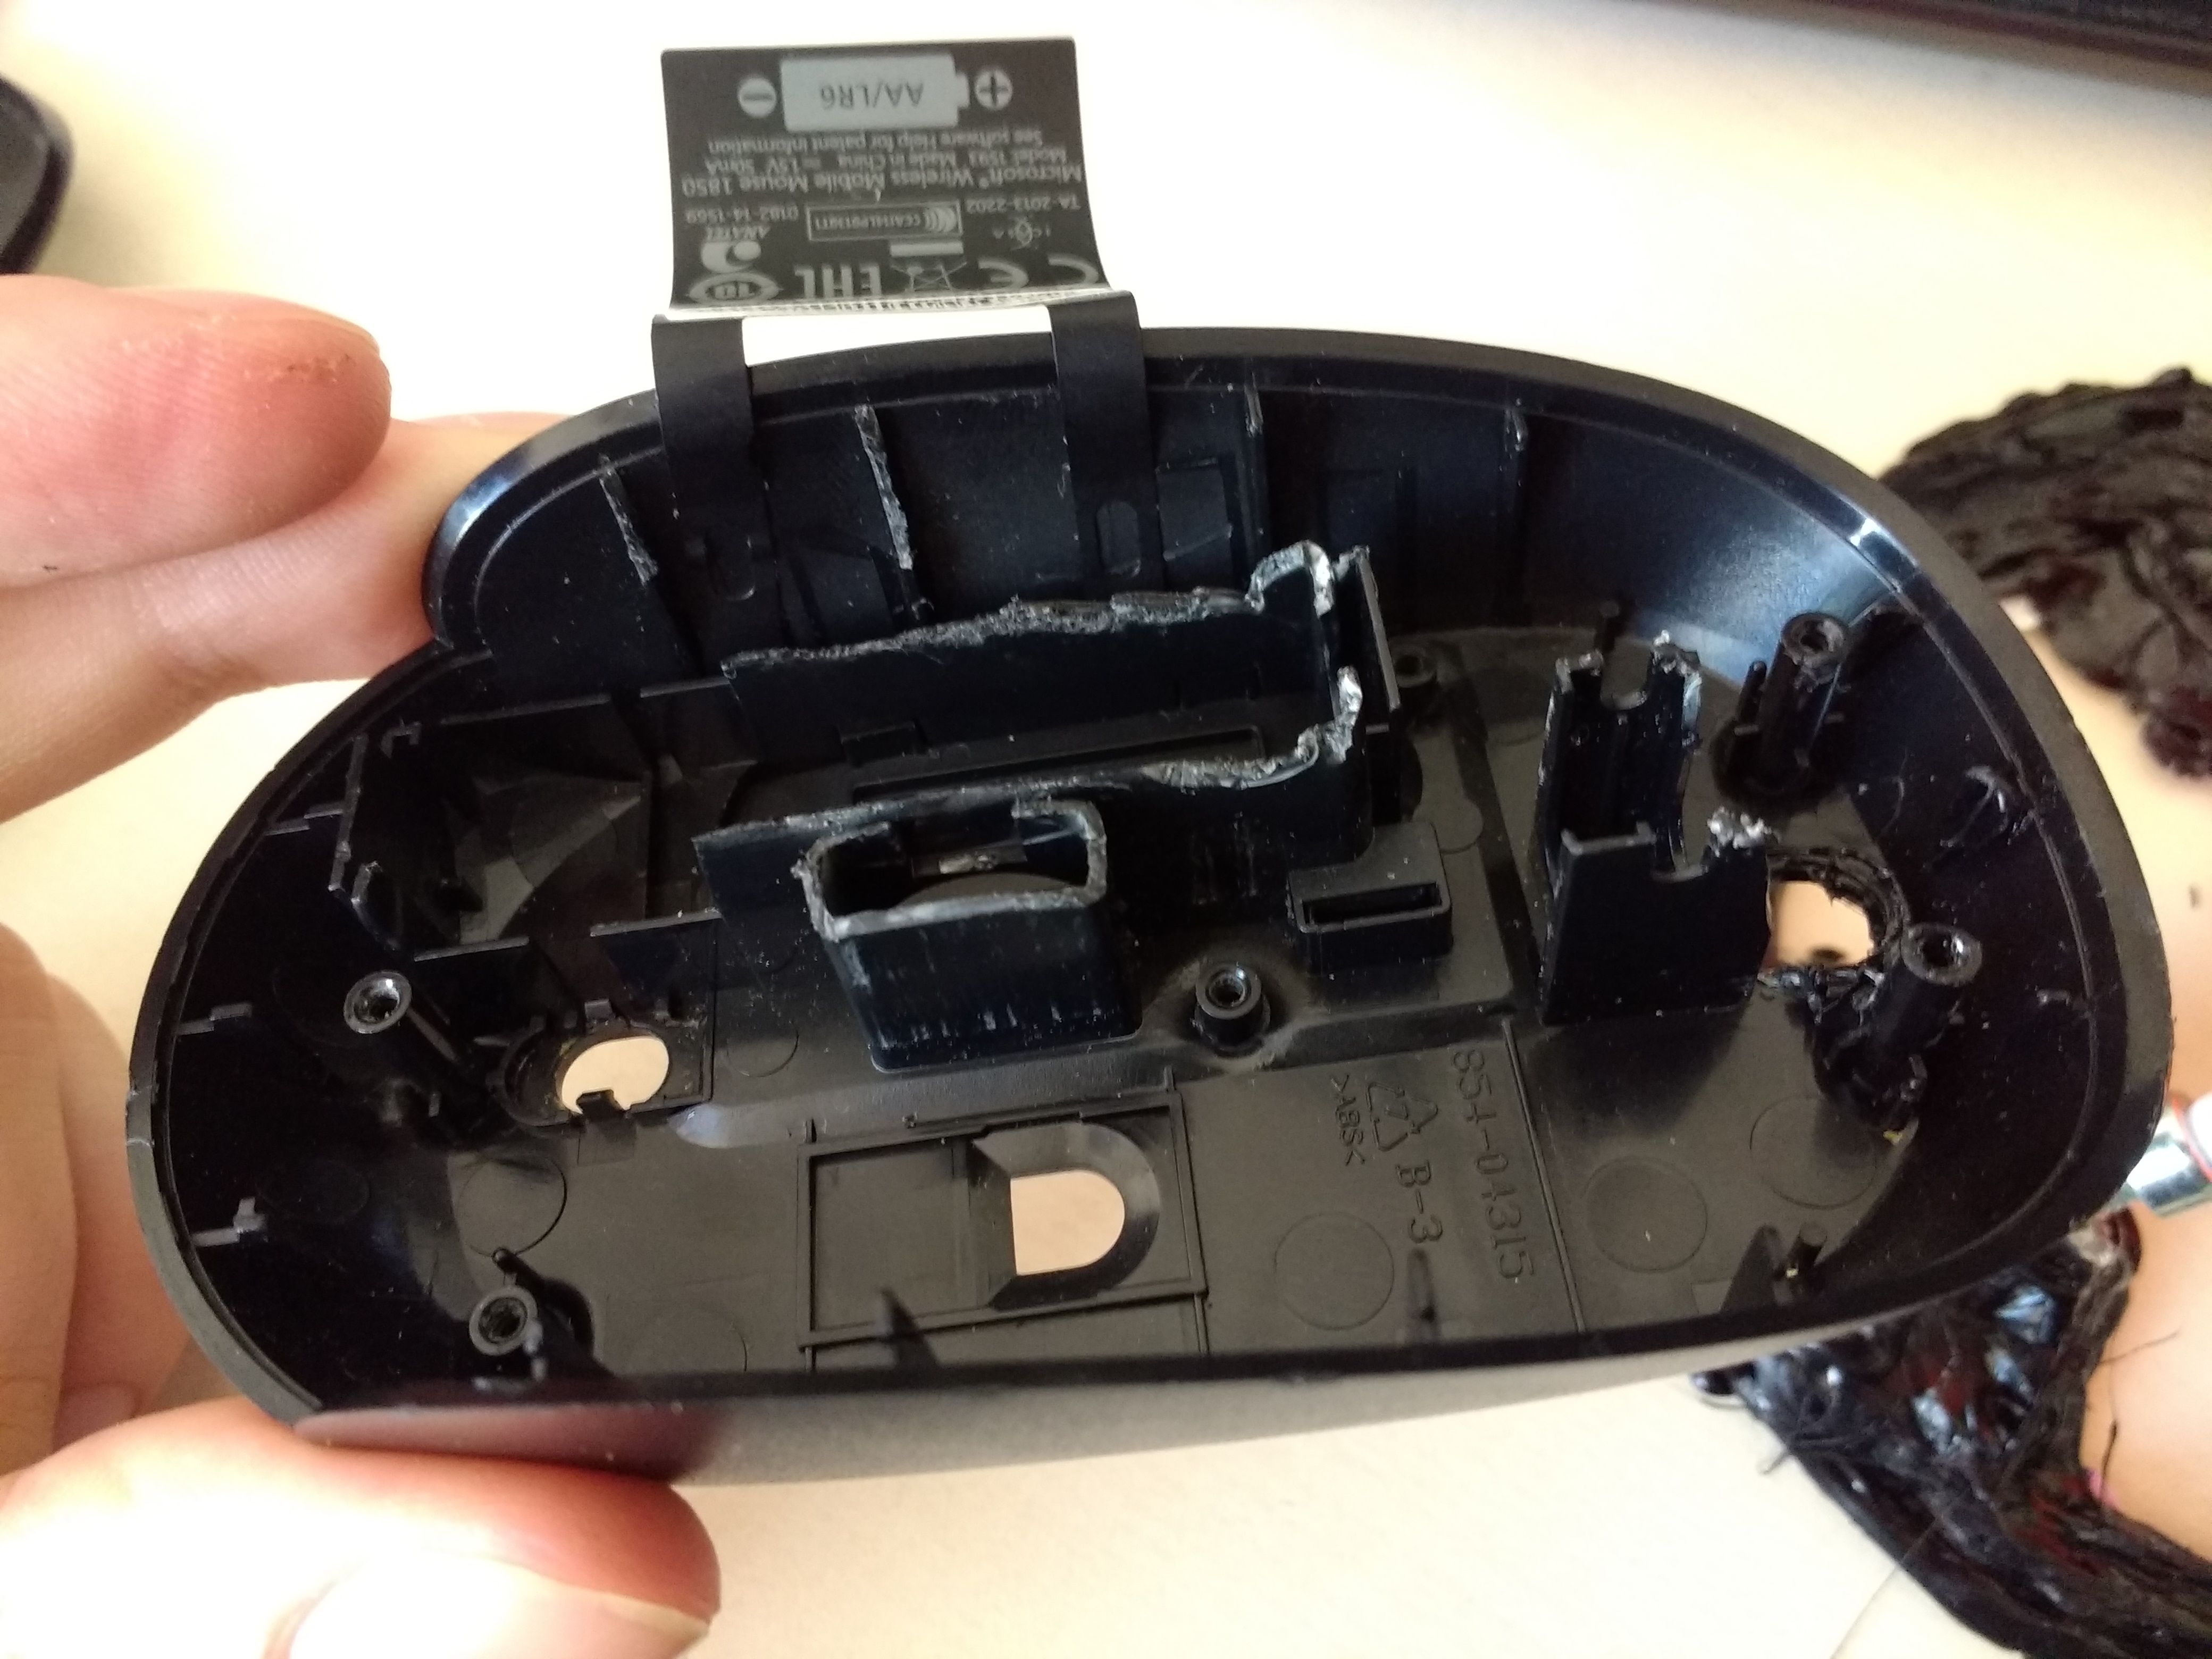
I haven’t taken pictures of it before I started disassembling it, sorry. As the mouse will be upside-down with the the clicks facing towards me, I had to cut a hole for the battery to slide in and also had to make a hole on the bottom, near the buttons, in order to pass wires outside the mouse, to the buttons that will surround the ball (the one in front of the wheel holder)


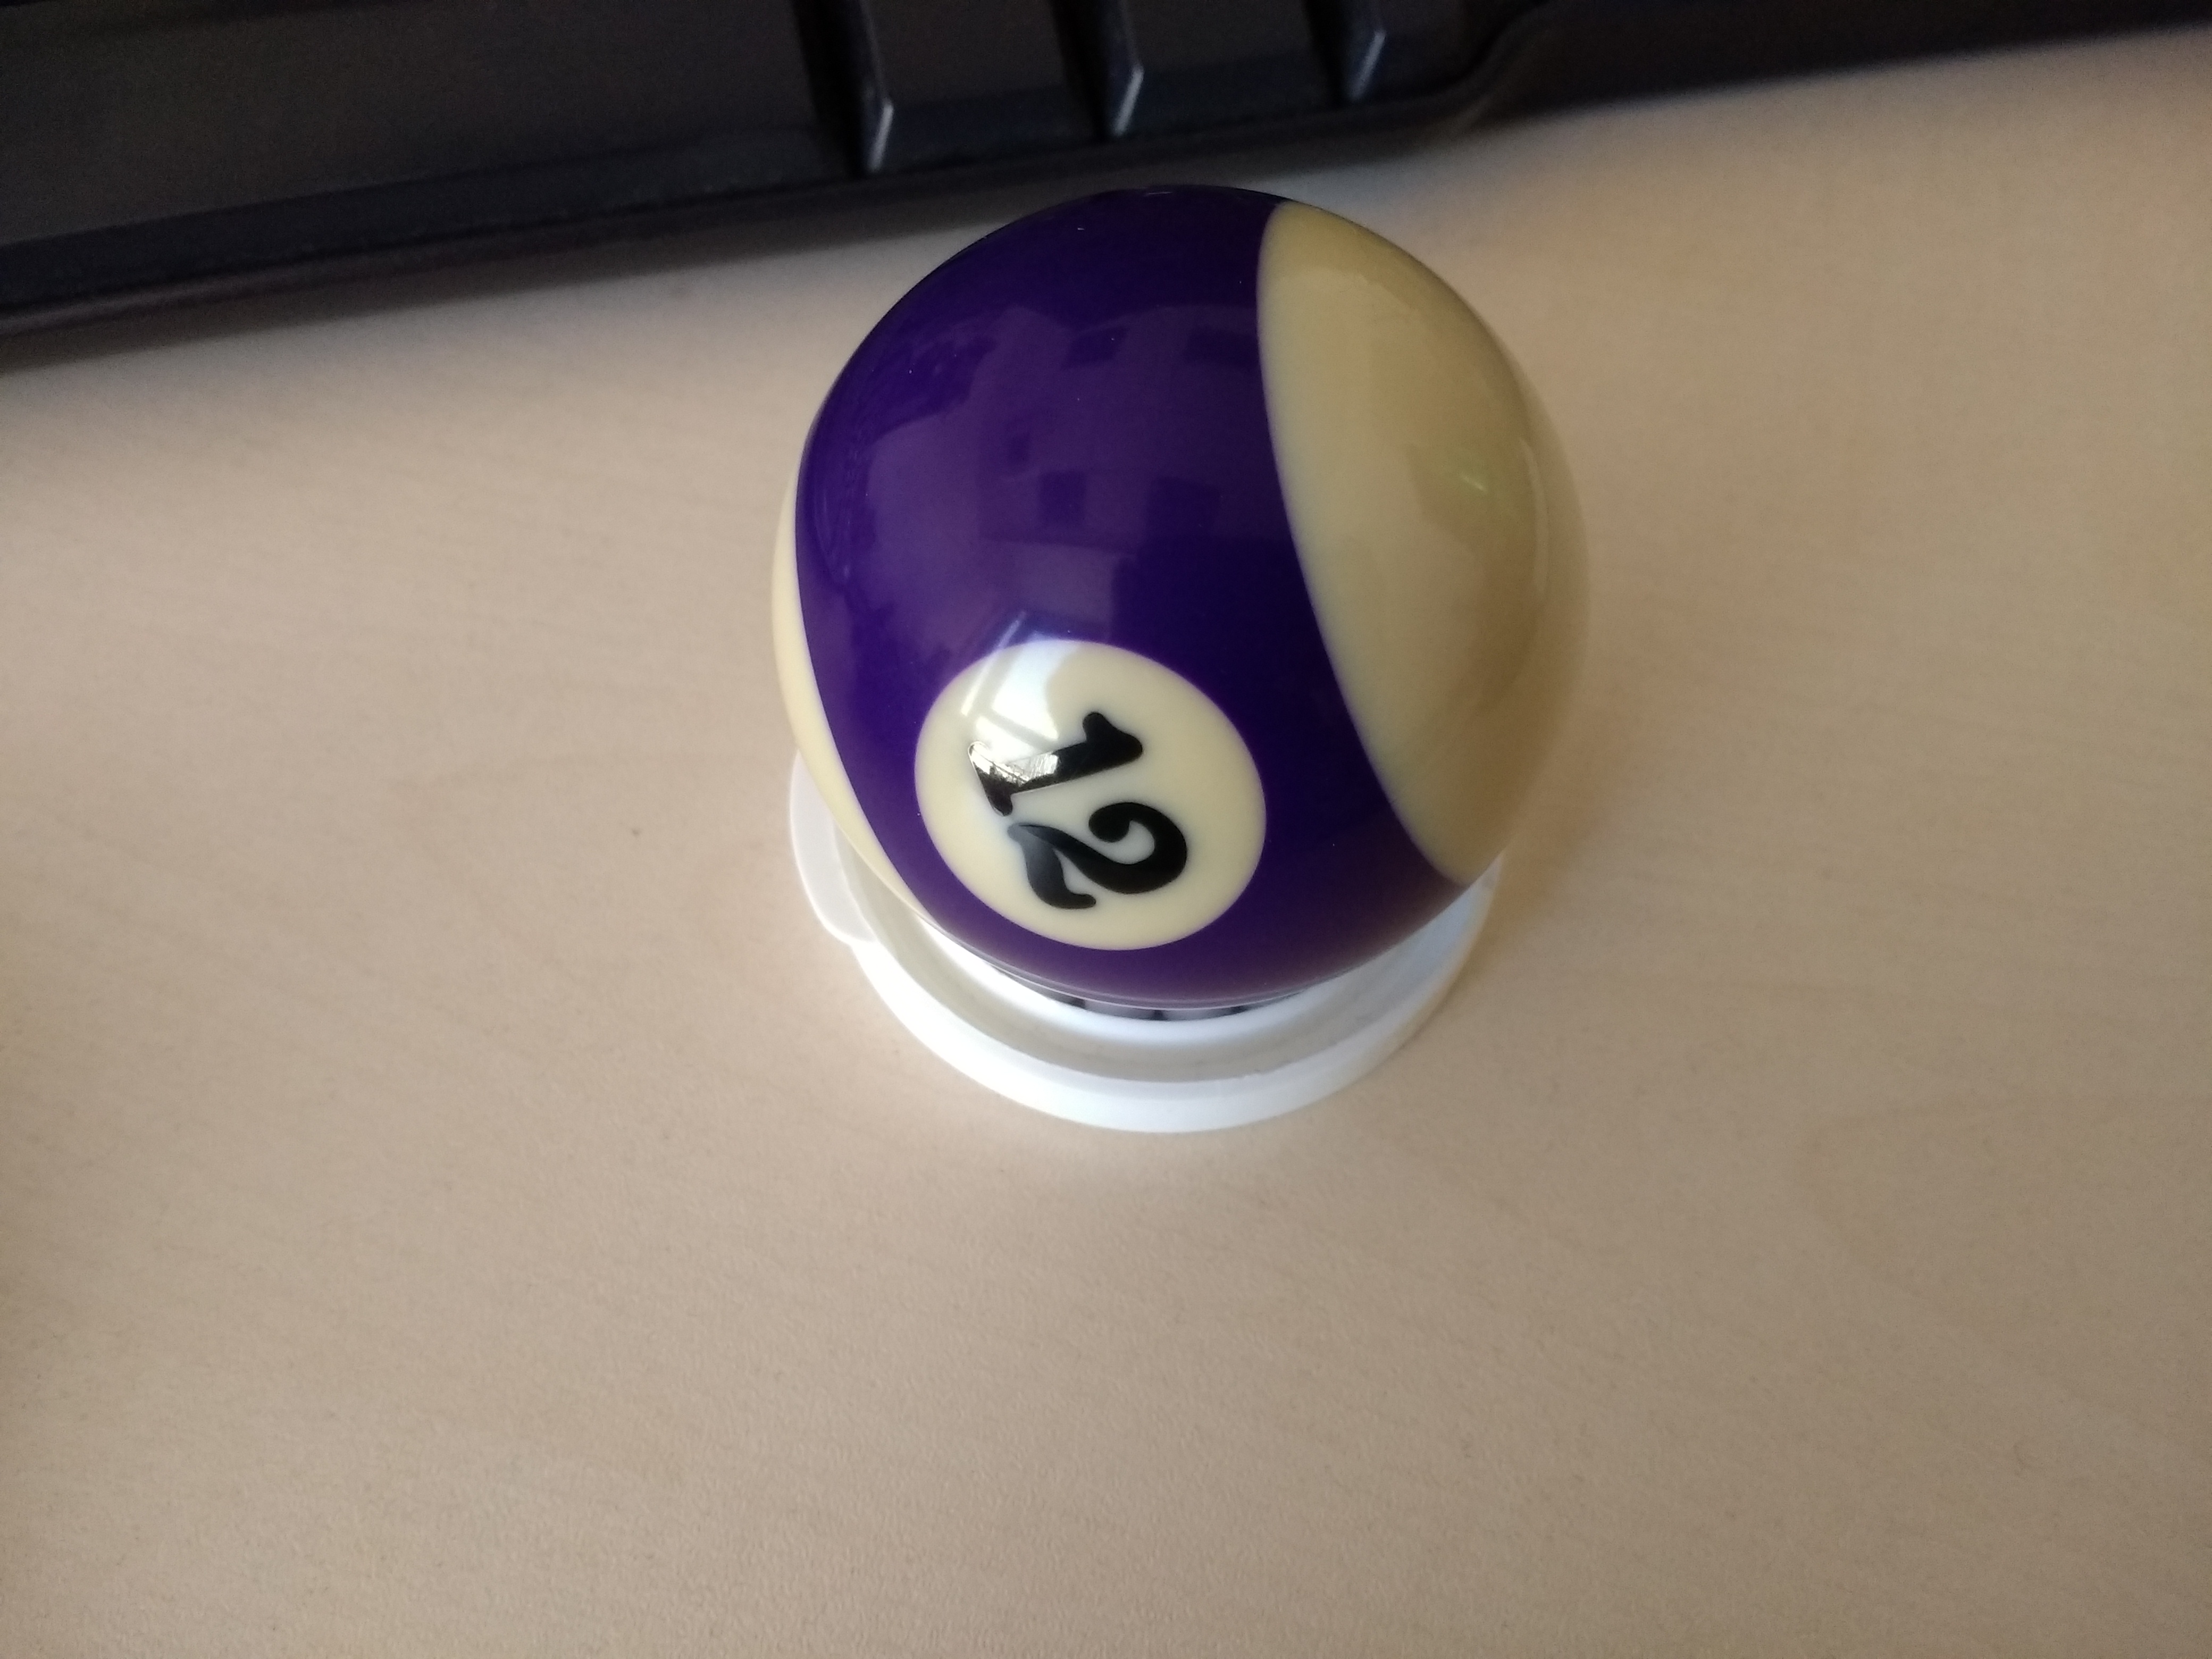
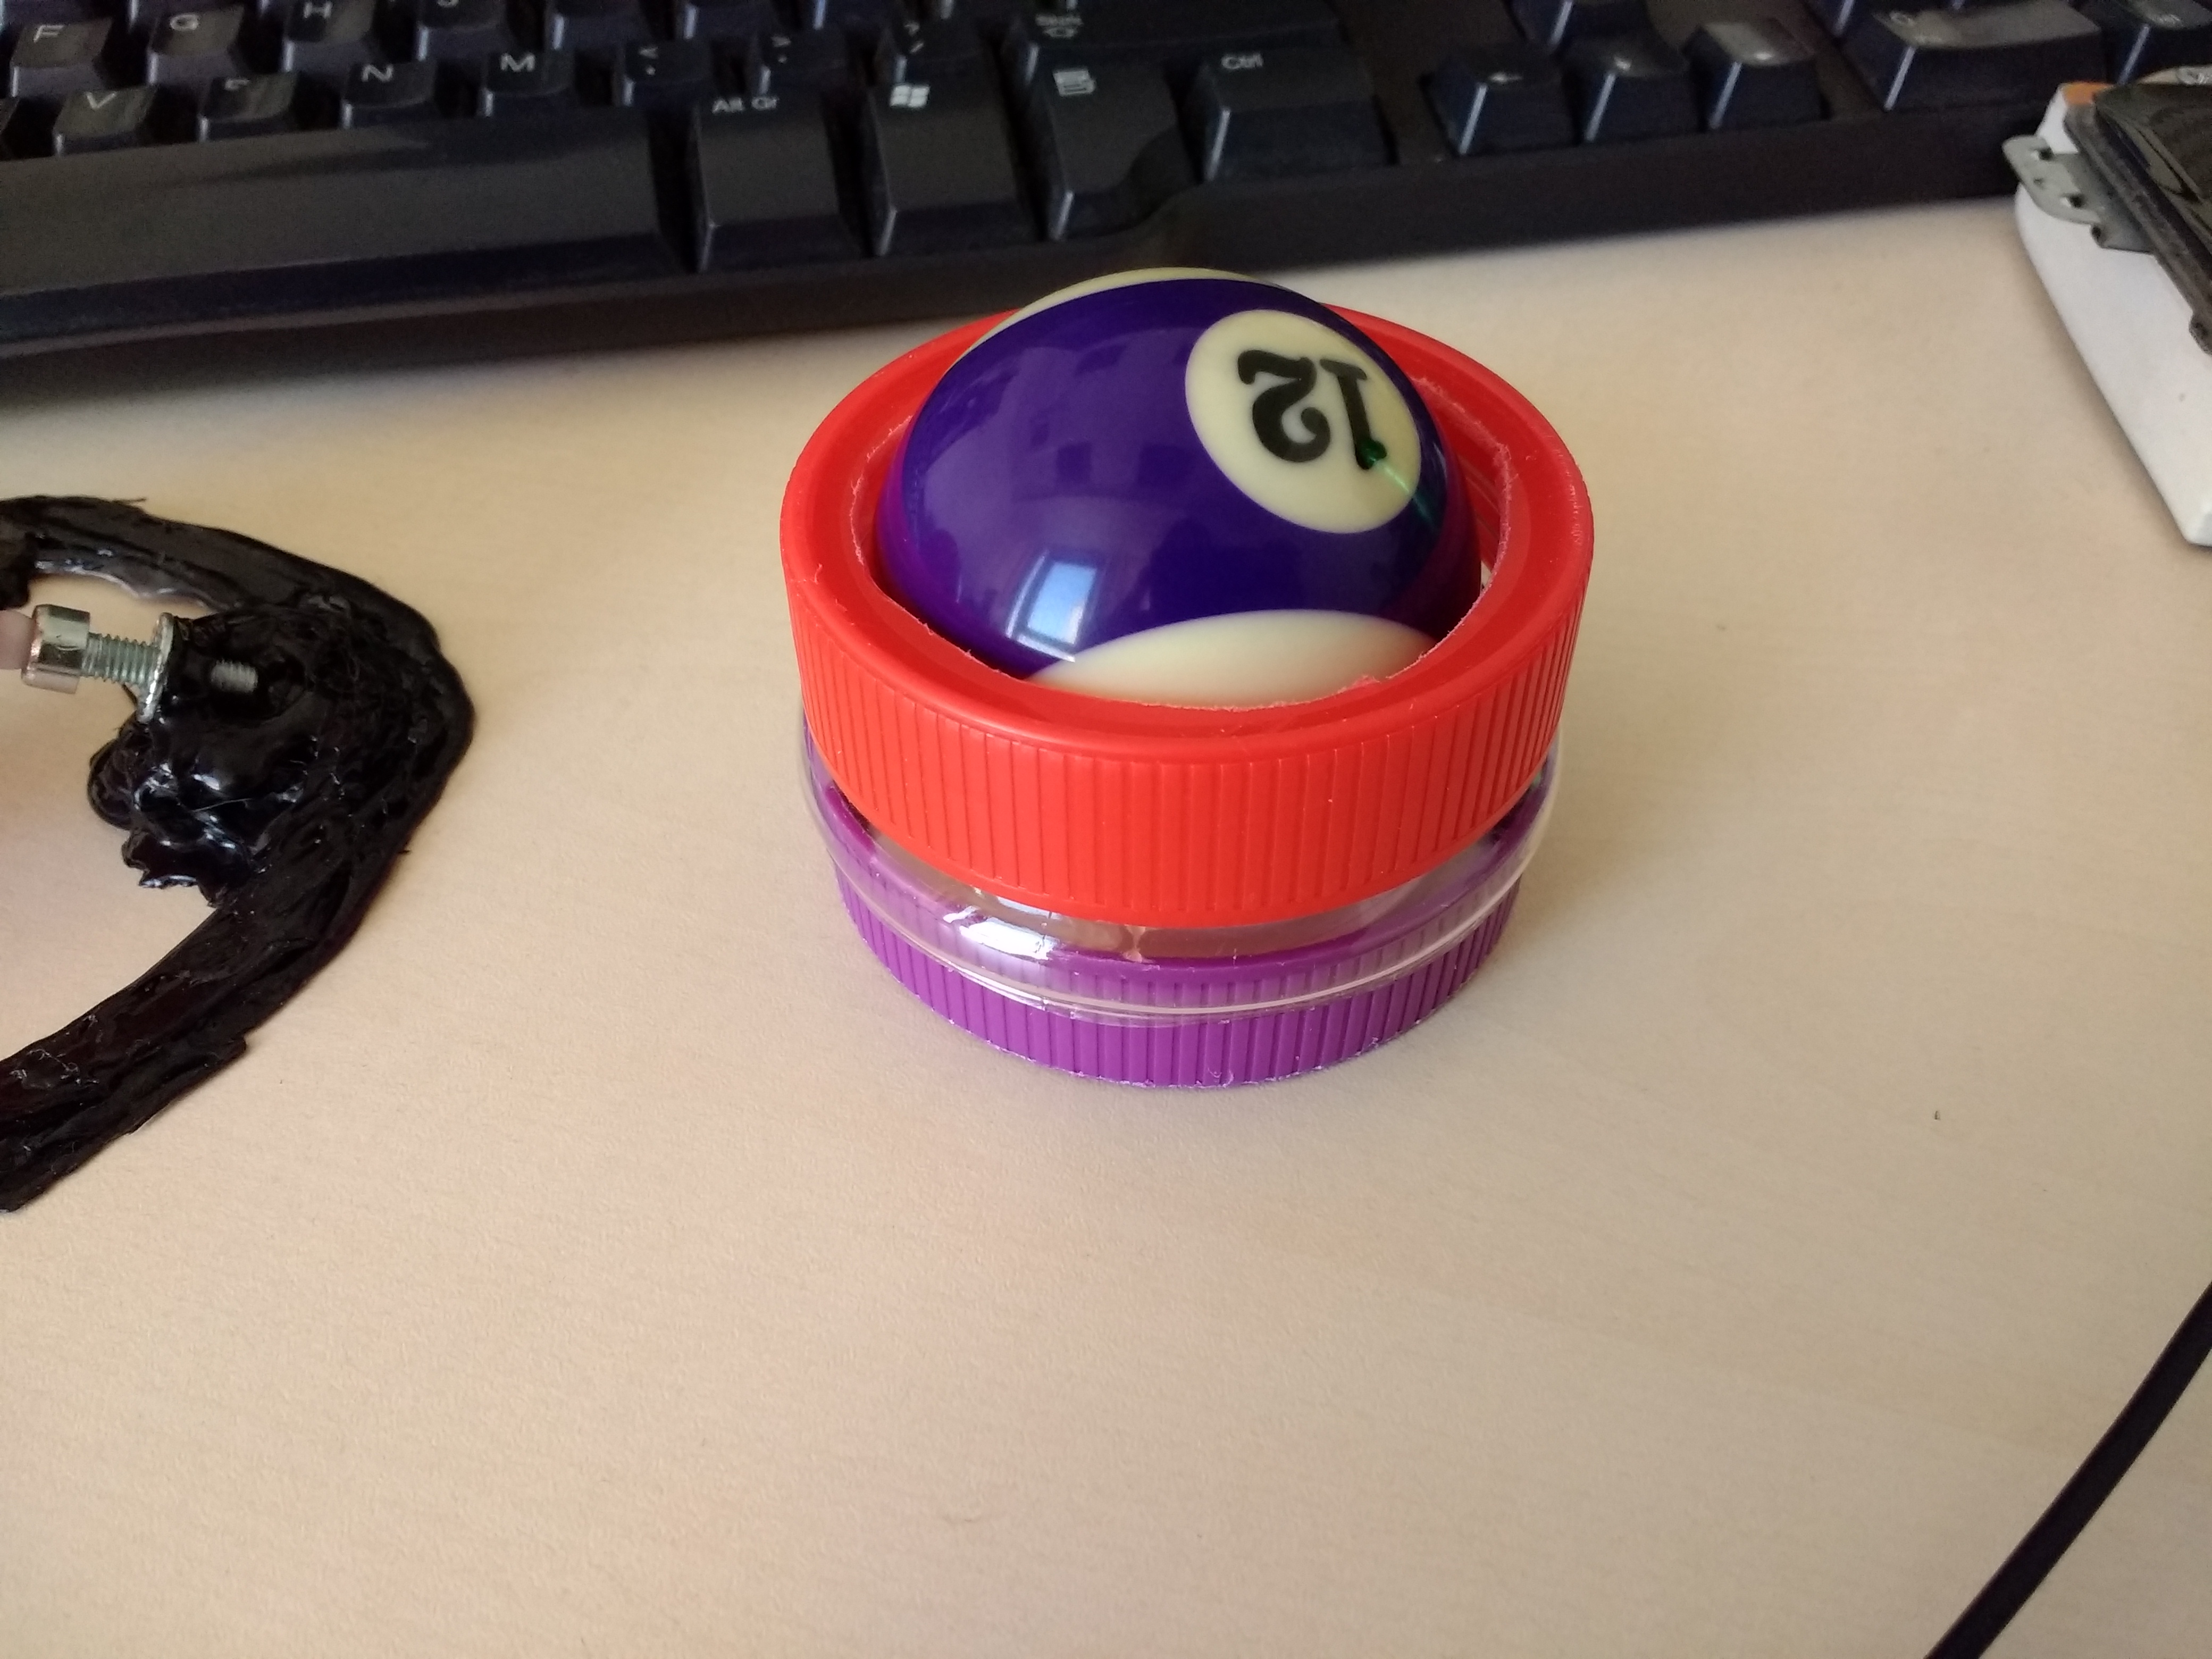
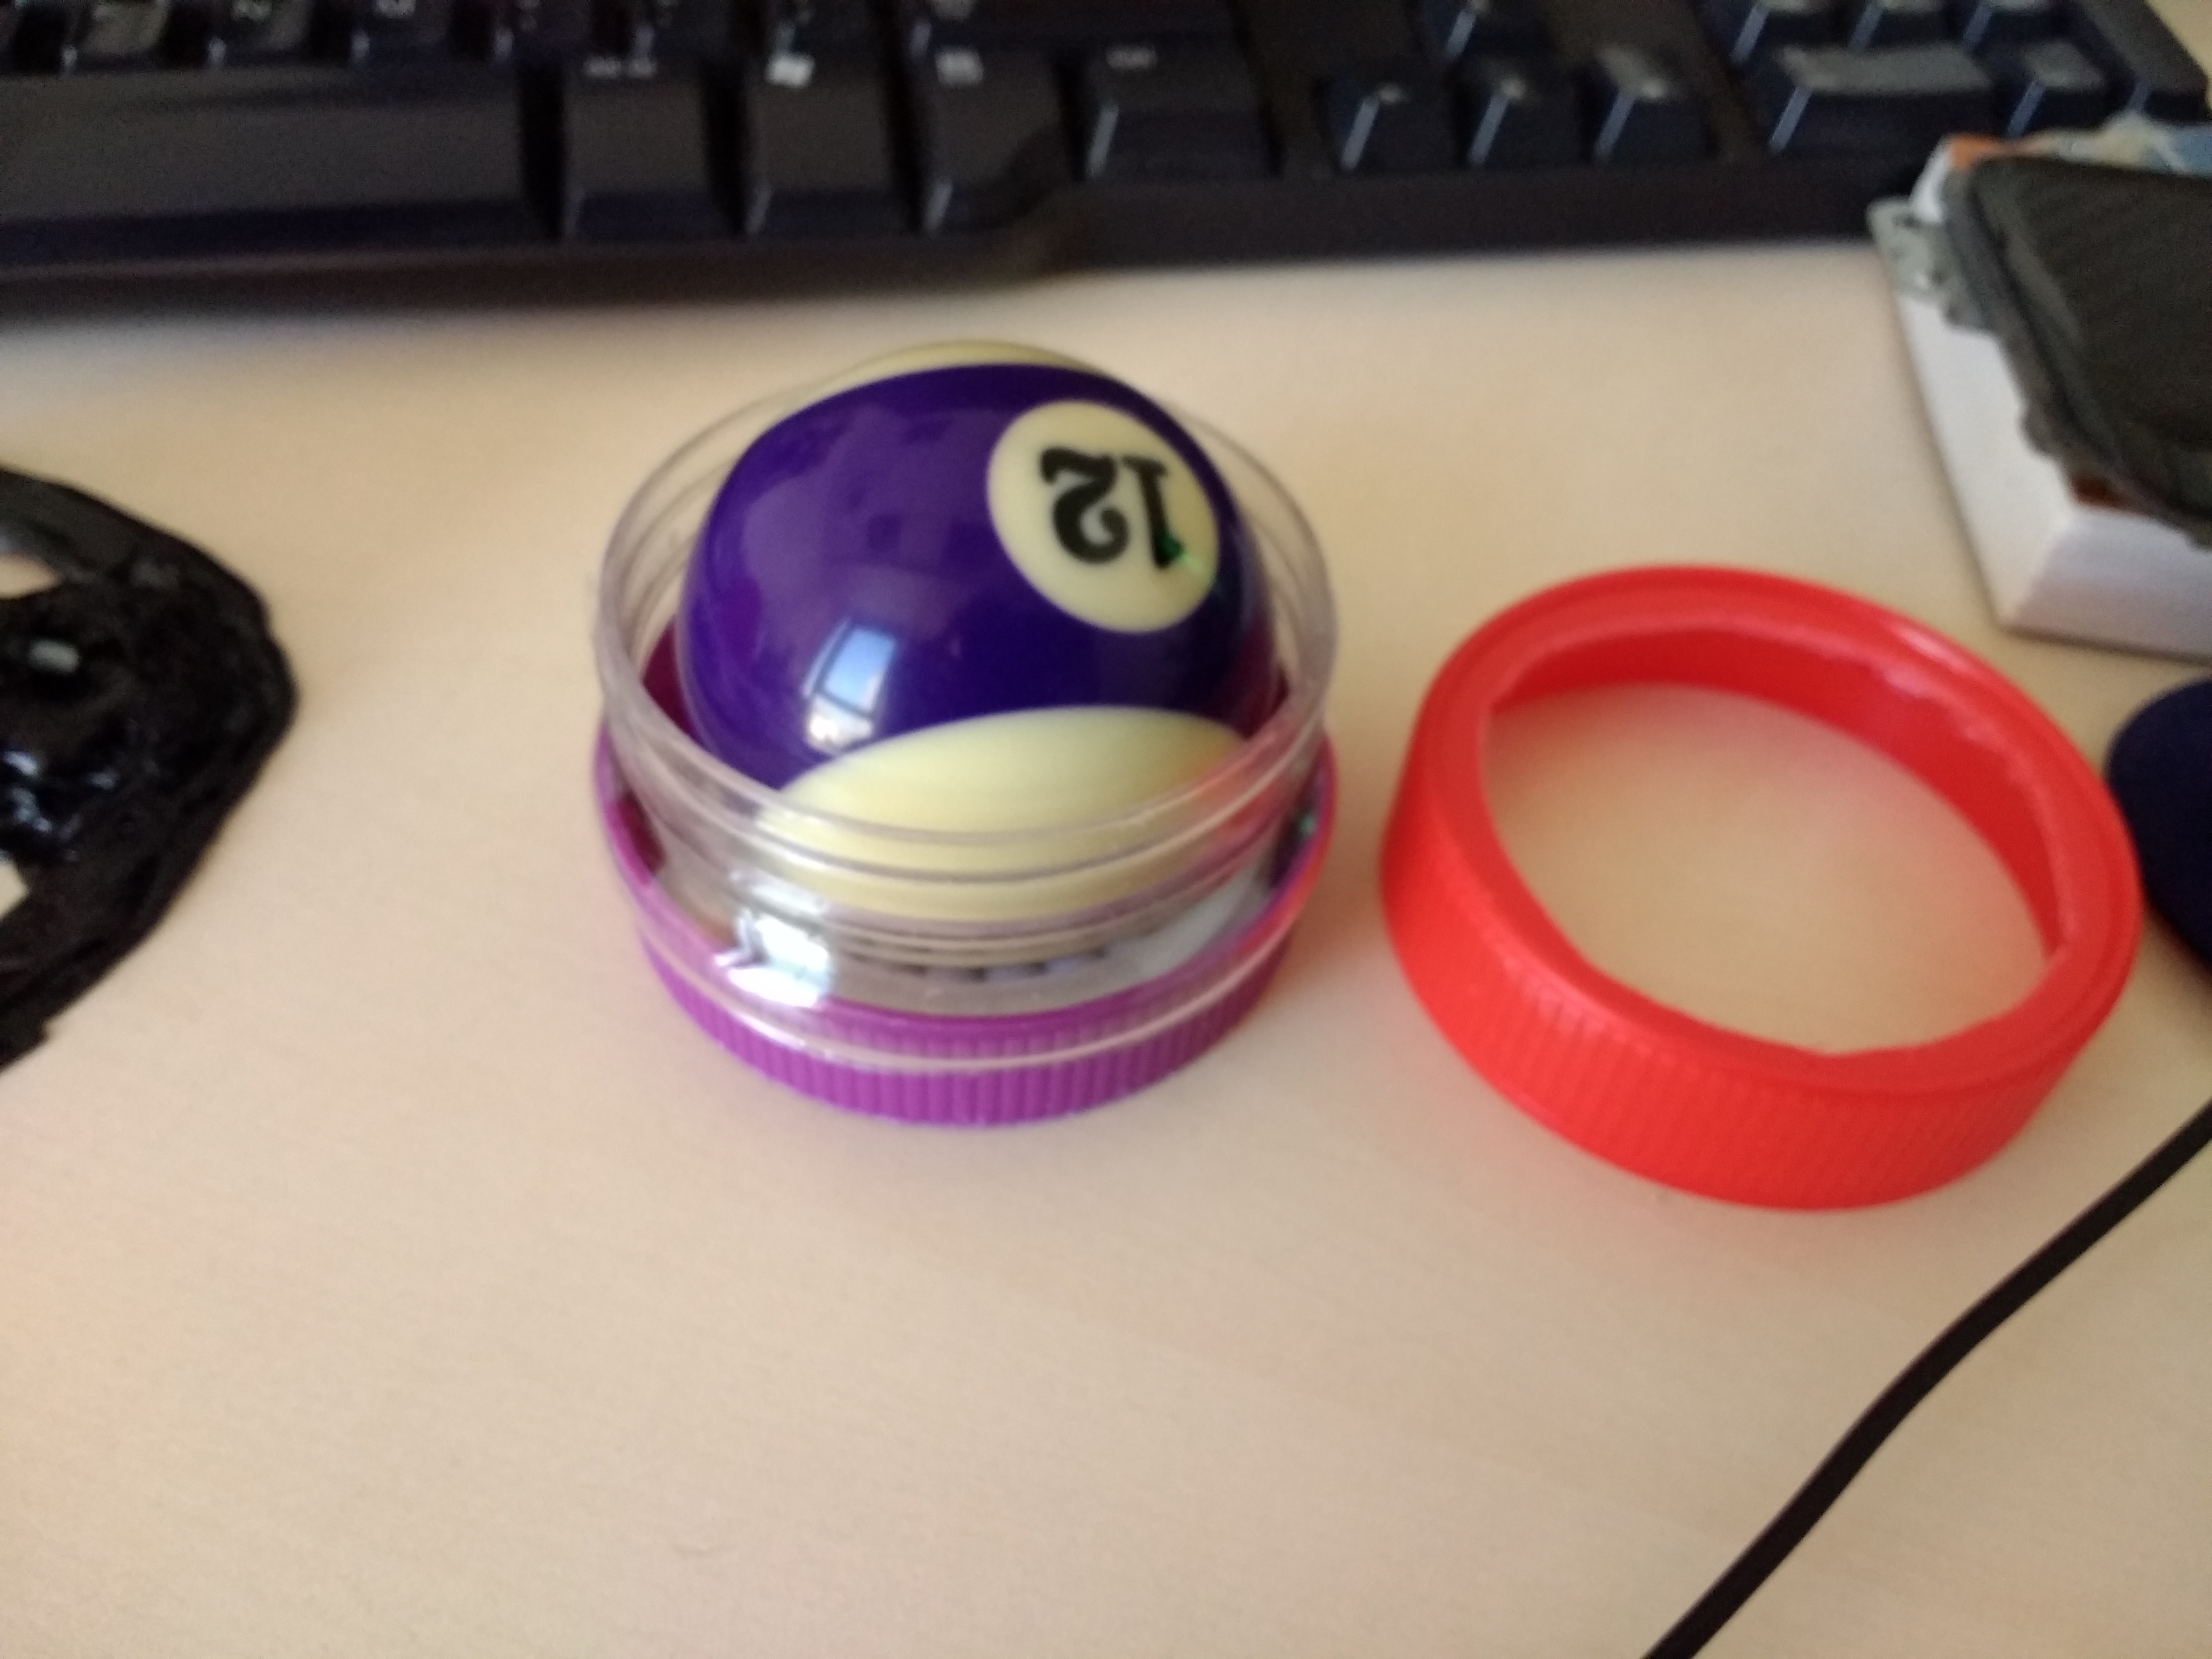
For the ball support, I have 2 designs, one is an original of mine (the one with the ball 12), while the other (ball 5) is inspired from this page:
https://geekhack.org/index.php?topic=59444.msg1900176#msg1900176


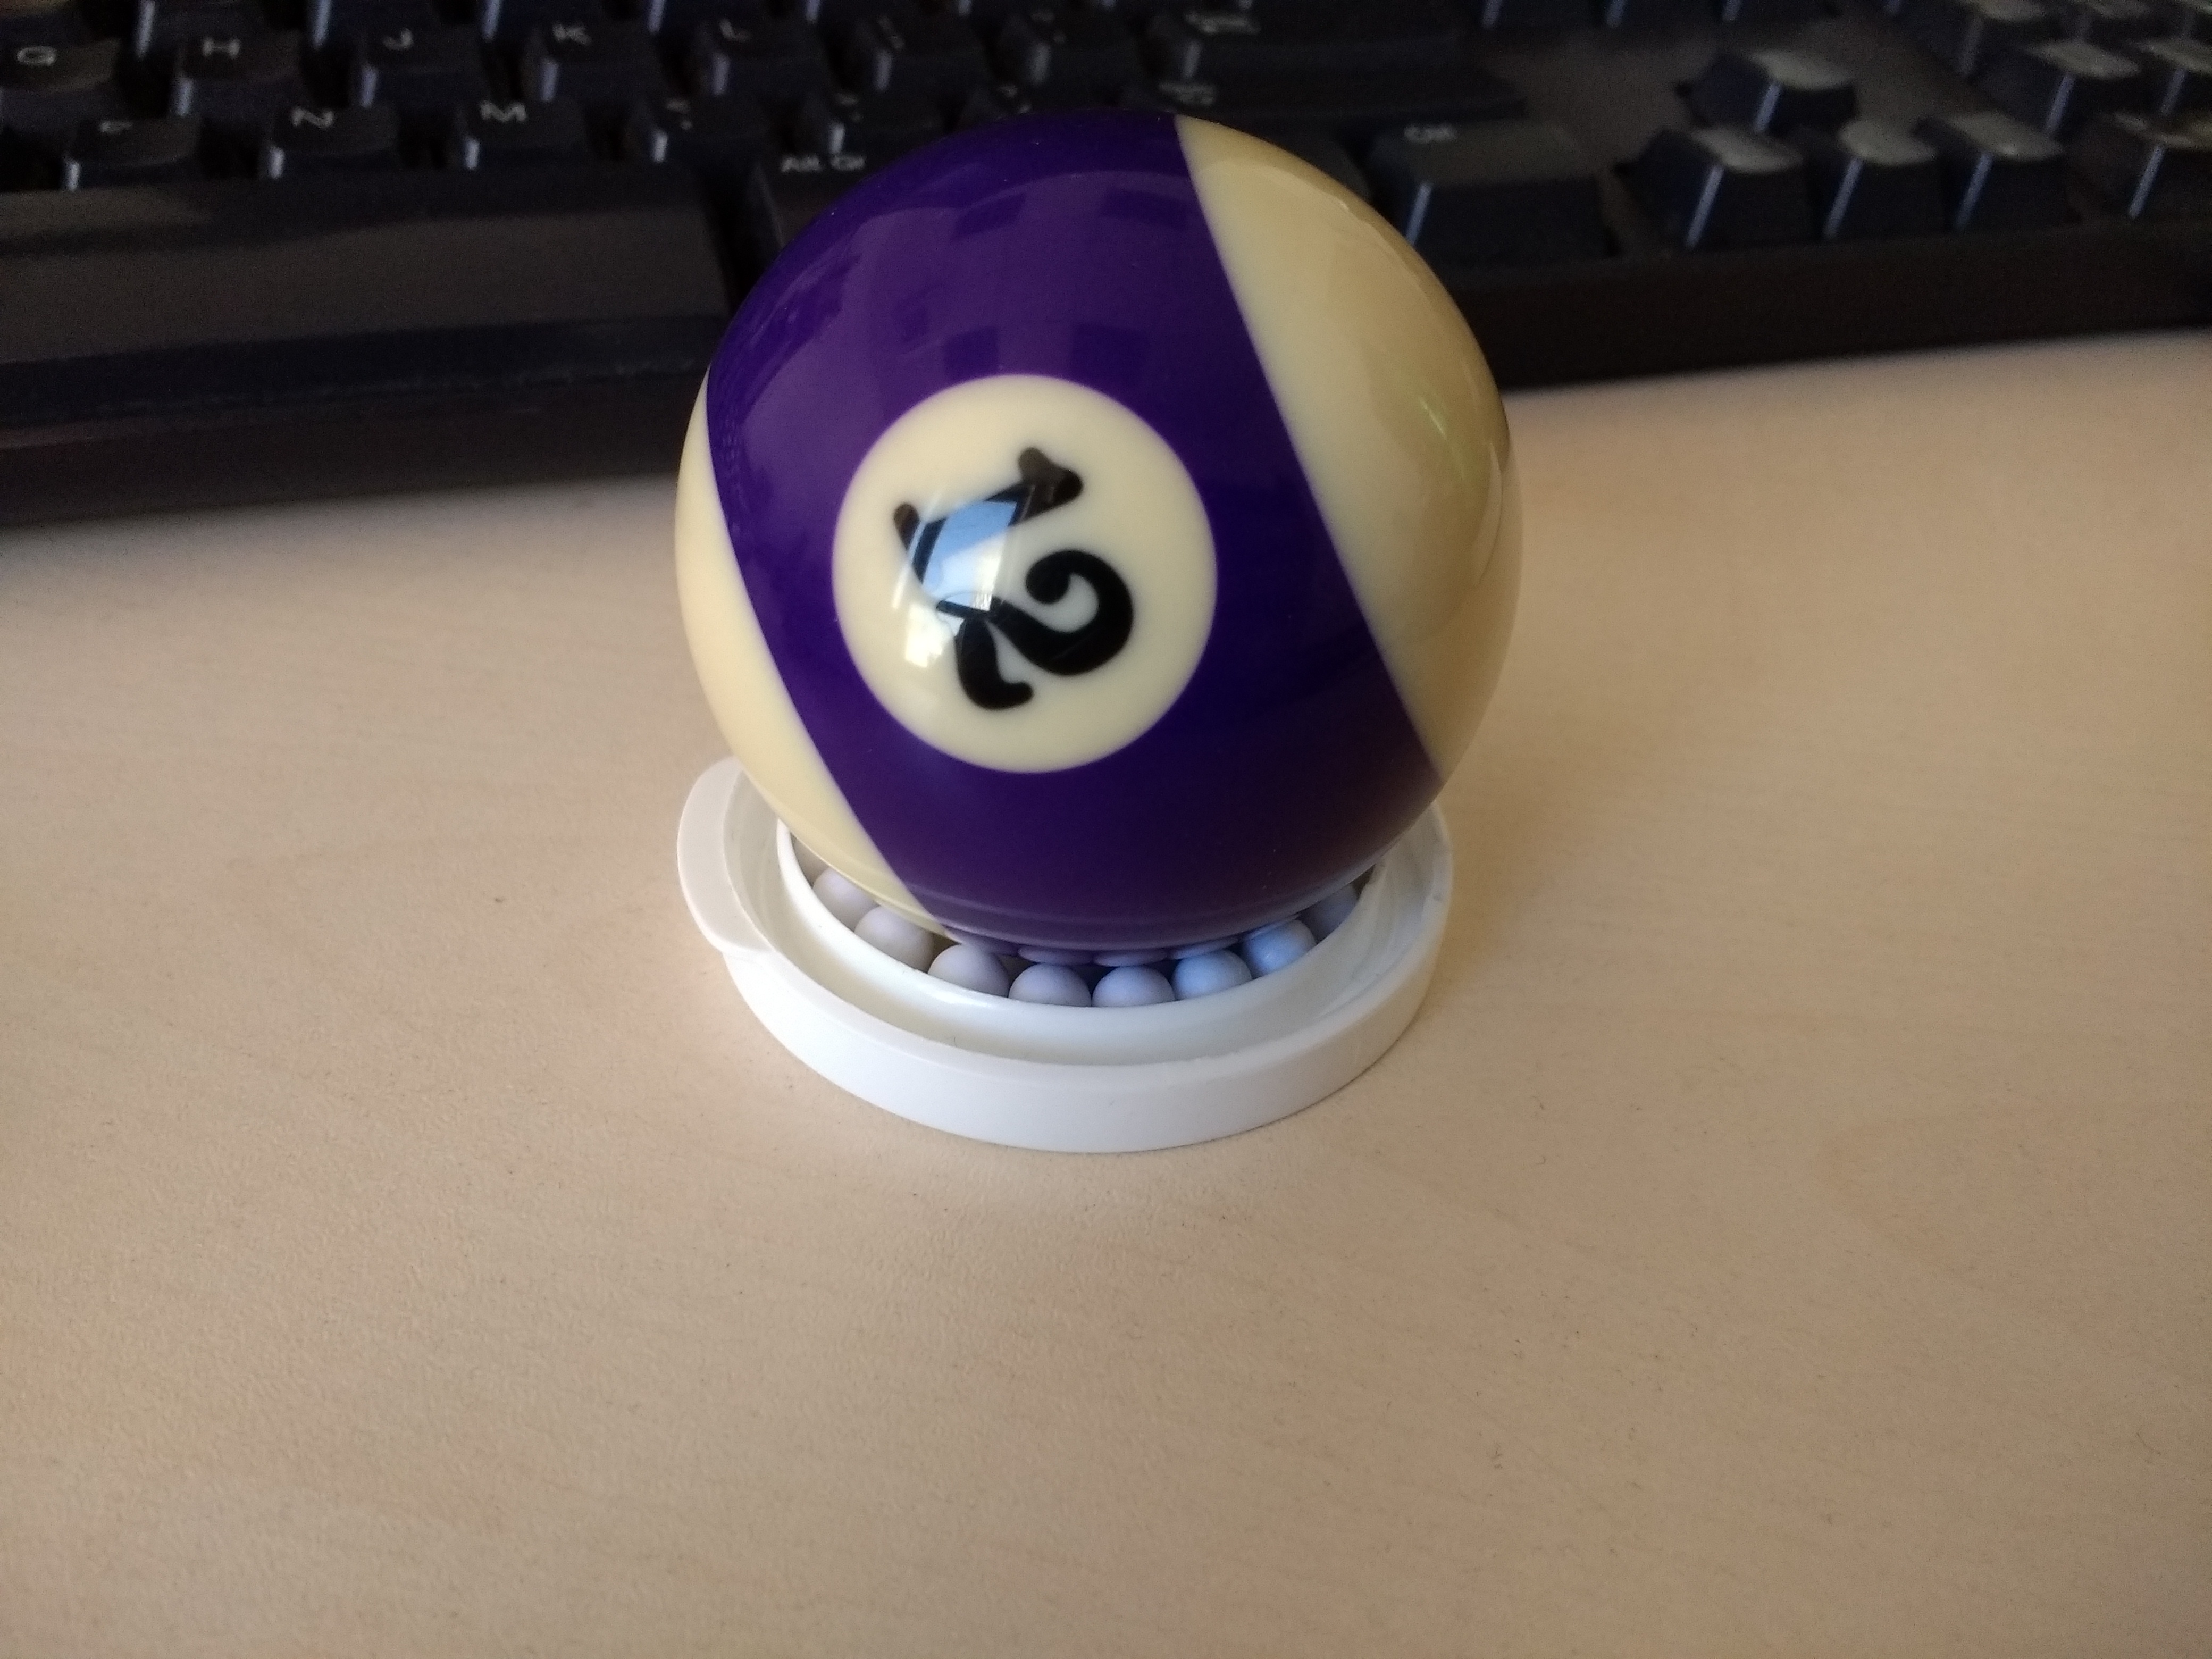
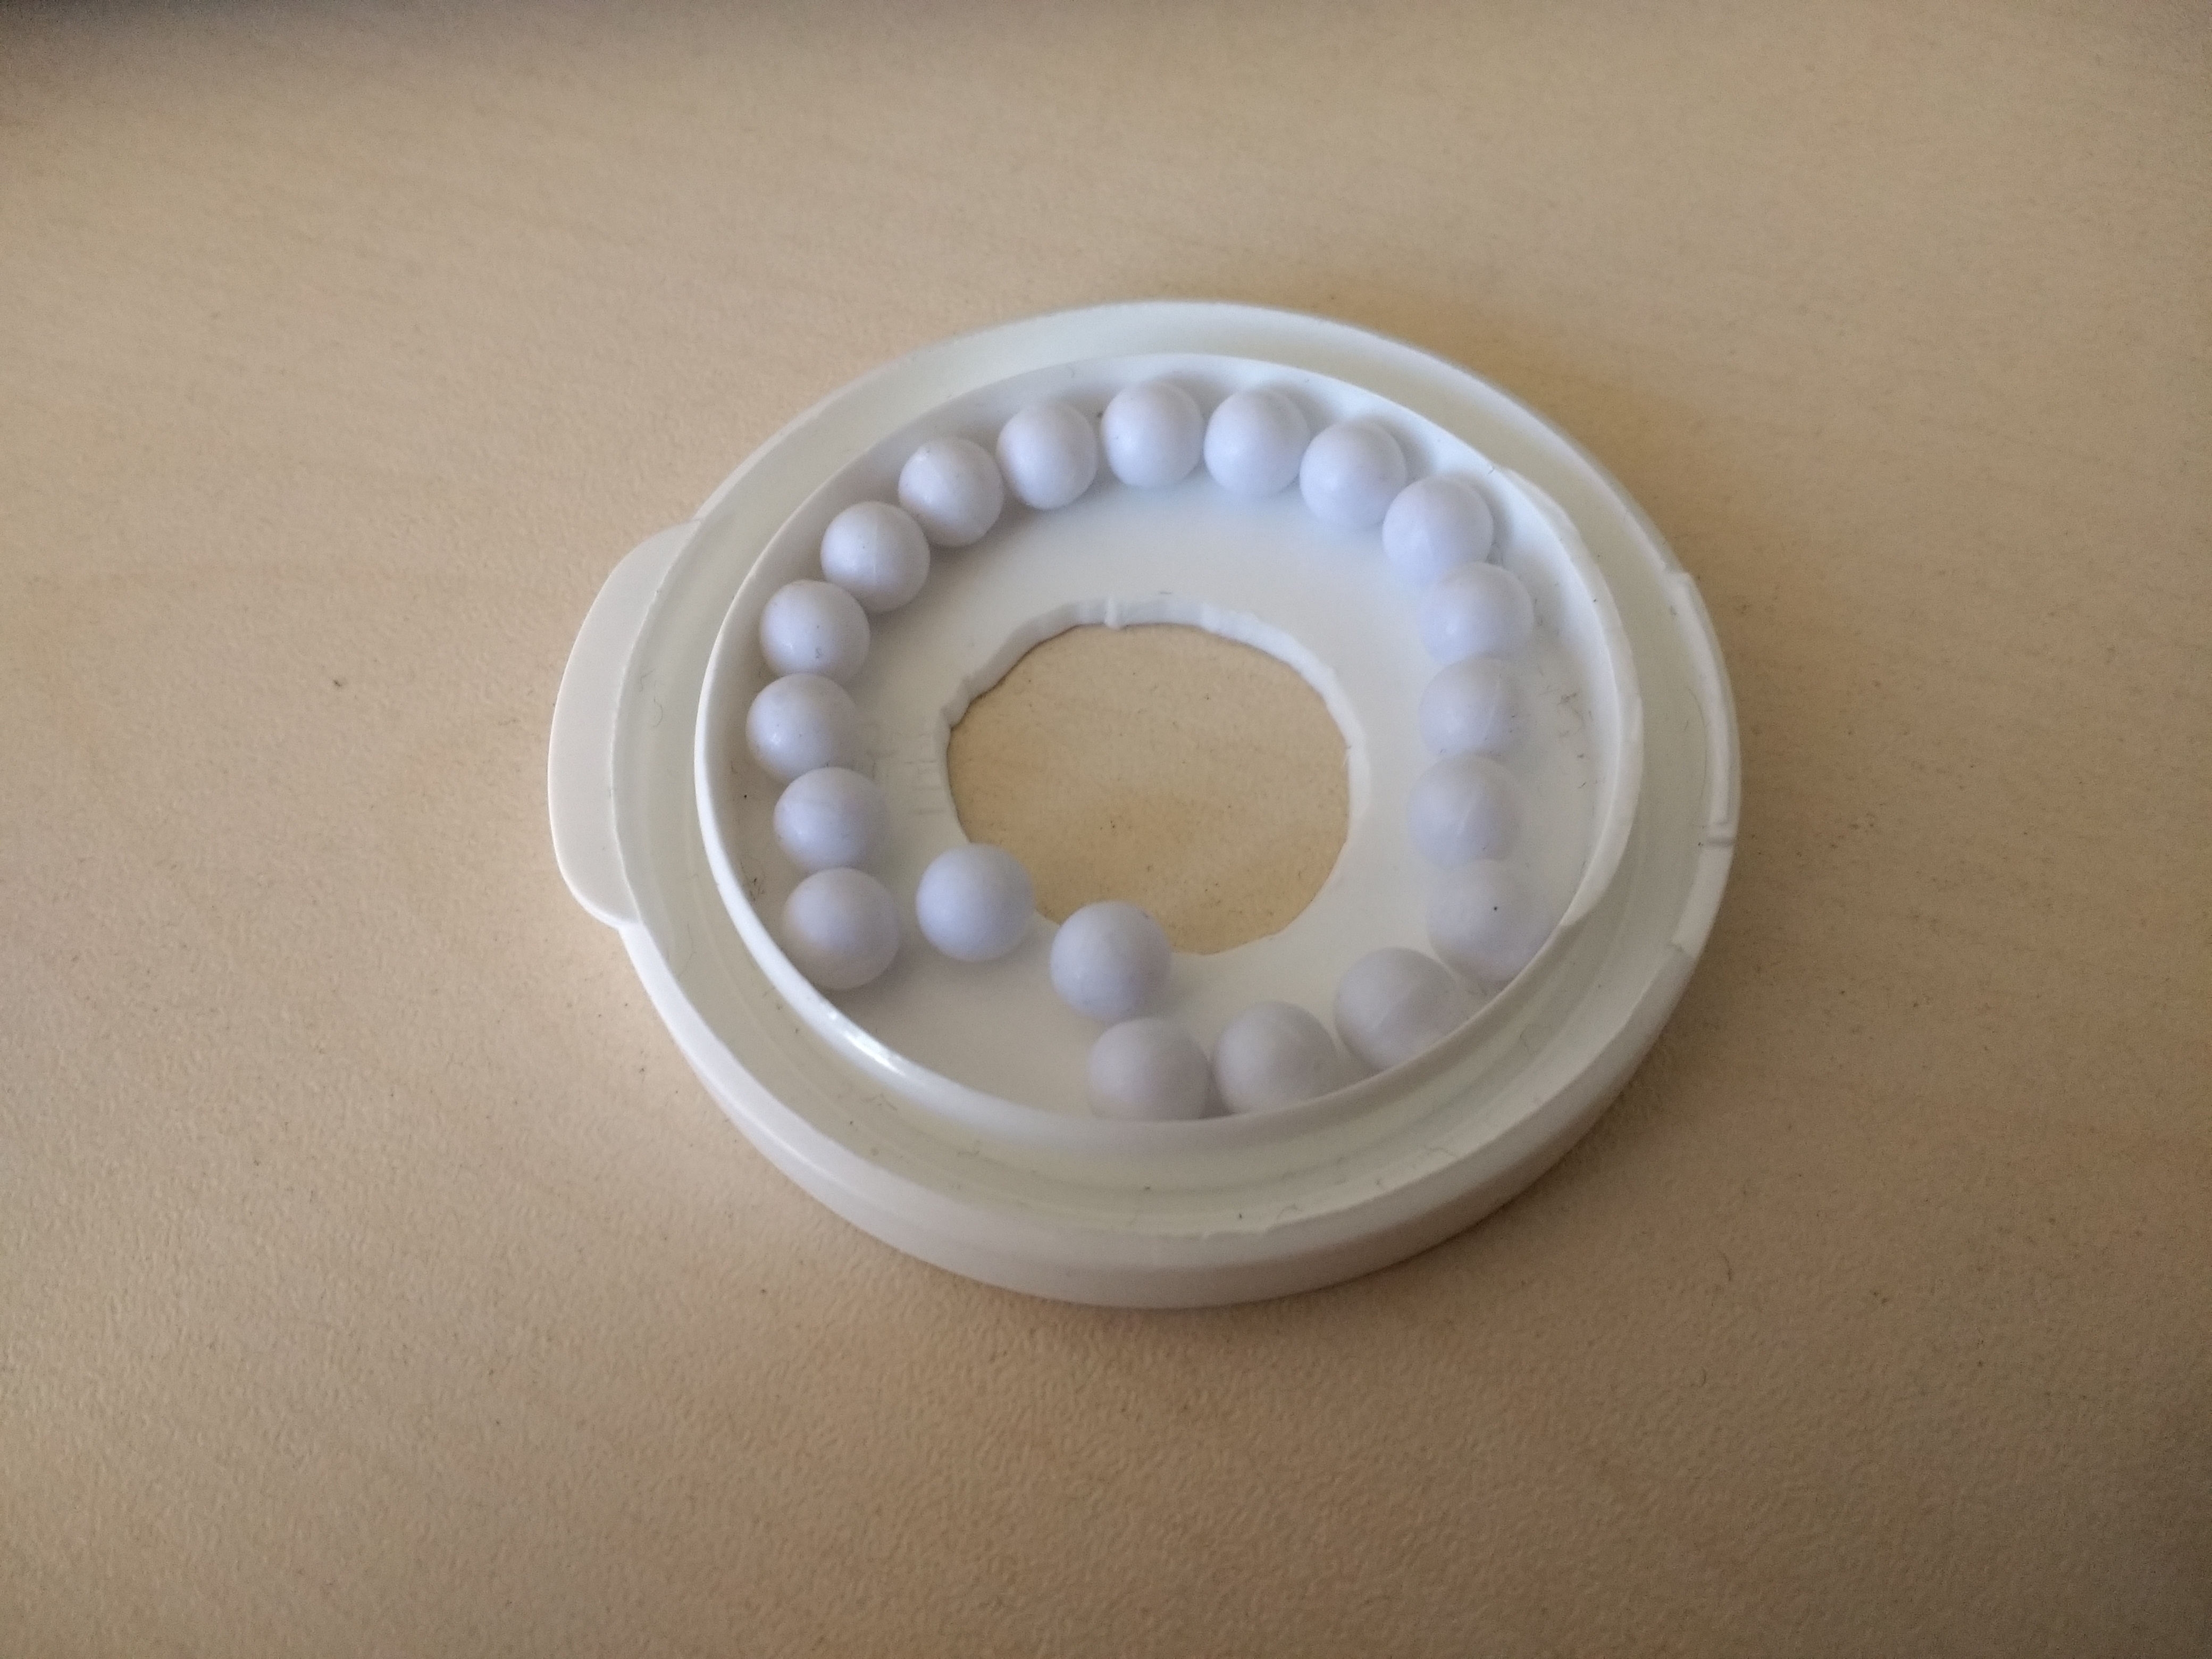
The ball is standing on some screws, each with airsoft plastic balls on top, to reduce the friction.


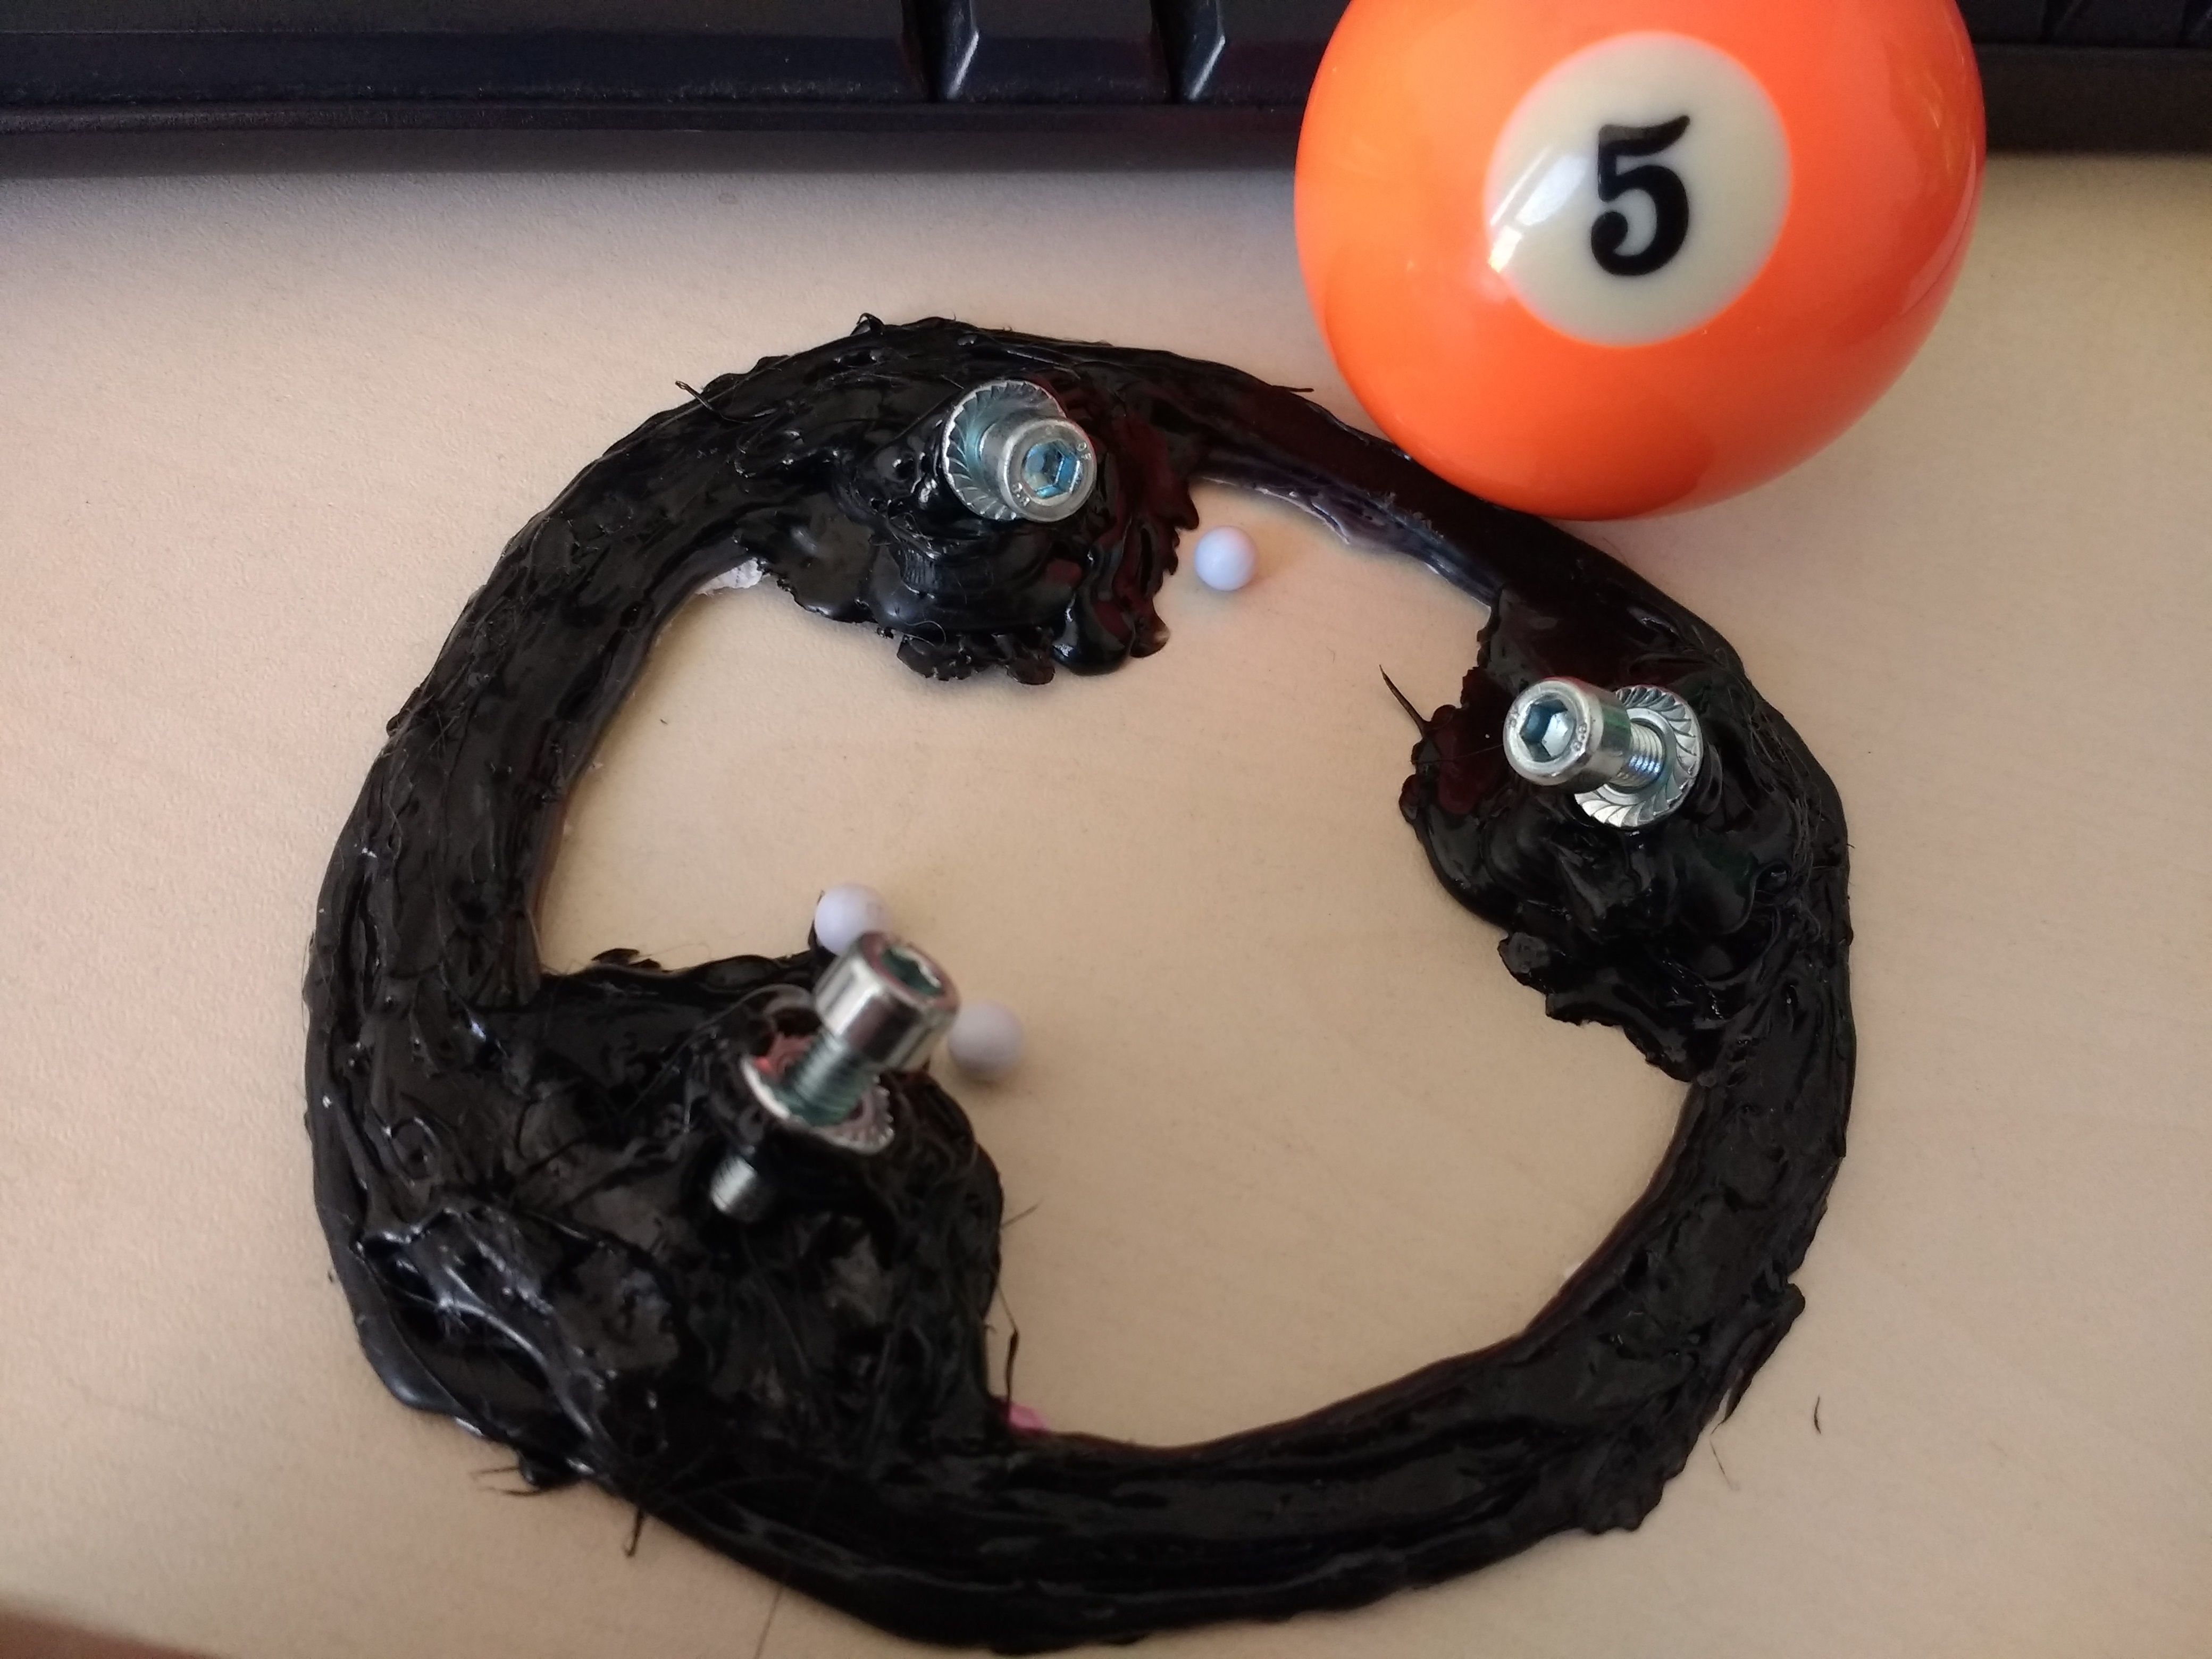
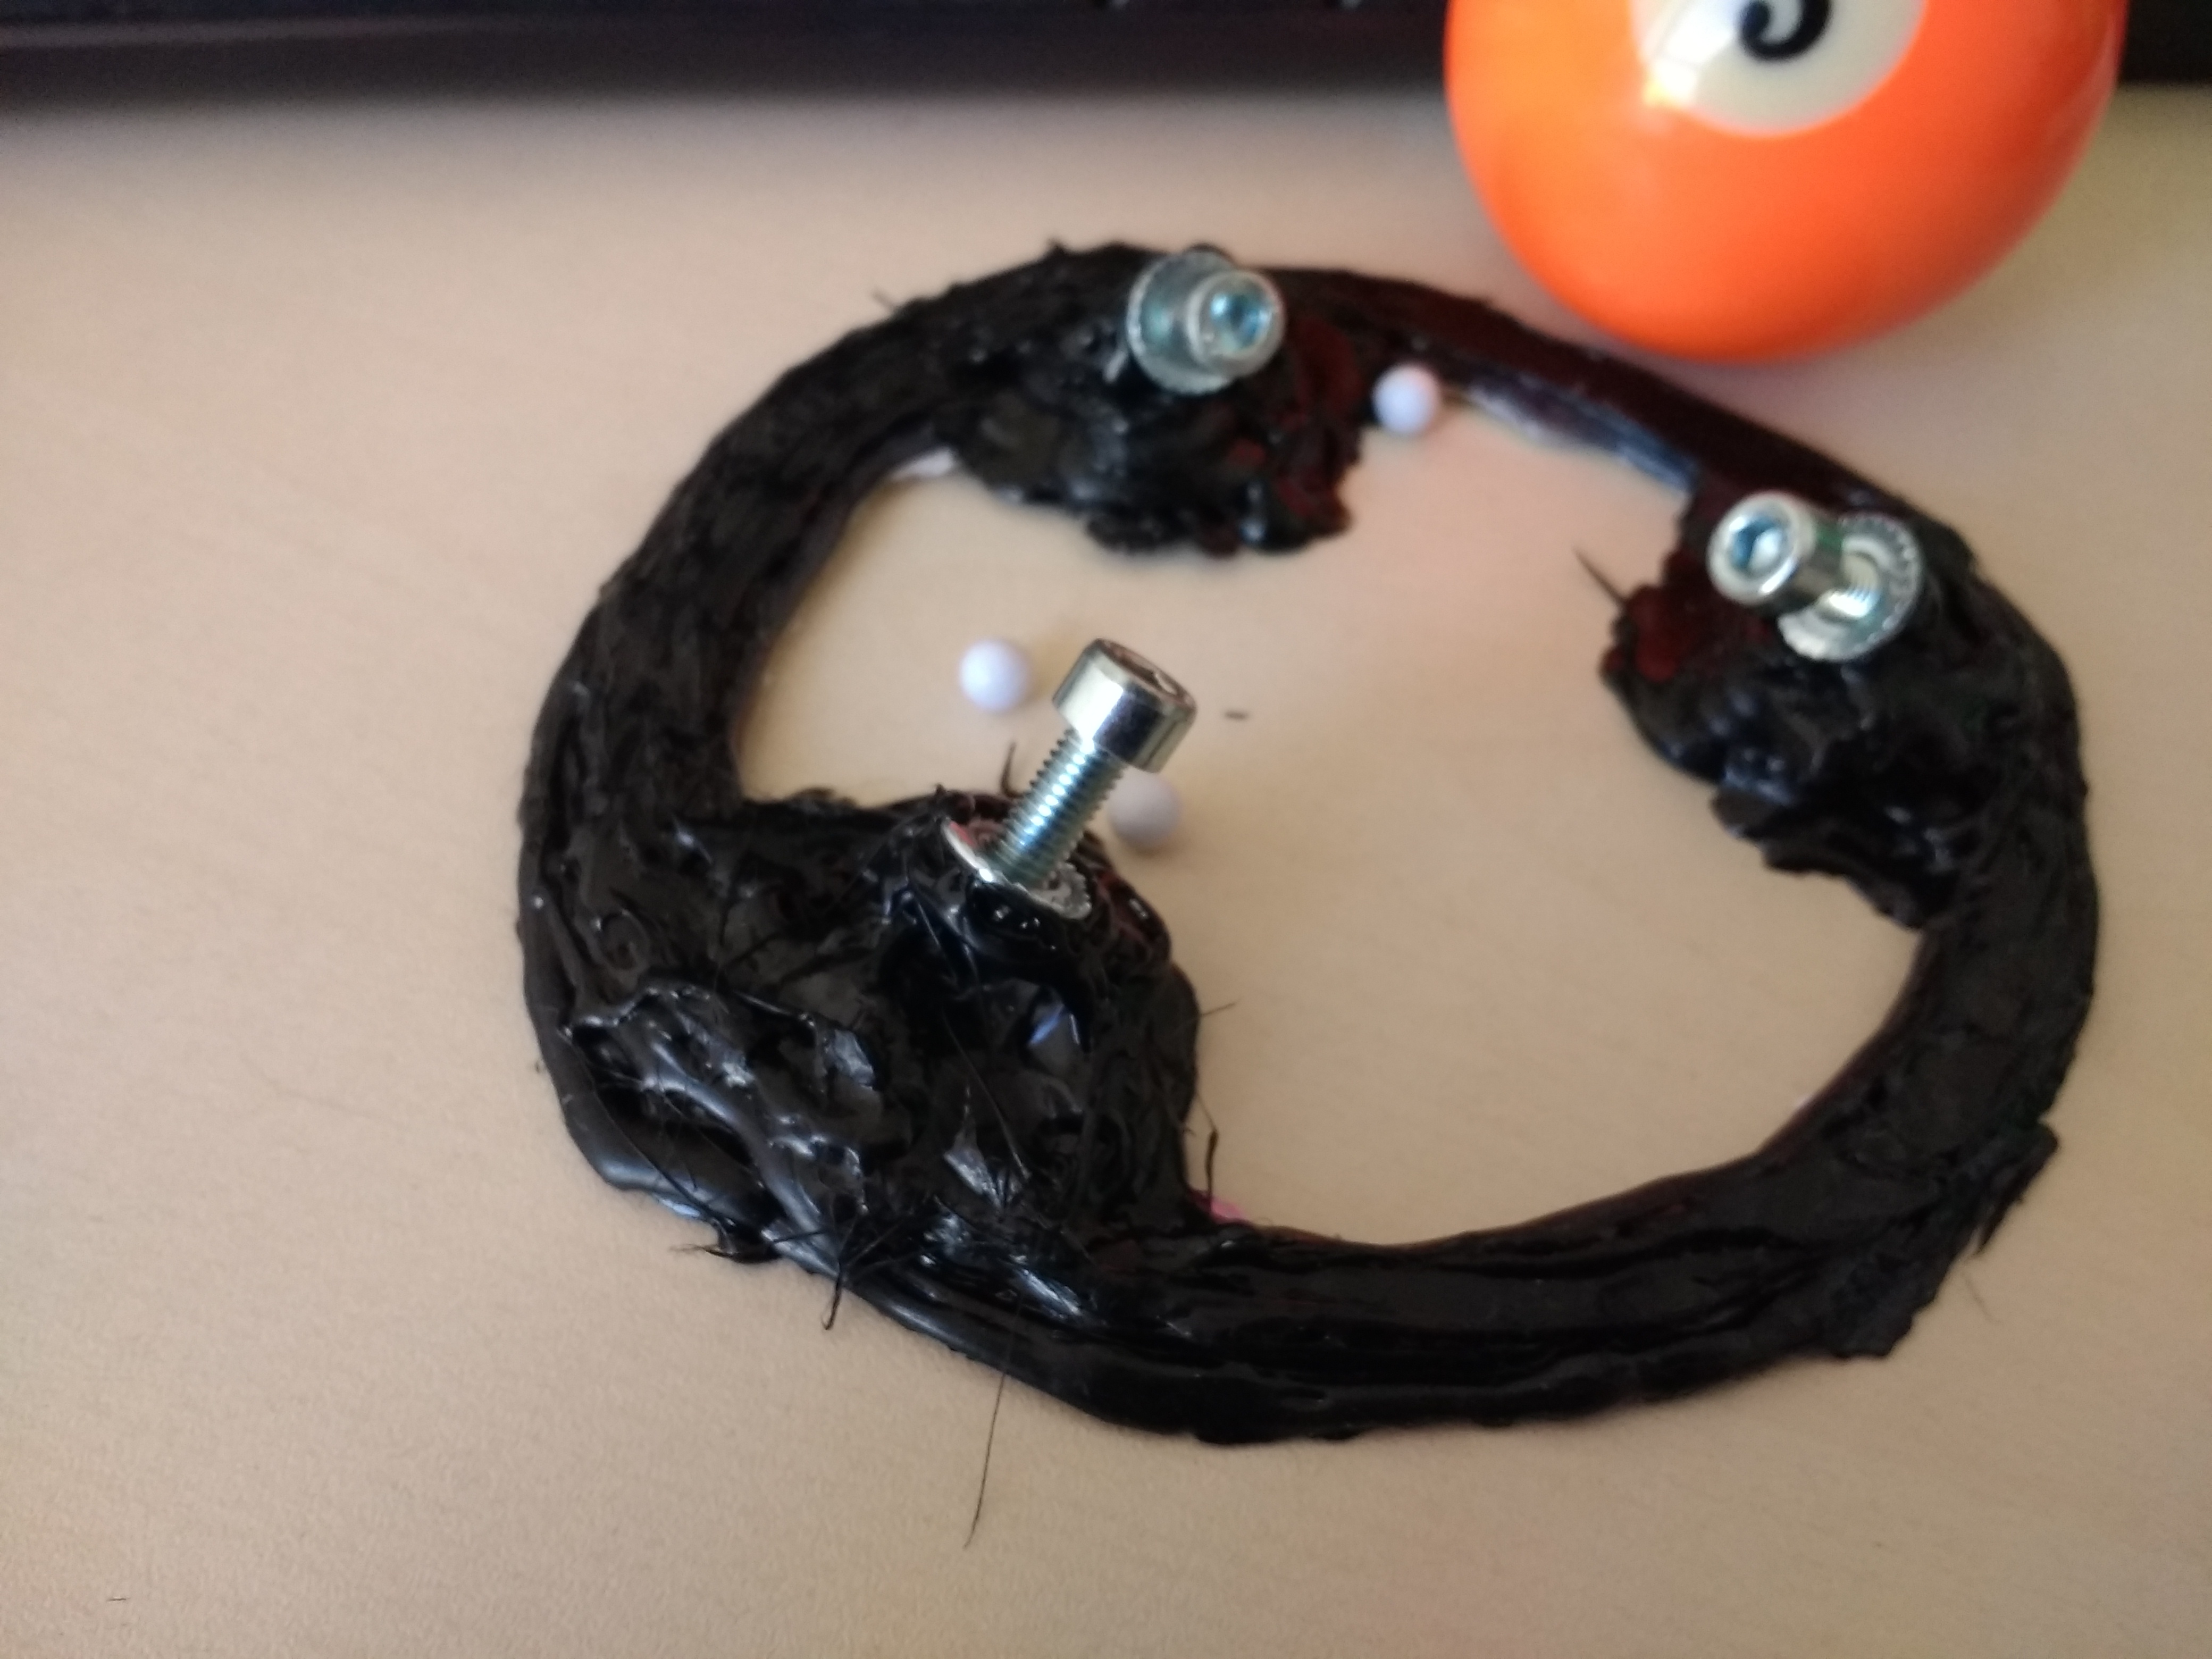
As you can see, the screws are able to move around, in order to adjust the height of the ball. Once the design will be finished, they won’t need to move anymore. It’s a little hard to place the balls on the screws, as they won’t stand there just by gravity alone, they will slide off.

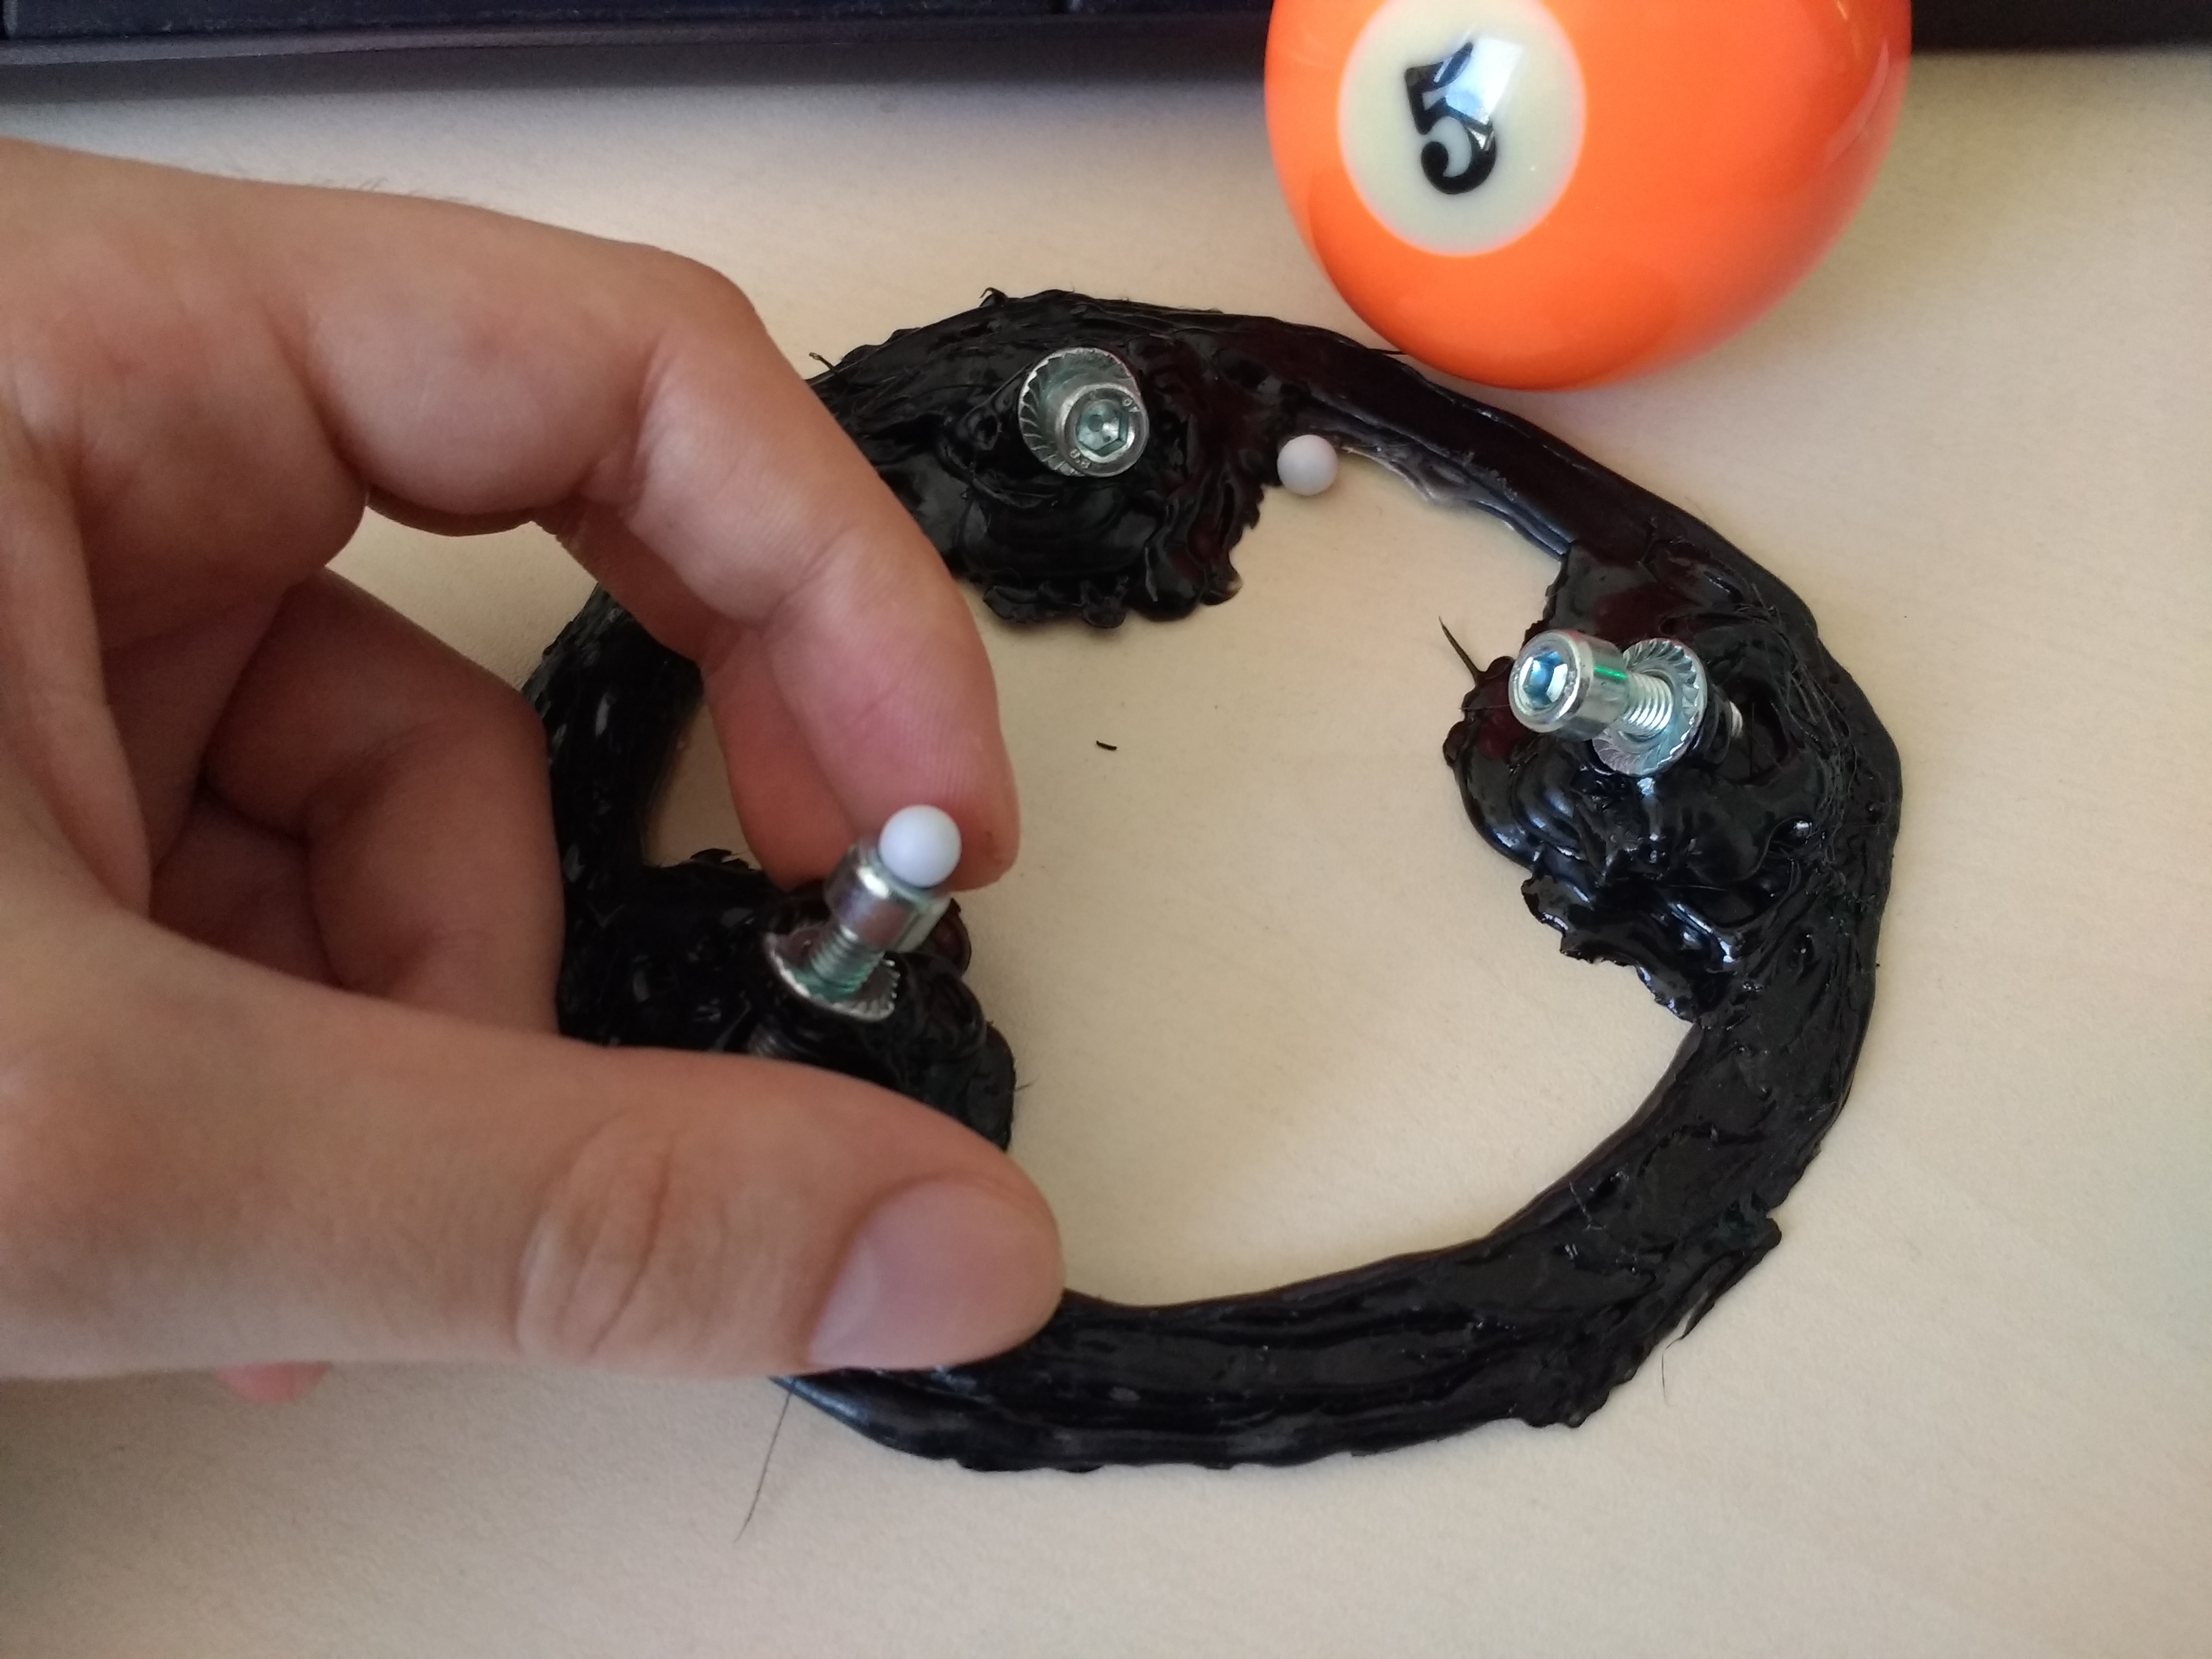
In order to mount the ball, you first place it on top of the 3 screws, then rise it a little and place the airsoft balls on each screw, making sure the ball makes contact with them. After that, the airsoft balls will be held in place.

1 Like

I mistakenly pressed alt+space and it posted my first part. Oh well… moving on…

The second design involves a plastic cap or a ring (the cap rises the ball a little higher, but it’s a pain to place the ball in there, because the small airsoft balls will not be able to get out of the hole cut in the middle).

Because this design is a pain to move and reassemble, I had to make a cap for it, big enough to reveal almost half of the ball, but small enough that the ball won’t go through that cap (kinda like the old ball-mice back in the days).

This design moves a little harder (not very noticeably) than the one with 3 screws, but can roll / swivel very easily, just like the Kensignton Slimblade (the scroll mode). I don’t have the knowledge to do a swivel scroll and that would probably require an Arduino and an additional optical sensor, so I won’t get into it. This is a note for people with more skill and better tools than me.

Sorry for the video quality, it’s not my phone, it’s BitChute rendering it in lower quality to preserve bandwidth (not that you really need good quality for this demo). In the first video, you can see both of them in action. The first one is pretty silent, but be careful when I go to the second one and start swiveling it, it’s a little louder:

In the second video, I show the cap for the ball 12 design:
https://www.bitchute.com/video/raQkS0XyTRno/

That’s how far I got. I managed to solder some wires onto the mouse PCB (it’s not a good job at all, but it seems to work fine):

You only need to solder 2 wires, I’m not sure what the third one does, but as long as I have the original buttons there, it shouldn’t be any problem. I will come back after I advance with this little project (I’m making 2 trackballs, one for each design).

Additional note for DIY-ers: if you don’t have good tools or lots of skills, I advise not to desolder the original buttons off the PCB. I managed to damage my first trackball (not these ones, my first ever attempt that I haven’t build-logged) and had to solder some of the wires directly on the IC pins (not fun).

Also, in the PCB photo, I placed the power button on the other side and hot-glued it in place, so I can power the trackball from the other side (as mentioned, upside-down PCB):

1 Like

I’m chasing down that same rabbit hole and the airsoft bearings in a cap had not occurred to me! Thanks!

1 Like

Thread closed as it was outside the guidelines for thread revival. Please PM me or another moderator if you feel the thread was closed in error. See the FAQ for more information.

Feel free to create a new thread if you wish to continue this thread’s conversation.