Introduction
I recently came across the L1 video about a drop in replacement controllers, however they are for the IMB model m SSK as well as the Unicomp model m SSK and not for the fullsize Unicomp model m. Here I will cover my specific keyboard and how to get QMK (in this case the vial QMK fork of QMK) working on this keyboard. Why did I even want to do all this? Well my keyboard was fine when I had just gotten it but a few days typing quite a bit more than just WASD and suddenly I could no longer print a Q using left shift and q, the keyboard would also randomly start spamming <<<. So for a while it was unusable to me. Until I came across the L1 guide for running QMK on some model m keyboards.
Before we begin
I use linux as a daily driver and I did perform this under linux, unfortunately I cannot provide help doing this under Windows or MacOS. There are references at the very bottom of the guide that include tutorials for Windows and MacOS if that is what you use.
It is important that we identify if your keyboard is exactly like mine. There is a good chance you end up having another different controller or perhaps your keyboard is compatible with the L1 replacement controller and the other guides on the forum.
ID your keyboard
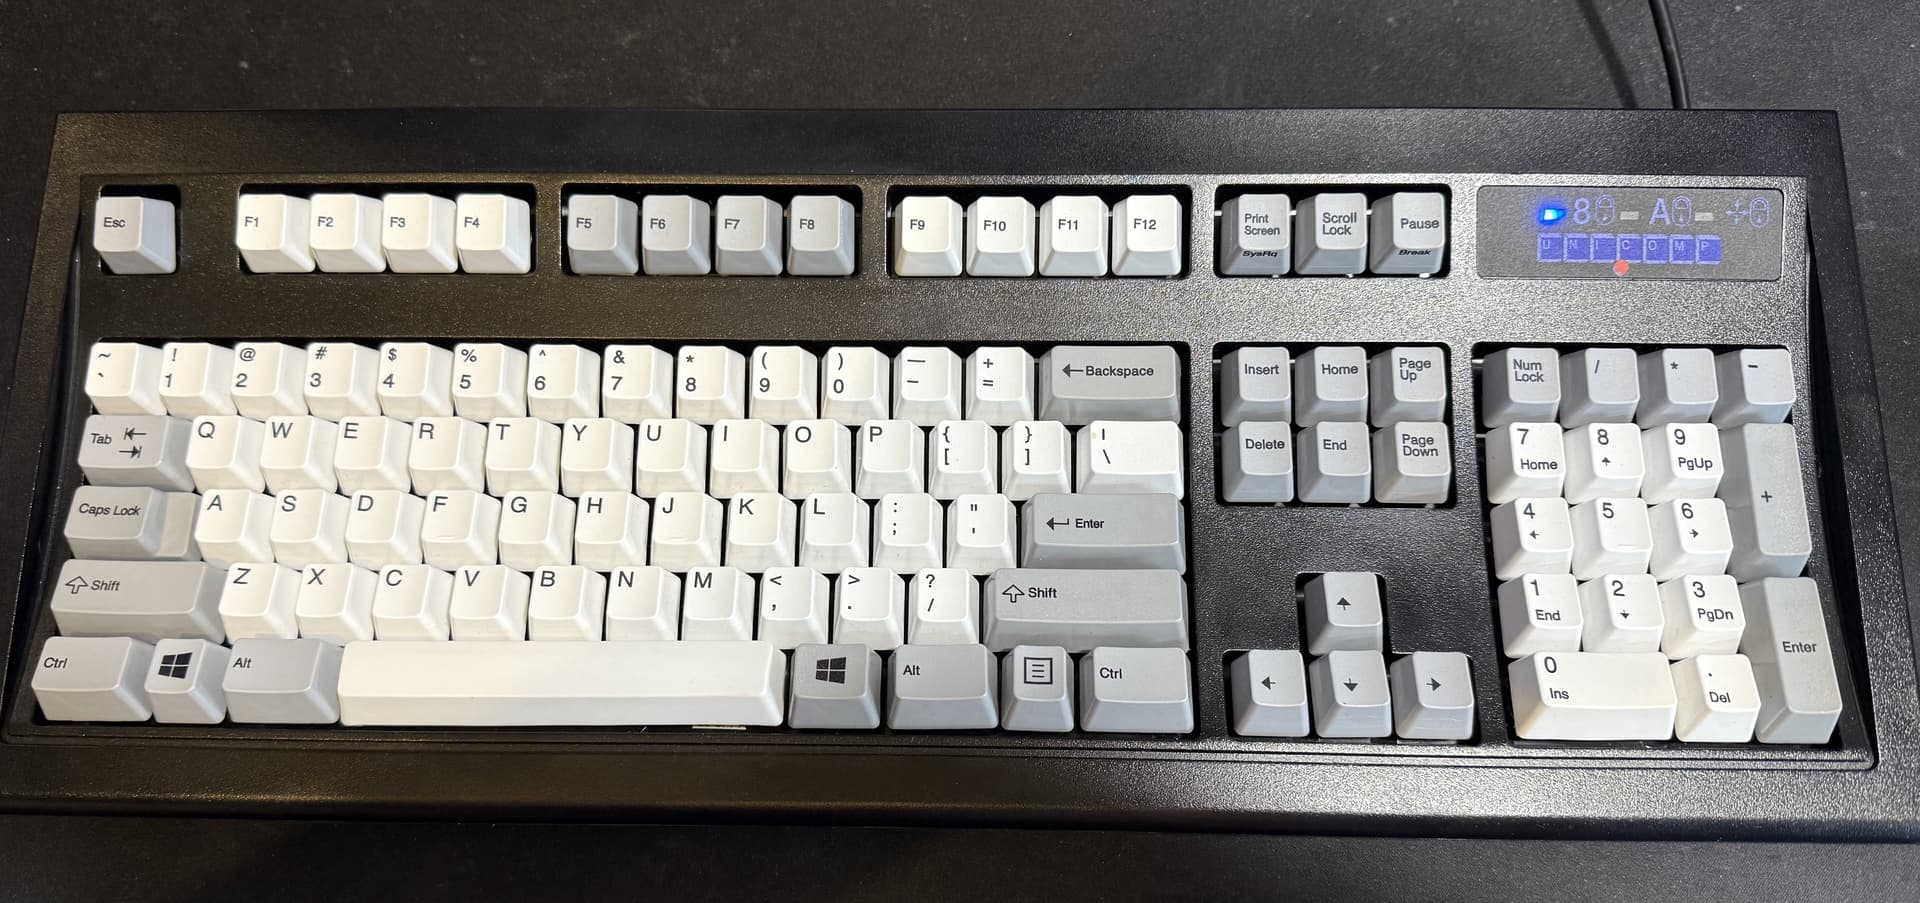
This is what the keyboard should look like, the color might vary
Just for reference, this is the sticker on the back of my keyboard.
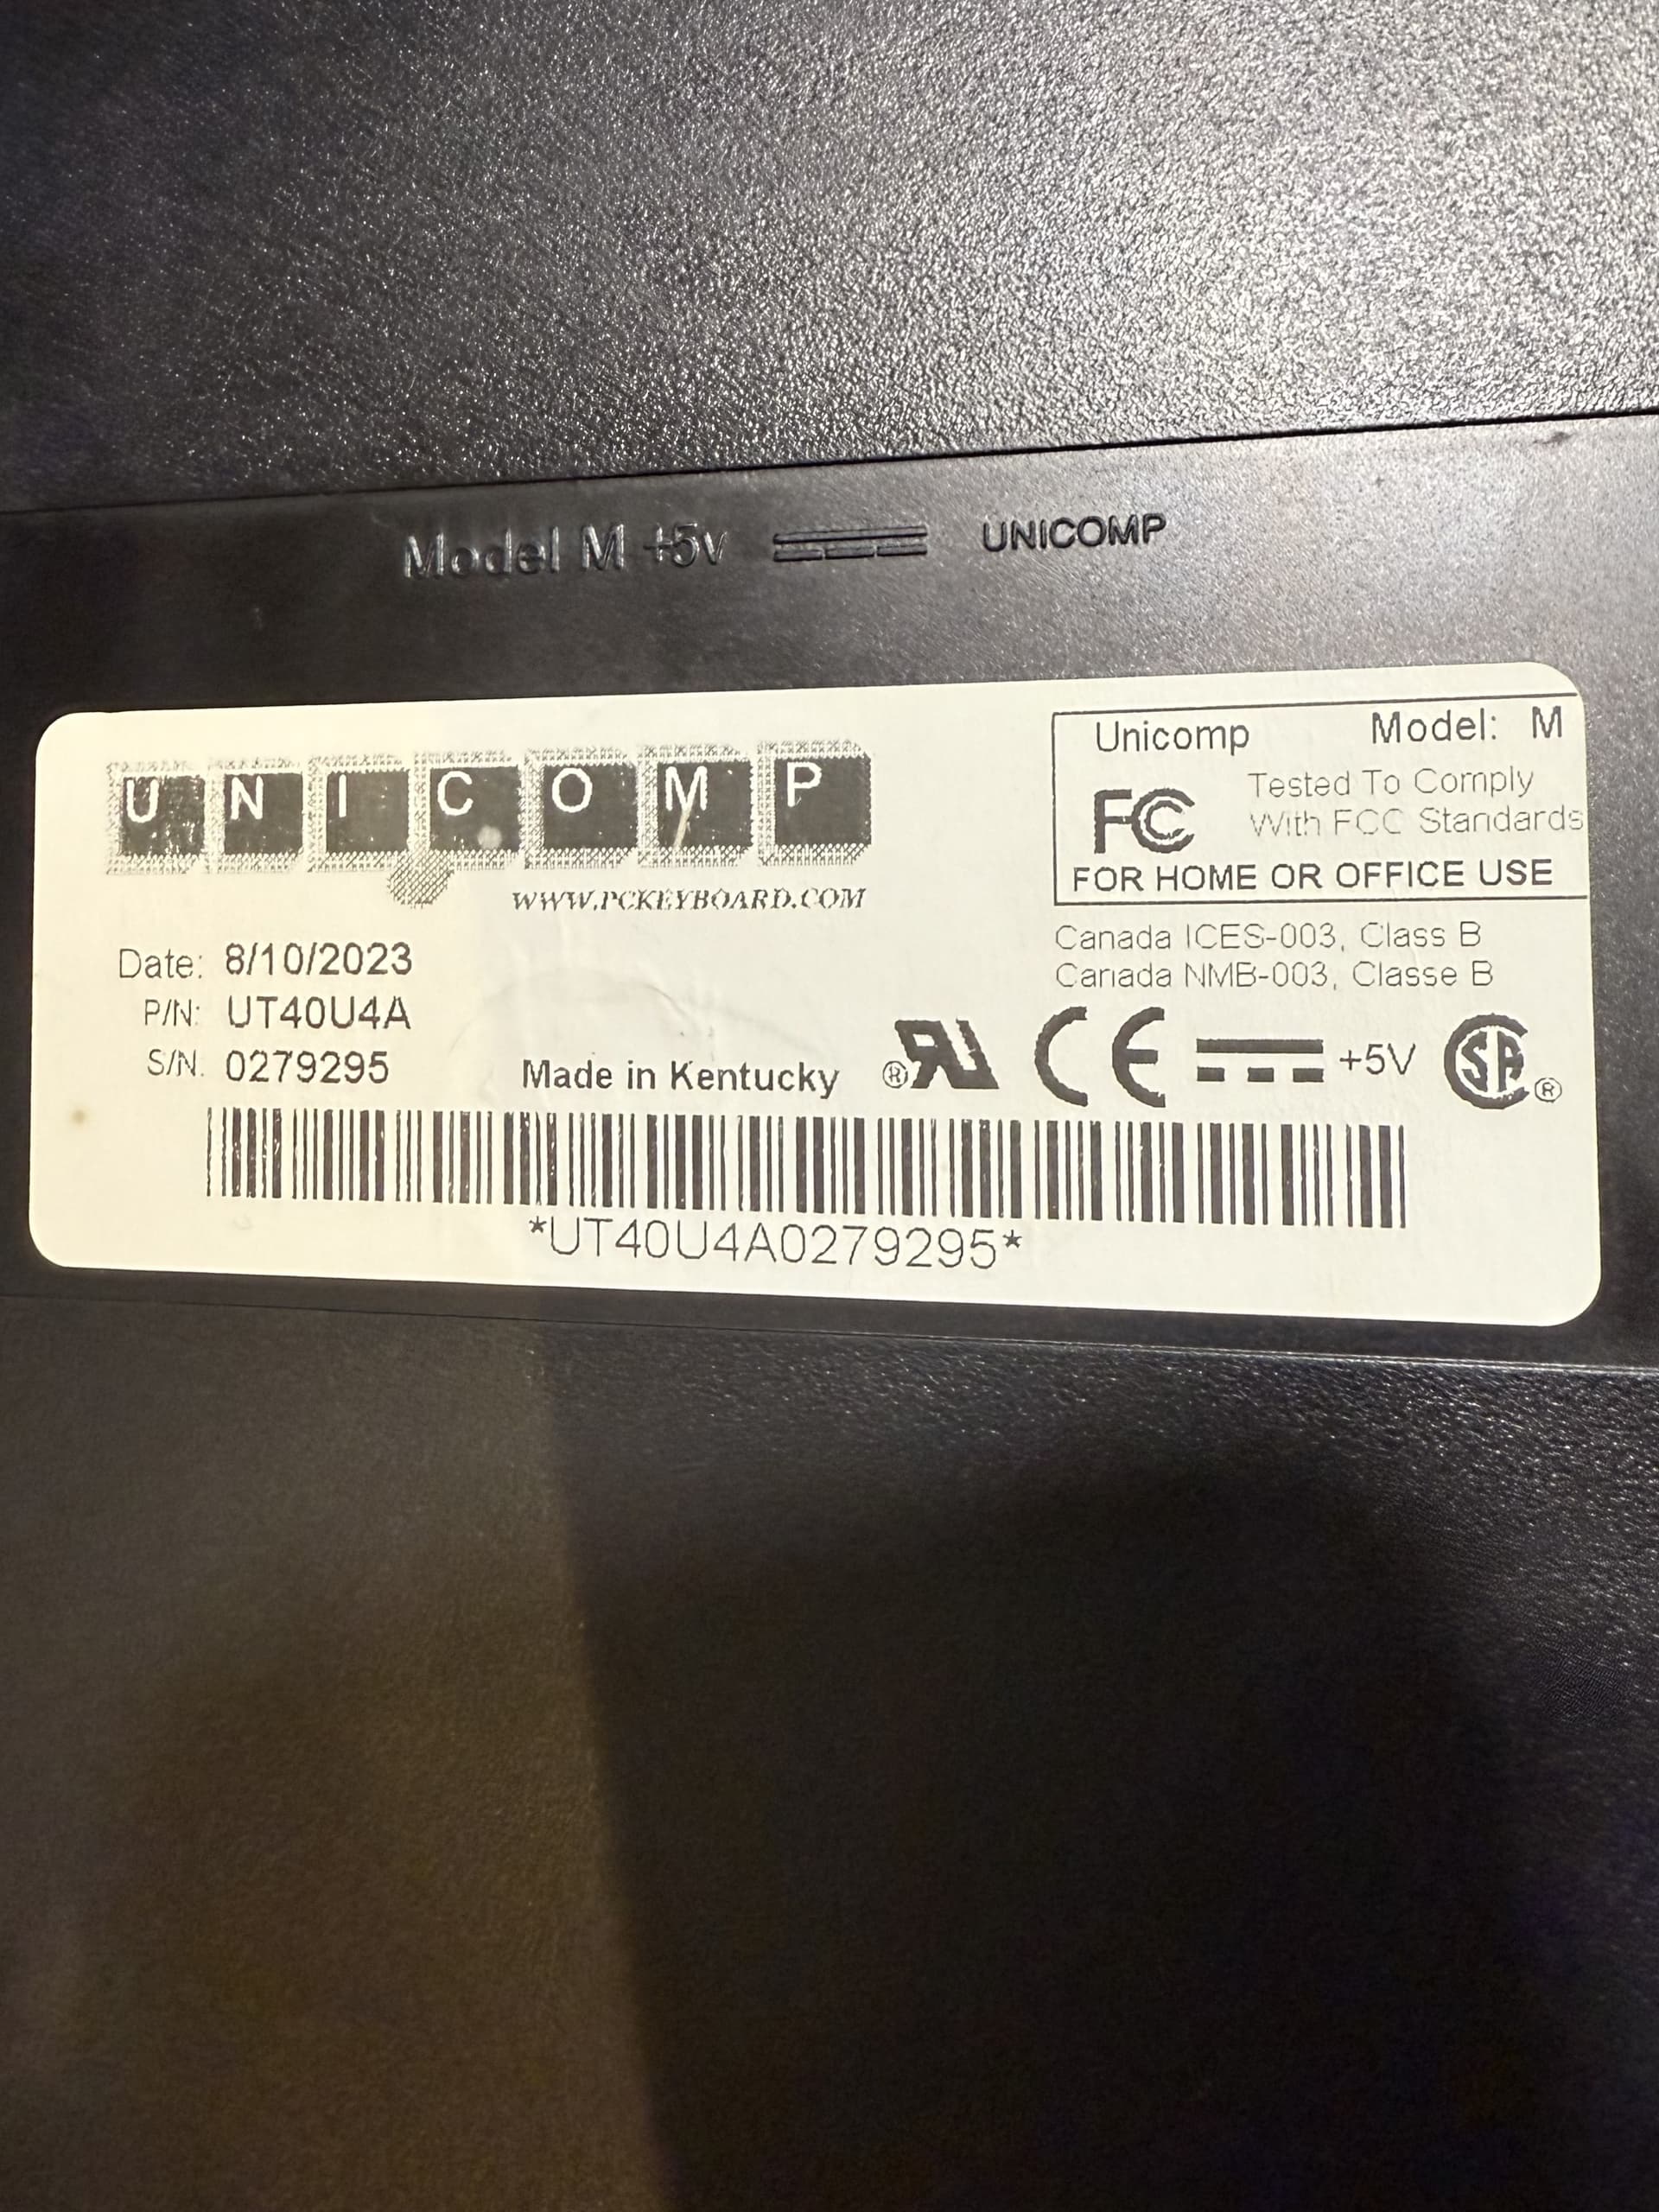
If this is what your keyboard looks like and the Sticker has similar dates then you might have the same controller inside. There are two ways of finding out if you do have the same controller:
- Using:
lsusb
and looking for: Aristides 2862 … or:
- Opening up the keyboard and taking a look inside.
The tutorial I used said that you may not have to open up your keyboard to flash the firmware to the controller but in my case I was unable to turn the controller into boot-mode and had to open up the keyboard still. So be prepared with a PH2 screwdriver (larger Phillips head). Note: There are only three screws at the top of the keyboard, the lower side is hooked inside the plastic. Carefully lift the top and move the halves apart. I will give you a heads up putting the keyboard back together can be a little fiddly. It’s not particularly fragile at all so you probably won’t break anything even if you are trying the wrong way. Just let caution guide you a little and you will be fine.
Once you open your keyboard the controller should look a little like this:
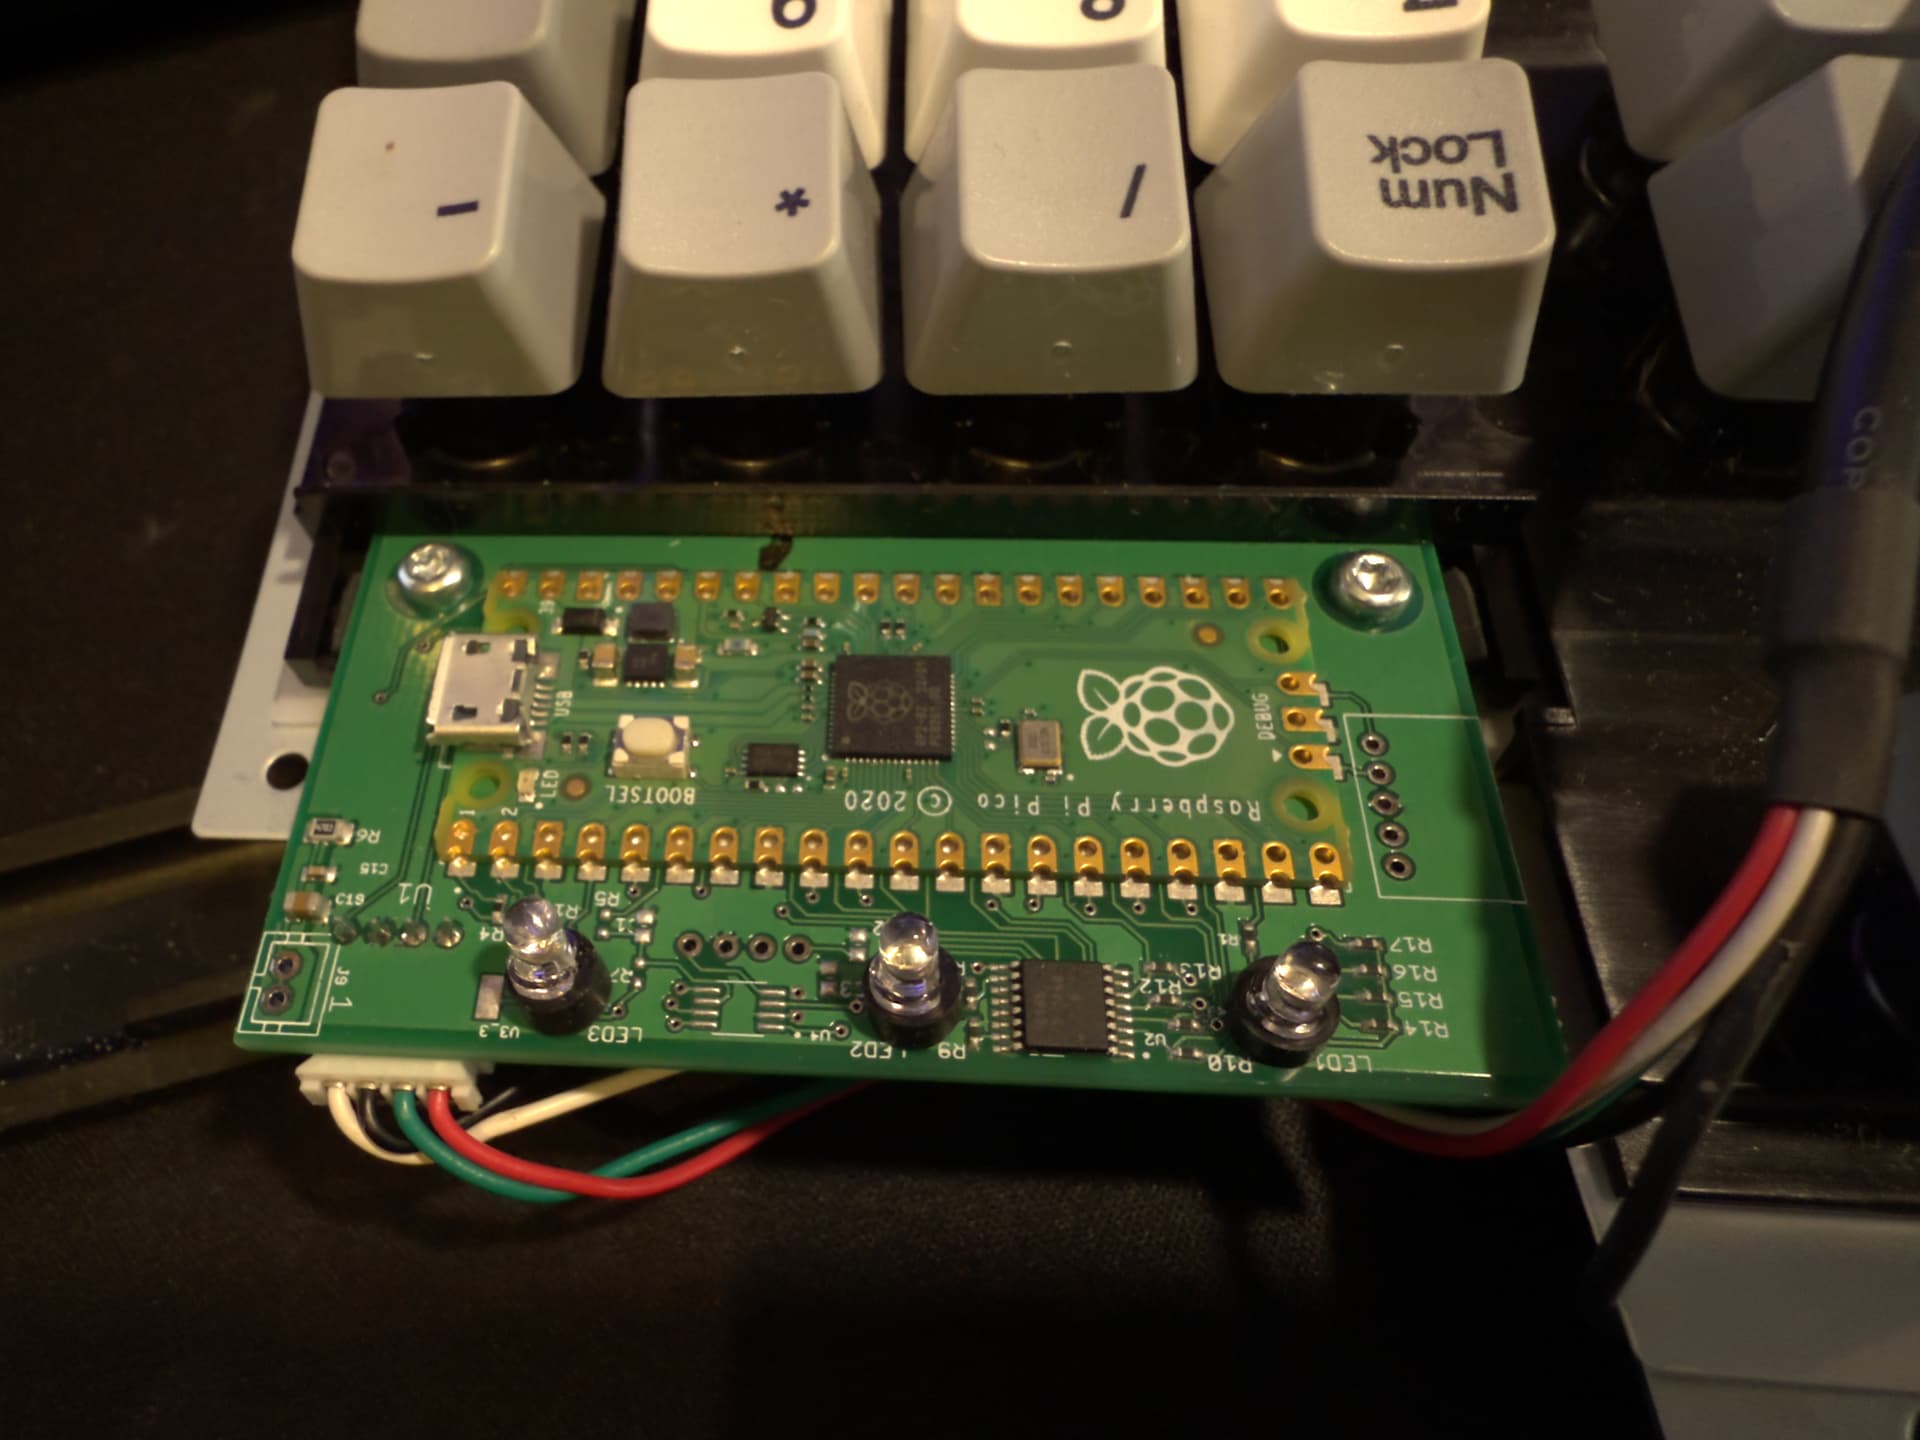
If your controller is not like this you will most likely not be able to use this guide. I would love to help so if you leave me a comment with a picture of the controller I can try and guide you to a solution.
As you can see this keyboard controller is just a raspberry pi pico. This allows us to use the tutorial I used to install vial QMK onto this controller and be able and fix all of the issues I had with my keyboard and get a fully working model m.
Once you ascertain you have the right keyboard
I will give you the advice not to close your keyboard back up until we are done. I made that mistake and ended up having to open it up and fiddle it back together a grand total of three times. I suggest hooking up the Raspberry pi to a micro USB cable and leaving it for now.
From here things are either really easy or slightly more complicated. I will guide you through the easier option but also leave references to everything you need to go the extra steps.
The easy way
You will need to download the file
unicomp_classic_ultracl_pre_2013_aristides_2862_vial.uf2
from here (GitHub)
once you download the file, you will have to set the Raspberry pi into boot-mode.
To do this press and hold the button on the Raspberry pi while you plug in the other side of the USB cable we connected to the Raspberry pi earlier. You will know you are in boot mode because of two easy to spot details.
- The three LEDs of the keyboard will all be turned on but very weakly
- Your computer should prompt you that a new mass media device was attached.
When you reached this point all you have to do is to copy and paste the downloaded file
unicomp_classic_ultracl_pre_2013_aristides_2862_vial.uf2
into the folder of the Raspberry pi. Once it uploads the share will detach and disappear. The controller will flash itself to use that firmware.
That’s it you are done and running vial QMK on your Unicomp model m!
yay!
The harder way
I am still collecting information on this and finding relevant links to documentation.
Coming soon
If you made it through all this and you have any questions I will be active in the comments. I would appreciate any corrections you may have for this guide, I will actively keep polishing it up and making sure it stays up to date.