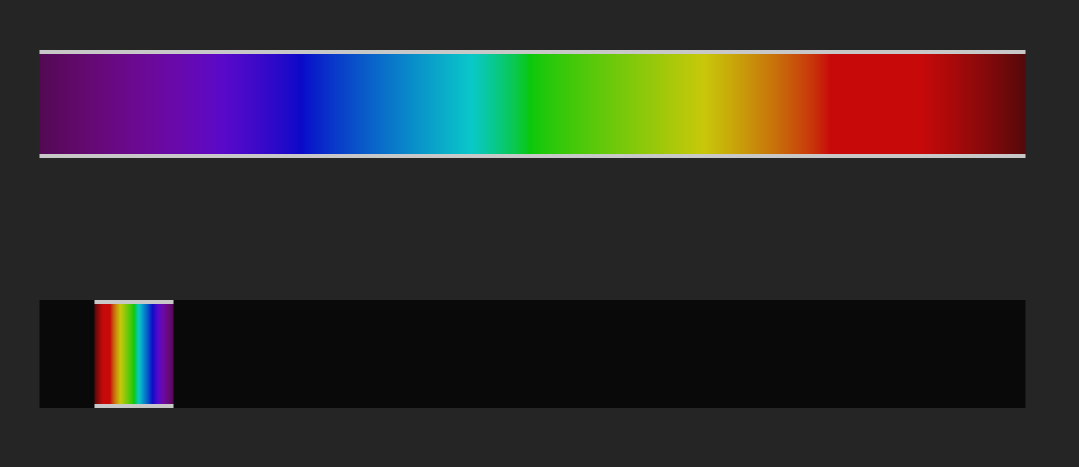
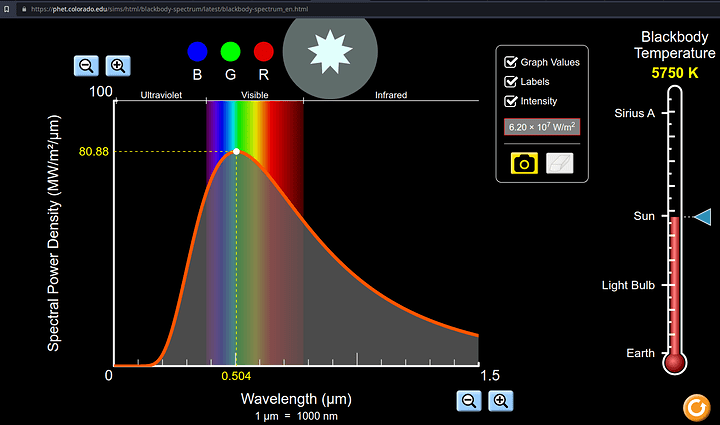
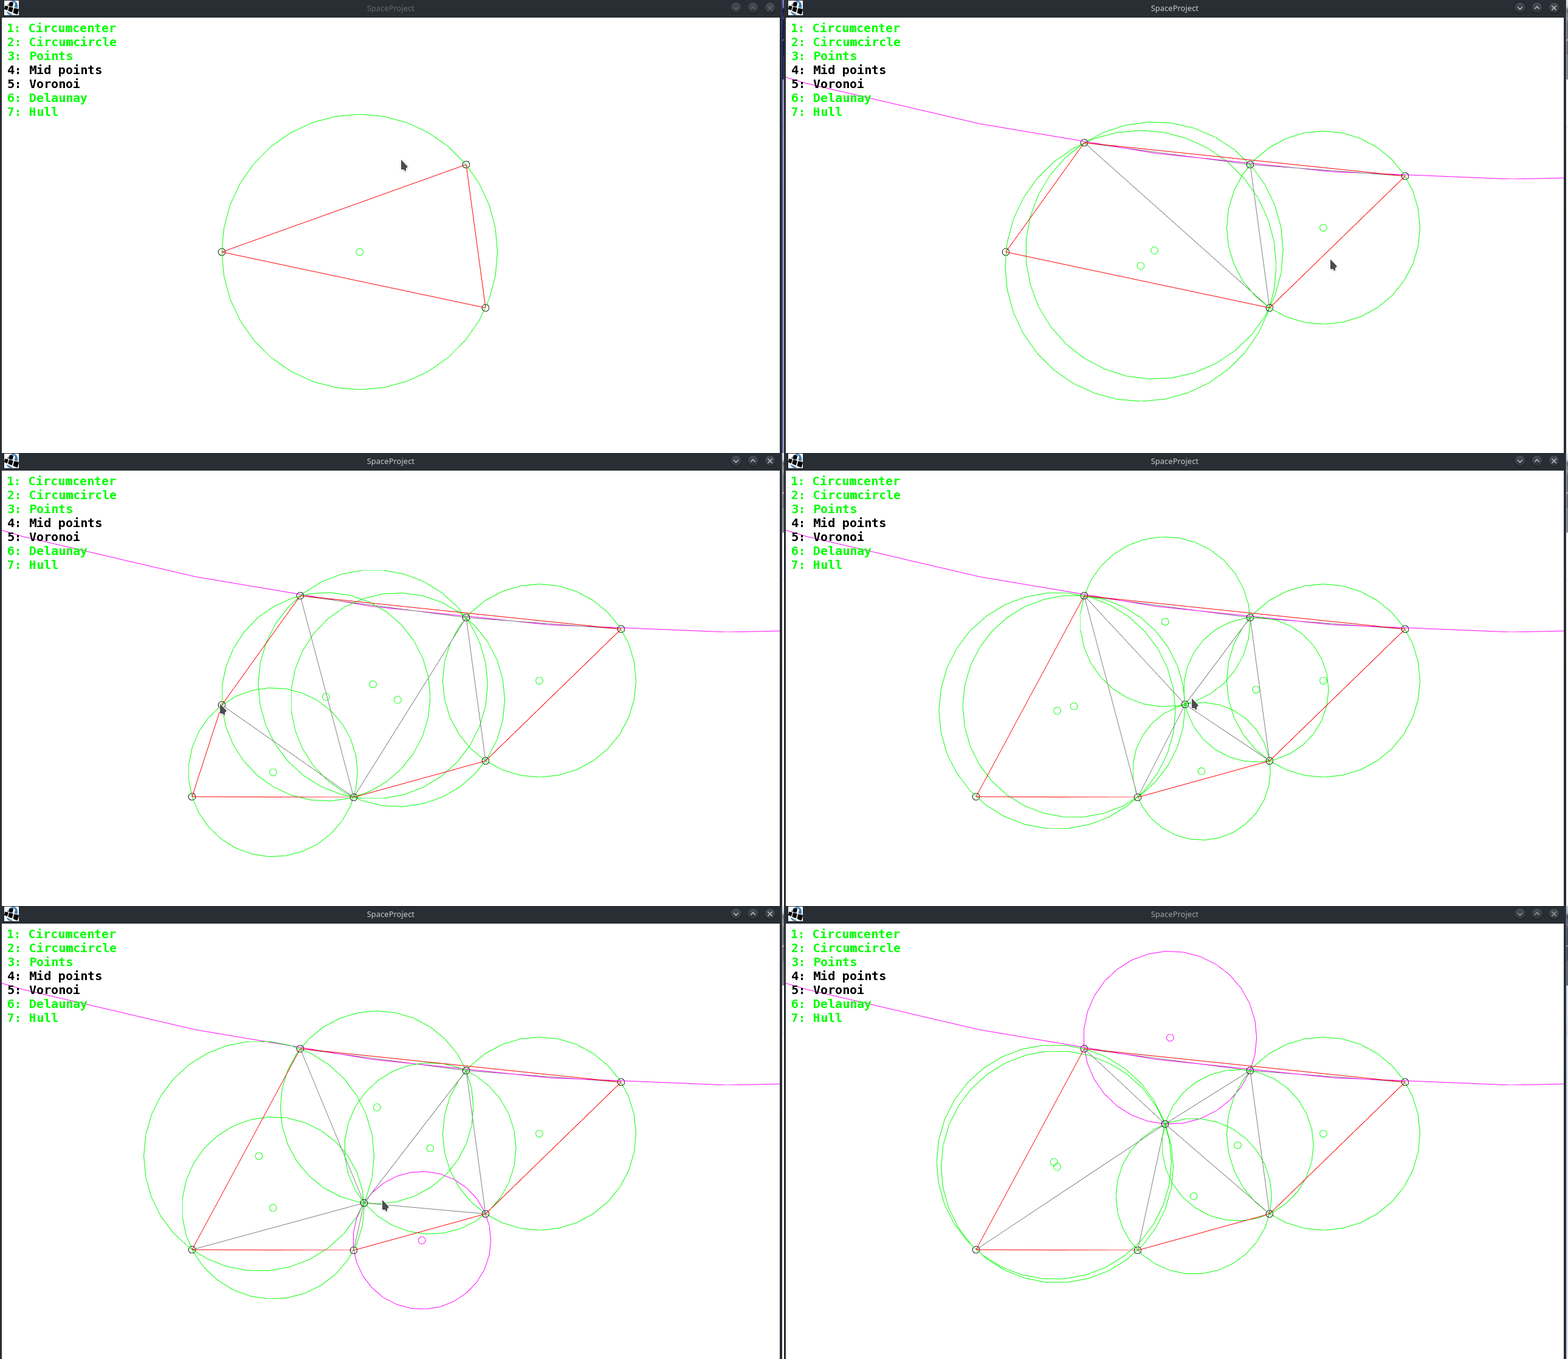
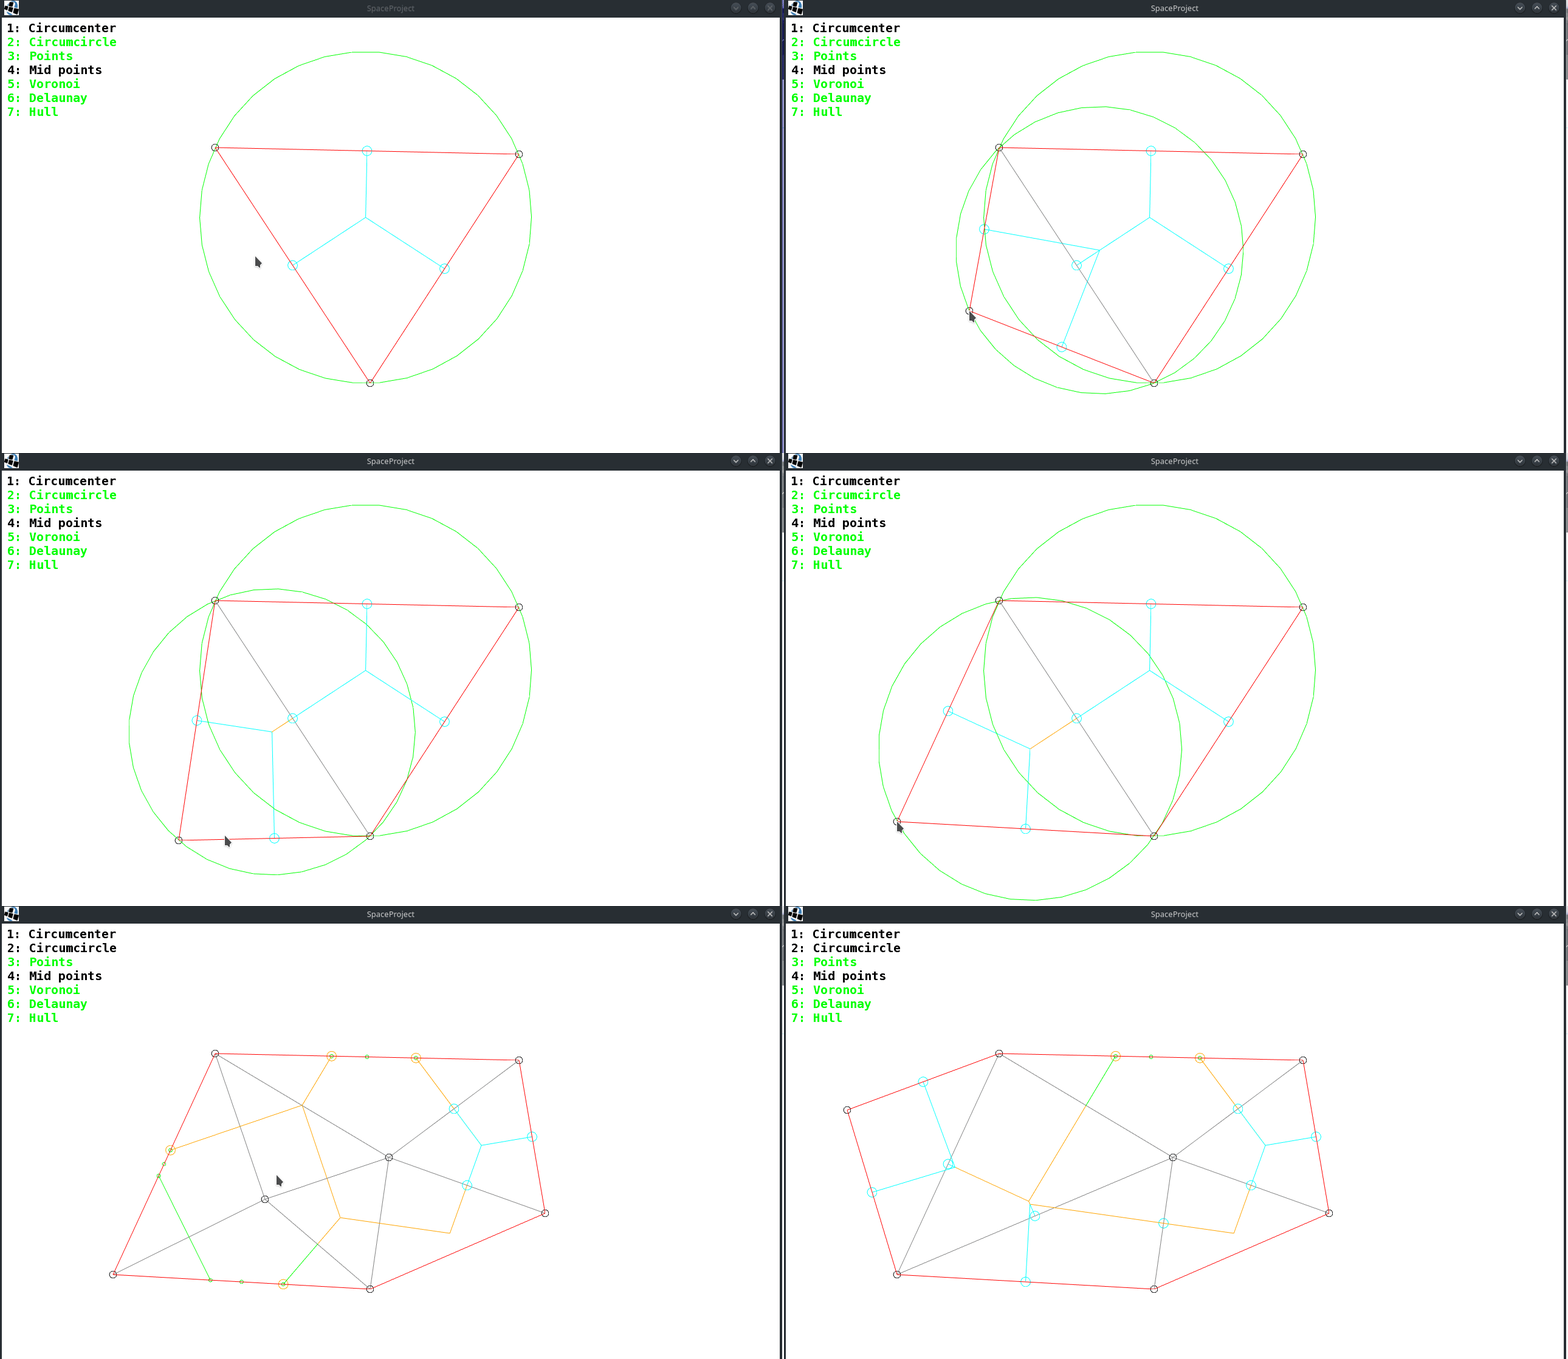
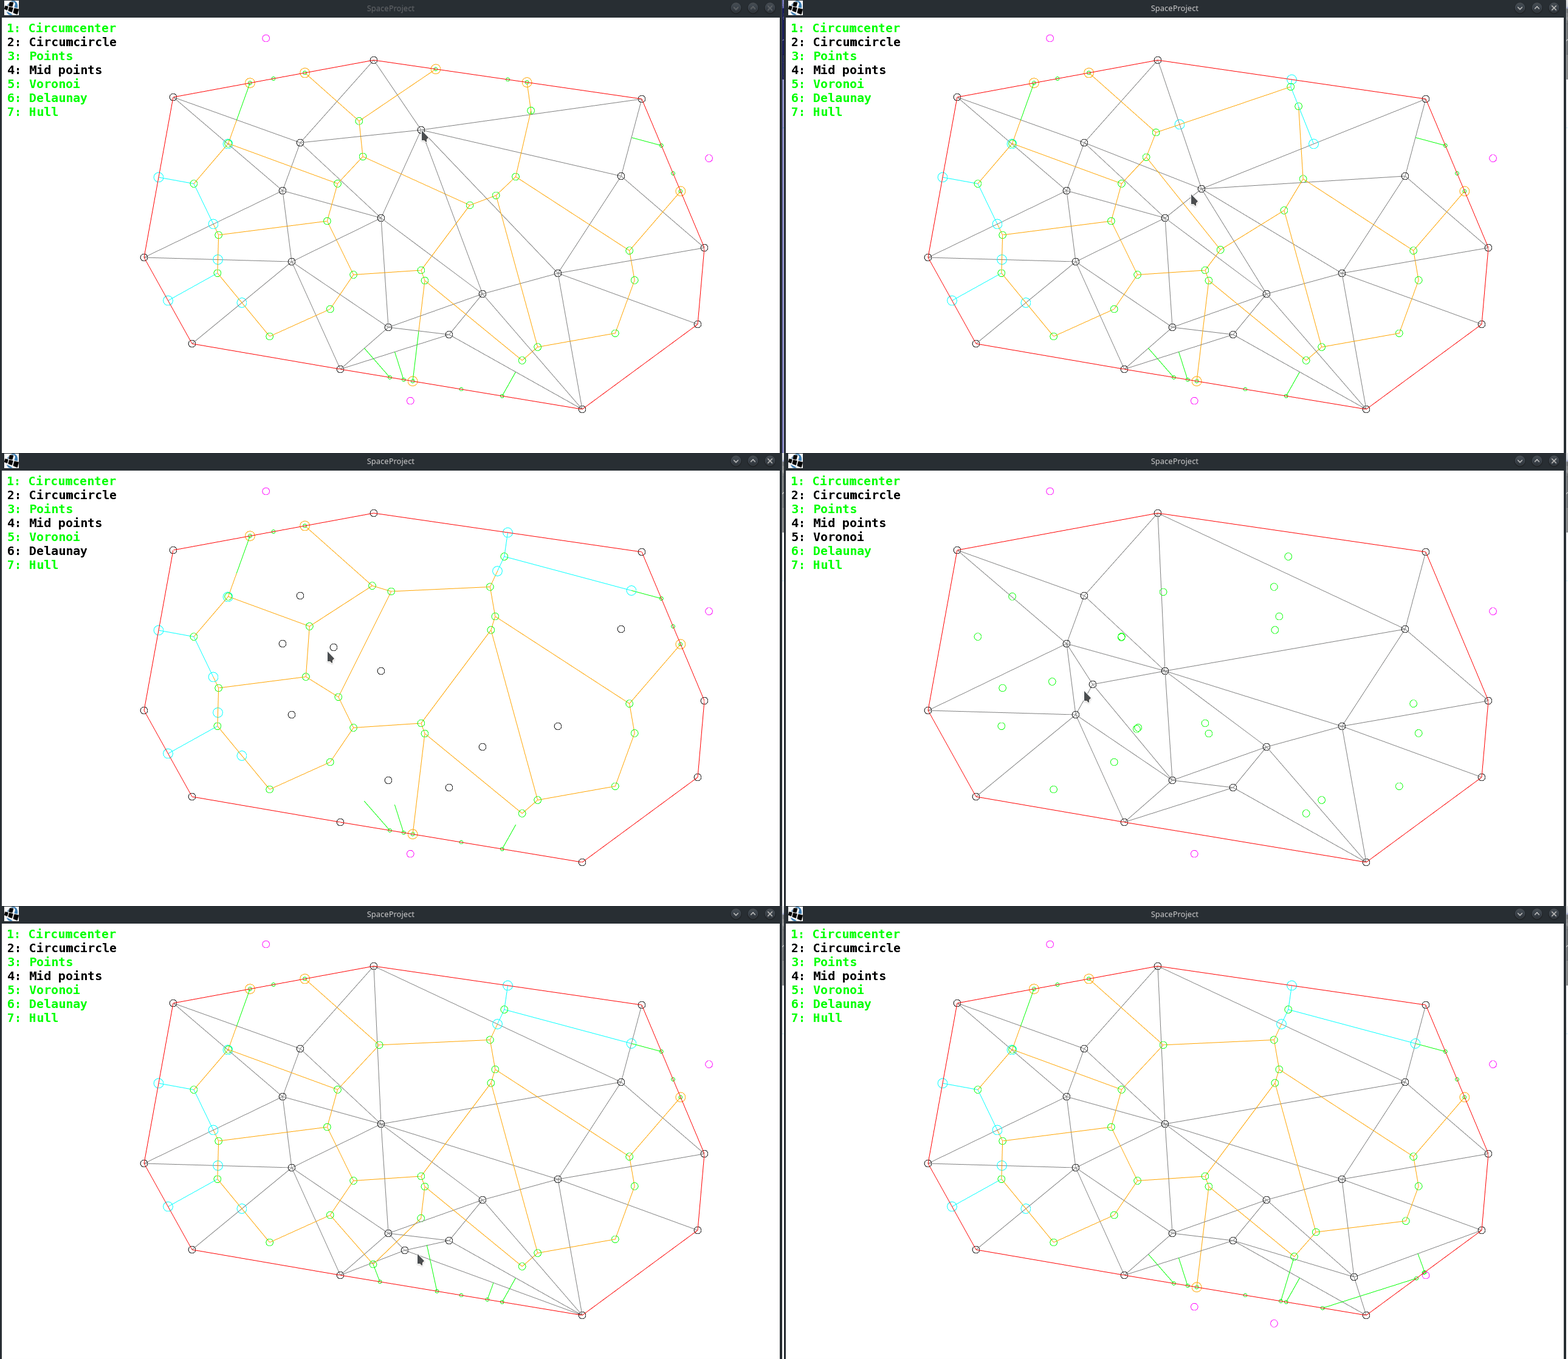
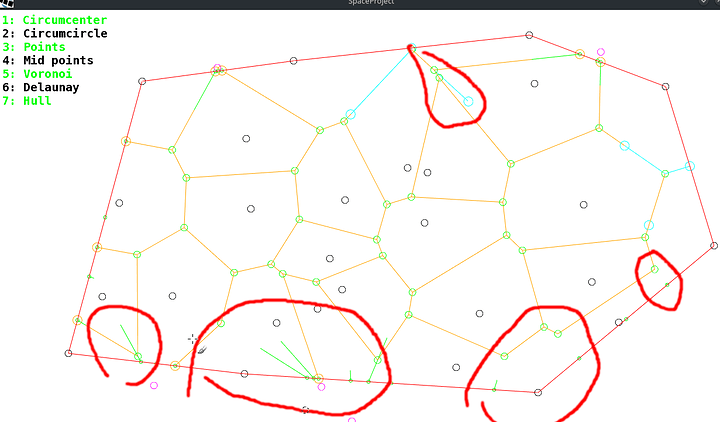
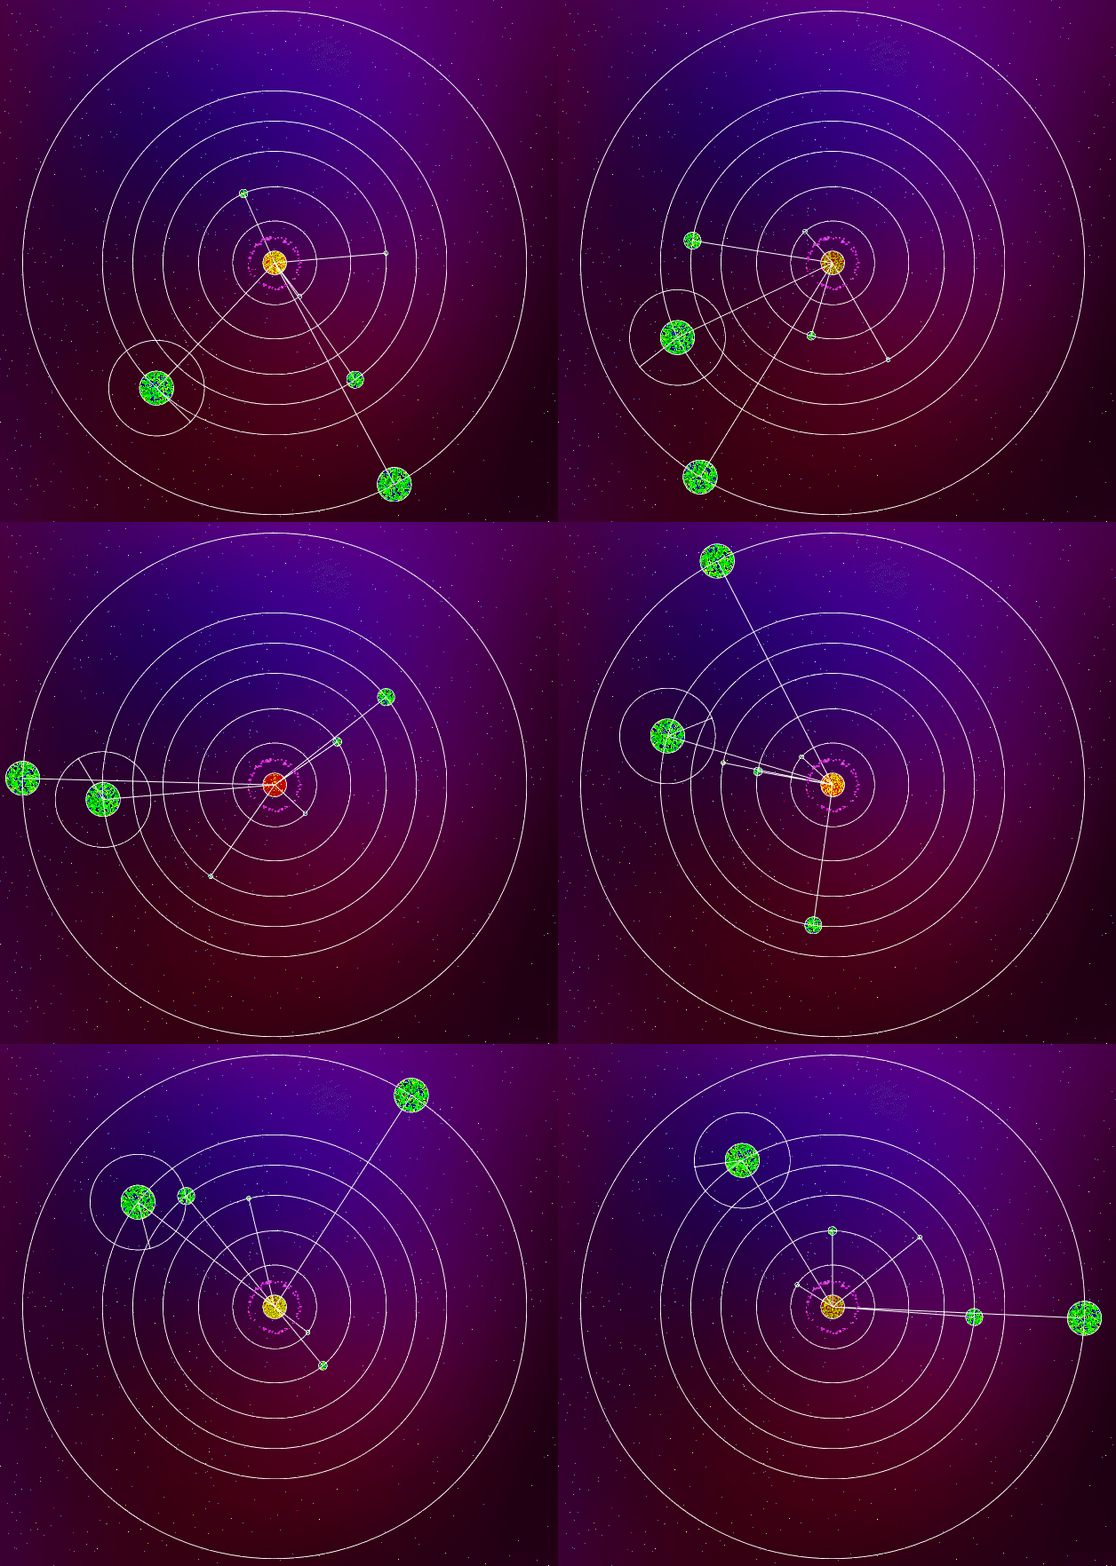
Update on colors: Luckily all the heavy lifting is done for us by John Walker’s Colour Rendering of Spectra:
https://www.fourmilab.ch/documents/specrend/
I won’t go into how it works here but the curious can check the link. I ported the supplied public domain C to Java.
Now when I generate the star texture I give each star a random temperature, then set the color for the star based on that temperature.
(using Vectors to store the Color values because the built-in libgdx Color class clamps the r,g,b values when setting them which was messing with calculations before giving the final normalized result)
Vector3 has x, y, z so: x = red, y = green, z = blue
public static Texture generateSpaceBackgroundStars(int tileX, int tileY, int tileSize, float depth) {
	MathUtils.random.setSeed((long) (MyMath.getSeed(tileX, tileY) * (depth * 1000)));
	Pixmap pixmap = new Pixmap(tileSize, tileSize, Format.RGBA4444);

	int numStars = 200;
	for (int i = 0; i < numStars; ++i) {
		int x = MathUtils.random(tileSize);
		int y = MathUtils.random(tileSize);

		//give star a random temperature
		double temperature = MathUtils.random(2000, 40000); //kelvin

		//calculate the color for the given temparature
		Vector3 spectrum = BlackBodyColorSpectrum.spectrumToXYZ(temperature);
		Vector3 color = BlackBodyColorSpectrum.xyzToRGB(BlackBodyColorSpectrum.SMPTEsystem, spectrum.x, spectrum.y, spectrum.z);
		BlackBodyColorSpectrum.constrainRGB(color);
		Vector3 normal = BlackBodyColorSpectrum.normRGB(color.x, color.y, color.z);

		//draw a point with that color
		pixmap.setColor(normal.x, normal.y, normal.z, 1);
		pixmap.drawPixel(x, y);
	}

    //create texture and dispose pixmap to prevent memory leak
    Texture texture = new Texture(pixmap);
    pixmap.dispose();
    return texture;
}
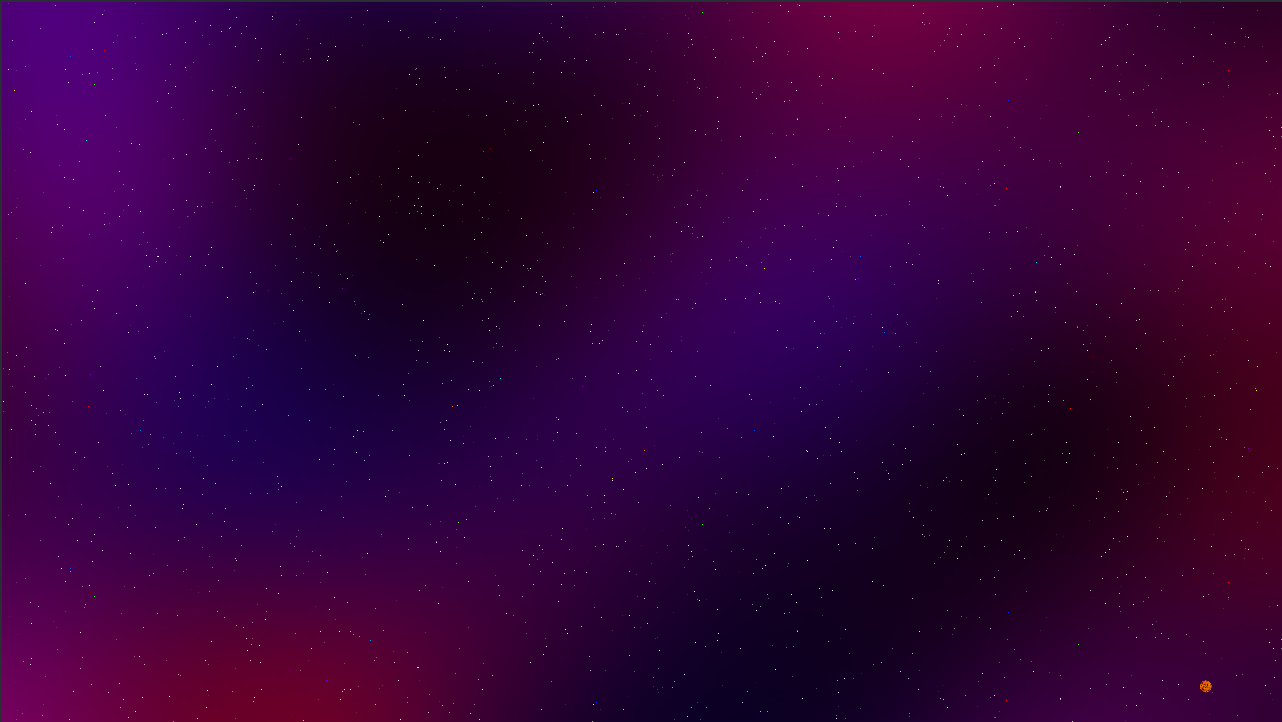
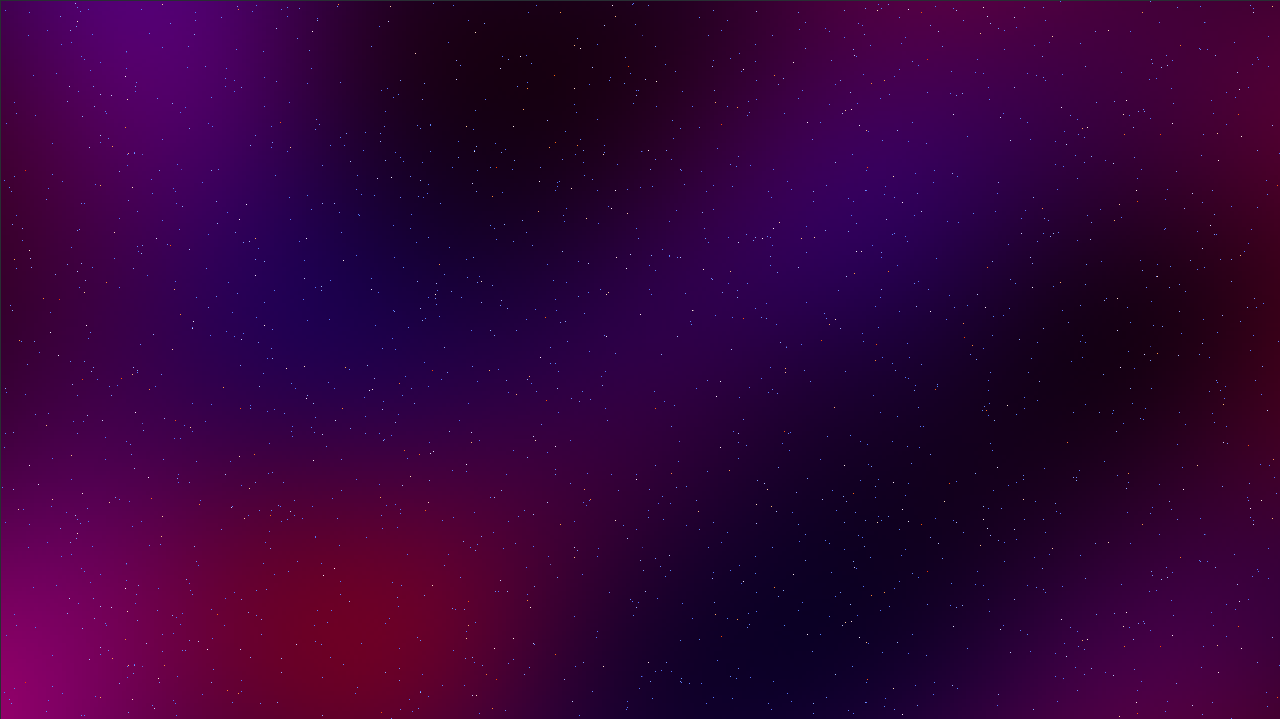
And this is the current result (blue = hot, red = cold)
Right now the background stars are all just single pixels, but I’ll add some size variation later…
I realized I can also mix this color temperature stuff with some of the nebula generation too so its more based on pockets of heat and cold rather than arbitrary mixes of blue and red noise.
I don’t even know what art style to settle on so I’m not sure why I’m wasting so much time over colors of the stars but I’m having fun learning about cool space stuff. I want to play around with generating stuff like this in the future (this is a really cool in browser demo):
https://beltoforion.de/en/spiral_galaxy_renderer/spiral-galaxy-renderer.html
How it works: Rendering a Galaxy with the density wave theory
Now onto the “real” stars. The background parallax layer star textures are purely cosmetic and don’t serve any gameplay purpose. But we also have some much closer actual star entities that are part of the gameplay.
Currently the galaxy generation is just randomly placed points, and at each point will be a star or body or some flavor.
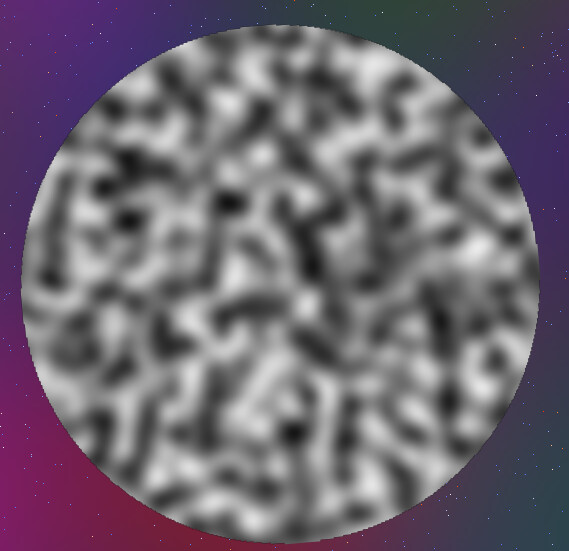
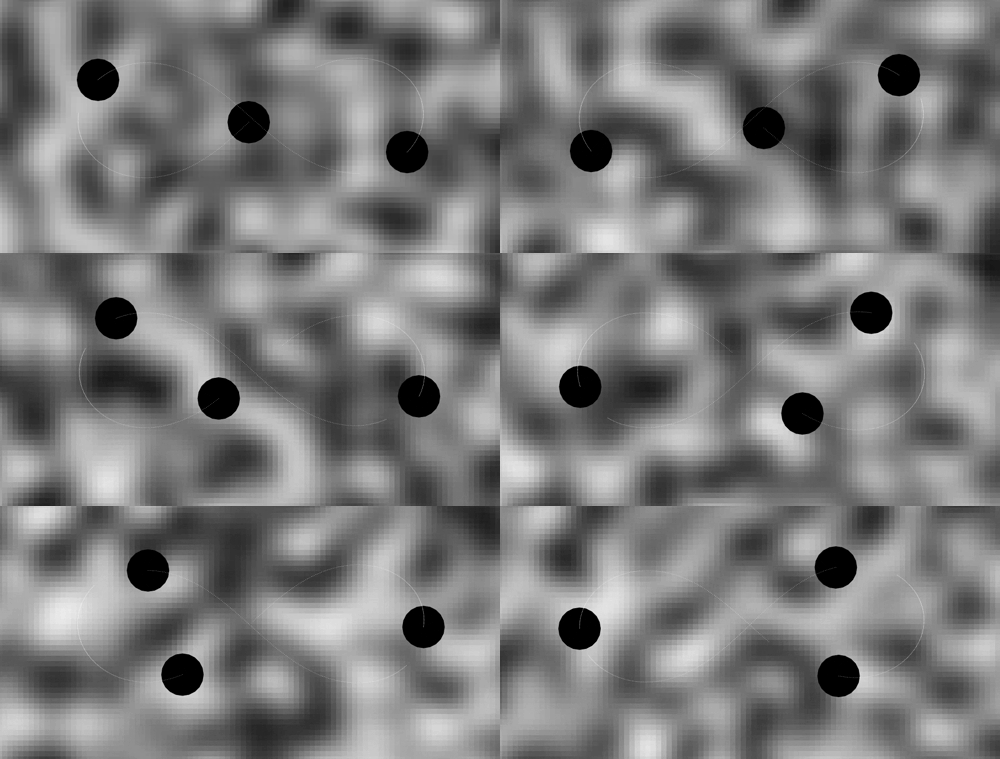
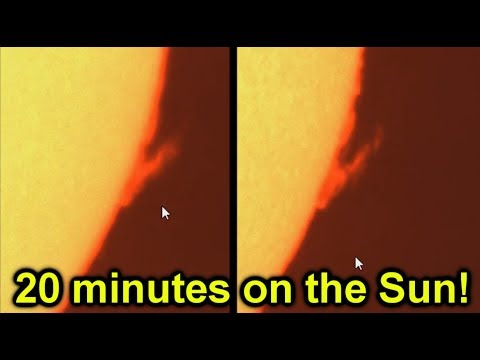
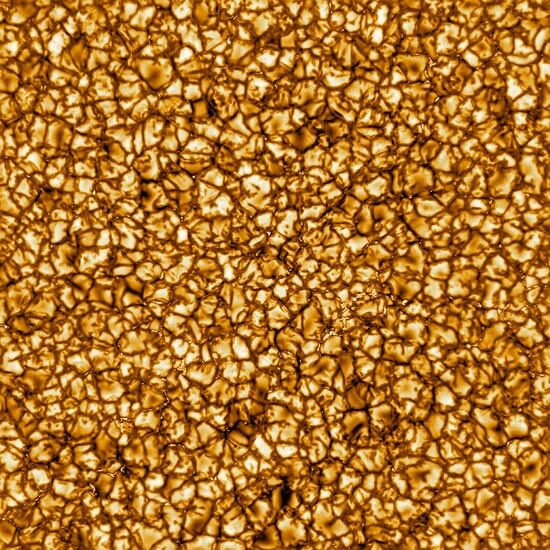
For the star entities I generate a circular noise texture. The height values are represented in grayscale where 0 is black, 1 is white.
/** generate circular grayscale heightmap to represent star and features */
public static Texture generateStar(long seed, int radius, double scale) {
    OpenSimplexNoise noise = new OpenSimplexNoise(seed);
    Pixmap pixmap = new Pixmap(radius * 2, radius * 2, Format.RGBA8888);

    // draw circle
    pixmap.setColor(0.5f, 0.5f, 0.5f, 1);
    pixmap.fillCircle(radius, radius, radius - 1);

    //add layer of noise
    for (int y = 0; y < pixmap.getHeight(); ++y) {
        for (int x = 0; x < pixmap.getWidth(); ++x) {
            //only draw on circle
            if (pixmap.getPixel(x, y) != 0) {
                double nx = x / scale, ny = y / scale;
                float i = (float)noise.eval(nx, ny, 0);
                i = (i * 0.5f) + 0.5f; //normalize from range [-1:1] to [0:1]
                pixmap.setColor(i, i, i, 1);
                pixmap.drawPixel(x, y);
            }
        }
    }

    Texture texture = new Texture(pixmap);
    texture.setFilter(Texture.TextureFilter.Linear, Texture.TextureFilter.Linear);
    pixmap.dispose();
    return texture;
}
I am not sure how much depth to go in these breakdowns, I am definitely skipping over some things like how noise works. I feel like most people who have played minecraft are at least vaguely familiar with the concept of a seed and maybe rng noise. If not: this is a great resource on how perlin is generated (I am using OpenSimplex instead of perlin but the same principals apply):
https://adrianb.io/2014/08/09/perlinnoise.html
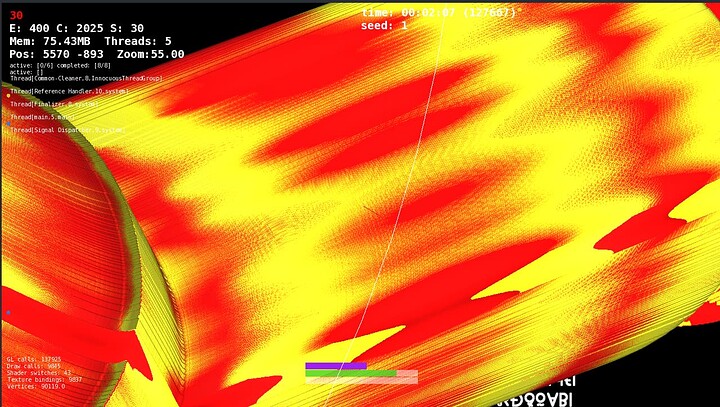
Anywho, I wanted to bring a little life into this static noise. So I’m learning how to write shaders and here is my first pass attempt at a animating the texture. I’m shifting the heightmap values by adding an offset that changes over time; dark values will become brighter and bright values will become darker in a sort of endless morphing. Then we assign a color per height value.
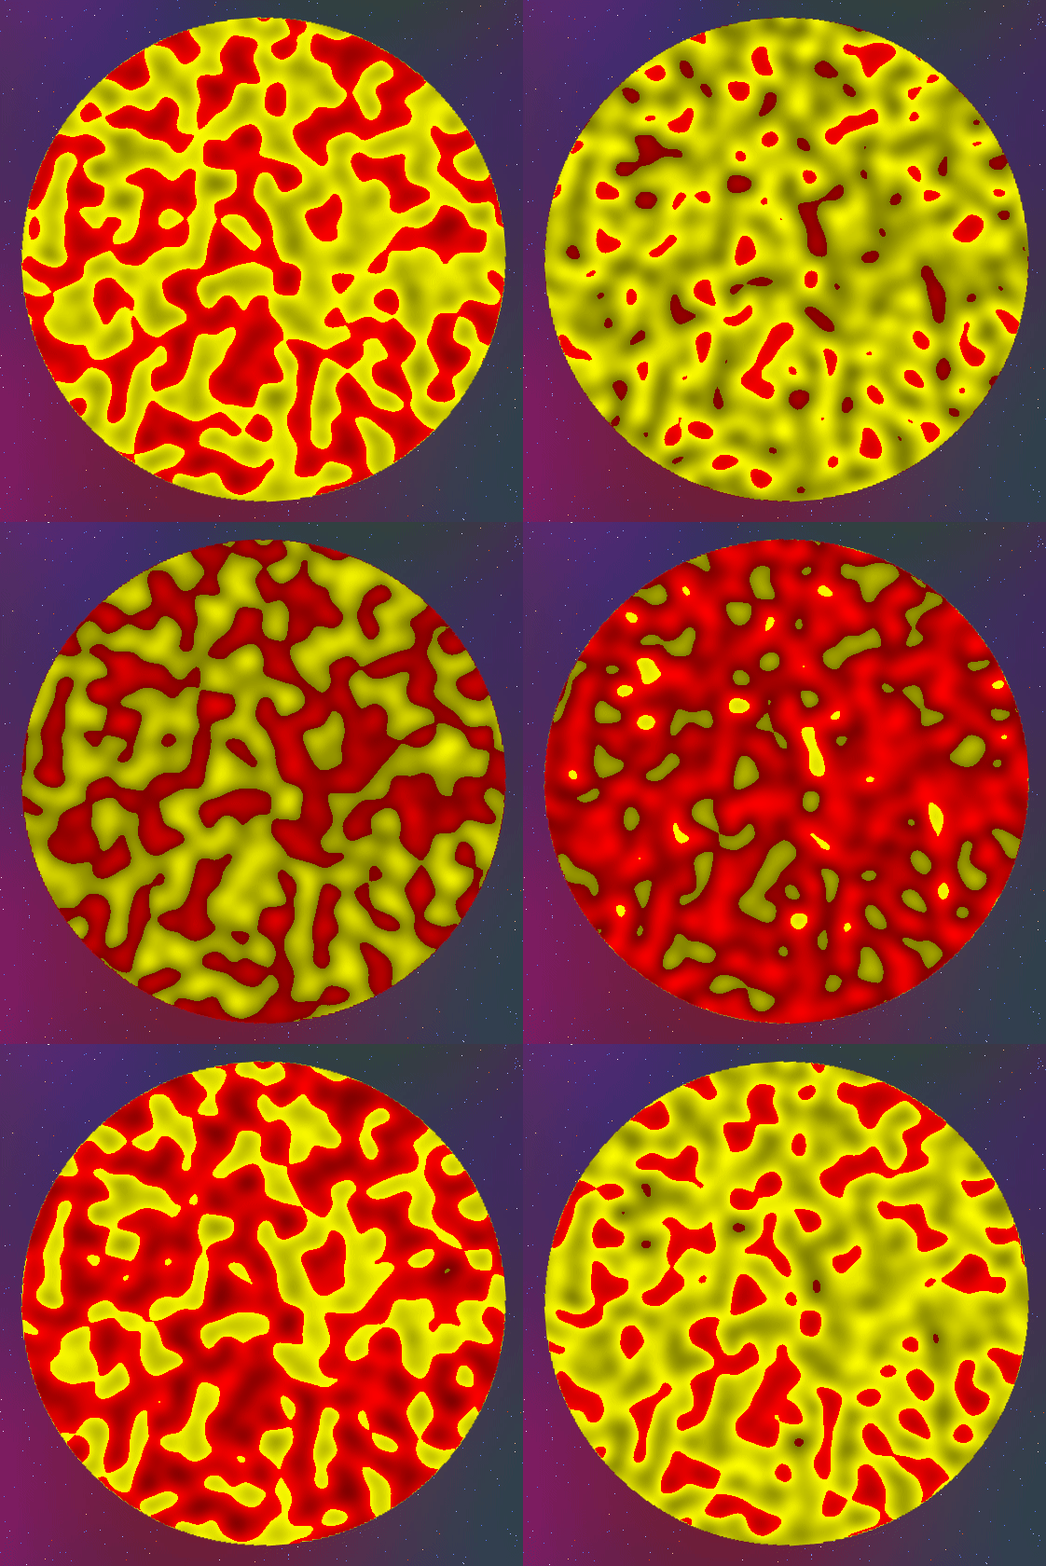
It currently looks a little dull, so I’ll play with some saturation and other effects to fix that. Previously I had been adding the colors the texture during generation, but doing the coloring live in a shader which offers a lot more flexibility.
For those not familiar with shaders, its essentially mini-programs that run on the GPU instead of CPU. In the case of this fragment shader, we can think of it as running this program for each pixel in our texture.
-
First we sample the current pixel color from the texture coordinate. The color vector contains the red, green, blue, alpha channels for the pixel.
-
Then create a new height value by offsetting the current height value. The color channels are represented as a value 0-1, so we wrap the values with modulo division to keep the color values between 0 and 1.
-
Finally we colorize the new shifted height values. Since this is a grayscale image we know the values for red, green, and blue will all be equal so we only need to check one channel to get the height value.
If the height is greater than 0.5 (half): the pixel will be a shade of yellow (by removing the blue channel). Otherwise: it will be a shade of red (by removing the green and blue channels).
varying vec4 v_color;
varying vec2 v_texCoord0;

uniform sampler2D u_sampler2D;
uniform float u_shift;

void main() {
	vec4 color = texture2D(u_sampler2D, v_texCoord0) * v_color;

	//shift height values to animate colors
	vec3 fireColor = mod(color.rgb + u_shift, vec3(1.0));//wrap values [0-1] with modulus
	if (fireColor.r > 0.5) {
		//set to shades of yellow
		fireColor.b = 0.0;
	} else {
		//set to shades of red
		fireColor.r = 1.0 - fireColor.r;
		fireColor.g = 0.0;
		fireColor.b = 0.0;
	}

	gl_FragColor = vec4(fireColor, color.a);
}
For the control of the height shifting: We can pass information from our cpu code to the gpu code (java → glsl) via uniforms!
In our shader we defined a uniform float that holds shift value uniform float u_shift; and we can set that value using ShaderProgam.setUniformf(<name of uniform>, <data>);
Which looks something like this (where deltaTime is time between frames for framerate independent calculations)
float shift = 0;//accumulator
float shiftSpeed = 0.5f;//how ever fast you want values to change
public void update(float deltaTime) {

        //update shift value and pass it to the shader
        shift += shiftSpeed * deltaTime;
        starShader.bind();
        starShader.setUniformf("u_shift", (float) Math.sin(shift));

        //do rendering things...
		renderThingsAndStuff();
}
By passing in the sine of our accumulator will always have a value that oscillates between -1 and 1.
And of course need to apply the shader to the sprite batch. (shaders stored in …/assets/shaders/)
SpriteBatch spriteBatch = new SpriteBatch();
ShaderProgram.pedantic = false;
ShaderProgram starShader = new ShaderProgram(Gdx.files.internal("shaders/starAnimate.vert"), Gdx.files.internal("shaders/starAnimate.frag"));
if (starShader.isCompiled()) {
    spriteBatch.setShader(starShader);
}
This is not the final effect, but its much more interesting than a static image so that’s pretty fun while I try to wrap my head around shaders. The texture could use some more octaves/layers. But first I need some brightness and lighting to make it not so dull: Bloom! Which I understand so far as blending in a layer of brightened Gaussian blur. Which should make it look more like a light source I think?
Right now all the star entities are this sorta yellow and red color profile, but I’ll try to feed the color temperature stuff from earlier into the shader and so I can in theory dynamically render a hotter blue star vs a cooler red star by passing in the color temperature as a uniform. Which should be pretty cool.
I am not sure how I am going to do the flares yet. Probably some firey sorta particles emitting outward all along the edge of the star. Maybe another texture for the flares and some kinda shader to move them.
Then eventually have the star as a light source for adding shadows to nearby planets and entities.
Also I’m starting to really like shaders and I am heavily considering replacing the parallax system with a single quad that fills the viewport and writing a shader to render space stuff to the quad. This should allow for way more visual possibilities, nicer rendering of space stuff, nebula’s and galaxy’s. I already have a prototype based on an existing project that can essentially render shader toys (with some conversion) to a quad, but I am having troubles getting the image to not to stretch/squish on window resize. It only looks ok when the window is a perfect square. The solution may be to render a perfect square FBO, then fill the veiwport with that…? todo: learn how to frame buffers.
The controls need some tweaks. The movement is currently relative to the orientation of the ship, meaning moving left moves the ship left which is fine when your ship is facing up or “forward”. This is the intended behavior, but when facing the opposite direction (pointed down facing something below you) the left now pushes your ship to the right of the screen. It is a little disorientating and awkward when trying to navigate around asteroids. Perhaps a side effect of tying both direction facing and movement controls to a single stick on controller. It might feel better to split movement to left stick and orientation to right stick… todo: test that theory.
Speaking of asteroids, stuff about asteroids and polygons coming up next…
