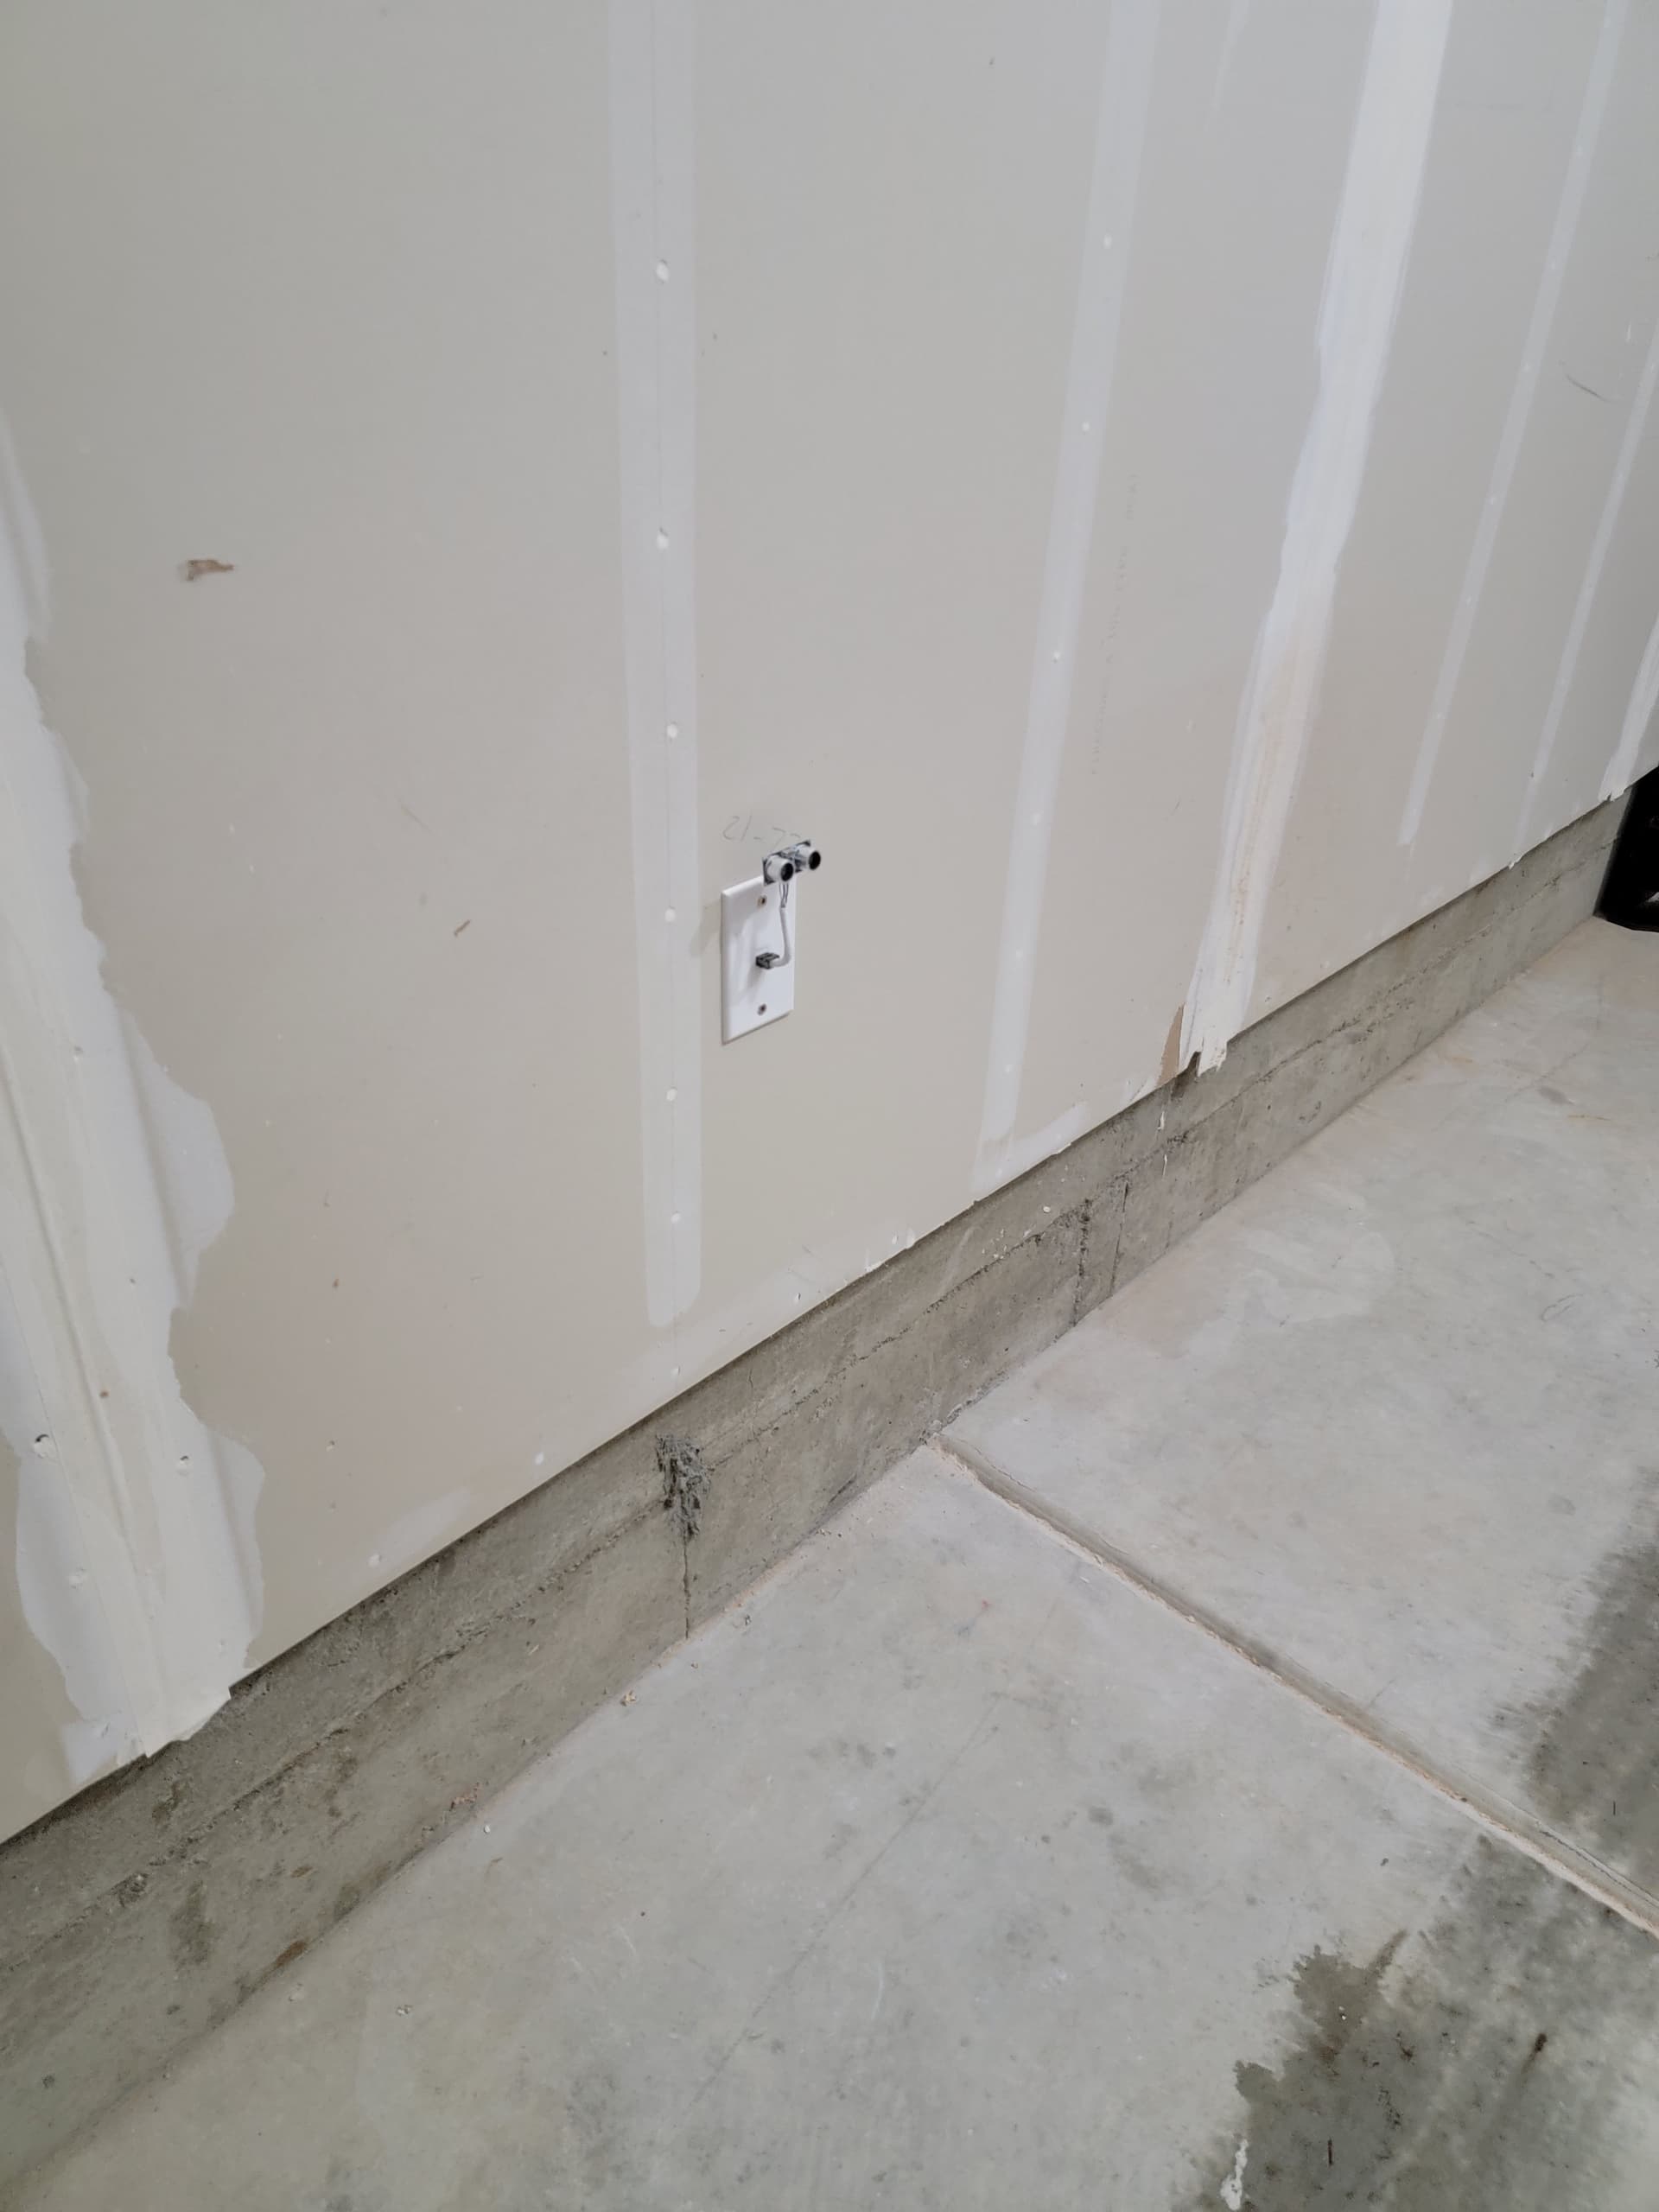
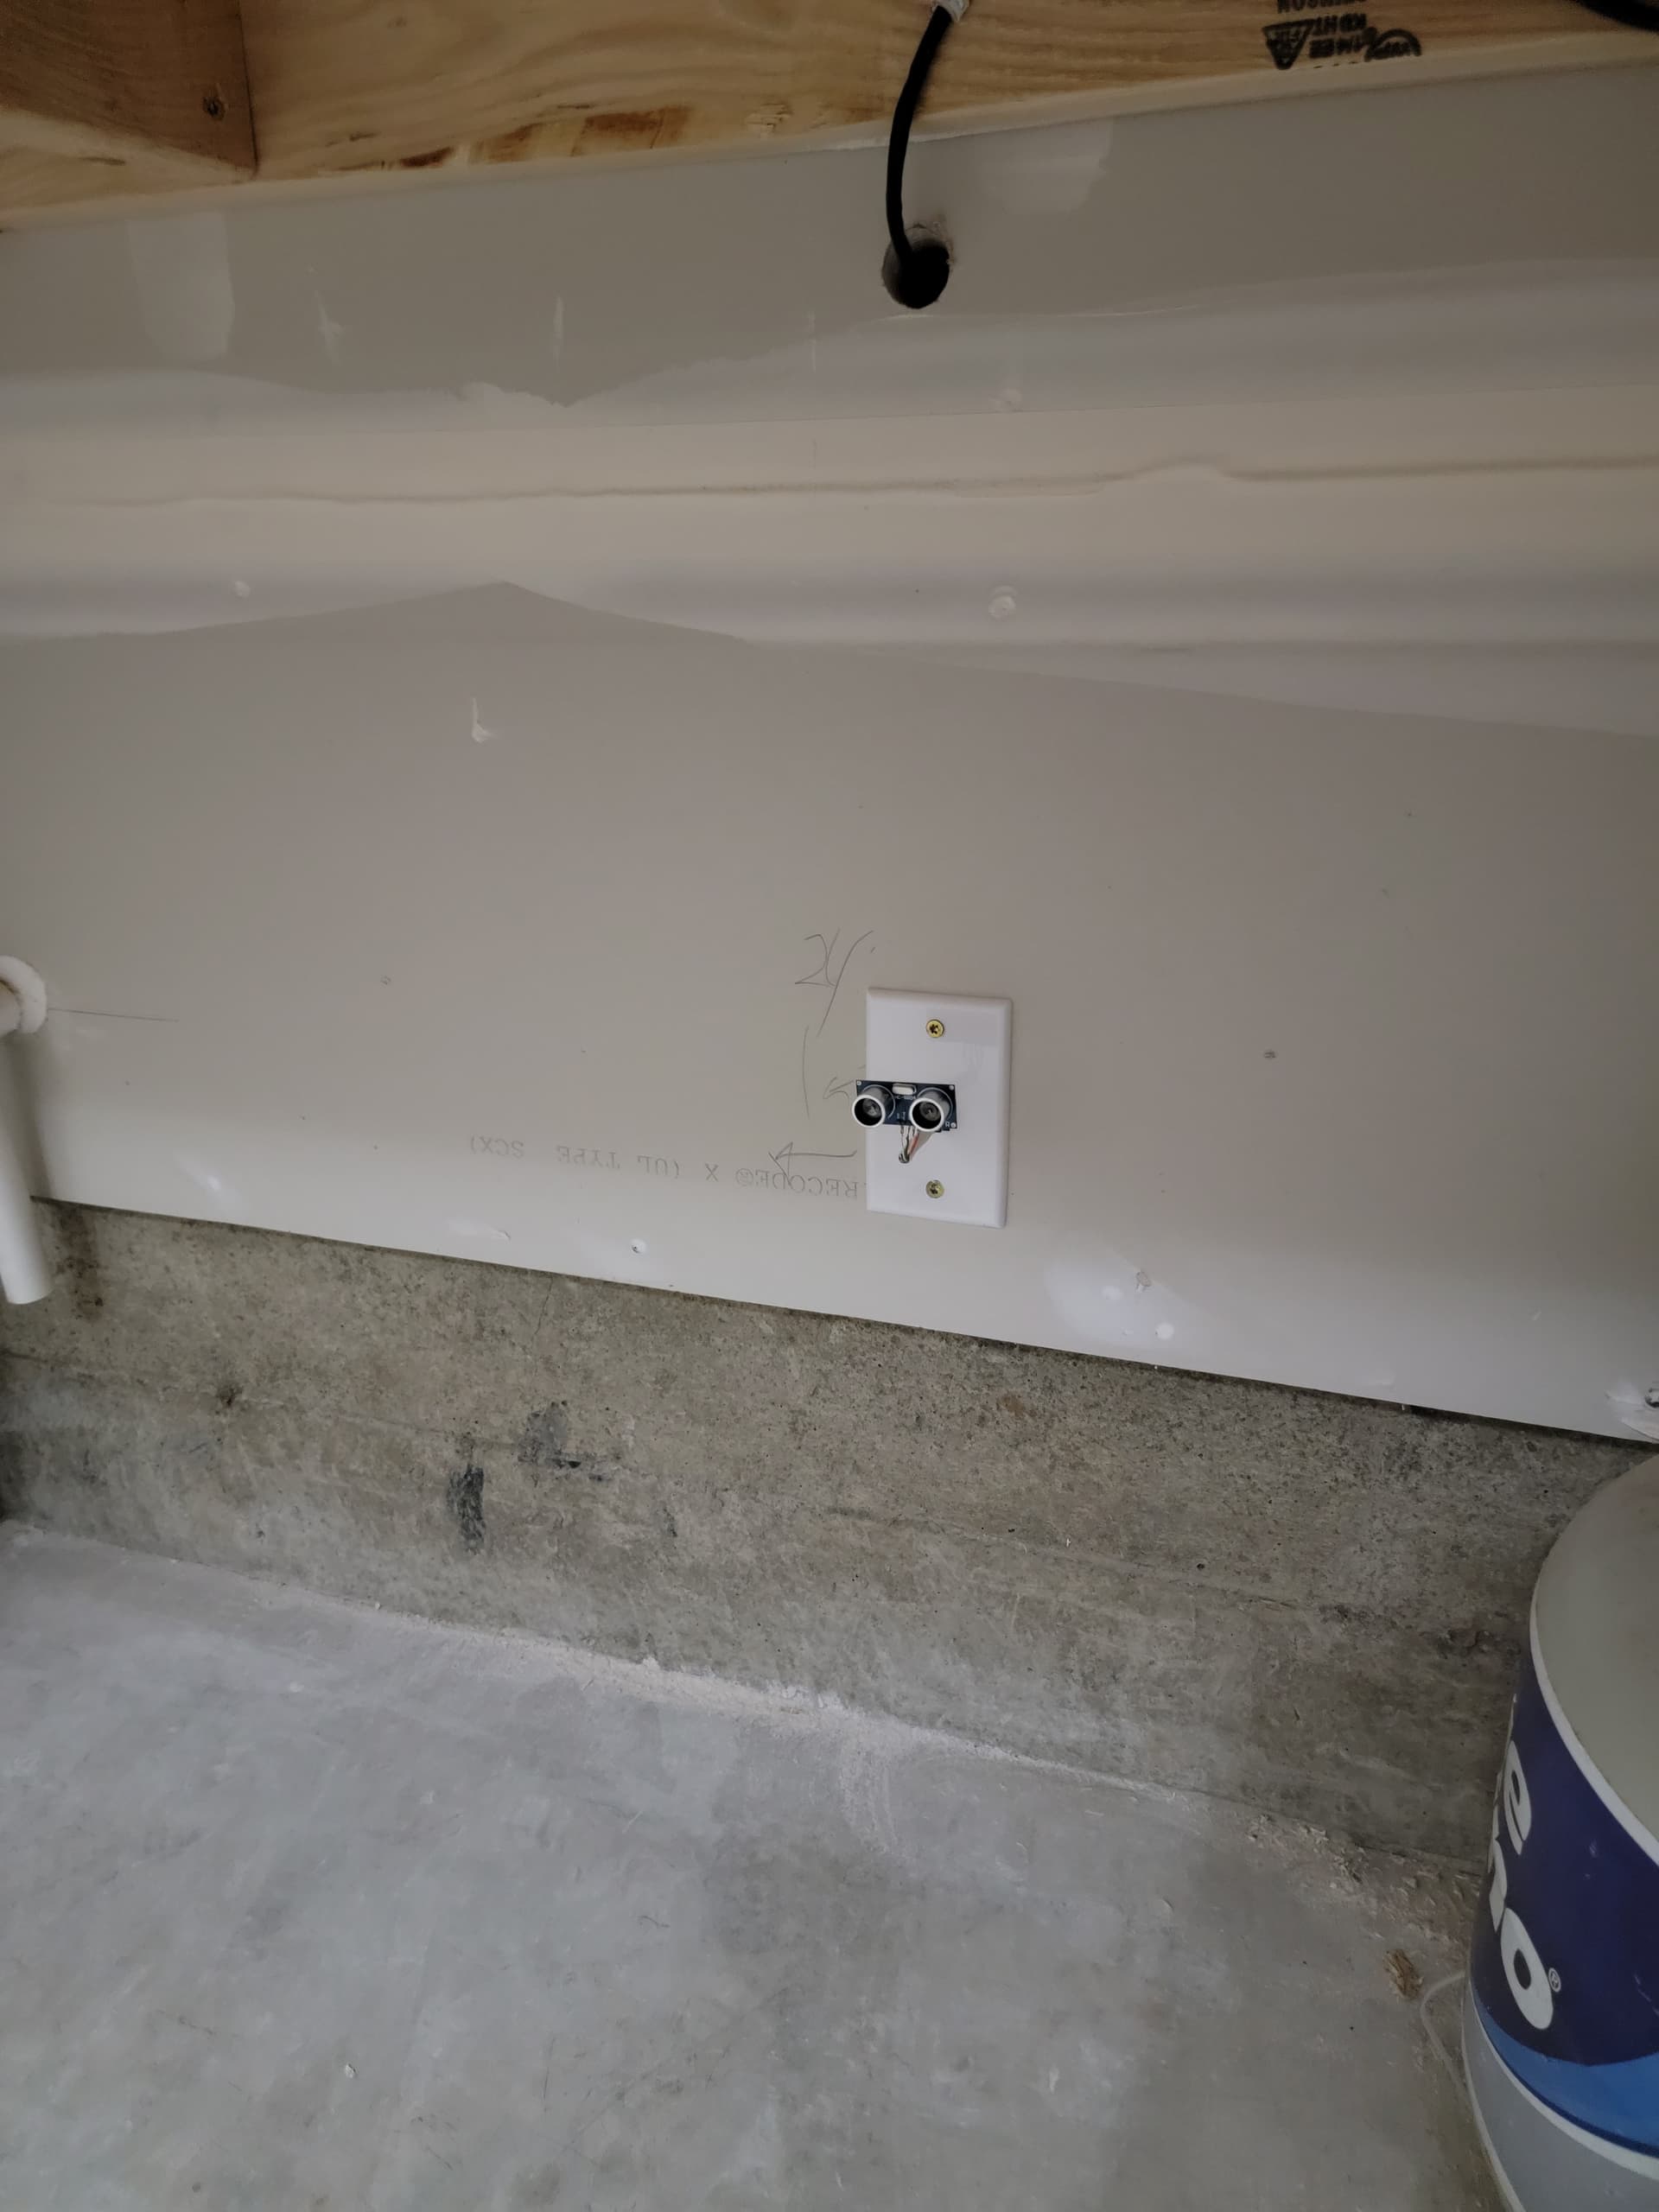
I promise it is really done this time…Almost (just need to mount everything in the garage). I forgot about the second sensor, but I was able to get it figured out and adjusted the display outputs to account for the additional information for lateral guidance.
Lets take a look at my original plan to double check everything was achieved.
~ ~ ~ ~ ~ ~
Plan 1.0
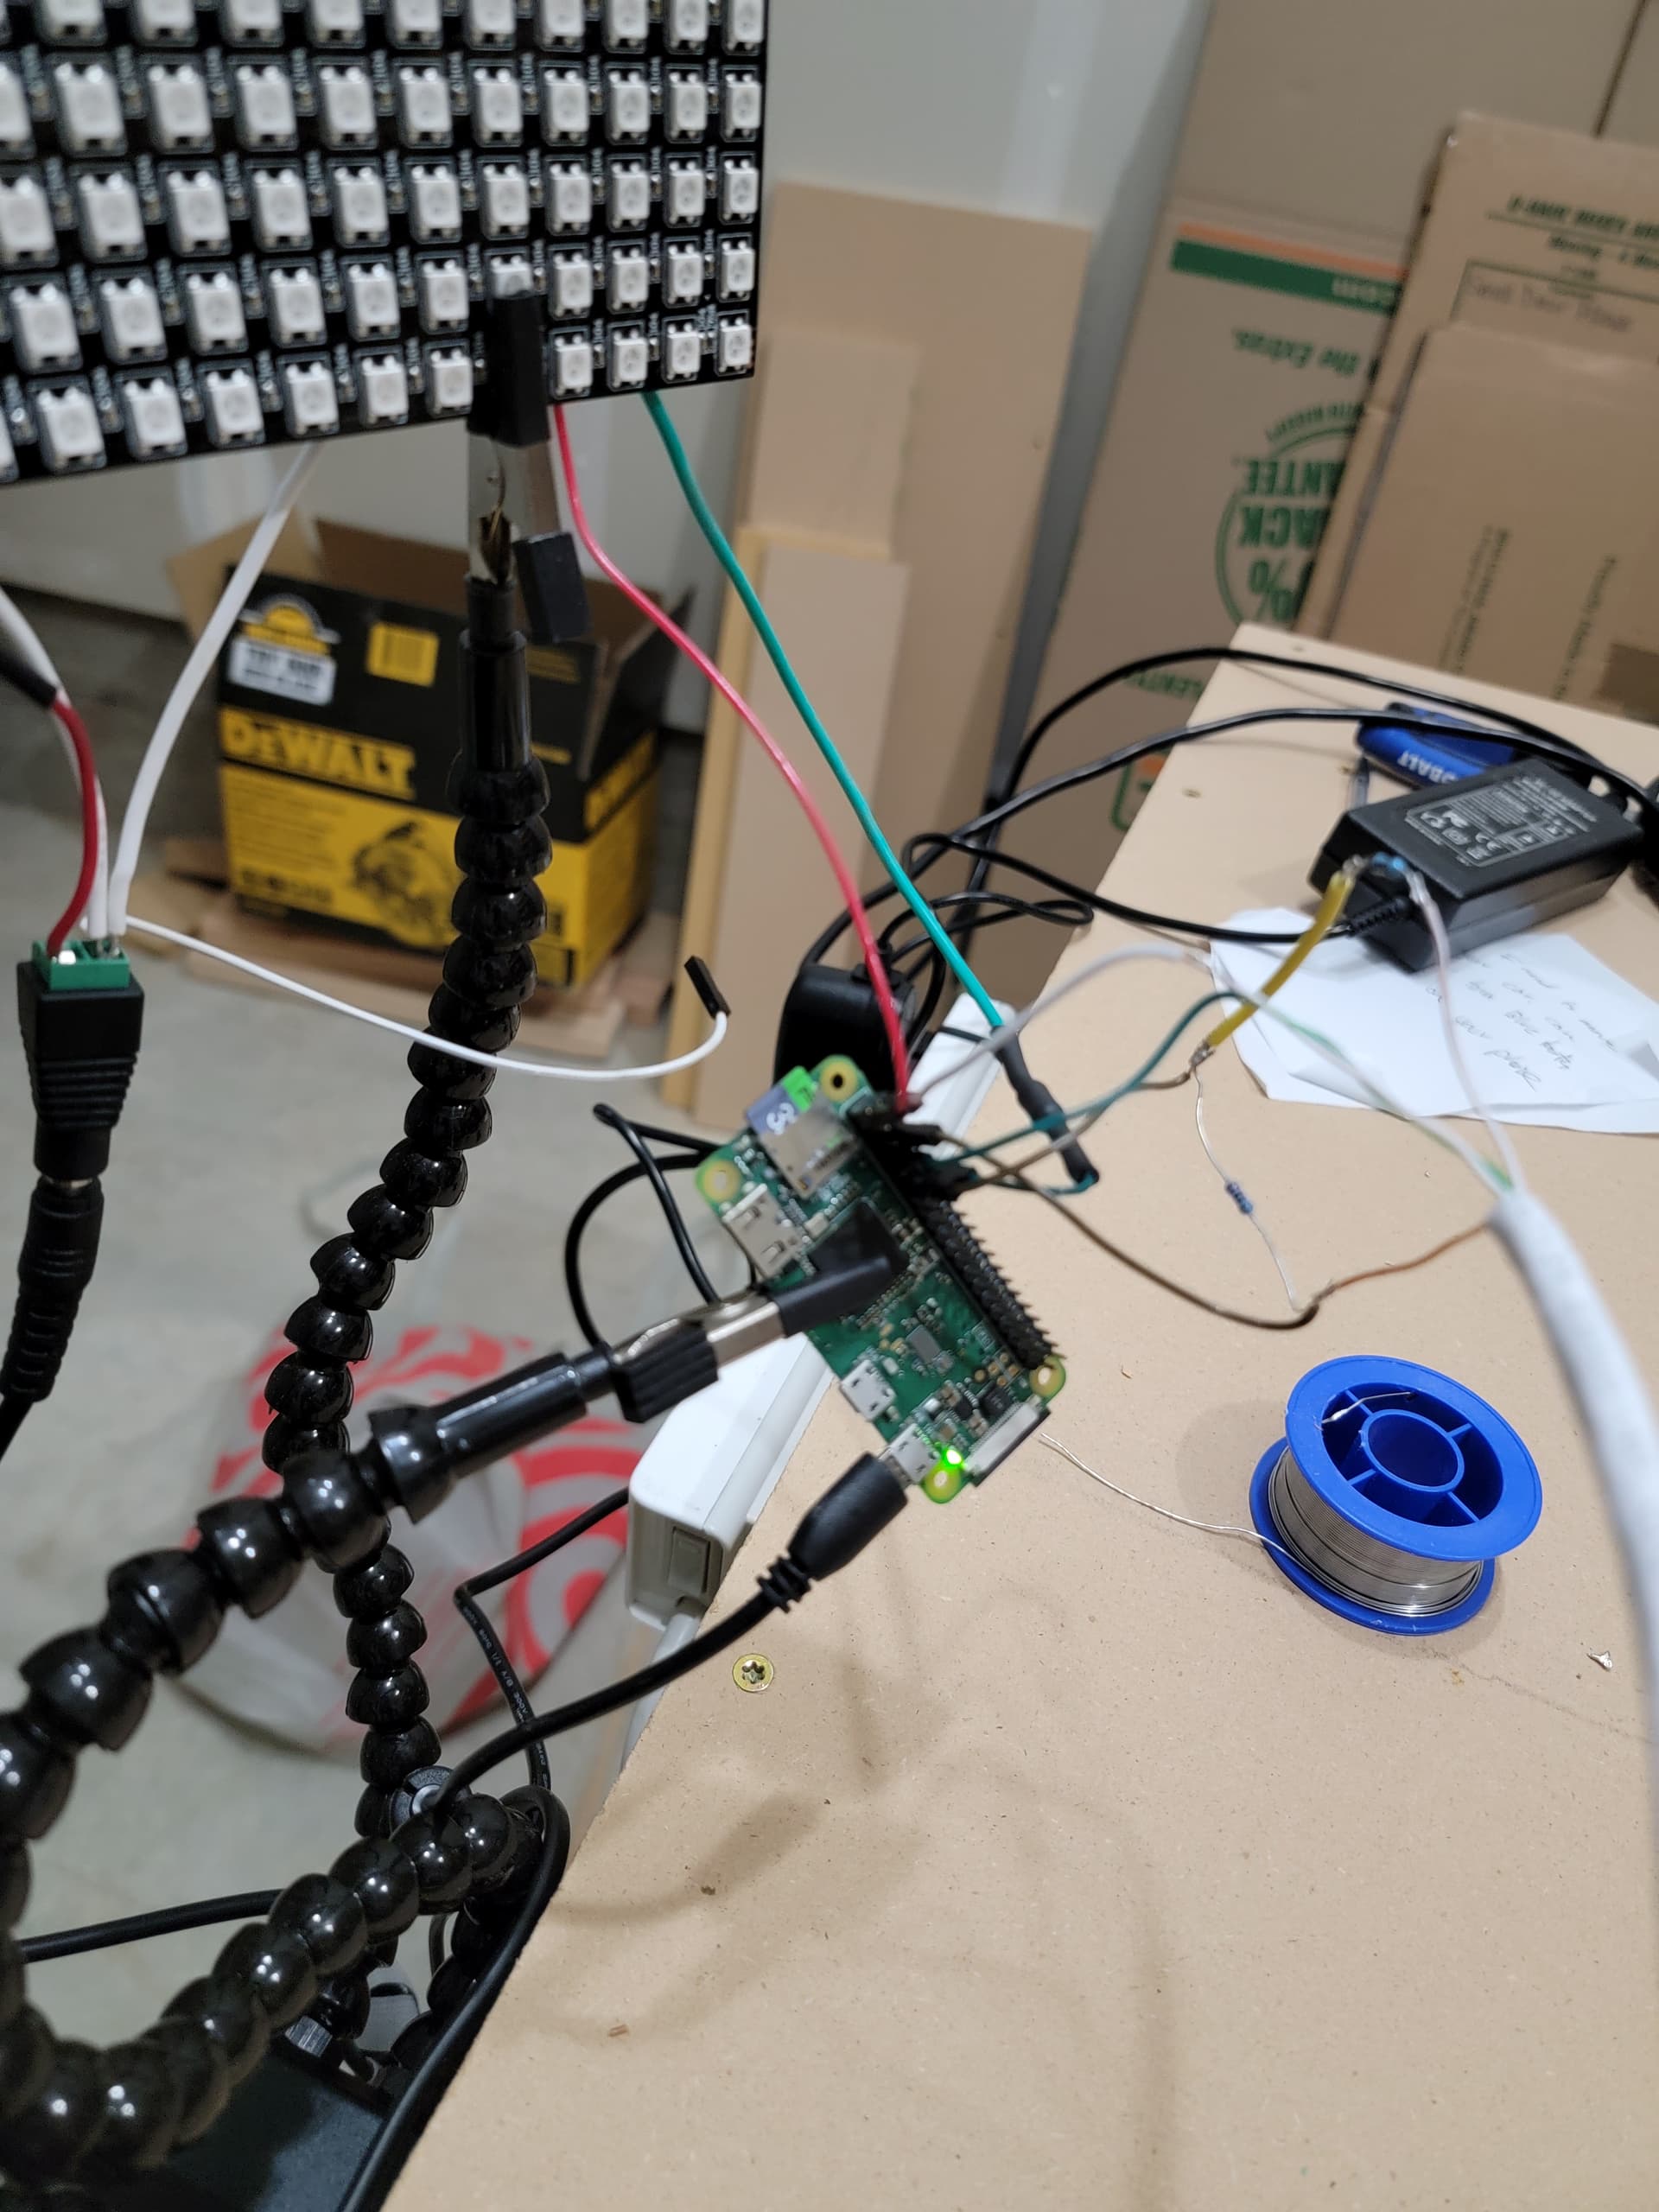
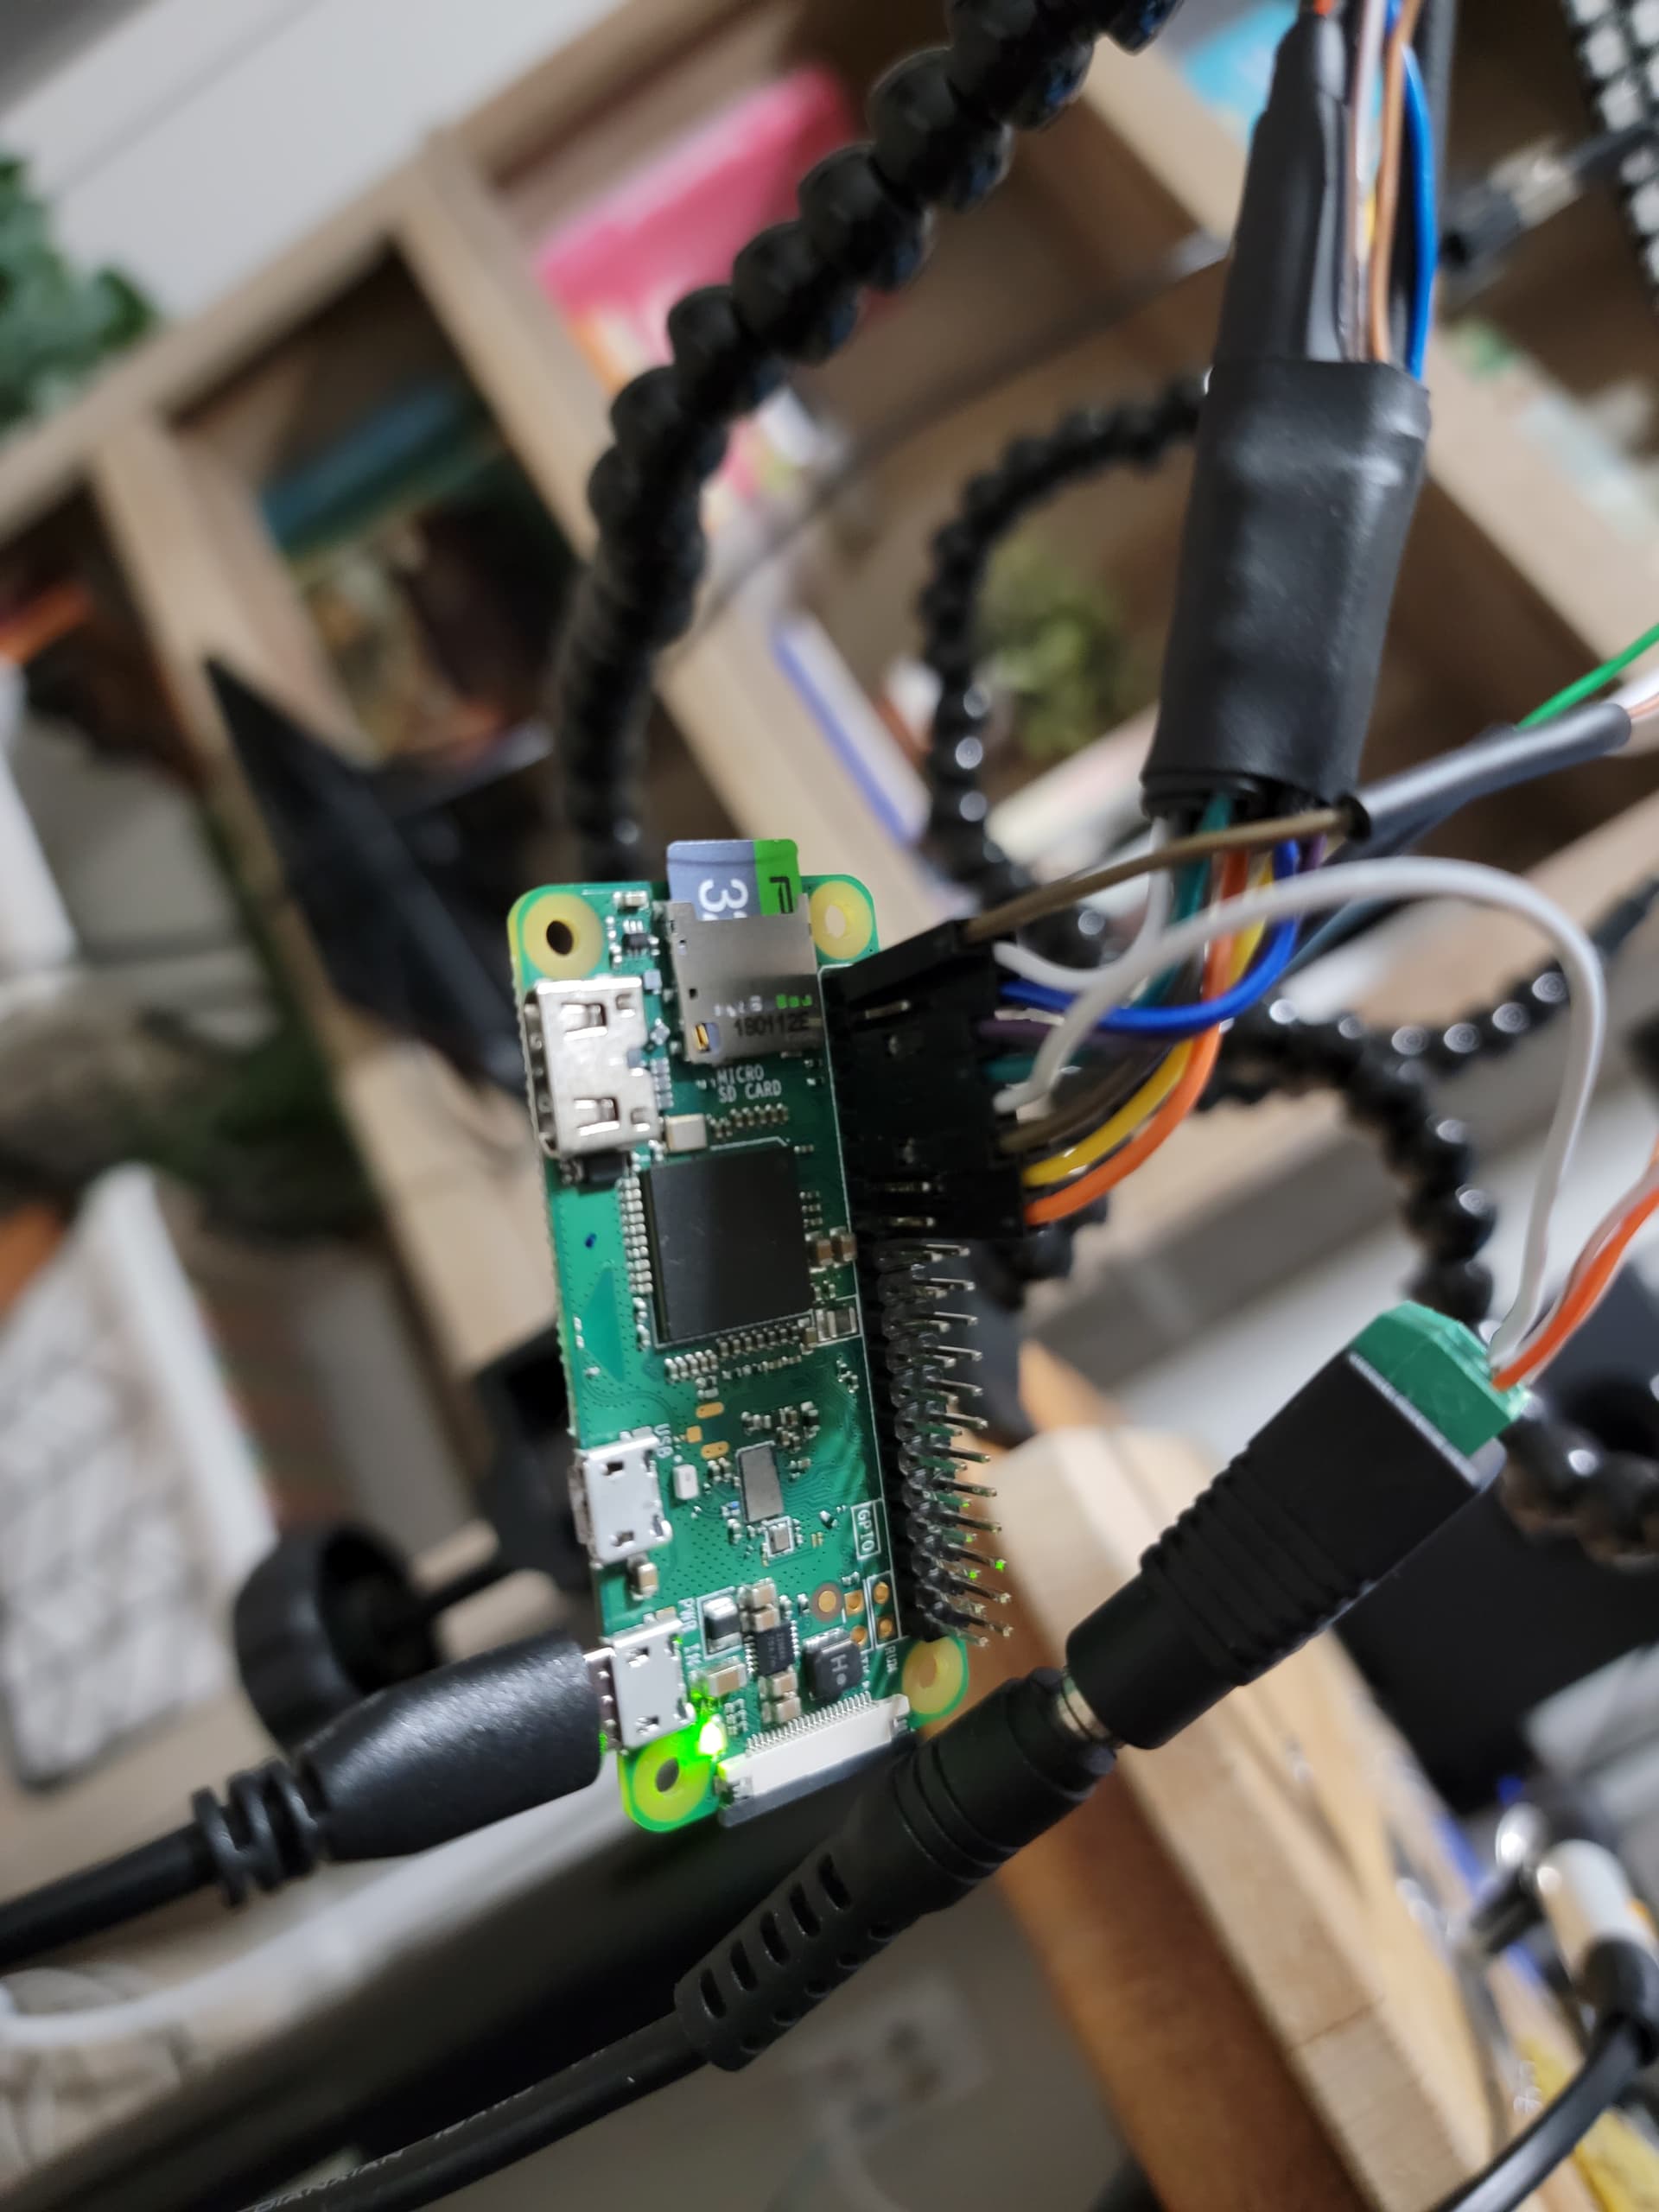
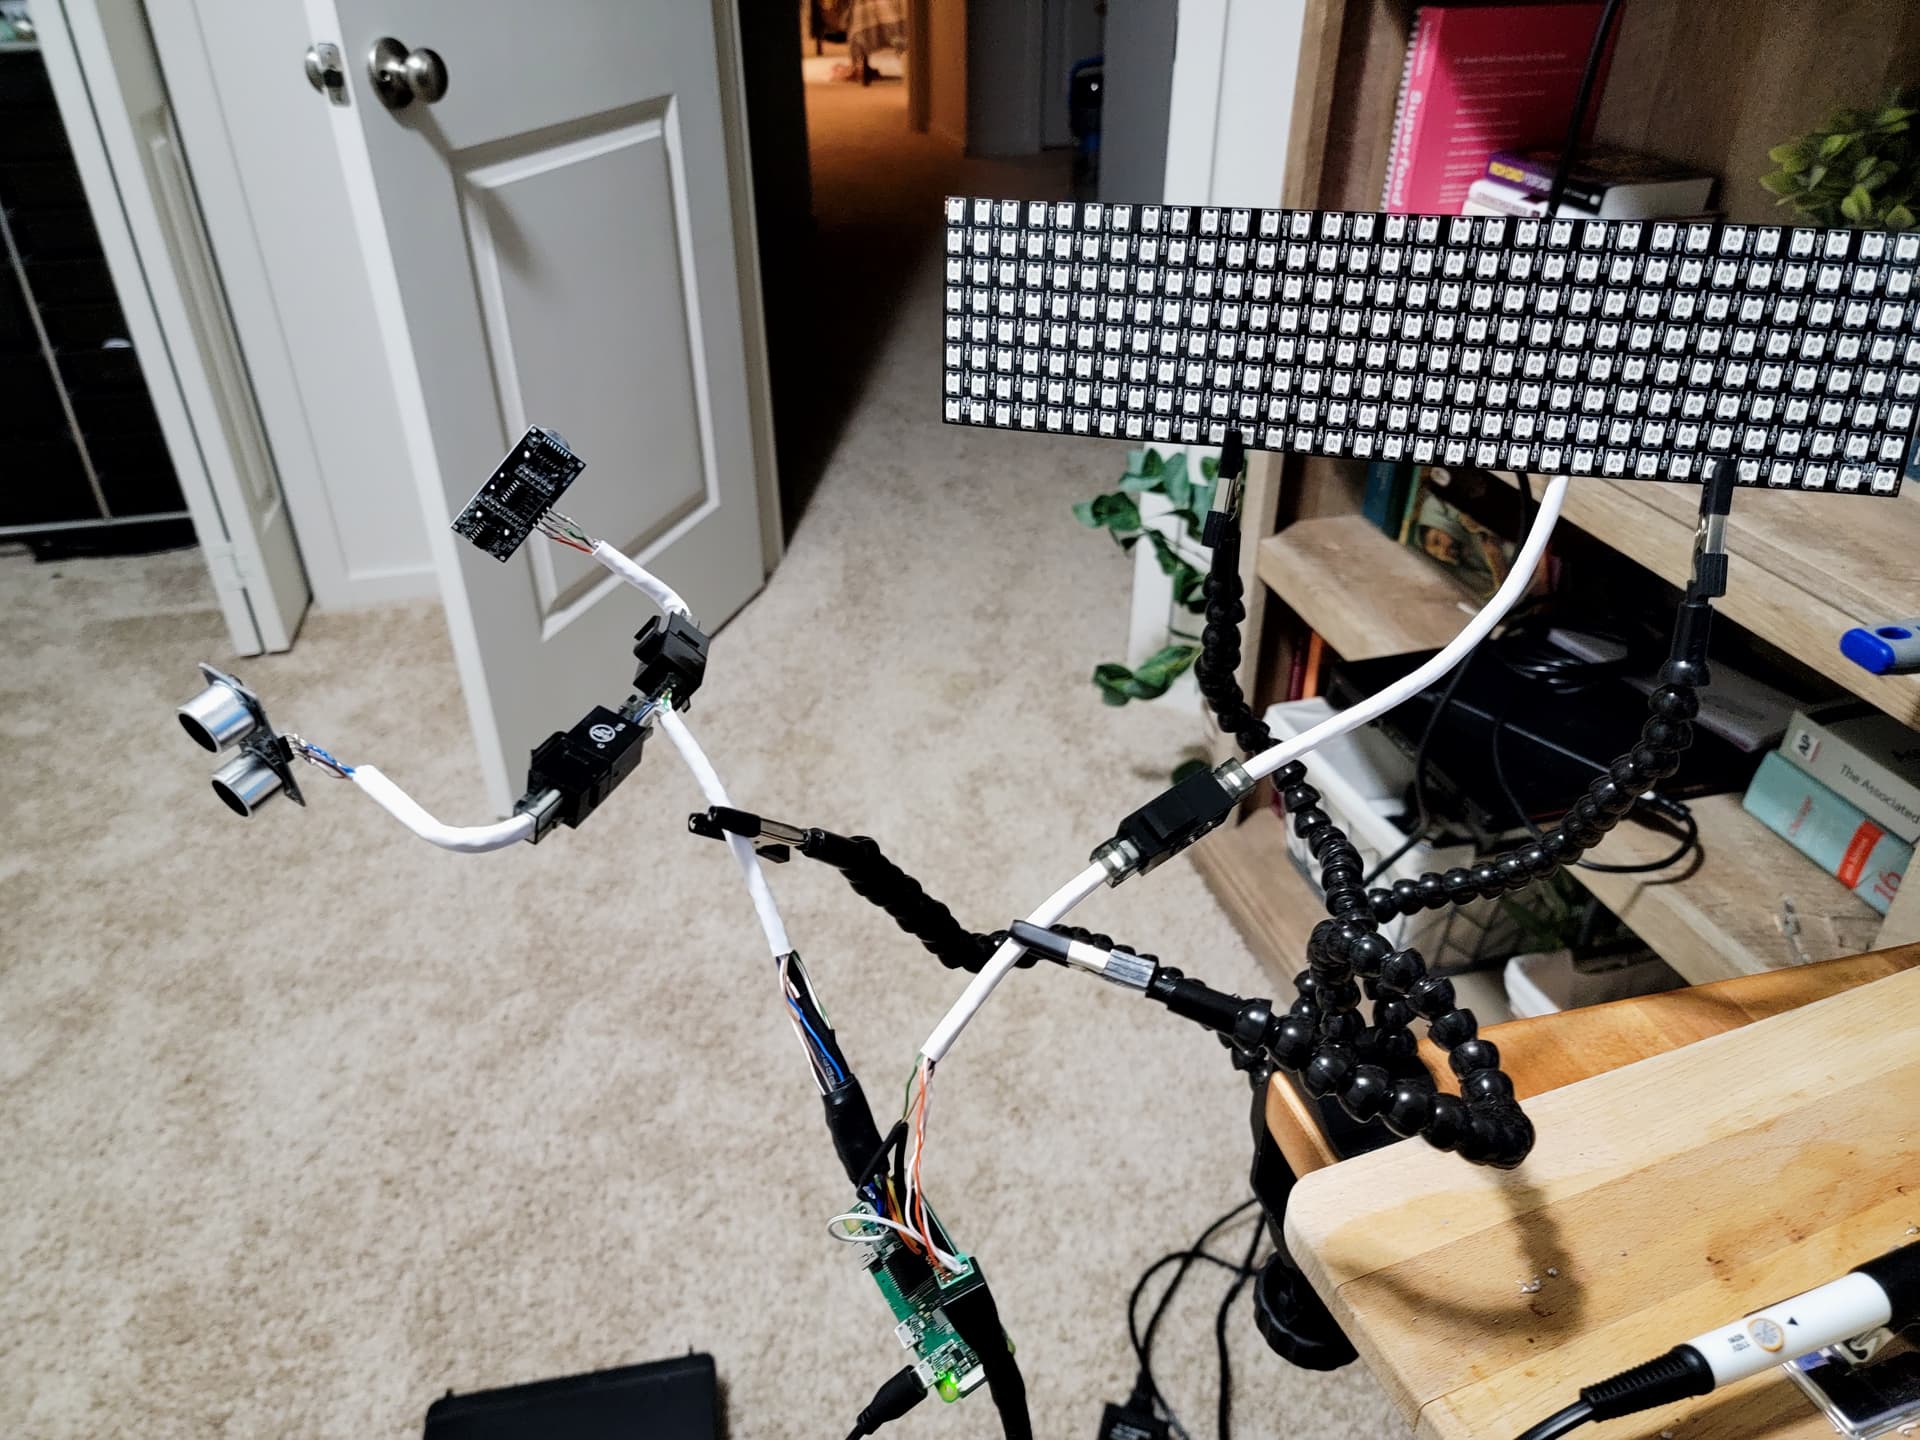
The system is currently planned to be run off of a raspberry pi zero w, with HC-SR04 Ultrasonic Modules for measurements, and an 8x32 led matrix for display.
- 2 ultrasonic sensors
- 1 sensor for left and right
- 1 sensor for depth
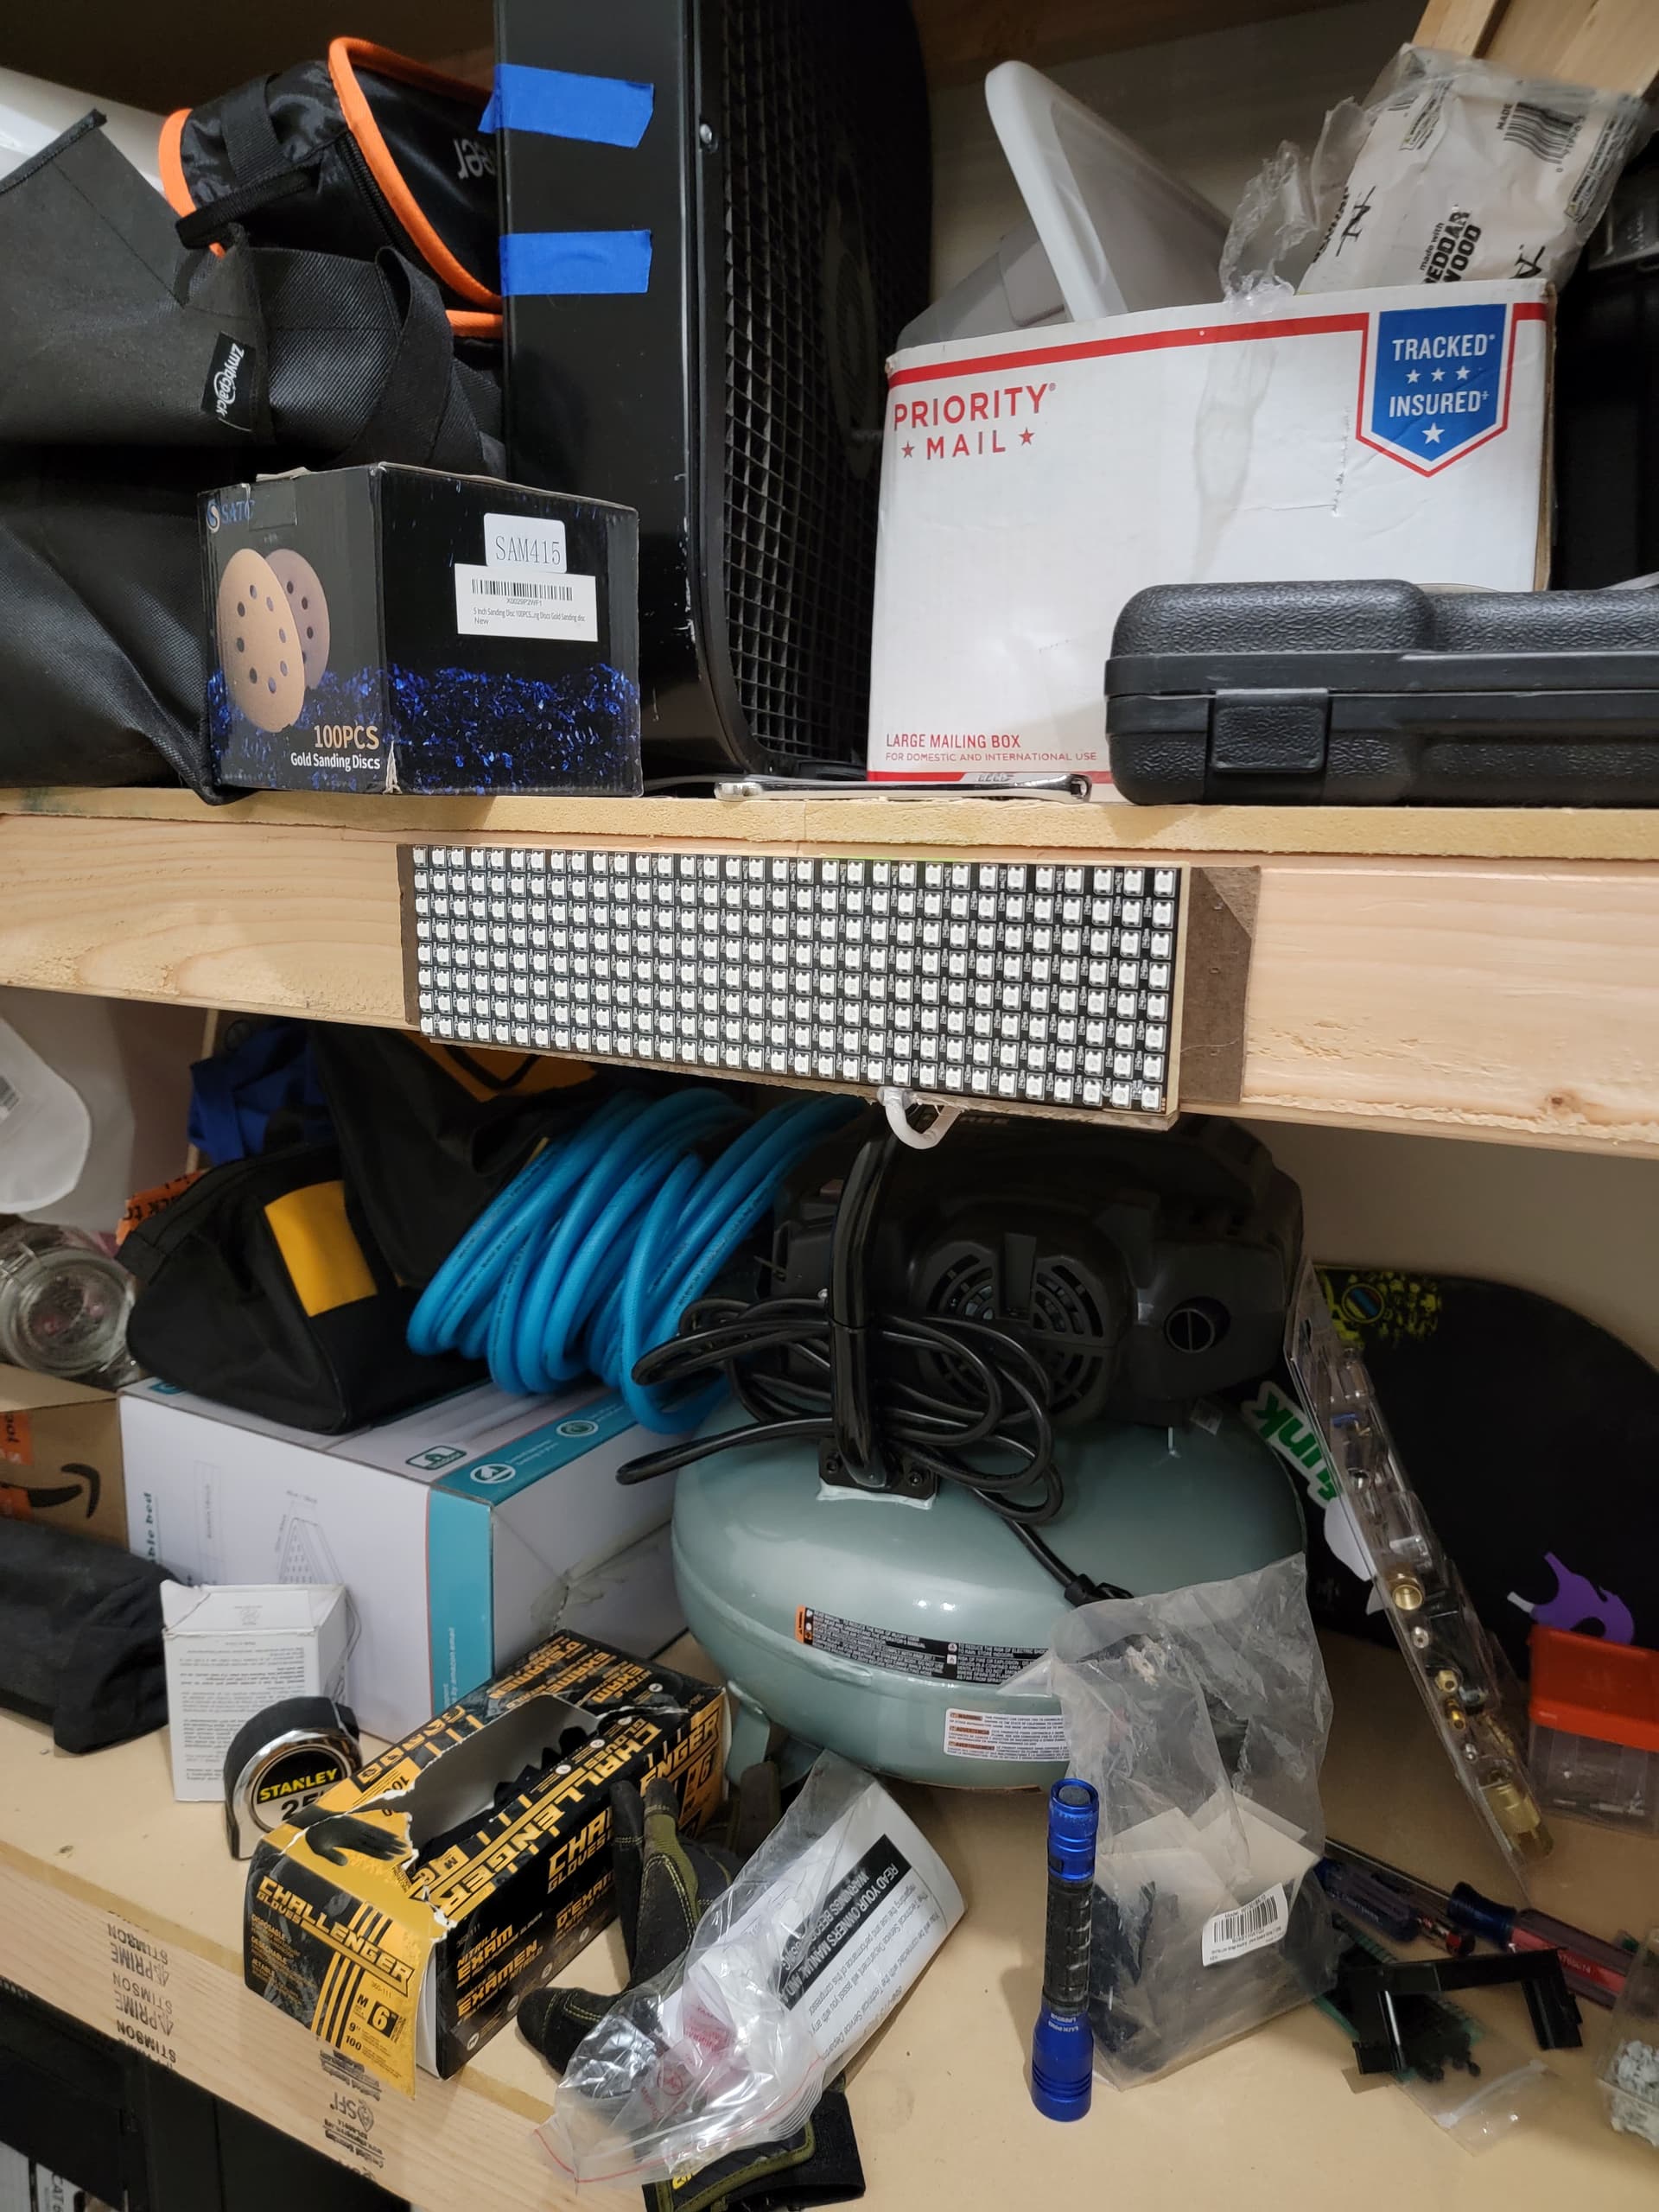
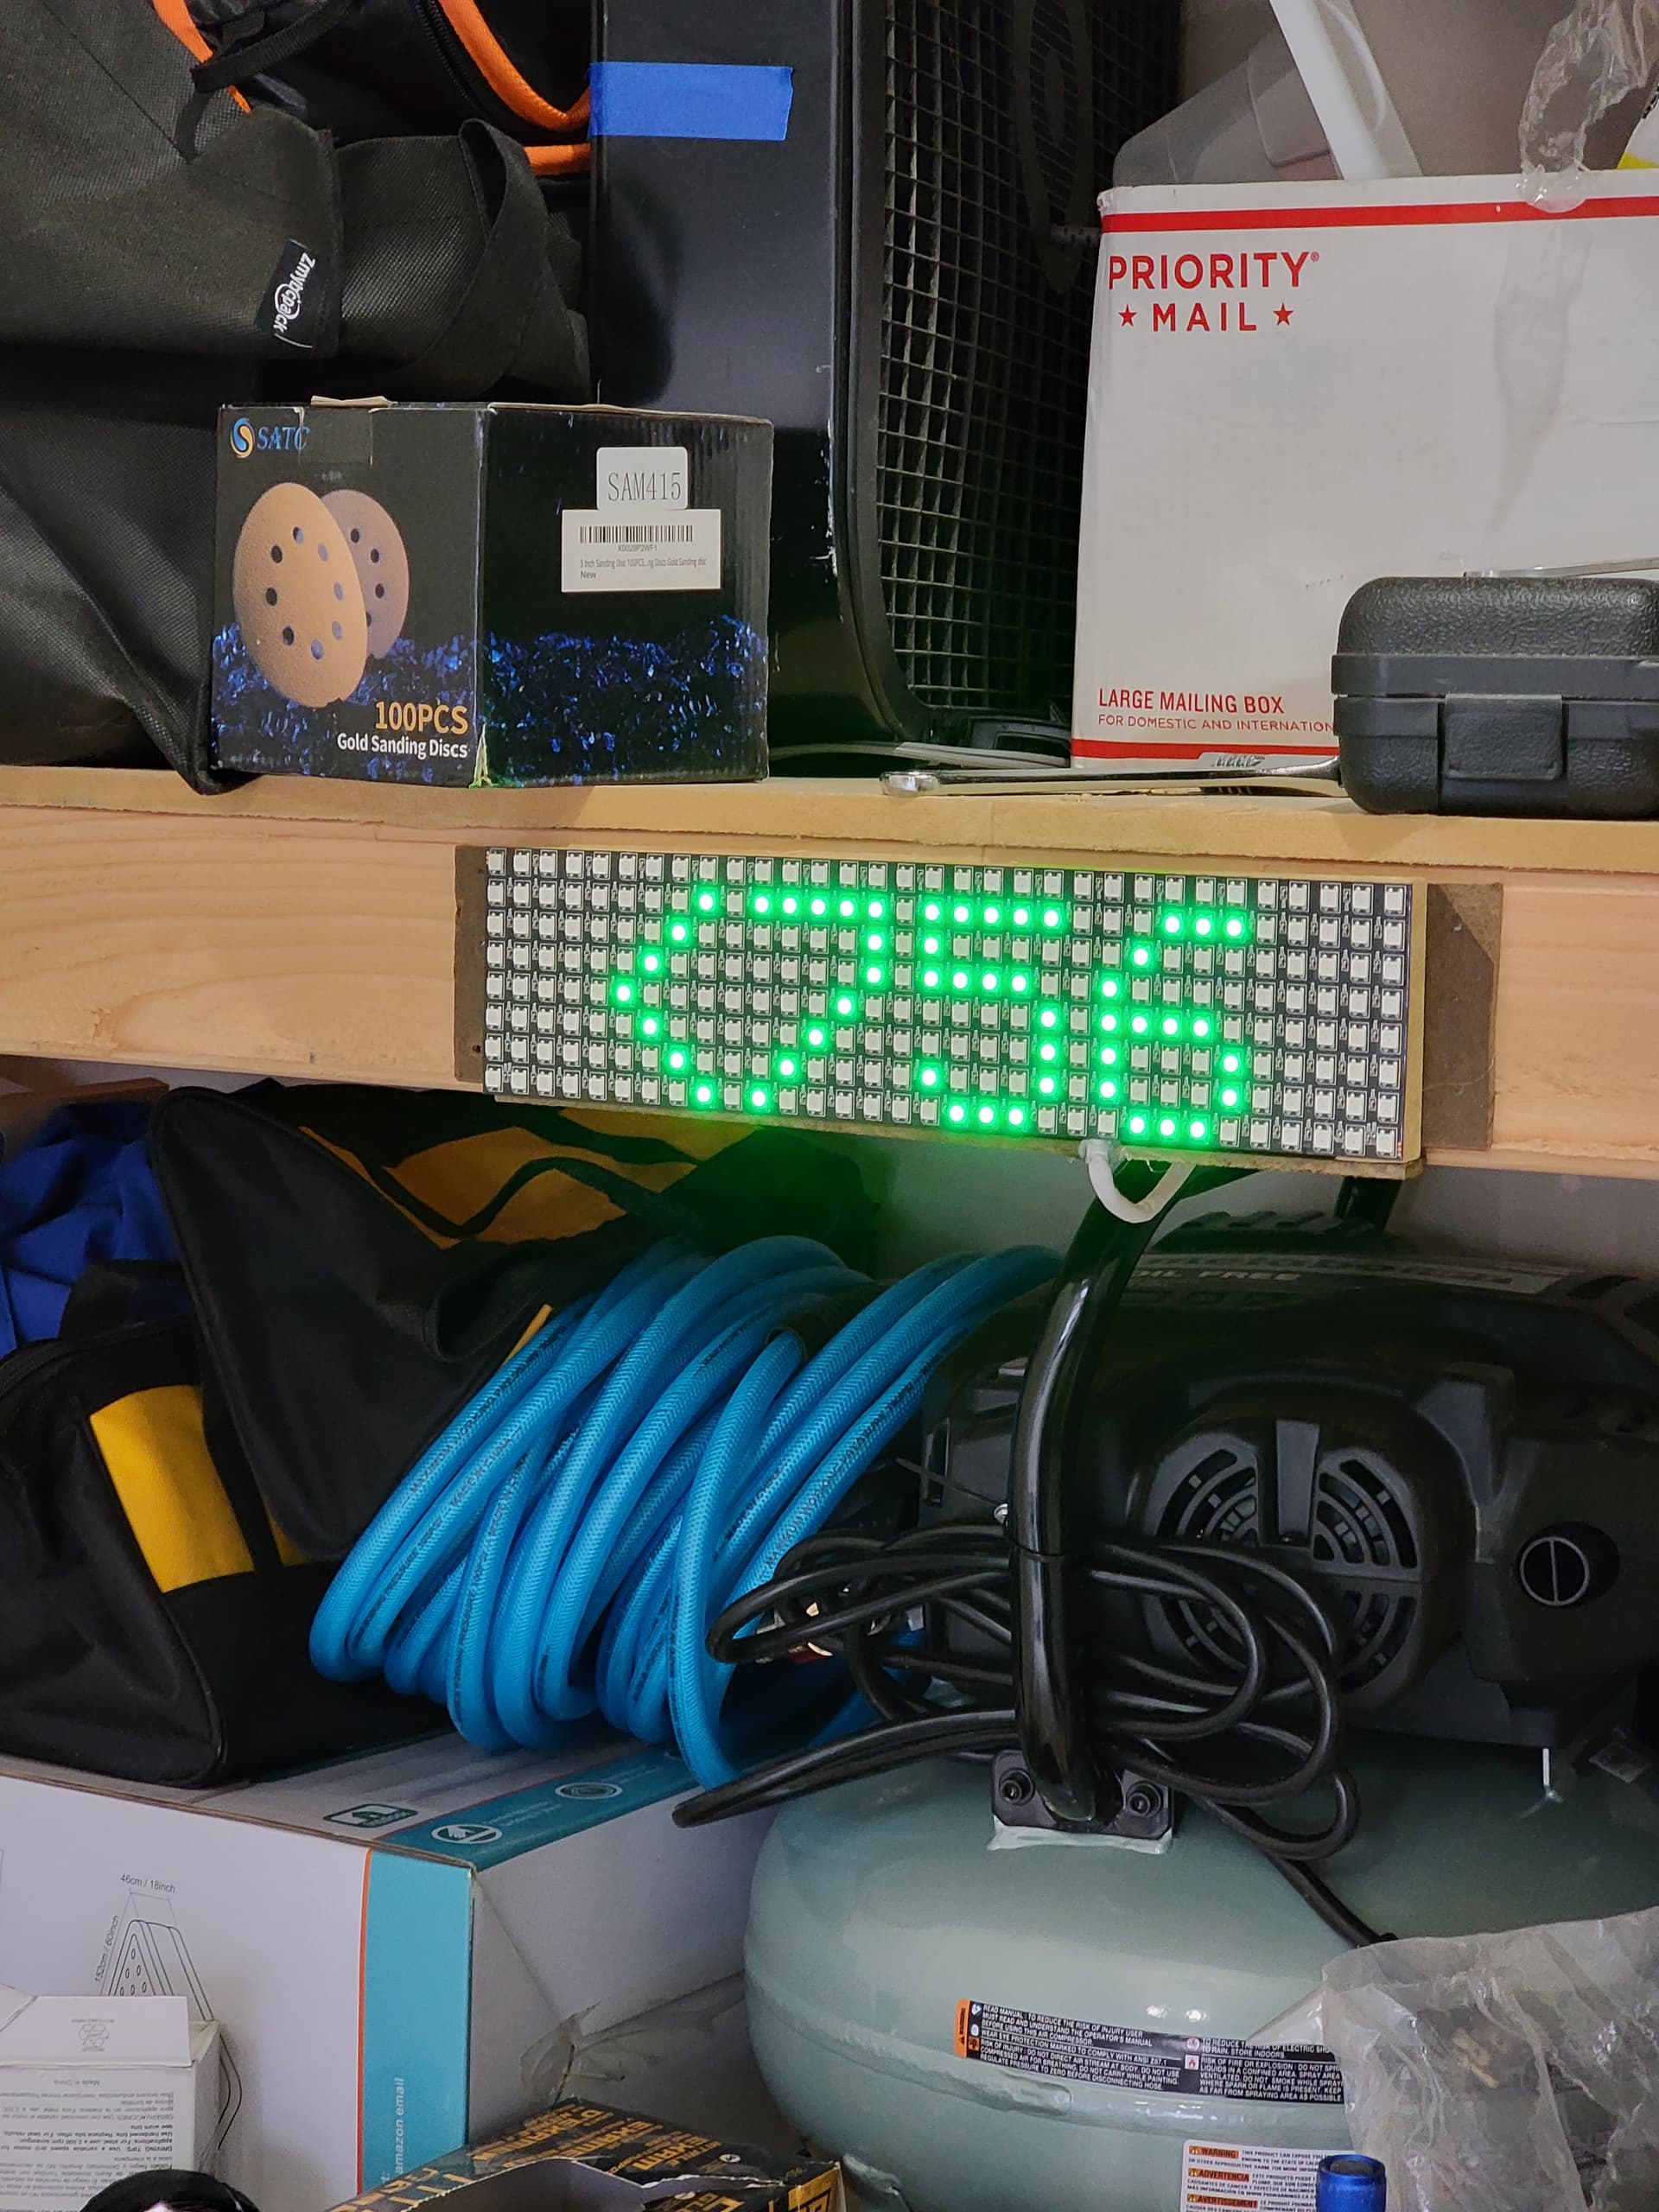
- LED Matrix
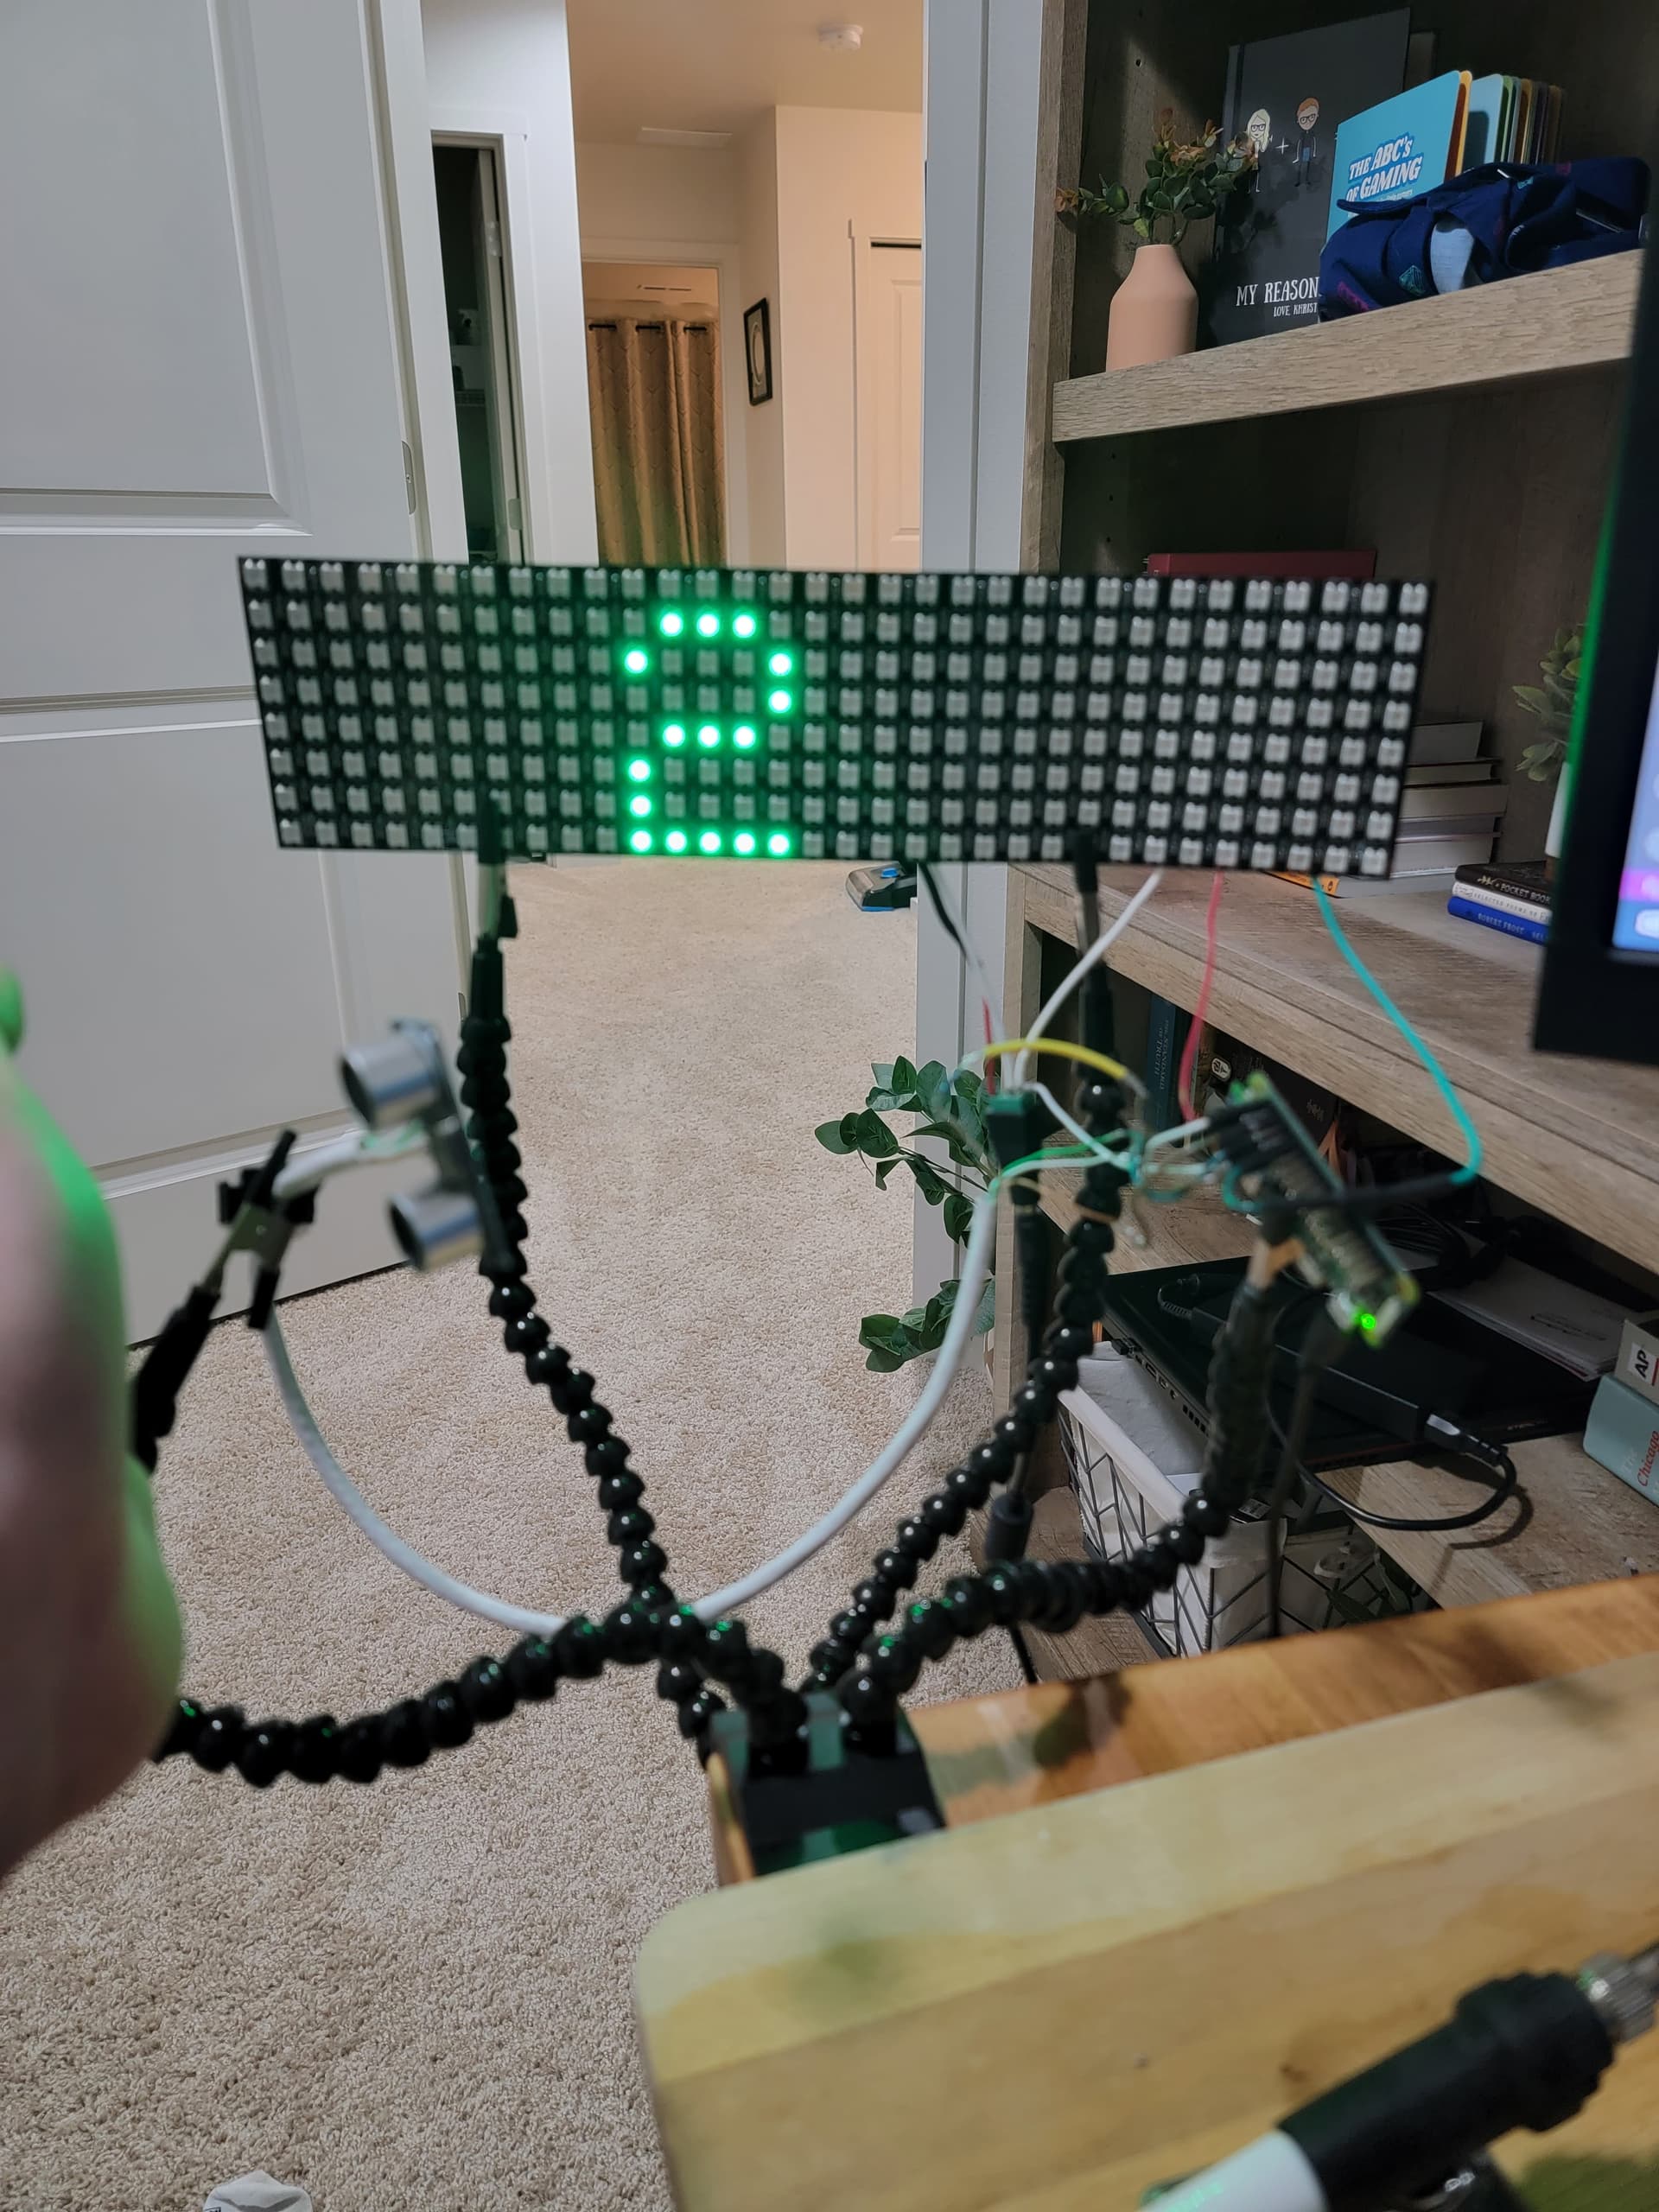
- Arrows for left and right guidance
- Distance count down with a final “Stop” signal when correct garage depth is reached
Plan 2.0
- Integrate display and sensor activation to the garage door status through home assistant to decrease idle power draw.
- Add two additional sensors to the garage door opening to help guide the car into the garage as mirror clearance is also tight. (Requested by the wife)
~ ~ ~ ~
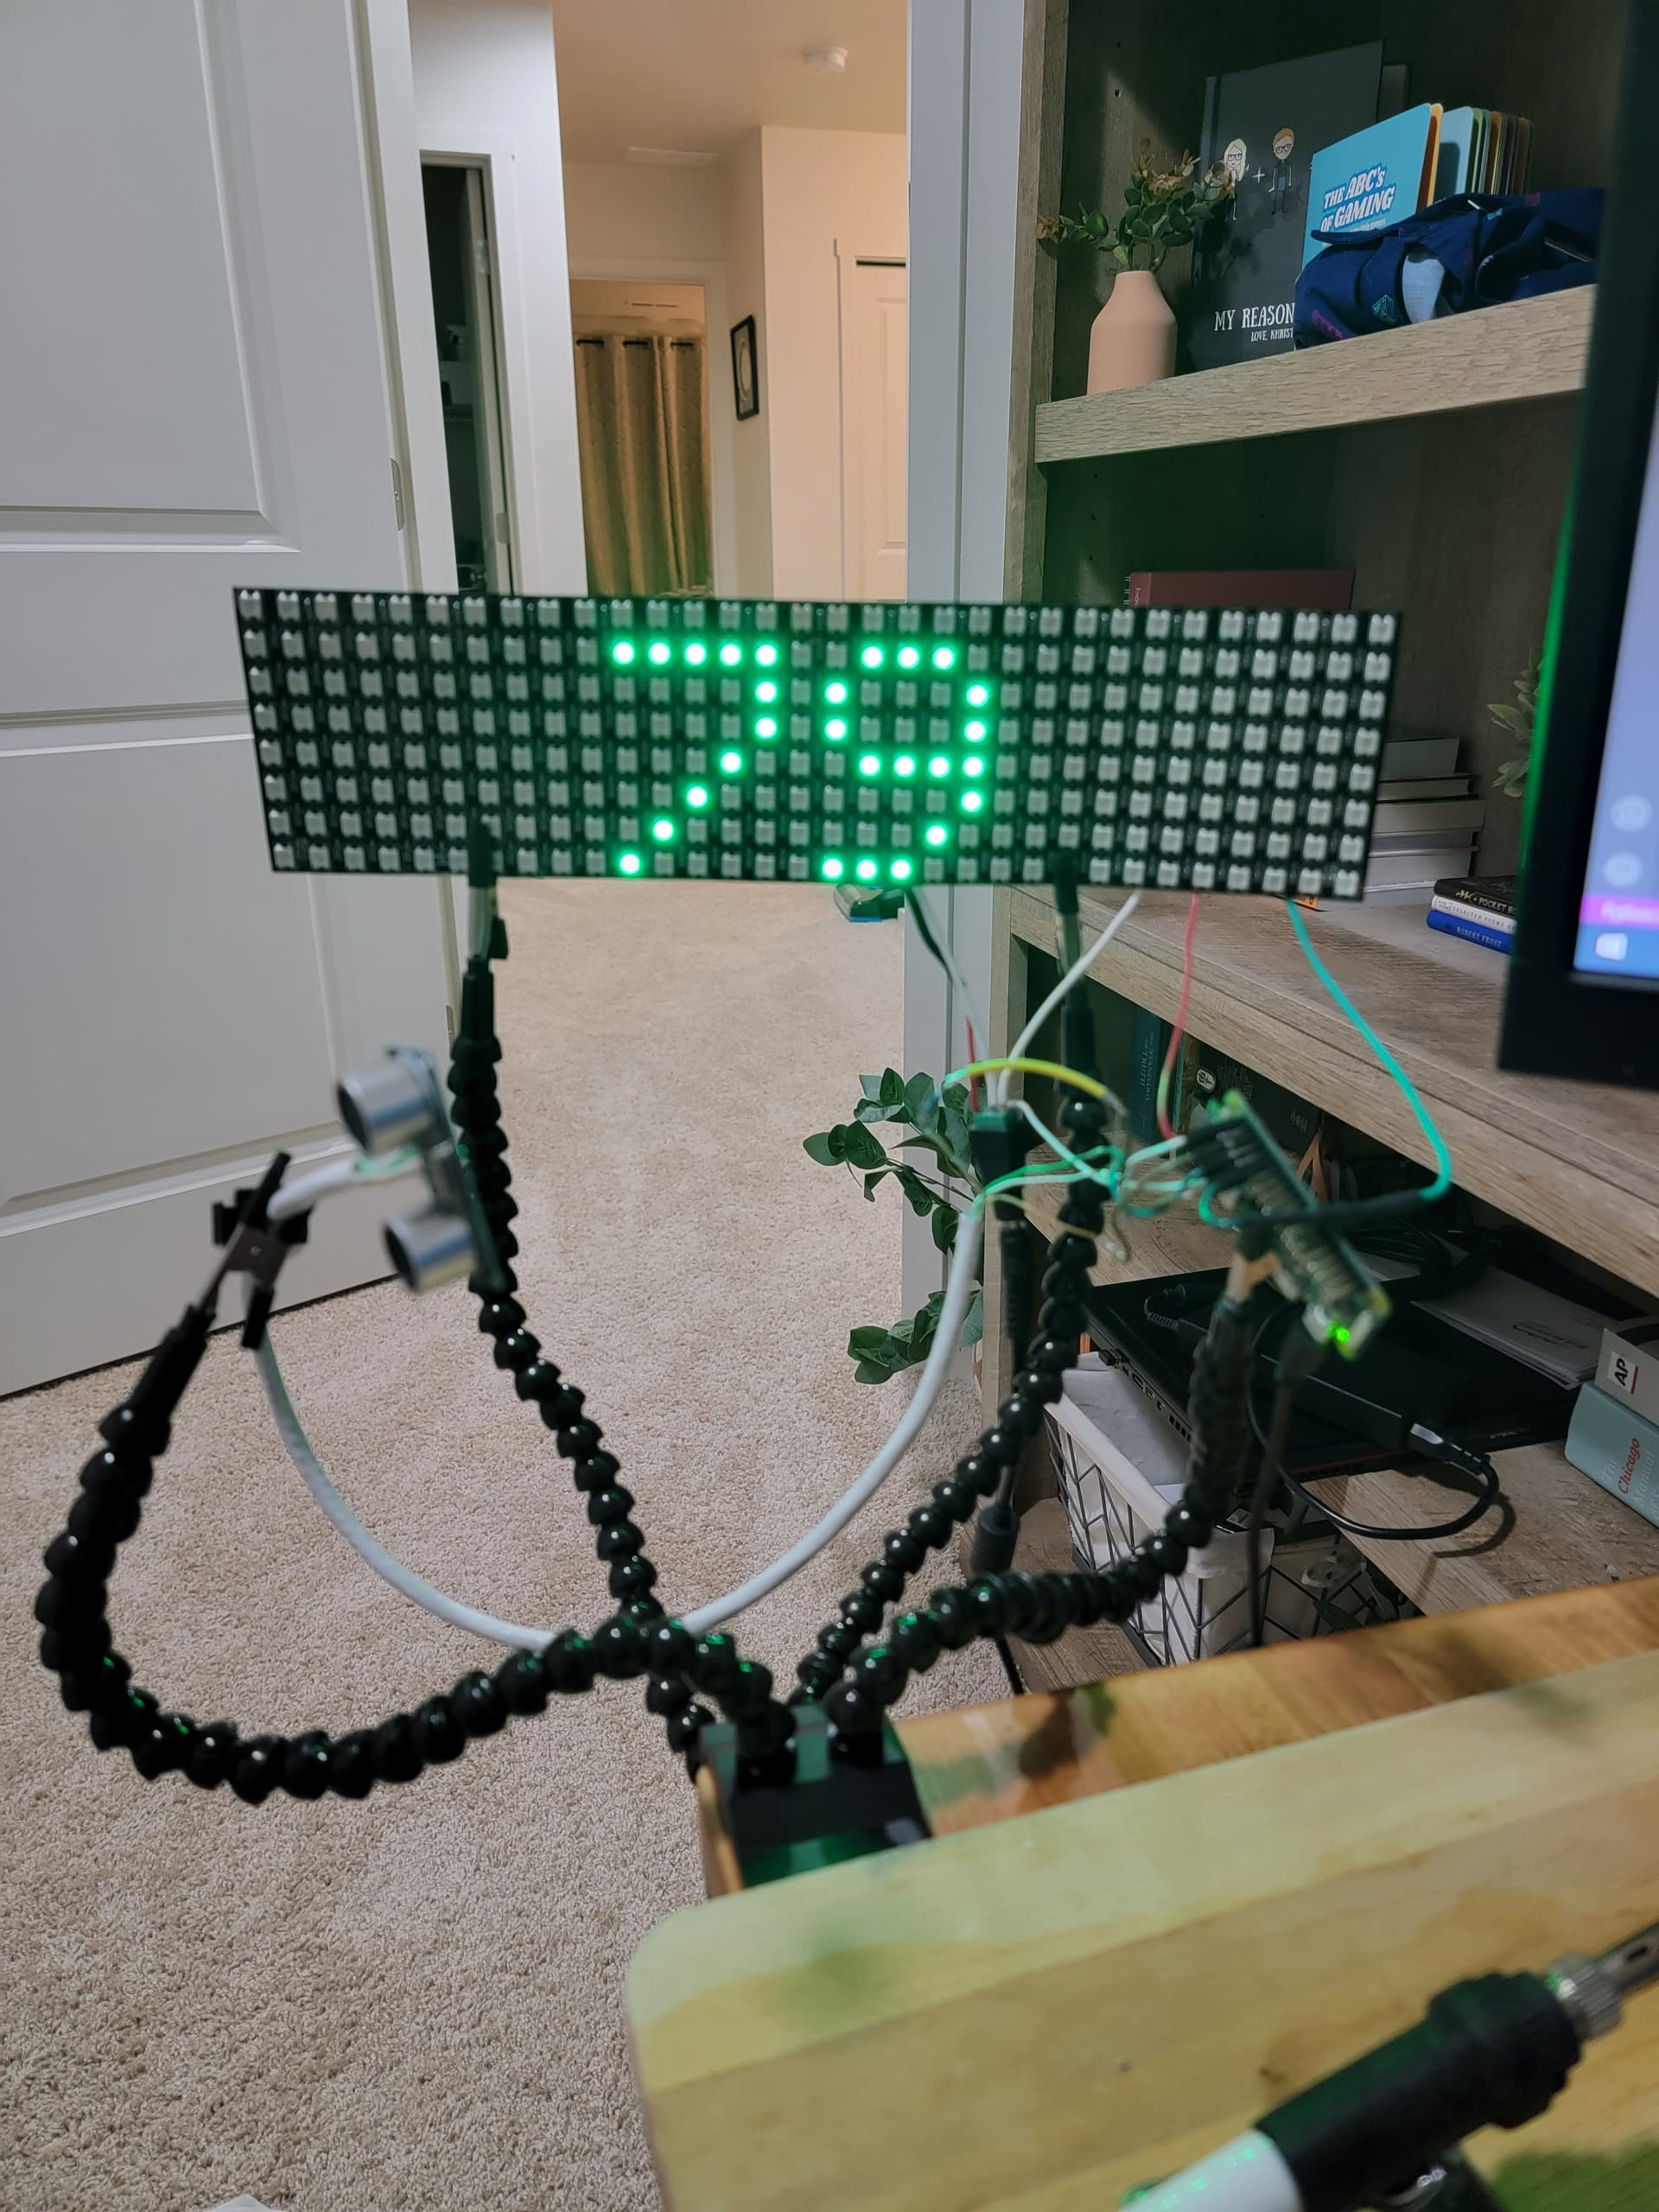
Looking at the original goals, all of plan 1.0 was achieved! Additionally I added vertical bars that will display when the car is at an acceptable lateral position in addition to the left and right arrows for guidance.
As for plan 2.0 I ended up with 1 of 2. Getting the program working with home assistant was a bit of a challenge as it was way beyond anything I had done previously, both with python and home assistant integration. As for the 2 additional sensors, this may be something that gets added in the future. However, for right now its more complicated from a wiring stand point than I want to deal with. This was my first real project using the GPIO pins on the raspberry pi and as far as I am aware there are only two 5v pins. Any guidance on the ability to split these out for additional sensors would be appreciated.
Final Thoughts
Up to this point my only coding experience has been structured python and SQL lessons on codecademy, and some VBA scripting in excel for an pharmacist intern project 6 years ago. This really pushed me beyond my previous abilities and increased my knowledge a ton, and I had a great time doing it as well.
Were I to start over from scratch I definitely would have included more notes in my code as I went to help to make any major adjustments, though I may still go back and do that so I don’t curse myself in the future.
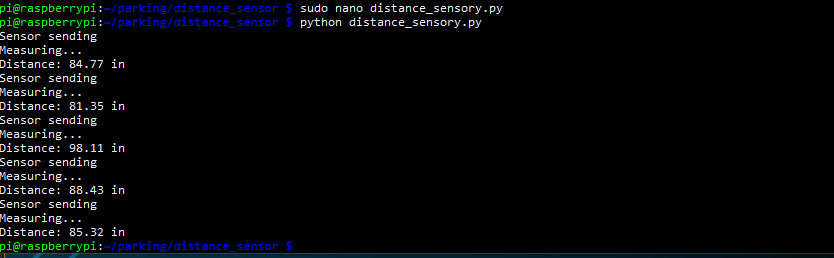
The most difficult part of the whole process for me was getting the display working. This had nothing to do with how difficult it actually was to use the display, but more to do with the fact that 99% of the projects out there were for Arduino boards not the pi, and my lack of experience with python. However, after lots of googling, reformatting the pi’s SD card, and LOTS of trial and error it turns out that it isn’t actually that hard once you know what you need.
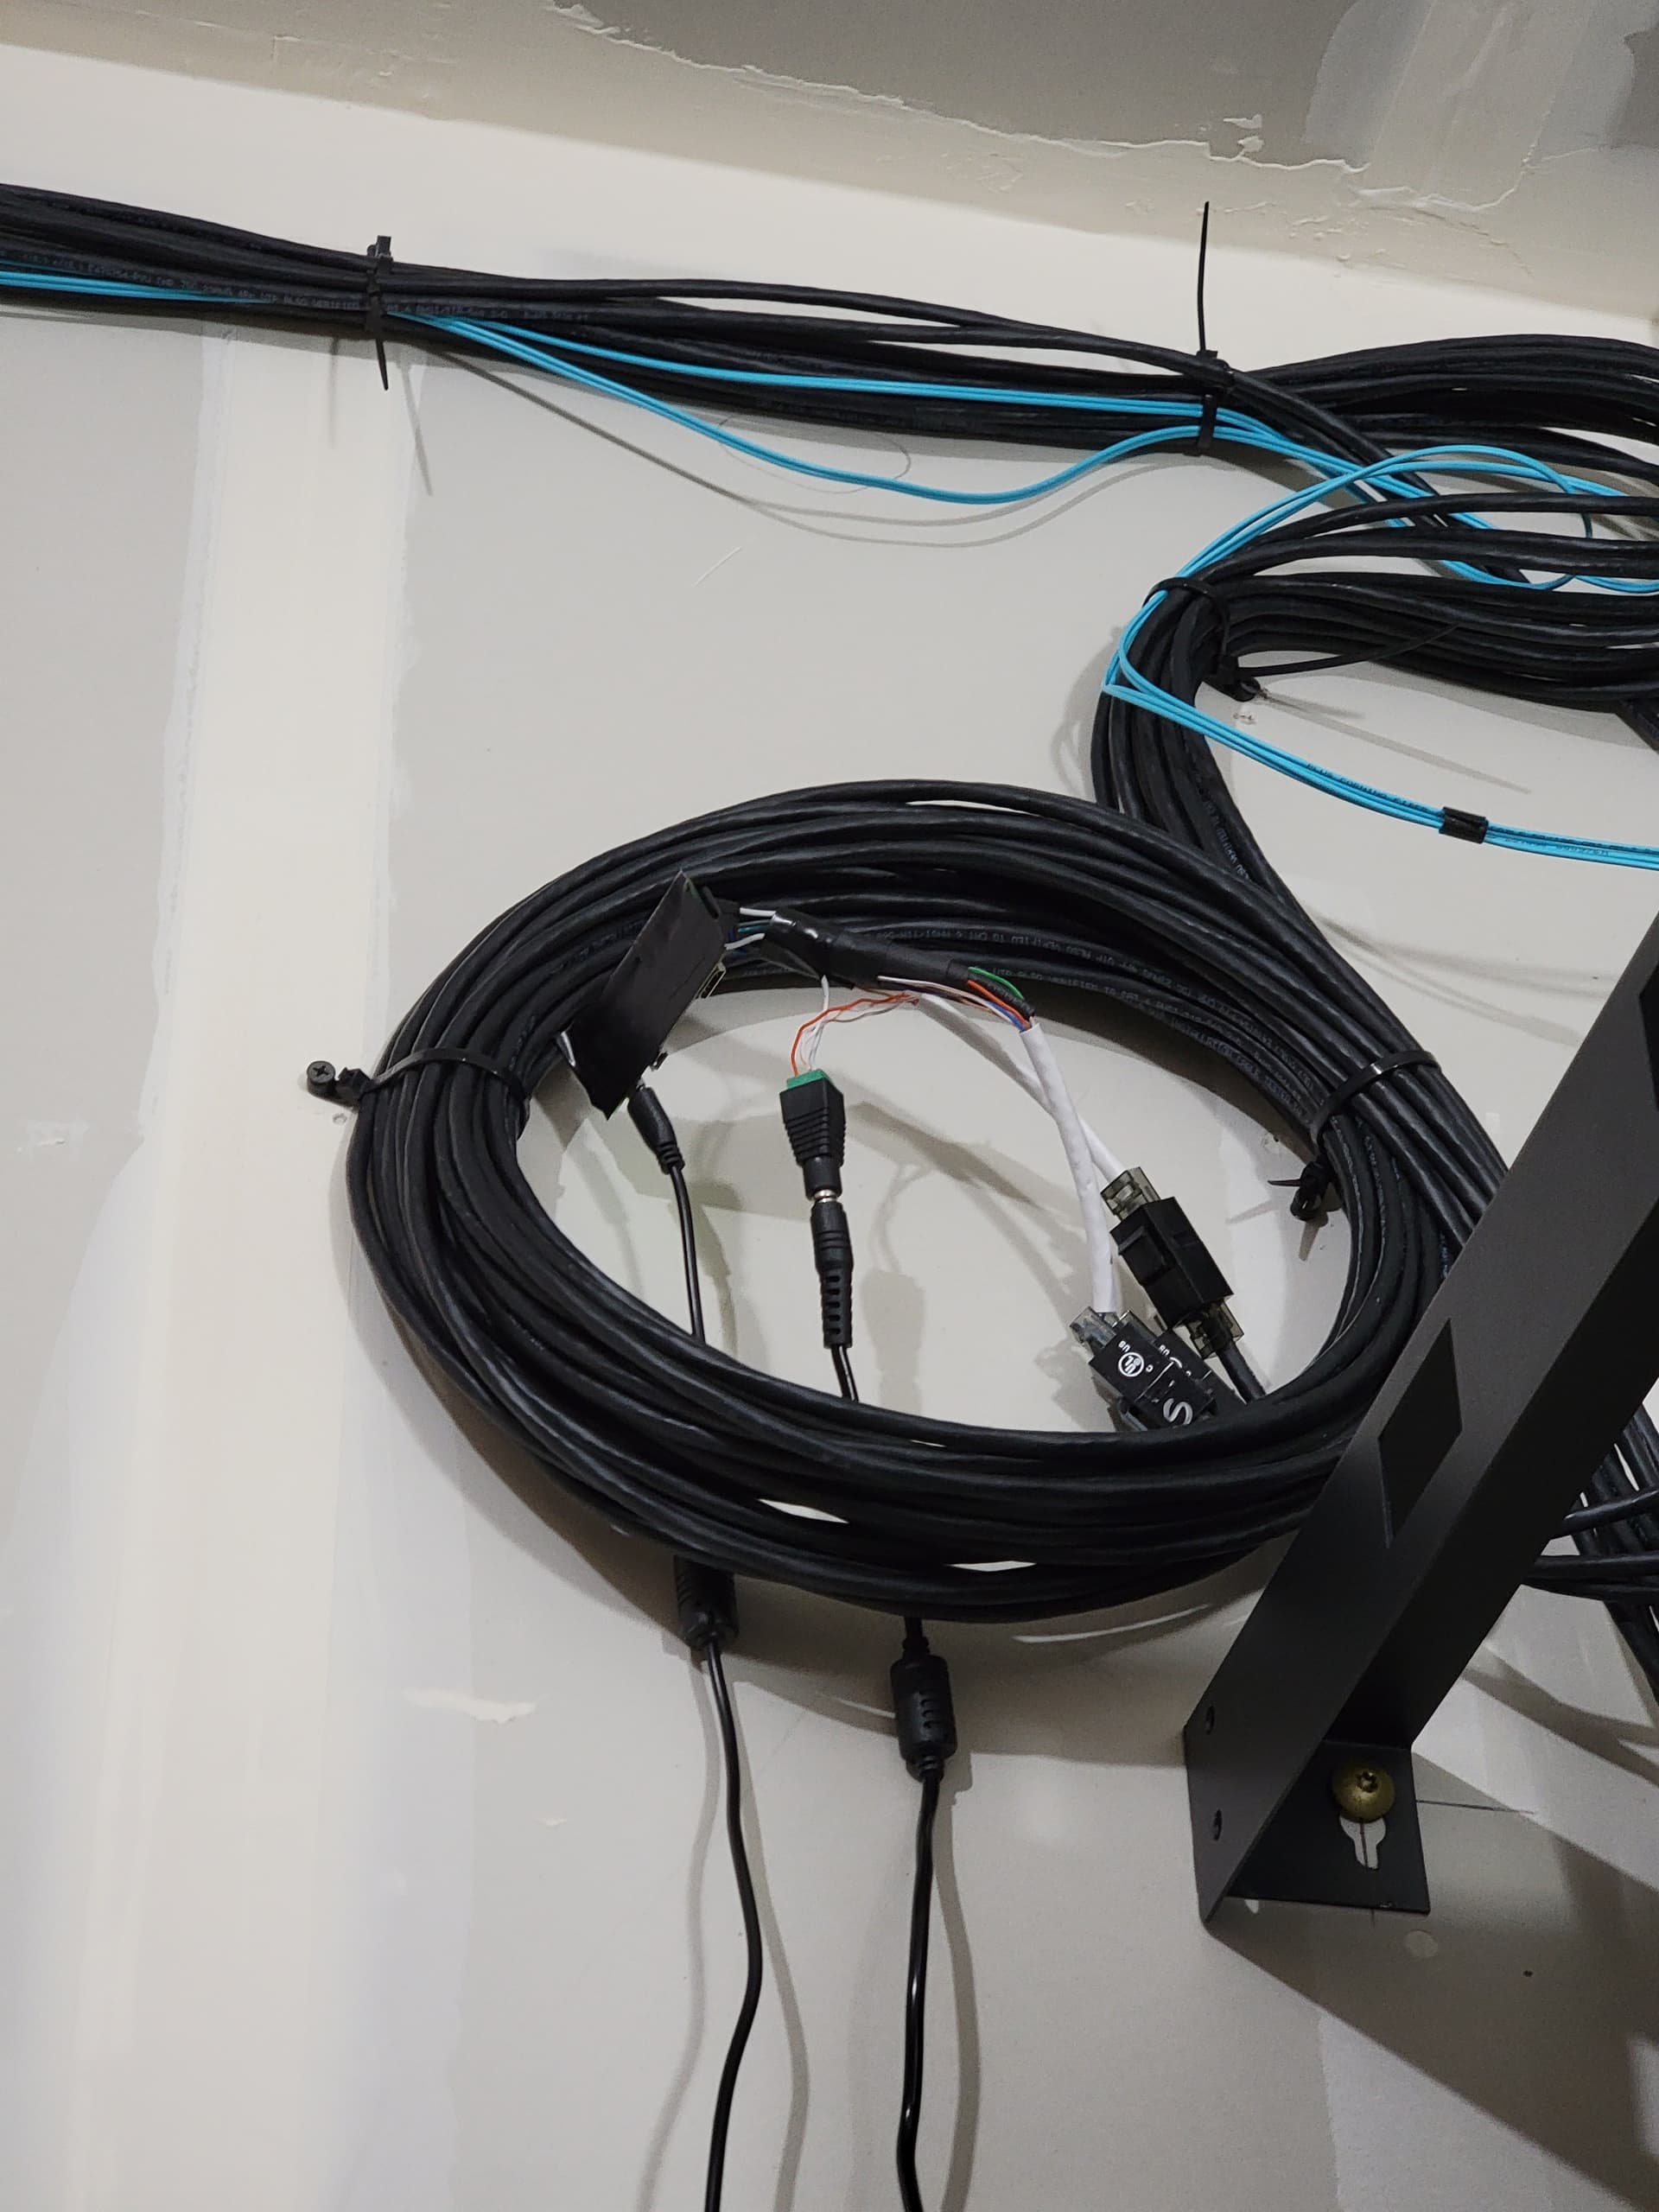
Finally the thing I’m most pleased with was the idea I had to use Ethernet to connect everything to the pi. The benefits of the standard rj45 plugs not only allow for easy positioning of sensors without having to worry about moving 10’s of feet of wiring attached to the end of them, but it also will let me more easily place the pi in a more secure location than the underside of my garage shelves.
Pictures of the final install to follow tomorrow afternoon!
#!/usr/bin/python3.9

import board
import neopixel
from adafruit_pixel_framebuf import PixelFramebuffer, VERTICAL
import RPi.GPIO as GPIO
import time
import paho.mqtt.client as mqtt
import random

# 8x32 led display innitialization

pixel_pin = board.D18
pixel_width = 32
pixel_height = 8

pixels = neopixel.NeoPixel(
	pixel_pin,
	pixel_width * pixel_height,
	brightness=0.1,
	auto_write=False,
)

pixel_framebuf = PixelFramebuffer(
	pixels,
	32,
	8,
	orientation=VERTICAL,
	rotation=2
)

def start_parking ():
	count = 0
	while True :

		GPIO.setmode(GPIO.BCM)

		PIN_TRIGGER = 4
		PIN_ECHO = 17

		PIN_TRIGGER_2 = 3
		PIN_ECHO_2 = 23

		GPIO.setup(PIN_TRIGGER, GPIO.OUT)
		GPIO.setup(PIN_ECHO, GPIO.IN)

		GPIO.output(PIN_TRIGGER, GPIO.LOW)

		time.sleep(0.5)

		GPIO.output(PIN_TRIGGER, GPIO.HIGH)

		time.sleep(0.00001)

		GPIO.output(PIN_TRIGGER, GPIO.LOW)

		while GPIO.input(PIN_ECHO)==0:
			pulse_start_time = time.time()
		while GPIO.input(PIN_ECHO)==1:
			pulse_end_time = time.time()

		GPIO.setup(PIN_TRIGGER_2, GPIO.OUT)
		GPIO.setup(PIN_ECHO_2, GPIO.IN)

		time.sleep(0.5)

		GPIO.output(PIN_TRIGGER_2, GPIO.HIGH)

		time.sleep(0.00001)

		GPIO.output(PIN_TRIGGER_2, GPIO.LOW)

		while GPIO.input(PIN_ECHO_2)==0:
			side_pulse_start_time  = time.time()
		while GPIO.input(PIN_ECHO_2)==1:
			side_pulse_end_time = time.time()

		pulse_duration = pulse_end_time - pulse_start_time

		distance_metric = pulse_duration * 17150

		distance_imperial = round(distance_metric / 2.54 )


		side_pulse_duration = side_pulse_end_time - side_pulse_start_time

		side_distance_metric = side_pulse_duration * 17150

		if 10 < side_distance_metric < 50:
			display = "|%s|"%distance_imperial
		if side_distance_metric < 10:
			display = " %s>"%distance_imperial
		if side_distance_metric > 50:
			display = "<%s "%distance_imperial

		pixel_framebuf.fill(0x000000)
		pixel_framebuf.display()

		if distance_imperial <= 2:
			pixel_framebuf.text("STOP", 4, 1, 0xFF0000)
			pixel_framebuf.display()
		else:
			pixel_framebuf.text(str(display), 4, 1, 0x00FF00)
			pixel_framebuf.display()

		count = count + 1

		if distance_imperial <=2:
			break

		if distance_imperial >=50 and count >= 10:
			break

def stop_parking ():

	pixel_framebuf.fill(0x000000)
	pixel_framebuf.display()

def on_connect(client, userdata, flags, rc):
  print("Connected to MQTT broker")

def on_message(client, userdata, msg):
    print(msg.topic+" "+str(msg.qos)+" "+str(msg.payload))
    if msg.payload.decode() == "ON":
        print("Calling script to Start Parking...")
        start_parking()
    elif msg.payload.decode() != "ON":
        print("Calling script to Stop Parking...")
        stop_parking()

def on_subscribe(client, userdata, mid, granted_qos):
    print("Subscribed to topic : " + str(mid) +" with QoS" + str(granted_qos))


client = mqtt.Client()

client.username_pw_set( "mqtt-user" , "c0up3rrx!" )

client.connect( "10.0.0.13", 1883, 60)

client.subscribe( "/parking/python" , qos=1)

client.on_connect = on_connect

client.on_message = on_message

client.loop_forever()