Custom Roof Racks

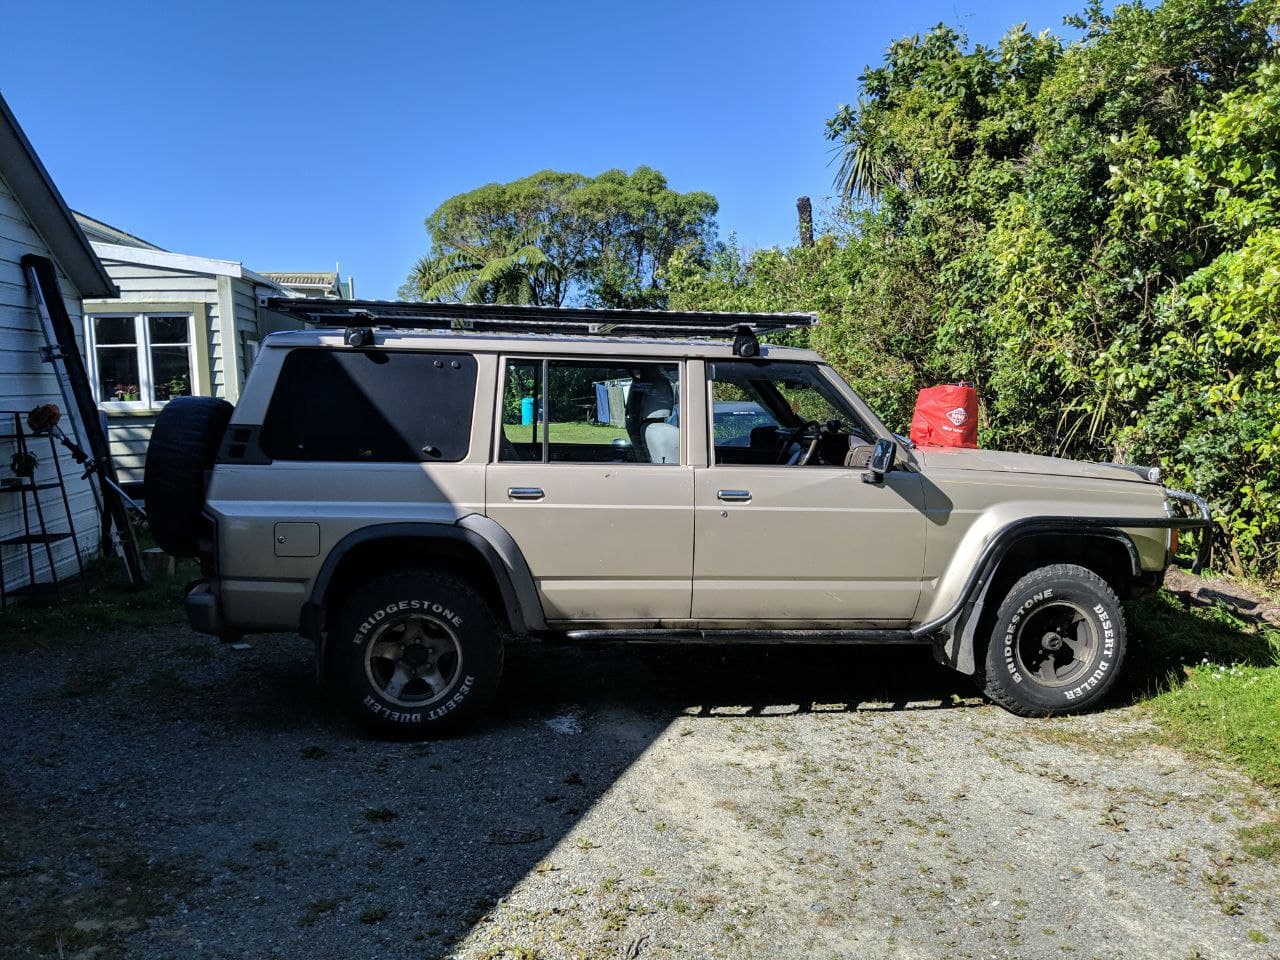
So I want some roof racks. But they’re quite expensive and most are made in china which I’m not cool with.

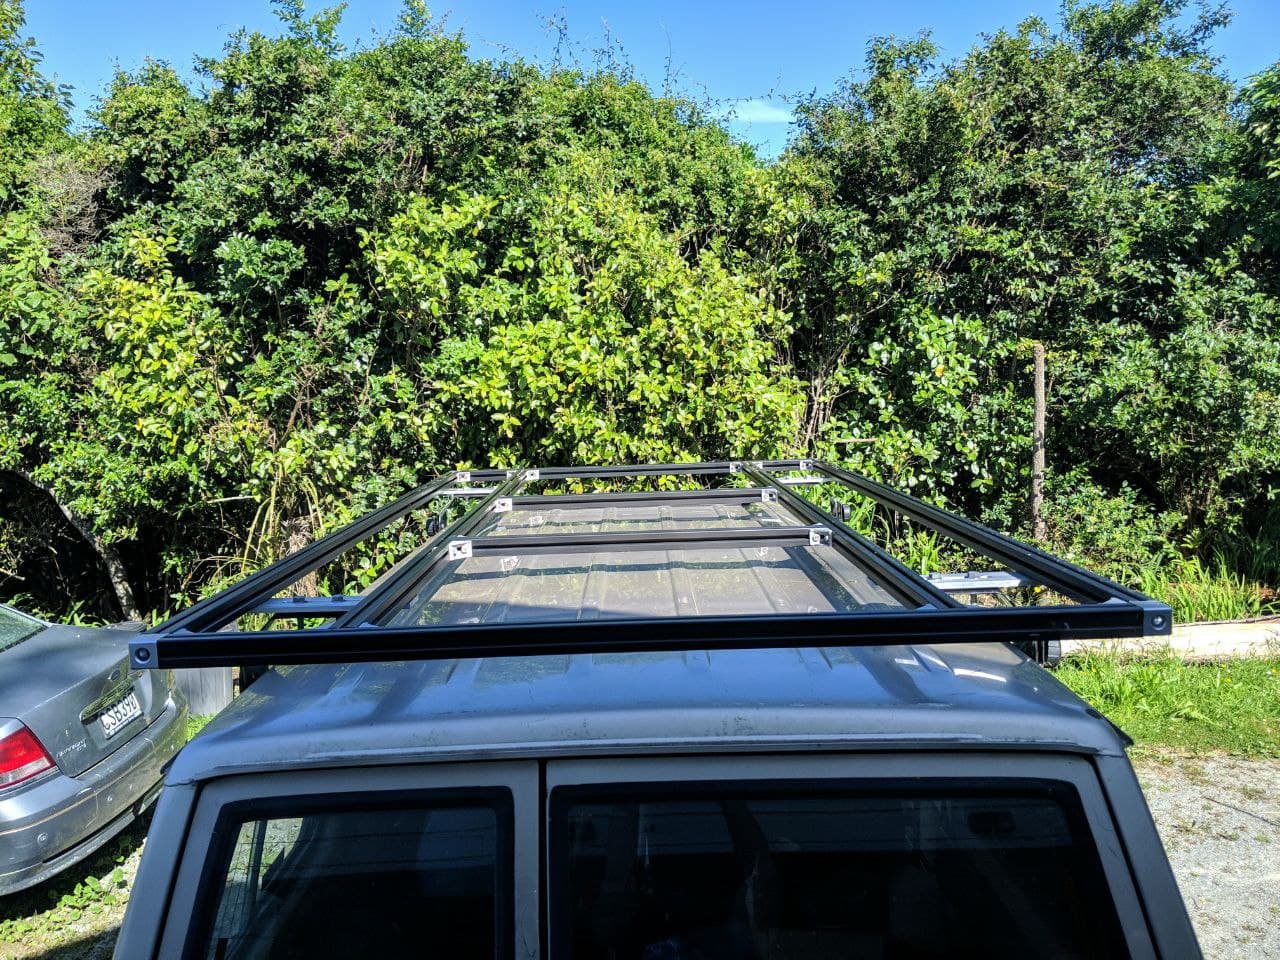
After looking on YT for DIY roof racks I found a guy that used 4040 aluminium for it. This is 40mm x 40mm extruded aluminium with T slots to mount stuff to it and bolt it together.

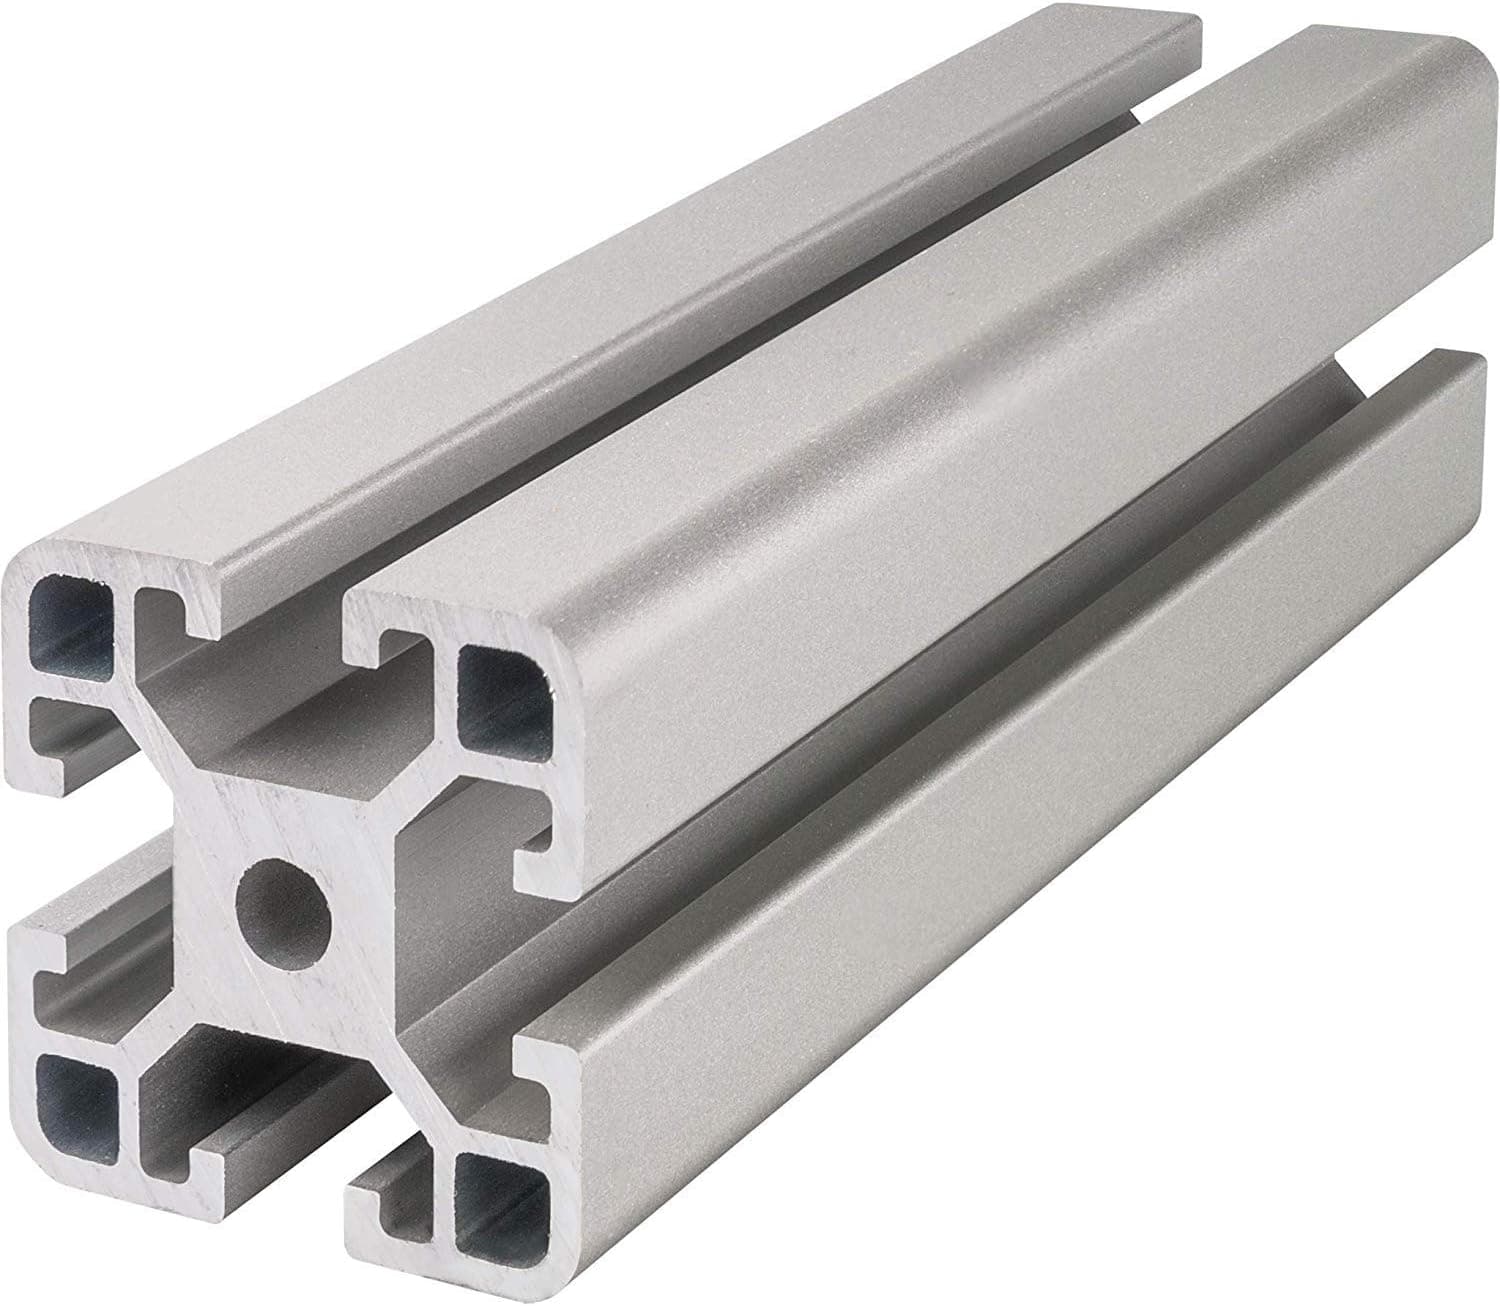
I thought this was pretty sweet so found suppliers and bought 6x 2400 lengths of 4040, anodized black, and picked it up on my last road trip when I was going through that town. It was about $800.

It sat on the roof of my woodshed for a while but I have a road trip in xmas so I need to get it together.

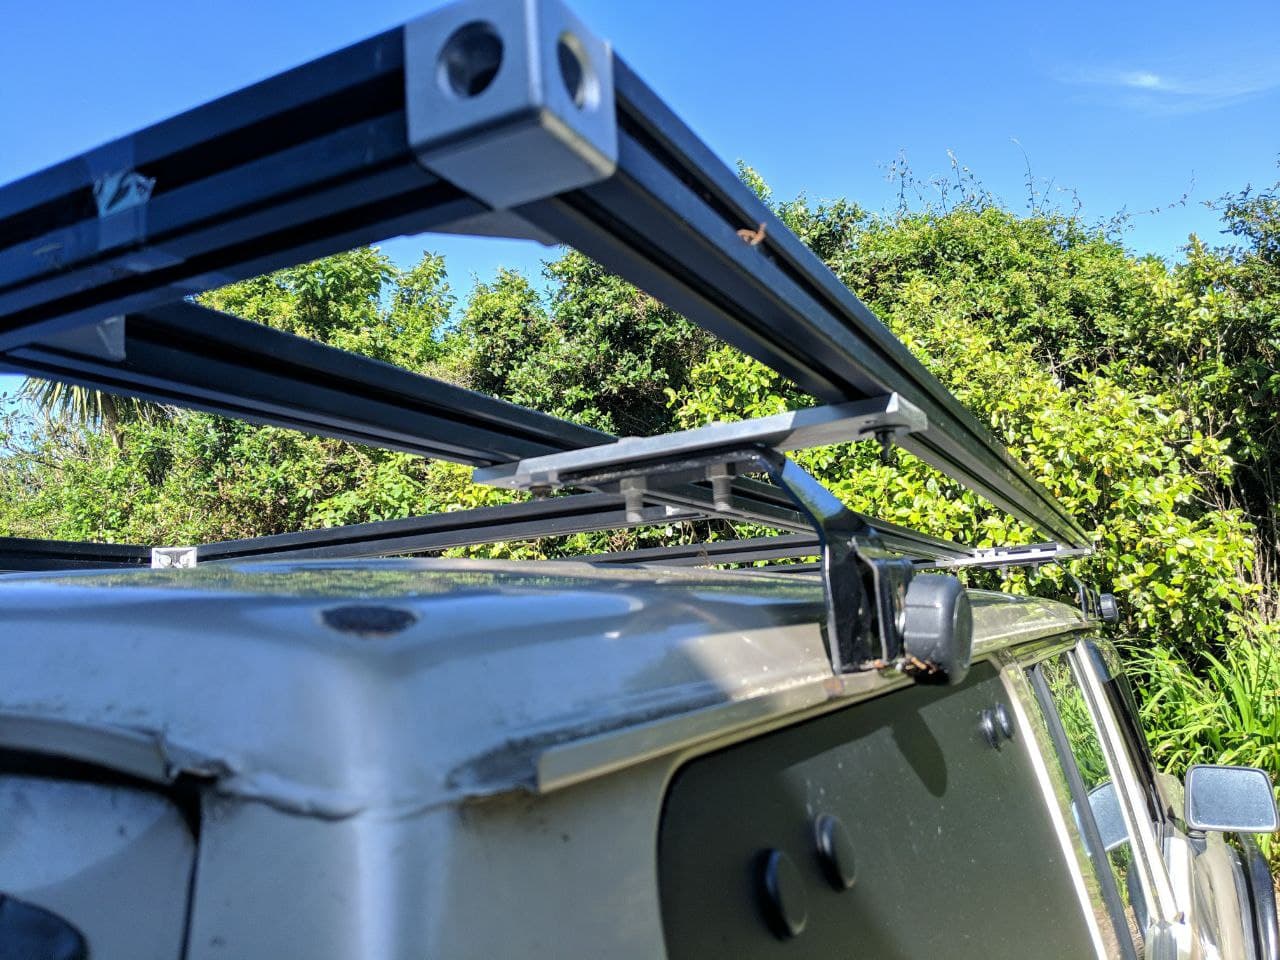
I already purchased 8x gutter mounts for my vehicle at about $275.

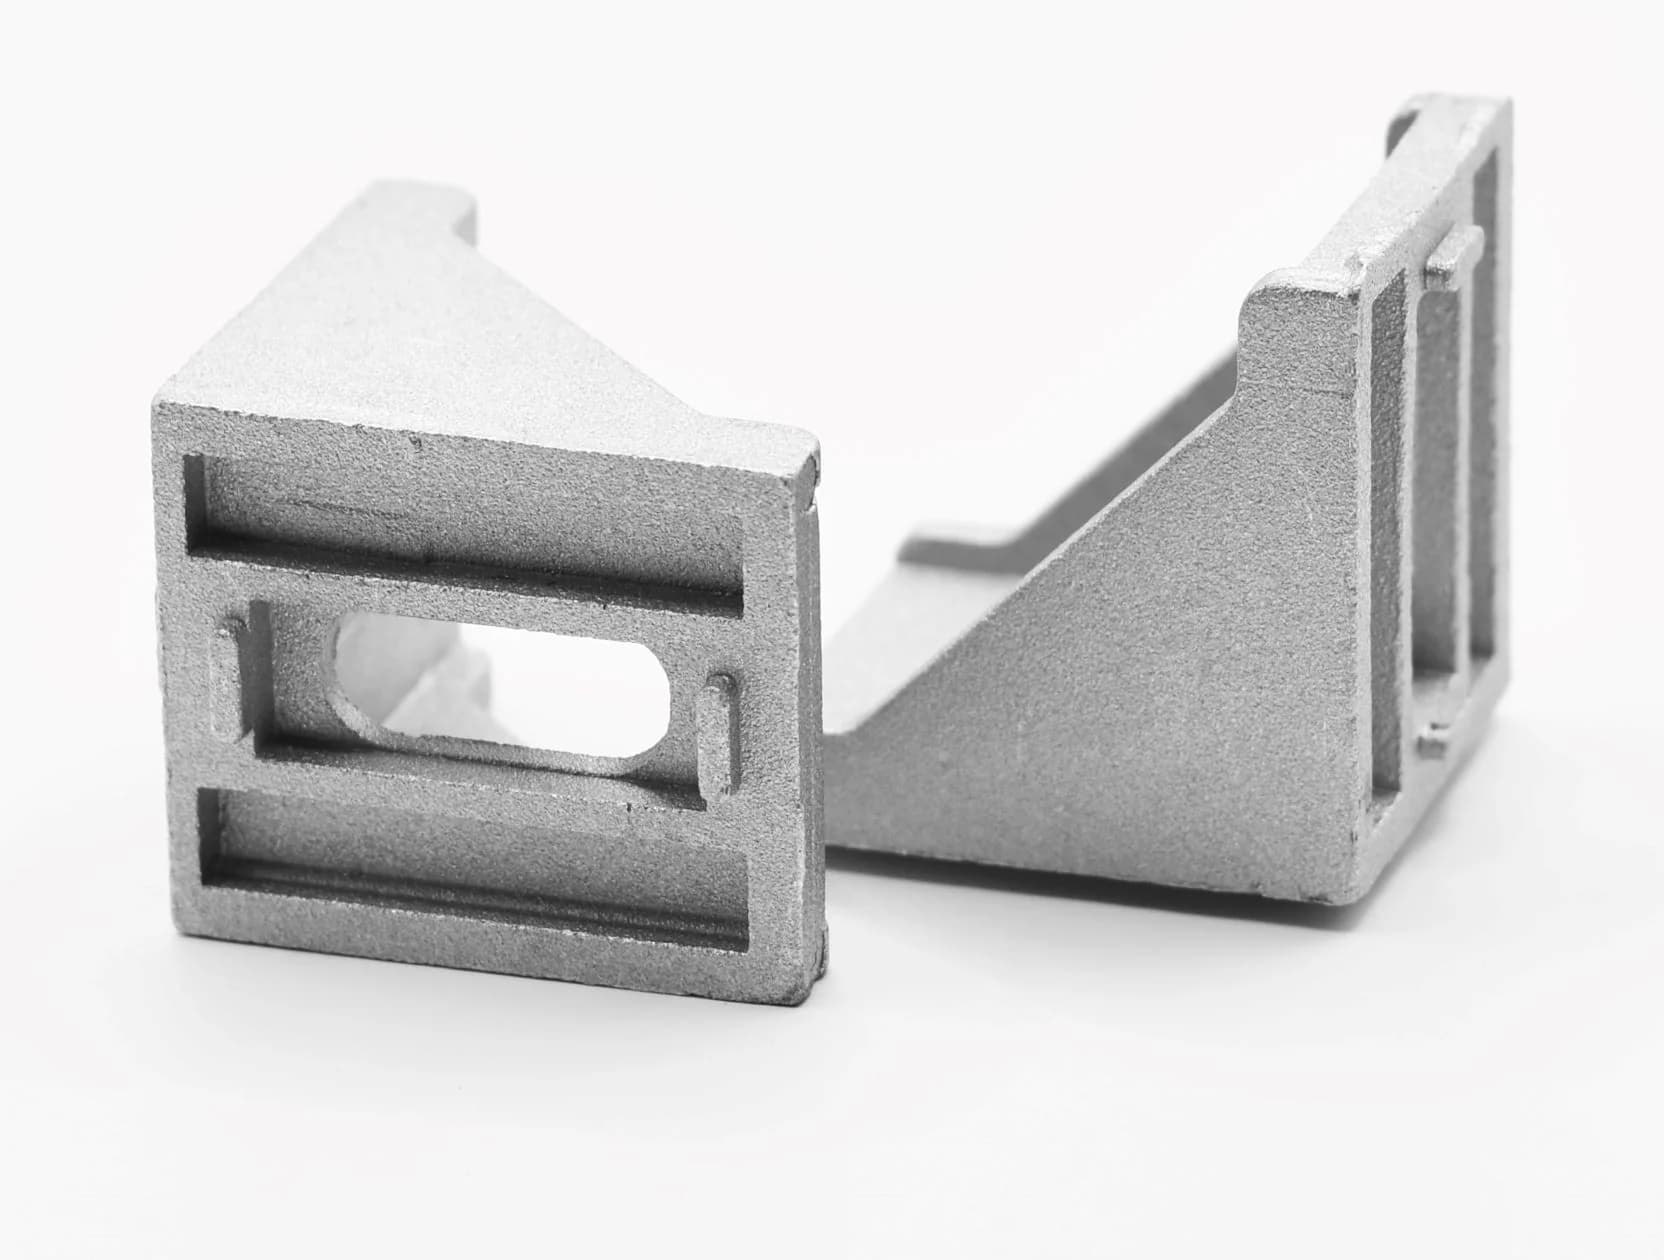
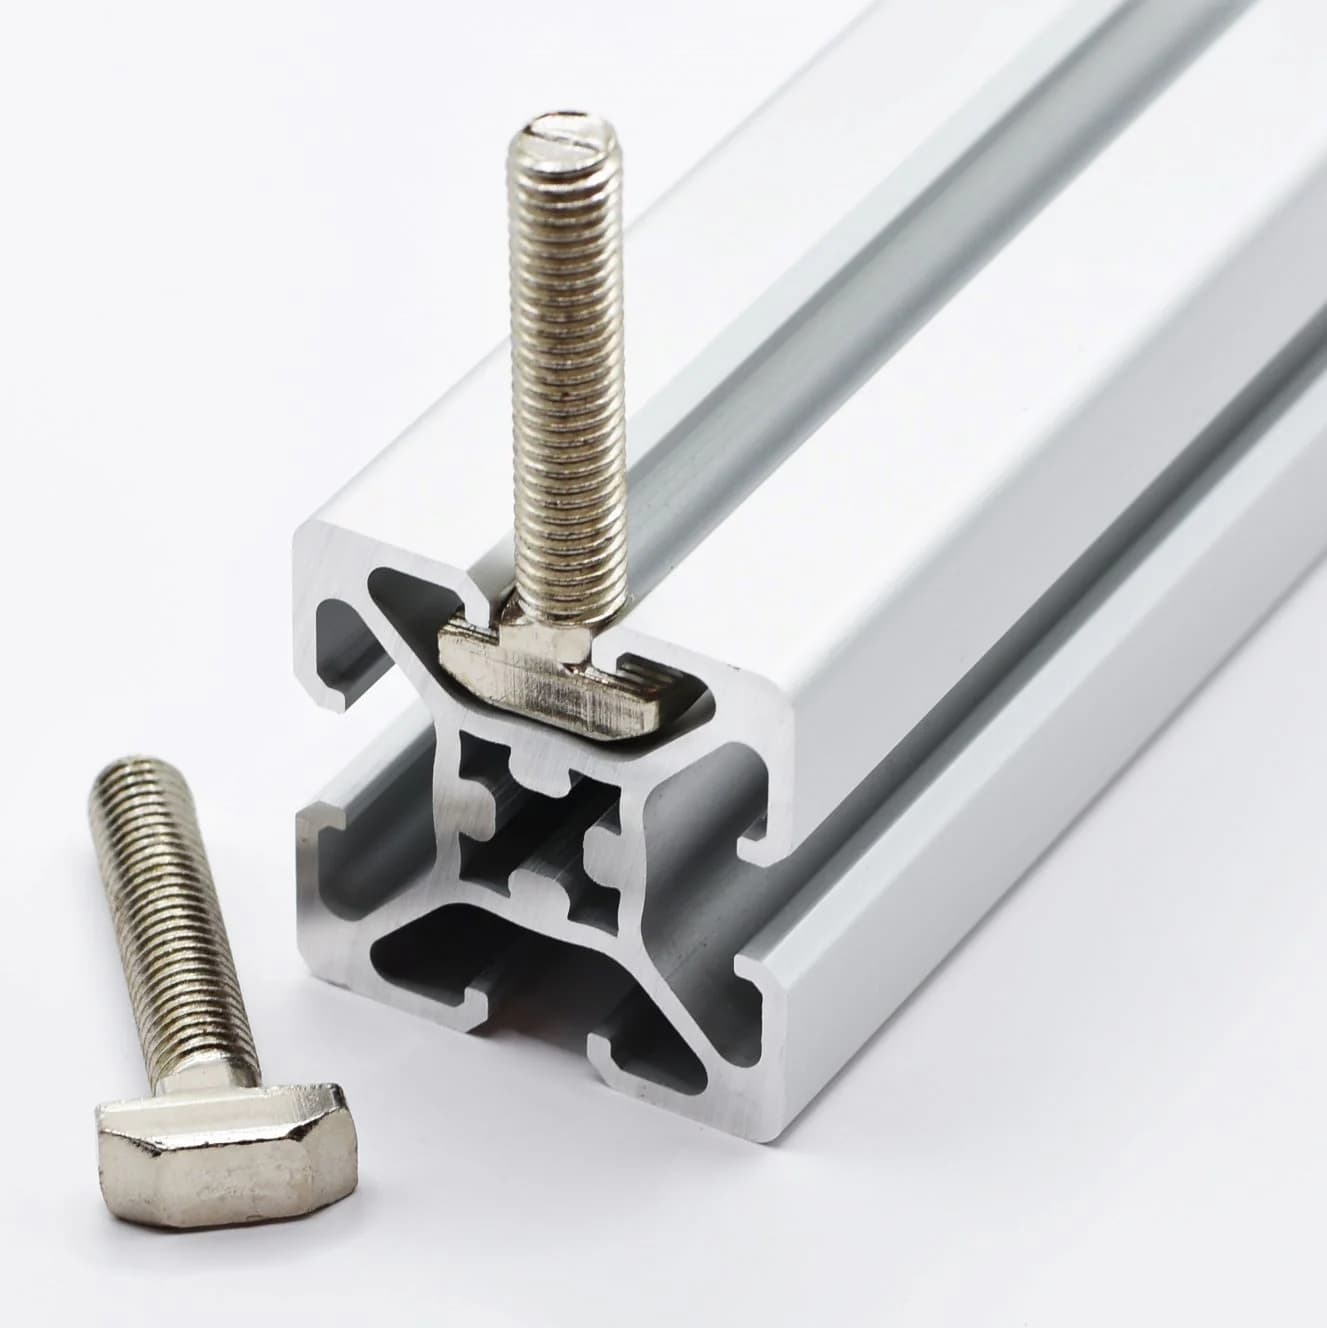
So now the fun part, putting it all together. I purchased a bunch of 4040 hardware:

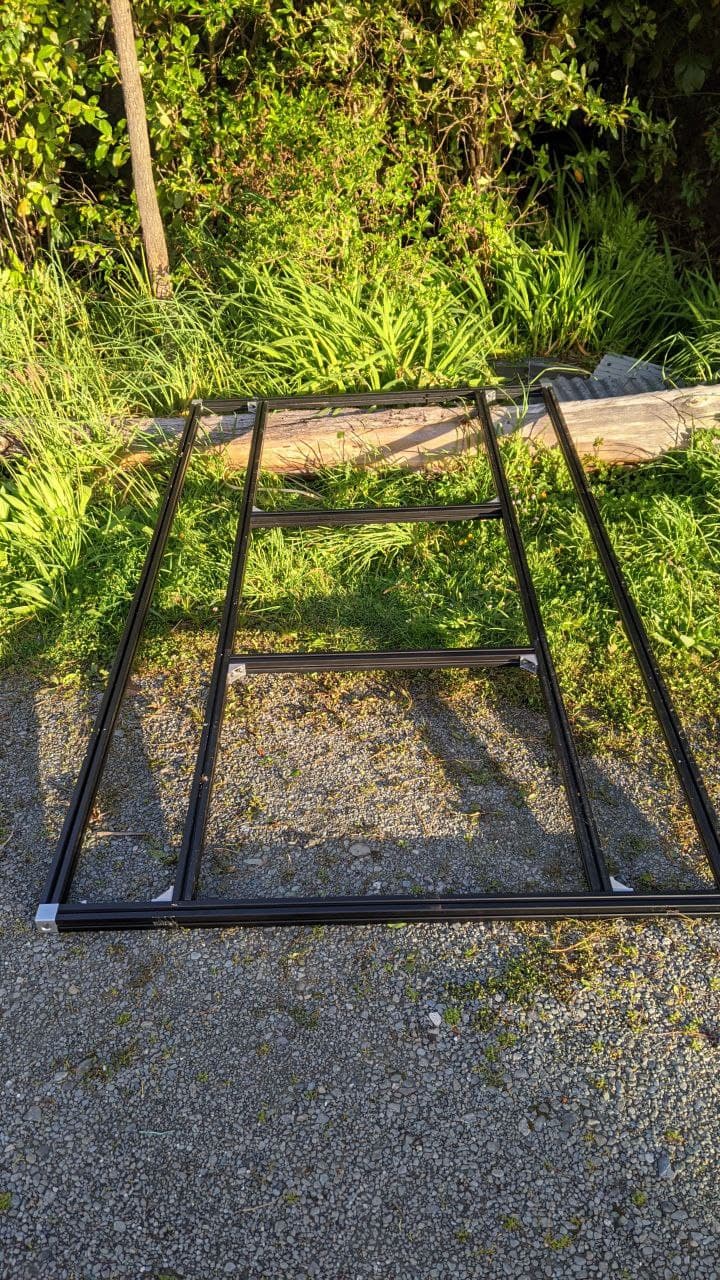
Mocked it out on the roof of my truck, and got the local engineers to cut to my specifications for about $30 since I don’t have a tool that can do accurate cuts:

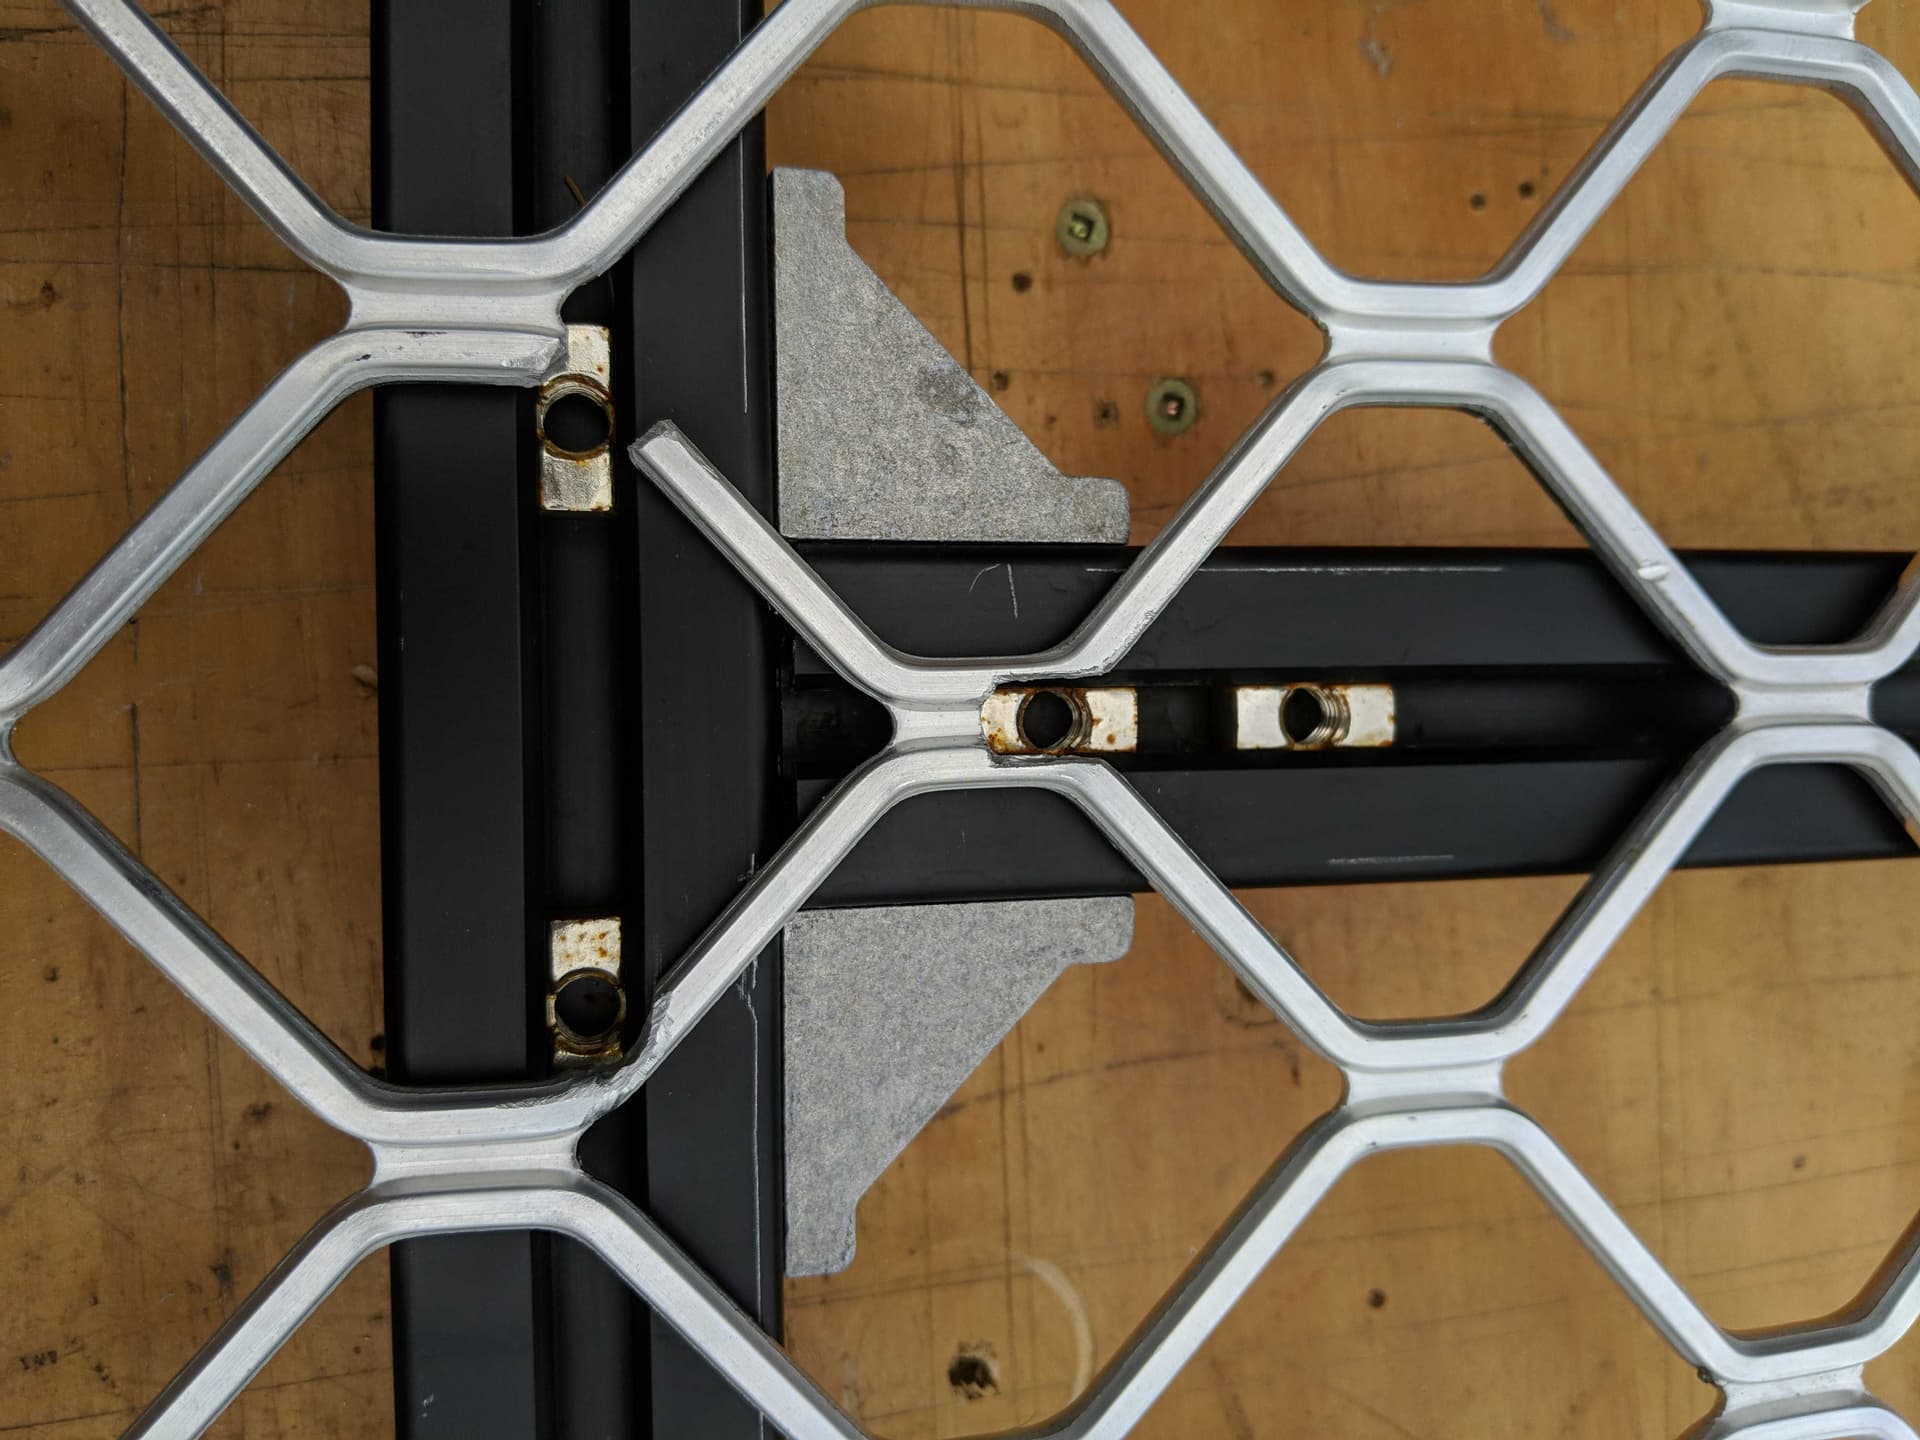
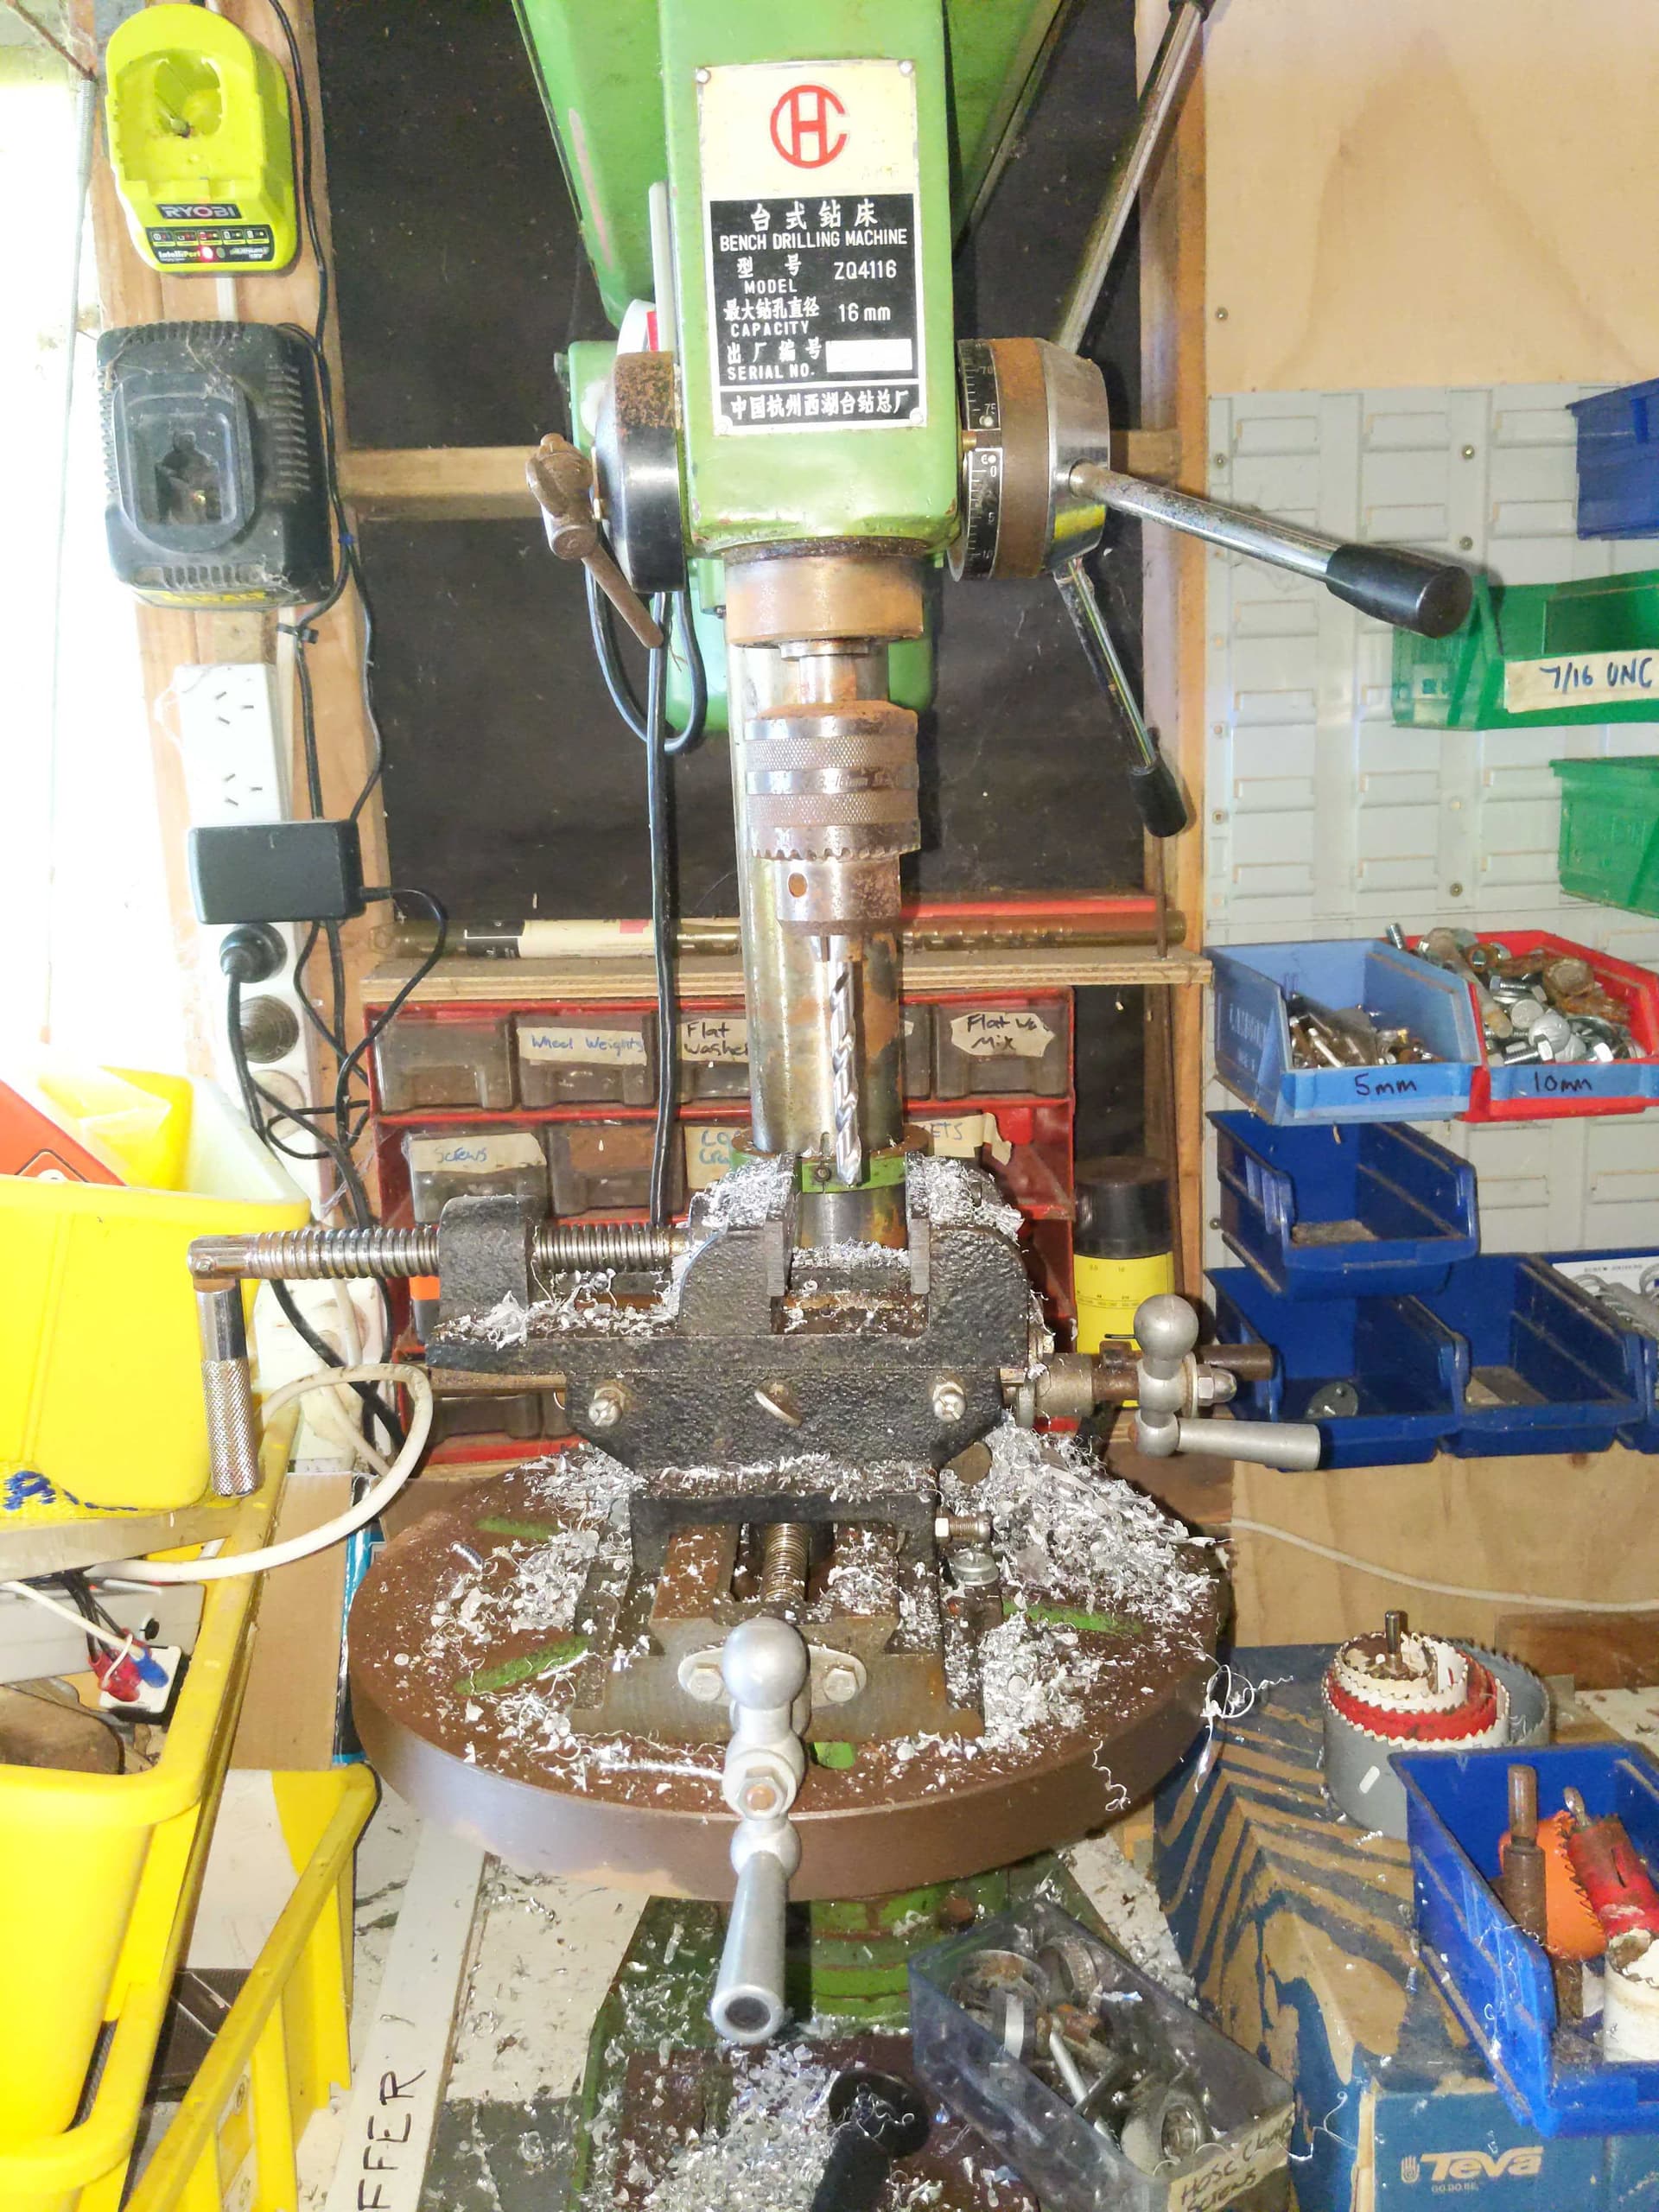
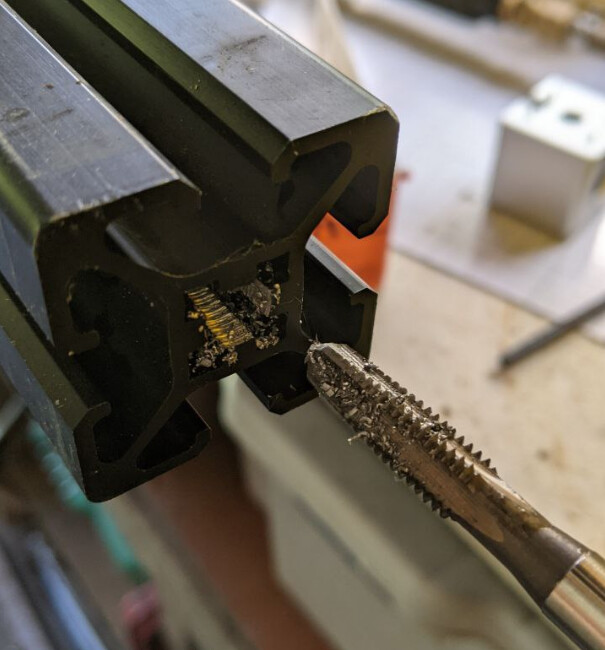
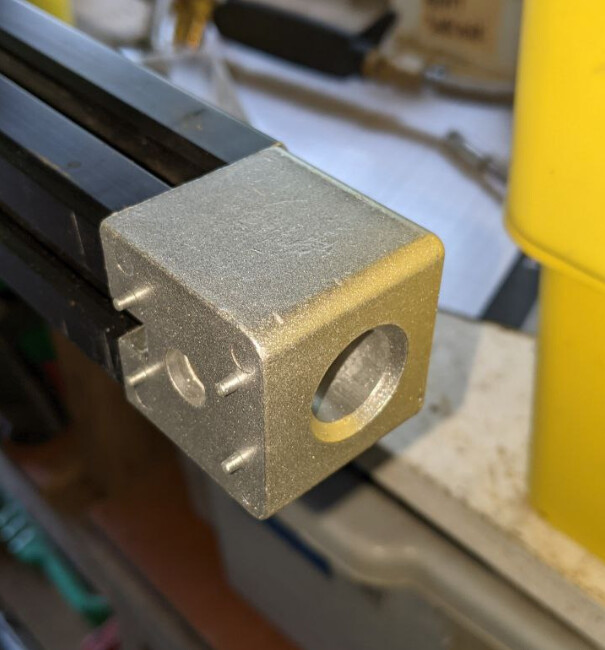
The end blocks needed to have a thread tapped into the 4040:

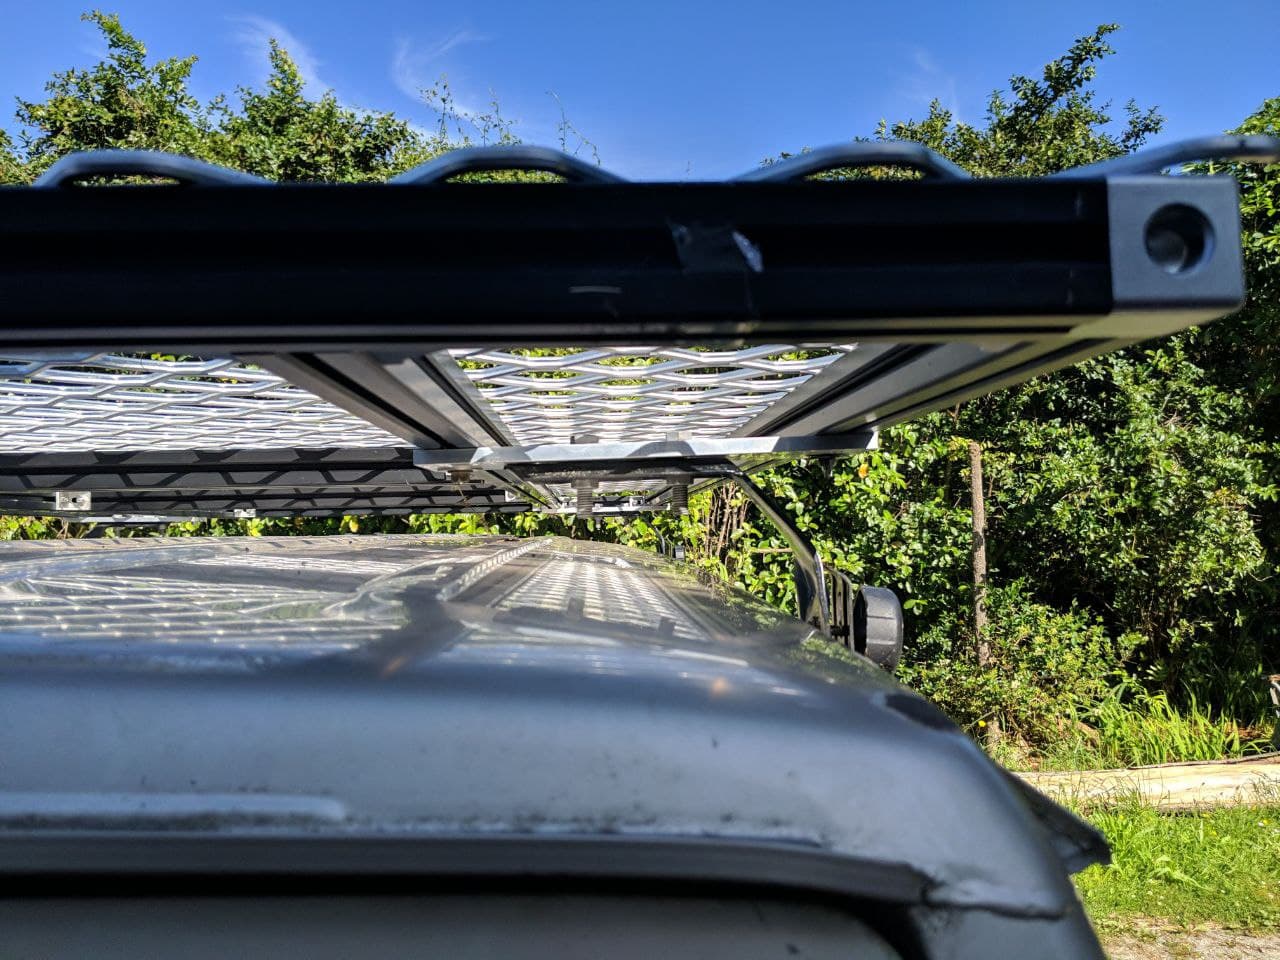
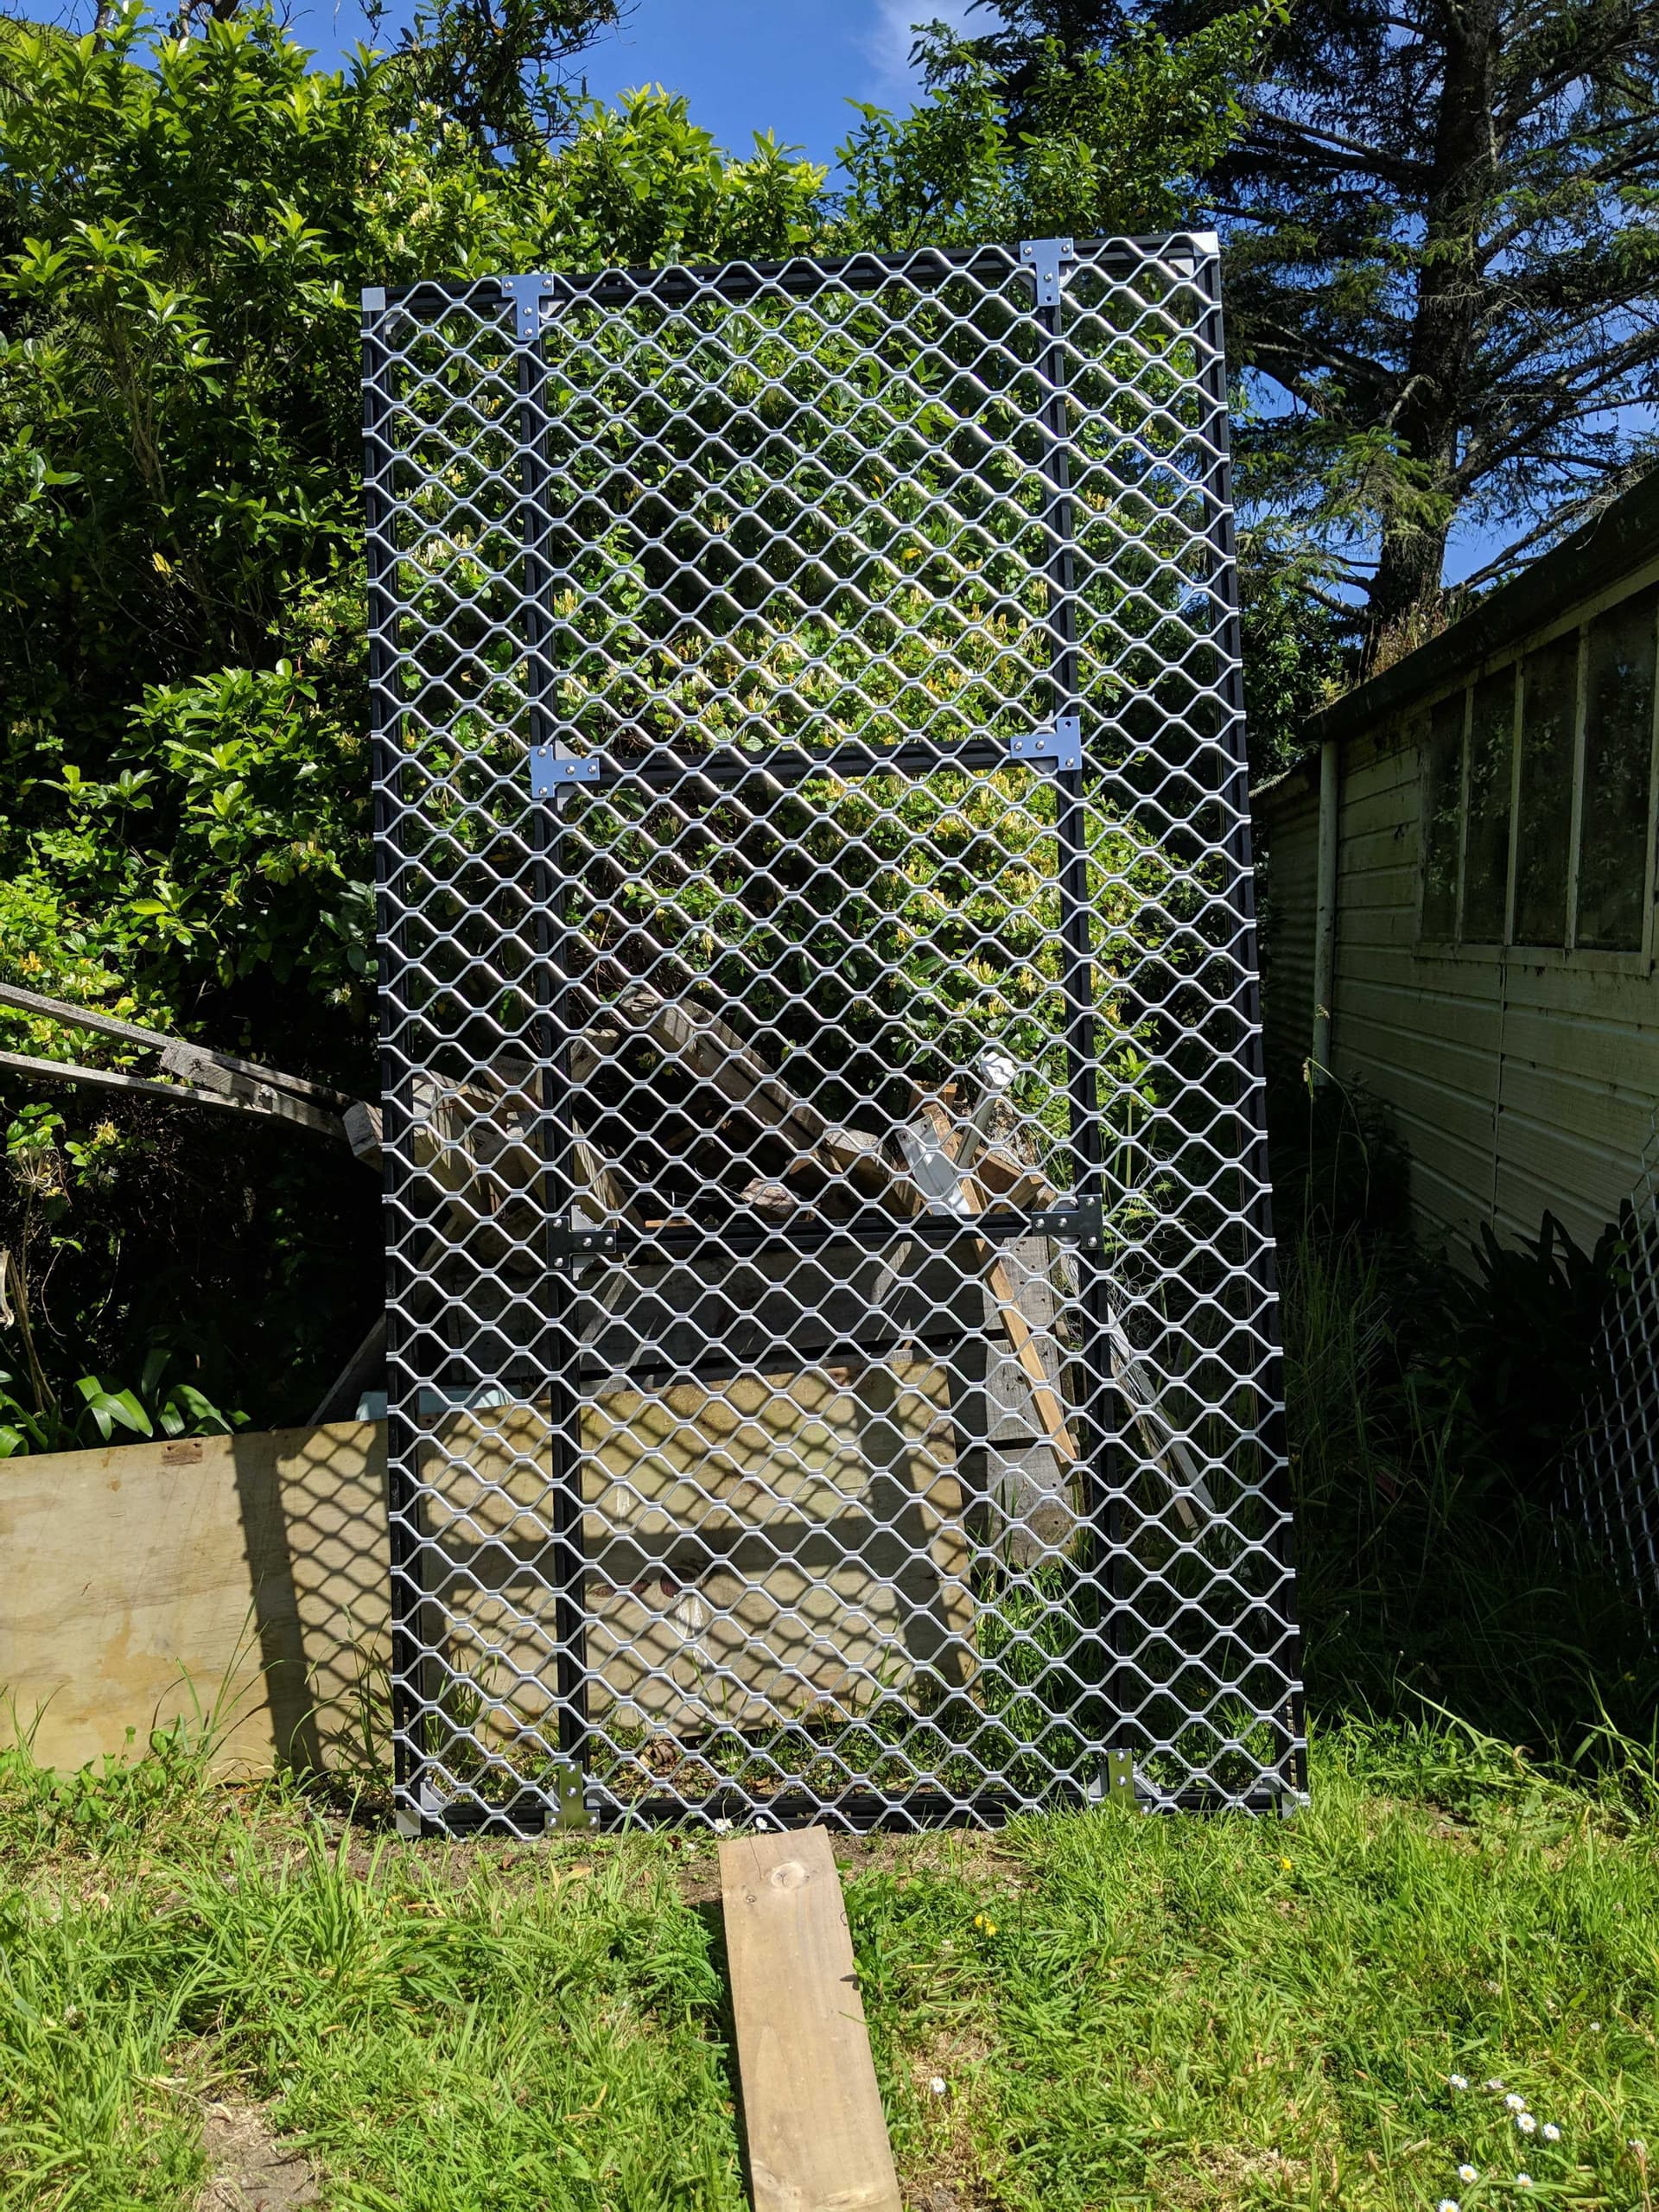
I also bought some security cage from the same engineers to make the bed of the rack, at $111 a sheet. They only had weird sizes, my rack is 1400x2400 and I could only get 2200x1200 sheets, so I had to go with 2 for the simplest cuts/layout.

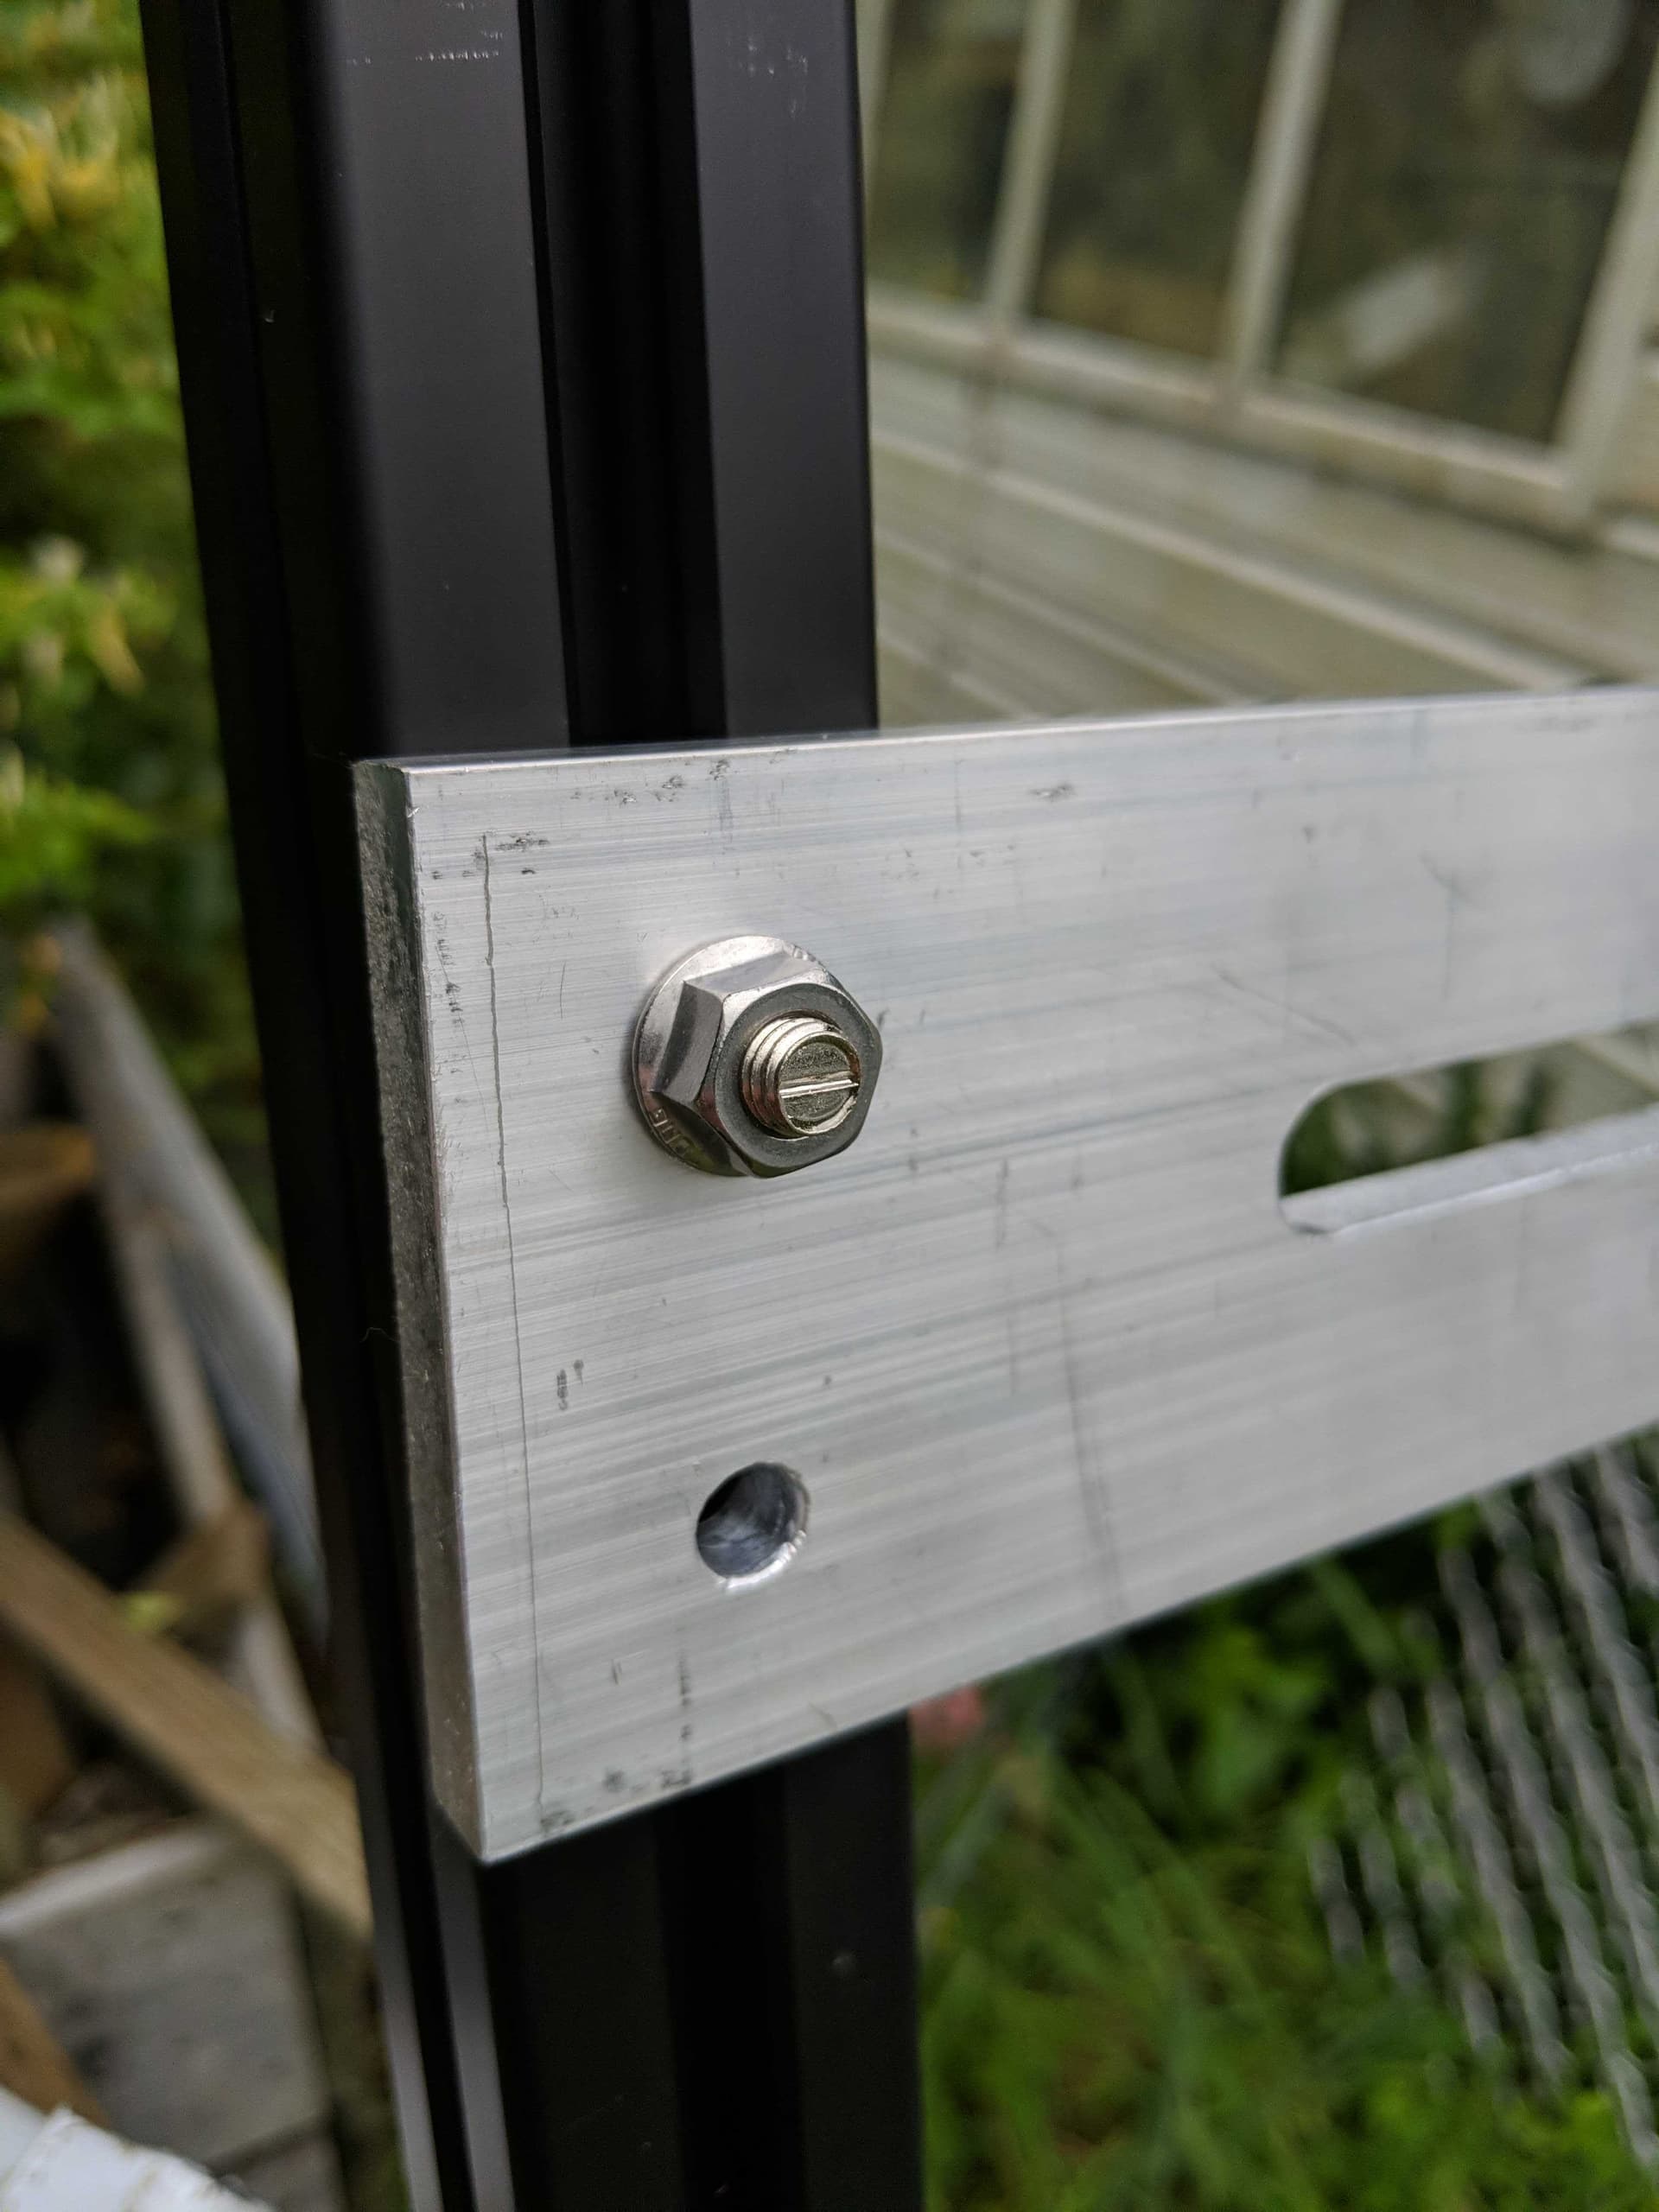
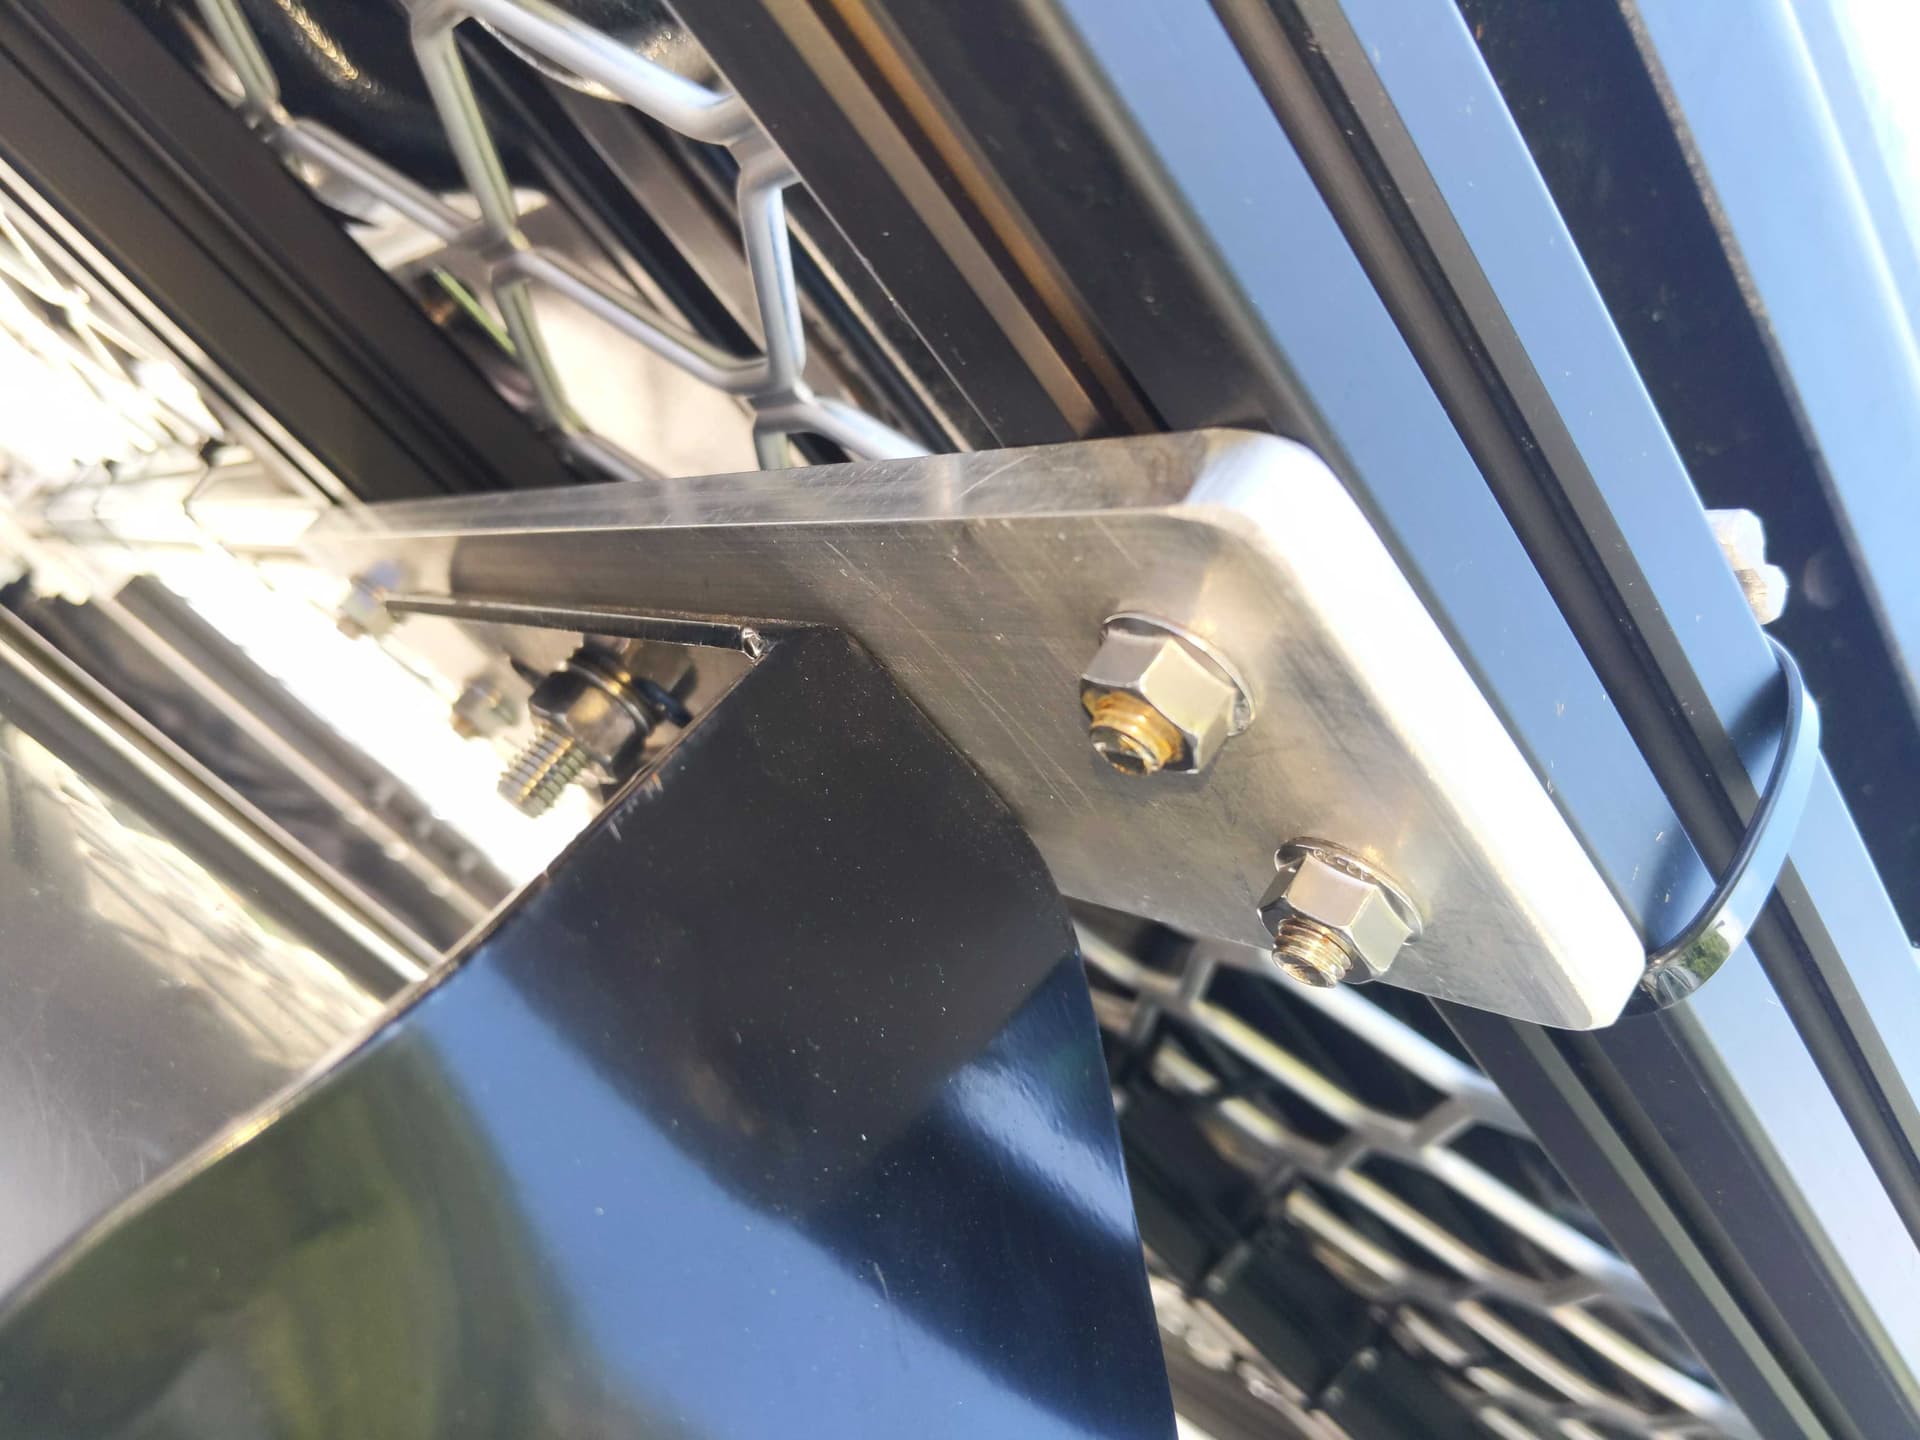
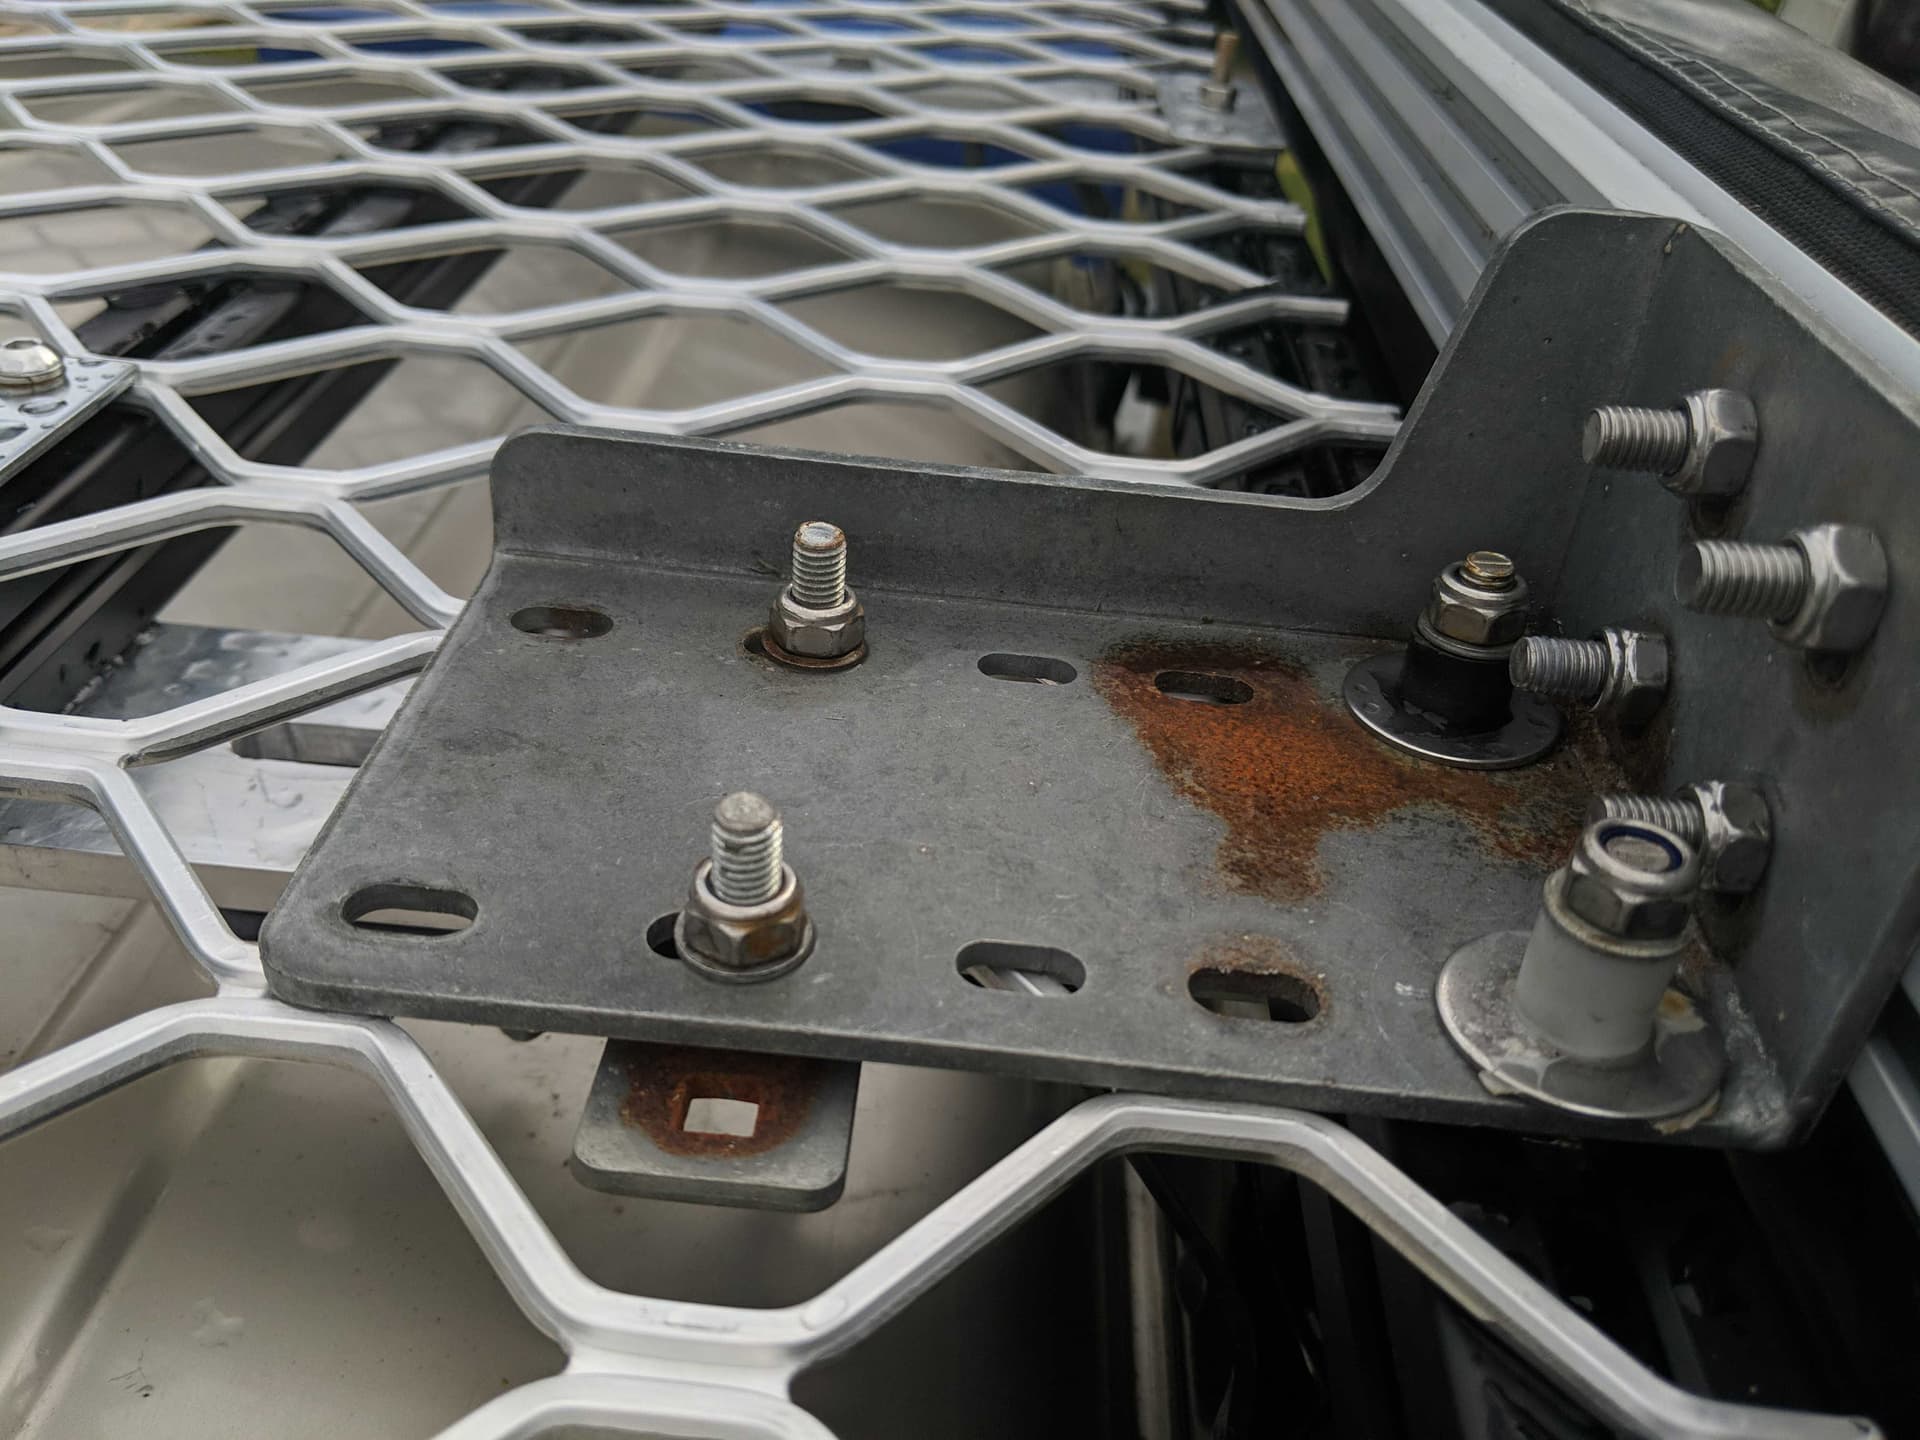
Then I need to make the mounts for the gutter mounts. I used 12mm aluminium plate from the same engineers again, had them cut me 8x 300mm lengths for $125:

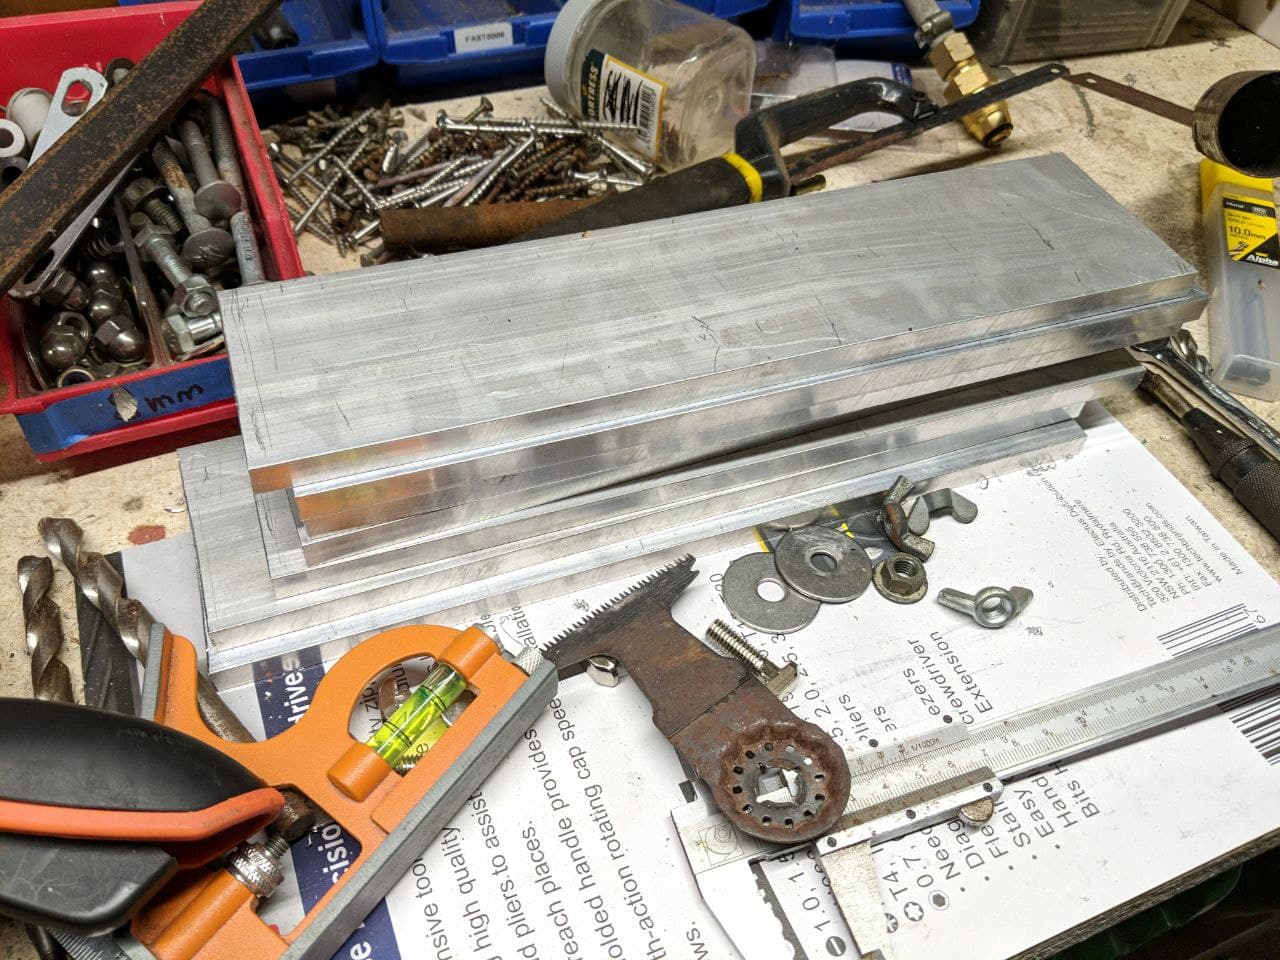
Pretty beefy, maybe over beefed.

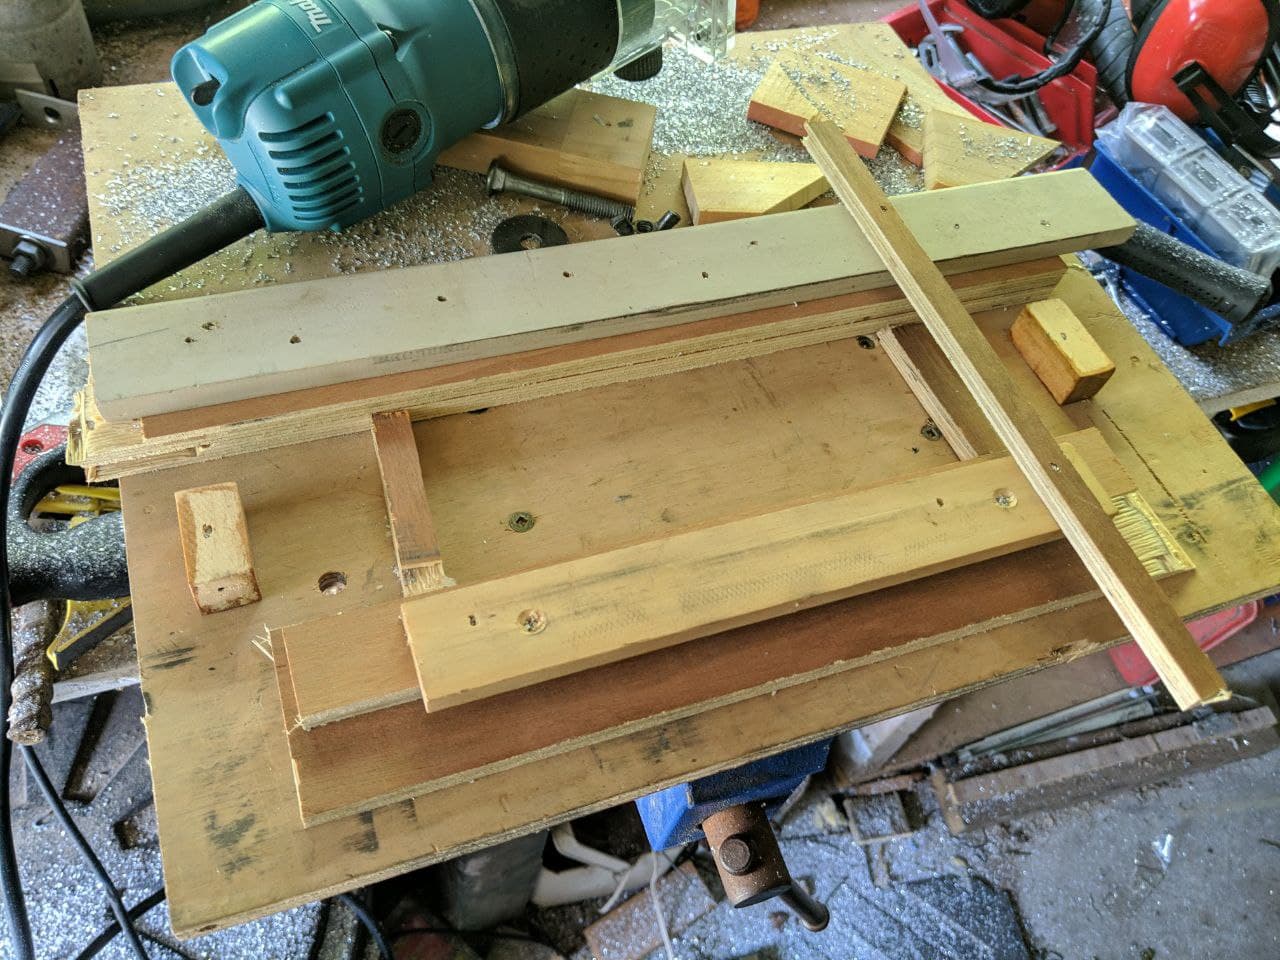
So I did my holes and cut out the slot for the gutter mounts using the angle grinder which… went OK… but I switched to the multitool to finish it off.

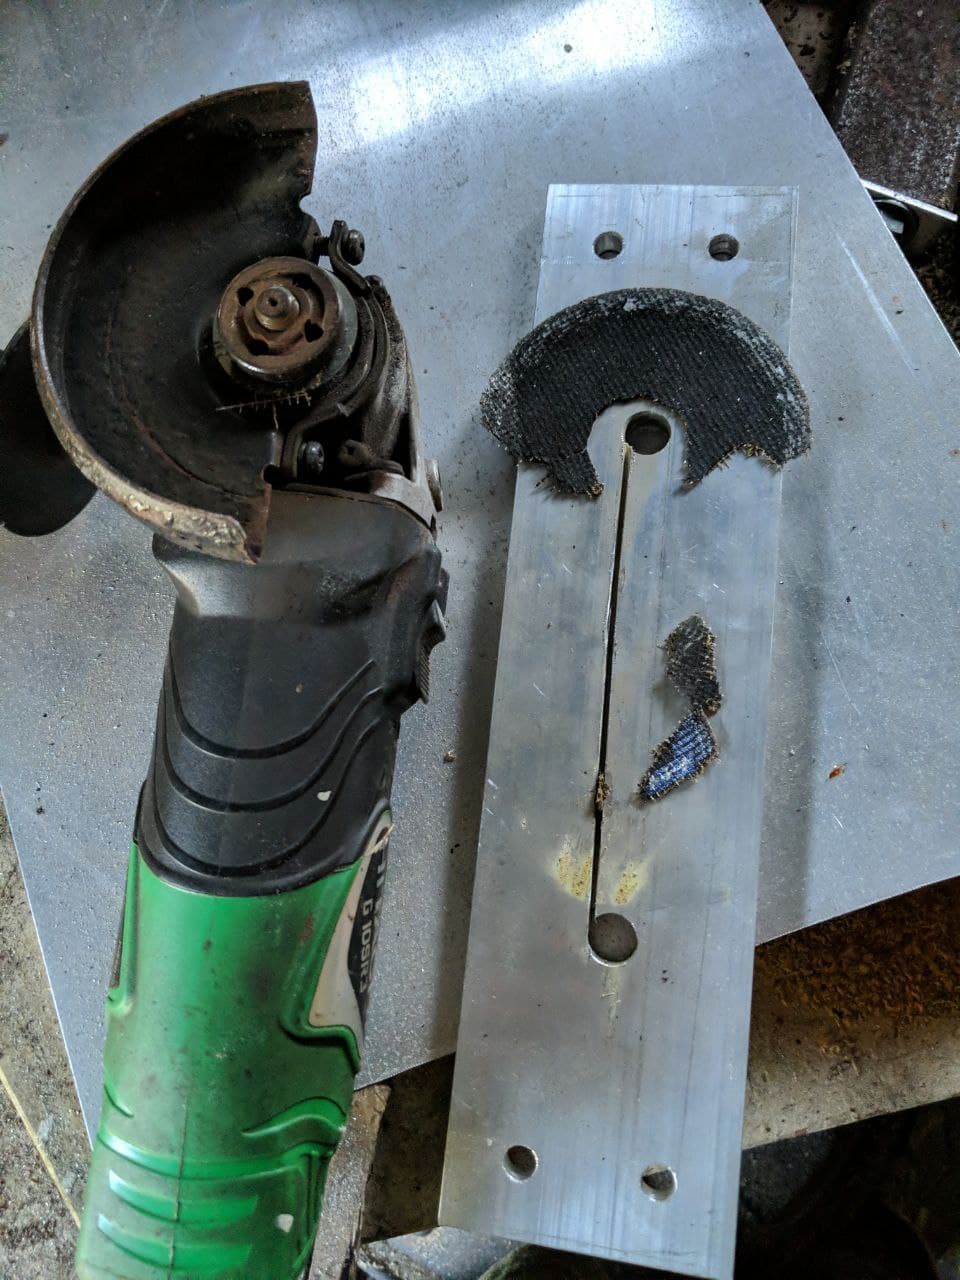
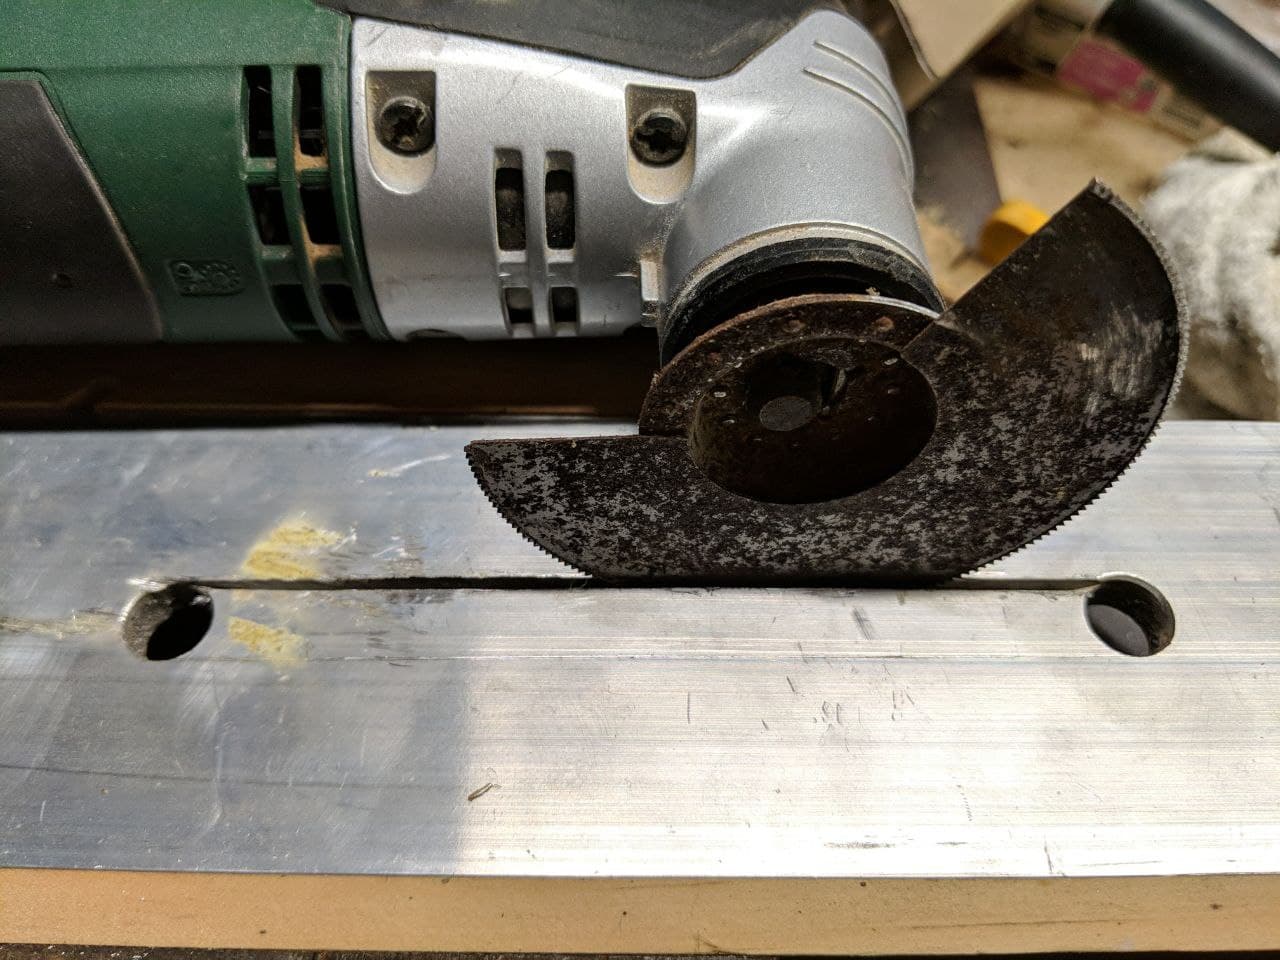
I didn’t like how rough it came out, and my accuracy was average:

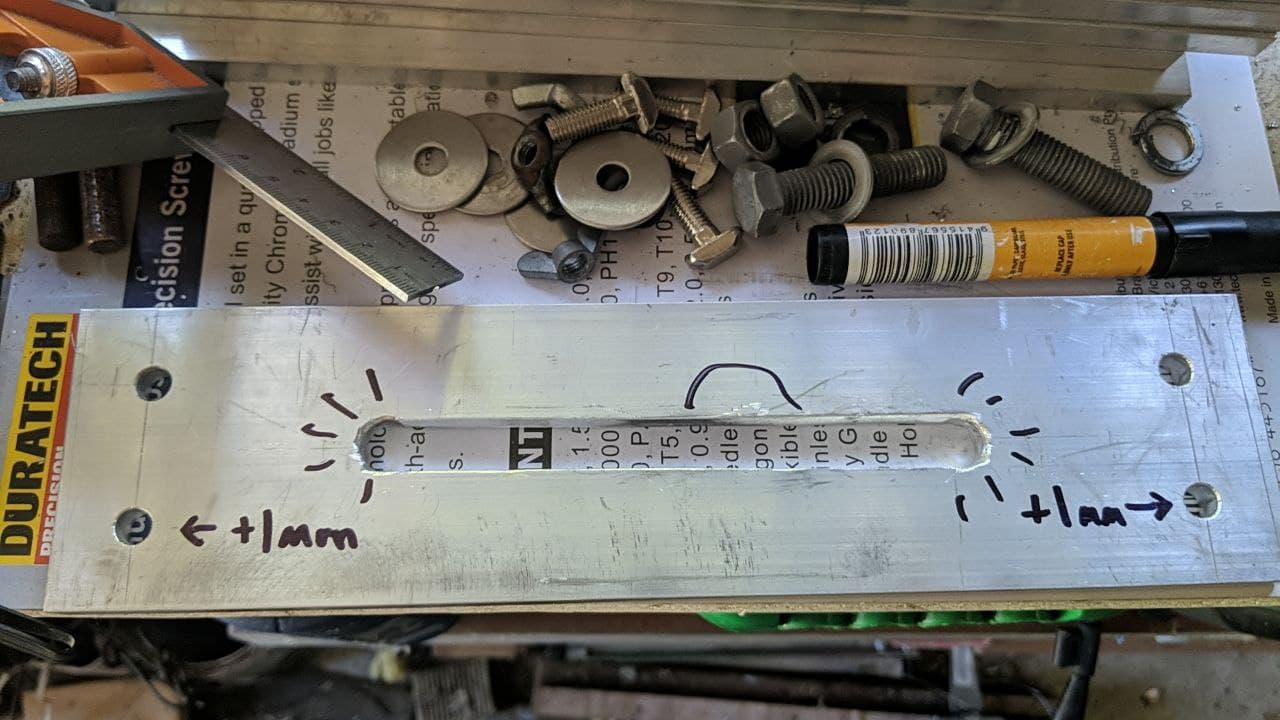
But for my holes that were accurate I used as a jig for the 2nd plate, and flipped it over so all 4 holes were accurate.

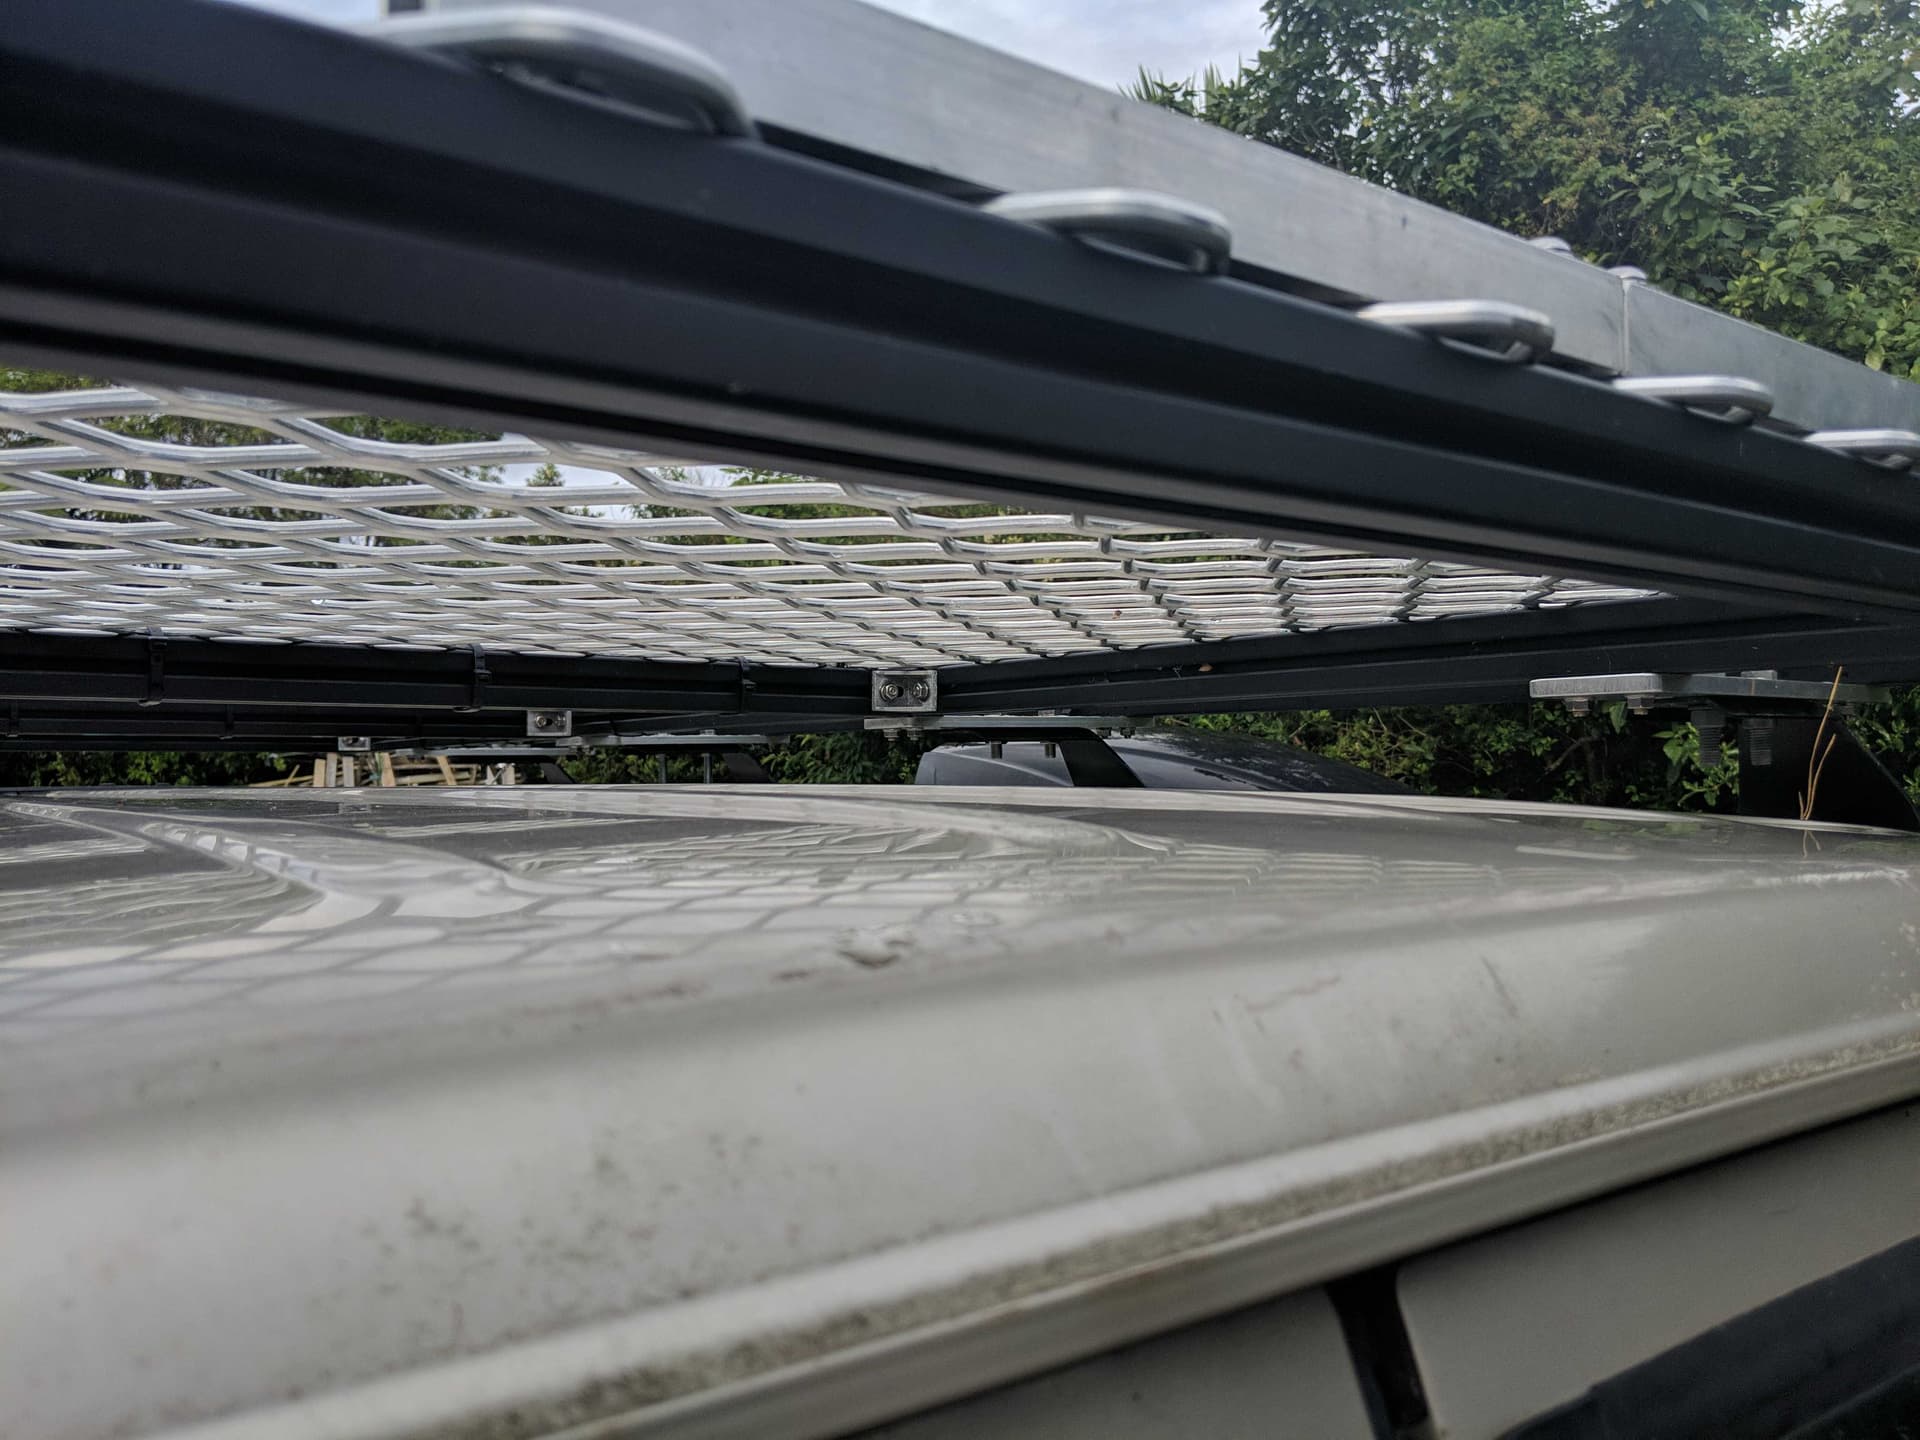
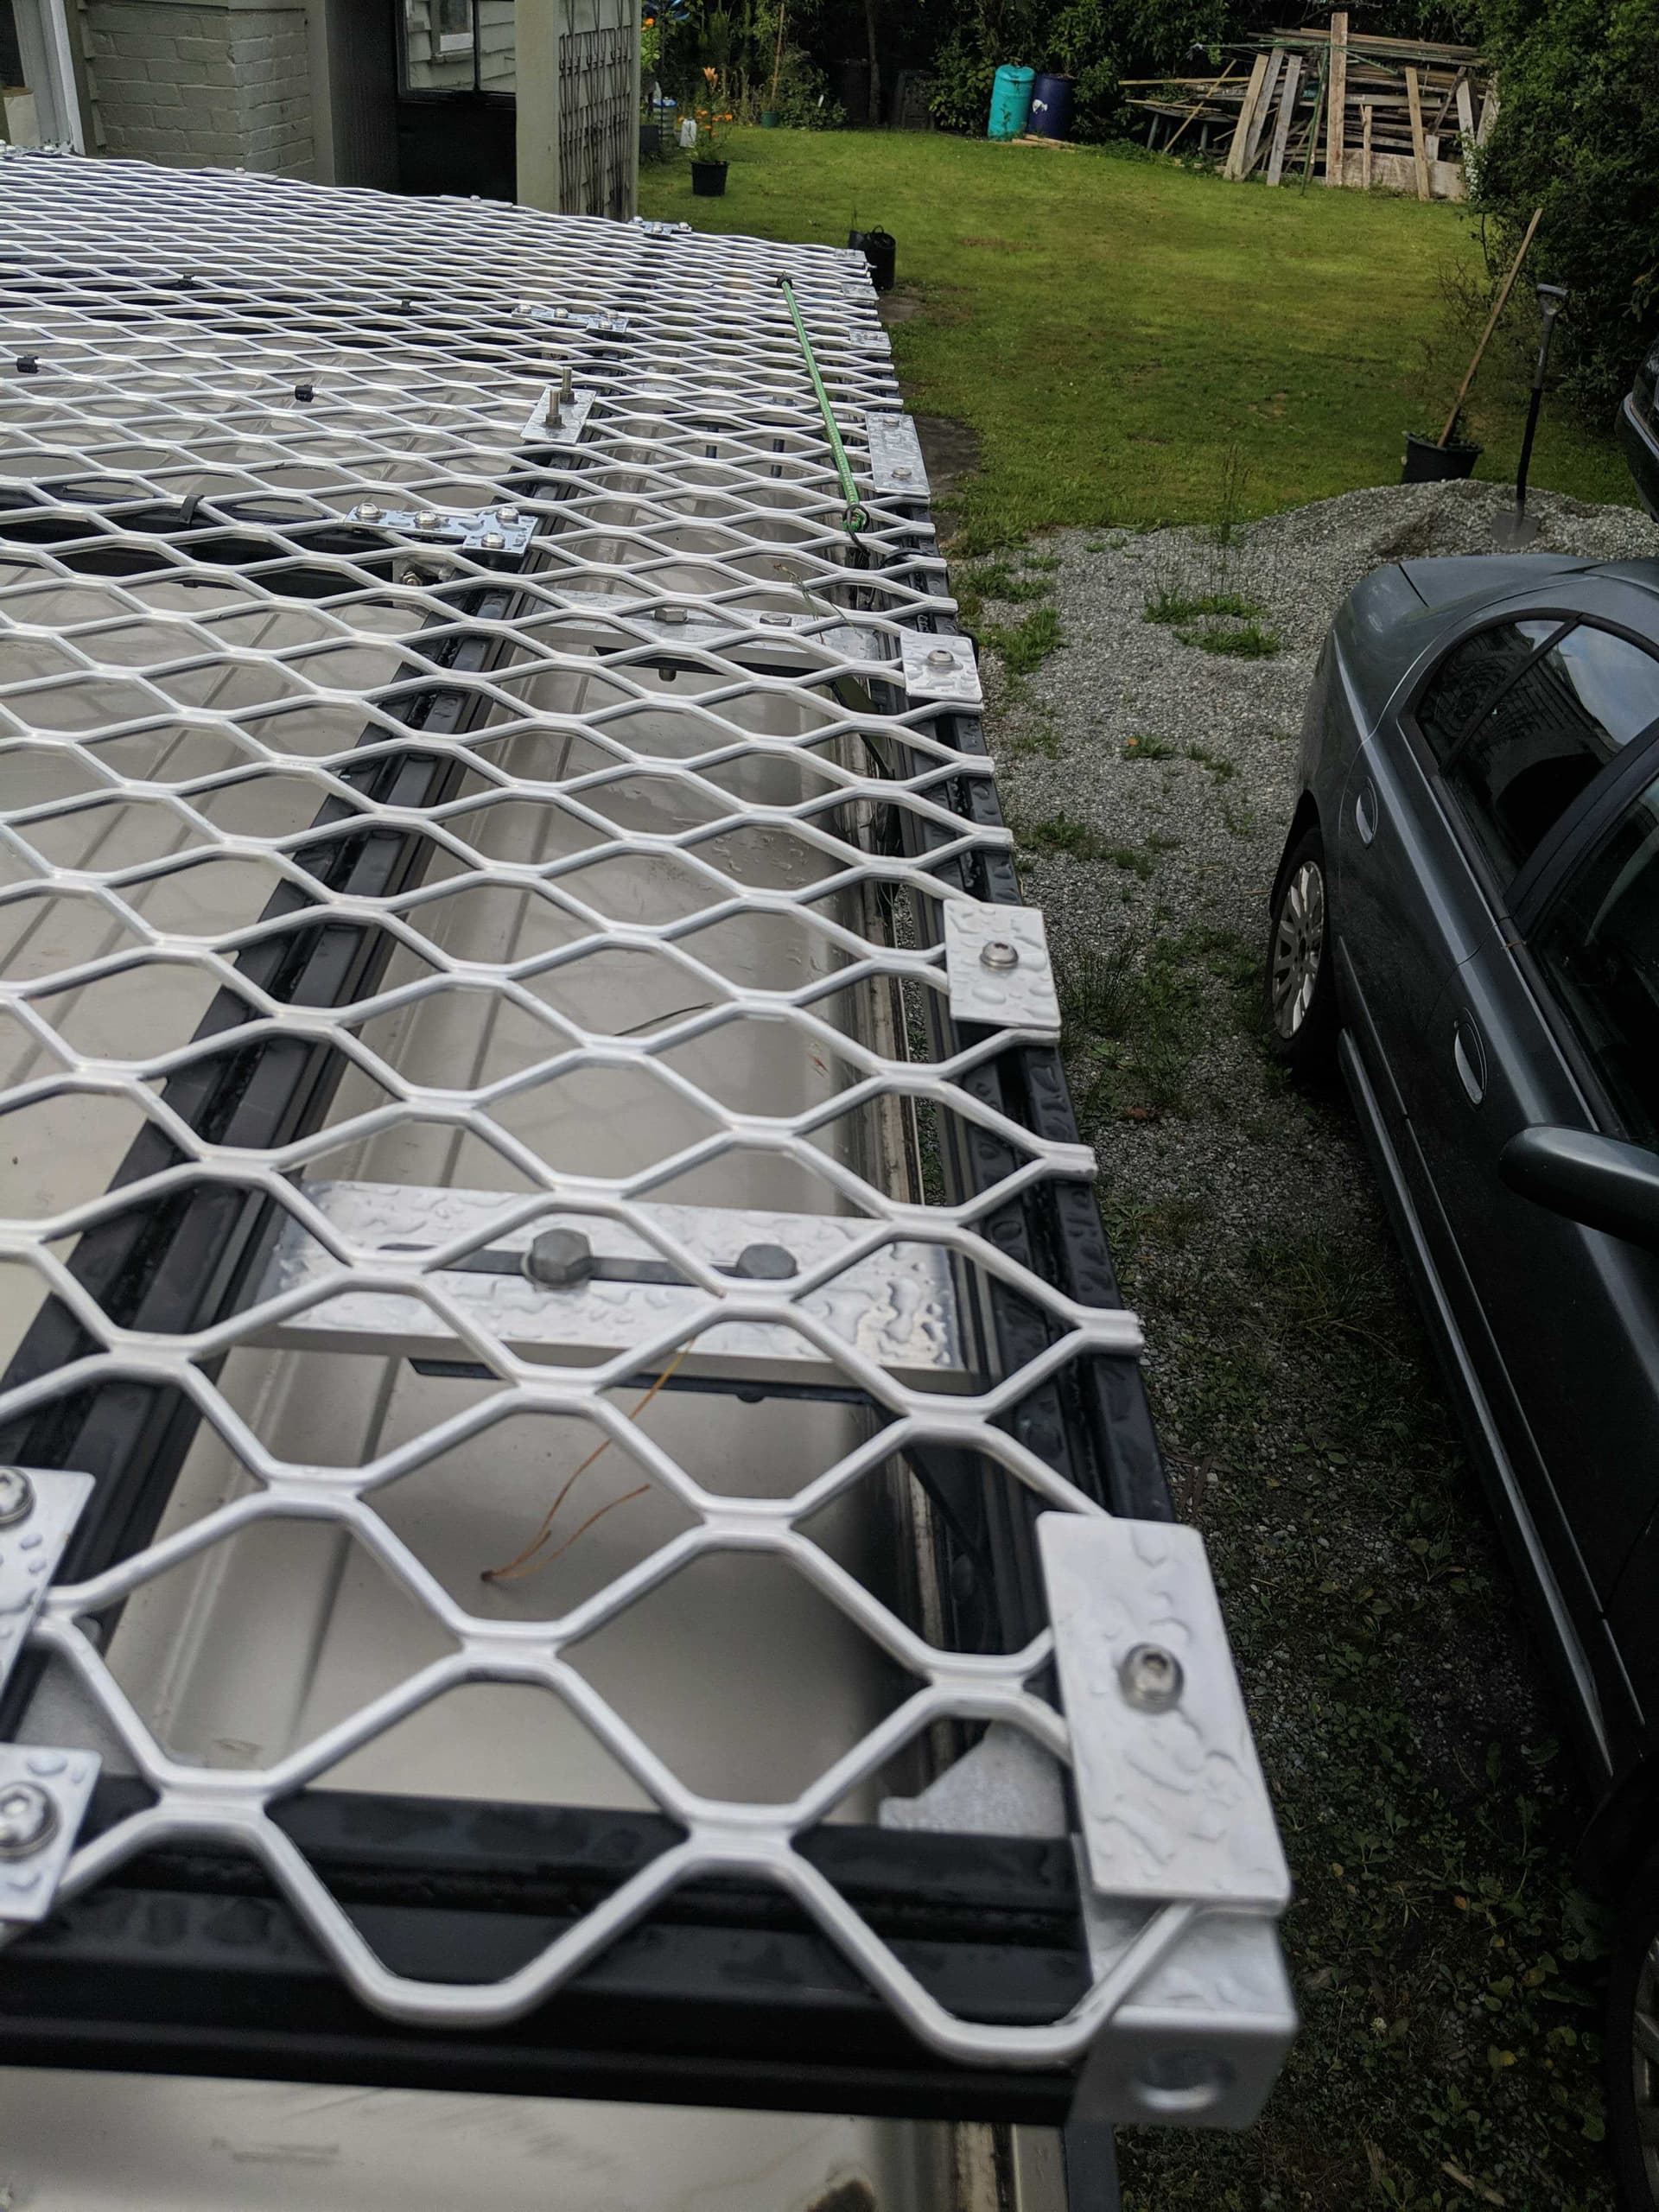
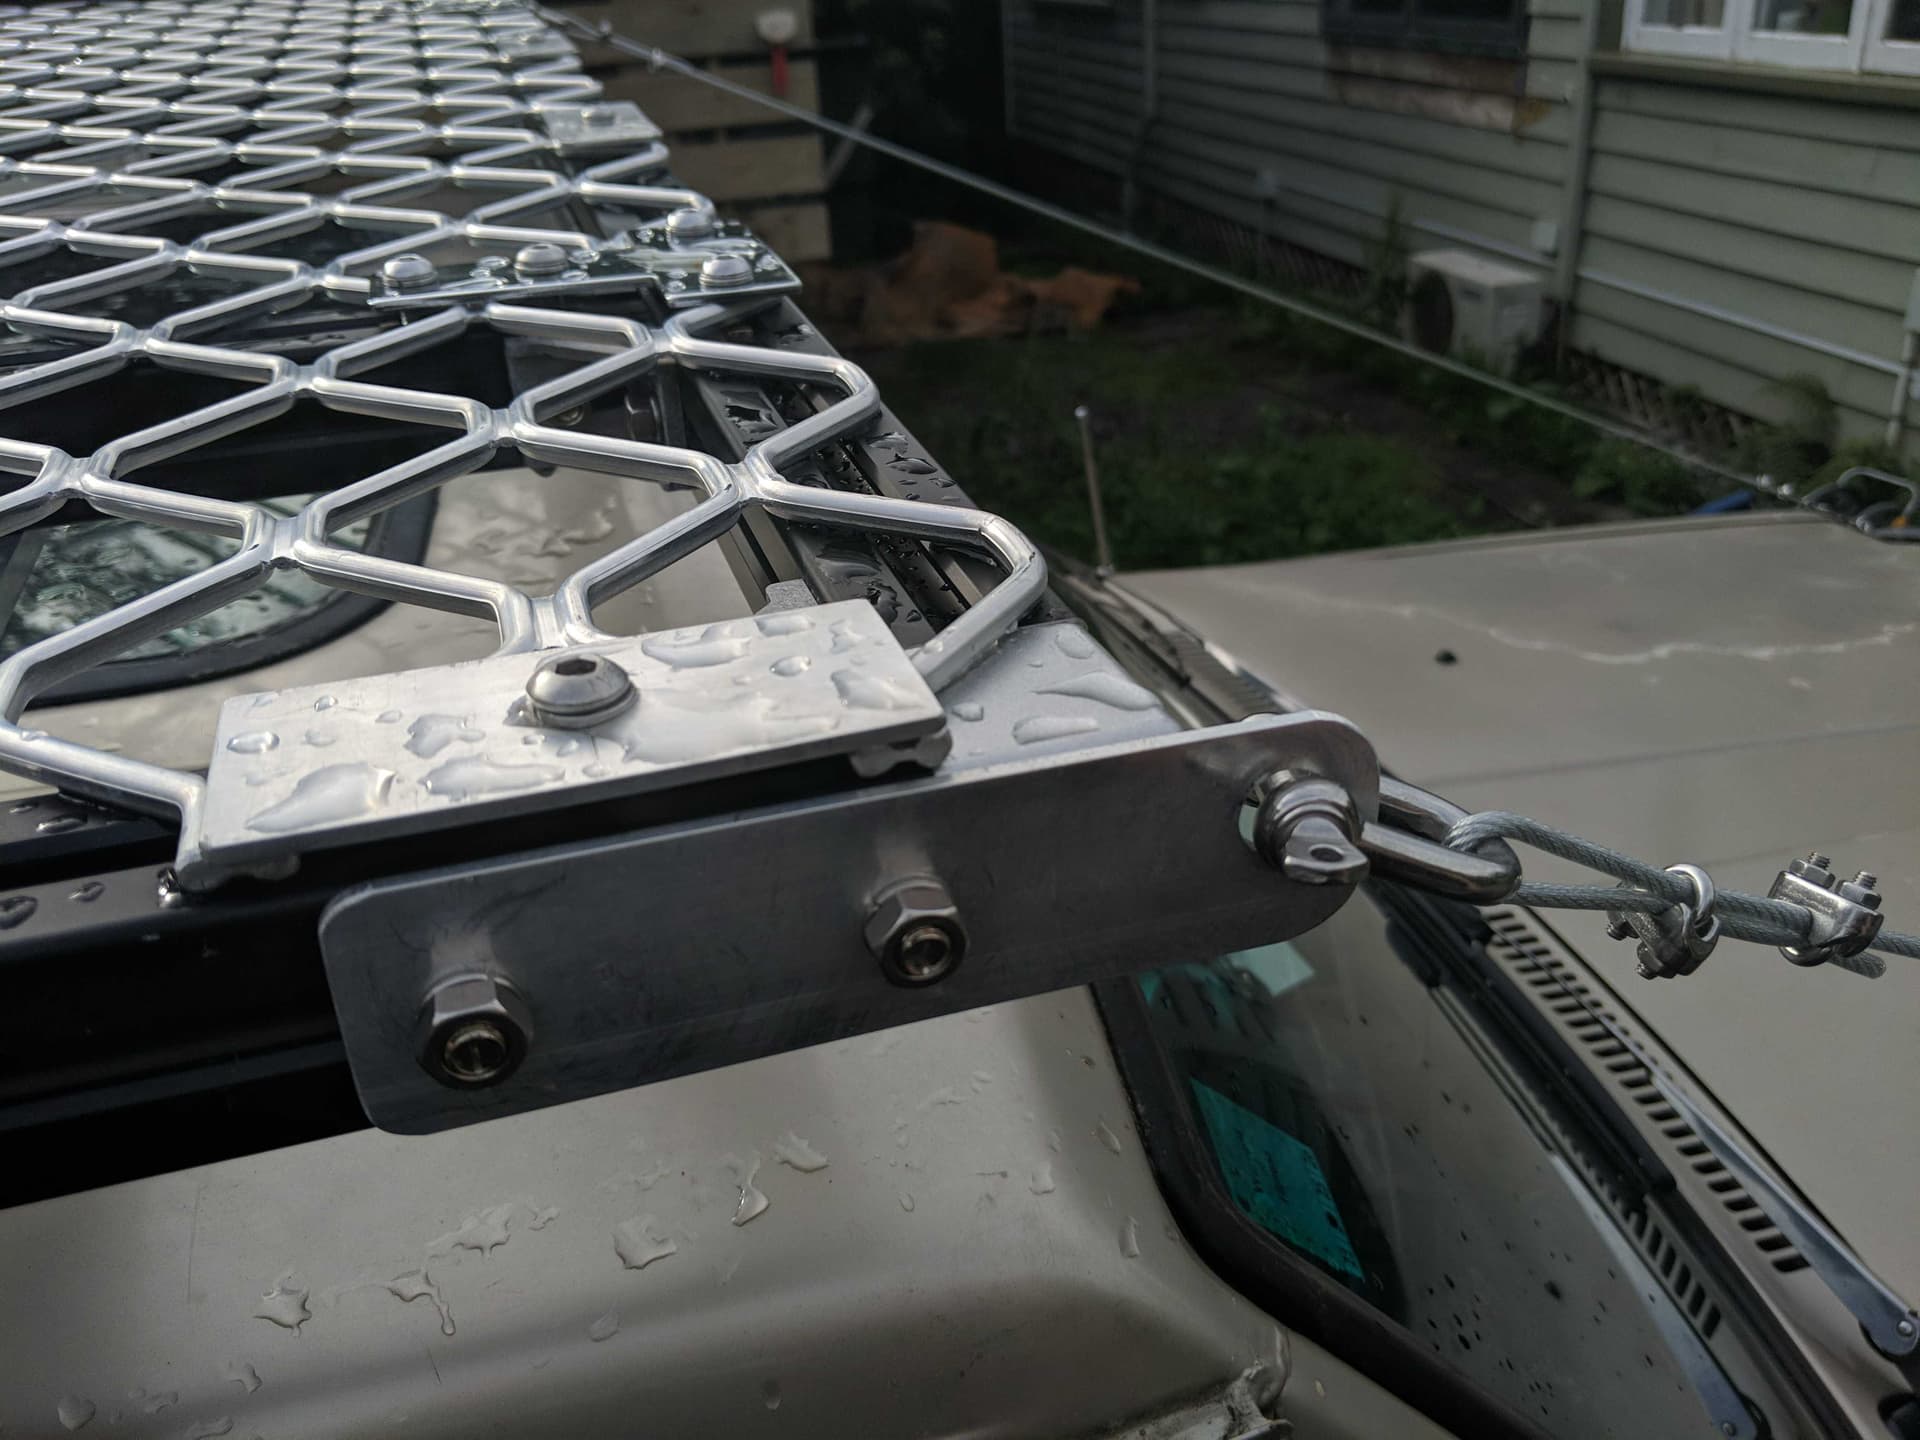
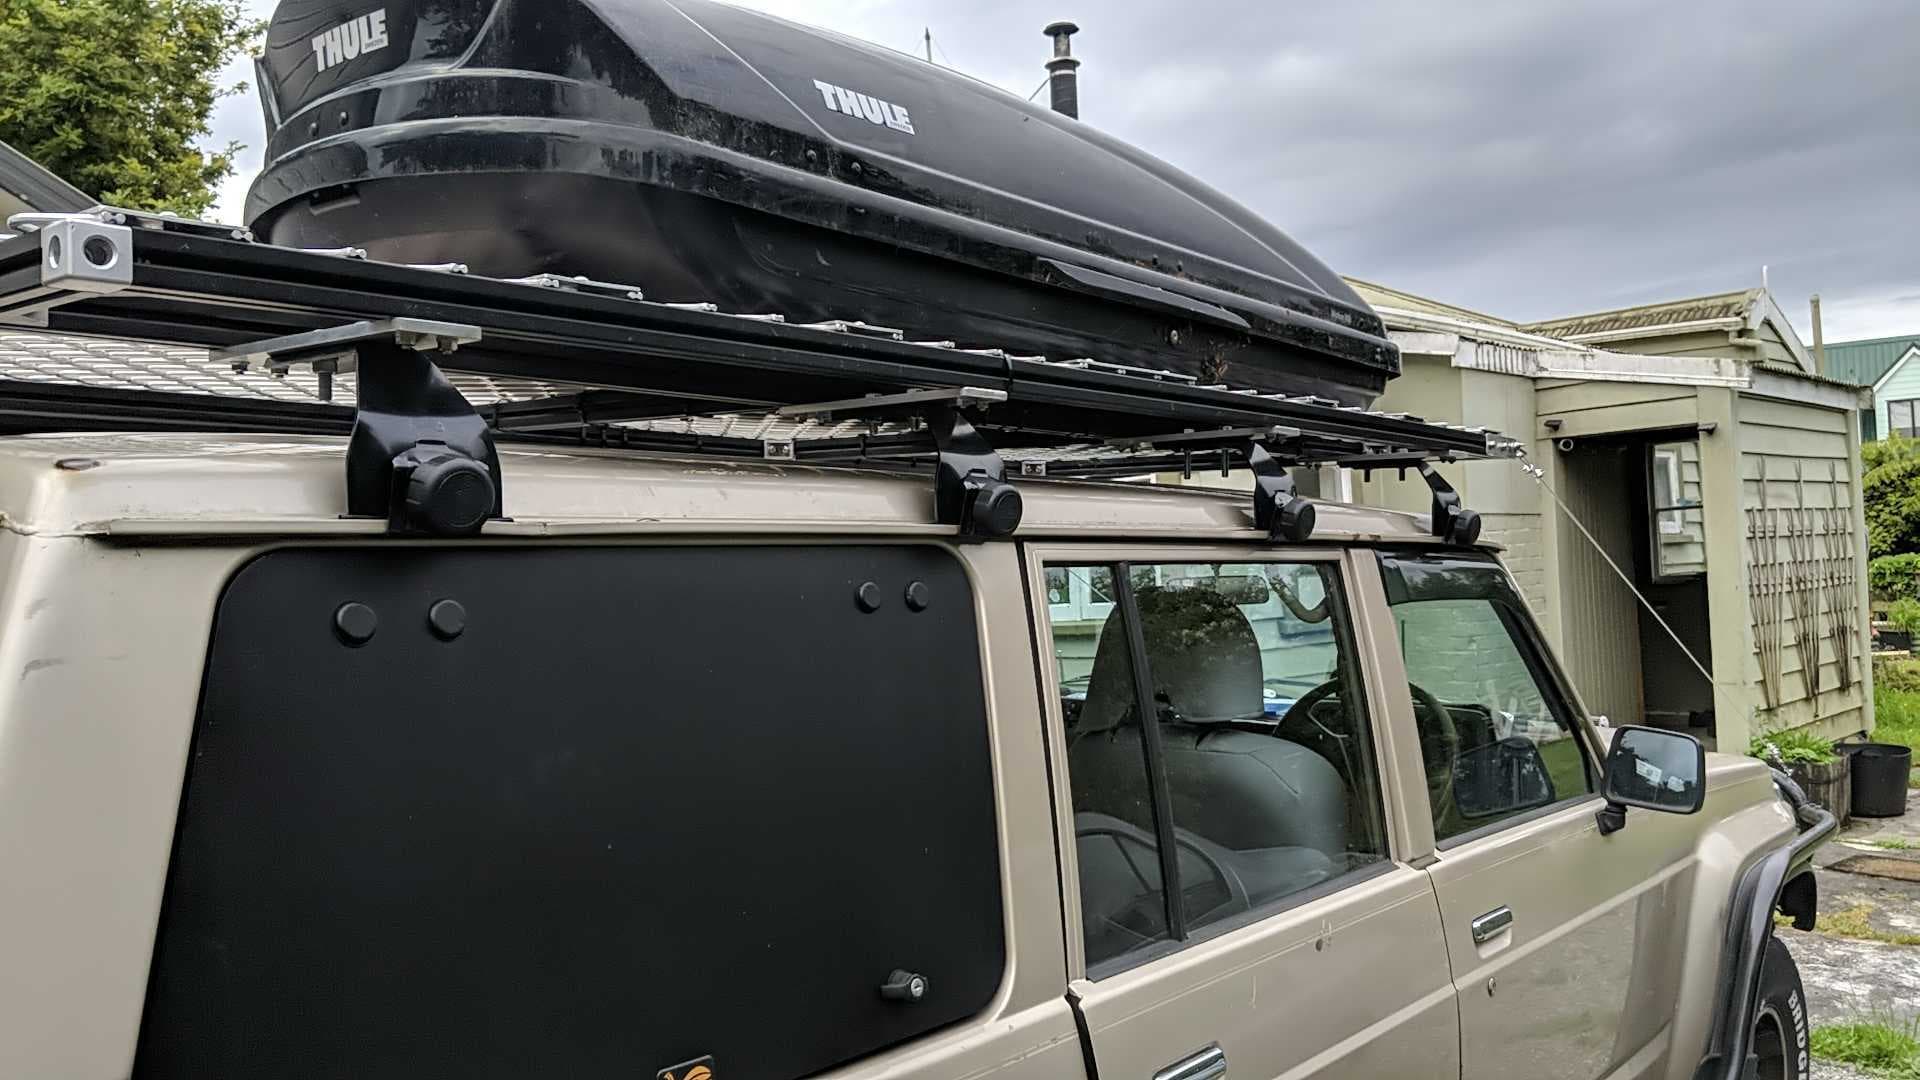
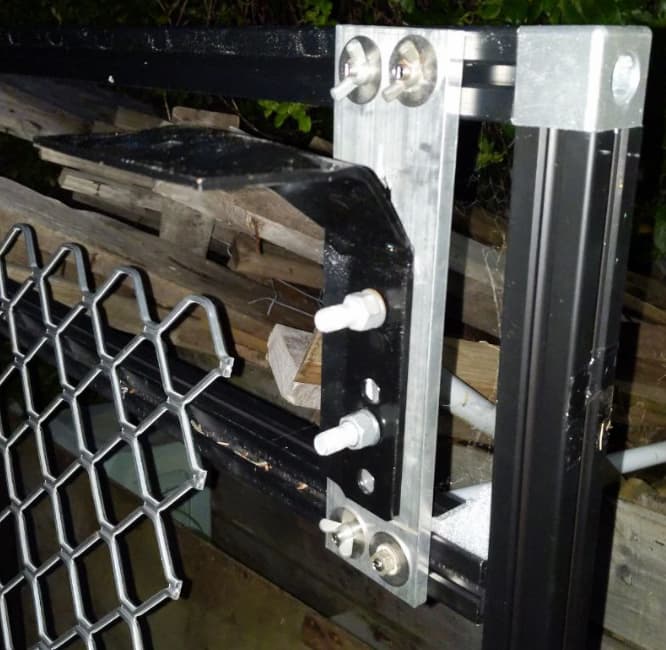
You can see then how this fits on the rack:

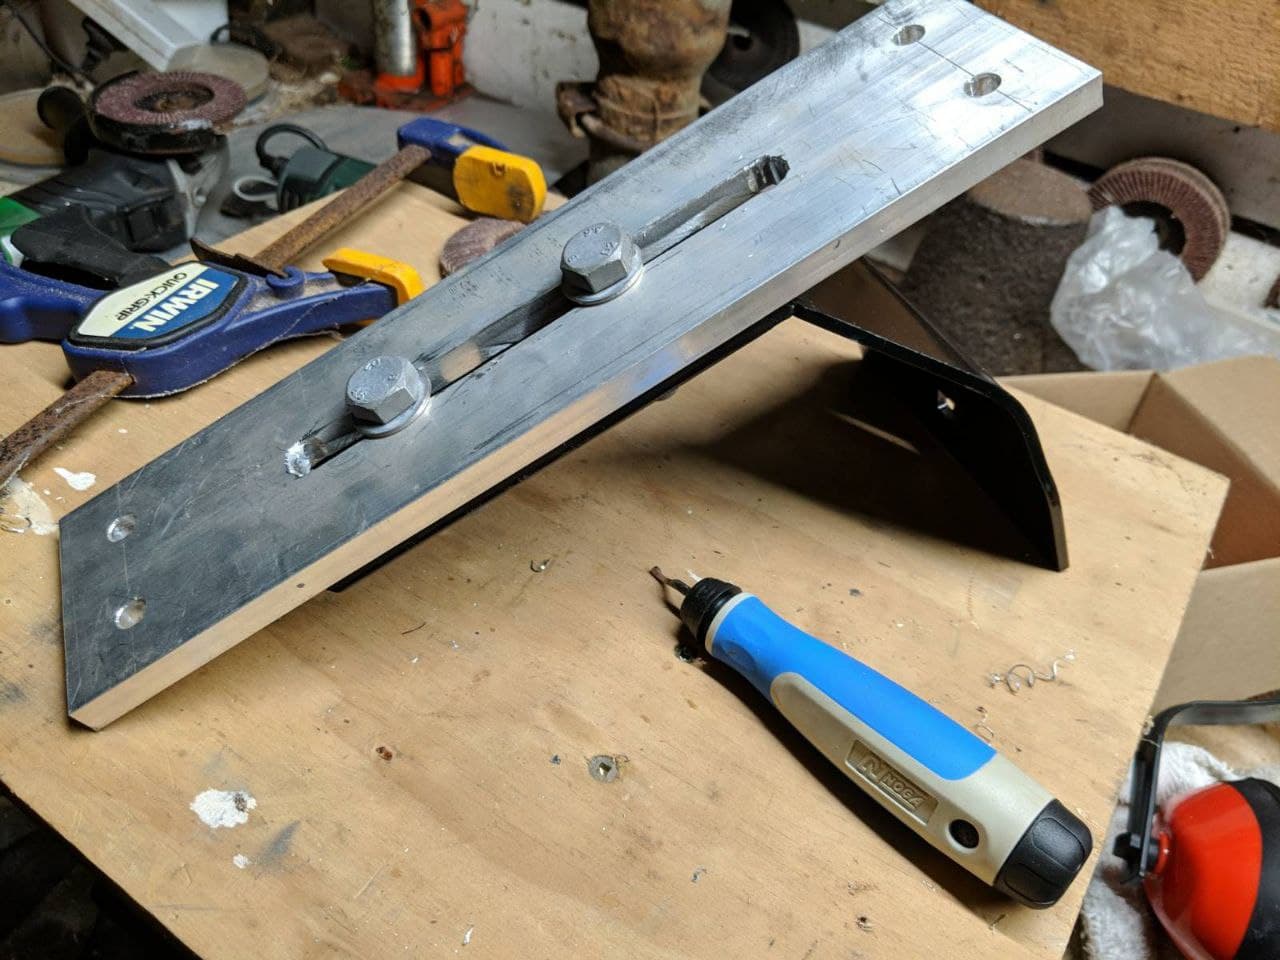
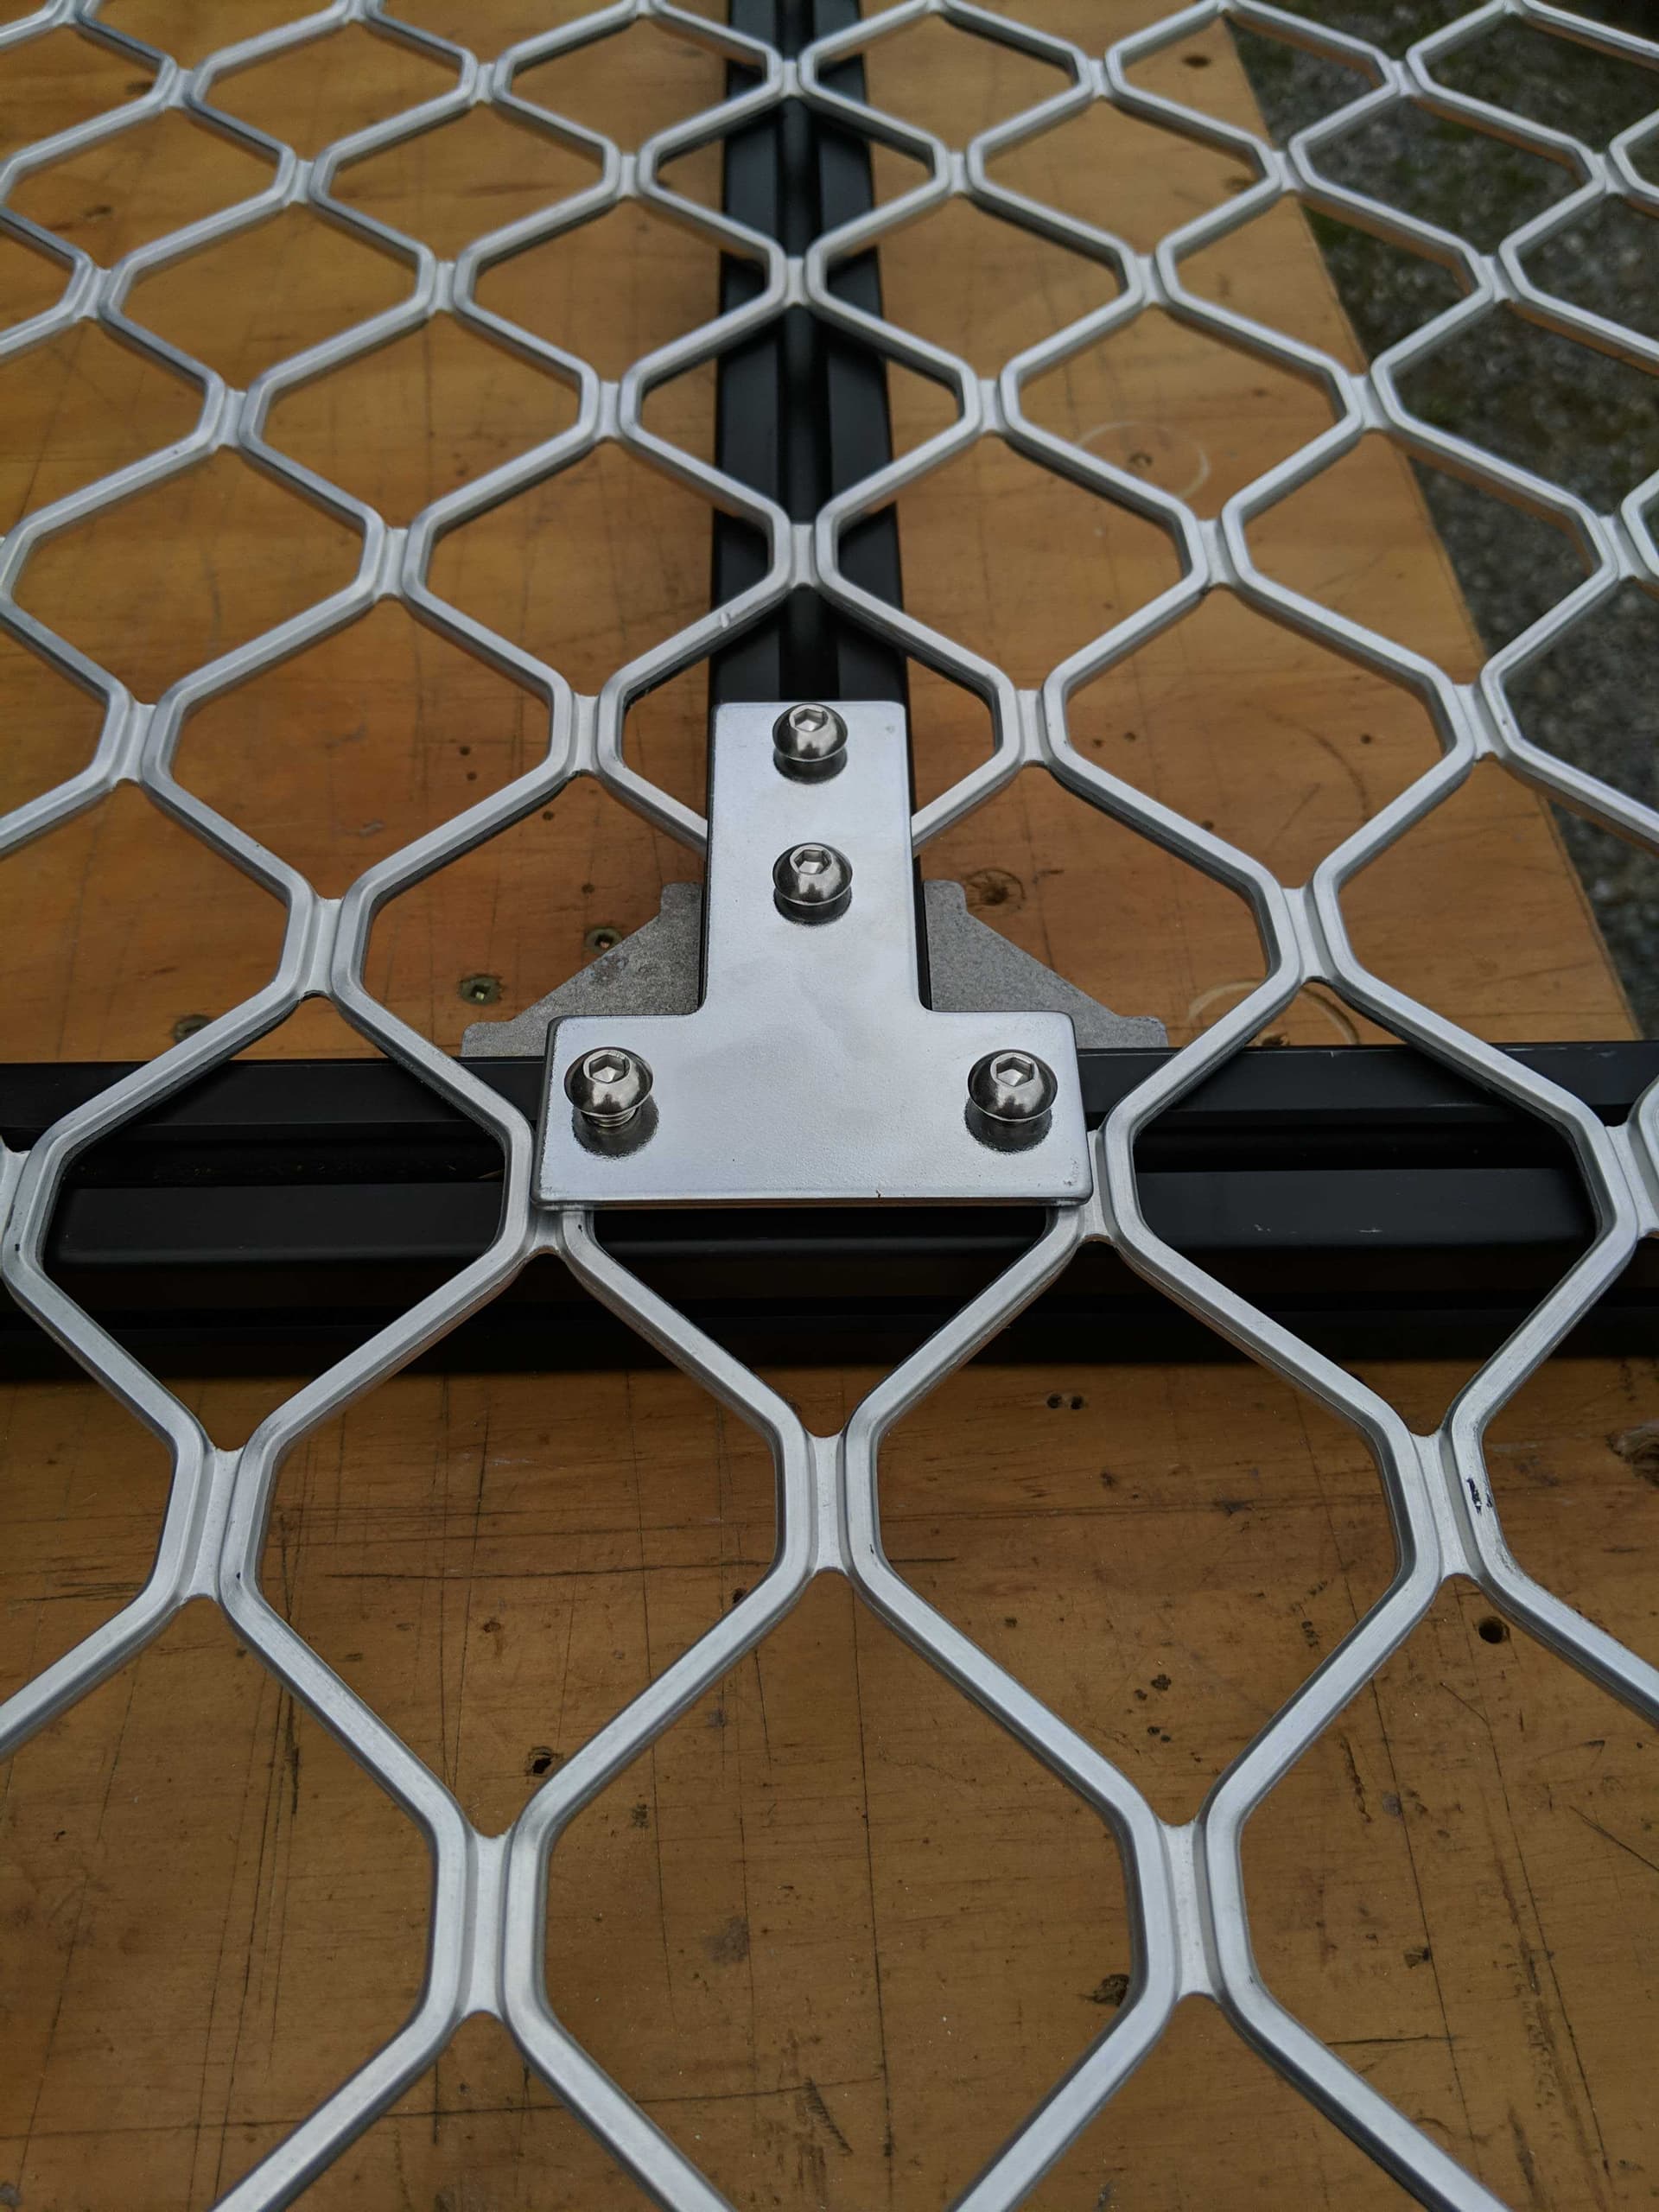
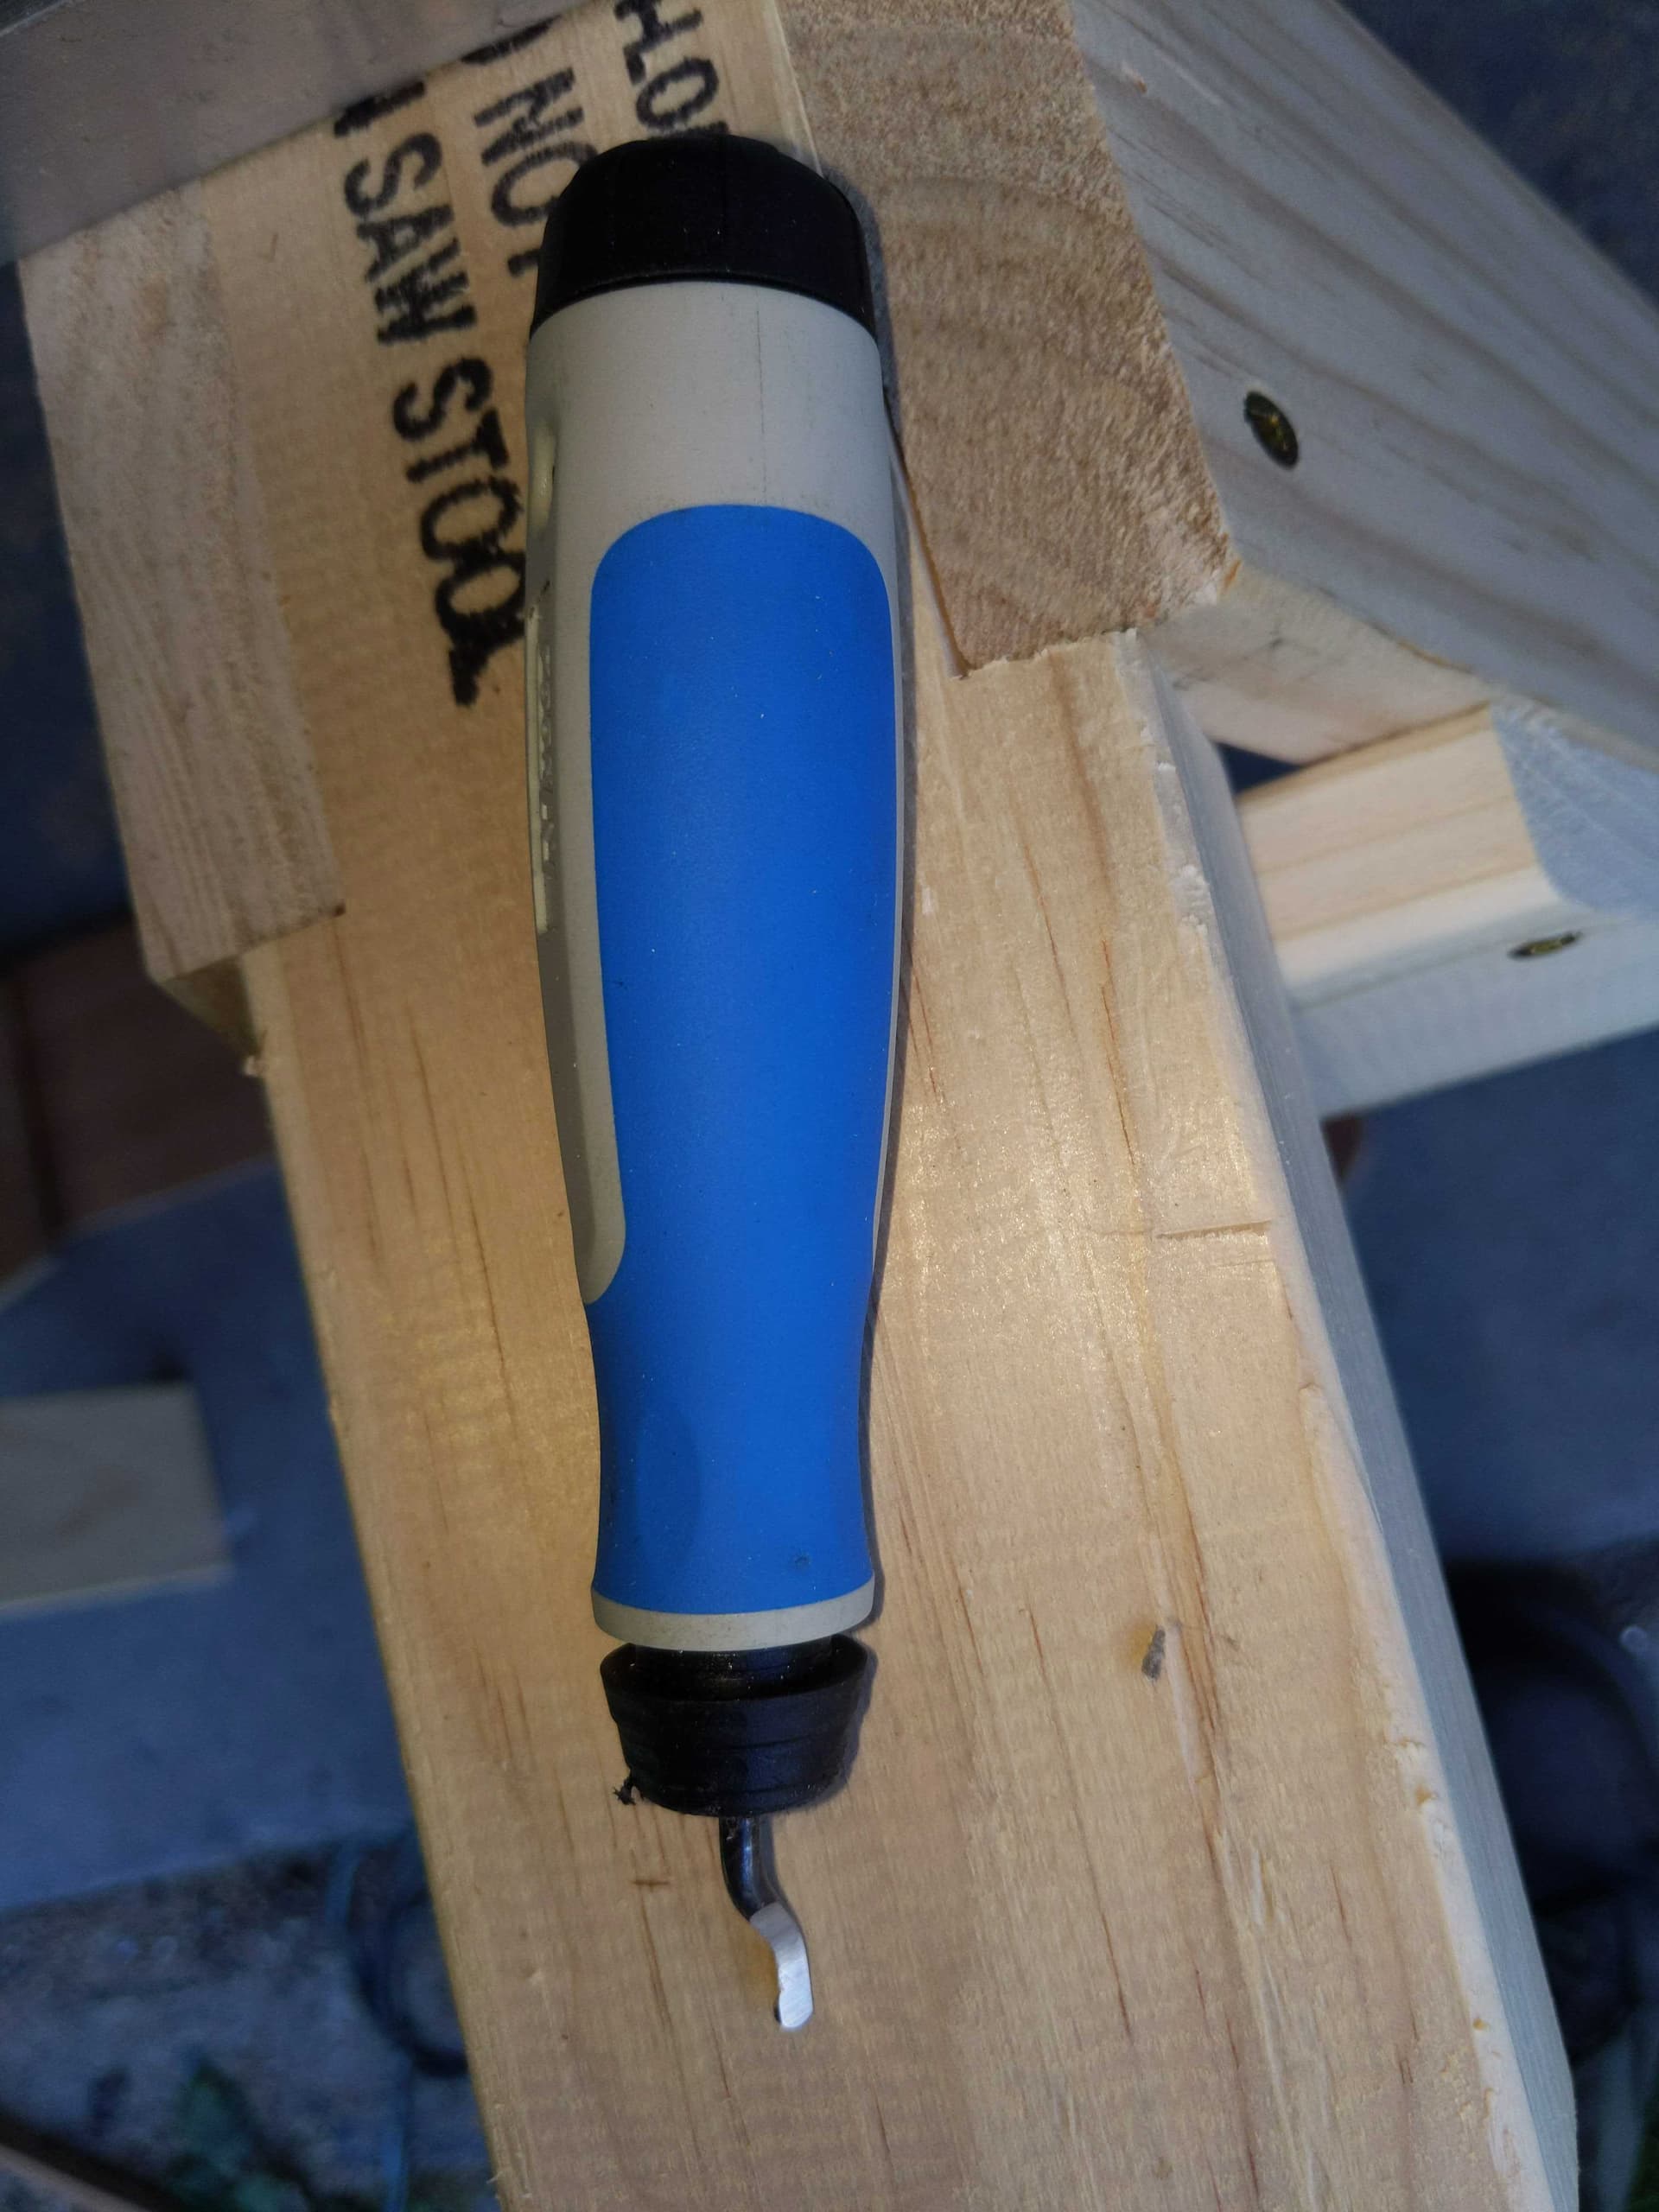
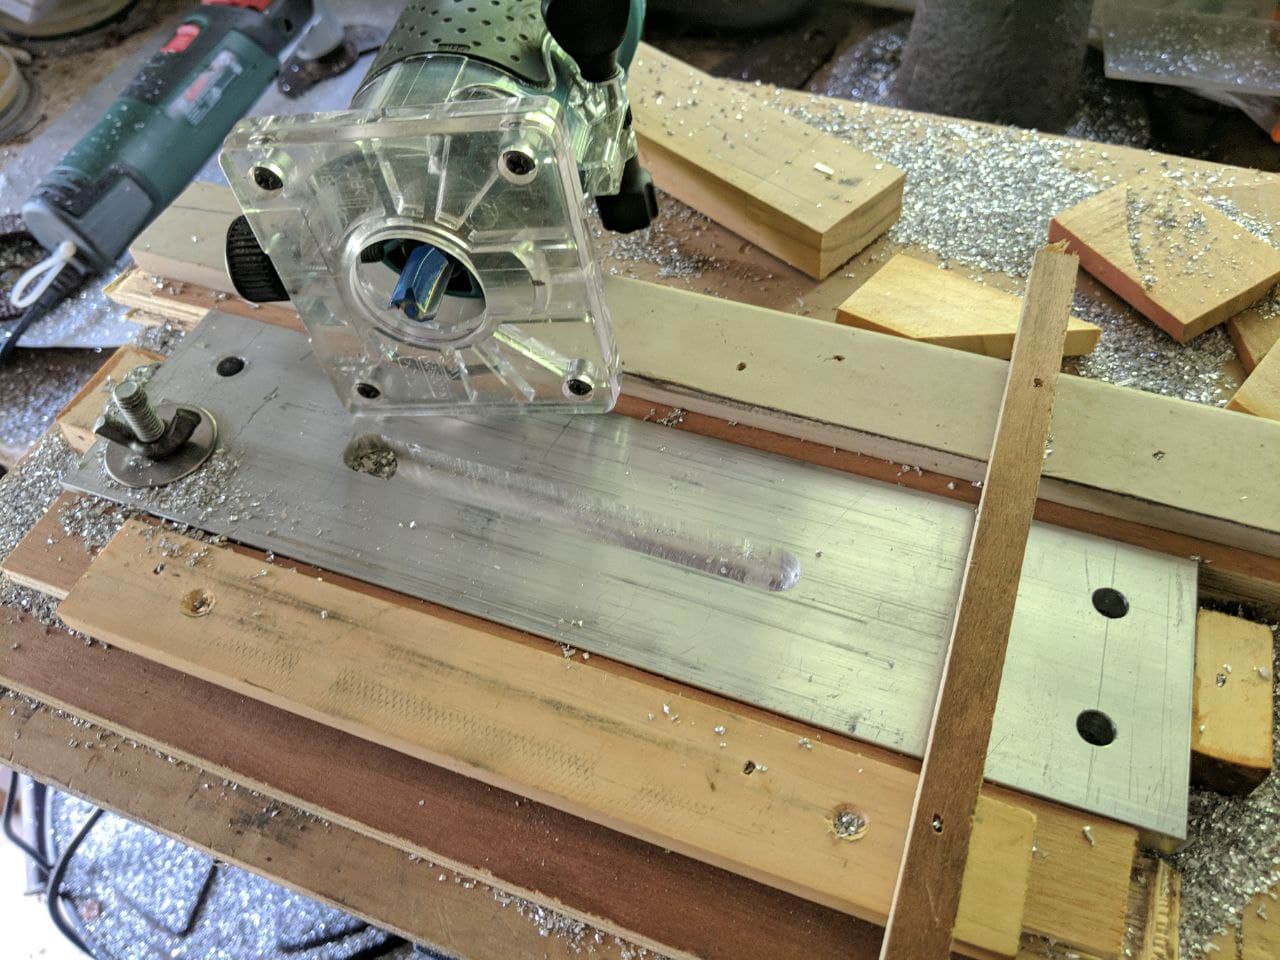
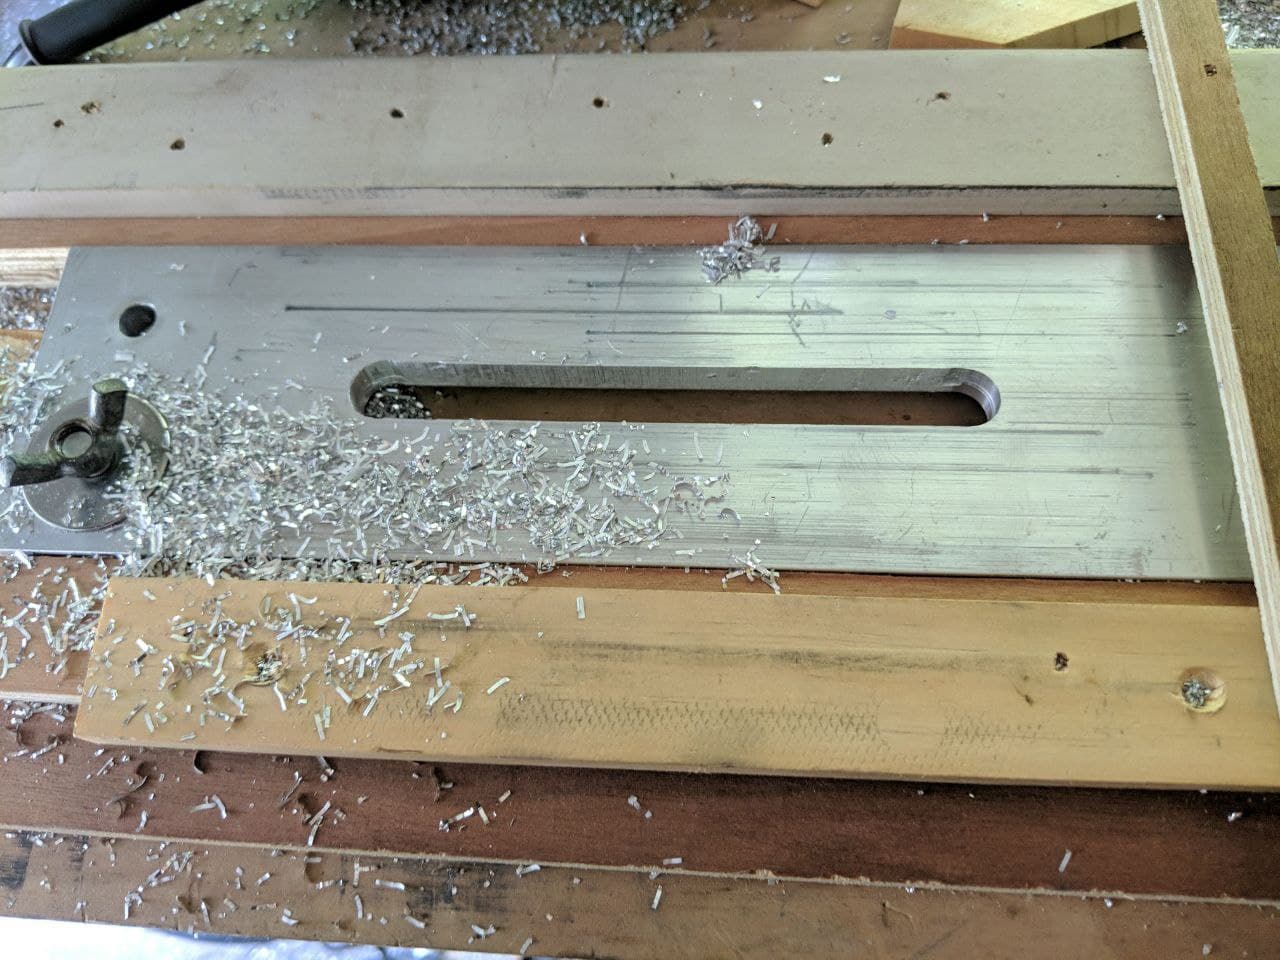
Unhappy with the roughness of that centre slot, I went and got a tungsten carbine router bit, made a jig out of wood, and the result looks much more professional:

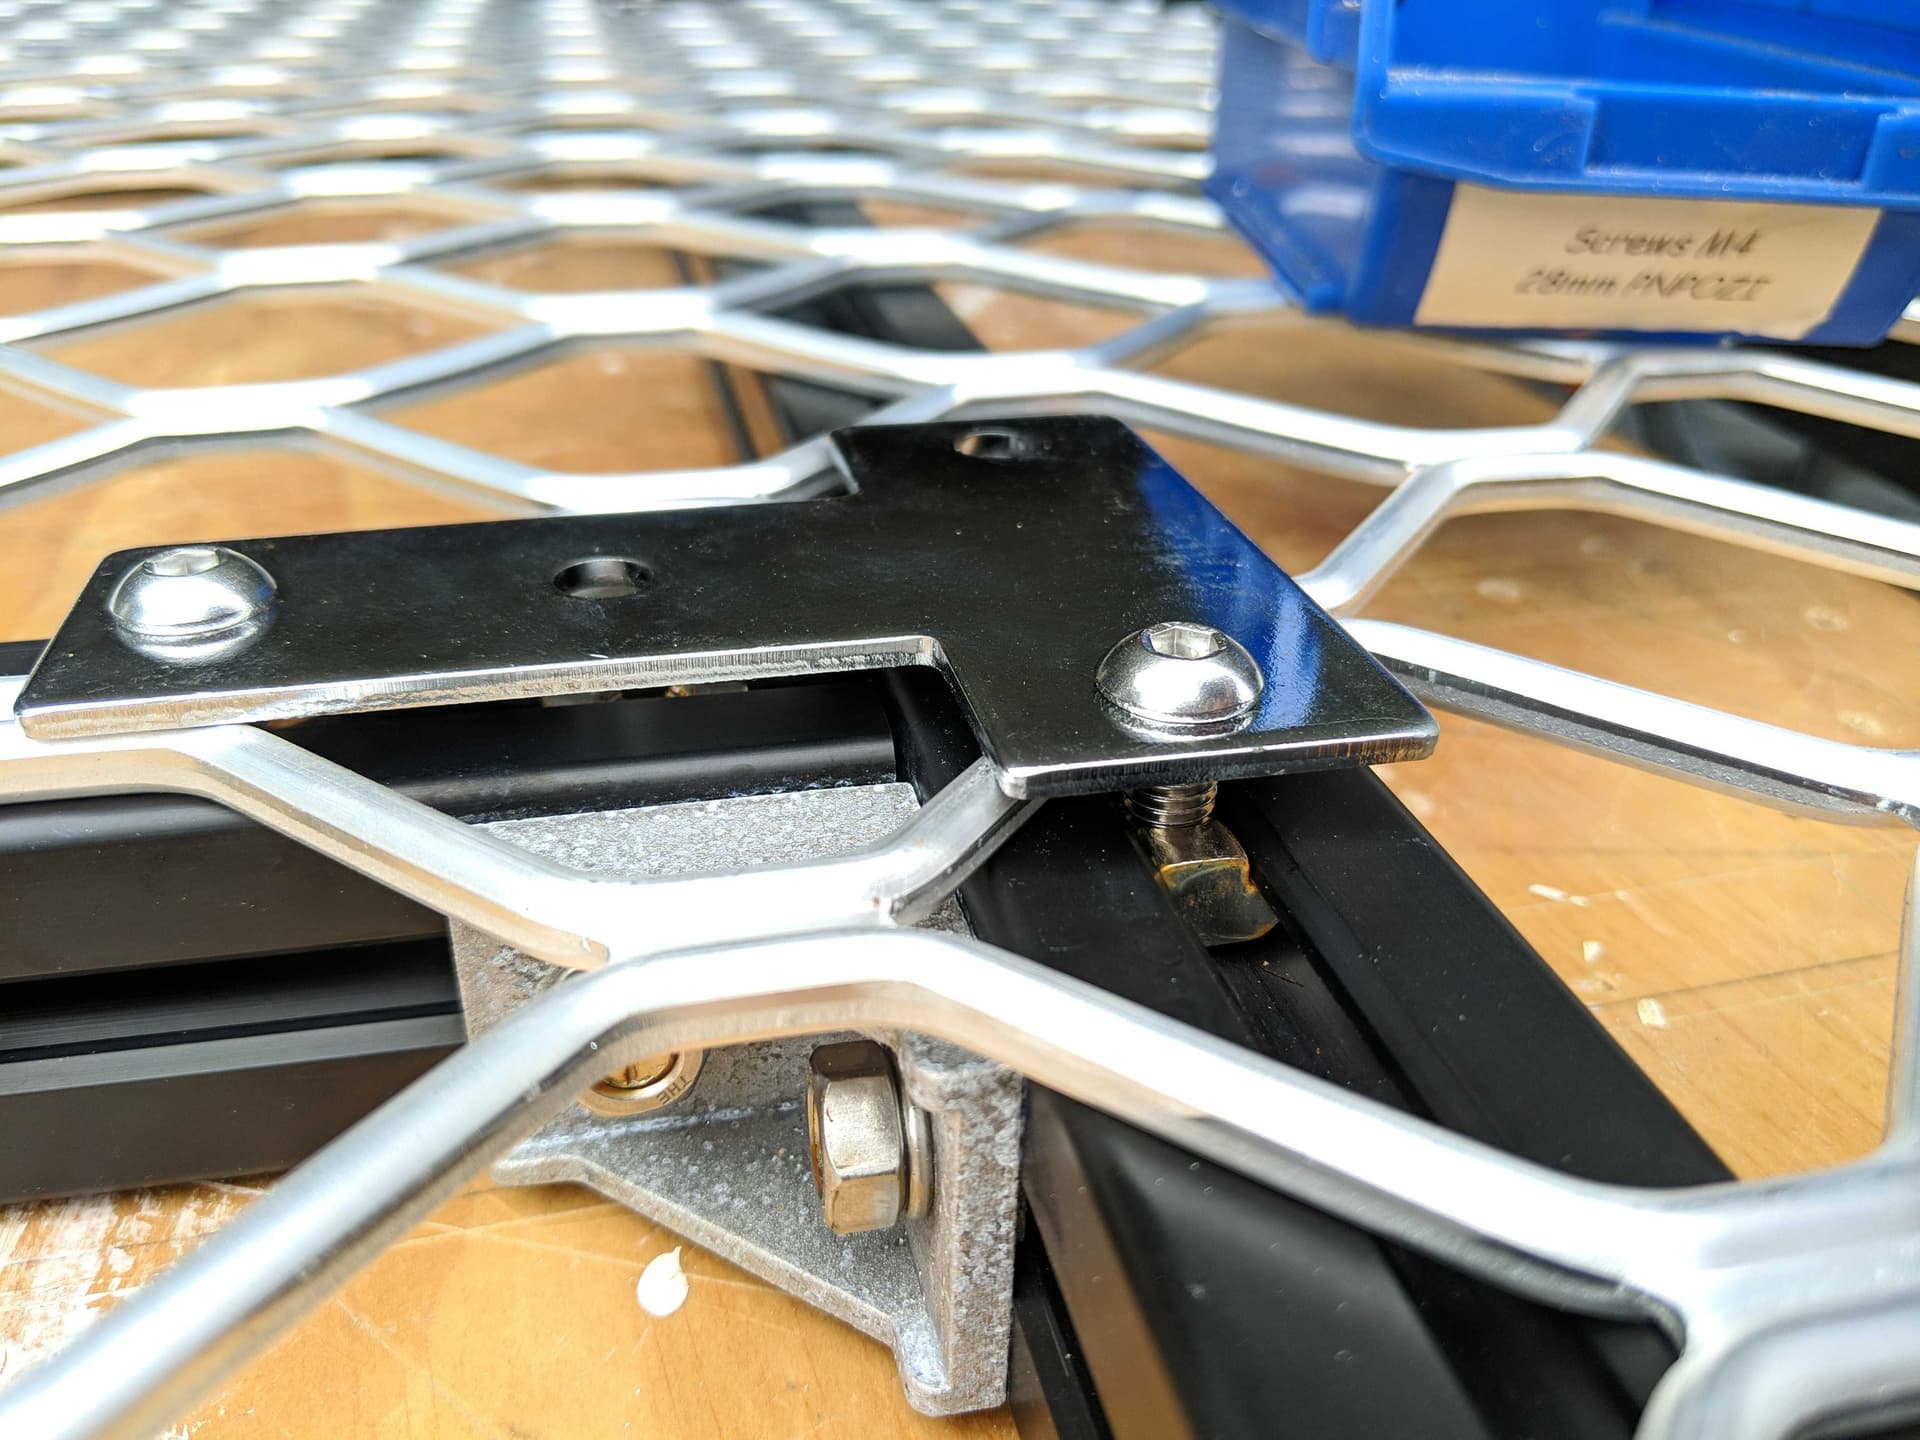
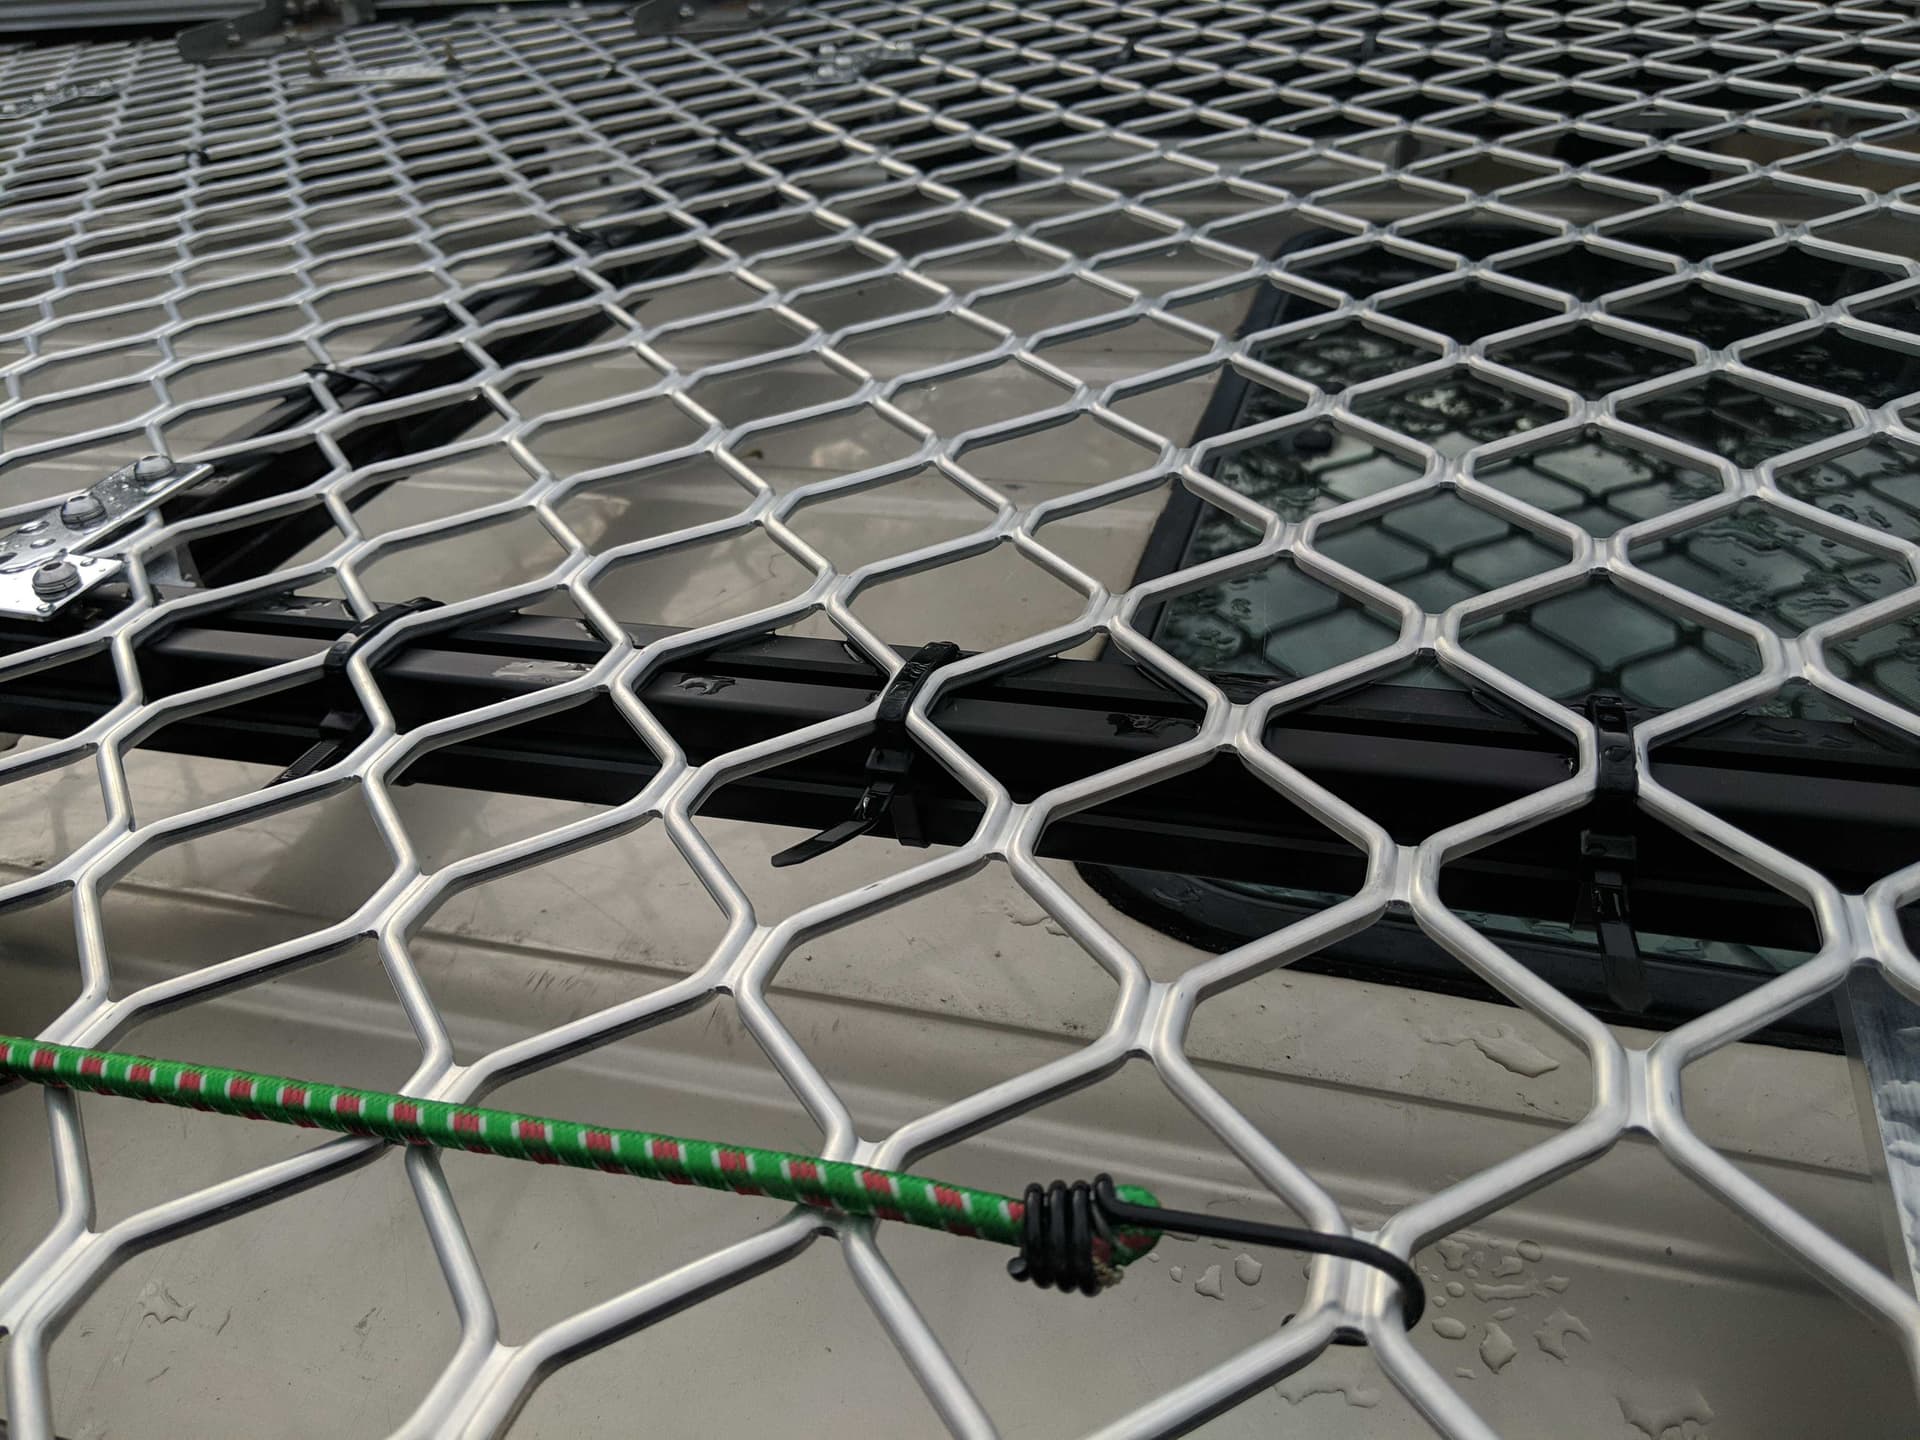
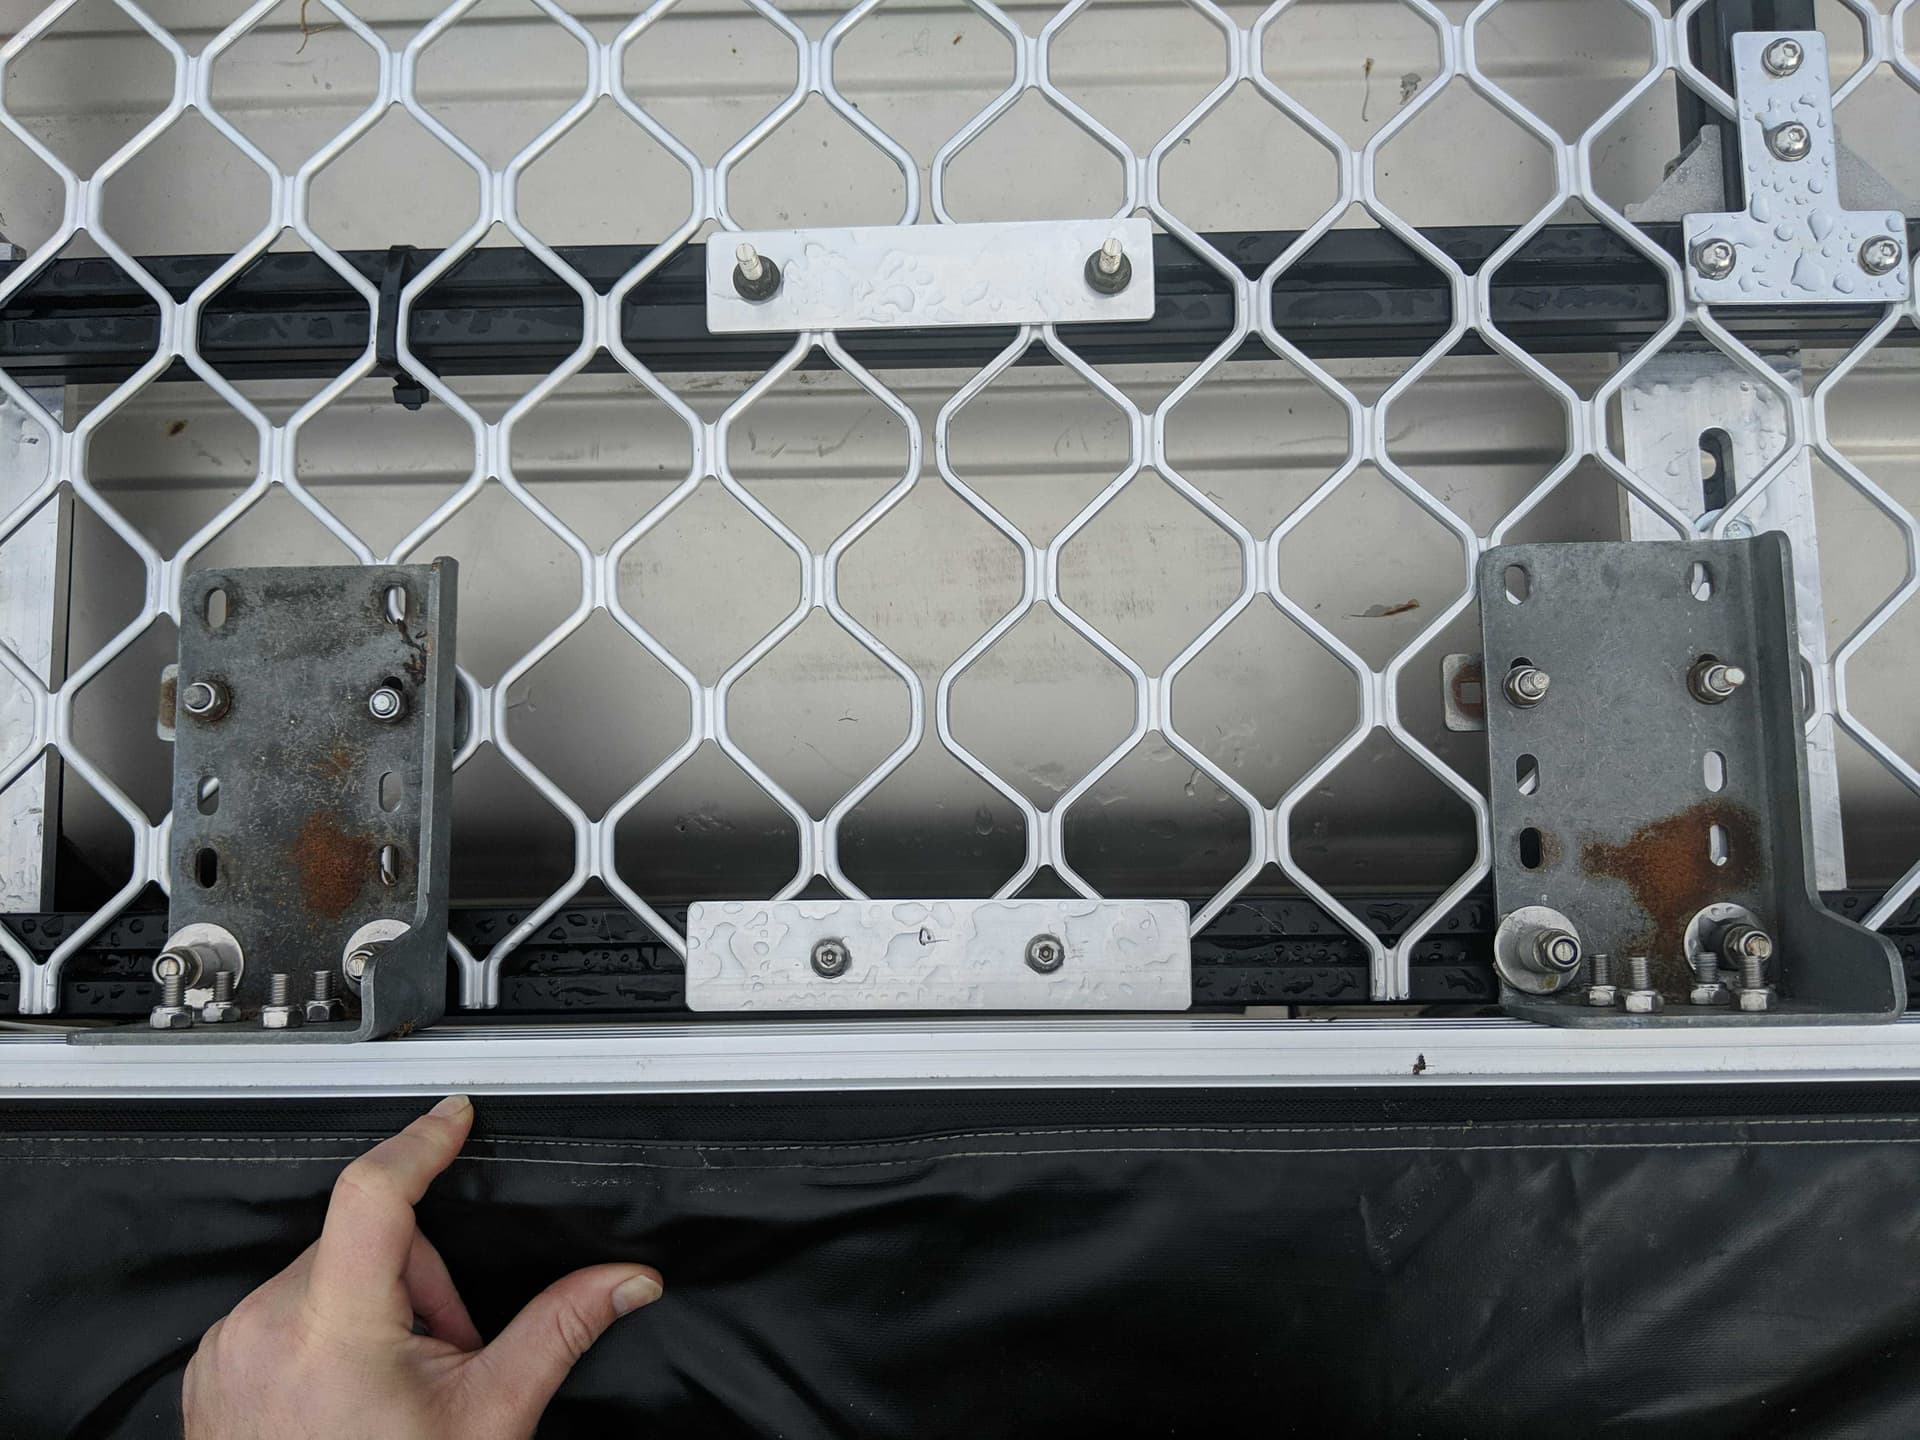
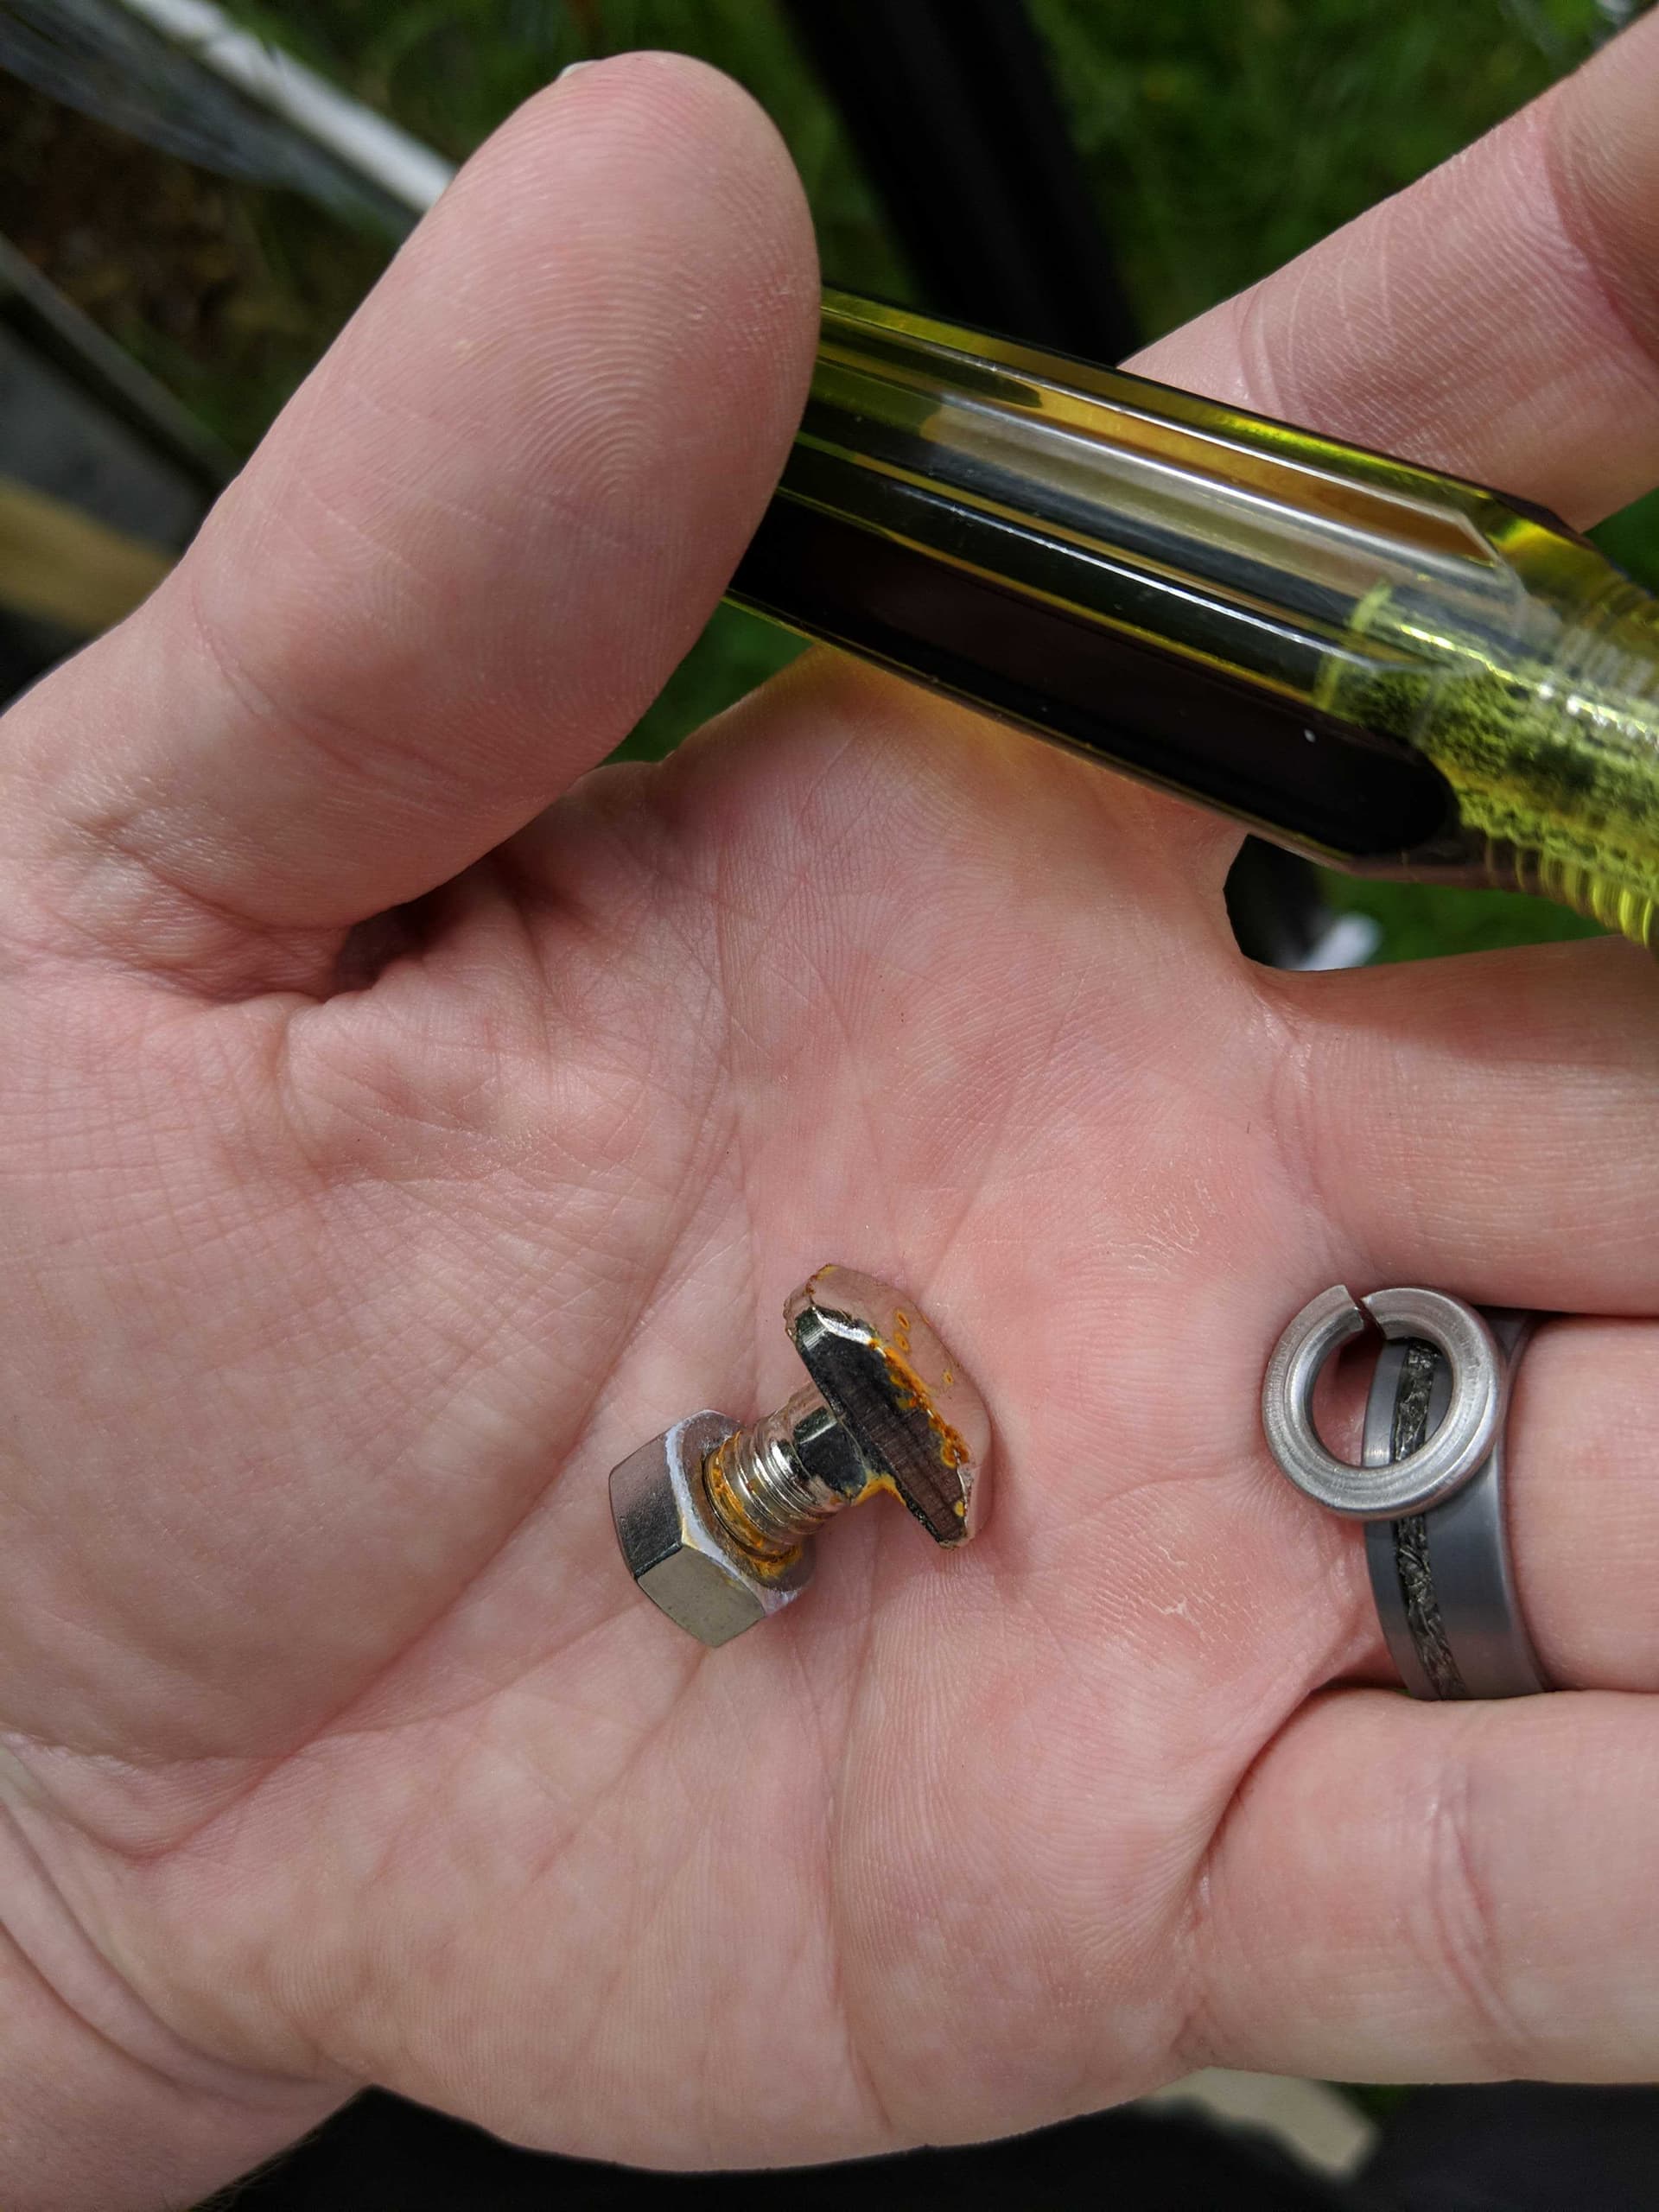
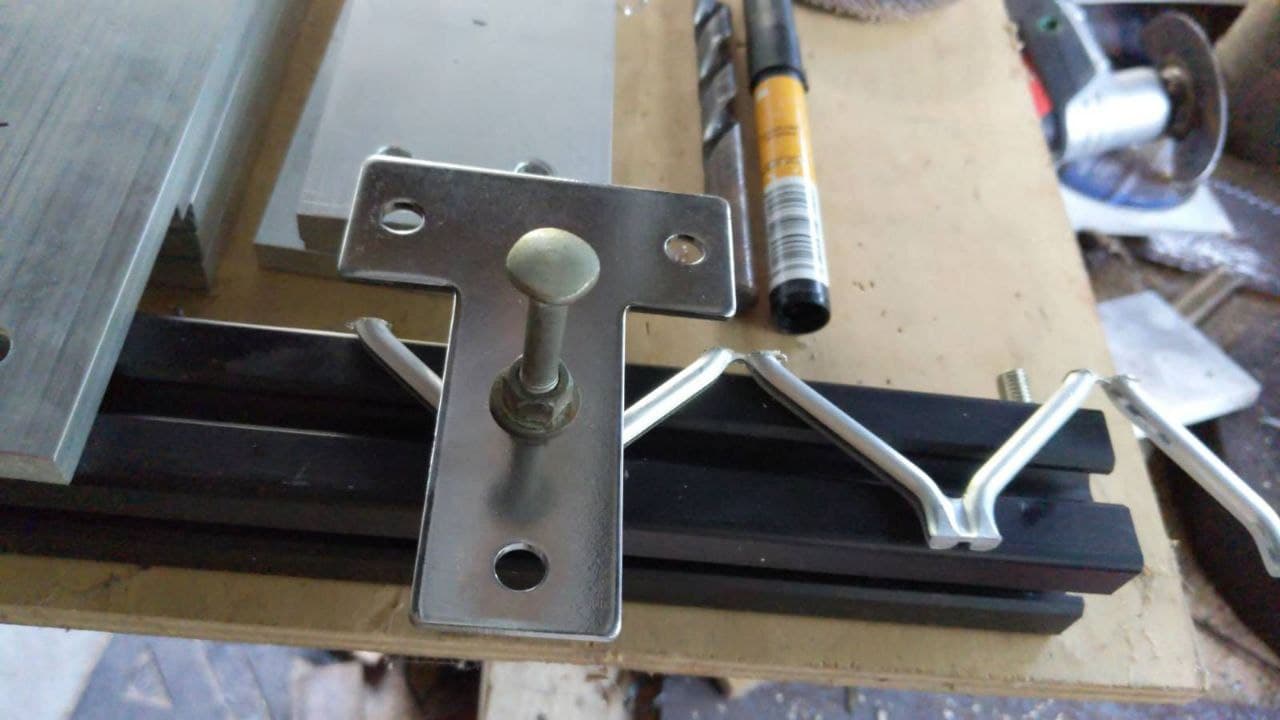
Next is to attach the cage to the bed, so I got these T plates and here I am determining the length the bolt needs to be to go into the T nut underneath (20mm).

So I gotta take a trip to the engineering shop to get a bunch of hardware, fuck its expensive.

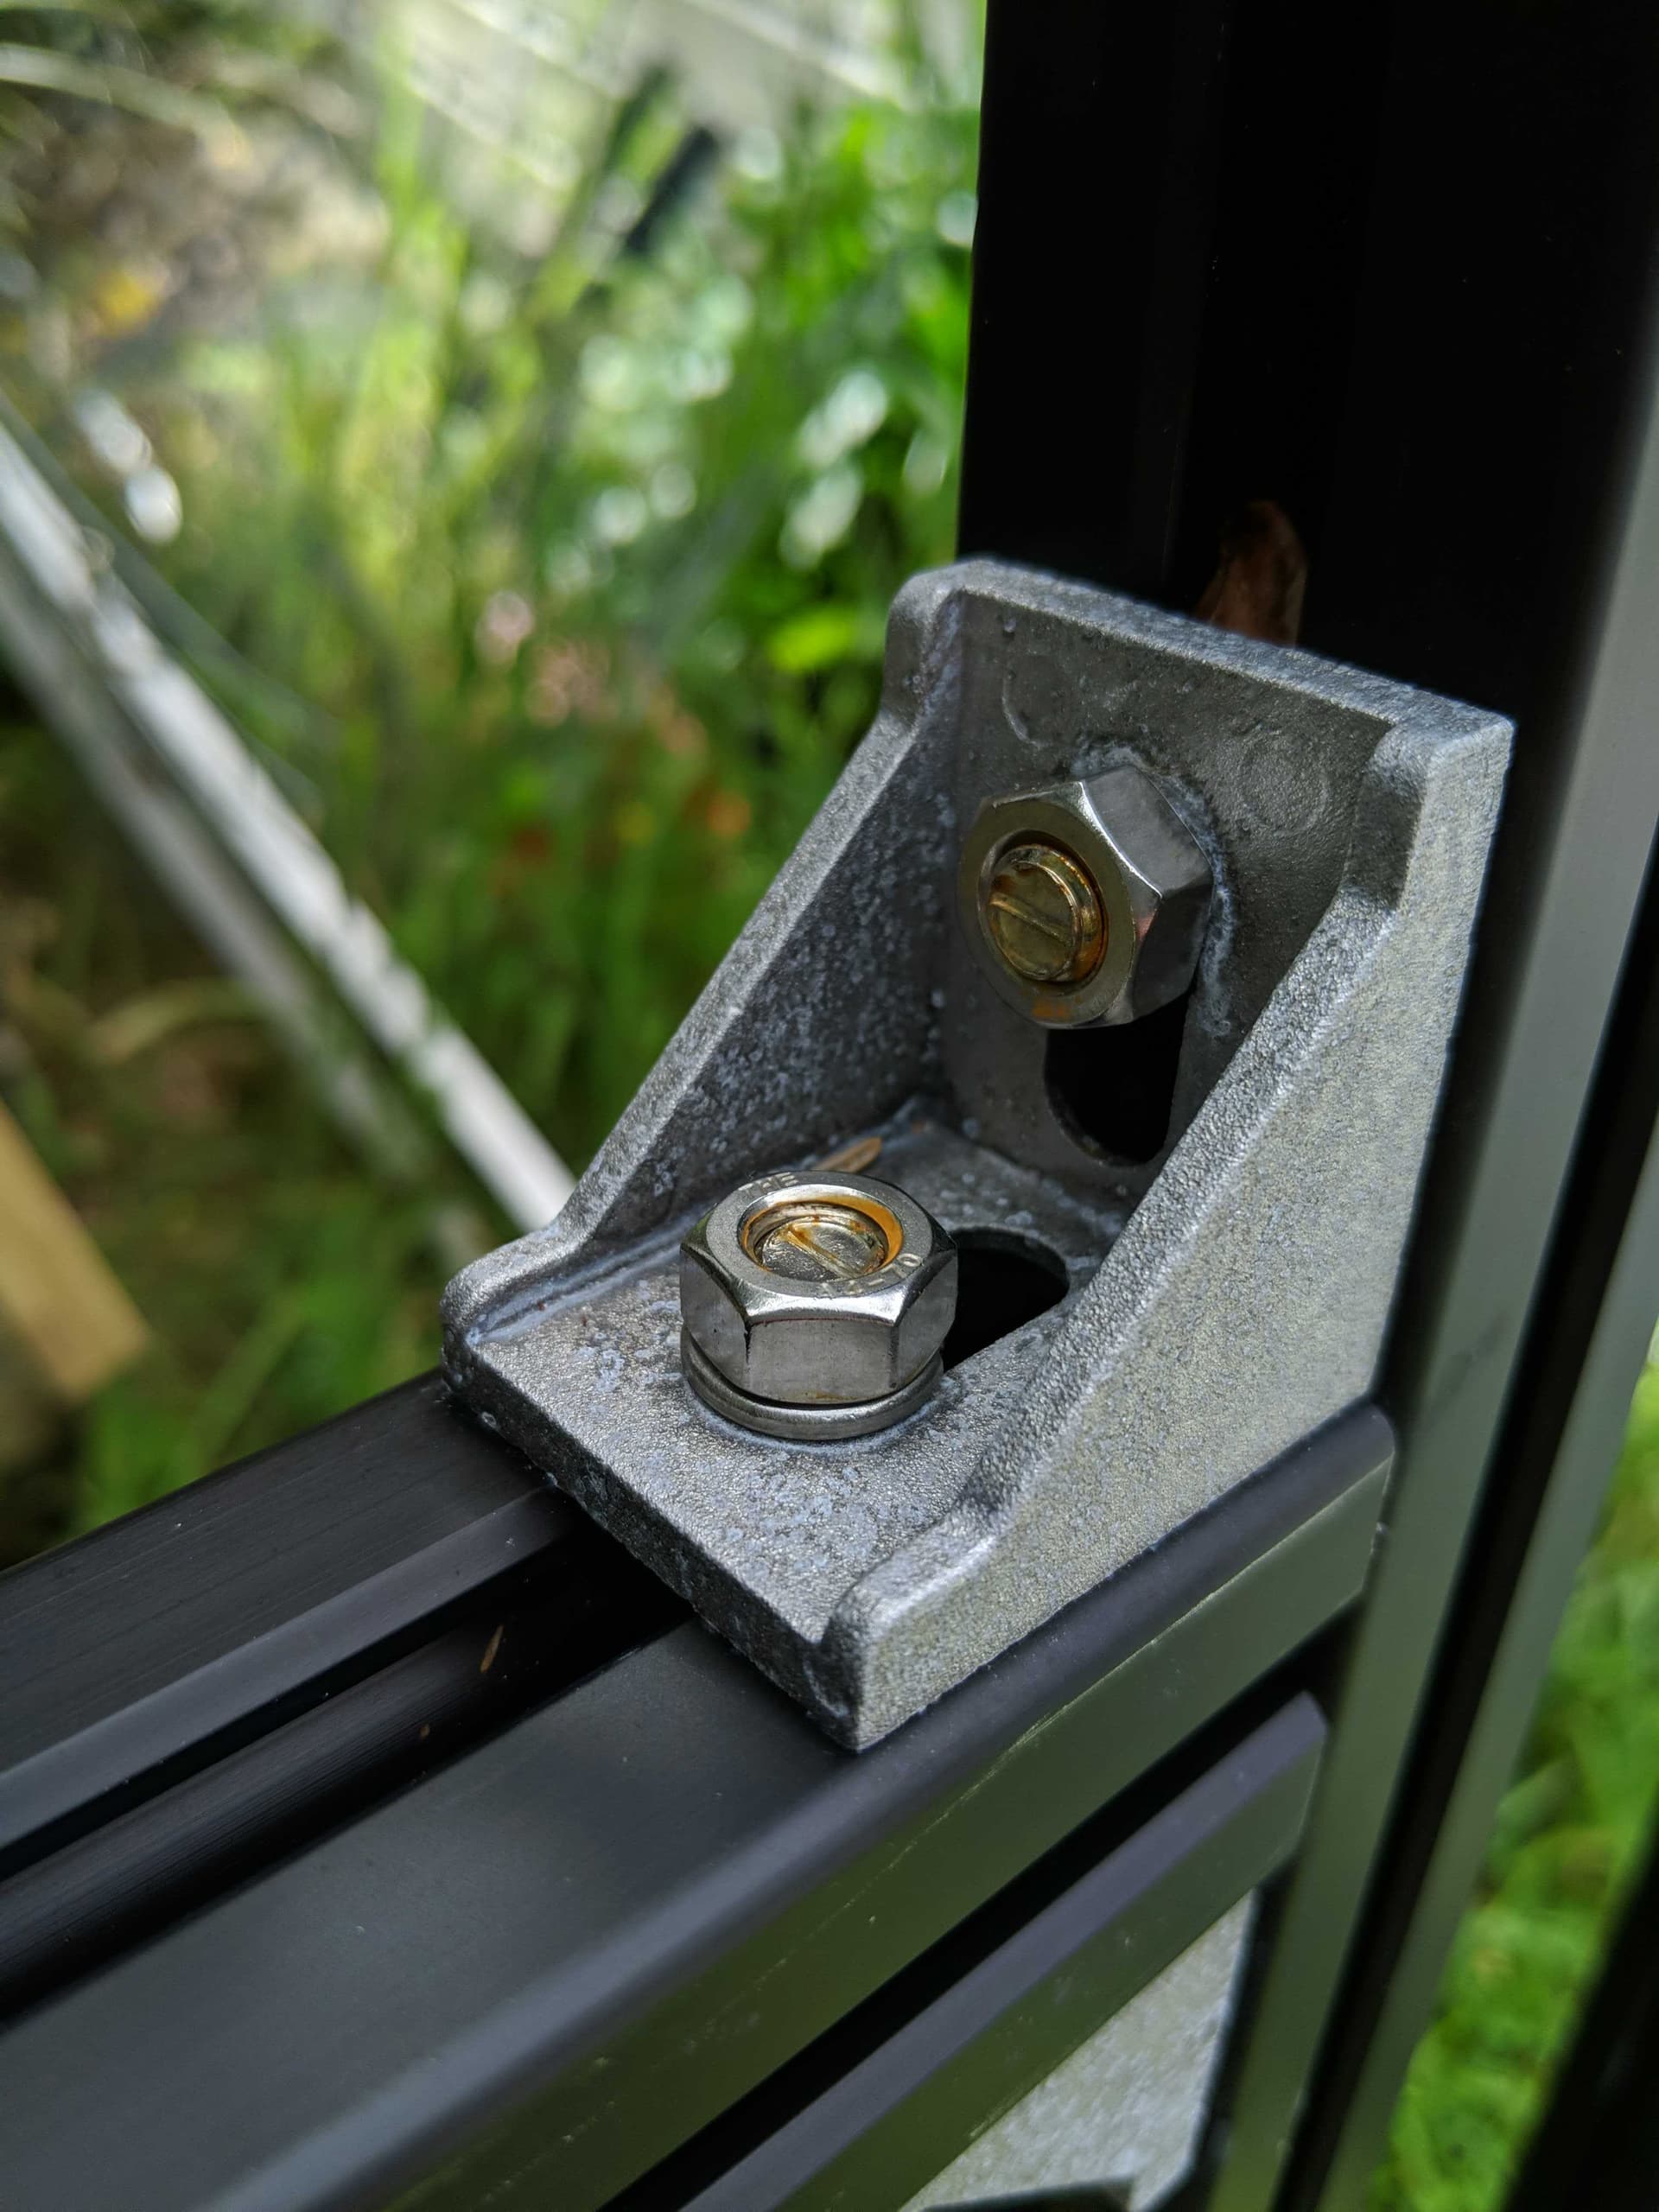
  • 32 x Stainless serrated flange nuts @ $70 to hold the mount plates on
  • 32 x dome cap bolts to hold the cage on

And about 40 more nuts I haven’t decided if I’ll use SFNs, or a short nut+spring washer combo. Sadly nylocks won’t work because the T bolts I got are too short.

The other problem I have is weatherproofing it. I got the stainless SFNs for the mounting plates cos I want its an adjustable part. But none of the T nuts or T bolts are rust resistant. So maybe I’ll just spray the other connections with something to try keep rust at bay.

So a bit more work to do, I’ll keep you updated.

5 Likes

Not to pop your bubble but do check if there are relevant driving/road laws with regards to roof racks. It might have a specification you may need to adhere to.

Good luck with your project!

1 Like

you got real lucky, angle grinders and aluminum is a recipe for disc explosion

yes they do, nice work

That’s alotta real estate you are adding.

2 Likes

Thanks yea I’m always careful to keep my face out of line with the disc, always wear PPE, and lucky its just a little 300w so the hardly noticed the disc breakage.

Test fit day, just with 4 feet:

I quite like how it looks. Full length of the roof. Hopefully I have time to run cables from it to the bull bars for brush protection.

These are the 150mm ones, there are also 125mm ones available:

It’s a little heavier than i thought, hopefully it doesn’t end up close to as heavy as the steel one I tried before. Me and the wife couldn’t even lift it on.

Finished all the mounts, made a little house for the jig to try to contain those aluminium shavings:

Still waiting on hardware from the local shop at this point, so should be able to put it all together soon.

3 Likes

Some more progess, all the T clamps done up with 304 dome head screws and :

Got 8 of these mounting plates done and softened them on the belt sander, attached them with the serrated flanges which turned out to be way cheaper - $2.20 to $0.50. All of the corner plates bolted up with SS nuts and spring washers. I decided against the threadlock for future modabiity and actually the bolts were the perfect length.

So to fit some of the bolts through the cage I had to trim some of the cage away. This one was the worst:

Otherwise it looks good. Weight rating is HEFFALUMP:

image

Here it is put on the truck for the final fitment, 8 feet in total:

You can see the other clamping plates to hold the cage on. I thought it would be super noisy and rattly but after taking it for a drive at speed its pretty good. Just used cable ties to quieten down any noisy parts:

Made a hand hold at the back:

The awning was a sinch to put on. This is a 270degree awning which is pretty sweet.

And I finally added these brush guards too, I’ve wanted these for ages:

Weight rating: UBER HEFFALUMP (got sidetracked while doing the other brush guard)

Thanks to @rv6502 who pointed out when I asked about how to rust protect the zinc coated steel bolts and nut plates in discord, the whole thing is going to rust galvanically anyway because I have: stainless steel 306 bolts with 316 spring washers, clamping chrome steel onto aluminium into a zinc plated steel nut plate.

He suggested I need to get a magnesium anode (like in an HWC) and electrically connect it to the whole cage. Cos right now the all the zinc
coated parts are taking a hammering:

Now I just need to finish mounts for the roof box cos sadly the feet don’t come down into the cage:

4 Likes

There hasn’t been too many surprises through this whole process, and it’s gone about as well as I had imagined it to go together when I envisioned it at the start of the year so I’m quite proud of the engineering. I just made sure to always measure and test fit everything before cutting anything.

These are the tools I used:

Deburrer for everything:

Dremel for cutting out bits of the cage:

Good ol grinder:

Belt sander with a custom made …base? for softening edges:

Trusty drill press with cross slide:

That looks like a lot of work and probably just as, if not more expensive than, my Thule rack.

1 Like

Yea I didn’t total it up yet, I’ll put the numbers here when I do.

I should’ve timed it to see how long it took, but I don’t see it as labour, rather a hobby, or a challenge that I get something tangible out of when I’m done with it.

I still like it better than a Thule rack in the end though because it’s endless modifyable, you can mount almost anything almost anywhere for instance. I was even thinking to cut it in half so you could run a smaller rack or join them together using the T slots. Seems like quite a strongly bonded system. Bolts cost more than welds tho.

I also don’t like made in China stuff so will usually build it myself if no non-China alternative is available (or just go without)

2 Likes