Hello,
So for some time I've been modding my mATX case, but not liking the results of the mod (parts not fitting, ugly wiring, etc). So I'm thinking of creating my own custom case with glossy black plastic. So the easy part is gluing the outer frame, but I'm not sure about the points where the hardware mounts on (IO plate, Graphic card plate, durability of screw holes, etc). For anyone who's already done this, any Do's and Do Not's for such a project?
As for my design (I'll have a drawing soon):
It's going to be a semi-slim case with the motherboard about mid-depth (as much space in front as behind).
- 90 degree adapter for PCI-e (Graphic Card is going to be parallel with MB)
- Closed loop water cooler for CPU (Need to get this, currently air cooled), radiator would be placed to right of the MB (not sure about the air flow direction yet...)
- Power Supply routed from front to back (like those bit-phoenix cases)
- Air pulled from left and right (Above and bellow MB) and out from front and back.
-2 large bays side by side (if these were super long drive bays, they'd go behind the motherboard instead of the front/bumping into the MB)
-1 floppy sized bay for 2 SSDS hot swap bay
-lastly an arduino to control the fans and display options with a 2 line LCD (already have this)
Anyway, let me know what you guys think.
I'm assuming a couple of things here, but the main thing I'm assuming is that you're intending to use acrylic. A couple of tips:
- If you want to screw into acrylic, sink a metal thread into it. That is to say, NEVER try to thread acrylic, it is simply too soft and will never hold. An example of where this would apply is in fixing motherboard stand-offs to an acrylic panel. Use threaded metal inserts and set them into the acrylic!
- Starting with a basic aluminium frame is often easier and lends itself well to strength and weight. You might think that adding an aluminium frame actually adds weight but if you just weld the acrylic panels together and want a sturdy case, you need to use quite thick acrylic which is both expensive and HEAVY.
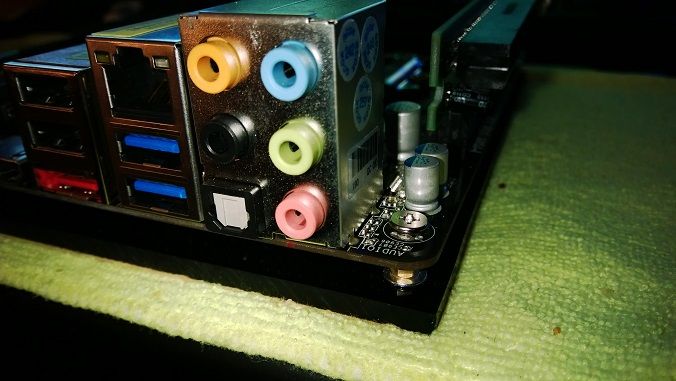
- Use an IO insert for the rear of your case. These are not expensive, are obviously perfectly set out and provide the strength necessary in mounting hardware. The challenge will be in modding this IO panel to vertically mount your GPU.
- Use existing case parts where possible. Sourcing a front IO panel, drive bays or even the rear panel (as suggested in the previous point) would be INVALUABLE to this sort of project.
I hope I've helped get your creative juices flowing. I'd love to see a picture of the final product! As a side note: Checkout some PC modding forums and build logs like Bit-Tech. You could also post this thread on their forums, you might get a better response on their site.
Good luck with your build
1 Like
Thanks for the info! Got any pointers for sinking in metal threads? I don't have a clue on how to do that. Also you'd be correct in assuming I was using acrylic.
Update:
So I see it can be done via rivets, anyone know what kind is needed for the mother board mount and what kind are needed for the case screws?
You can buy small prethreaded steel bits which can be set into place using a soldering iron. This melts the surrounding acrylic allowing for the thread to sink into the acrylic. Check out Parvum systems on Bit-tech. They are about the best of the best in terms of making custom acrylic PC cases.
So I got my threaded rivets and to my surprise, with a thin piece of plastic, it doesn't crack. Although I did make the hole slightly wider than the rivet pre-pressed.
The only thing that's now bugging me is how to fit all the components, particularly the power supply. An SFX power supply would do the job, but the wattage is low (if I don't want to over spend). Is there a third size that's has the best of both worlds?
Isn't that pretty much the RVZ01?
Not quite, if all the bays had removable front plates for drives, then it would be a little closer. All my HDs are in hot swap bays, none of my disks are screwed to the case.
The build I have in mind is a silent case with as single floppy sized bay and two large bays (2 large HDs, 2 small). Anyway.... I kind of got started on it. I'm approaching the build from the inside out and working out the details as I go.
Fracture: thanks for the pointer on using threaded inserts (rivets in my case). The inserts made it easy to screw things in.
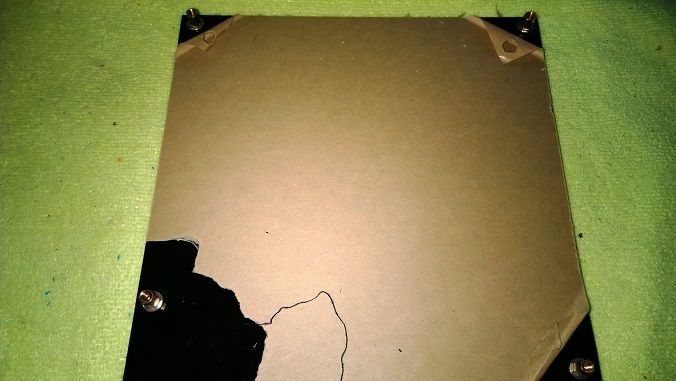
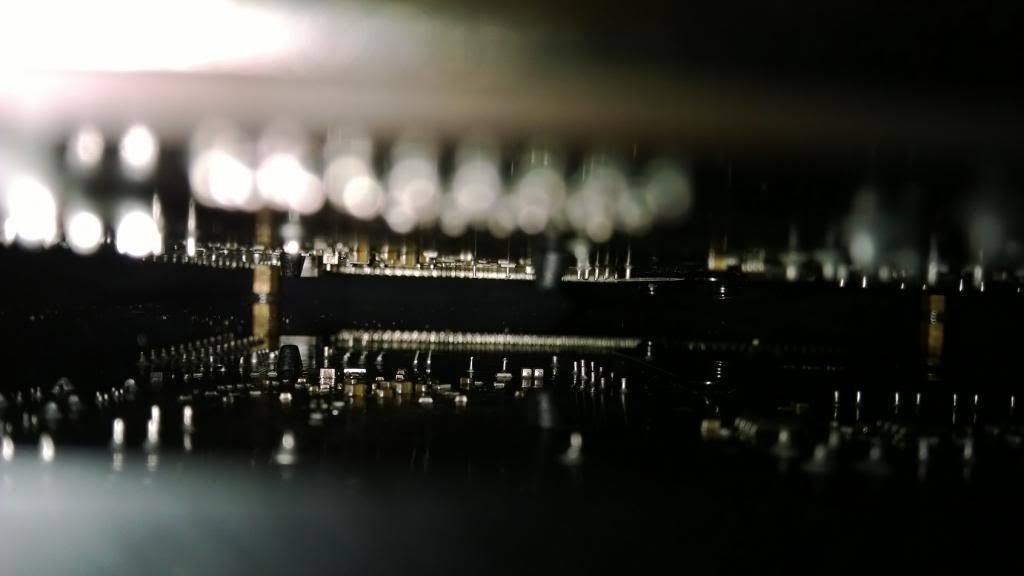
I also noticed something interesting when looking in the gap between the board and plastic; You almost can't tell which is the reflection:
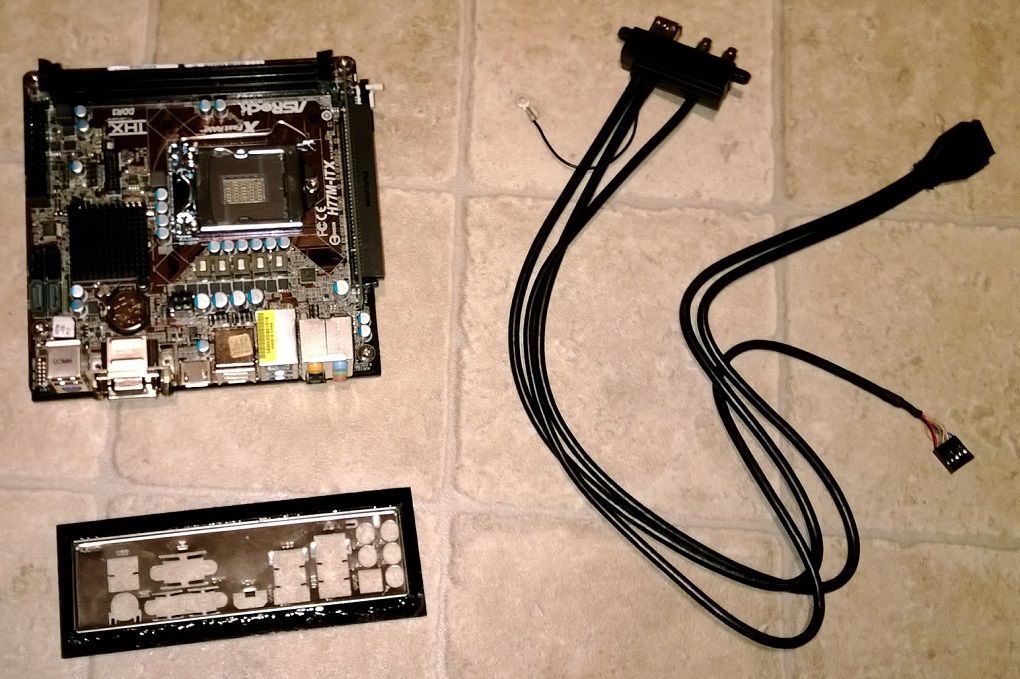
So far I got the frame of the back plate (still needs a little sanding), front IO cables and the motherboard tray out of the way. Anyway, I'm all ears to recommendations as I go. I'm aiming to get the basic skeleton out of the way next. I'm thinking of a slide back design instead of side panel opening design.
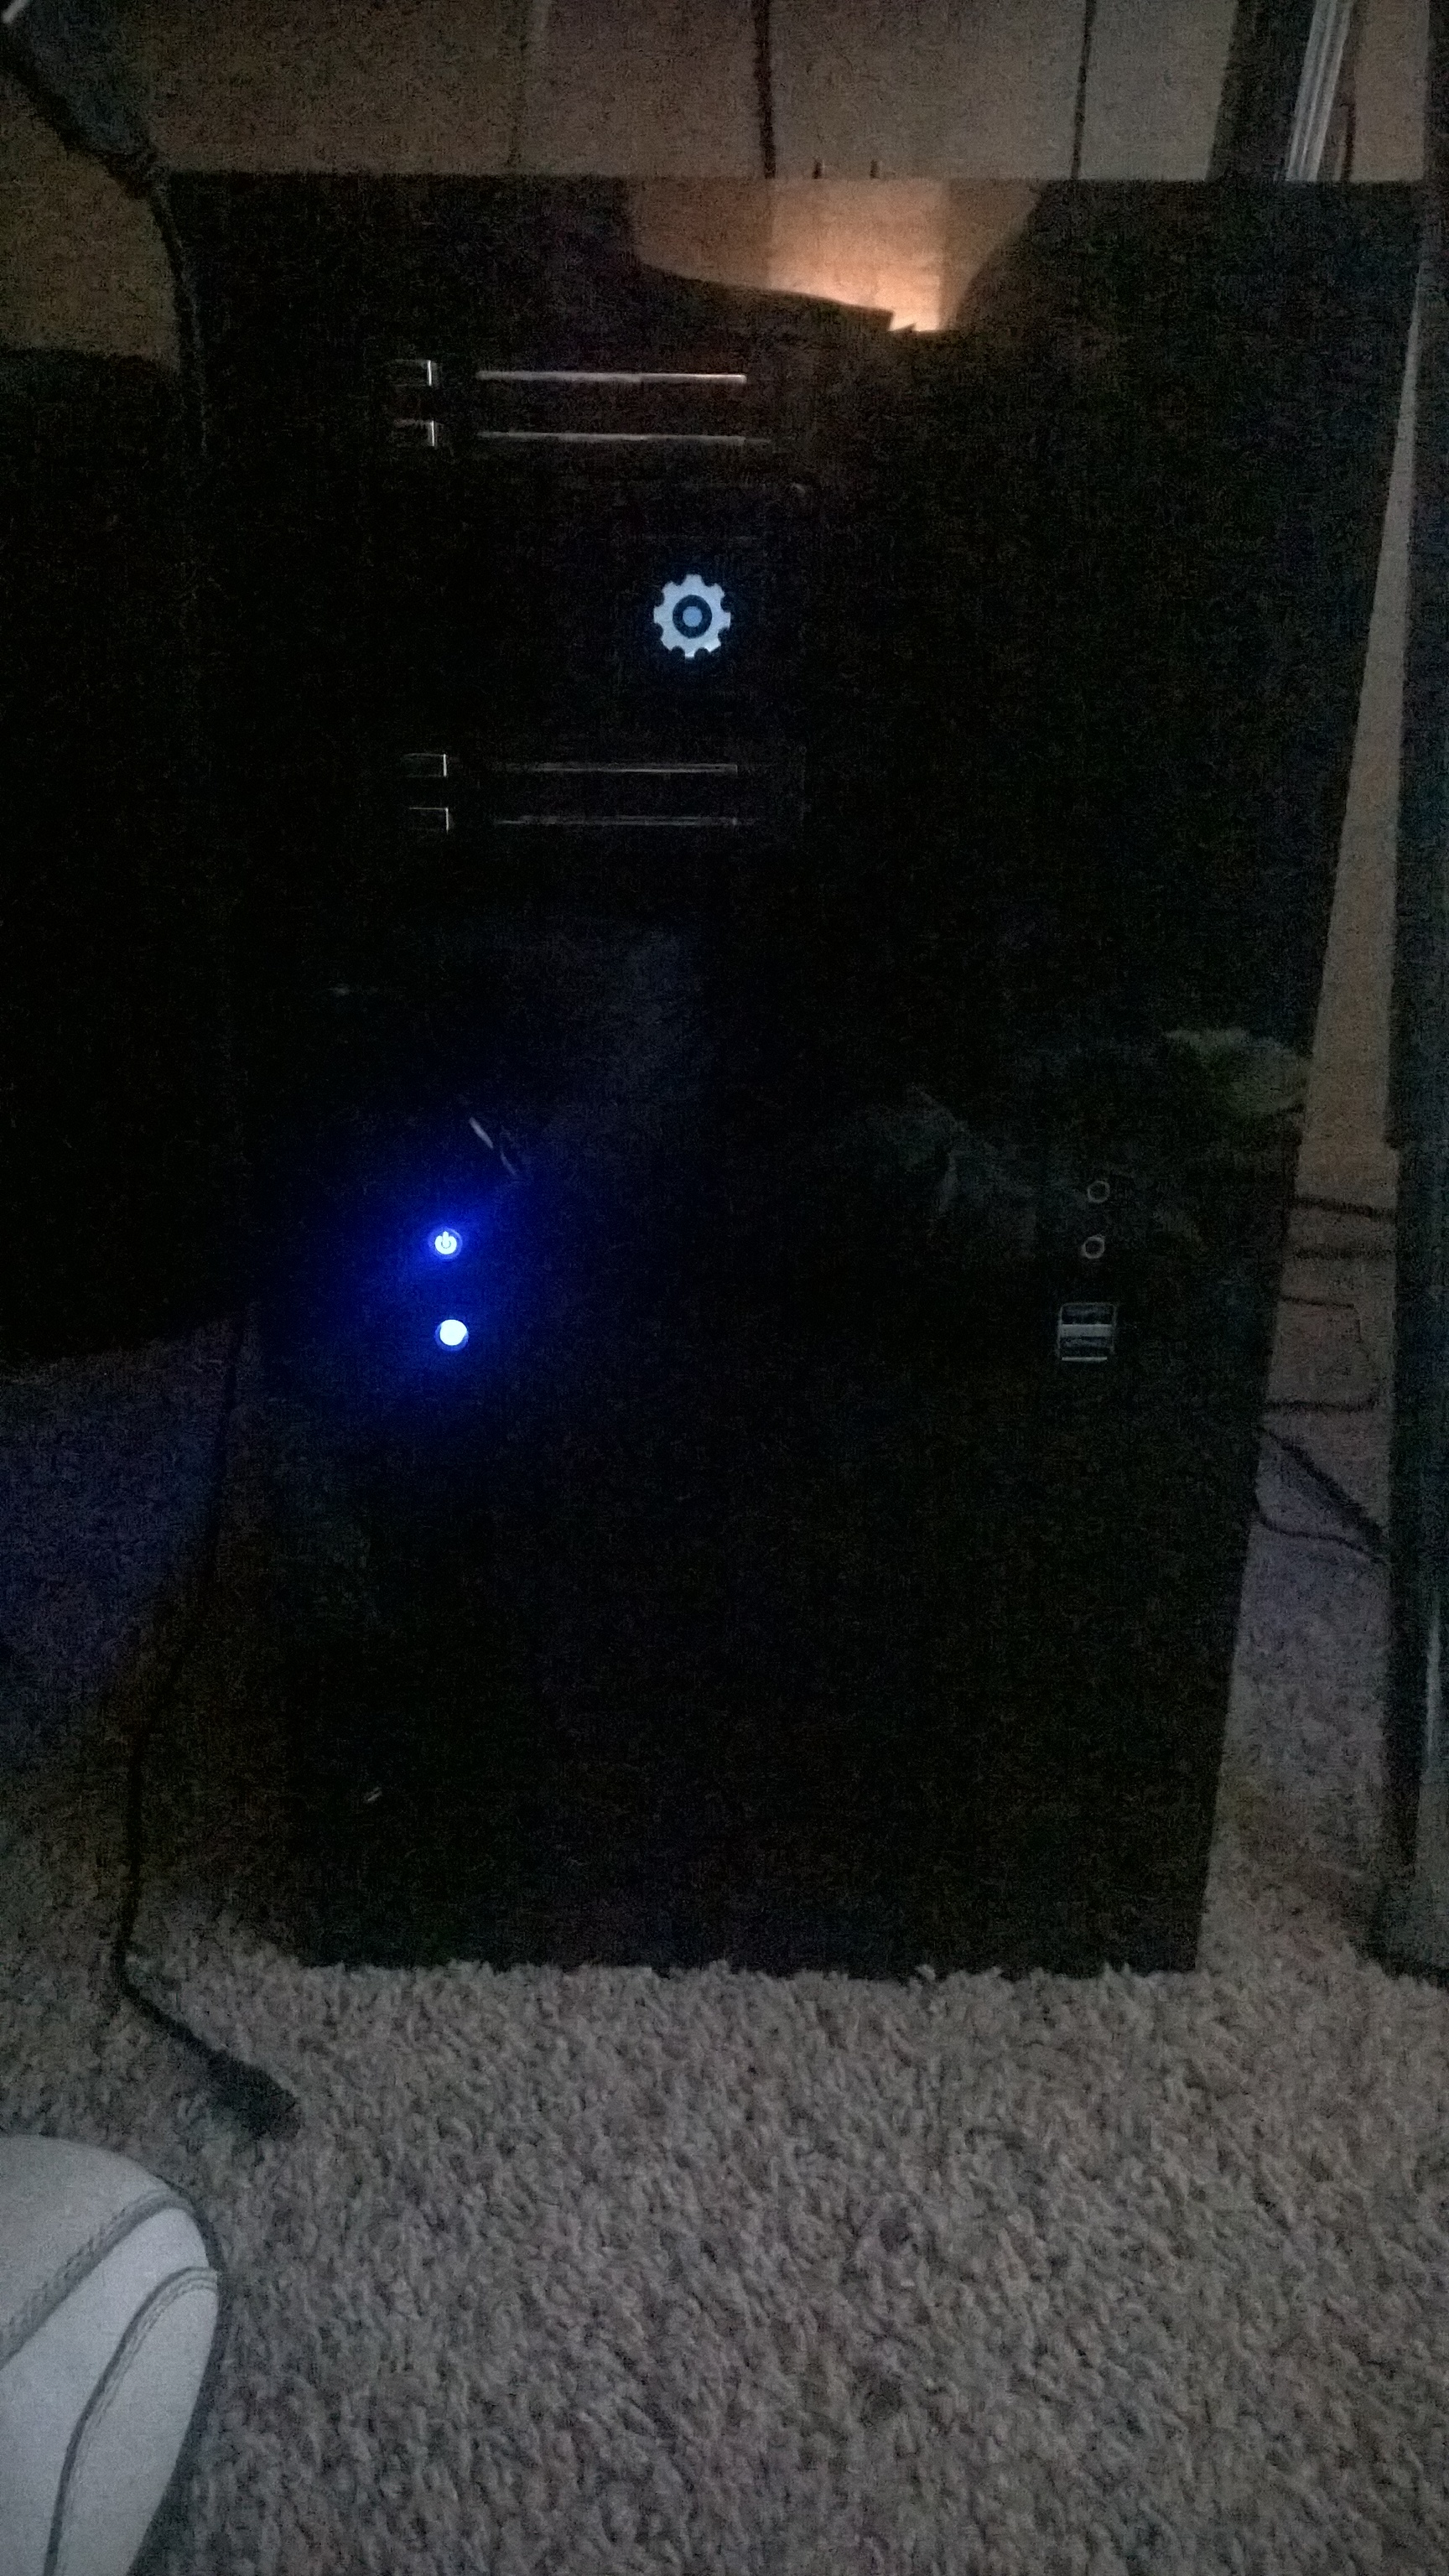
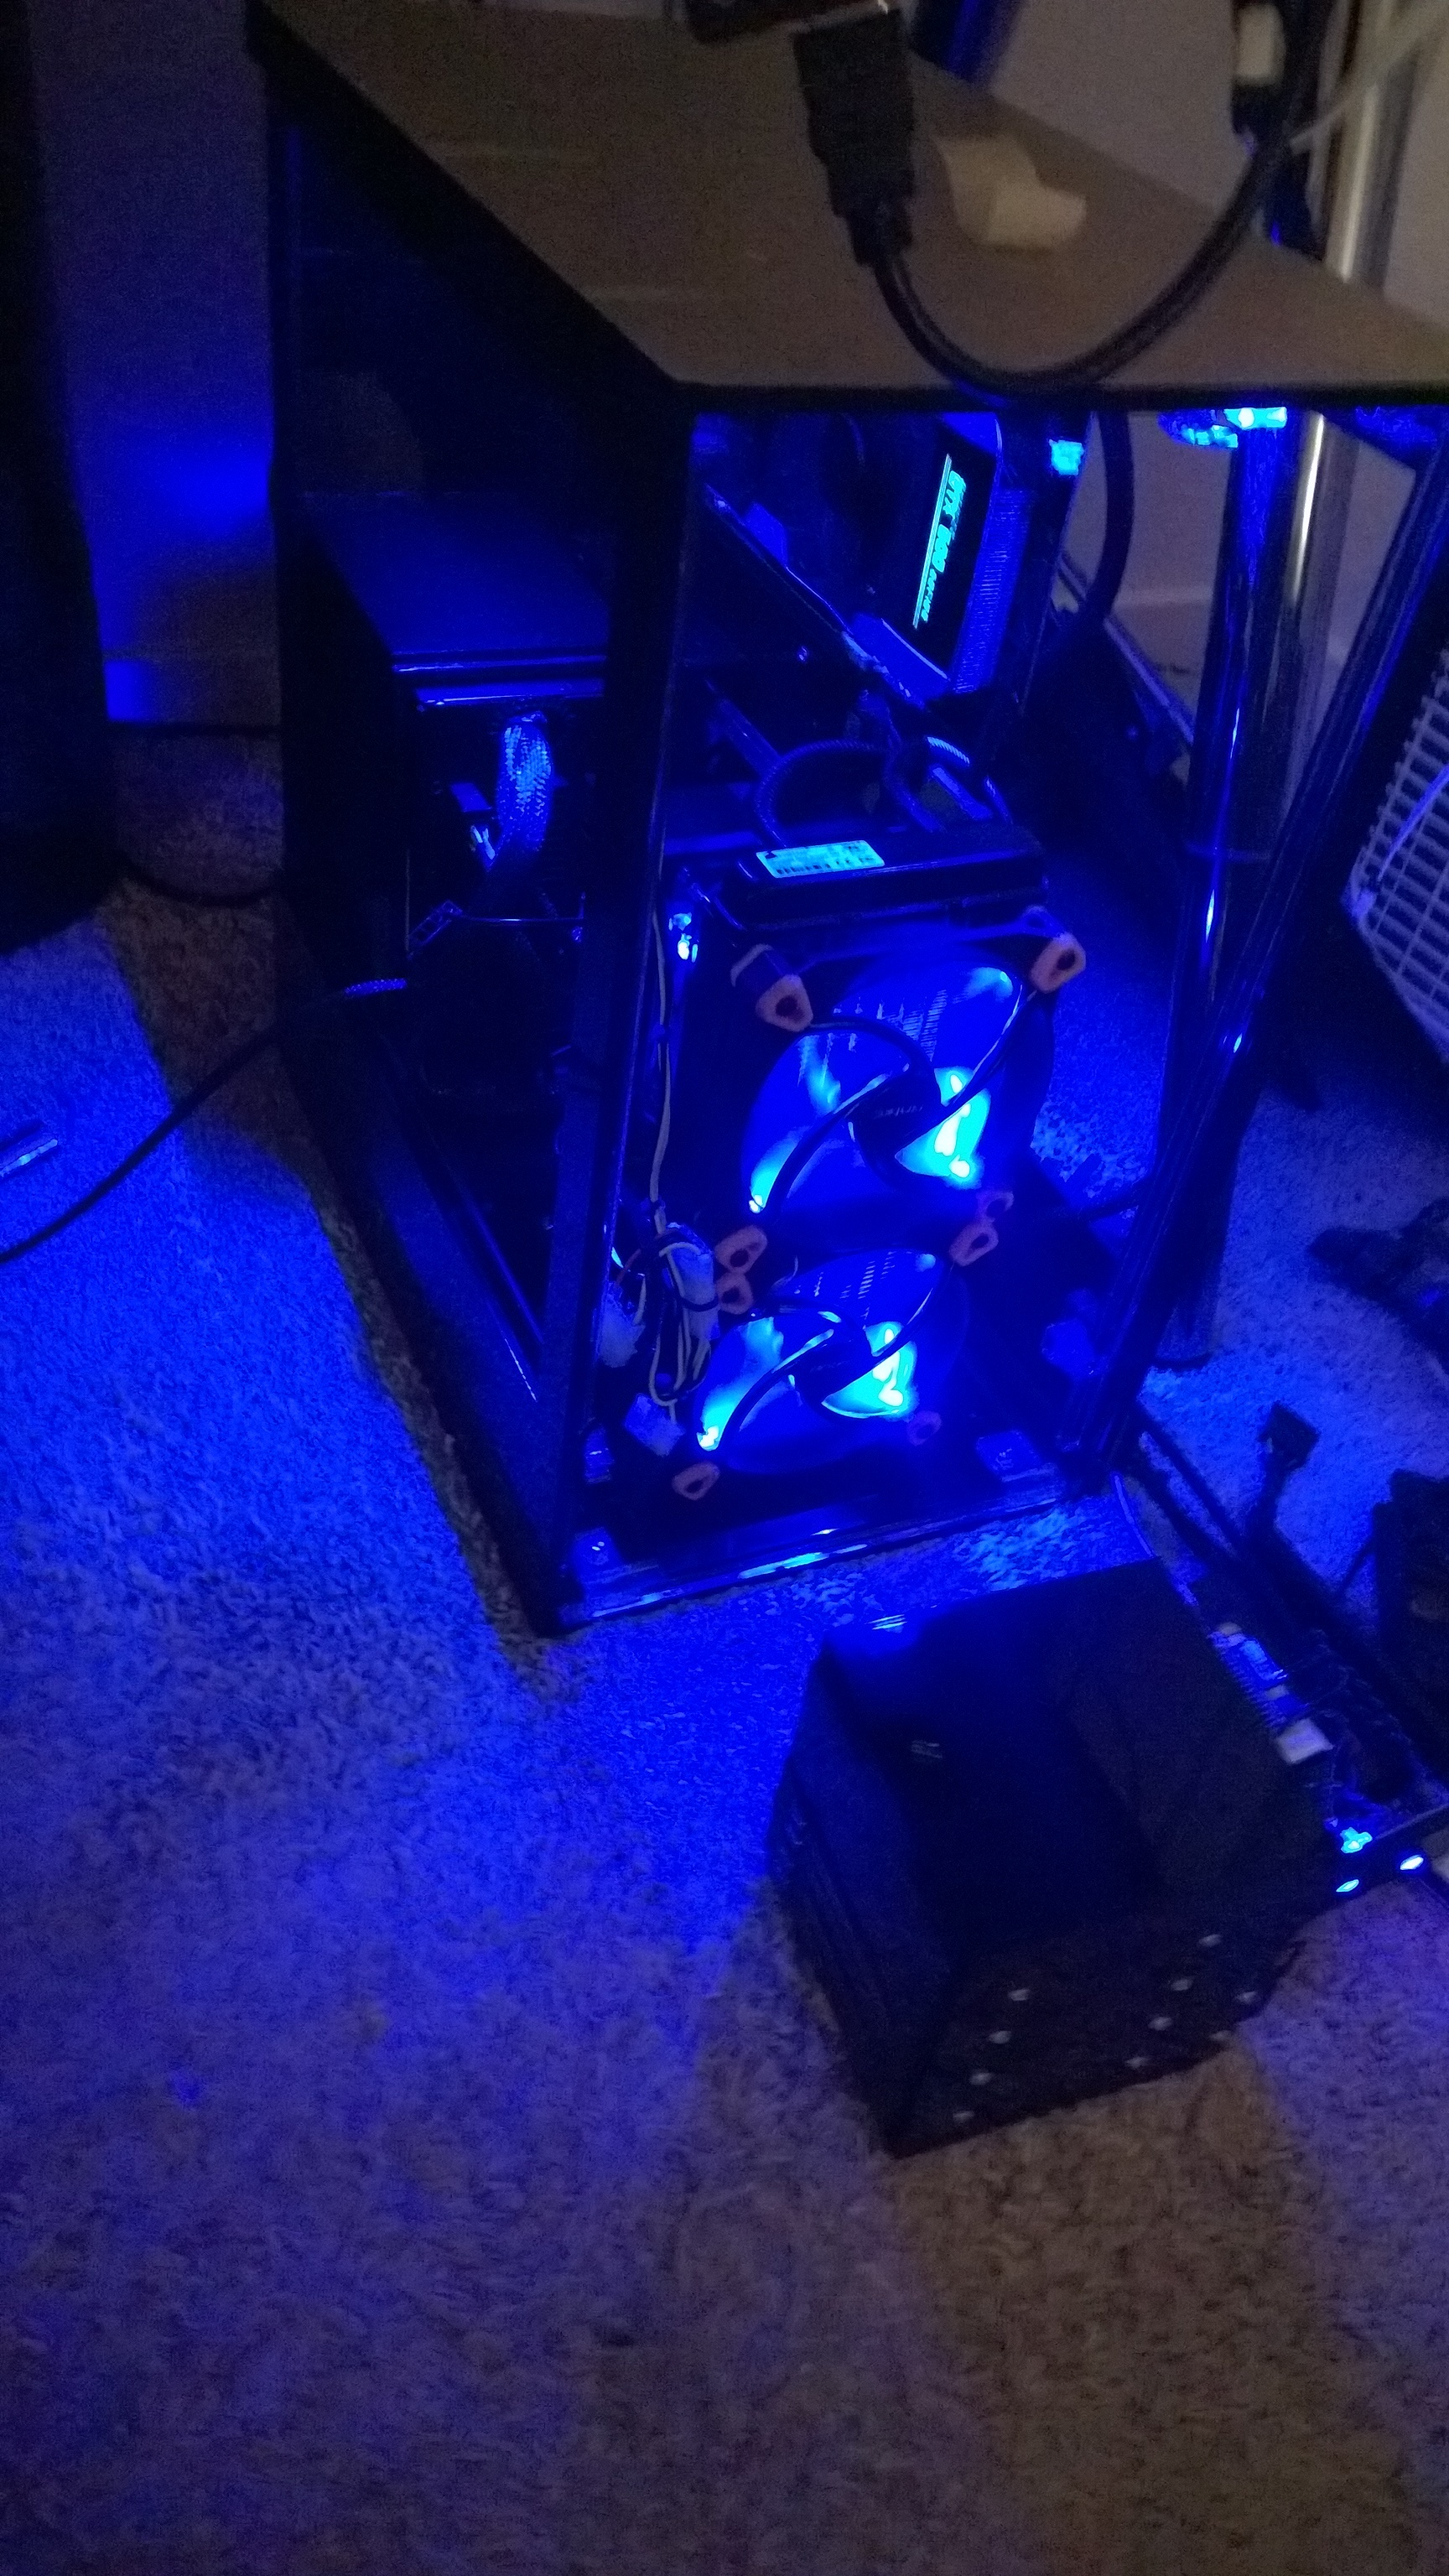
So I'm pretty much done with V1.0 of the case and working on V2.0 of the case. (sorry for not posting as I built it) Here's a few pictures of an upcoming post where I show the progress of the build.
As for lessons learned:
- Stick to 1/4+ thick sheets (especially edge to edge glued joints) anything thinner will eventually snap off
- The Gel-like acrylic glue is the strongest but oozes on the edges and produces thin gaps between surfaces
- Tip: use masking tape and a business card to scrape off the excess glue
- Never rivet acrylic close to the edge or thinner than 1/4
- The strongest way to add threading to an acrylic build is to get 2 sheets of 1/16 and 1 sheet of 1/8; file out the shape of a metal nut and glue the three layers together (liquid acrylic cement works best in this case).
- CON: you're going to notice on the edge that it's made of 3 layers as the glue produce a white lining
- Use liquid acrylic cement for little to no gaps between joints.
- FYI: This glue uses the capillary effect to distribute across both surfaces. Your going to need a super thin needled bottle or anything that can control flow or it'll go everywhere . (Tap Plastics sells those)
- Your going to need a laser cutter or table router to get perfect edges
- For sharp edge it's better glue panels together and follow it up with a routing rather than try to perfectly match them up from the start.