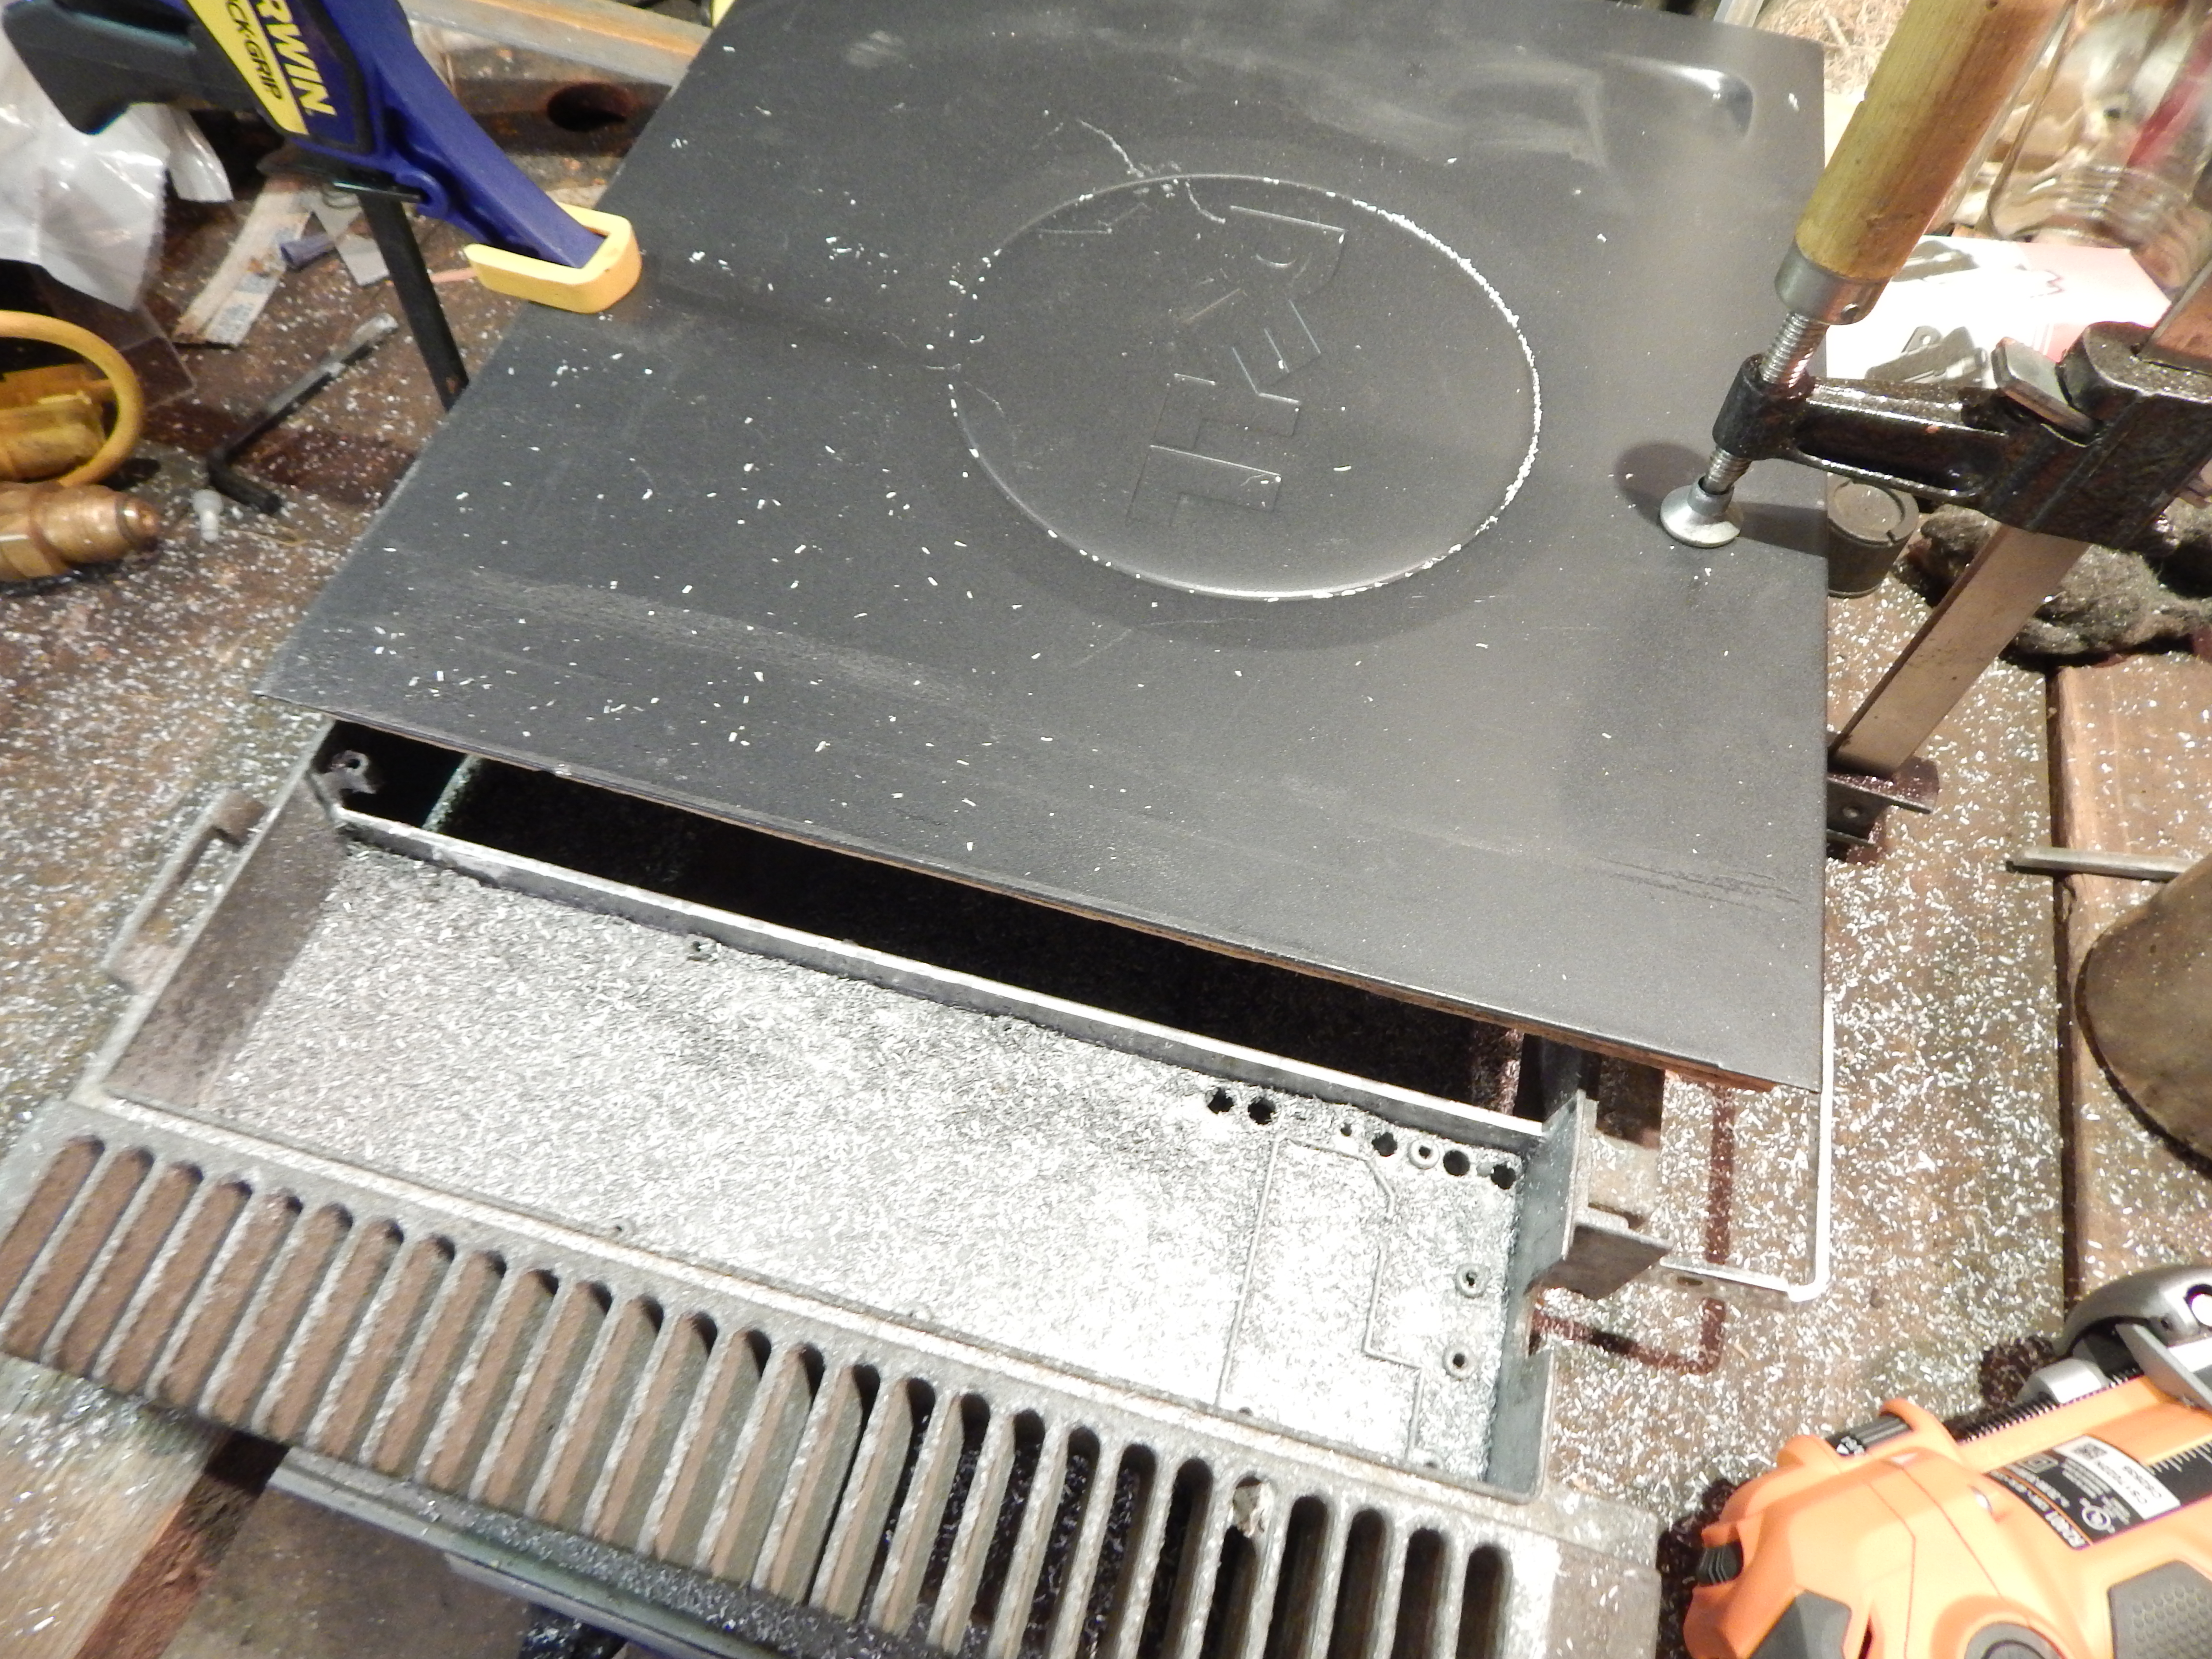
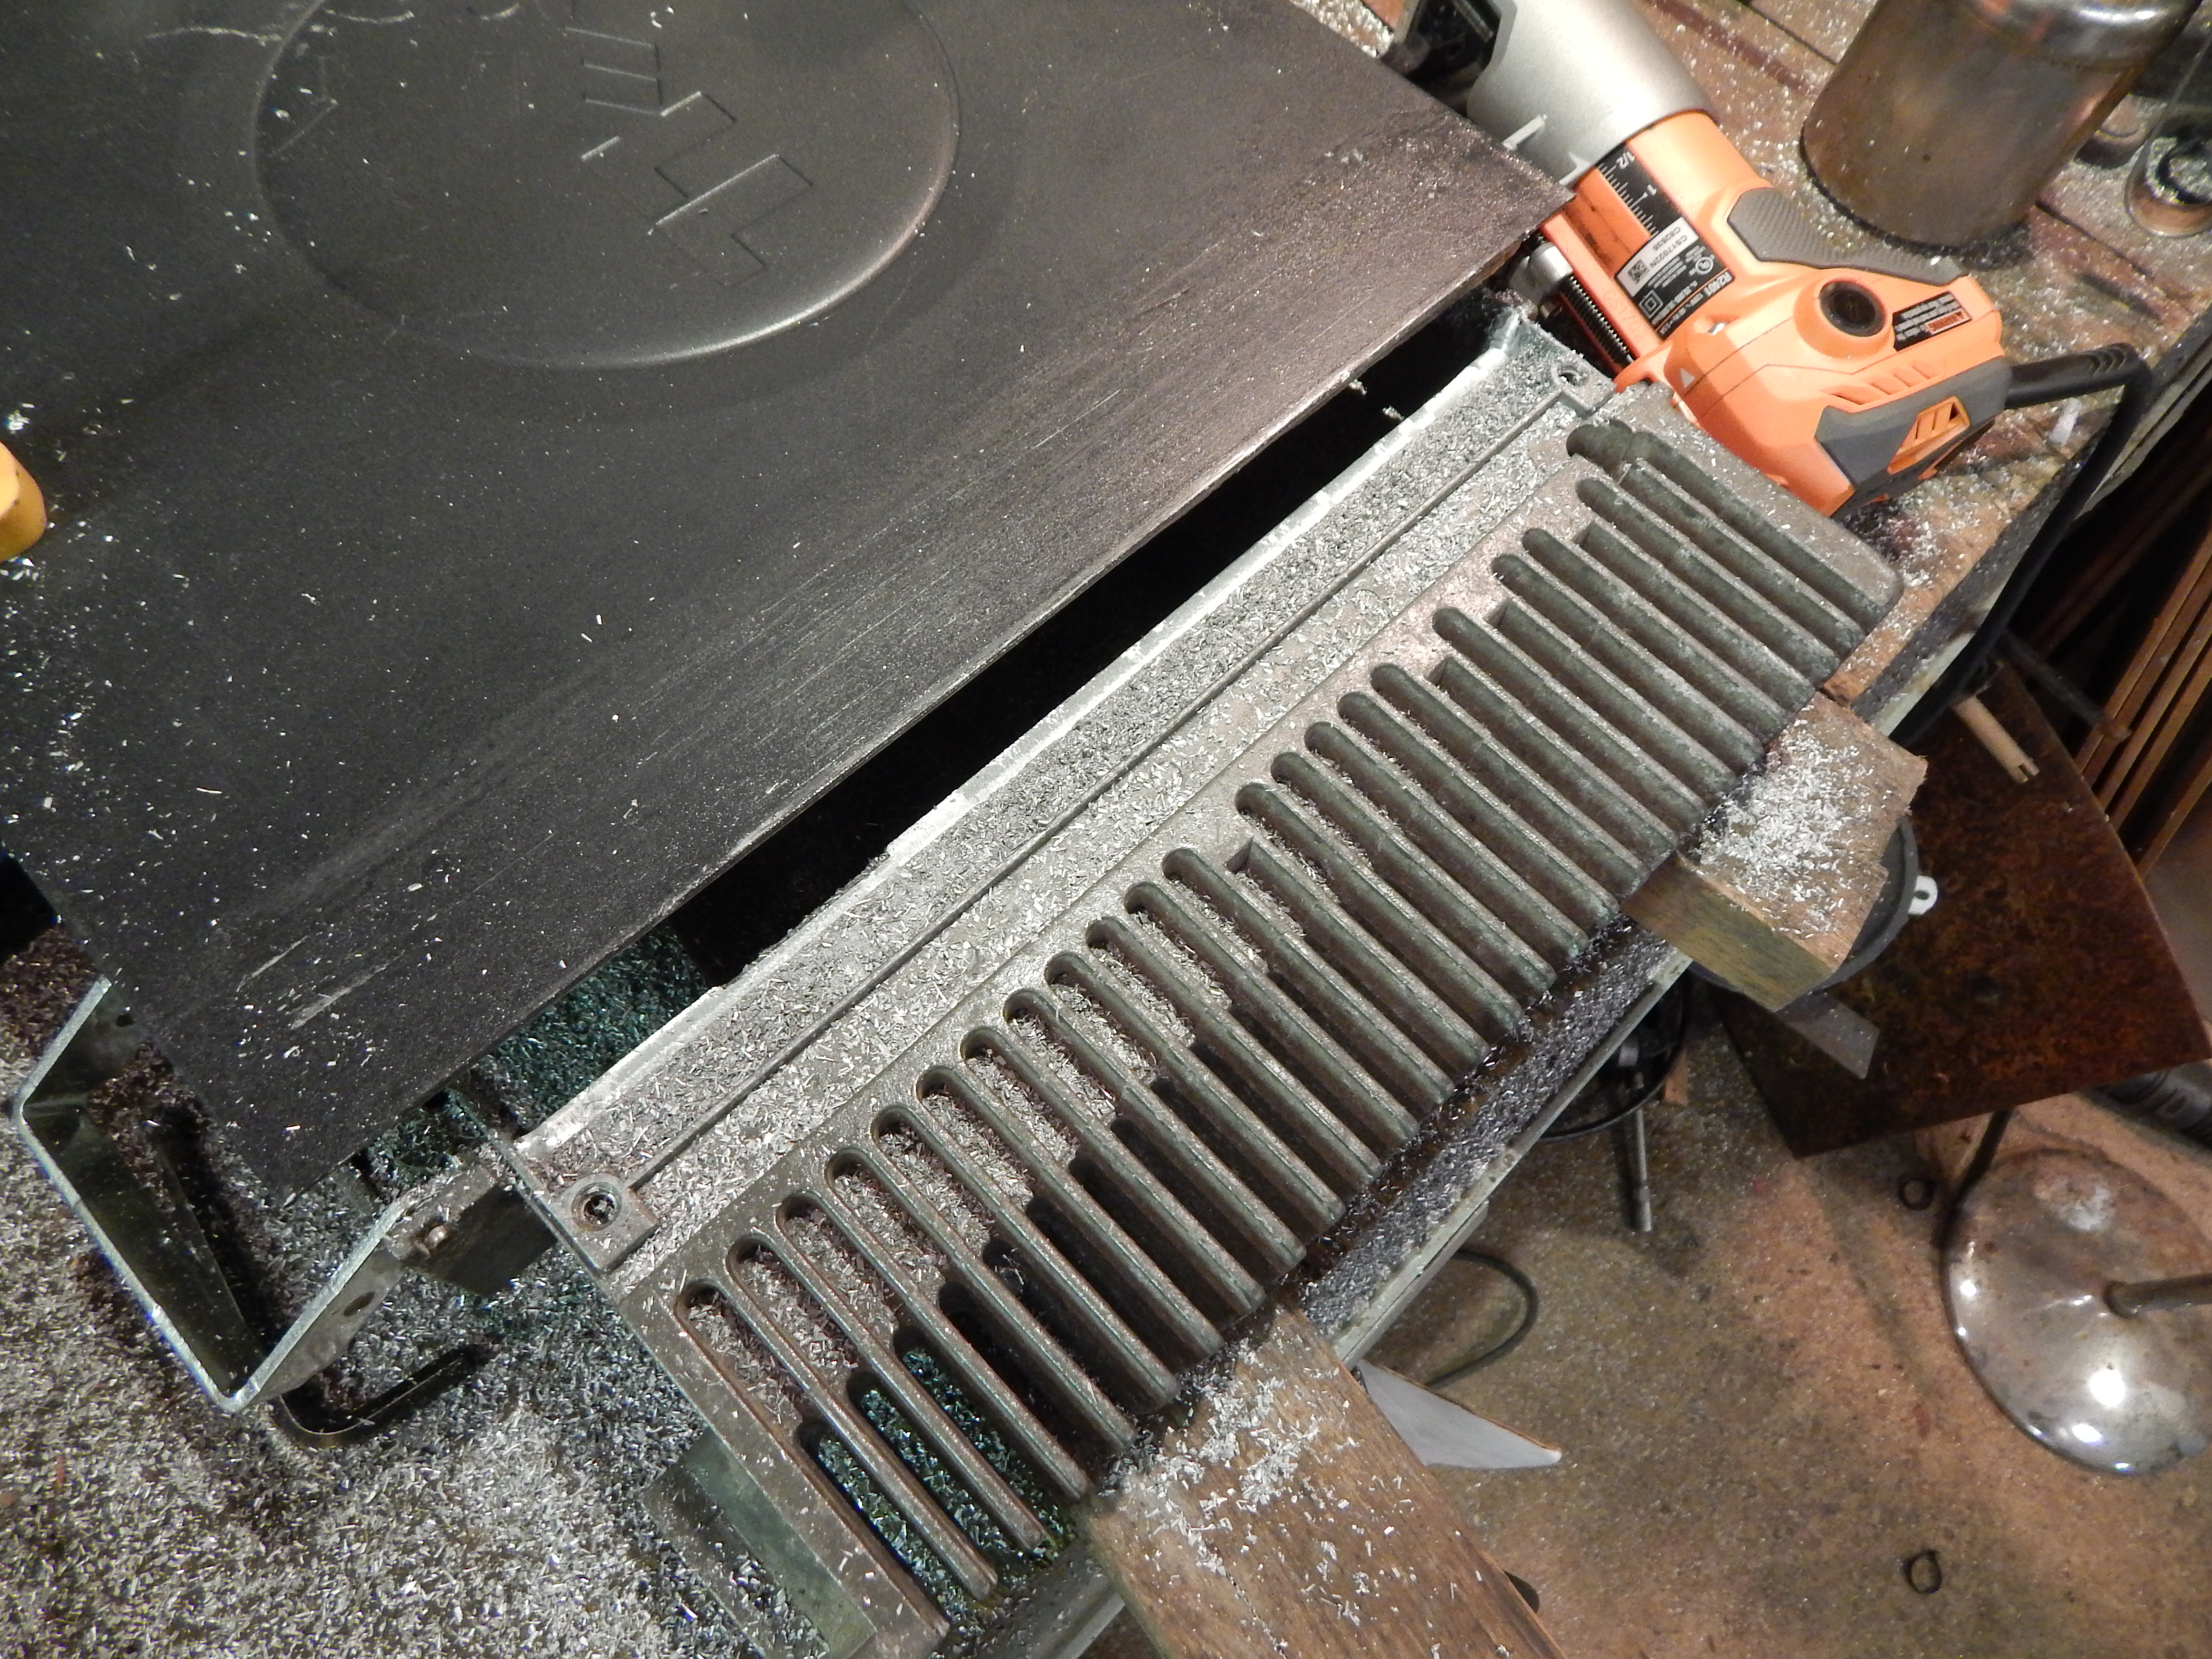
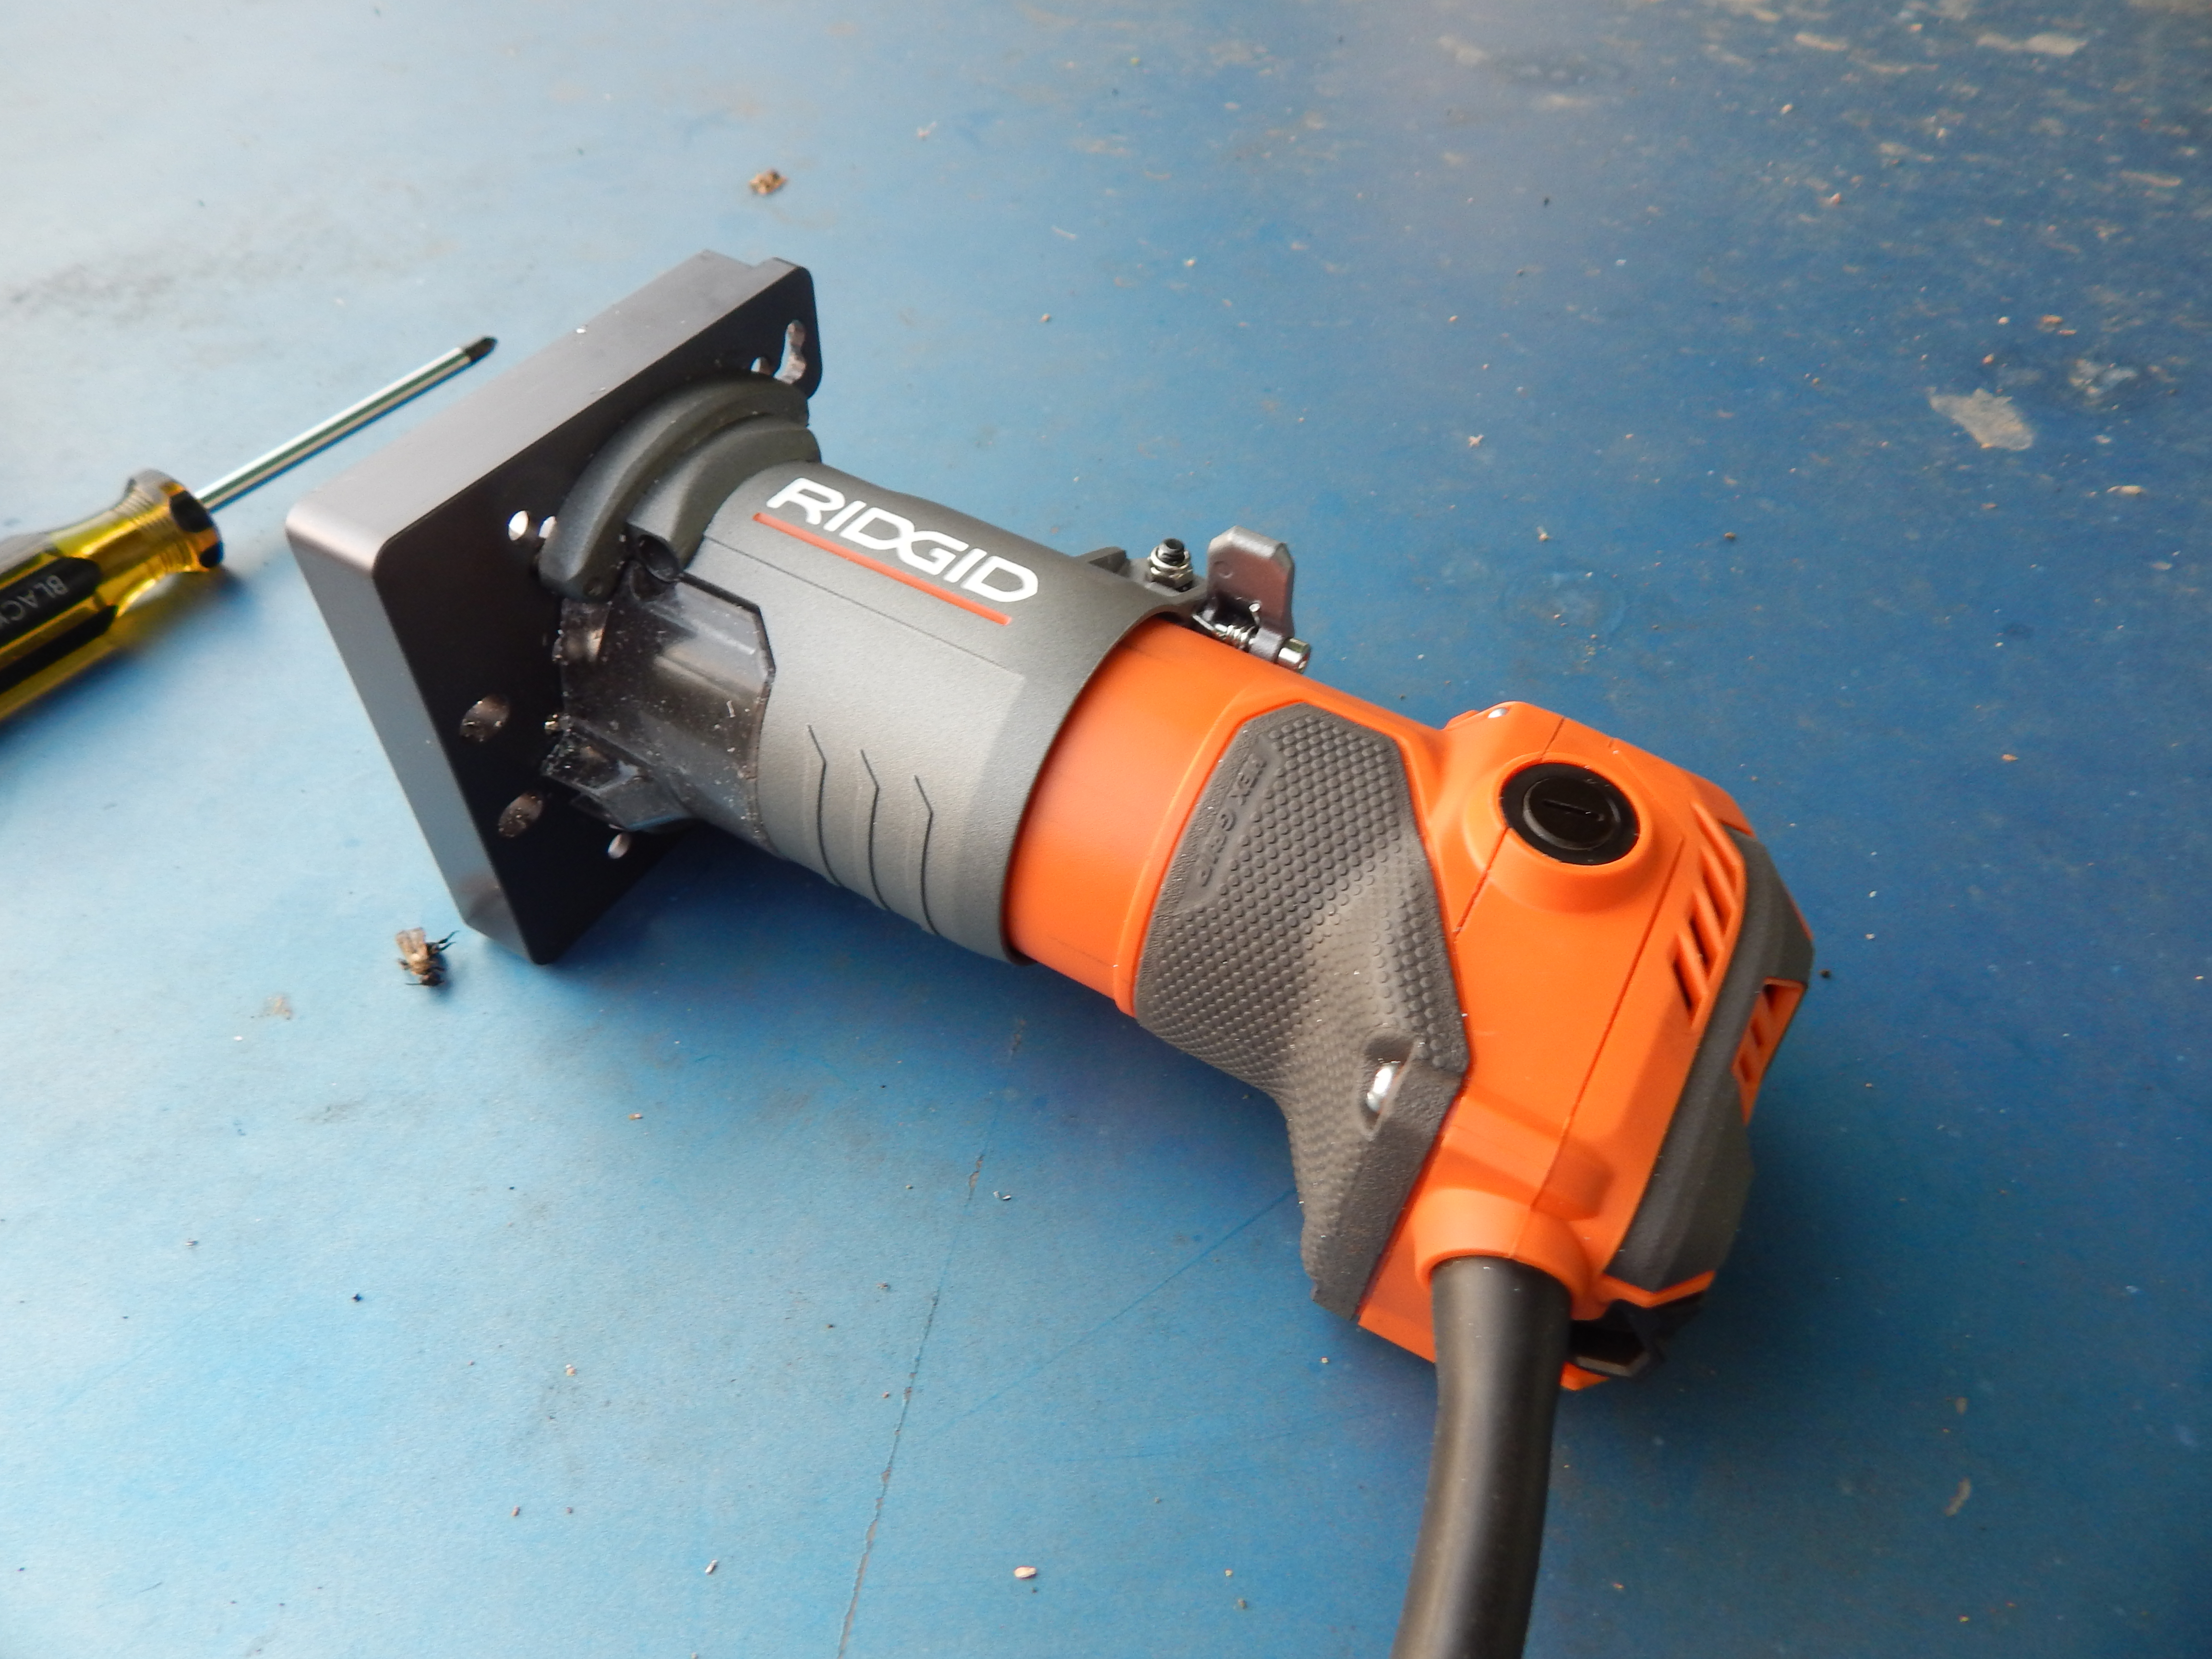
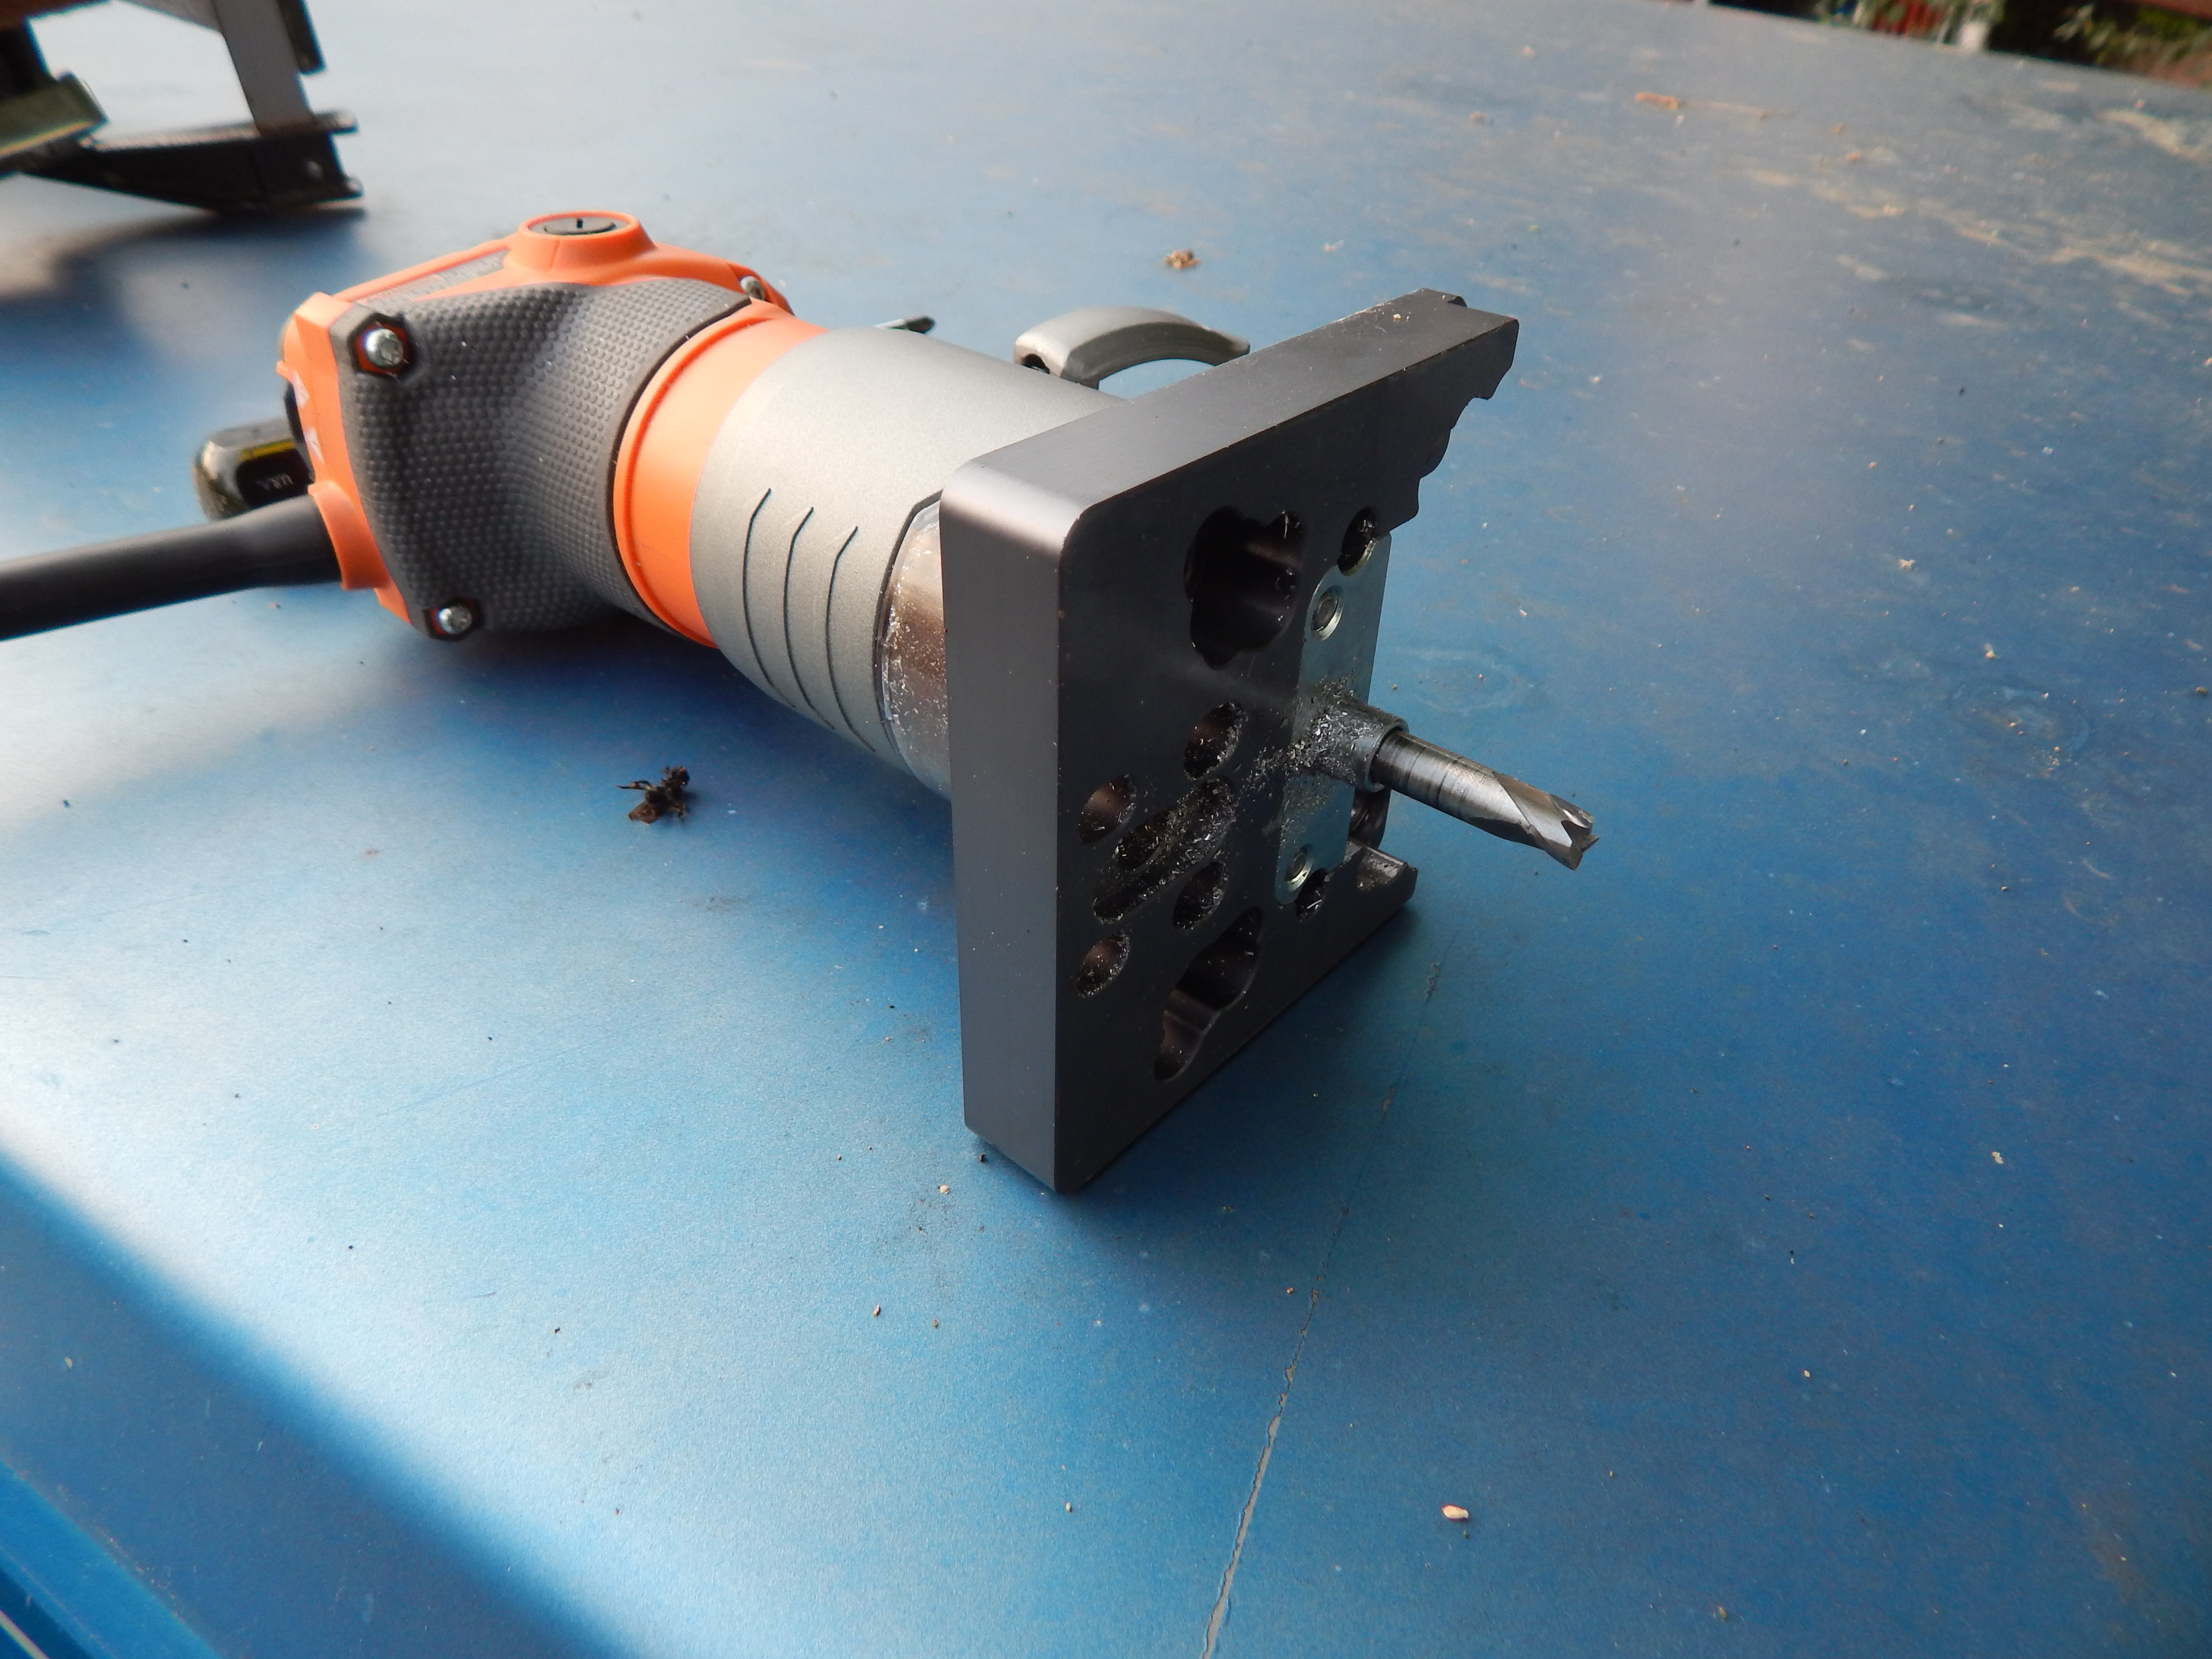
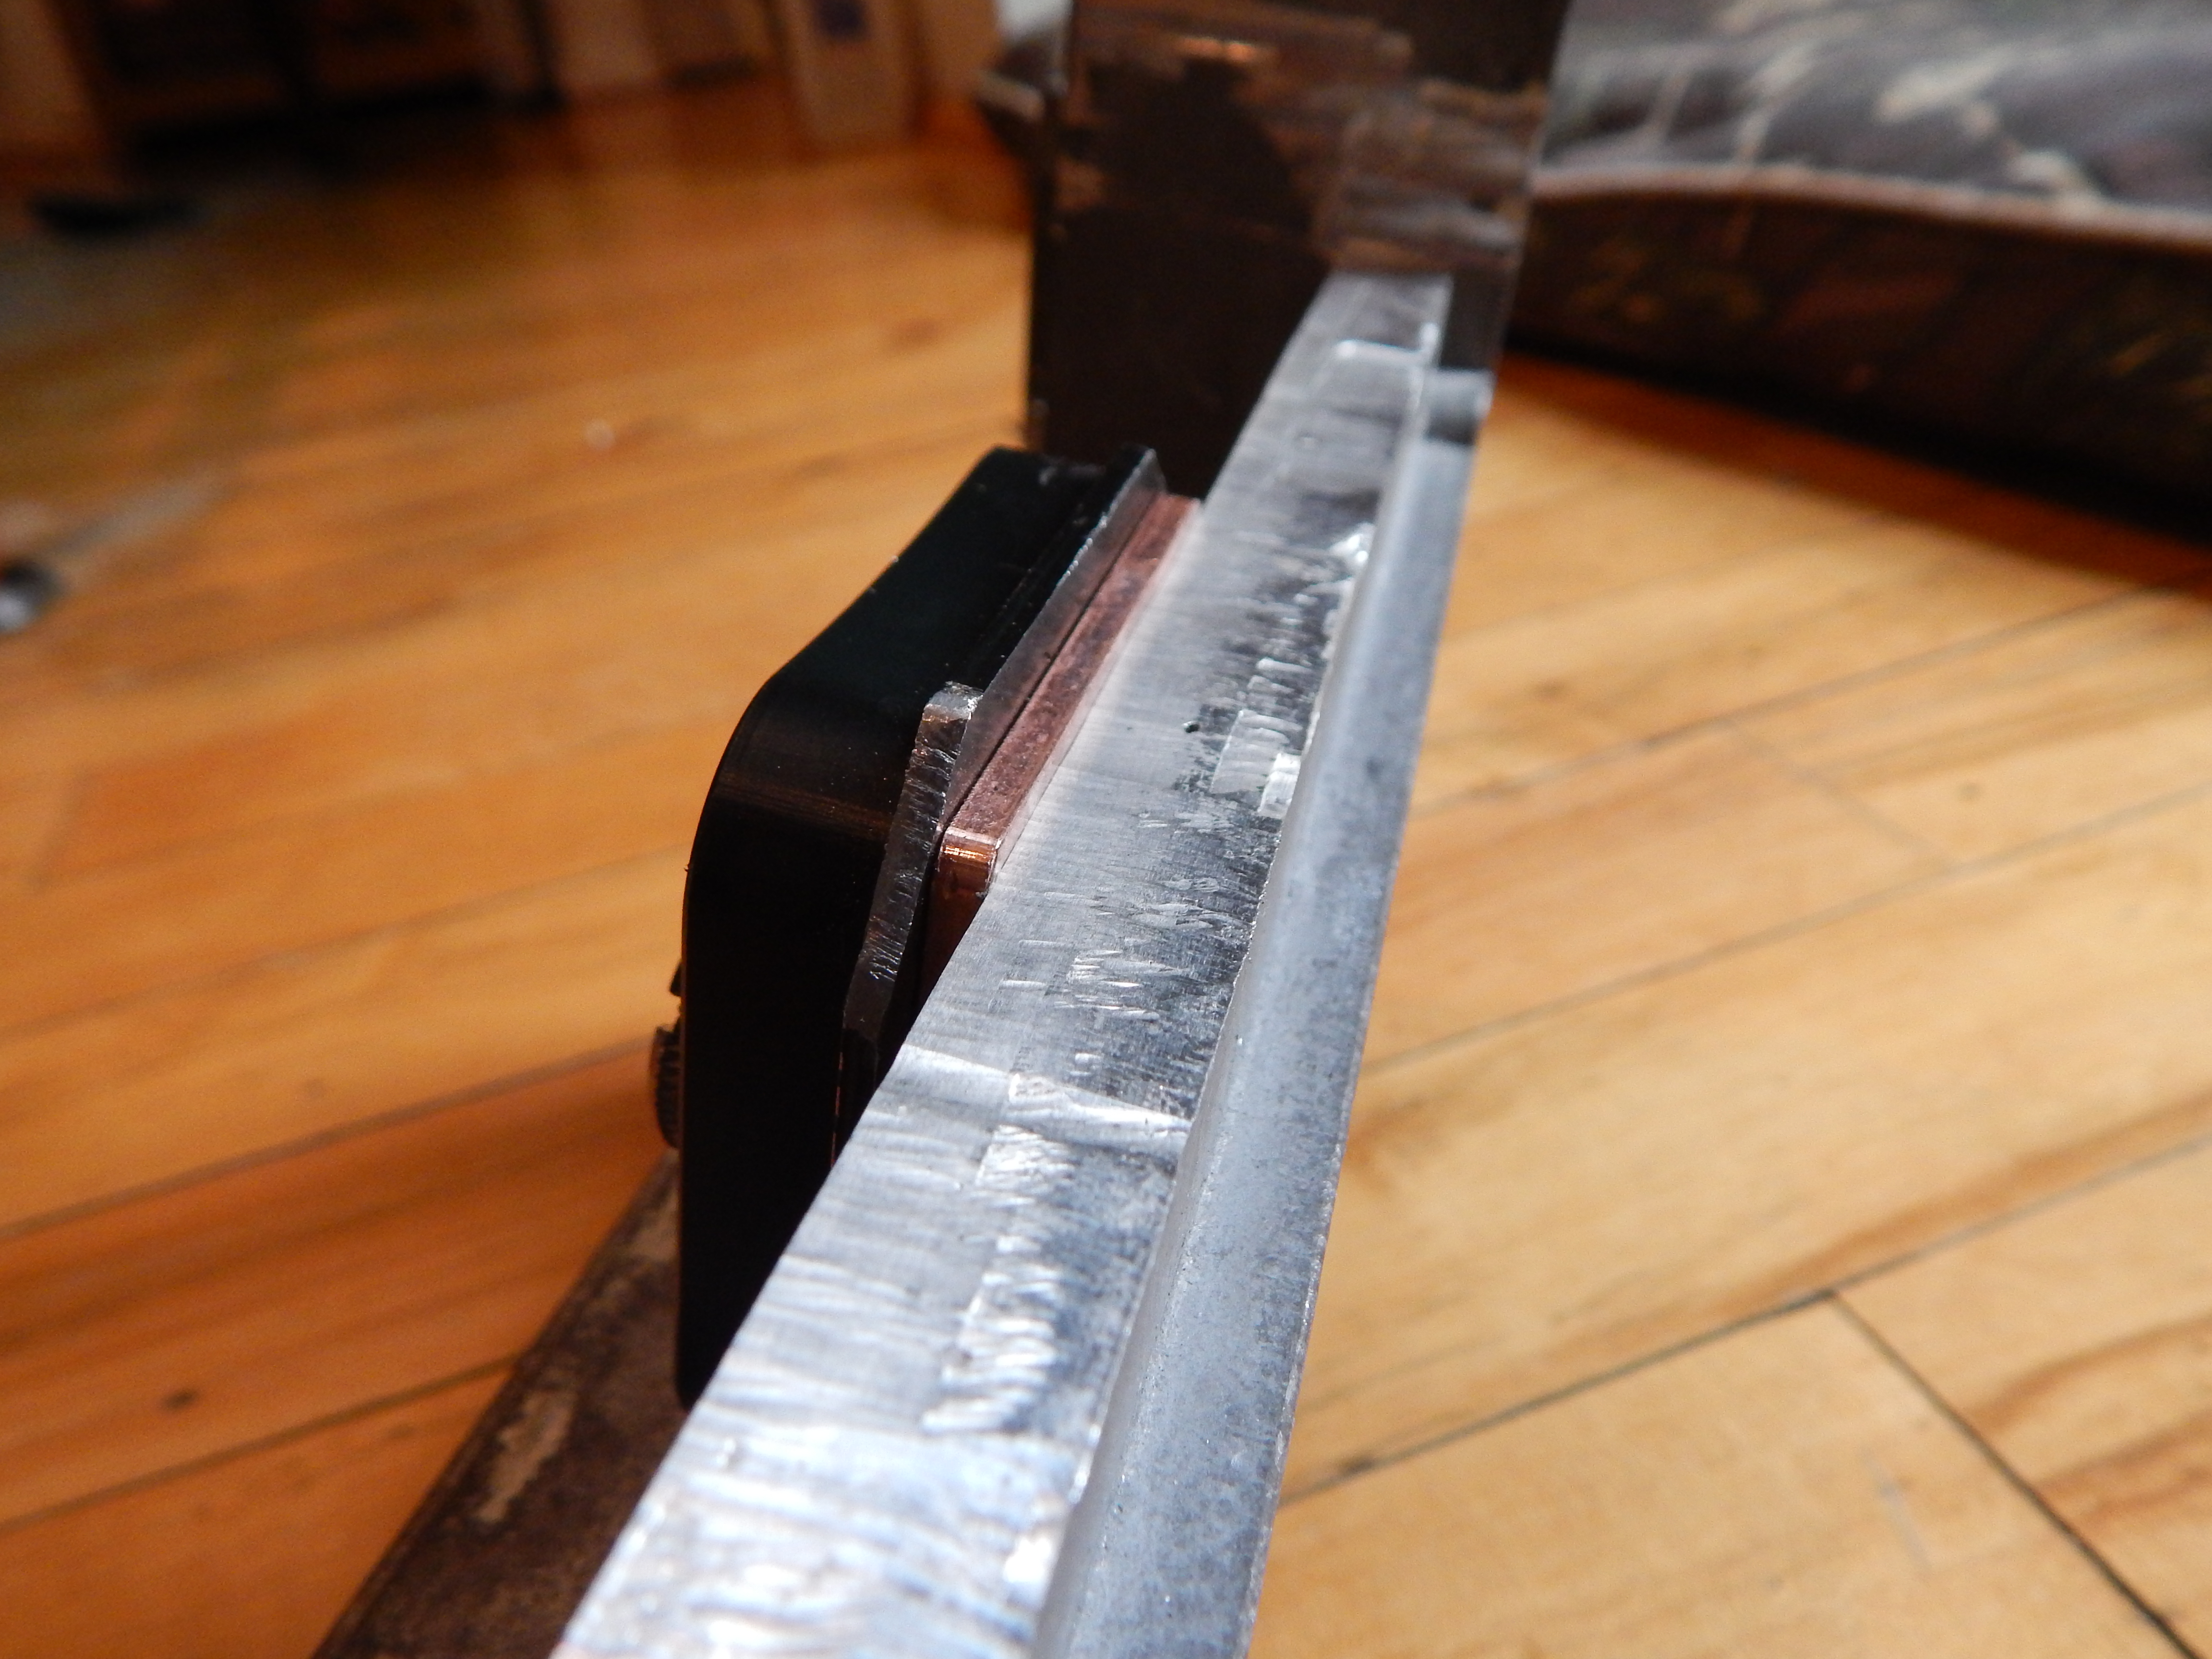
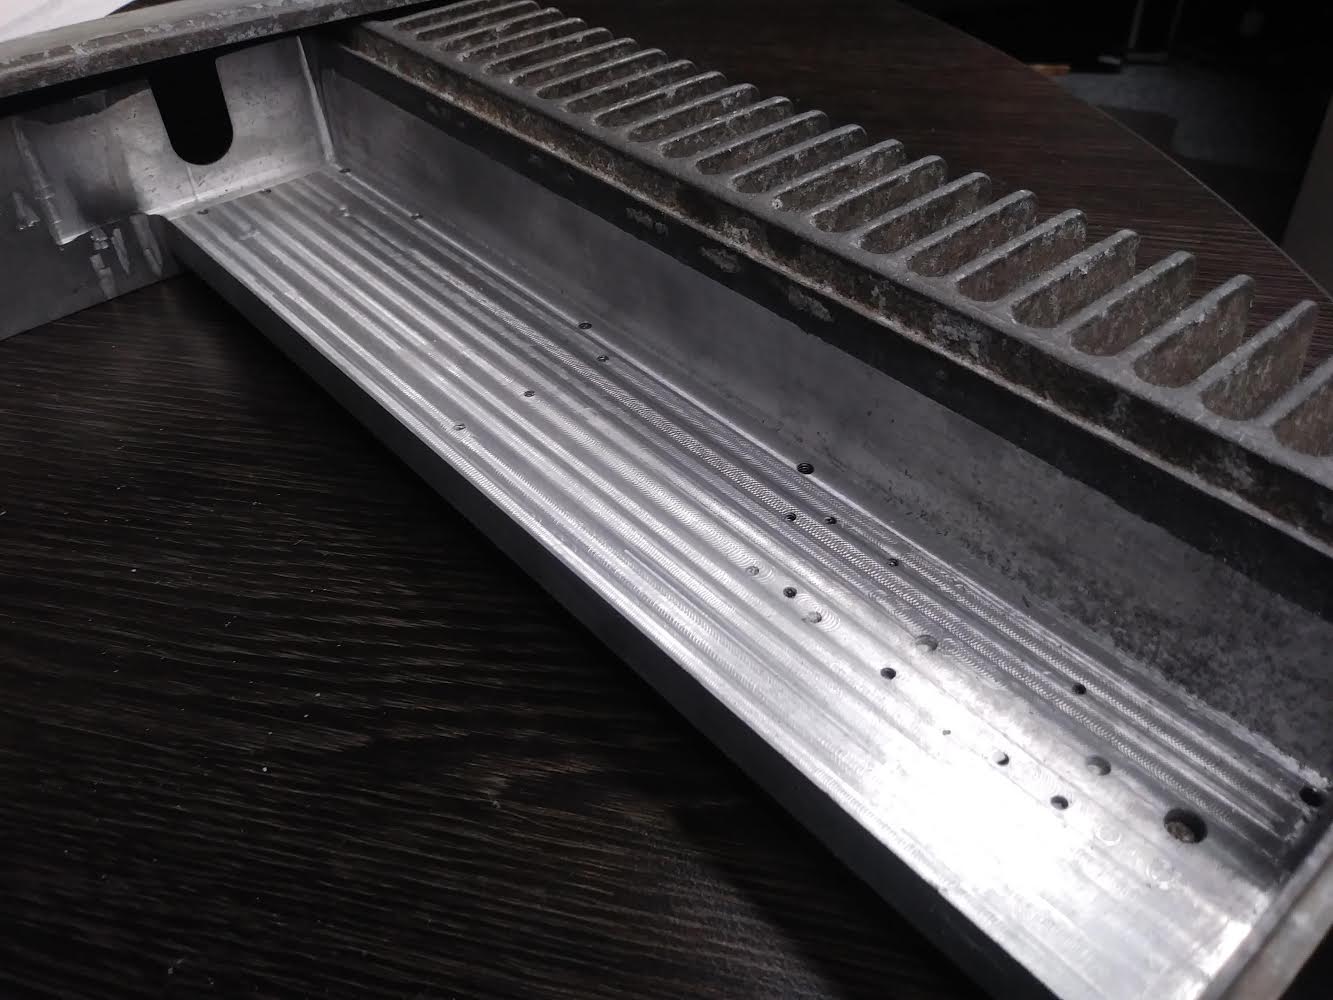
Pretty janky way to do milling, I suppose. I used the old dell side cover with a piece of plywood underneath as a sort of jig to follow. Was using this router with a 5/16 endmill:
So tomorrow I think I will try to stop at a metalworking place on my way home from work to see how much it will be for them to do some finishing work. Mainly clean up my horrible milling job, level and square stuff, do the same to the second case if it’s repairable, and then media blast them both.
Well, I stopped by the metal shop on my way to work on Friday (no one’s there after five go figure). As soon as I mentioned the material might be magnesium he was immediately very wary of doing any work with it. I was reading (even before bringing it there) that doing any type of work on magnesium (milling, welding, whatever) is quite dangerous. Magnesium is actually very, very flammable and unstable. I remember my dad telling me a story when I was a kid of when he was a fire fighter and they had a car fire. The engine was magnesium, and they dumped 500 gallons of water on it and it only got exponentially worse. They had to call in a dump truck full of sand and smother it to put it out.
Anywho, the good news is I am about 99% sure these aren’t actually made of magnesium. I just put a handful of the shavings from my milling work and tried to light it on fire with a blow torch. Didn’t do anything. Therefore, I am pretty sure it’s plain old aluminum.
While talking with the metal shop guy he showed me an example of aluminum that had been sandblasted. It was very rough. He said the better option would be bead blasting, and they didn’t do that there. His brother works at a different metal shop in the area, and he may be able to do the mill work and he also might have a bead blaster.
Now that I know it isn’t magnesium that makes everything easier. People I ask for work aren’t going to be scared.
Magnesium does that, but Aluminium motor blocks can do something similar. Both metals burn hot enough to break the water down to hydrogen and oxygen wich then reignite on the burning metal.
No fun.
I hope you find someone who can do the machining. I want this to succeed.
Aluminum is not flammable in the way that magnesium is though. When you said the casing was heavy I thought aluminum outright. Magnesium is significantly lighter.
Yeah, I’m glad it’s not magnesium. Just would have made this project so much harder.
I’m pretty sure I could do the milling on the second case myself, but it was just so much work. Took me probably three or four hours to get the first case to the point it’s at. Someone with an actual mill could probably bang it out in 20 minutes. And actually make everything square and level.
I’ll be looking into it this week.
If anyone can find an aluminum CPU block that is also sort of cheap and preferably not from China (not ali express) that would be fantastic. I got a super cheap copper CPU block off Amazon with the intention of just using it to prove that this will work. Also maybe aluminum G1/4 barb fittings. The really frustrating thing is the heat exchangers use 5/16 ID tubing, so I will have to use two different hose sizes.
Would it be possible to use copper heat exchangers, instead of aluminum? I plan on cerakoting the entire case, possibly including the area the heat exchangers will mount to. Copper in contact with aluminum with TIM between them, would that be a problem? Isn’t the cerakote sort of heat conductive?
You can use copper. The key is to not mix metals within the loop. Since the liquid won’t actually touch the aluminum housing you can use copper heat exchangers (as long as the CPU block is also copper).
That’s what I figured. I have an idea for copper heat exchangers and the copper CPU block. I need to do some more planning and make sure it will work the way I hope it will. If it does work it’ll be pretty cool pun intended.
I did stop by the other machine shop and had the guy take a quick look. I could do the milling, but had a lead time of 5 to 6 weeks and would charge $300 to $400 to do the work on the two cases. So that option is no good.
My dad has a lead on another place where he has some metal cases made for a side job he does. He’ll bring my cases there when he picks them up this week or next to see what they can do. Otherwise it looks like I will be doing the milling on the second case after all. I will have to come up with a better jig.
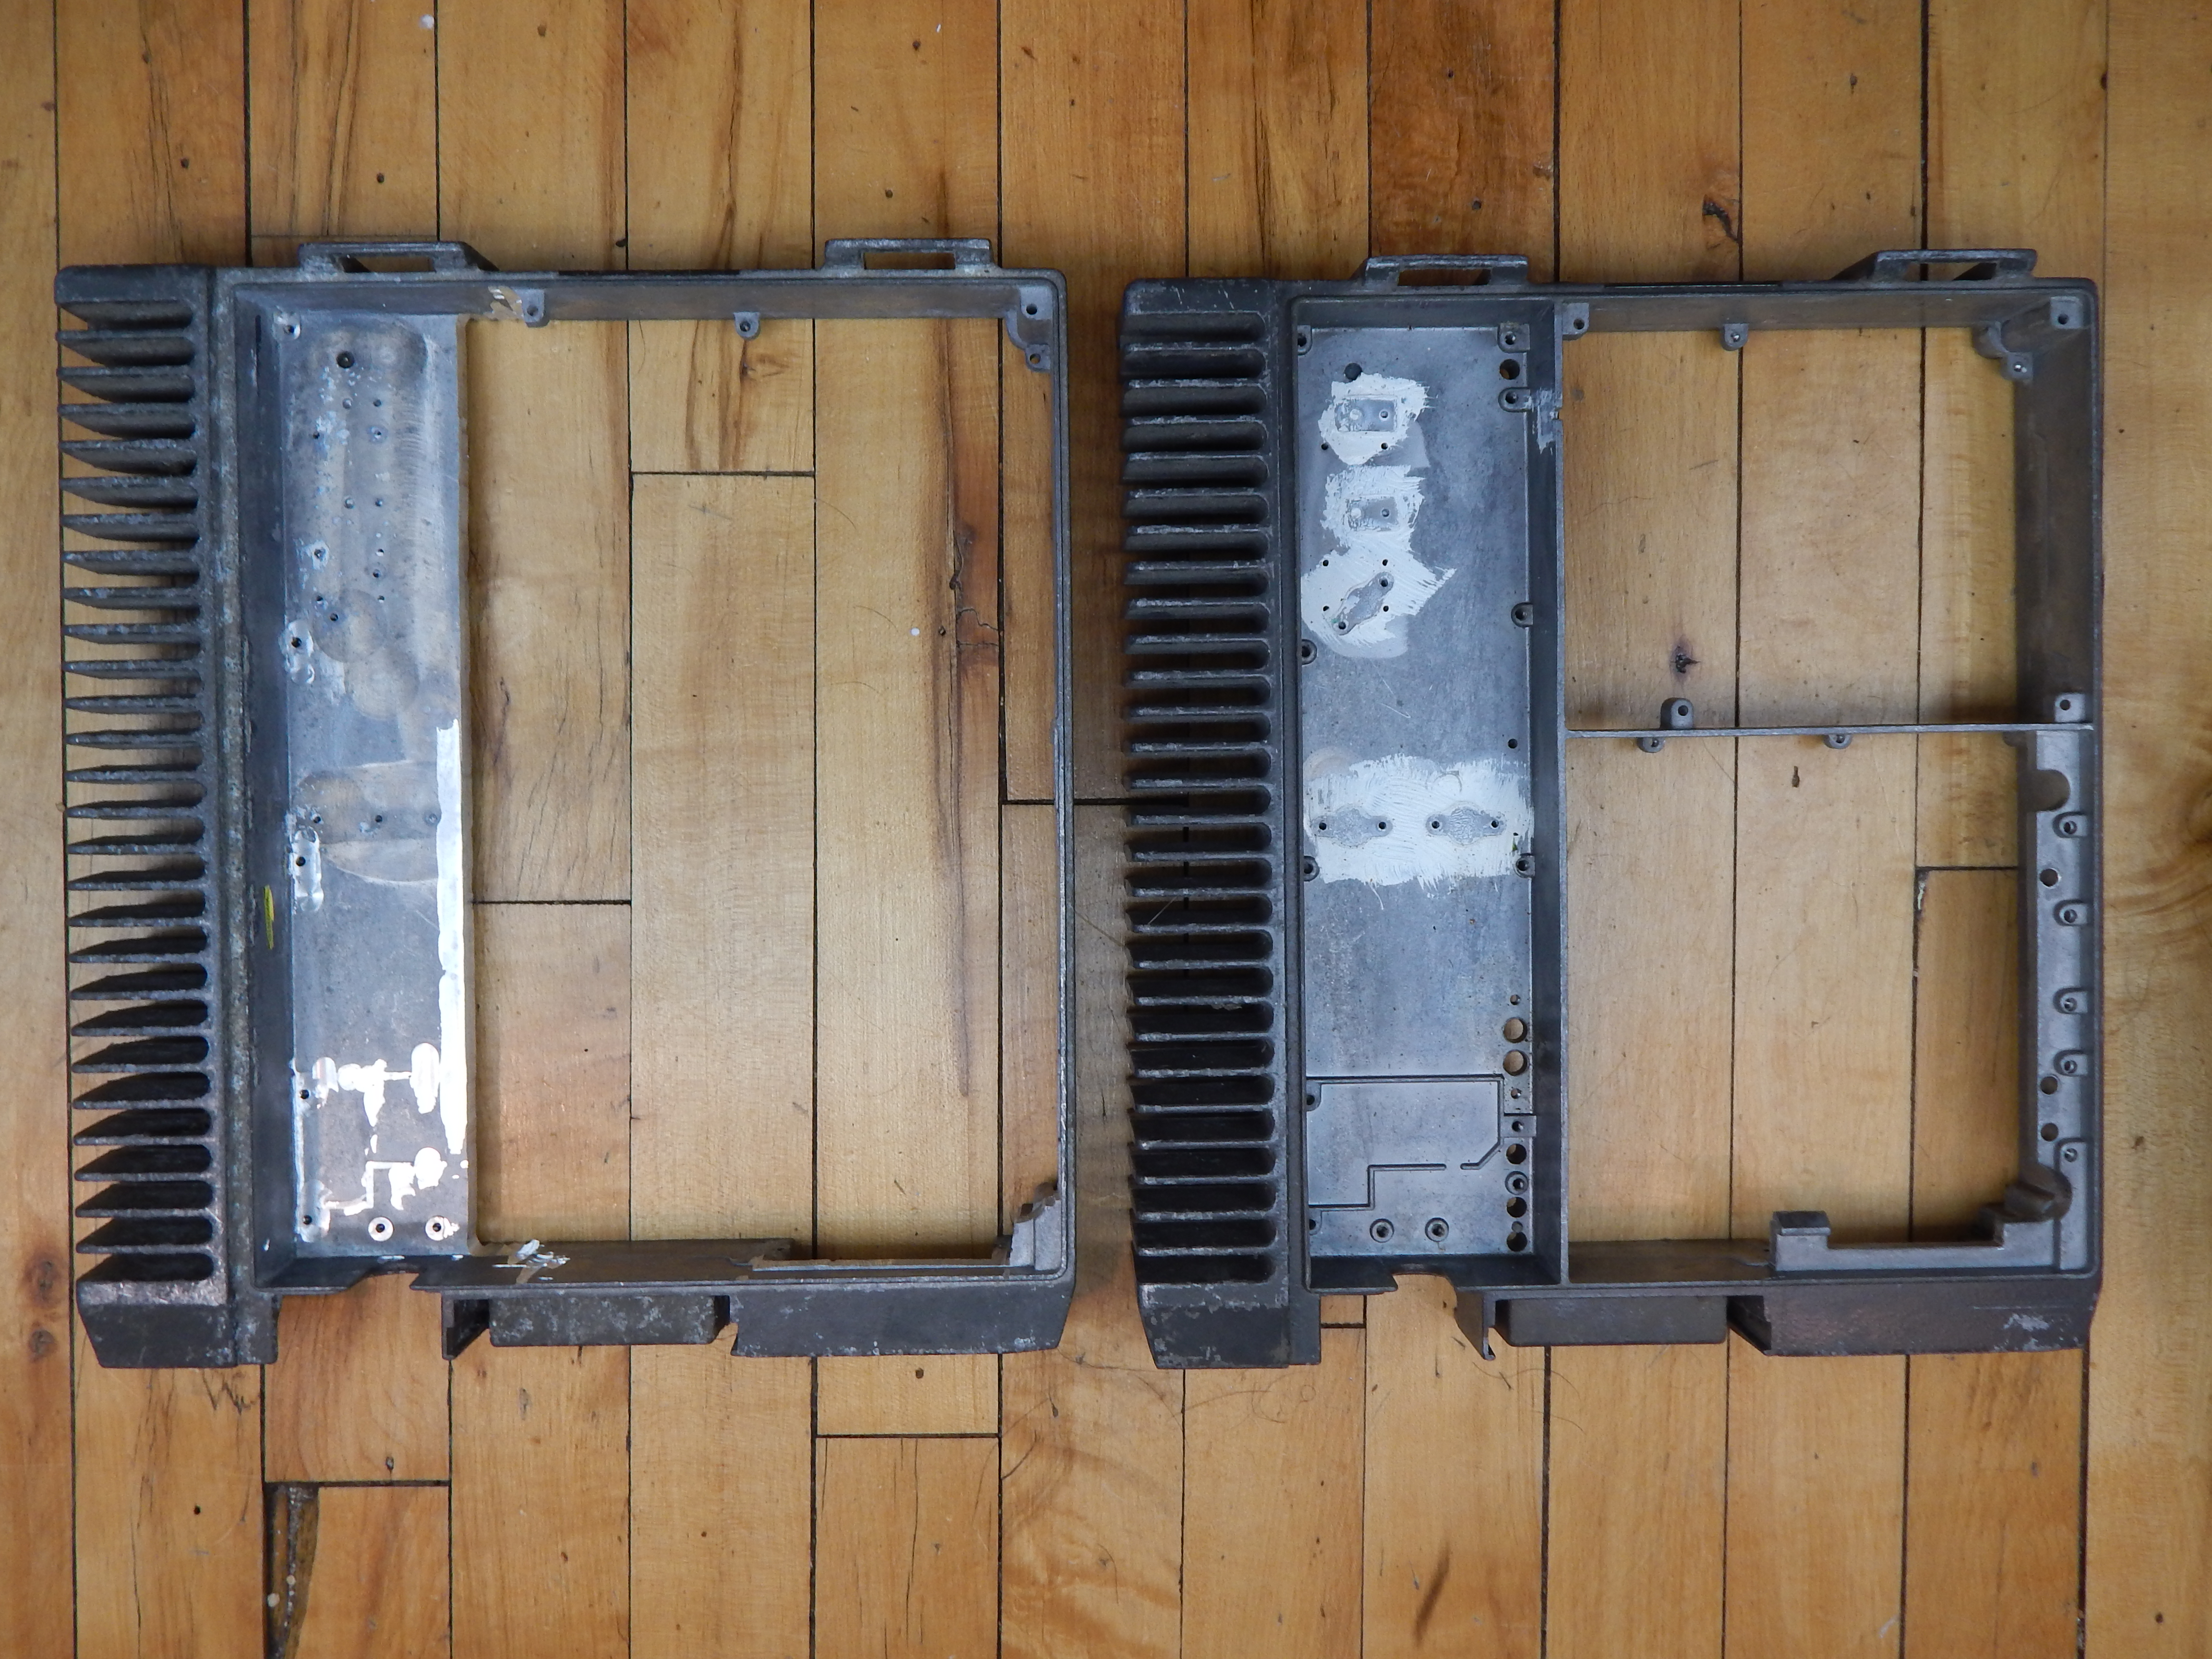
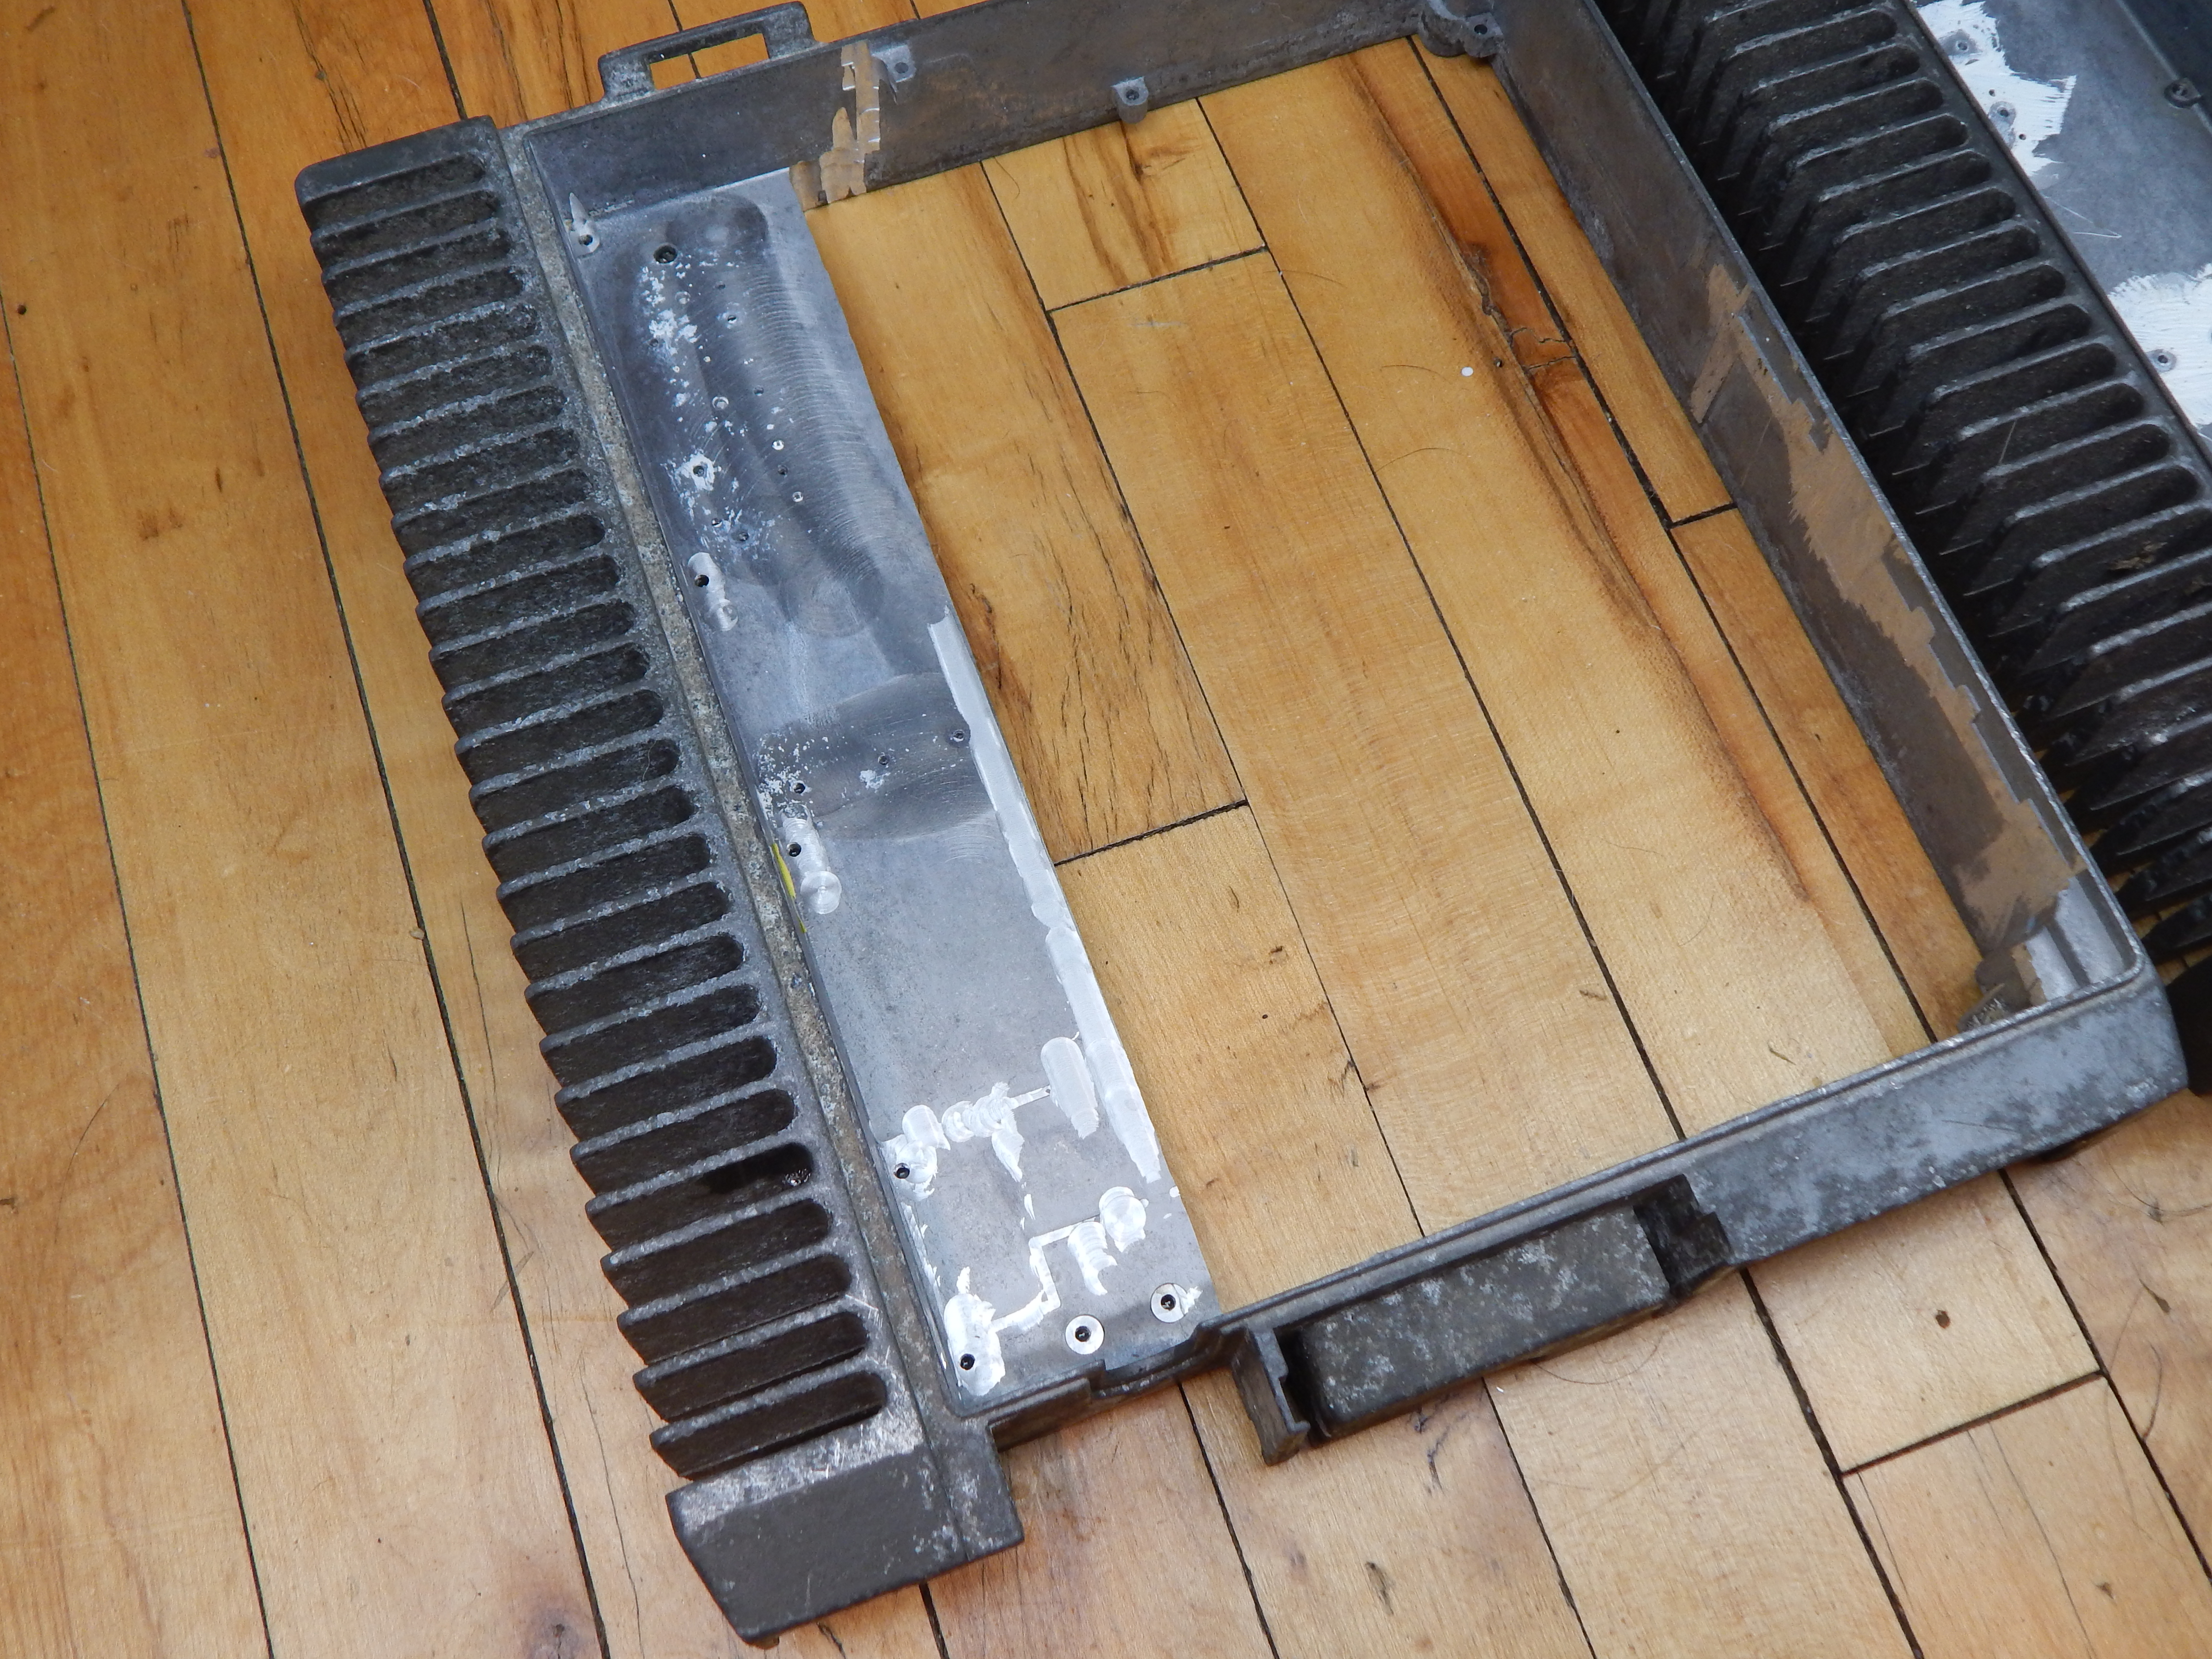
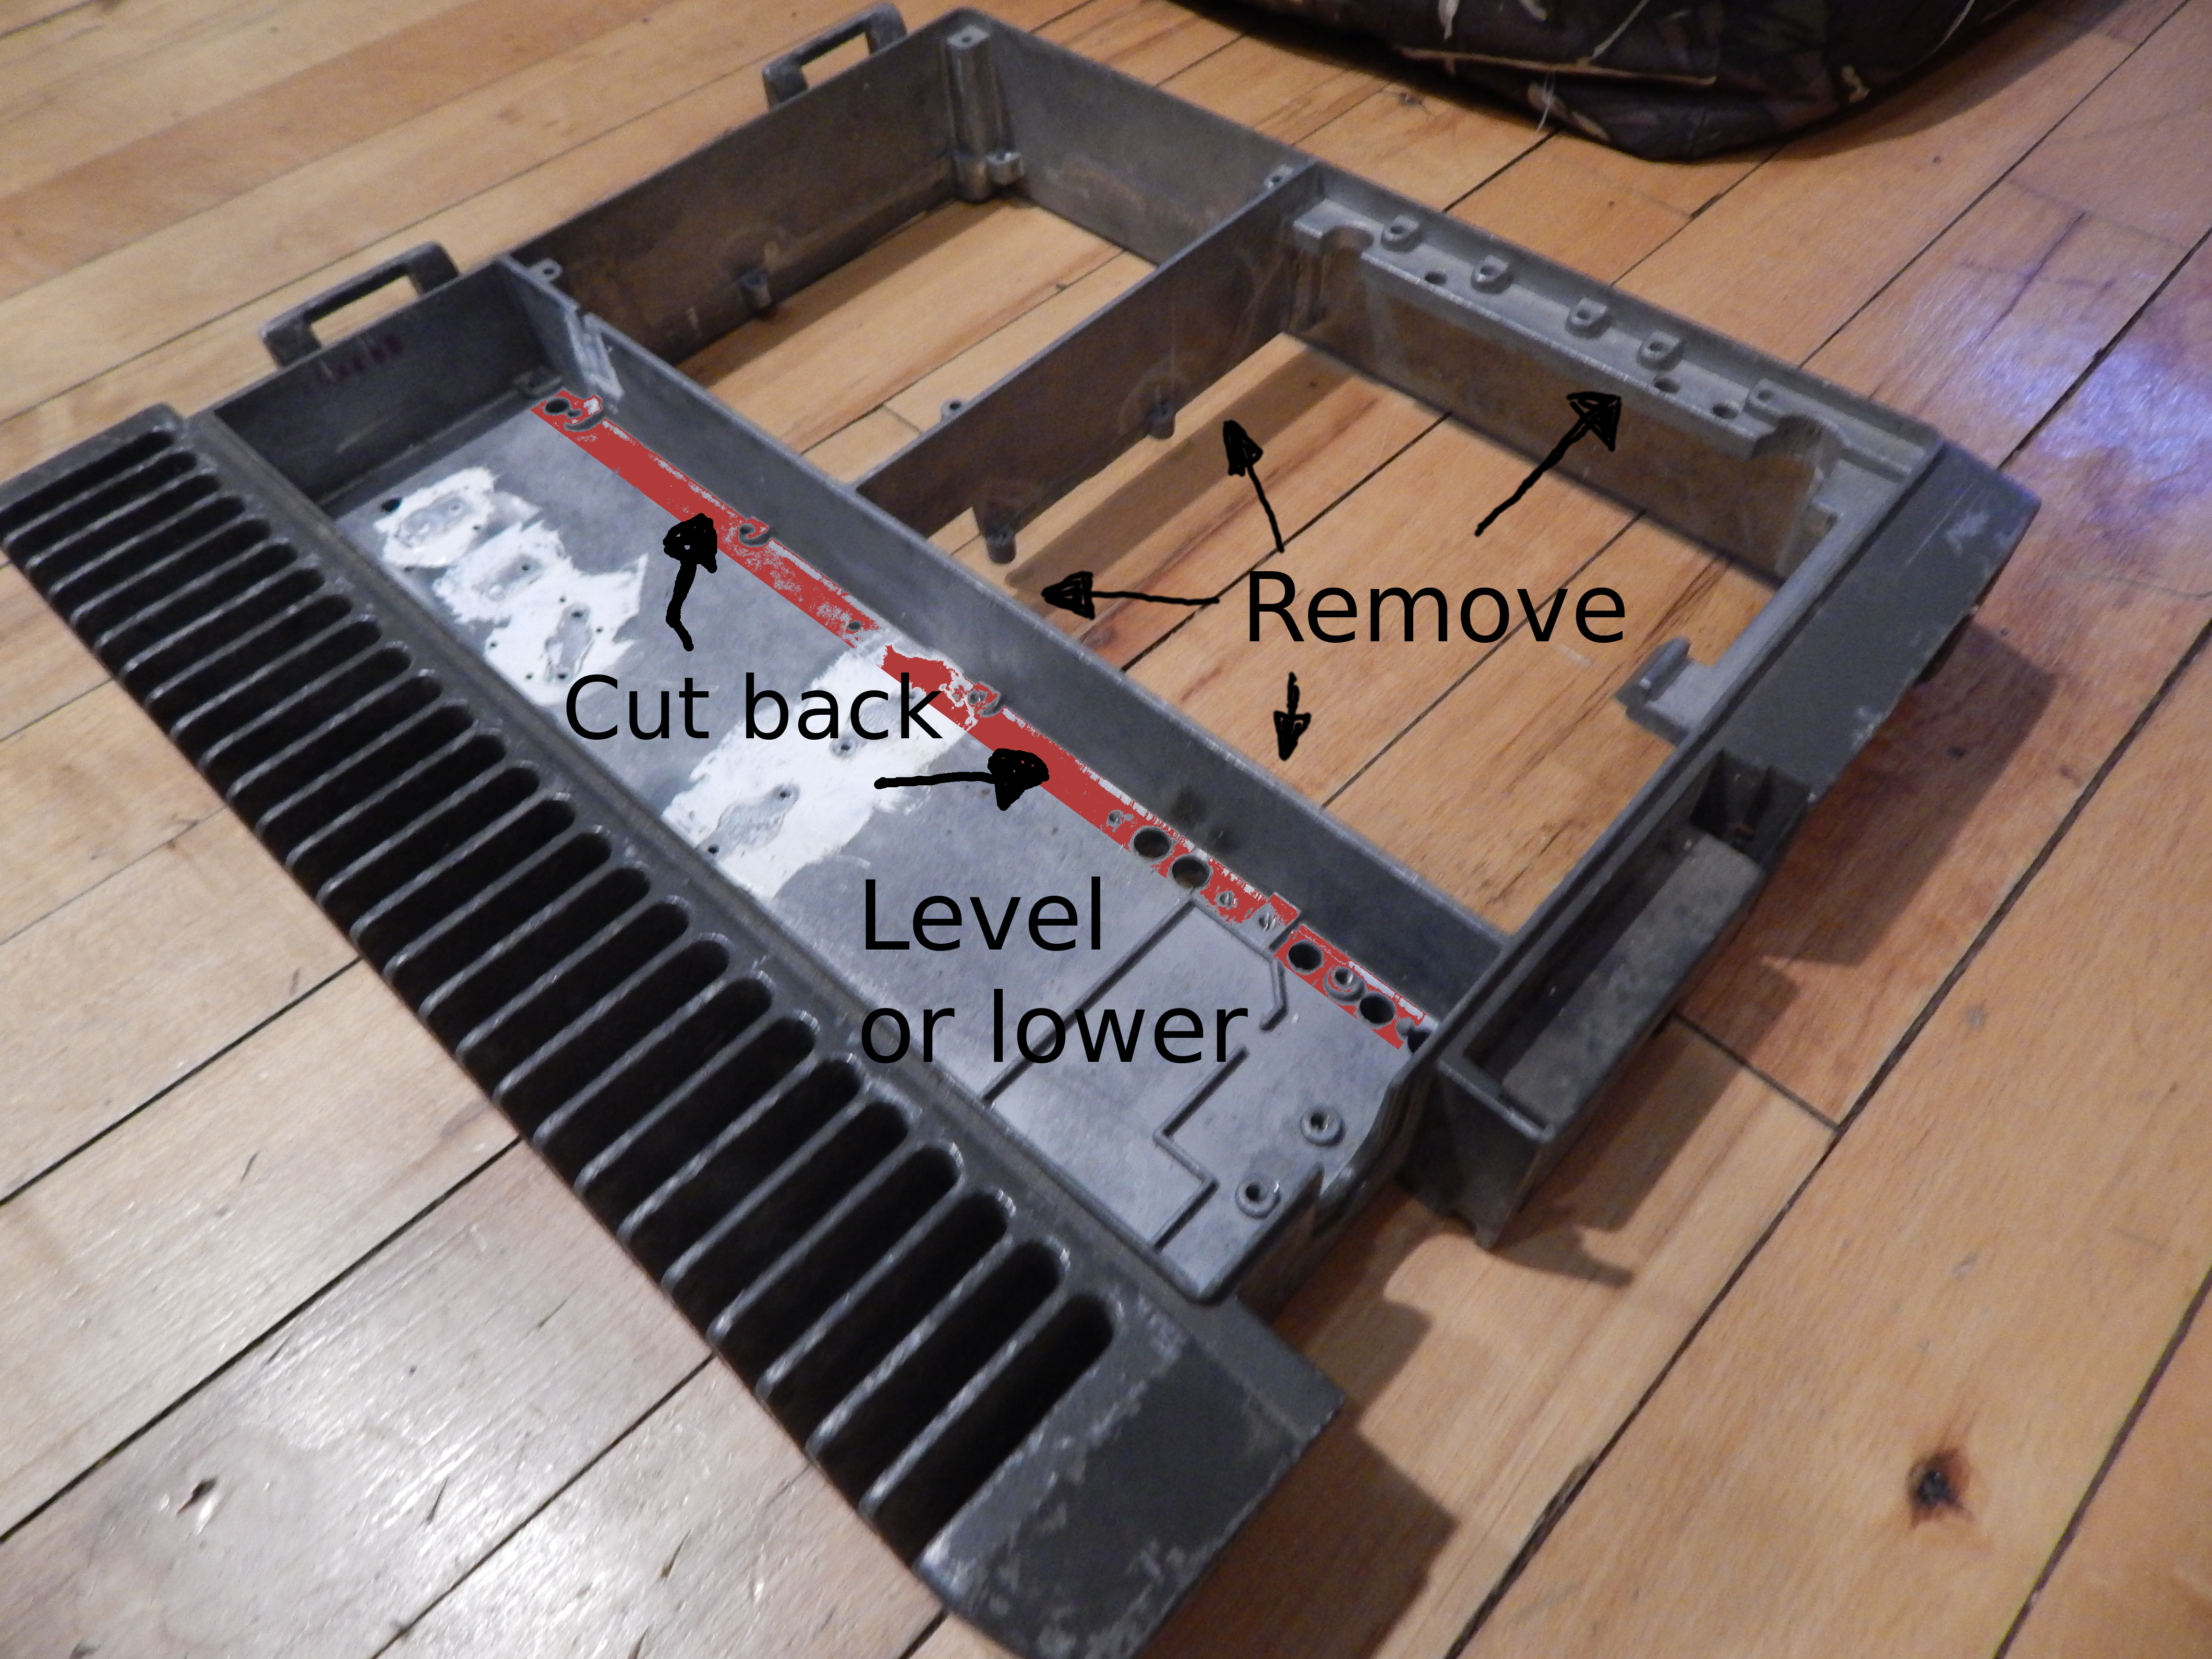
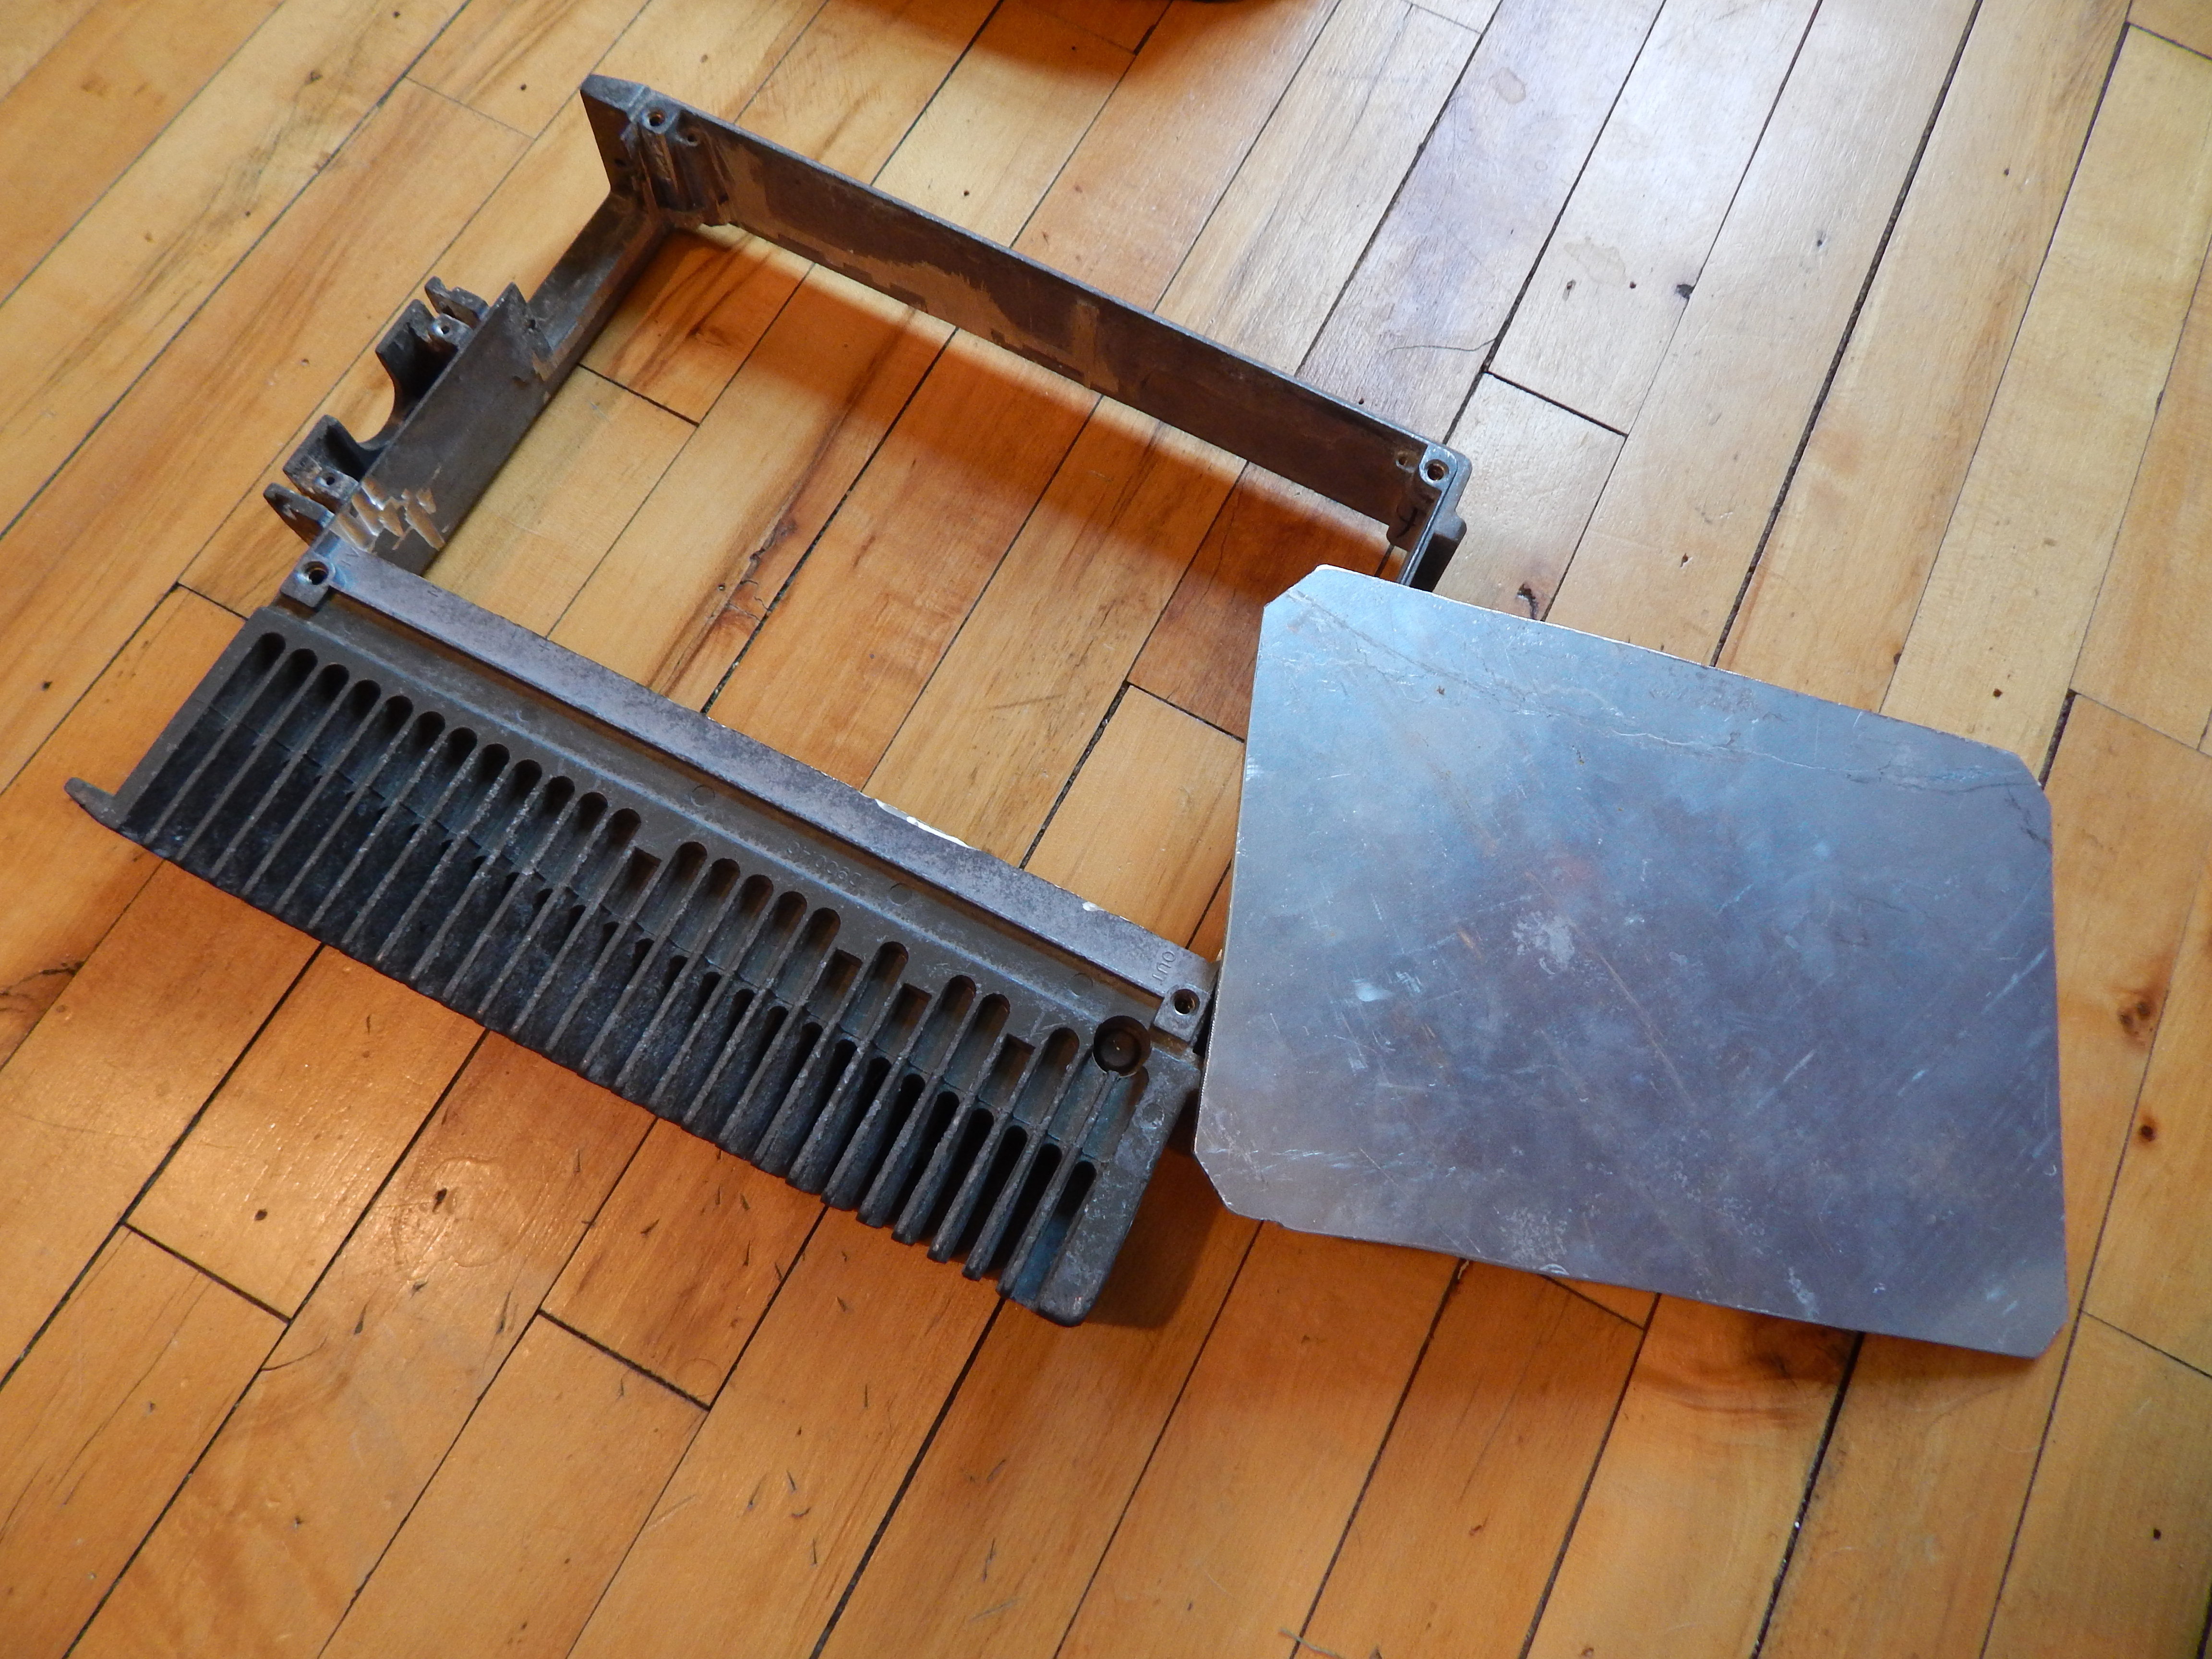
Basically I need to remove the divider walls, take some pieces off the outer wall, and cut back and level the area where the heat exchangers will reside so there’s enough room for the motherboard.
I’d offer but I think it would require some closer hands-on with regard to componentry and that may be why you’re getting quoted high unless you have a detailed print.
Yeah, my dad has been a ham for a long, long time. He’s been in the public safety sector for his entire work life, installing and fixing these radios (and their subsequent iterations) into state police and DOT vehicles since the late 70s.
@Steinwerks The guy I stopped at said he quoted what he did because the hardest part of the job is coming up with or creating a fixture to hold the case while doing the work. I just figured all you’d need to do is clamp it to a bridgeport and go to town, but I am not a machinist.
I’m just waiting for my dad to get the word that his cases are done, then he’ll bring these over there and have them see if they can do the work. If not, I’ll do it myself again.
It might not fit on the table in his case, I’m not sure. I wouldn’t think it would need special fixturing though unless there’s something I’m missing. He might have quoted high to keep from doing it too, that’s pretty common
He seemed very busy. I stopped by the place at 5:30 in the evening and he was actively working on two jobs. It was a medium sized pole barn sort of building with four or five Haas machines stuffed in it. 5 to 6 weeks lead time also leads me to thing he has a lot of work backed up. Probably just didn’t want to mess with such a small job.
I got a bit of work done. I still don’t have the actual milling done, but I think I have a bunch of stuff figured out that will make the milling accurate.
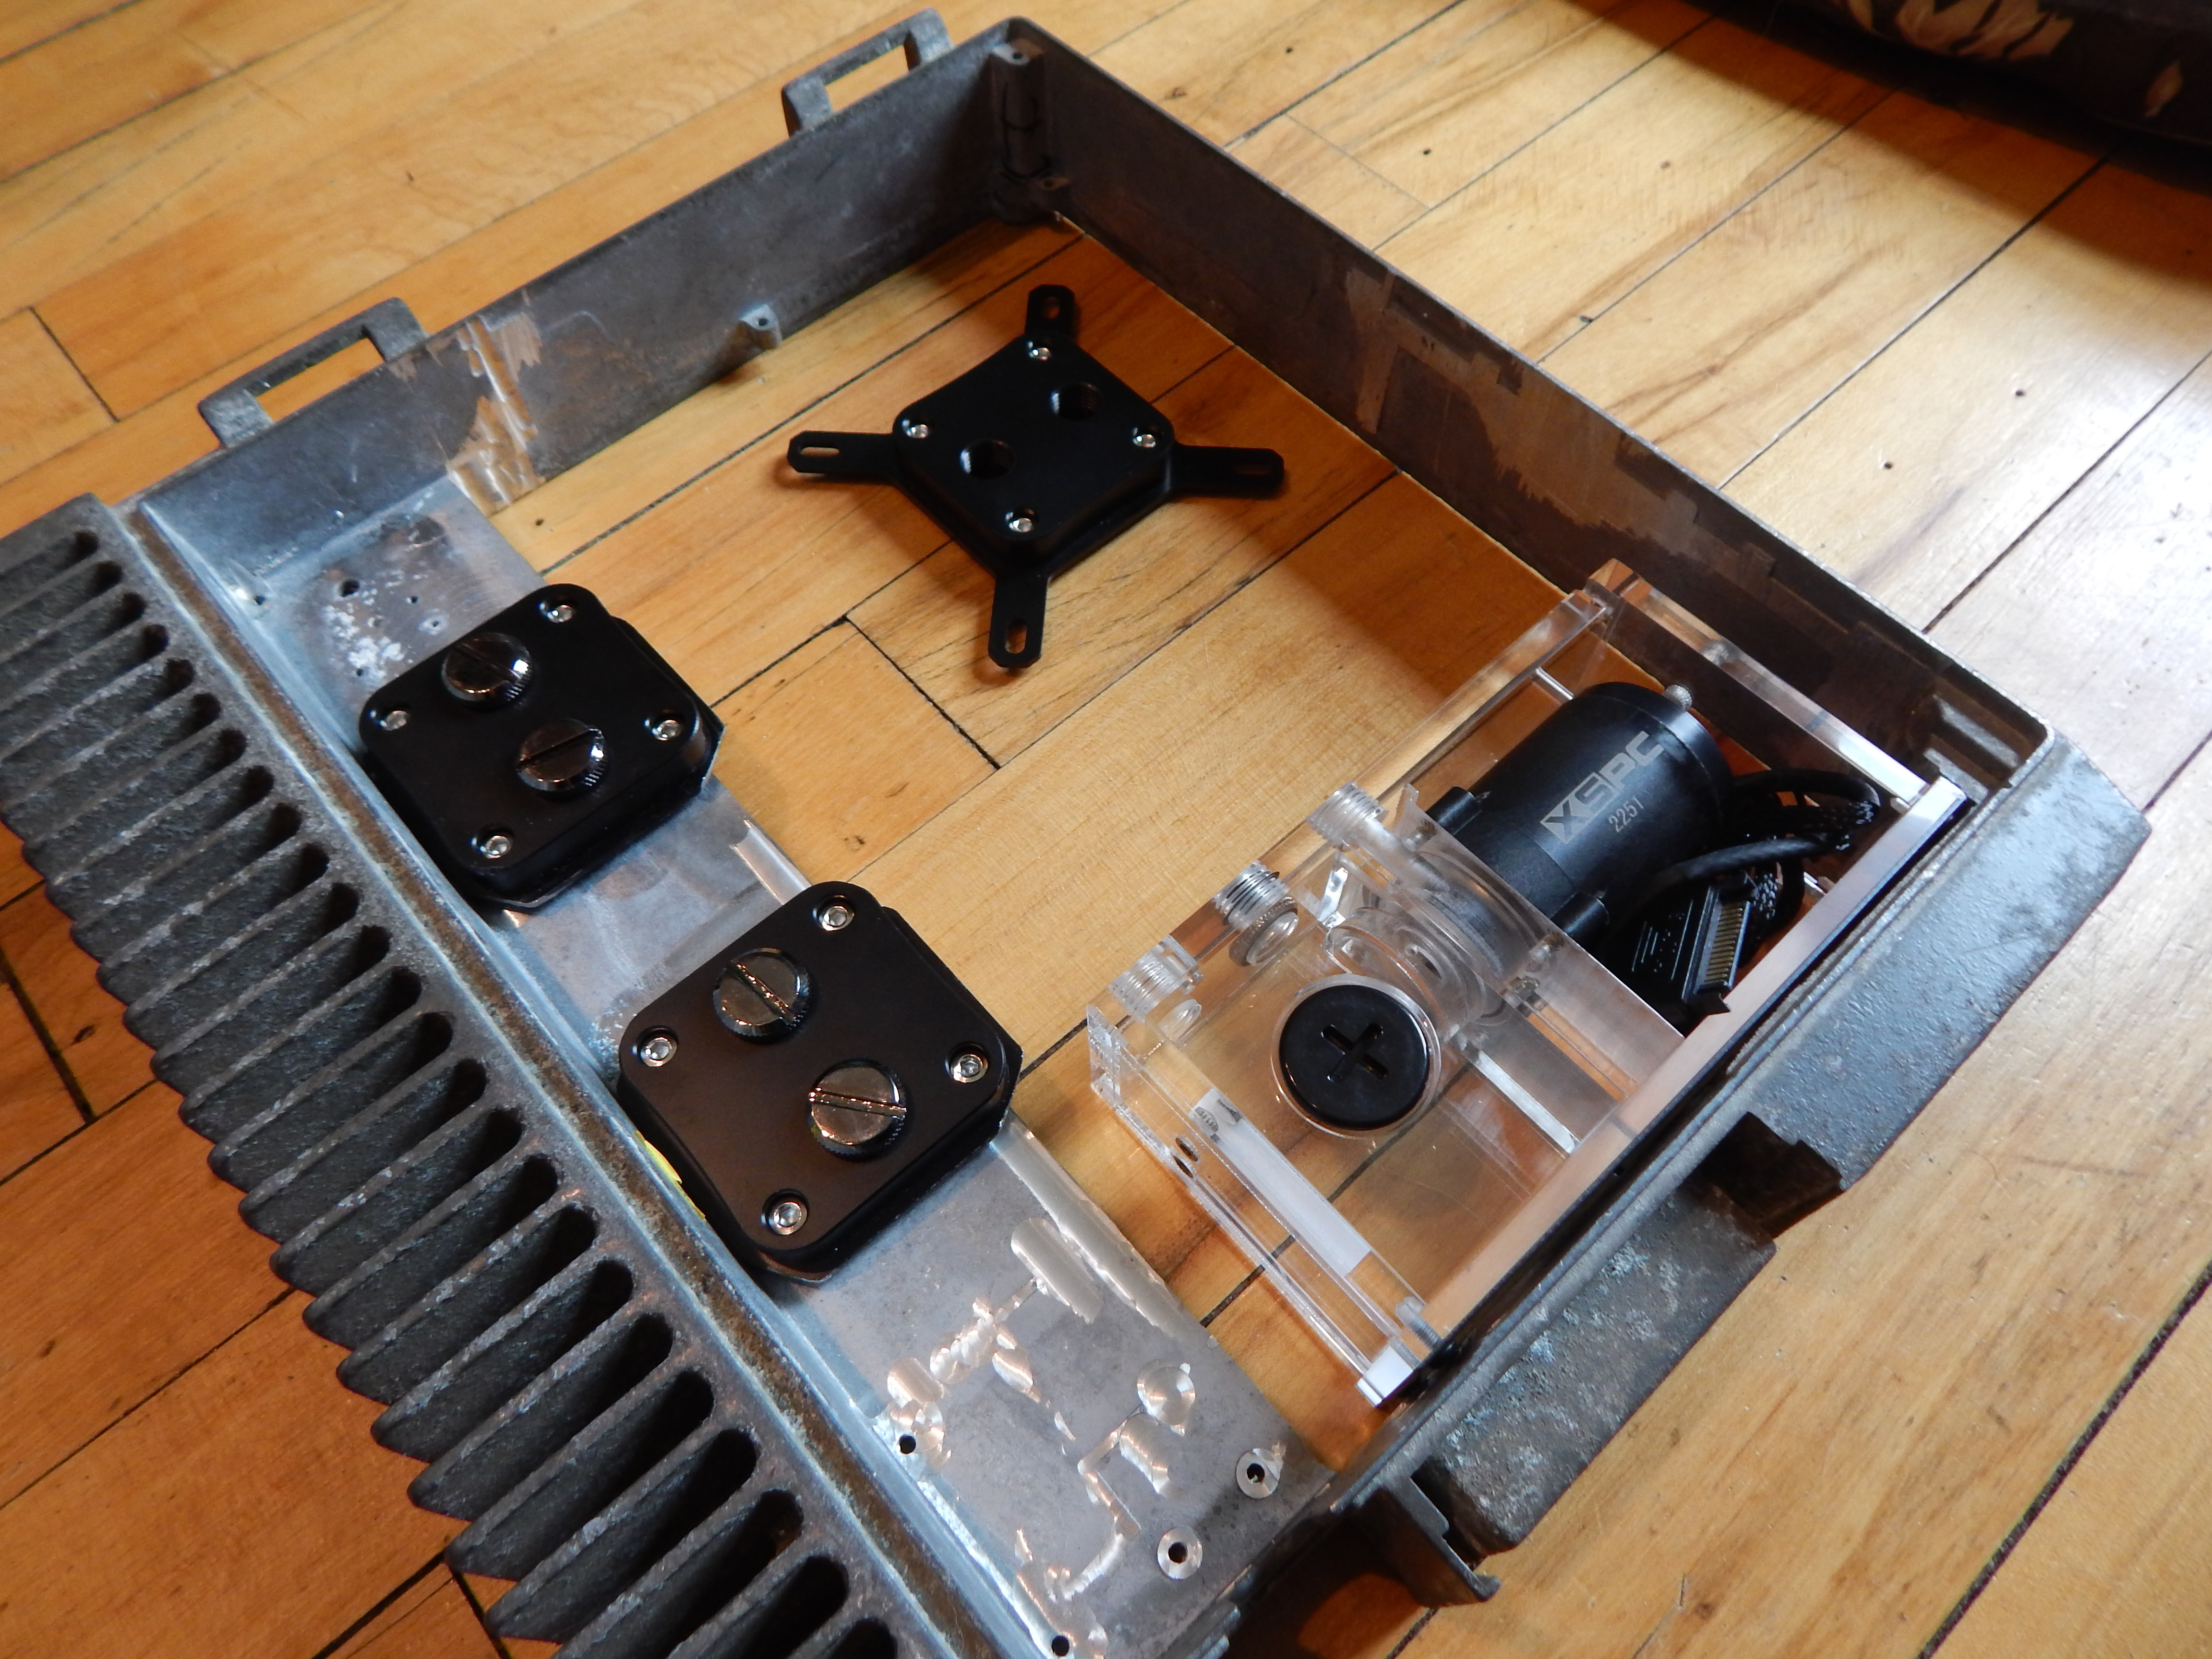
I got a mounting plate made up for the motherboard. It will fit inside, from the bottom, and the bottom cover will fit over it. It’s extremely rough, and I can’t properly mount it in place with how I cut the corners. I’ll have a couple made when I have the other work done by the metal shop.
I have been debating whether or not to even post this next thing until I have thought it out more, as I have no idea if it will actually work, or even how I will physically mount everything. But here it is:
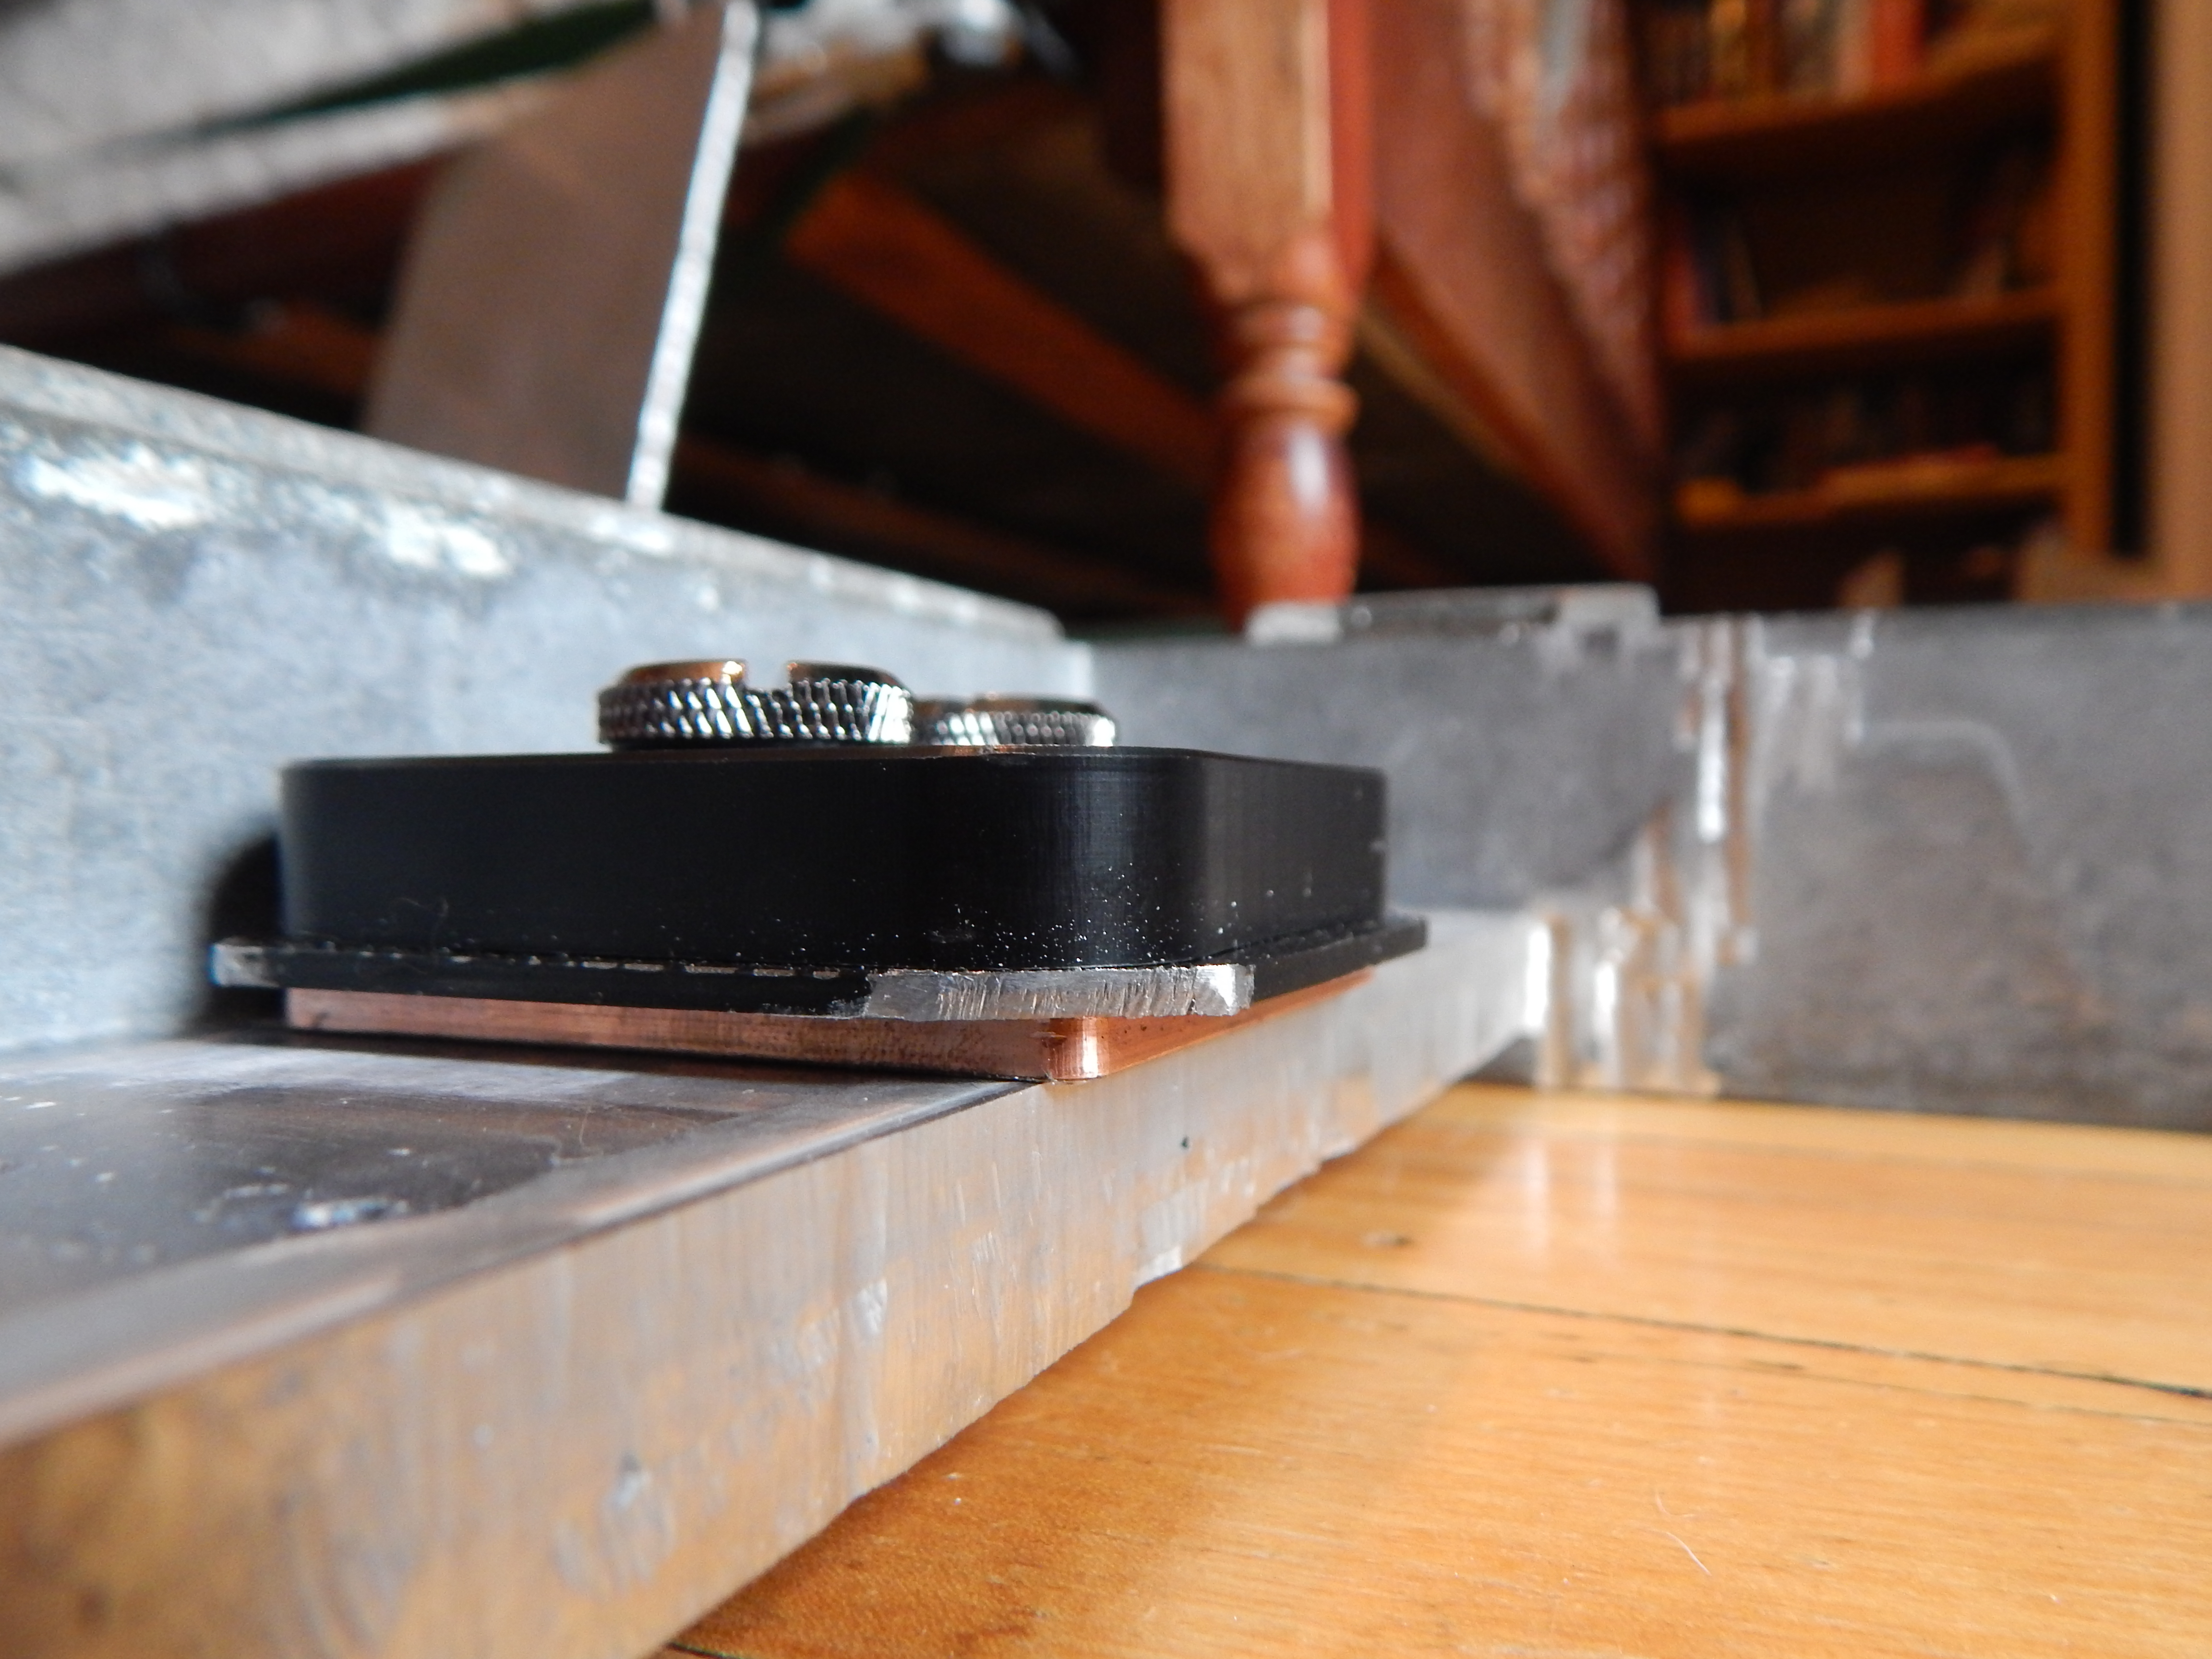
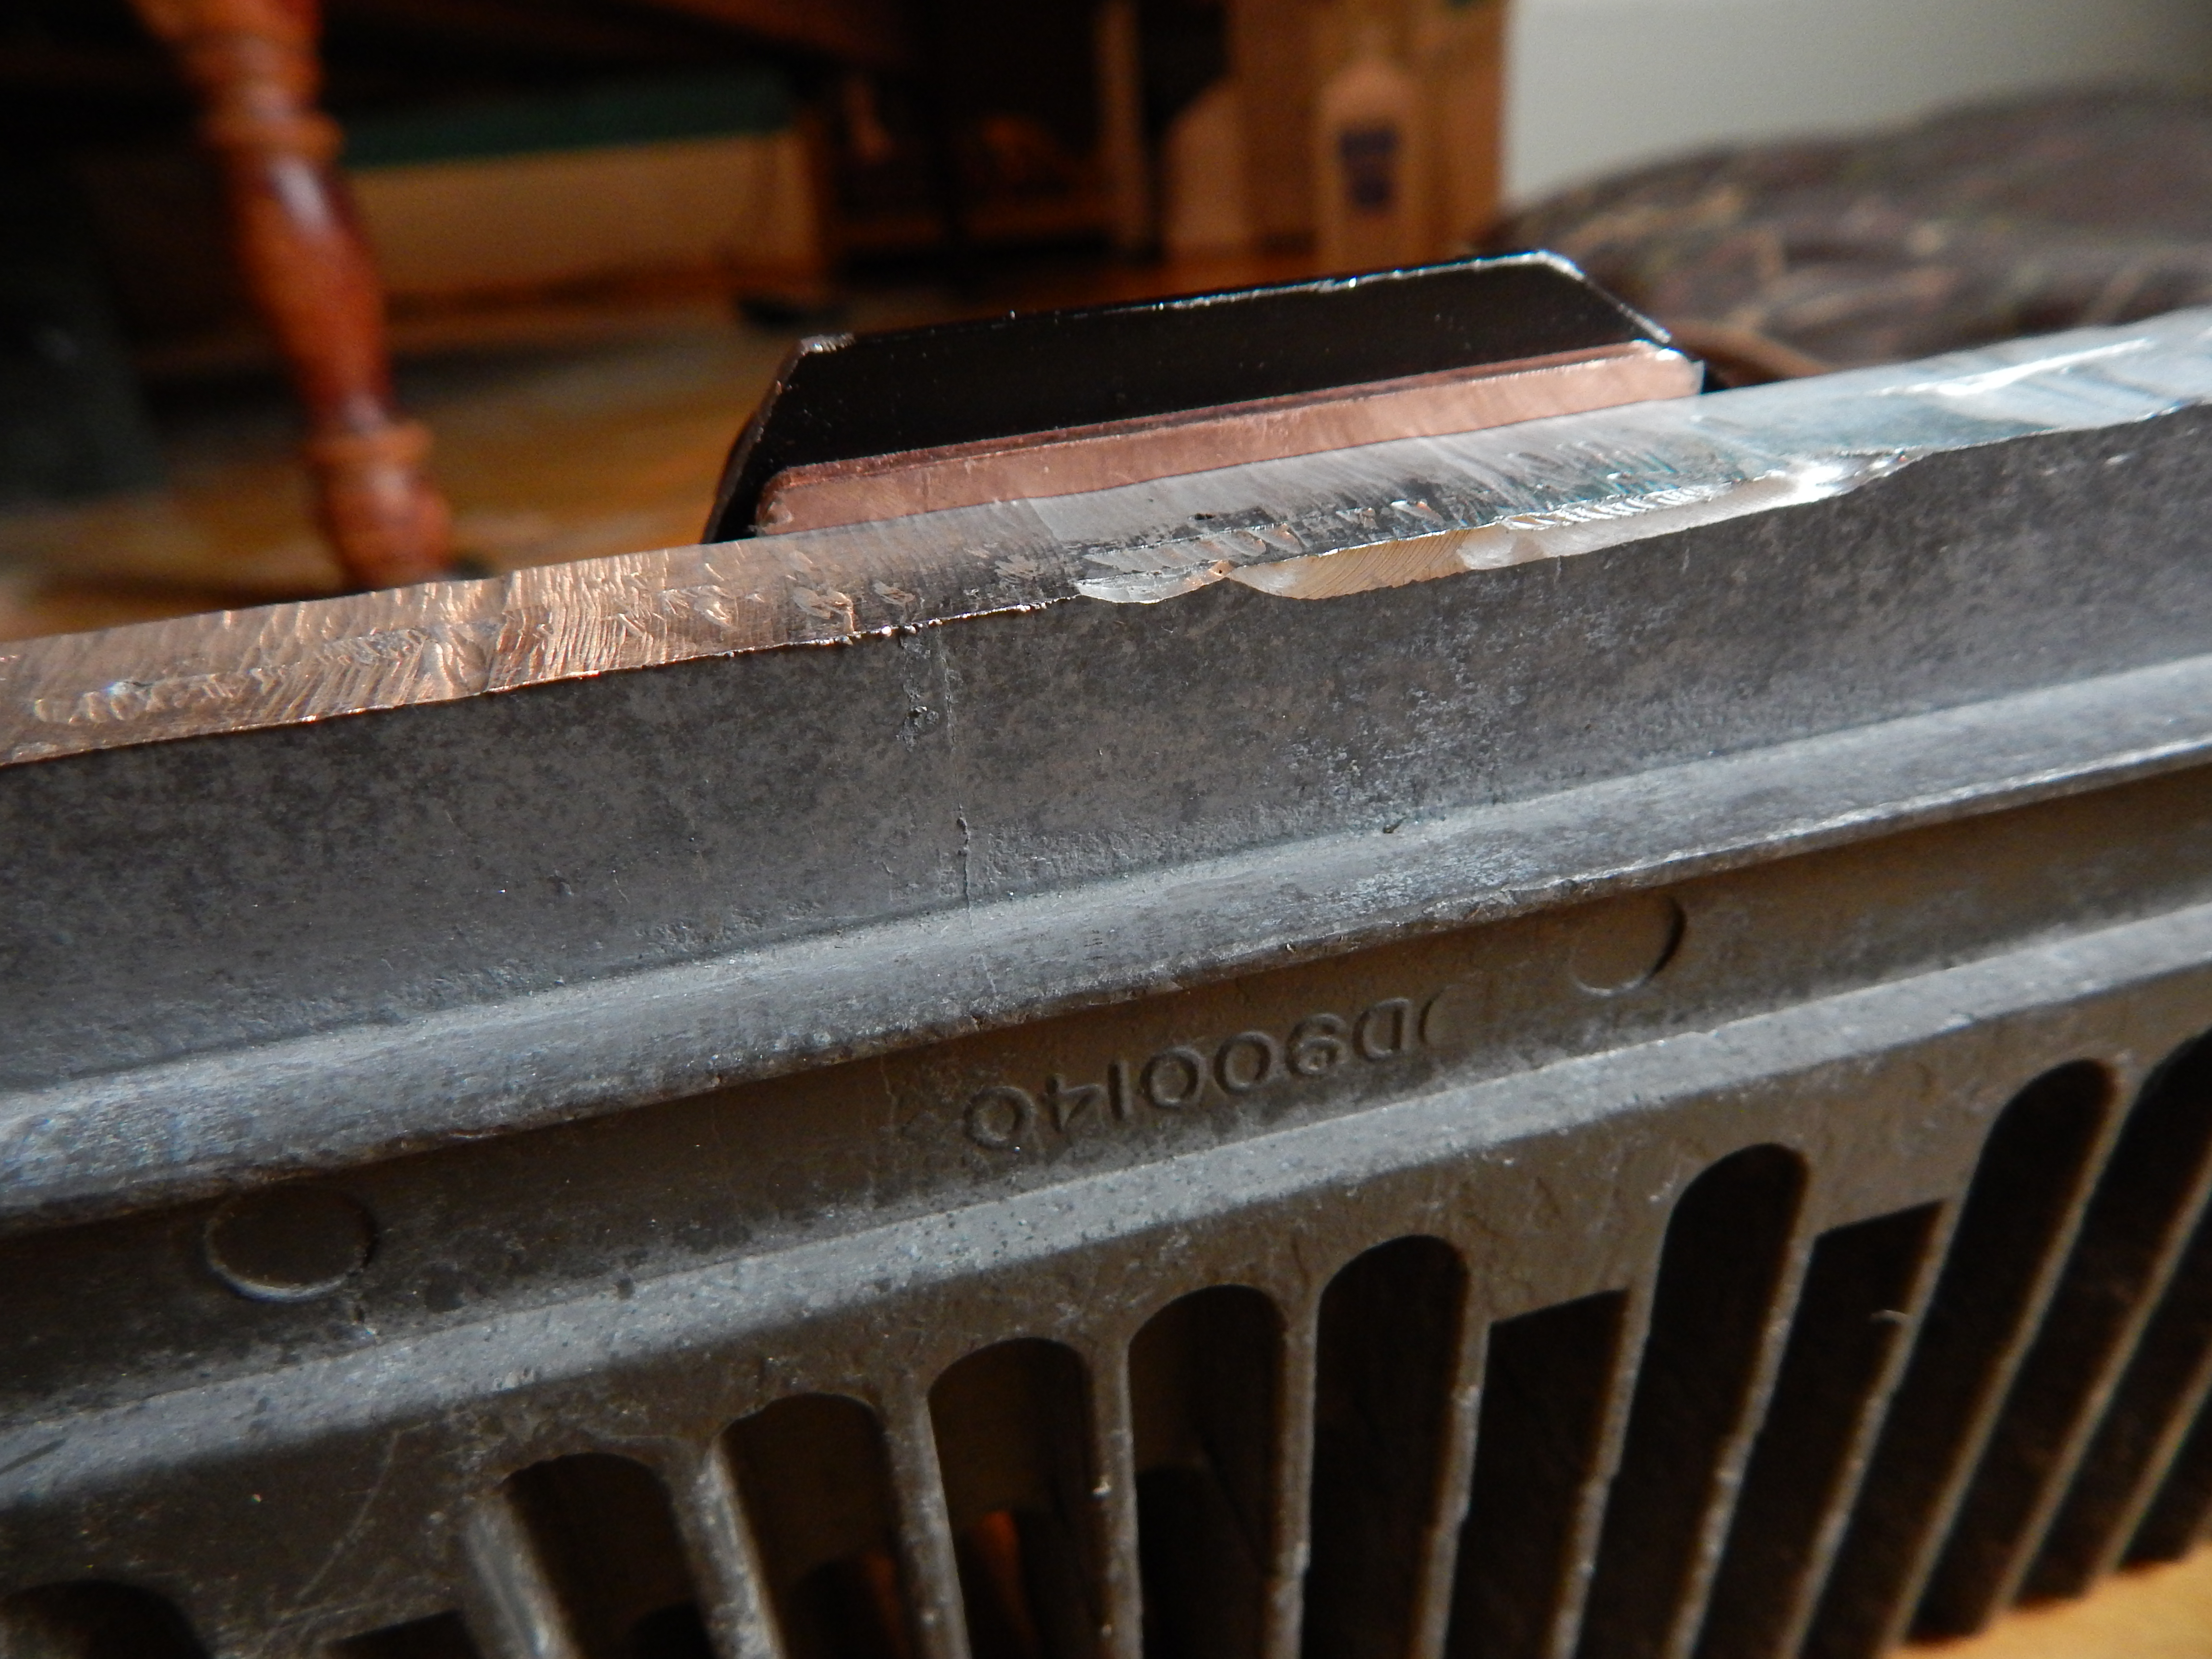
I got the cheapest waterblocks I could get. I cut the mounting tabs off, and they sort of fit, but I need to take another millimeter off where they will sit. Then I will need to come up with a bracket to hold them down. I could fit all four waterblocks on that mounting area, but I don’t know if it’ll help or be overkill.
Just a quick FYI, that case could be partially magnesium. They can make all sorts of crazy ass alloys these days.
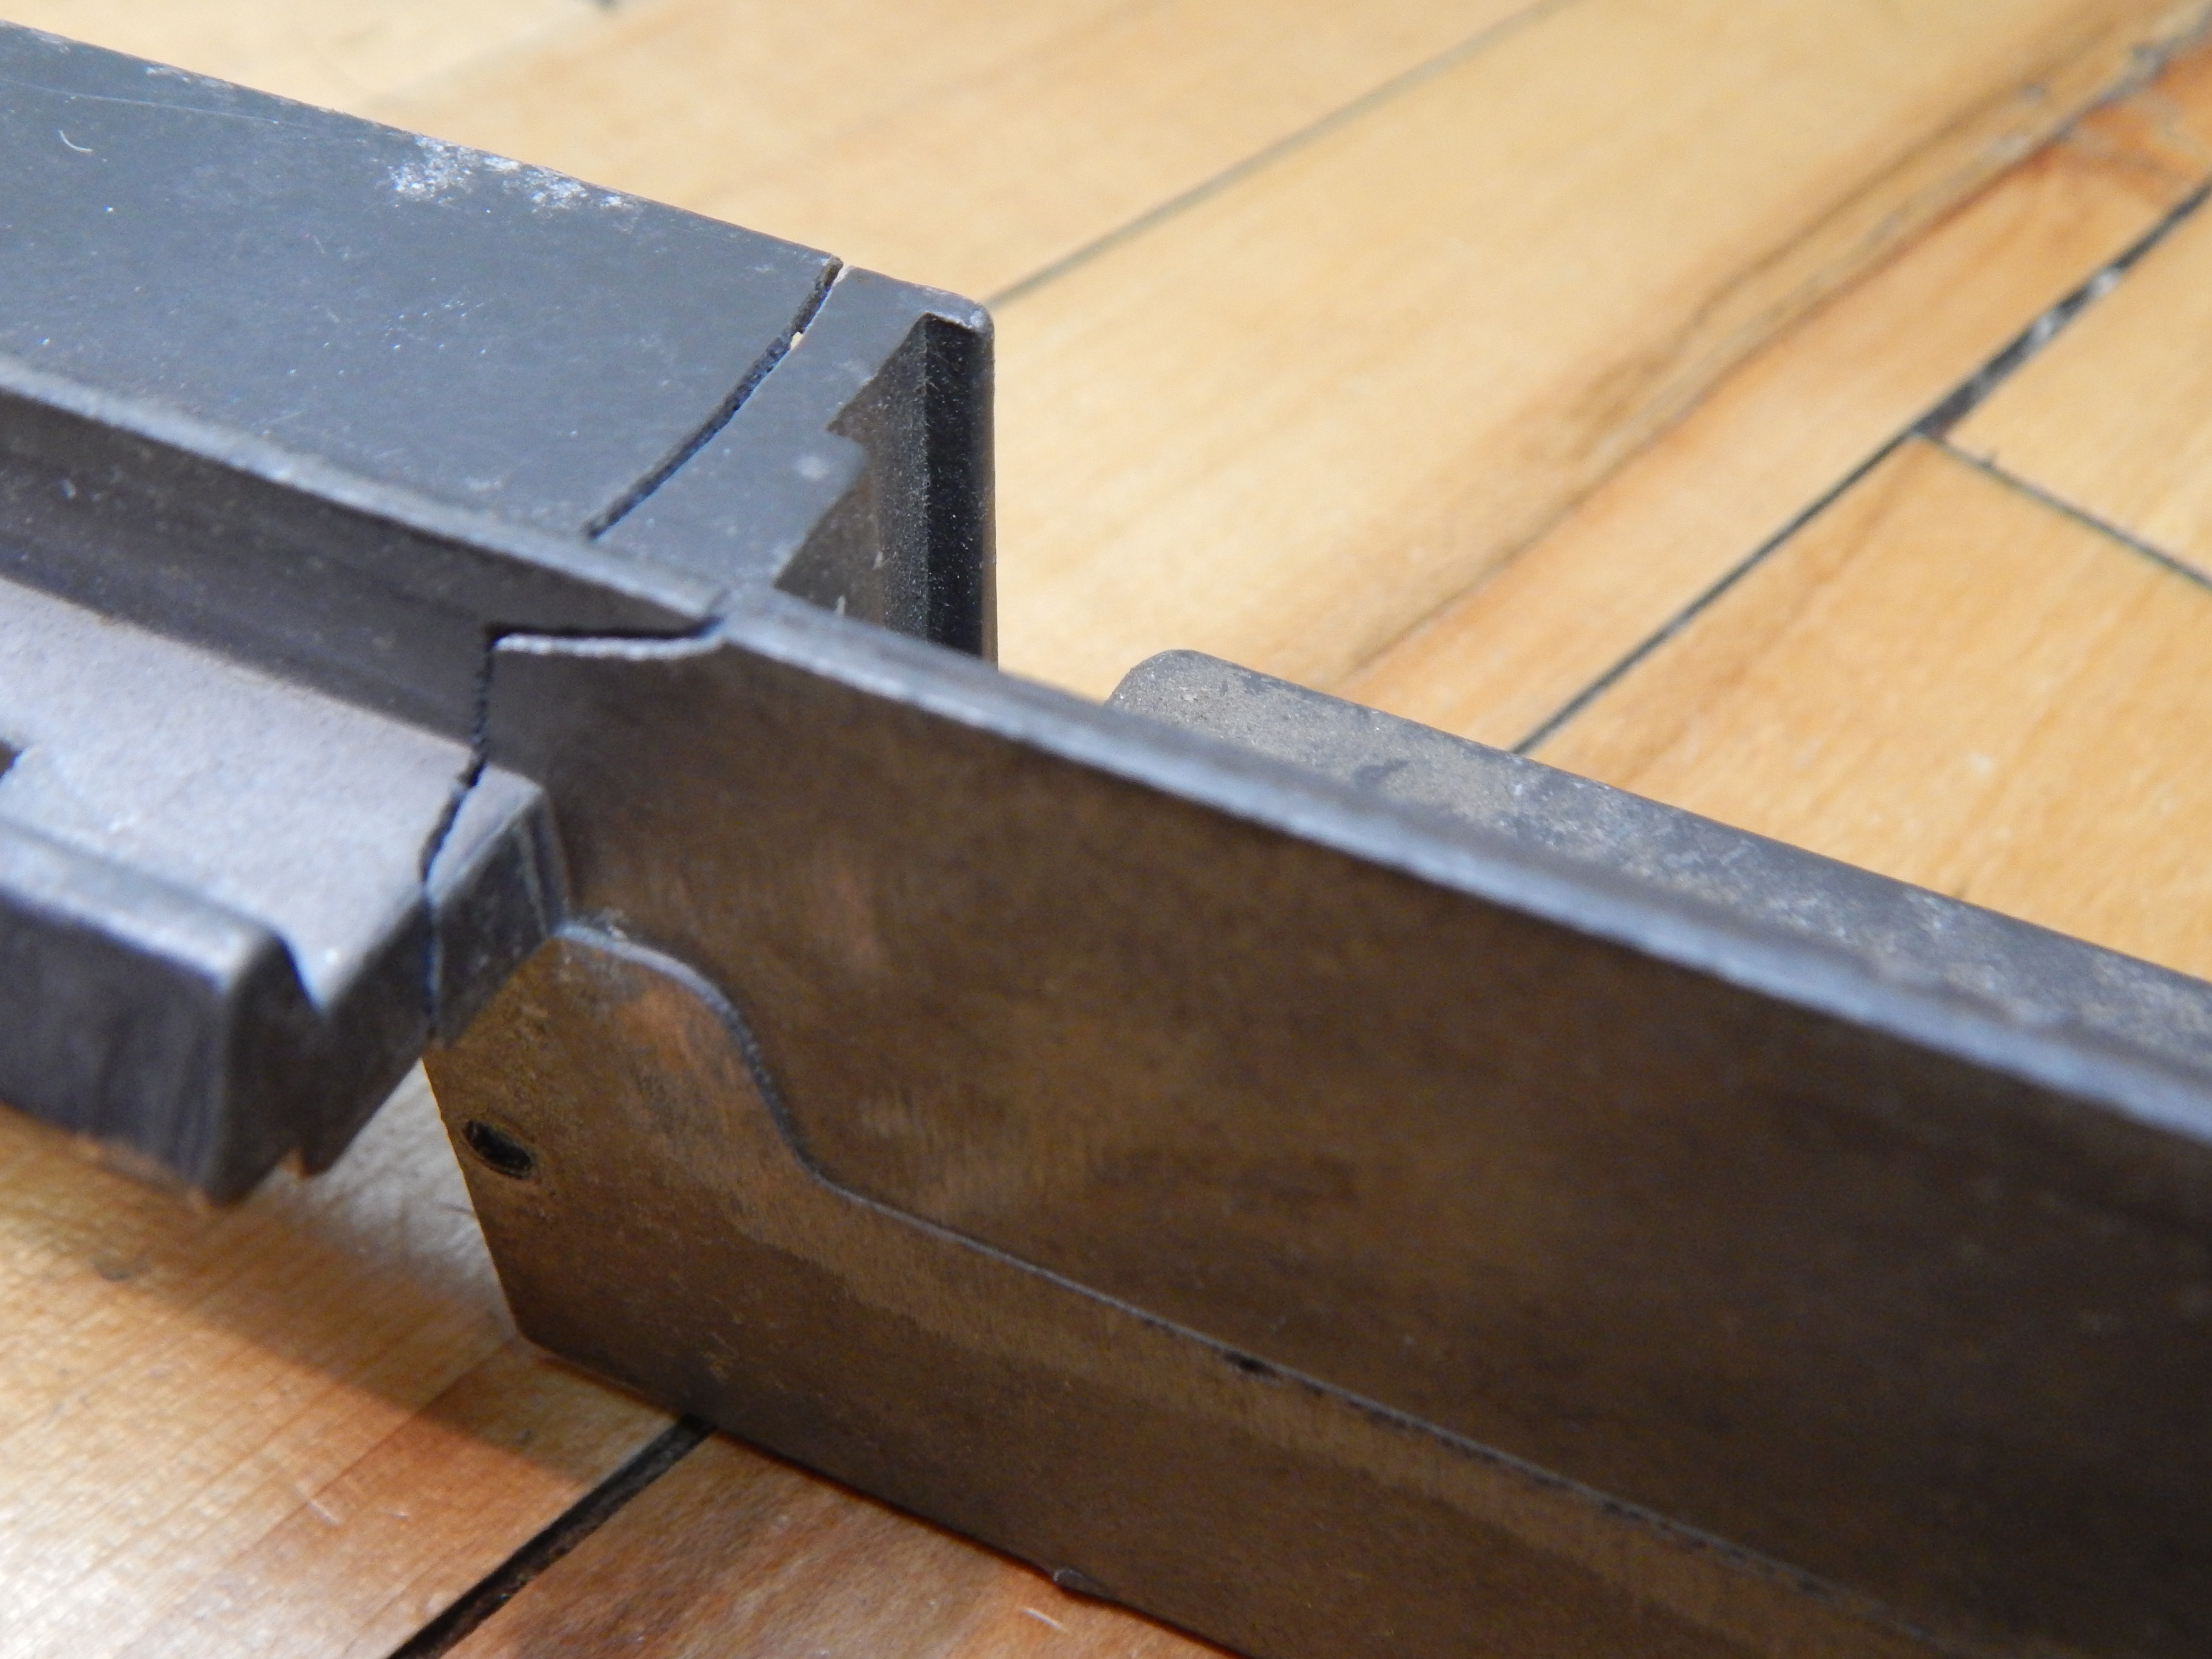
But even if it was, it probably wouldn’t matter for machining. Although TIG welding I can’t be sure. Which is how I would fix that crack in the frame.
If they cannot, or will not fix that crack, you could always find a way to fix it with JB weld, which can then be sanded or machined down once dried and cured.
Just some thoughts. Awesome build. Can’t wait to see the finished product.
Yeah, it’s very possible it’s an aluminum-magnesium alloy. I’ll make sure that’s understood when I bring the cases to the metal shop. JB Weld would probably work fine in any case.
I might be able to take them myself, as I took some time off from work. The place I need to go to is over an hour away. In a couple weeks I’ll try to bring them over there.
Just a quick update. I dropped the two cases off at the metal shop in the north west metro on Thursday. It’s a bit more than an hour from where I live.
The guy I talked to is the main designer/programmer for the shop, and he was very receptive and interested in the project, even though they mostly do high quantity (many thousands of a particular part) jobs. They don’t usually do one or two off jobs.
Therefore the cost is high. It’s basically time and material, about 6 to 8 hours of work. But I decided to go ahead with it anyway. I like this project, and I want to finish it.
What they’ll be doing:
Remove material, clean up / square case I already did
Cut slot in back for I/O shield (this will probably be the most difficult part)
Laser cut bottom motherboard mounting plates
Create mounting brackets for clamping waterblocks to case
Repair cracked case (weld it)
Sand blast everything
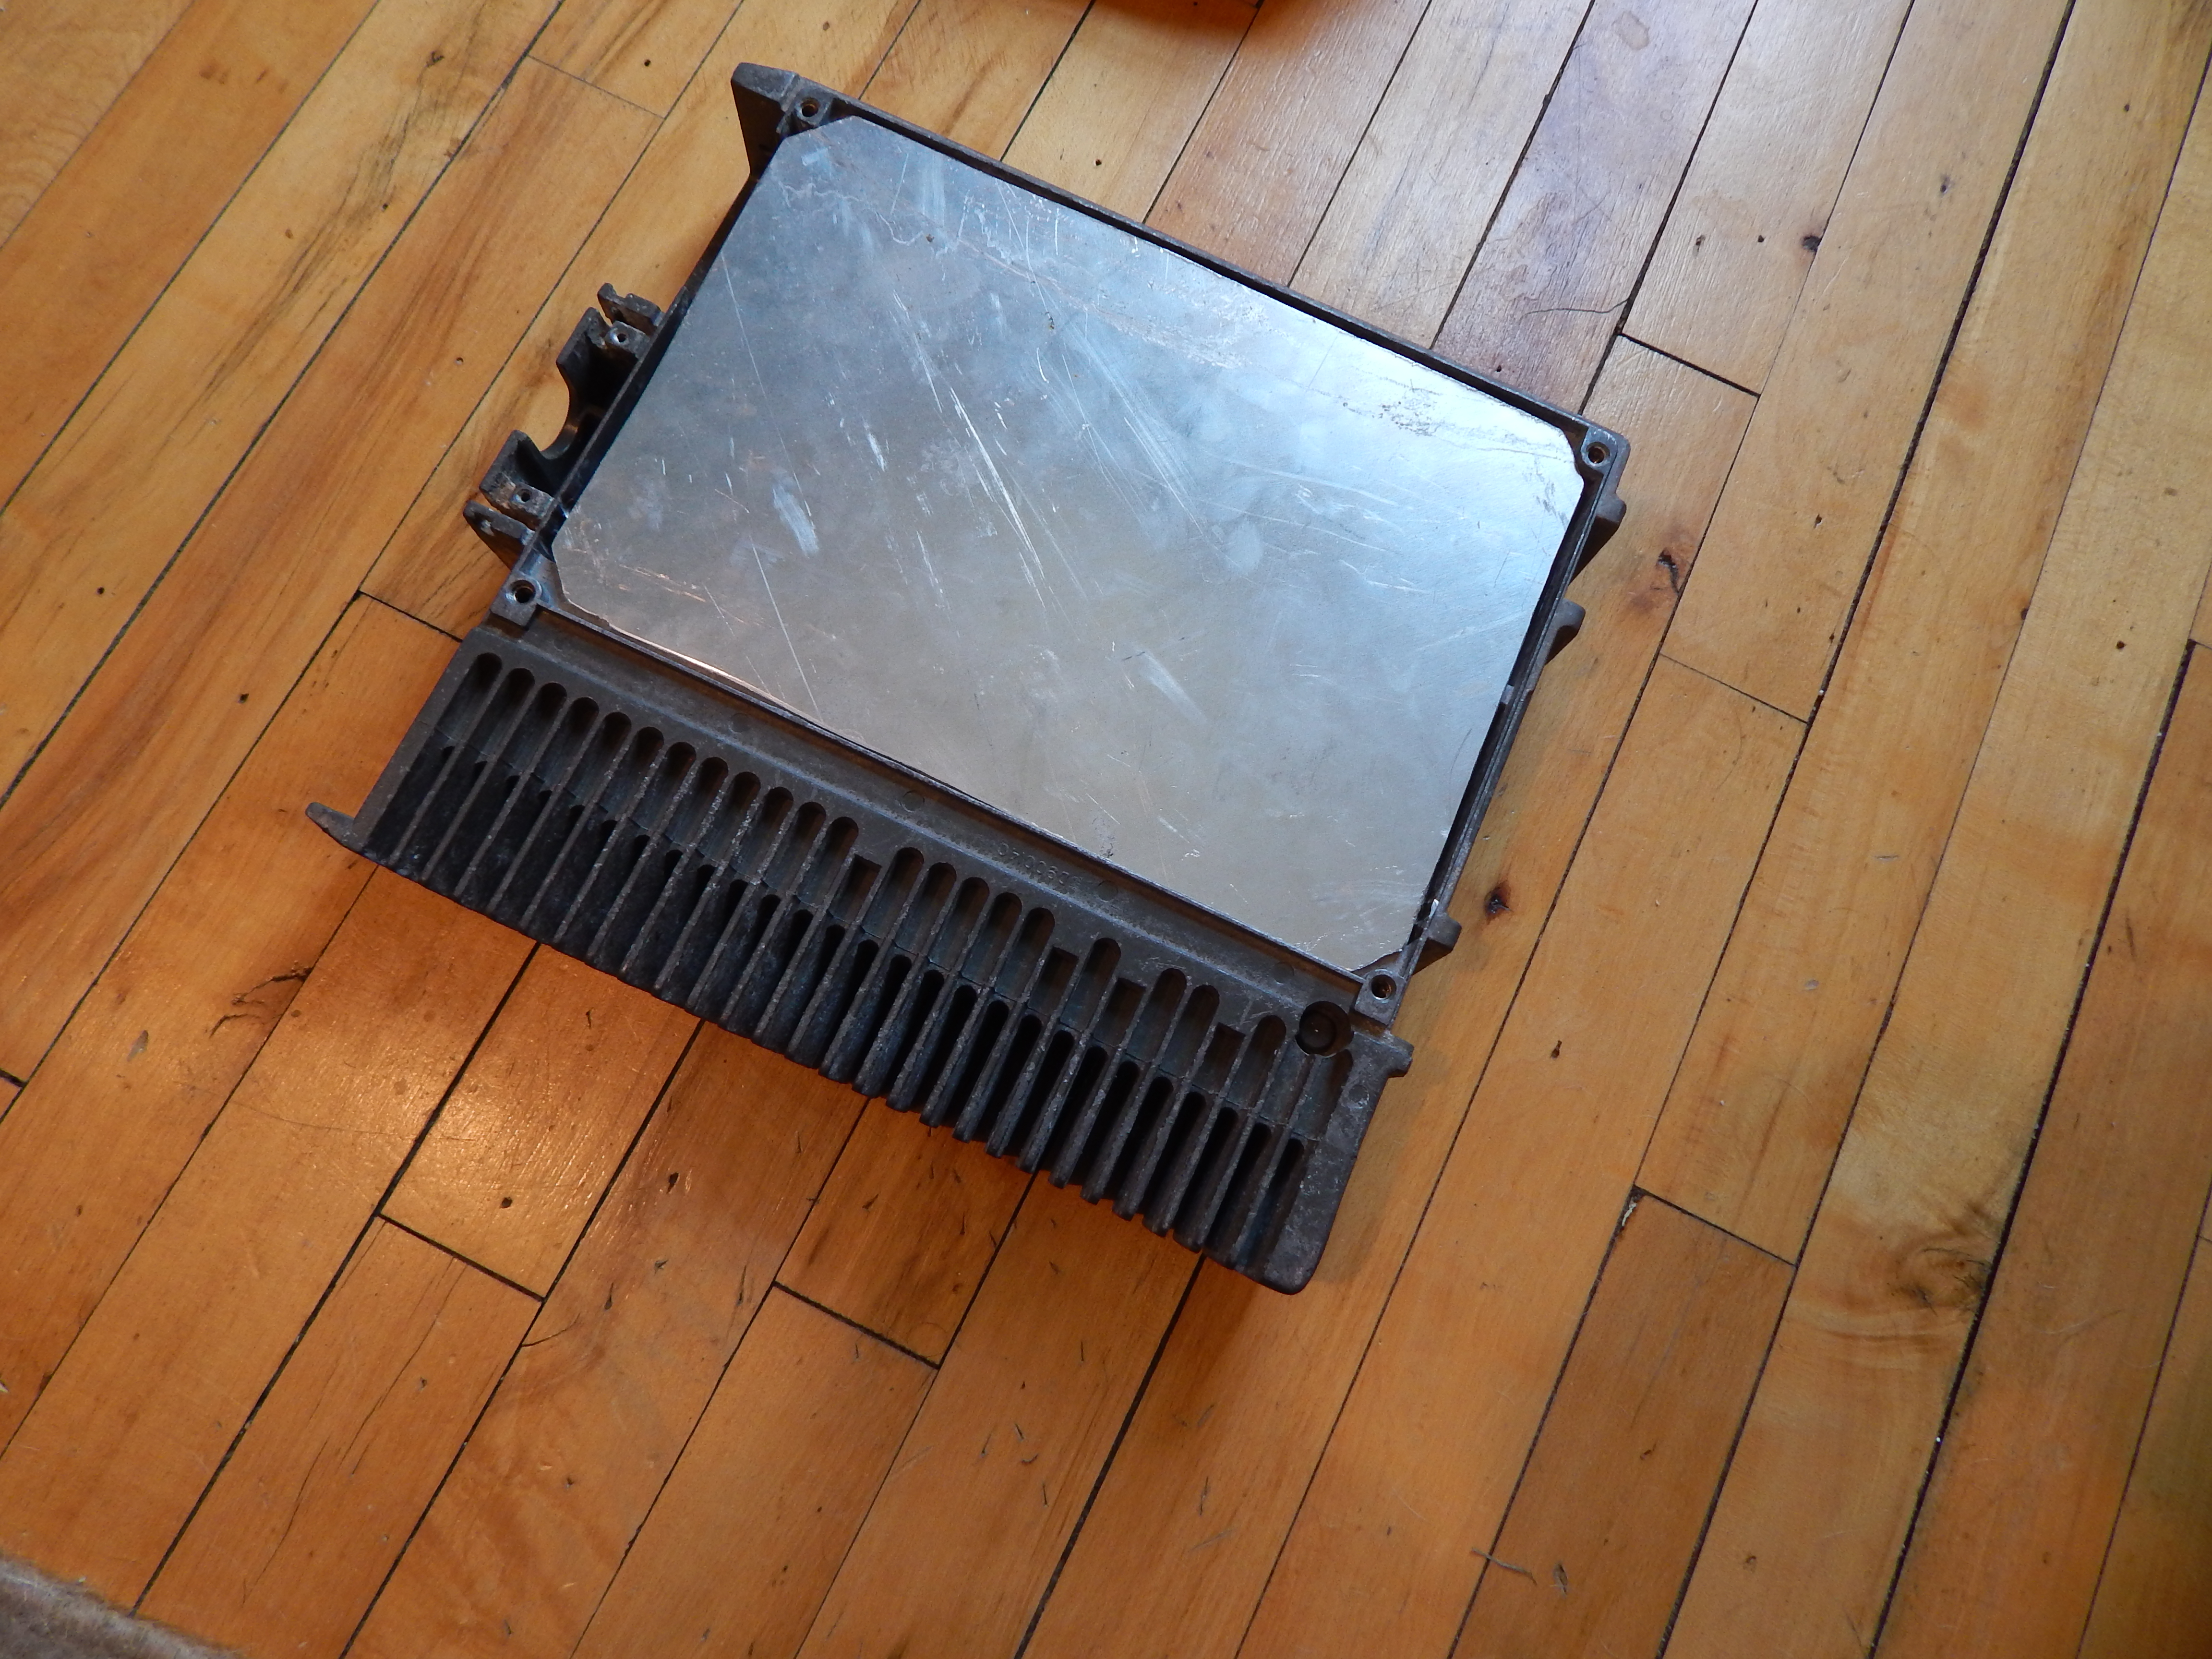
Turns out the cases are cast aluminum. Not the best, very brittle. He asked for a time frame, and I said a month or two. He said they’d try to get it done much sooner than that, so we’ll see.
I just ordered some stuff in anticipation of getting the cases back. Possibly by the end of this week, but more likely by the end of next week.
I got three colors of Cerakote. White, black, and gunmetal gray. My idea so far is an all white case, and a black case with gunmetal grey fins. Also got a mini HVLP touchup spray gun and other bits and pieces for that.
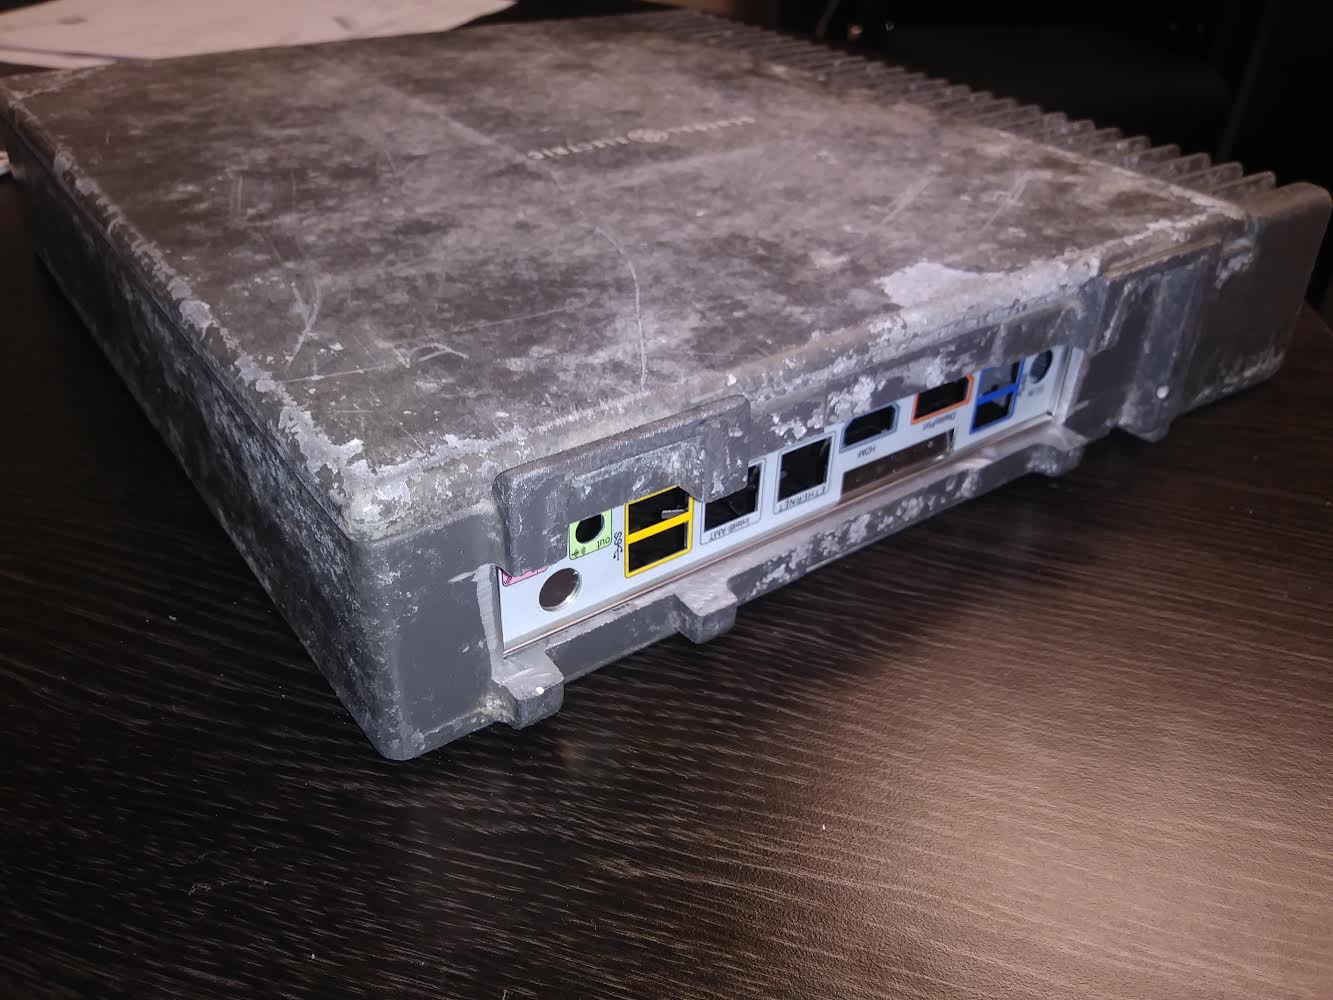
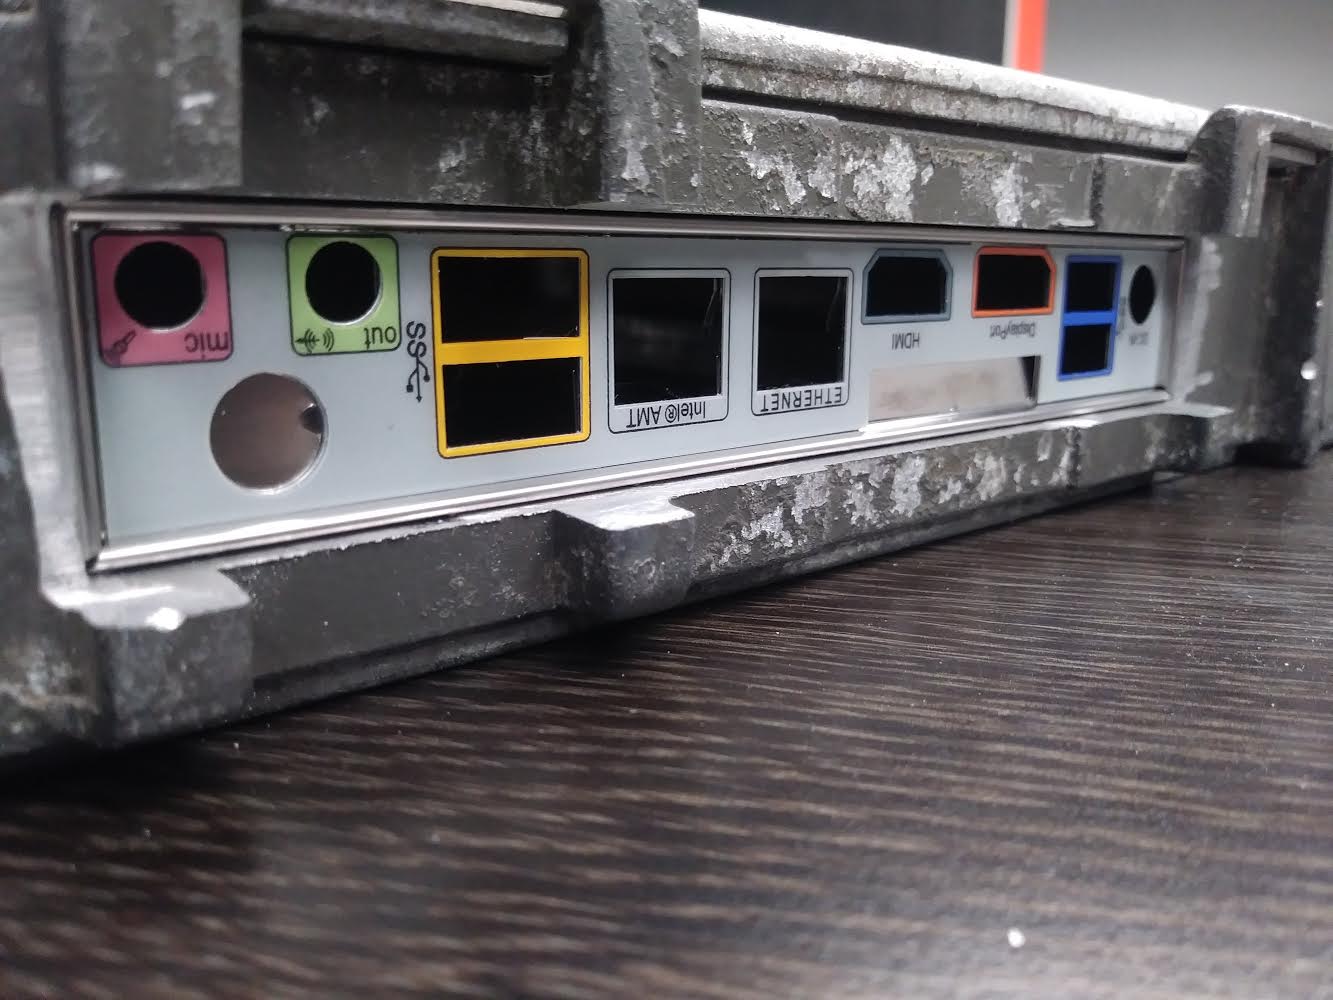
A thought about the IO shield and motherboard size: These cases are strictly thin ITX, which greatly limits the type of systems I can use. Intel only, and motherboard options are limited. Sort of a bummer, but as can be seen in the pictures a full-size IO shield will almost certainly not fit. It might be possible, and I will take some measurements when I get the cases back to see if I can extend the IO shield cutout up or down (or both).
I’m a little worried about motherboard mounting and placement. I am not sure how far off the motherboard mounting plate the board will end up in relation to where the IO shield is cut out. I have several different height brass standoffs, so I can make adjustments for that. I just hope it lines up correctly.
I’d like to do stuff at the front of the case. There’s a large rectangular cutout where the original many-pin connector was. I was thinking about using an arduino and placing an OLED display in that spot, and use it to display temperatures of the coolant and maybe the internal case. There’s also a large-ish U-shaped cutout, and I was thinking maybe a vandal power switch there. I need to buckle down and learn how to design stuff in FreeCAD or OpenSCAD so I can 3D print frames for both of these.
Pretty excited. I can definitely see this project finishing, as I have most if not all the stuff required to do it.