Heya, first post here though I am longtime fan of the L1 youtube content + occasional reader of the forums! I wanted to document my journey making a new, compact build with a custom case - since I thought it might be interesting/useful to others in this community. I have built two compact cases previously:
A 10 L mini-ITX case with a sandwich-style layout (motherboard + CPU on one side + GPU on the other). I was quite happy with how this turned out, but the ‘PCIE-4’ riser cable only worked reliably on PCIE-3, and it was a little difficult to work inside of due to how compact it was. This was primarily made from walnut and supported a maximum GPU length of 30 cm.
A 15 L micro-ATX case with an old school motherboard-facing up layout (like rack-mounted cases or an old IBM PC - which was an inspiration). I like this layout for a few reasons (a bit roomier, no need for a riser cable), but this design also had a few problems. The airflow was not great, and it could only fit GPUs up to 26 cm long. This was made from beech (which I painted light-blue) + aluminium.
My 3rd case will also be for micro-ATX motherboards, but is a little bigger than the 2nd design. The other big difference is that the motherboard is rotated to facilitate better airflow and fit better into its intended home. I plan to bolt it to the underside of a desk to free up space. Planned dimensions are roughly 40 x 15 x 30 cm (total volume = 18 L). It will be made from oak (with a natural finish) + aluminium.
I mainly want to use this PC for browsing the web, playing games, and doing some recreational coding. The main components are:
Sapphire Pulse 9070 XT (new, I had a 6600 XT in the old cases).
Ryzen 5700X (old CPU I used in cases 1 and 2 as well).
Aorus B550I (also old, from my previous builds).
Corsairs SF750 (new, since I need more power for the new GPU).
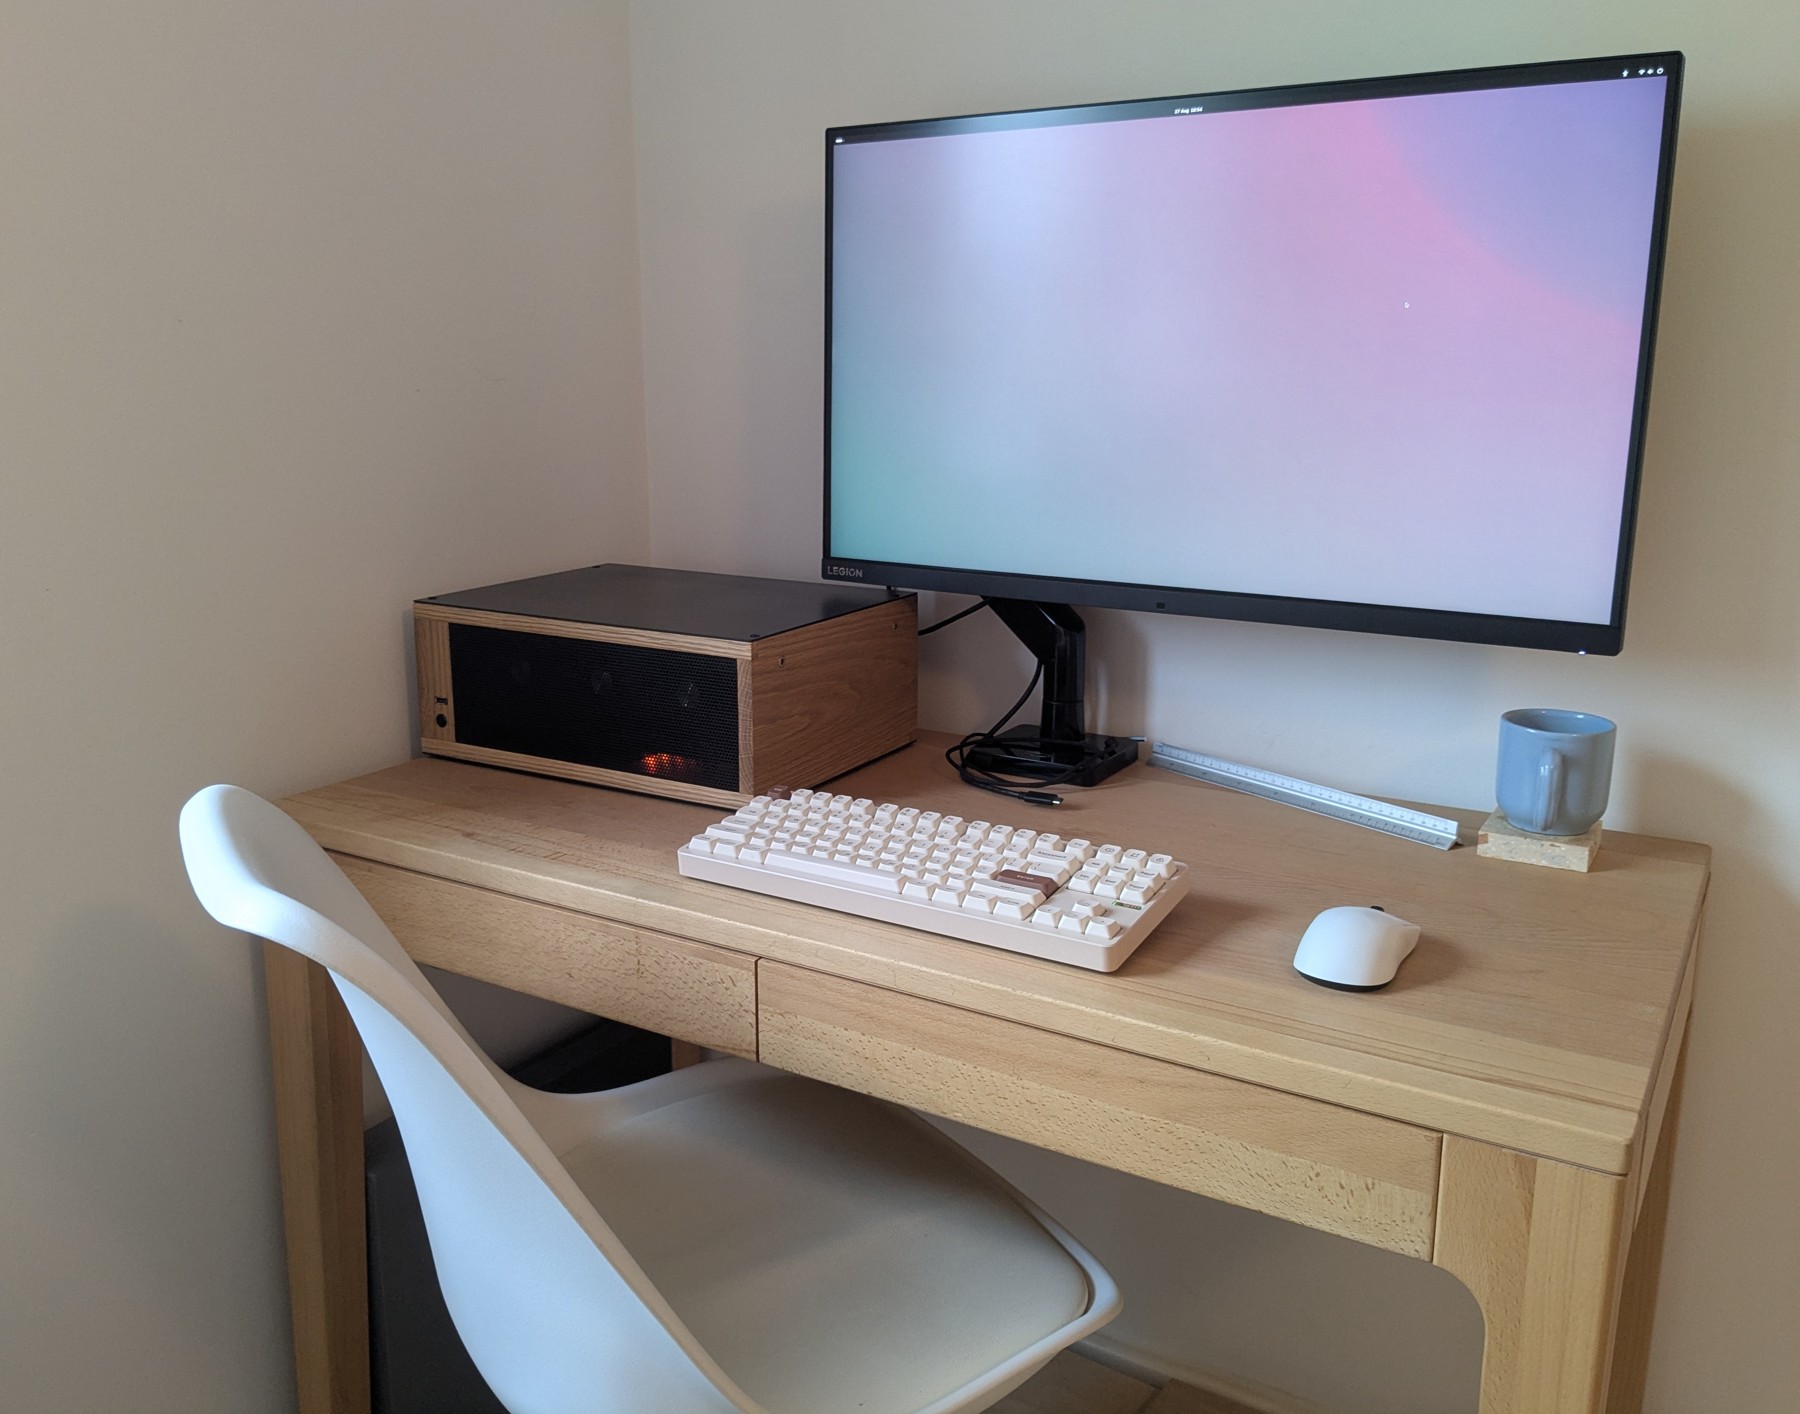
Also relevant, I now use a single 32" 4K display. I used to use two displays, but am enjoying the simplicity + lack of bezel of a single big screen - especially when coding. I think it encourages me to sit a bit further back and I don’t need to twist my neck from side-to-side as much . Obviously playing games at 4K requires a fairly powerful GPU, which is what encouraged me to buy the 9070 XT when I found one on sale for below MSRP. Less relevant (but I’ll mention it anyway), I will be using linux (arch btw).
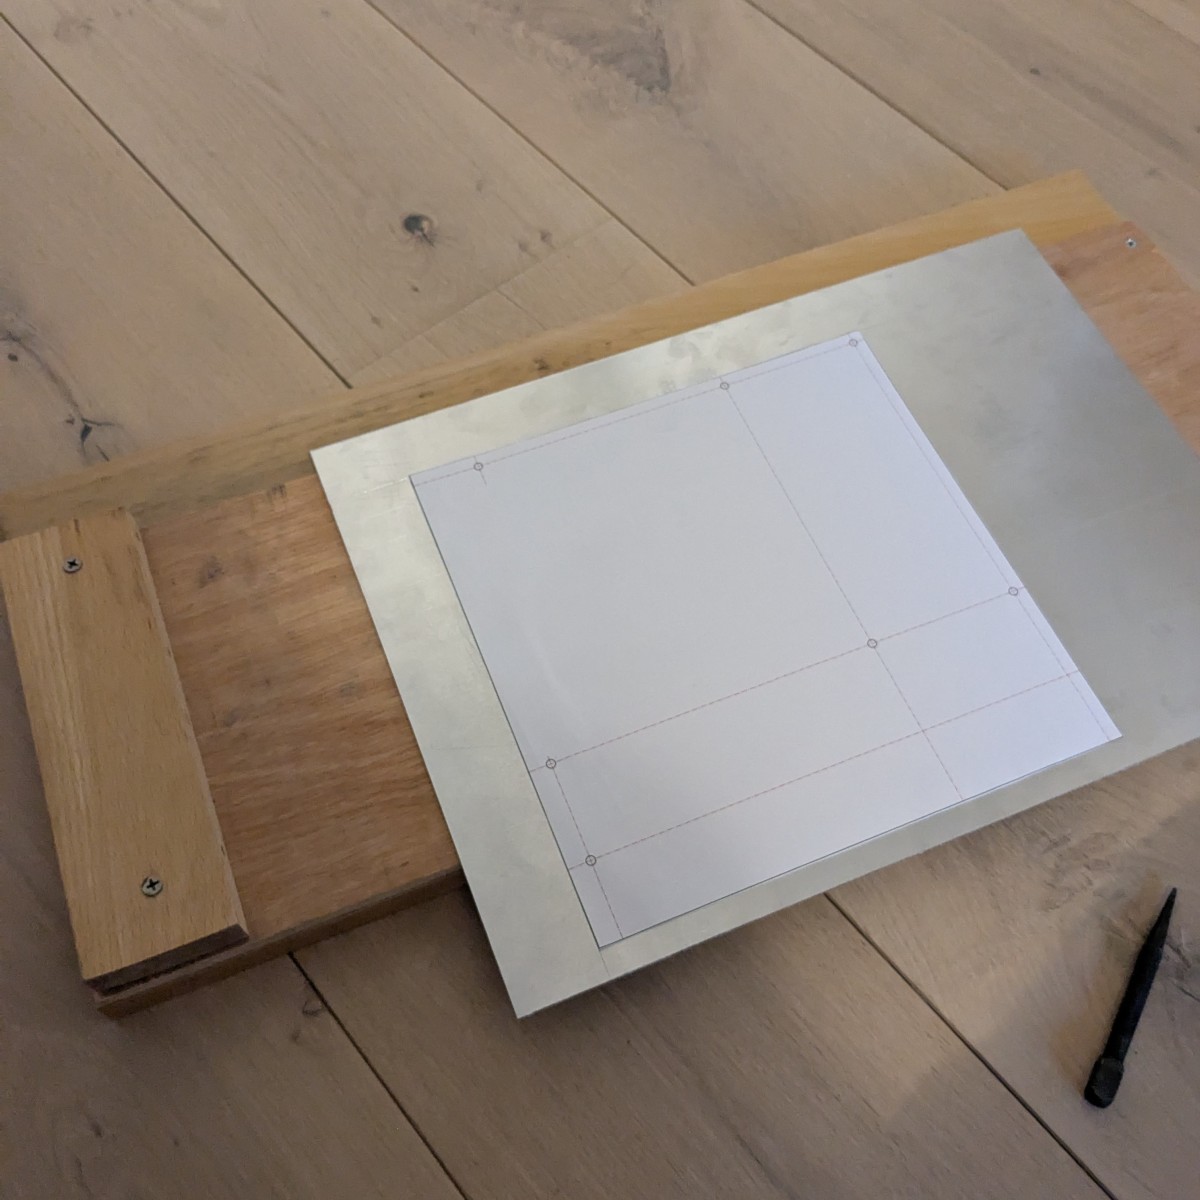
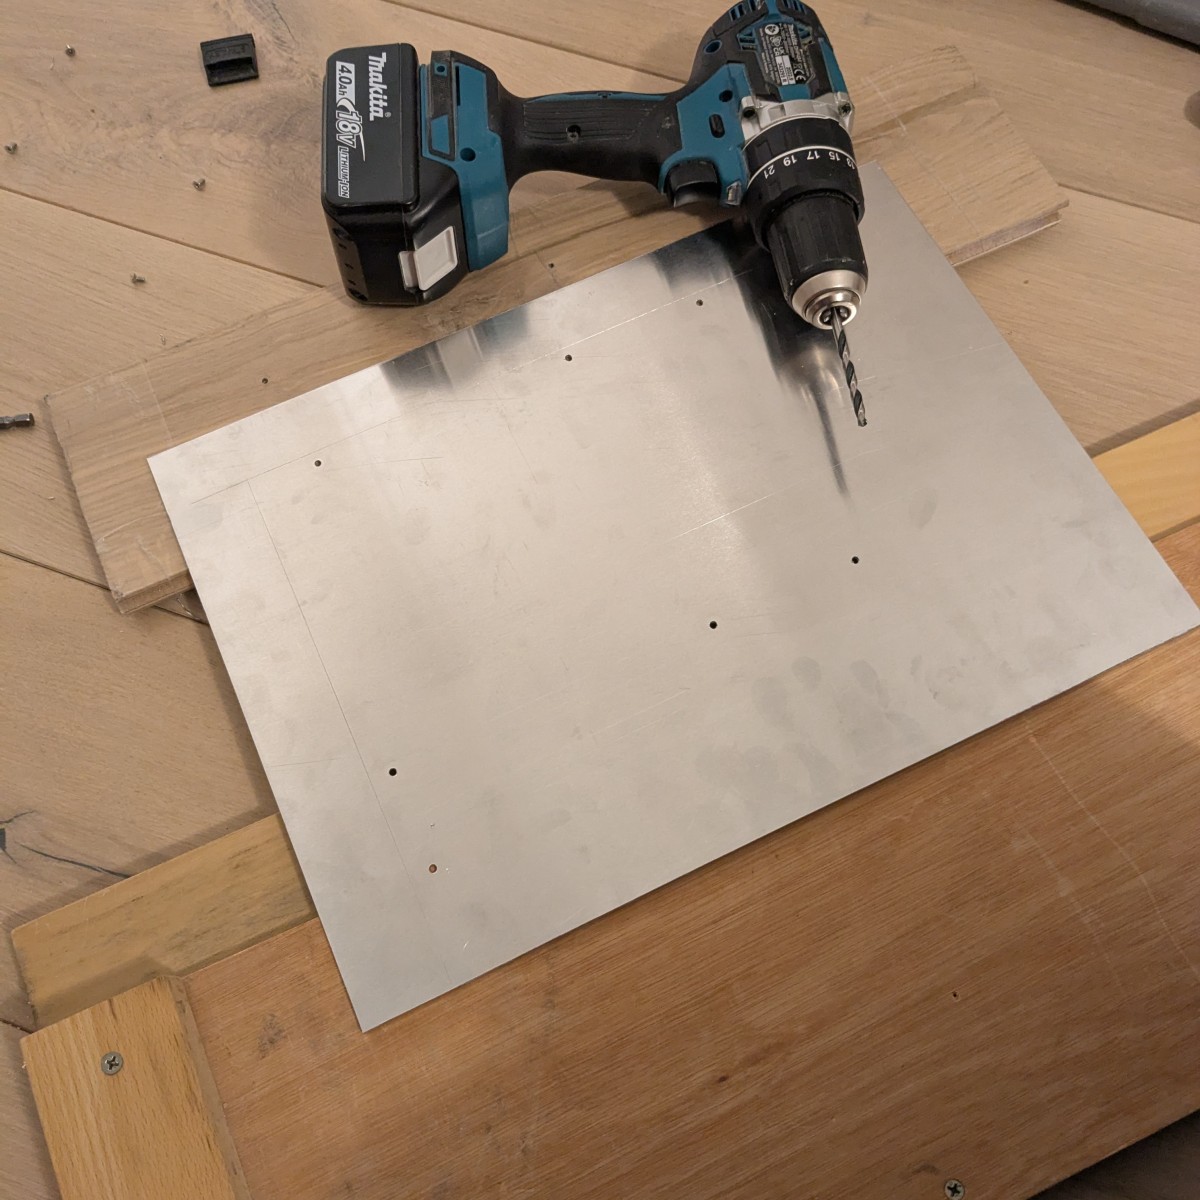
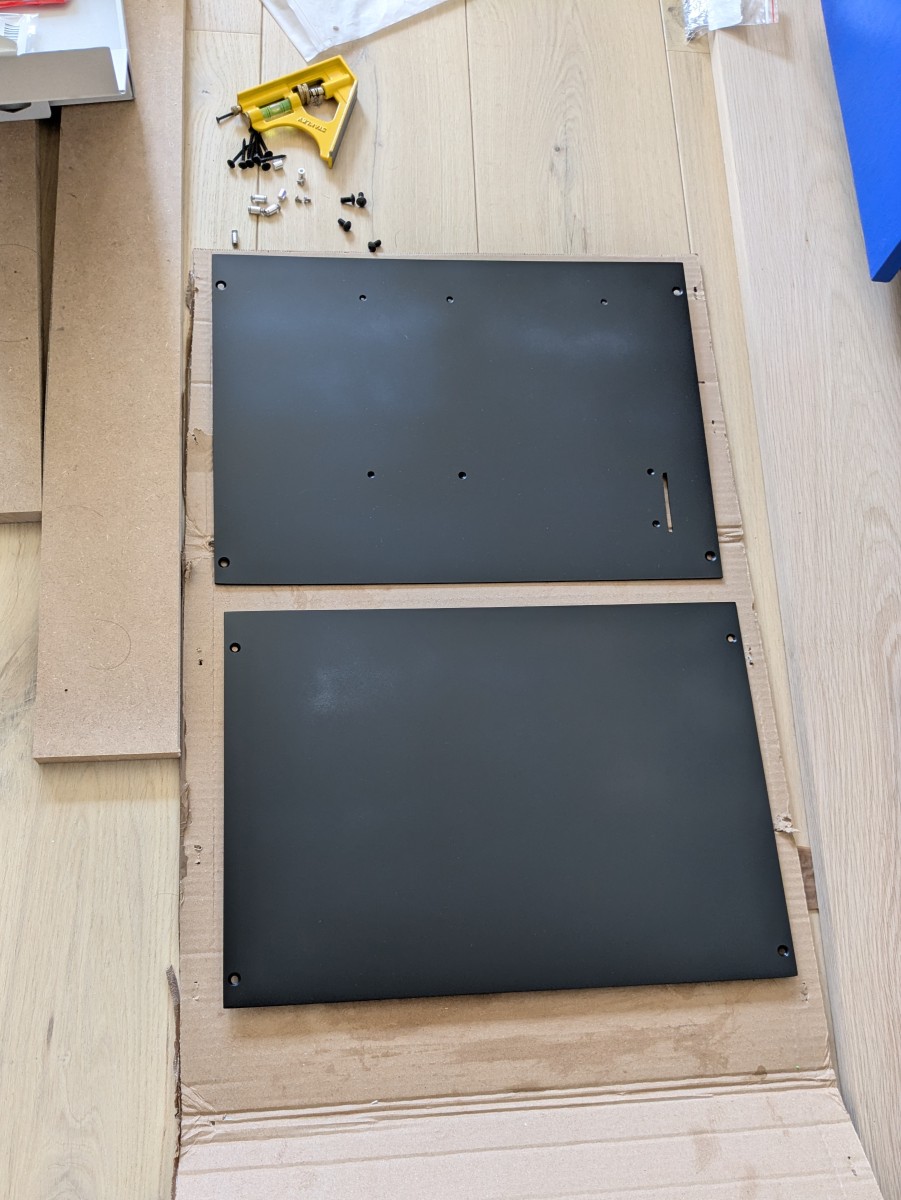
The base + roof of the new case are made from 2 mm aluminum sheet. I cut this to size using a circular saw, and marked the locations of the holes needed to mount the motherboard based on dimensions I found in the ATX spec:
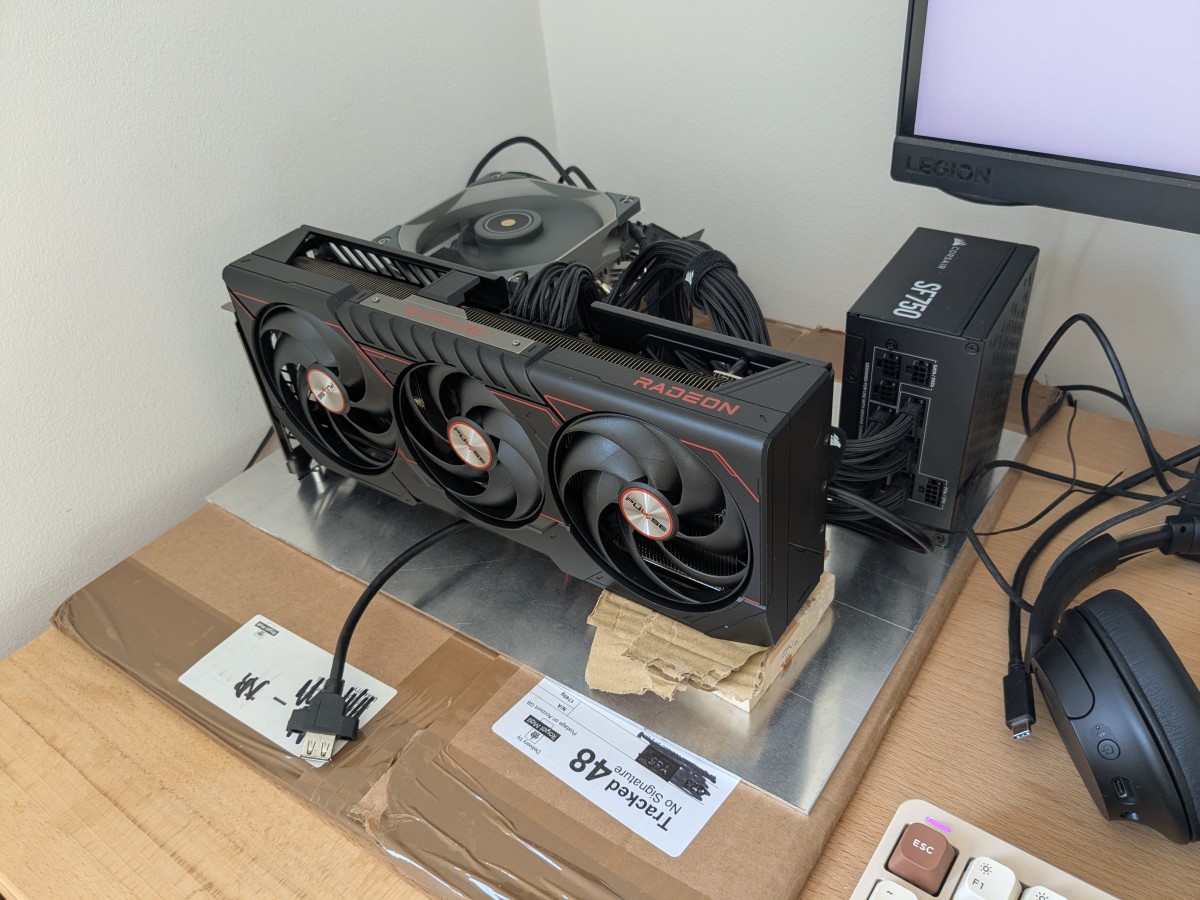
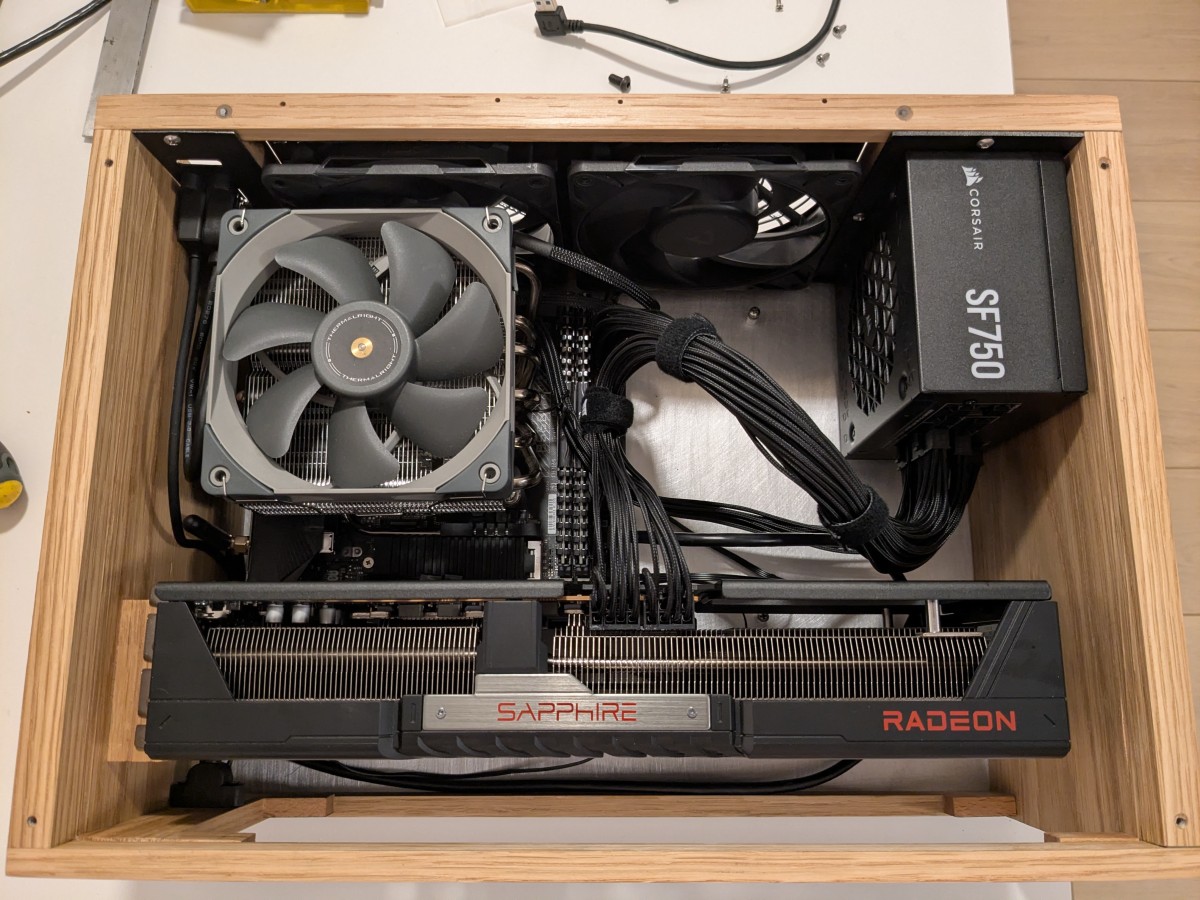
I used some 9 mm high standoffs to mount the motherboard to the base, but still needed to cut an extra slot for the GPU backplate to poke through. After doing this, I assembled all the components on top of the base to check that everything fit okay. I also installed CachyOS (which I am excited to try out: I’ve mostly stuck with Debian and Fedora until now), and ran a few benchmarks to check things were performing as expected and get an idea of thermals in an open-air setup (things will only get hotter from here!). The CPU cooler is a Thermalright SI-100, which seems like a good option given that I couldn’t find an upright 120 mm cooler that would fit. I think I will stick with the current CPU for a while yet, but it would be nice to upgrade to something with 10+ cores when these are available at lower TDPs (hopefully Zen 6, or Intel’s next generation of CPUs will fit the bill).
I removed the components and made a start on the walls of the case, which are made from 15 mm oak. The photo below shows the basic shape, and you can also see the slot I cut for the GPU bracket if you look closely.
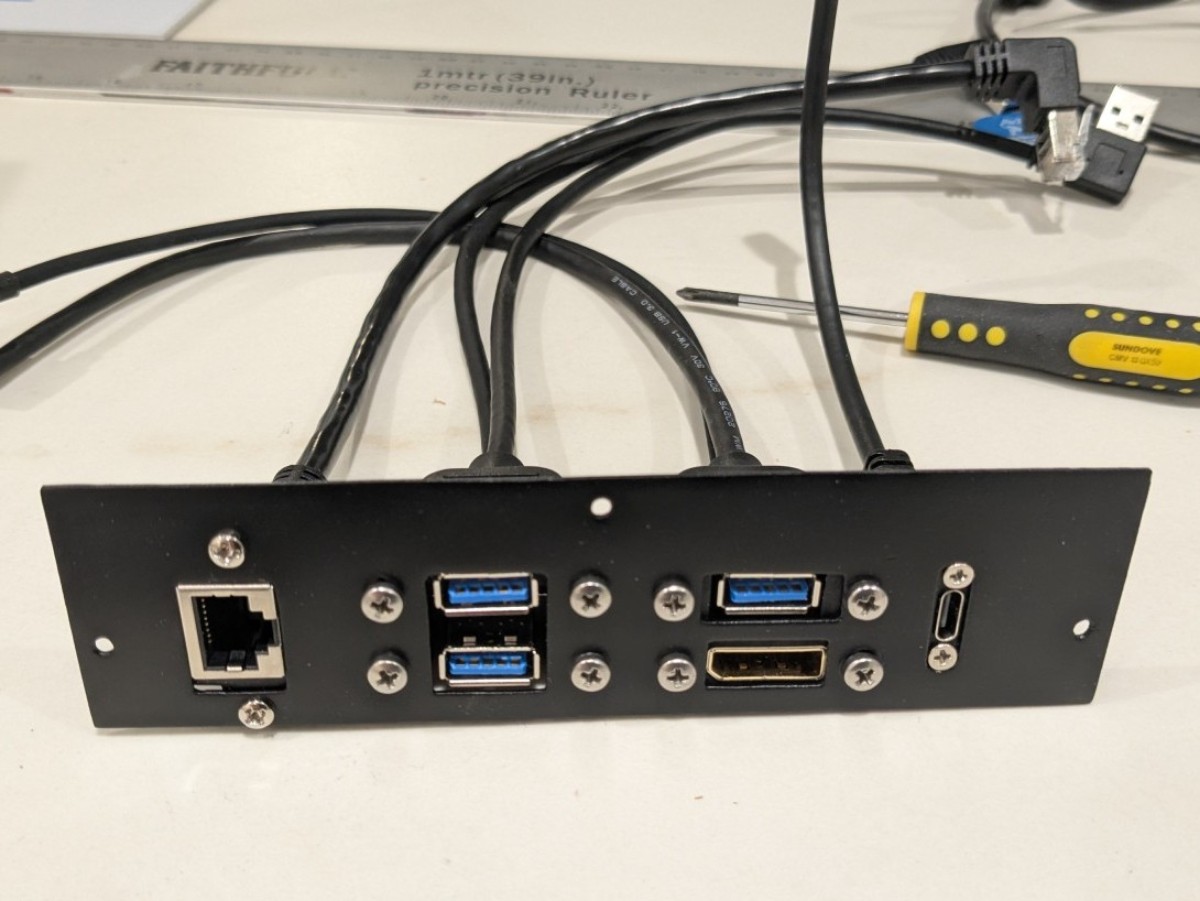
Since the motherboard is rotated, I used some panel-mount extension cables to route the I/O to the rear of the case. I cut some aluminium sheet to fit the ports and painted it black. The limited I/O is definitely a compromise, since there are just 3 USB A ports - and the extension cables are only rated for 5 Gb/s. There is just one display output (DP 1.4) which can do 4K at 144 Hz: which is all I need for now. I think having a separate I/O panel was a good idea, since it can be replaced with a new one if I want a different configuration in future.
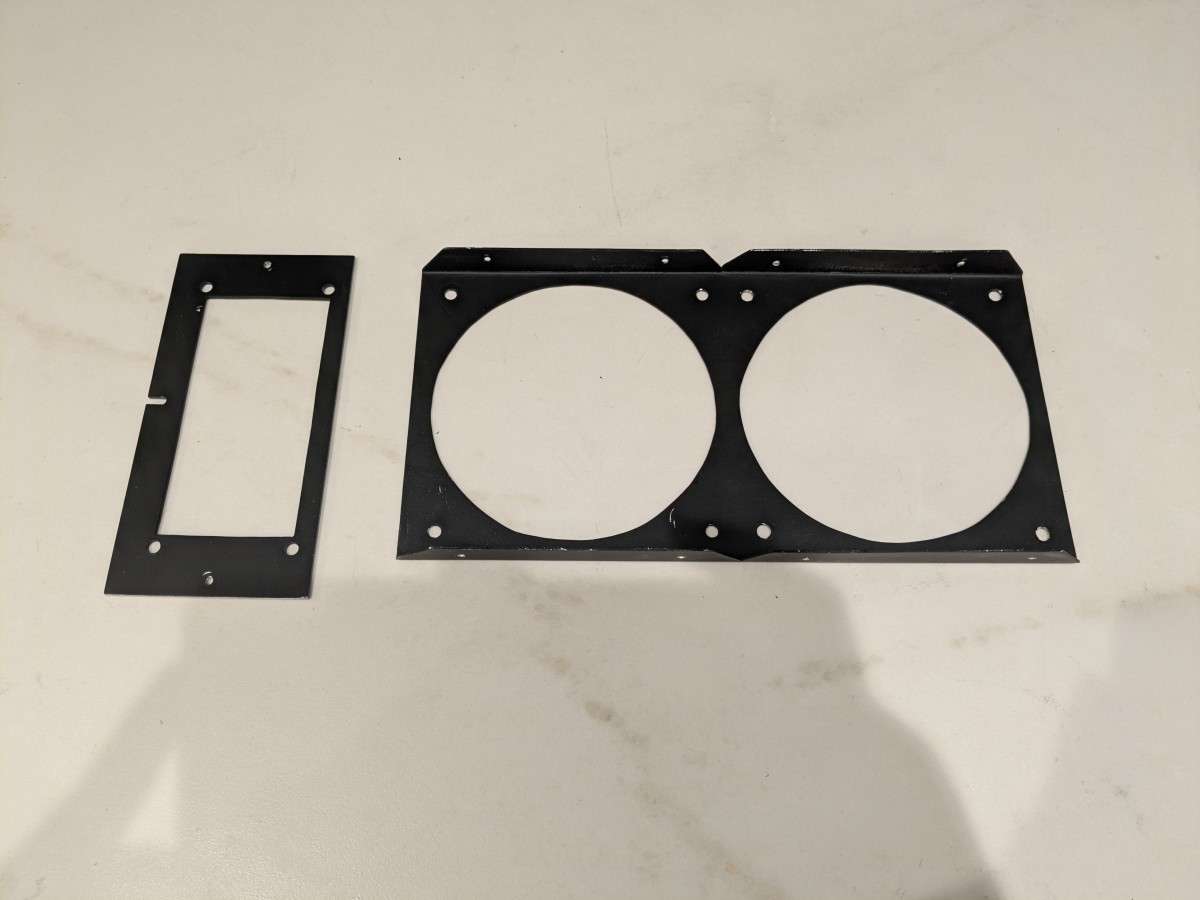
I made separate panels to mount the exhaust fans and power supply. In hindsight, it would’ve been simpler to just make a single combined panel for both. I also managed to scratch these a bit when test-fitting, though thankfully only on the interior side.
I made some good progress over the weekend. I still need to make the mesh panel that will cover the front, and apply another coat of paint to the base + top - but that’s all that’s left (unless I forgot something!). Looking forward to putting it all together
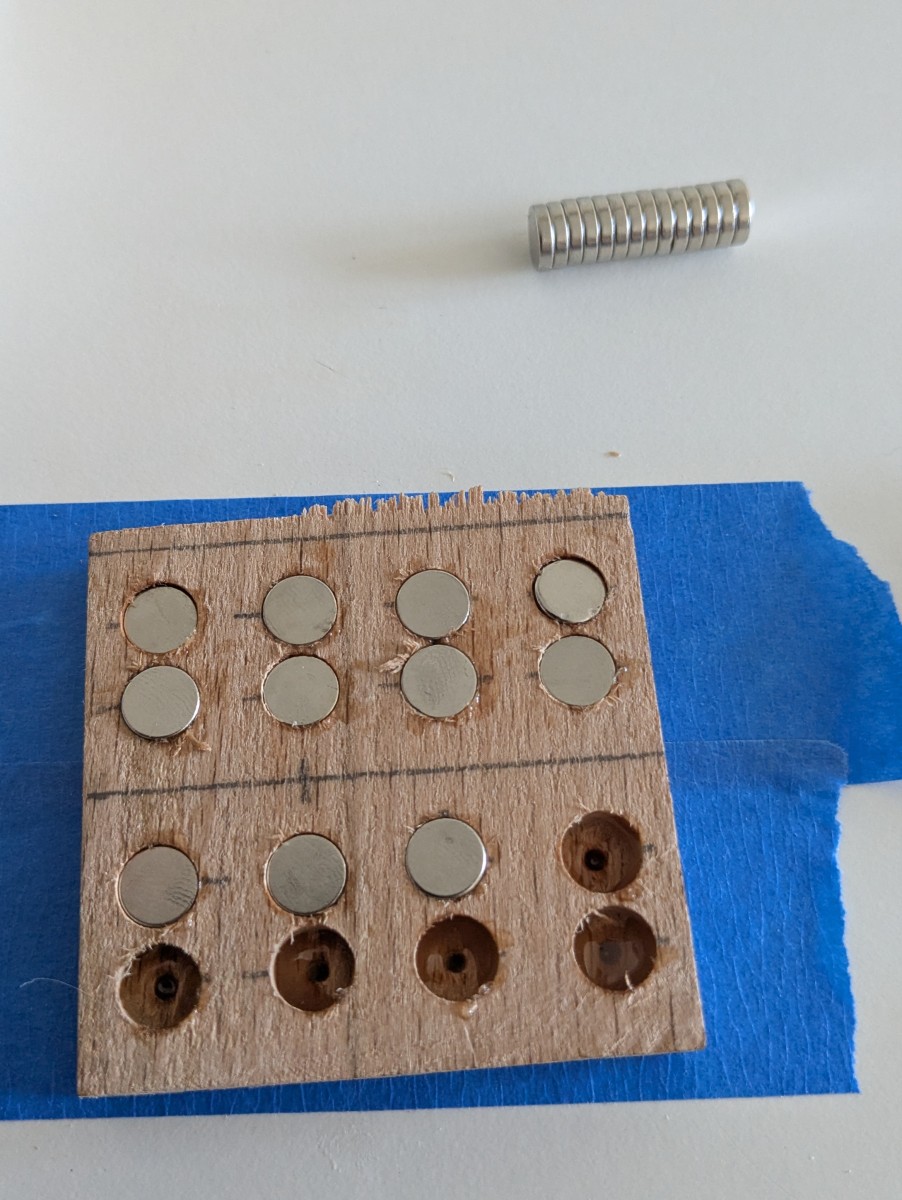
The mesh panel that will go on the front is made from mild steel and will be held in place with magnets (so it can be removed if needed). I drilled some holes in a piece of wood, inserted a couple magnets in each, and glued them in place with epoxy:
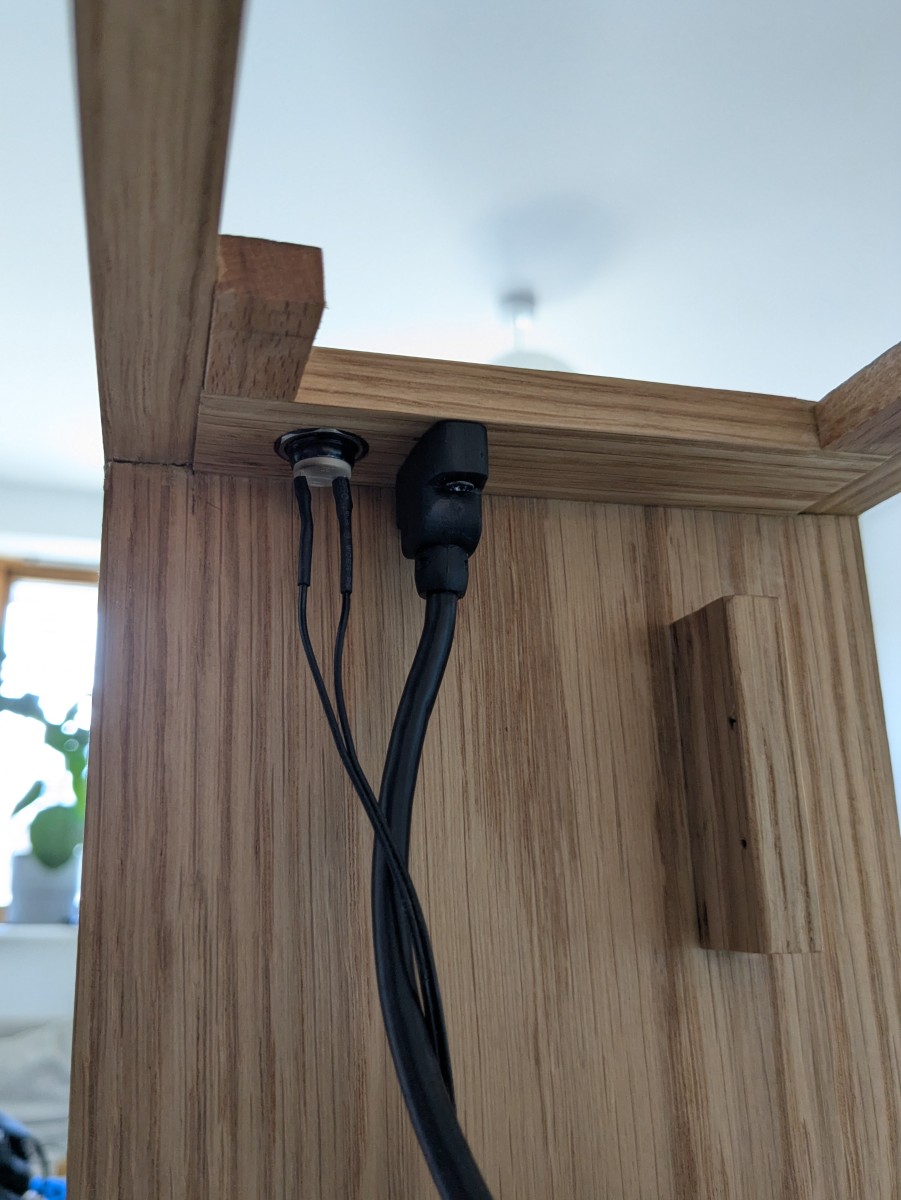
I cut the wood into little blocks with two magnets each (they look a bit like lego bricks), and glued the blocks to the corners of the opening at the front of the case. I only used 4 of the 8 blocks I made in the end, since they turned out to be a lot stronger than I was expecting. This next picture shows a view from inside the case looking out through the front opening. You can see two of the magnet blocks in the corners of the frame. Also shown are the power button + front USB connector, and a shelf that will support the GPU bracket:
Here are the top and bottom plate after a coat of primer + one coat of paint: looking a bit patchy. I was kinda hoping I could get away with a single coat of paint, but I guess that was wishful thinking!
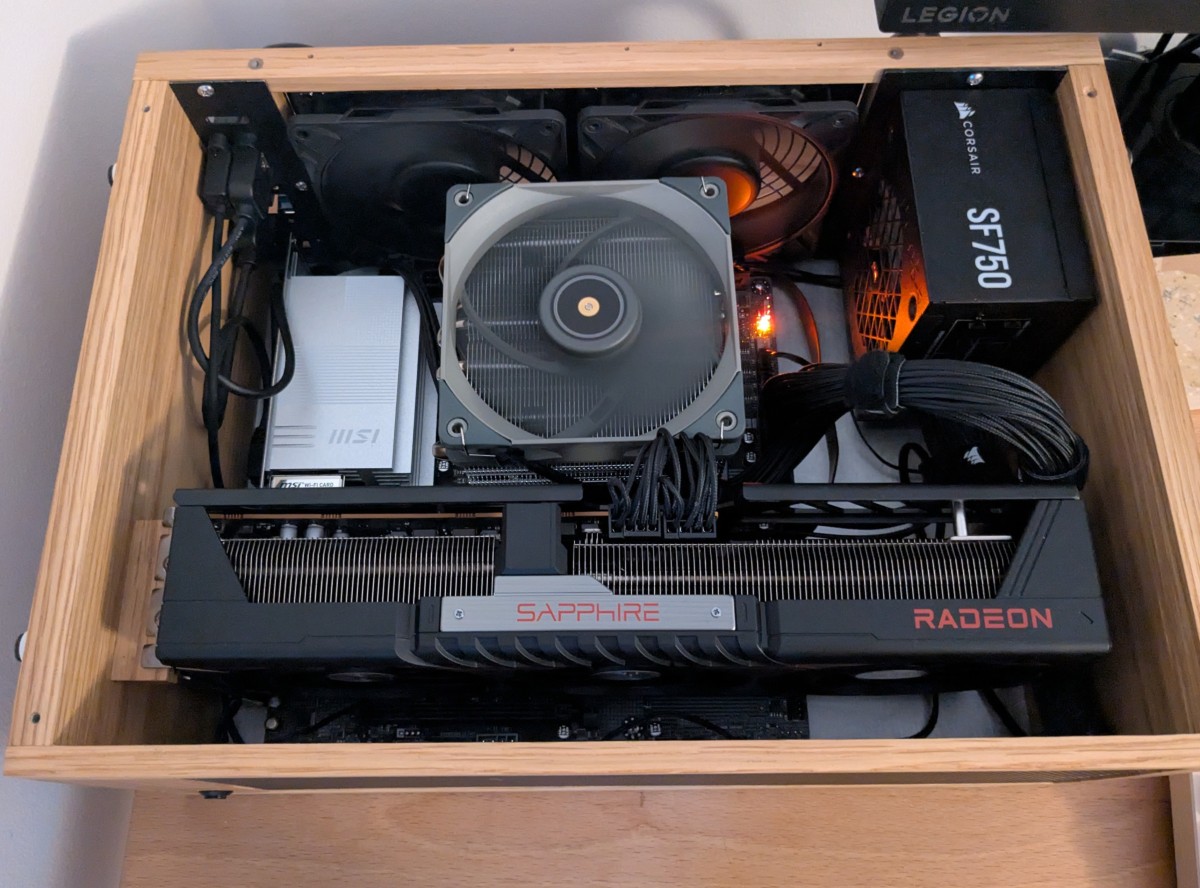
Now that the second layer of paint (and the oil-based finish for the wood) has dried, I was able to assemble things in the case for the first time. Things were very tight in the top left hand corner of the case where the IO panel is: I didn’t leave enough space for all the extension cables to fit next to the motherboard. I had to remove the ethernet port + 1 USB port, because these extension cables were in the way of the motherboard back panel. I wish I had stuck to my original plan of leaving a 30 mm gap along the left side of the case for the cables, instead of slimming this down to 25 mm! The situation is still salvageable though: I think I will just make a new IO panel, with the ports rearranged to better fit around the motherboard this time.
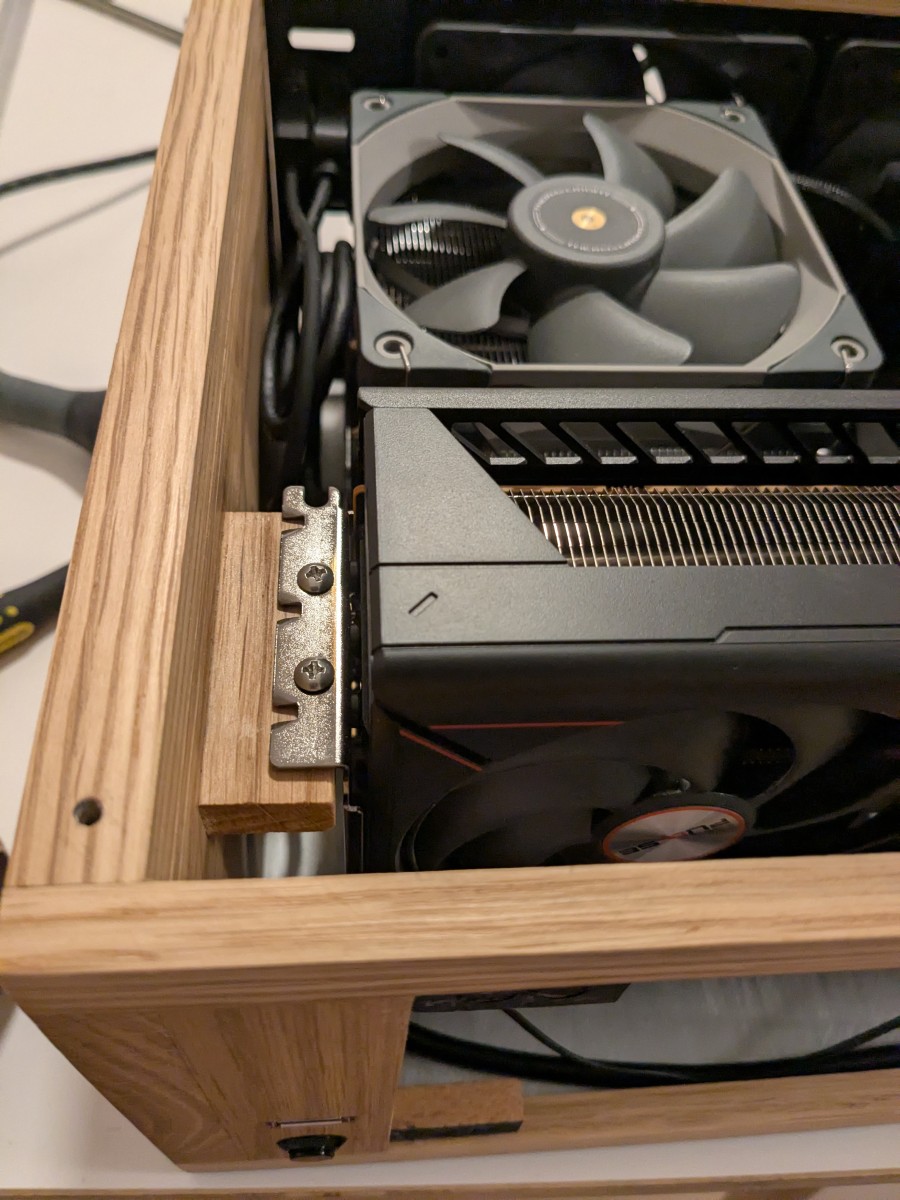
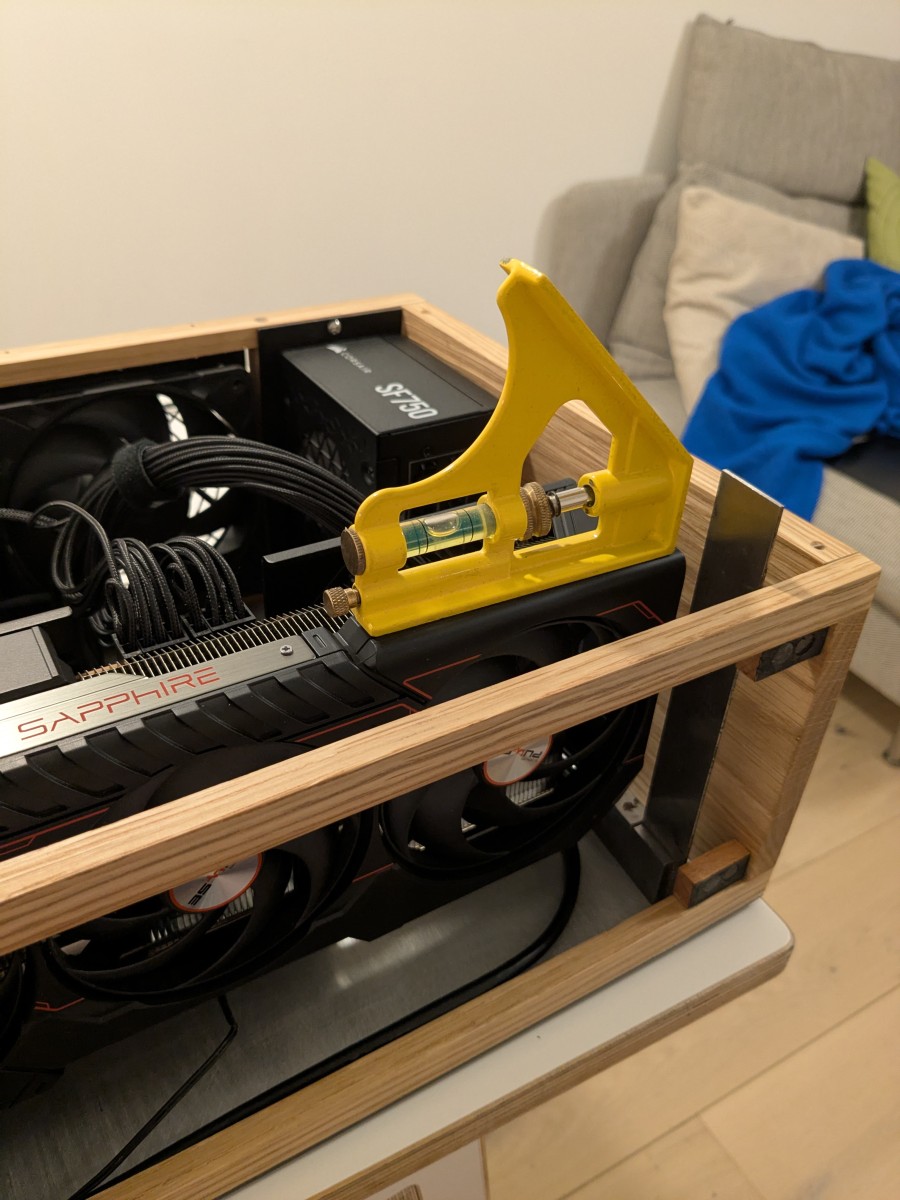
Elsewhere, things went pretty well. I left a small gap between the wood block that protrudes from the left hand side of the case and the bracket, and this allowed me to adjust the GPU’s orientation before tightening the two screws that go through the bracket and lock it in to place.
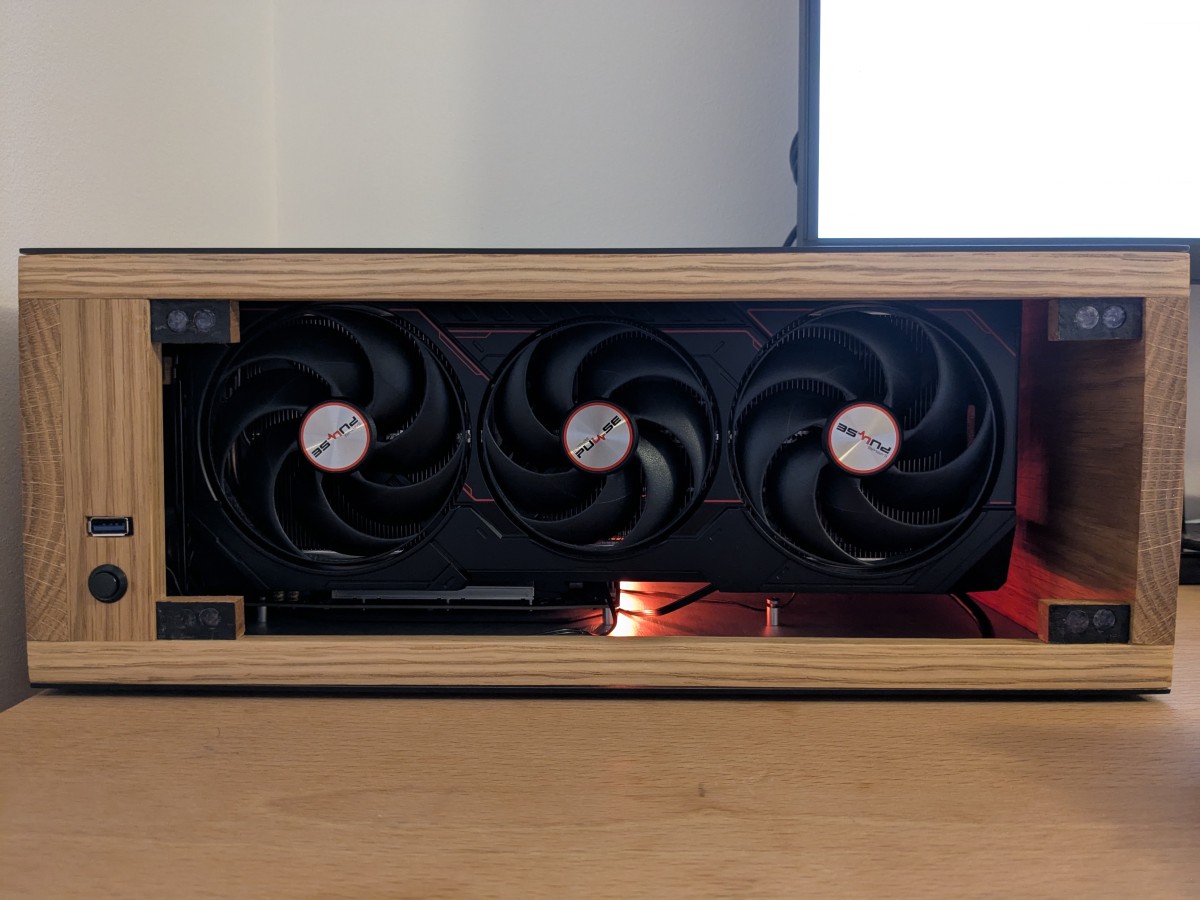
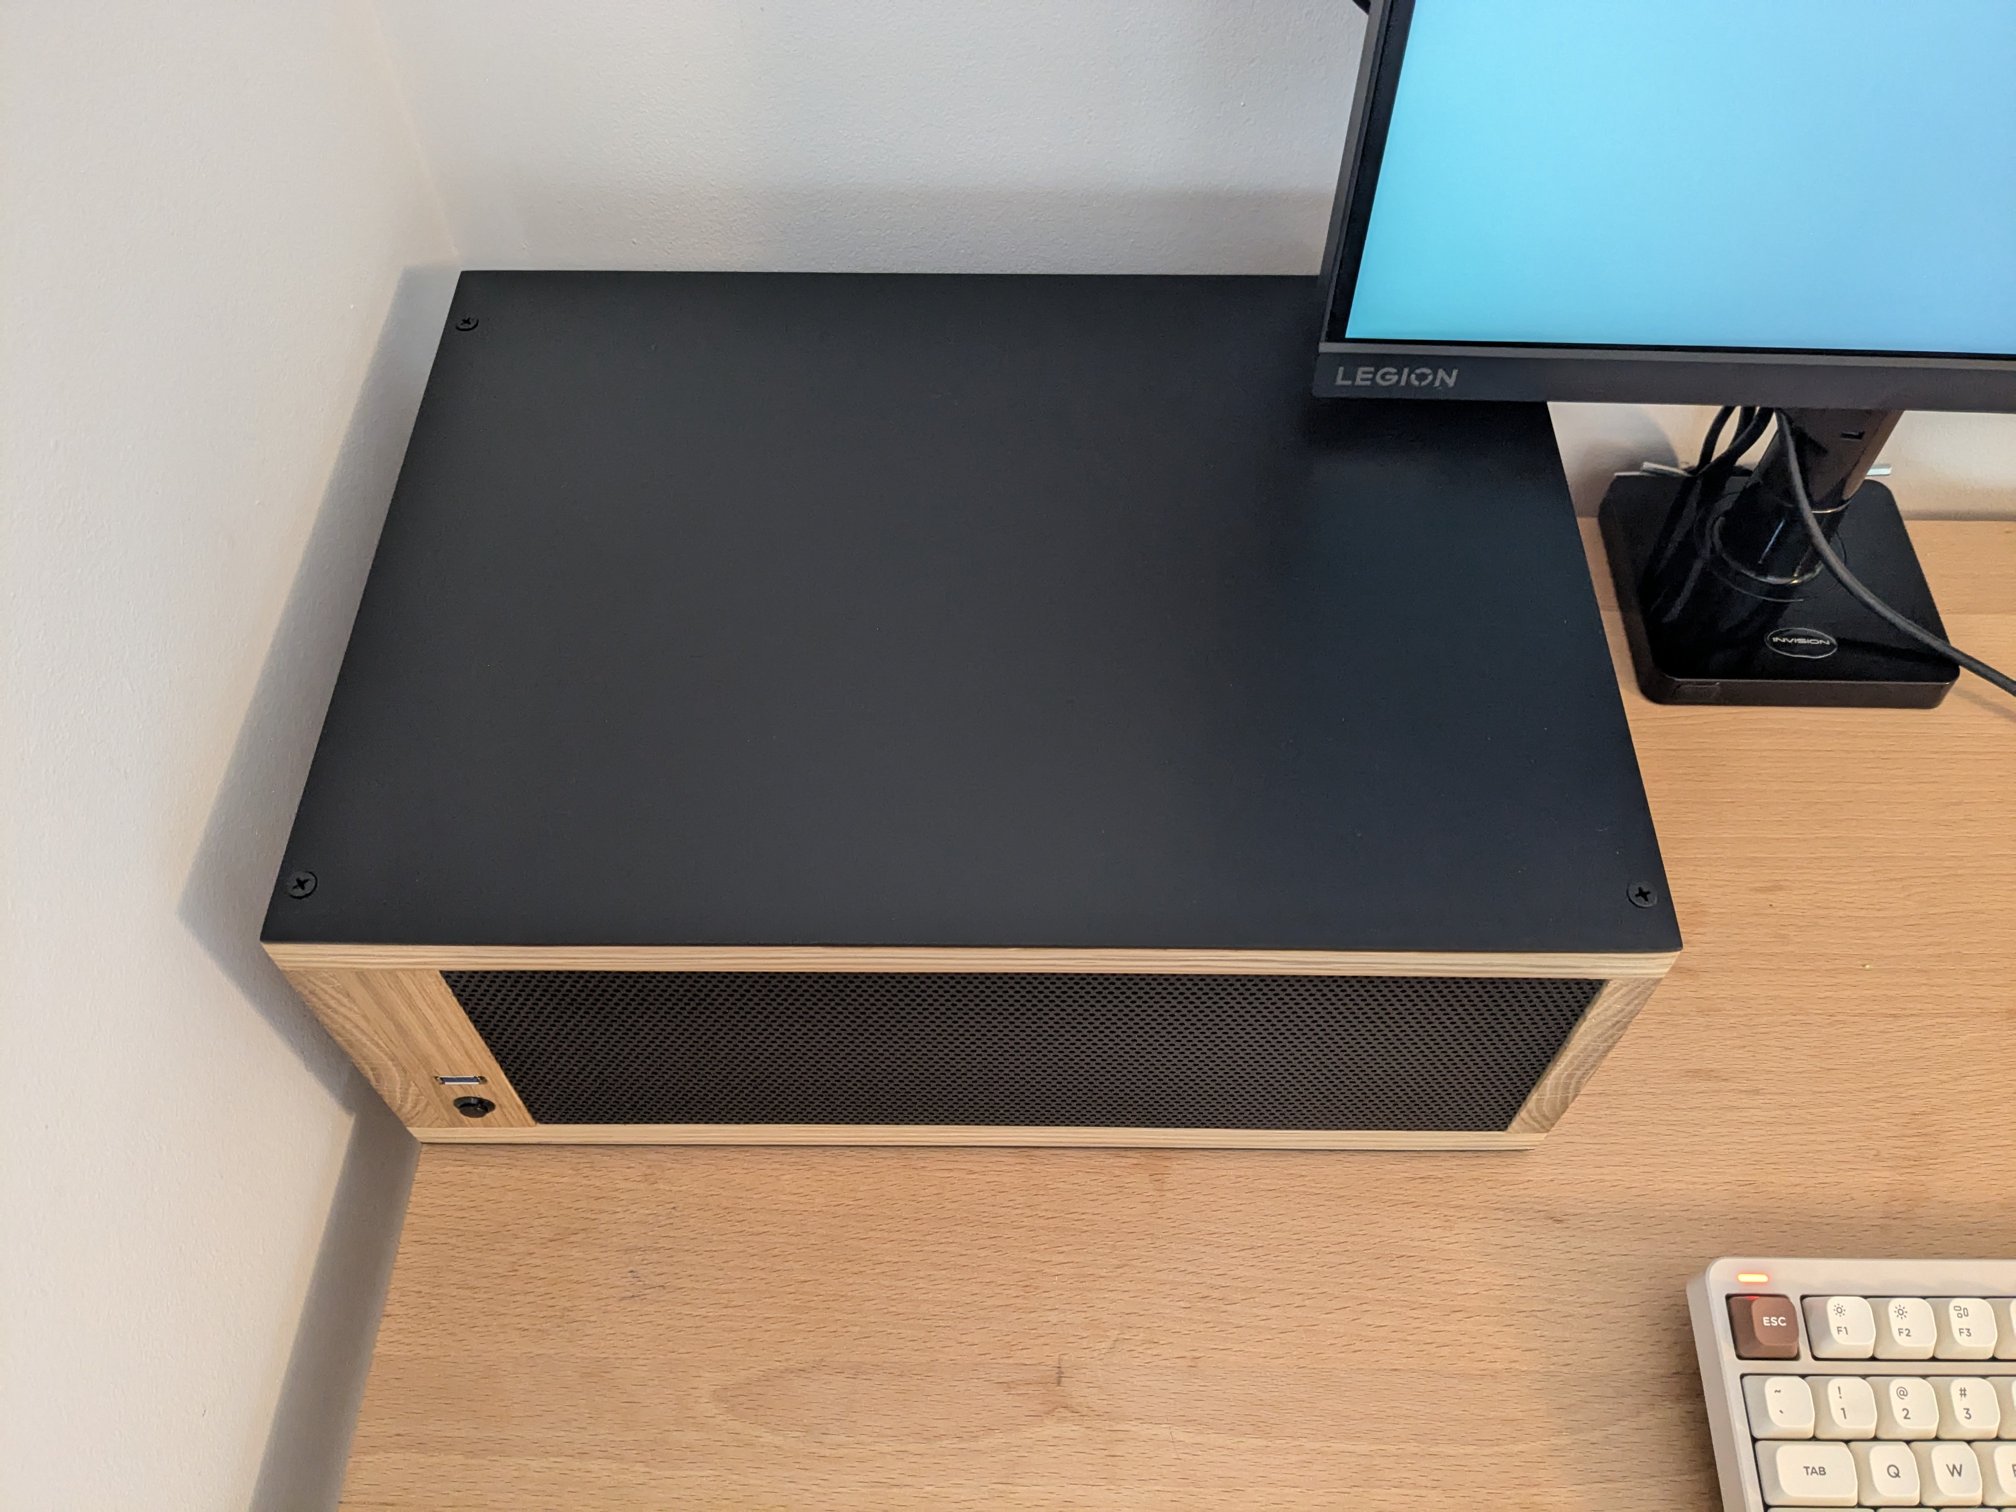
Here is the case right now, with top attached and everything running nicely. Thermals seem okay in my testing so far, though my stress testing is about crude. Definitely need to adjust some fan curves etc., but I will probably only dive into this properly when the mesh panel is ready (it needs a couple coats of paint first).
One other thing worth mentioning. After seeing Hardware Unboxed’s affordable B850 motherboard roundup, I decided to buy an MSI B850M-A Pro motherboard. This will be a great fit in this case since it doesn’t have a VRM heatsink between the CPU and the top of the board like many other designs: which would get in the way of the left exhaust fan. I got a very good deal on a 9700X (£208 delivered!) to go with it. I will have to wait a week or so for the motherboard to arrive, but am really looking forward to getting the new parts in!
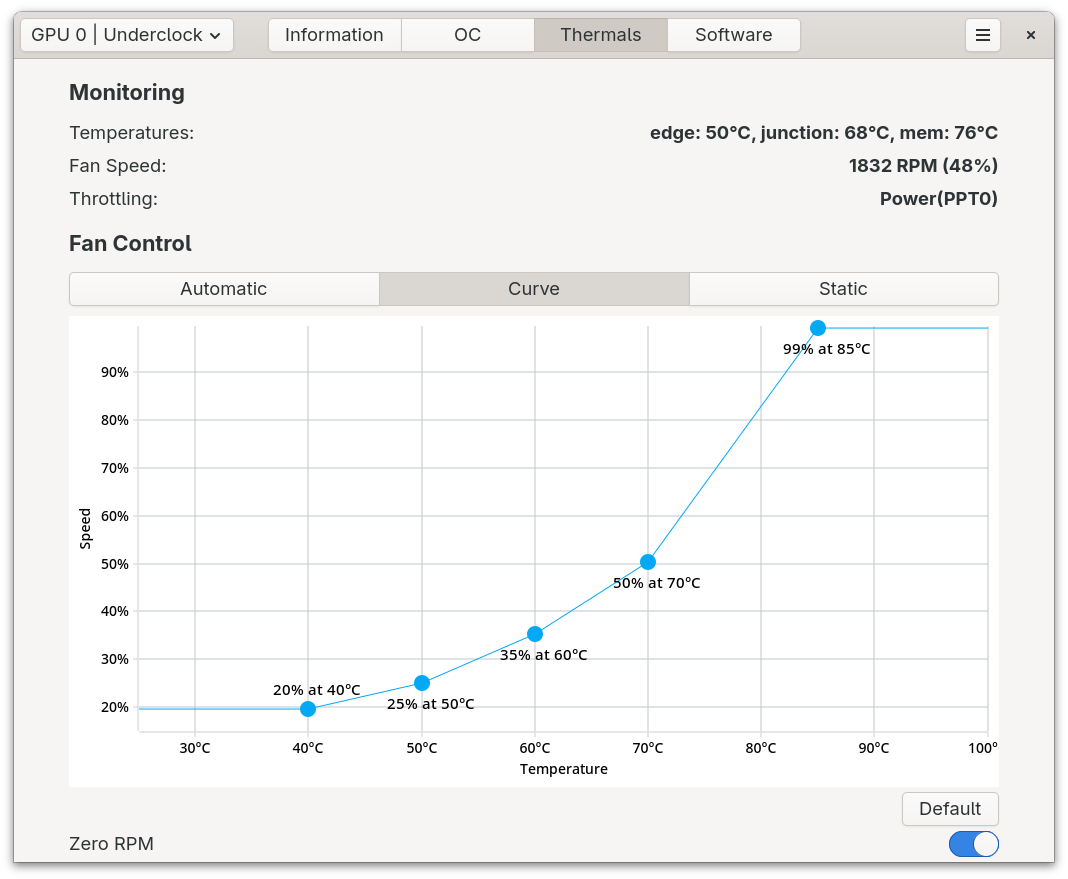
With the front panel installed, I set a custom GPU fan curve using LACT (first time trying it and I would definitely recommend it) and I adjusted the fan curves for the CPU cooler + exhaust fans in UEFI. My stress test consisted of running furmark + doing a blender render on the CPU simultaneously for 20 minutes. The 9070 (which gets cool air directly through the mesh panel) stayed cool and the 5700X (which gets warm air directly from the GPU) got up to 88 degrees during the stress test. CPU temperatures were about 10 degrees lower with the GPU idle, but benchmark results (geekbench + blender BMW) were only marginally lower - so I am happy with these results.
Looking forward to seeing how things perform with the 9700X when that arrives. I wrote some zig code a while ago that includes a small benchmark for collision detection that I am hoping will benefit a lot from AVX-512 instructions (not going to write the assembly myself - but hopefully LLVM can help me out here) + improved branch prediction in Zen 5.
The CPU temps with the 9700X are cooler than what I was getting with the 5700X in the ITX motherboard. It reached a max of 76°C during my stress testing (blender CPU render + furmark for 30 mins). I think this is because the CPU cooler is now nicely centred in front of the two exhaust fans, with the ITX build everything was squashed together in the corner - which probably restricted airflow.
I have been very happy with CachyOS so far. I was able to get Blender rendering on the GPU using HIP with no issues. FSR 4 is also working well in GTA V and The Last of Us (the only games I have that support it) after a simple change to the steam launch options (no optiscaler required).