
Backups - Self-hosting in 2026
This is part 2 of our Self-Hosting Series for Buddy Backups and is a companion how-to with Jake’s Video
Related:
Getting Started Overview
Our system is Proxmox. Jake’s system is TrueNas running on a server at his place.
You have a choice in setting this up as mentioned in Jake’s video!
The goals: Isolate and compartmentalize both ends. How? A combination of tailscale for the connectivity layer, dedicated VLANs in our homelabs for isolation and, in my case, setting up a sandboxed VM with a sandboxed dataset on my Proxmox host.
ZFS is our filesystem layer here; something like this might be doable with rsync but that’d be another discussion as ZFS is the best option available because of the facilities it has for synchronization and encryption.
The problem a Proxmox Host Creates
Proxmox natively uses ZFS. There isn’t really a way to pass through both a filesystem and the ZFS control mechanism to a VM. It is possible to passthrough just a directory but you don’t get the cool ZFS stuff.
Zoned ZFS (or ZFS with namespace isolation) is really the best solution for this. We did NOT do this for Jake, however, as it is annoyingly complicated, still.
The other option is, of course, to create a large ZFS volume and pass that through to TrueNAS, which is what we did for Jake. The interesting thing with that is that it’ll work on any NAS that supports creating a VM. It is far from a best-practice or low-overhead option, however.
Buddy Backup The Zoned Storage In LXC Way (The Good Way)
The goal will be to pass through a ZFS dataset to an LXC container while also delegating permissions to the person that controlls that LXC container. This is, ideally, not a privileged container.
-
From the Proxmox host, create the ZFS Dataset on an existing ZPool. These options ensure high-performance metadata handling which will help preserve file integrity during our rsync backups.
zfs create -o mountpoint=legacy -o acltype=posixacl -o xattr=sa -o dnodesize=auto tank/jakedataset -
Enable ZFS Zones - this must be done once per dataset
zfs set zoned=on tank/jakedataset -
Create the LXC container and include a hookscript which we will create in the next step. Make sure the LXC template is loaded on your host and that snippets are enabled for your storage target (e.g. local) first. Update the VMID (102) and hostname for your environment.
pct create 102 local:vztmpl/ubuntu-24.04-standard_24.04-2_amd64.tar.zst \
  -hostname jake \
  -cores 2 \
  -memory 4096 \
  -net0 name=eth0,bridge=vmbr1,ip=dhcp,type=veth \
  -unprivileged 1 \
  -features nesting=1 \
  -hookscript local:snippets/zfs-zone-lxc.sh
If the LXC already exists, use this instead
pct set 102 -hookscript local:snippets/zfs-zone-lxc.sh -
Create the hookscript on the Proxmox host at
/var/lib/vz/snippets/zfs-zone-lxc.shand paste in:#!/usr/bin/env bash # Hook script to attach ZFS zones on LXC start VMID="$1" EVENT="$2" if [[ "$EVENT" == "post-start" ]]; then # Get the PID of the LXC's root process PID=$(pct status "$VMID" -verbose | awk '/^pid:/{print $2}') if [[ -n "$PID" ]]; then # Attach the dataset to the container's user namespace zfs zone "/proc/$PID/ns/user" tank/jakedataset echo "ZFS zone attached to LXC $VMID (PID $PID)" else echo "Error: Could not find PID for VMID $VMID" exit 1 fi fiUpdate the VMID to match the container you created. Make it executable
chmod +x /var/lib/vz/snippets/zfs-zone-lxc.sh -
Start the container for a first boot, log in and update, install zfsutils, create a new user account for the dataset and check UID, then shut it back down
pct start 102 pct enter 102 sudo apt update -y && sudo apt upgrade -y && sudo apt install zfsutils-linux -y useradd jake usermod -aG sudo jake id jake # uid=1001(jake) gid=1001(jake) groups=1001(jake) exit pct stop 102 -
Map permissions on the host side - container IDs have 10- appended in front (i.e. 1001 in LXC = 101001 on host)
chown -R 101001:101001 /tank/jakedataset chmod 755 /tank/jakedataset -
Mount the dataset to the LXC by editing its config file (e.g
nano /etc/pve/lxc/102.conf) to add the mp0 entry at the bottom:mp0: /tank/jakedataset,mp=/mnt/jakedatasetIf you have additional datasets, add them as
mp1,mp2, etc. -
Start the LXC container to pick up the new mount(s)
pct 102 start -
You should now be able to zfs list and see the assigned dataset
zfs list
Putting this all together in the end, your zfs list inside the container should only return the mapped dataset(s), not everything that exists on the proxmox host.
# First start, note the PID
root@pvestor:~# pct start 102
ZFS zone attached to LXC 102 (PID 2089827)
root@pvestor:~# pct stop 102

# Let's look at zfs list on the host
root@pvestor:~# zfs list
NAME                         USED  AVAIL  REFER  MOUNTPOINT
tank                         161T  12.9T   217K  /tank
tank/jakedataset             486K  12.9T   166K  /tank/jakedataset
tank/jakedataset/encrypted   320K  12.9T   320K  /tank/jakedataset/encrypted
tank/jaketruenas            60.8T  73.7T  2.84G  -
tank/s2dataset               153K  12.9T   153K  legacy
tank/s7dataset               153K  12.9T   153K  legacy
tank/s8dataset               153K  12.9T   153K  legacy
tank/video                  92.6T  12.9T  92.5T  /tank/video
tank/web                    4.06T  12.9T  4.00T  /tank/web
tank/web-backup              132M  12.9T   132M  /tank/web-backup
tank/web2                   3.89T  12.9T  3.89T  /tank/web2
w1                           331T  52.8T   331T  /z/w1

# Now starting the container again, note the different PID
root@pvestor:~# pct start 102
ZFS zone attached to LXC 102 (PID 2091194)

# Step into the container (excuse our root)
root@pvestor:~# pct enter 102
bash: /root/.bashrc: Permission denied

# The container only sees its assigned datasets
root@jake:~# zfs list
NAME                         USED  AVAIL  REFER  MOUNTPOINT
tank                         161T  12.9T   217K  /tank
tank/jakedataset             486K  12.9T   166K  /tank/jakedataset
tank/jakedataset/encrypted   320K  12.9T   320K  /tank/jakedataset/encrypted
root@jake:~#
This right here is hard-won arcana that, as far as I know, is not documented anywhere else on the internet.
The Proxmox End Of Things for TrueNAS Buddy Backup (The Alternative Dumb Option)
If we want to run a full TrueNAS VM, we use ZVOLs instead of Zoned Storage. Basically we create a big chunk of storage for the TrueNAS VM to use as one-single-drive.
So as we build out with this method we’ll need to create those ZVOLs on the Proxmox host, and then map them to the TrueNAS VM like we would for a VHD. This gives TrueNAS block-level storage control and native ZFS features including snapshots and replication.
How to run TrueNAS as a VM in Proxmox
-
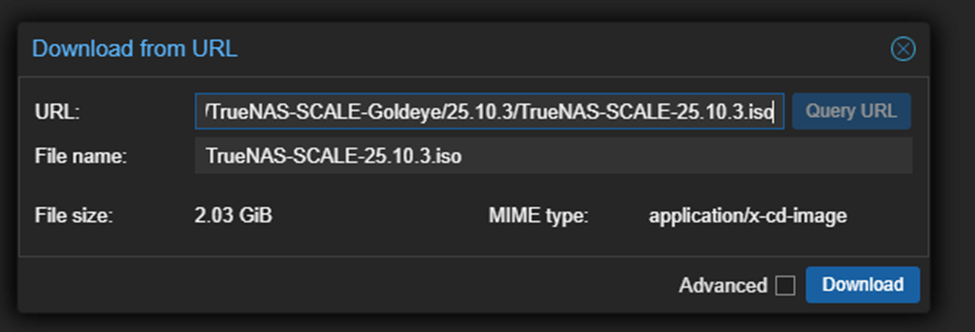
Download the latest stable TrueNAS Scale community image from Download TrueNAS | TrueNAS - Open Enterprise Storage which is 25.10.3 at the time of writing onto your Proxmox host.
-
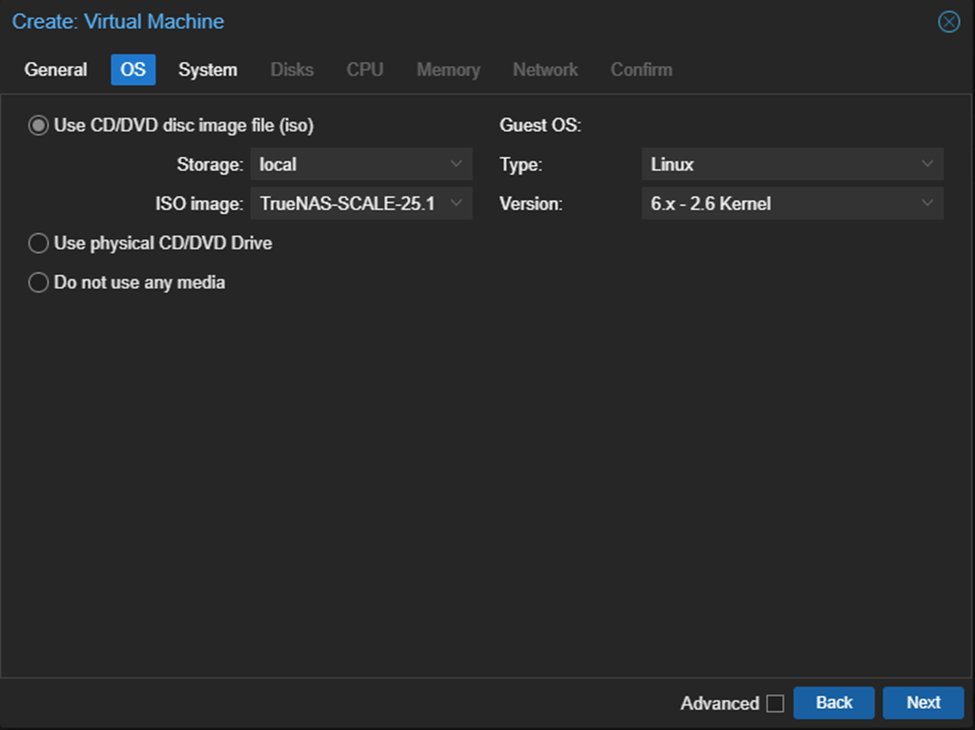
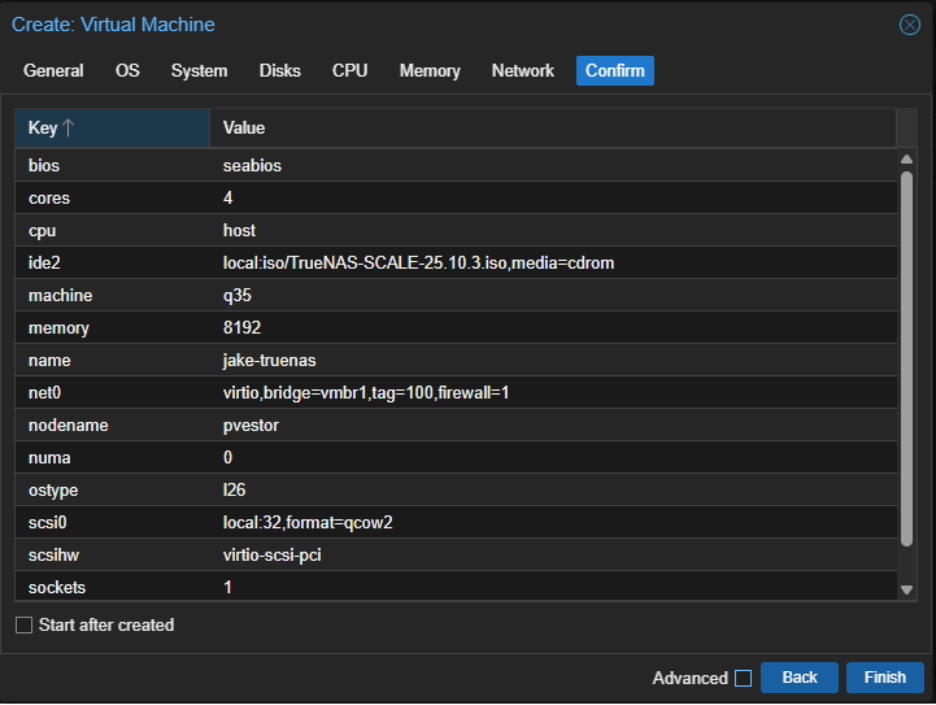
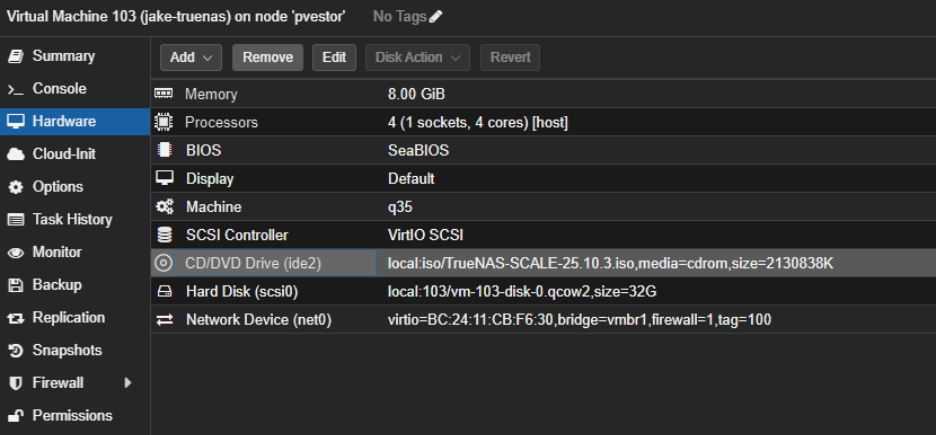
Select your host and create a new VM, give it a name, and select the TrueNAS ISO.
-
On the System Tab set Machine to q35 and SCSI Controller to VirtIO SCSI. We usually prefer to set BIOS to OVMF (UEFI) as well and configure secure boot, but that can add a lot of headaches so we are keeping with SeaBIOS here.
-
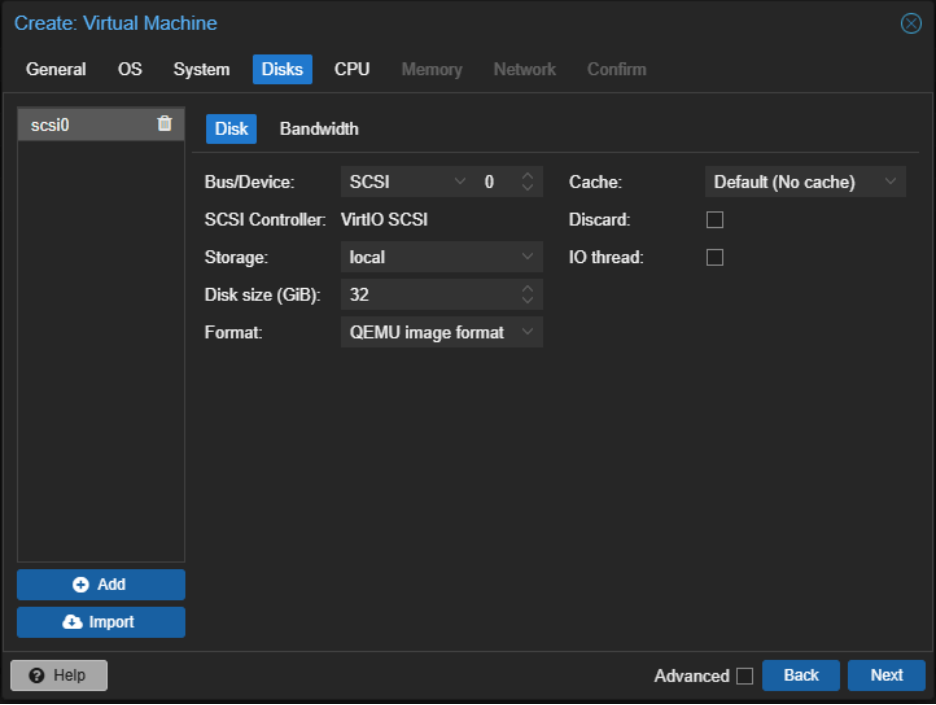
You can accept Disk defaults but update your Storage location according to your environment. You can also get away with a smaller boot disk if needed. TrueNAS recommends 20GB+ currently. We typically set 32-40gb.
-
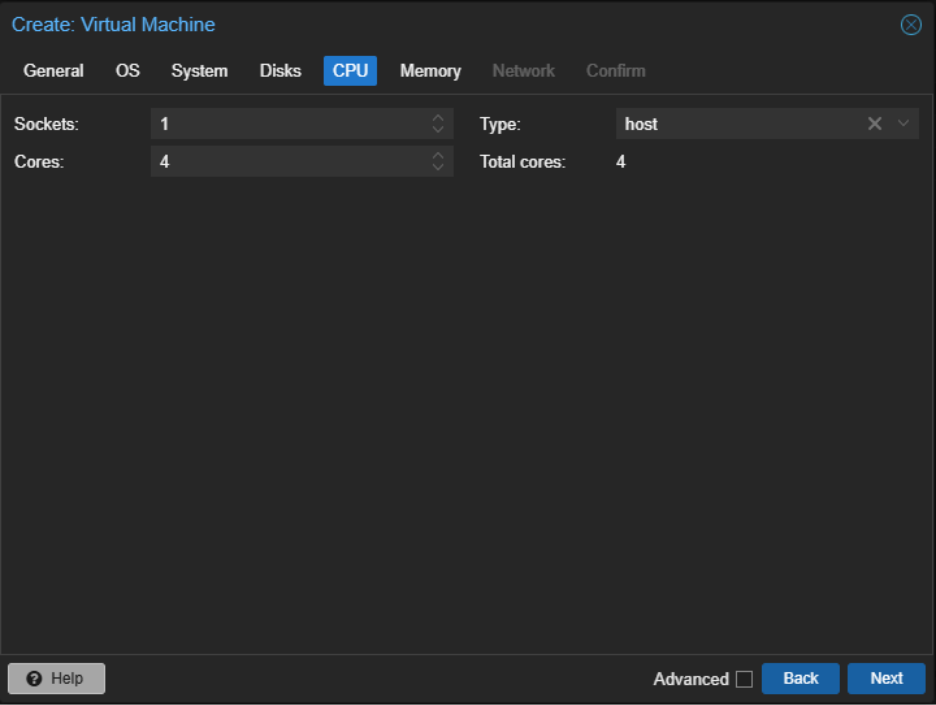
We’re going to give our VM 4 cores and configure the Type as host for maximum compatibility and performance in TrueNAS.
-
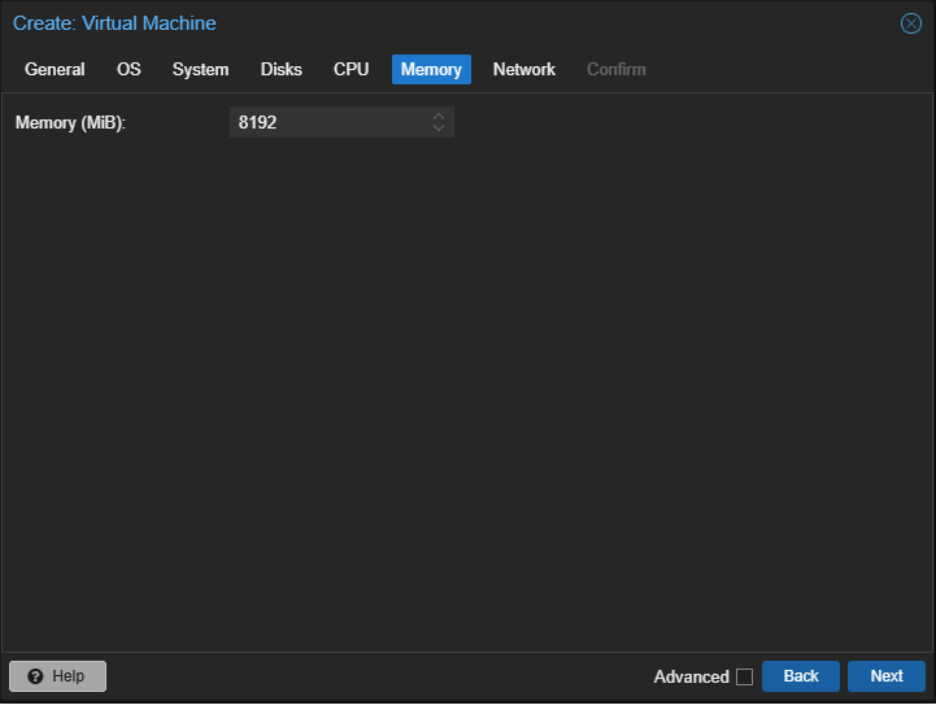
TrueNAS recommends allocating at least 8GB of memory.
-
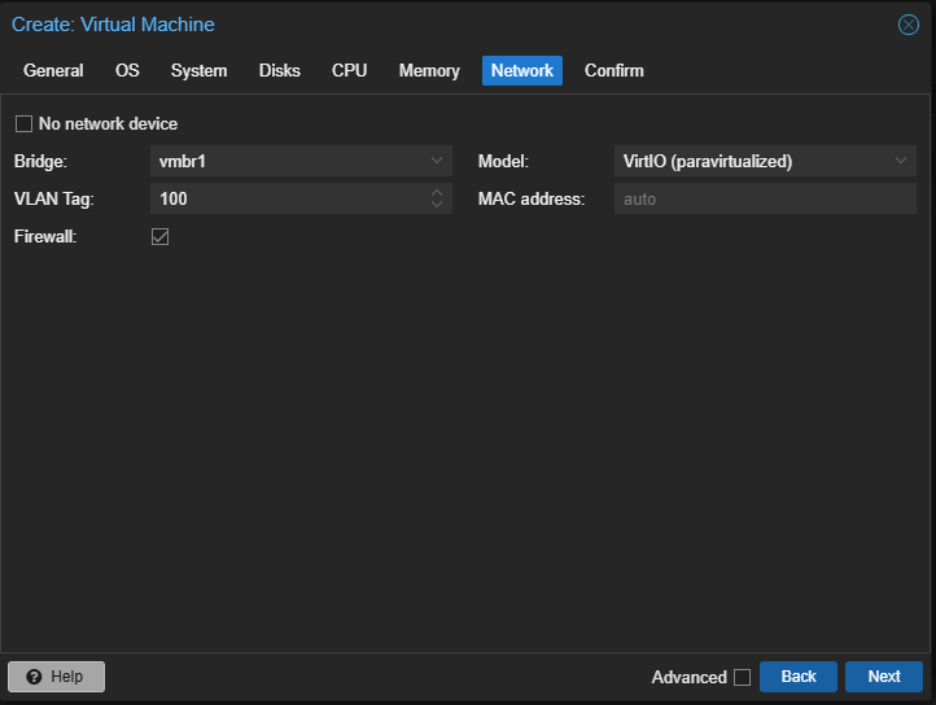
Configure networking to use your bridge device. We have a sub-interface for VLAN 100 that will be used.
-
Click Finish and then start the VM.
-
We can use the default installer option.
-
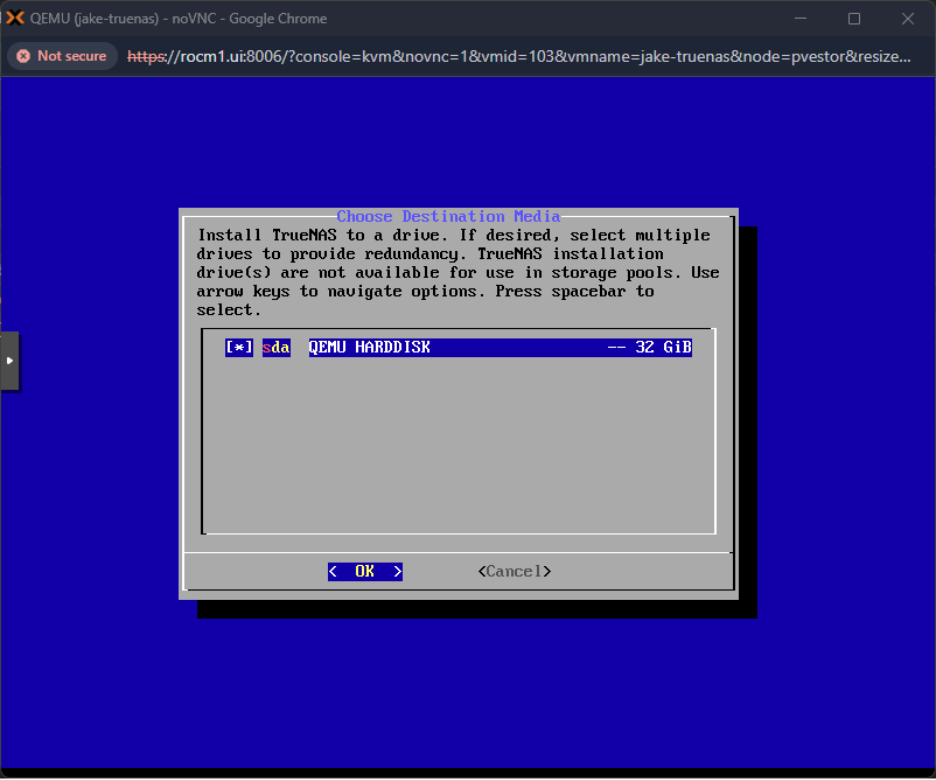
After selecting Install, use the spacebar to select your QEMU Harddisk and then hit OK, confirming the data deletion prompt on the next page.
-
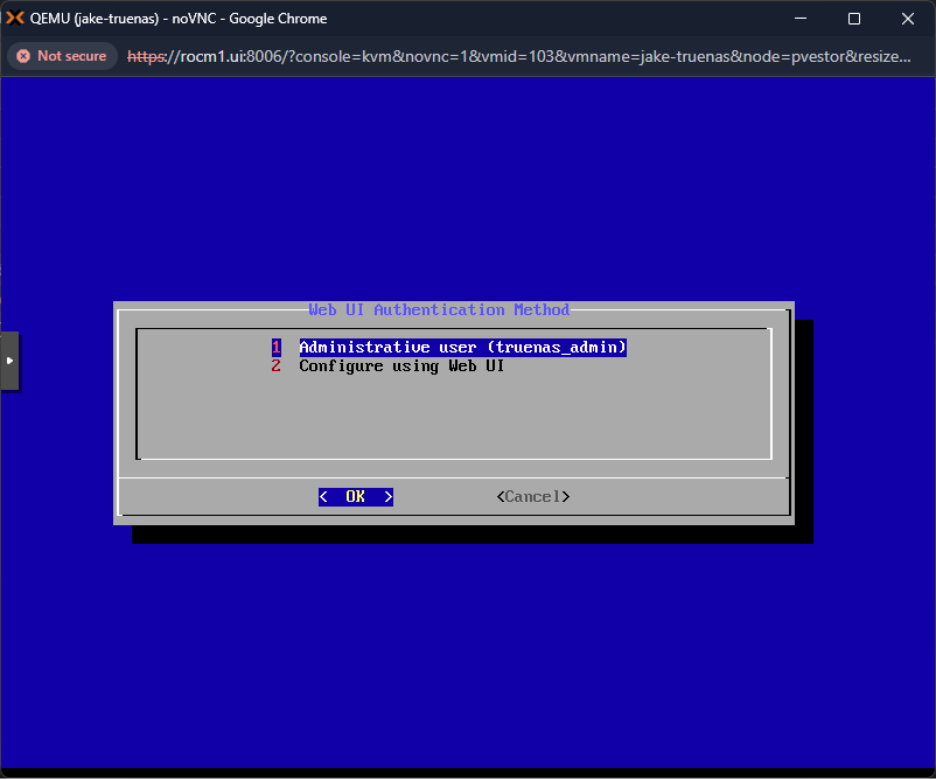
Select to use the truenas_admin account and set a password on the next page.
-
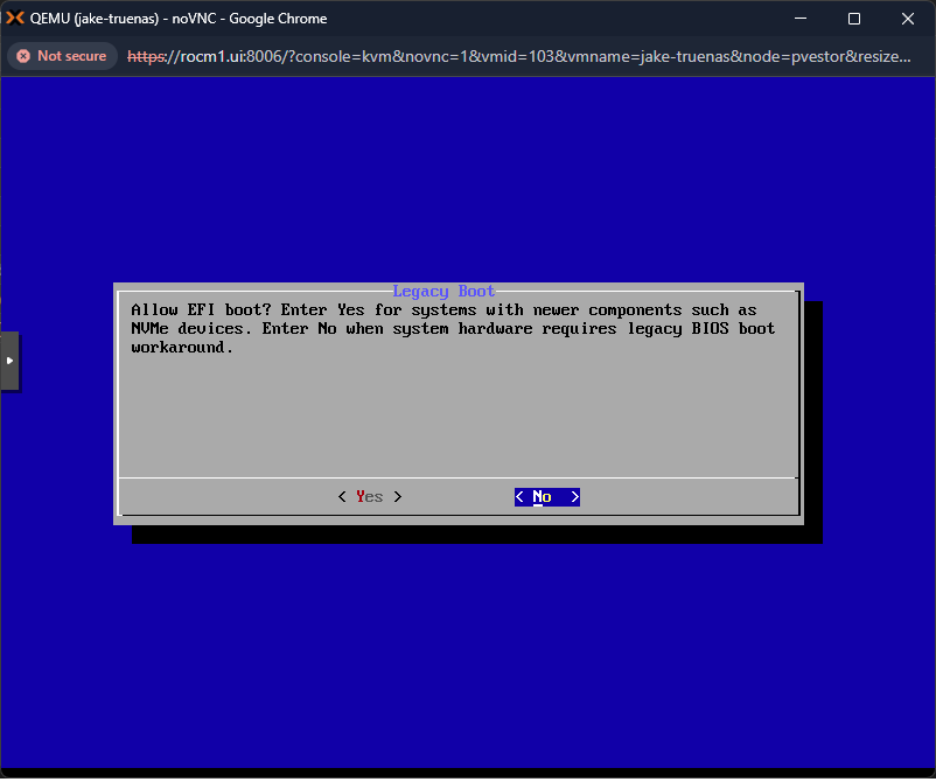
Do not allow EFI boot.
-
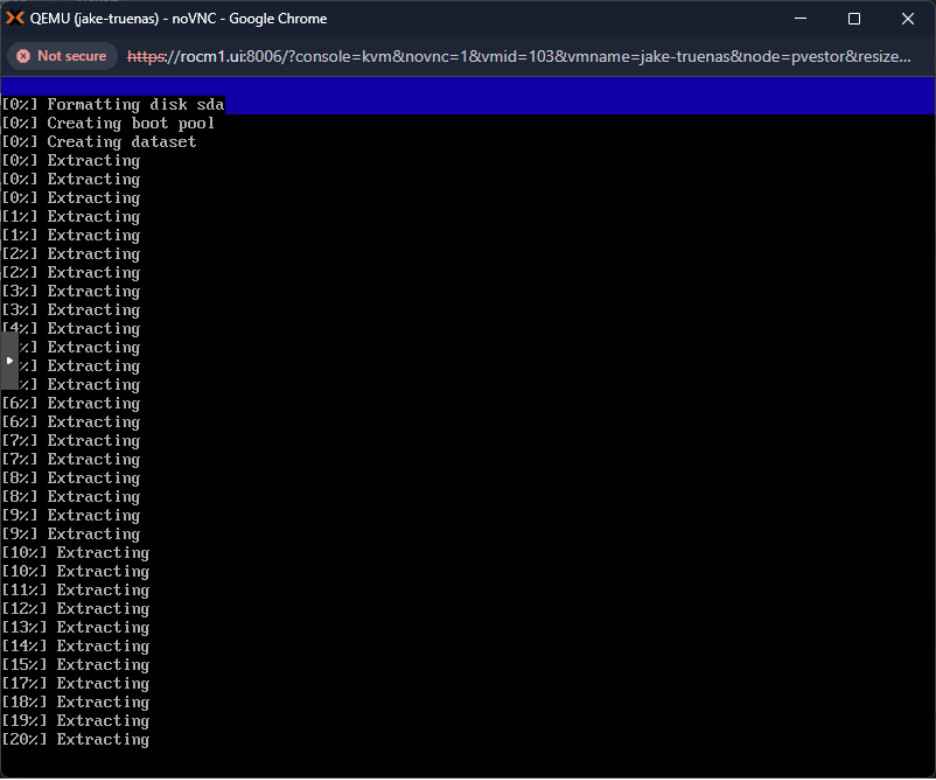
Wait for the installation to finish.
-
Shut down the system for a moment.
-
Remove the CD/DVD Drive, then start the VM back up.
-
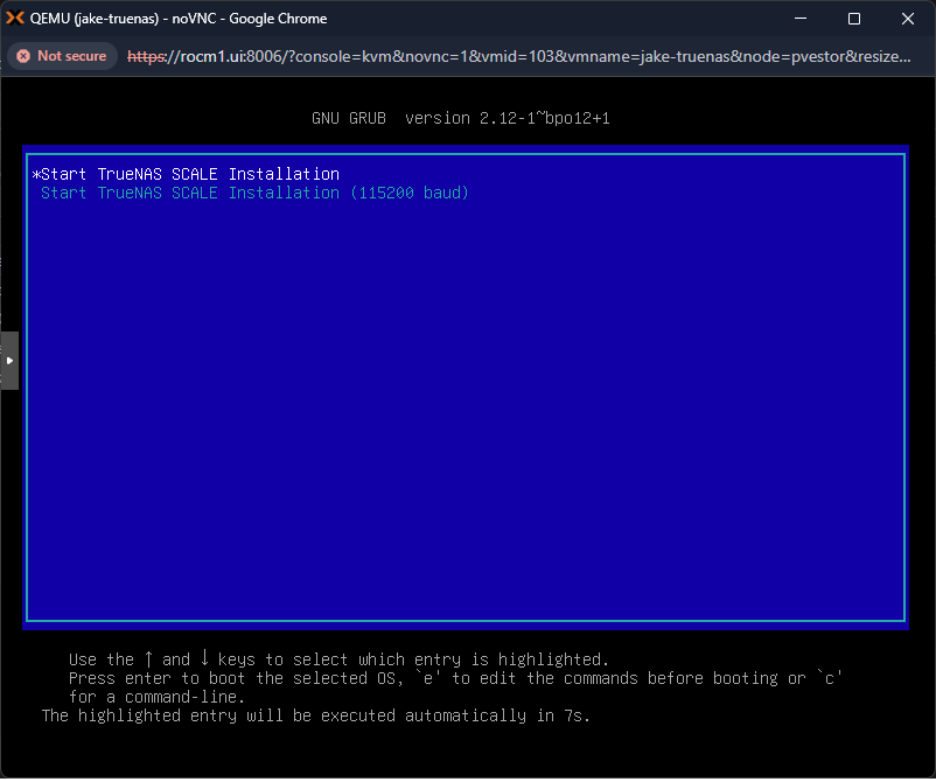
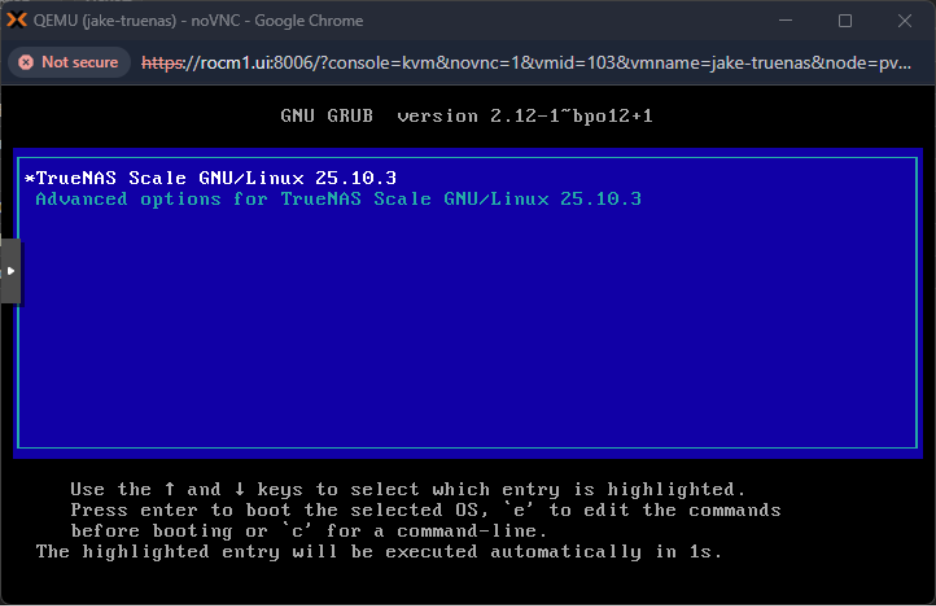
TrueNAS will boot to the default option in GRUB automatically.
-
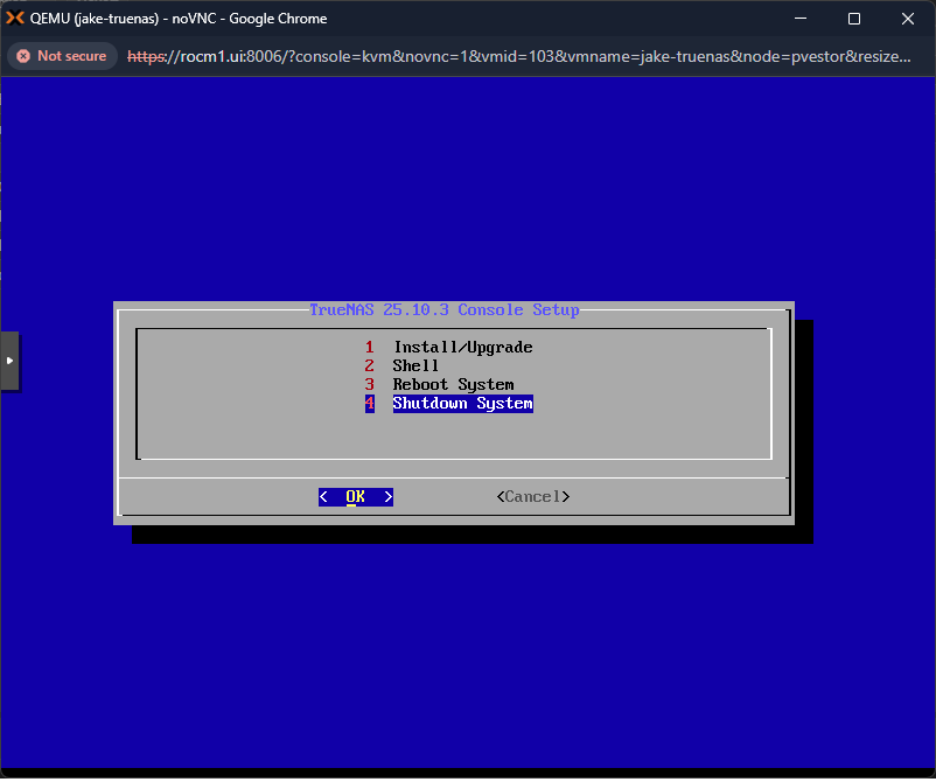
The system is up once you reach the Console Setup screen.
-
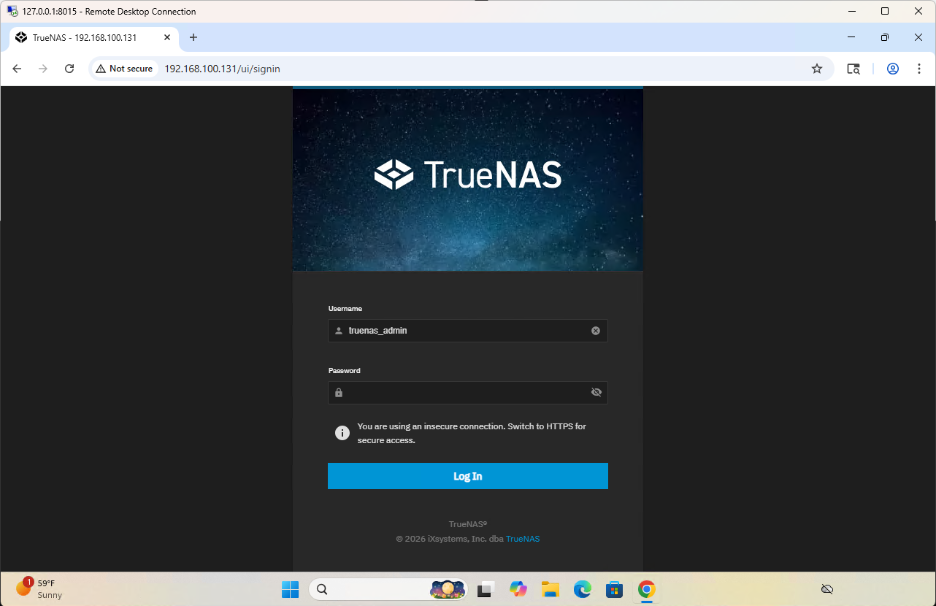
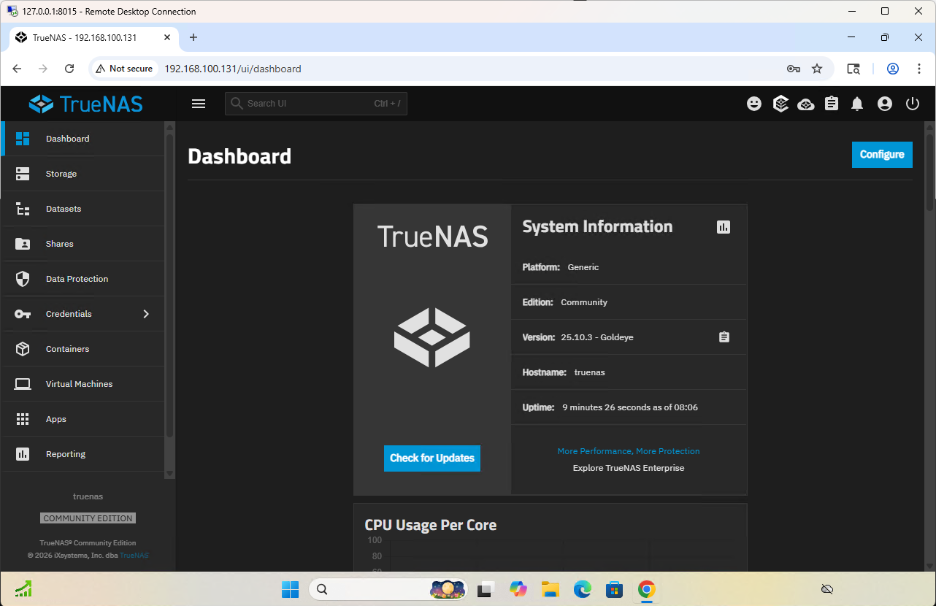
Pull up the web interface at the indicated IP address for your instance and login as truenas_admin.
-
Now we need to create a zvol on the Proxmox host and pass it through to the TrueNAS VM. The zvol acts as a raw block device for the VM.
-
We will start with a 50GB zvol within our tank zpool on the Proxmox host.
zfs create -V 50G tank/jaketruenas



Manage Storage In the TrueNAS VM
-
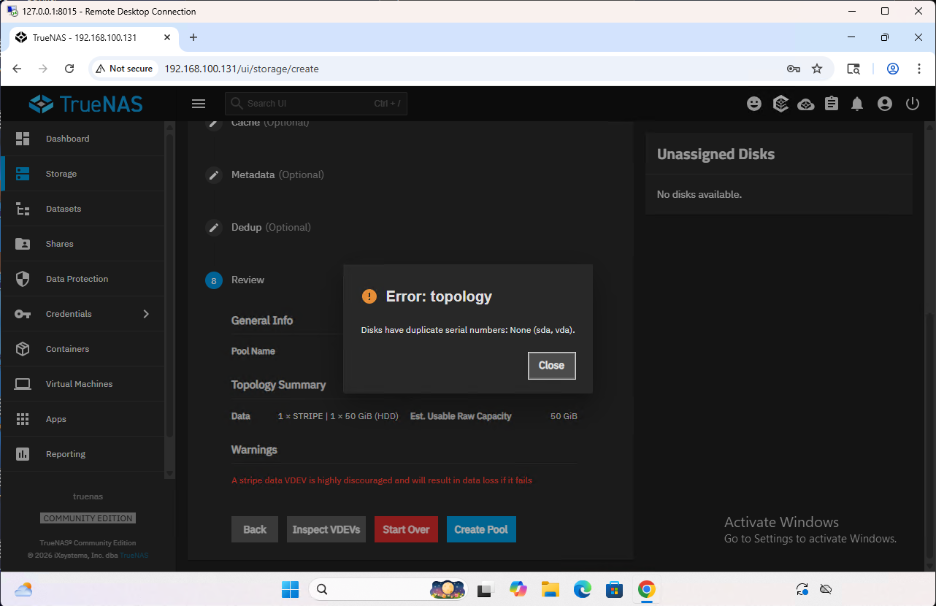
Attach the ZVOL and assign serial numbers. TrueNAS requires unique disk serials to prevent topology errors.
# Stop the VM qm stop 103 # Attach zvol and assign unique serials to both disks qm set 103 -iscsi0 local:103/vm-103-disk-0.qcow2,size=32G,serial=proxmox-boot-103 qm set 103 -virtio0 /dev/zvol/tank/jaketruenas,size=50G,serial=proxmox-data-103 # Start the VM again qm start 103 -
Log back into the WebUI and go to Storage then click Disks. You should see your raw 50GiB disk listed now.
-
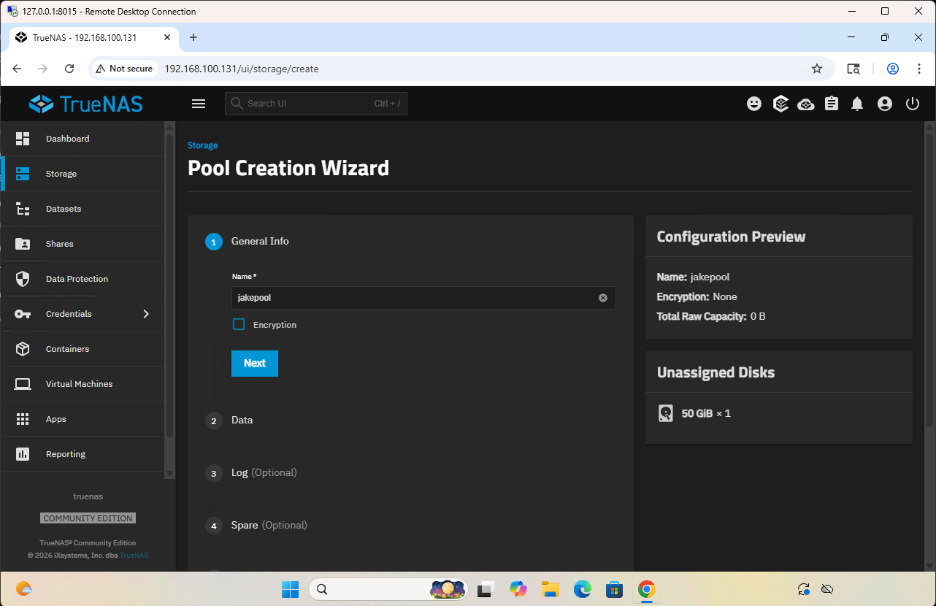
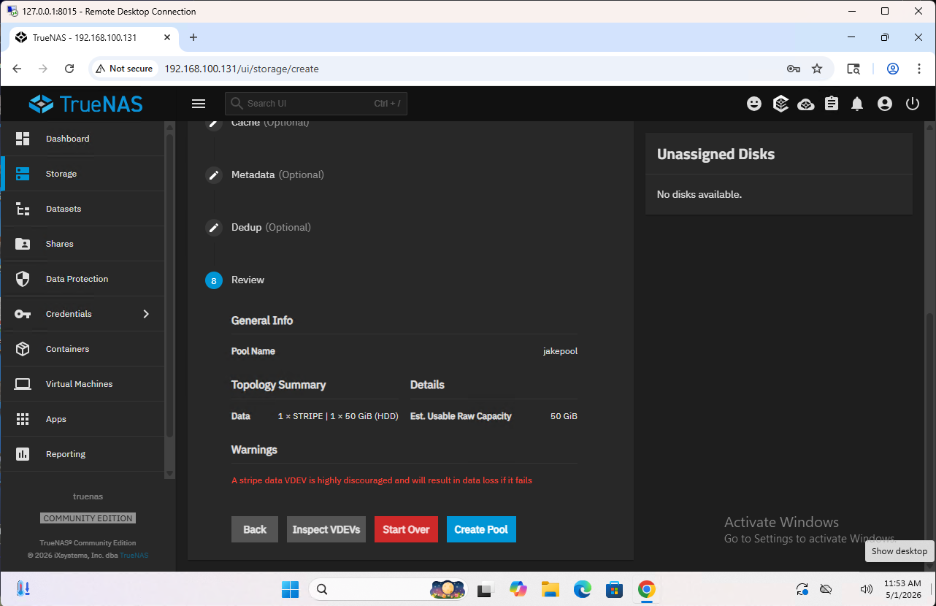
Go back to Storage and then select Create Pool and give it a name.
-
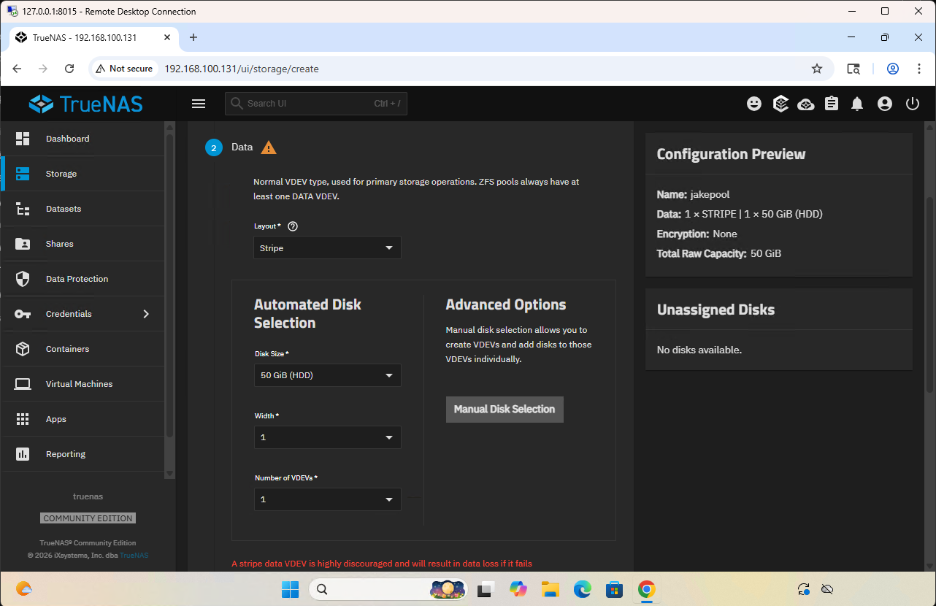
With a single disk, we need to select the Stripe layout. This will give us a warning, but click Next.
-
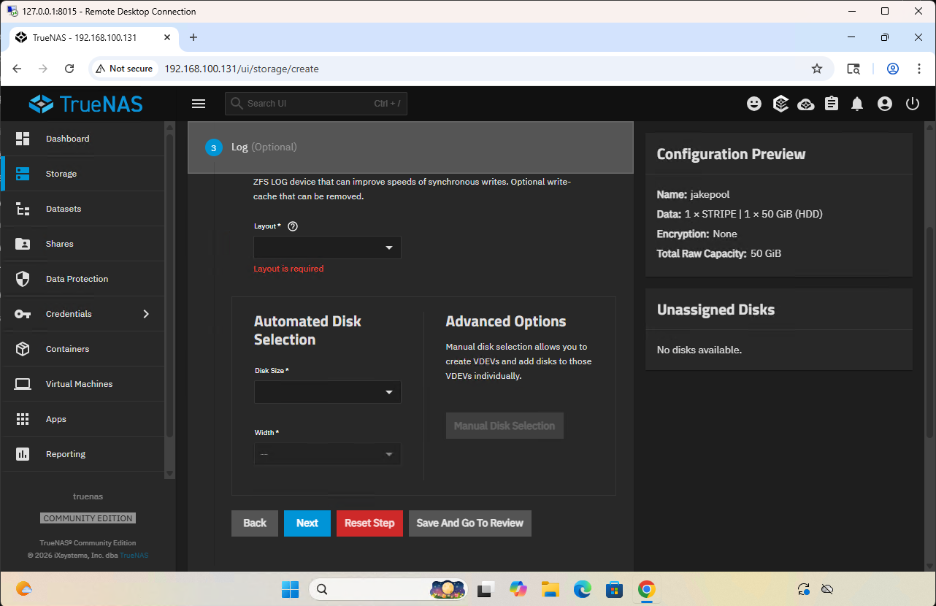
Click Next through Log, Spare, Cache, Metadata, and Dedup without setting anything.
-
If you get this topology error, it is because serial numbers are not assigned to your disks in Proxmox. Shut down the VM and assign them as described above.
-
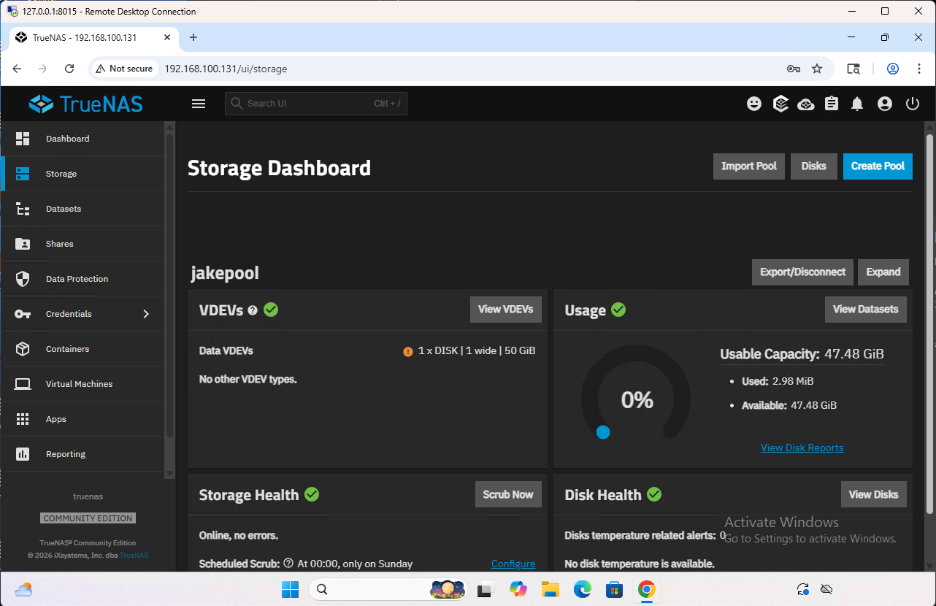
When it completes successfully you will be brought to the Storage Dashboard

Jake’s Encryption Replication Task
Since we have the tailscale layer for communication, the built-in remote replication with encryption helpers in TrueNAS generally work fine. It is well-documented here, but if you have trouble, let us know.
The Networking End - Tailscale
One of the trickier parts of a “buddy backup” setup is securely connecting two systems across the internet without exposing storage services directly or dealing with port forwarding headaches. This is where Tailscale comes in. Tailscale creates a private mesh VPN between systems using WireGuard under the hood, which gives both Jake and me a simple, encrypted way to connect our backup systems together. Each of us maintains our own separate Tailscale account and tailnet, so there is a clear boundary between ownership and administration of the systems.
For the actual backup hosts, we install Tailscale directly inside the dedicated backup VM that we created for each other. That VM is intentionally isolated from the rest of the environment: it lives on its own VLAN, has tightly restricted network access, and only exposes SSH over Tailscale. The important detail here is that the VM is not allowed broad access into the rest of the tailnet. Using Tailscale ACLs, we can lock things down so the only permitted action is the primary TrueNAS system initiating an SSH connection into the remote backup VM. This keeps the blast radius small if anything were ever compromised. Tailscale has excellent ACL examples and SSH documentation here:
A simplified ACL example might look something like this:
{
  "acls": [
    {
      "action": "accept",
      "src": ["main-truenas"],
      "dst": ["backup-vm:22"]
    }
  ],

  "ssh": [
    {
      "action": "accept",
      "src": ["main-truenas"],
      "dst": ["backup-vm"],
      "users": ["backuprecv"]
    }
  ]
}
The idea is straightforward: the primary NAS can only reach the backup VM over SSH, and only as a specific restricted user. Nothing else in the tailnet is reachable from that machine. Even if someone gained access to the backup VM, they would not automatically gain access to the rest of the network because both the VLAN segmentation and the Tailscale ACLs limit lateral movement.
Once networking is in place, the actual replication flow is surprisingly clean. From the TrueNAS replication task GUI on the main system, the local NAS simply connects outbound over SSH to the remote backup VM using its Tailscale address. Since Tailscale handles NAT traversal and encrypted connectivity automatically, there is no need to expose SSH to the public internet or configure inbound firewall rules. From TrueNAS’s perspective, it behaves just like a normal SSH replication target.
Extra SSH Hardening
For extra hardening, there is also real value in creating a heavily restricted SSH account on the remote backup system. Instead of granting shell access, the account can be configured to do essentially one thing: receive encrypted ZFS replication streams with zfs recv. Combined with forced commands in authorized_keys, disabled PTY allocation, and no general shell access, this dramatically reduces what an attacker could do if the primary system were compromised.
In that scenario, the backup target becomes much harder to tamper with or mass-delete because the replication account cannot arbitrarily execute commands or browse datasets — it can only accept incoming snapshot streams. That kind of separation is one of the biggest advantages of treating the remote system as an intentionally constrained appliance instead of “just another NAS.”
Of course Jake would still have the other, separate, administrative account for management and control; this is just the “service account” that the remore system uses. The idea is to limit what the remote service account can actually do…
