Blog: Projects and general bedlam

As for the old machine, part of it got put in the sell pile, and the rest of it got repurposed as a backup target. Spare parts are parts you’ve already paid for. Use them until they die. :yay:

I’ve got a slot free, so I might add an A380 or something and try distributed encoding with tdarr, but that’ll come later.

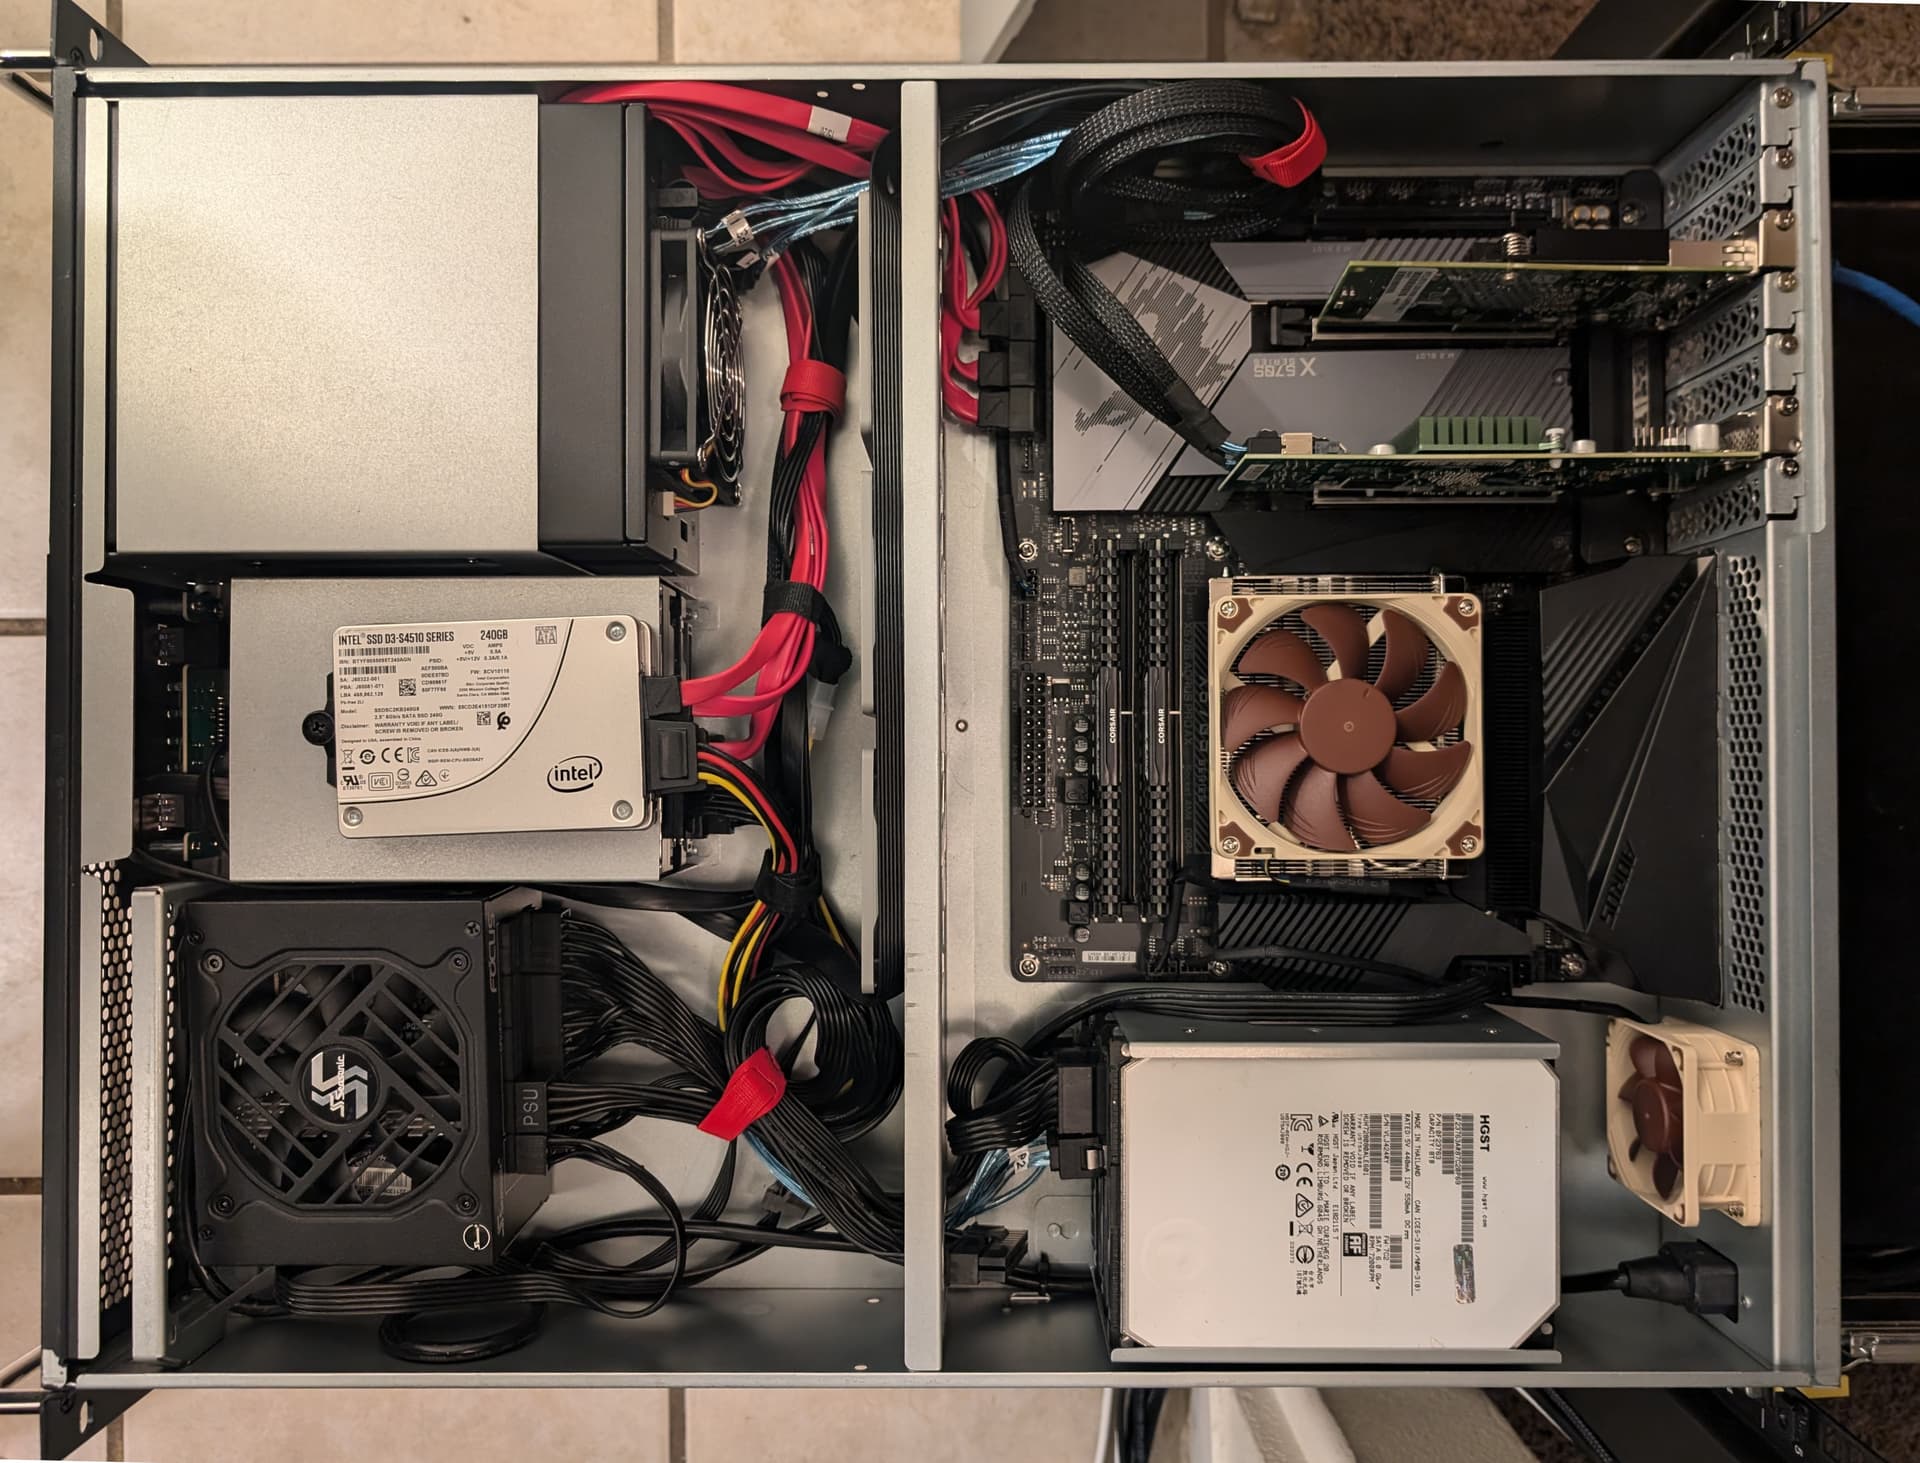
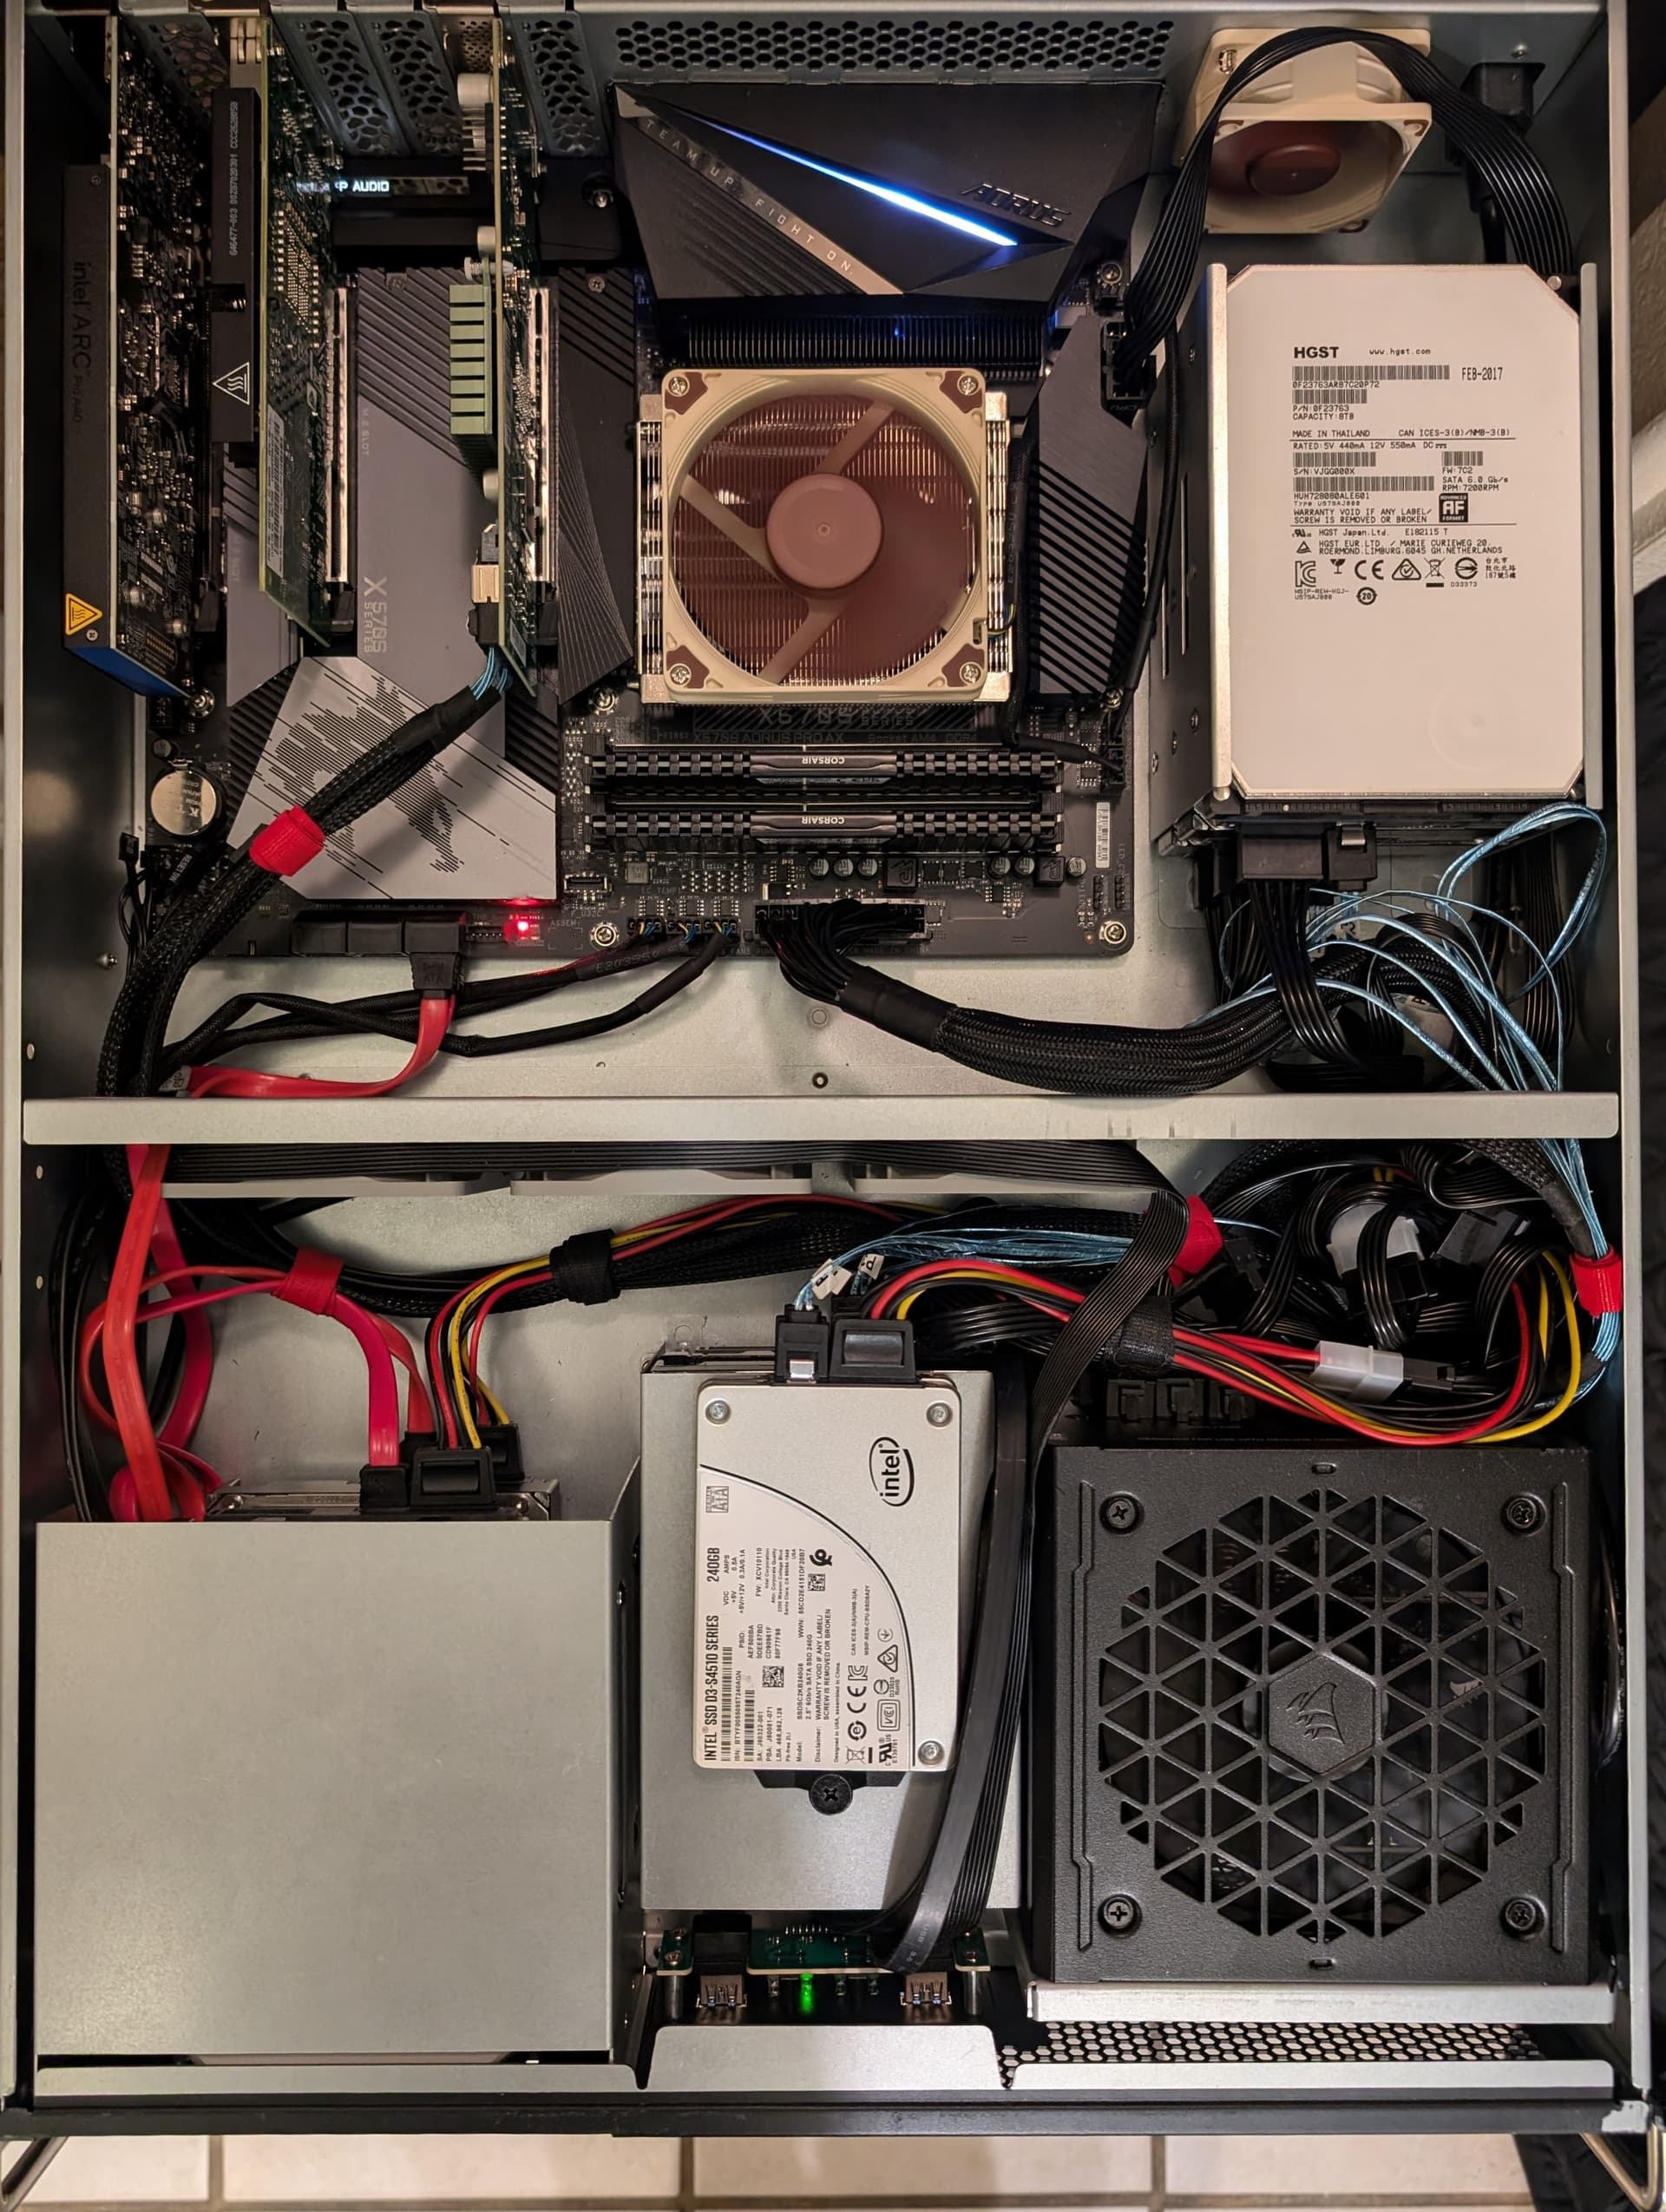
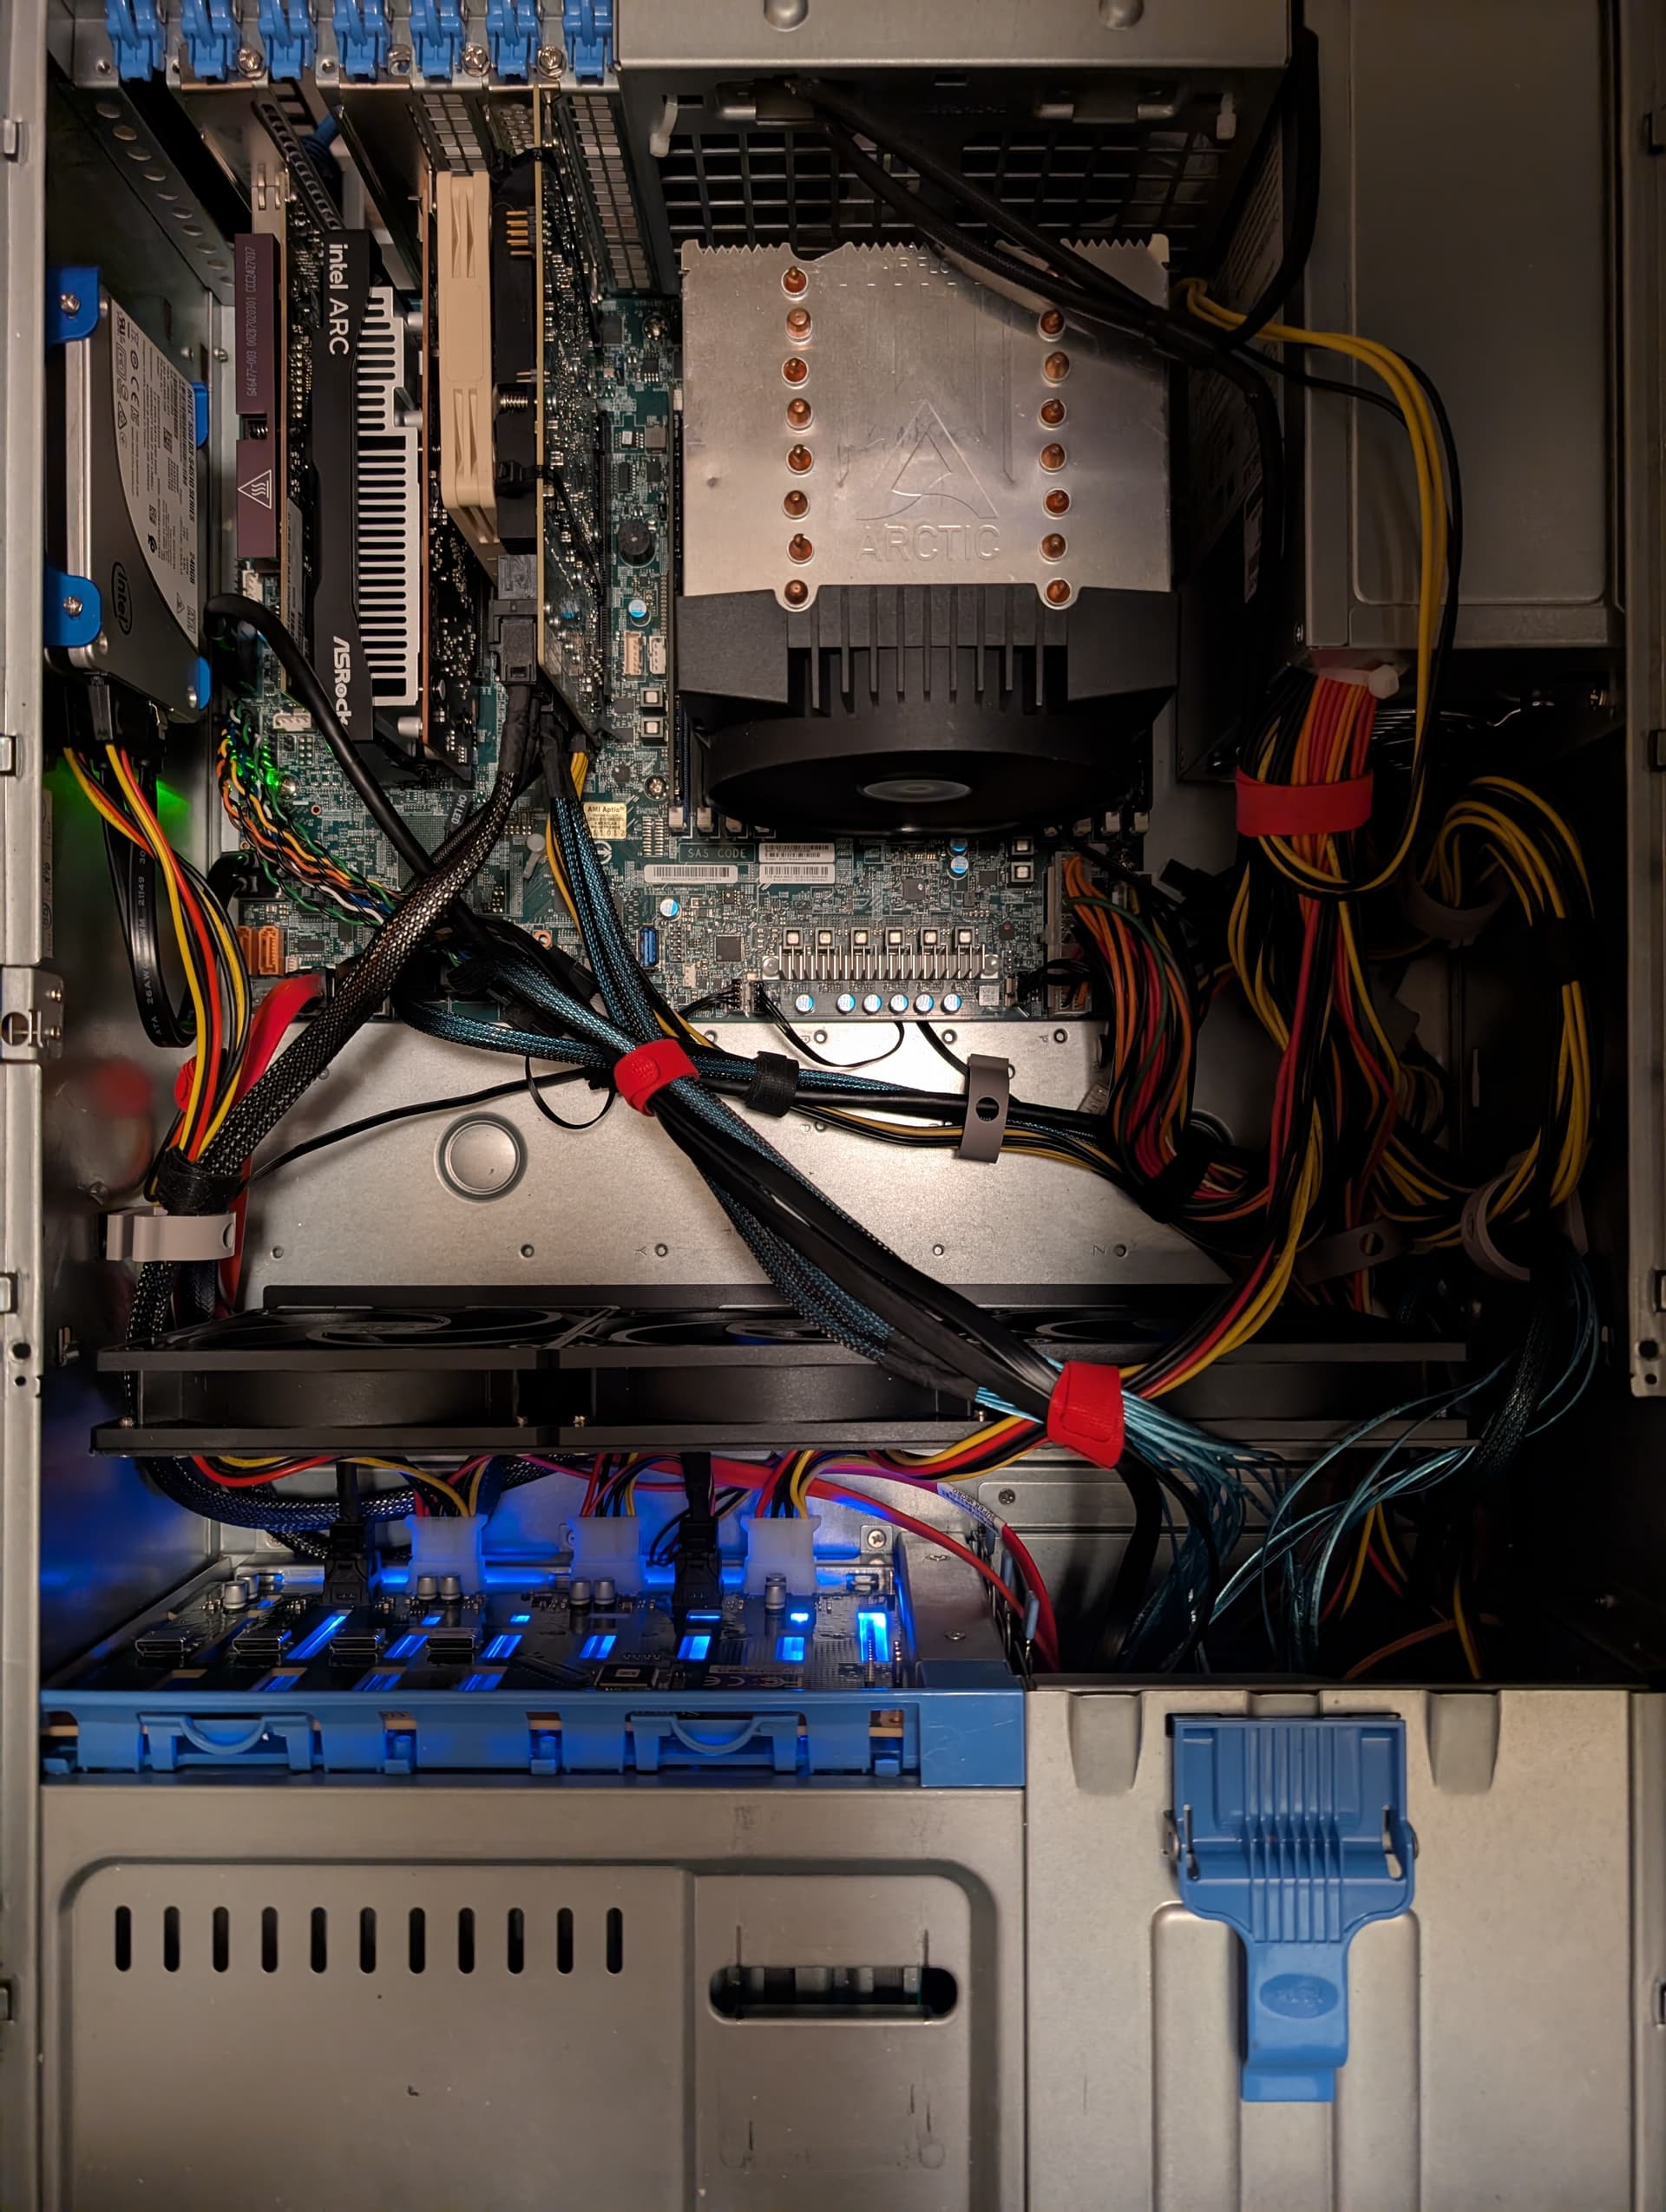
This board in this case is kind of a tight fit, and since this is an SFX PSU, the ATX power cable is too short to reach the board, so I’ve got to get an extension for it. No zip ties in this one, but I did make use of double-sided tape for mounting an extra SSD.

:yay:

6 Likes

Why GPU Drivers Are Terrible

Chapter 87

Wait, what? The new cable doesn’t work either? I know I tested the old one with the laptop. It was dead for sure. Does that mean one of the ports on the GPU is bad?

gets out laptop again

Hmm, that works fine.

hardware anxiety intensifies

Let me try the other ports. Yeah, those don’t work either.

hardware anxiety intensifies further

Let me try the working monitor in one of the ports that didn’t work on the other.

working monitor still works

Oh, look. xrandr sees both monitors. It’s just the display manager that doesn’t.

looks up xrandr command to manually enable second monitor

both monitors now working

:expressionless:

5 Likes

NAS upgrades

Where I realize 300+ watts idle power consumption can be unfortunate.

TL;DR The purpose of this machine is to utilize parts I’ve already paid for until they die. Some of them did. After that I exported my storage pools from the truenas VM running on the threadripper machine, imported them on the other machine, and fixed a problem at minimal cost.

The 3x3.5 to 2x5.25 bay adapter I found died, which was weird. I figured the PCB housing the SATA ports must have died, because everything else was mechanical. I’m not one to try troubleshooting much less repairing board level issues, so I yanked it and moved on.

But how to replace it? Do I even need to replace it? I had been planning on moving jellyfin to this machine anyway to help with power consumption, so that should figure into things also. This should mean that I start treating this machine like a real NAS instead of a hodge podge frankenbuild. 10gig for the NAS? I needed that. ECC memory? I wanted that. Hot swap bays? I began eyeballing NAS cases from Sliger, the dual actuator drives from Seagate(because, why not), and cheap(ish) used board and CPU combos. This was quickly getting out of control.

I decided now was not the time for all of that, and I settled on buying a new power supply to replace the old half dead one, a used 10gig nic for $20(RIP card in previous picture), and two plastic adapter trays for the two 5.25 bays for $10. I had an Arc Pro A40 GPU I could use which is basically a single slot A380, so I put that in also.

I found out along the way I could reposition the middle partition in this case which made access to this boards SATA ports much easier.

The pool layout of 2x3 raidz1 provides an easy upgrade path of just adding another three drives should I need more capacity in the future. That will require a new chassis, so maybe then I’ll decide differently on new machine vs frankenbuild.

Now it’s back to school or work, or both.

:yay:

7 Likes

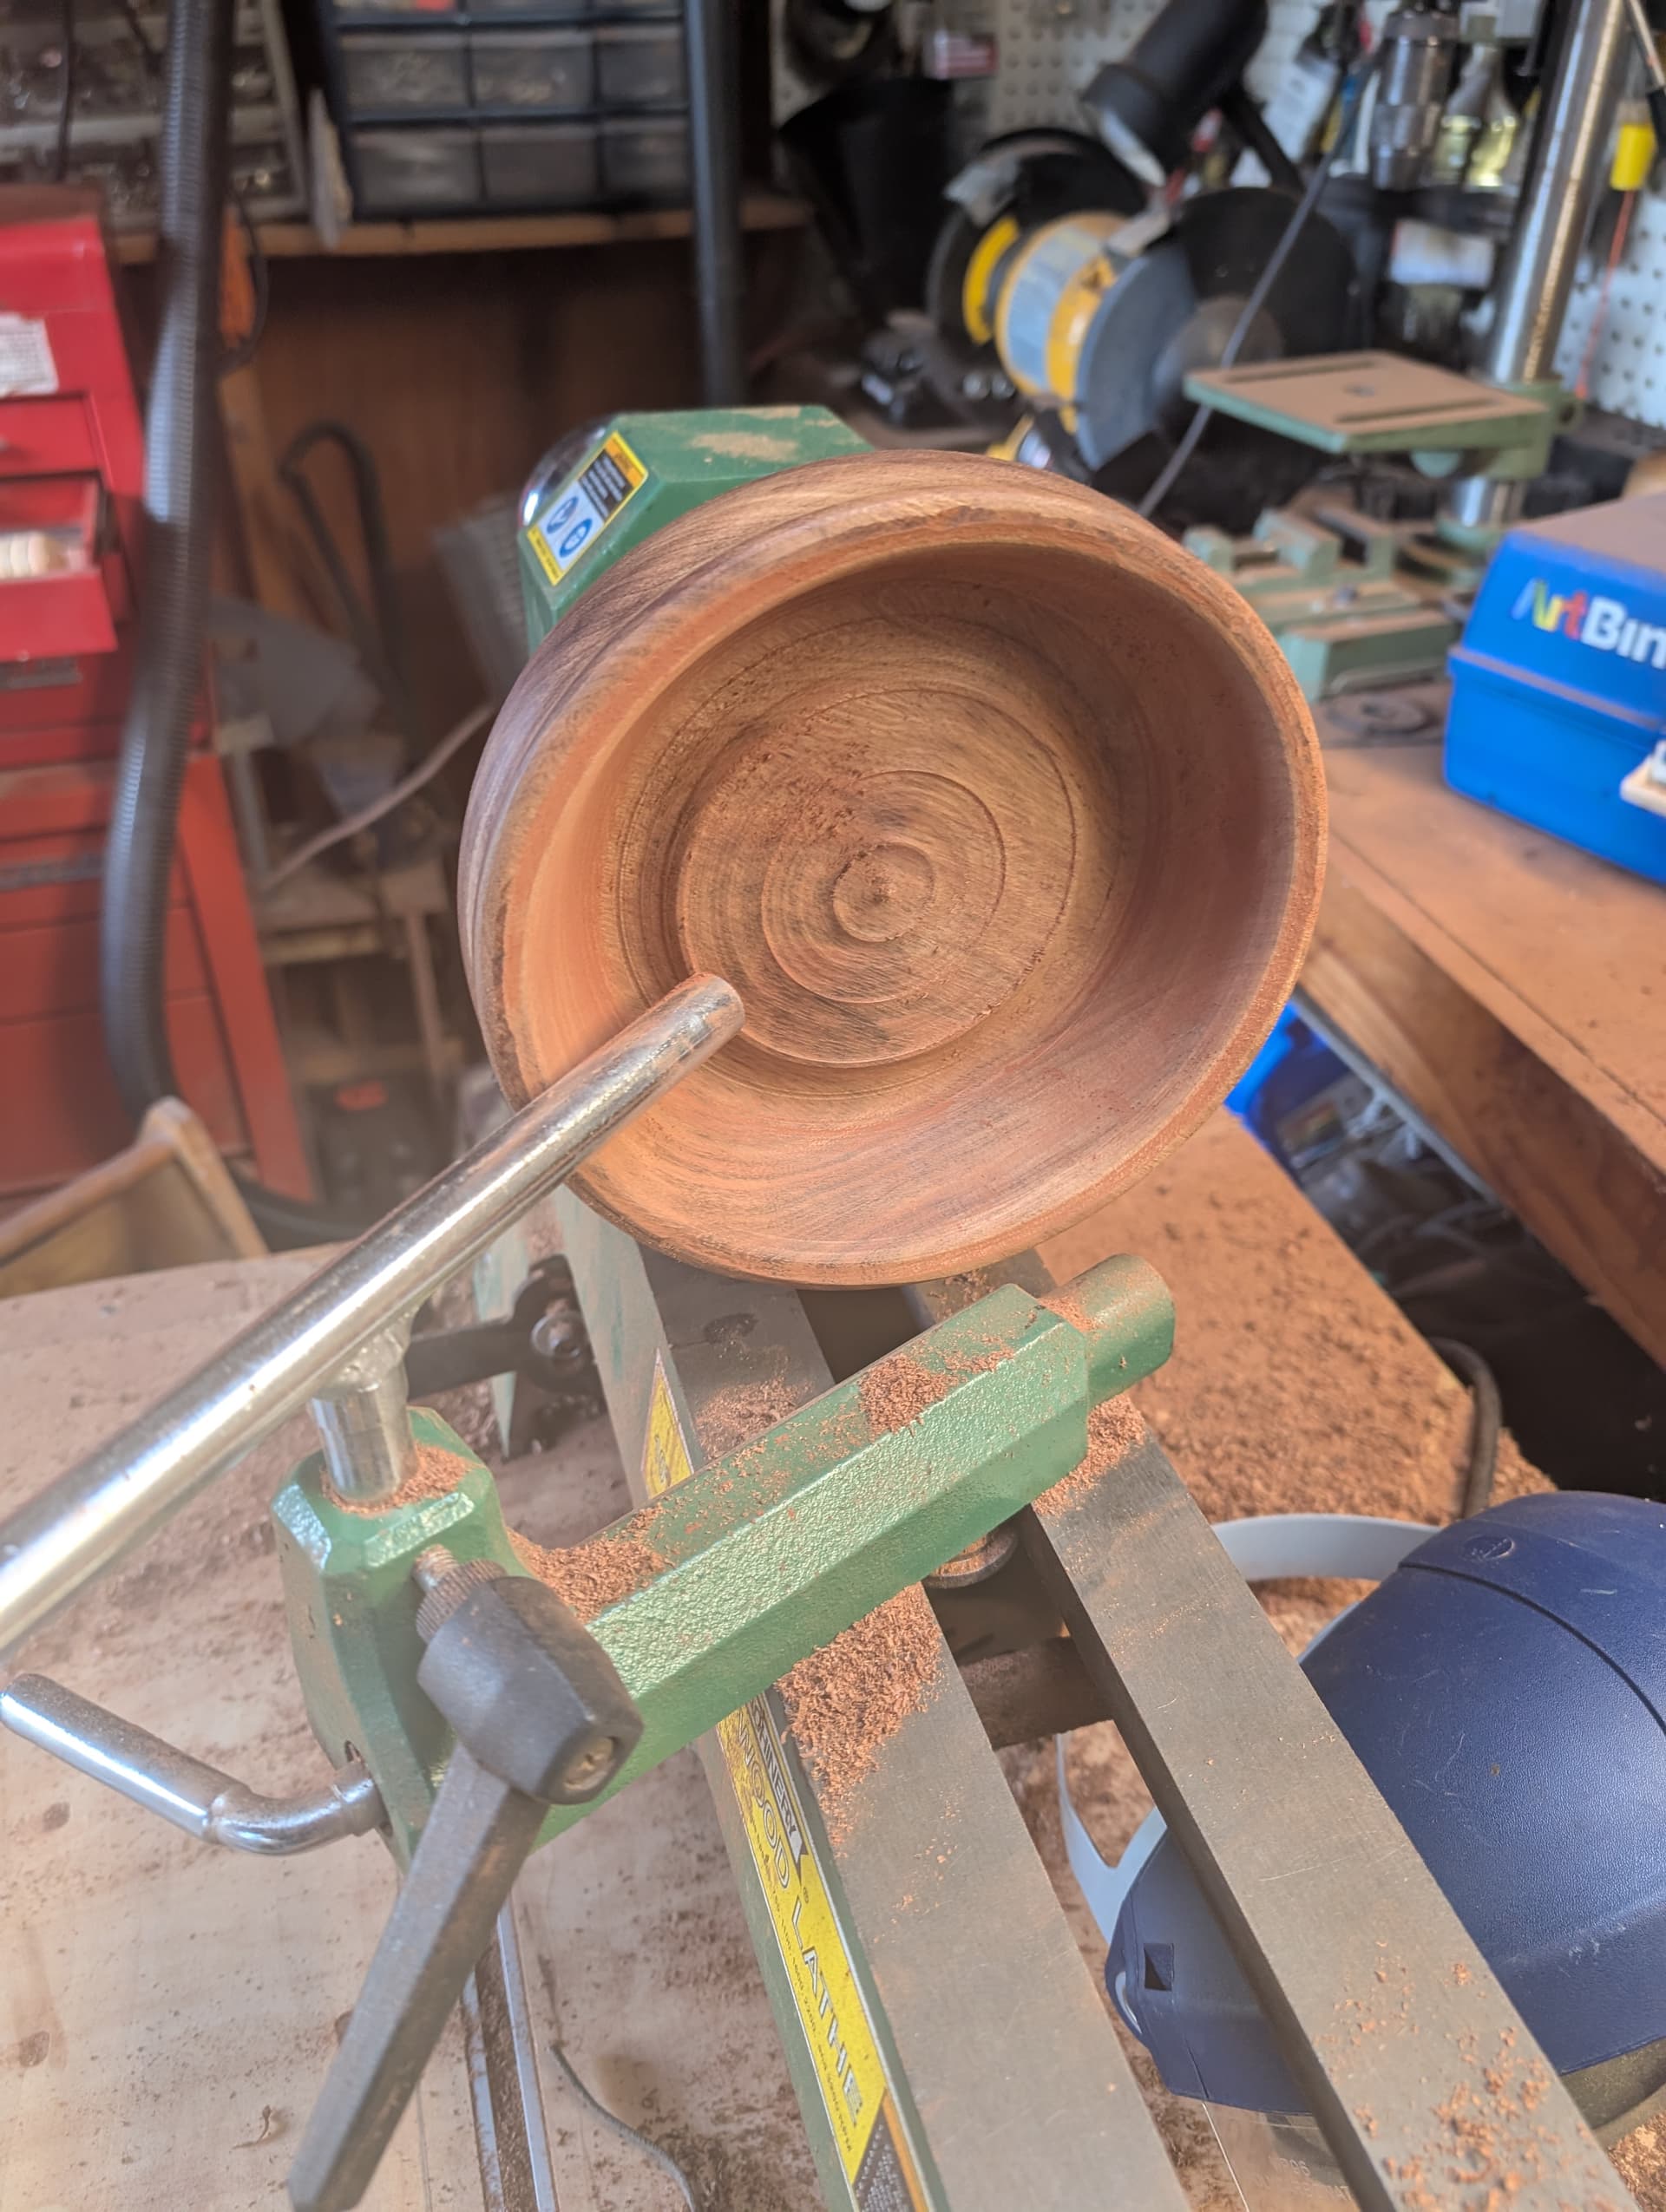
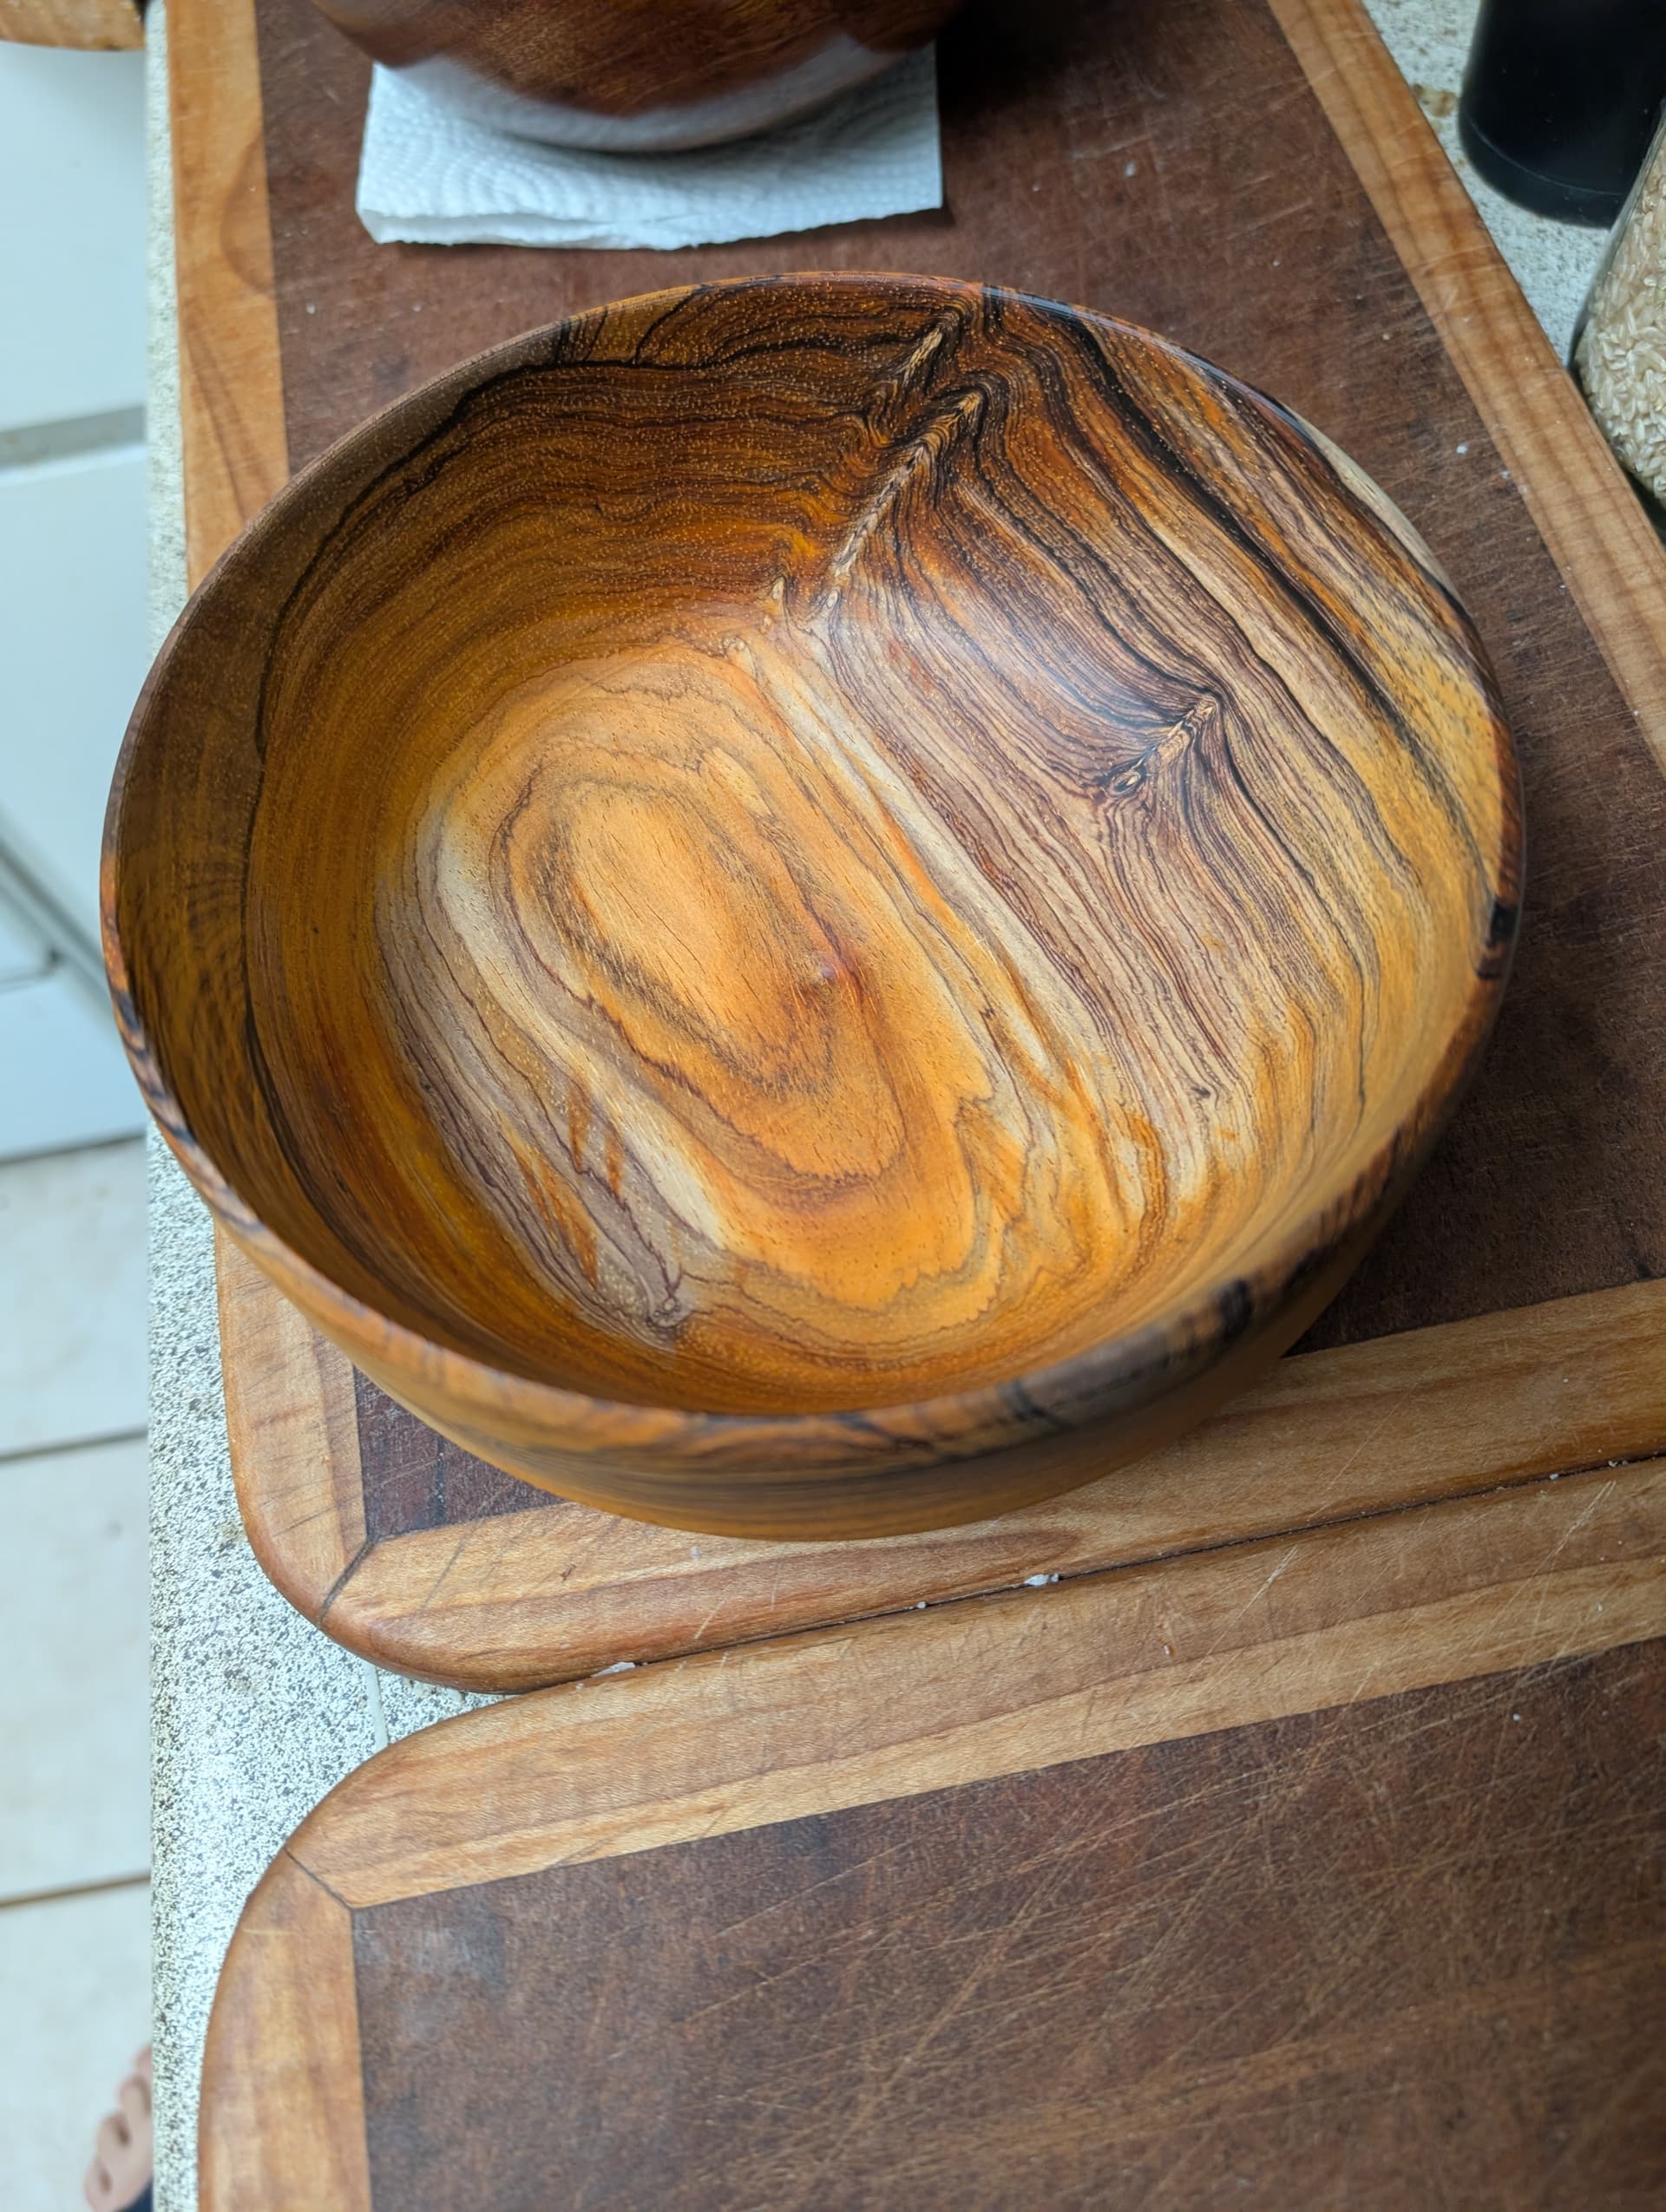
In the woodshop for the first time in a while. Working on a half finished bowl blank as a gift that’s been sitting around for a year or maybe more.

I’m covered in dust and chips right now.

:yay:

7 Likes

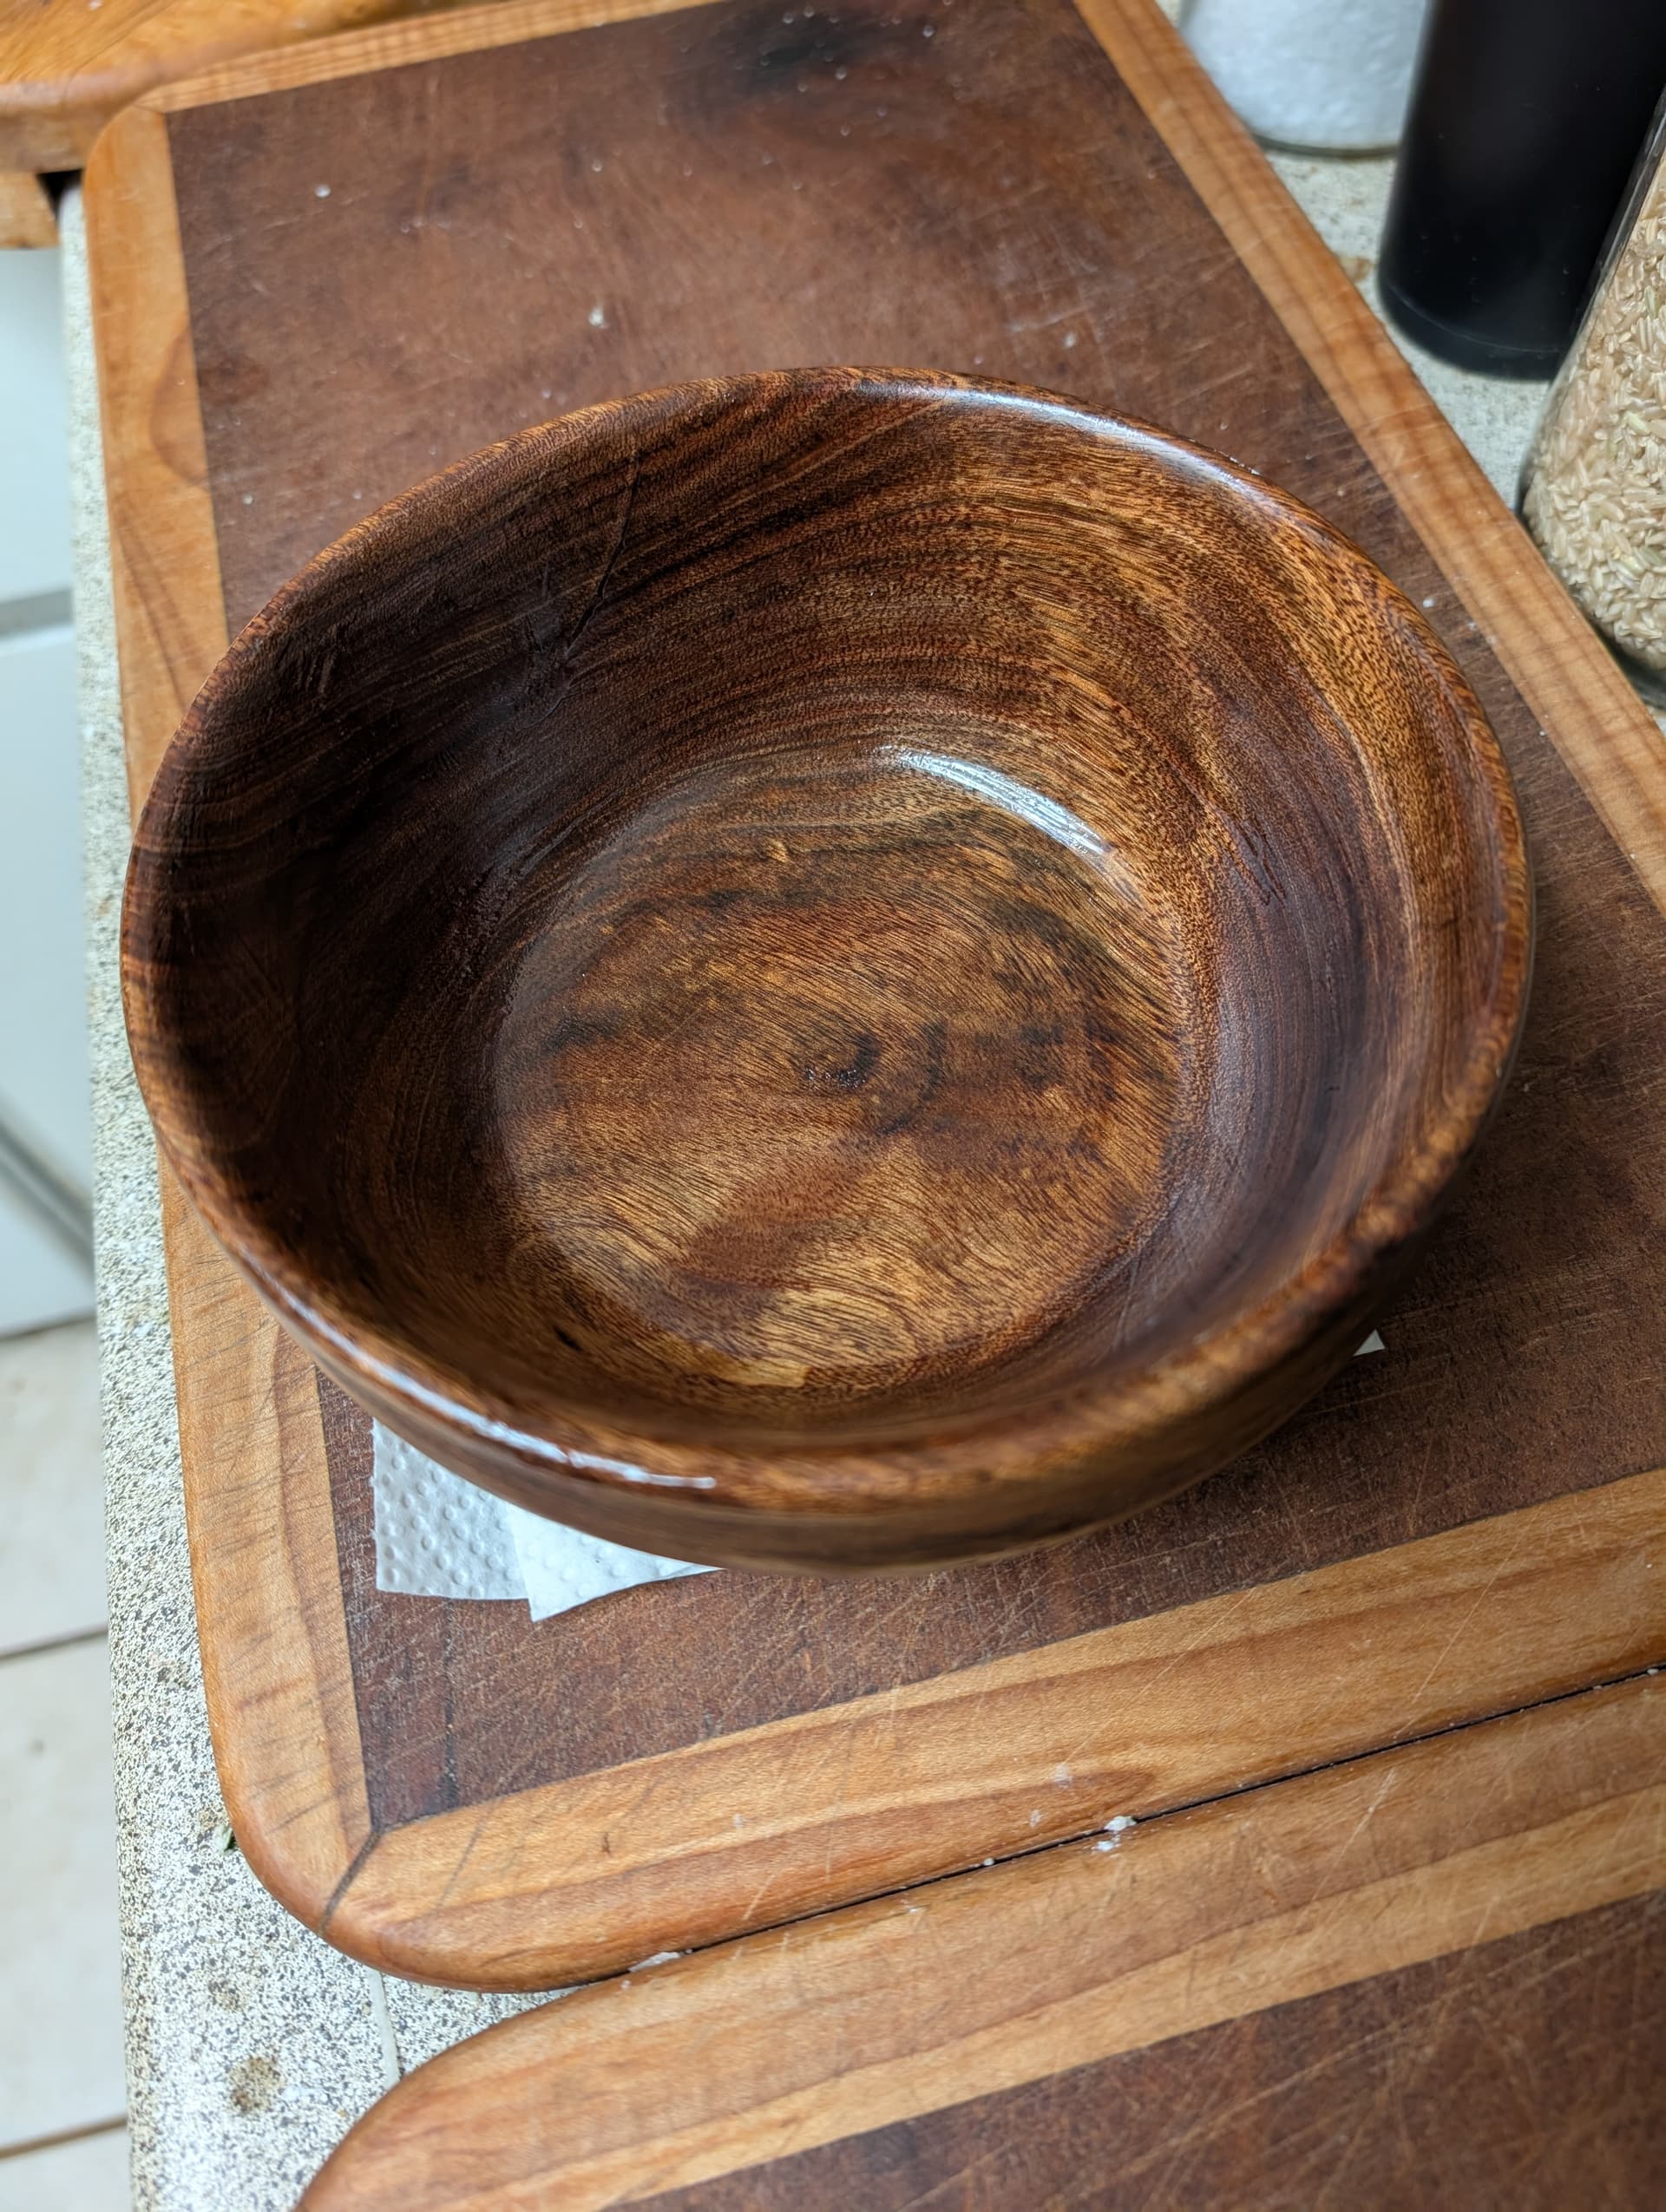
The finished product.

:yay:

And another one that’s still in progress.

This one was rather heavy at the start and because of the grain there were some catches. It became a projectile a few times, so it still needs a little work on the bottom.

8 Likes

Yeah… so…

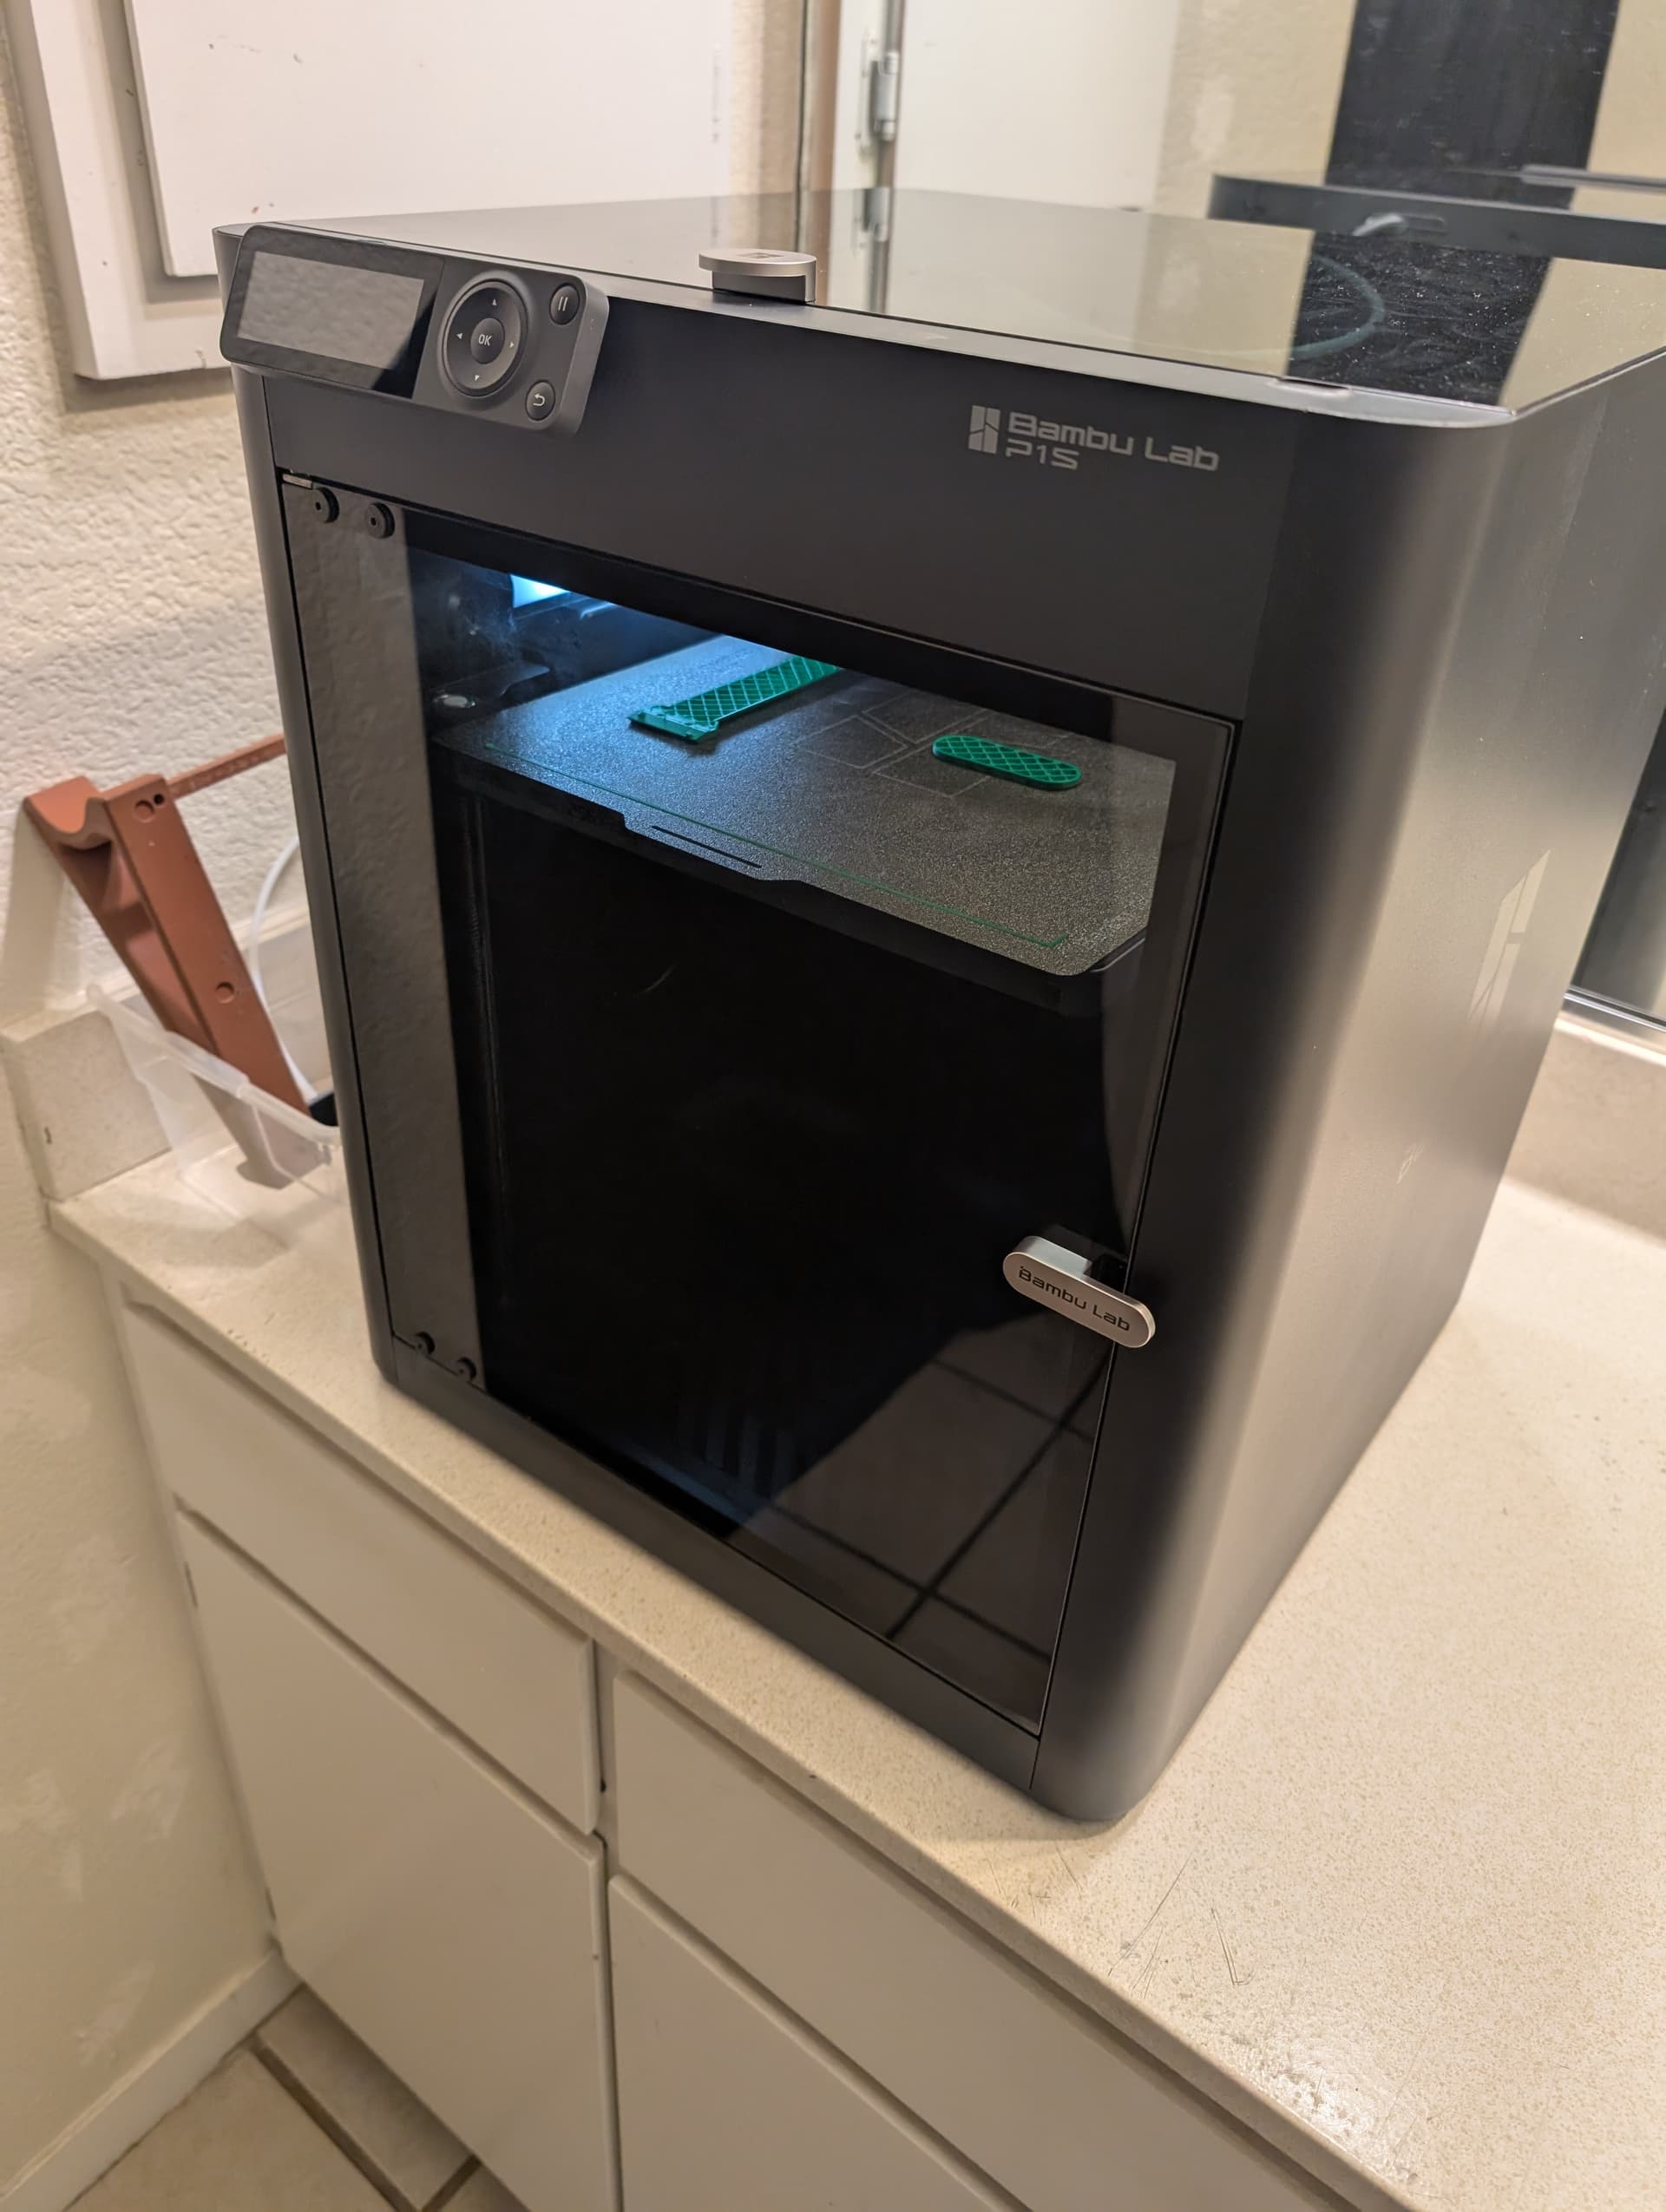
I might have bought a Bambu Labs P1S. It’s printing a scraper right now.

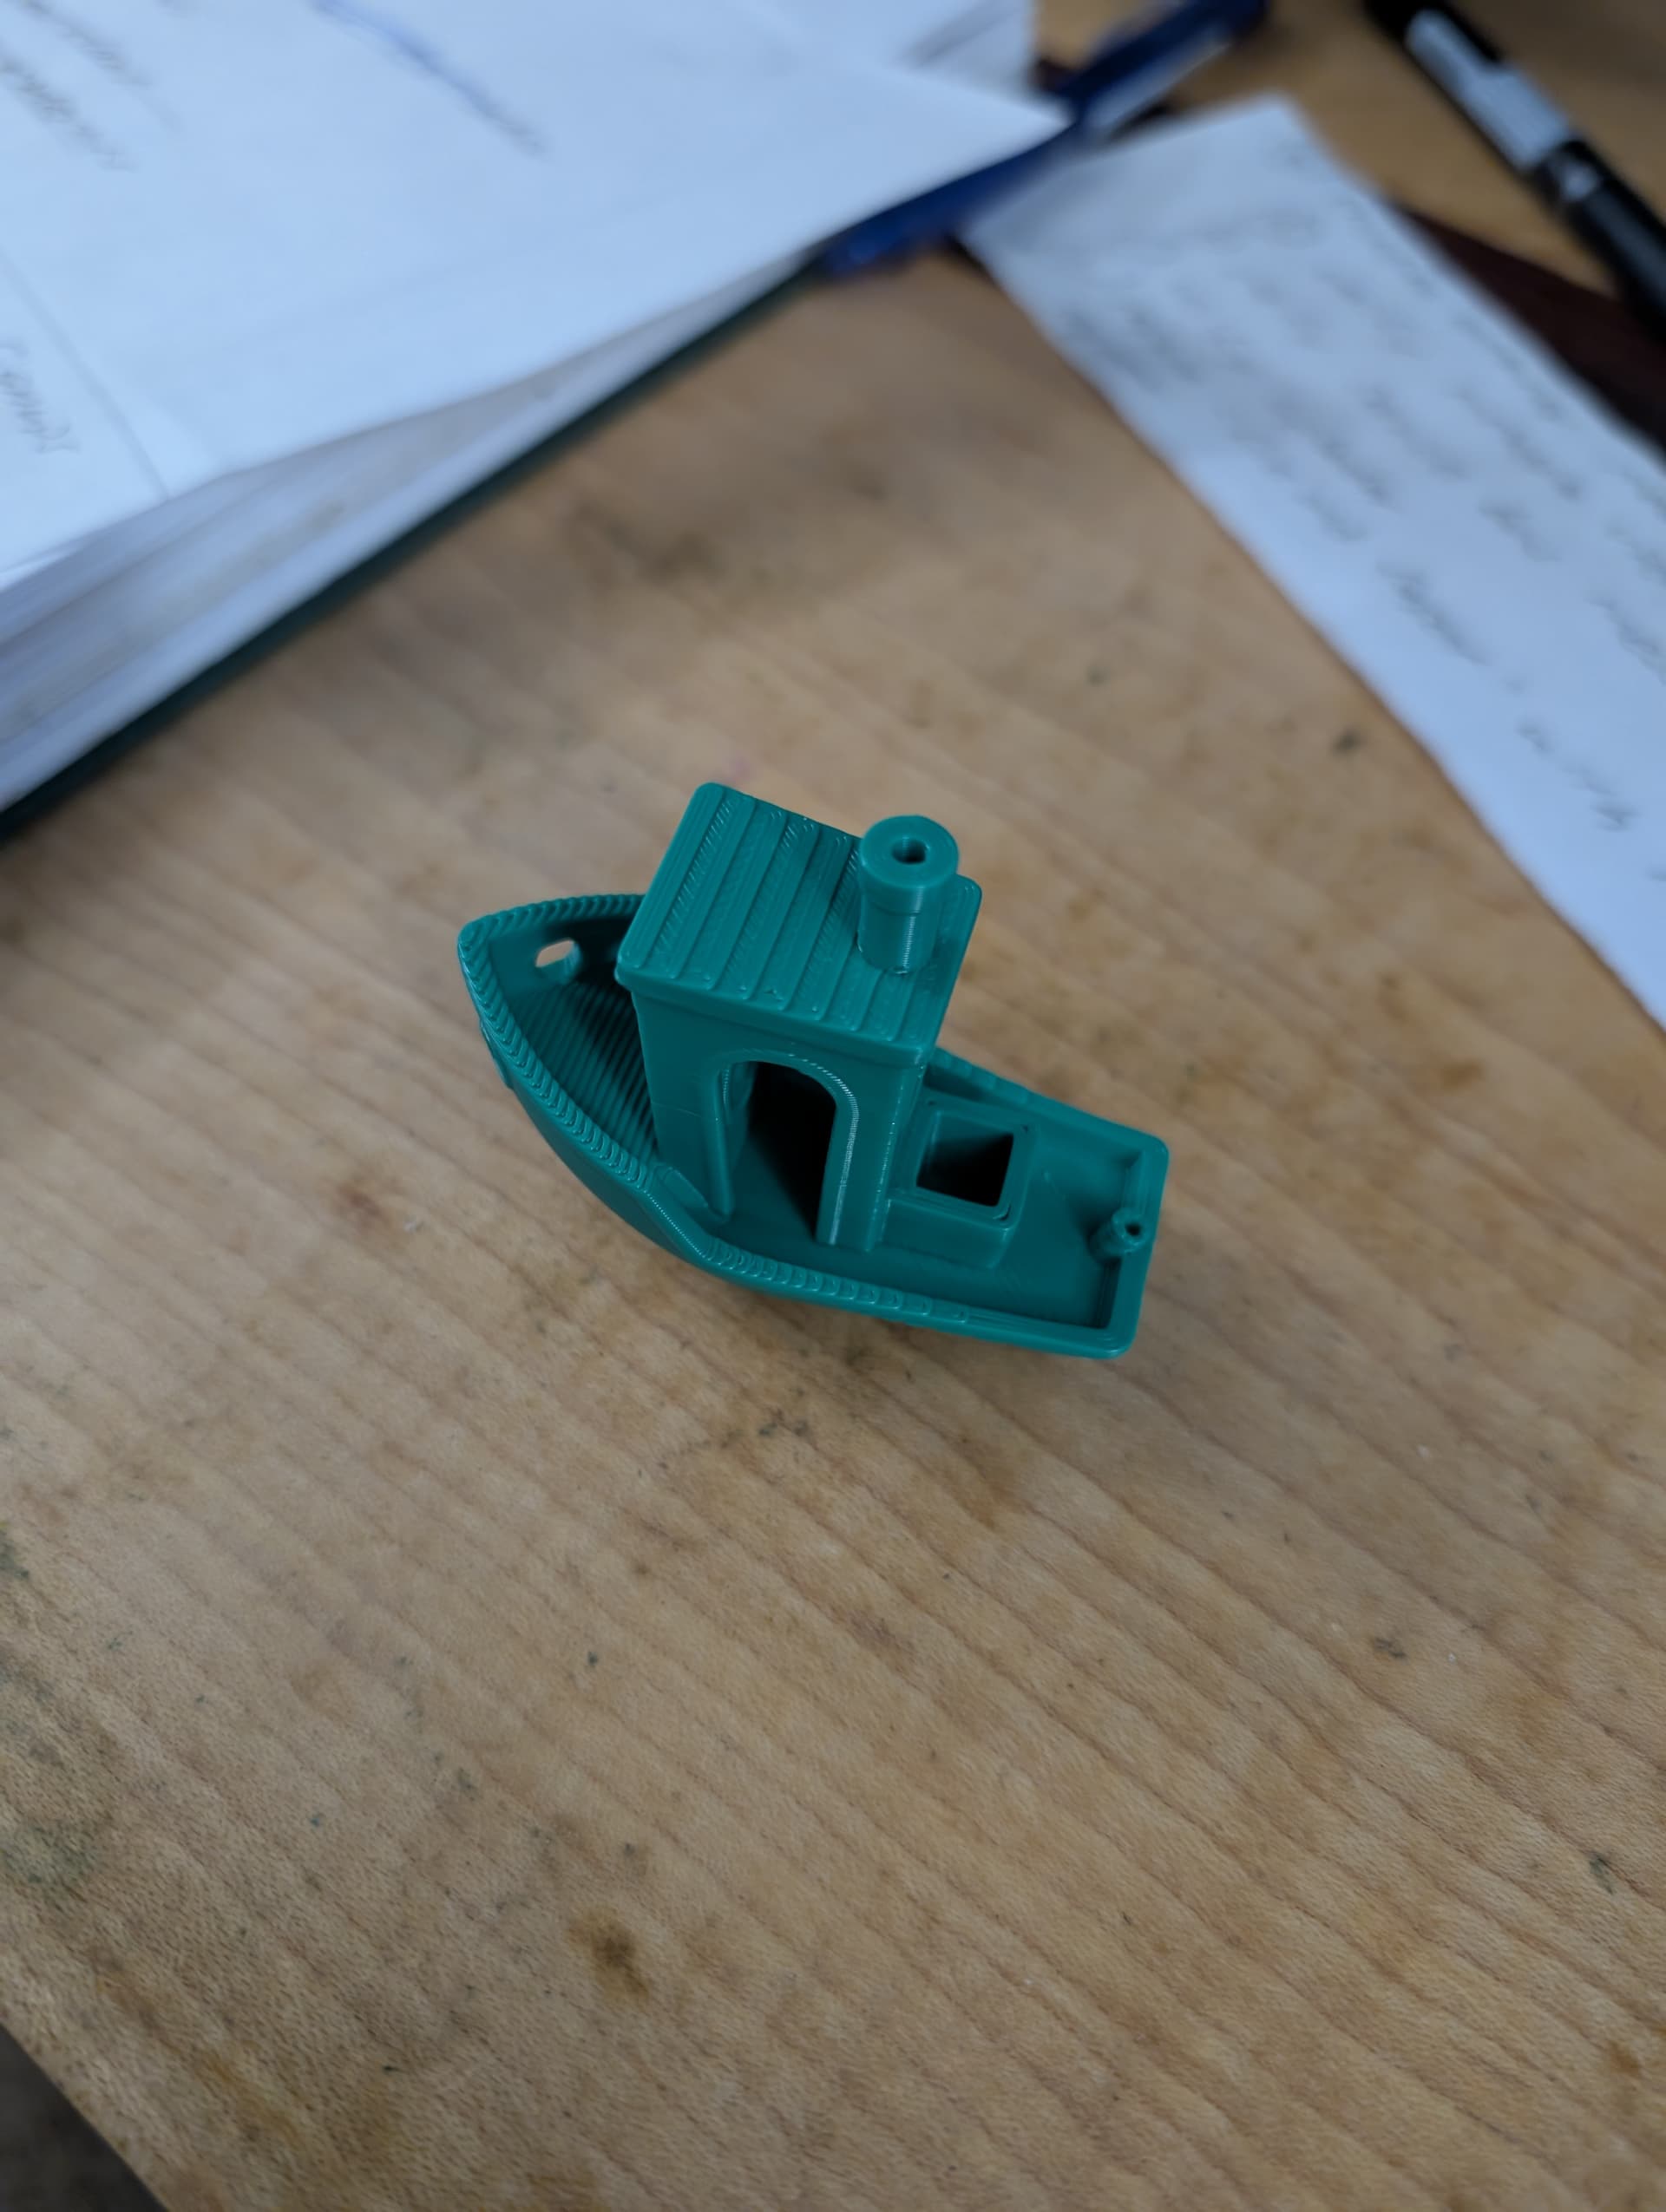
Of course the first thing I printed was…

Now I can finally print a replacement buckle for the backpack.

:yay:

6 Likes

A lot has happened since my last post in this thread. A lot of it is still happening, so homelab has often taken a backseat, but there have been a few developments.

The 2U Silverstone case featured earlier in this thread was dismantled and sold for parts as was most of the 4U threadripper machine. I kept the 4U case, one of the HBAs, the bay adapters, and the drives in them. I sold the rest. The idea of not having a desktop and running everything from the server wasn’t really working out for me, so I downsized(again :expressionless: ), and went back to having a desktop workstation/gaming machine which I picked up from System76 and then upgraded with my RTX 3070.

Can confirm the newest version of Looking Glass is a night and day difference when using an IGP. :yay:

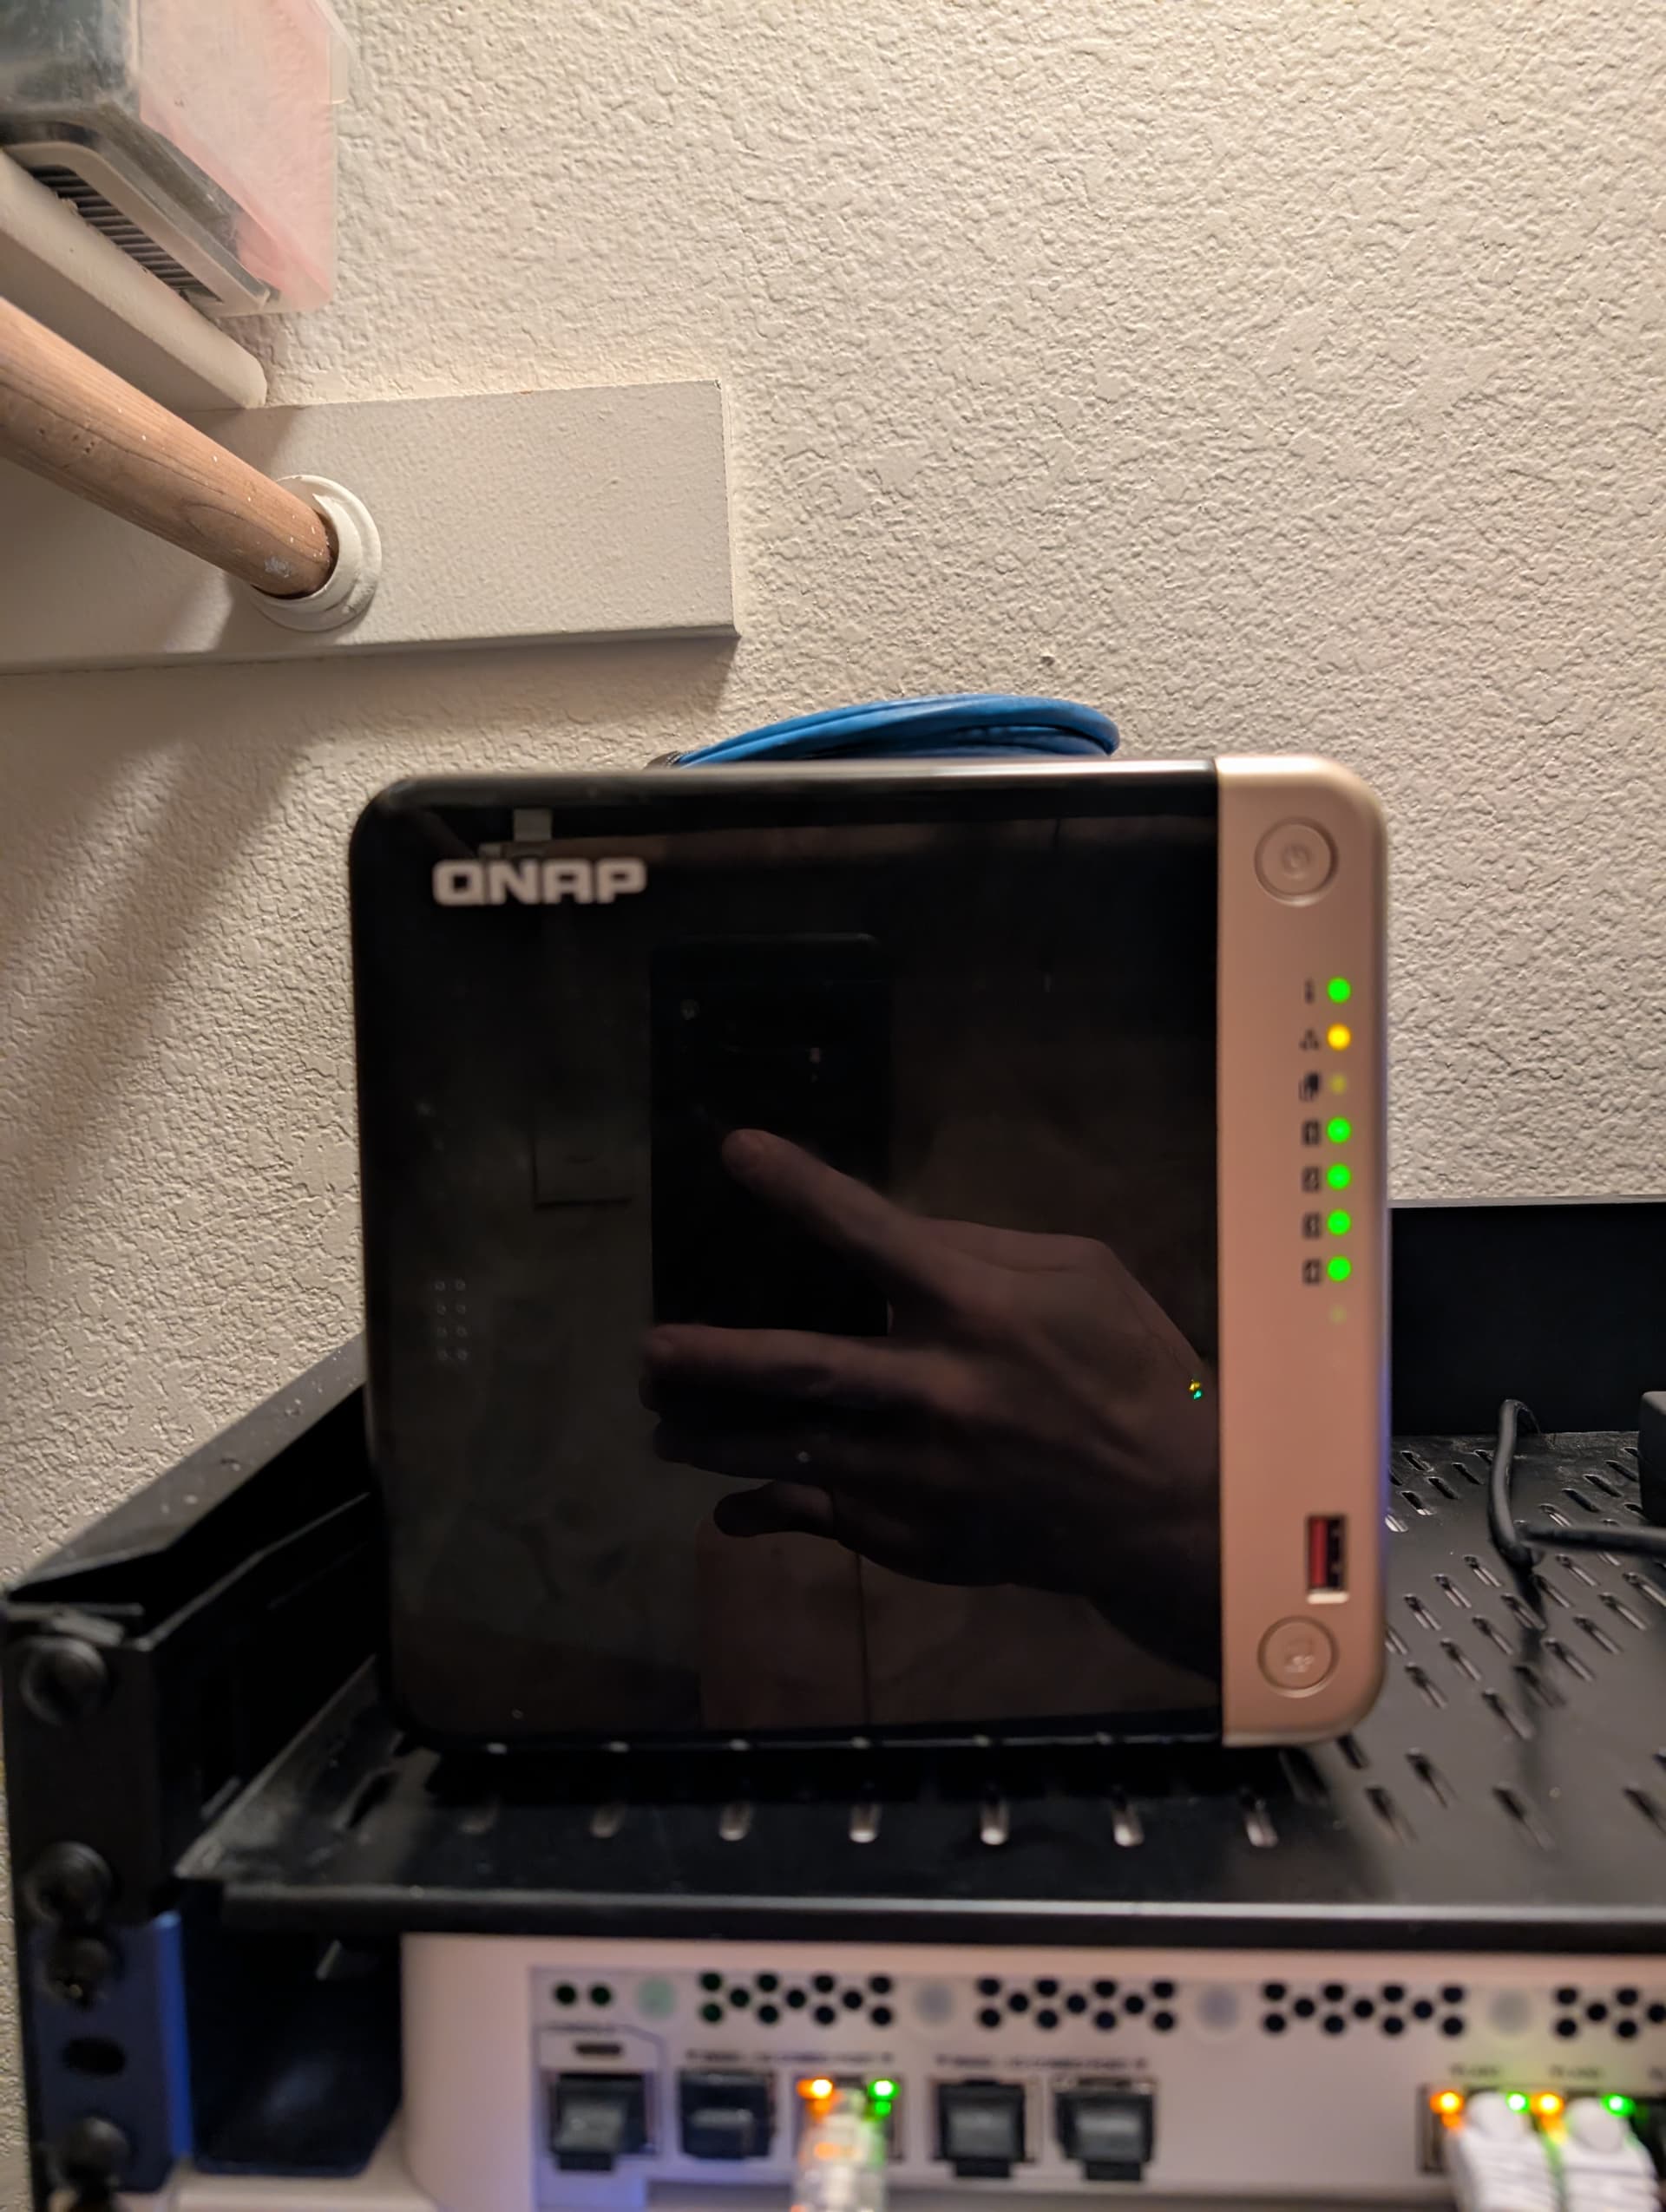
who dis

That’s a QNAP TS-464(photo-bombed by hand) which I filled with 4x10TB drives from Server Parts Deals and installed Proxmox Backup Server on. The home server runs Proxmox now on an Epyc 7401P with 256GB memory, and still functions as NAS, Jellyfin, encoding, and general VM and container host.

I have an A380 in there for transcoding in Jellyfin, the same HBA which I zip tied a fan to, and a 10G nic. I 3D printed a mounting bracket for the SSD mirror it boots from since I didn’t have a spot for them anywhere else…

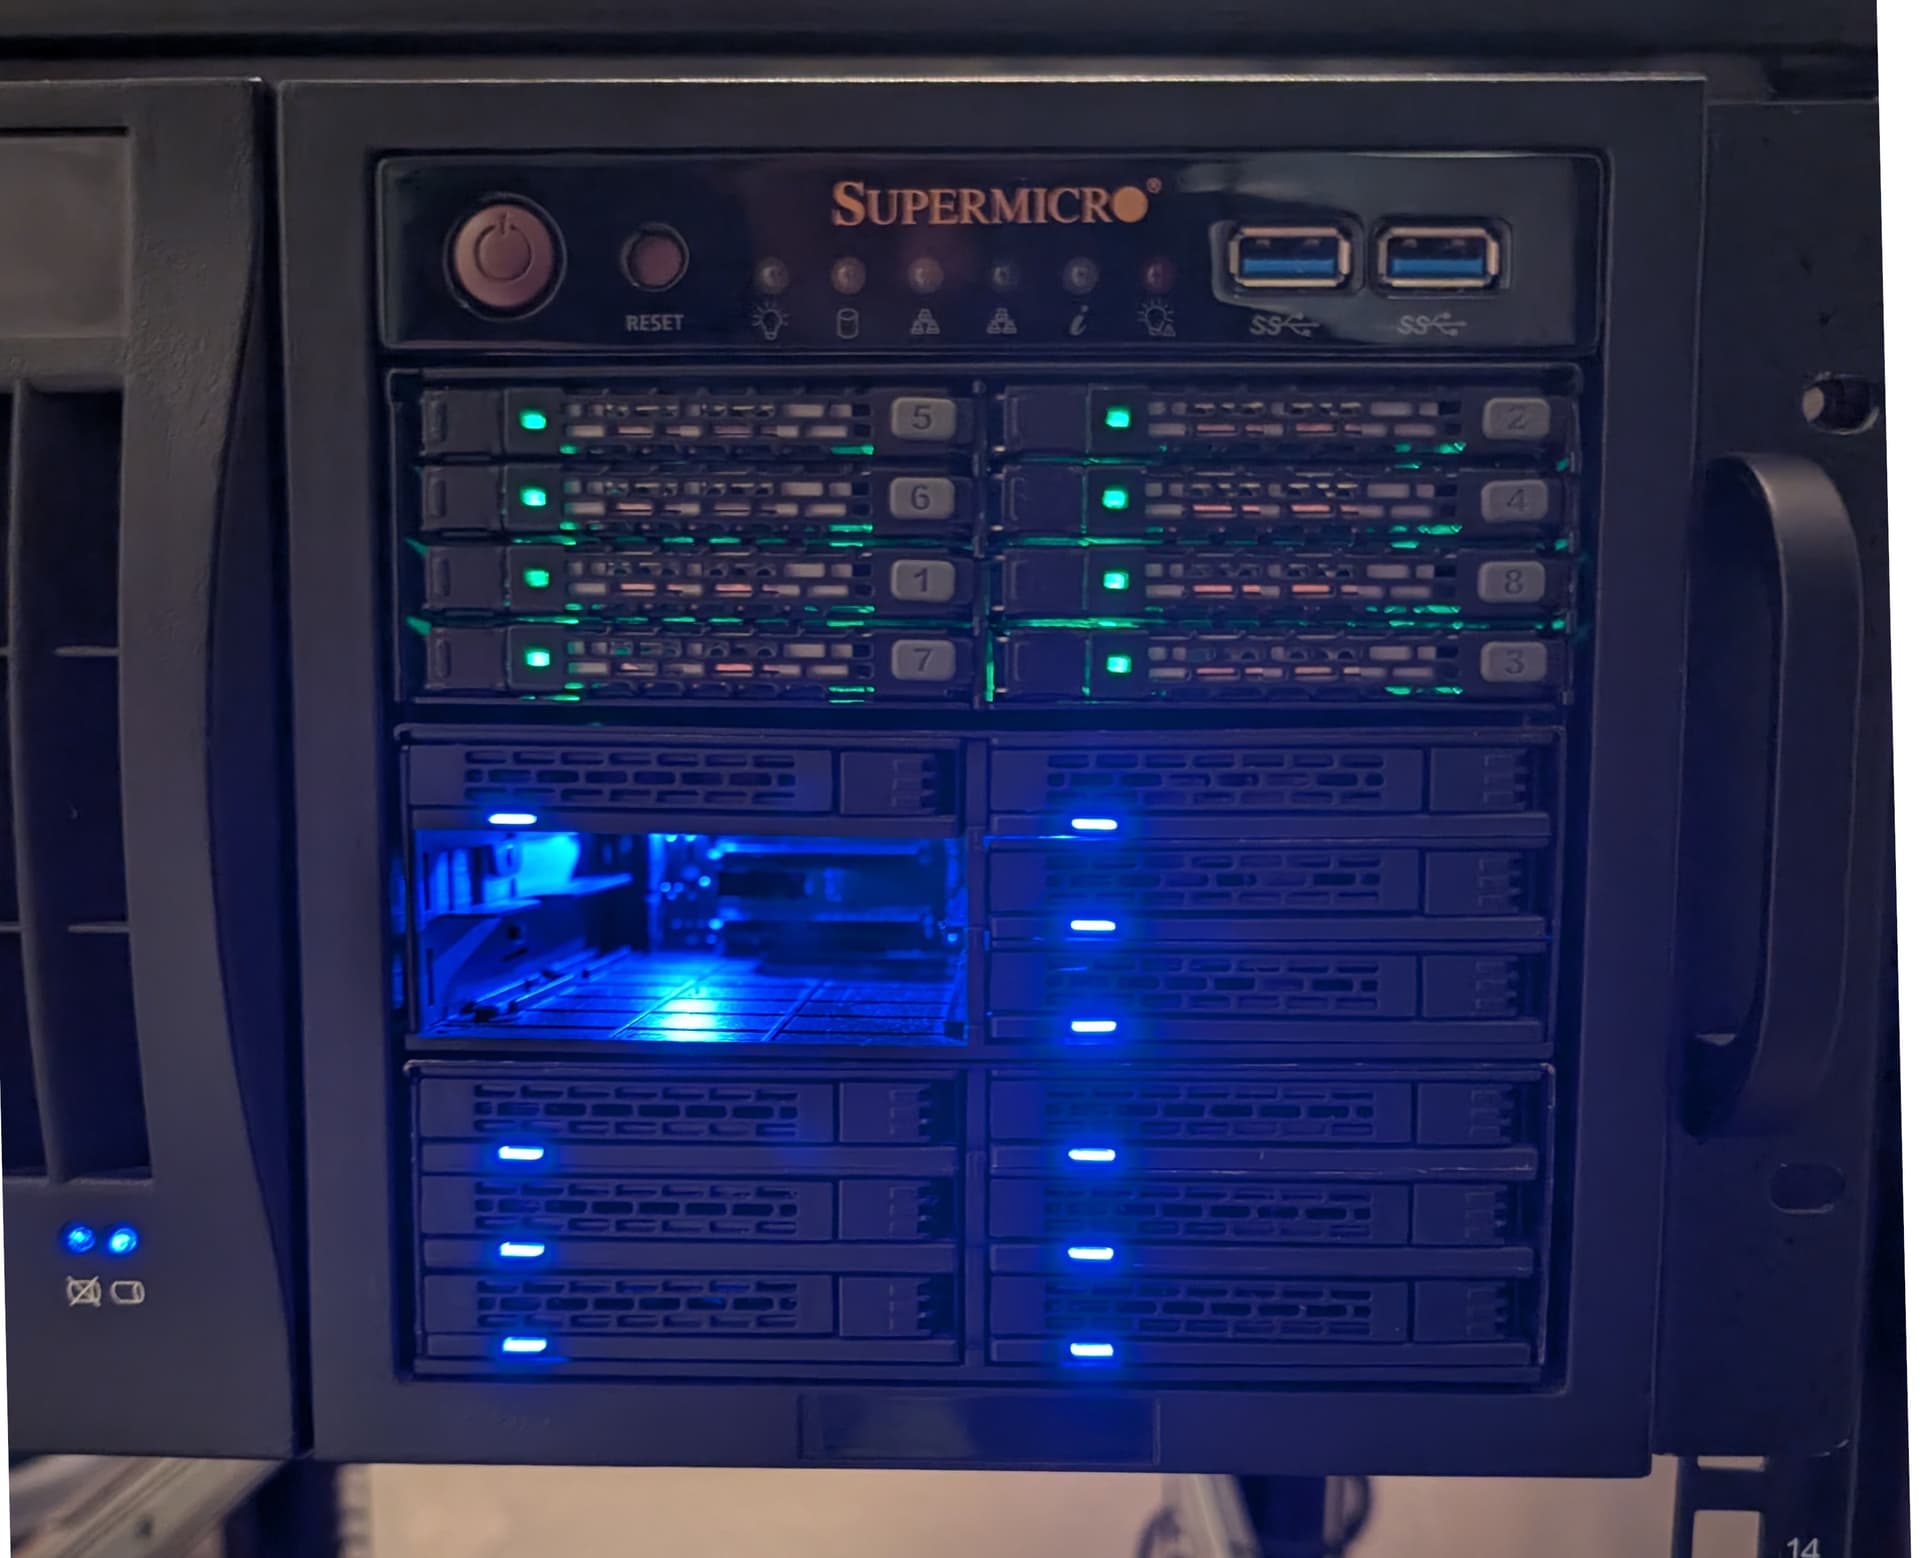
… but that’ll probably be changing once I swap out this bay adapter that had two of its bays die. I got the 8bay version as a replacement so I could kill two birds here. I’ll replace this bay adapter, and move the boot mirror into the two extra bays. Fortunately I set up the VM and container pool as a 6x3 RAIDZ1 with one bay empty and one drive as a hot spare, so no big loss there.

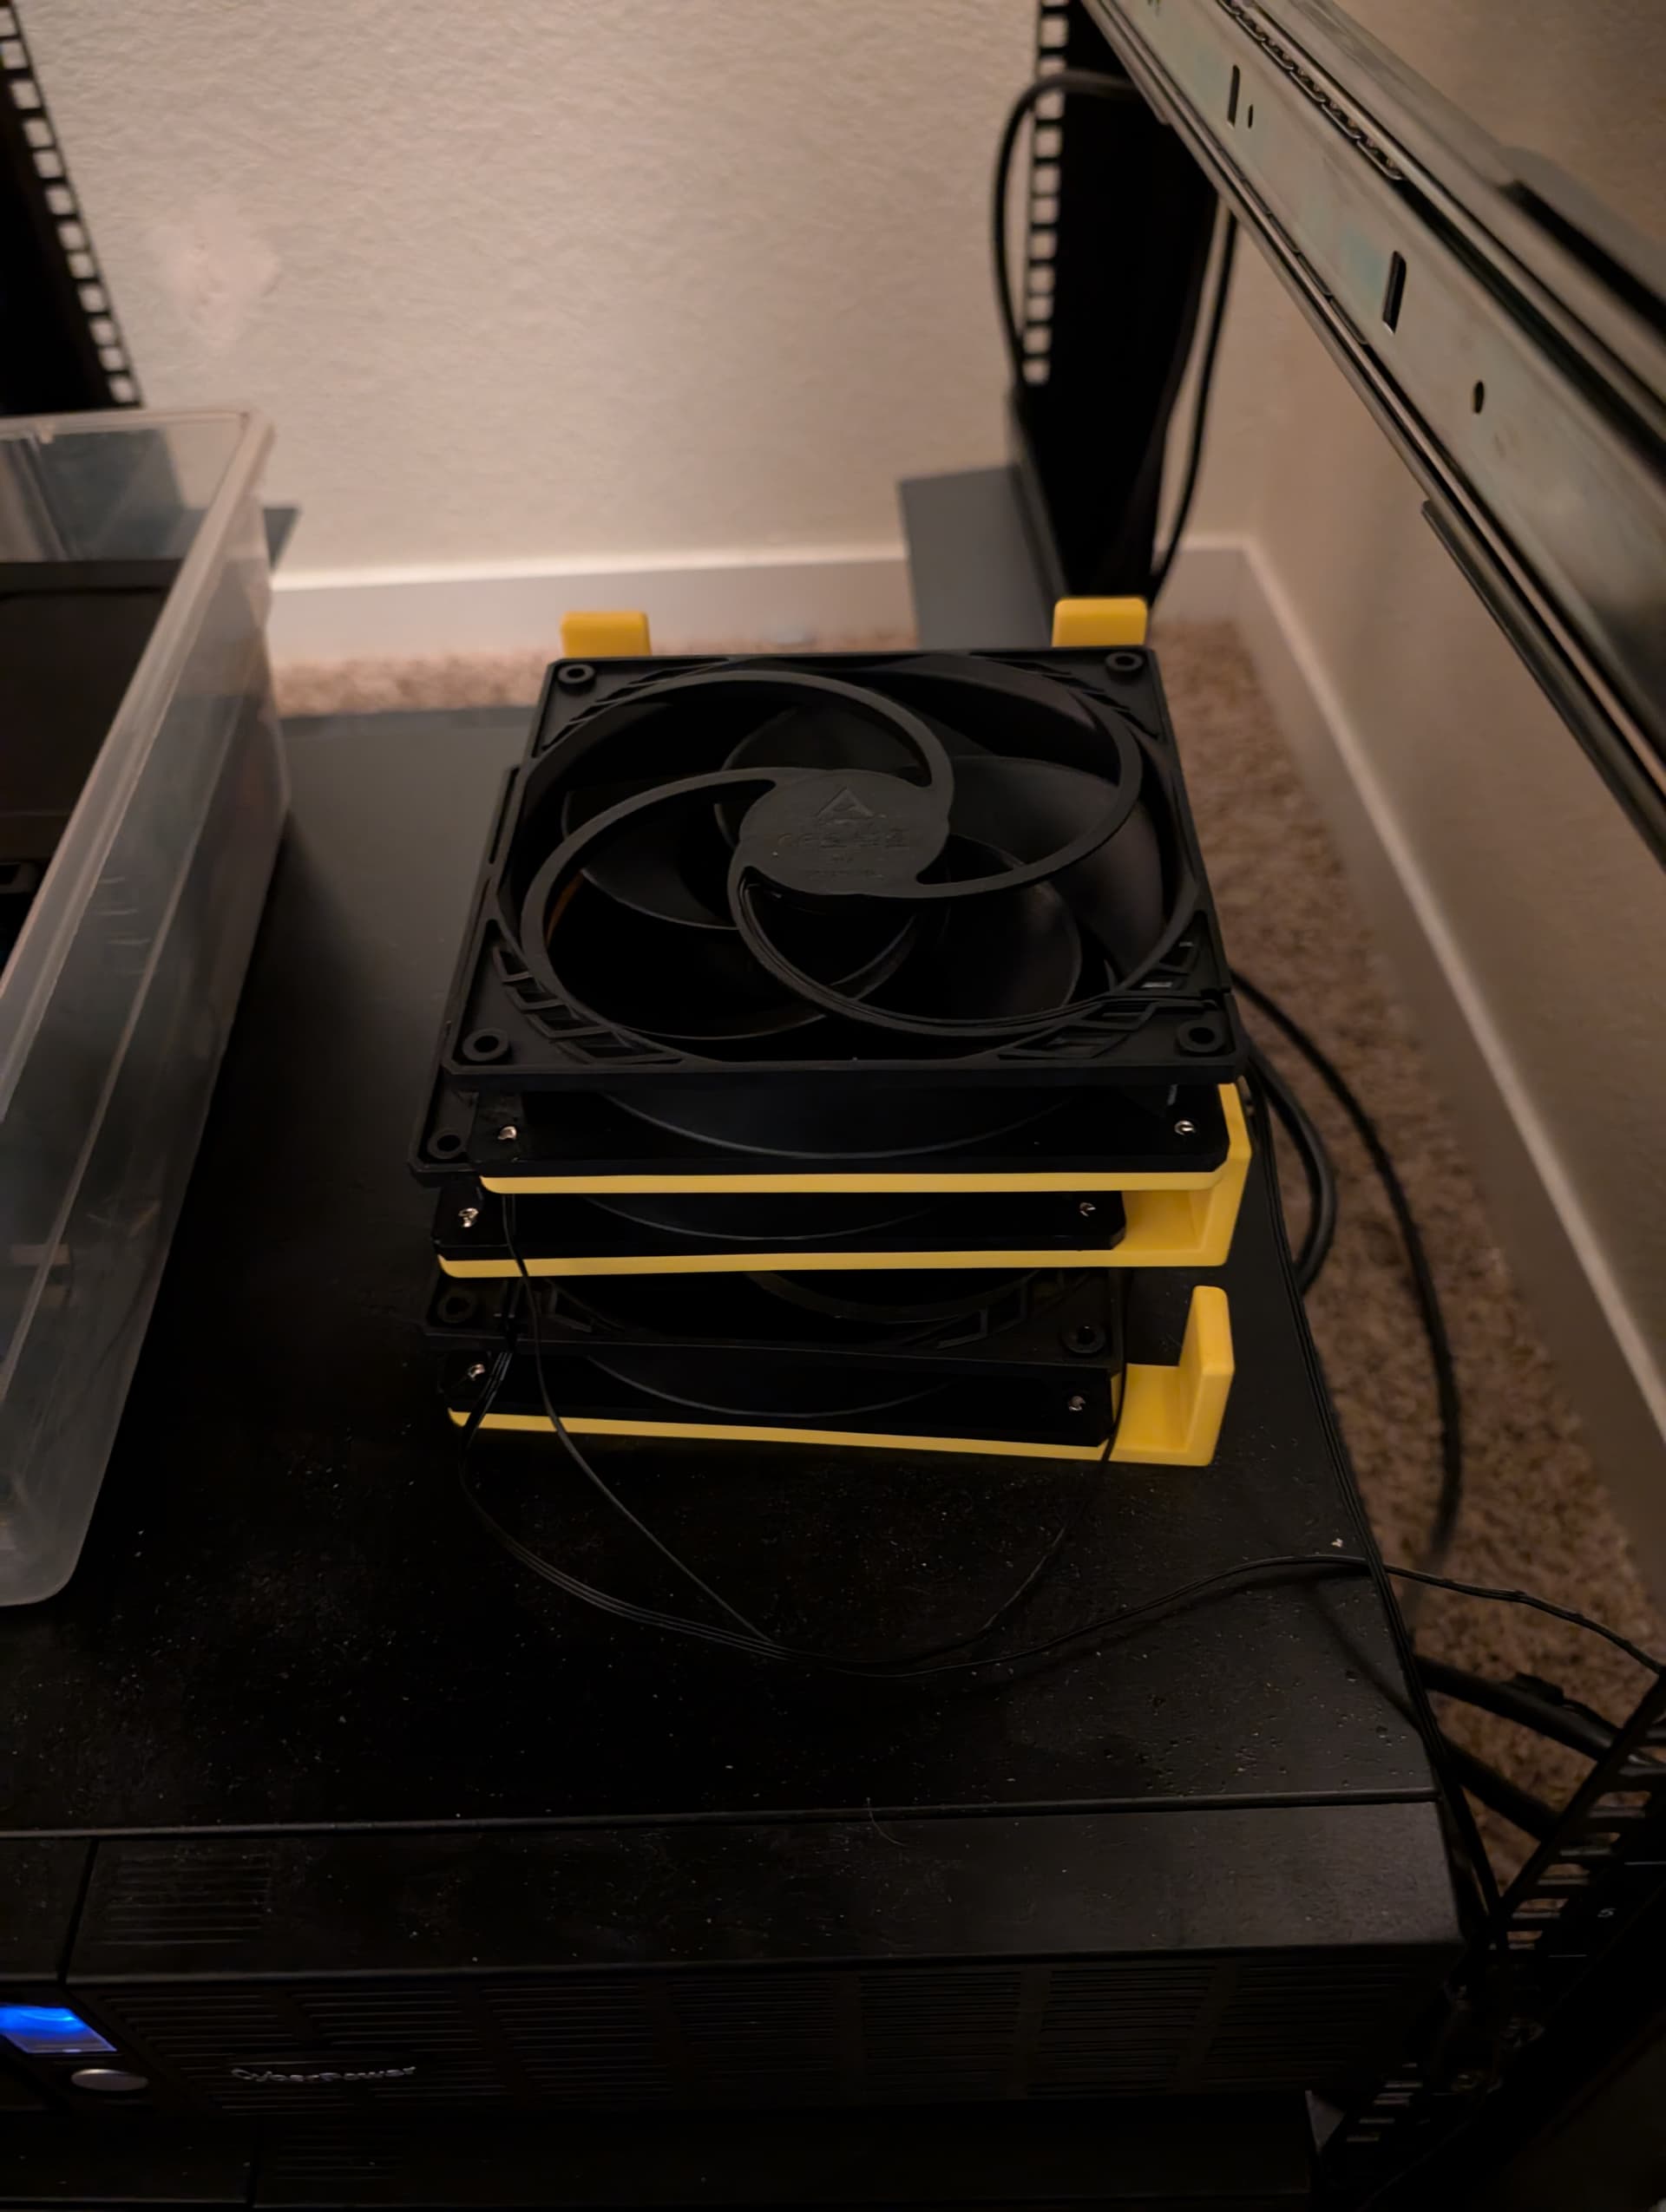
I’ve also got some 140mm fan brackets I printed with built in cable passthroughs which will help with cable management. These are the prototypes I printed in PLA. Next up is to print the real ones with ESD safe PETG I got from 3DXTech. 3x140mm fans fit in this case… barely.

:yay:

6 Likes

A Dual Monitor Virtual Machine?!?

Not sure why I hadn’t thought of this sooner. From the XML definition of a KVM virtual machine:

<video>
  <model type="virtio" heads="2" primary="yes"/>
  <alias name="video0"/>
  <address type="pci" domain="0x0000" bus="0x00" slot="0x01" function="0x0"/>
</video>

Notice: heads="2"

I don’t see a spot where this is built-in and exposed in virt-manager, but running virt-viewer directly pops up two windows attached to the same VM which can be dragged onto two different physical displays.

:exploding_head:

5 Likes

Adventures in Unit Testing

I’ve been writing tests lately. CosmosDb is involved. I have no complaints about it in general, but I thought I’d take a second and post this as a general FYI for anyone who might have a similar task at hand, or just enjoys these kind of shenanigans. This is from the local emulator for CosmosDb, which I took a swing at using just being lazy and trying to avoid having to switch over to the local in-memory setup for these tests.

Response status code does not indicate success: ServiceUnavailable (503); Substatus: 1007; ActivityId: 1b92f4f9-338f-481a-8554-7f17440b9c06; Reason: ({"code":"ServiceUnavailable","message":"Sorry, we are currently experiencing high demand in this region South Central US, and cannot fulfill your request at this time Wed, 28 Jan 2026 02:55:20 GMT.\r\nActivityId: 1b92f4f9-338f-481a-8554-7f17440b9c06, Microsoft.Azure.Documents.Common/2.14.0"}
RequestUri: https://127.0.0.1:8081/dbs/TestDb_65884dc103724d3fb78452b3126930a9/colls;

Yeah… high demand from US South Central(a region which I am not in) from my local machine killed the request on my local machine.

Right, ok… in-memory tests here we come…

:expressionless:

3 Likes

I thought that would be systemd unit files, but I don’t mind getting exposed to other stuff, like cosmosdb (although I don’t like azure or the cloud in general).

It doesn’t have to be cloud related. Unit tests are just a way to isolate components of an application, and(hopefully) go from “I think this works, because I’ve tried everything I can think of to break it, and can’t”, to “I know this works, because it passes these tests.” assuming the tests are useful and testing the correct things. That’s why I tried using this emulator, because if I use the in-memory setup, then I wouldn’t really be testing the actual business logic of the application. I’ll probably just find another way to do that.

1 Like

Thanks AI.

Return of the Shuck

If you’re reading this thread on this forum(first of all why are you reading this thread?), then you’ve probably heard about shortages, shenanigans, and have been witness to seemingly endless gnashing of teeth over the current state of hardware. I won’t continue to do the same.

For that reason, I’ve been putting off getting bigger backup drives, then the stories started circulating on production capacity of storage being sold out for multiple years to come.

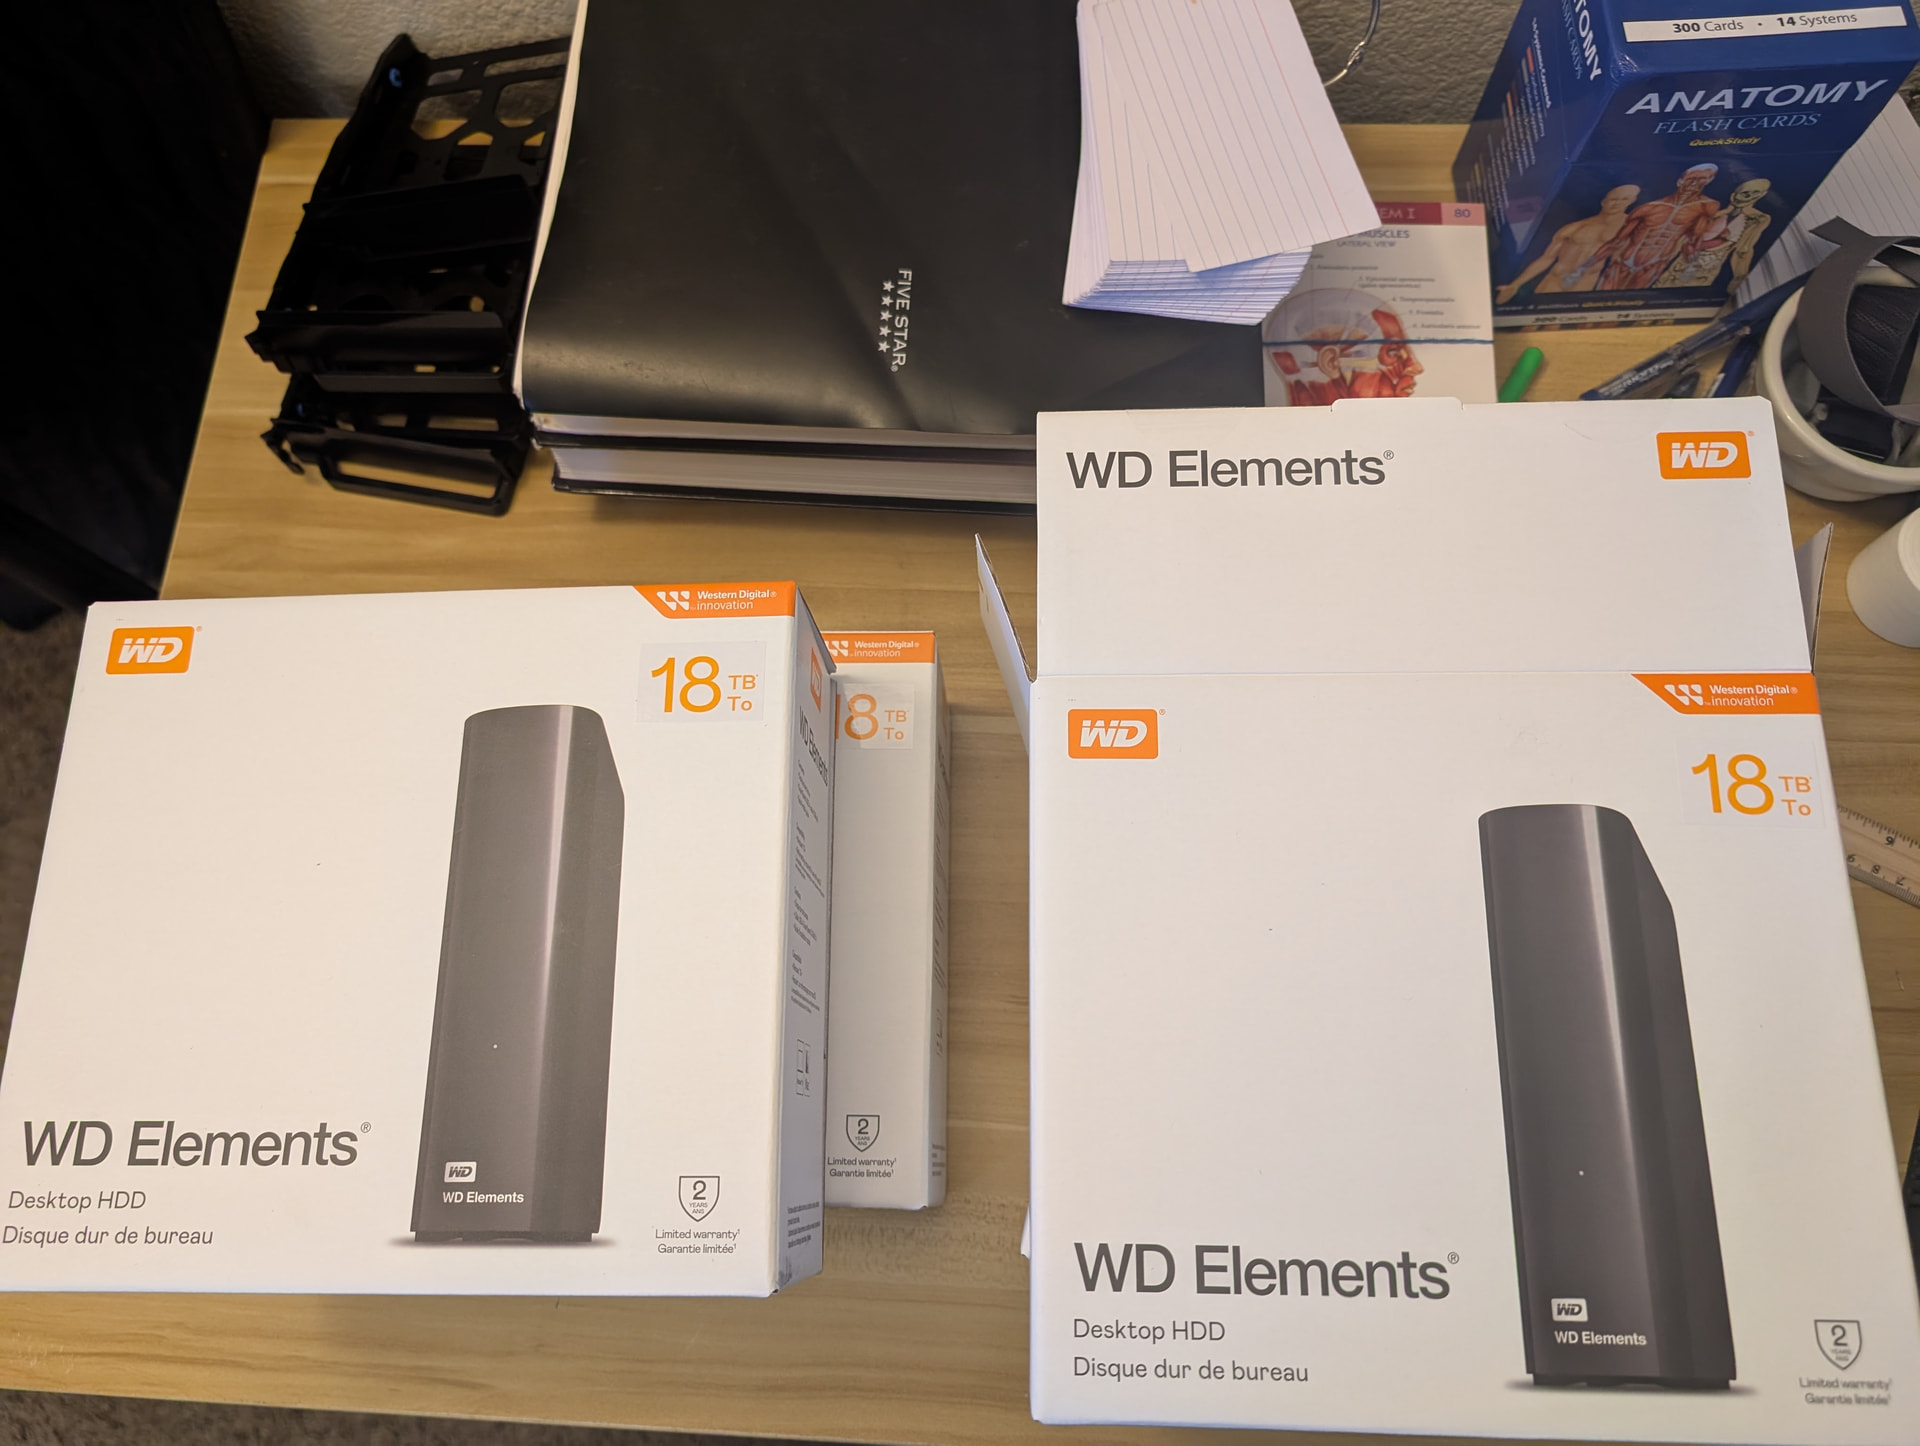
I think I’ve done a pretty decent job in this thread so far documenting my own retail therapy. But this time! This time is different. This time, I’m bringing back the practice of shucking drives. This is nothing new. Shucking drives has been around for many years. I suppose it could be that it never really went away. You’d have to ask an actual data hoarder about that. I just cosplay as one, but whatever. I needed more space, and this is what I’m doing. Since I don’t really see it talked about anymore I figured why not make a little mini-guide on the off-chance I haven’t been living under a rock and shucking is in fact less popular than it used to be.

Before this I hadn’t bought a Western Digital drive in many years due to their own specific shenanigans, but there’s only a few players left in the game these days, and you’ve got to be careful with your choice of drive when you go shucking. Desperate times indeed.

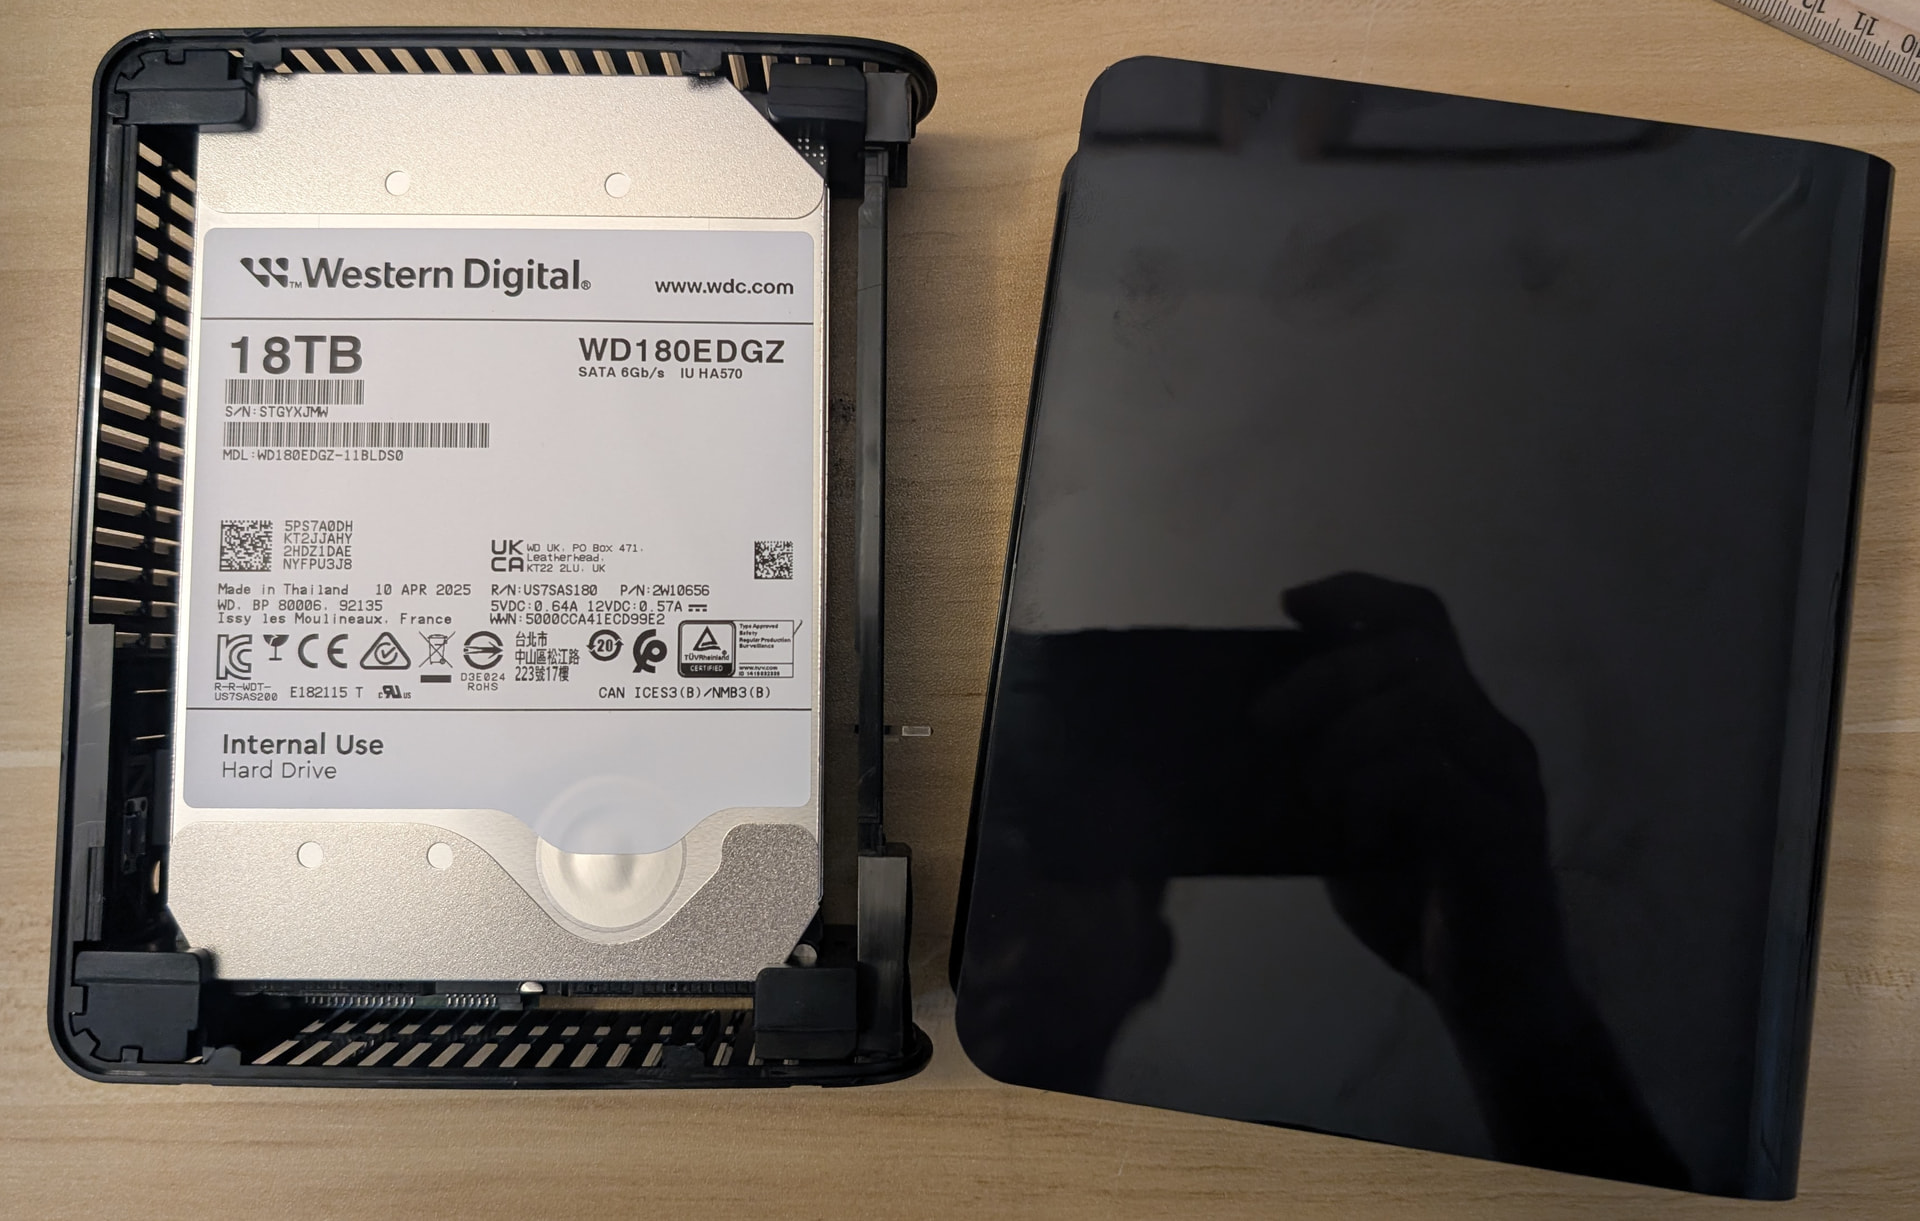
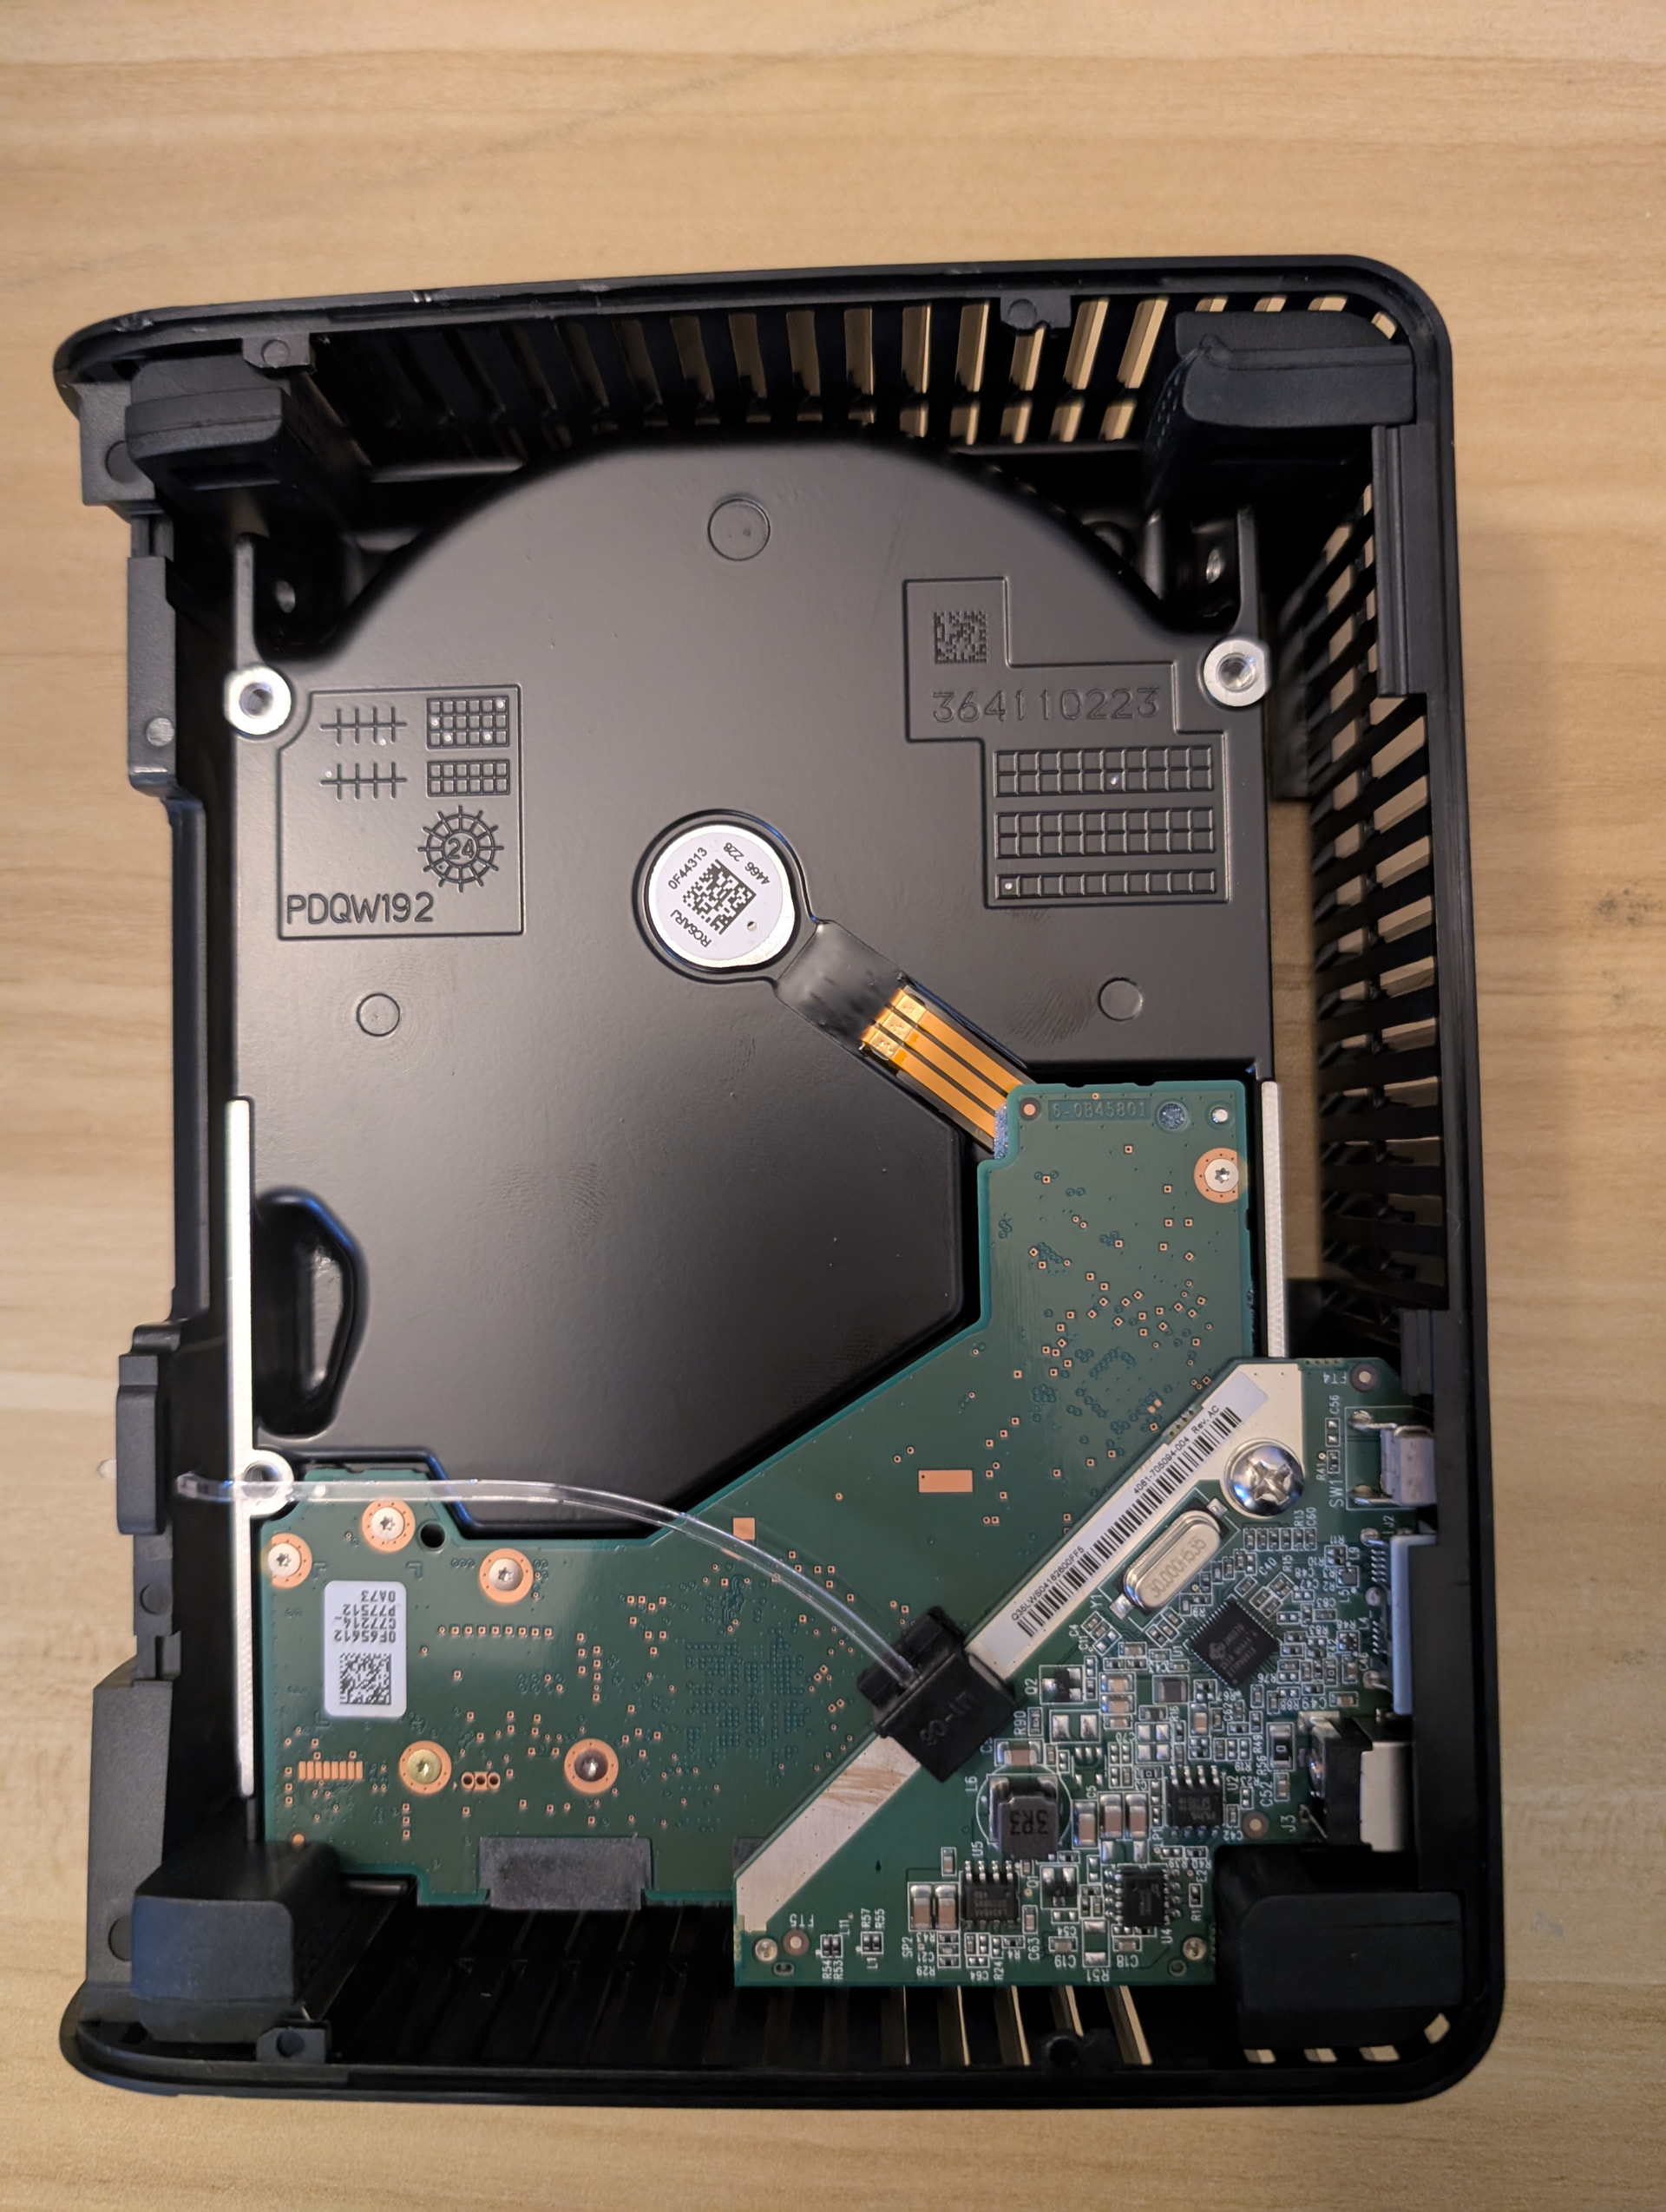
A little work with a tiny flathead screwdriver to pop the tabs on the outer case reveals the drive its self. It’s held in the inner frame by those four rubber bumpers in the corners. Flipping it over reveals the itty-bitty PCB housing the external connectors.

This is the kind of setup you want to see while shucking. All I’ve got to do is pop the drive out of the inner frame, and disconnect that little PCB, and I’ve got myself an internal drive that’s ready to go.

I should mention here the 3.3v kapton tape thing. Sometimes you’ll need to cover pin 3 due to it being used to send the “Power Disable” signal. These drives are going in that QNAP box I mentioned earlier in this thread which has its own SATA backplane. If I was installing these in a standard PC case where each drive is individually cabled with SATA power and data cables, then there’s a good chance I would have needed to do that. Fortunately it wasn’t an issue, and the drives spun up just fine. Before that though, I had to pop the drive out of the inner frame, and get rid of that little PCB.

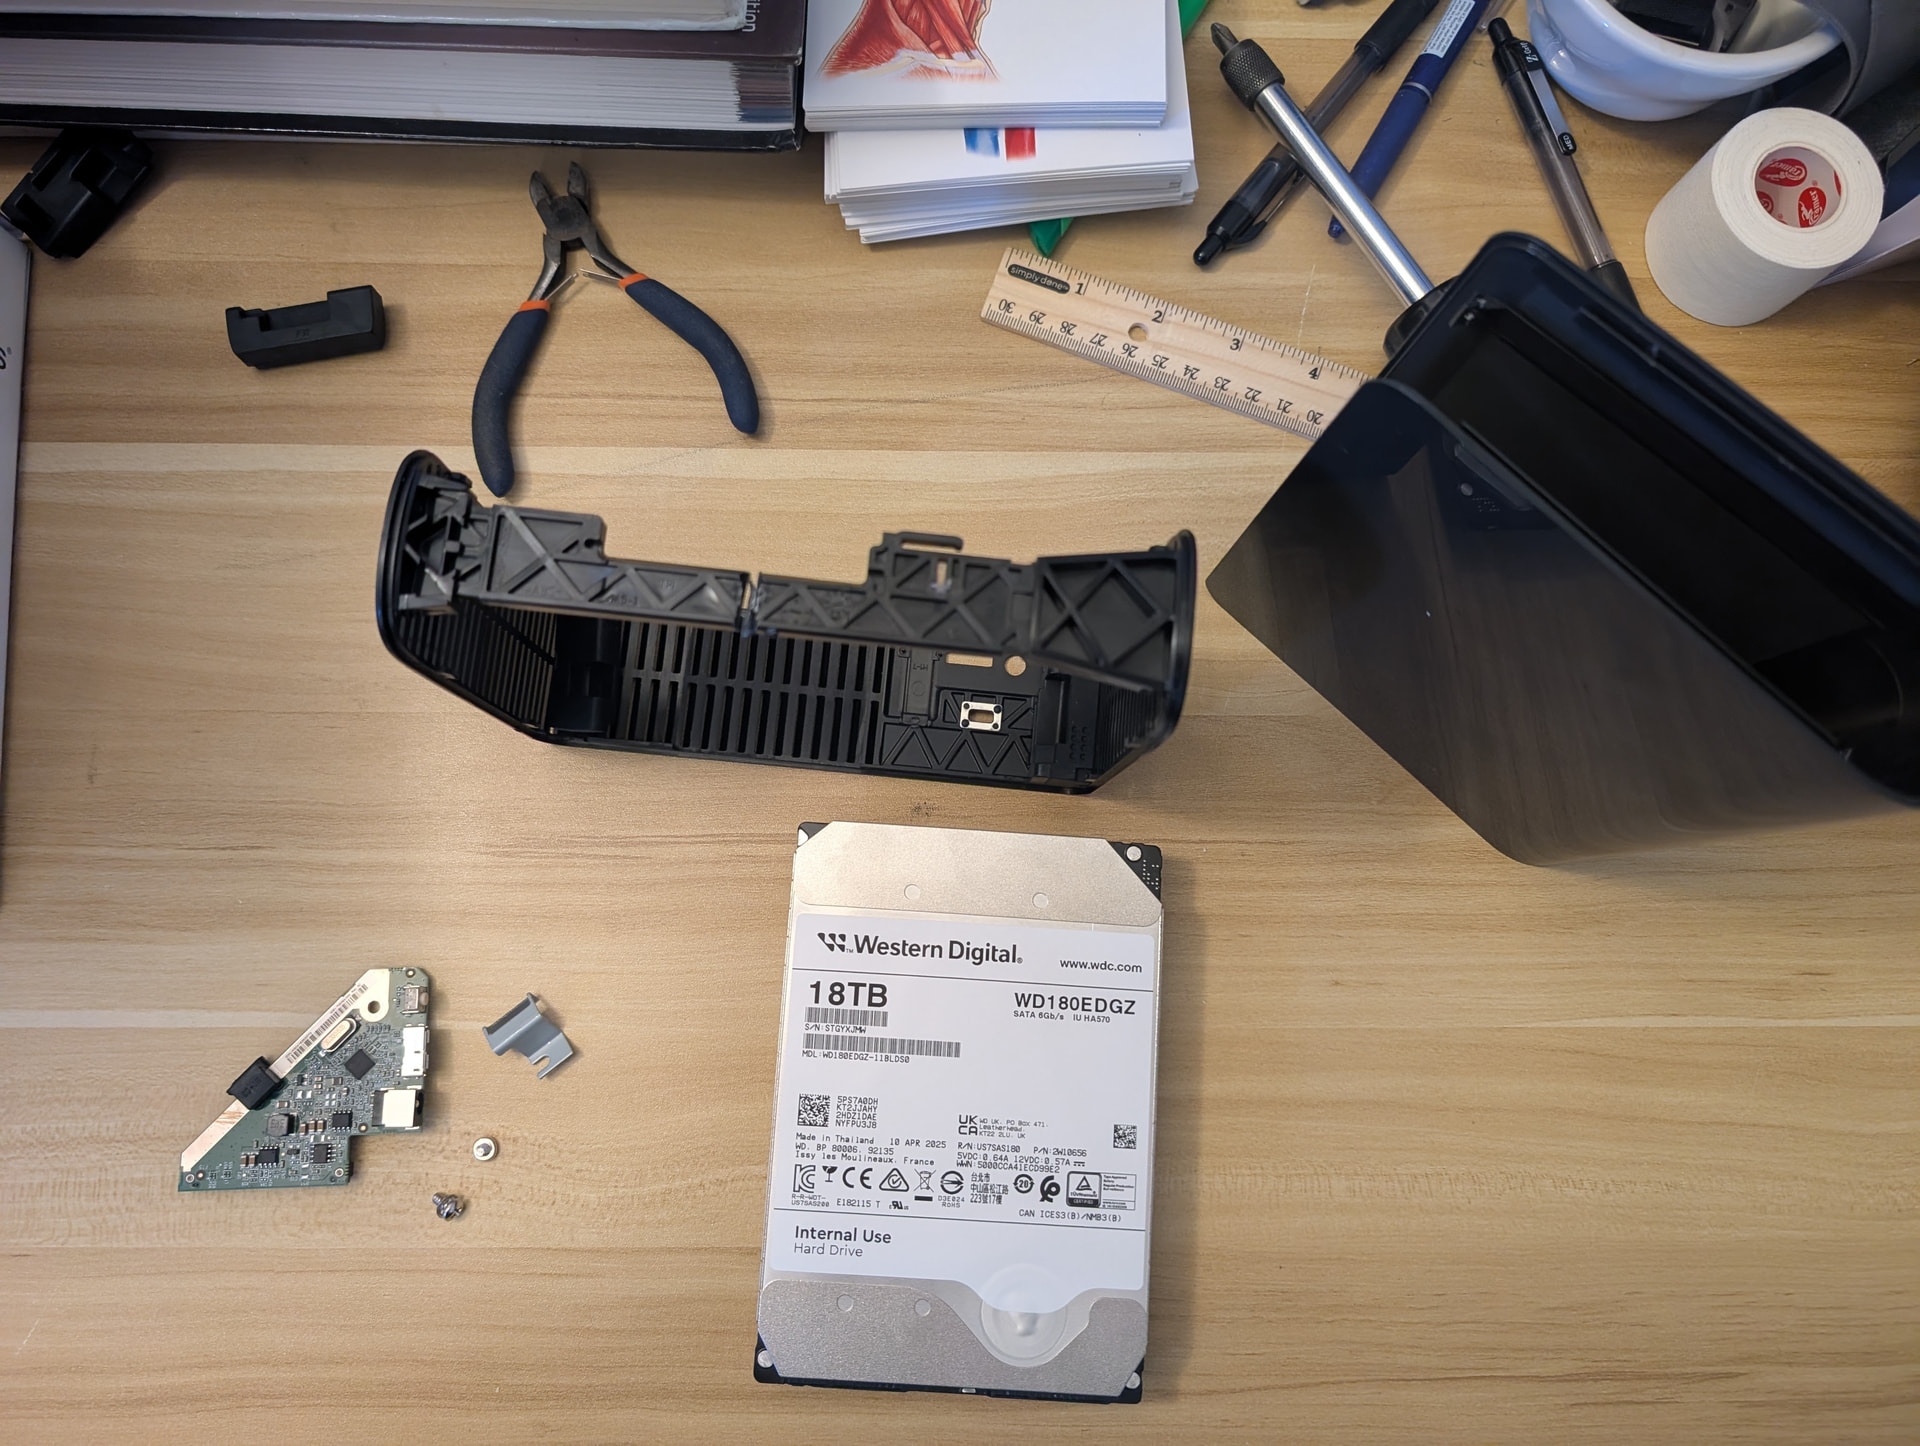
Two little screws held it in place. Rinse and repeat three more times.

pool: tank
 state: ONLINE
  scan: scrub repaired 0B in 06:25:32 with 0 errors on Sun Apr  5 06:25:33 2026
config:

        NAME                                      STATE     READ WRITE CKSUM
        tank                                      ONLINE       0     0     0
          raidz1-0                                ONLINE       0     0     0
            b24a816f-509c-4bae-8f4e-9f8e25c3f753  ONLINE       0     0     0
            ffee1cbe-4f70-4816-8603-0a1f6a0ffedd  ONLINE       0     0     0
            96a0c762-5071-43cf-bf60-f060683f02b3  ONLINE       0     0     0
            30e35d2f-c75f-466e-b034-4107ebd470b0  ONLINE       0     0     0
        cache
          259276bc-9b5a-4829-b176-5b9fd655bb4c    ONLINE       0     0     0

Plus a spare SSD from a previous build, because why not. Obviously, don’t do this if you need warranty support, but the shucking did help with the price tag of this little project pretty significantly, so I’m calling it a win.

:yay:

4 Likes

What’s the chance to get an SMR drive this size? I have not really followed along with the state of SMR but from the little knowledge I have they don’t come in sizes that large, or do they?

1 Like

Yeah, I think once you go bigger than 8TB you’re generally pretty safe on the SMR front.

That was my feeling as well, but I did not really look into it.