I asked ChatGPT-4 the following question:
Hi, I would like you to walk me through how I should set up my TrueNAS Core server for my use case.
This is my use case:
There are two people who live in my household. Brent and Kayla.
Brent and Kayla should have one dataset they can both access and only they can access. This will be an SMB share as both Windows and Linux clients will access it. This will store private information such as financial records, so anyone trying to access this information from a device should have the required credentials.
A second dataset will be a media folder. This will store Movies, TV Shows, Music and Photos. This will only be access by Linux. It can be either NFS or SMB, which ever you think will be better.
A third dataset will be accessed by only Brent. It will hold data that should be secured for clients. It will hold code, databases and other work related material that only the user Brent should be able to mount from his devices.
The last dataset should be public. Making it easy to quickly share devices to anyone that has access to the network.
Help me walkthrough how you would setup TrueNAS Core to give me the best experience.
It provided my the following output:
Let’s break it down into steps. I’m going to assume that you’ve already installed TrueNAS Core and have completed the initial setup wizard, which includes setting your root password, timezone, hostname, etc.
Step 1: Create Users and Group
Firstly, we’ll create users for Brent and Kayla. In the web interface:
- Navigate to Accounts → Users → Add.
- Enter the required information for each user (username, full name, password, etc.), and ensure you give each of them a home directory. Note the user ID (UID) for each, you’ll need this later.
We’ll create a group for Brent and Kayla for the shared dataset:
- Go to Accounts → Groups → Add.
- Name it something like “Shared”, and add Brent and Kayla to the group. Note the group ID (GID), you’ll need this later.
Step 2: Create Datasets
Now we’ll create the datasets. Navigate to Storage → Pools:
- Select the pool you want to create the datasets in, then click on the three dots on the right side and select “Add Dataset”.
- For the shared dataset, name it something like “Shared”. Under advanced settings, set the “Share Type” to SMB.
- Repeat for the Media, Brent’s personal, and Public datasets. For the Media dataset, you could choose either SMB or NFS for share type; NFS is generally a bit more performant and stable on Linux, but SMB would provide more versatility if you ever need to access it from a Windows machine.
Step 3: Set Permissions
Now we’ll set permissions for each dataset:
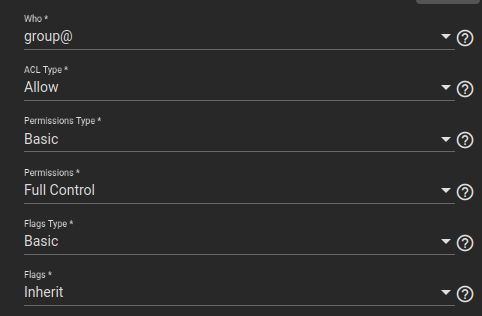
For the shared dataset: Click the three dots next to the dataset, and select “Edit Permissions”. Set the User to “root” and the Group to “Shared”. Set the permission type to “Windows”. Ensure the “Apply User” and “Apply Group” boxes are checked, and set the permission checkboxes so that “Read” and “Write” are checked for Owner (root), Group (Shared), and unset for Others.
For the Media dataset: Similar to the shared dataset, set User to root and Group to whichever user (Brent or Kayla) will be accessing the dataset. Set permission type to “Unix” (since this will be accessed from Linux). Set the permissions as needed, likely giving full access to Owner and Group and no access to Others.
For Brent’s dataset: Set the User to Brent, Group to Brent, and set the permissions so that only Owner (Brent) has Read and Write access.
For the Public dataset: Set the User to root, Group to a generic group like “users”, and give Read and Write permissions to Owner, Group, and Others.
Step 4: Set Up Sharing
Finally, we’ll set up sharing for each dataset:
For the shared dataset: Go to Sharing → Windows Shares (SMB) → Add. Select the shared dataset, and set the “Purpose” to “Private”. In the advanced settings, set the “Allowed Users” to Brent and Kayla.
For the Media dataset: Go to Sharing → Unix Shares (NFS) → Add, and select the Media dataset. Set the NFS version to 4, and set the allowed networks or hosts as needed.
For Brent’s dataset: Again, go to Sharing → Windows Shares (SMB) → Add, select Brent’s dataset, and set the “Purpose” to “Private”. In the advanced settings, set the “Allowed Users” to Brent.
For the Public dataset: Go to Sharing → Windows Shares (SMB) → Add, select the Public