17’’ 2011 MacBook Pro 8,3 - Dead GPU
Backlog post / ongoing project.
Few years ago I was given an old macbook. It was terribly slow and overheating. So I:
- replaced the HDD with an SSD
- applied fresh thermal paste
But it was still slow and overheating. why doesn’t apple believe in properly cooling their devices?
Then strange vertical lines appeared on the screen. And after a few hours the screen went black. The boot sequence would not get past the apple logo and hang indefinitely on a grey screen. The discrete GPU died…
Turns out its one of the infamous 2011 dead GPU models! In this case a 17" MacBook Pro 8,3: i7-2820QM + AMD 6750M GPU
There are a couple hardware approaches to fixing this:
- bypass gMux via hardwired LVDS: https://youtu.be/vbXb0gfRxEY
hard-wire the LVDS output lines of the integrated graphics (Intel HD Graphics 3000) to the lines going to the LVDS connector.
- flash gMux IC w/ custom firmware: https://youtu.be/n6ROPL2-5HA
However:
I am not confident in my micro-soldering skills to attempt fix #1.
I don’t have a jTag programmer for fix #2.
Luckily the i7-2820QM has integrated graphics: HD 3000
I was able to manually override the gpu-power-prefs via efivars, thanks to these guides:
Boot into Single User (CMD+S) and launch USB bootable arch with nomodeset to not load video drivers and stay on integrated graphics.
Once we reach the terminal in arch:
- mount efivarfs with read write permissions
cd /
umount /sys/firmware/efi/efivars/
mount -t efivarfs rw /sys/firmware/efi/efivars/
cd /sys/firmware/efi/efivars/
- change gpu-power-prefs to use Intel GPU instead of the discrete AMD GPU
printf "\x07\x00\x00\x00\x01\x00\x00\x00" > /sys/firmware/efi/efivars/gpu-power-prefs-fa4ce28d-b62f-4c99-9cc3-6815686e30f9
chattr +i "/sys/firmware/efi/efivars/gpu-power-prefs-fa4ce28d-b62f-4c99-9cc3-6815686e30f9"
- dismount
cd /
umount /sys/firmware/efi/efivars/
- reboot. Mac OS should now boot using integrated graphics.
These steps may need to be repeated if the PRAM gets reset. PRAM can be manually reset using: (Command, Option, P, and R)
It seems now you don’t need arch and you can simply boot Single User (Command + S). I’ll be sure to try this if my PRAM resets:
nvram fa4ce28d-b62f-4c99-9cc3-6815686e30f9:gpu-power-prefs=%01%00%00%00
nvram boot-args="-v"
reboot
If met with Operation is not permitted one can temporarily disable System Integrity Protection (SIP) in recovery mode (Command + R):
csrutil disable
Reboot, then try to set power prefs.
Be sure to re-enable SIP when finished.
csrutil enable
reboot.
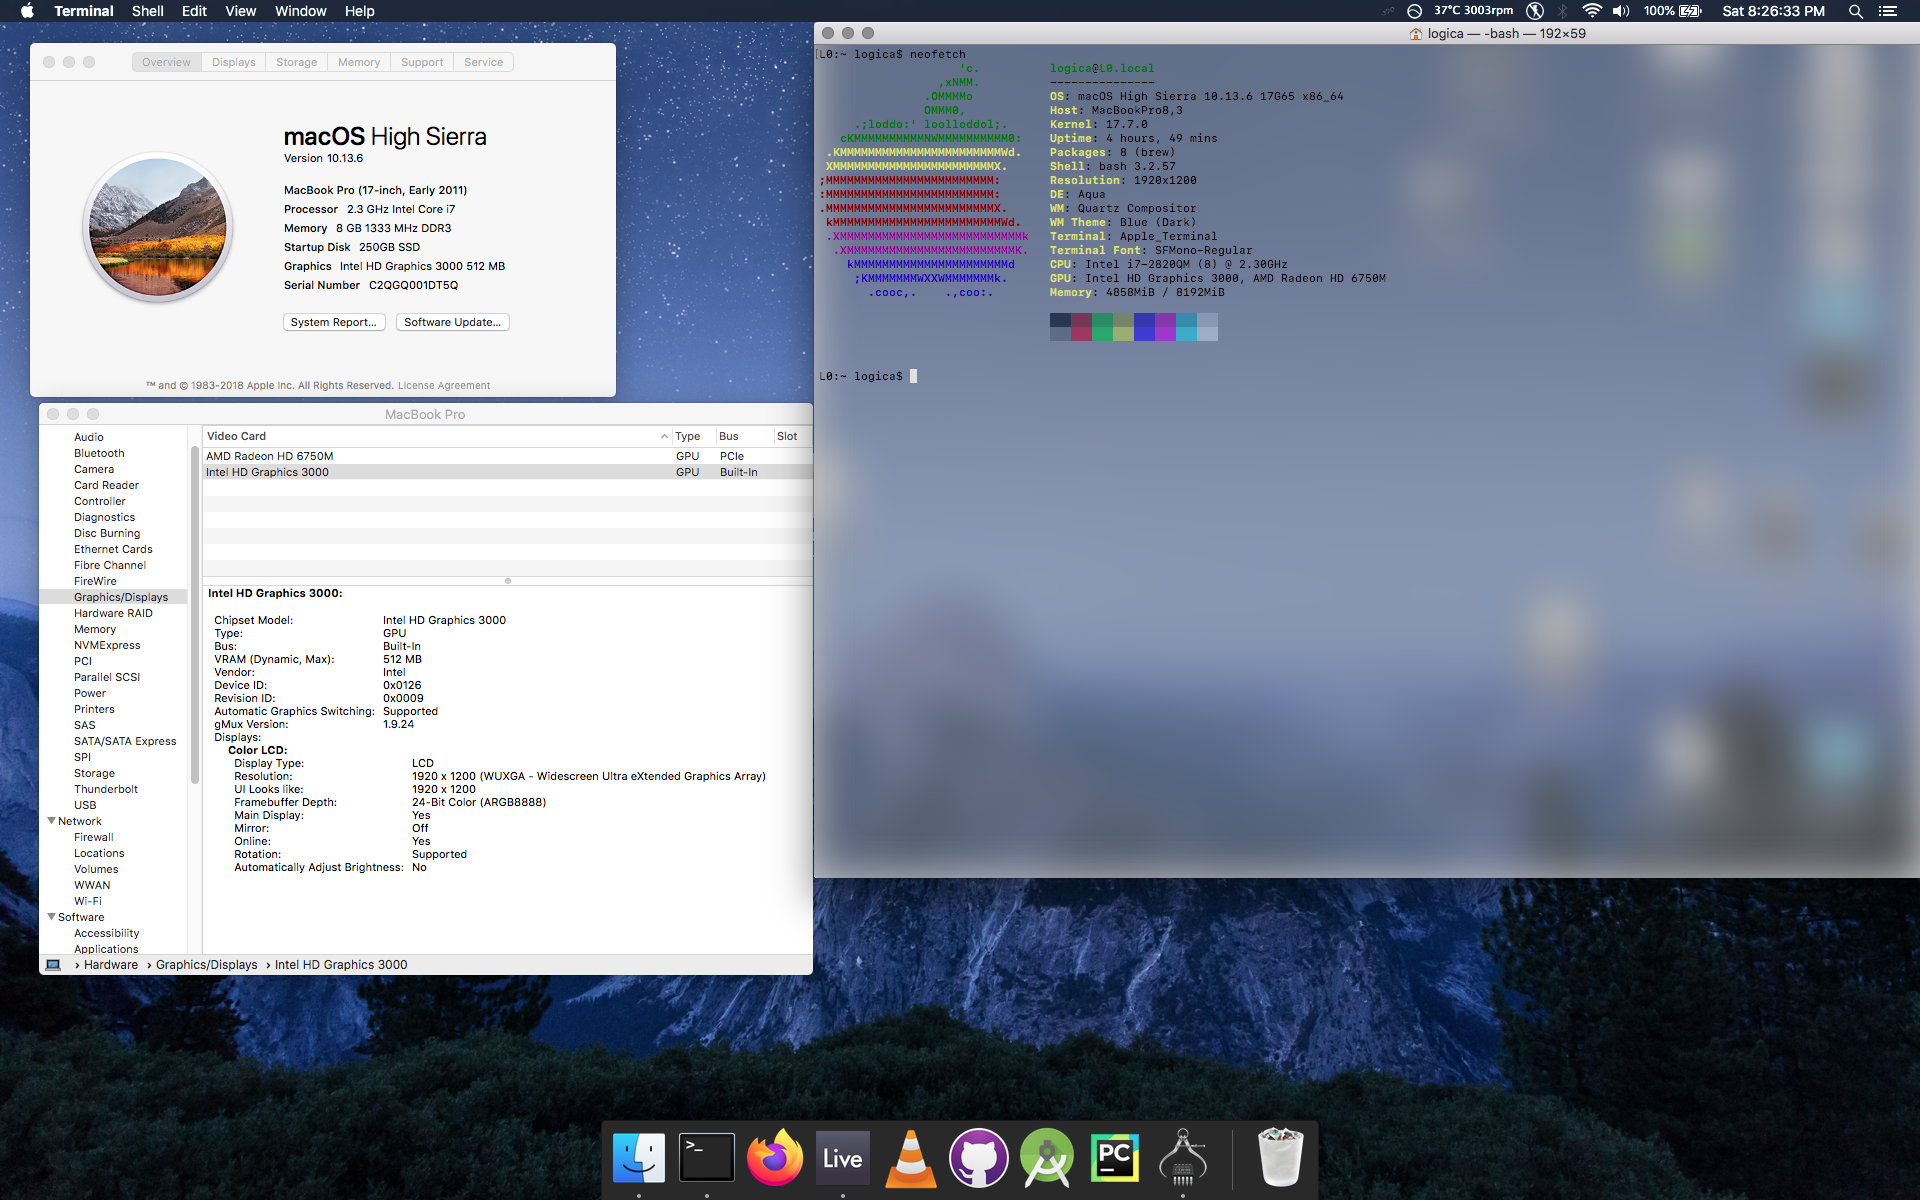
Success!
It now boots and is no longer e-waste! But its still runs hot and kernel panics at about 65C…
I replaced the thermal paste with liquid metal. This seemed to only take a couple degrees off. I was hoping for a bit more.
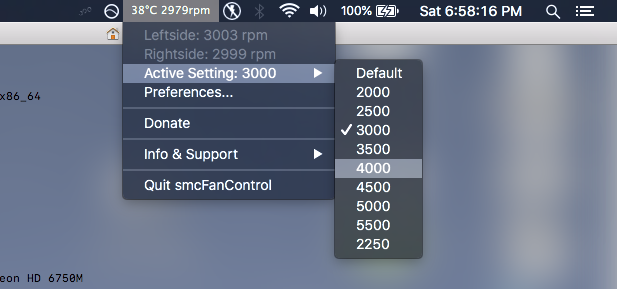
Found this great utility: smcFanControl which allows you to monitor temps and manually set the fan speed:
The utility helps a lot. I now set the fans faster than their default speeds and keep an eye on the temps. At the cost of some increased fan noise to keep it below 65C. It idles around 35C-40C @ 3000 rpm. If the fans to go below 3000 RPM it just can’t keep cool. Anything faster than 3500 and the noise is a bit much. It’s certainly not a quiet machine…
I wanted to undervolt to reduce heat, but it doesn’t seem possible on this old Sandy Bridge?
I did find another utility: Turbo Boost Switcher (free version works) which allowed me to disable turbo completely: http://tbswitcher.rugarciap.com/
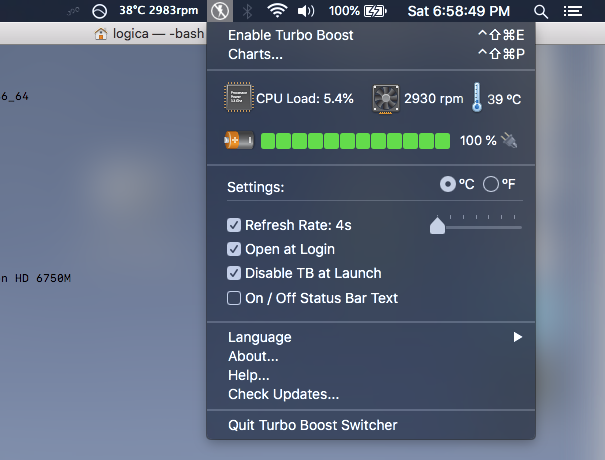
This reduces performance a bit as the CPU will no longer hit max frequency, but this helps keep the system cool and stable. It’s definitely not a snappy machine but its perfectly usable.
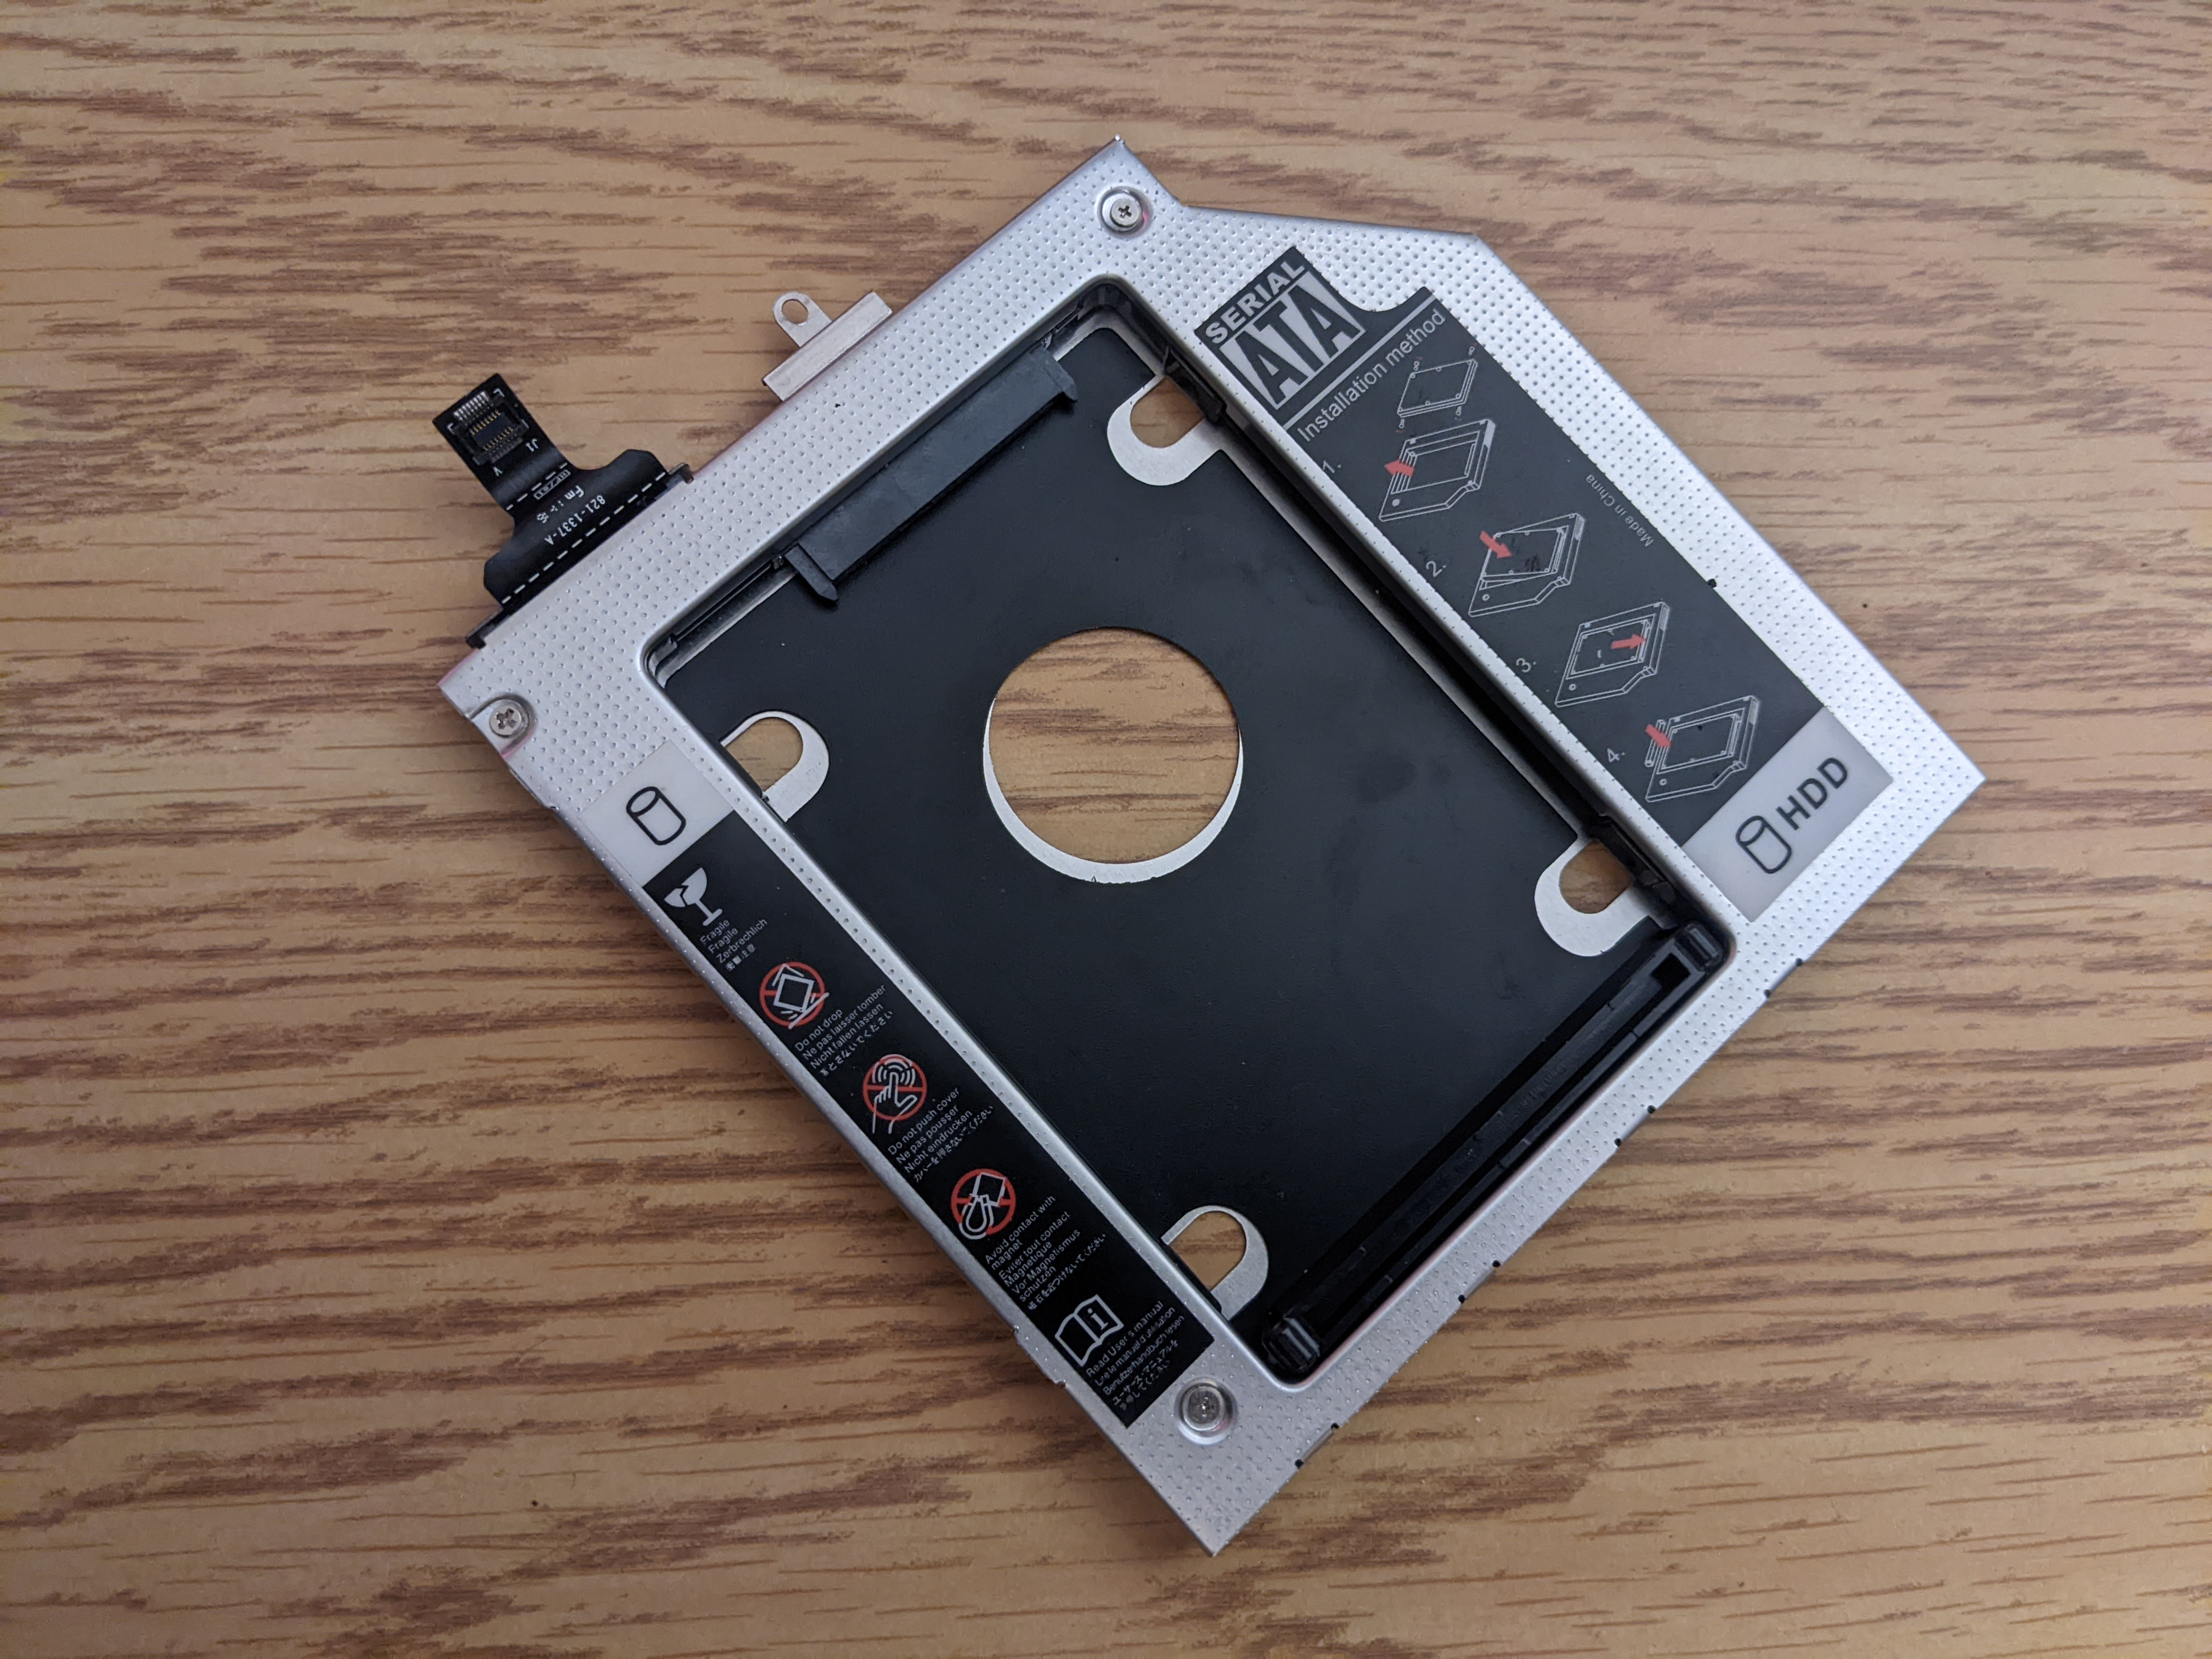
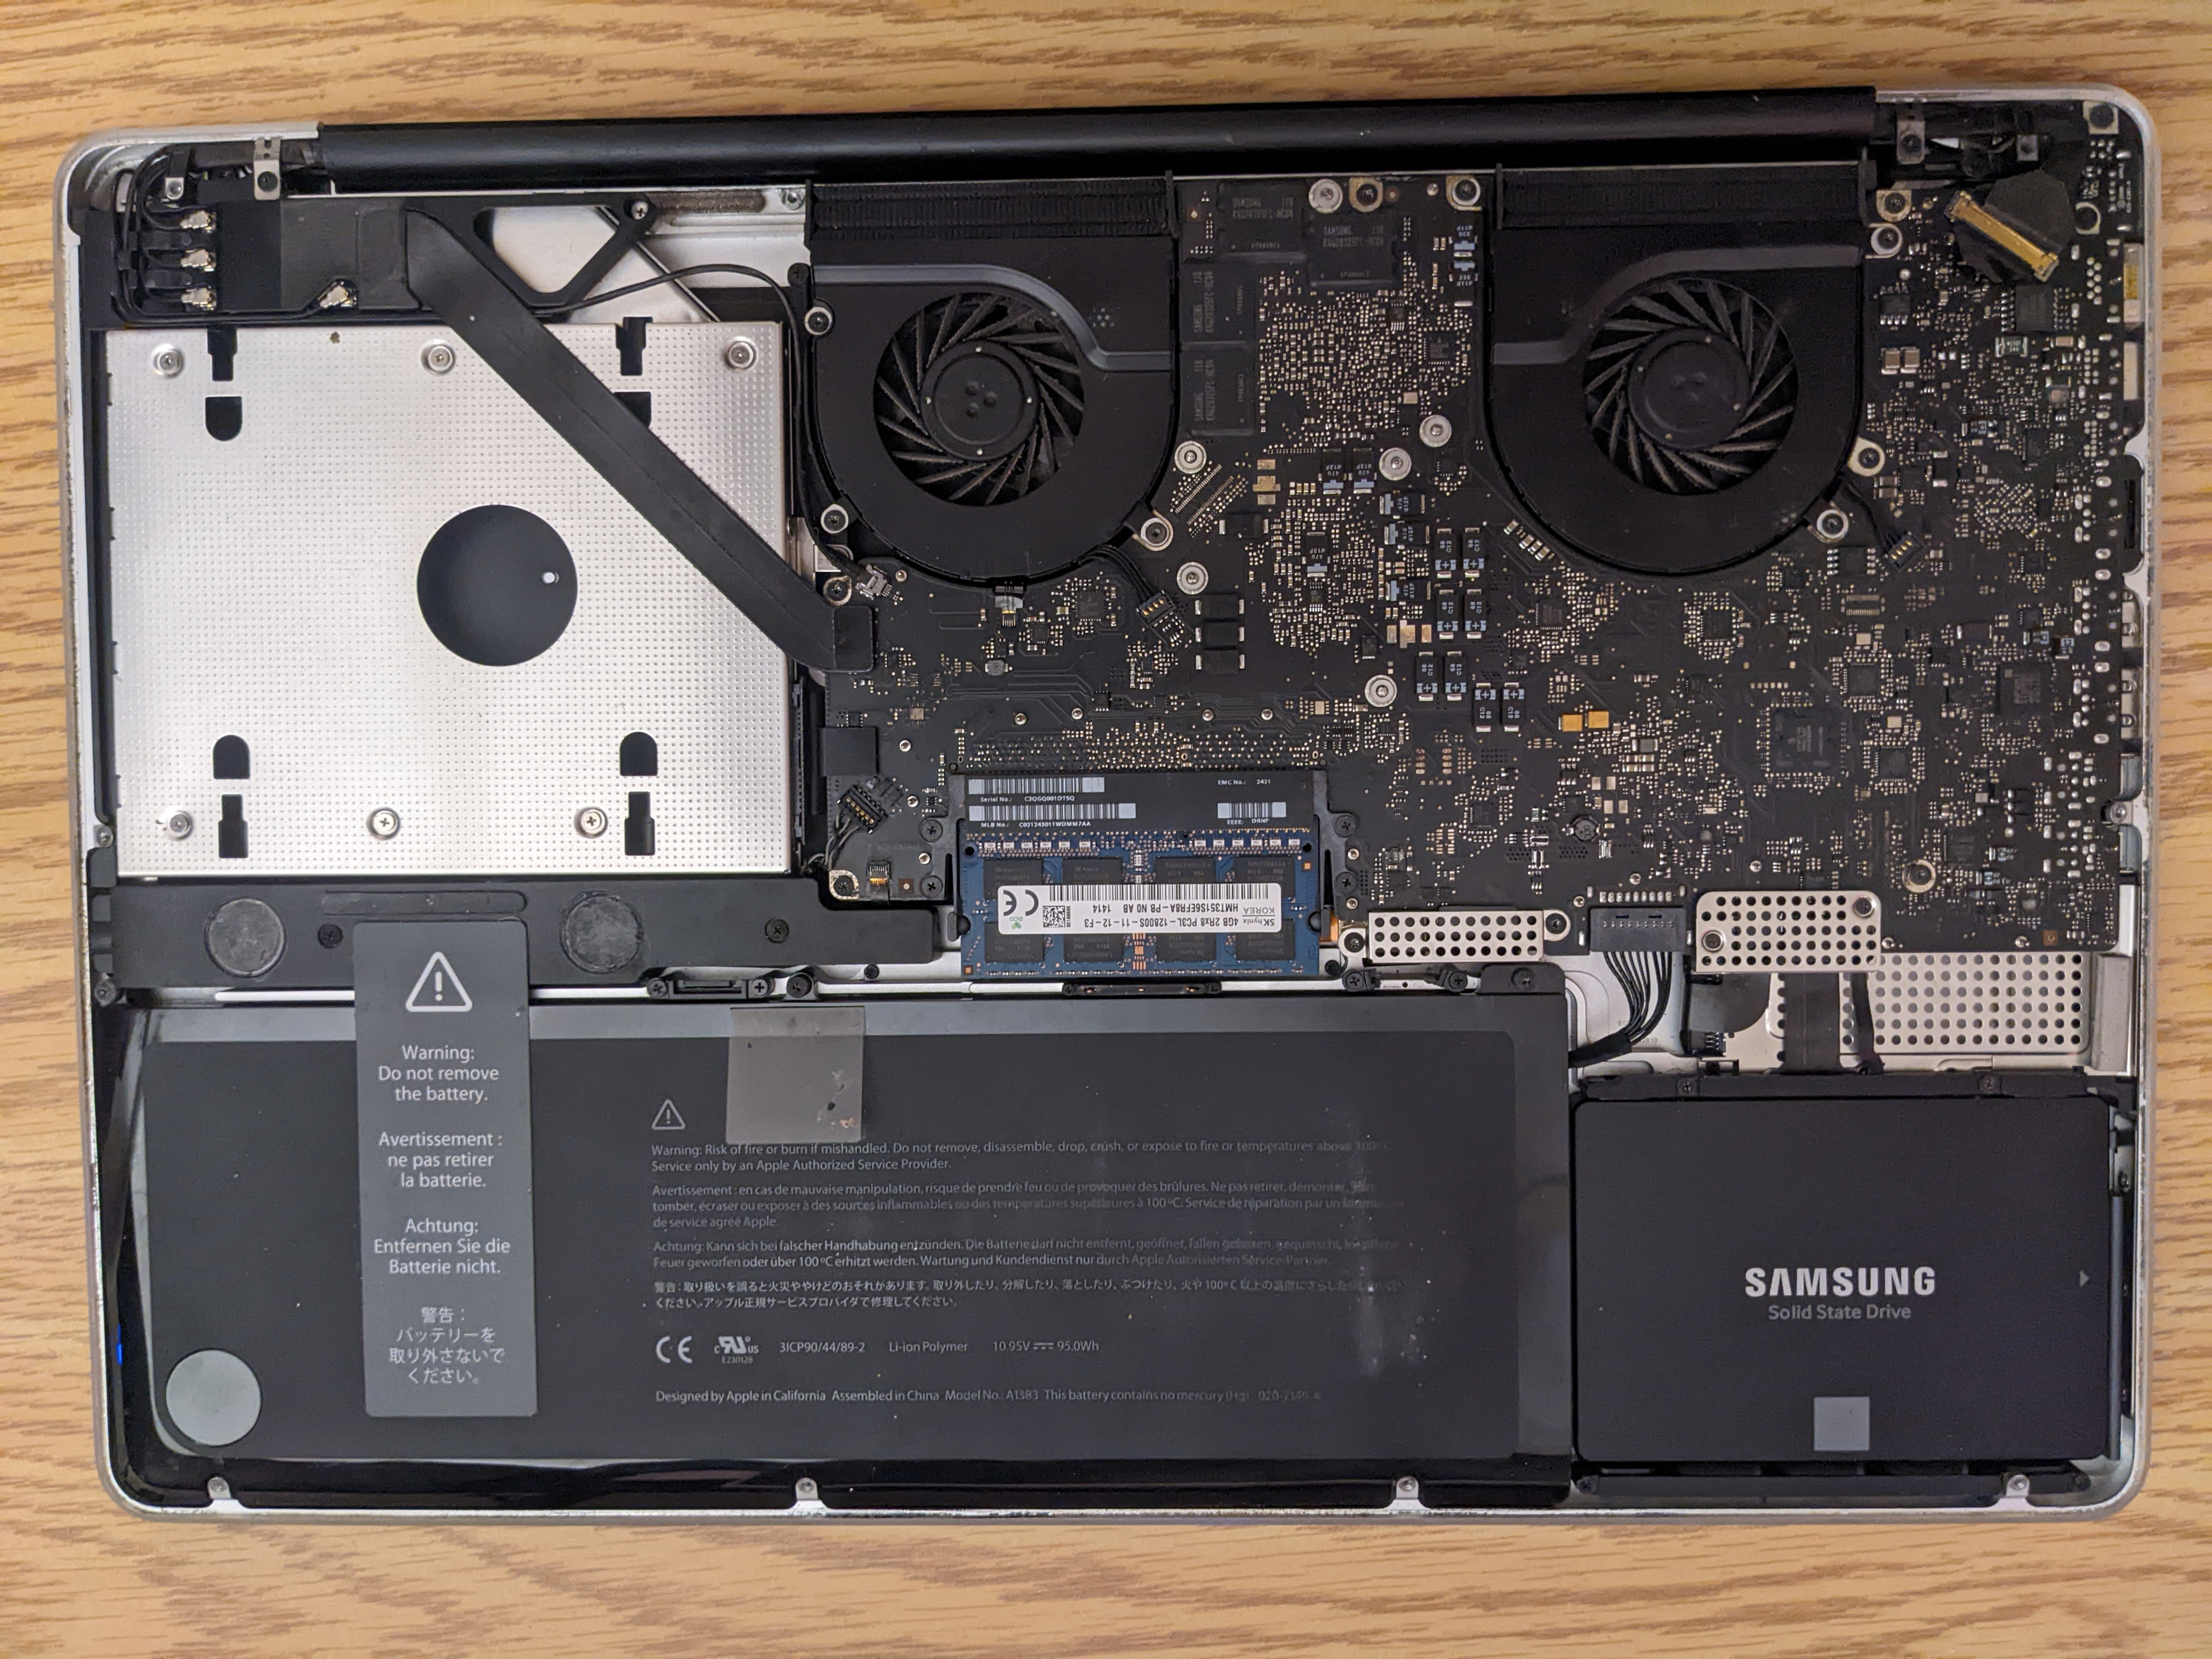
One last mod. This macbook has a optical drive tray! I swapped out the CD tray and put in a SATA drive caddy adapter doodad:
I did have a second SSD in there but I ended up needing that drive for another machine. So it currently lies unpopulated, awaiting…
todo: add another small SSD and dual boot → 
Usability / Review
Been using it for a couple years in this wacky state. I probably wouldn’t ever purchase a mac, but I will admit the magsafe is pretty nice. The 17" 1920*1200 display is better than I expected. 16:10 > 16:9
Despite having no turbo and no discrete GPU, the i7-2820QM proves itself still useful in 2024. It’s perfectly capable of web browsing, playing videos, and even playing with live recording + effects + VST’s in Ableton. This machine’s main function is a simple DAW workstation. The fan noise is a bit distracting which is somewhat counter to being a DAW station, but not much can be done about that.
It may be an older machine, but this macbook has user serviceable storage and up-gradable RAM (not soldered…), plus the optional secondary physical drive. Can your m1 do that? Didn’t think so. 
This is a sort of ongoing project with a goal to see how much life I can squeeze out of this machine. If it gives me problems in the future I might attempt flashing the gMux with an arduino.