Weskie's Art Bucket

Greetings! As some of you know I'm a 3D Creature and Character artist. I would like to share, and continue to share some of my works with you, and also hopefully do some tutorials and rundowns based on my mass software knowledge a little later down the line; depending if it peaks interest. My area of expertise are in: Digital Sculpting, Concept Sculpting, Lighting and Rendering, and of course Texturing.

My Software changes depending on the project, however my personal projects I use: MODO, Mari and Zbrush. However I do use Autodesk Software time to time. I find there is better things more suited to my workflow.

I was working on a... project in my free time however it fell through for a few reasons. However, they're not really the point of this thread.

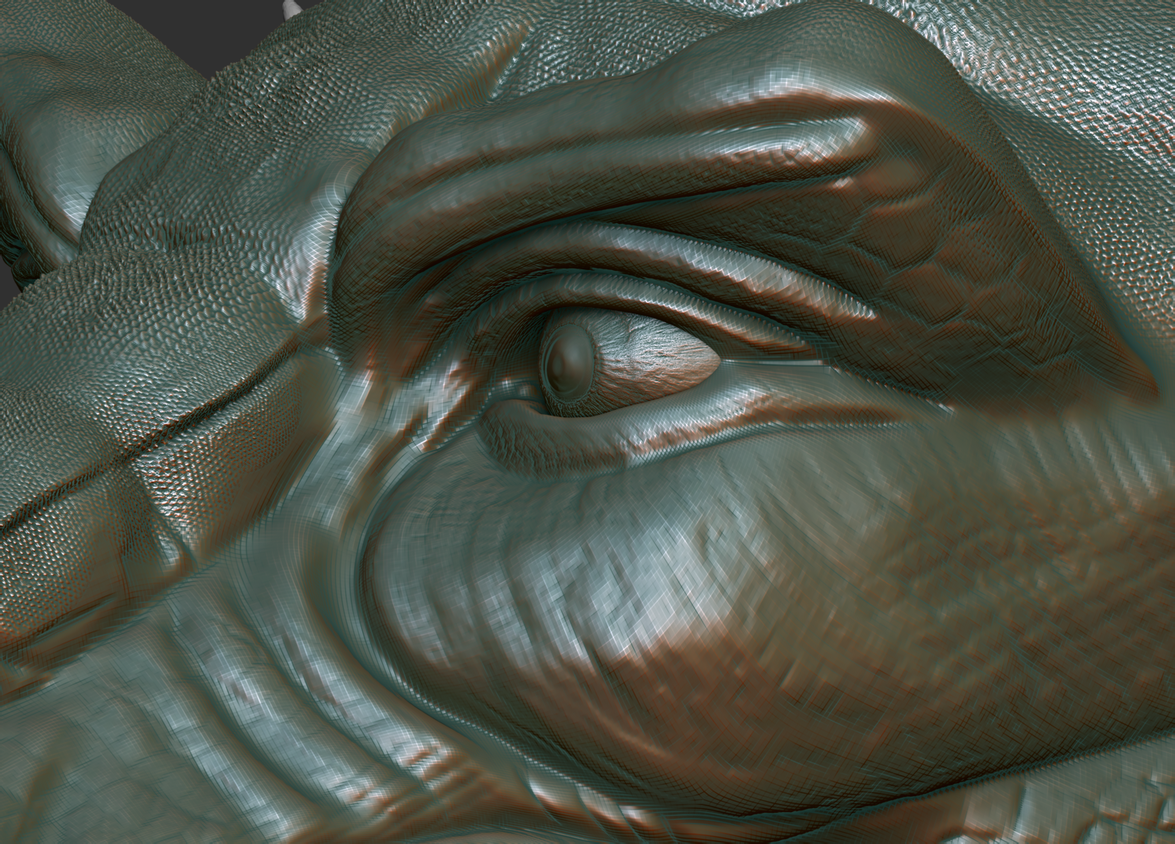
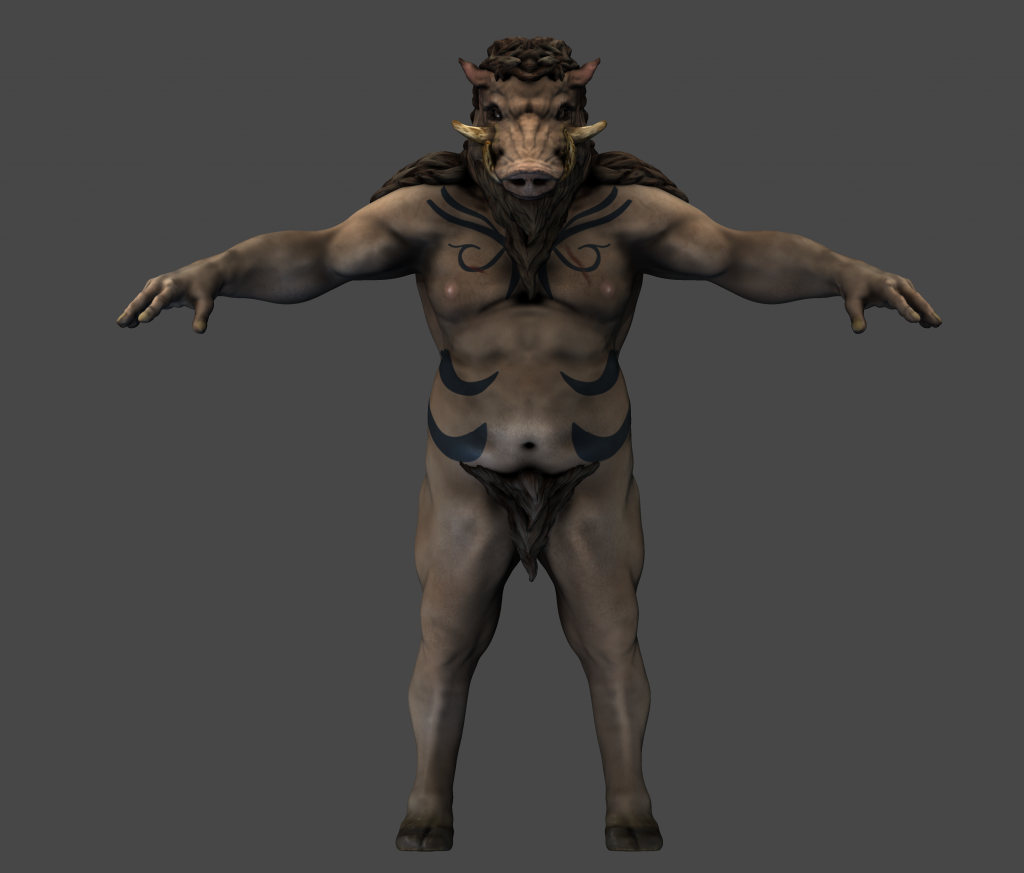
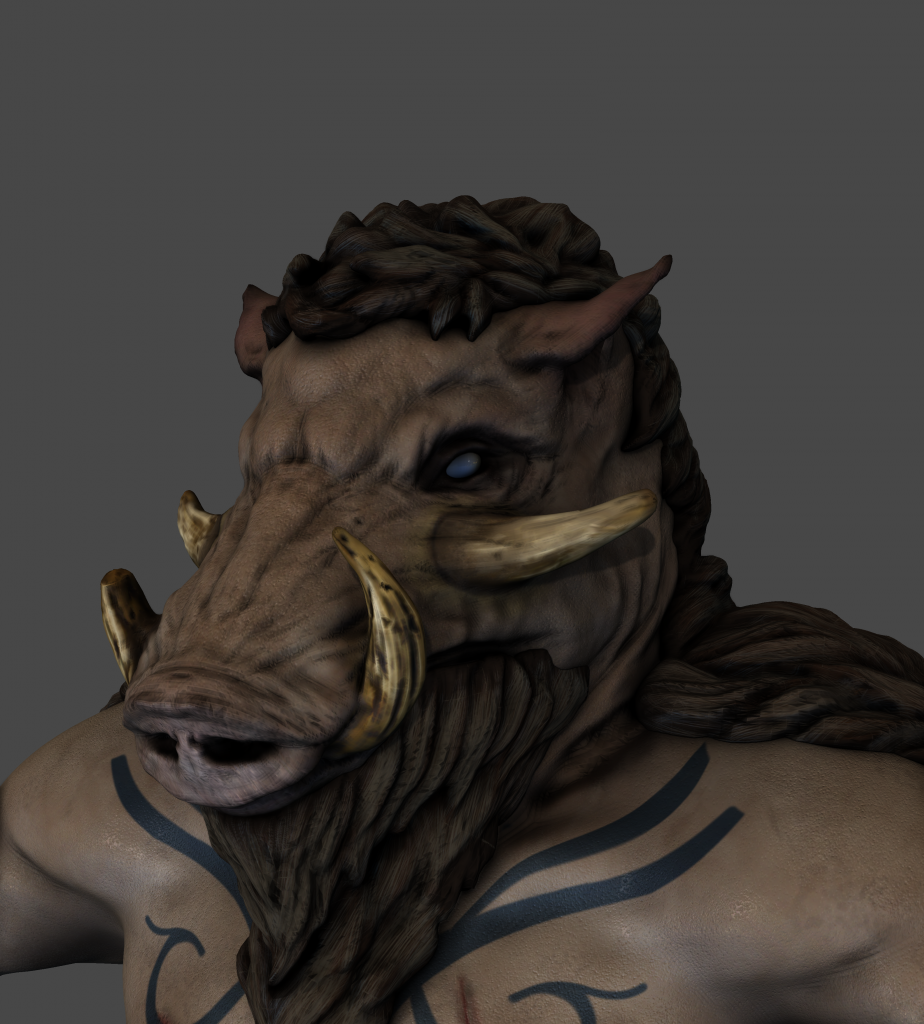
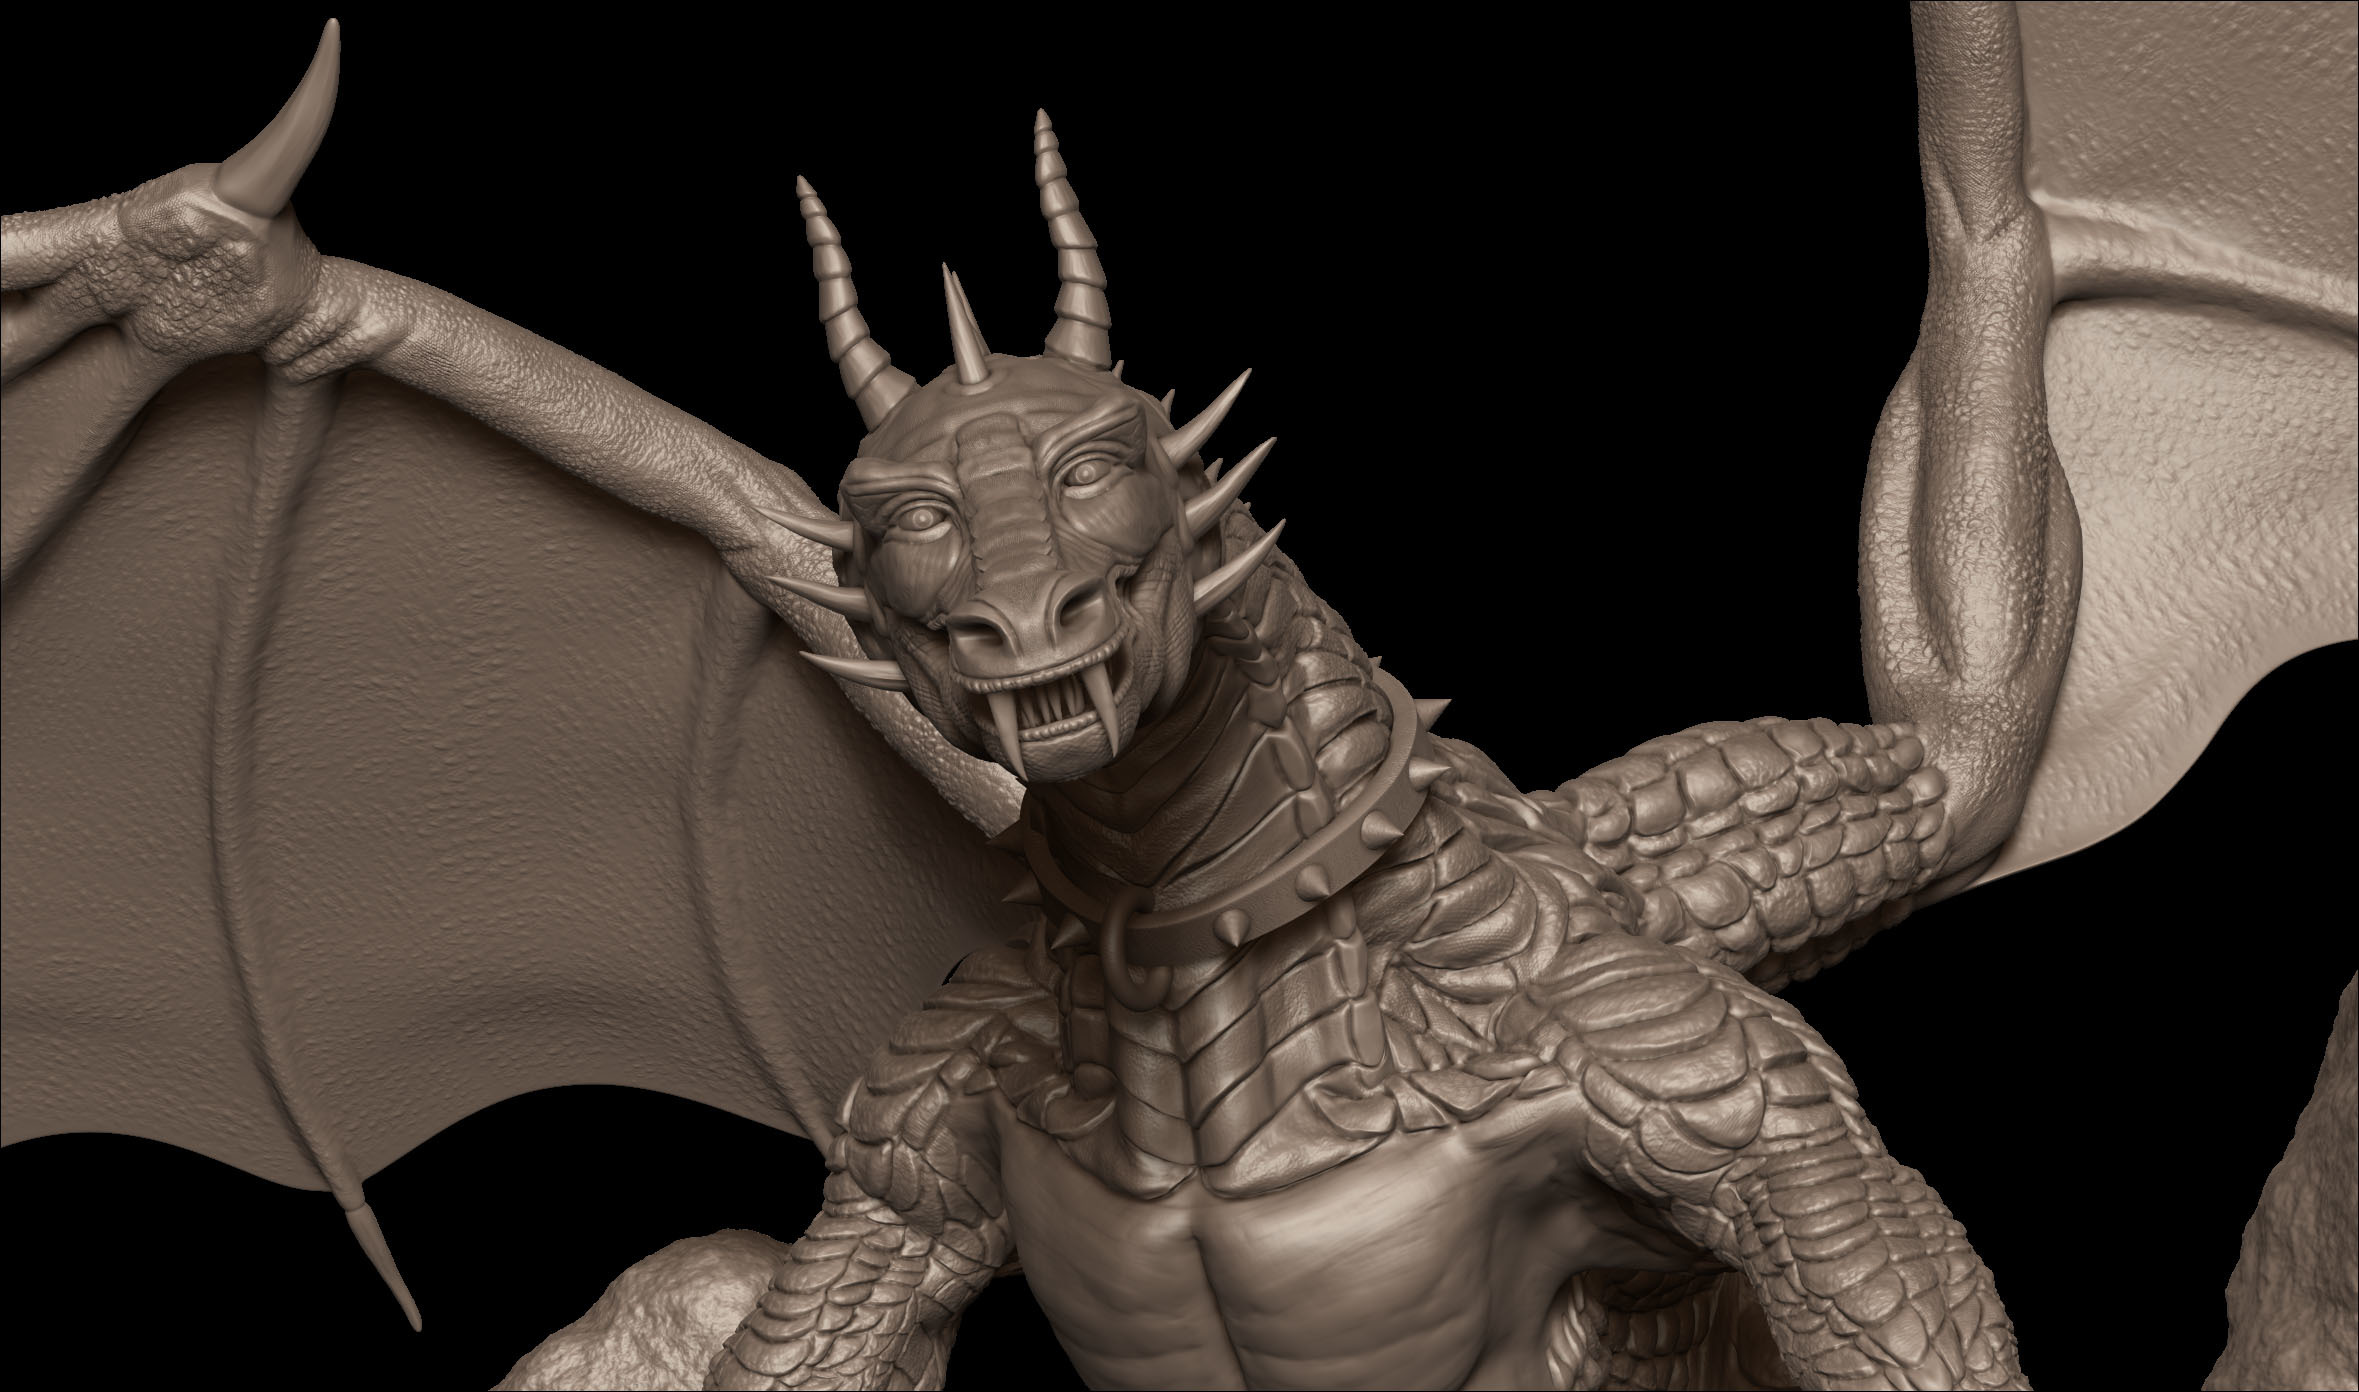
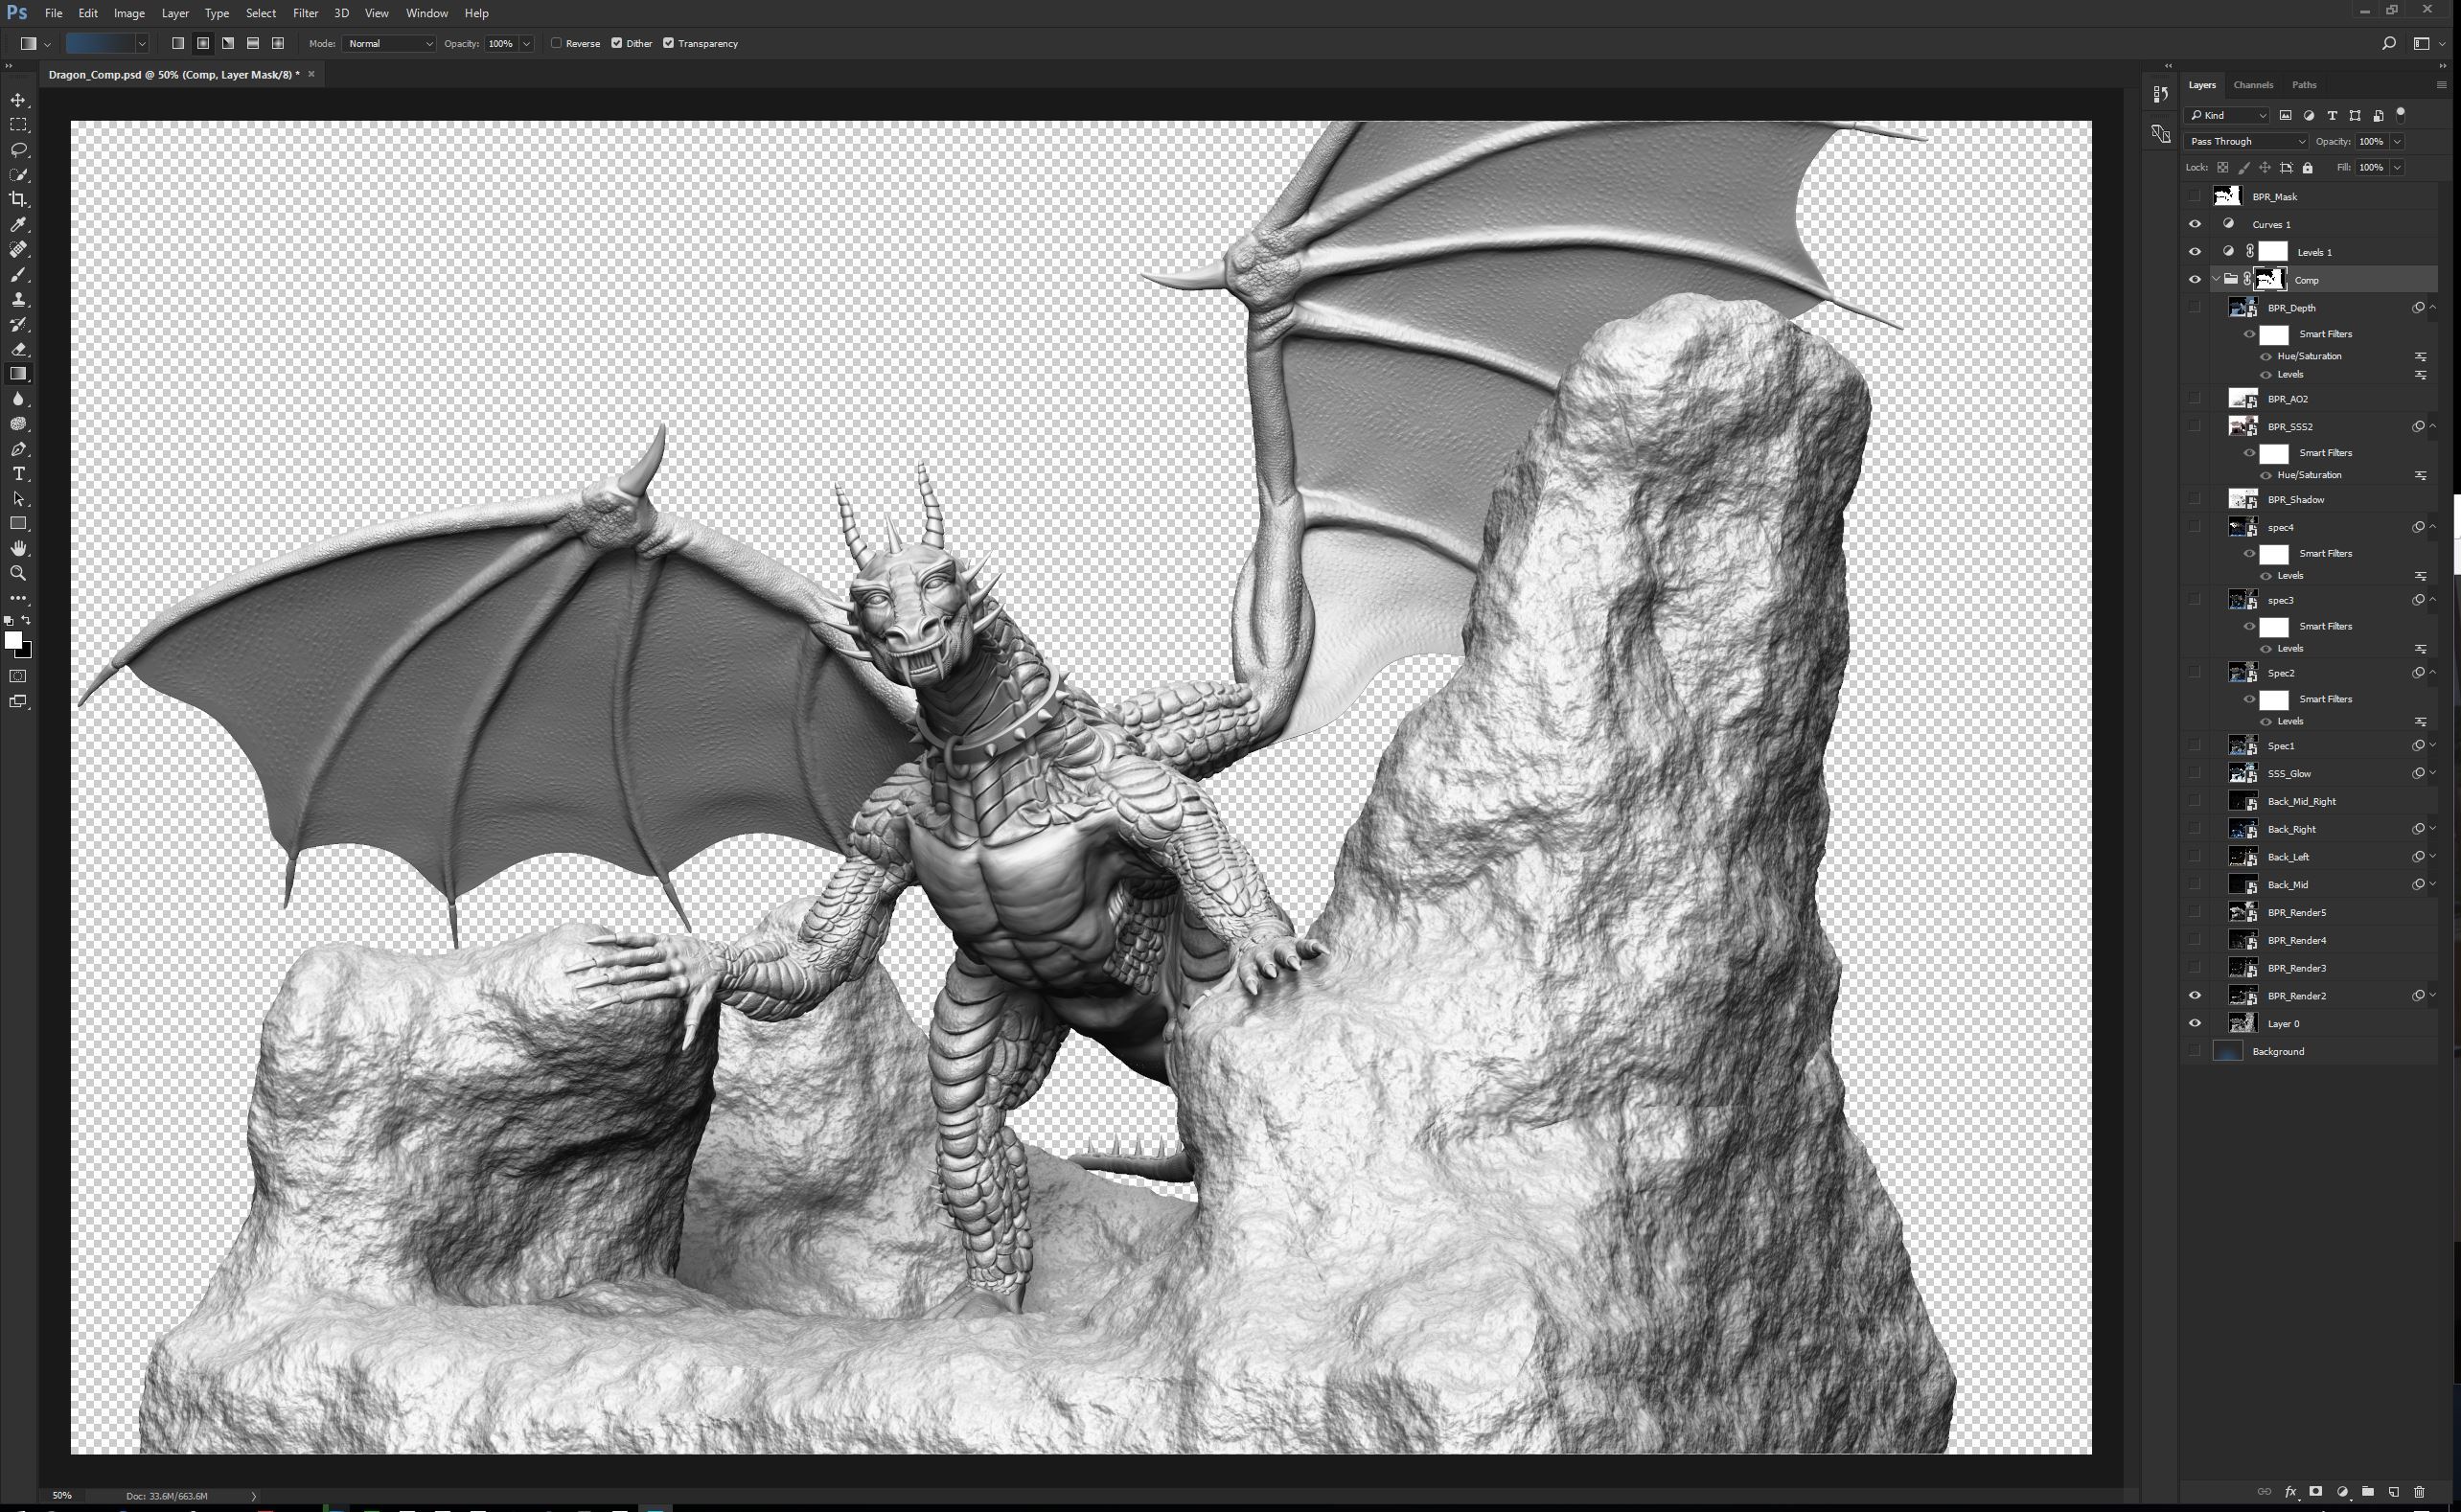
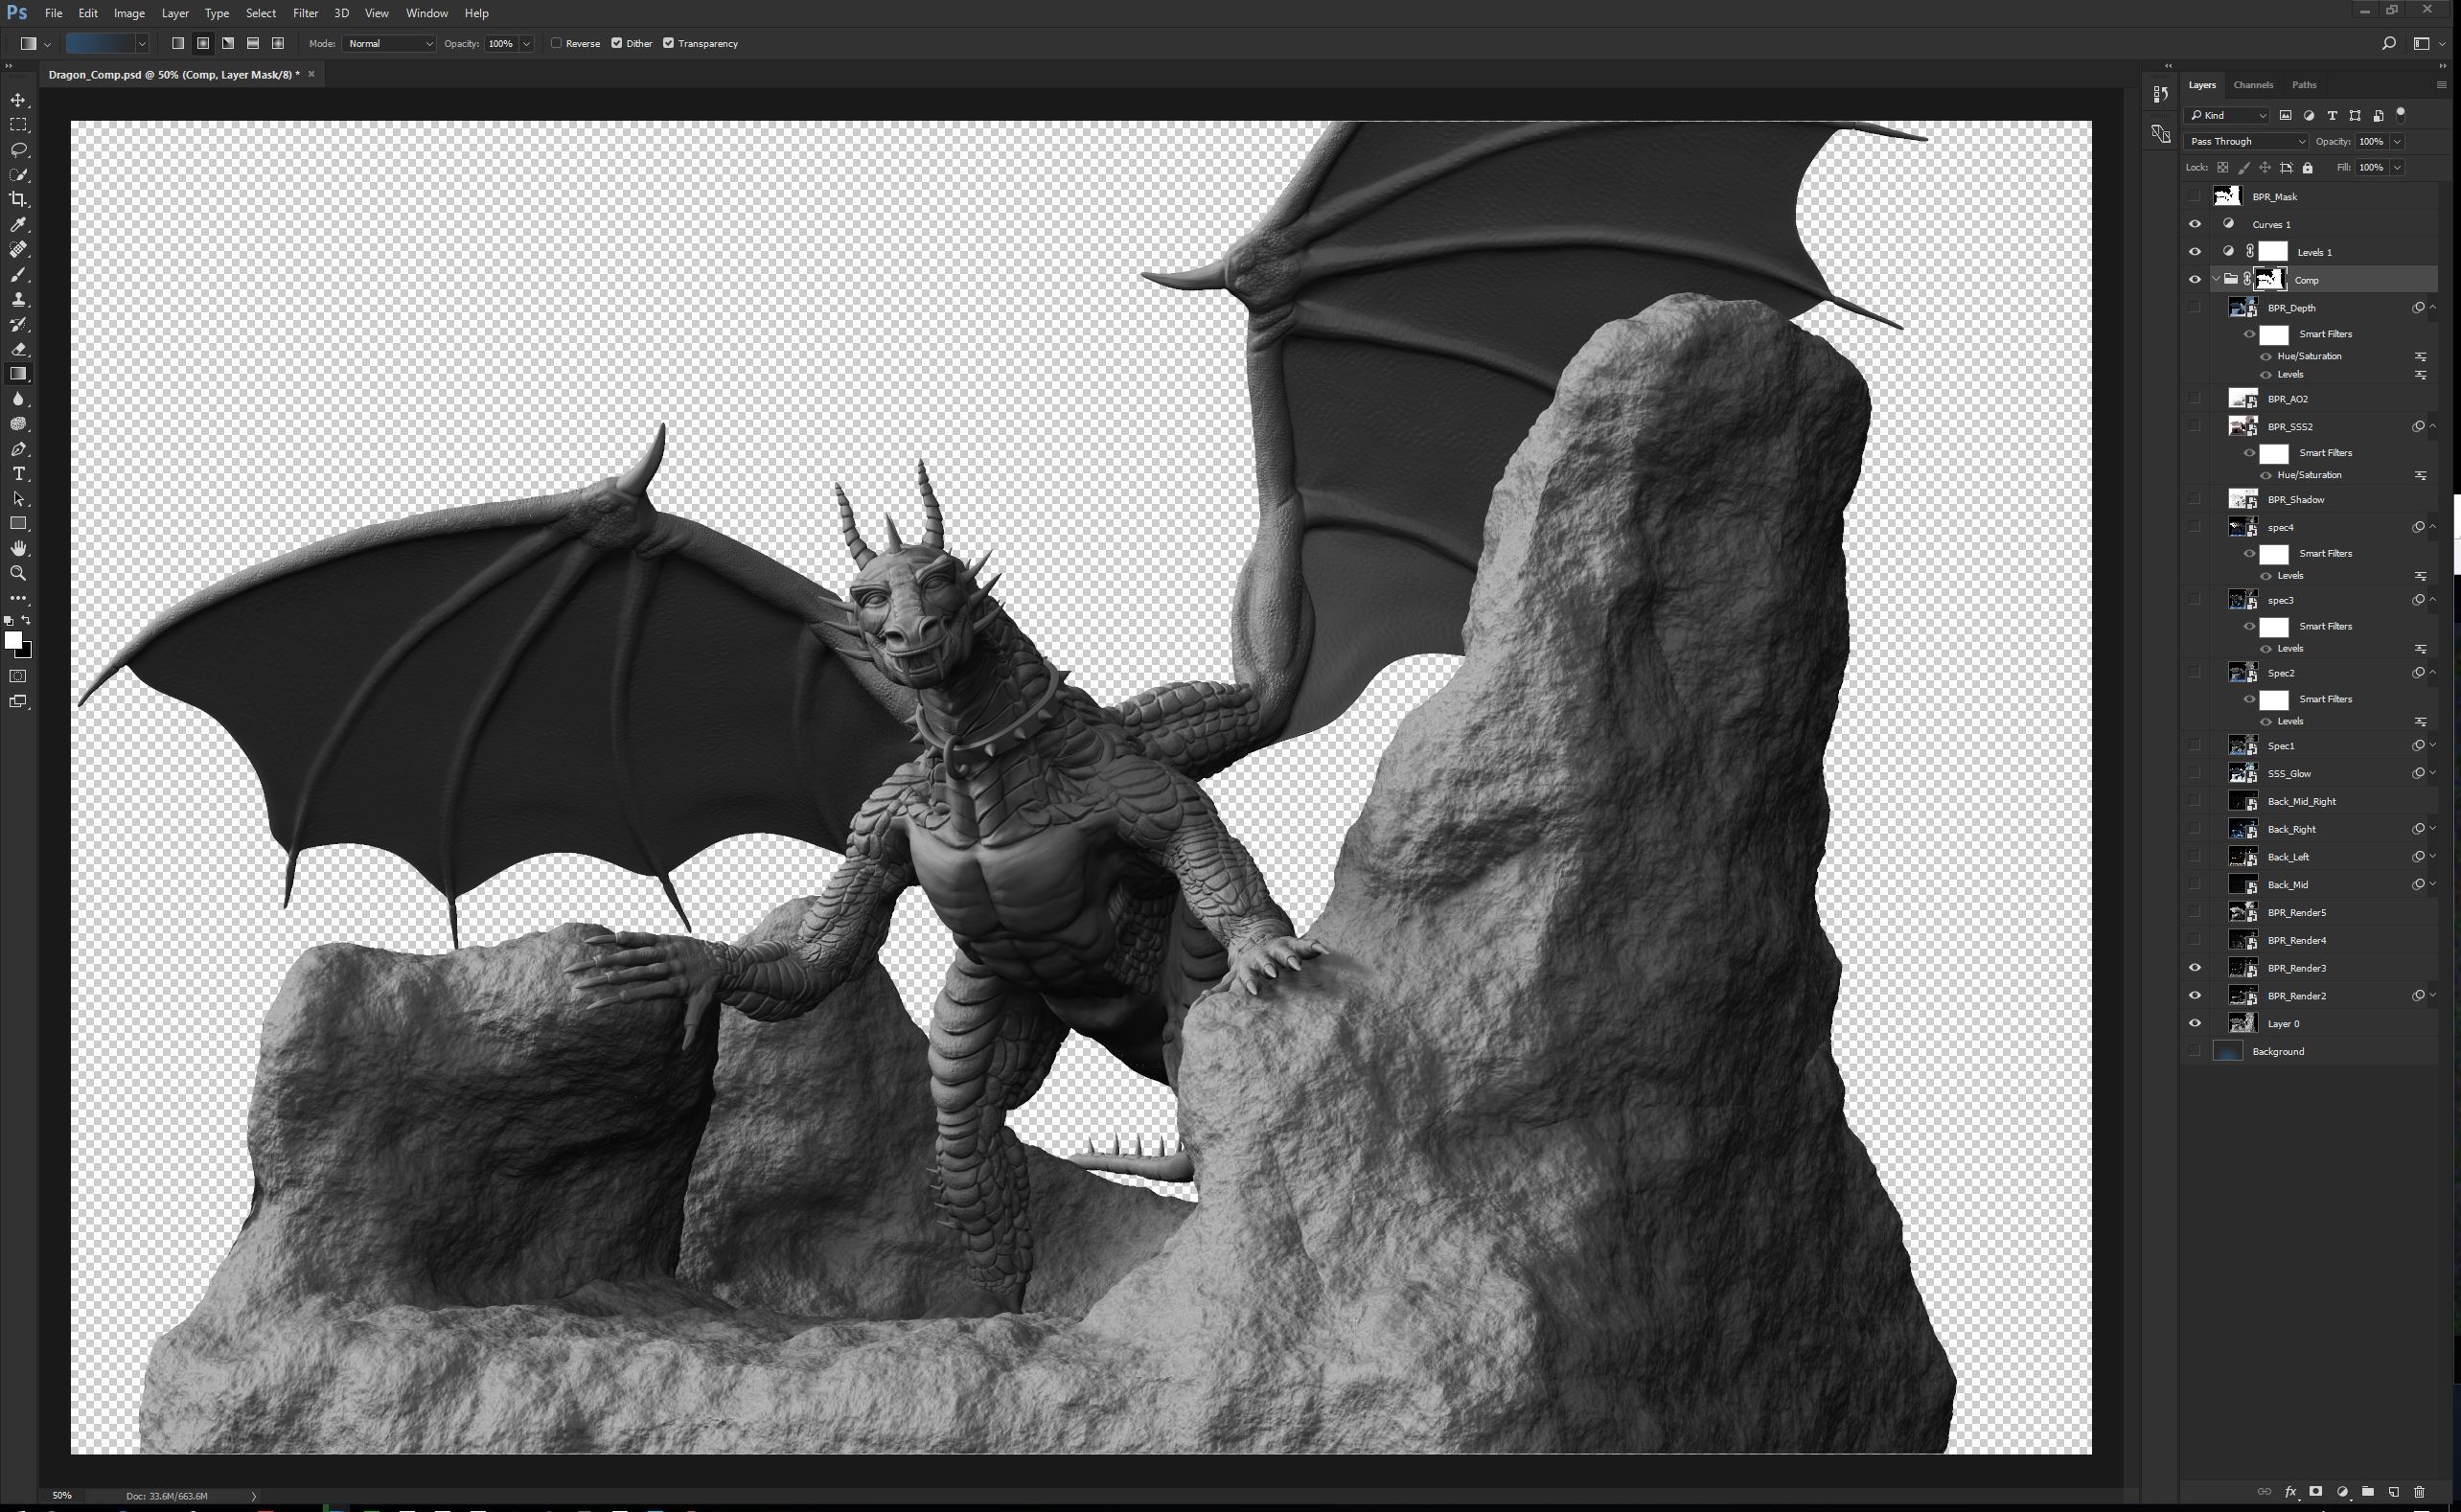
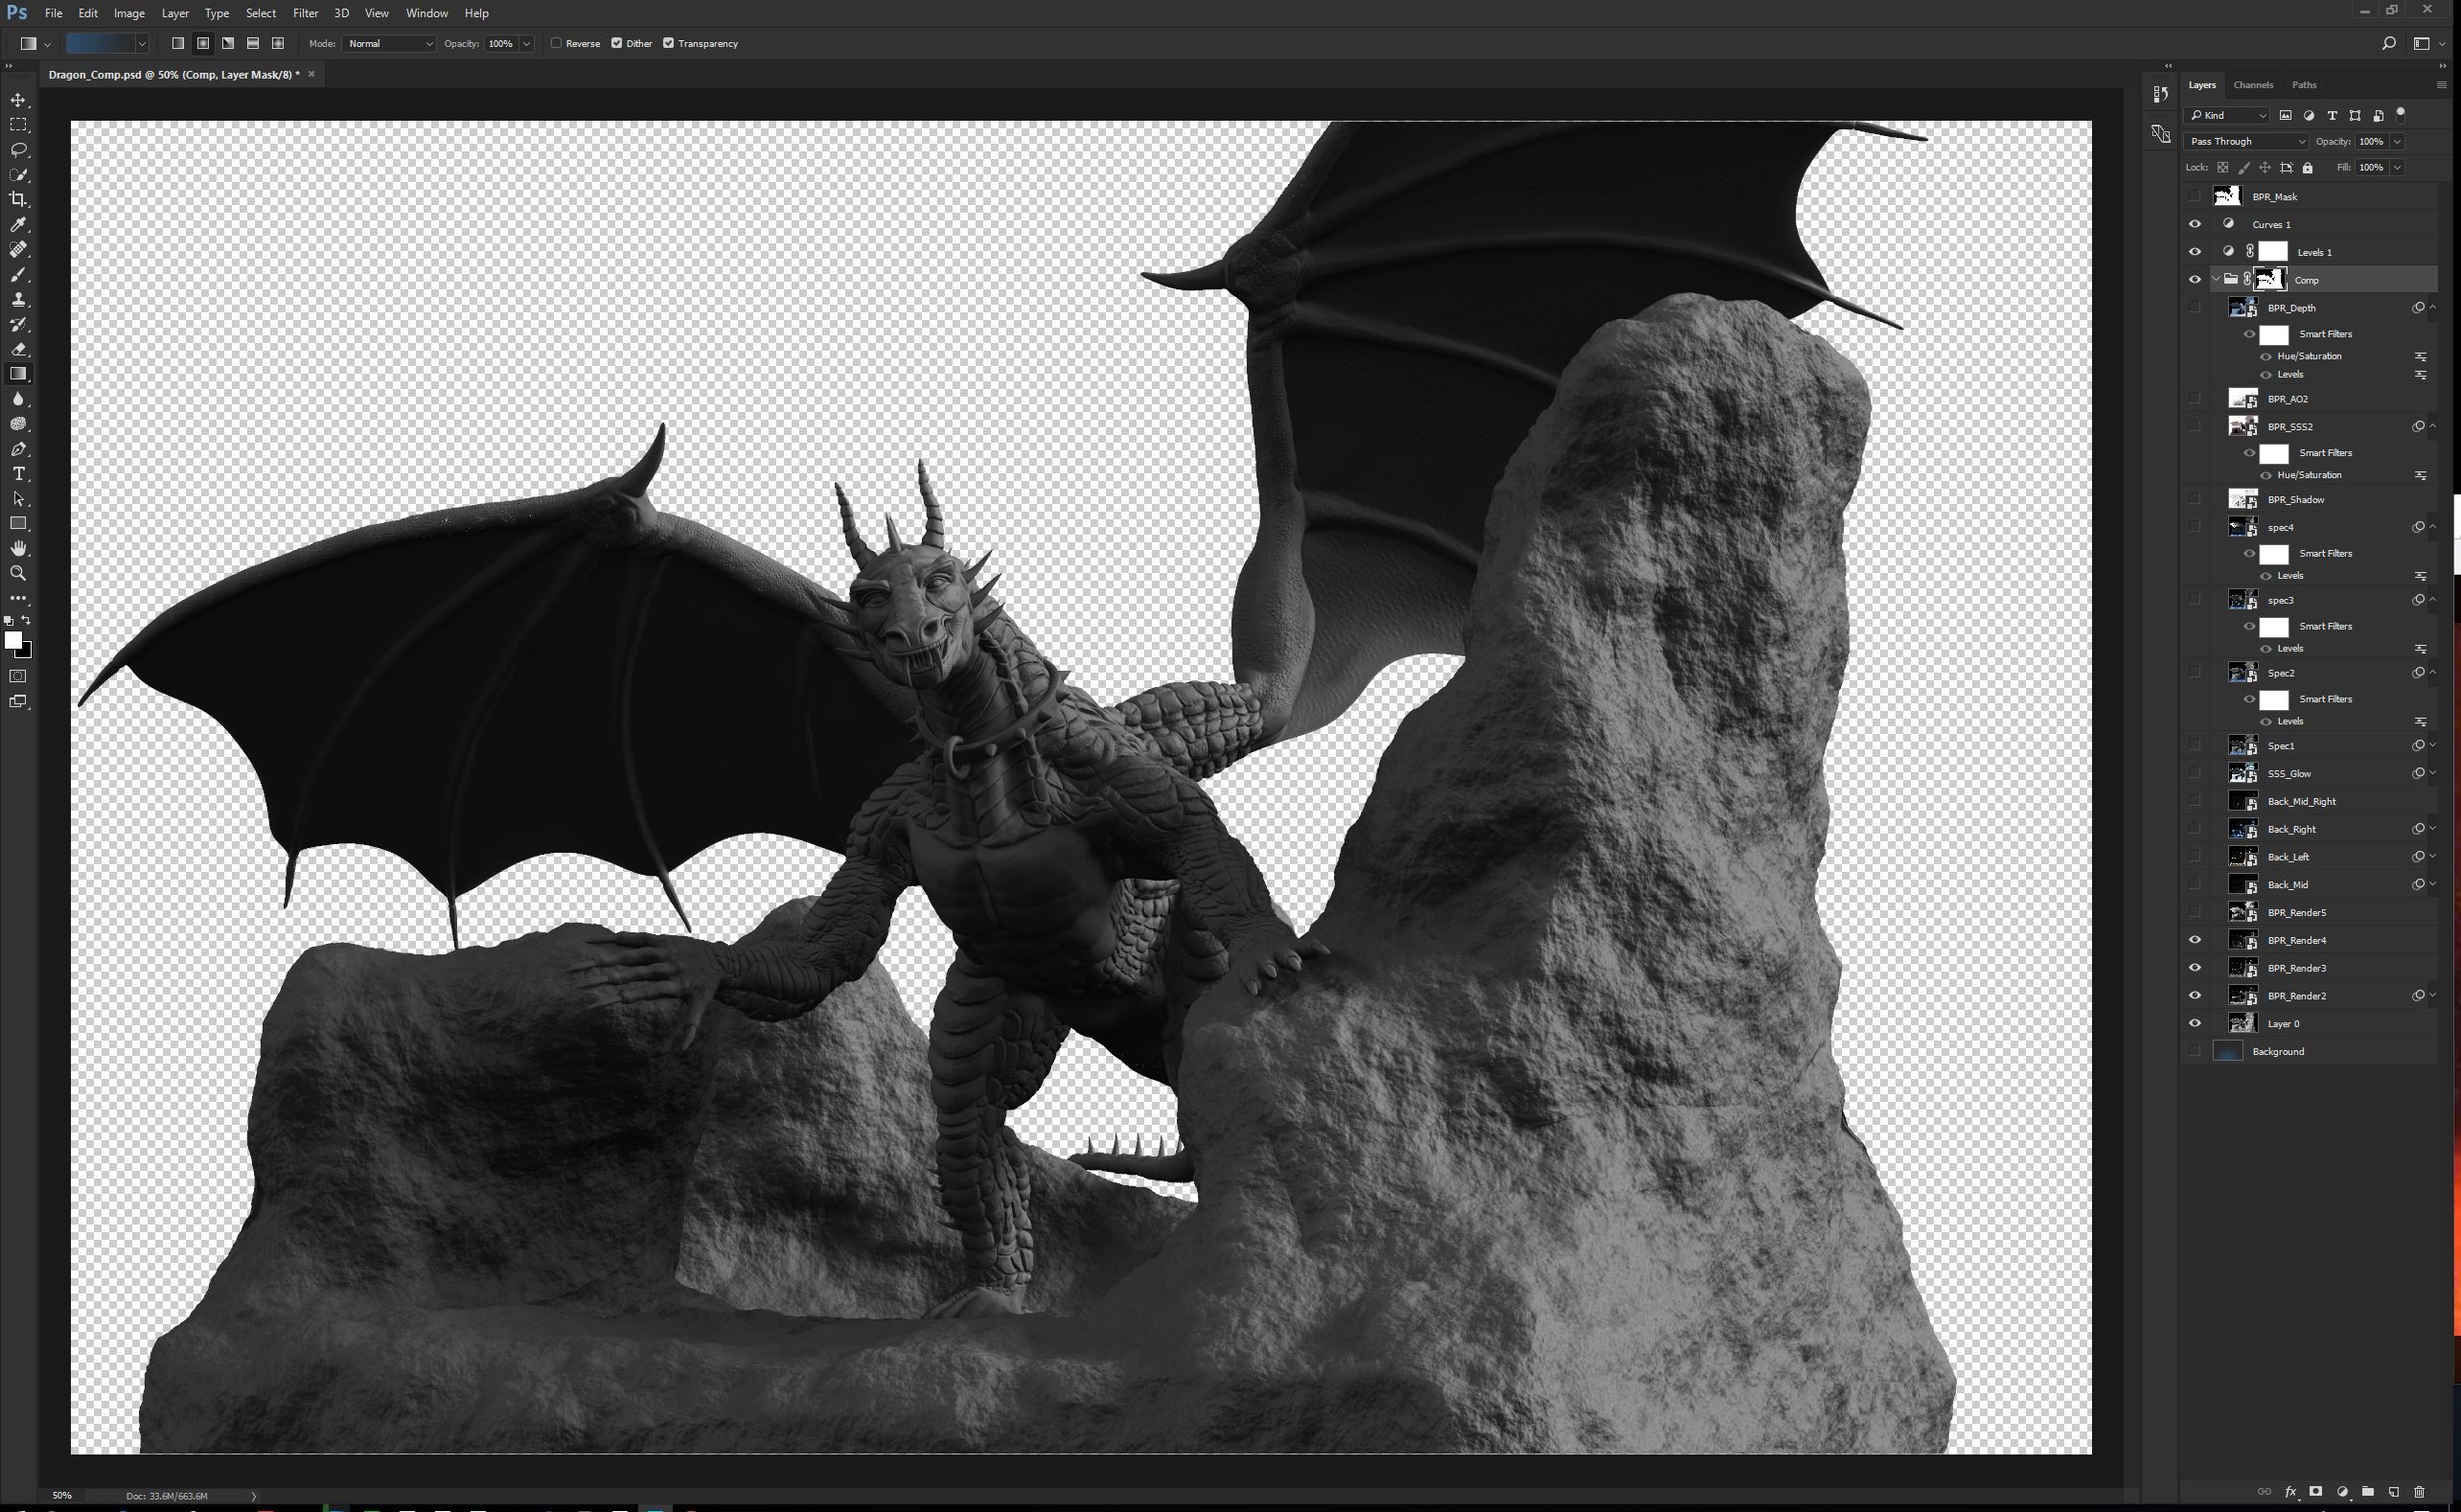
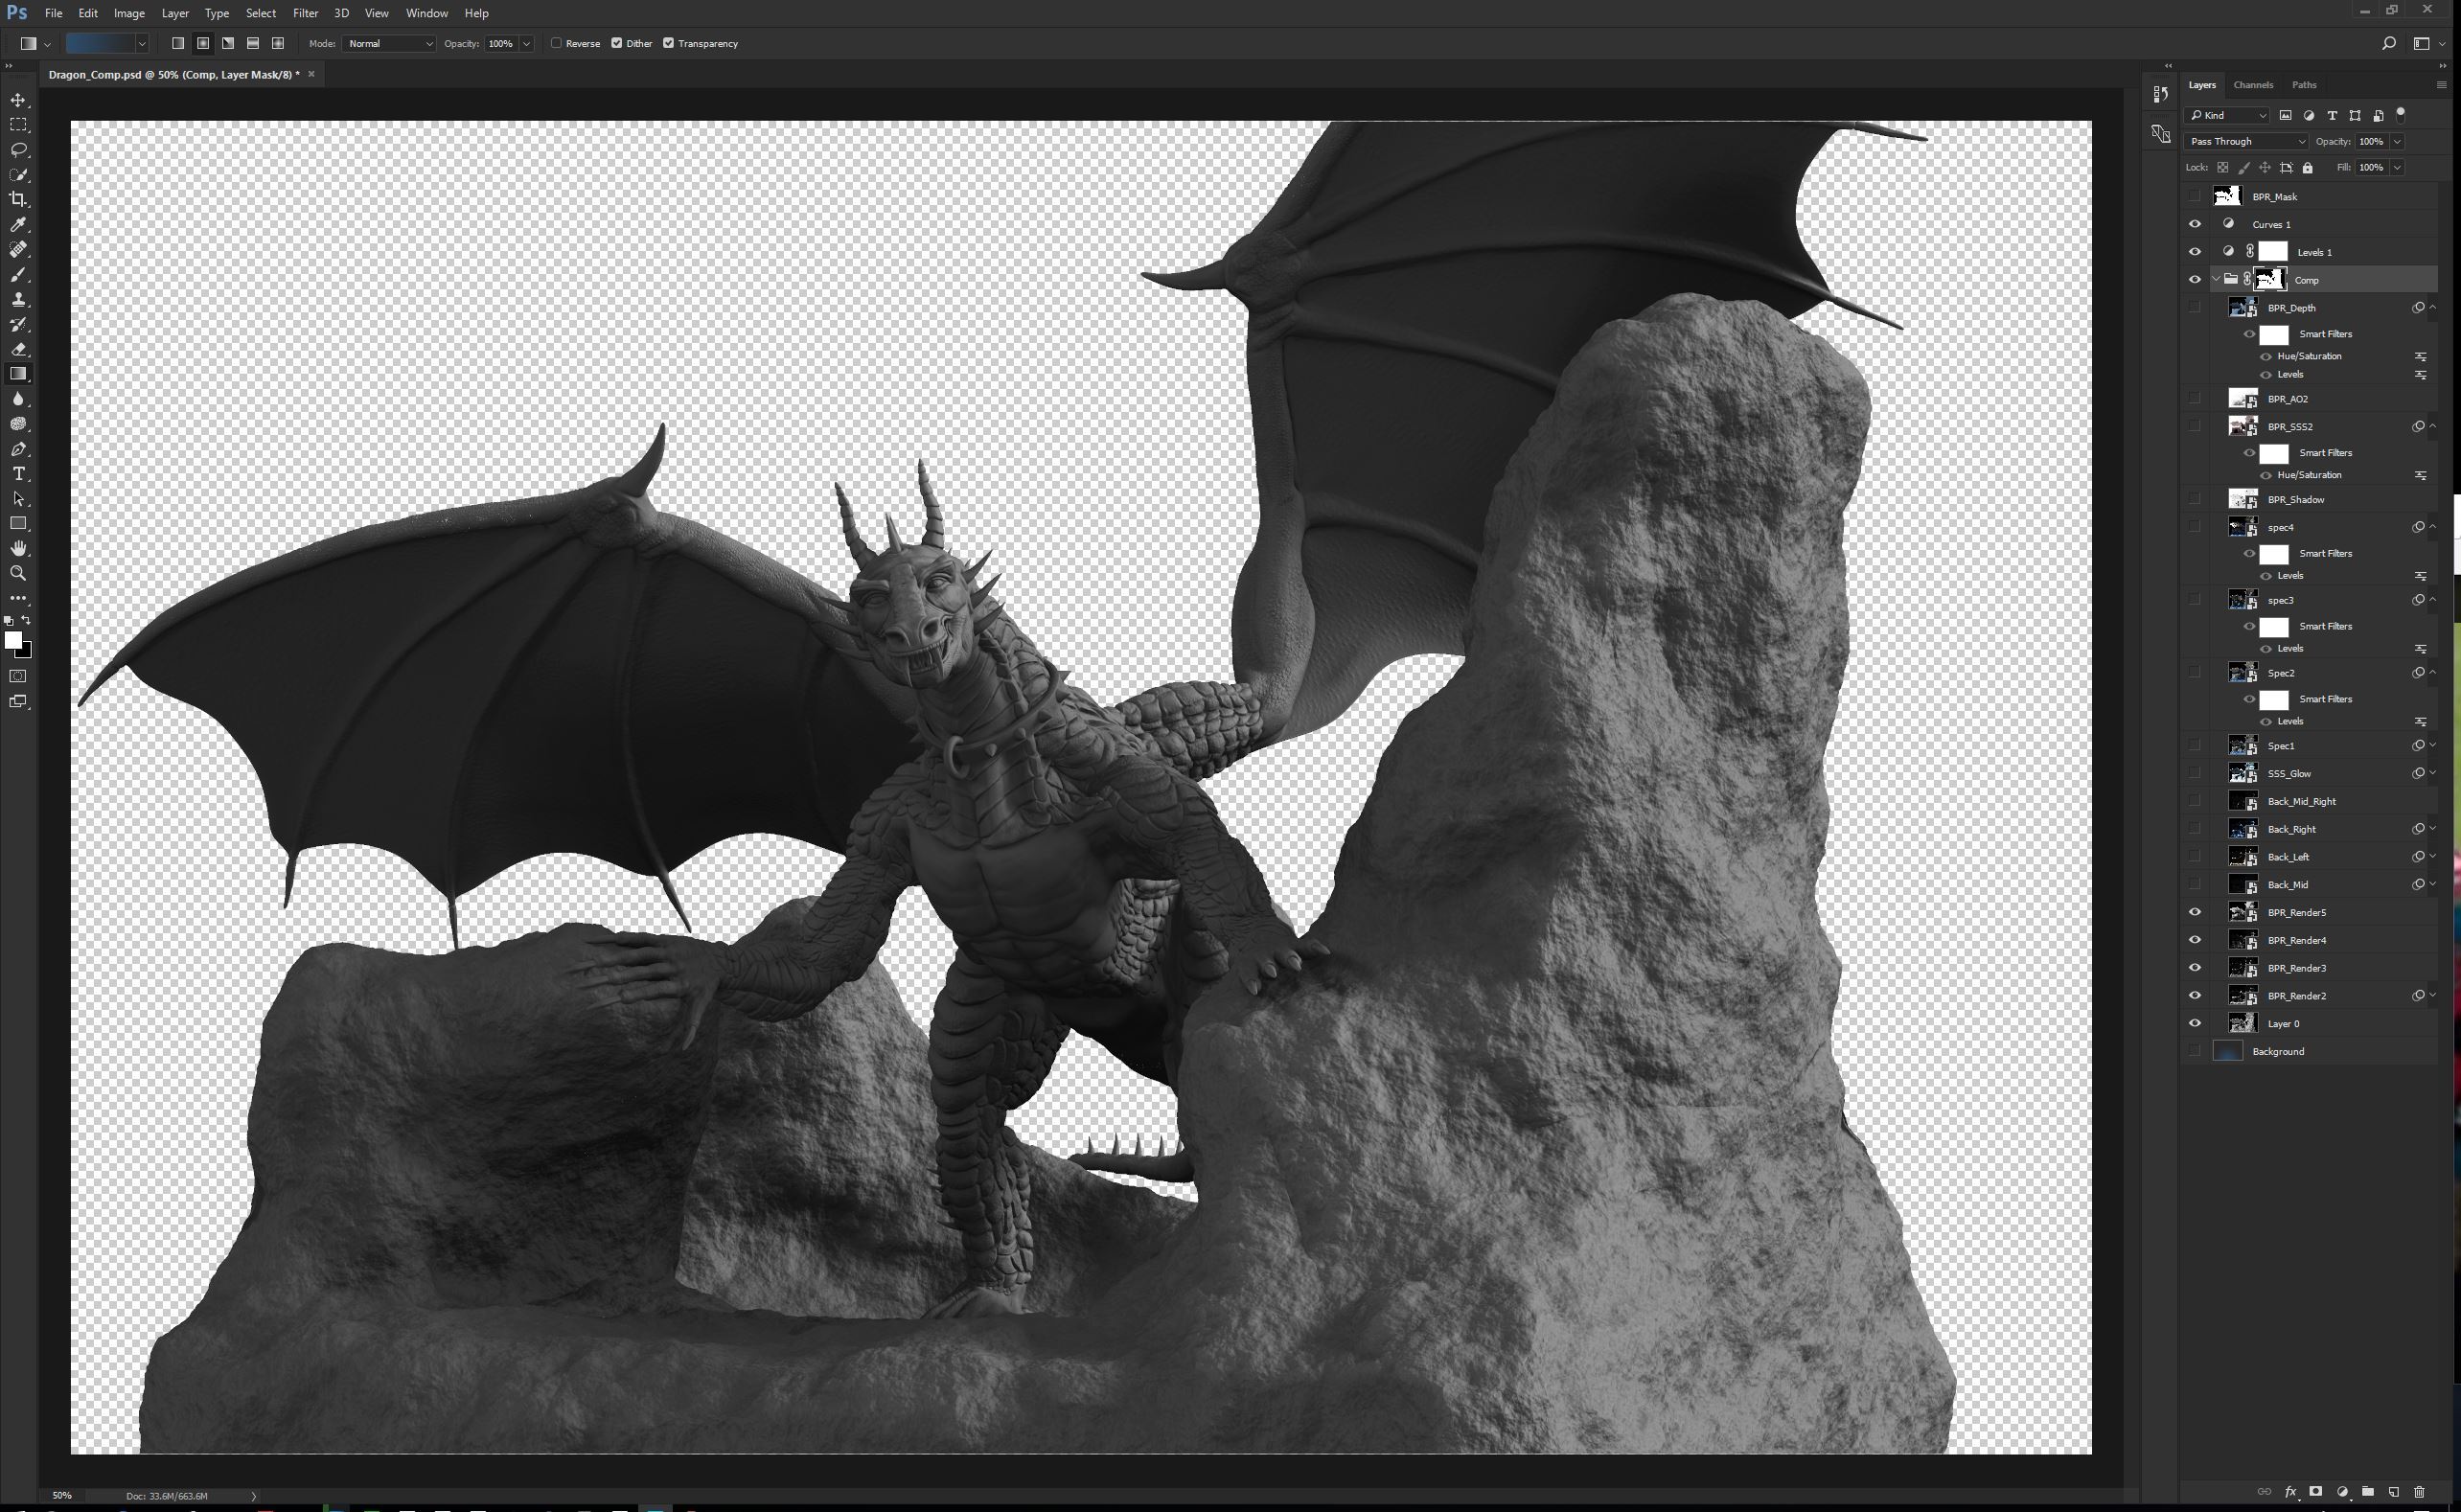
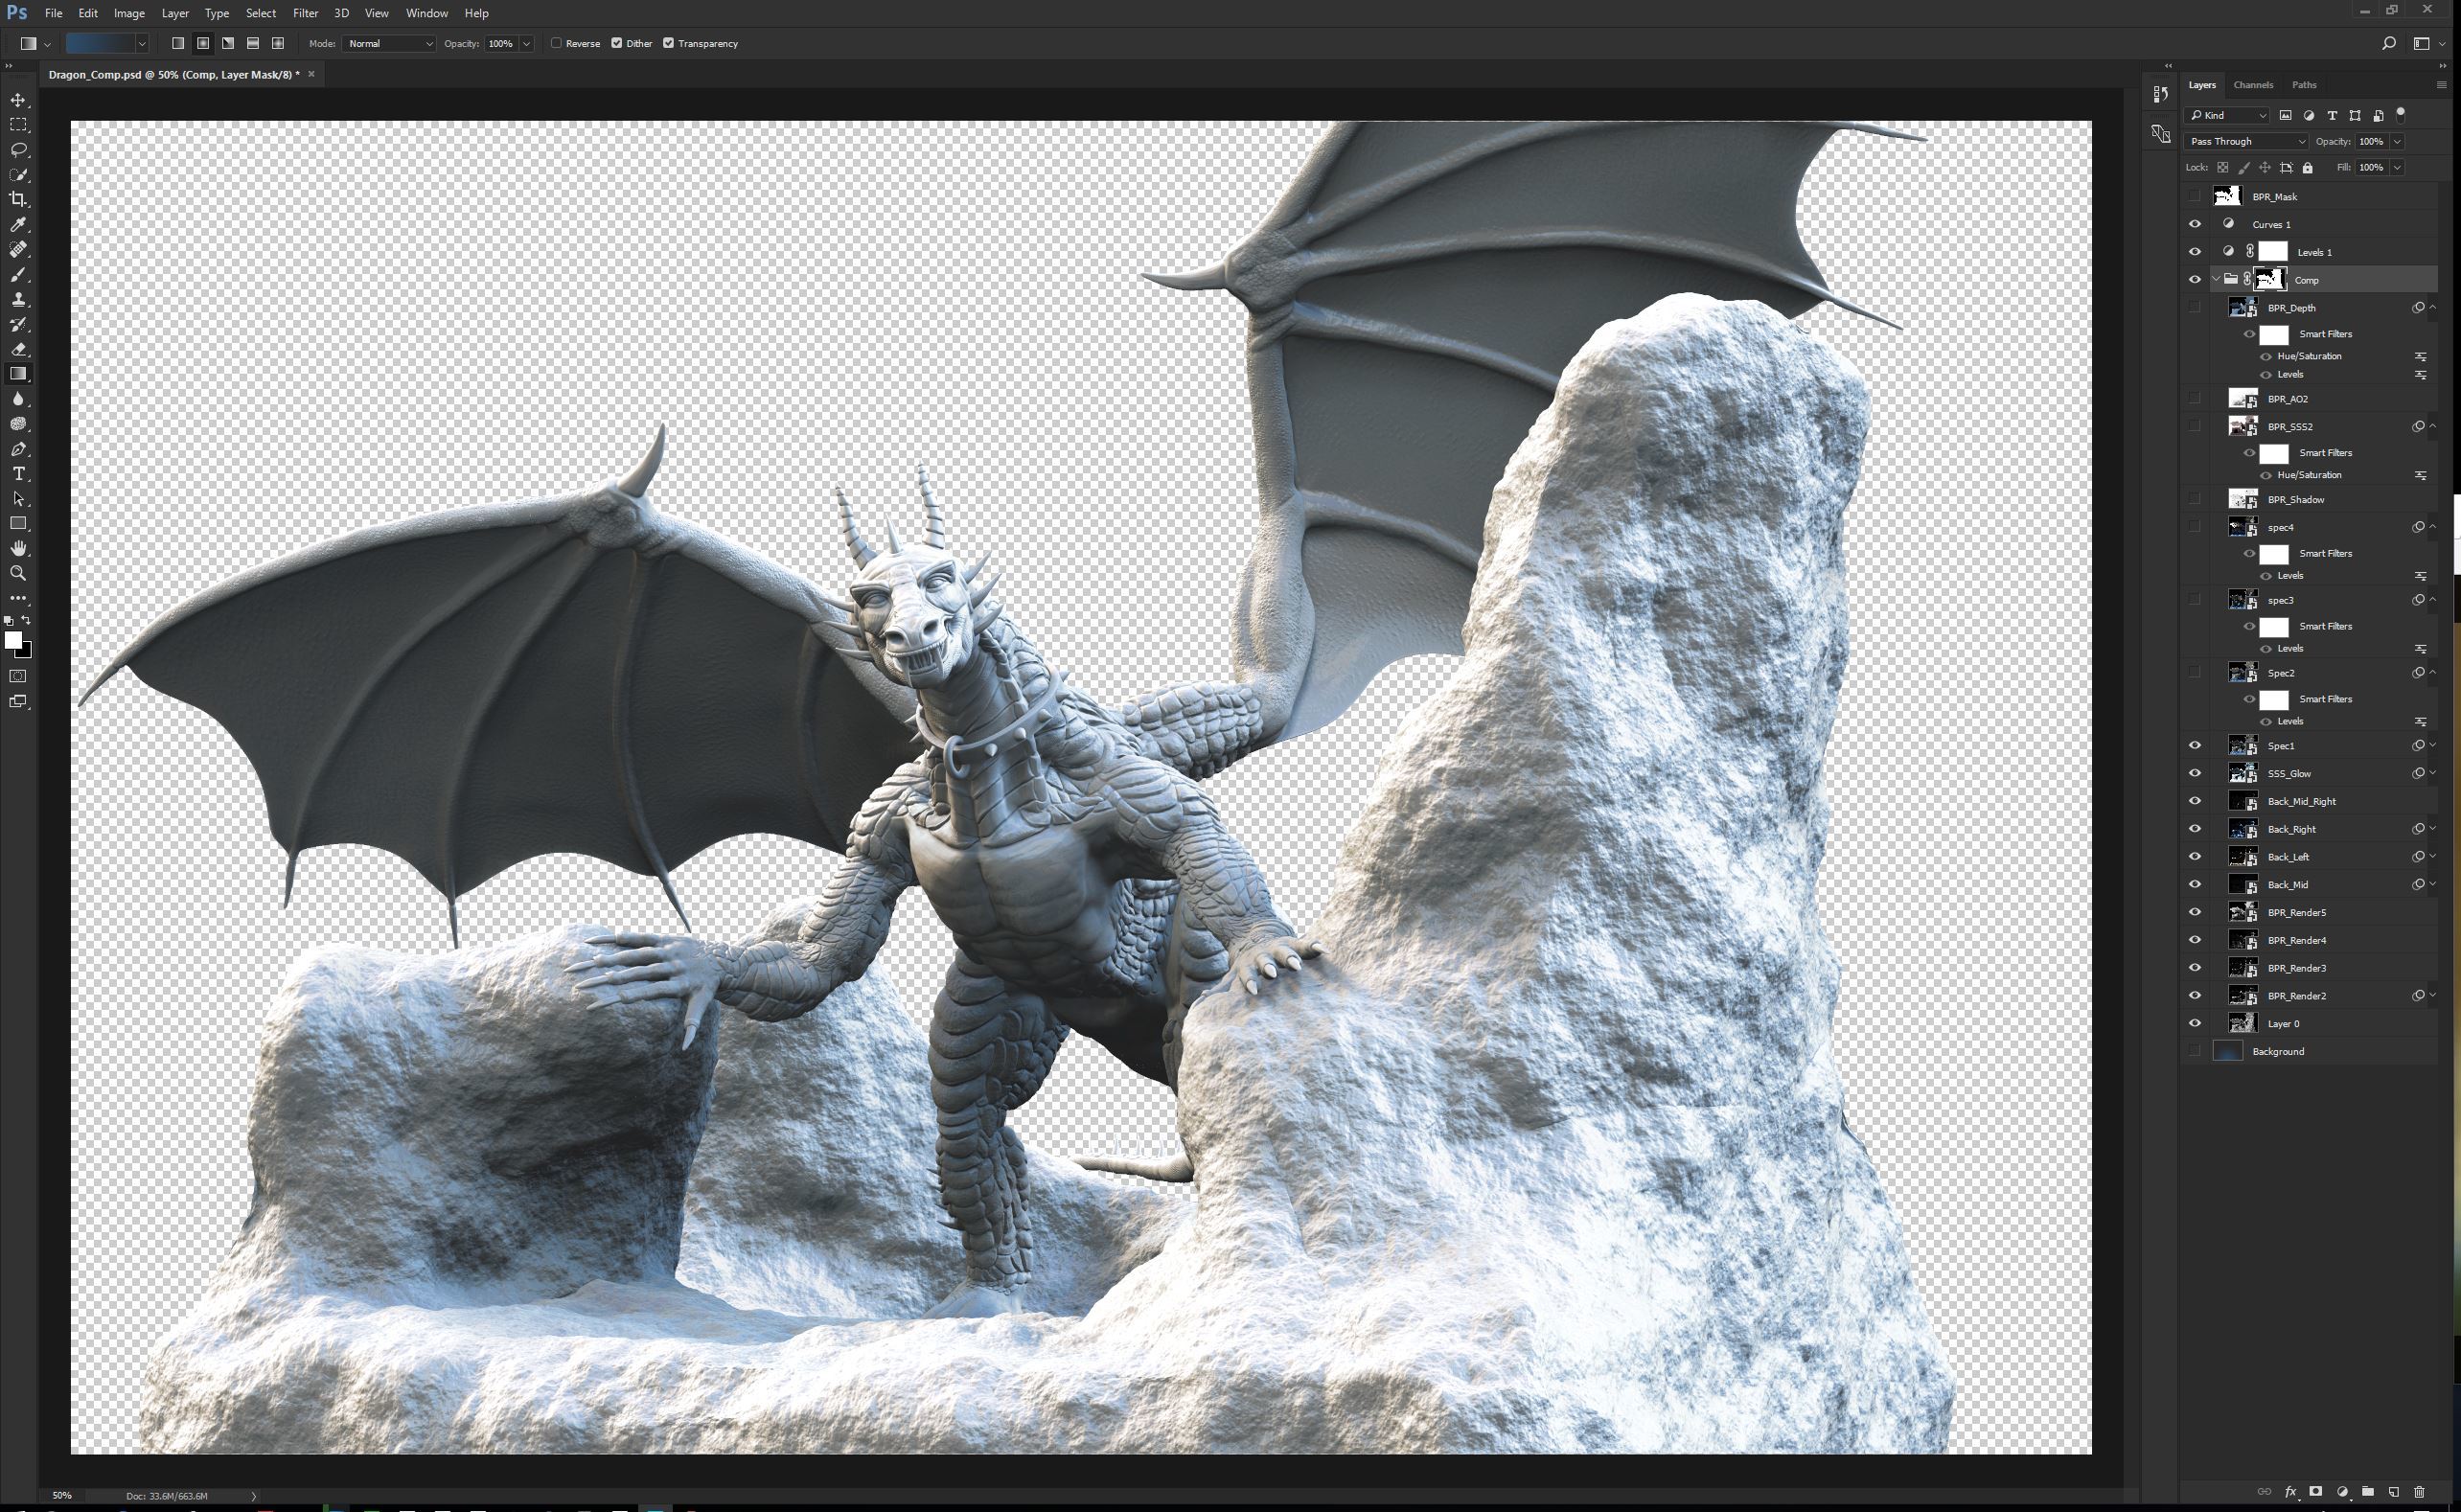
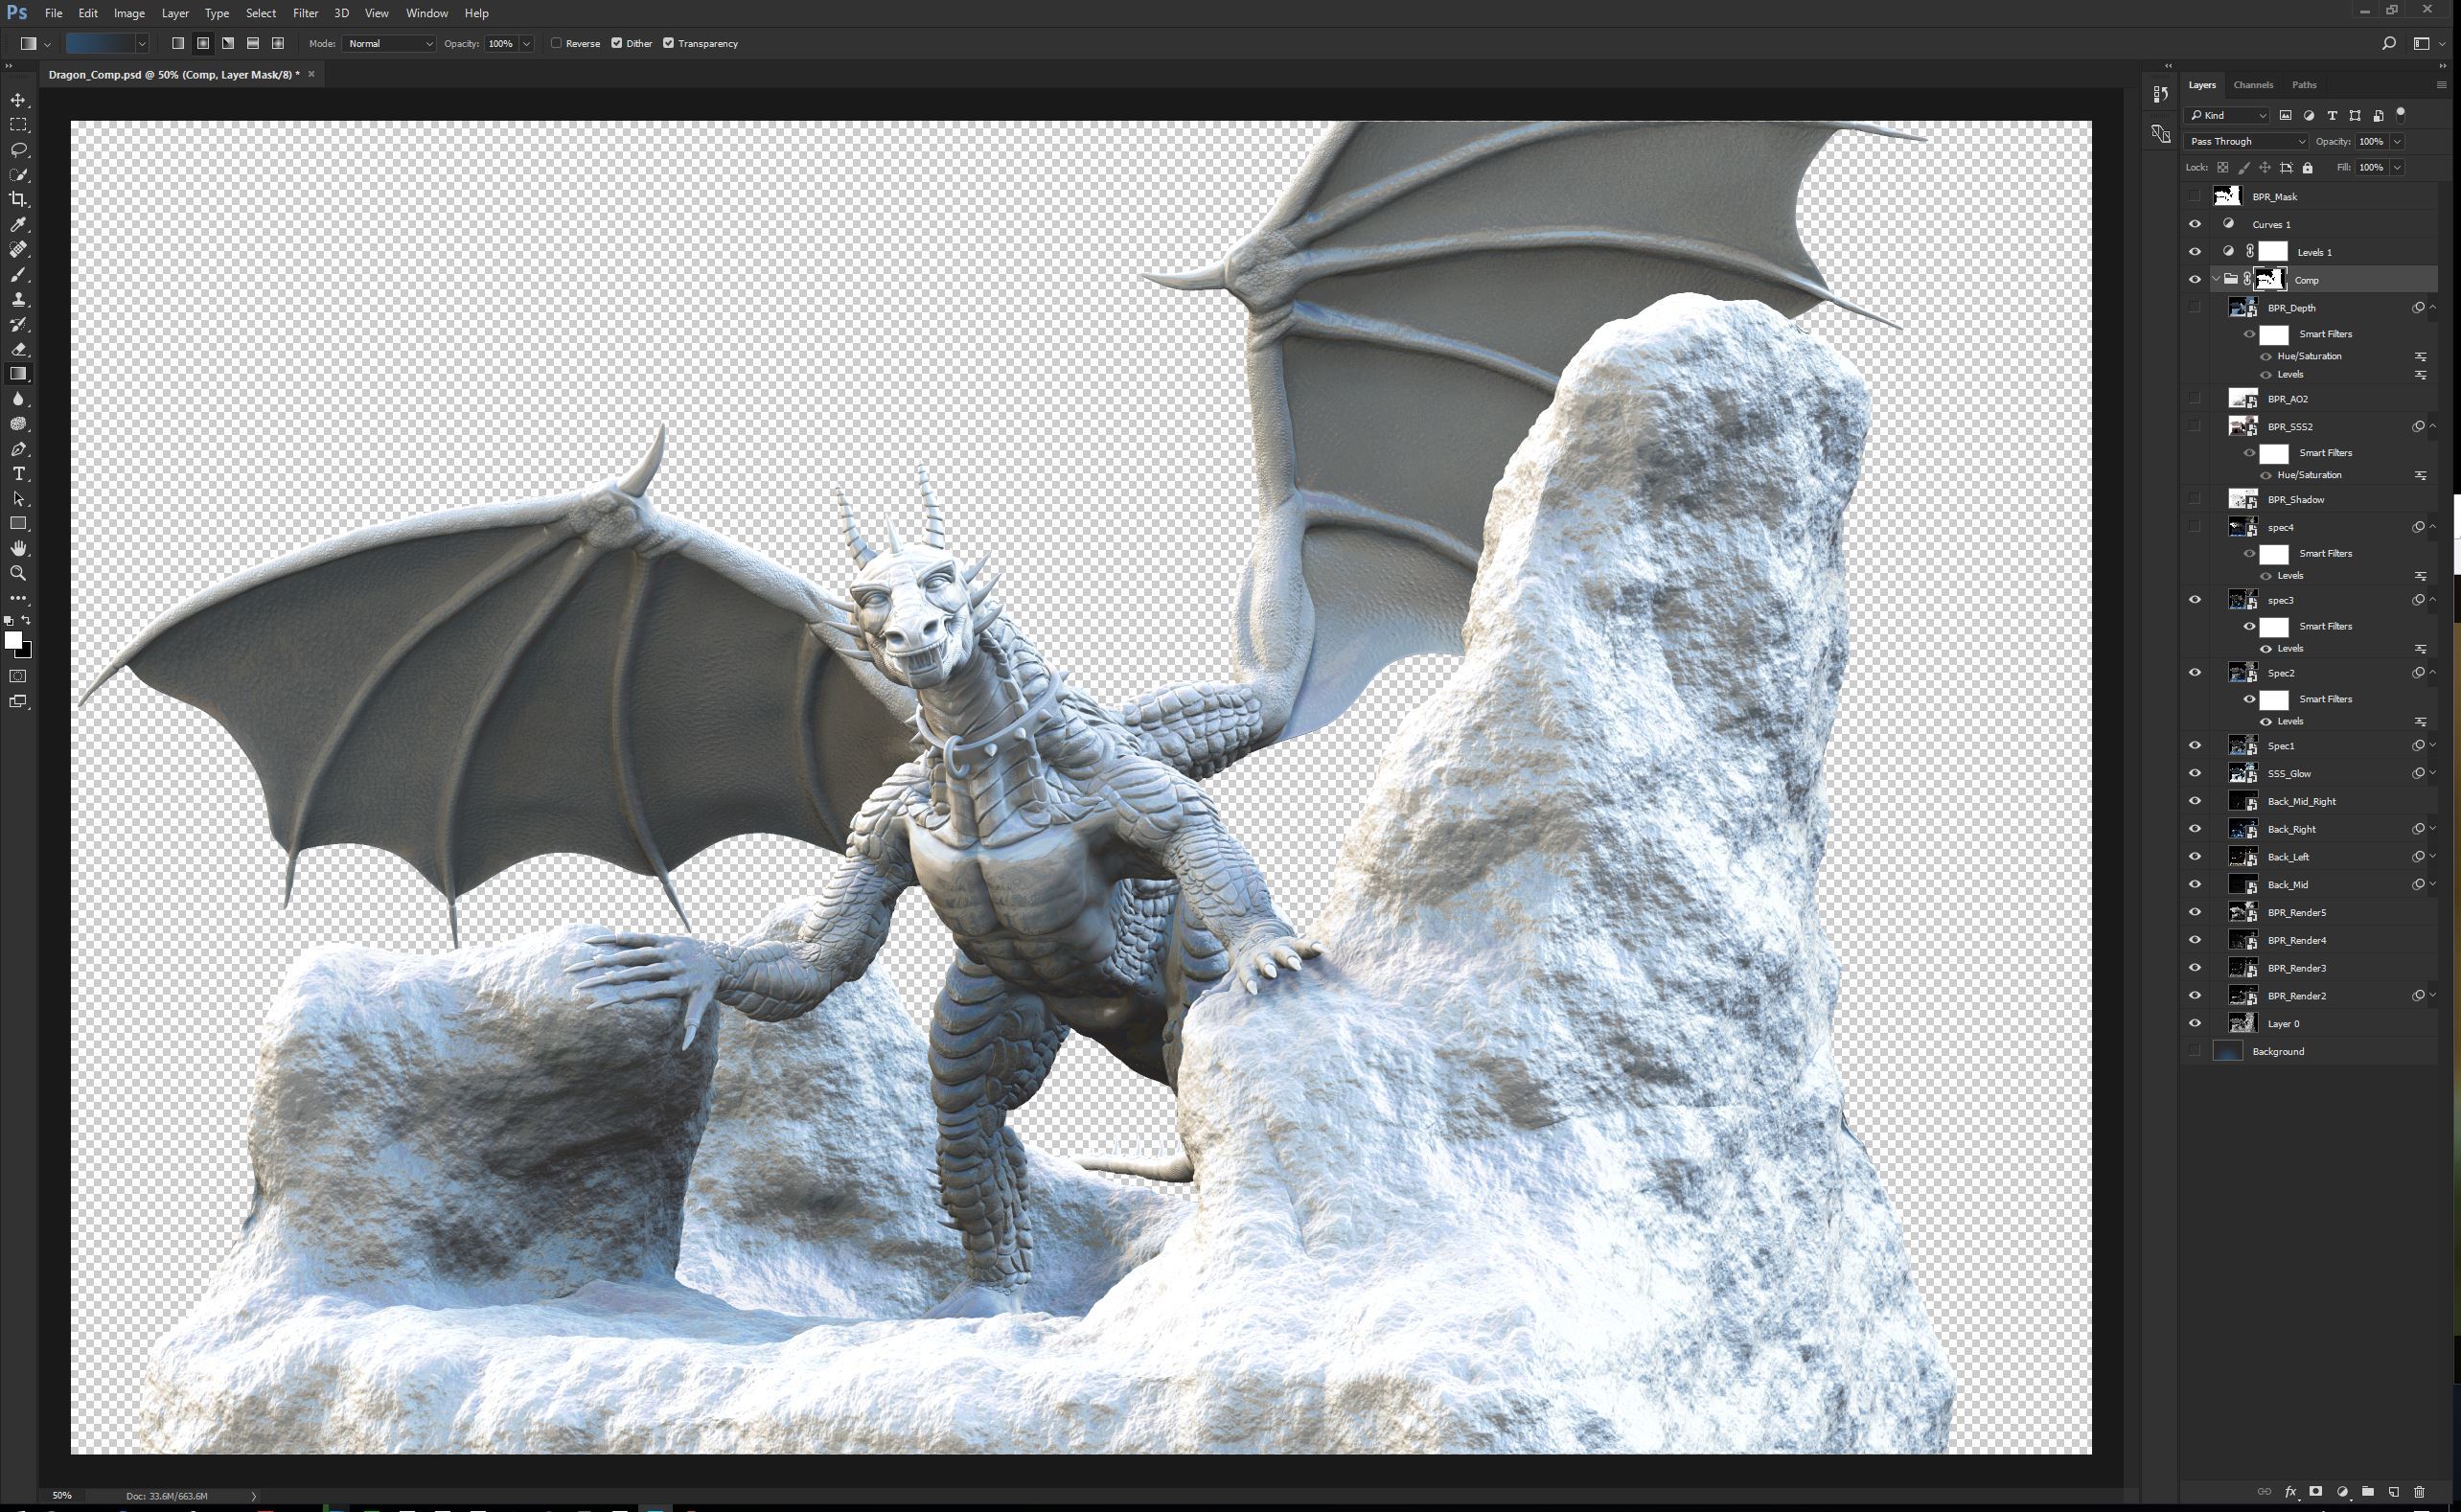
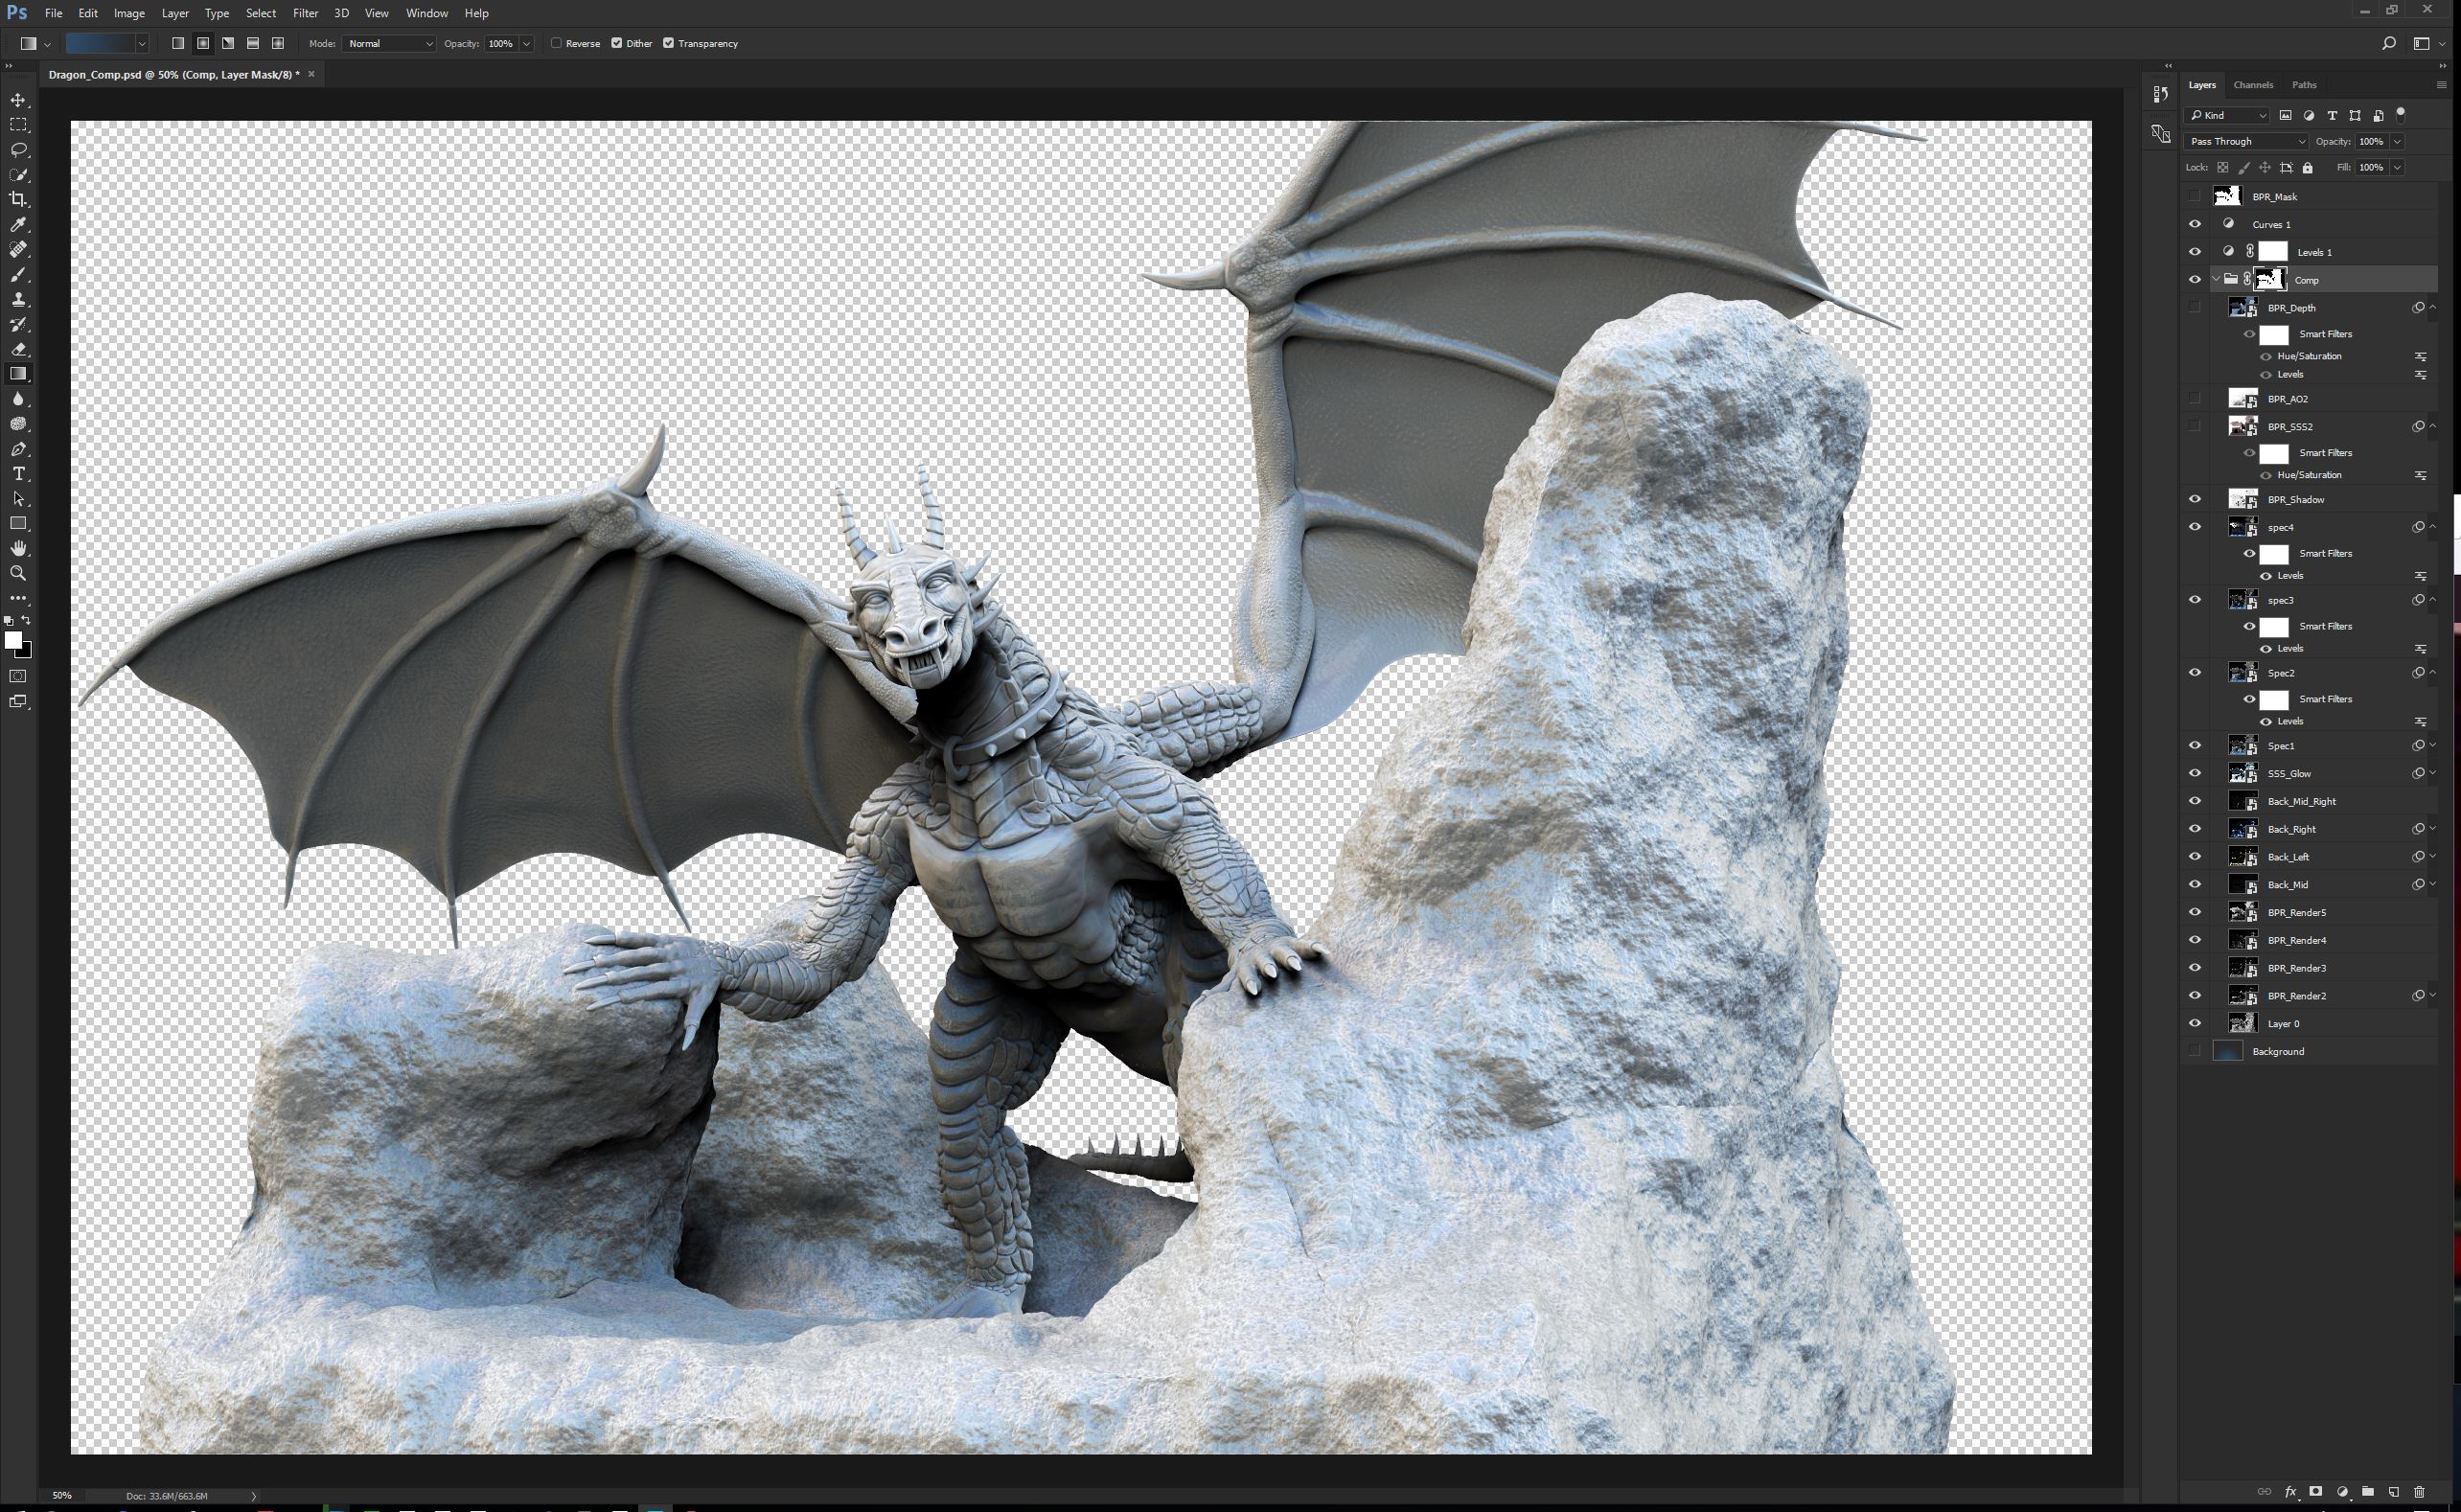
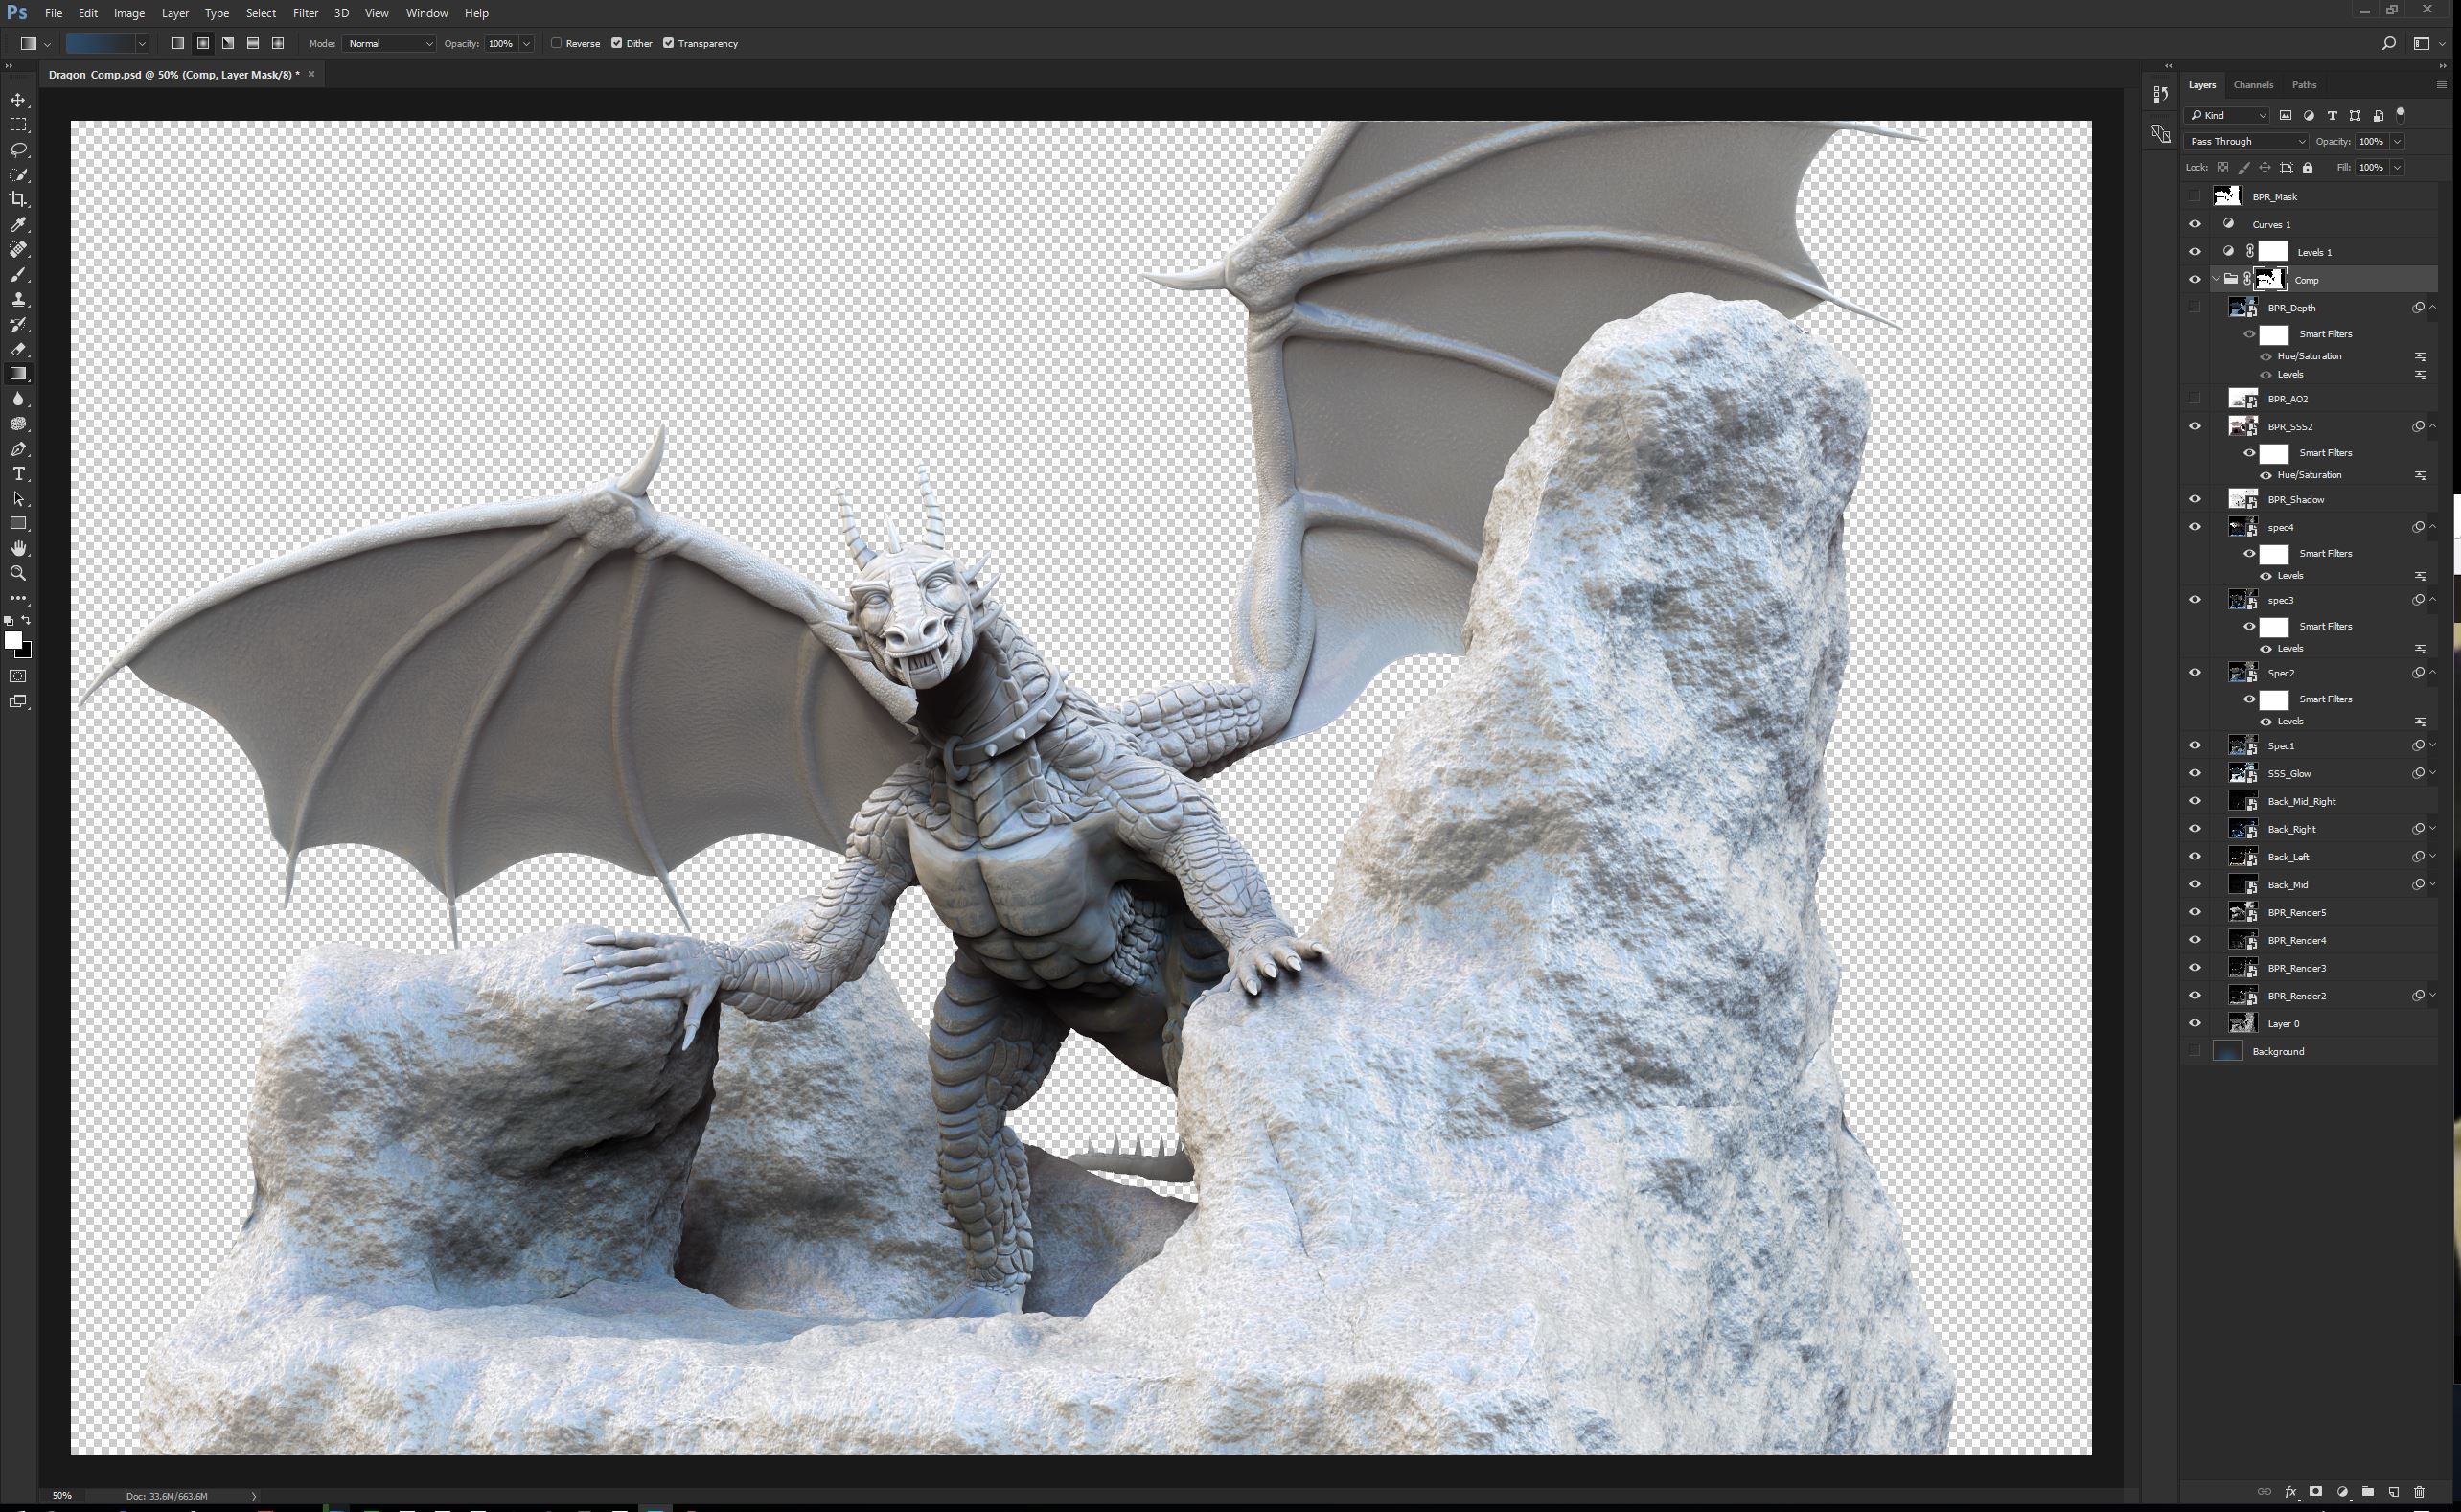
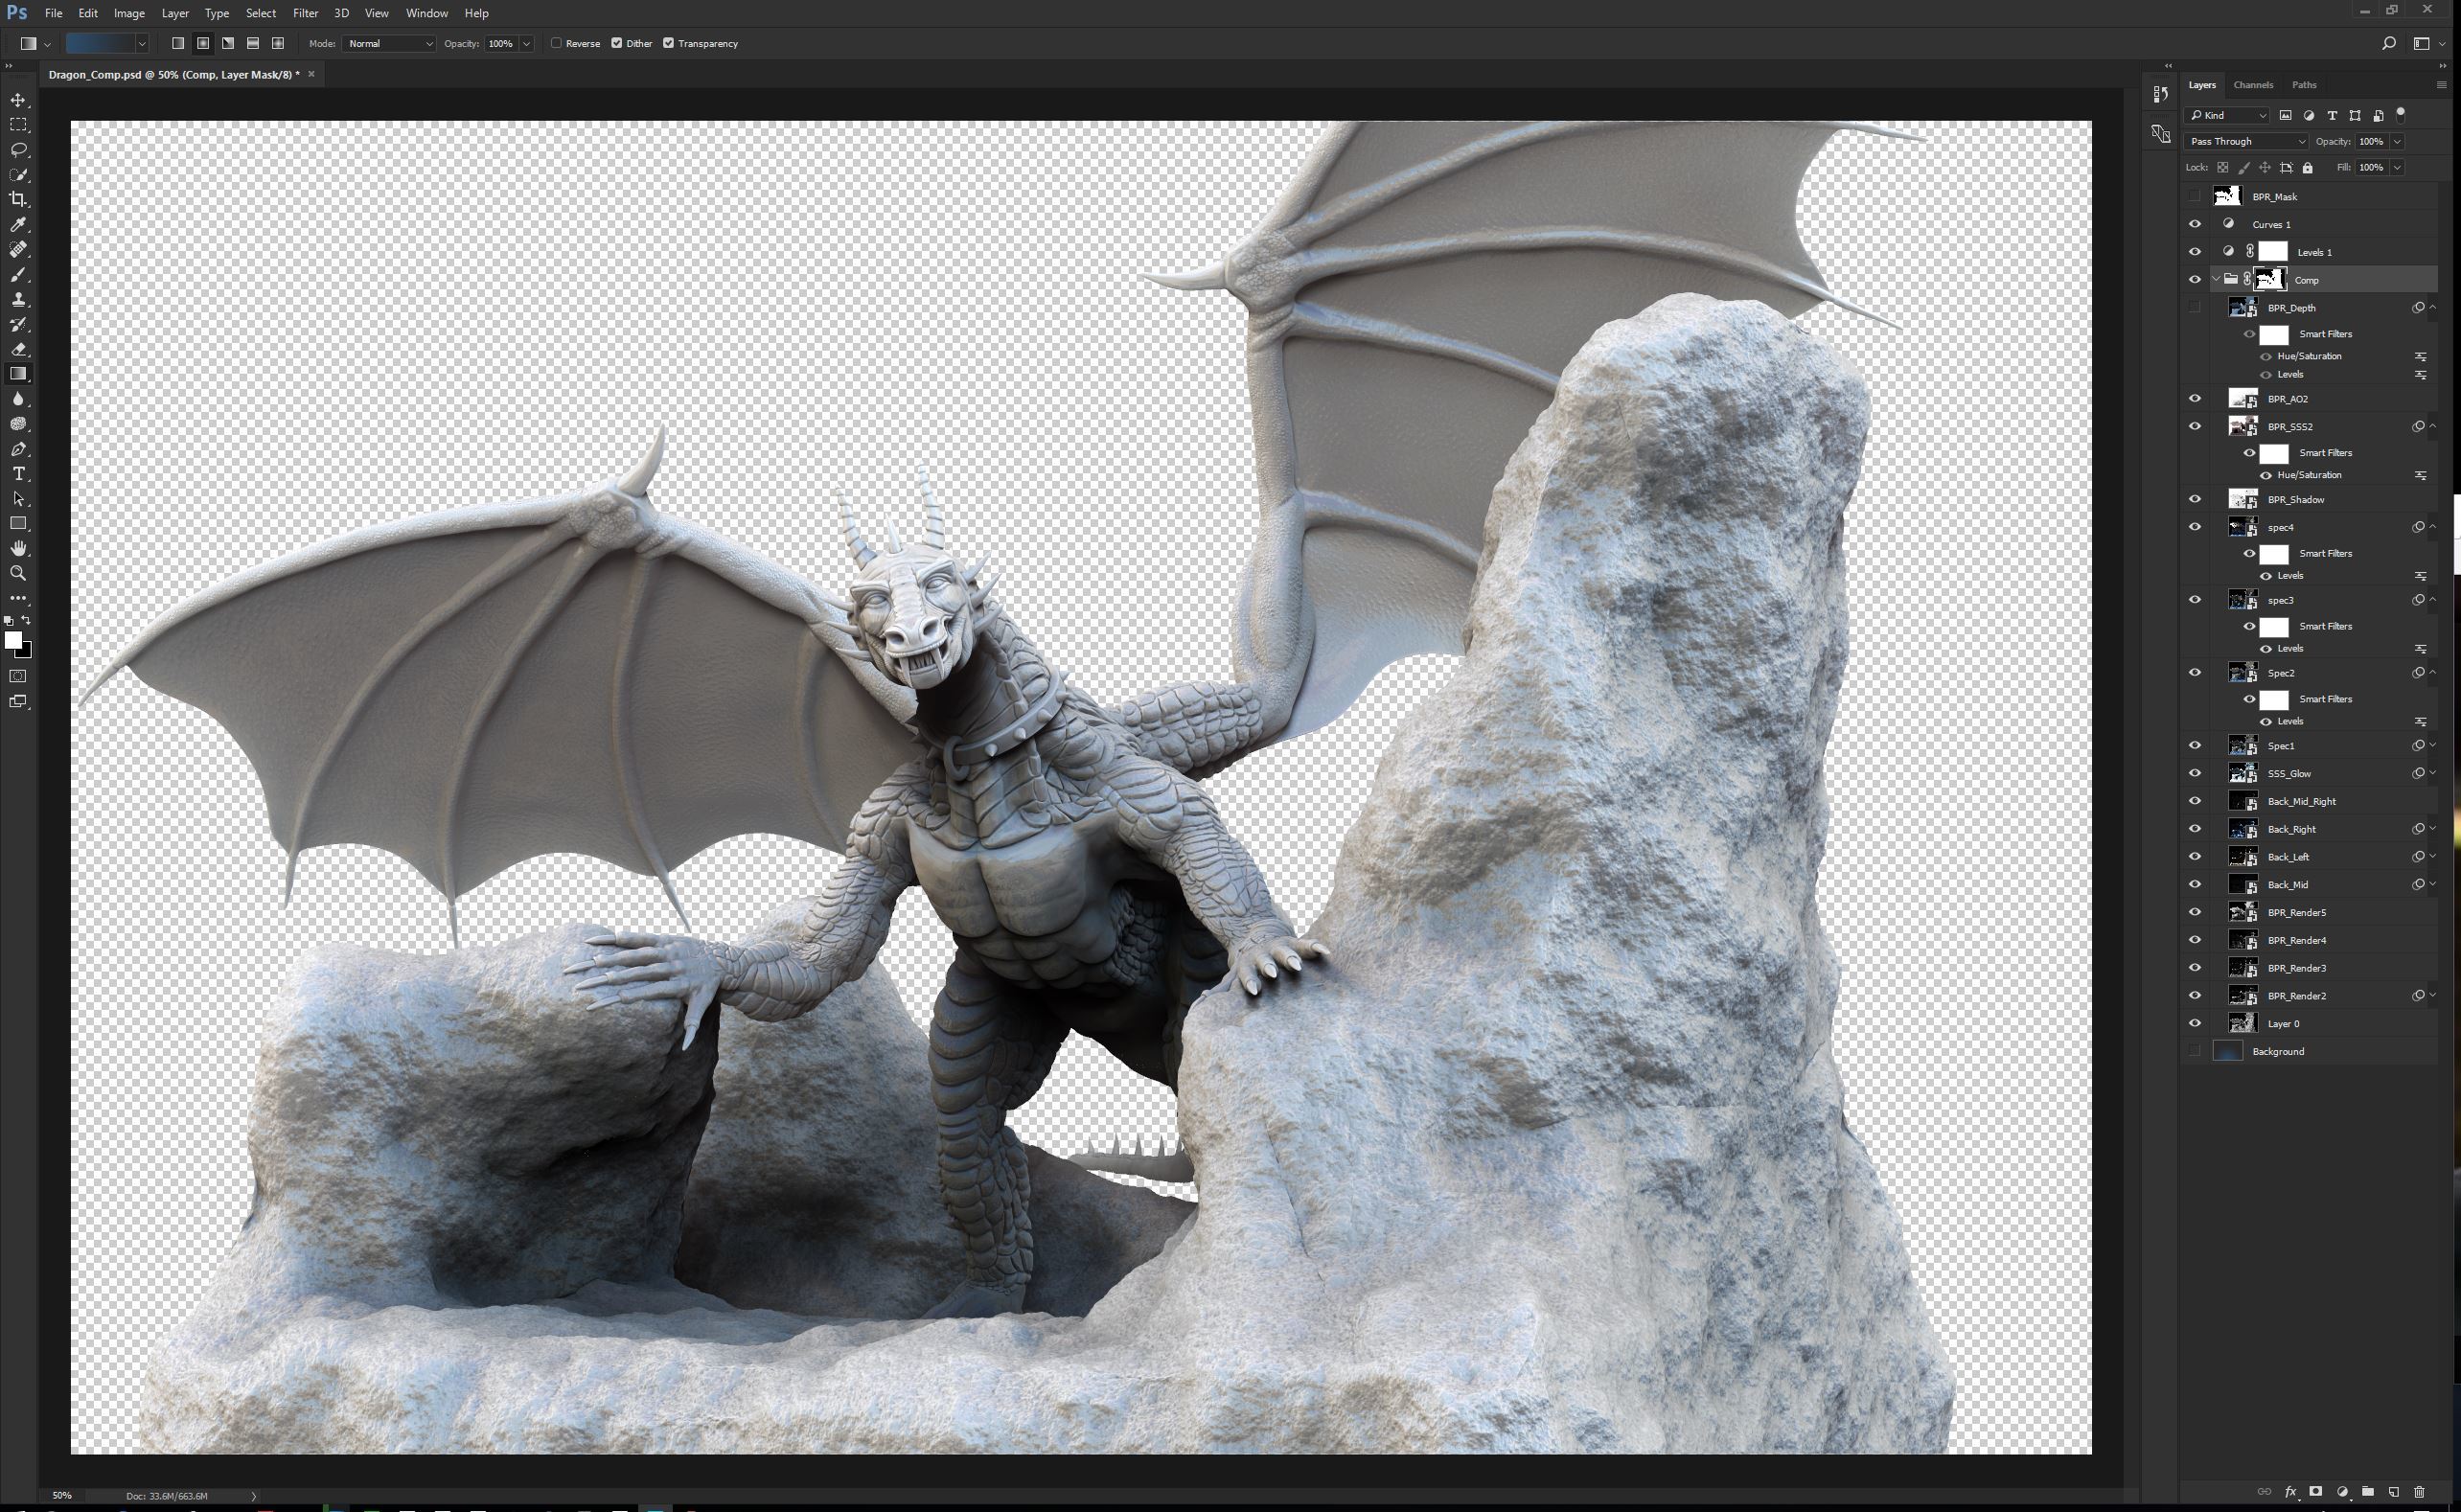
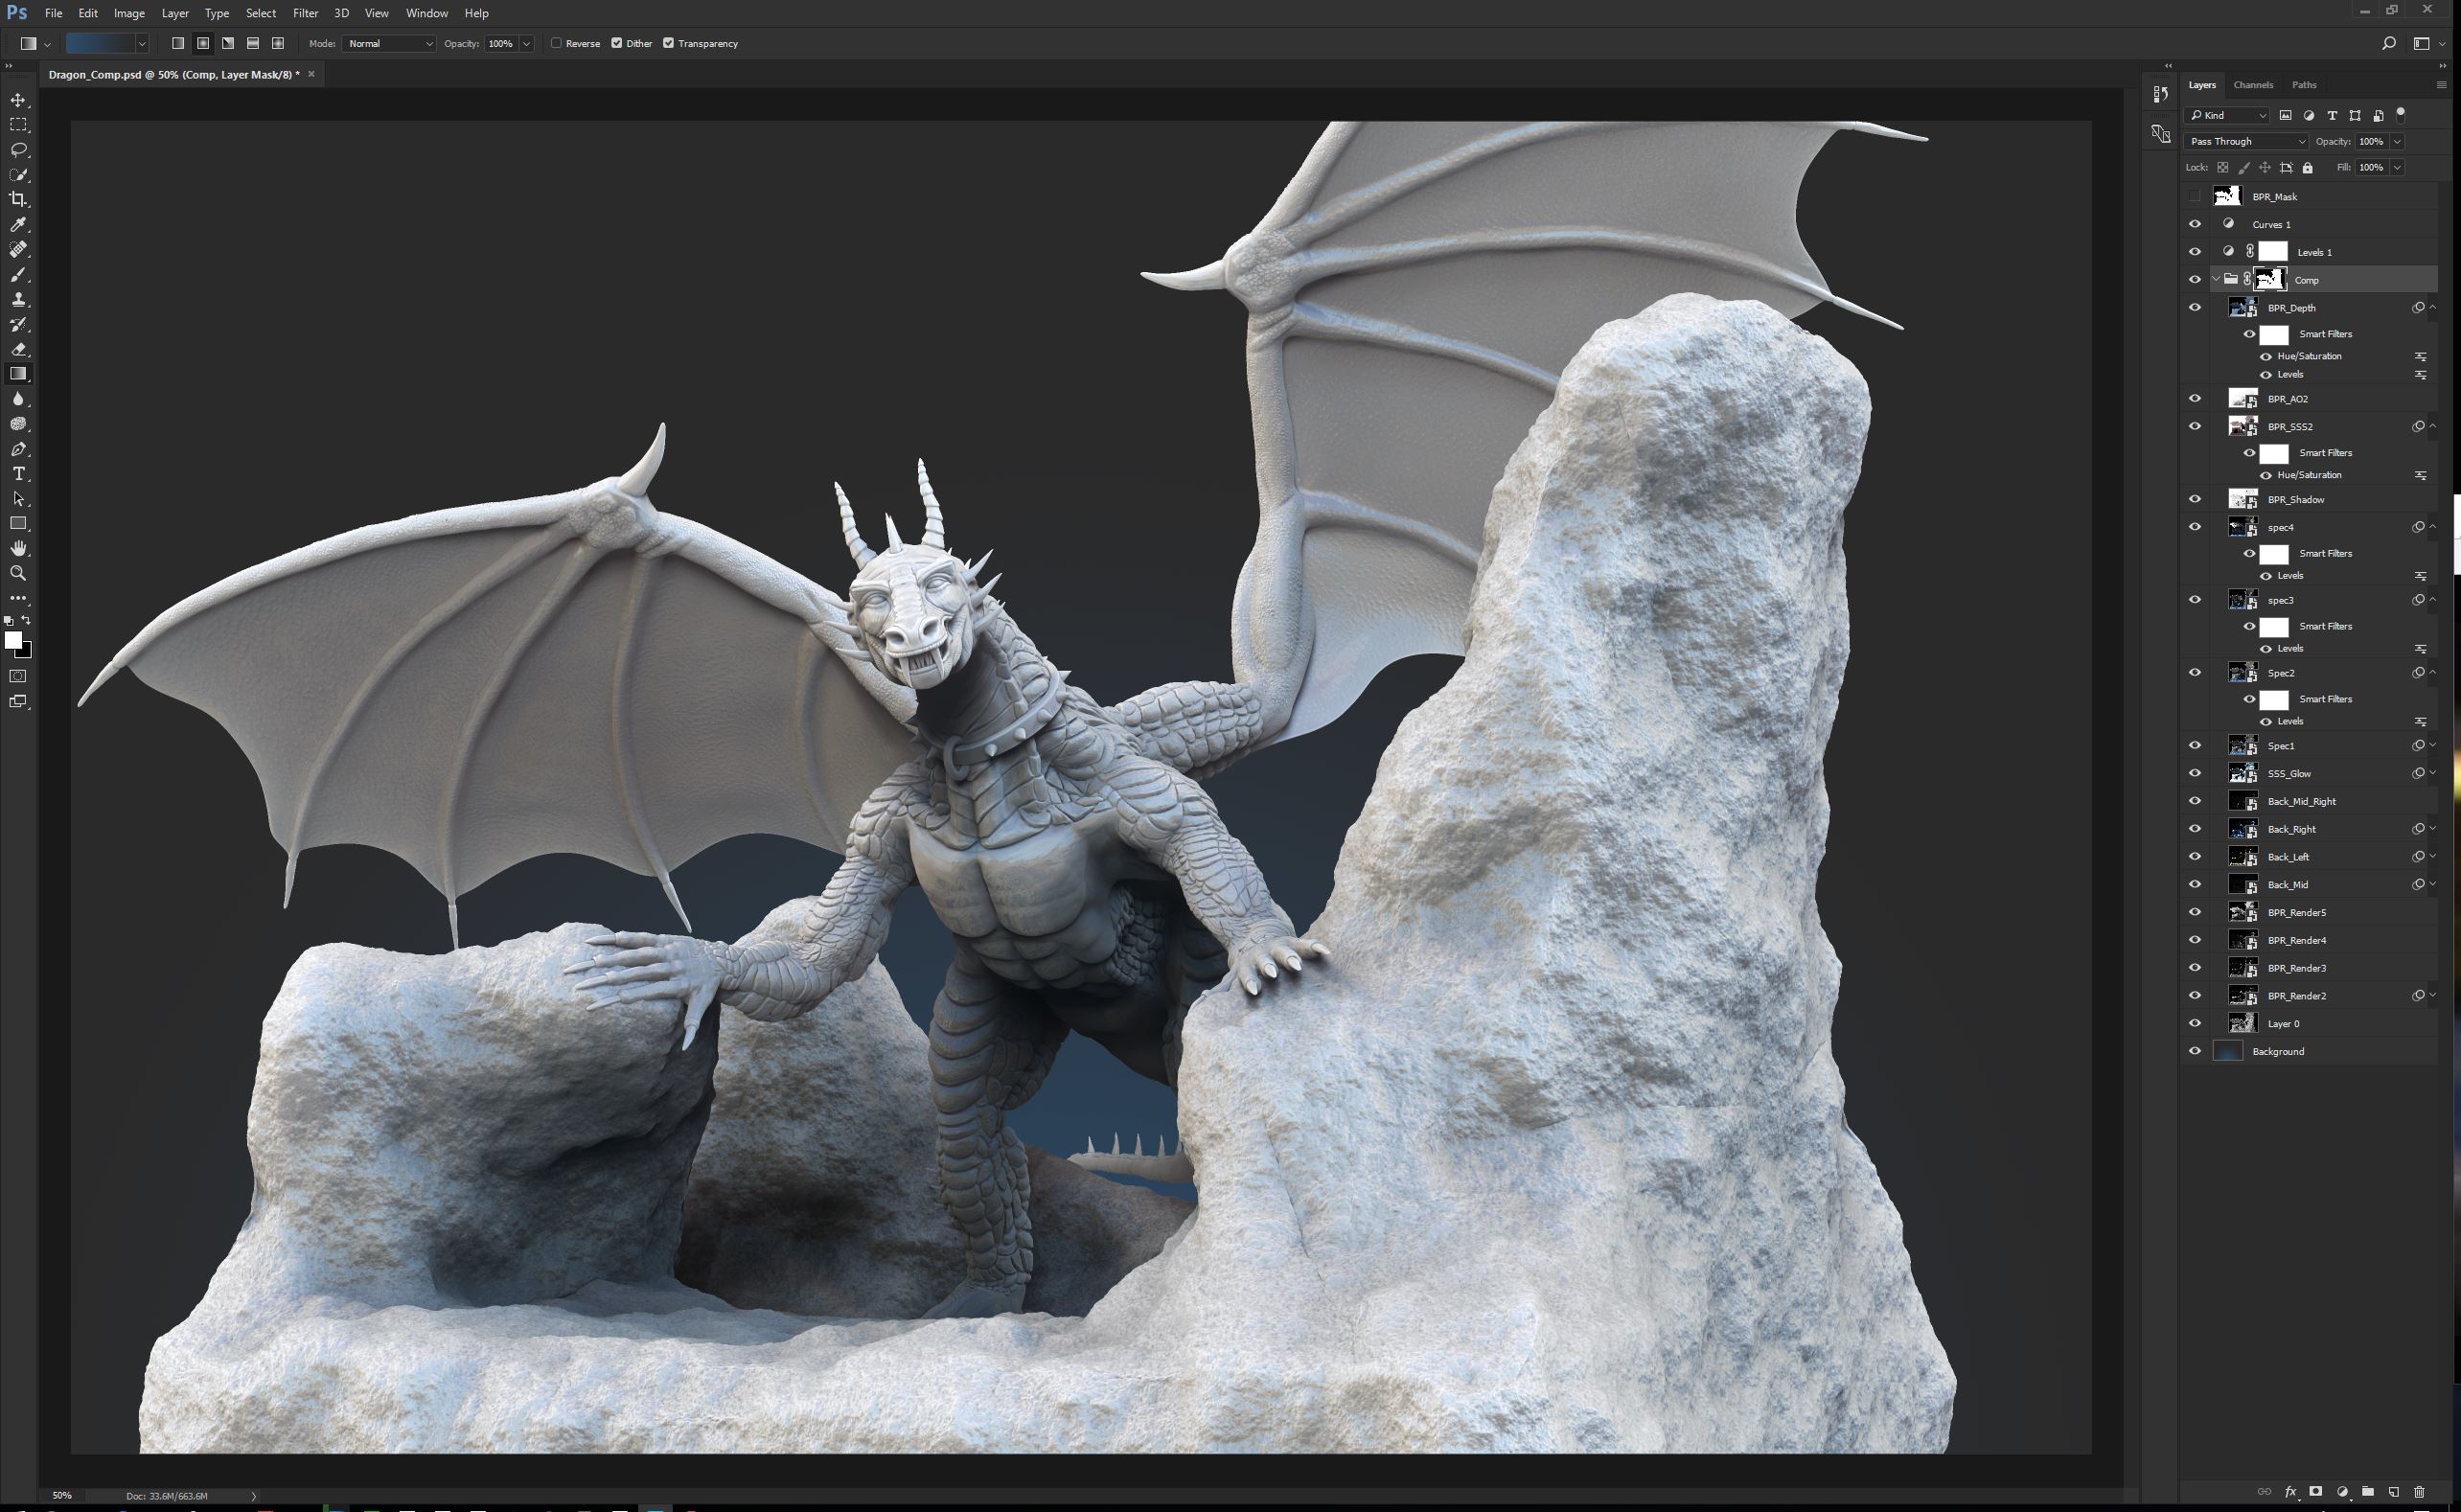
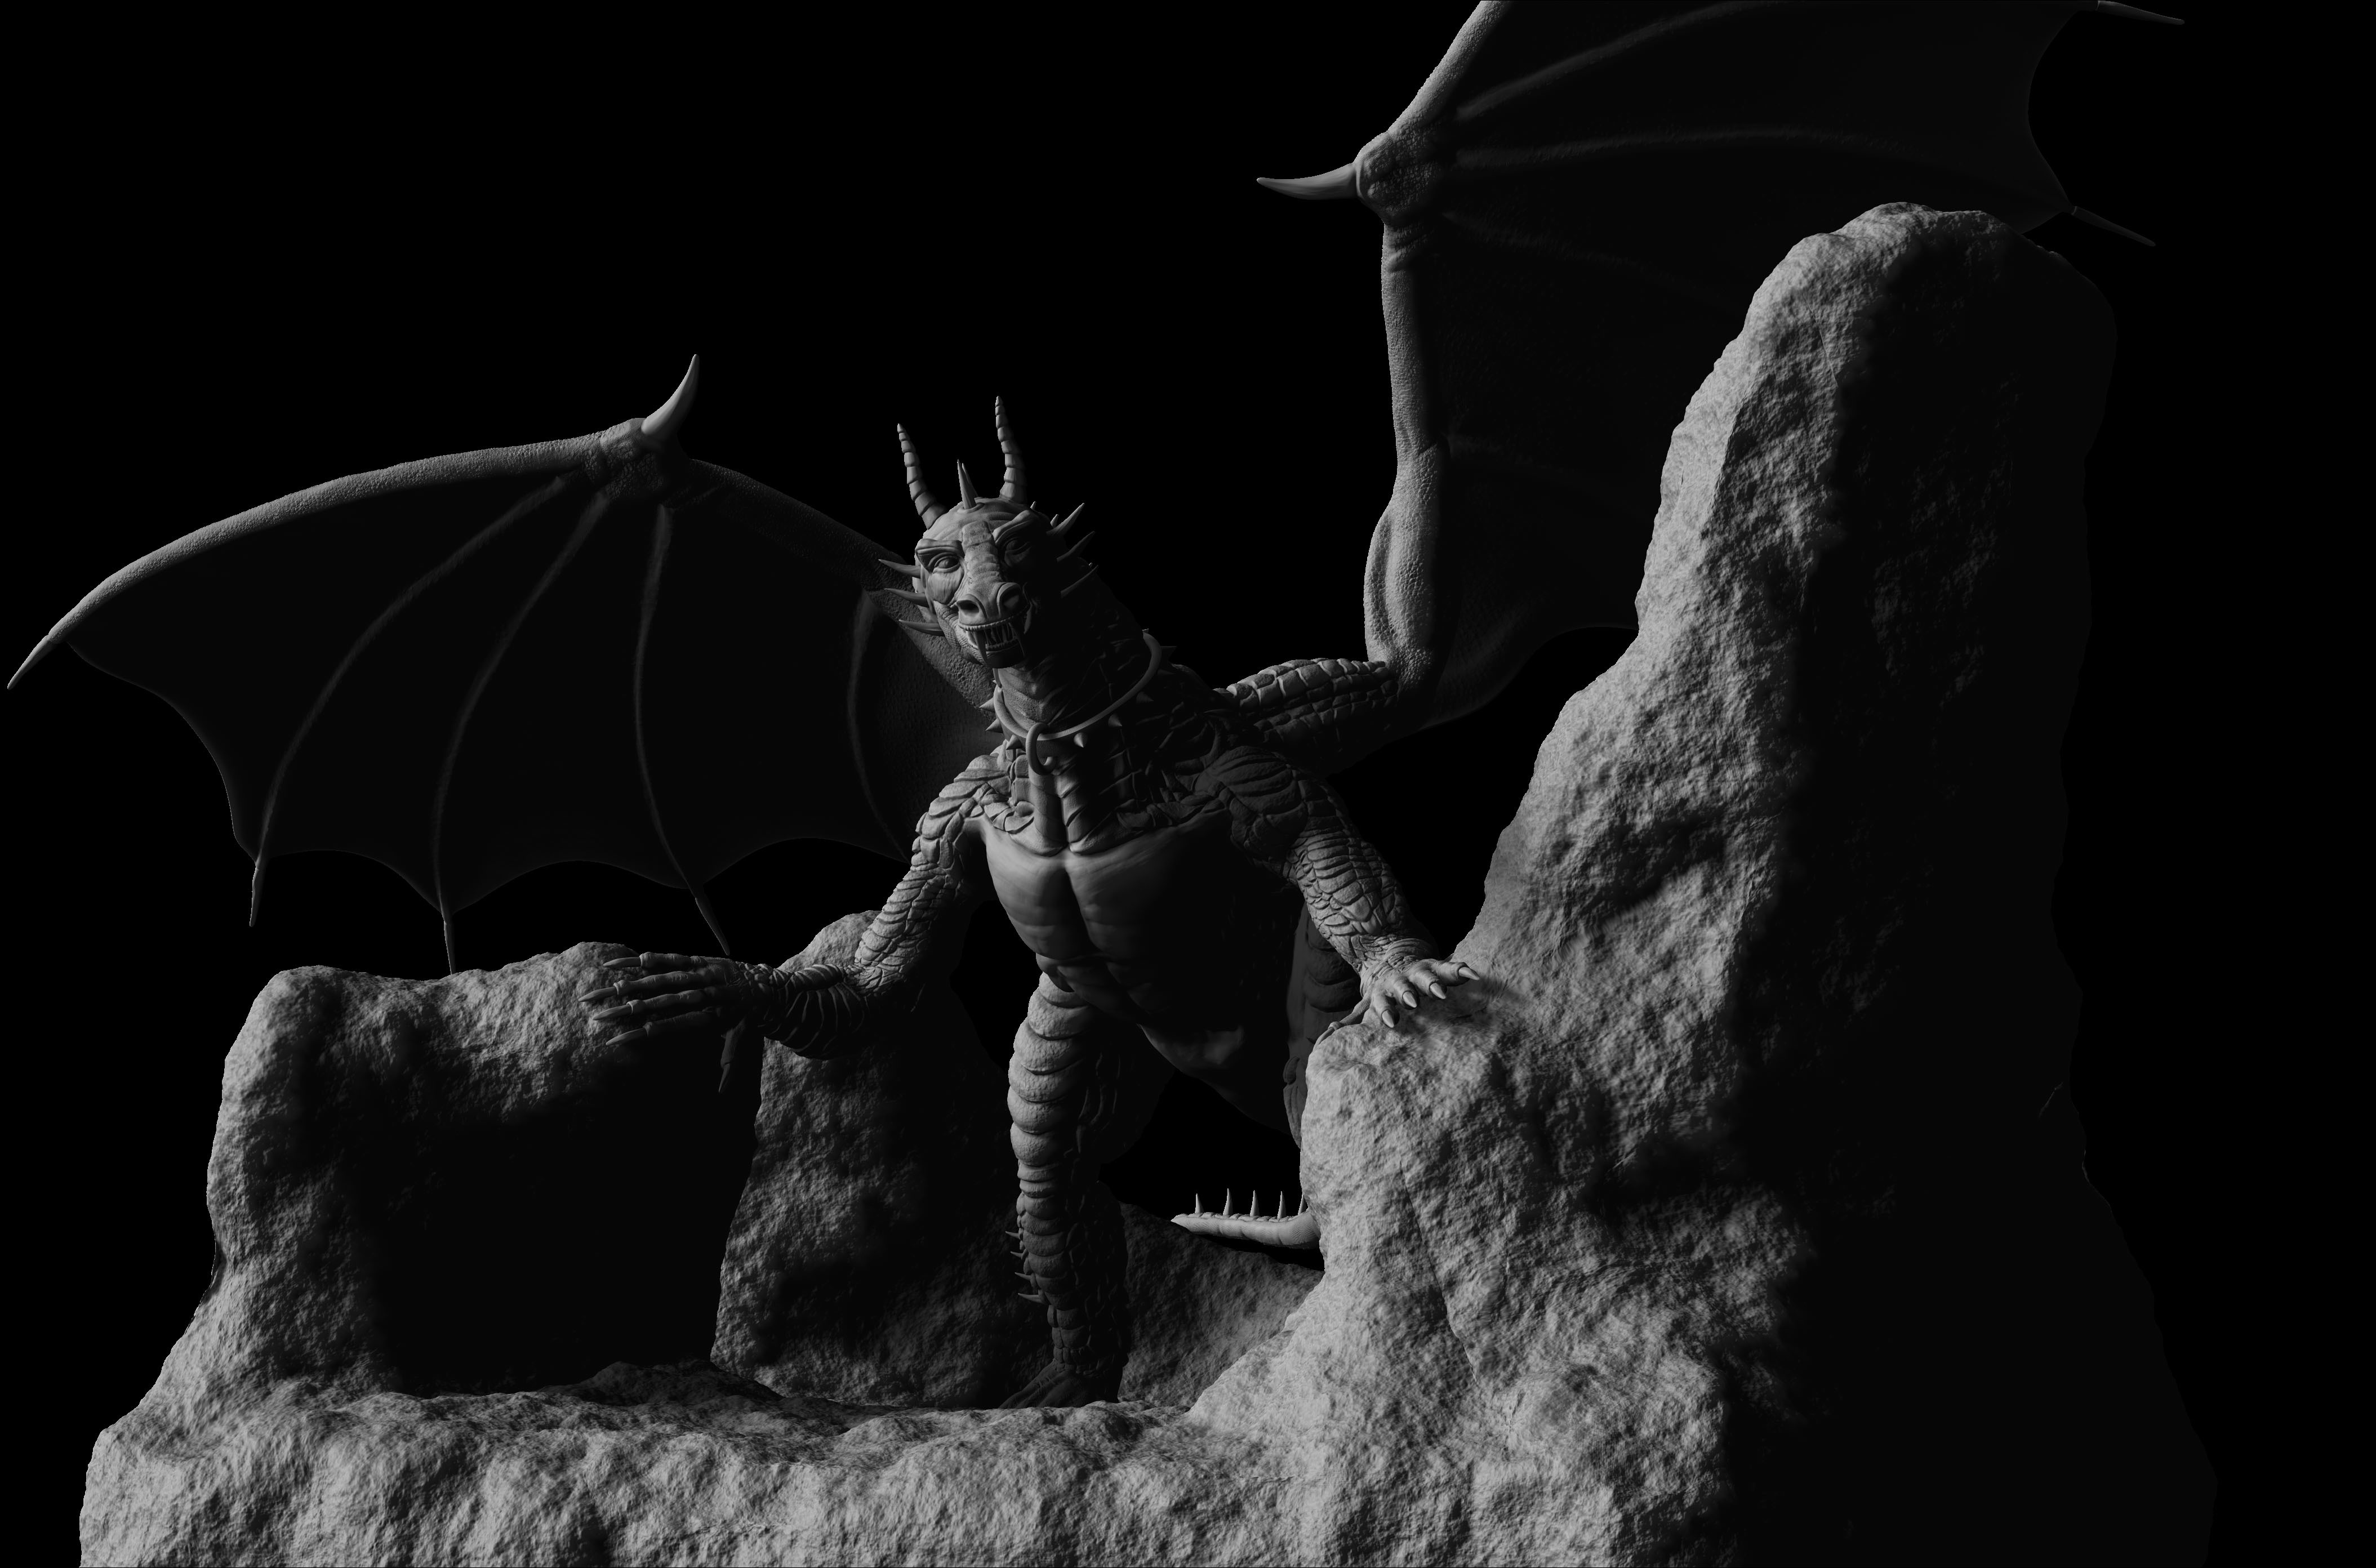
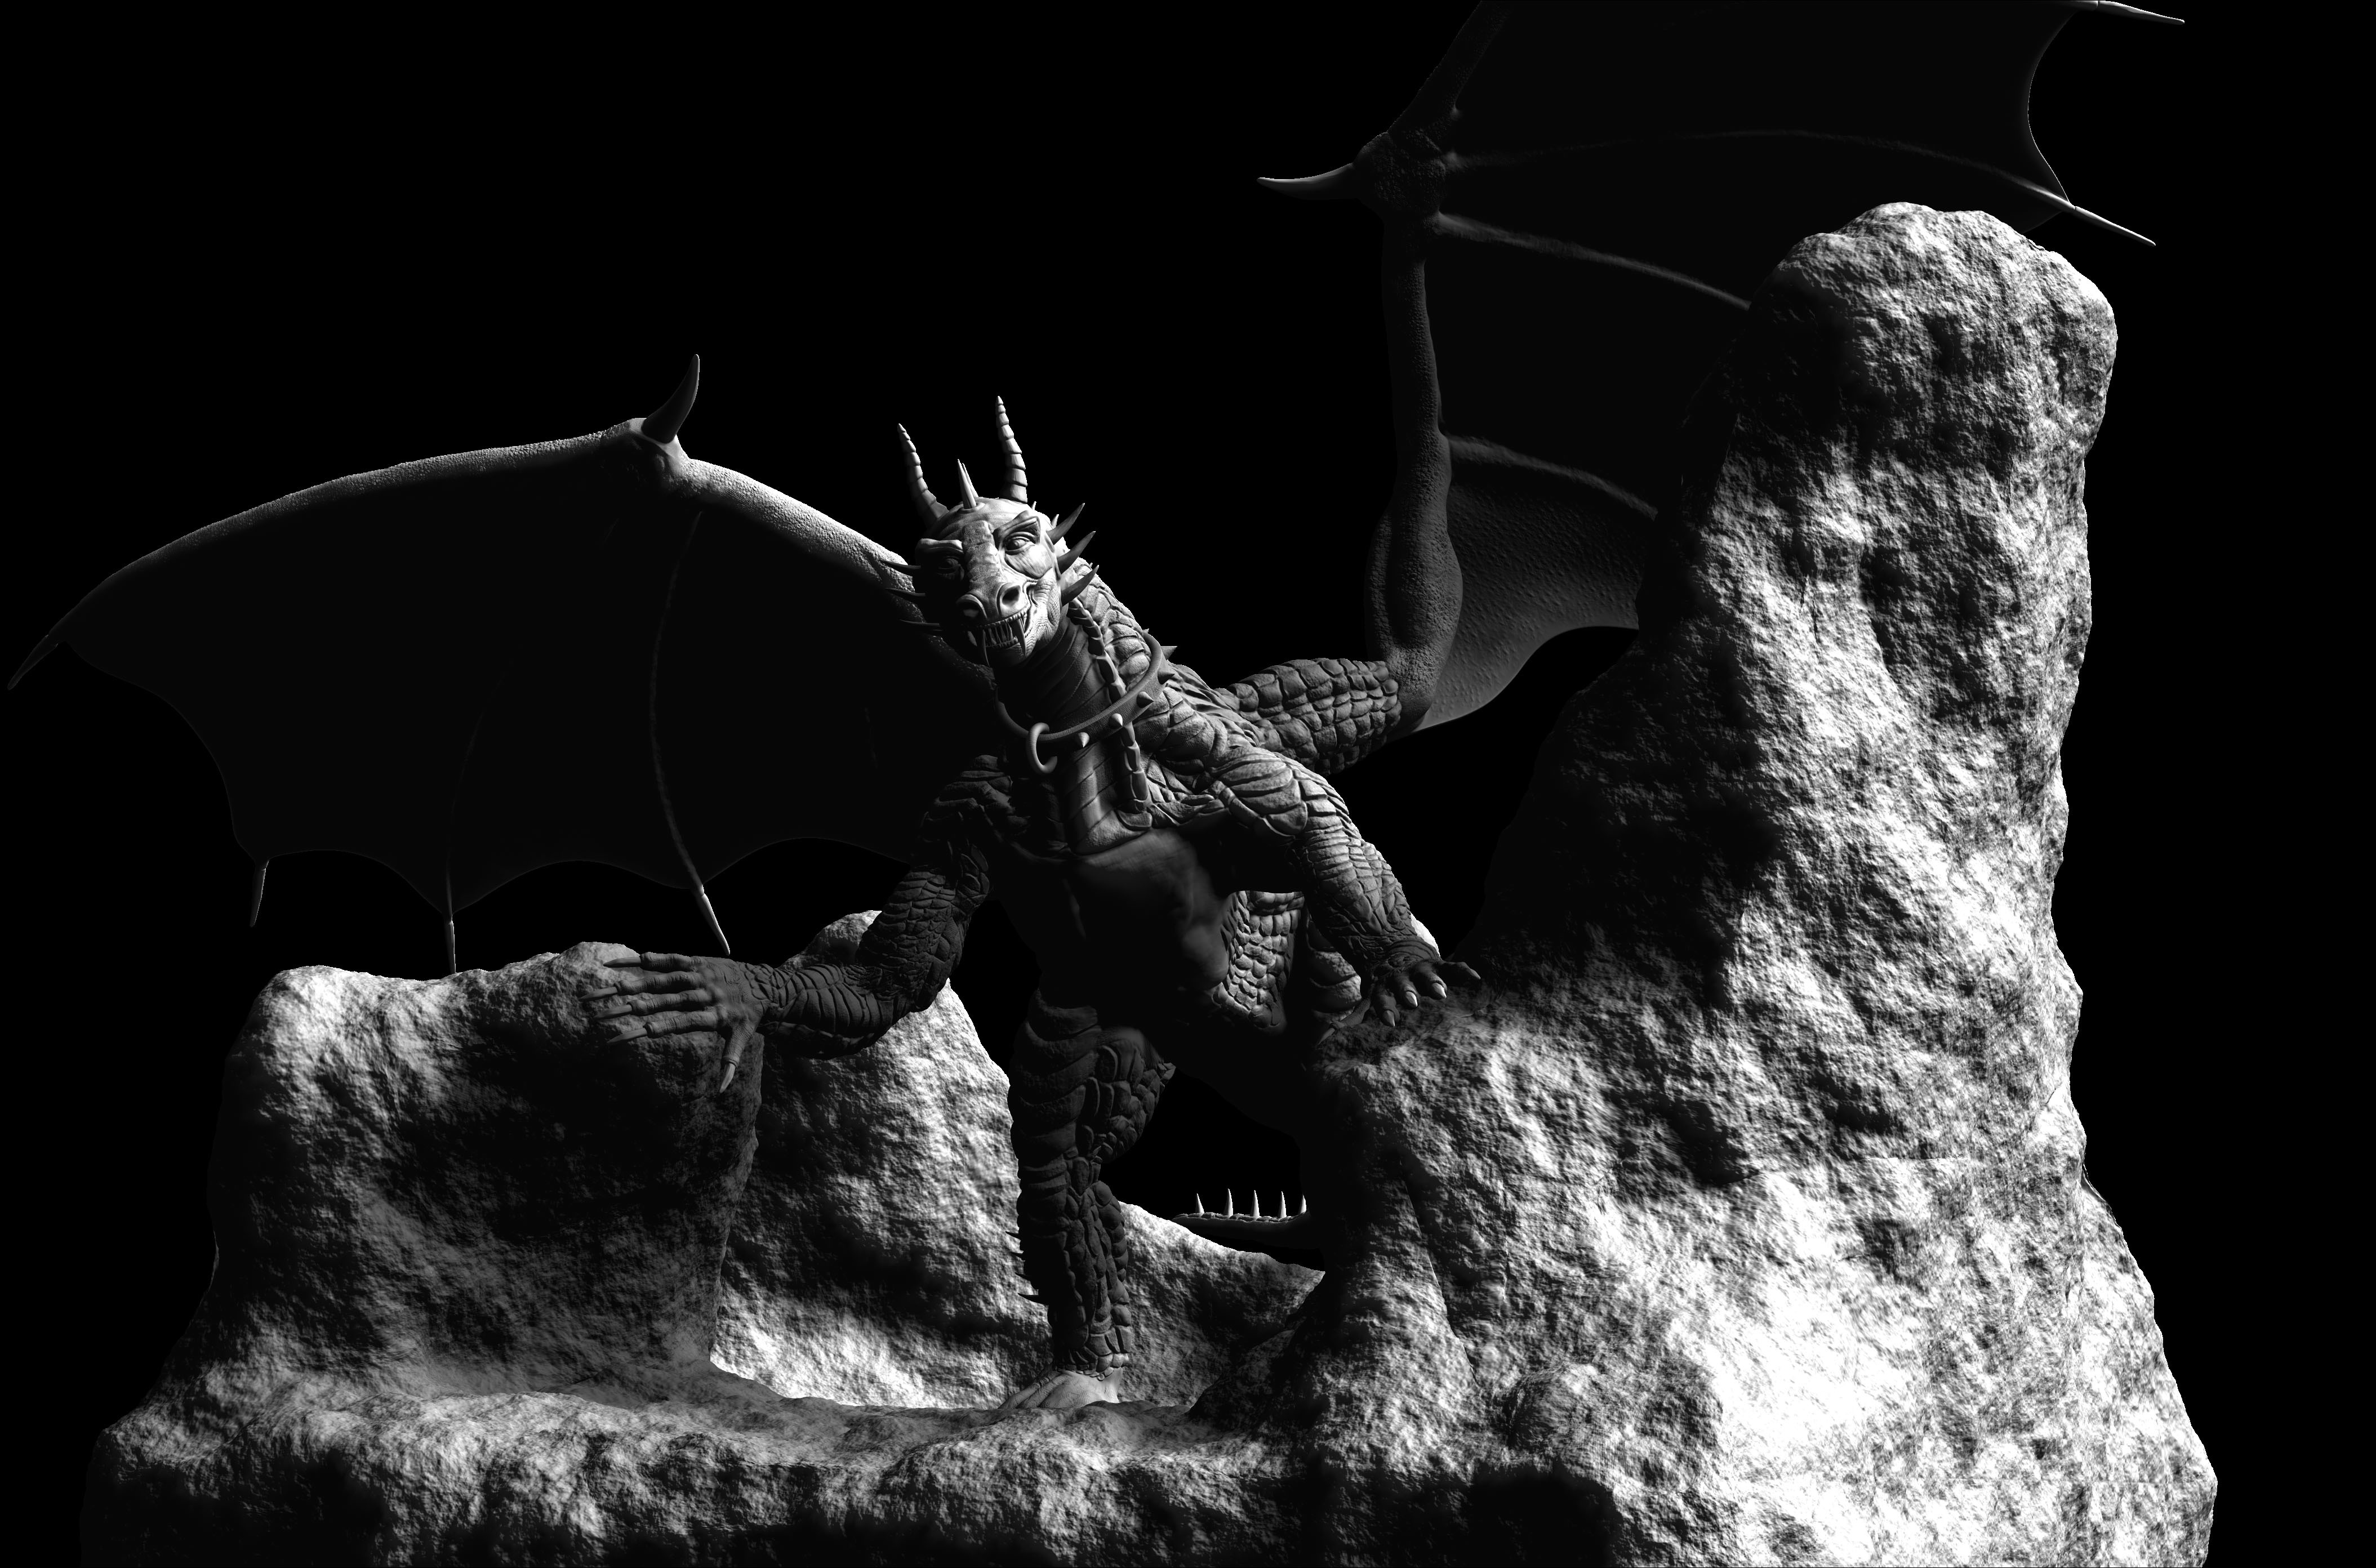
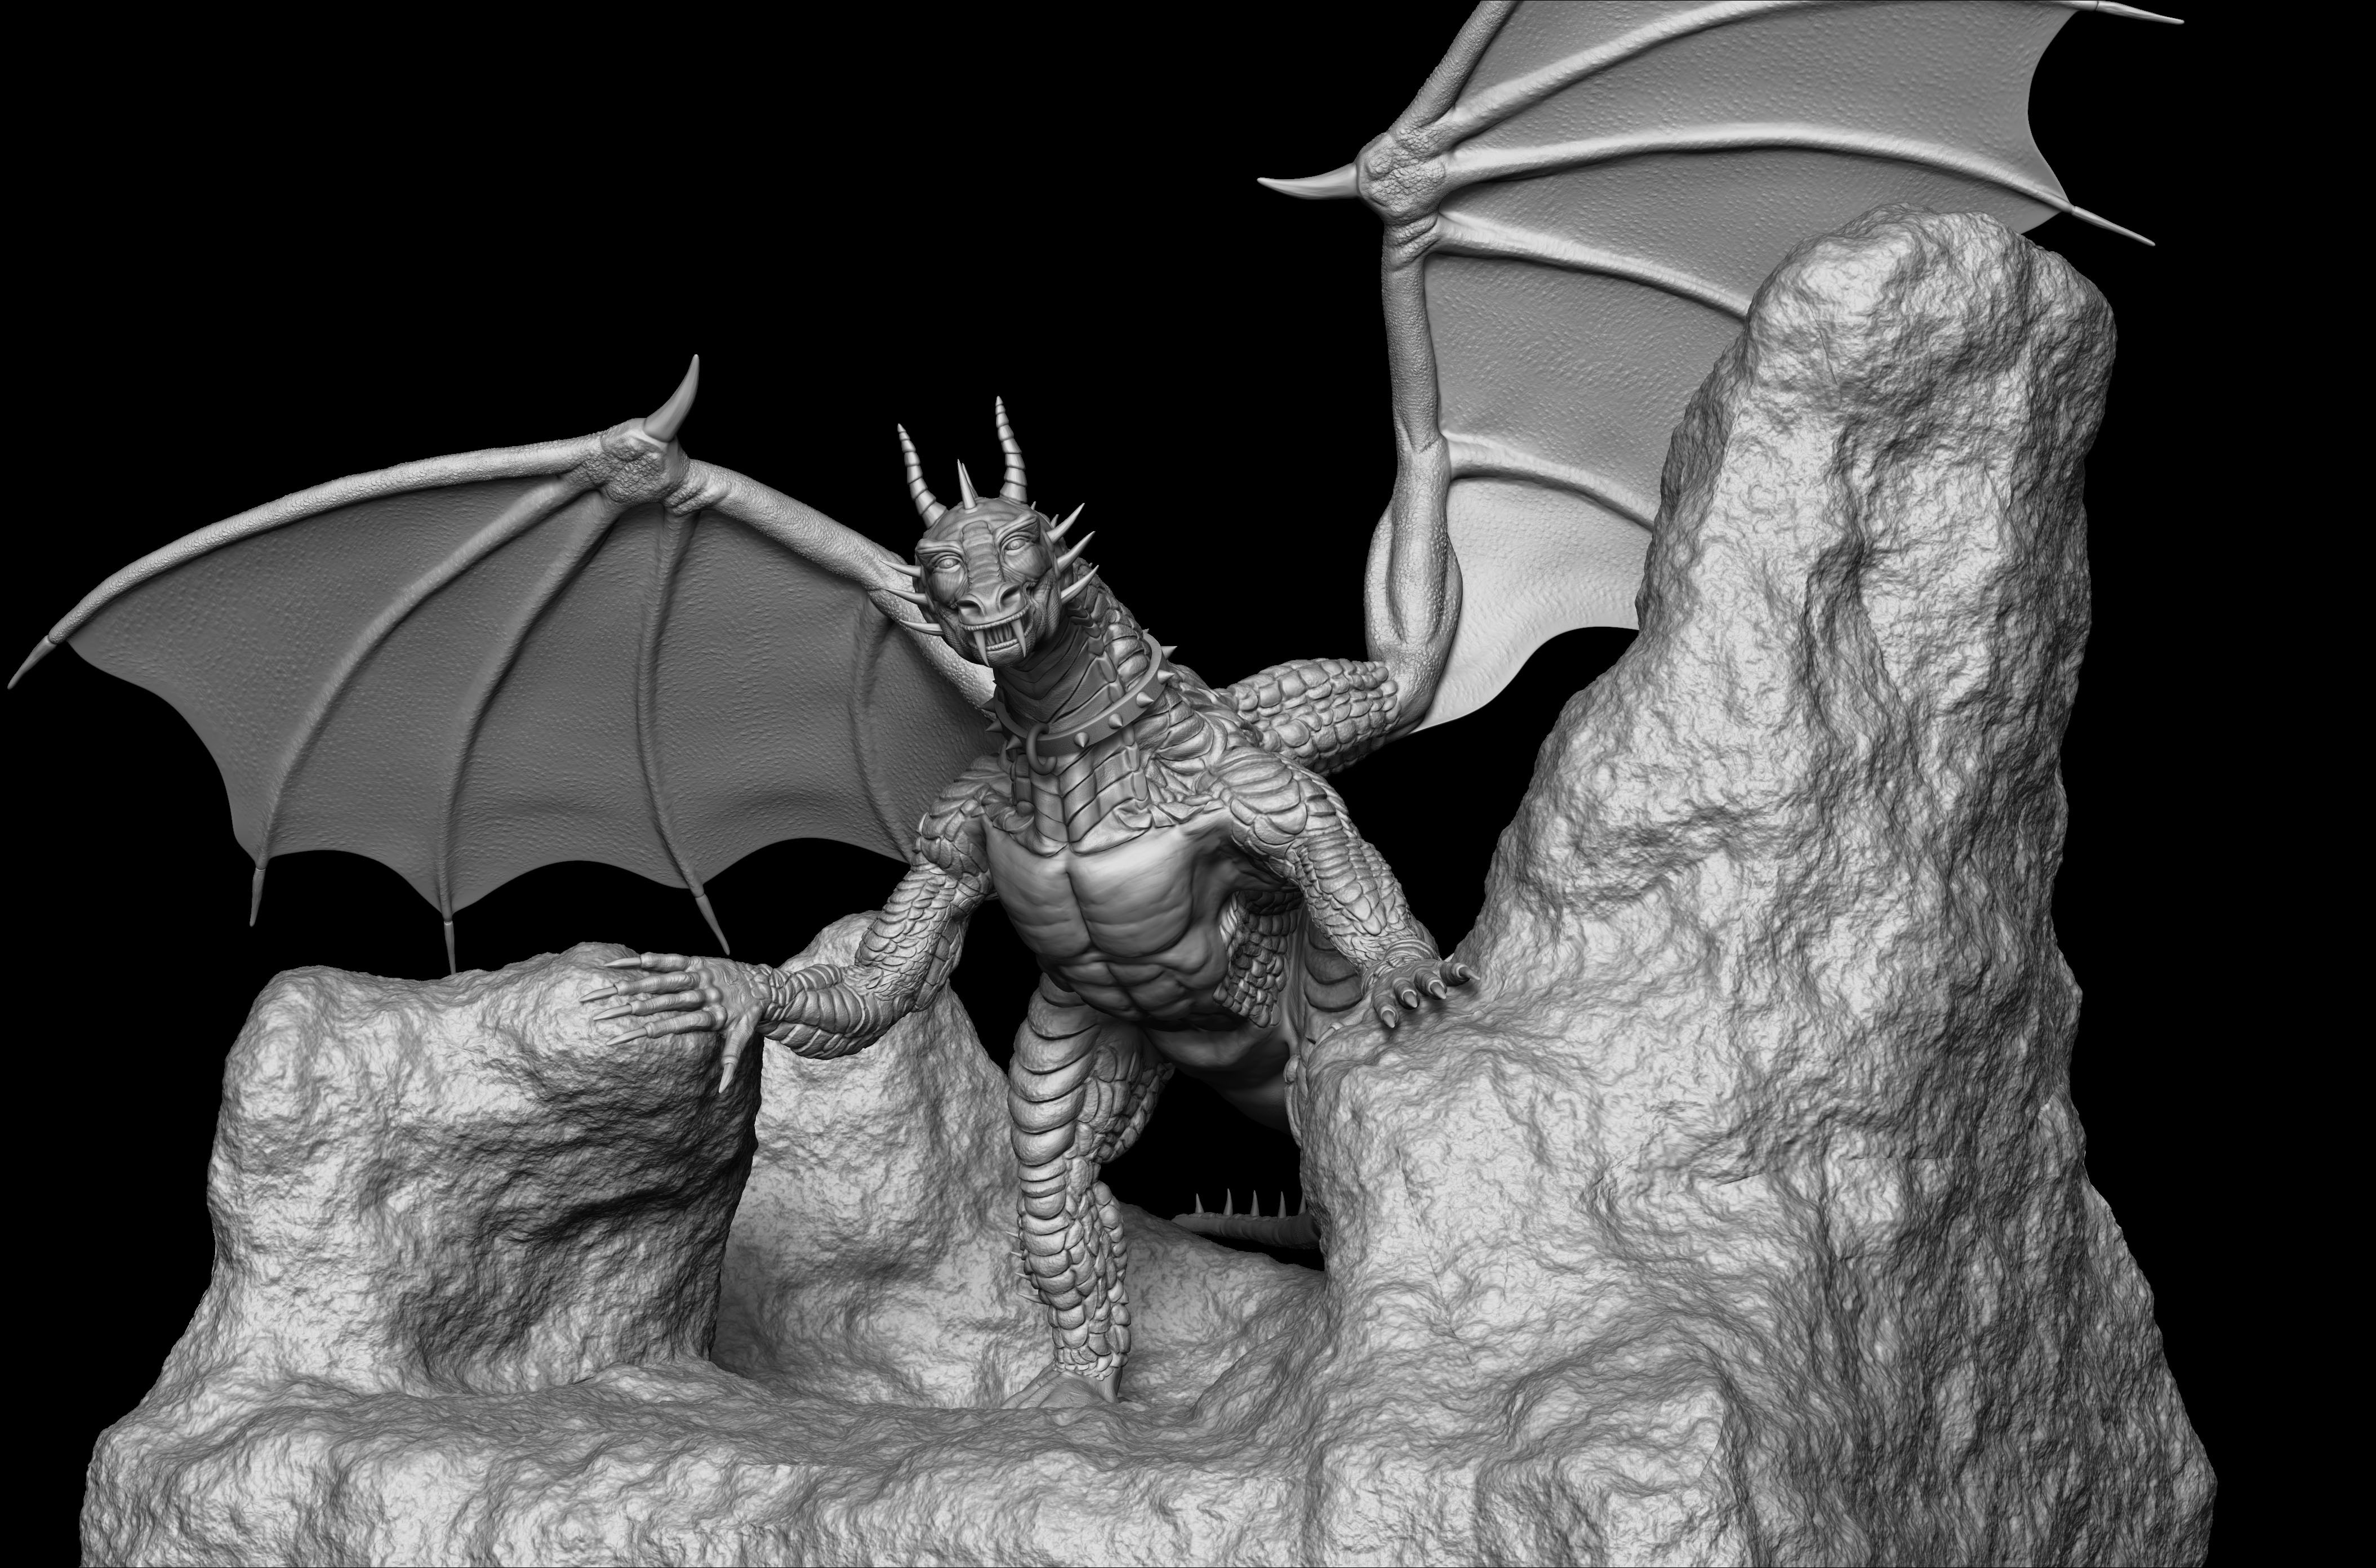
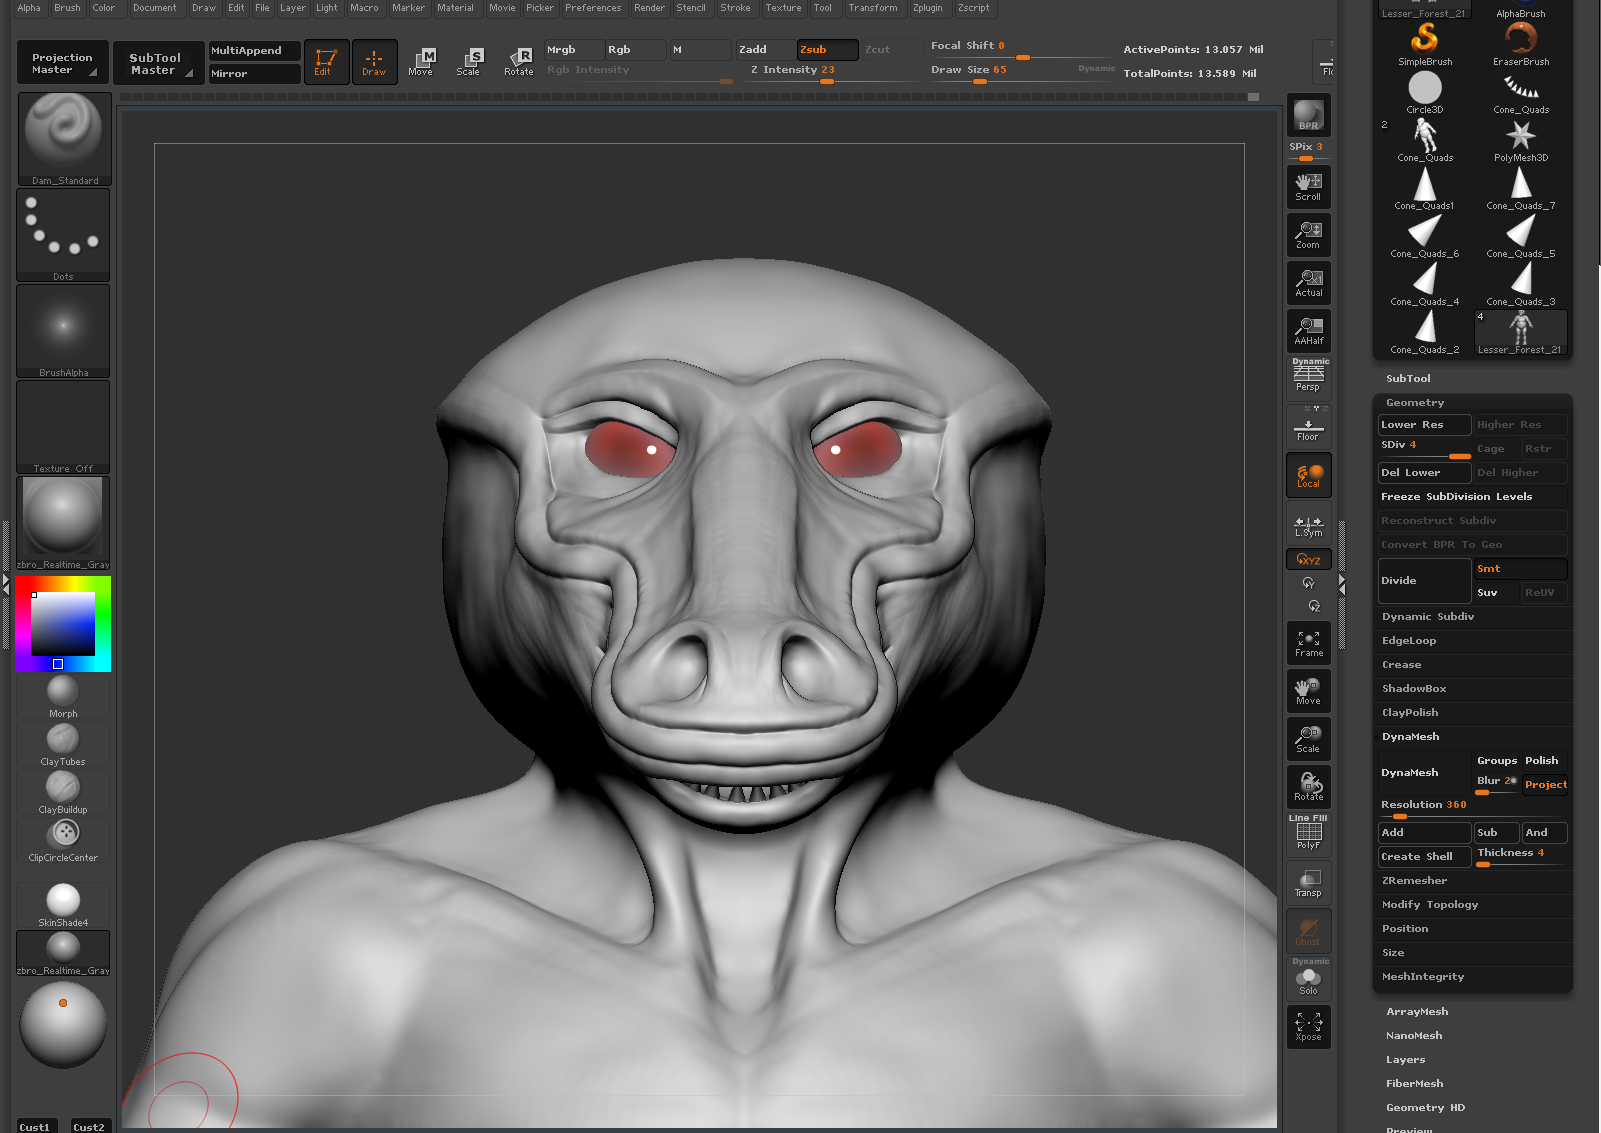
So the first thing I'd like to share with you is Lurker:


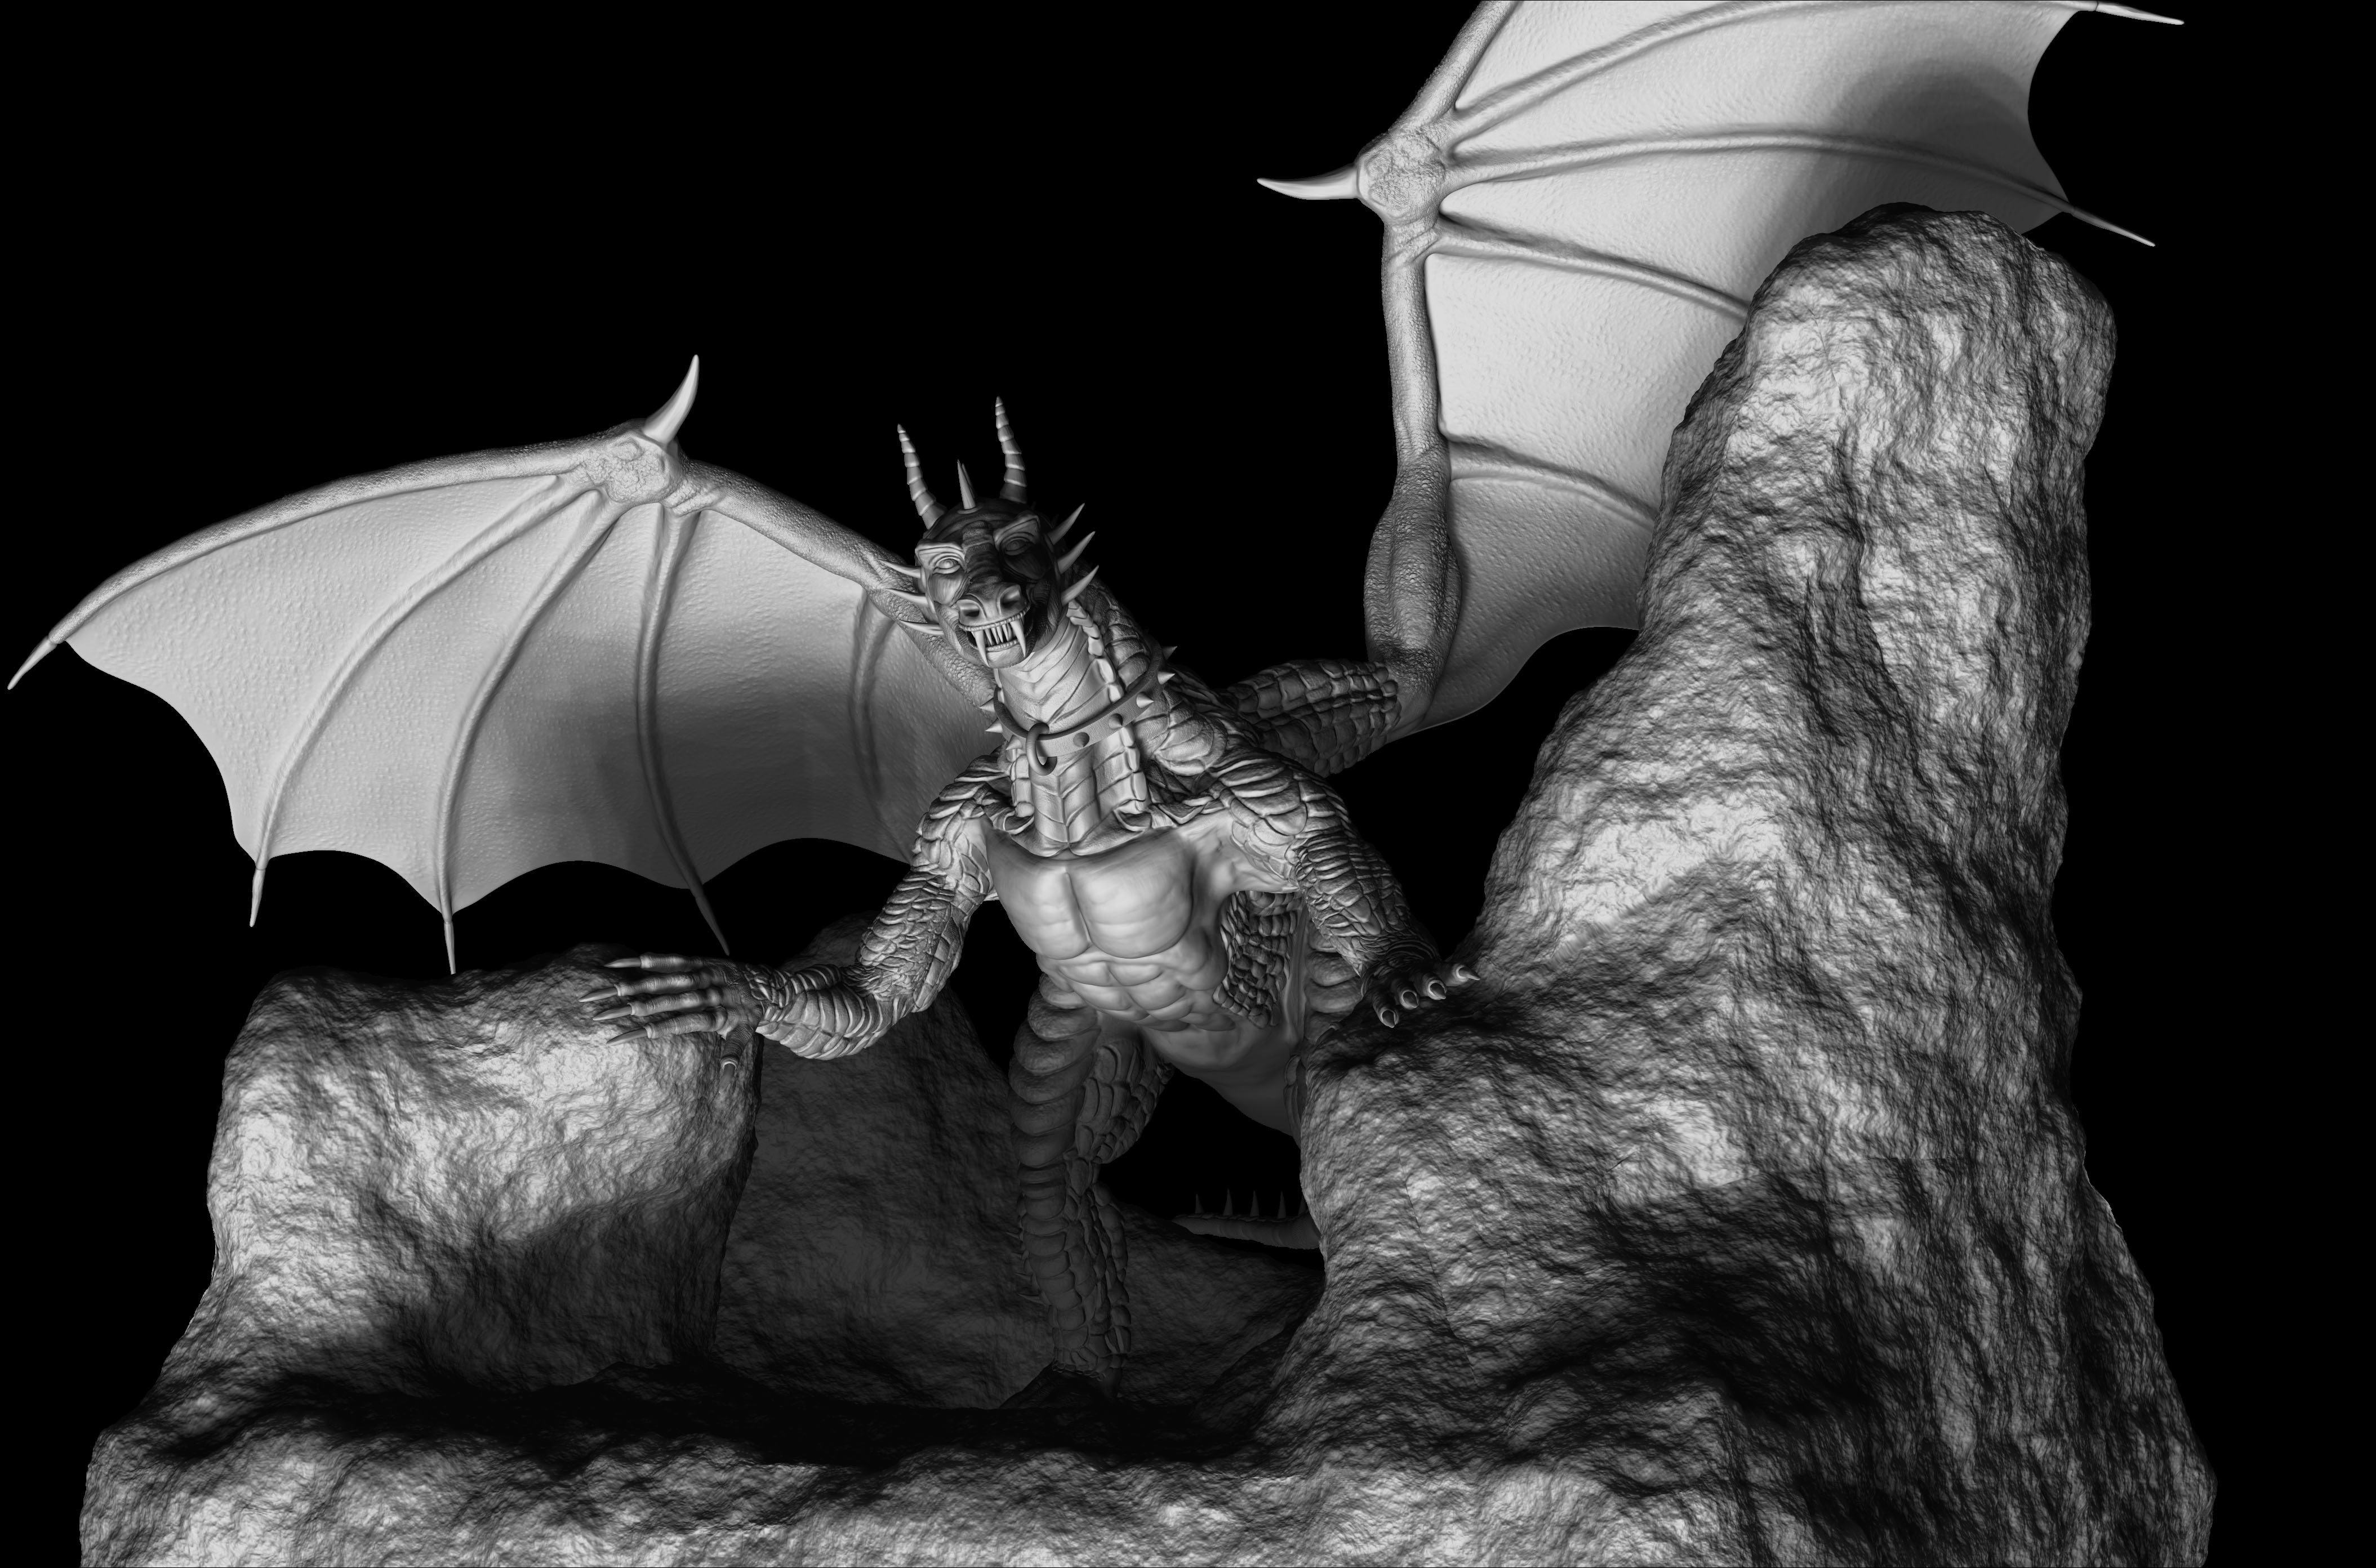
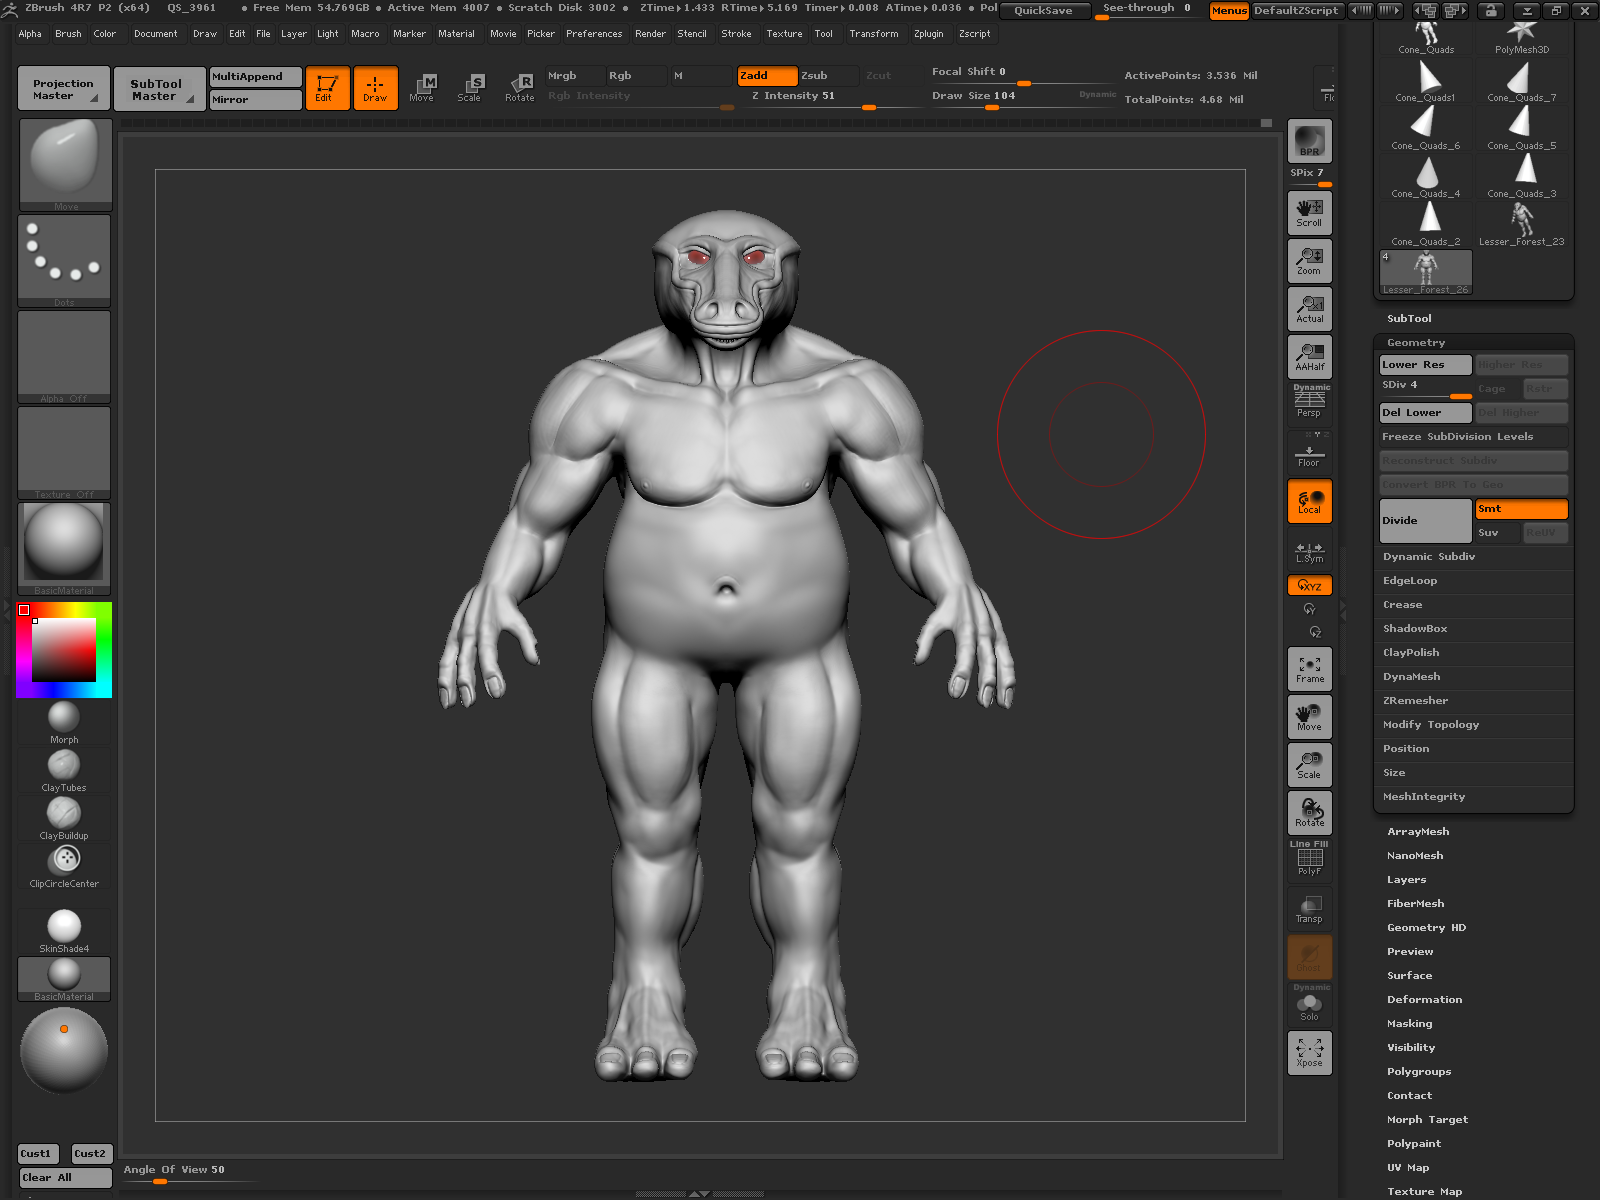
This fella was created in Zbrush from a sphere into what we see here. He went through many, many variations until I landed on this one. And I will share one or two screenshots of him, I have many saved files of this guy, so if anyone is interested I can go back and take some screenies.


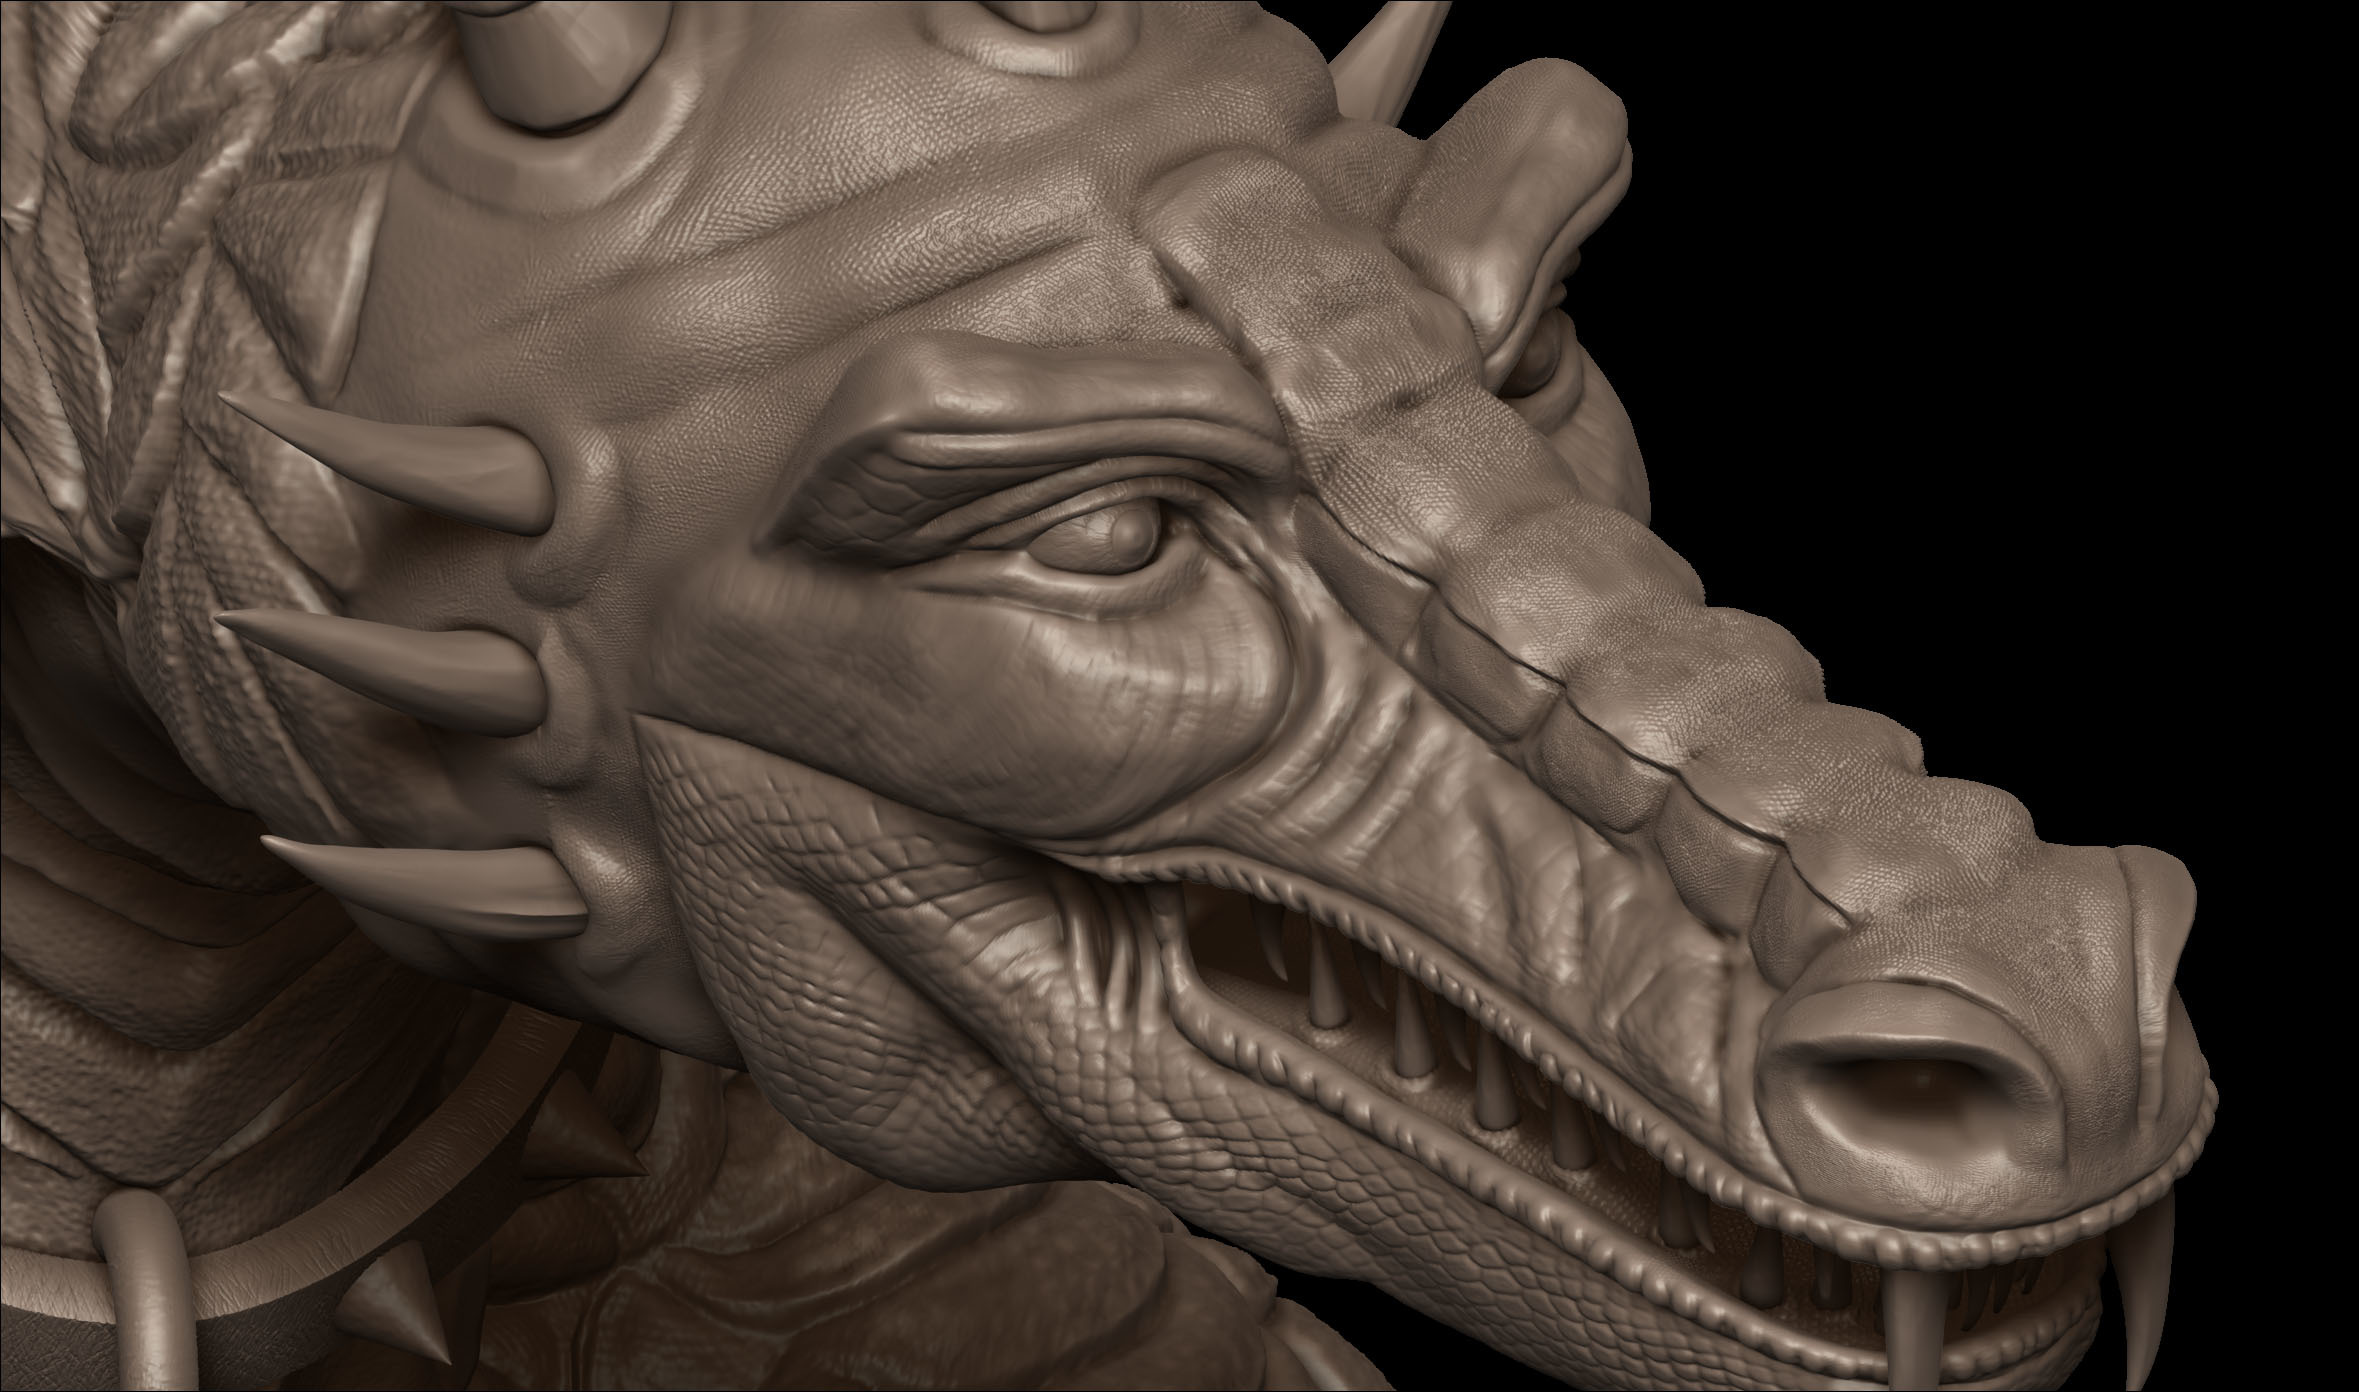
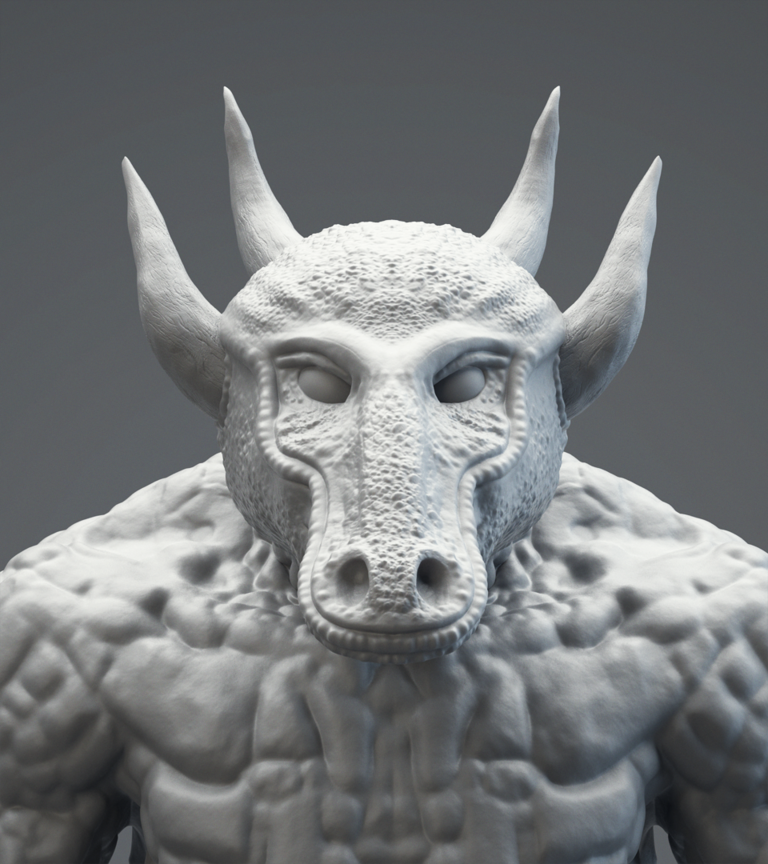
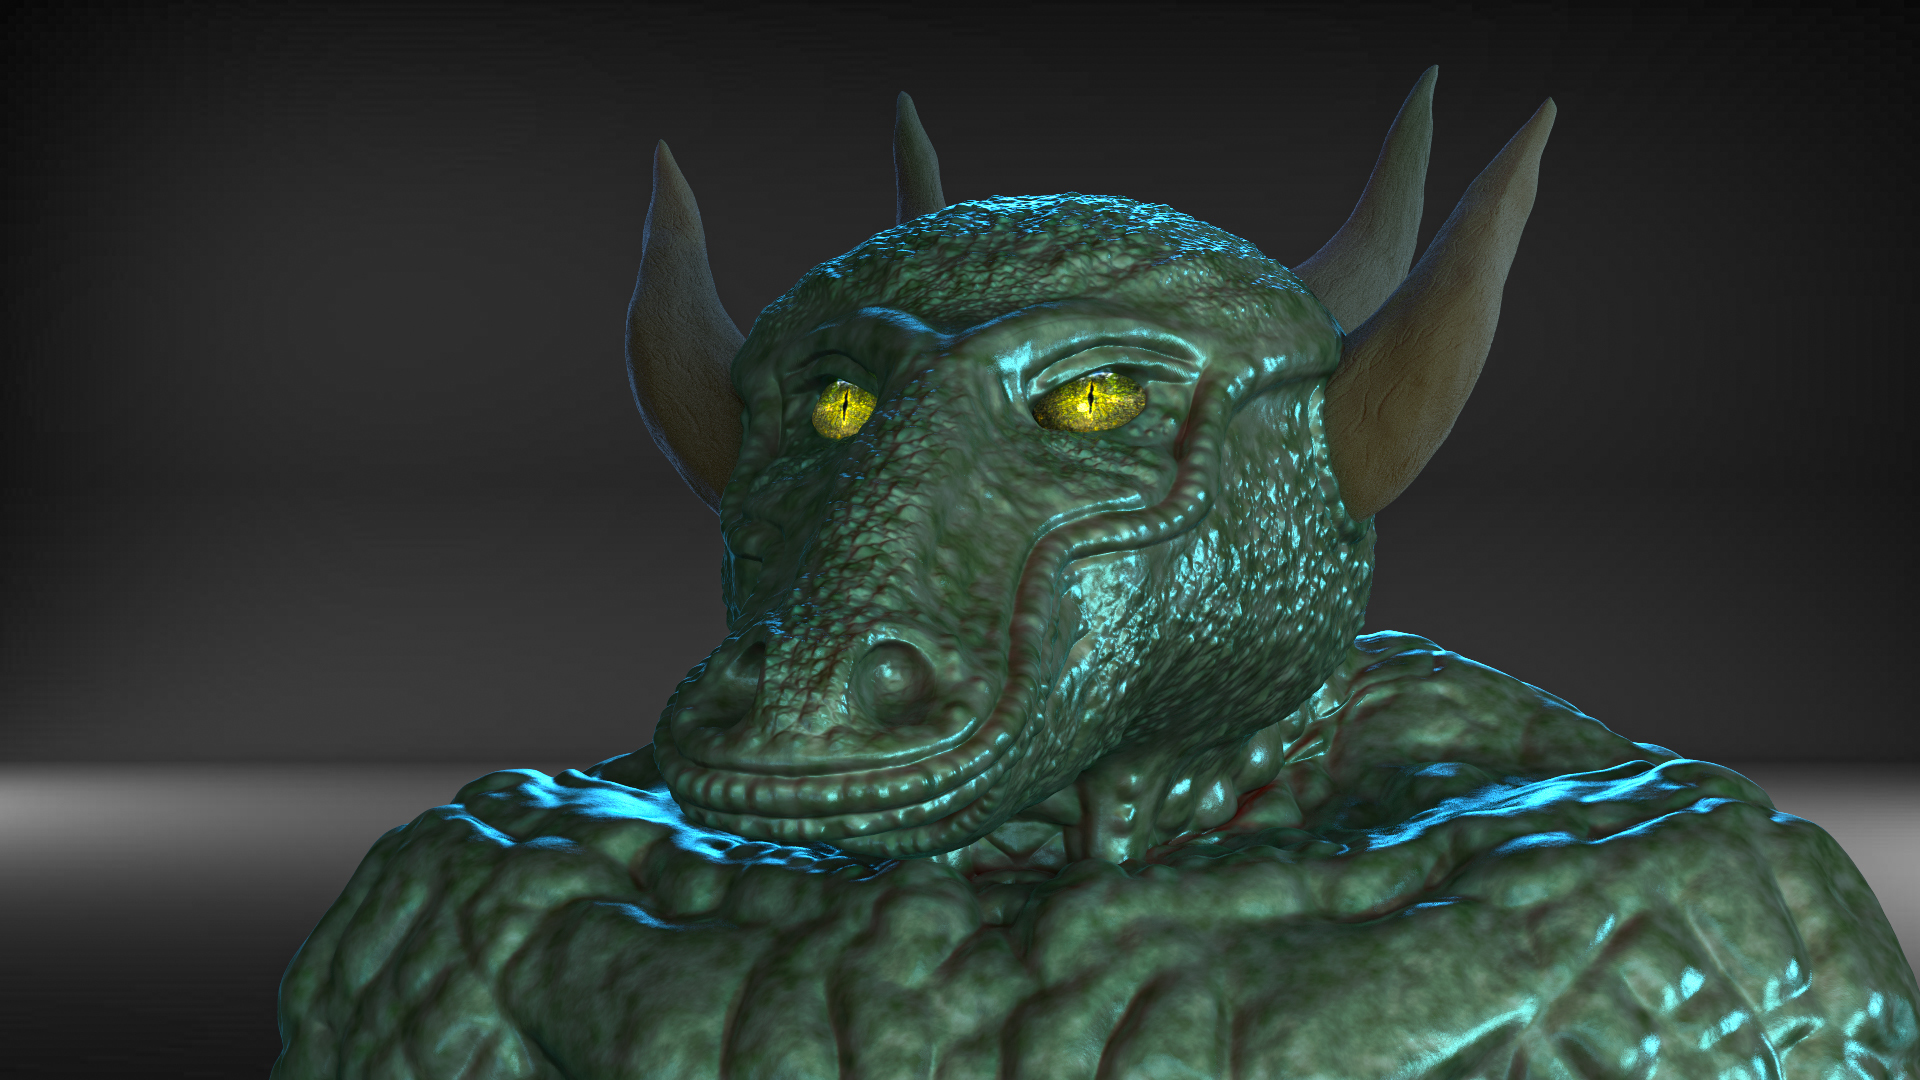
This was during his more muscle phase. I do like this version of him, also. However he was a tad too demonic.
Here is a video I took of sculpting him, and yes it was another version of him.

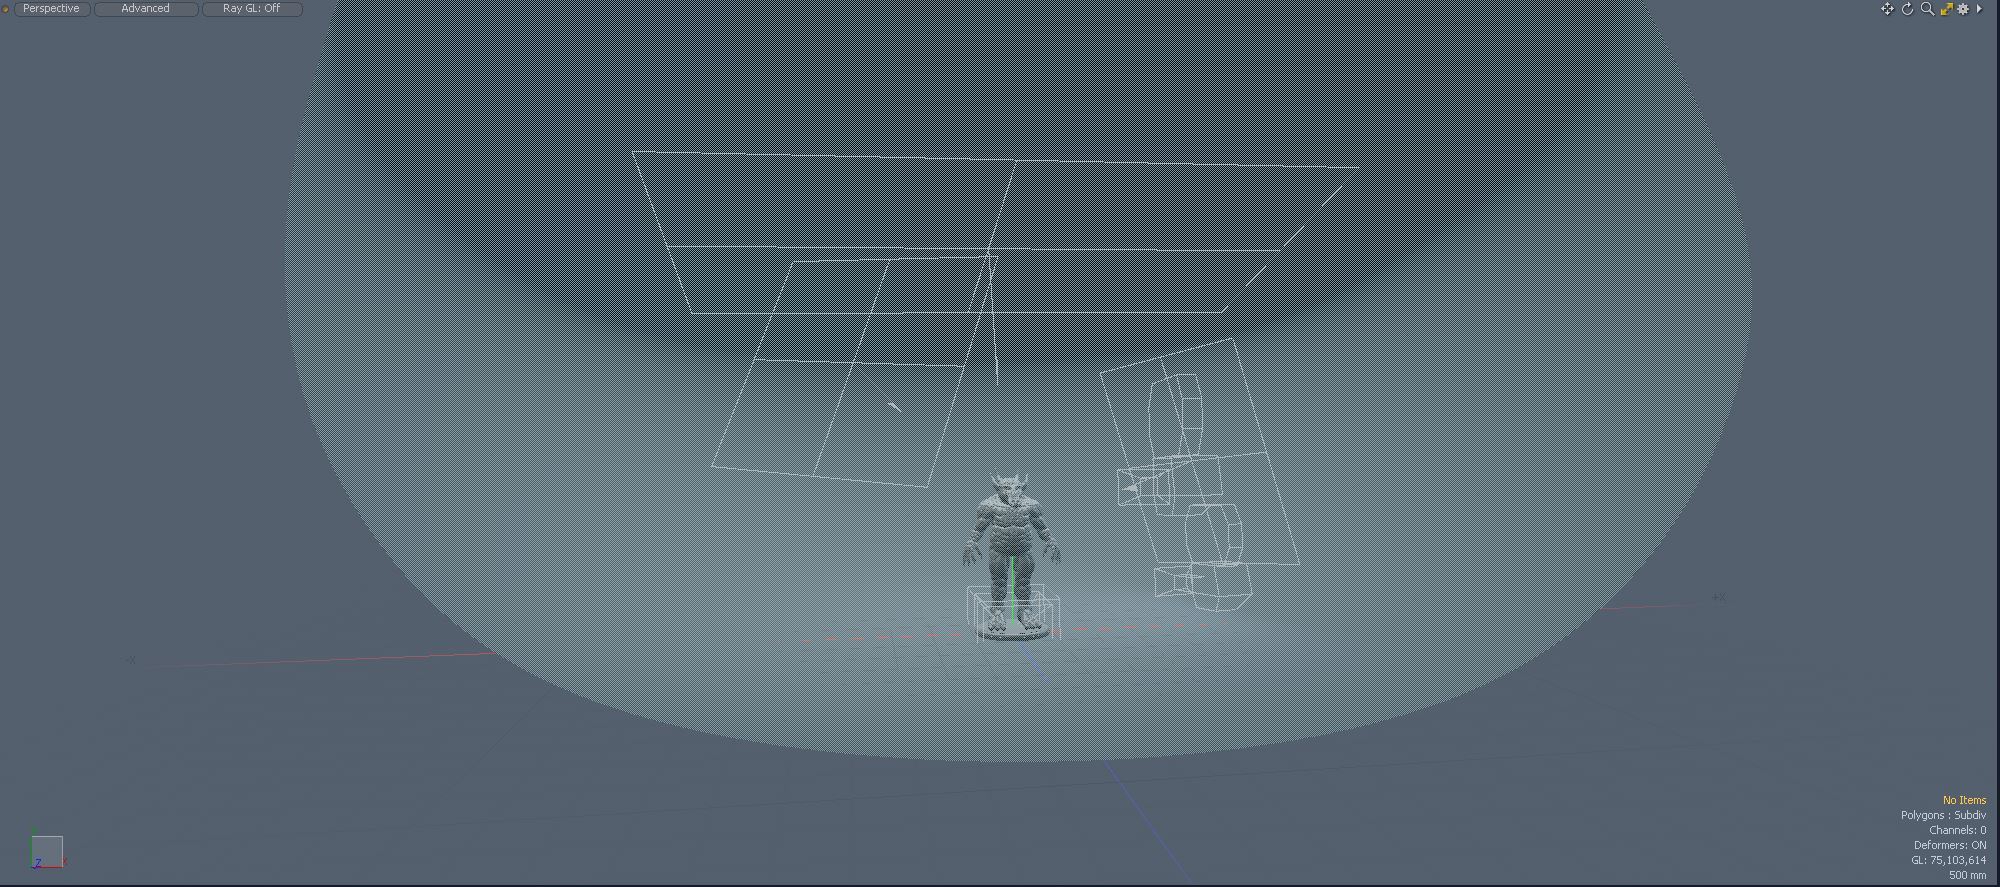
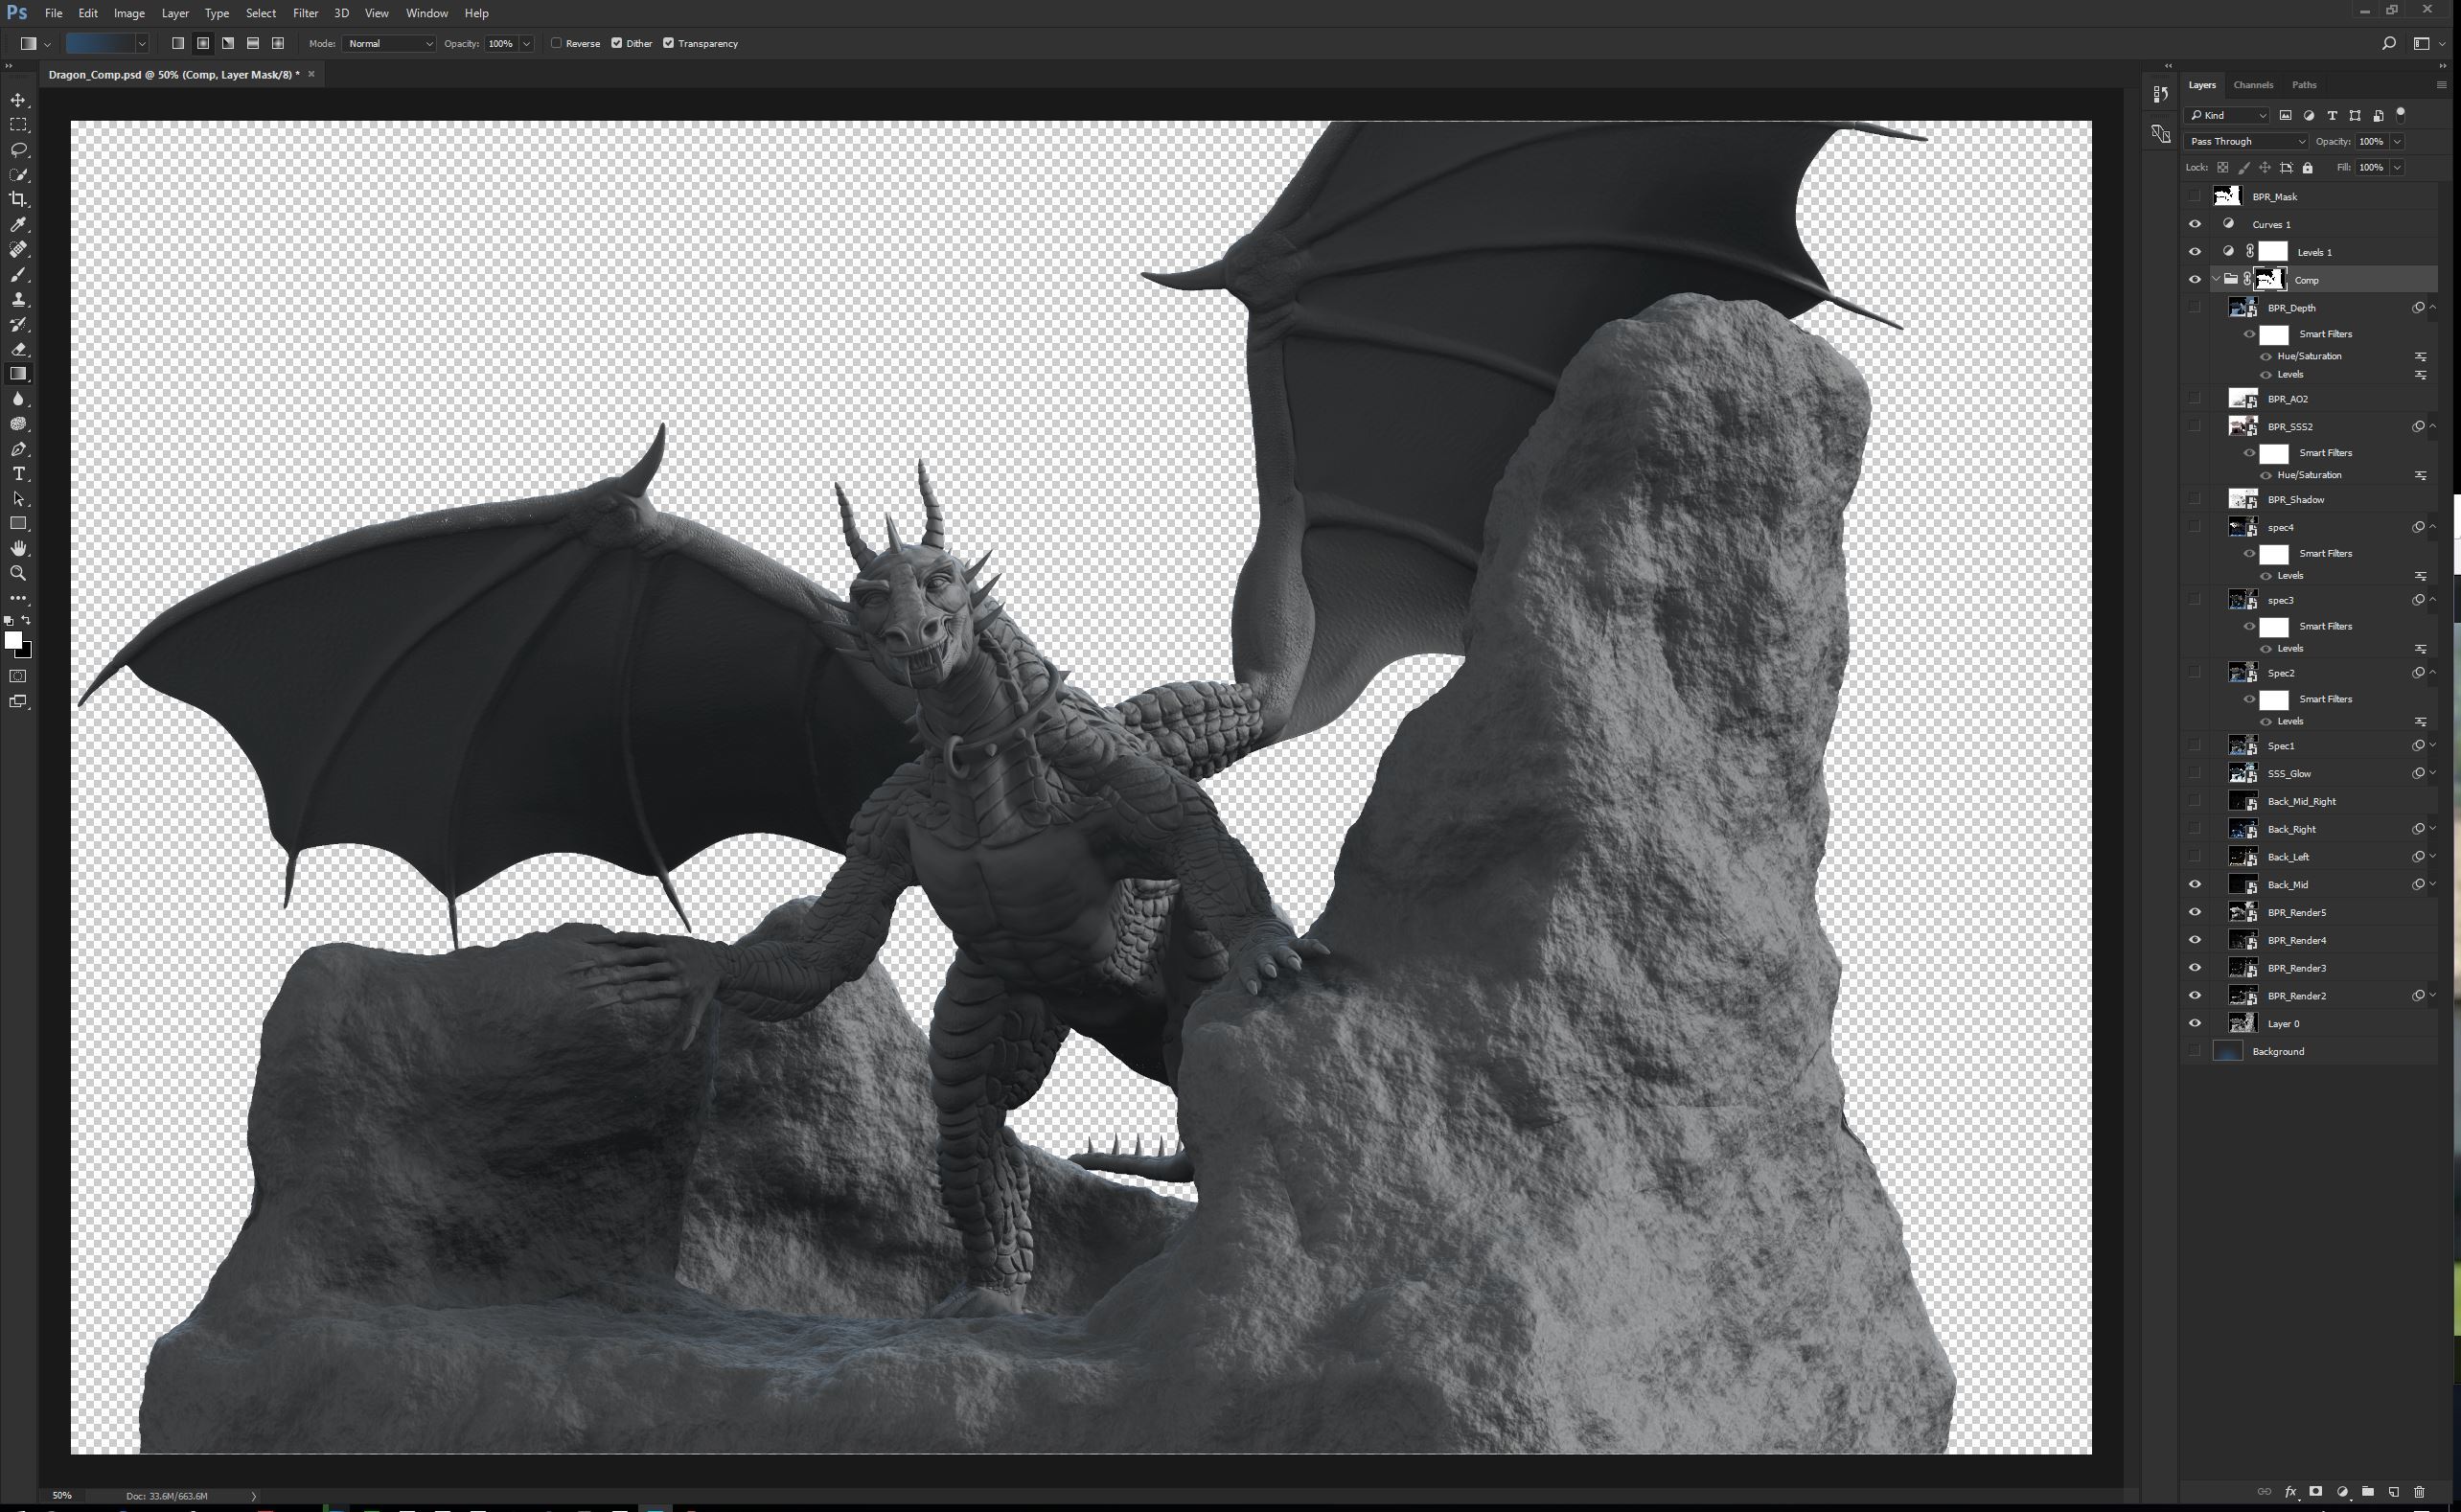
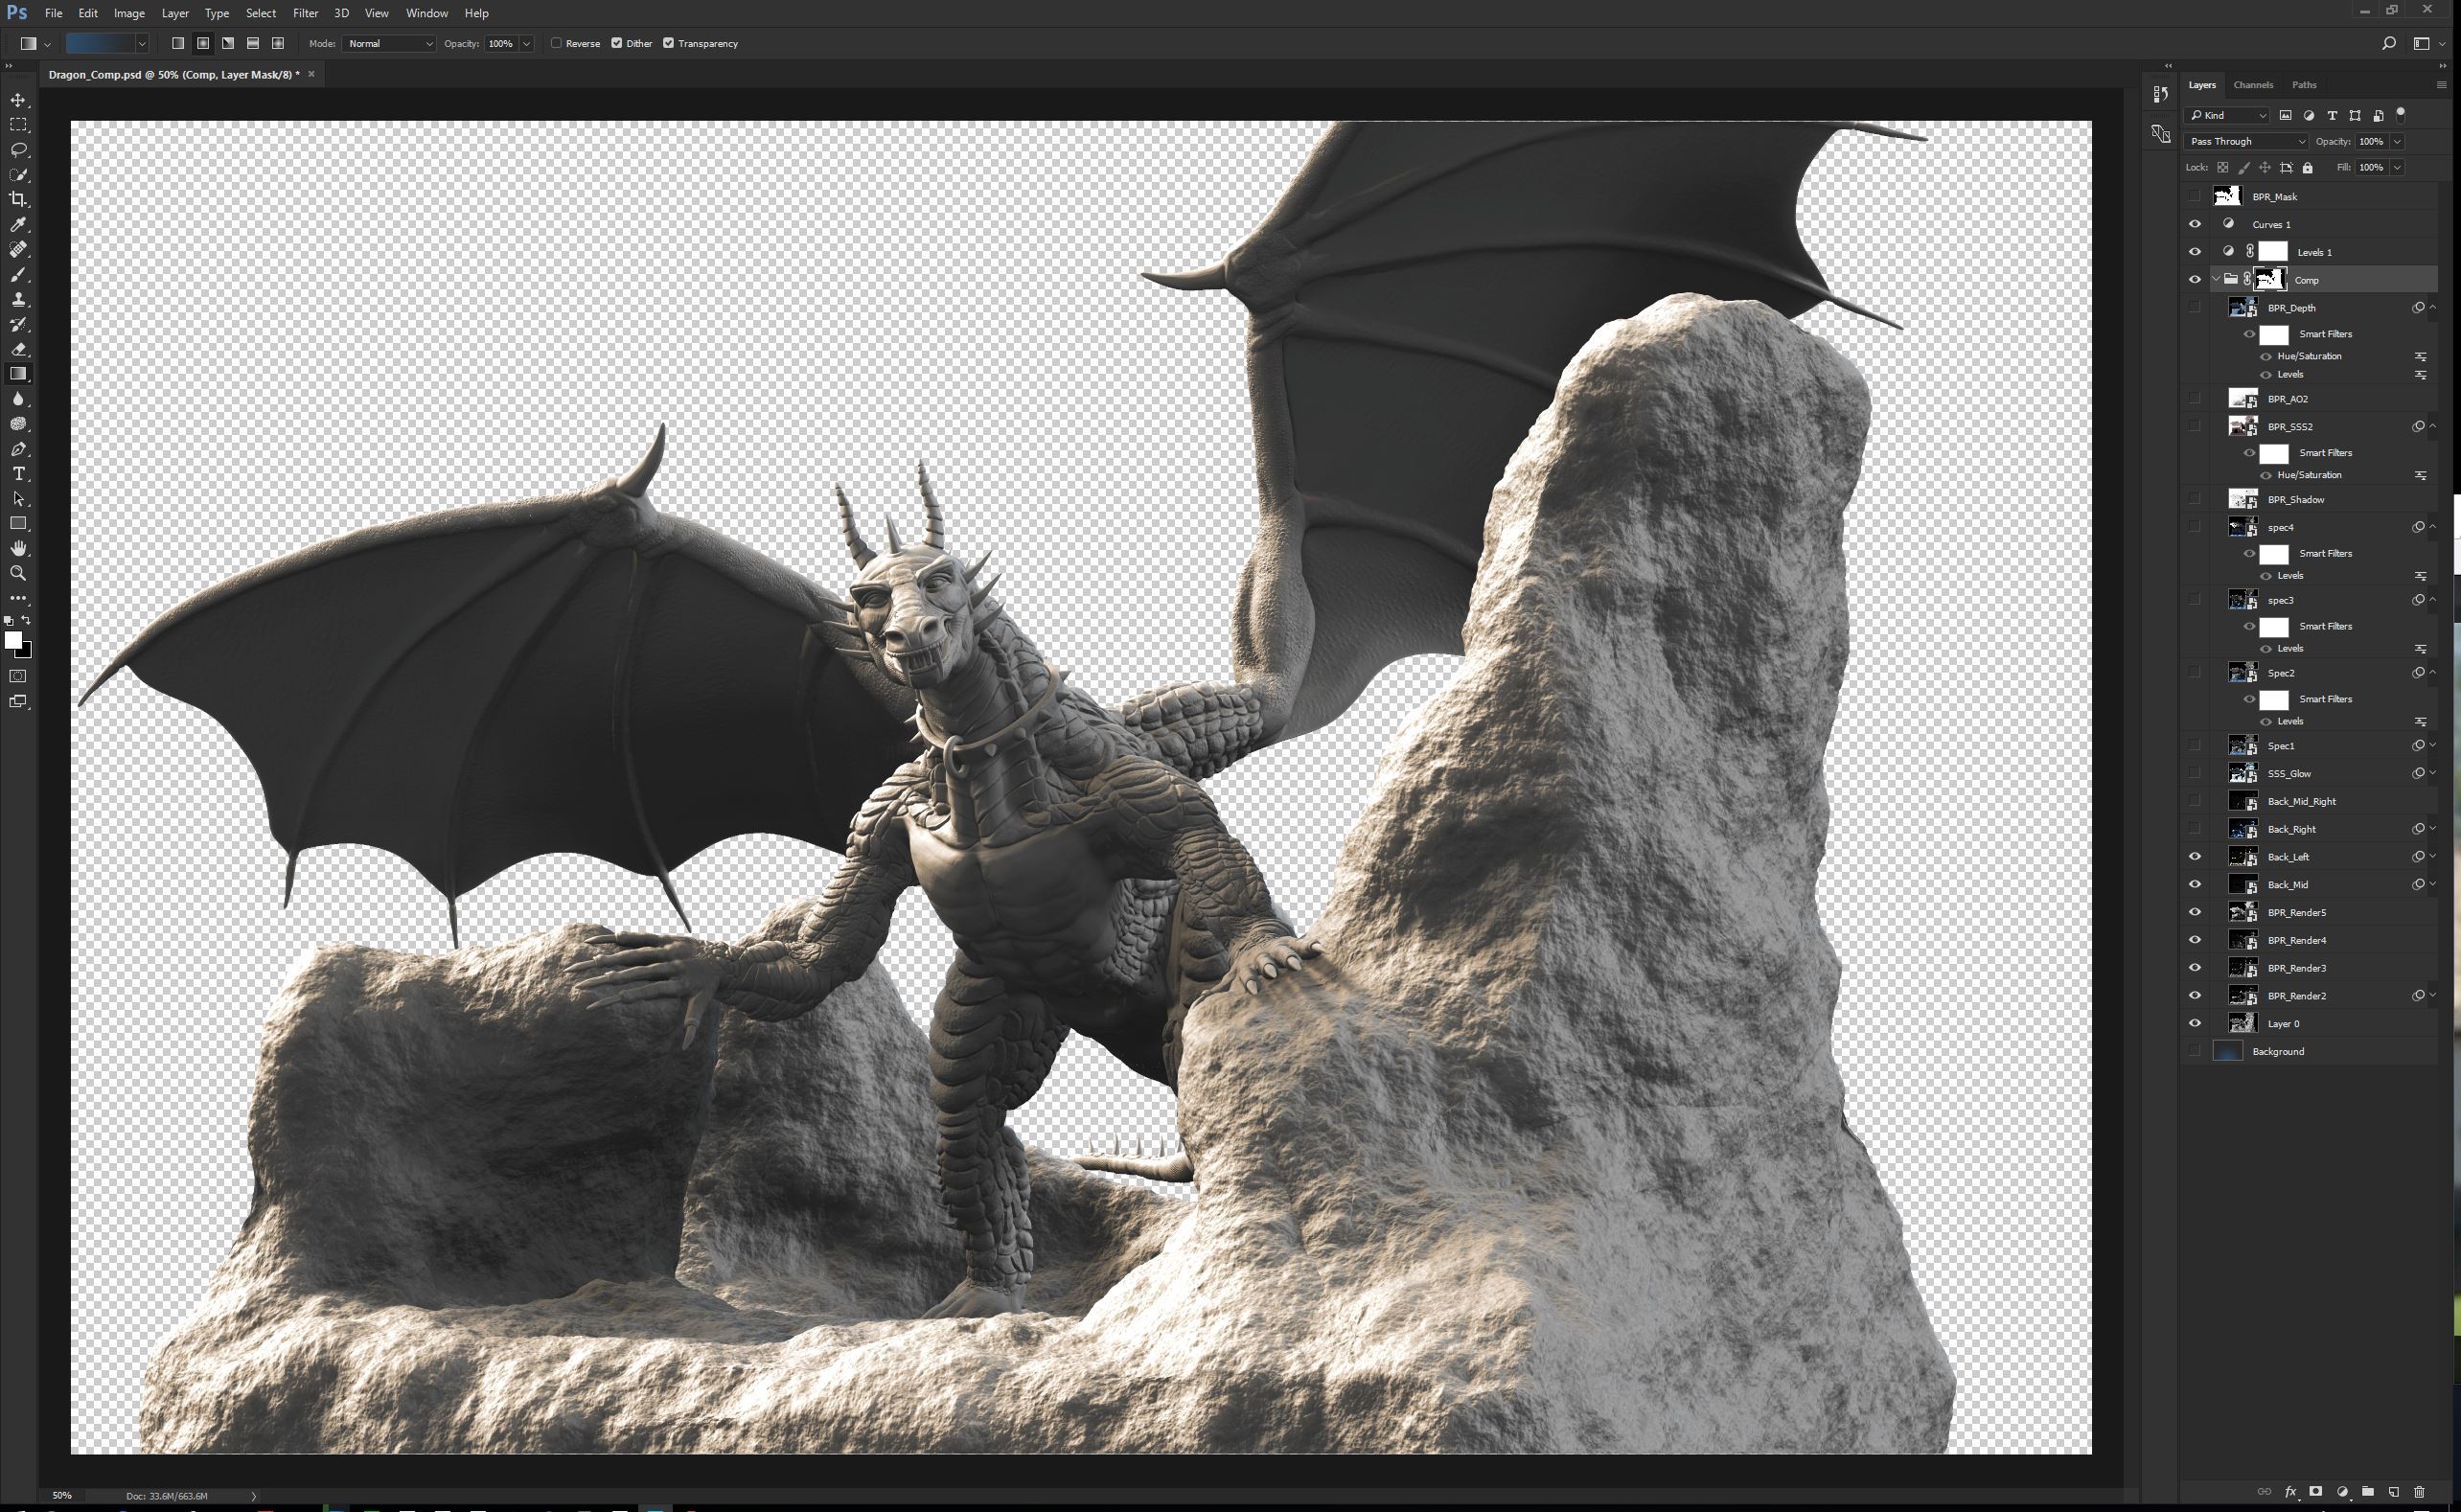
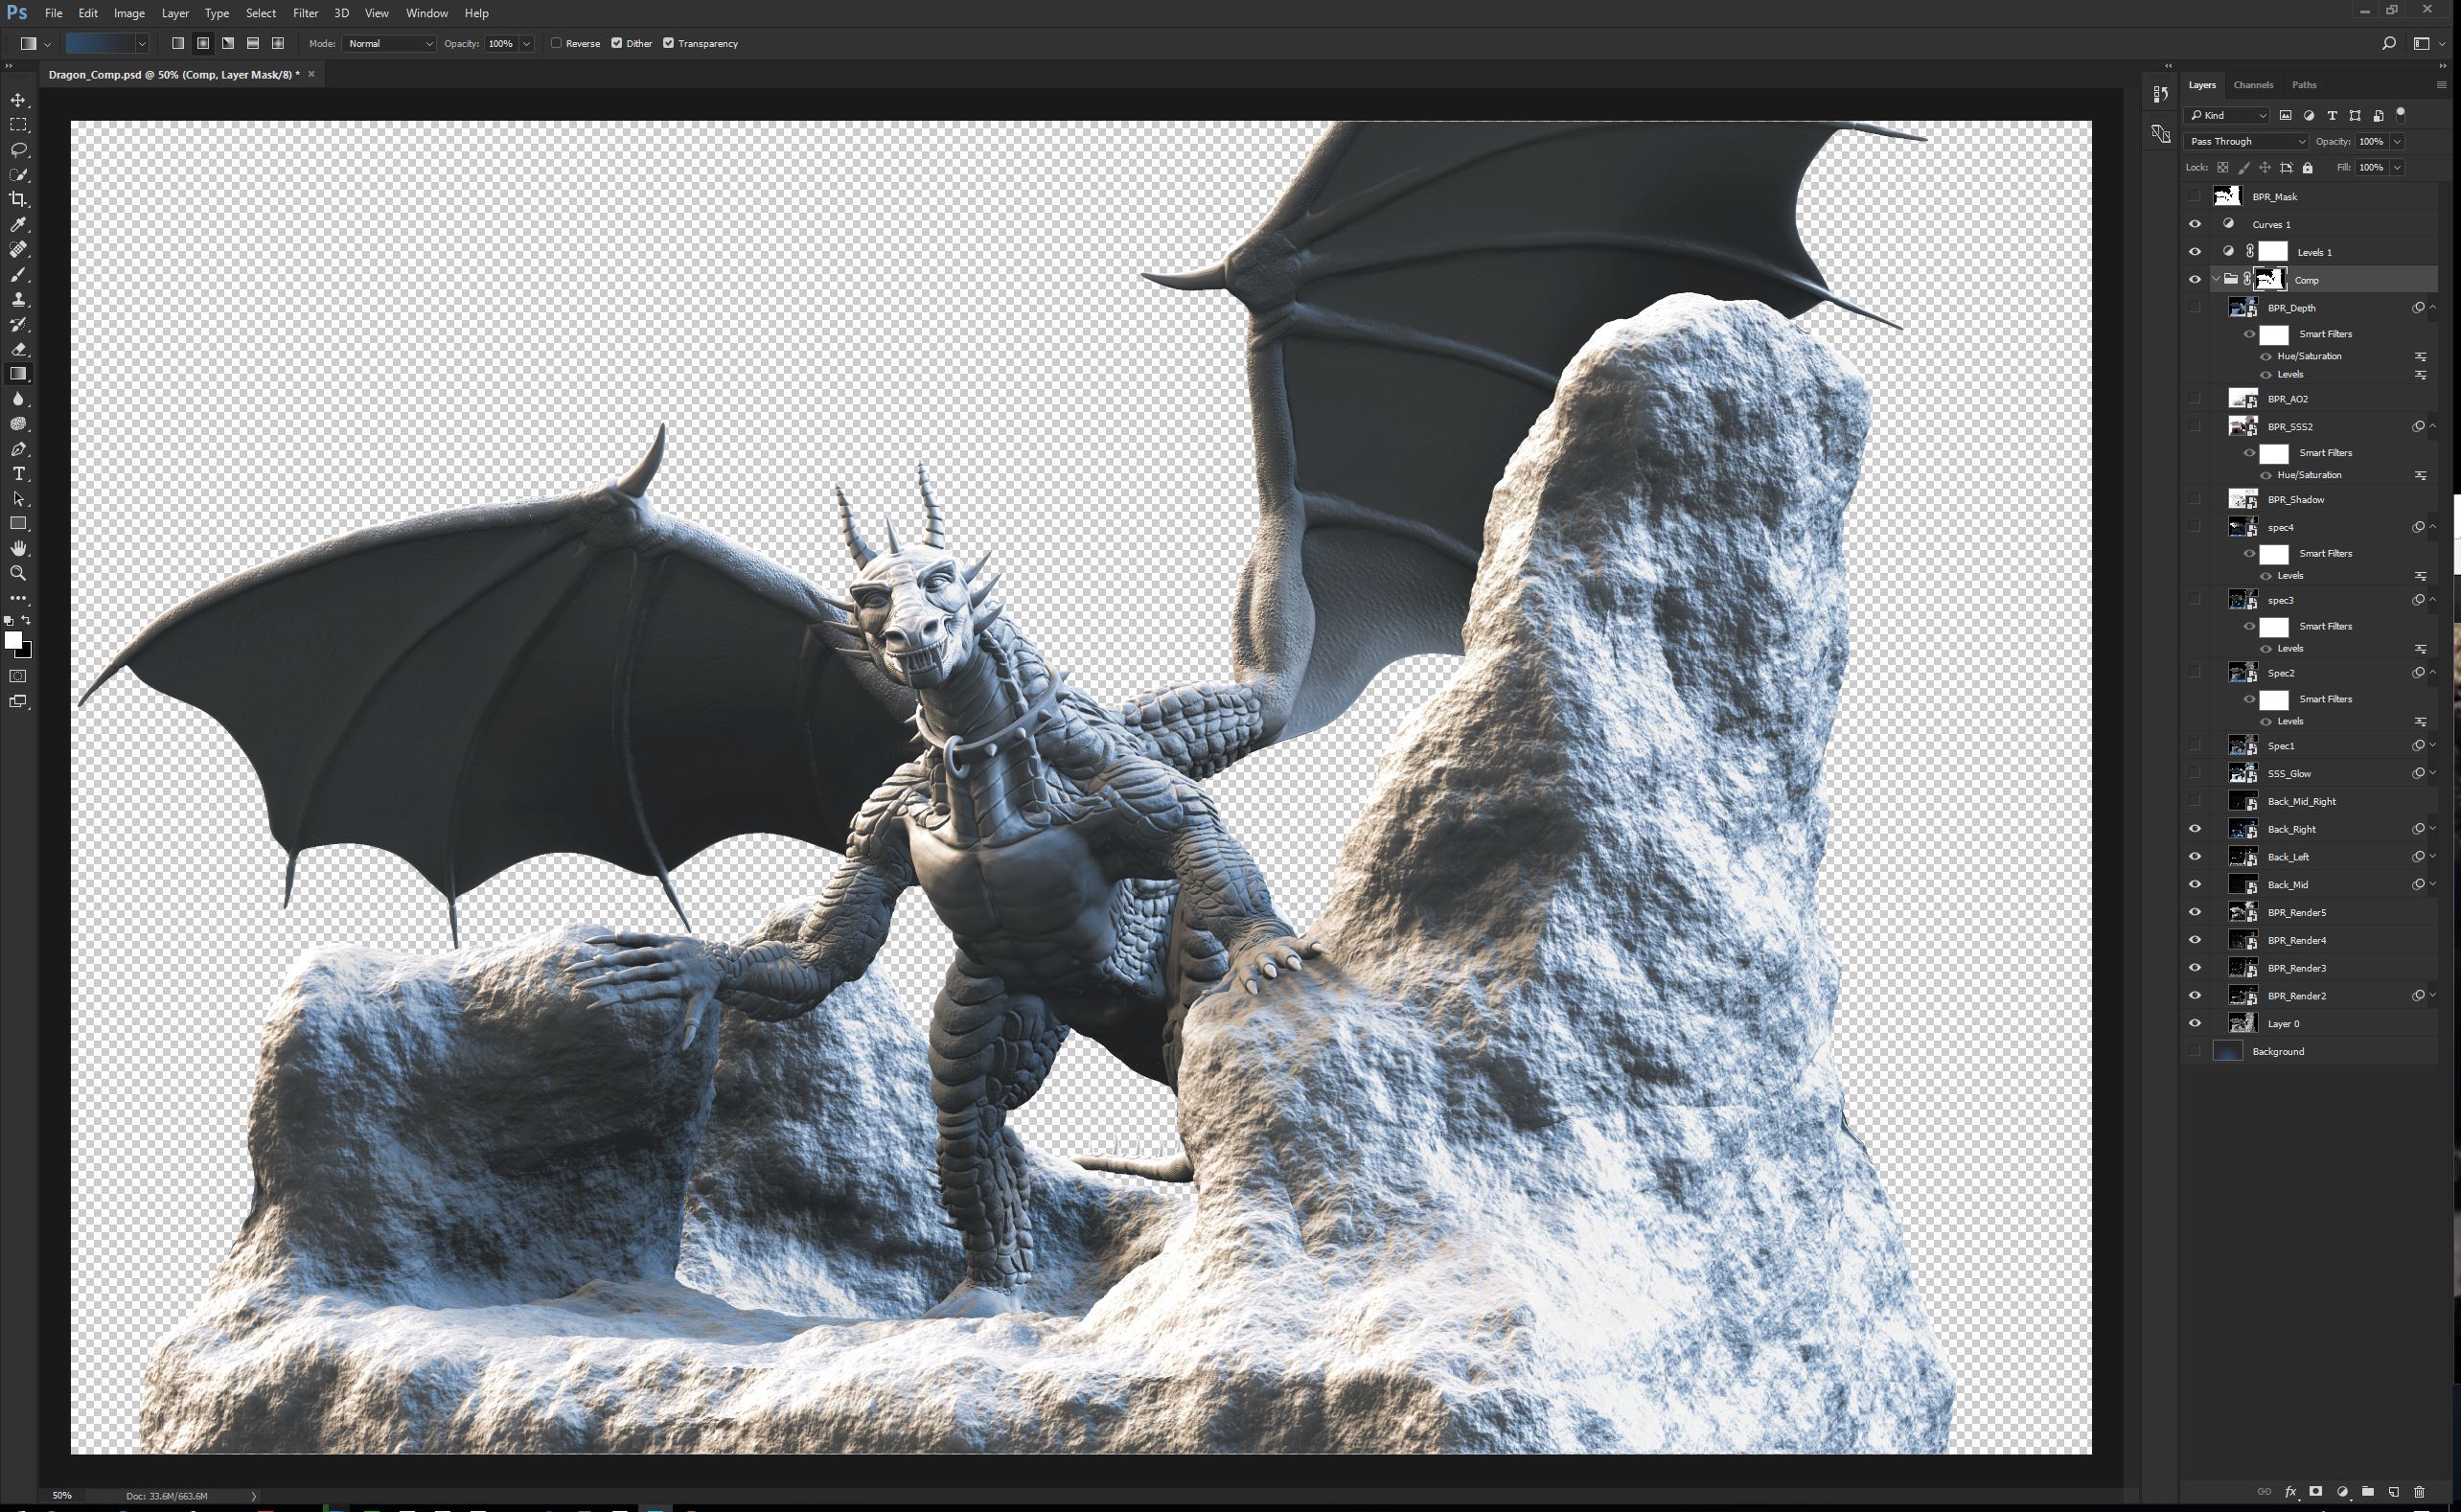
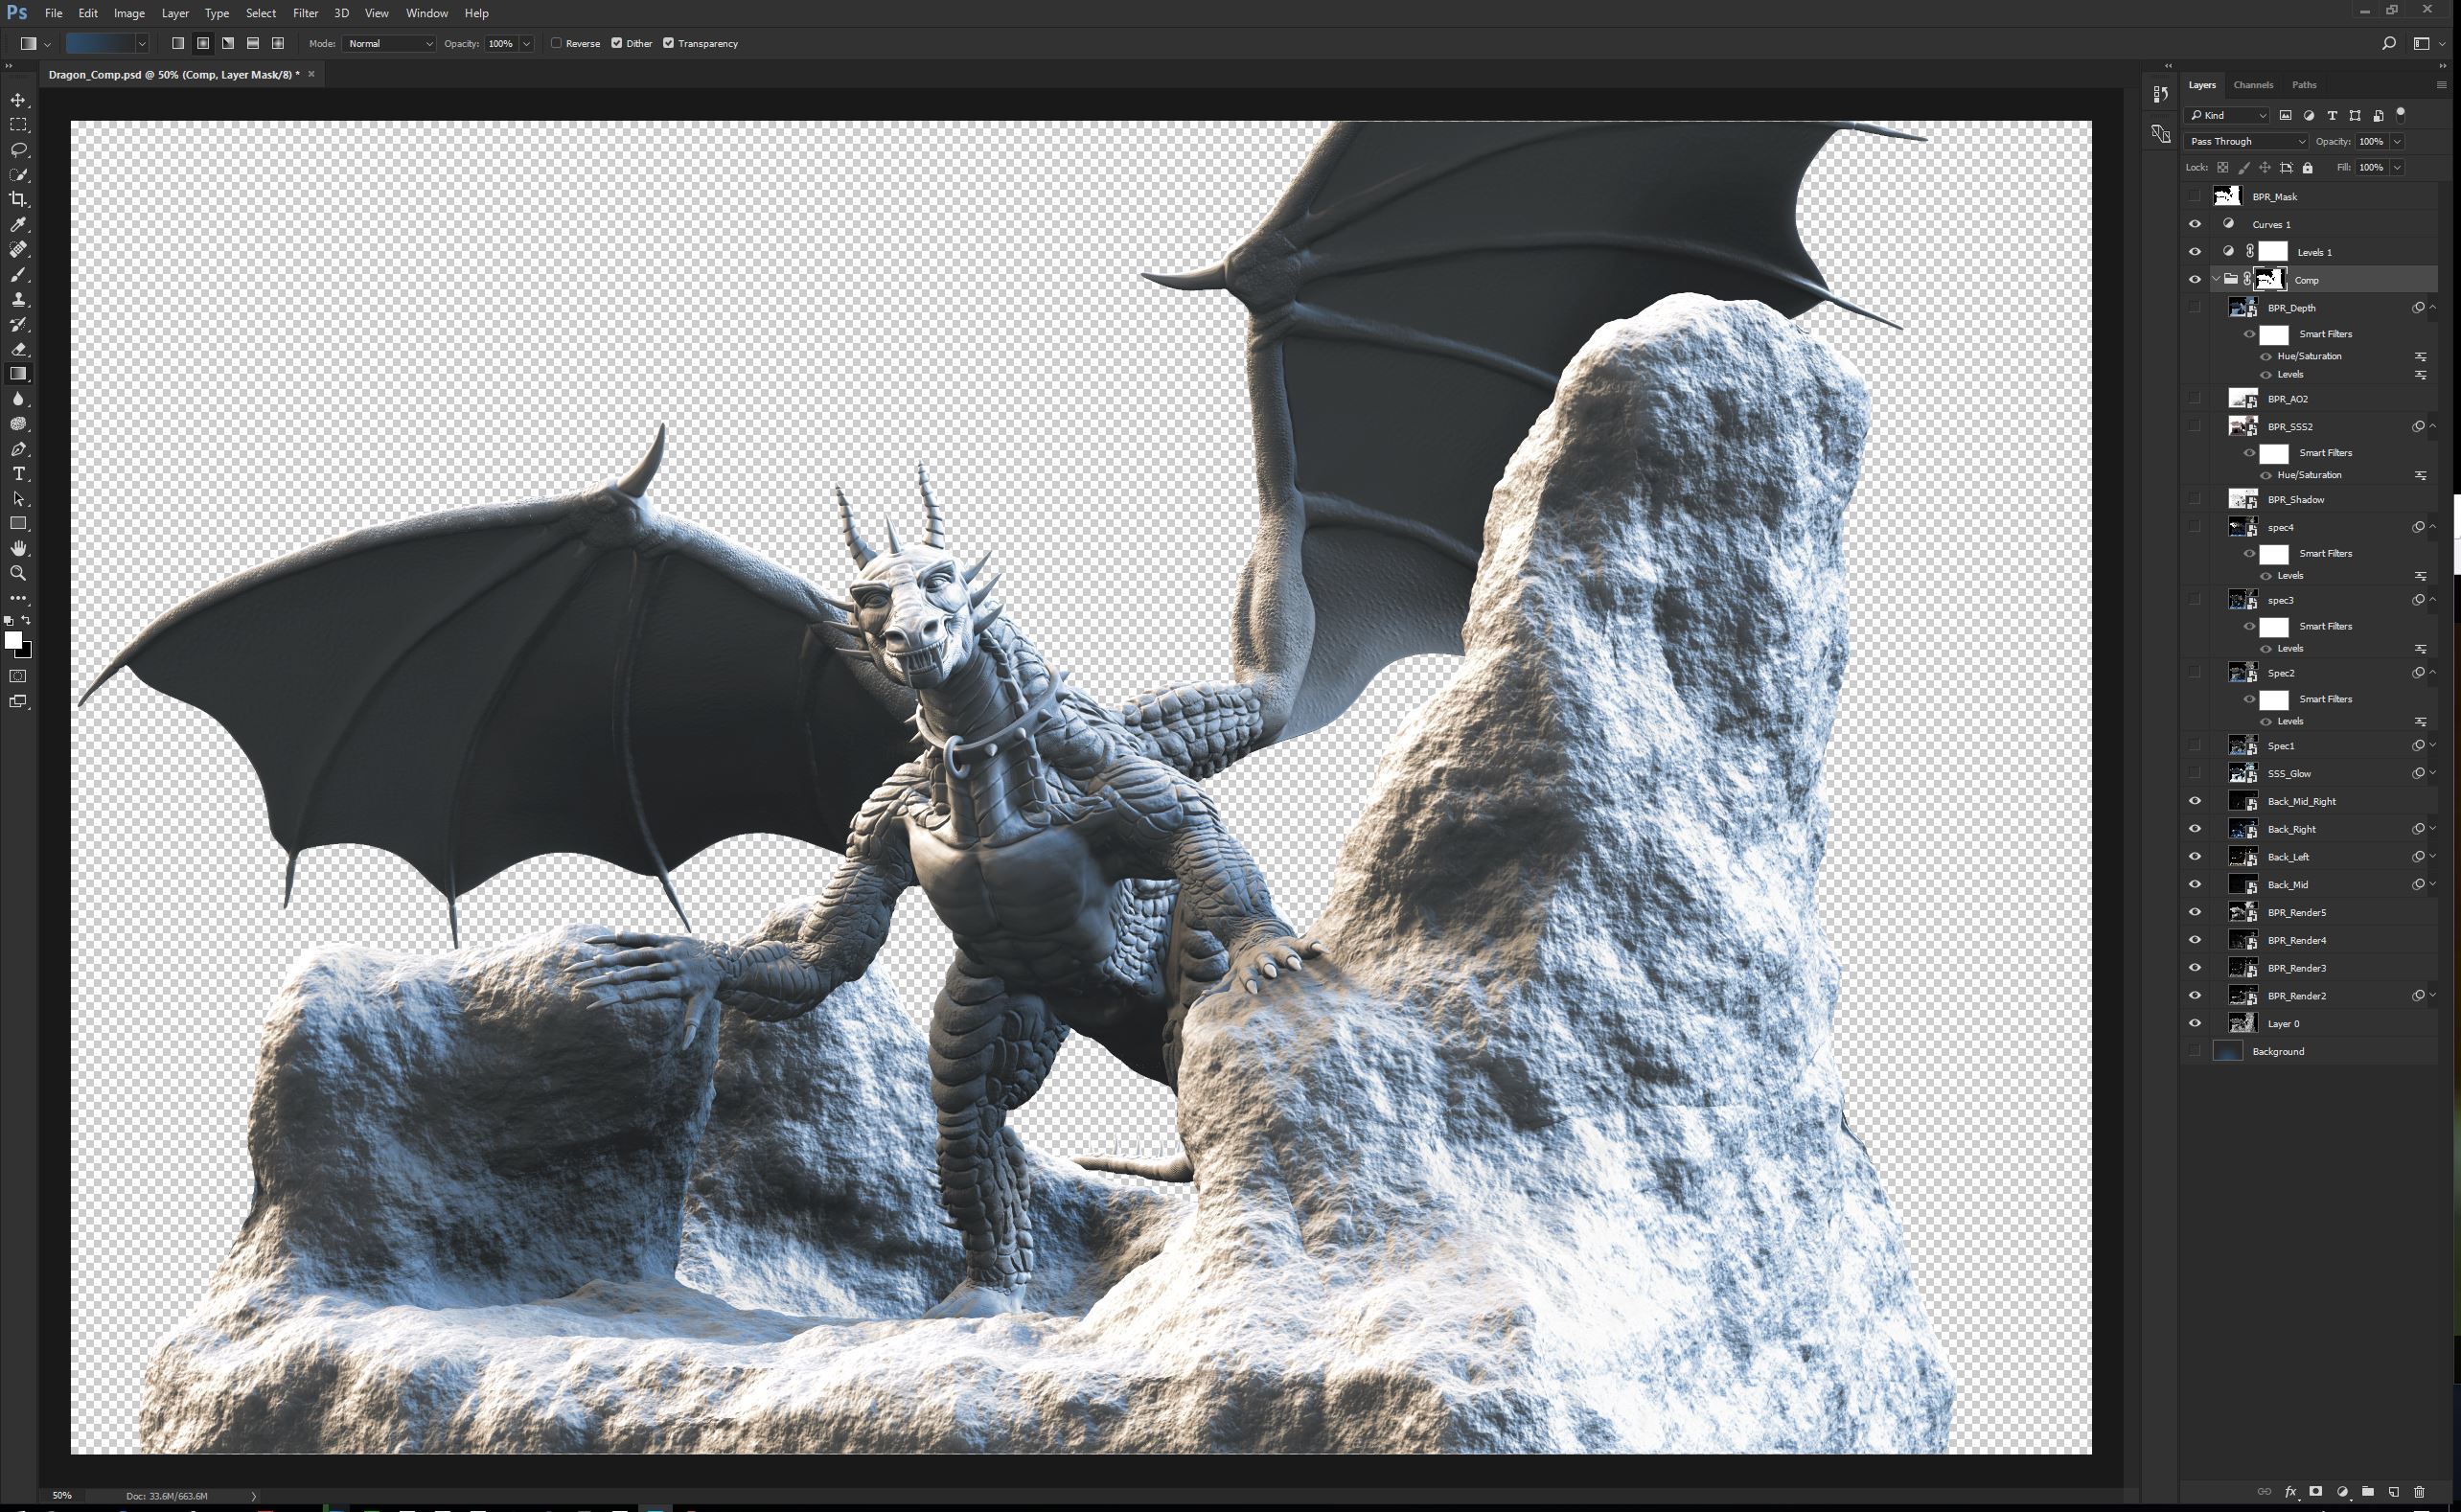
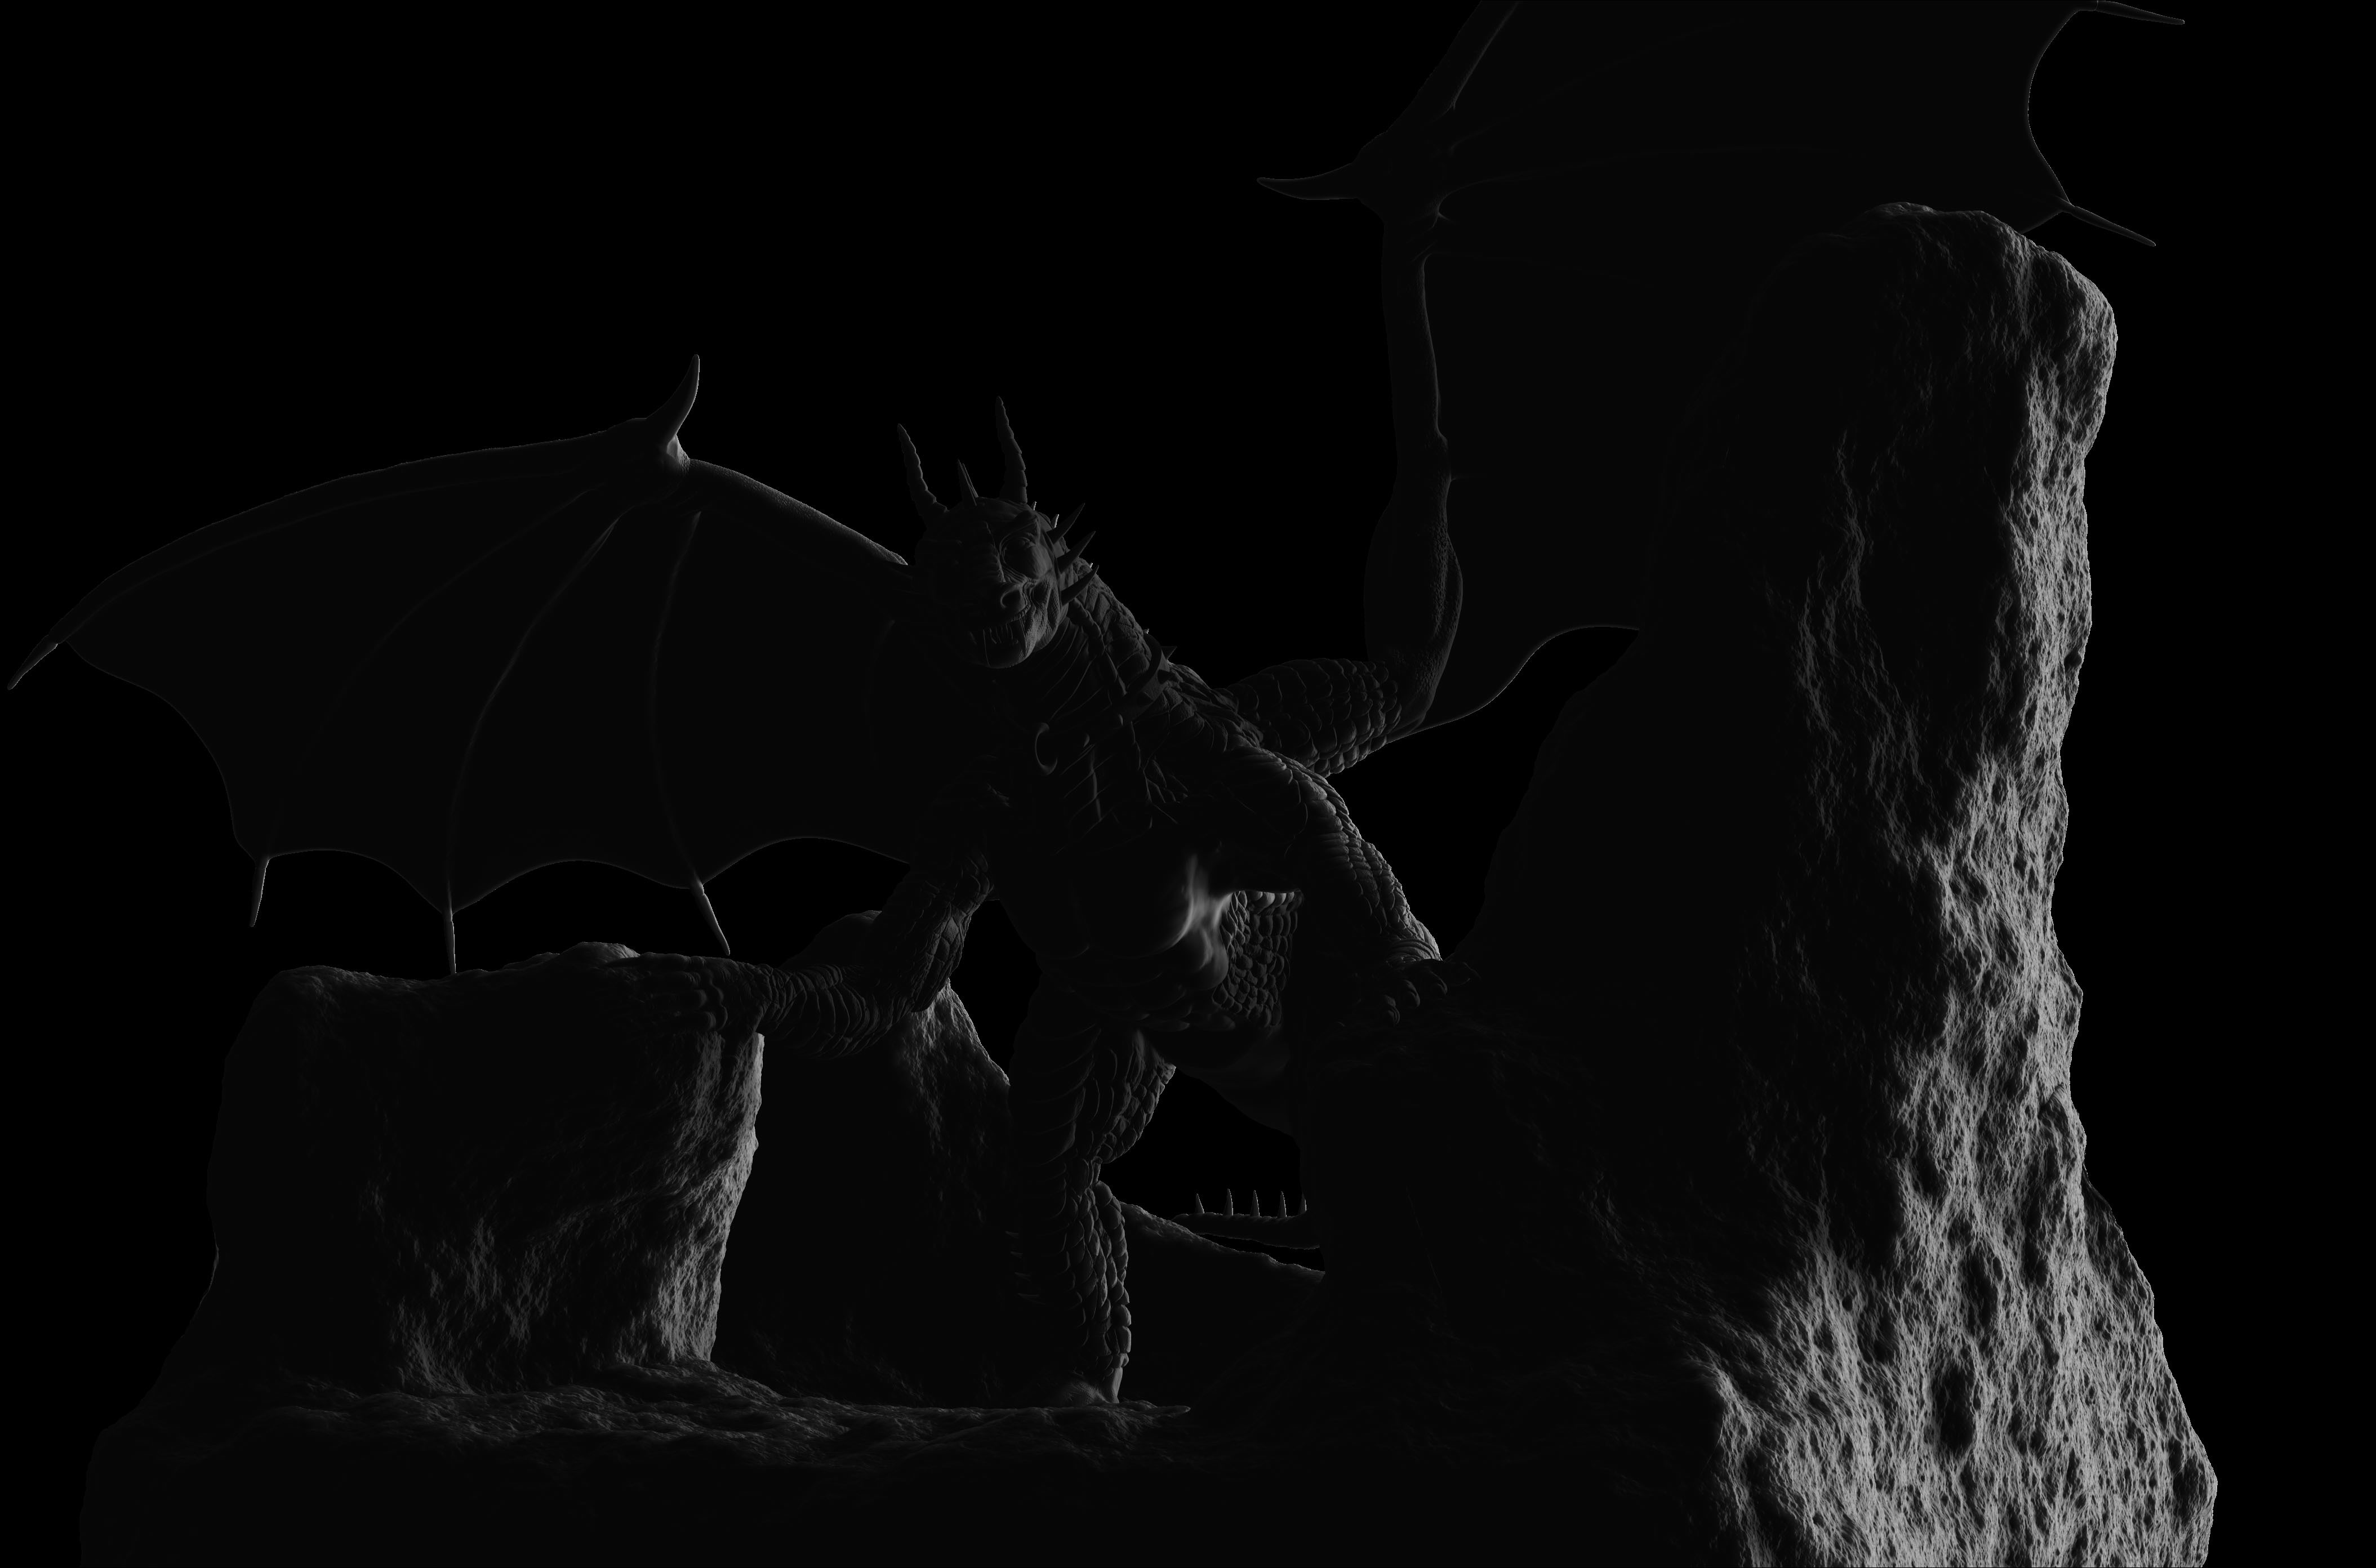
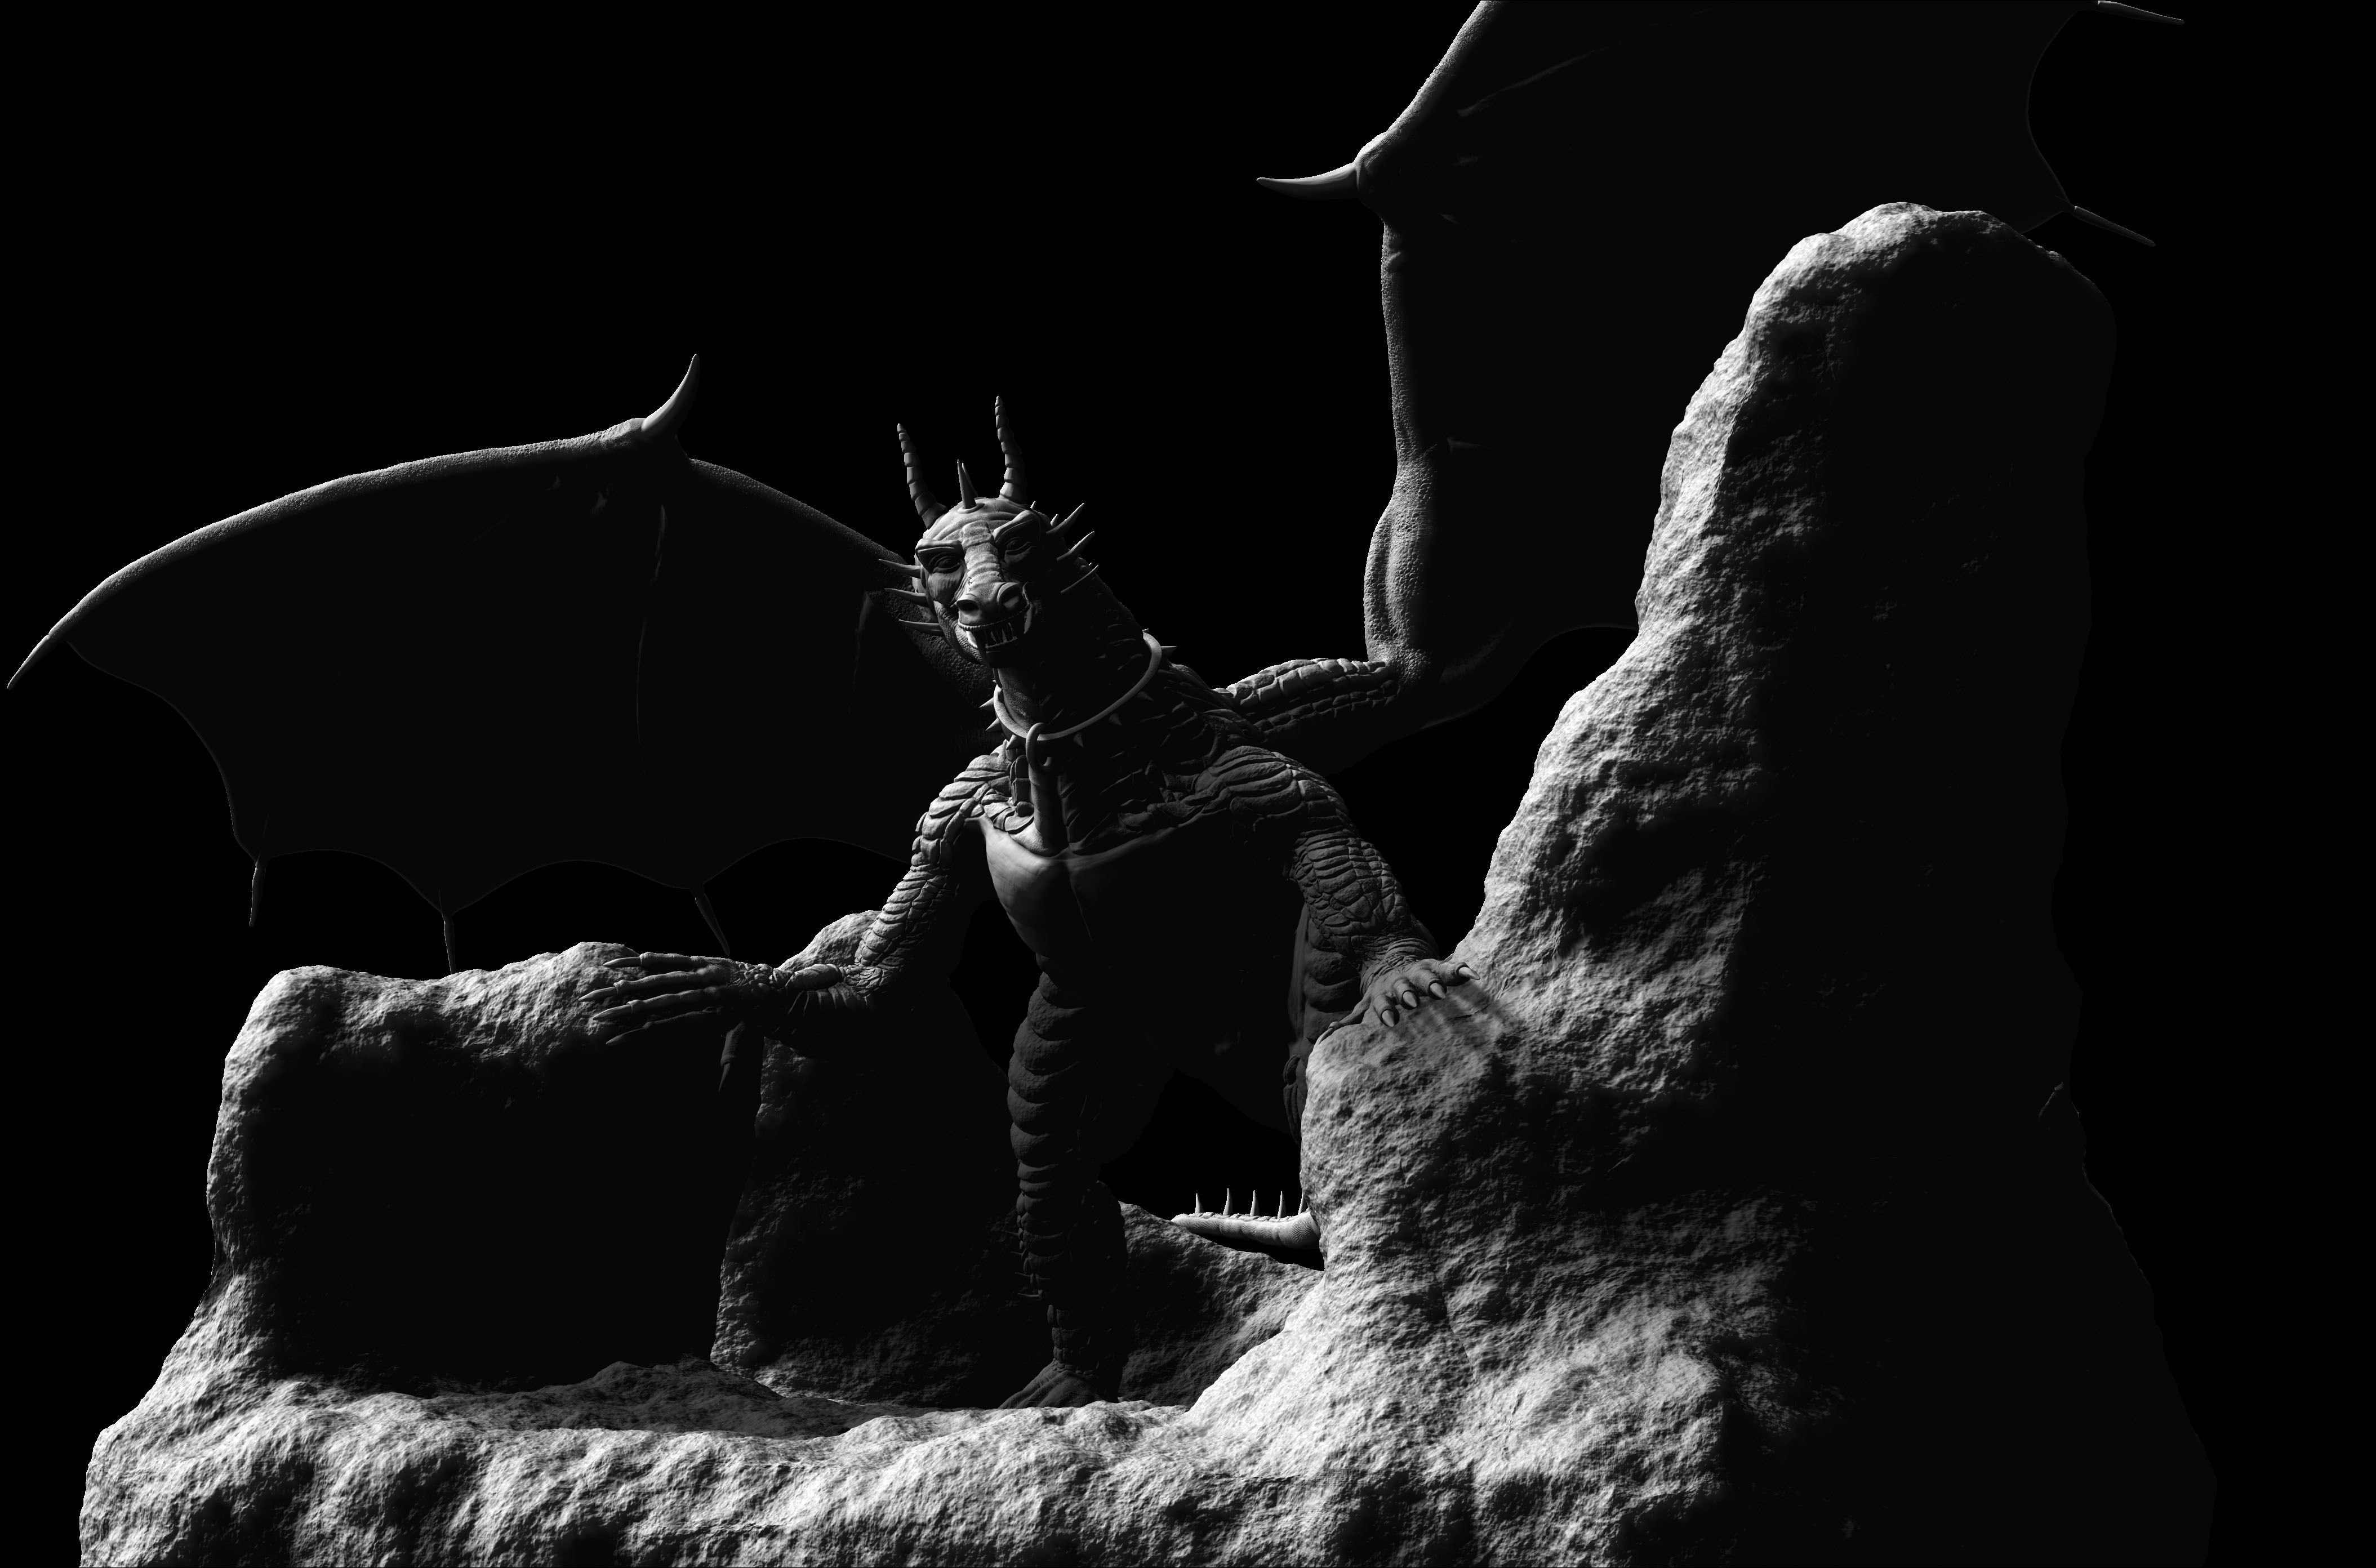
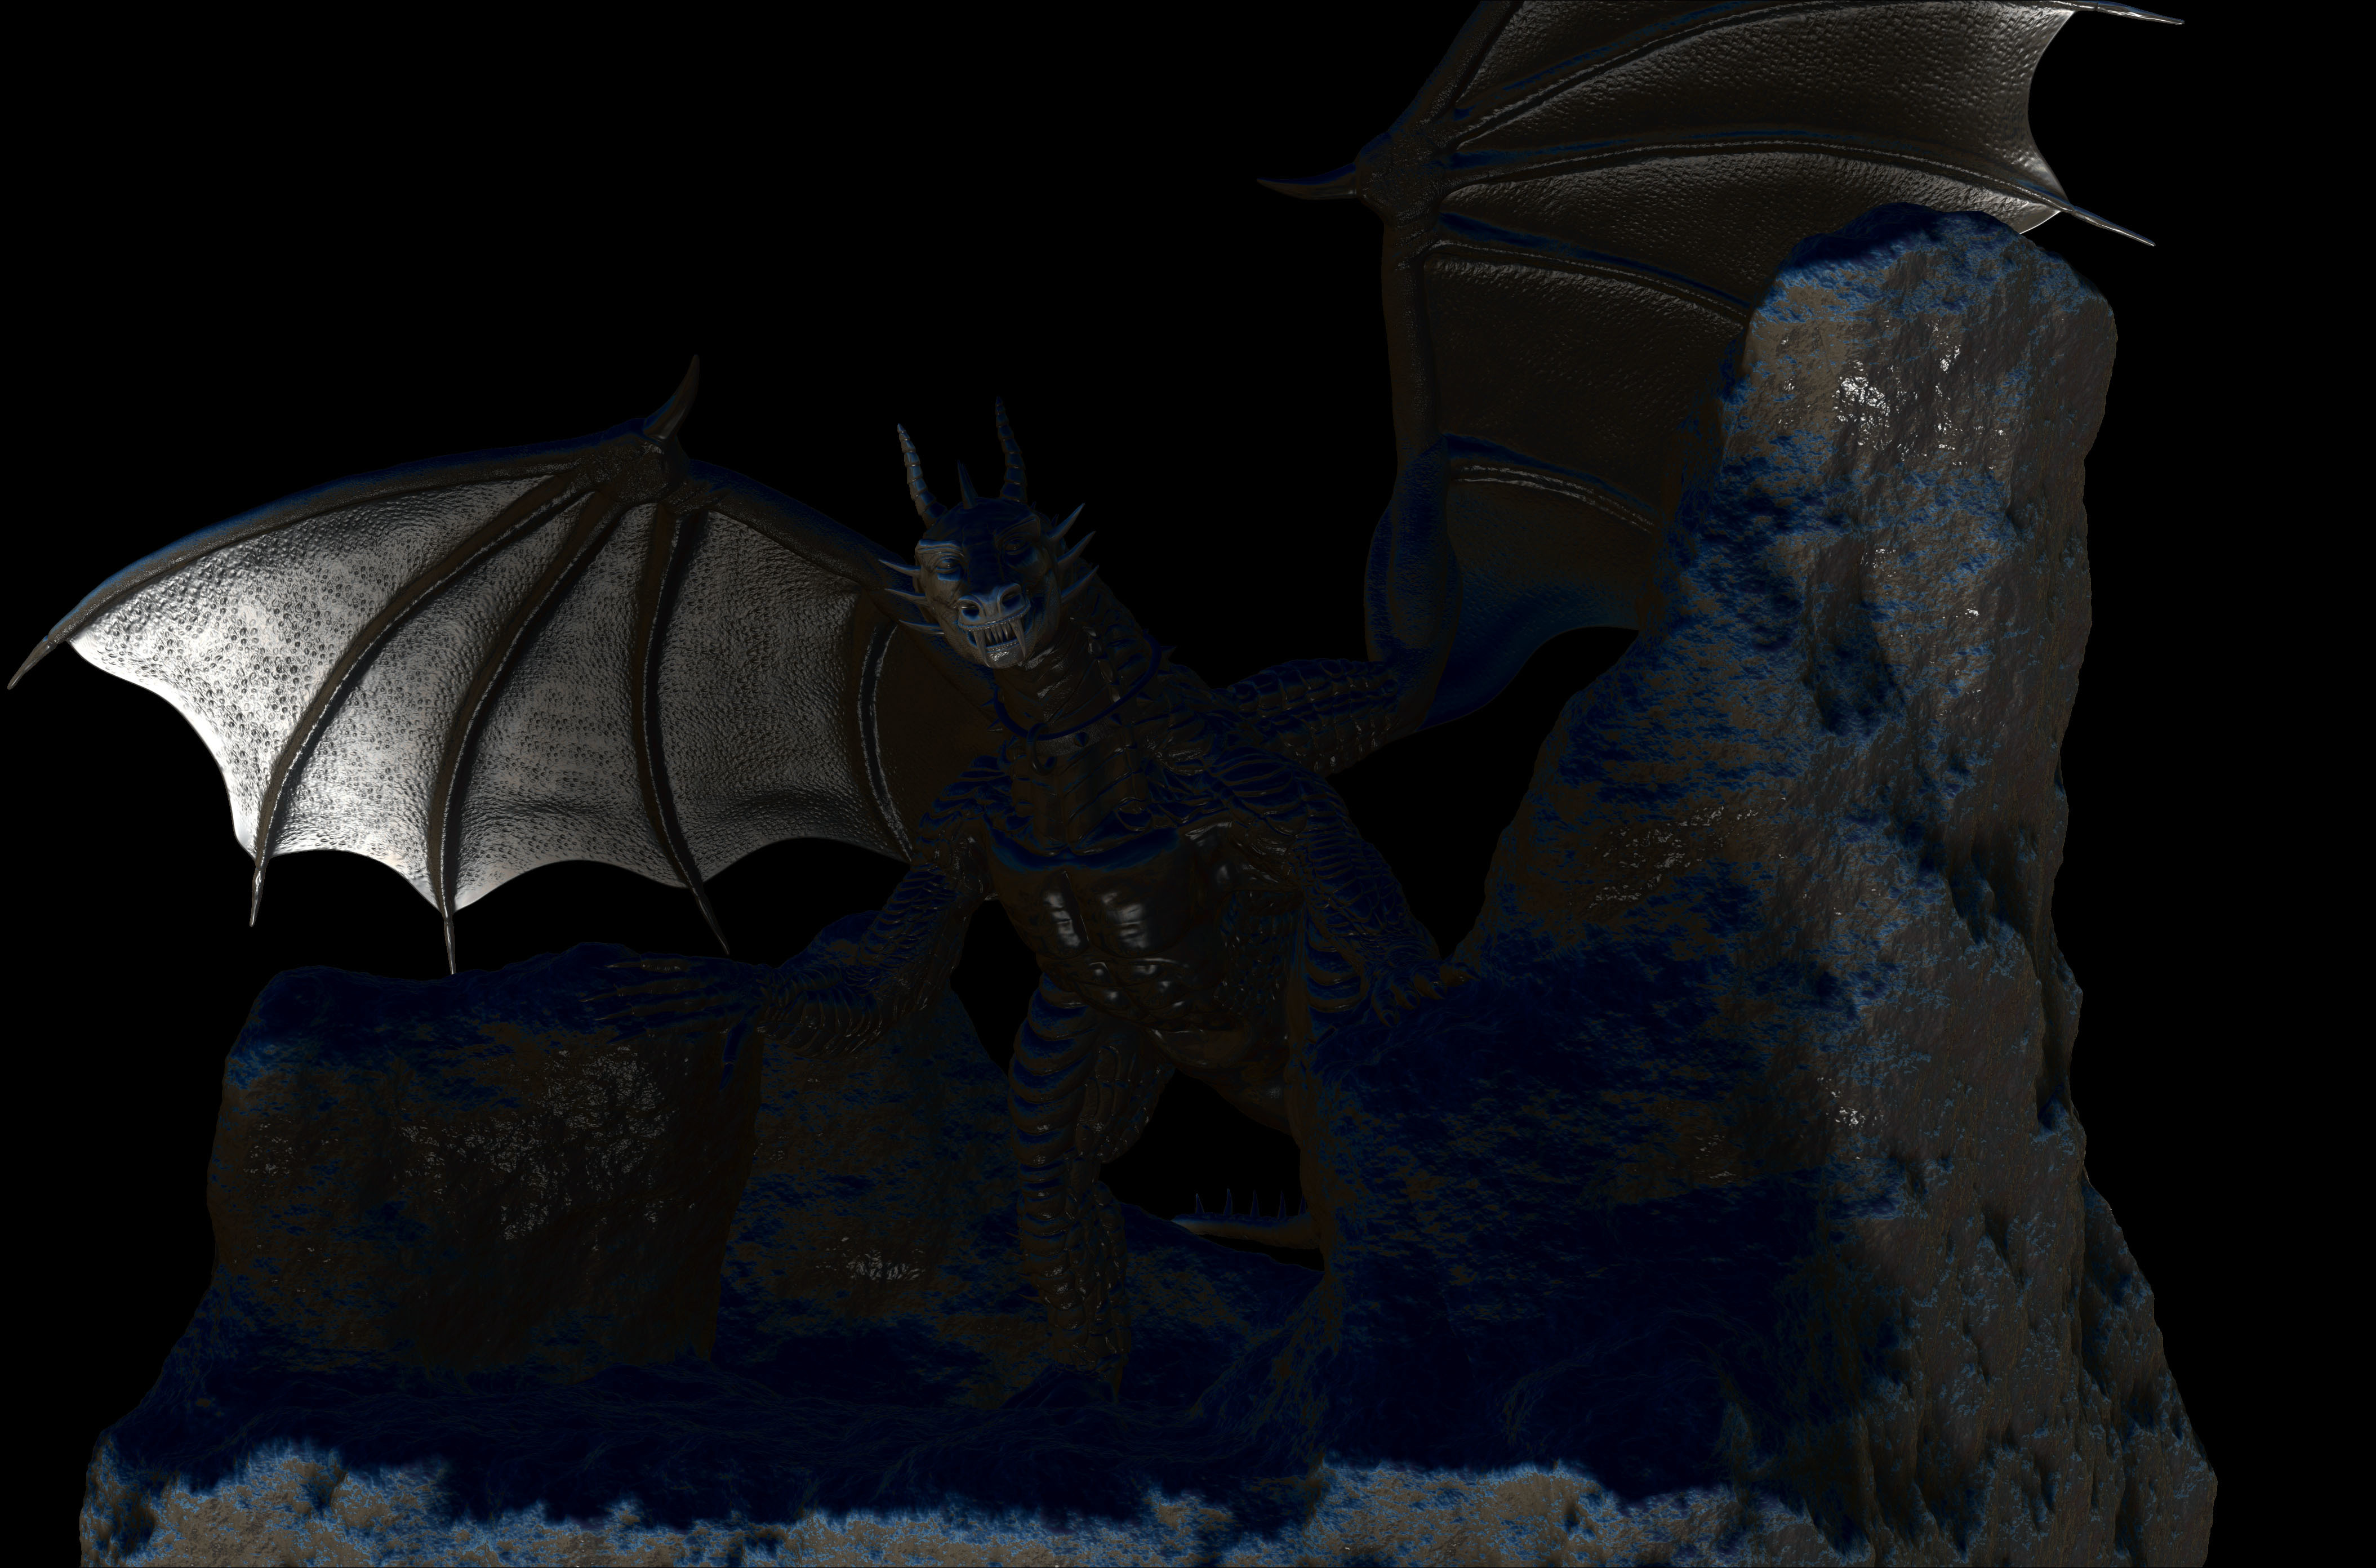
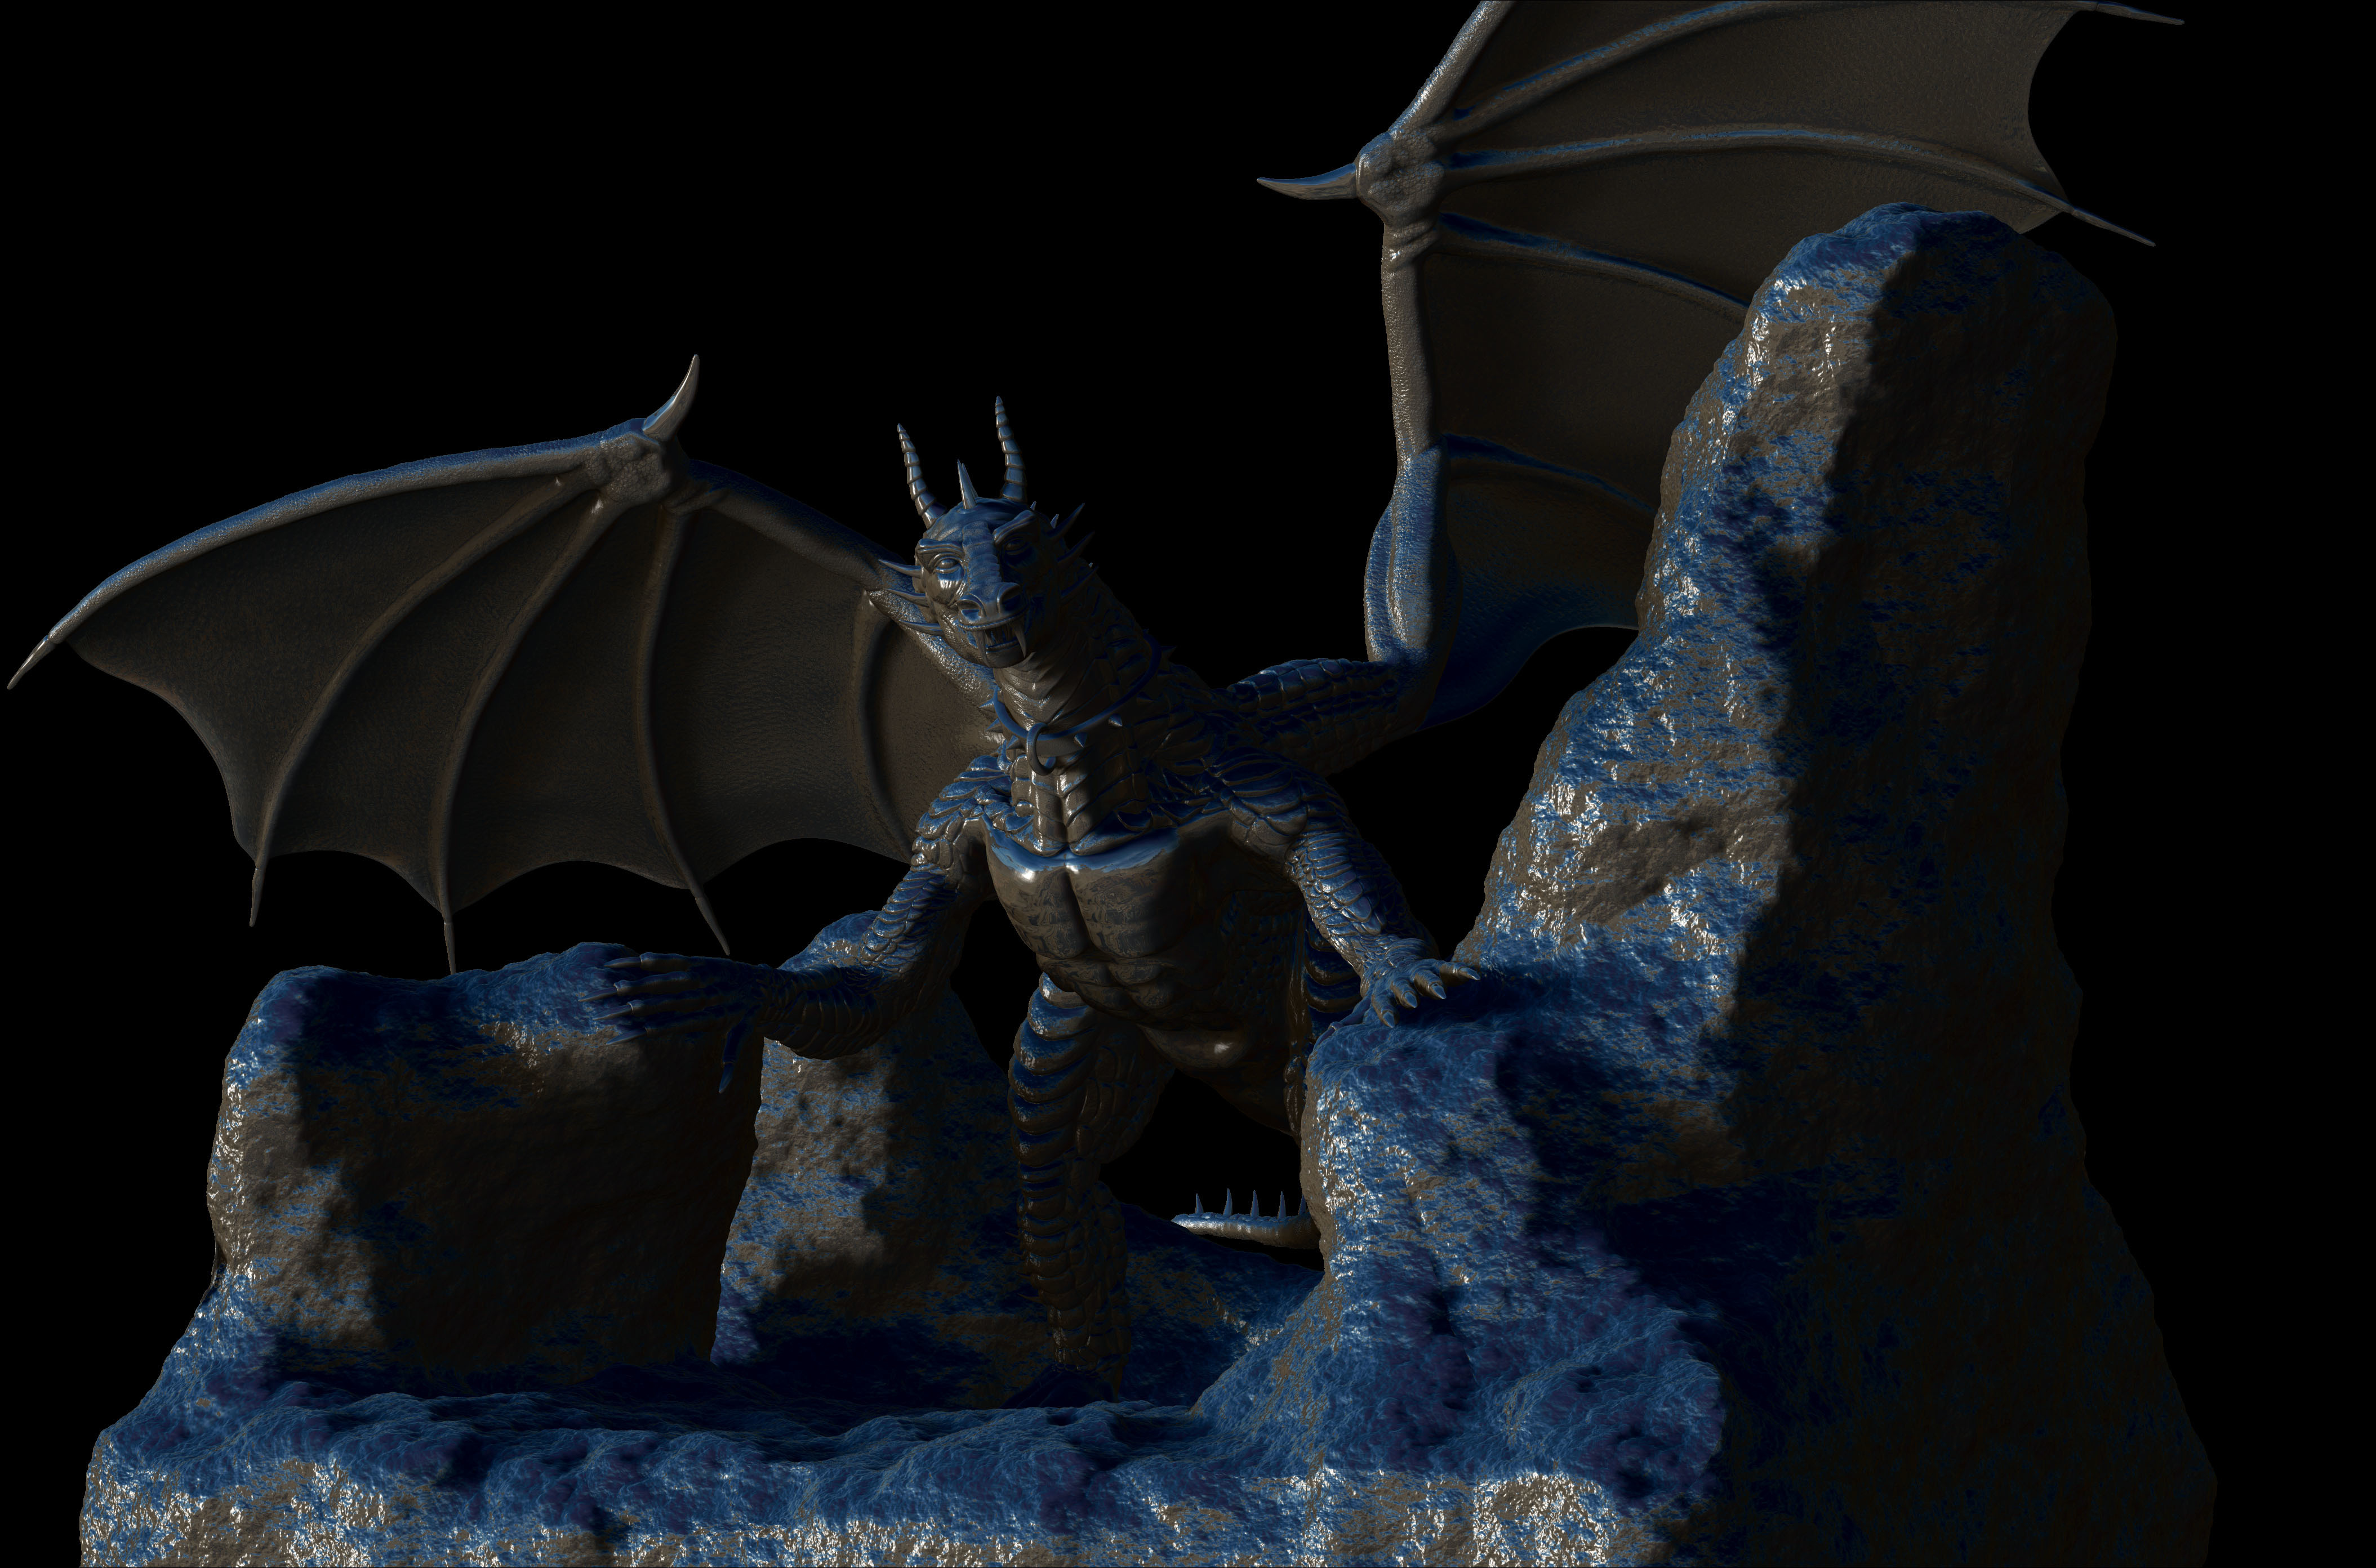
Few key-shot renders for me to get a feel:


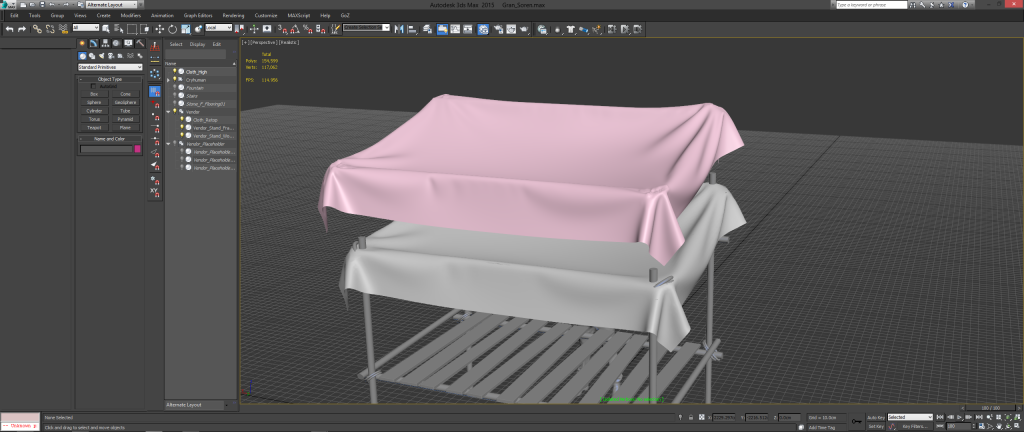
Texturing I did inside Mari, of course after a more game friendly version of him was created. Here is a snip of him inside Mari. Also the little blue marking, is just how much texture data he's using. It's why I love Mari.

And here is a video of me doing a bit of texture painting on CentOS using Mari.

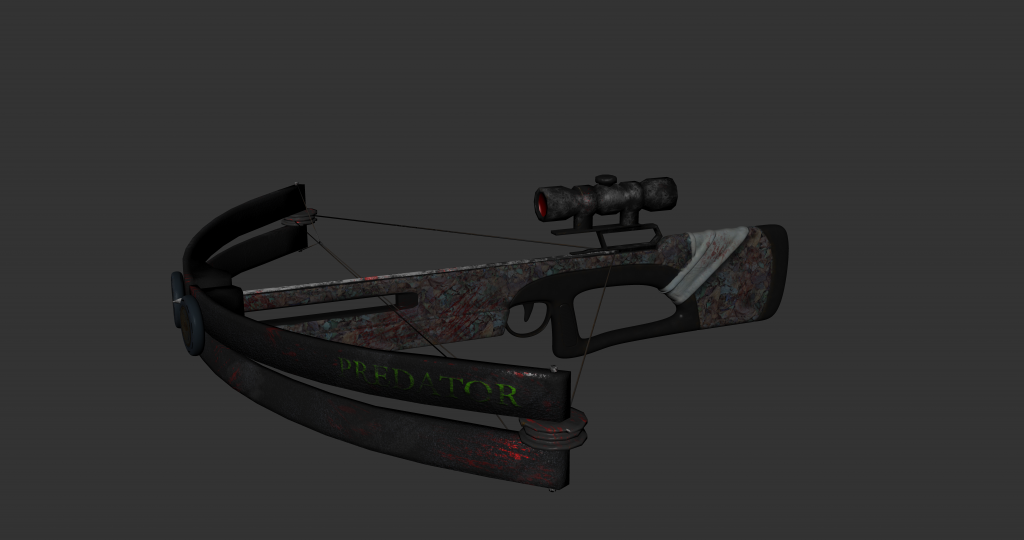
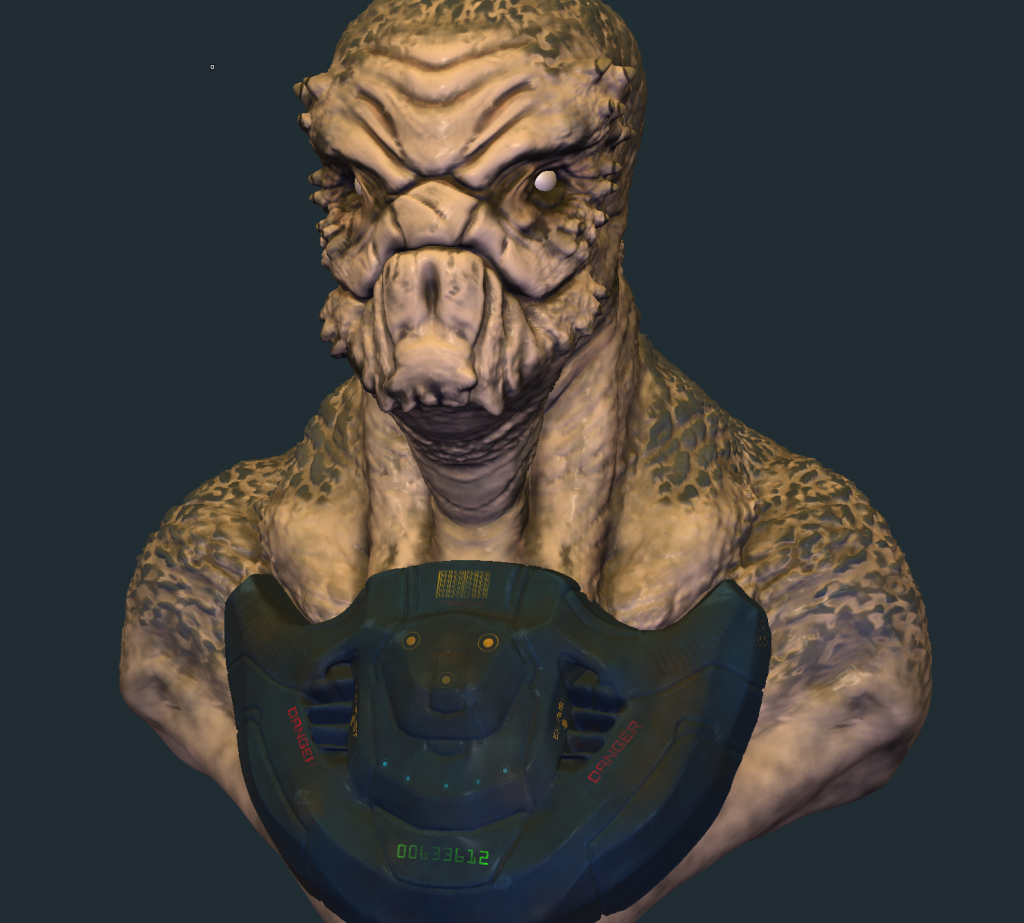
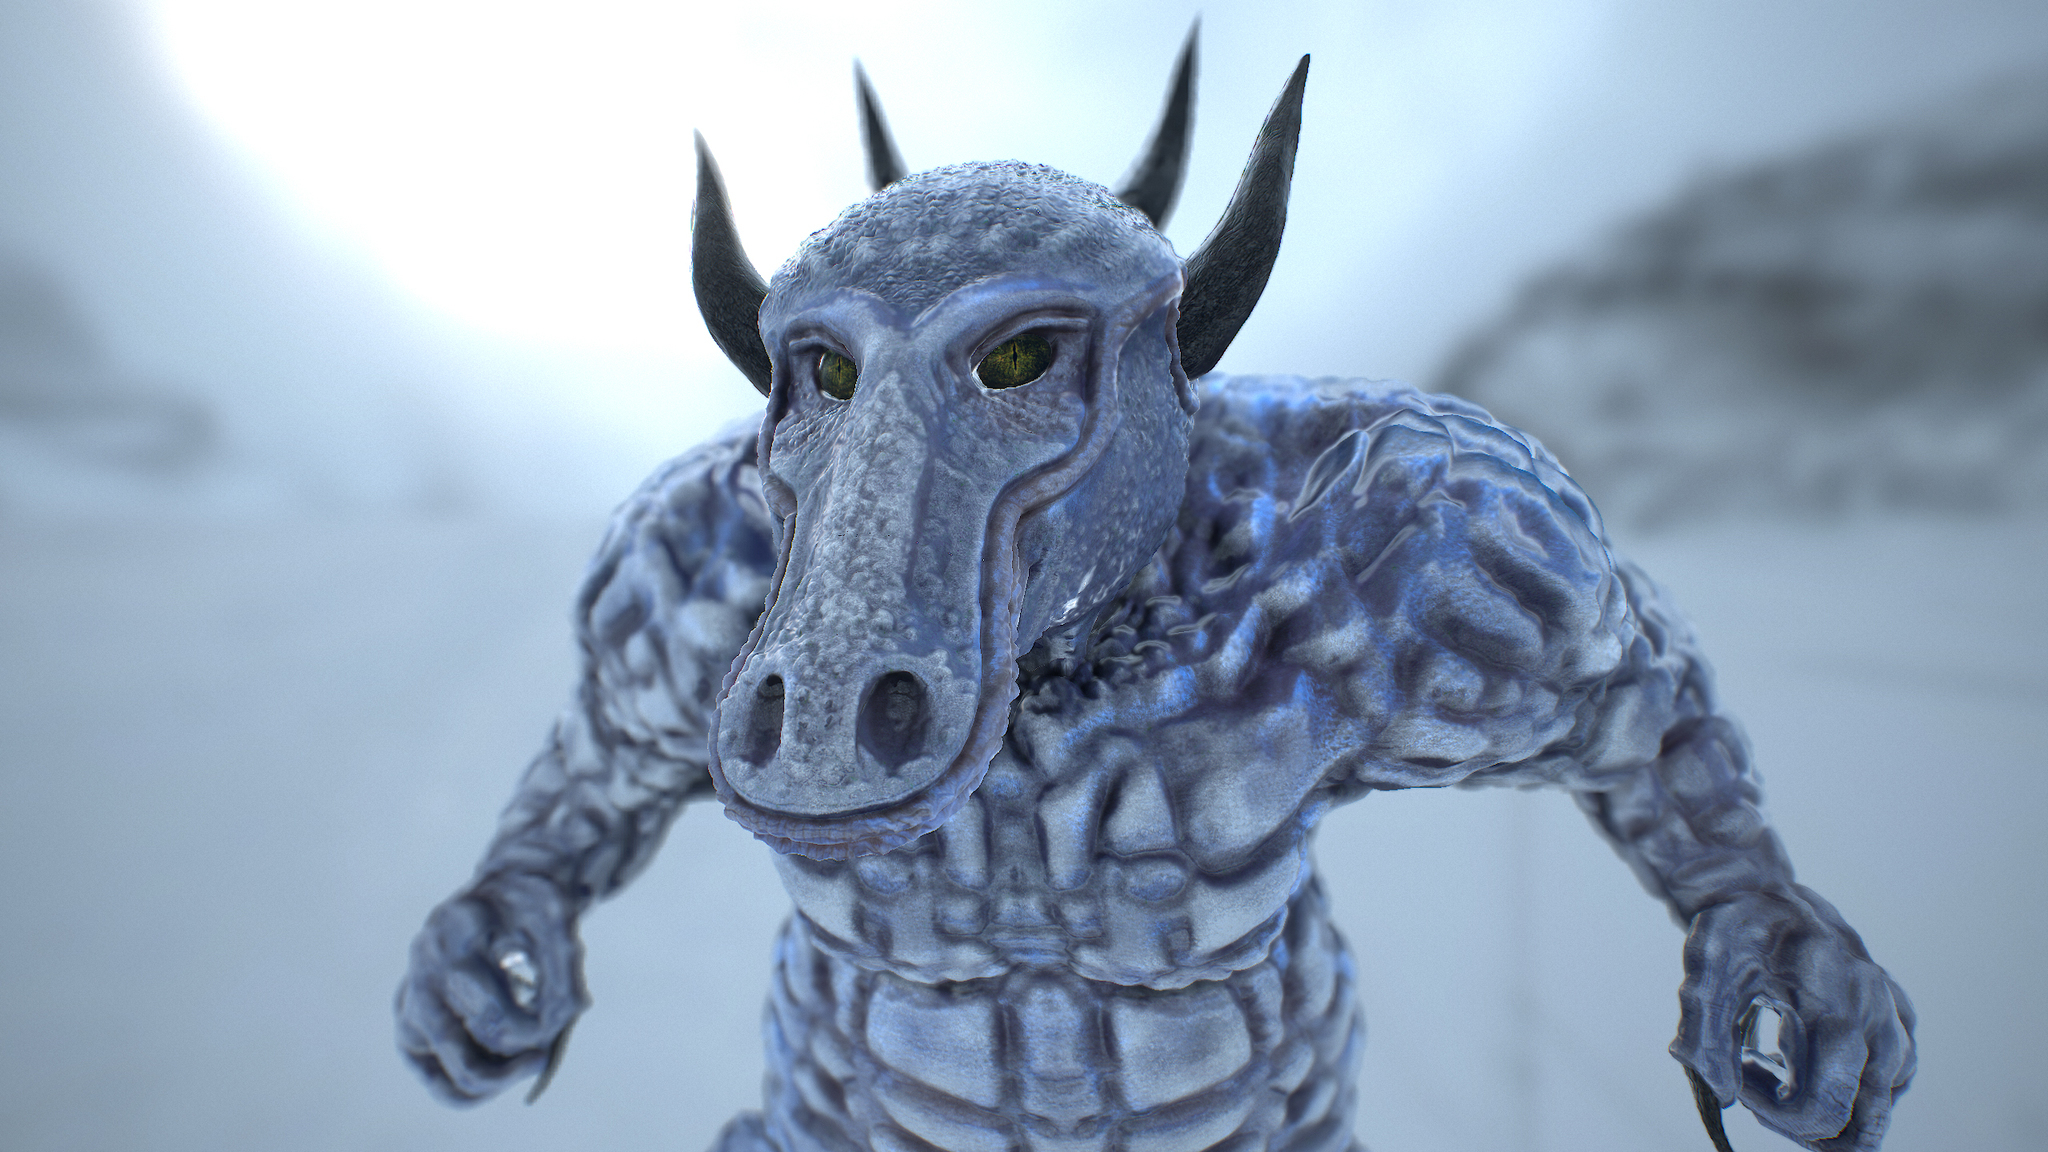
This was the in-game version, fully texture painted with all his maps in toe. If anyone wants to see the raw maps, I can show:

But fear not! It dose not end here.. there is more to come!

soon

19 Likes

Fantastic work dood! I look forward to seeing what you share!!

1 Like

I'm amazed by the detail on the last photo!

Bloody hell all of the tiny scales must've taken you ages.

1 Like

Thank you! He will be the next up to show, he just needs a few finishing touches then I will be rendering him off for lots of shots. I will have to do a fair few for him as there is a lots of detail up close.

1 Like

Very nice work. Looking forward to more! Have you done any mod hobby work for creating new content for games like Skyrim?

Just curious - how long does it take to render some of these detailed shots?

1 Like

Thank you! I've not.. at one point I was thinking about creating custom weapons, characters and Jeeps for Arma 2, at the time. I never got around to it sadly as other things popped up. If I did mod Skyrim I'd probably replace all the Dragons with my own. :D

Also here is the overall render time for the up-close face shot:

That's rendering it off at the resolution you can also see above, with 64x Anti Aliasing... the shader on the Lurker has Sub Surface properties, so that'd boost the time up a little bit.. It'd be even more if he wasn't fully captured in this sphere for ray bounces:

Also, if you look to the bottom left where there is text. Where it's got GL, that's the actual poly count.

1 Like

Few old art projects I found while digging through, some where sculpted, modelled or either texture painted:


3 Likes

Wow!
I hope that one day I can be half as good as you at 3D modelling.

1 Like

Thank you! :D

That belongs in the ME universe.

3 Likes

Maybe I should pop him into some cool ME like armor like this:

2 Likes

That dragon was looking very cool as it progressed, looking forward to seeing the finished version.

1 Like

Got a few things to change as you can guess. :D but I'll be finishing him up soon, his polycount is HUUUGE. I got no idea how to get him out of Zbrush without using all 64 gigs!

Why not make a lower poly version and use the high poly to bake Normals, Spec, and Diffuse maps?

1 Like

Because I won't be texture painting him, so he wont need normals, spec, gloss and diffuse. if it comes to it I will have to create some sort of med poly mesh and use displacements spread across many many UDIMS to capture all his detail.

His polycount is so huge inside Zbrush because I really want to down on his details, for instance alone I've used many skin scans on his feet to give it a crisp lizard micro detail. If I was going to be painting him, I'd of done that through fine displacement (bump).

And here is my Dragon. He took 6 months roughly of work just for this high resolution sculpt of him. This render was done inside Zbrush, with some smart play with lights and Photoshop trickery to fake GI and reflections. Will post more upclose shots soon.

7 Likes

Here is a video of him turning inside Zbrush, and a few close up shots taken from the viewport:


Here is screenshots of the process I went through to fake GI and reflections into the render, most of it was screen mode, being smart with color and opacity:


Some of the changes seem very small, but if you look at some of the original render passes, didn't upload all of them as it's image overload already:

5 Likes

He's ripped as fuck.

He has the abs we all wish we had. And nothing ELSE swinging around @wUFr you know exactly what I mean.

1 Like

i swear i've seen that last one somewhere before..