I want to preface this by apologizing for the sucky picture quality.
About seven years ago my mom and I got this Dell Something N3050 to fill the role of being a family computer. Over time it eventually became my computer. There was a fight between me and my mom over this and we broke the screen and hard drive. Whoops. It served as an interesting lesson on how to take apart a laptop and break the keyboard in the process. Double whoops. This machine has sat in basements and garages for almost five years. The only love it got was when I replaced the screen with a a less broken screen. Until now.
So I’ve lost a lot of stuff to it such as the power button and all the screws. As my way around this I decided to build it it’s own little case and turn it into a desktop.
So first things first we need to power it on and make sure it works. To do this I stuck a small snippet of wire into the power button plug. All this does is bridge the connections the same way the momentary switch would.

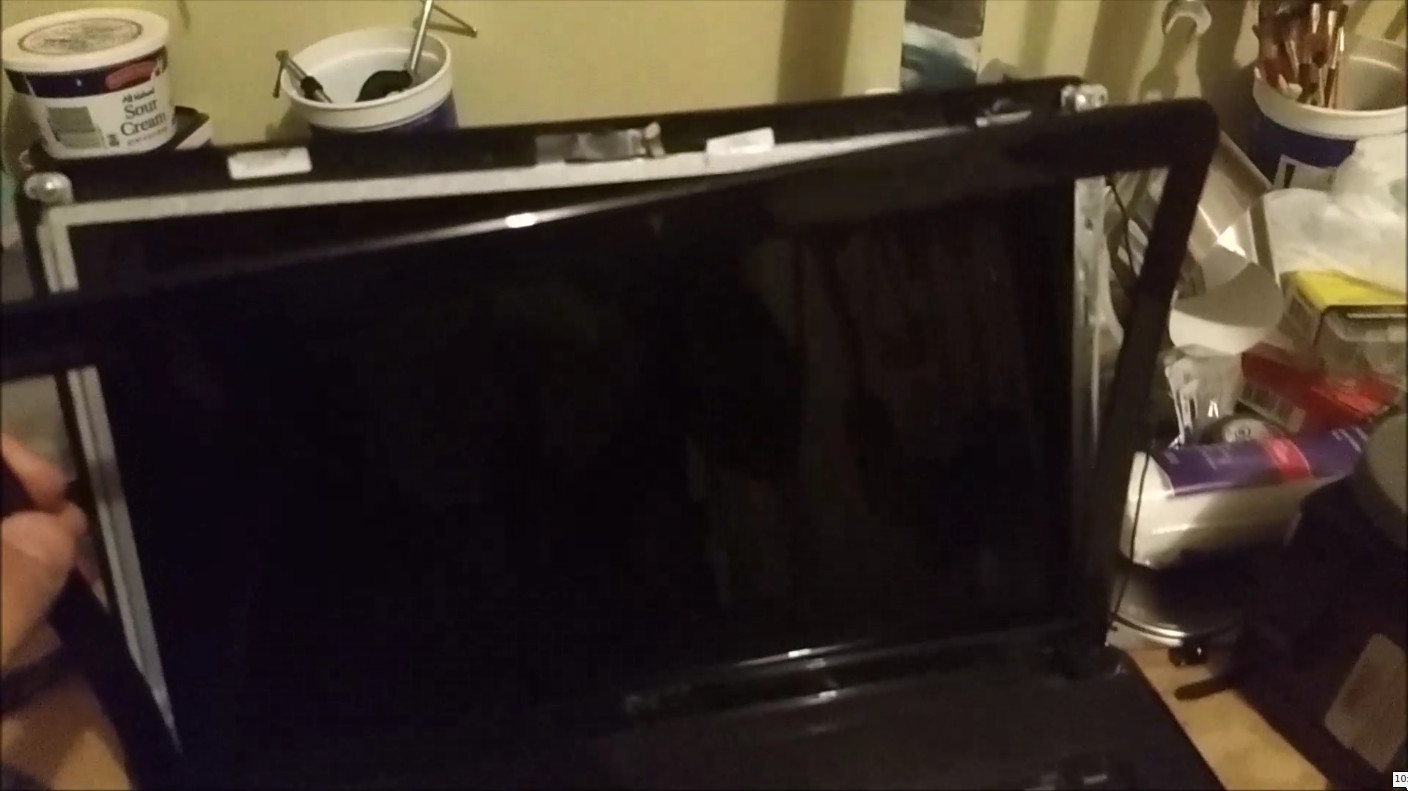
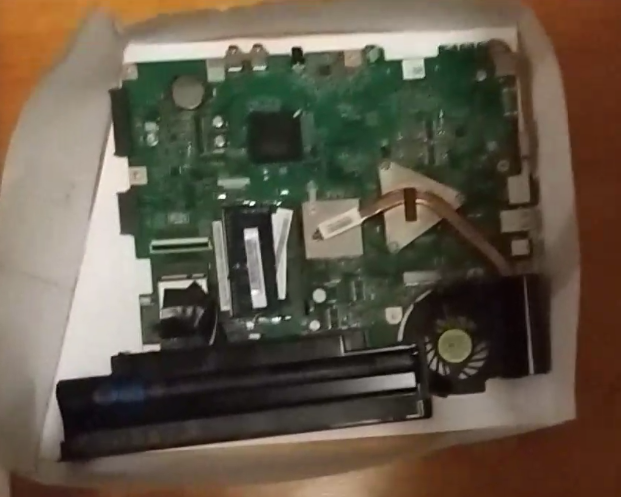
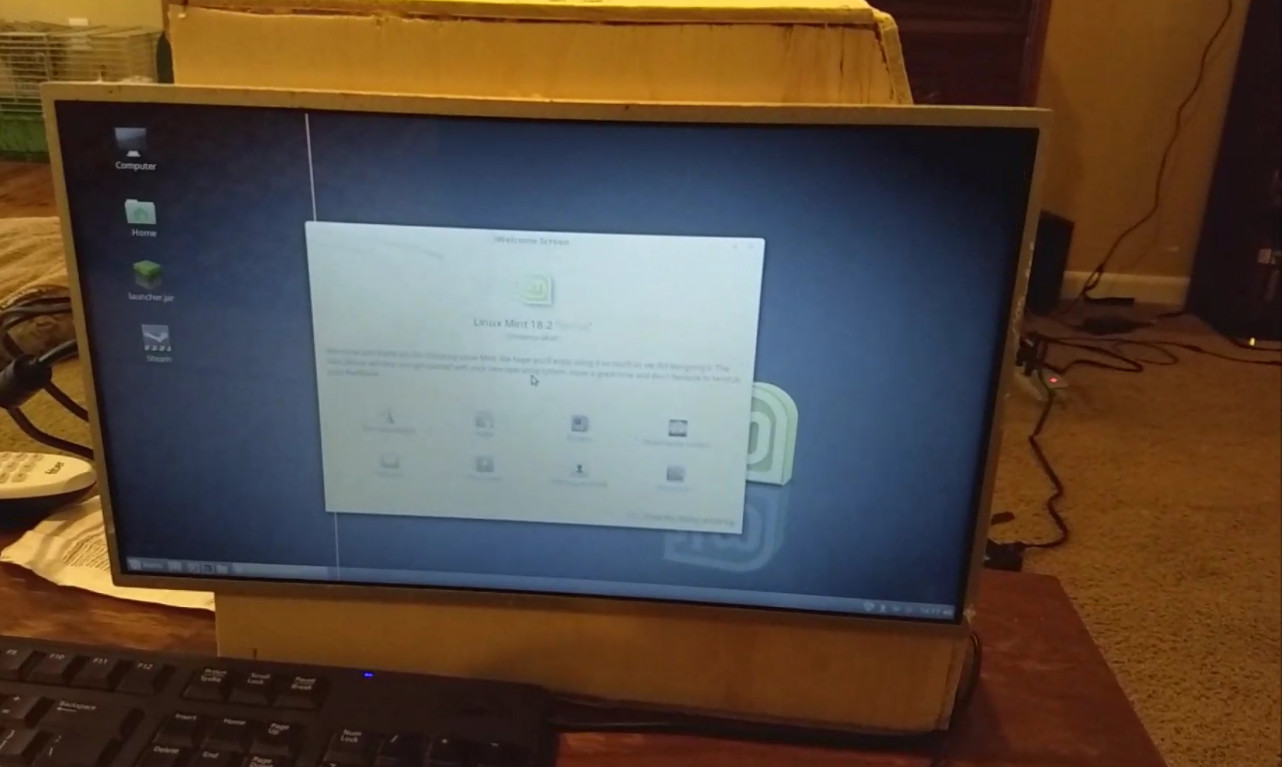
Awesome it works!  Now we need some plans to build the case. Also you can see the how the screen is broken
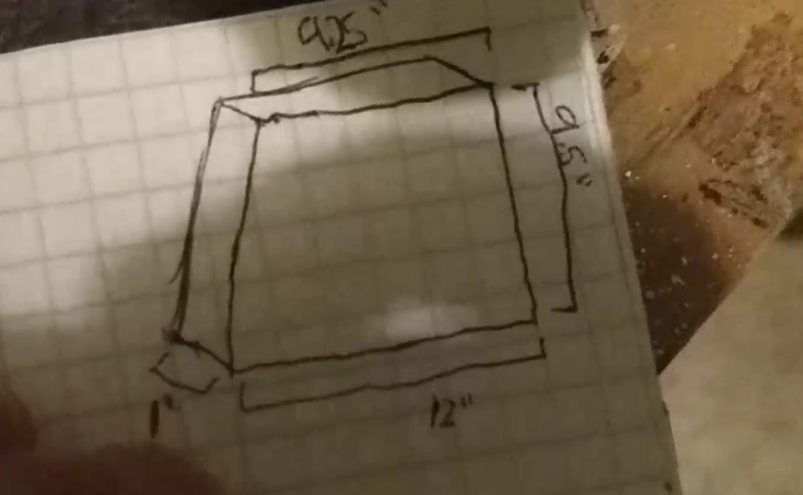
To do a test fit without wasting wood I opted to create a paper mock up using the inside dimensions
As you can see the battery isn’t plugged in because it’s too small. Time to revise the plans.
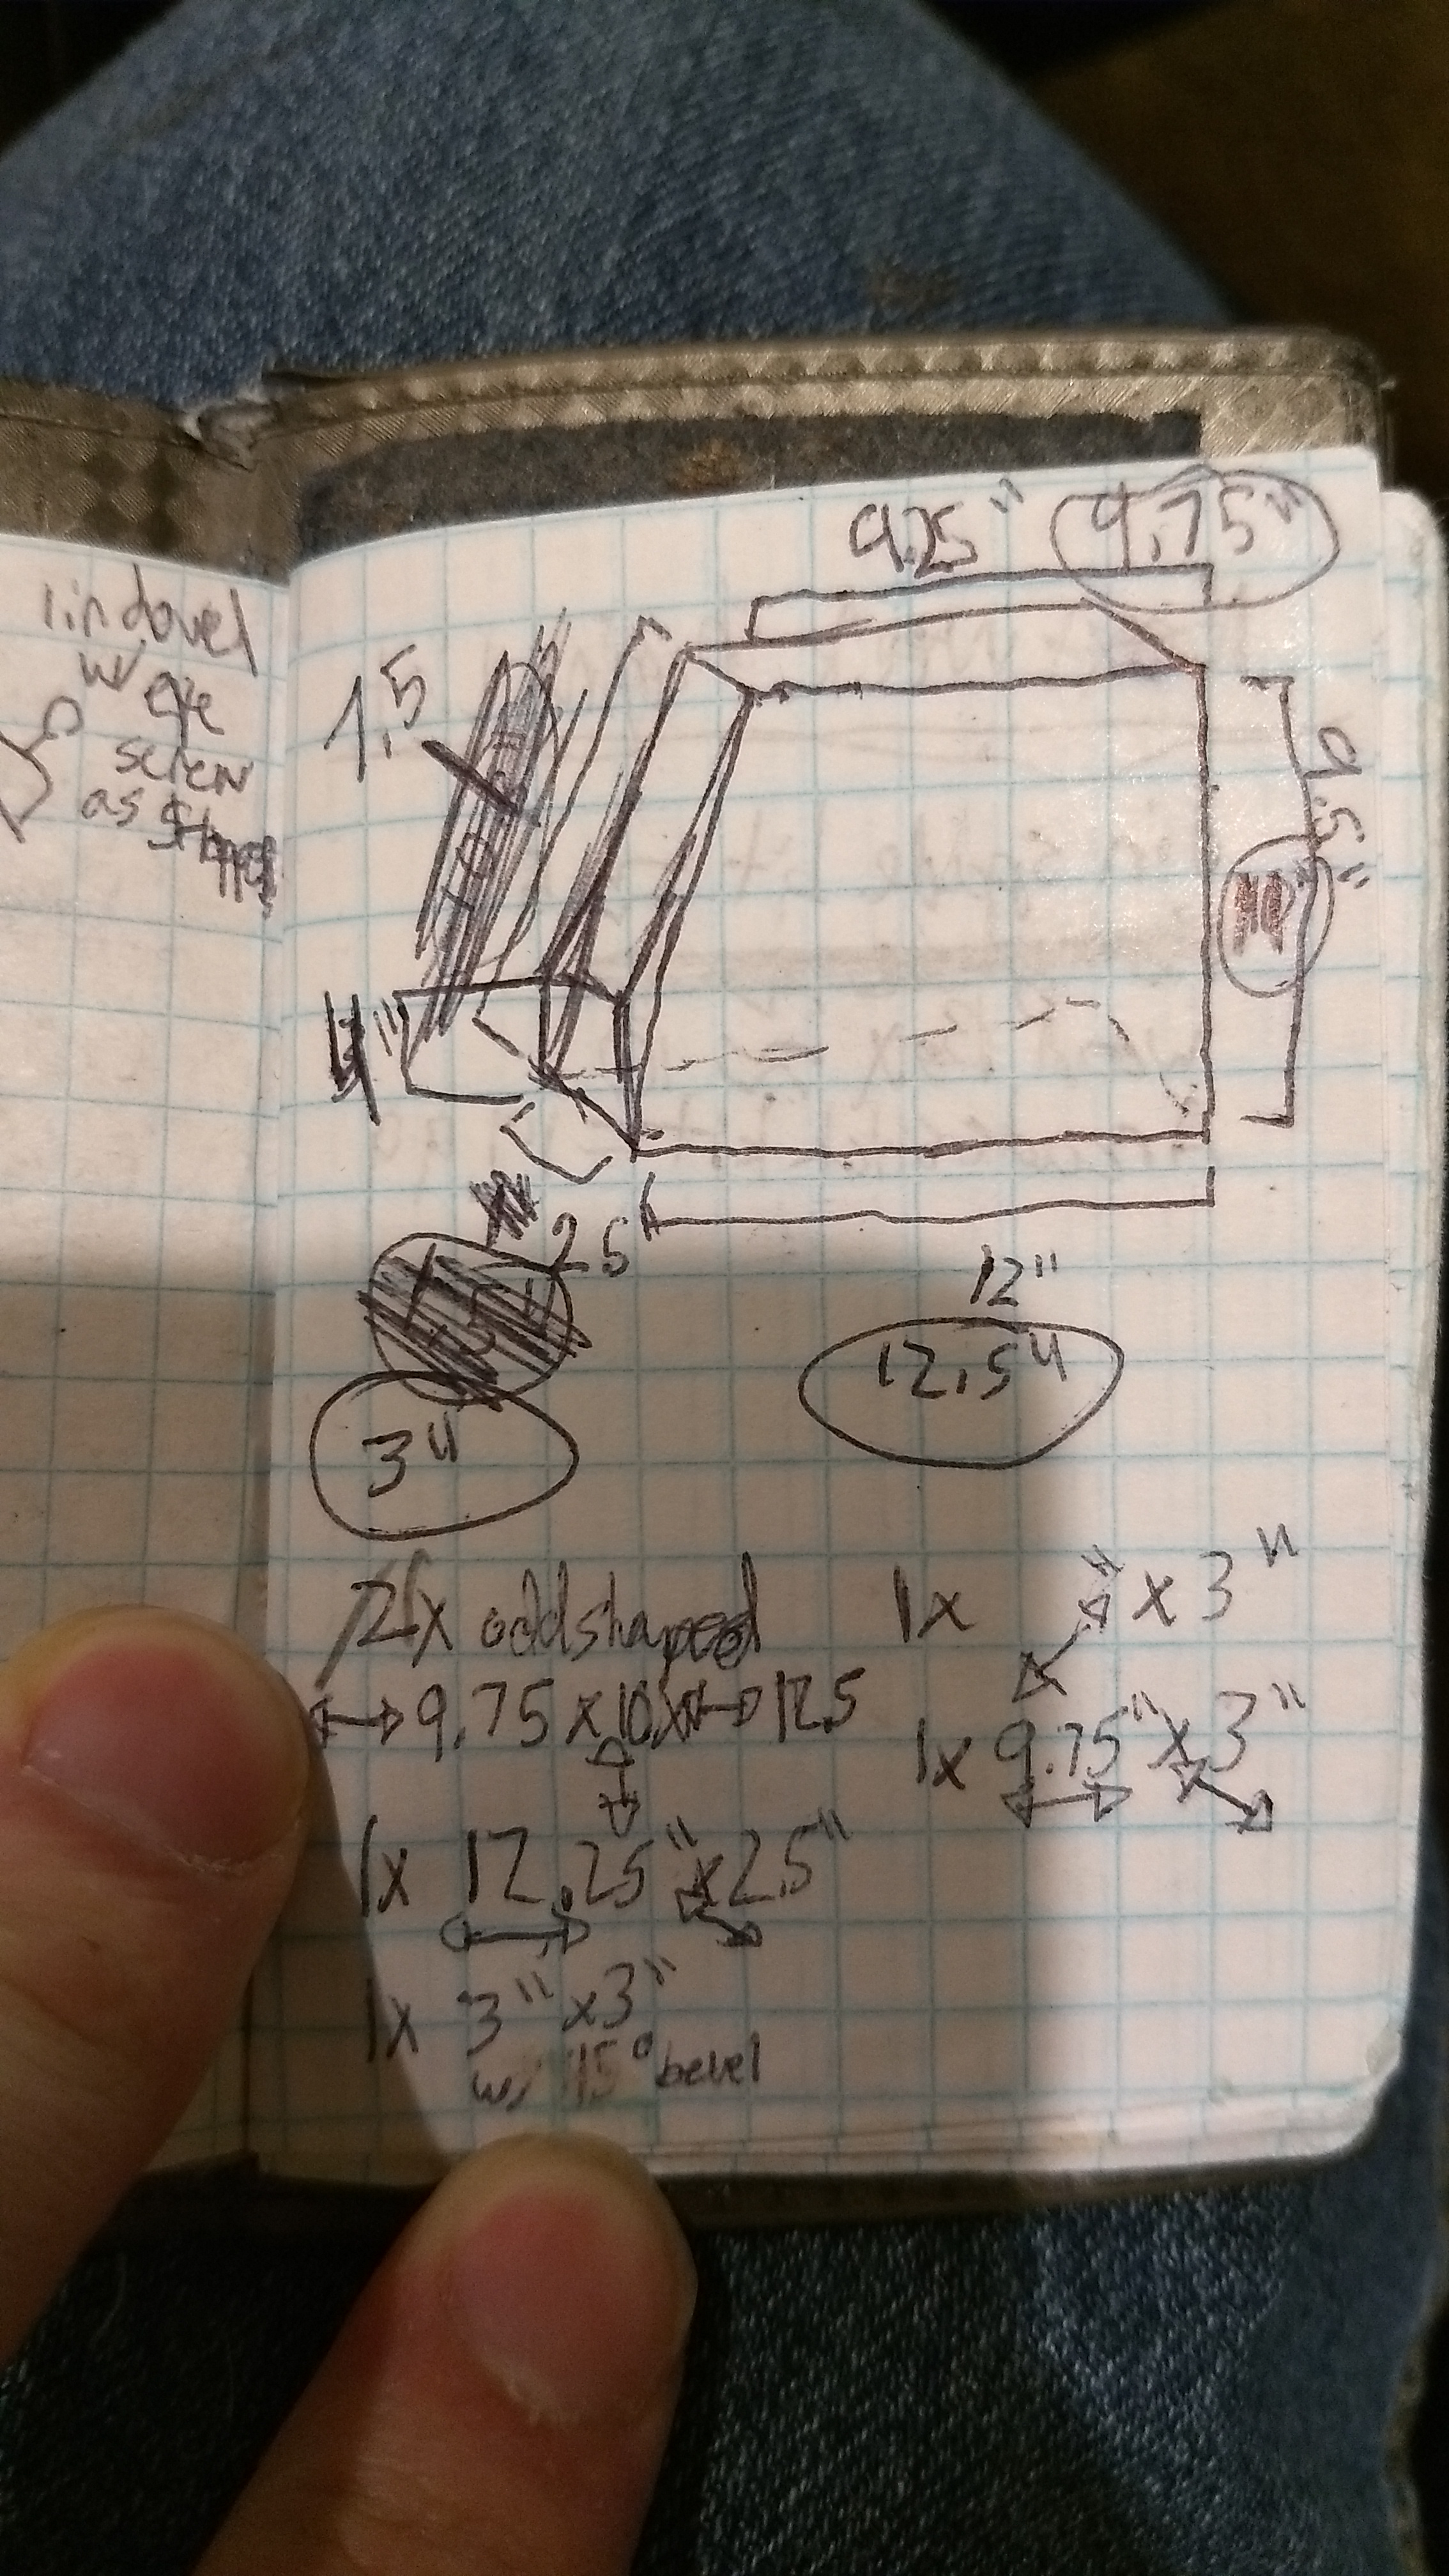
Hard to understand but it mostly worked in the end.
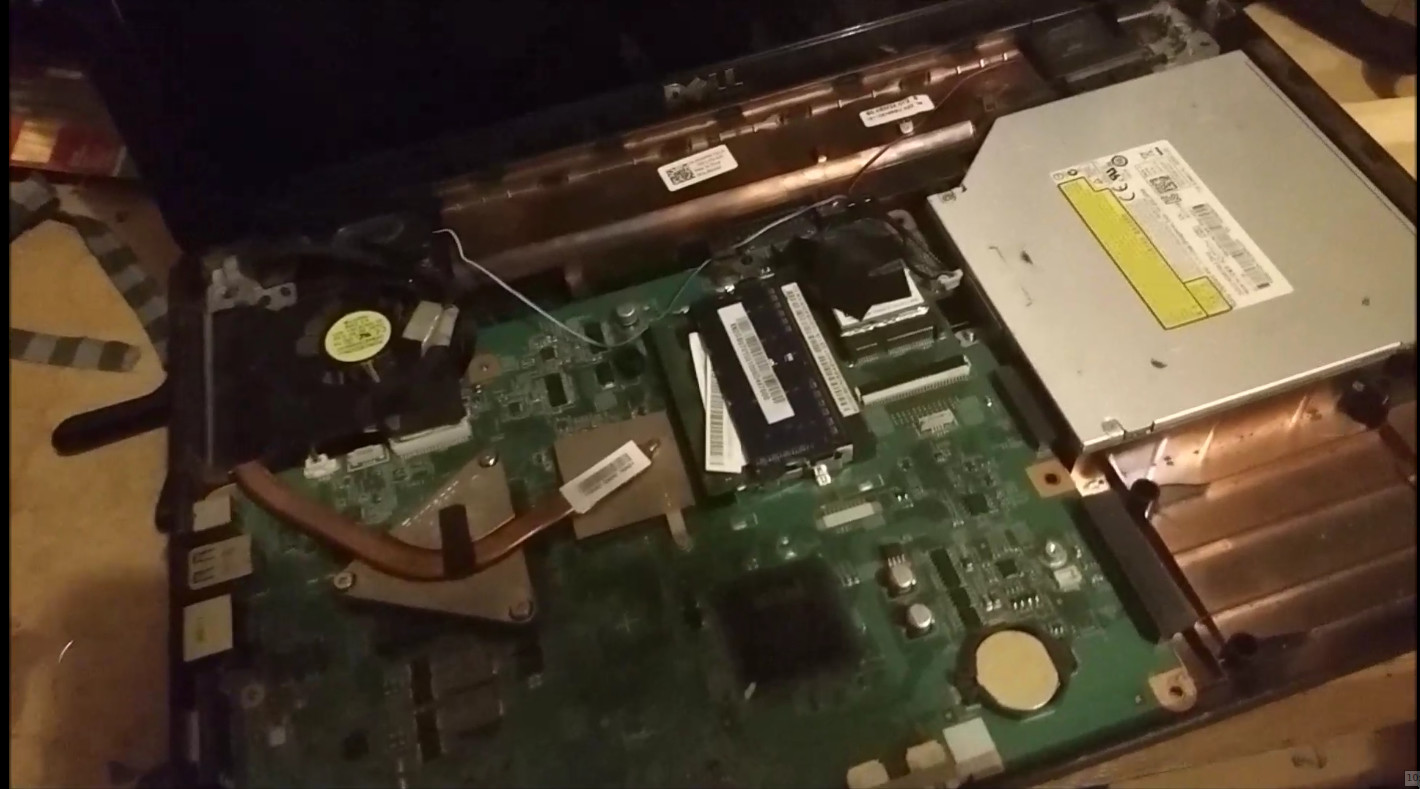
Next we do some tests to see if my hardware configuration will work
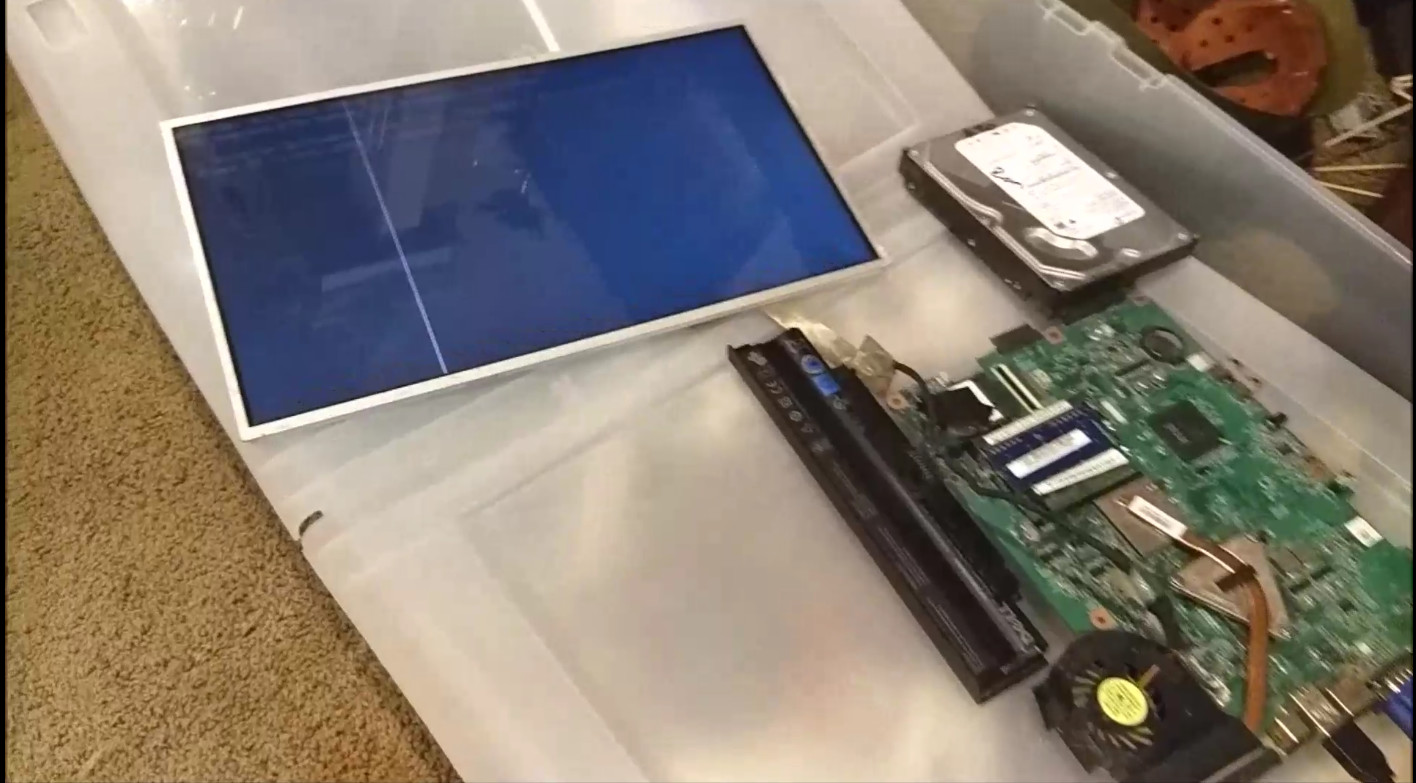
I discovered that it won’t power a 3.5in drive nor will it boot without the display. Time to incorporate that into the case.

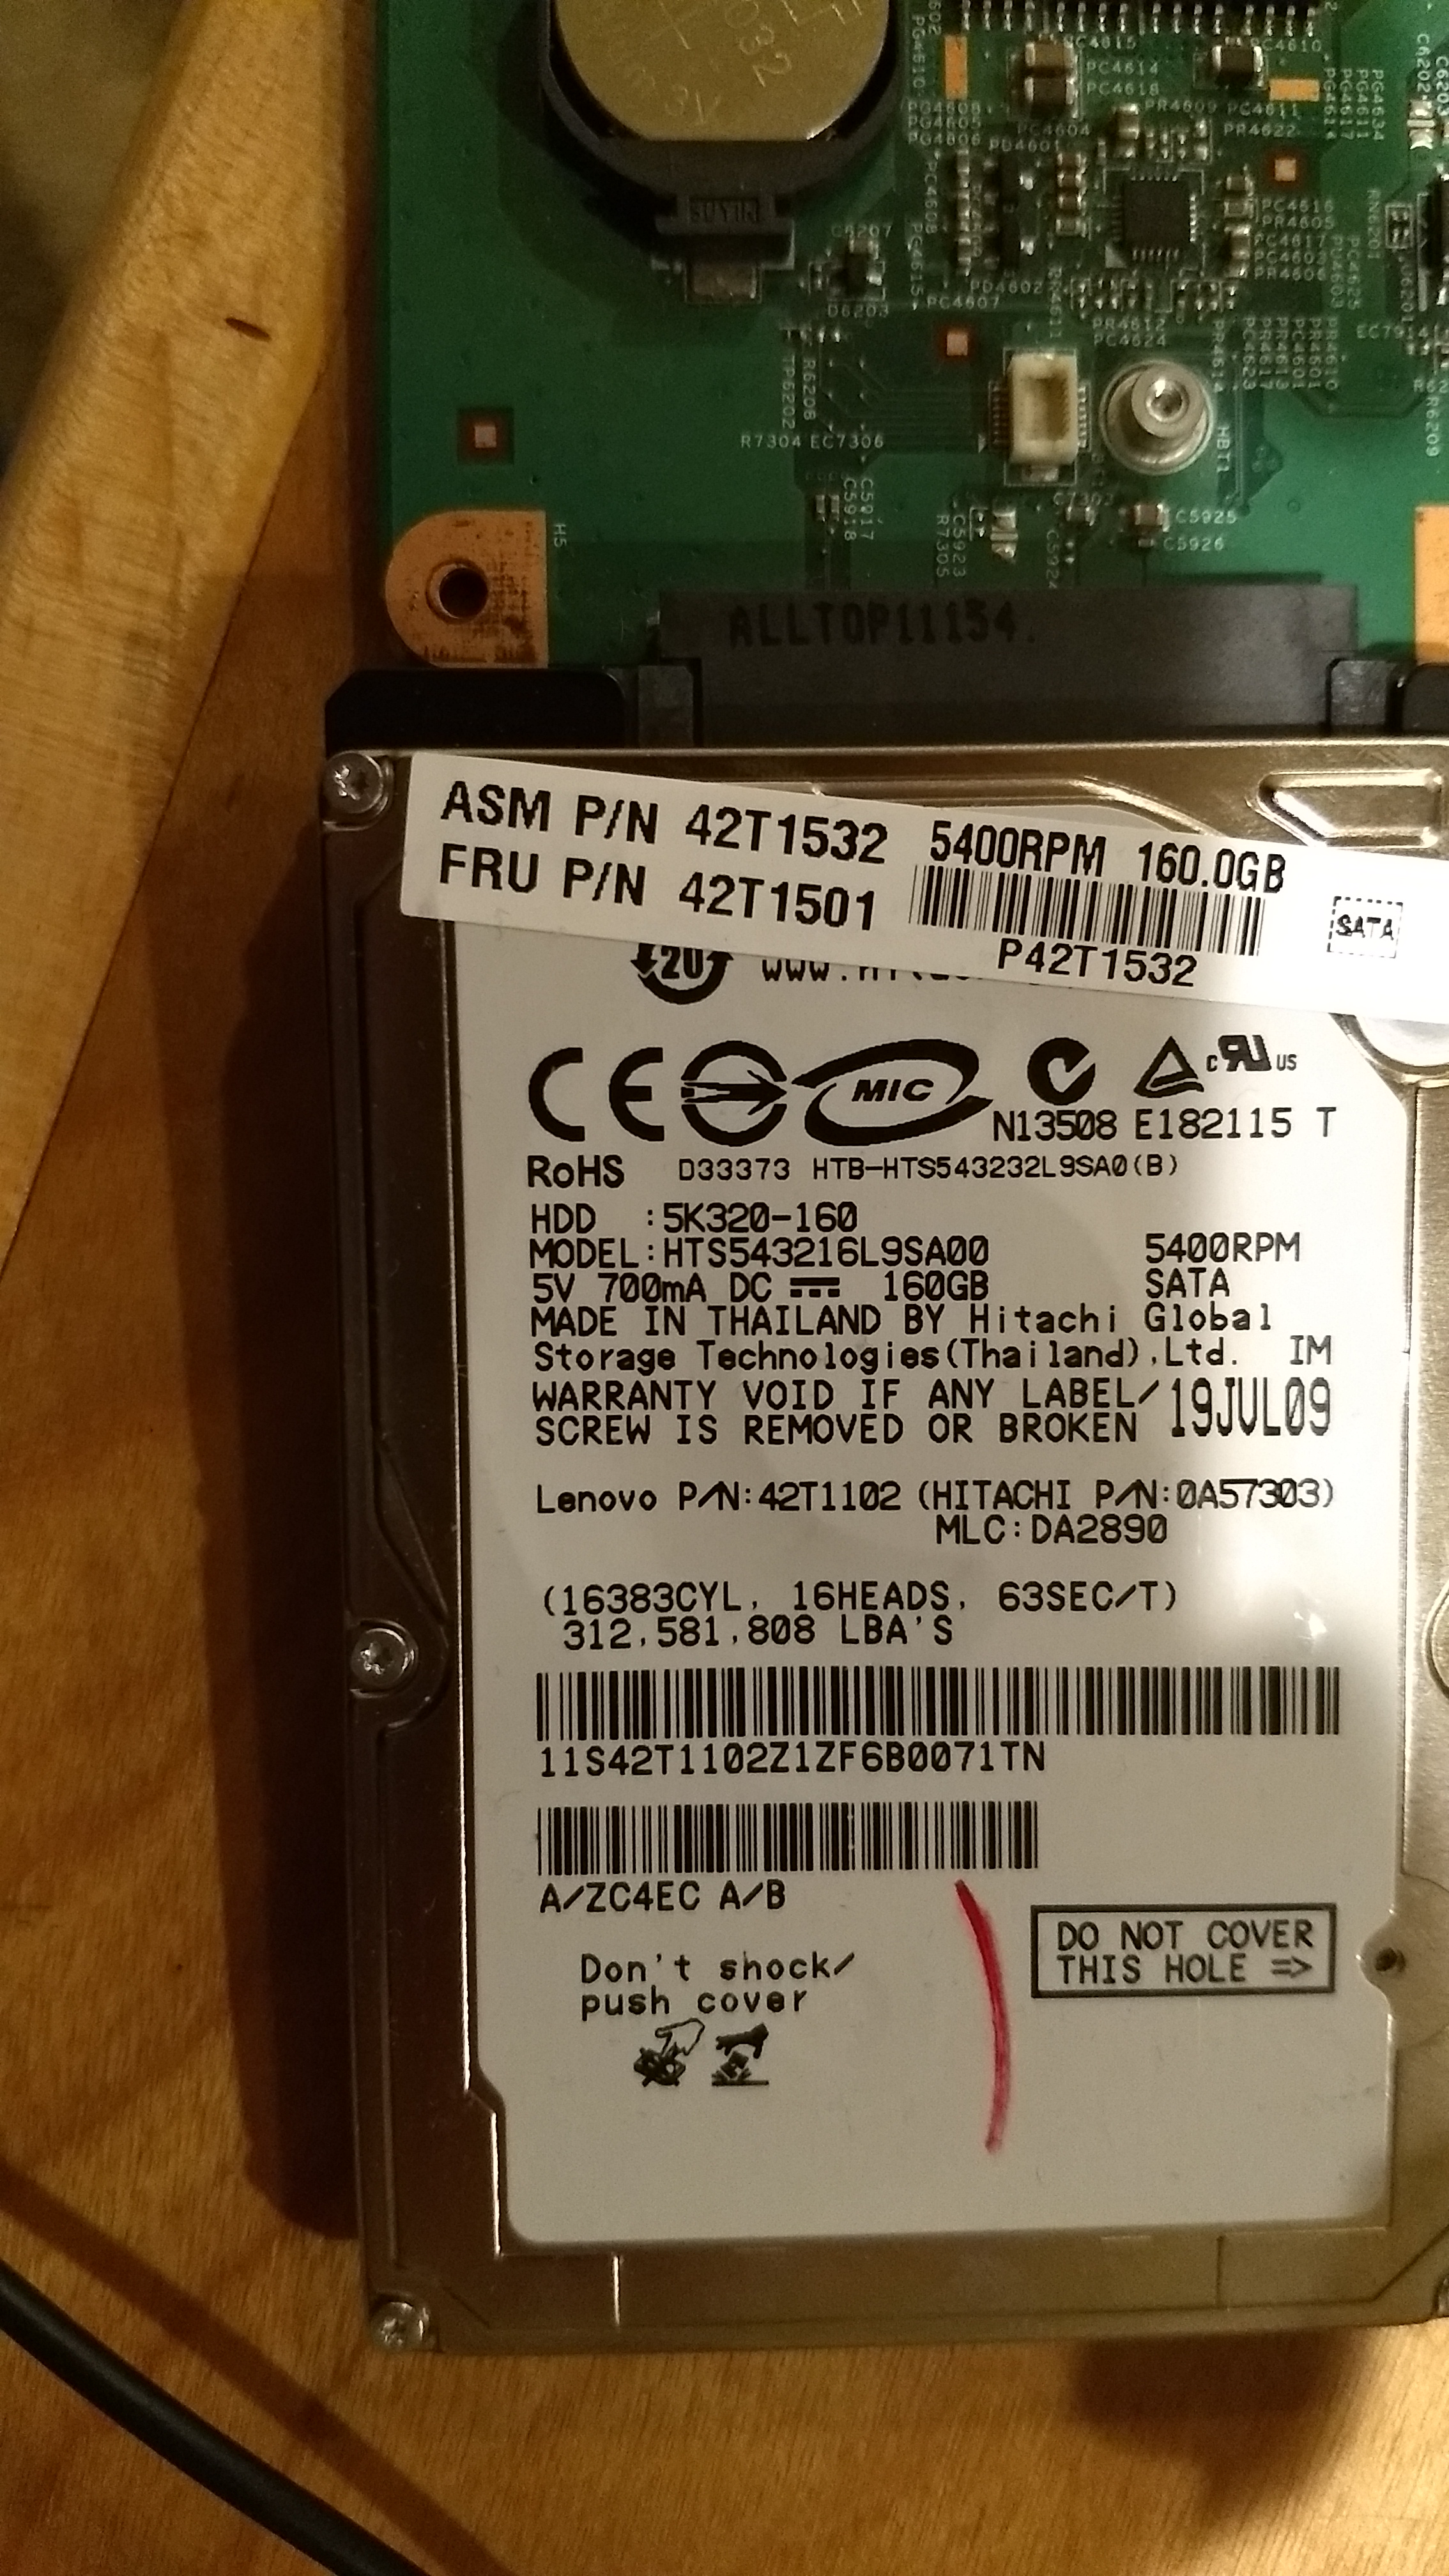
Now we need a new 2.5in hard drive. Time to search e-Bay for the cheapest one available!
I also had to purchase a SATA extension cable but I have no pictures of that.
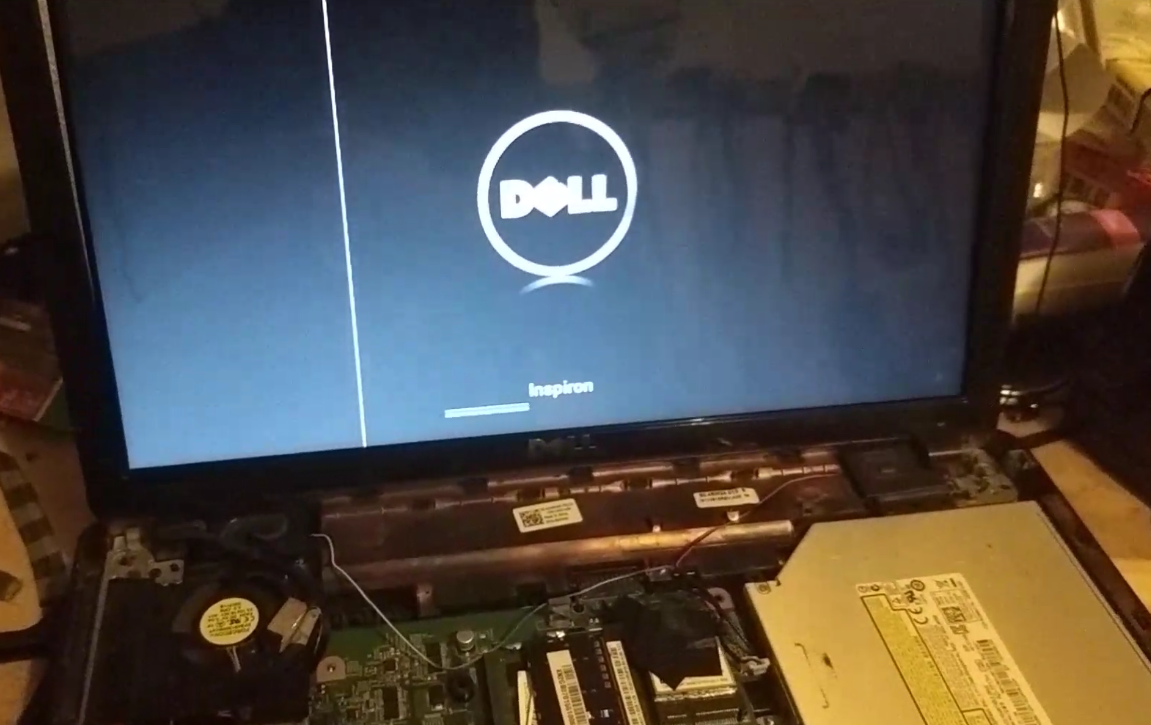
Time to install Linux!
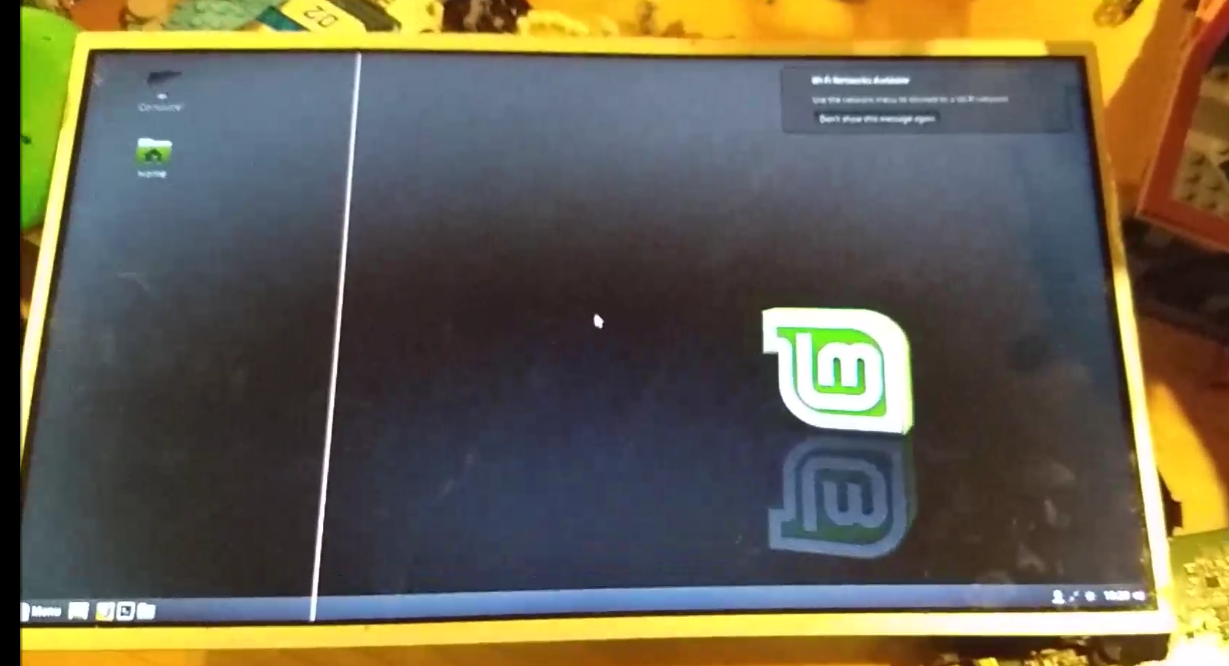
Because this machine doesn’t support USB booting I had to install Linux using a different computer and then plug it into this one. The main use for this machine is to play Minecraft and it does that quite well for a seven year old budget machine.
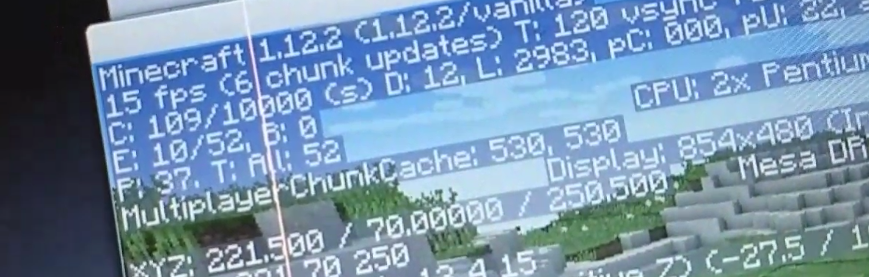
Keep in mind this is the default settings, with some tuning I got running ~30 to 40FPS.
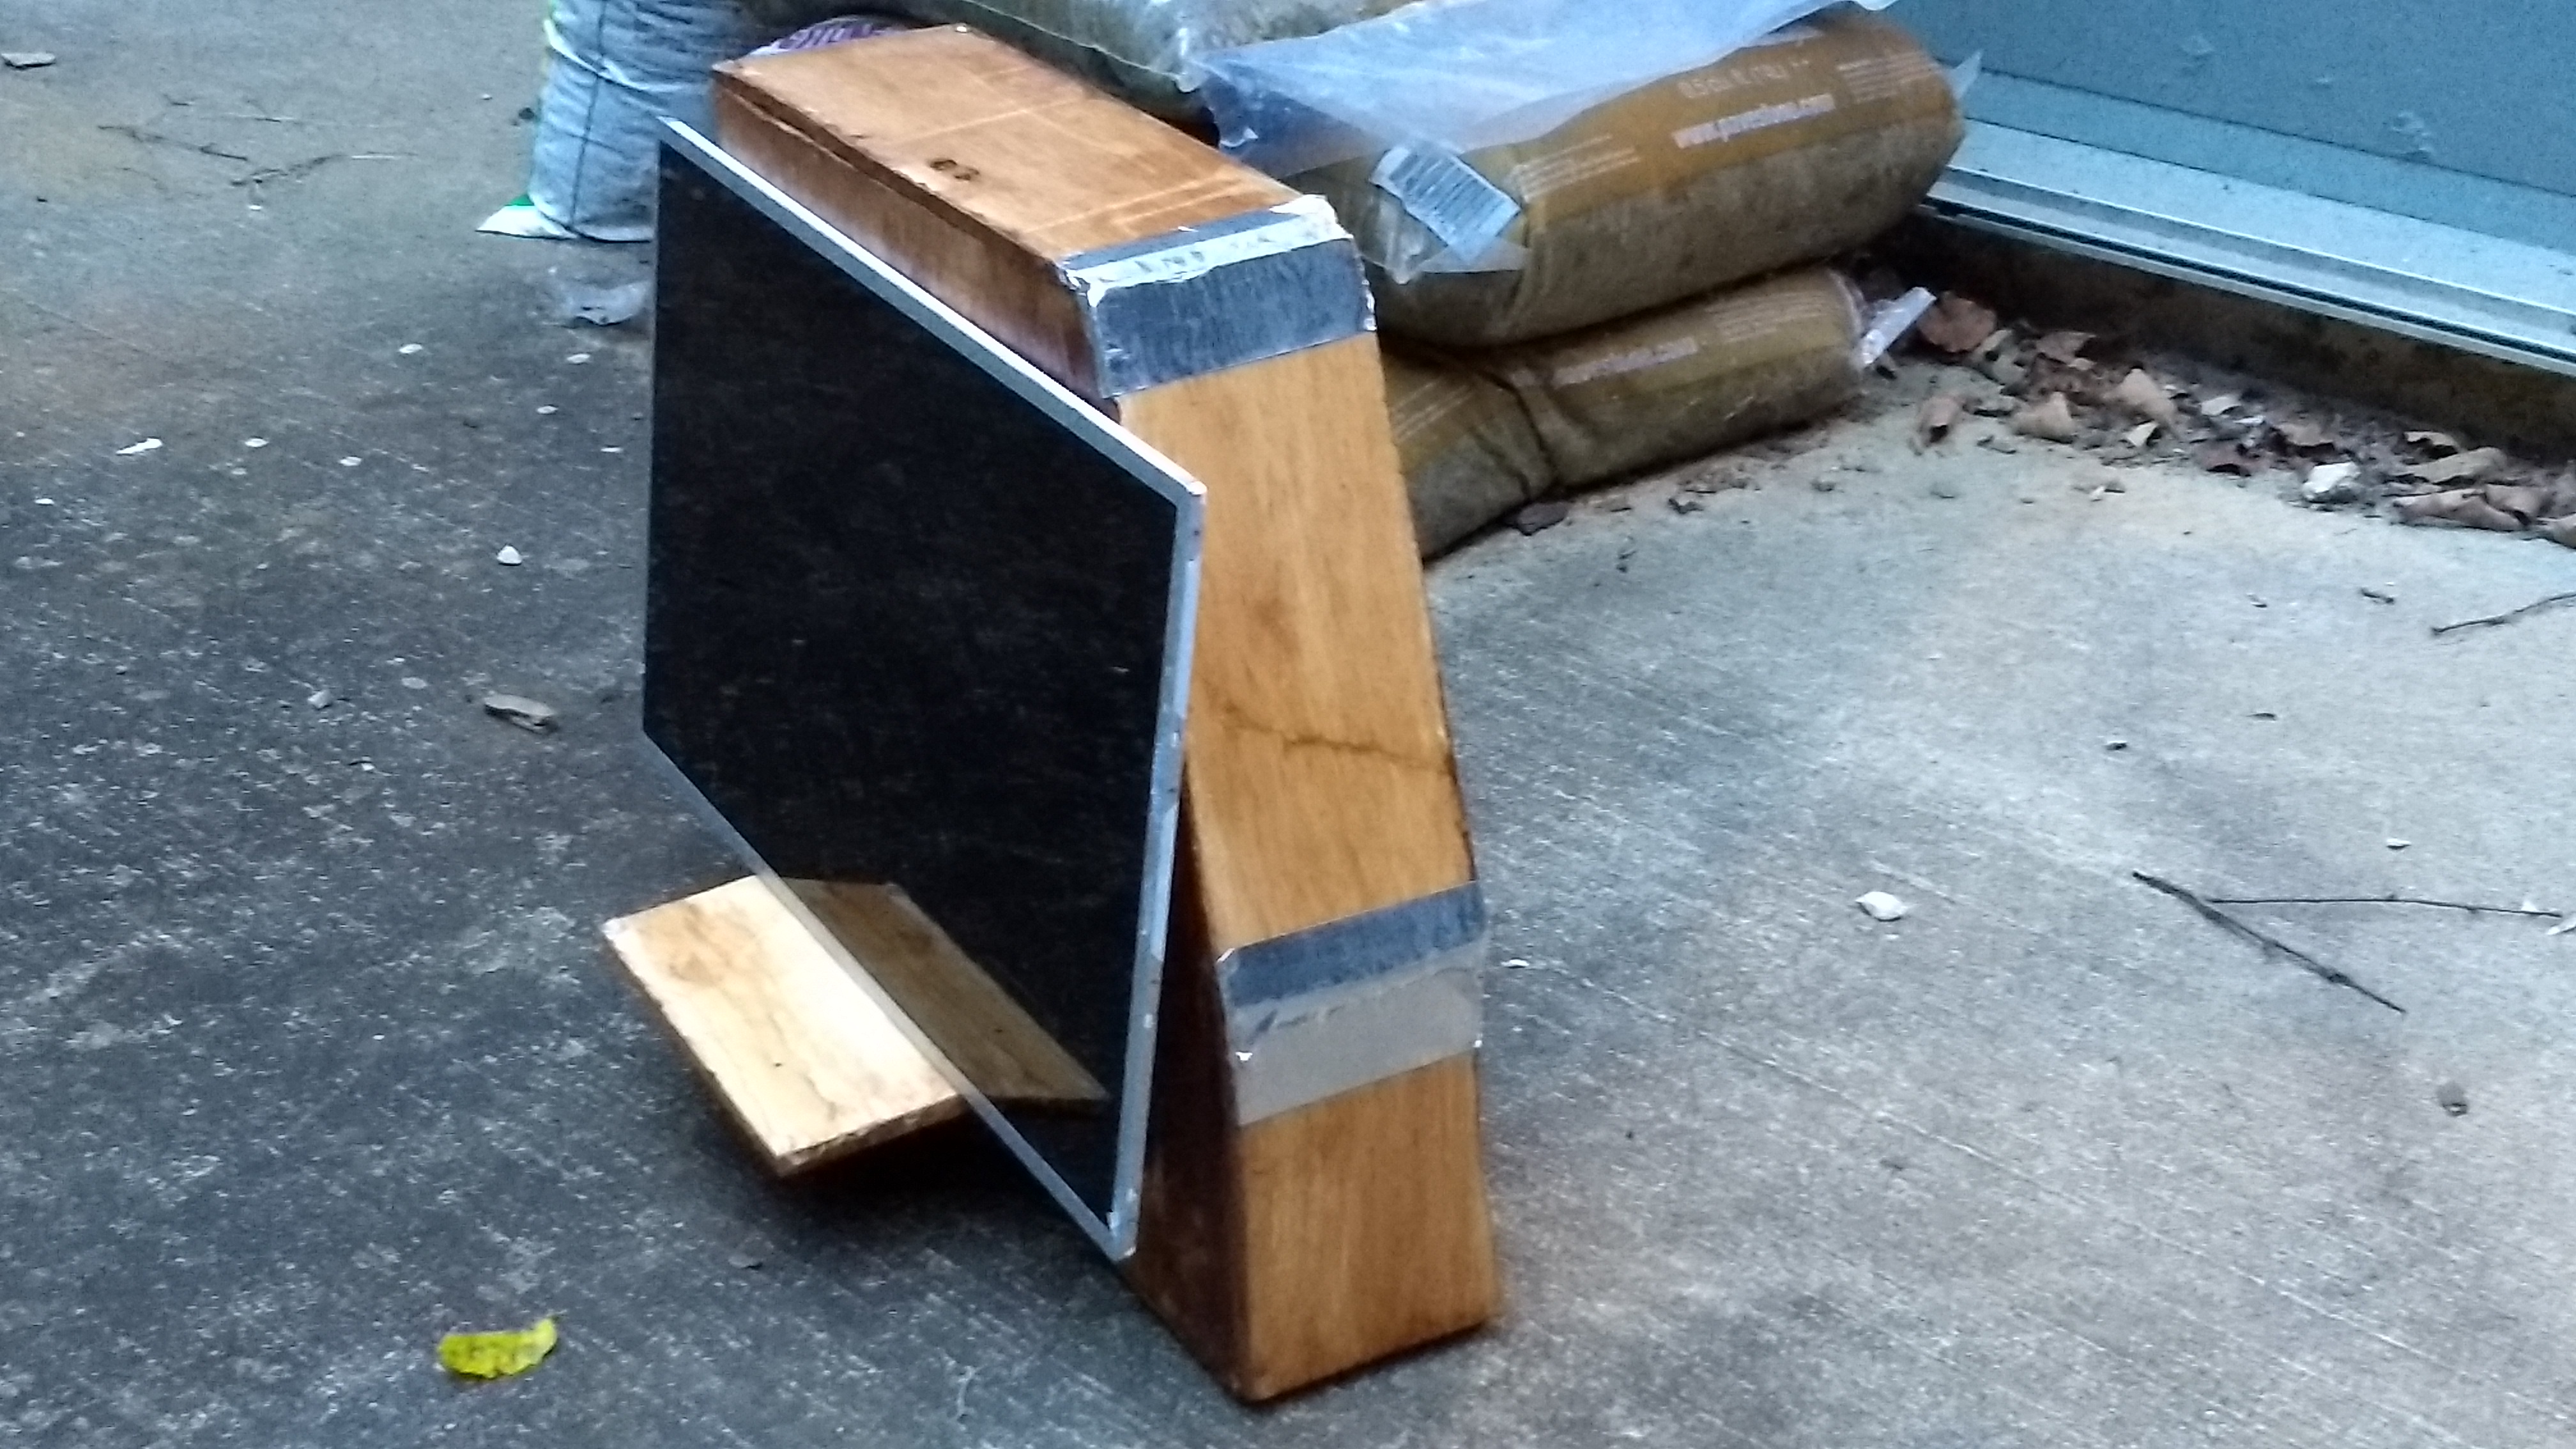
Time to start building the case!


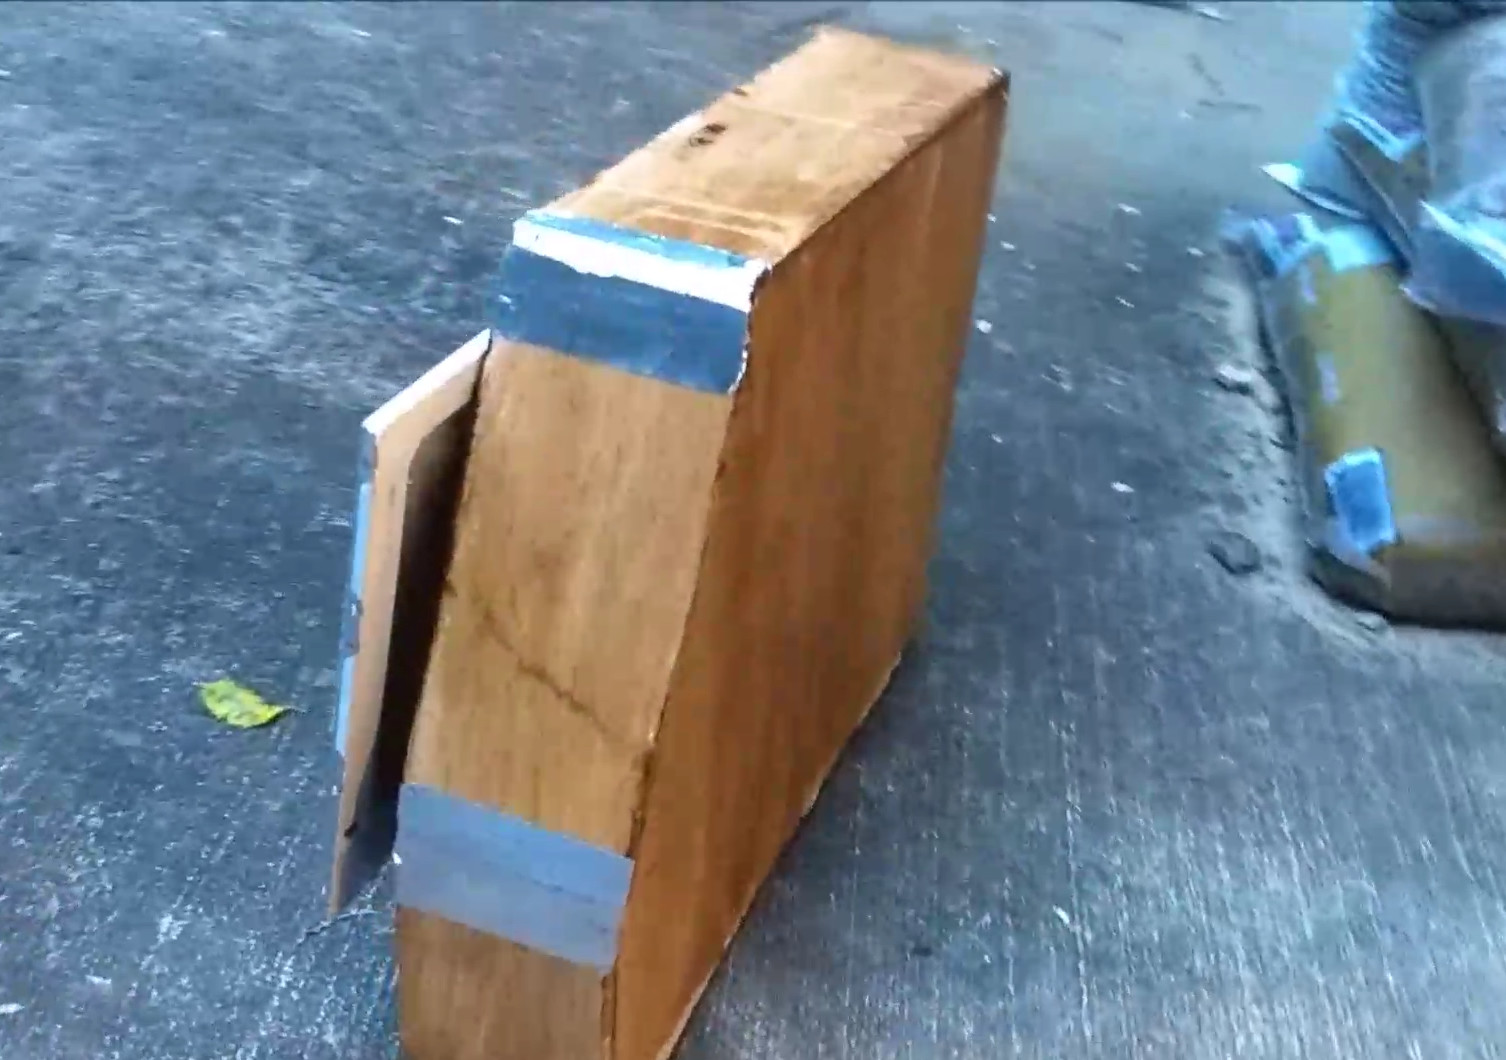
This was the first time I used a jigsaw so all my cuts were crooked and wavy. Nothing that some stylish aluminium tape can’t fix.
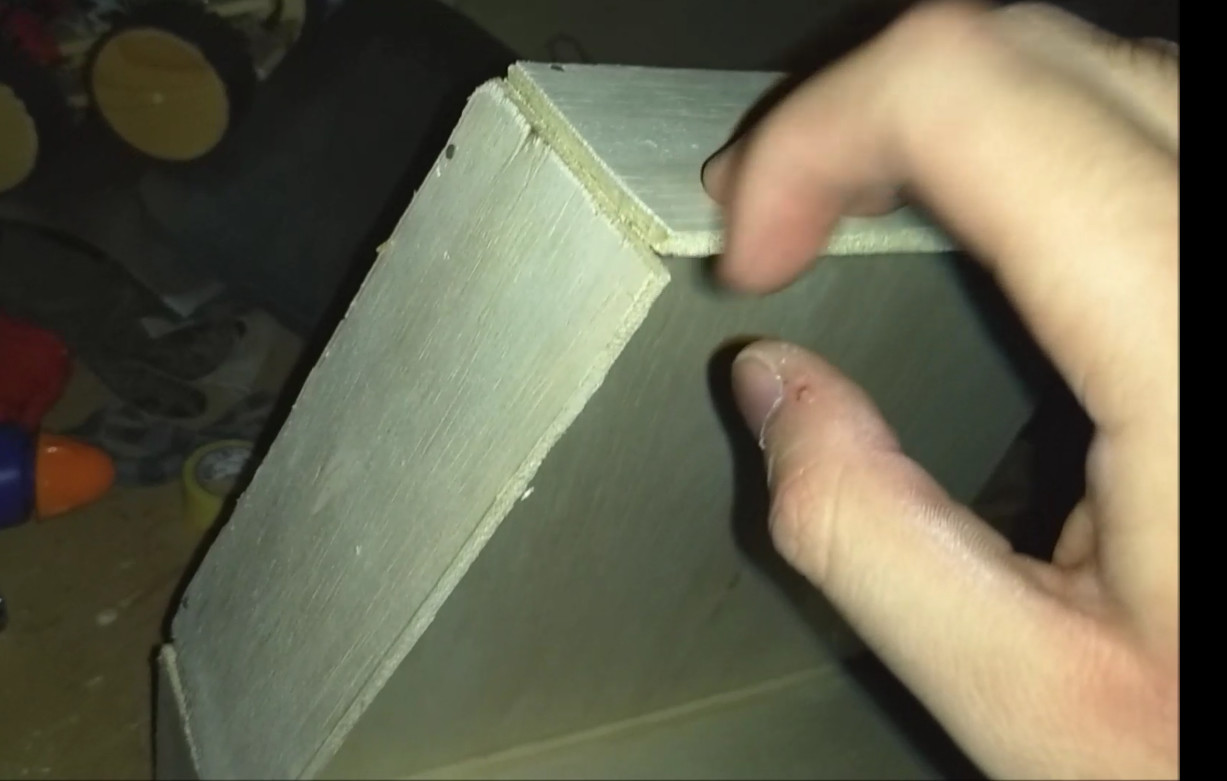
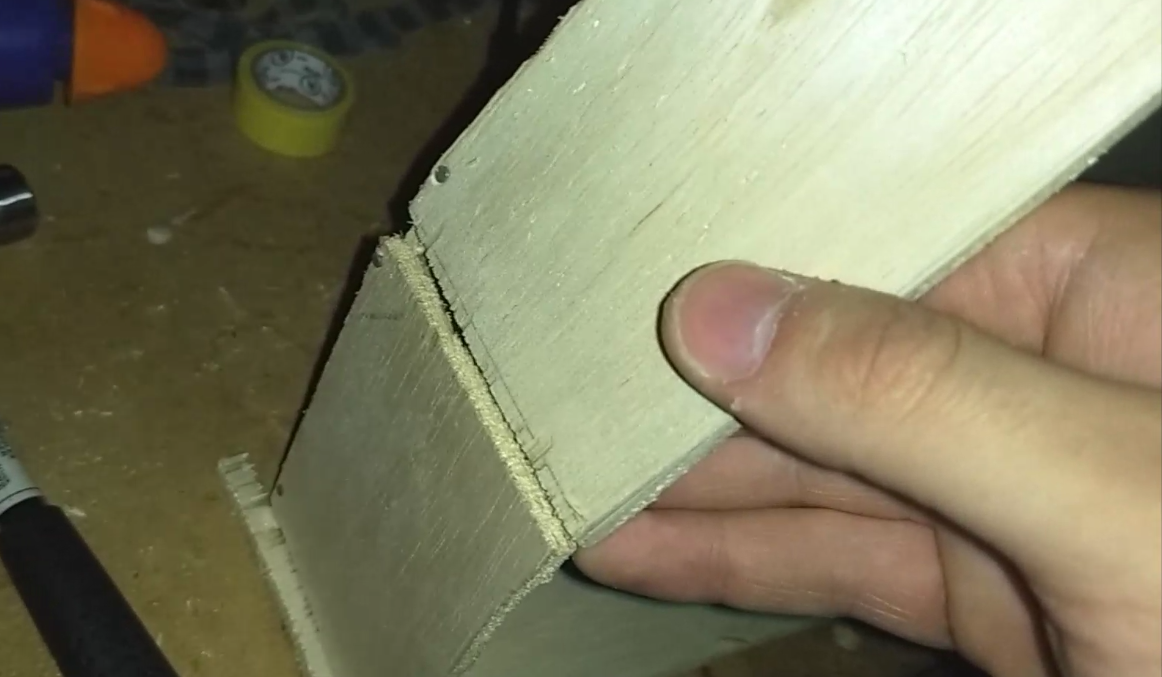
I put it all together with hot glue as a place holder, and boy do I regret that. I should have used screws from the beginning and a shelf to hold the screen.
At this point I decided to scrap having the battery. I wanted it to act as a UPS type dealeo but I figured I could put it to better use in a future project. All we need to do now is stain and voilà
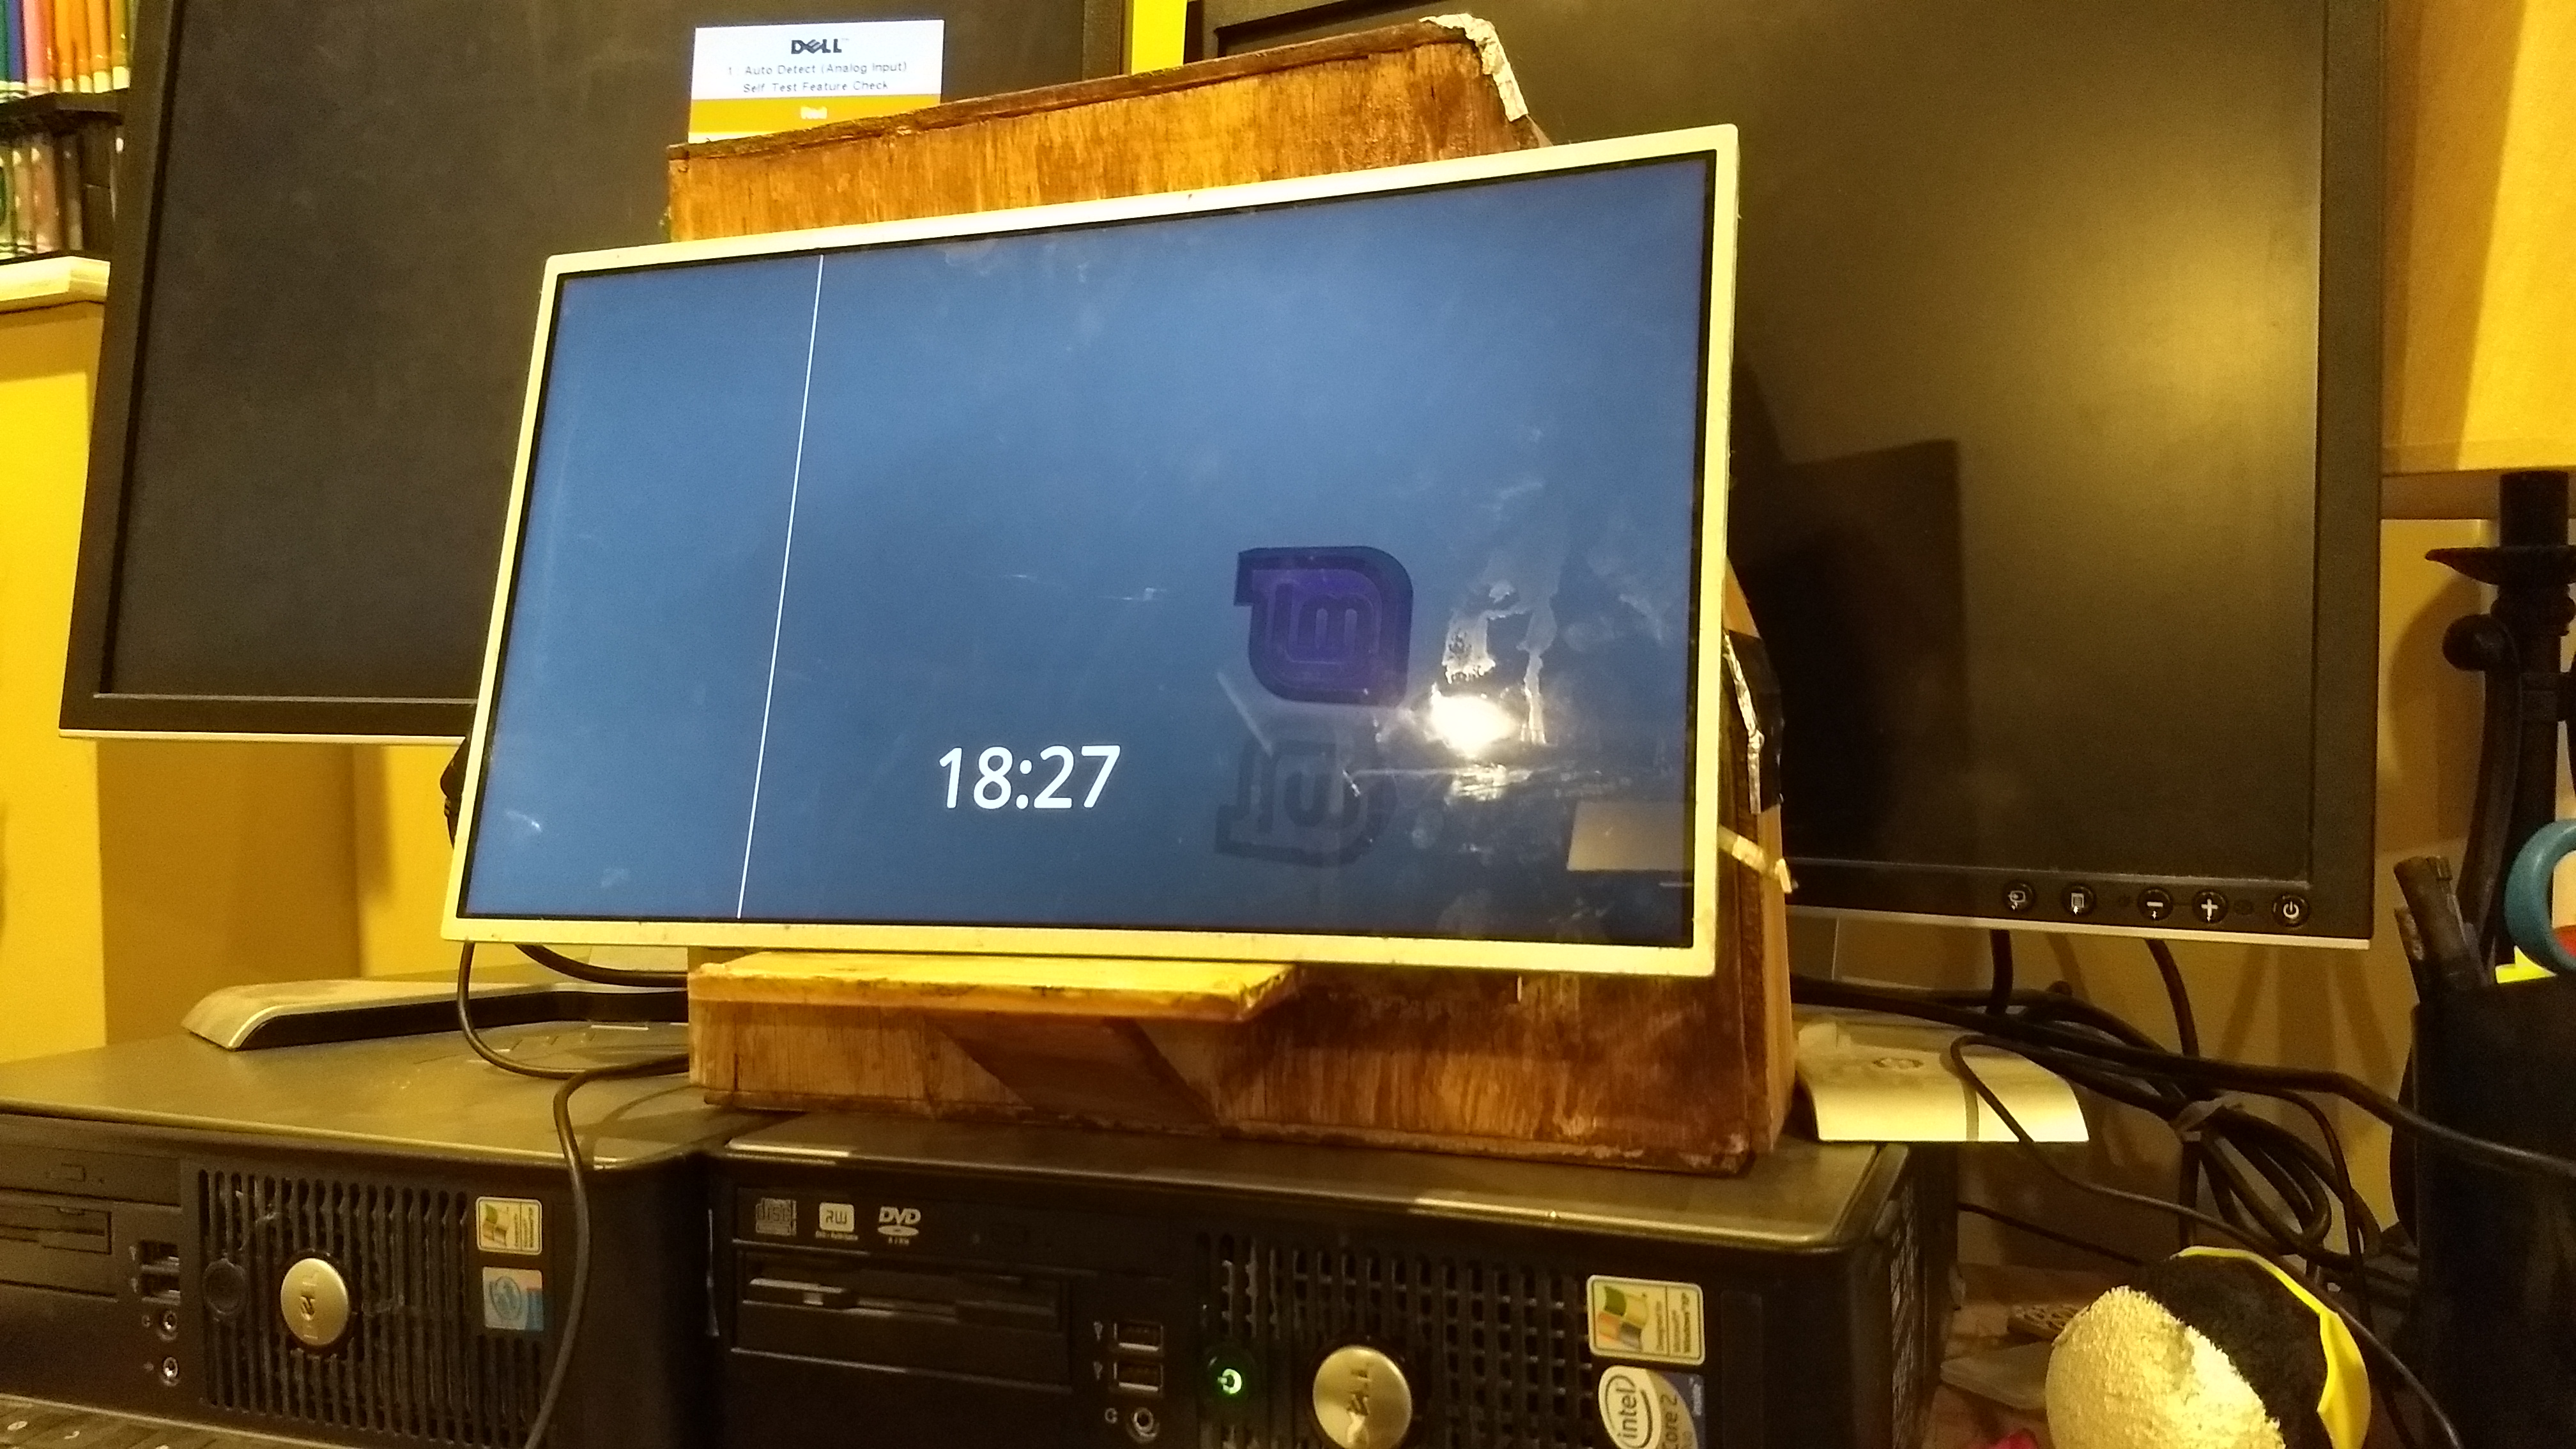
Done! If you have any questions I’ll do my best to answer in a timely manner!
Specs (I don’t have the machine anymore so I can’t get exact):
Some Pentium Dual Core @ 2.3GHz
4 GB DDR3(L?)
Screen 1366x768 @ 60Hz
160GB 5400RPM Spinning rust
So are you using the esata port for sata extension or just running an extension to a caddy you made in your improvised case? Also did you wire in a power button? What did you use for said power button? Have you considered just taking out the wireless and extending capability though pci port? Any plans to intergrate power supply?
- Just a SATA extension to the drive caddy.
- I can’t find a power button on ebay cheap enough for me to buy cause I’m broke as hell. I tried to wire in my own but my soldering iron’s tip is too big and buying a new one costs as much as the power button Right now the power button is a paper clip, super ghetto. I plan on getting a button as soon as I can.
- I have but the obvious problem is cost. As soon as I can I will because I really want it to run Left 4 Dead 2.
- No because it uses the charger that came with it and that works fine
Hope this was helpful
Nice Fusion 360 mockup!
I love these kinds of projects! Doing something similar, but I HAVE to make the case look stylish or my girlfriend won’t have it in the living room. As soon as I have all the parts I’ll check in and do a post like yours. It’ll be with a “custom” cooler, external wifi antennas and new power button and such.
Hey man, if I might make a suggestion I think that this would sell quite nicely on the open market, maybe get $100 if you get that power button and all, and use that cash and invest into a surplus optiplex, you can get them quite cheaply and with that and just another 100, you could have youself potentially a sandy bridge core i5 and an okay GPU, I think that would be far more worth your while and someone else could have something handmade. But knowing your position oh so well you could either disregard this or find something in the trash or get crafty and potentially sell the system and just invest everything into a gpu, that seems like the best.
PS Dm me if you potentially live in the area because I have shit I want to get off of me and it might be worth your while