Pinned for a week because it’s badass.
Stunning! Great job!
2 Likes
This transparent LCD stuff is so neat, great work!
I wonder how much you could improve the results with a bit of post-processing of the image displayed, to make the CPU cooler and bottom part less noticeable. I imagine one of two things:
- Make the dark areas brighter. This looses dynamic range as bright colors get washed out trying to compensate, but could potential work very well with content that doesn’t get too bright in those areas.
- Darken the bright areas. This looses overall contrast and might make it a bit more transparent as well, but it should keep the brightness more uniform and prevent loss of details in the dark areas.
Most likely the best solution is a compromise between the two. The main issue is that such a correction is depended on the viewing angle, but since it is large areas which are close to the panel it might work well.
If you would like to experiment with it but doesn’t know how to do this kind of thing, let me know and I will help you. (Up to the point of converting an image/video with a script, any kind of live correction of the display would be out of scope of what I’m willing to help with.) Just get a way to keep you camera/phone stationary between images, that makes everything much easier.
Hello, thank you for great documentation of your Project!
I’ve done this myself using a Raspberry as host for the side panel, which is remotely accessed through wlan (I don’t like cables going from the outside back in the case again). That’s why I find your solution very interesting.
Can you please explain exactly how you connect and access the Intel mini pc? Which kind of usb cable did you use for example?
Thank you very much.
I have two solutions. Generally I have a teamviewer instance running on the mini pc all the time, which lets me remote desktop into the mini pc as long as I’m on a known wifi connection.
Alternatively, I have a very cheap wireless mouse I use with the mini pc. Windows has an on screen keyboard you can show. For the most part, this solution has turned into my preferred way of interacting with the mini pc as it’s way less laggy than remote desktop.
The usb cable is just for power. It’s a micro usb cable I cut in half and soldered directly to sata 5v.
2023-05-10: Go big or go home
A picture before the story
Wow, has it already been over two years since my last upgrade? This PC has been rock solid since dropping in the 5600X. A lot has changed since then in the hardware scene, but I was satisfied with my PC’s performance.
I actually didn’t have any intent to upgrade to any of the RTX 4000 or RX 7000 series. I still keep an eye on pc part sales though, and when I saw the 6950XT drop to 599… I thought what if… It’s a pretty big uplift in performance and the price is pretty good. The only issue was the card wasn’t white, which is a big bummer for a build like this.
I let my mind wander a lot and started looking at completely new builds I could put together with ridiculous deals, e.g. 7900X microcenter bundle (549) + 6950 XT (599) + psu + case came out stupid cheap for the performance you got. I actually got to the point of placing the orders for Part List - AMD Ryzen 9 7900X, Radeon RX 6950 XT, Corsair 4000D Airflow ATX Mid Tower - PCPartPicker but woke up the next morning and came to my senses and cancelled pretty much everything.
But I couldn’t stop thinking about an upgrade now. And that’s when it hit me - if I had the budget for the build above, I could just drop a RTX 4090 in my current system and be done for the next few years, right? Probably a dumb line of thought but that’s exactly the line of neurons that fired off.
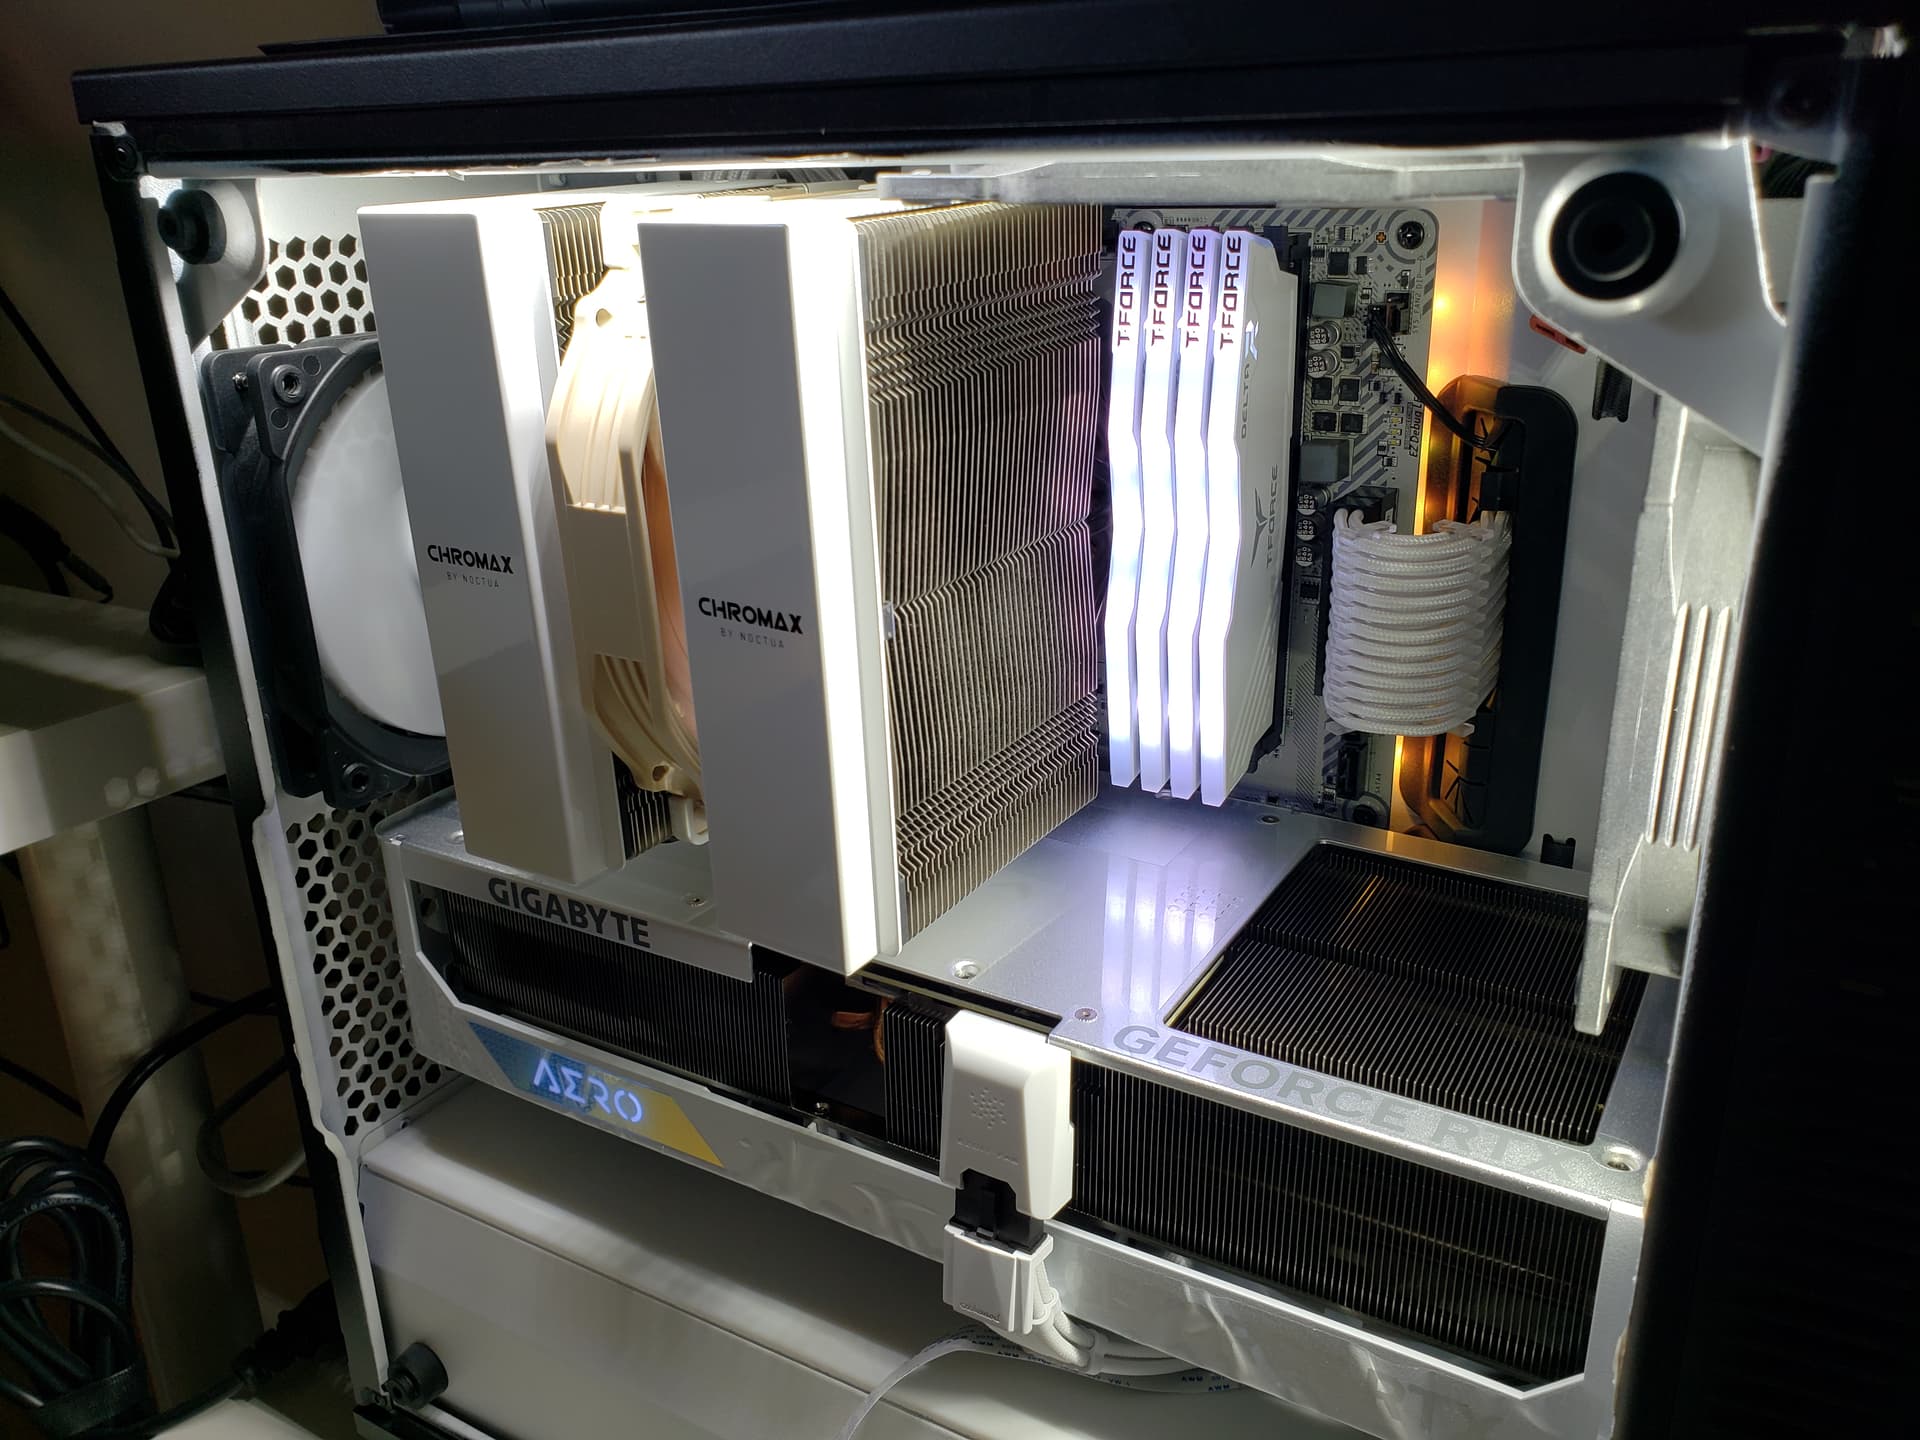
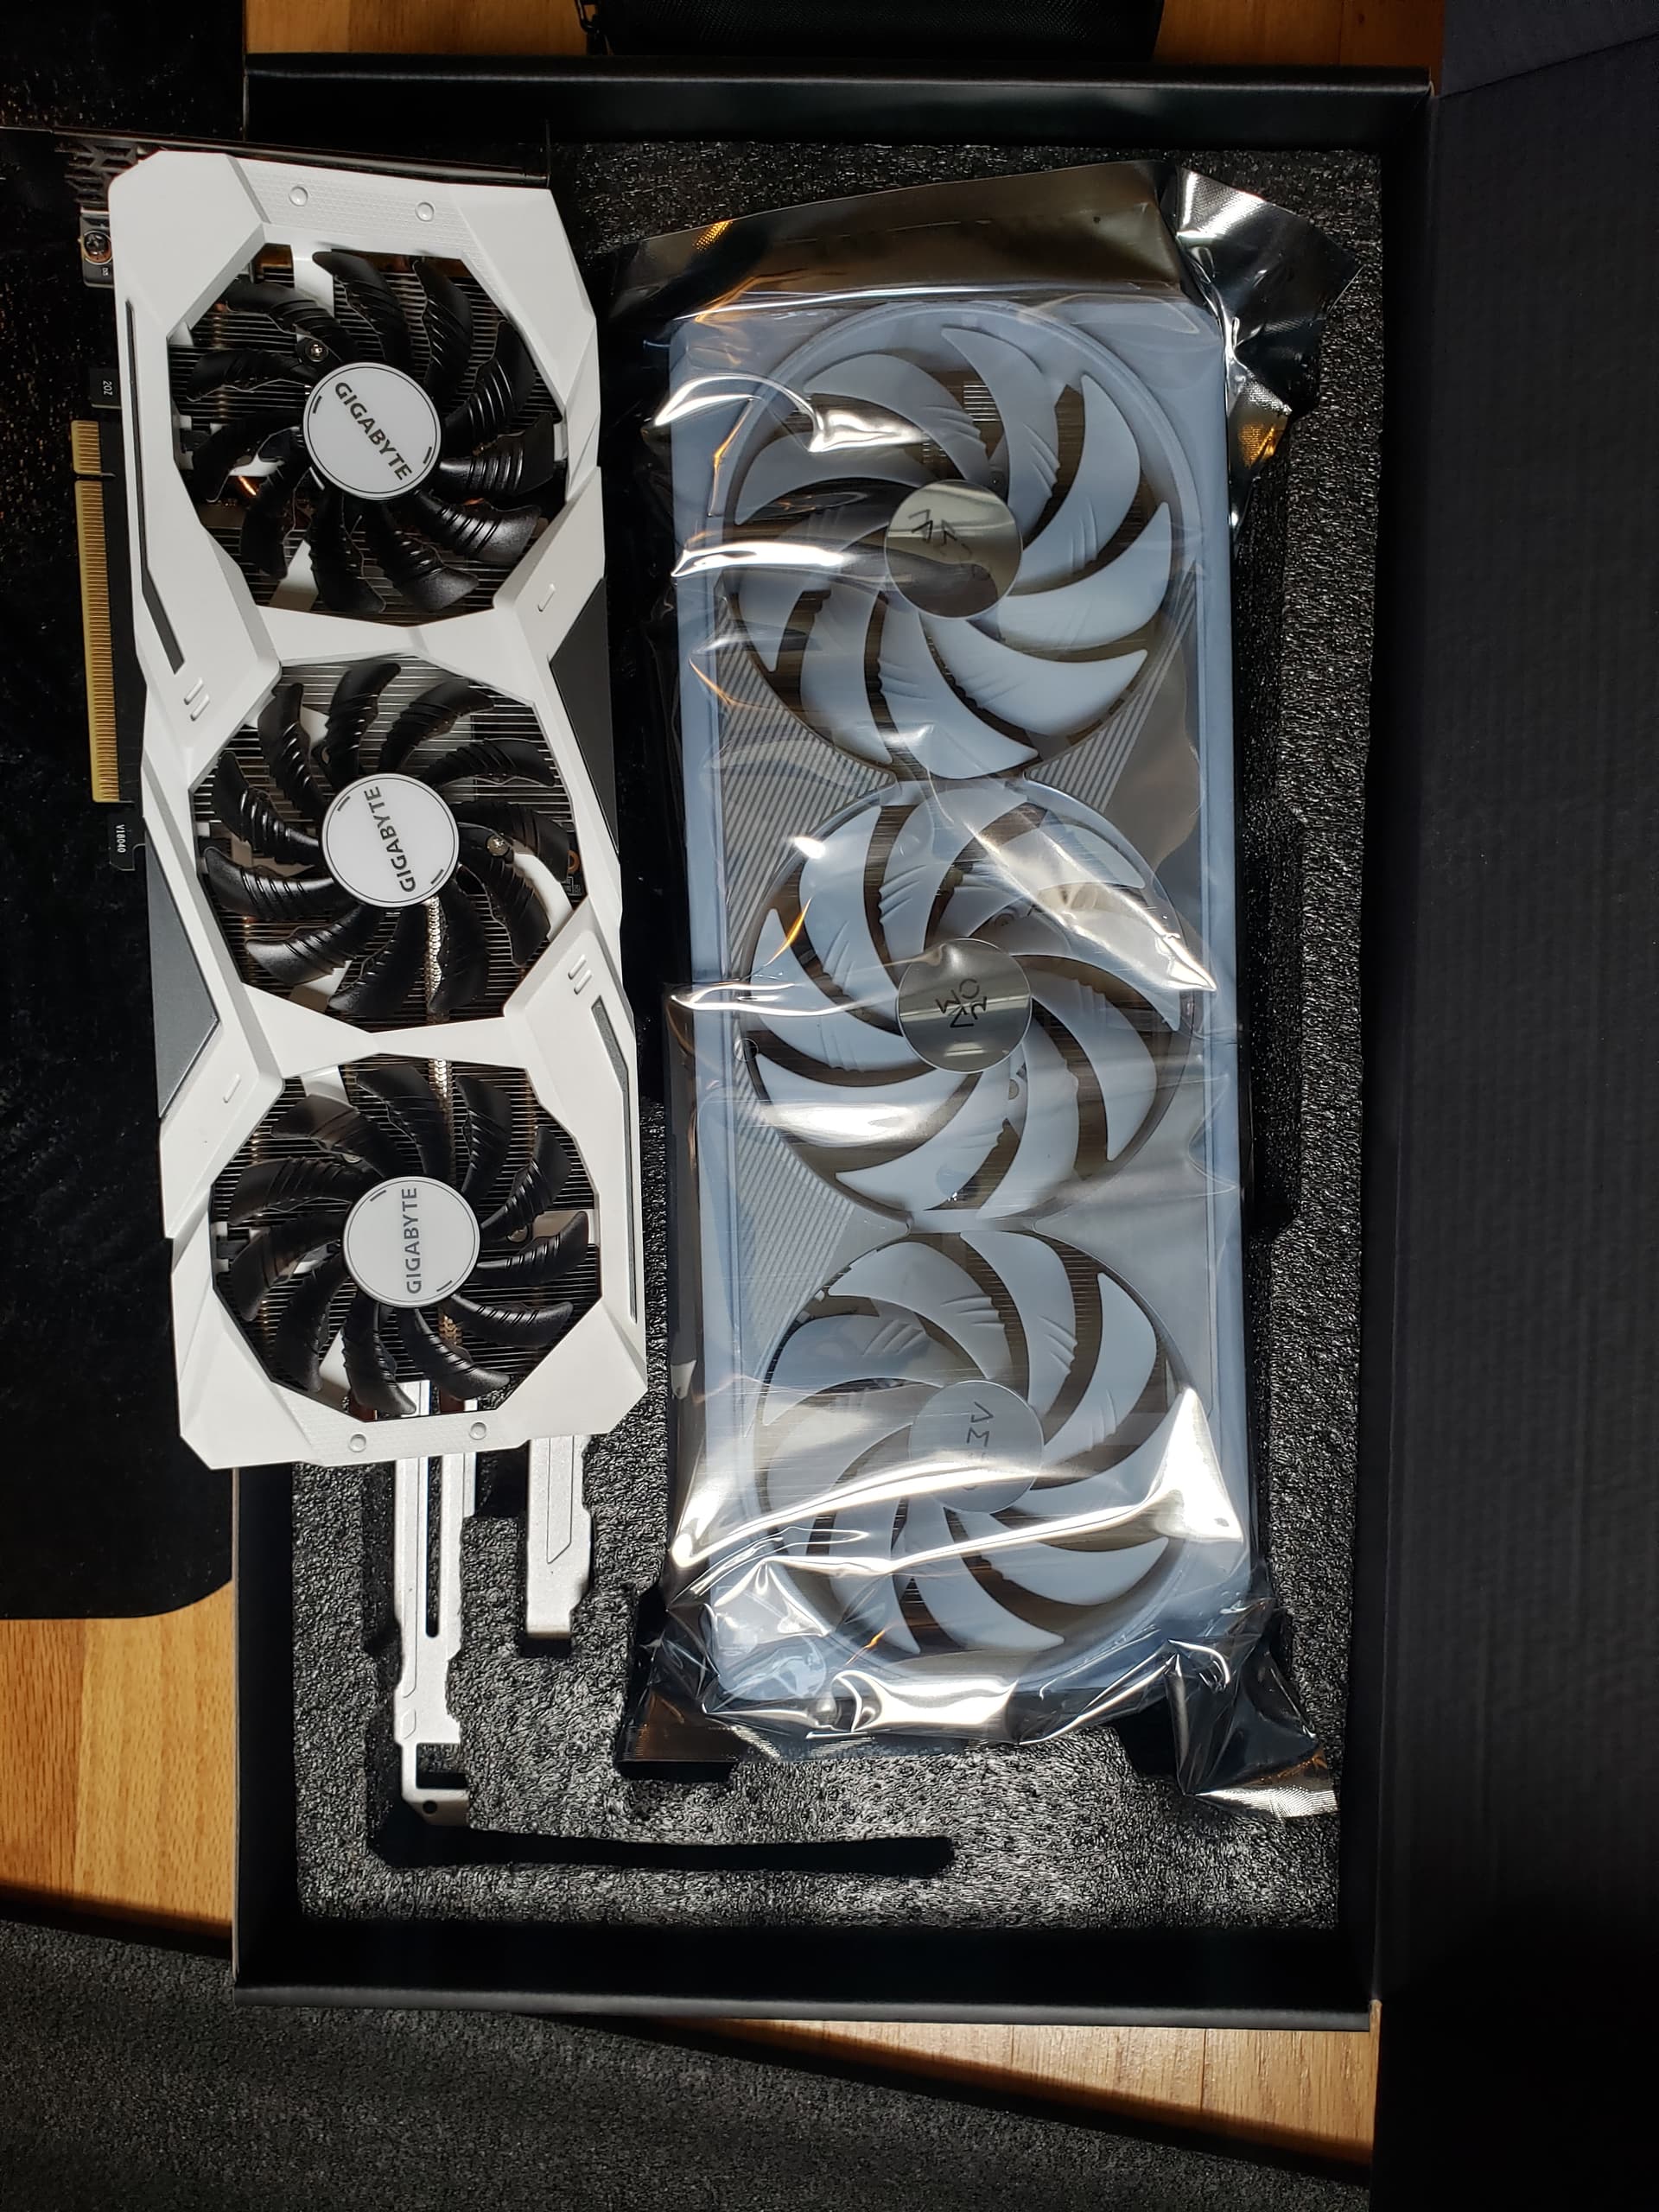
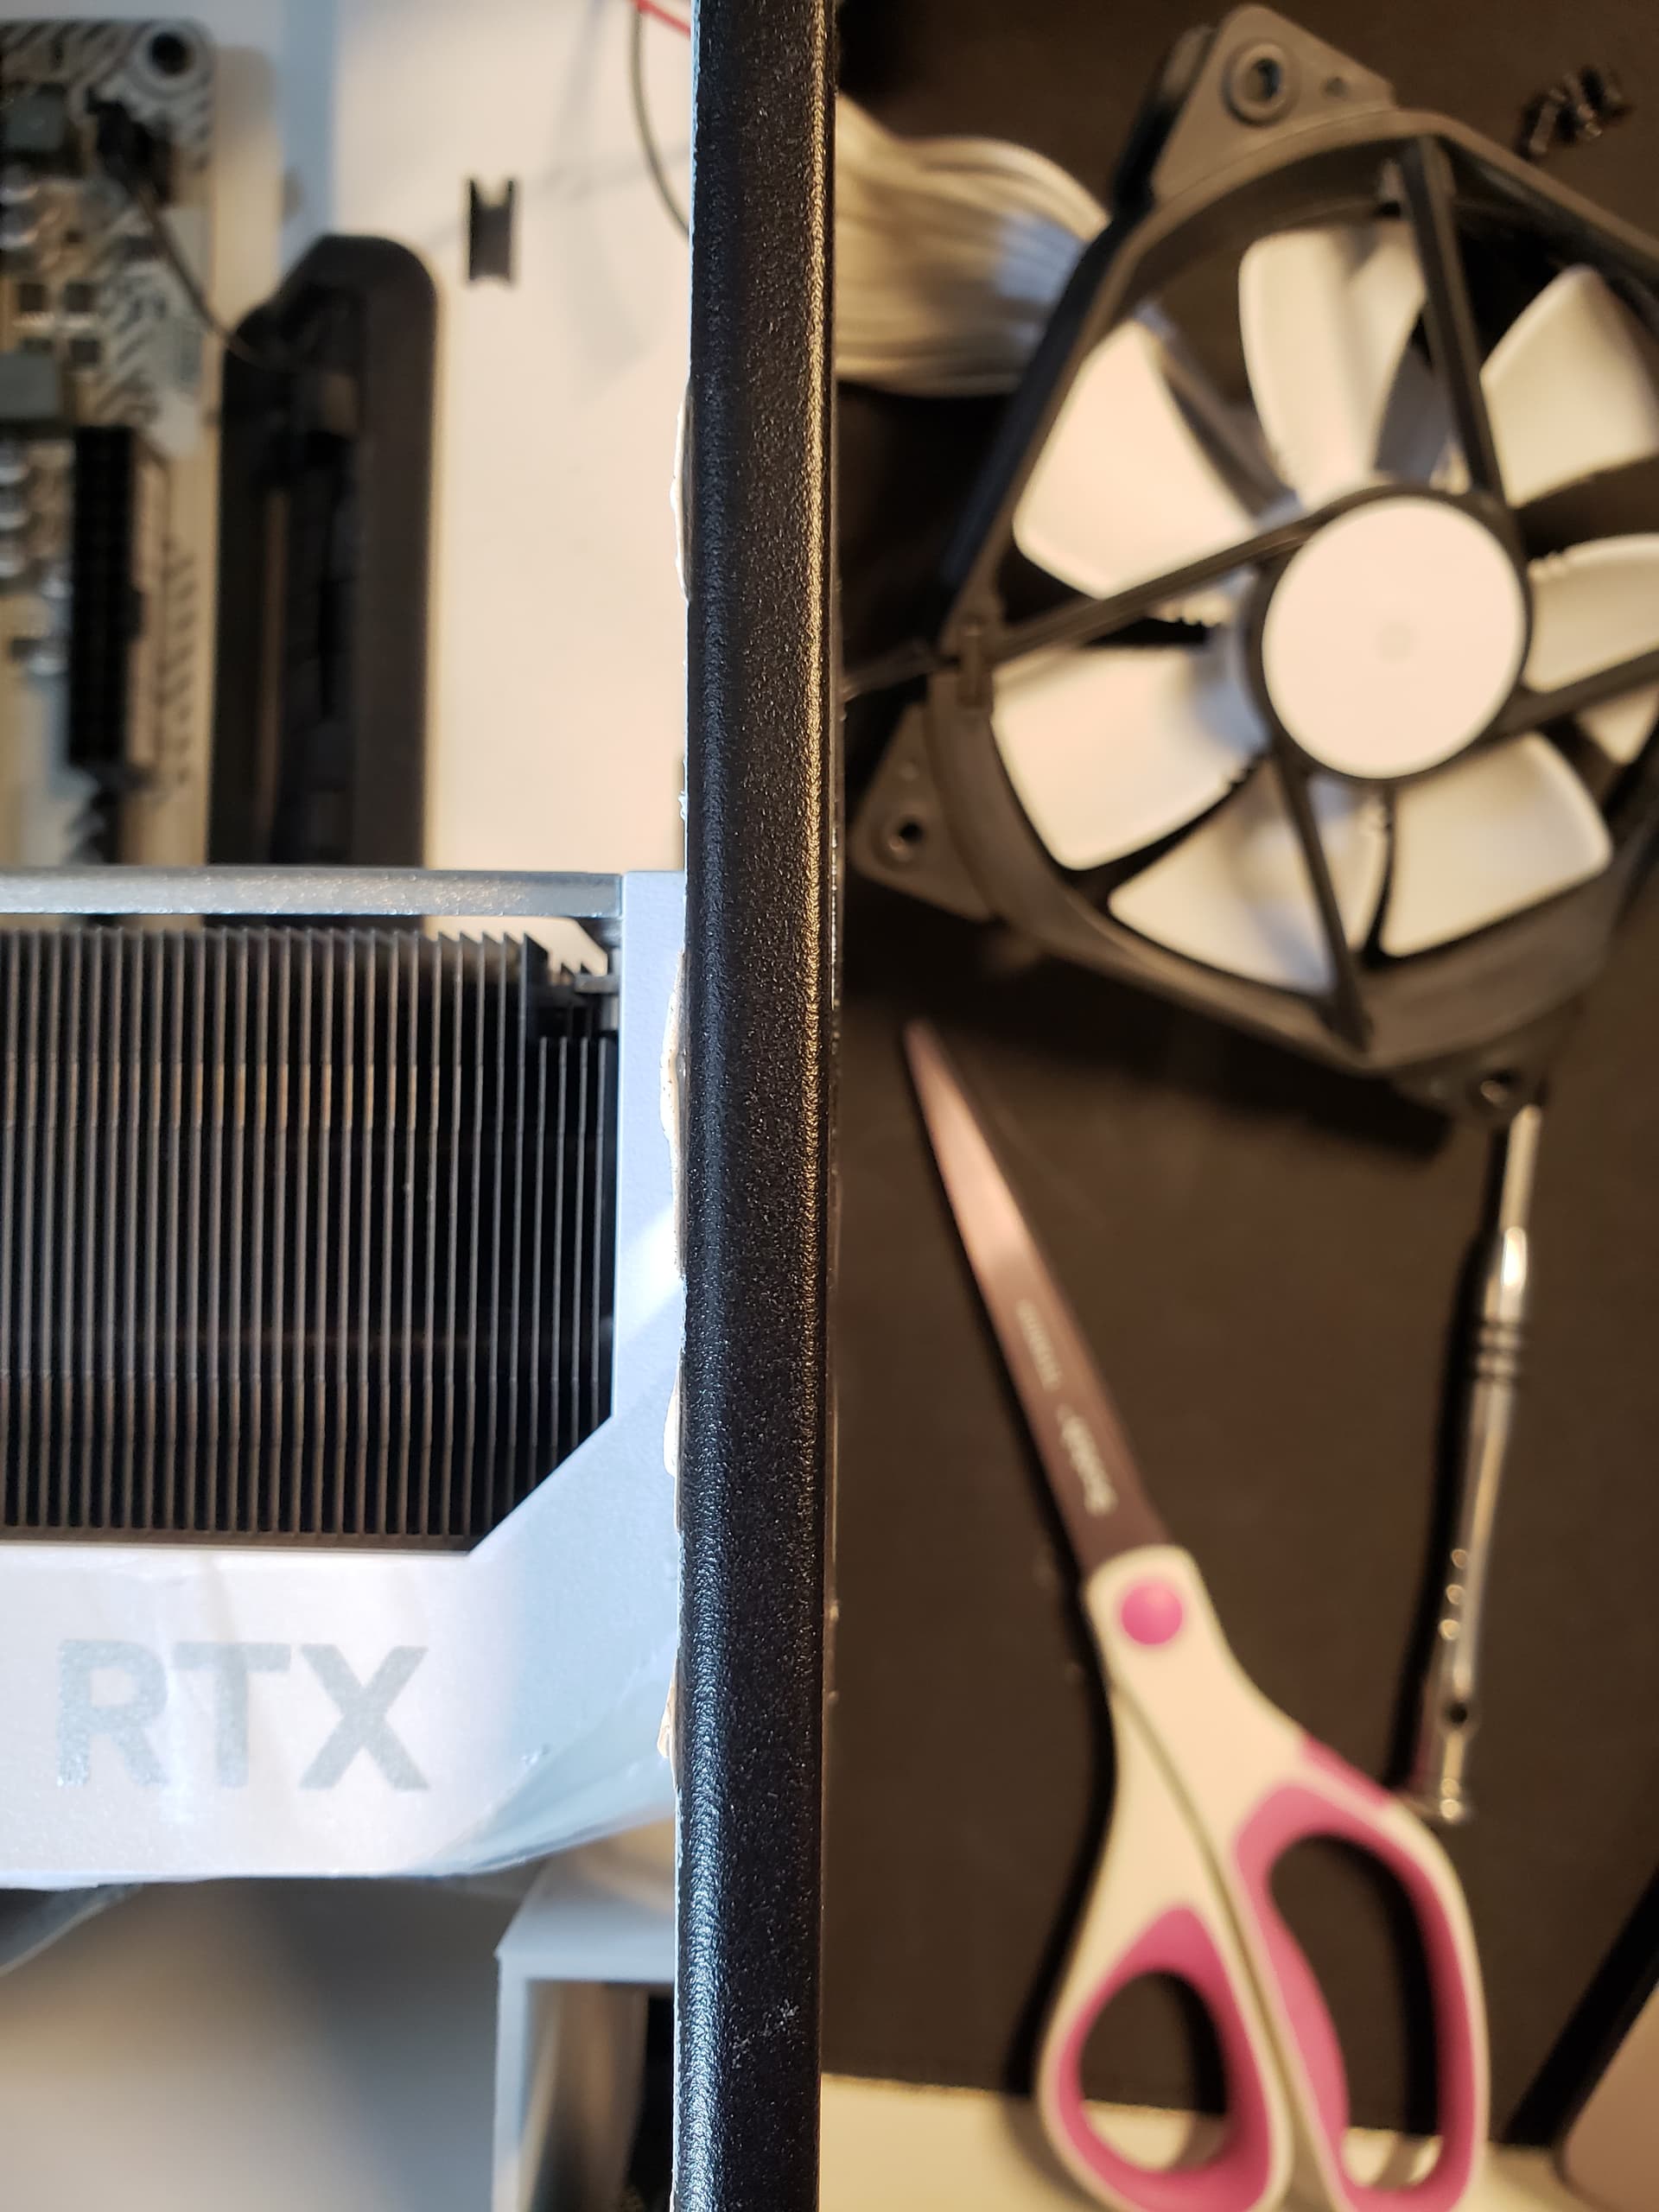
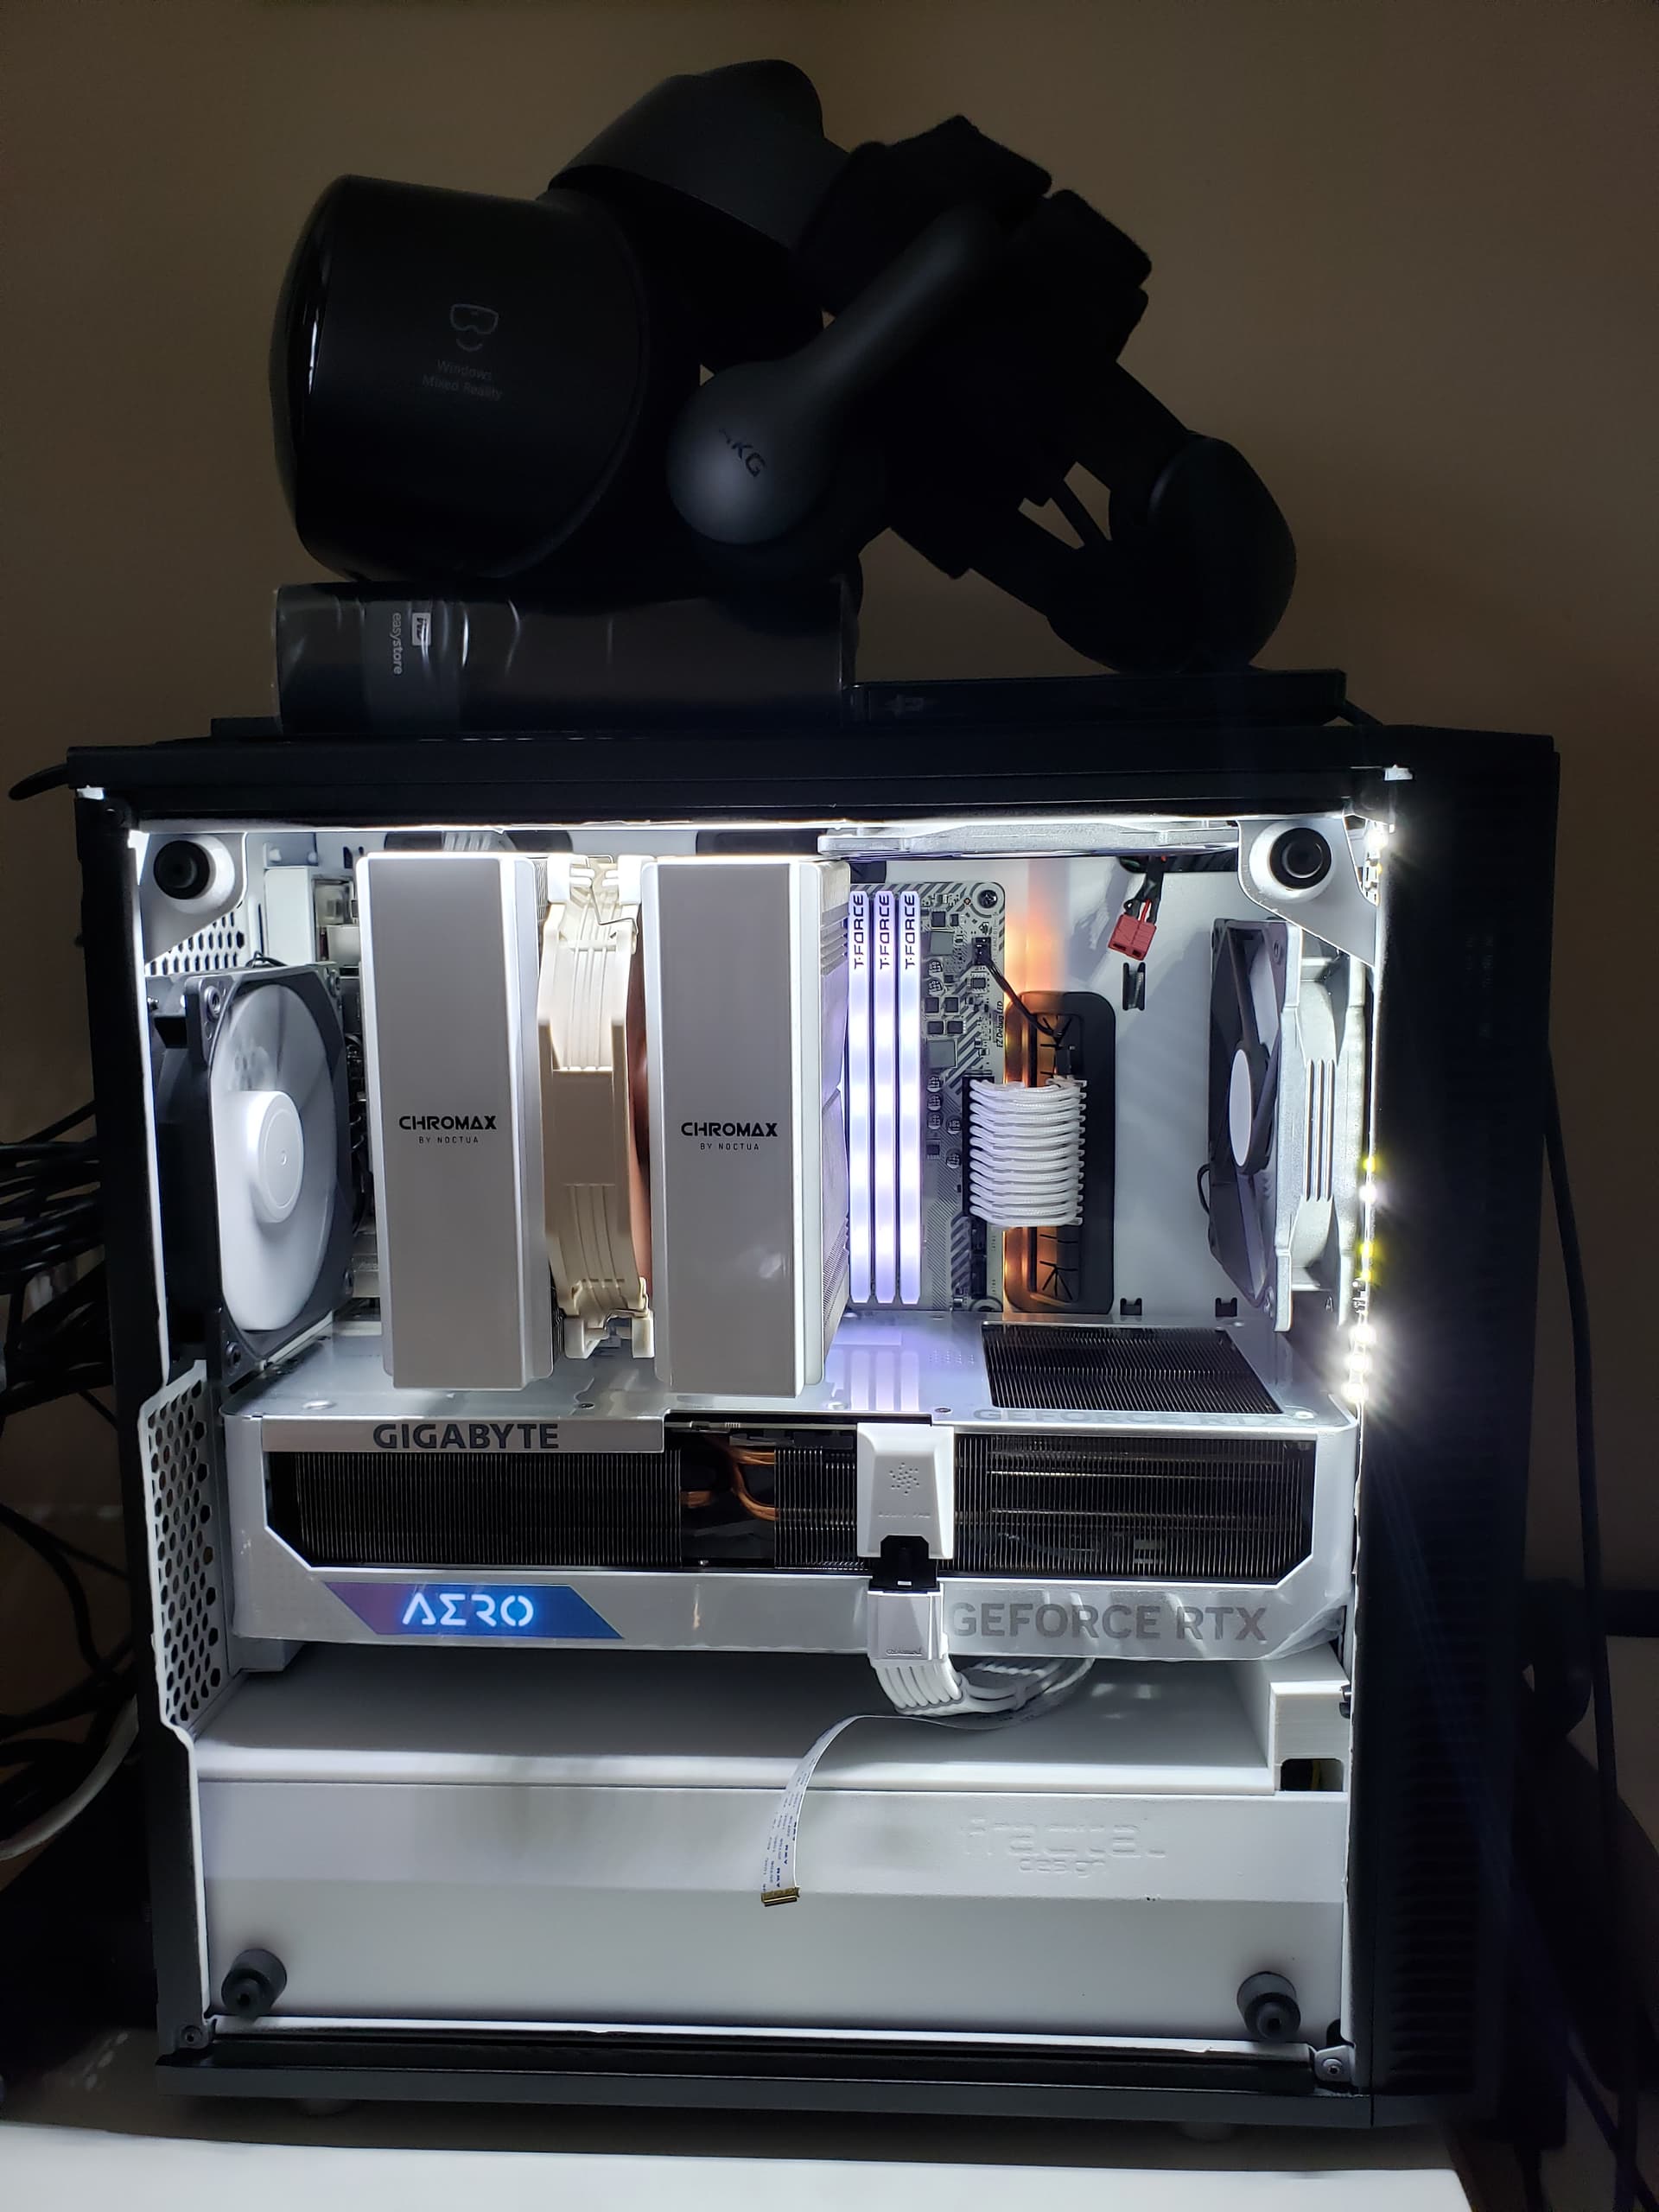
I checked around pcpartpicker for some white 4090s. I knew there weren’t many on release, but it looks like a few have come out since then. And like all 4090s, they were BIG. My case currently has 315mm of gpu clearance. If I take out the fan, Fractal says I’ll have 340mm.
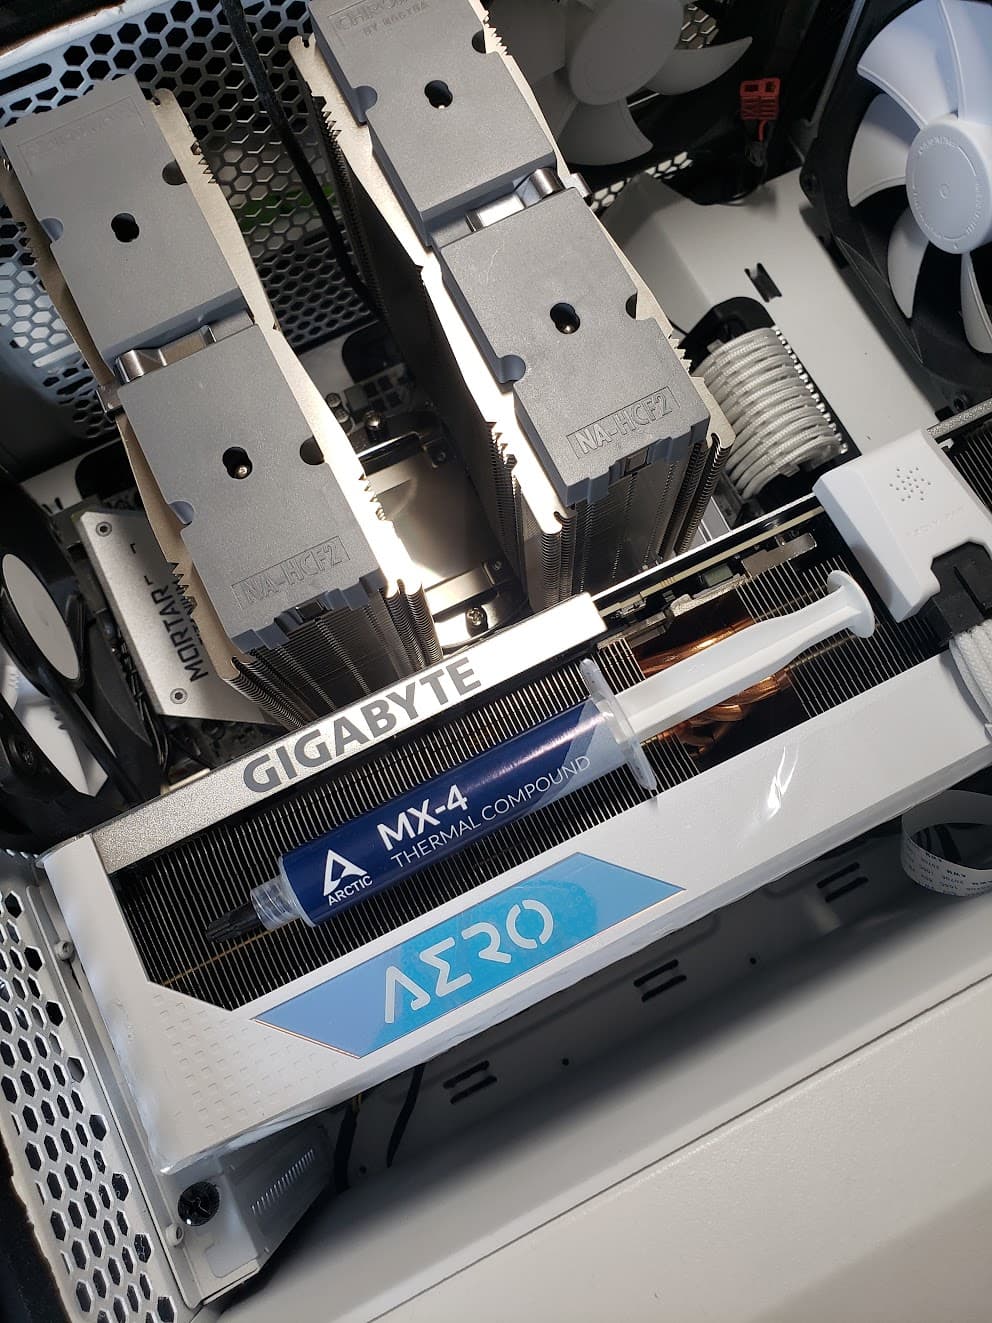
So I basically either settle with the Nvidia Founder’s Edition @ 304mm and completely bork up the aesthetics of the system or try to fit a Gigabyte 4090 Aero @ 342mm into this case. Both of these cards were out of stock at non-scalped prices, so I figured whichever one came in stock would be the one I’d buy.
I now live nearby a microcenter which is both a blessing and a curse. Two days after the above happened, I refreshed the page for the 4090 Aero in the morning and saw they received a shipment of 3 cards. Drove there right when they opened, got 5% off with their card and $25 off with a “new customer coupon”. Still painful but as a result, I only paid about $50 more than a FE at the end of the day. Pretty good deal!.. if you call a 4090 a deal lol.
And here it is next to my 2070. It’s absolutely huge.
like HUGE HUGE. … I can’t fit it in due to the rolled sheet metal at the edges of the case. That 2mm really does make a difference.
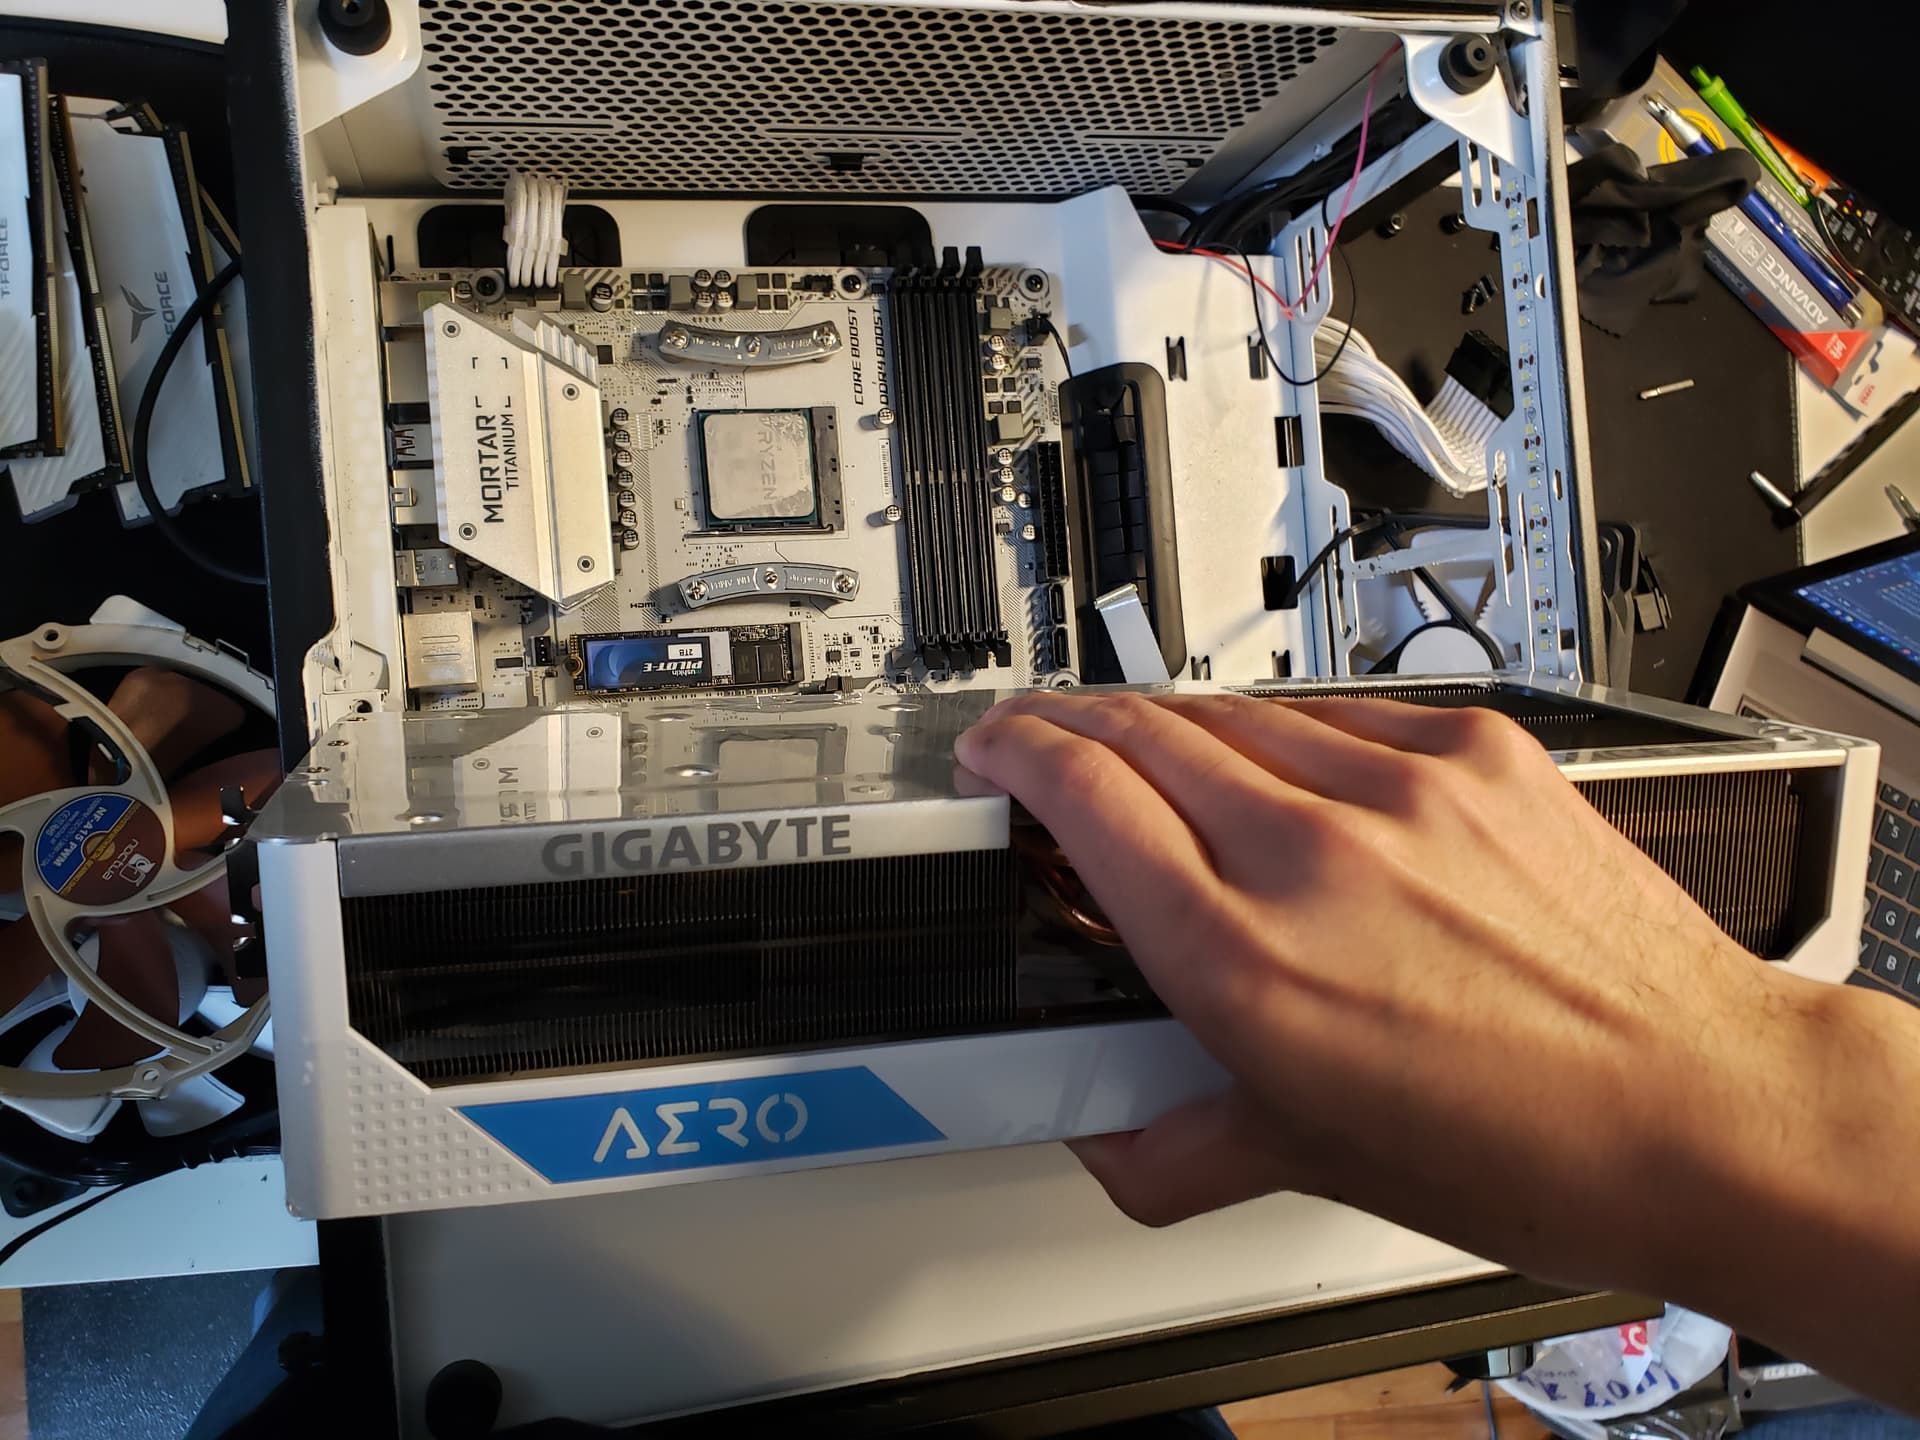
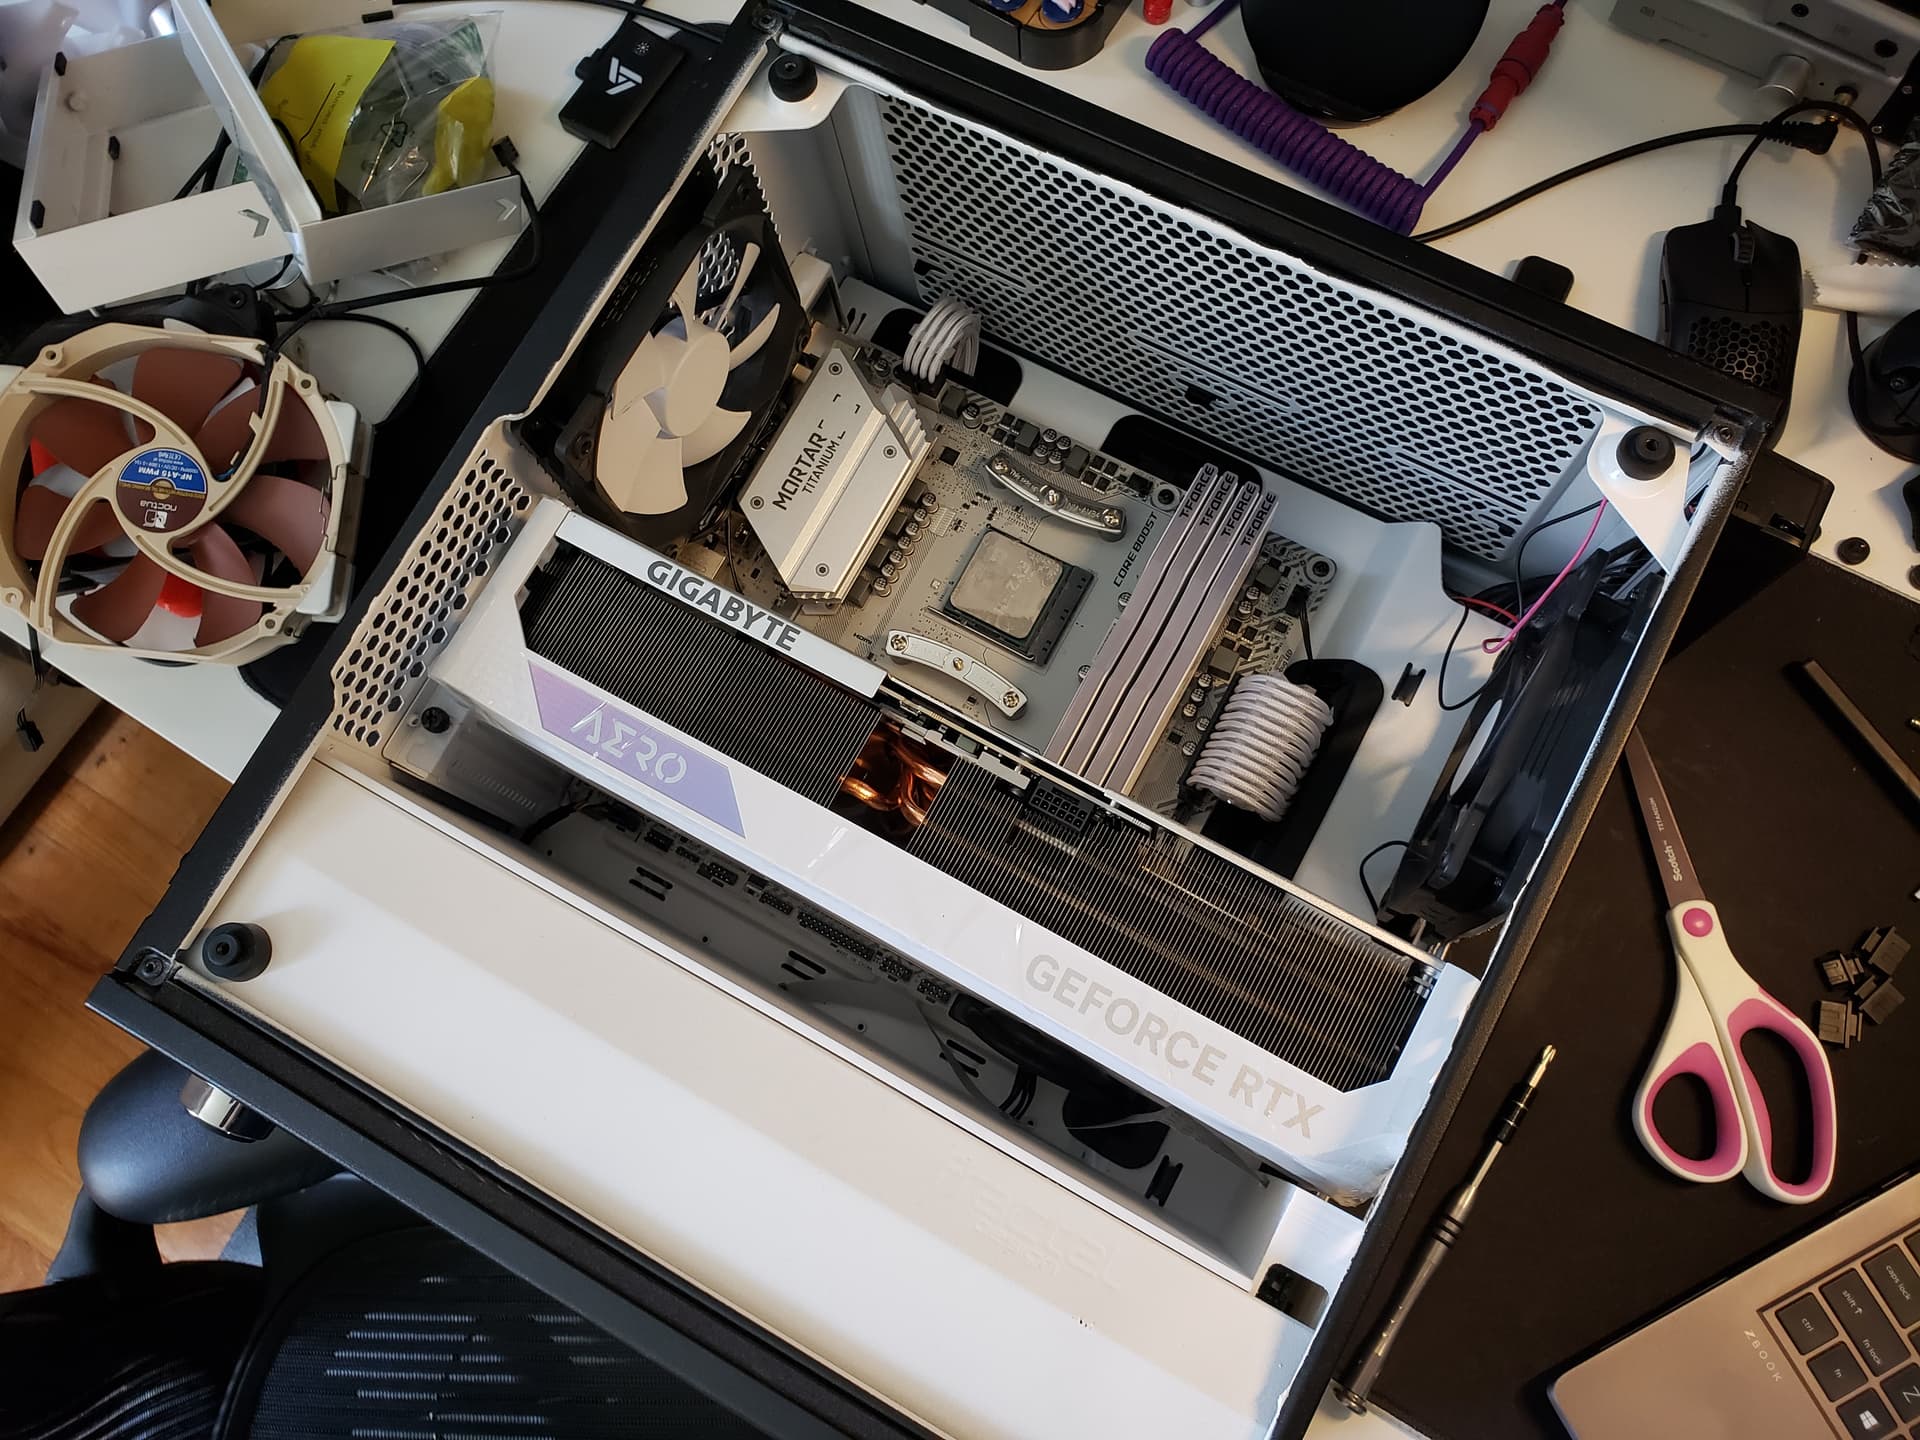
And now you know why I took out not only the cooler, but also the ram and the atx 24 pin cable
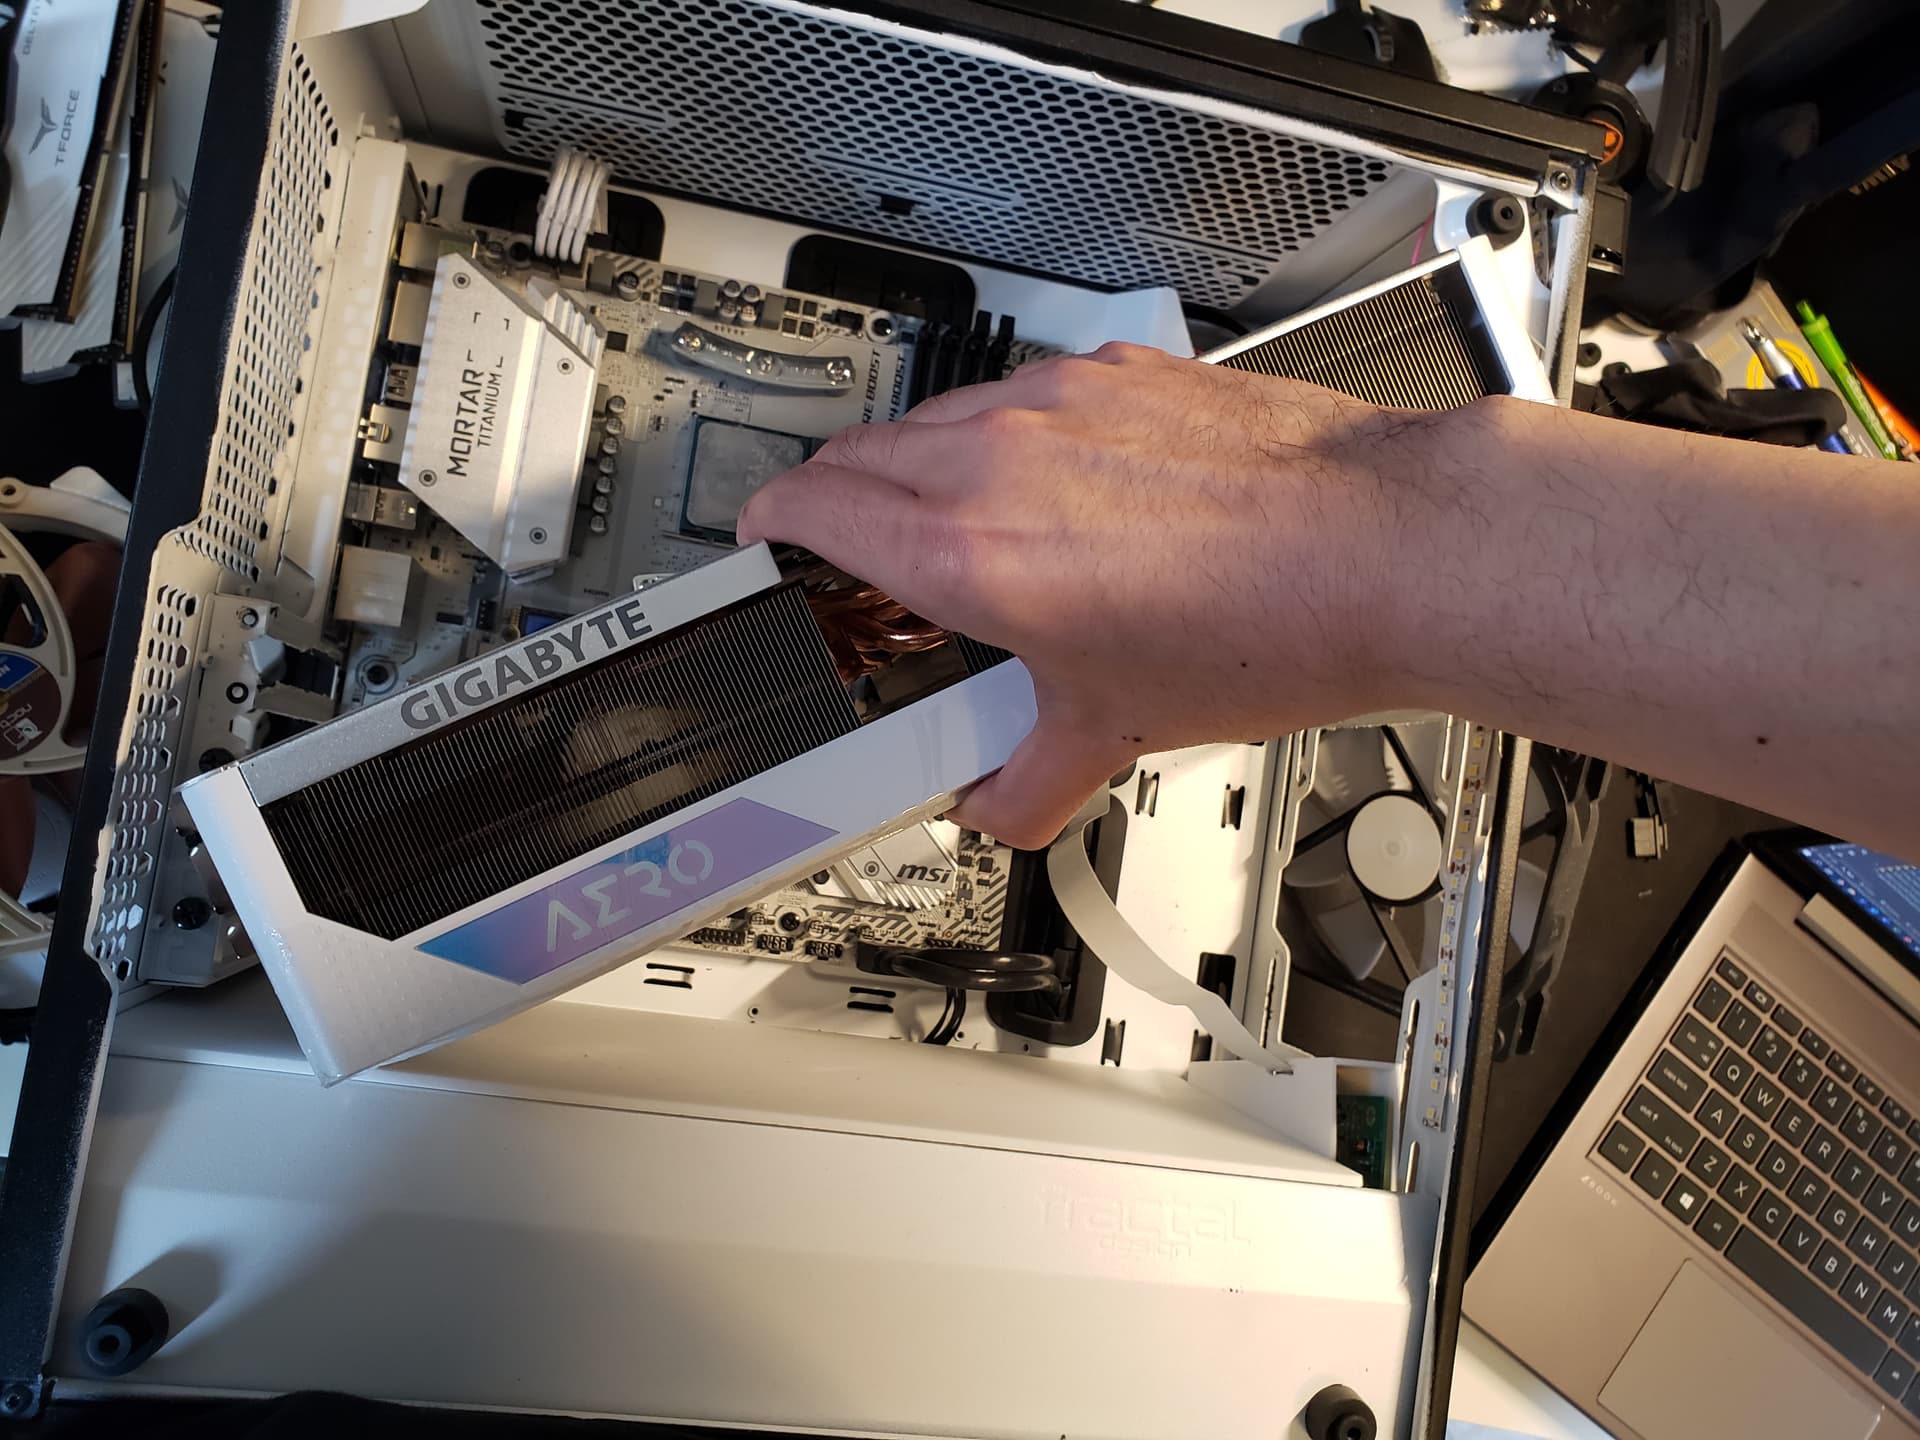
because I had to insert the card diagonally, lower it in all the way, and SHOVE it into place, pulling back on the front of the case’s sheet metal.
Needless to say, it’s a physically tight fit. But it’s in. Won’t be needing the included GPU support bracket lol. You can kinda see the bulge of the case metal too.
It’s a monolith. I had to cut off some of the LED strip in the front where the card ran because the extra 1mm that the leds took up were too much to wedge past LOL.
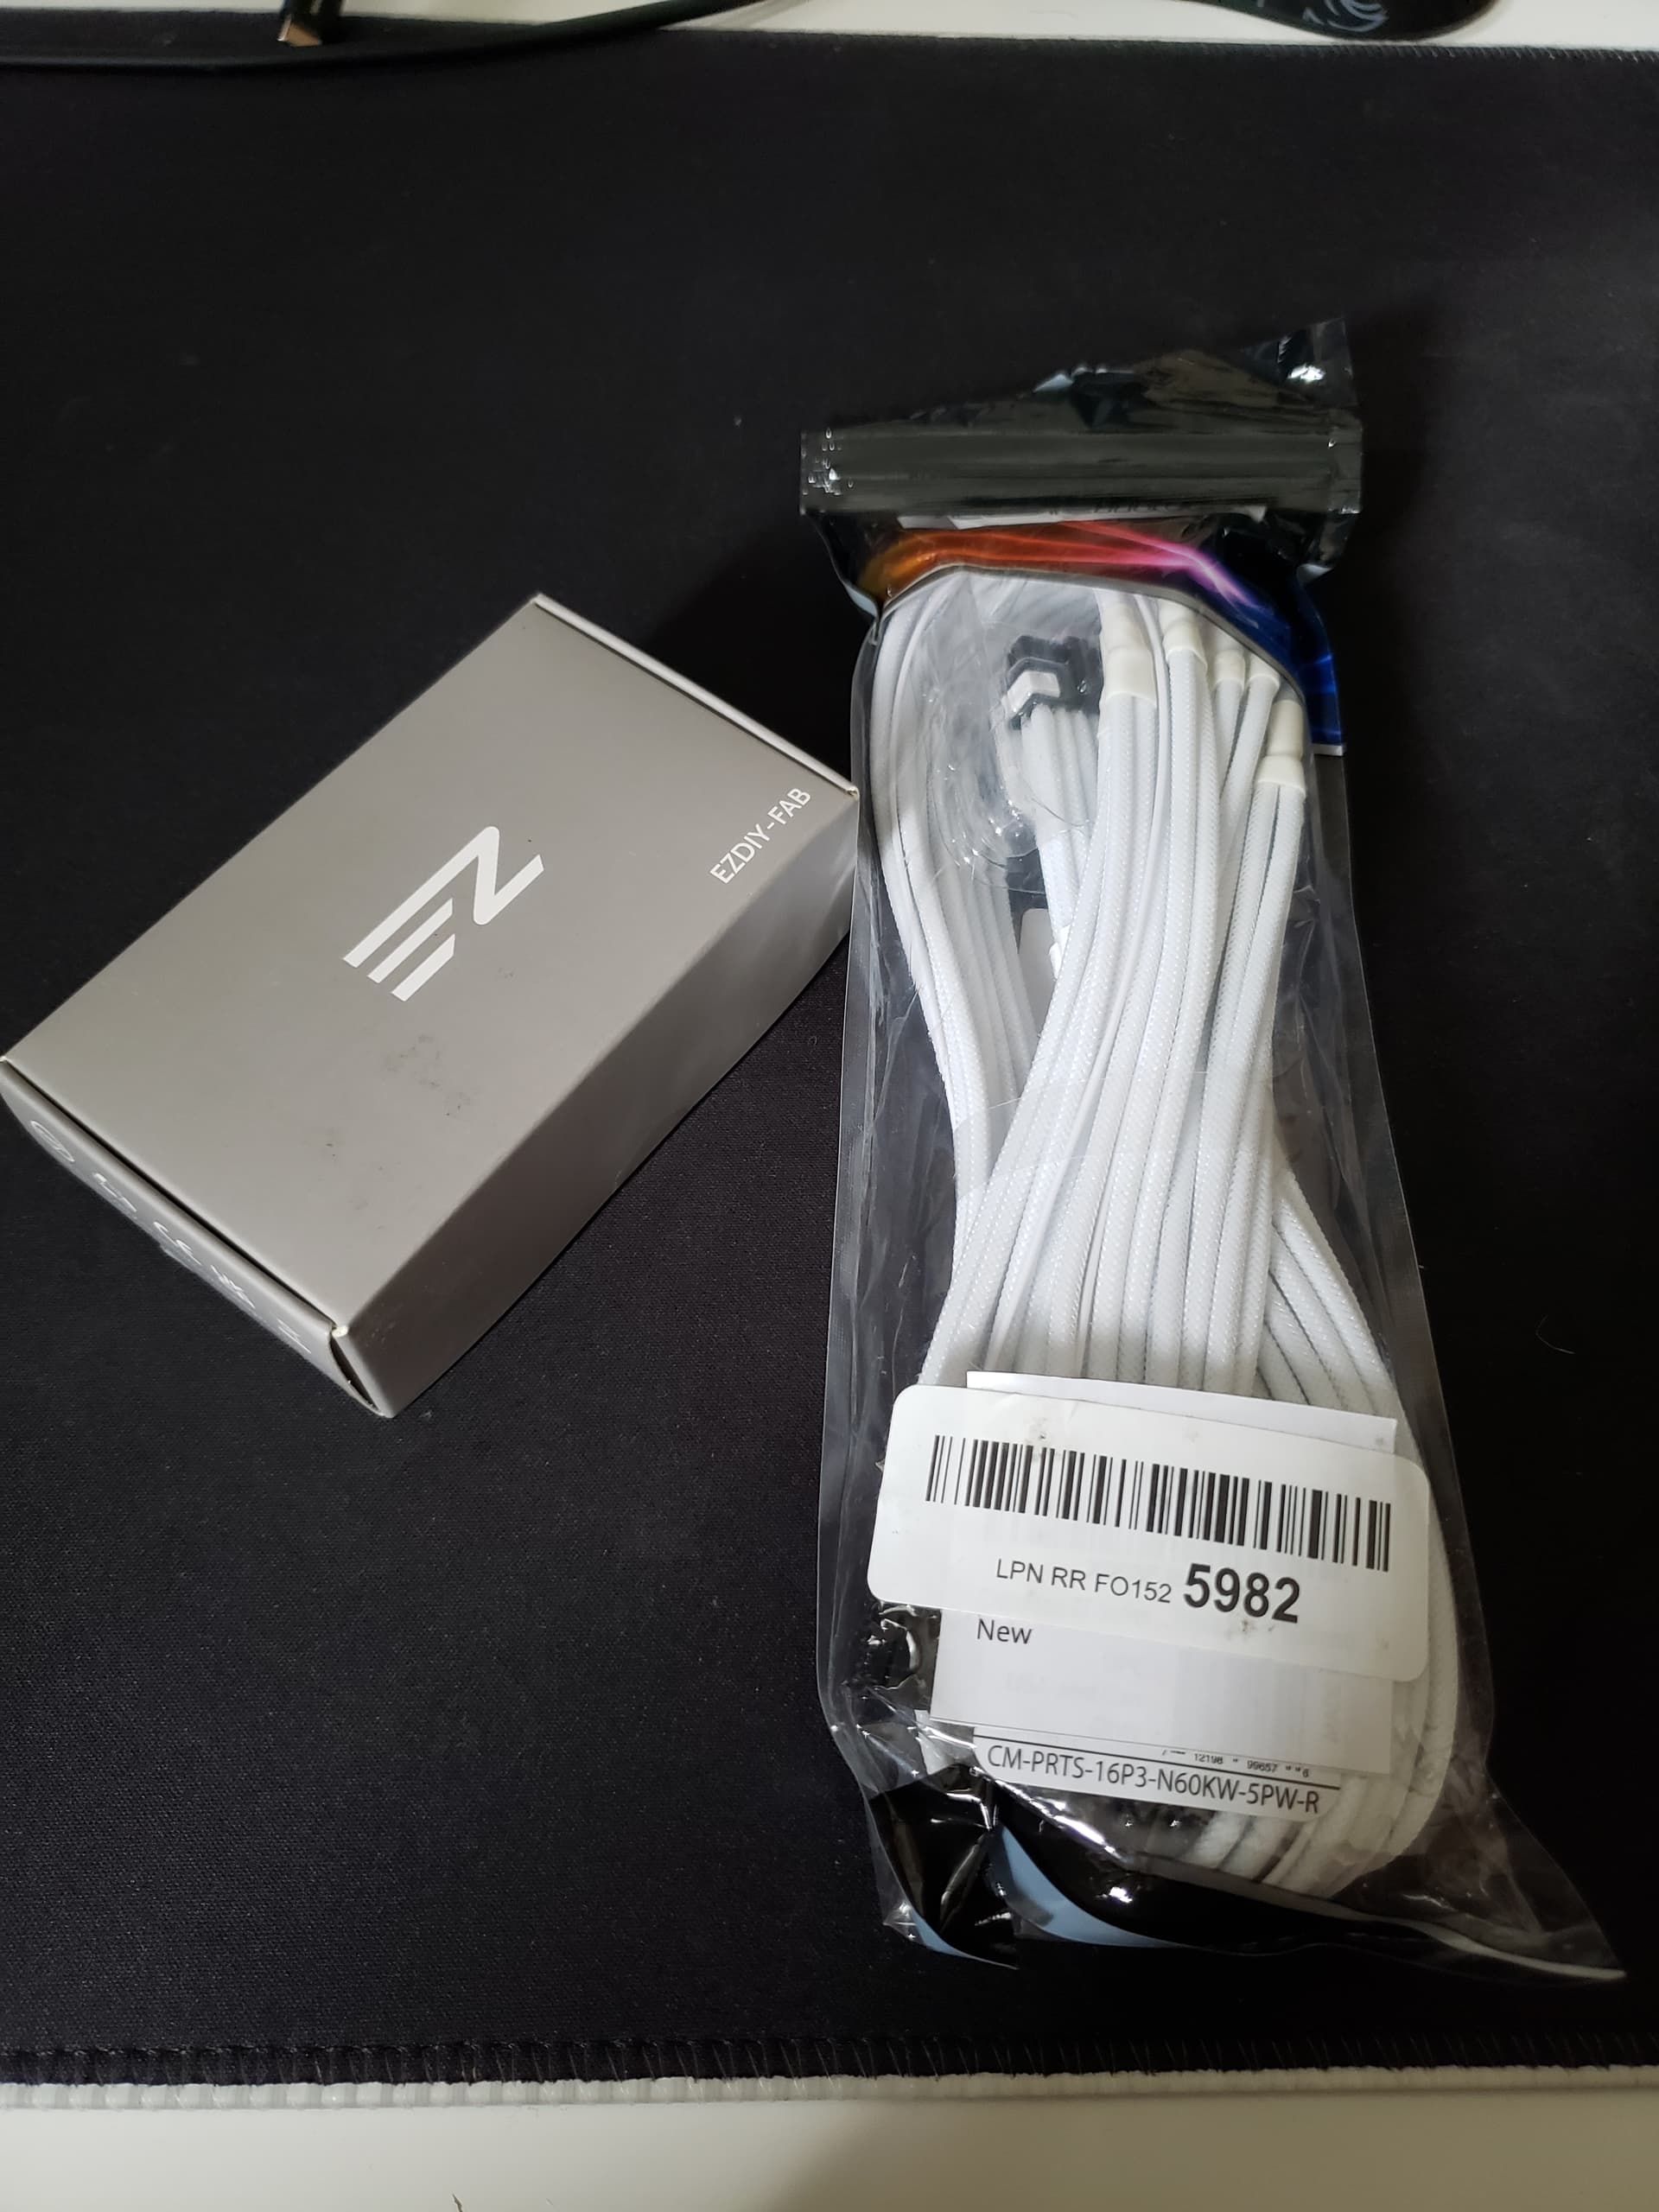
Now at this point, I realized something crucial. I didn’t have enough PCIe power connectors for the 4 8 pin → 12vhpwr adapter. I had only my two 8 pins that my RTX 2070 used. Spent a few hours on amazon and found a nice 12vhpwr cable for seasonic from cablemod in addition to a 90 degree adapter from EZDIY, both with next day delivery. Sadly cablemod didn’t seem to have their adapters on amazon at the time, although I see them as the time of this writing with a delivery date in June.
Thank you amazon for having next day delivery
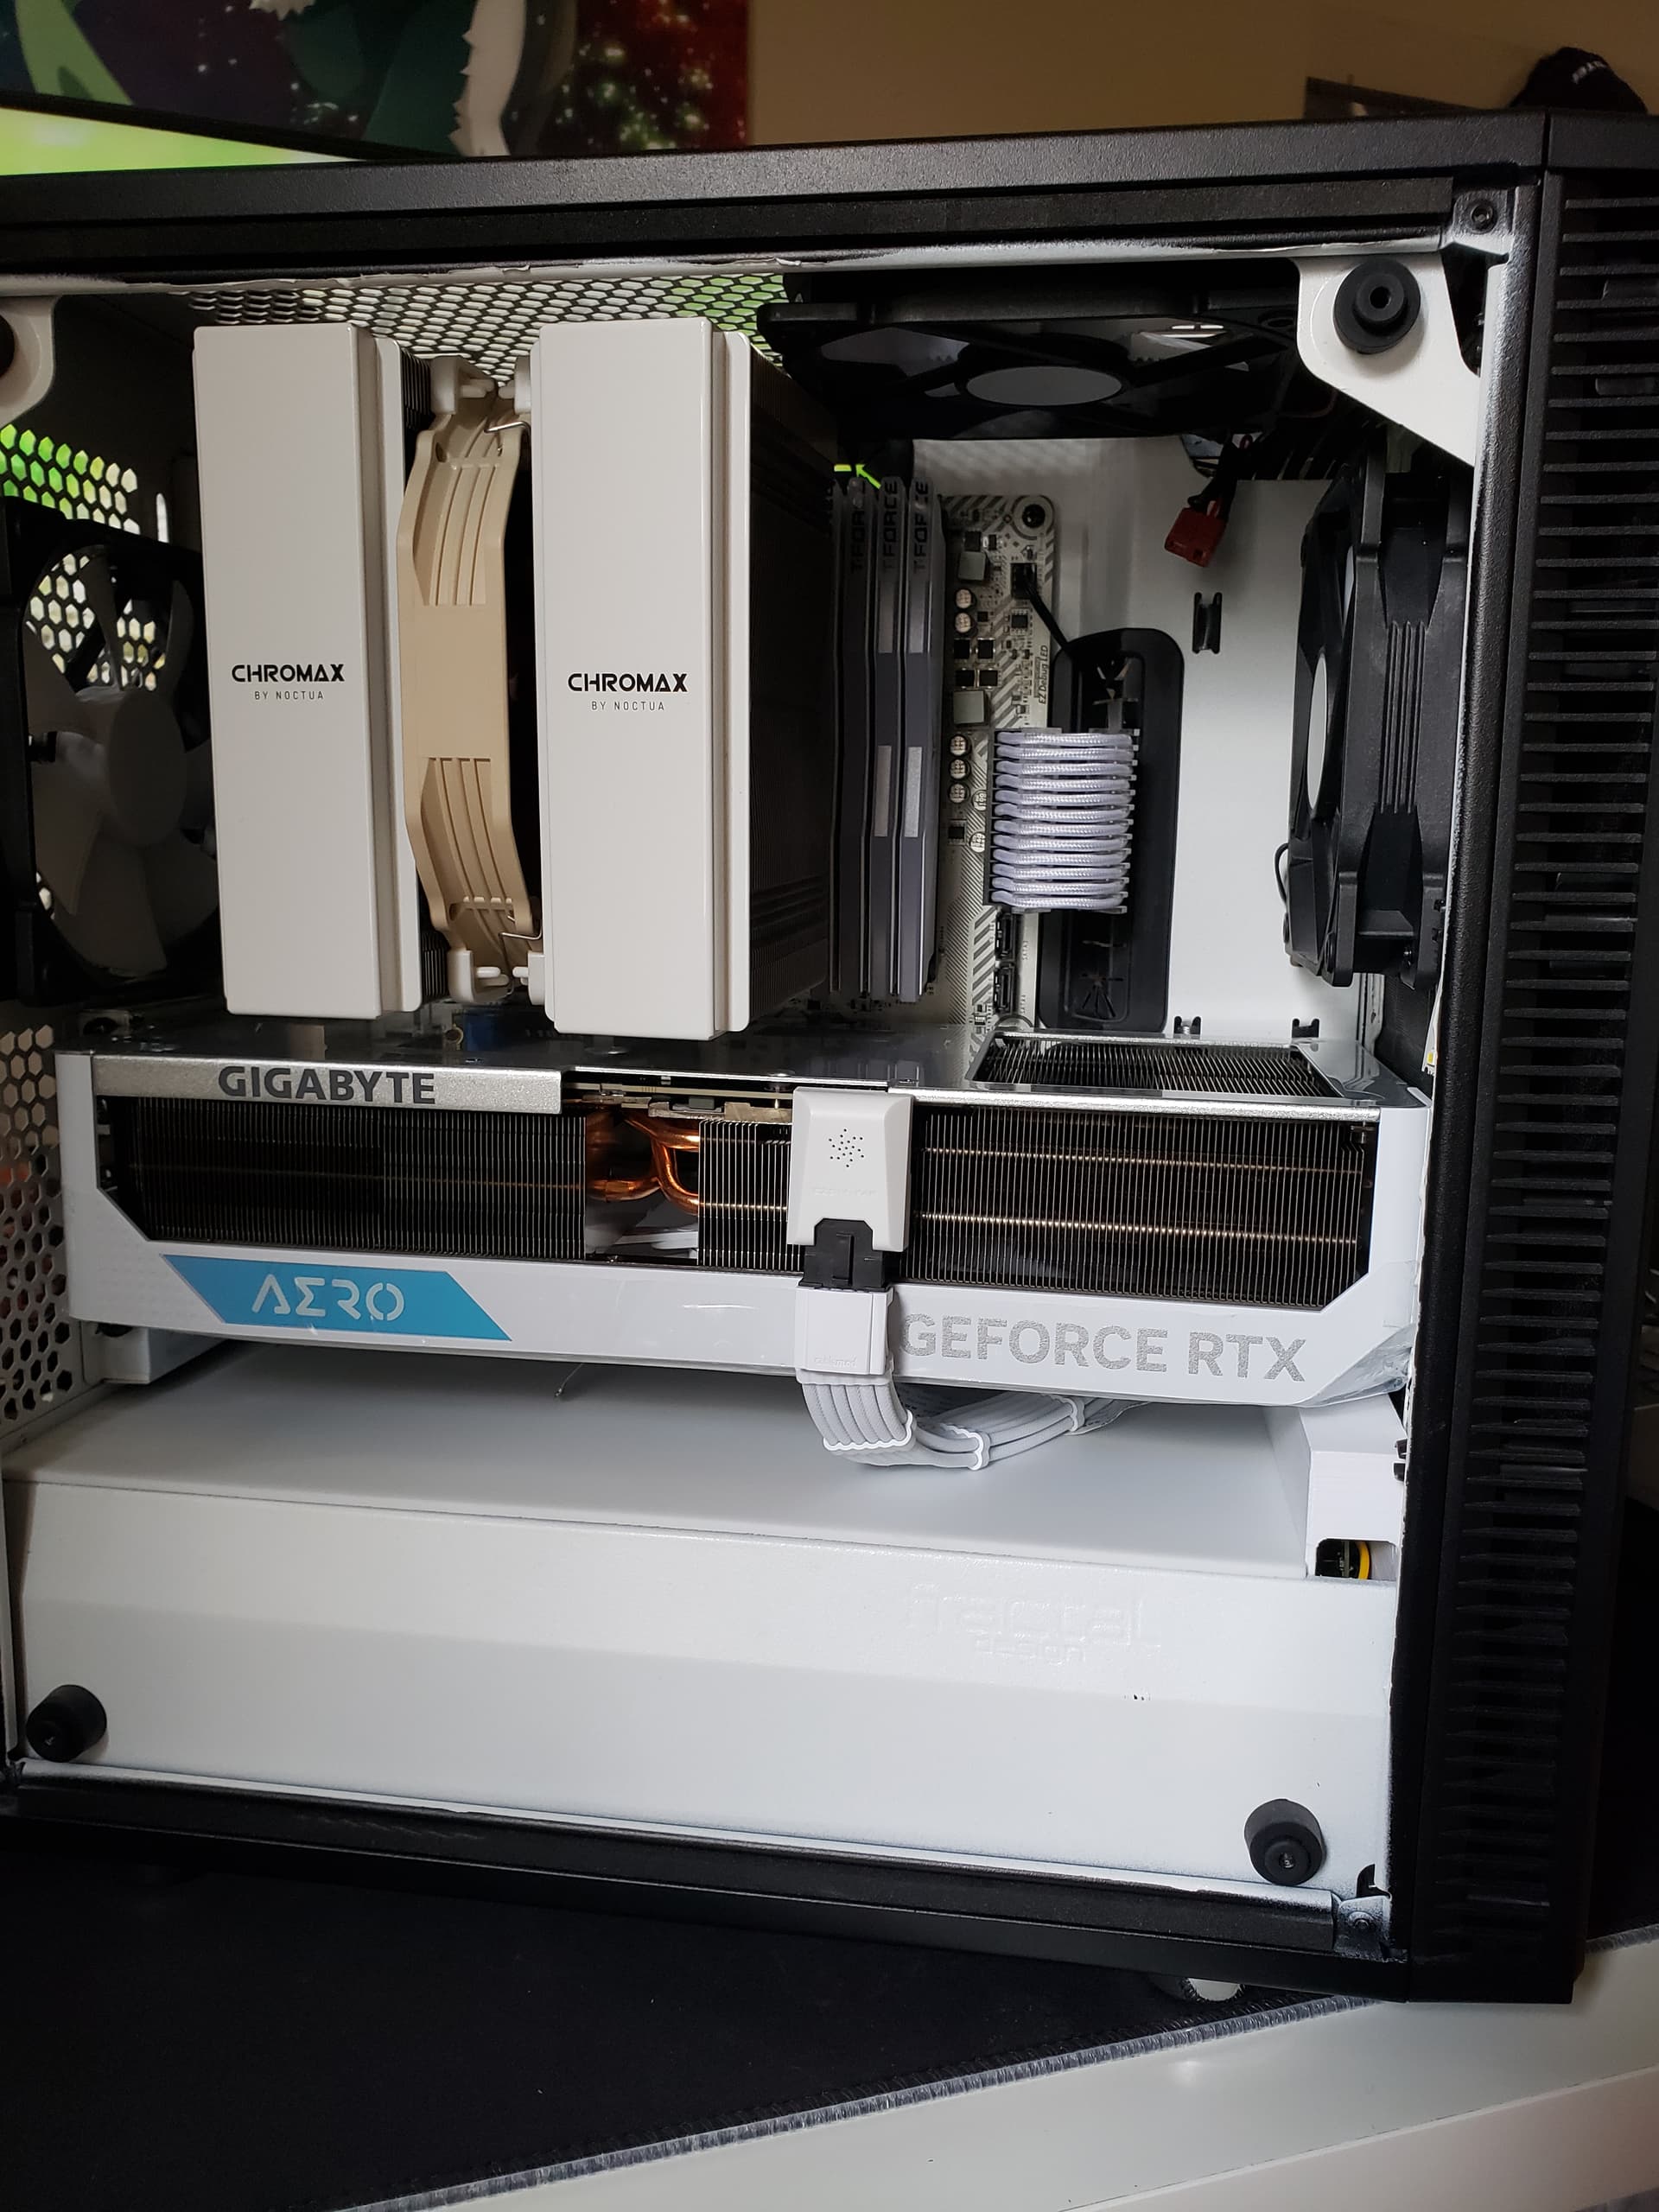
Installed! It looks really clean!
And she’s alive ![]()
New Parts List:
Just remember…

Don’t let your dreams be dreams
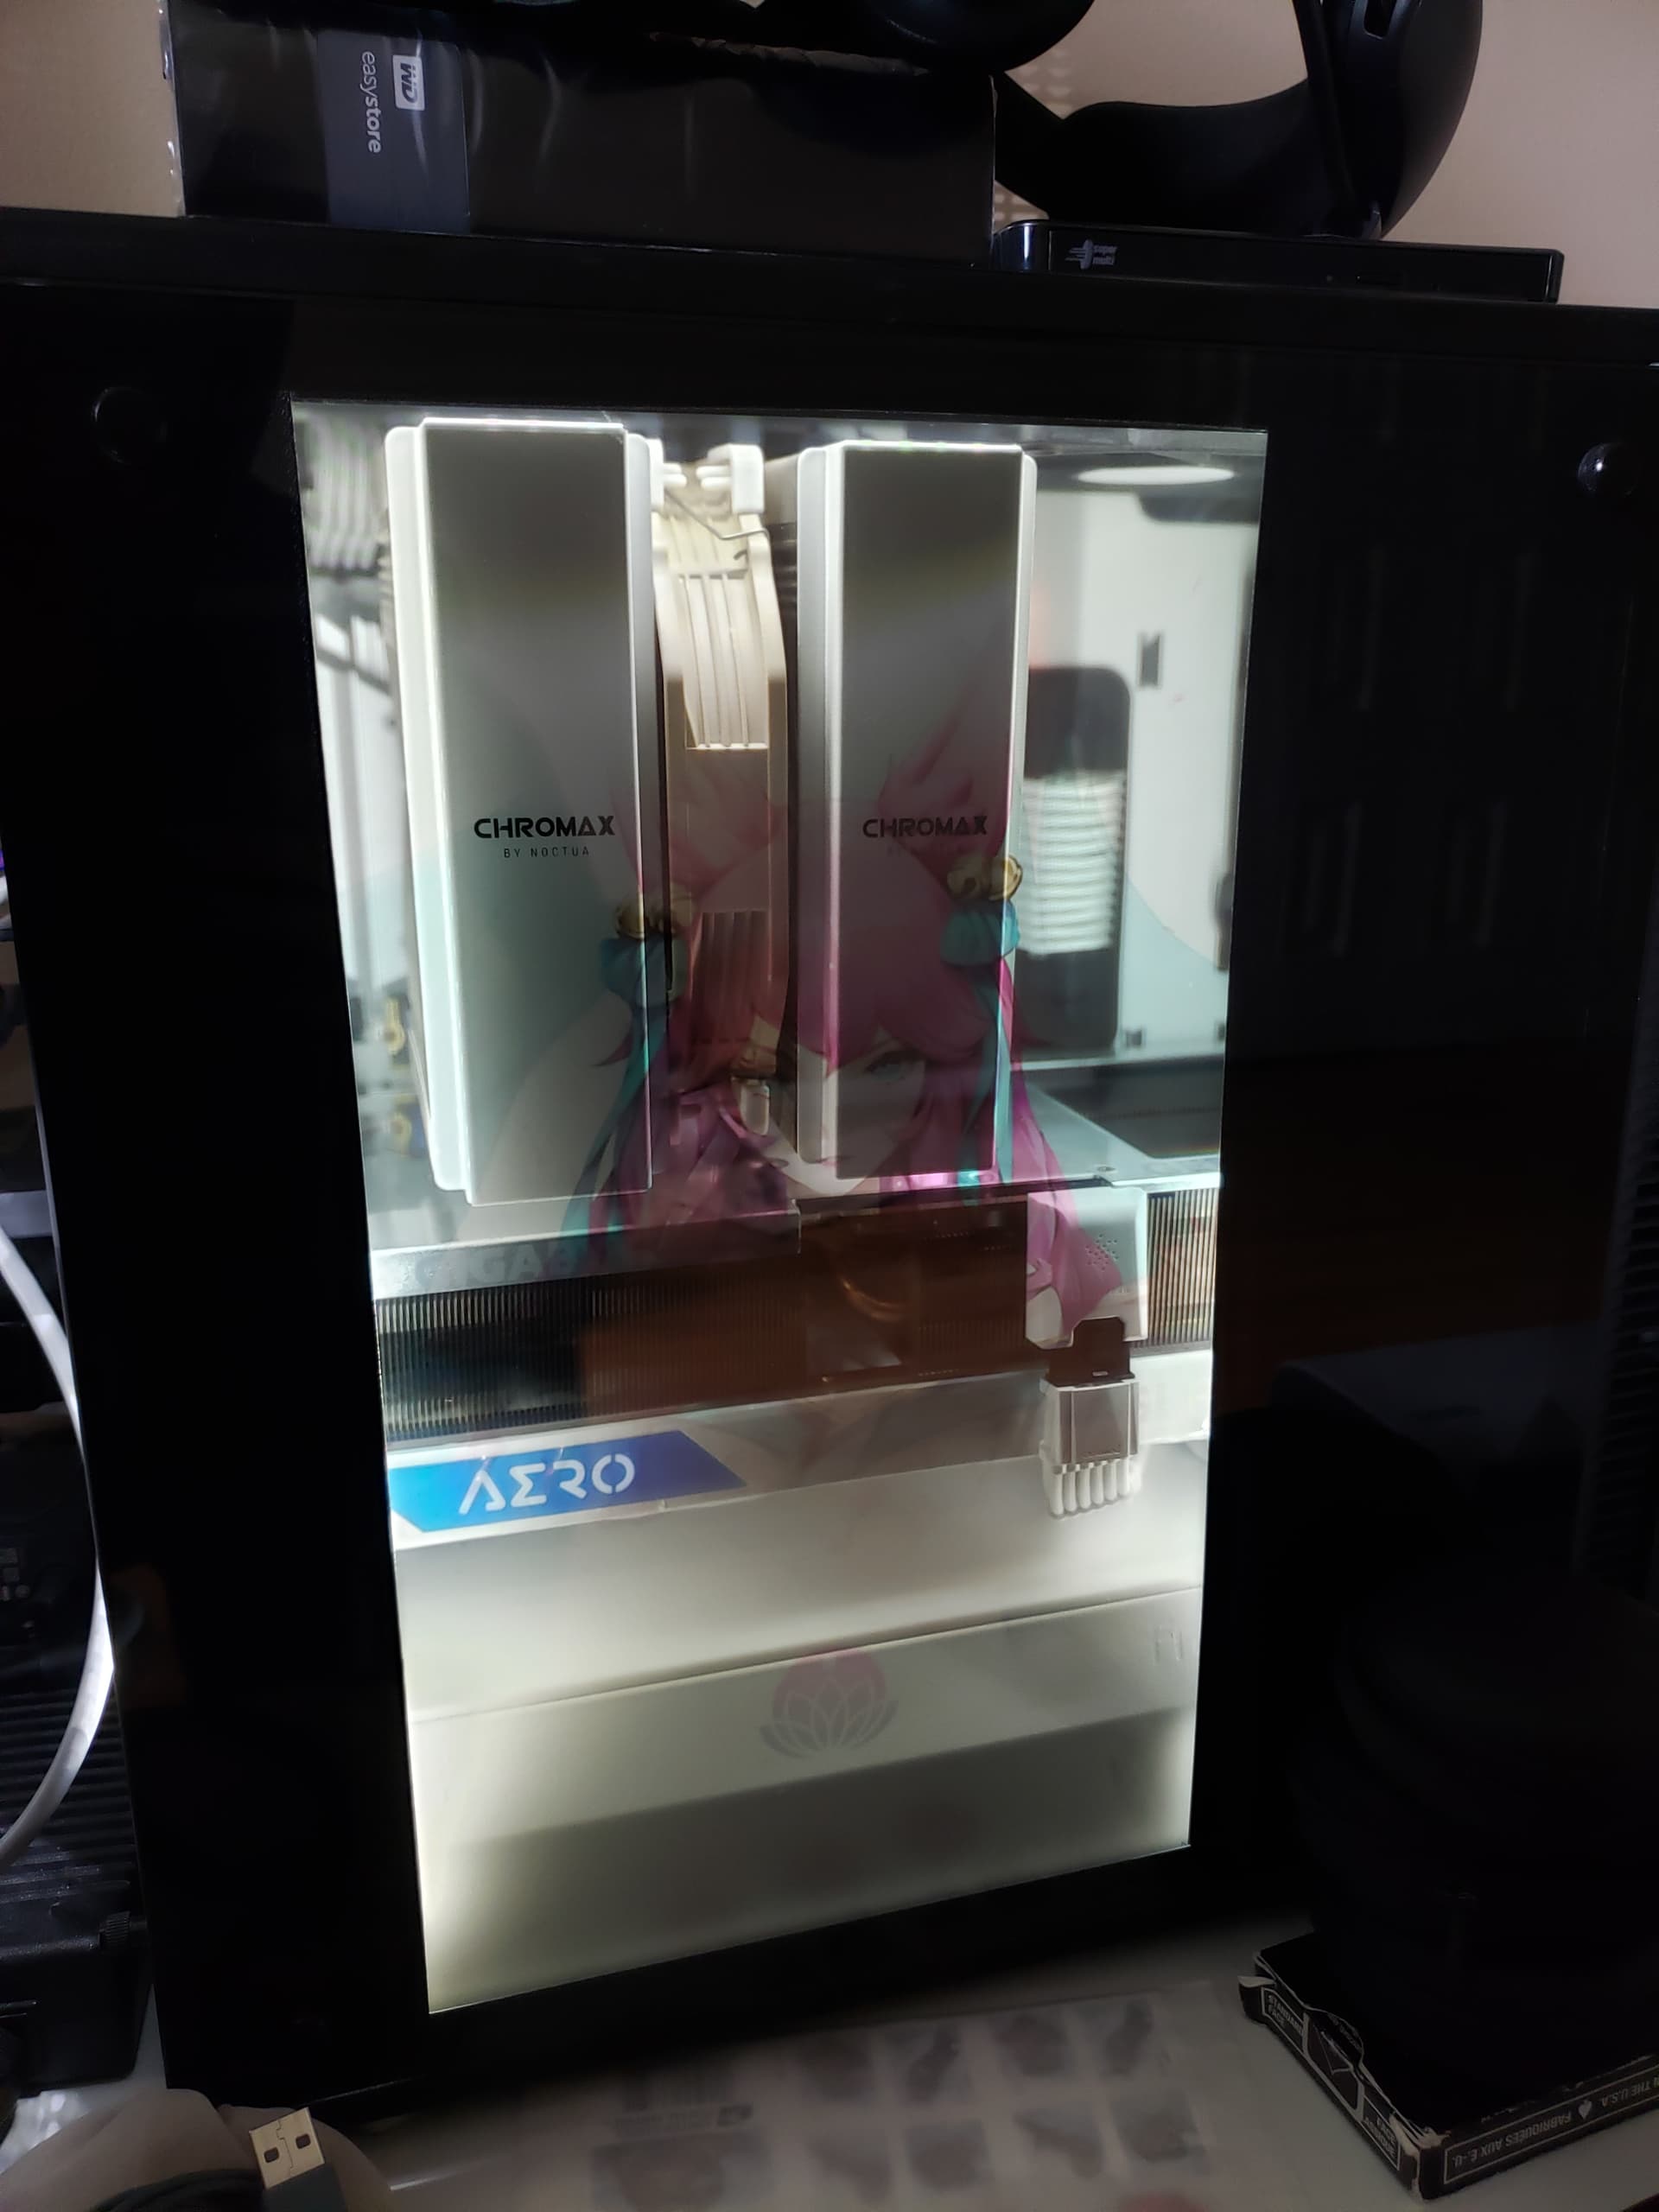
You see a lot of the fin stack since this chonker is a 4 slot card, but I still think it looks pretty good on the side panel.
That’s it, thanks for reading and following this thread! I still really love this case with its mod. Really packs a punch considering its compact micro-atx size with customizability that’s one of a kind.
p.s. Gigabyte’s fan control on the RTX 4090 is really really ass, weird ramping behavior. Basically can’t seem to control the fan speed properly below 70%, so you need to jump from 0 RPM to 70% to kick on the fans, and then ramp up to 100% at TJ Max. Even with this fan curve, I still get a little bit ramping, although it’s much, much less frequent.
9 Likes
gigabyte is on my shit list because of this
and I’ve had problems with their motherboards
you can maybe add a led strip on the bottom for more light as well as inside the GPU shroud since the fines are a dark spot
I gotta see if that’s possible, I used to have it on the bottom part of the glass but the new 16:9 monitor makes it really tight there. The PSU shroud also makes putting it on the case side a bit tough. Nevertheless, there are for sure always things that can be done better for sure
edit: maybe could print a 90 degree bracket to adhere to the side panel and have the leds blast sideways from the right side
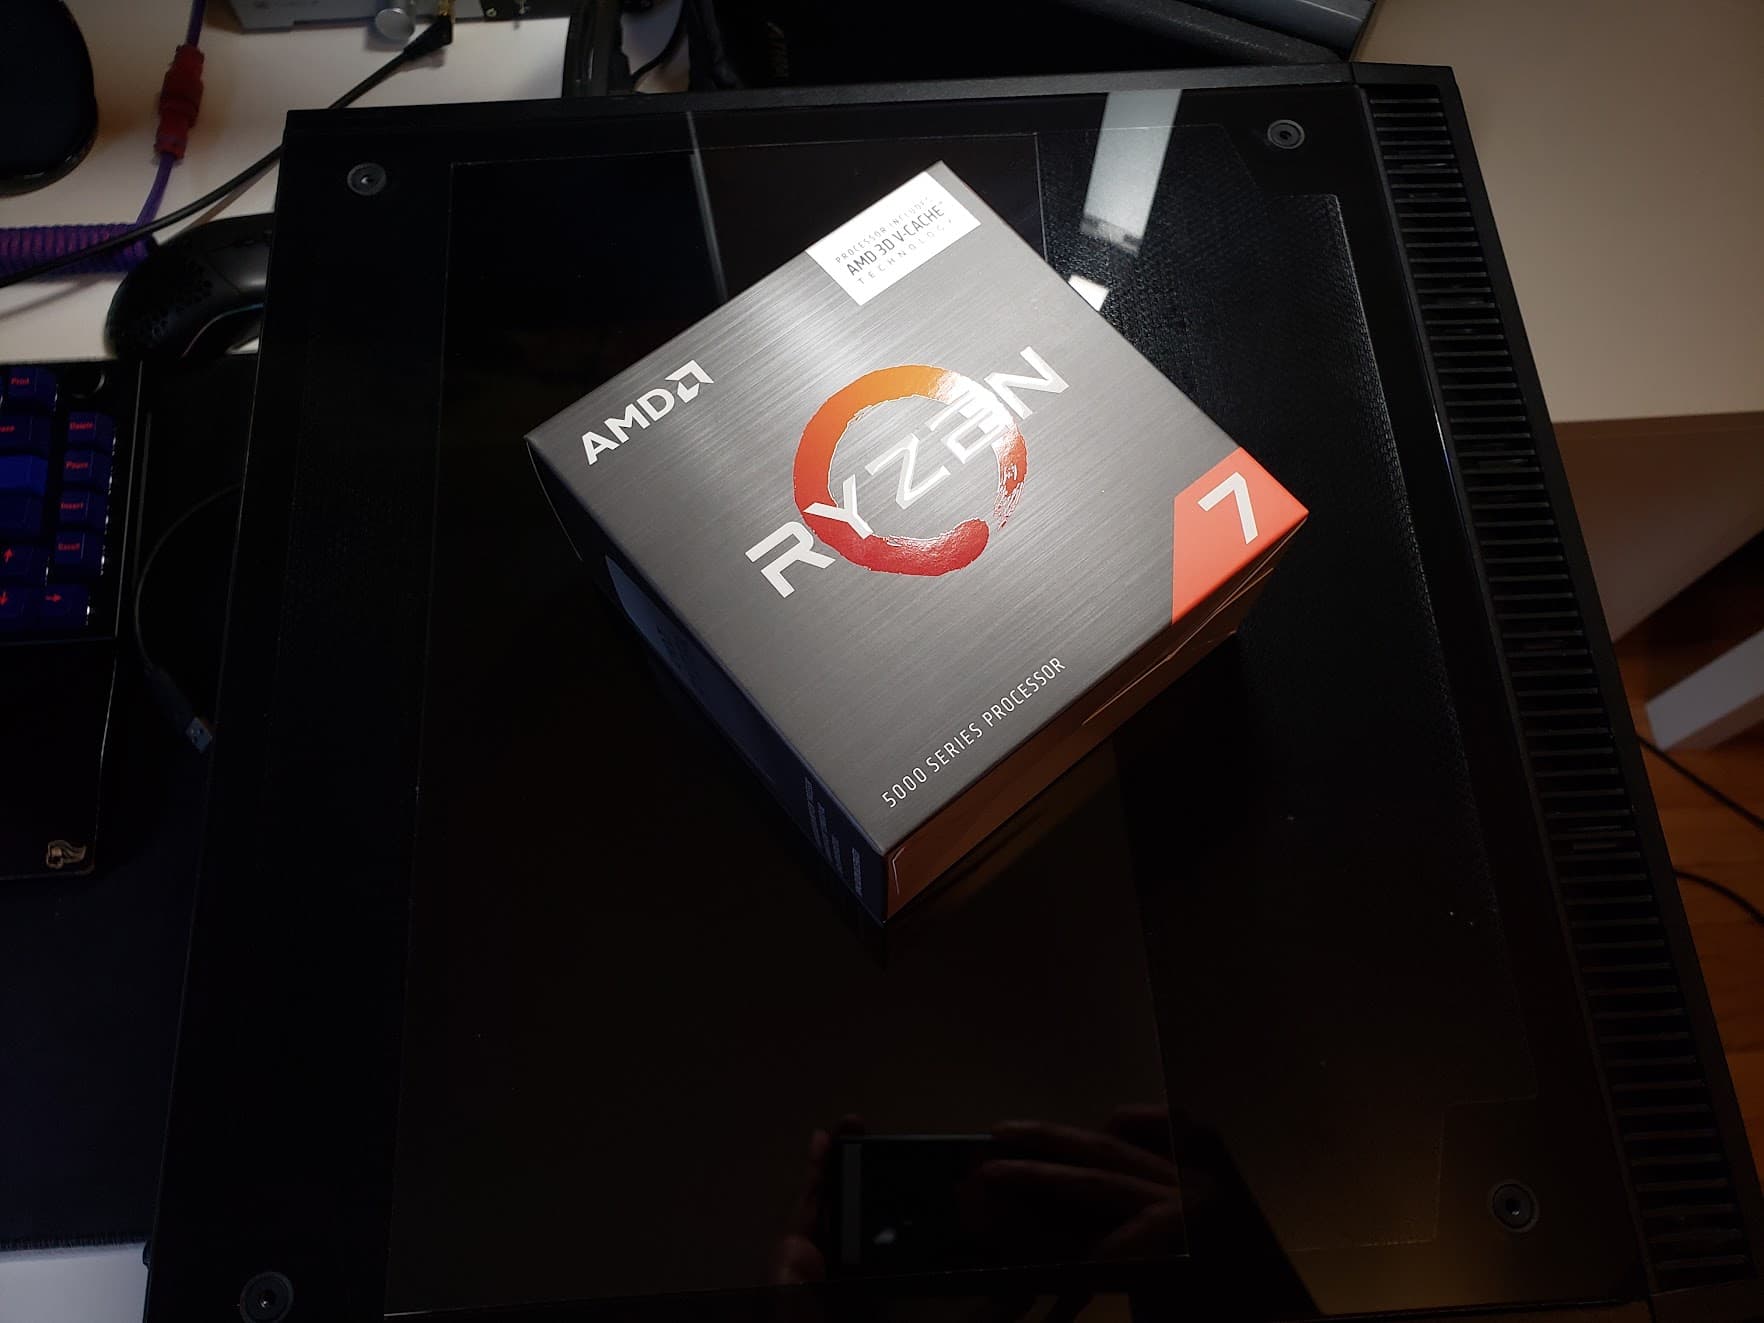
Forgot to update here. About a month later(June 2nd), the 5800x3d went on sale so I picked it up and swapped the 5600X into an older build of mine. Sold the 1700X in that build that used to originally be in this one as well.
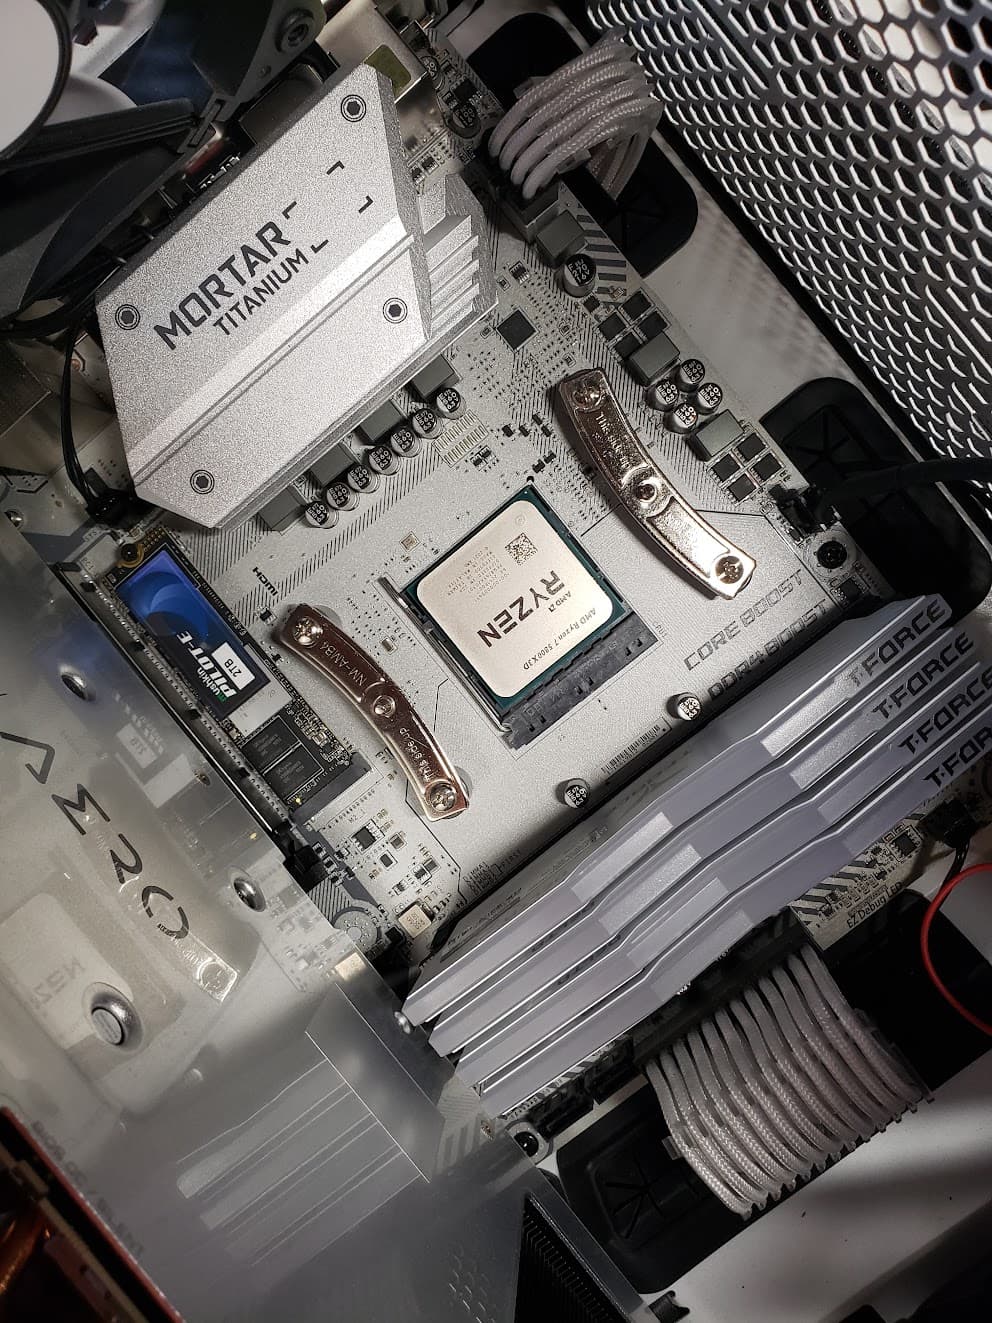
I somehow ran out of thermal paste so I had to wait a day to get in a new tube
It’s been a long time coming, but after 10 years of building a PC I’m happy to have effectively obtained a top of the line PC with the best GPU and “best” cpu (at least for this socket). No more upgrades for me for a looong time.
4 Likes