Silverstone CS383. Do my eyes deceive me or is it my dream case?!

im getting soon new nvme 2tb ssd. i be puting some work on those 2 92mm fans. they are the ones that making the moost noice
i also tuned down the water pump it was also making allot of noice
btw the filters on this case. they are prety bad inside of my case is coated in fine dust

sorry i dont know wat pch is but i tough it was the 92mm 5 volt fan on the 12volt line that makes allot of noise when i full trotle it. kinda a mis buy…

It would really help your cause if you figured out the source of the noise, and what type of noise it is. To expand on what I said in my previous comment, fans produce three main types of noise. Airborne noise, noise caused by physical impedance, and reverberative noise.

Airborne noise is basically a function of the fan’s design. Noctua fans produce lower levels of airborne noise because of how they are designed and made. In my experience, there’s only three ways to reduce airborne noise. Different fans, lower RPMs, or solutions such as acoustic foam or “silent” computer cases. I’d be a little surprised if purely airborne noise is the issue though. The only way that would begin to make sense is if the 2304rpm reading is for the 92mm fans, which would have to be connected to a single fan header using a splitter, and be running 100rpm higher than their rated speed… it’s not out of the question but it’s less likely.

Unfortunately, reducing the airborne noise by lowering the RPMs is a tradeoff between noise levels (and the character of the noise produced), and the temperature of whatever the fan is cooling. In your build, for the 92mm fans, that means the HDDs. In which case I don’t really know what you can do short of modding the case.

Tangent regarding modding the CS383

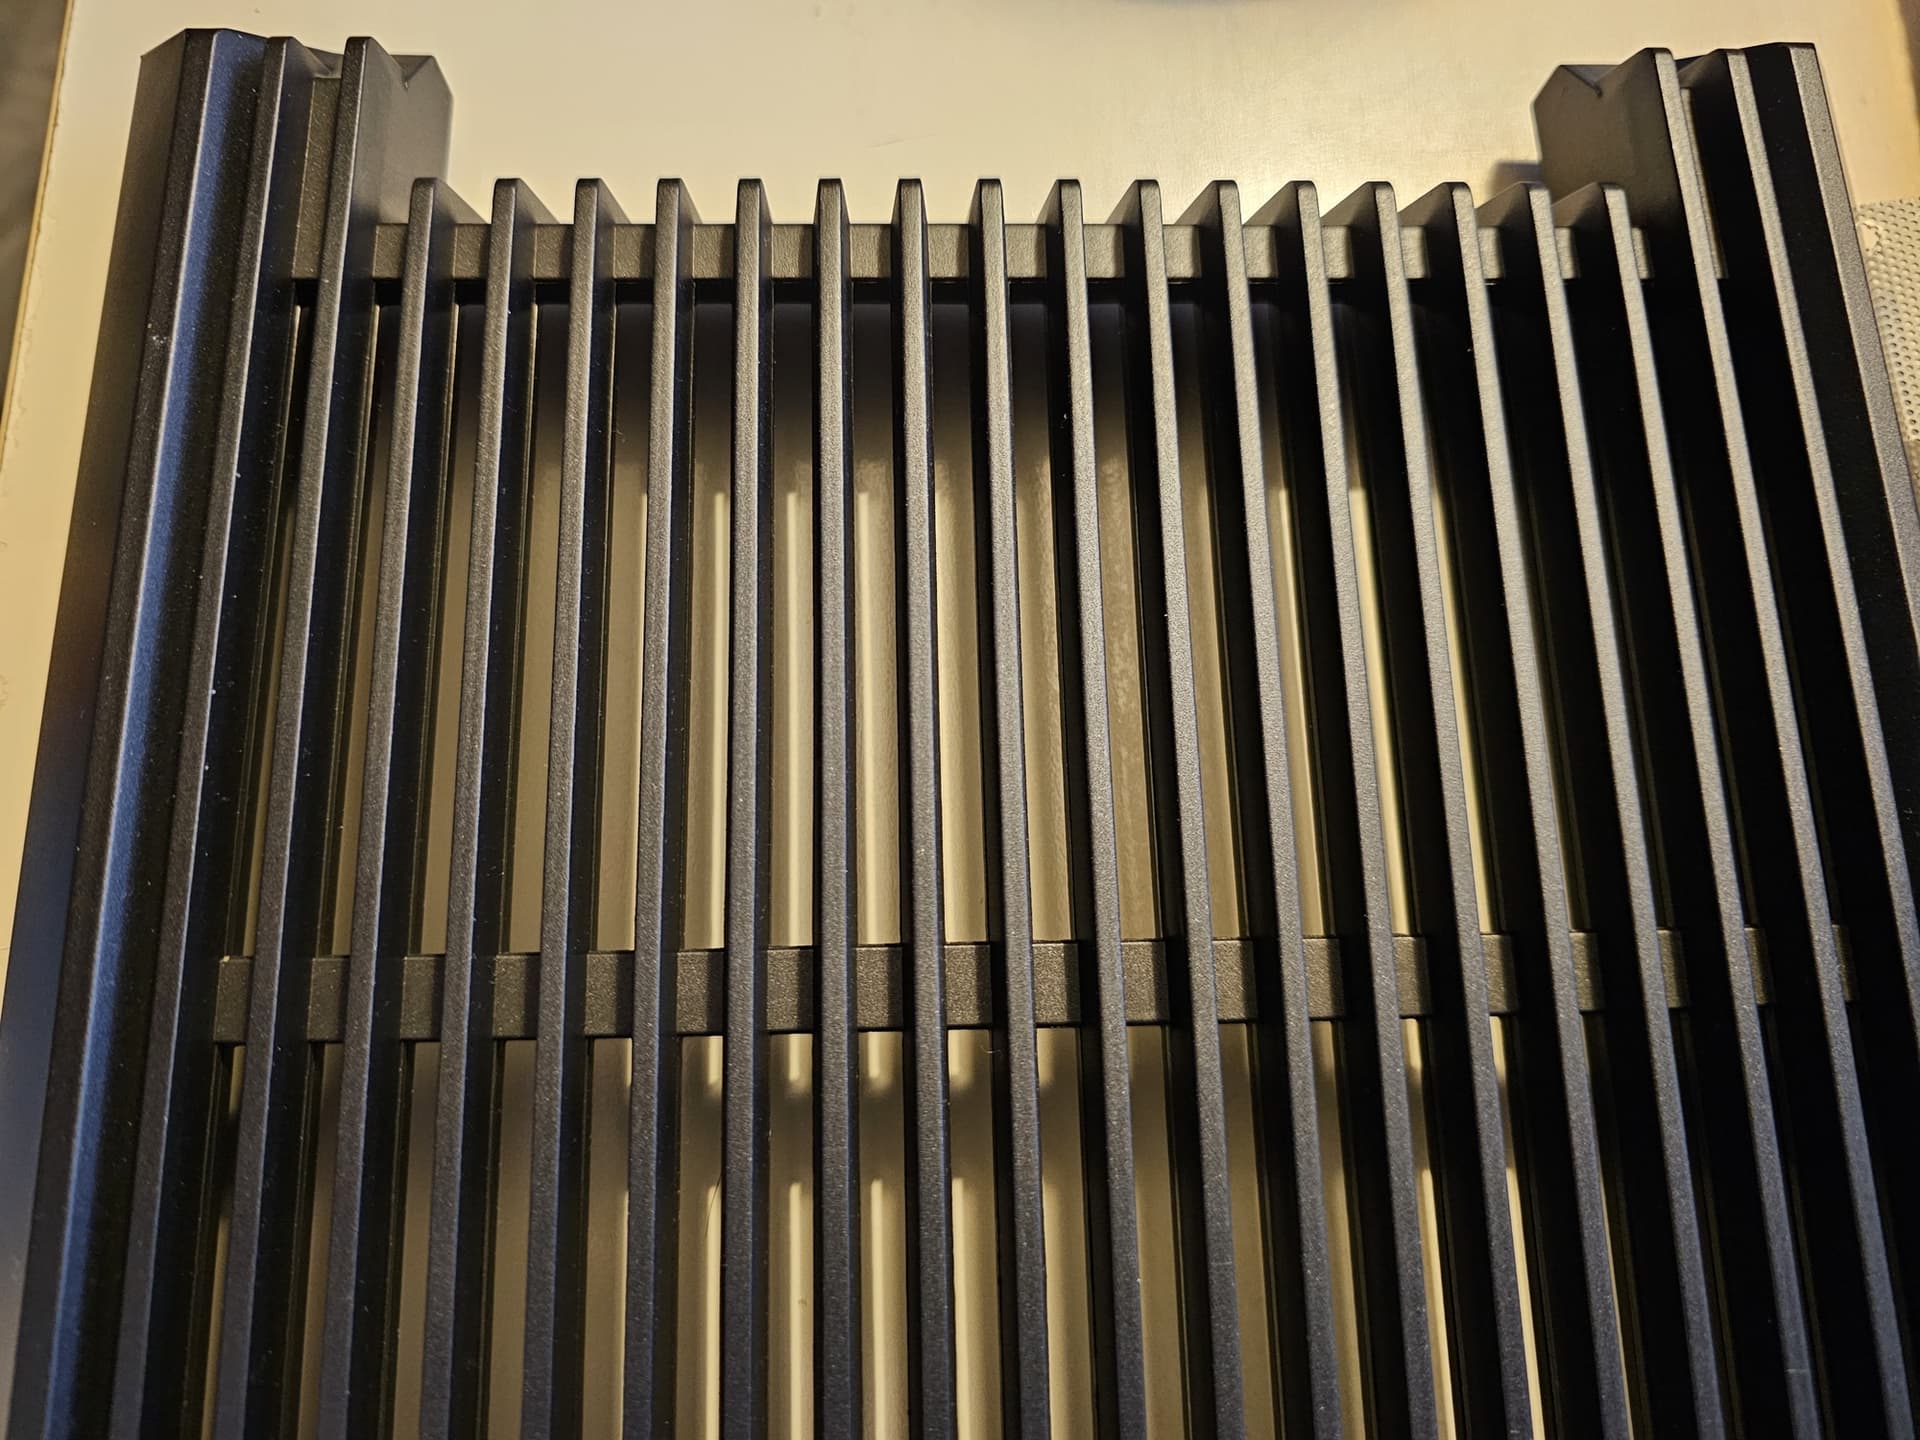
My intent has always been to remove the HDD cages and use the 5.25" bays for other things. With the changes Silverstone made to the case shown at Computex 2024, this now means cutting the front bezel. It’s what I plan to do but then again, I don’t plan on sticking a bunch of 3.5" disks in my CS383.

Noise caused by physical impedance is commonly encountered by people using water cooling. When you place a fan close to an obstruction such as a radiator, or in your case, directly on the back of the HDD cages, you can run into issues with harmonics and buzzing. The issue of physical impedance is why the support arms on PC fans, are designed in such a way that they’re positioned at around 90 degrees to the leading edges of the fan blades. One way of dealing with these impedances issues is to use a spacer that moves the fan away from the radiator a little. This type of noise is generally relatively minor though.

Noctua sell such spacers for their 120mm and 140mm fans - Noctua introduces NA-IS1 inlet spacers for suction applications and NA-SAVG2 gasket set

One other thing worth mentioning on the subject of harmonic vibrations is that having multiple fans of the same model, running at the same speed, can also cause unwanted noise characteristics. Which is why Noctua’s multipack fans are paired so that each fan runs at slightly different RPMs to each other, at the same voltage / PWM. If you haven’t bought your fans as part of a multipack, you can just manually set the RPMs slightly different but it would require using a single header for each fan. It’s also another relatively minor issue.

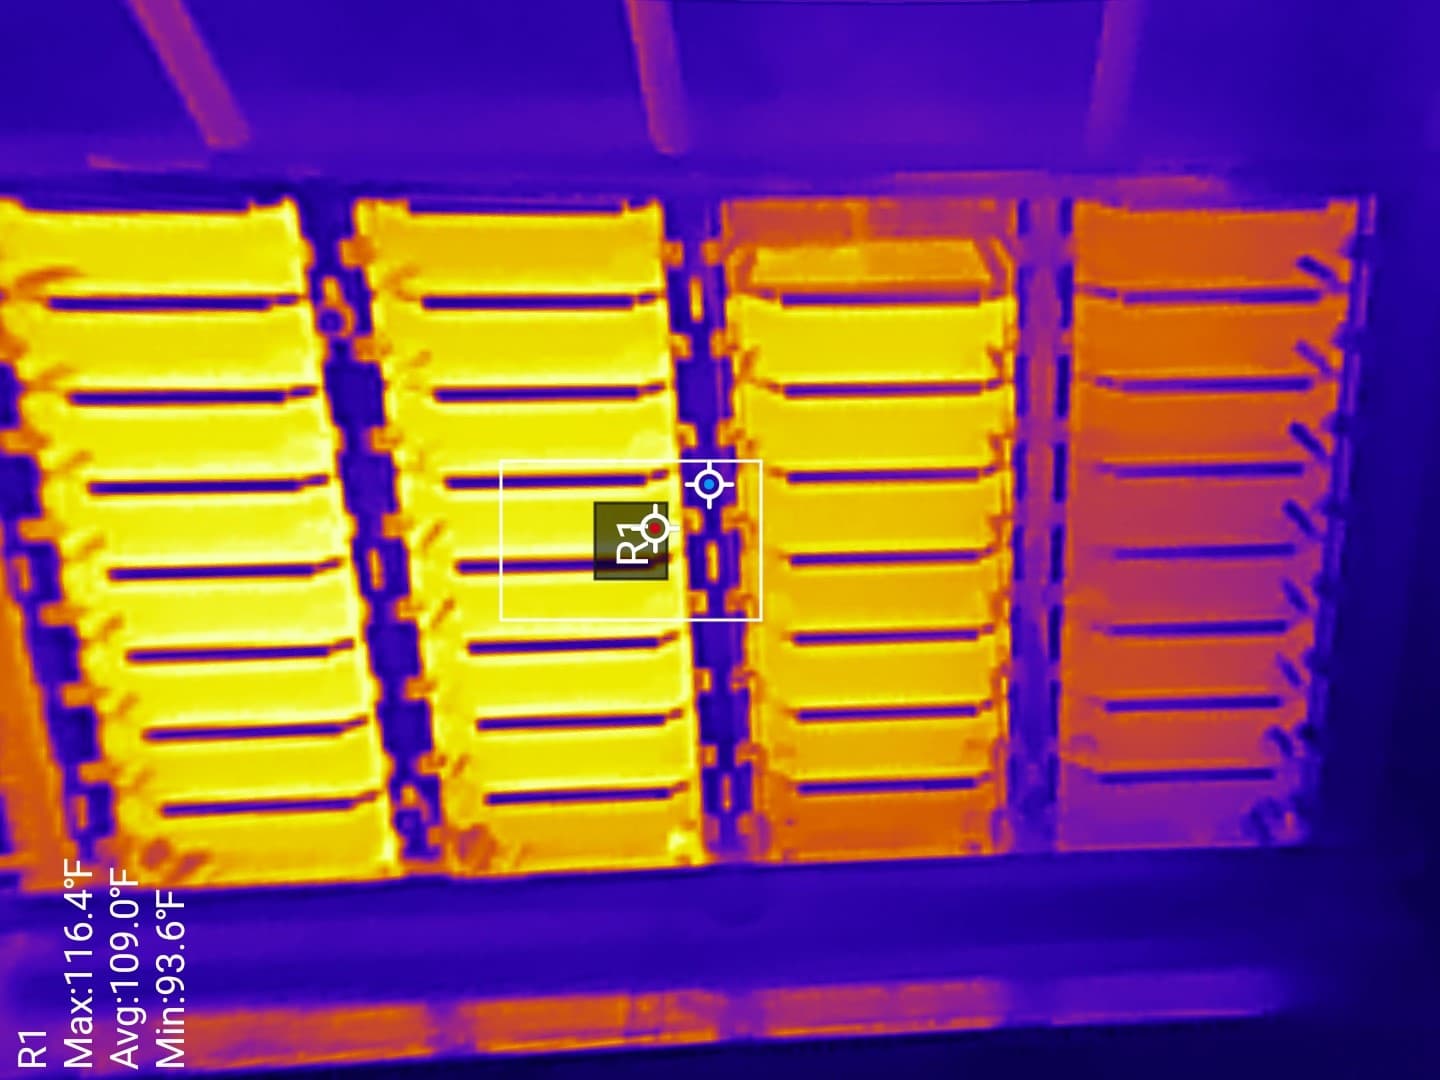
The third and potentially most impactful type of noise is reverberation. The vibrations that the fan sends out through physical contact with other things, such as what they are mounted to. As I said in my previous comment, for your build, the 92mm fans on the HDD cages may also be touching your reservoir. If you haven’t done so already, you really should double check this. There are a number of ways to reduce or prevent reverberative noise. The ideal way of doing it is stopping the source of the vibrations from touching what it is reverberating against. In other words, if that lower 92mm is vibrating against your res, move the res. Even a half a millimetre air gap will do and could make a big difference.

Back in the day (in the silent computing niche that I was a part of), the most common source of reverberative noise was the HDD that our systems booted from (as this was before SSDs were a thing). We used to put the HDD on top of blocks of foam, or we’d do the “bungee mod” where the HDD would be “decoupled” from the case by suspending it using elasticated cord. It could be very effective but it was risky. Which is why case manufacturers make do with the inferior but much safer solution of rubberised screw mounts for mounting HDDs.

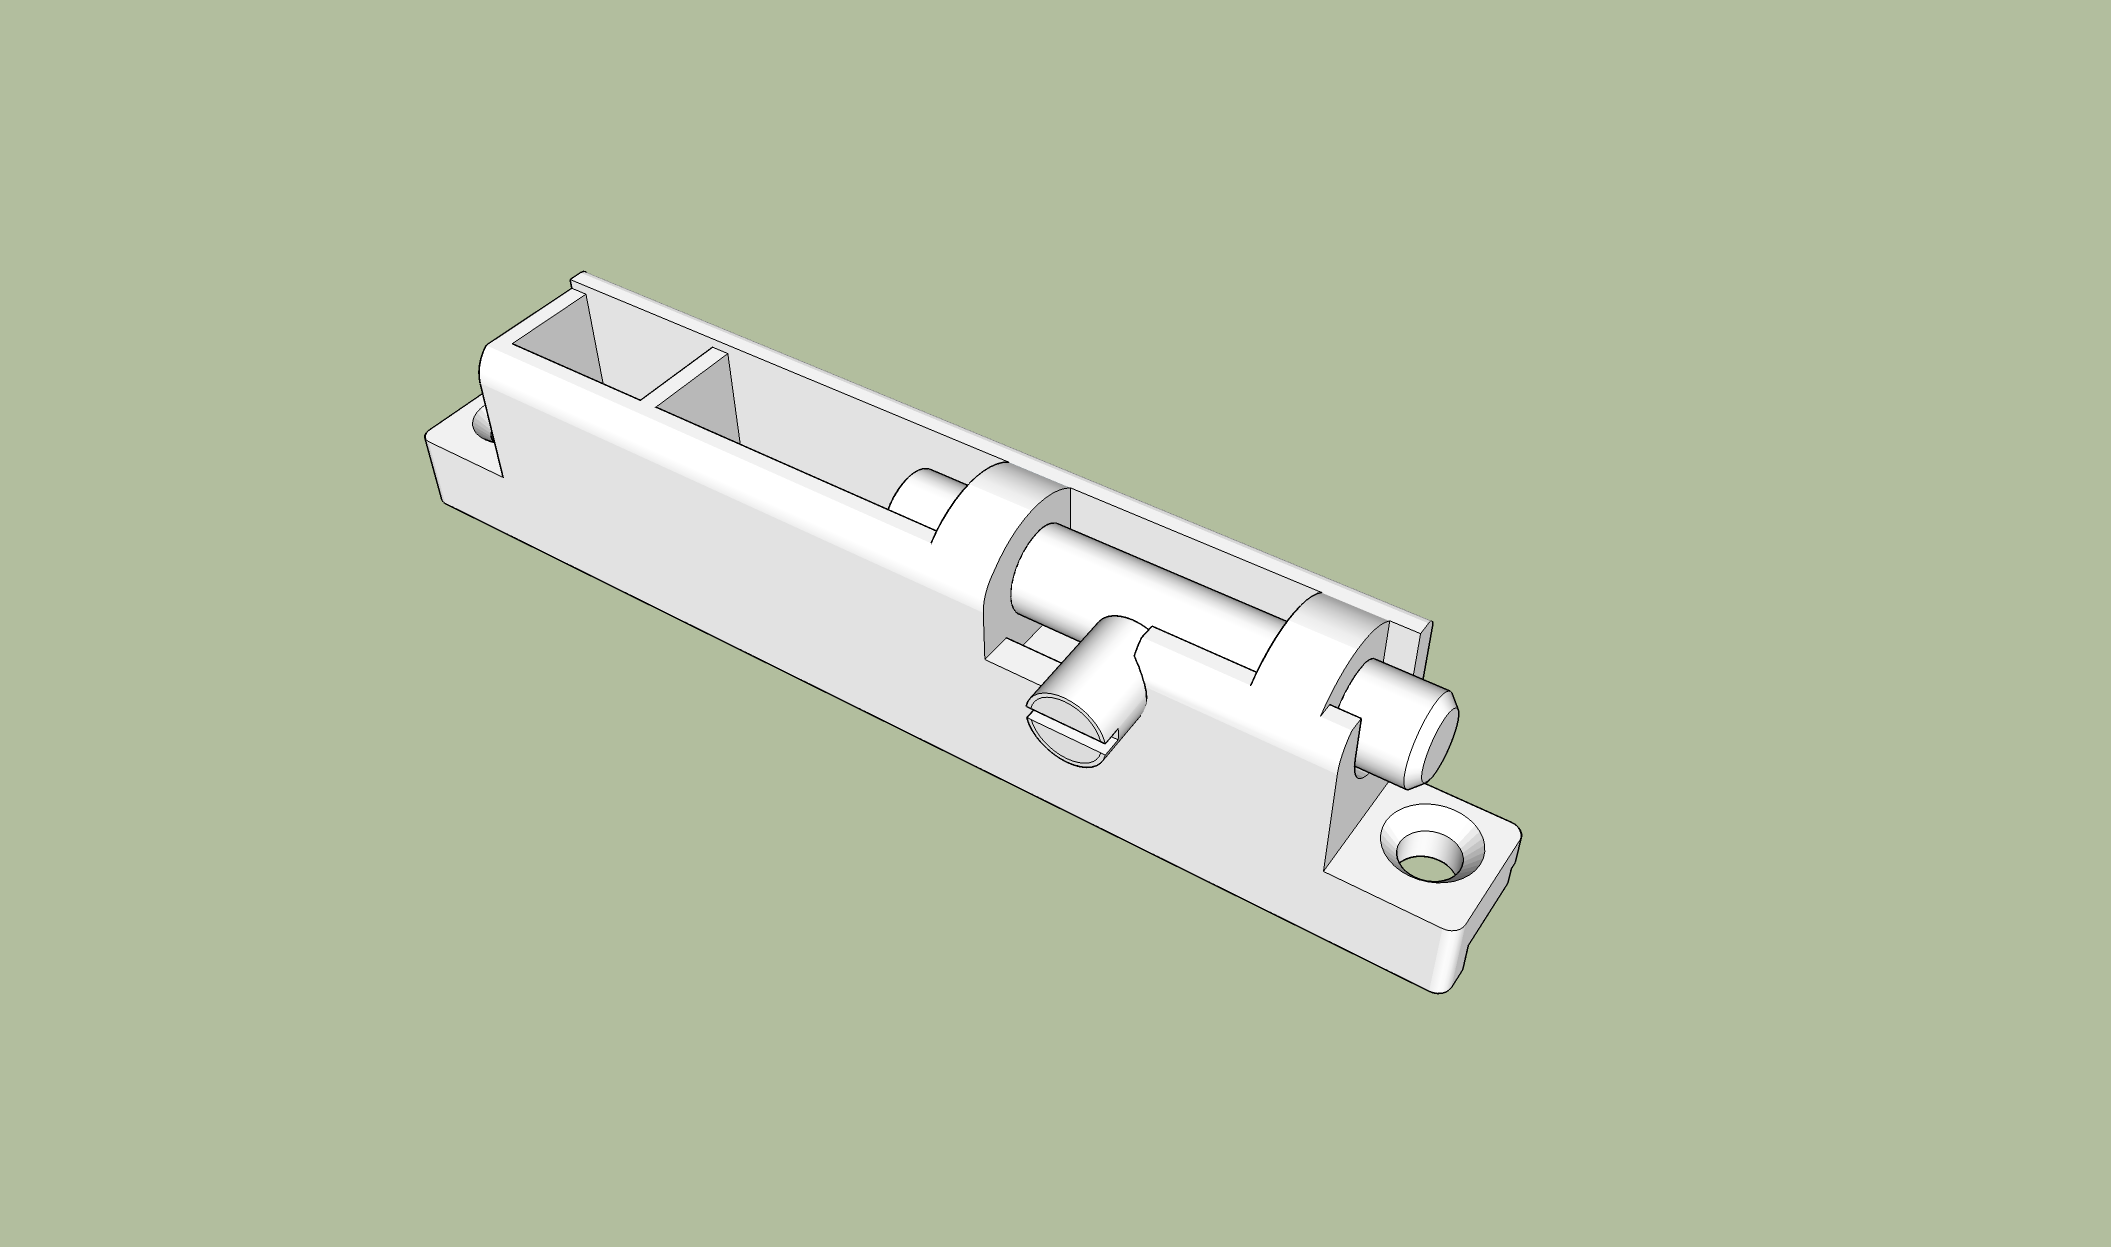
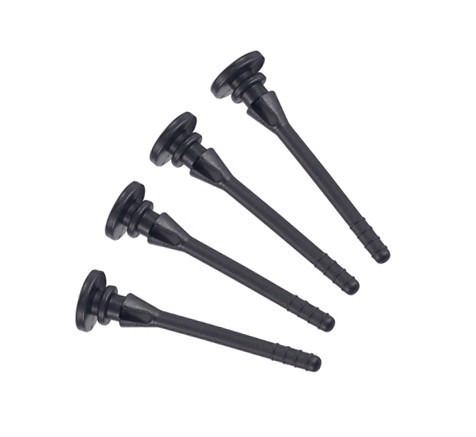
If the noise issue your having is caused by reverberation, then using softer mounting methods for the fans, such as rubber grommets, or these things below, could help you.

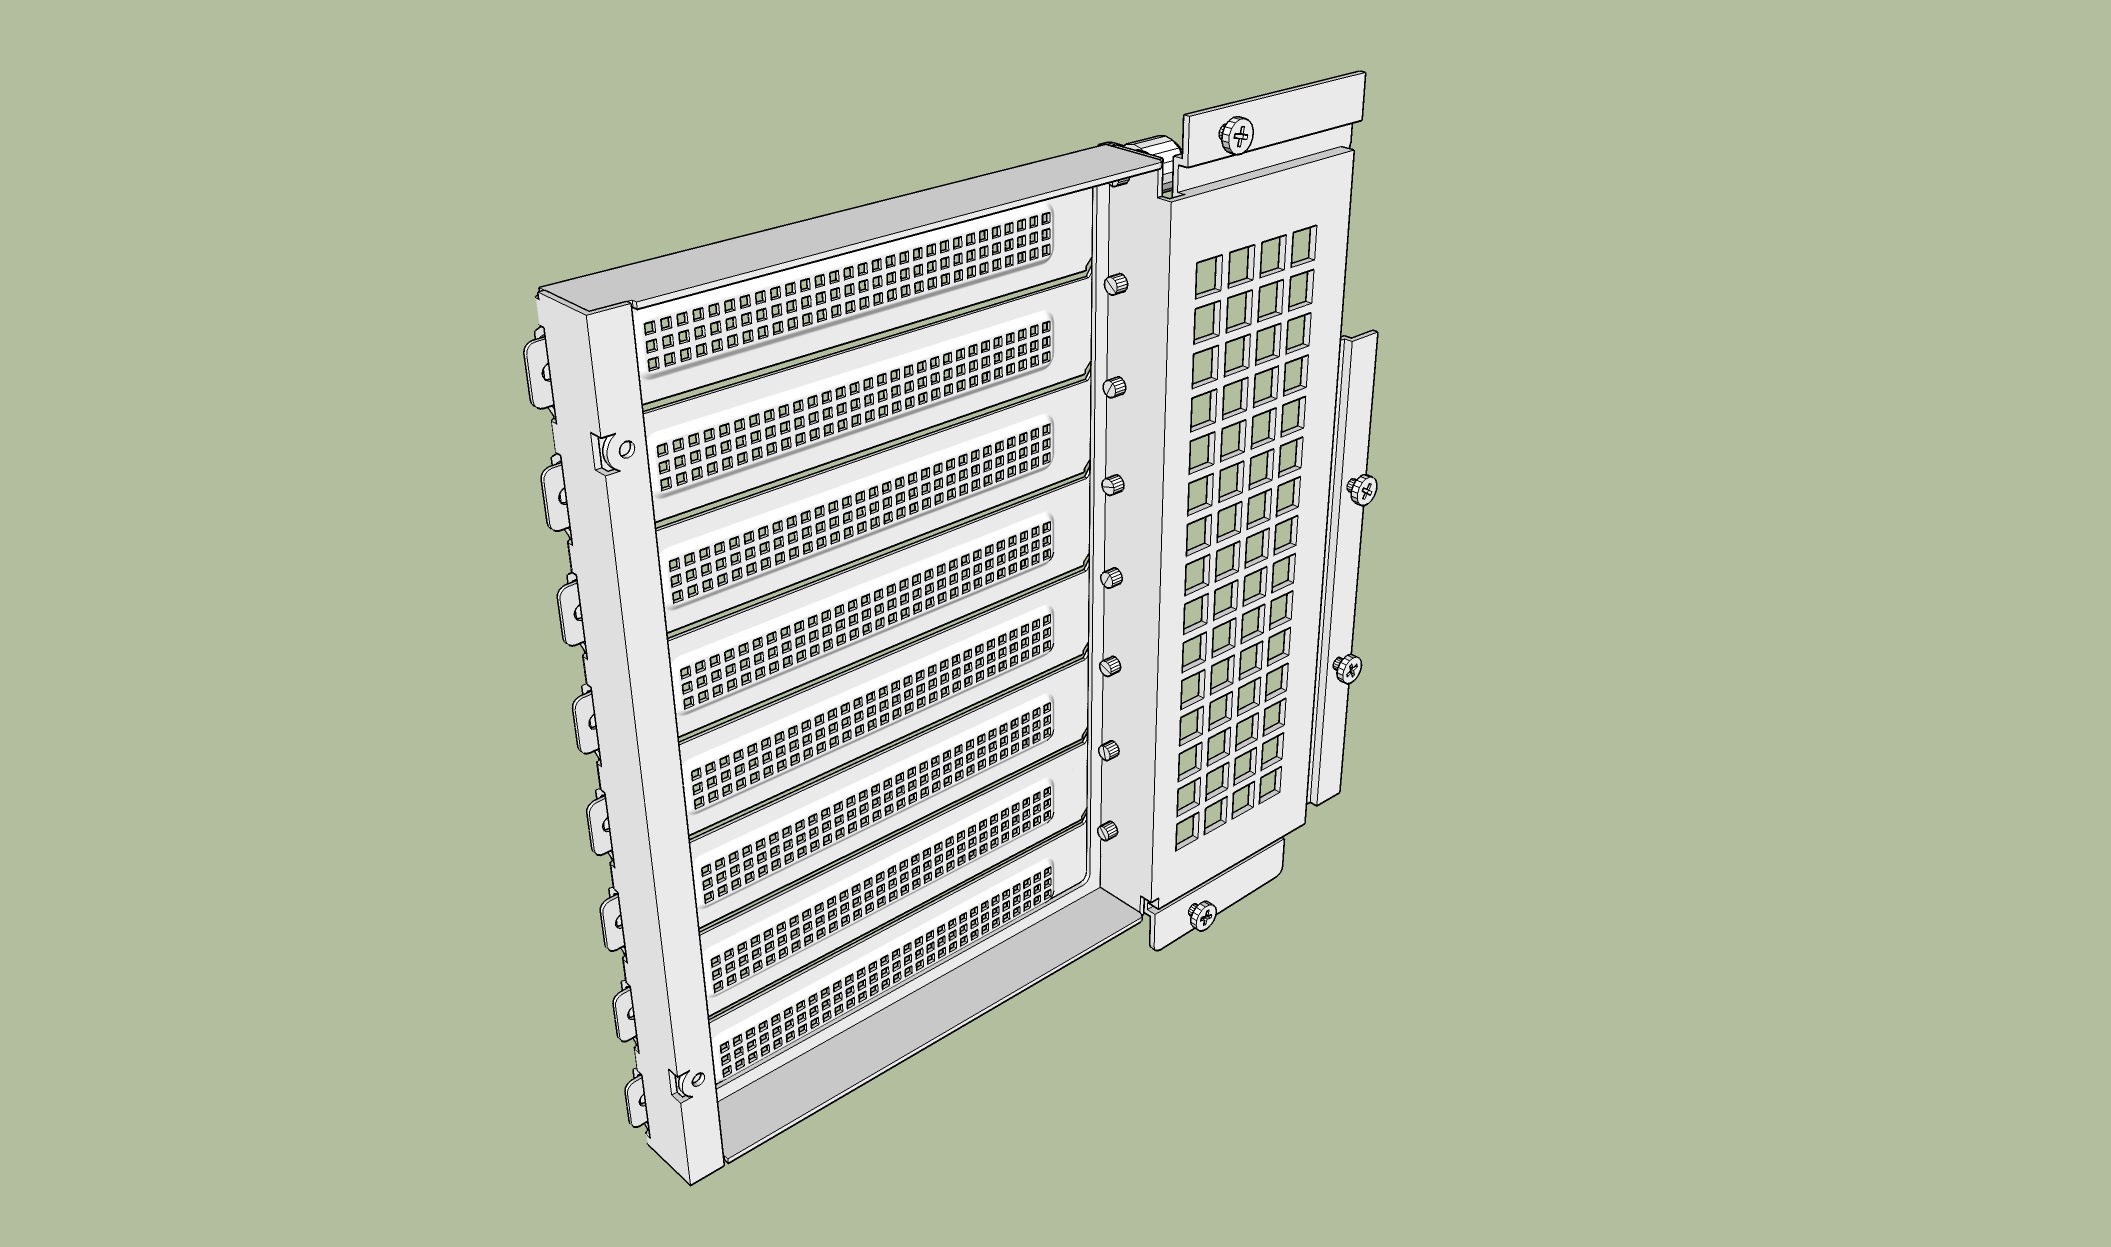
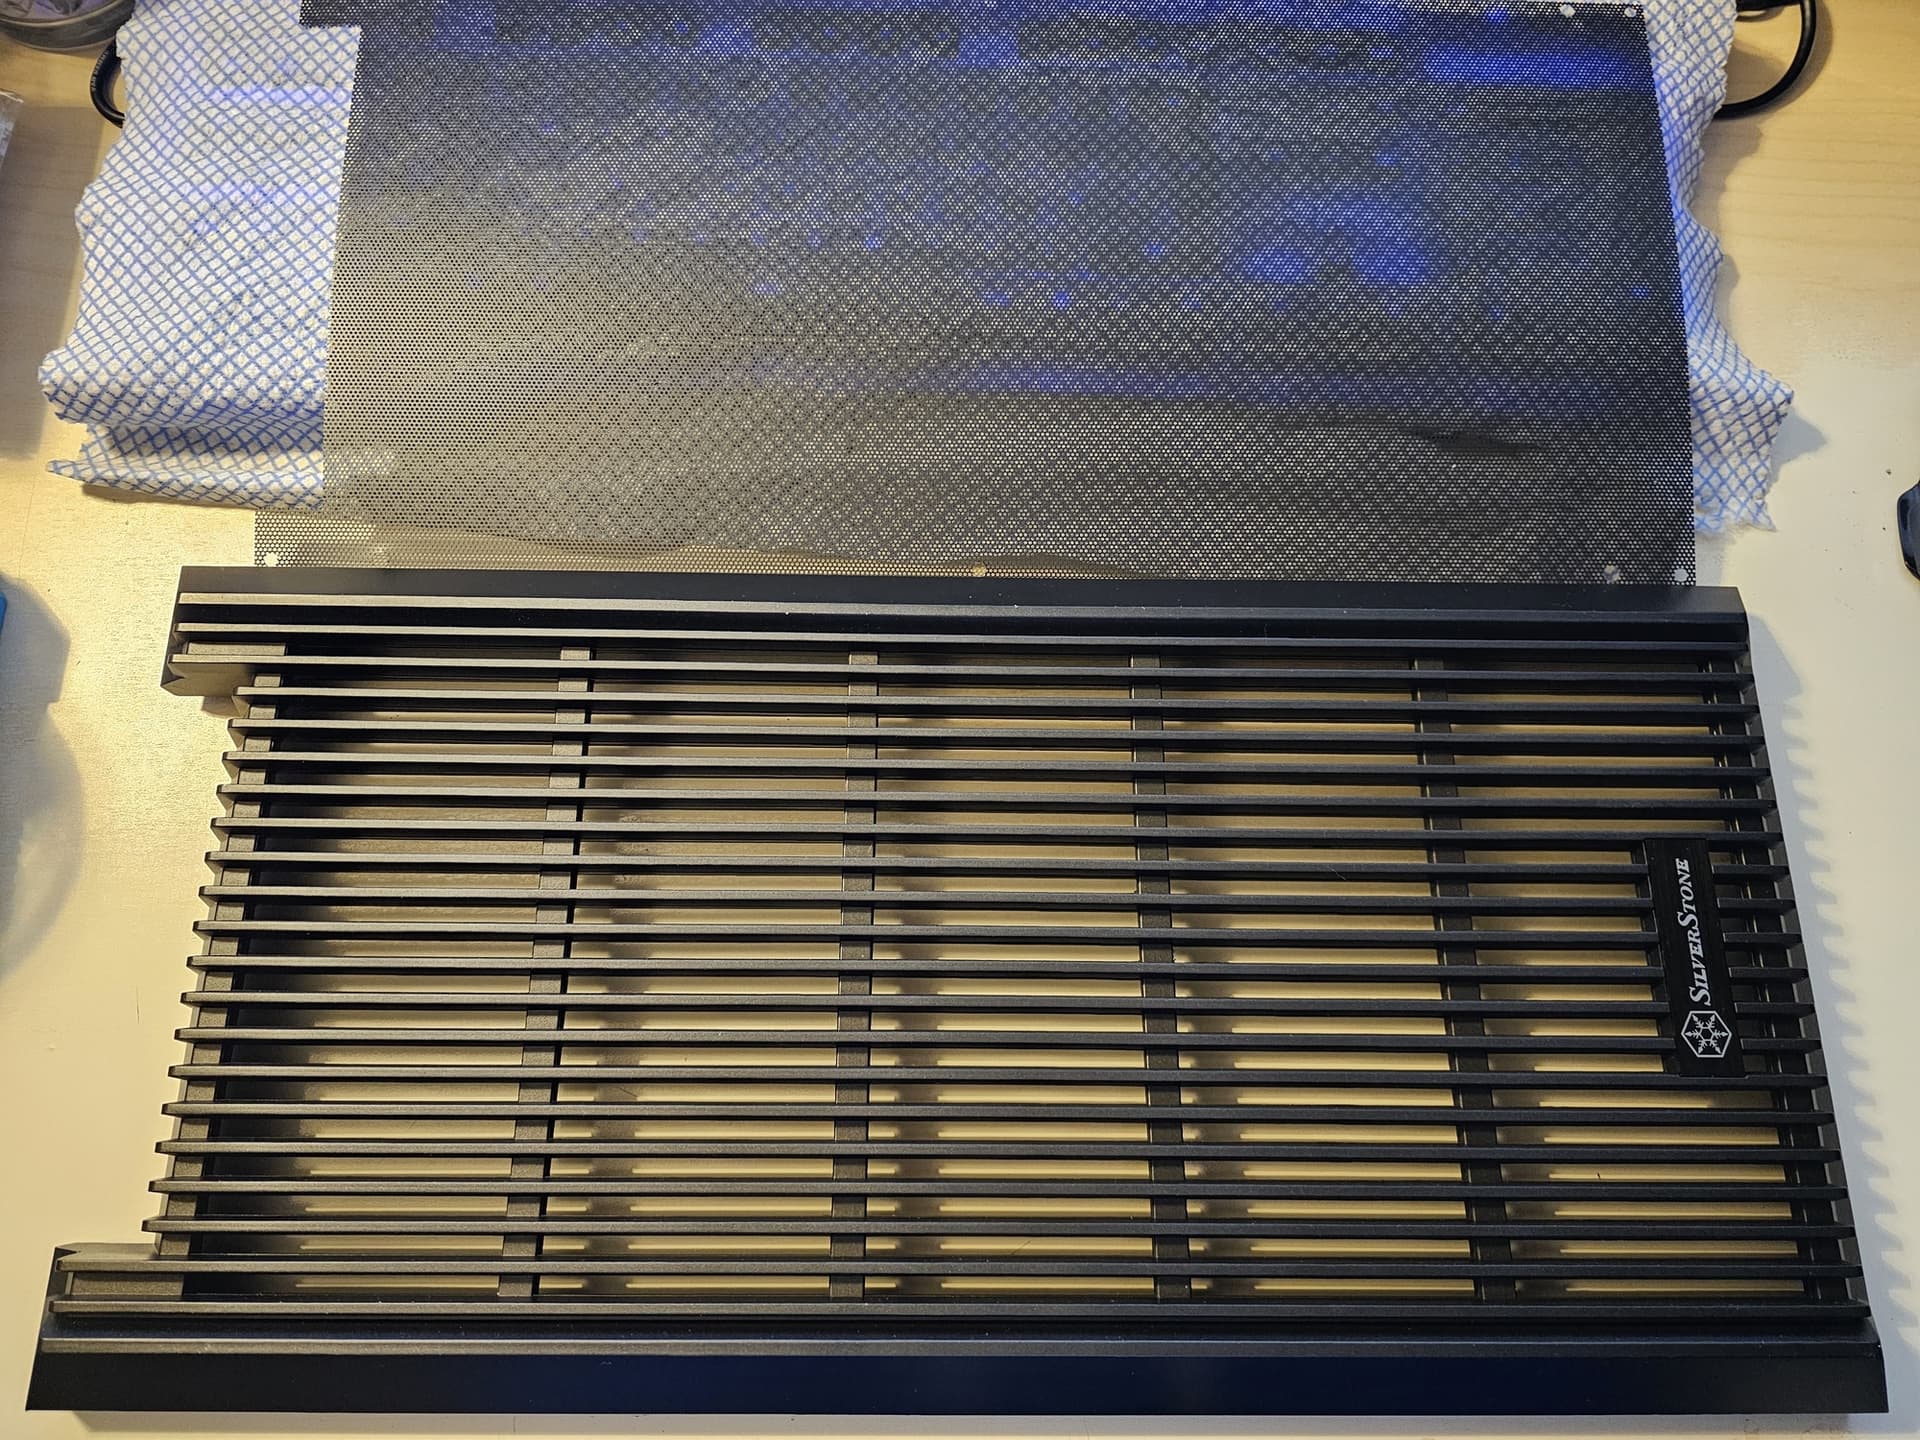
That’s unfortunate but not that much of a surprise. A lot of cases (especially workstation oriented ones for some reason) take a really half arsed approached to dust filtration. I have a few ideas for mods that would help, once I finally buy a CS383 (I’m just waiting for a case of mine to sell on eBay first).

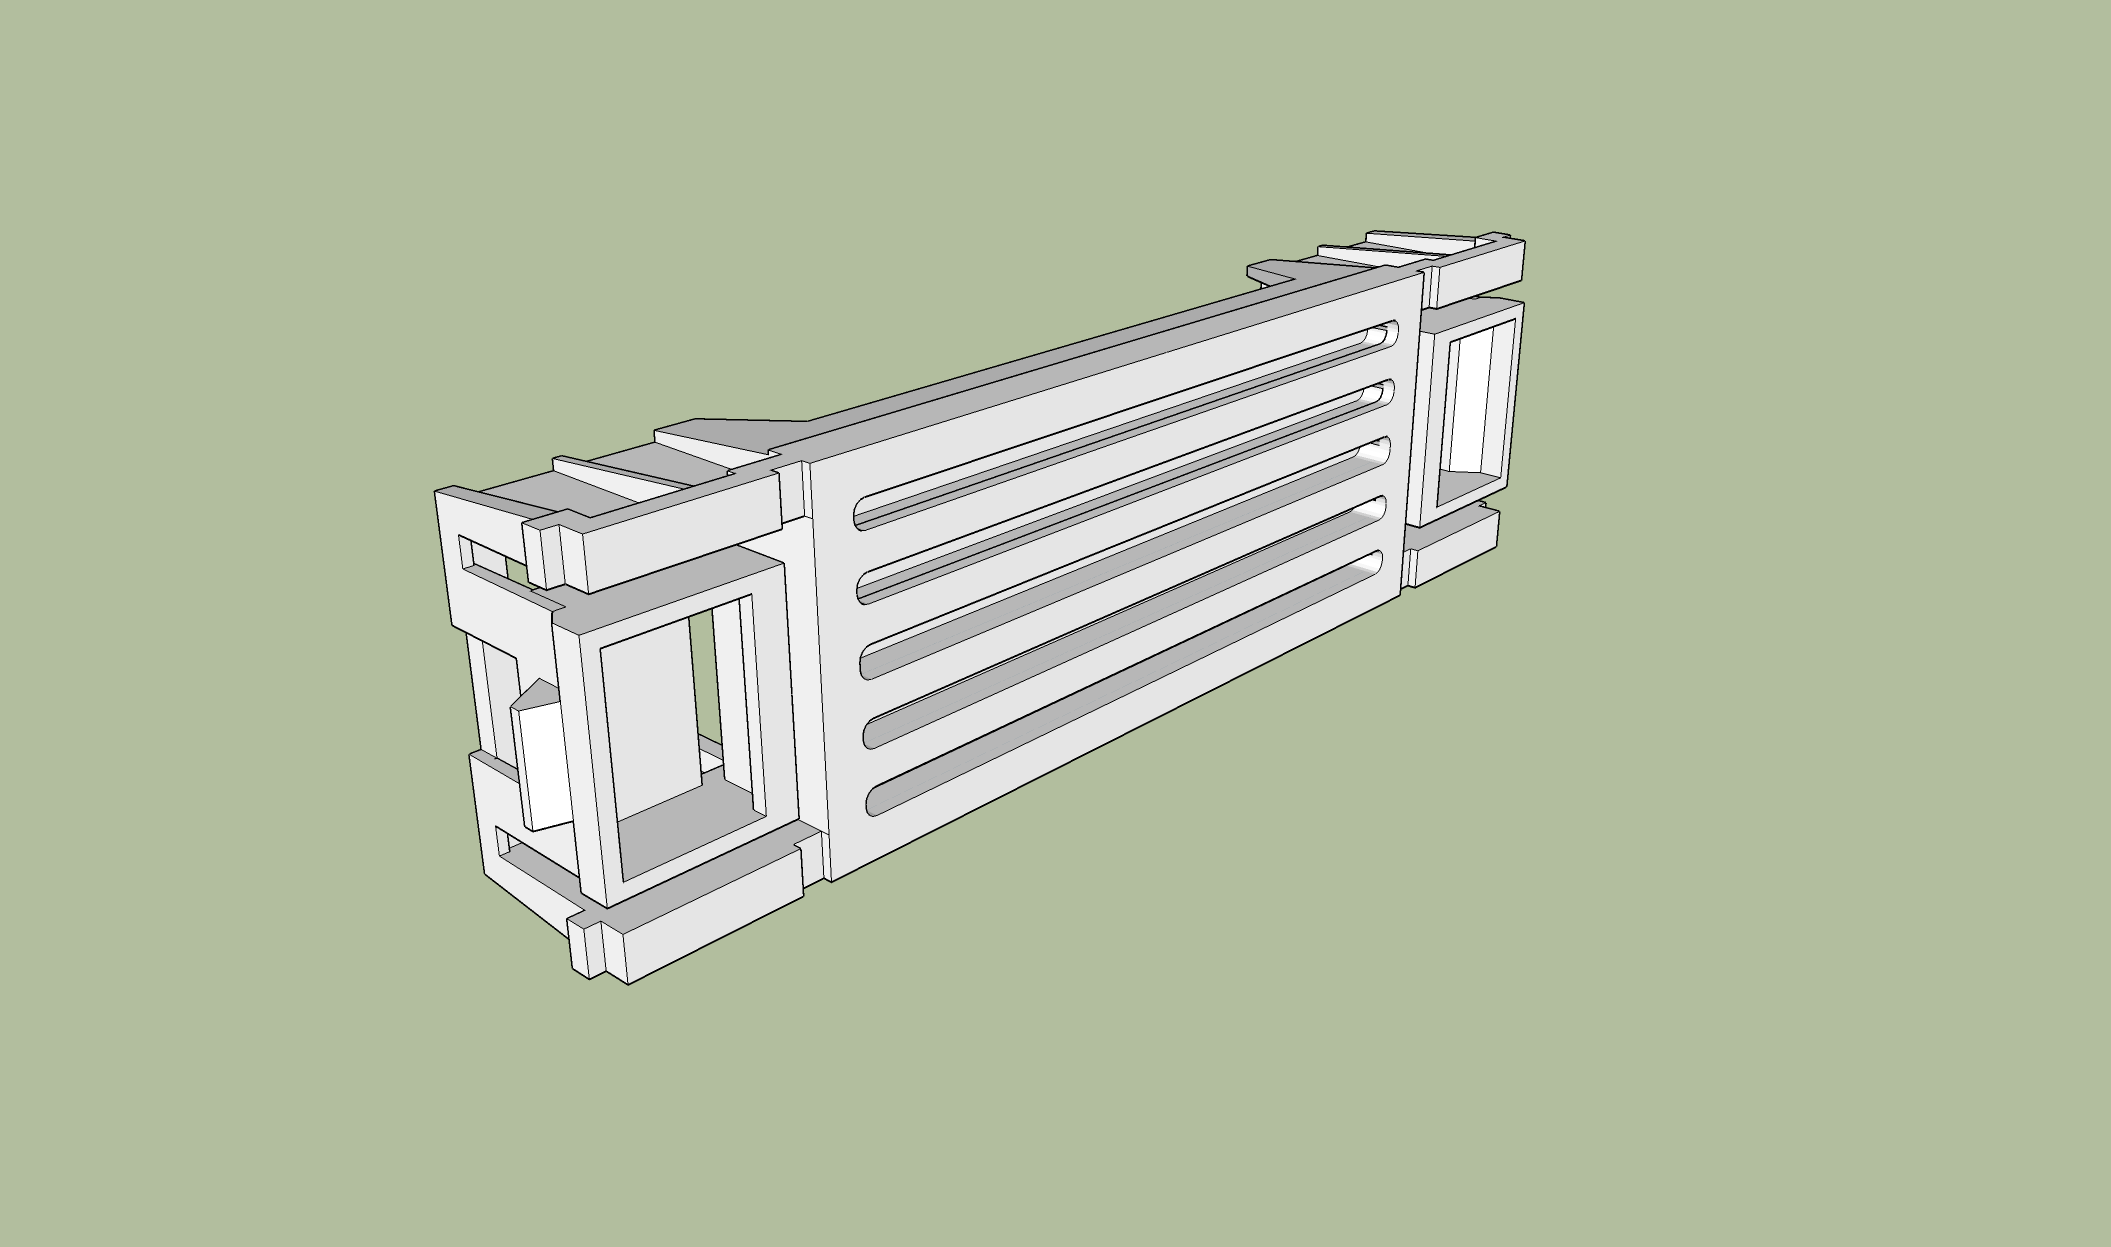
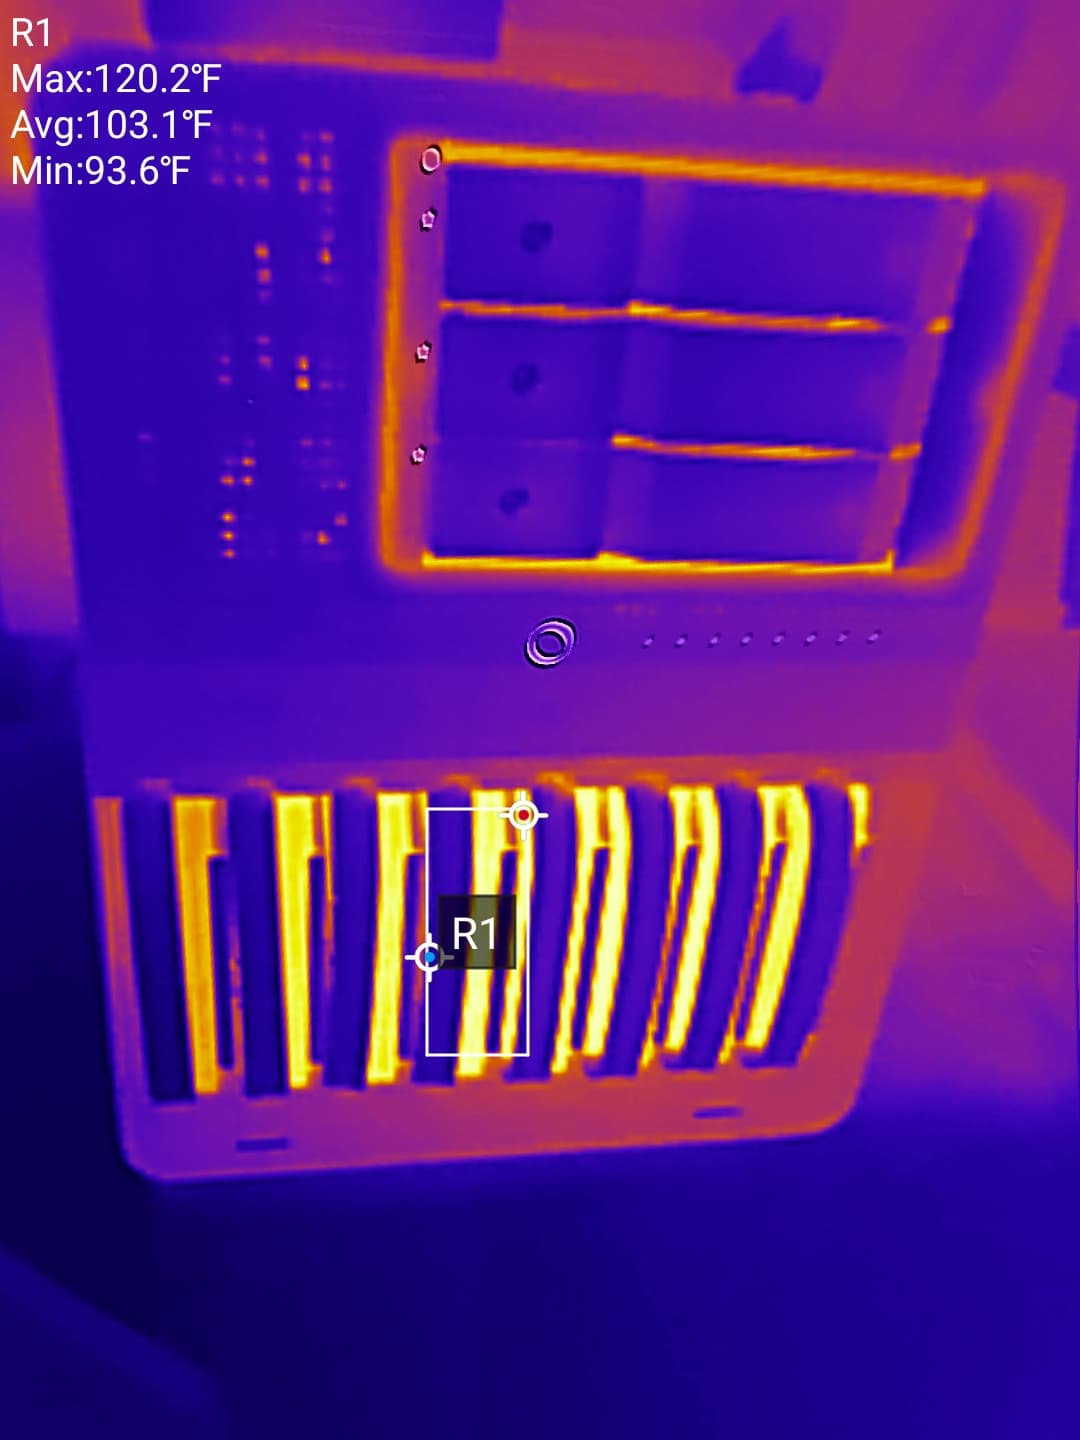
Here’s a picture of the PCH and the small fan that cools it. Small fans tend to spin at higher RPMs for a number of reasons. One part of it is that they can spin at higher RPMs without producing the same physical forces or the amount of noise that a large fan would at the same RPMs. There are larger fans that spin at the 3814rpm shown in your fan control screenshot but I’m not aware of any in the consumer space. It’s common for server fans to run at those kind of RPMs but they are also very loud when doing it (think vacuum cleaner levels of noise).


As for the “mis buy”… I’m not sure whether you’re referring to the 92mm fans or the case itself but in either case, I still think there’s hope. I can empathise with you as I’ve felt the same way about some of the cases I’ve had in the past but with a little work, you can really make a difference when it comes to noise levels. As I mentioned earlier, silent computing was my niche of choice in days gone by. So if there’s any knowledge I can share, I’m happy to but I’d need to know exactly what the issue is first… that’s the first step, identifying the source of the noise.

1 Like

i added a low noice adapter to the 92mm fan. its now very quited :smiley:
i gota model a mount for 120mm fan at the botom . air intake is on the low side

1 Like

Hansolo did you got ur cs383 yet??

No, unfortunately. The reasons being is that I’m rather short on space at the moment because one of my siblings is between house moves, so my house is packed to the rafters with their stuff. I also promised that I wouldn’t buy another case until I sold one of my collection… it’s on eBay and it’s in exceptional shape compared to all the others that are for sale or have sold in the last few years… but it hasn’t sold yet. It’s very annoying.

I might just get rid of something else to clear some room at this rate.

I’m definitely going to get one though. Non of the cases imperfections would significantly effect the build I have in mind and there’s still nothing else on the market that ticks quite as many boxes for me.

[EDIT] Damn it. I’ve just noticed the thread title has had a typo in it for over a year!

1 Like

Yeah… about that last comment.

I’ve just bought one.

In my defence (and I’m speaking to the person I had promised to that I would sell a case first)… it was £50 less than what Amazon have been selling it for!

2 Likes

I think I said this in a previous comment but I’d always planned to make an accurate 3D model of the CS383 once I actually bought one. This was originally just for my own needs, so that I could design 3D prints but after @Wendell touched on the subject of creating some kind of 3D printing repo for the case, I figured I may as well make the model freely available.

I’m still not quite decided on how to go about that, mainly due to my CAD program of choice being limited to an a 2017 version of Sketchup, and Sketchup’s online version and it’s 3Dwarehouse having some disagreeable terms in regards to uploaded models. If anyone has any suggestions of how and where to setup a community repo for CS383 related 3D printing stuff, I’m all ears.

I know it’d make more sense in the long run to use a different CAD program (I’m leaning towards FreeCAD) but after 15+ years of using Sketchup… I’m pretty fast with it. Plus, whilst I’m learning a brand new workflow in FreeCAD, I’ll be creating a model in Sketchup that is accurate to 0.1mm wherever I can measure with my 150mm digital calipers*. Which can then act as a reference for when I recreate the model in FreeCAD.

I plan to focus initially on the areas of the case that I plan to mod or 3D print parts for but if anyone else wants to request a model of a certain part of the case, please feel free to ask and time permitting, I’ll move it higher up the todo list.


* One of the limitations with my current workflow is that my calipers only go up to 150mm. Which means making a properly accurate of my main area of interest, i.e. the front bezel, would be very difficult. Which is why I’m considering getting some better measuring tools, including a pair of 300mm calipers. Whilst I was mulling that decision over, I was passing the time by modelling one of the smaller parts of the case.

Here’s a preview of a TEST model of the CS383’s door latch / hinge. I can’t think of a reason why anyone would need a sub 0.1mm accurate 3D model of this part of the case but it was an exercise more than anything. The whole thing is about 68.2mm long, 15.15mm tall, and 9.30mm wide.

2 Likes

I had set today aside to get cracking on the modelling but I quickly came to the conclusion that I will in fact need some larger calipers to really get accurate measurements of the areas of the case that are of most interested for modding. I’ll order some tonight and they should be here on Monday. As for today and tomorrow, I’m gonna focus on modelling whatever I can, that’s small enough for my 150m calipers. That’s what I had hoped to do today but between cooking a Lasagna, and having my brother turn up with my niece and nephew, I haven’t got much done… on the plus side though, I’ve got Lasagna waiting for me.

1 Like

Have you considered use photogrametry to model? I’ve been meaning to get into this but haven’t figured out the best toolchain yet.

Also you could use github as a model repository.

I have considered it in the past, for various other projects but it always raises the Catch .22 issue of time. Photogrametric modelling is very likely quicker for an experienced user but how long would it take me to learn? How much work could I be doing in the meantime? I’ve always come to the conclusion that I could model a given object, way faster than I could learn an entirely new workflow.

It’d also only benefit a small percentage of what I currently do. As I said in a previous comment though, I would like to learn something else… most likely Blender having thought about it some more. So perhaps it’s something I will looking into further in the future.

I wasn’t aware you could use Github for this sort of thing… even though I already have an account (for the most noobish bash scripts you’ll ever see). I’ll definitely look into it more. Thank you for the suggestion.


On a slight side note… all hail ZFS!

I just had Sketchup crash on me when I was about 60% of my way through modelling the removable PCIe bracket assembly. Which wouldn’t normally be an issue but somehow, despite years of compulsively hitting Ctrl+S every few minutes, I hadn’t saved in over an hour. To make matters worse, the autosave that Sketchup makes was corrupted or something but thanks to ZFS snapshots, I have been able to restore a working version of the autosave, so I only ended up losing about ten minutes of work.

1 Like

My model of the PCIe slot assembly is about 95% of the way there. It needs some finessing but even though I’m conscious of not wanting to spam pictures of every little component I model, I did just want to post a couple screenshots because it marks the first part of the case that I actually plan to modify (albeit in a minor way).

2 Likes

Just a quick heads up to those of you willing to sacrifice a little bit of dust filtration for improved cooling.

The front door’s dust filter can be and is easily removed. You just have to unscrew the two barrel latches (2 screws each) and then undo the 6 screws on the inner side of the door itself, and then the door comes apart. The dust filter is sandwiched between the two halves.


Forgive the desk mess but I’ve got three projects on the go.

2 Likes

I may have to go down that route as it’s starting to get hot down in Aus and my dual actuator drives are complaining about being 60c. Will see if my 90mm Noctuas aren’t running fast enough or if they’re just insufficient. 30 above ambient for a HDD is kinda crazy.

thing is why hdds runs hot is because the back plane pcb is blocking like 50-60% of the fan intake, if silverstone would save on costs they could make those pcbs with holes like qnap do in their nas

I’m sure that step costs extra, probably negligible, but it is an extra operation.

I don’t think the issue with the CS383’s HDD cooling is any more down to the backplane than it would be for a qnap. The reason being is that the backplane in the CS383 is no more restrictive than even the least restrictive examples of qnap backplanes that I can find. I also think that the issue is in no way unique to the CS383.


To be honest, I’d challenge anyone to name a consumer oriented, storage focused case that offers great HDD cooling without just using sheer force of airflow as they do in rackmount servers. IMHO, the main culprit for poor HDD cooling is the density of the storage. Even if you have no backplane at all, your disks will still get cooked without proper intake air. And that’s something that every storage oriented case hamstrings by cramming as many drives into a given space as possible rather than sacrificing total capacity in order to have better airflow.

If the goal is to keep your disks warm rather than hot, and to do it without your system sounding like it’s trying to take off. Then you need larger airflow paths. Larger and thus less restrictive airflow paths mean that you can use larger, lower RPM fans to move the same amount of air.

I’m able to get decent cooling on a 32-drive backplane tower system with ⅜" spacing between hdds:

The emissivity setting on the camera is slightly off, the hottest HDD in the system is actually only 105F; this is with 120mm fans running at ~1100RPM while the drives are actively reading.
The drives closest to the intake on the right definitely run the coolest, the gradient between the front/right column and rear is ~22F.

Funnily enough, when I was designing a case for keeping spinning rust cool, that’s basically identical to the design I came up with. Push / Pull airflow travelling from side to side over sledless, hot-swappable drives, so that the backplane or the sleds don’t impede airflow, and so that there’s no fans in front of the drives. That would have to be moved before removing a disk. What case is that though? I’d love to know please.

As for the CS383… I’ve just broke out my digital calipers to measure the clearance between each drive. I will caveat this by saying that I only had an old 320GB drive laying around. Which is thinner than modern, high capacity disks. But I put it in the top drive sled and measured from it’s udnerside, so height shouldn’t matter. In the sled directly below, I inserted a 2.5" to 3.5" converter that measures in at 25.48mm in height. Which is ~.6mm smaller than a Seagate Ironwolf Pro 20TB. Then I measured the gap between the underside of the upper sled and the top of the converter… well I tried to measure it but the design of the sleds meant there wasn’t enough space to get the jaws of the calipers in.

I then began slipping sheets of 160gsm A4 printer paper into the gap and continued until I couldn’t slip any more in. Then I measured the thickness of this “stack” of papers. The gap between disks in the CS383 is… drum roll please.

0.8mm

Which for our American friends is 0.031 or roughly 1/32 of an inch.

Yeah I definitely think that the CS383’s mistake here is vertical density. My same drives are coming from a Jonsbo N3 and that has about 1-2mm gab between drives and that was enough to stop this issue WITH a filter in the way.

After removing the filter (and removing a manual fan controller that I was using because it had temp sensors and I thought that was cool) I haven’t had the drives hit 60°C yet. I’m still collecting data and the weather is still yet to get proper Australian hot but I think removing the filter helped greatly.

It’s this guy:

I originally started designing the case so others could copy and make their own but it became kind of complicated and unrecommendable.

I’ve got one too and it does a pretty good job at cooling the hdds:

The triple hdd, double 5.25 bay enclosure on the N3 actually runs the hdds hotter than the native bays of the N3.

1 Like