I apologize for not responding to your question. I kind of forgot that I made this post...
Anyways, update time!
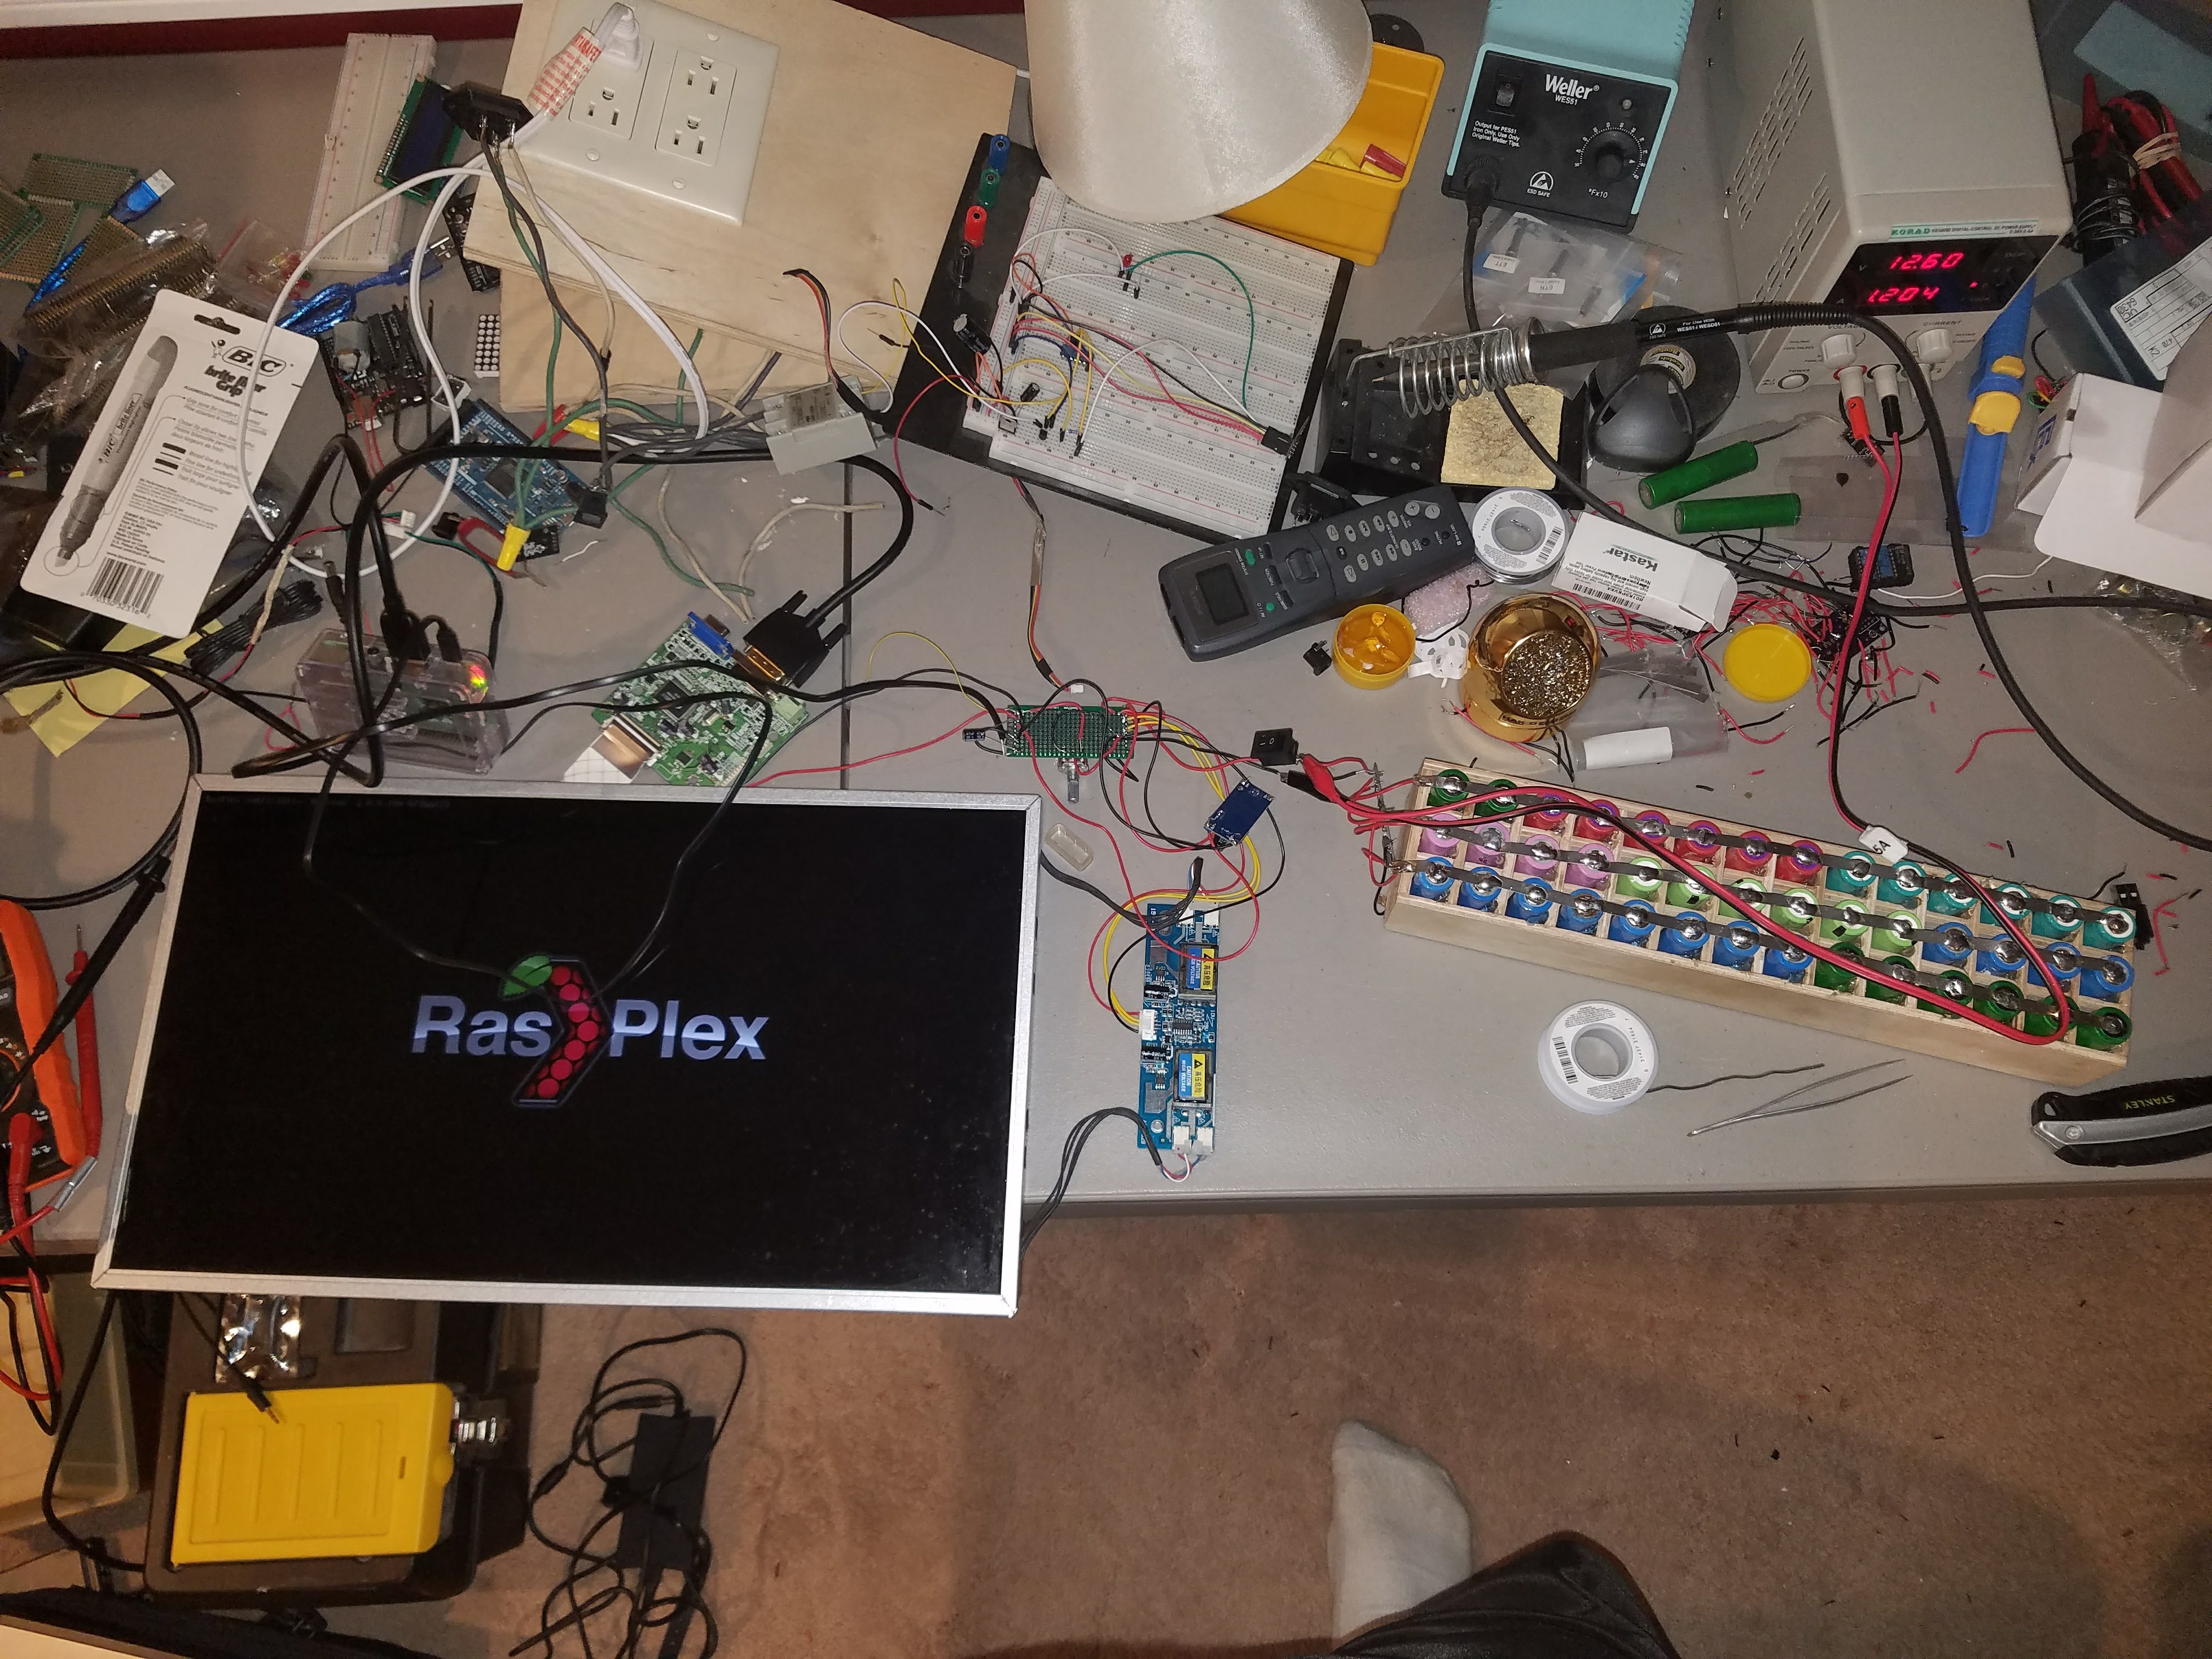
I have been working diligently on this PiTop project.
In the beginning I wasn't necessarily sure how I wanted this to look or act, but I now am much closer to a fully realized idea.
This is all my work so far. My favorite thing I have done so far is the 42 18650 cell battery I put together. I learned the most doing that than anything else with this project. I went to a local computer repair shop, and spent 30 dollars on 6 used laptop batteries, and recovered the cells inside. Out of the 6 laptop batteries, I only had 4 or 5 cells that weren't recoverable. SCORE! A battery management system is installed to the left of the battery, and (supposedly) is protecting against over-charging and over-discharging of the 3S14P battery.
To anyone looking to do this themselves, please be careful with these batteries. I painstakingly charged all 42 cells outside of the pack with my single output benchtop power supply, let them sit overnight, and checked them to see if they were self-discharging too much. The charging outside of the pack was also necessary so they were semi-balanced before I wired them in parallel, otherwise the voltage difference would cause dangerously large amounts of energy to flow between the cells and possibly cause a fire.
This is a close-up of the CCFL inverter board I ordered off of eBay, and the two buck converters I ordered off of amazon that I tuned to just over 5v each, because for some reason I got a low voltage signal from the raspberry pi when they were tuned to exactly 5V. These power the LCD Display driver board (picture of that later on in post), and the Raspberry Pi 3 Model B. I'm not so sure I need two anymore, so I will be experimenting with just one later on. The perfboard in the back has a potentiometer installed in between 5v and the adjust pin of the CCFL inverter board (for brightness adjust), and one of the two buck converters.
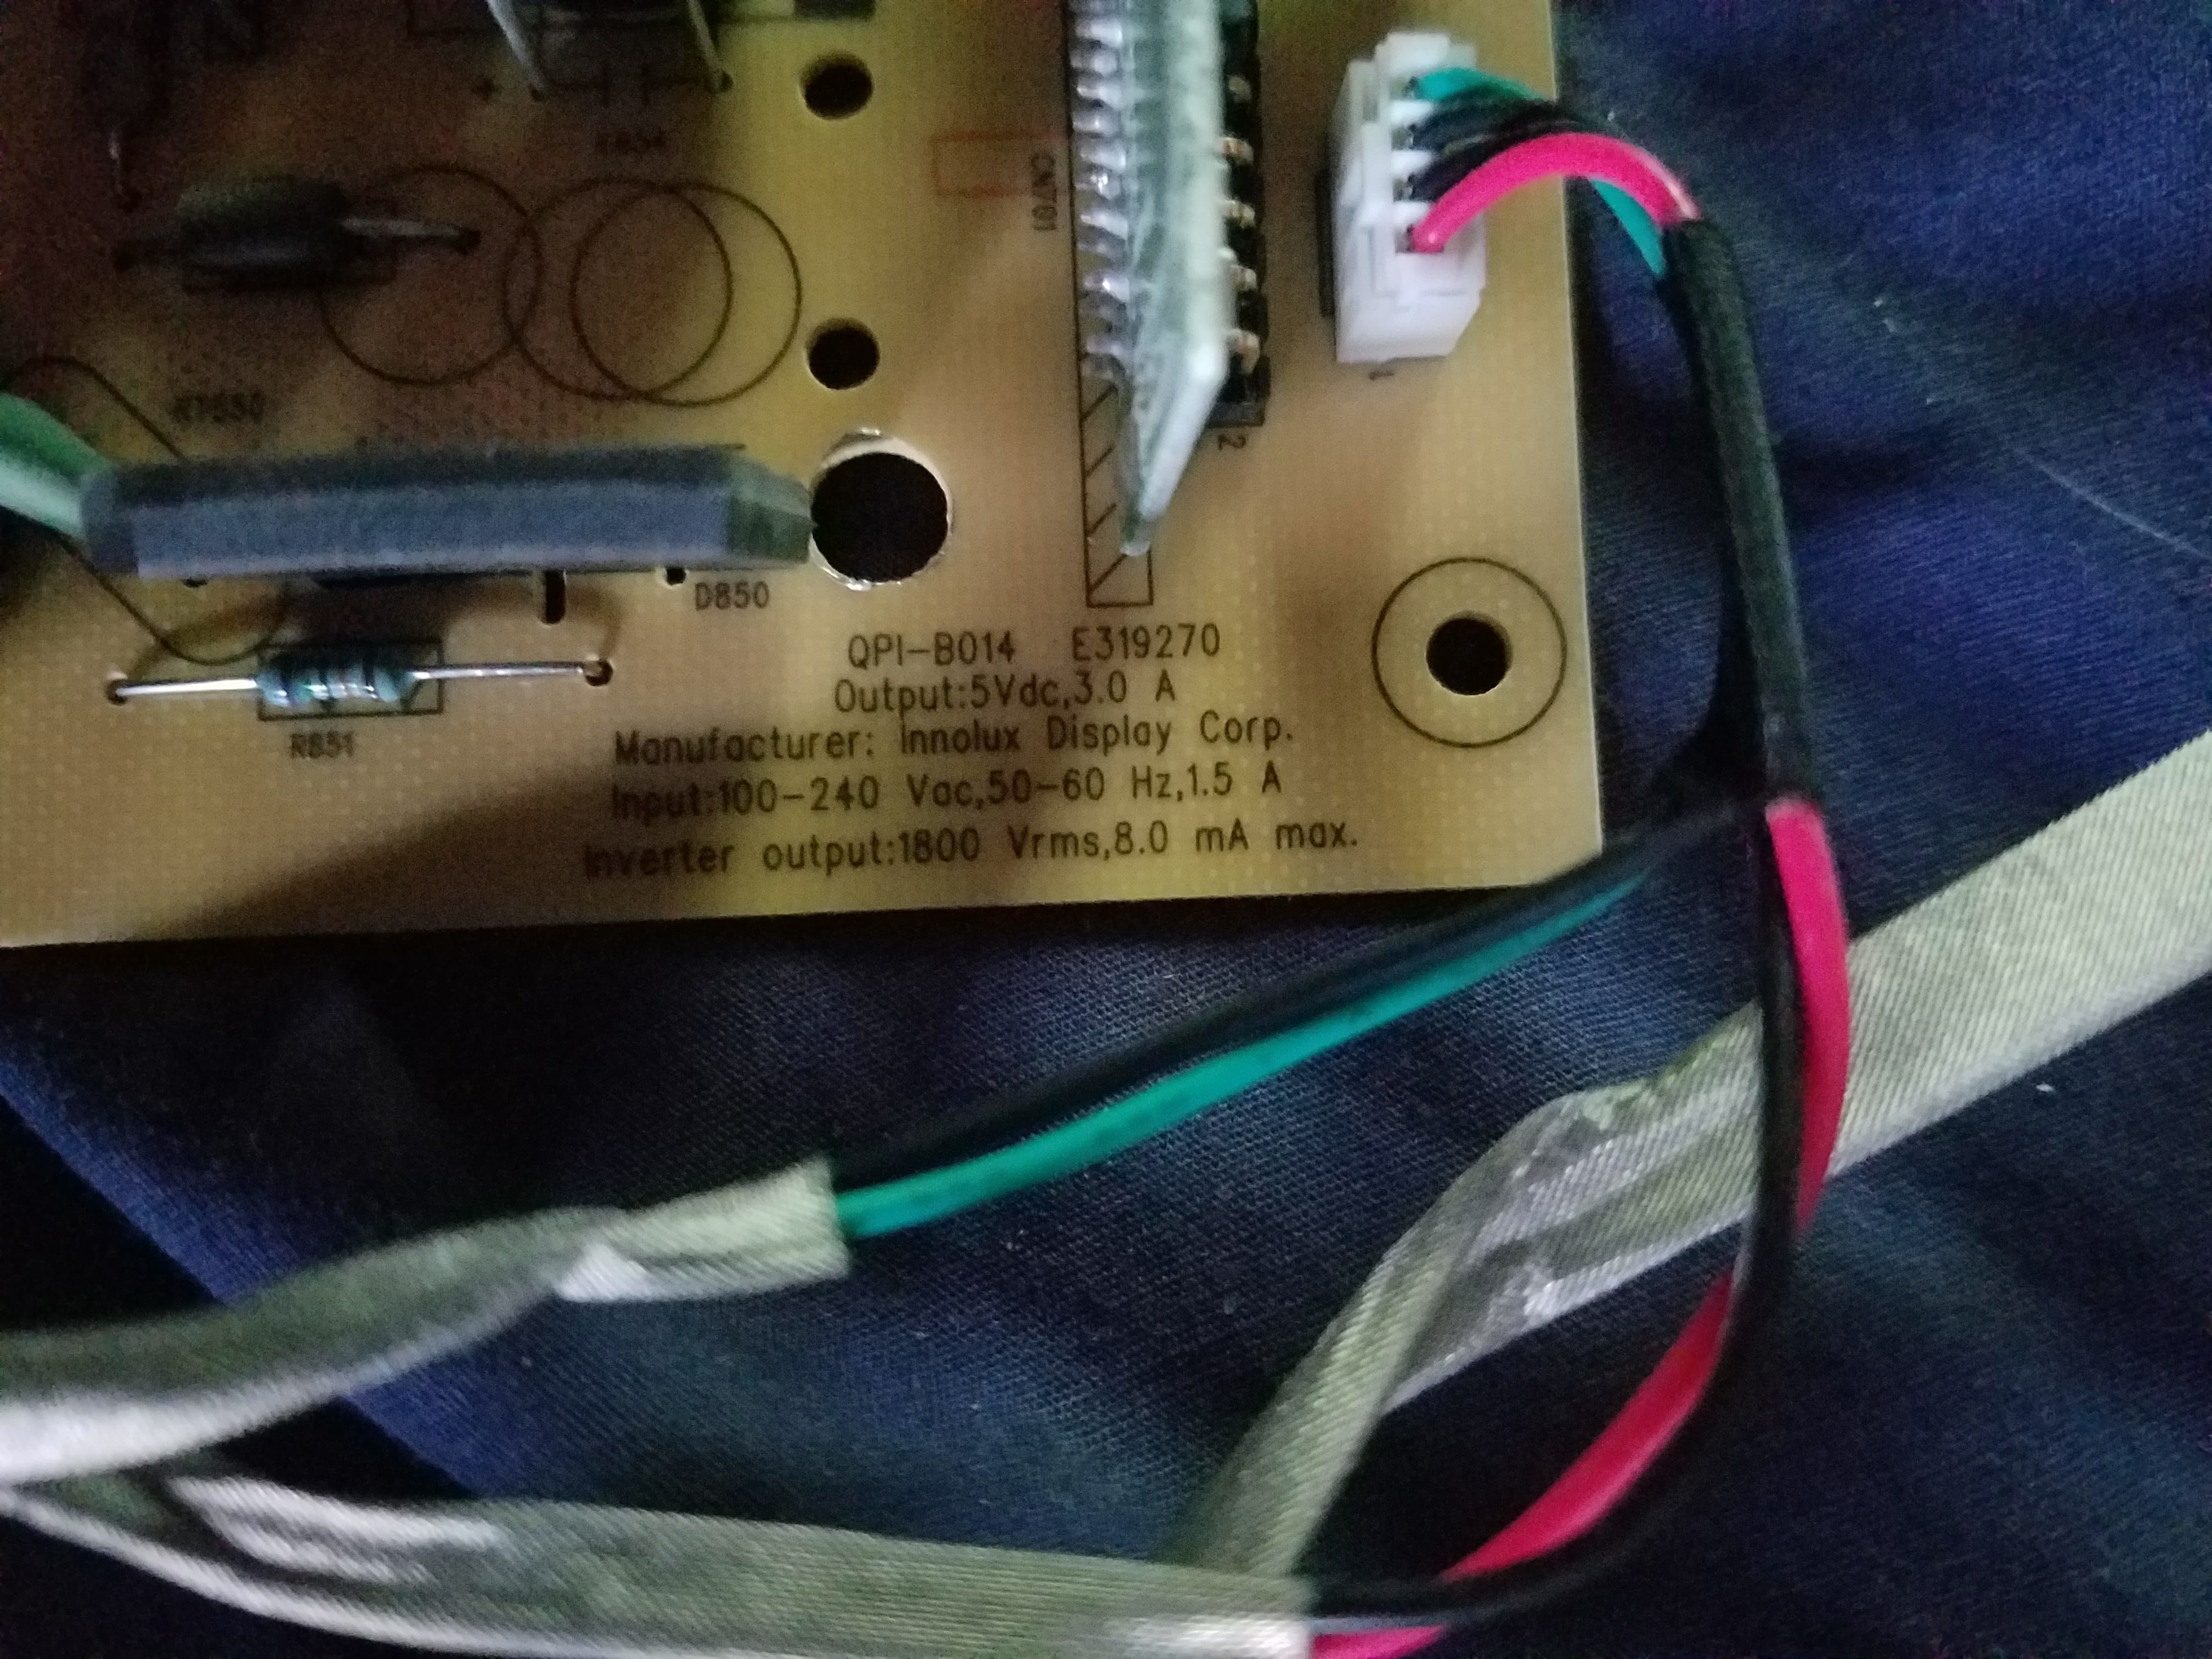
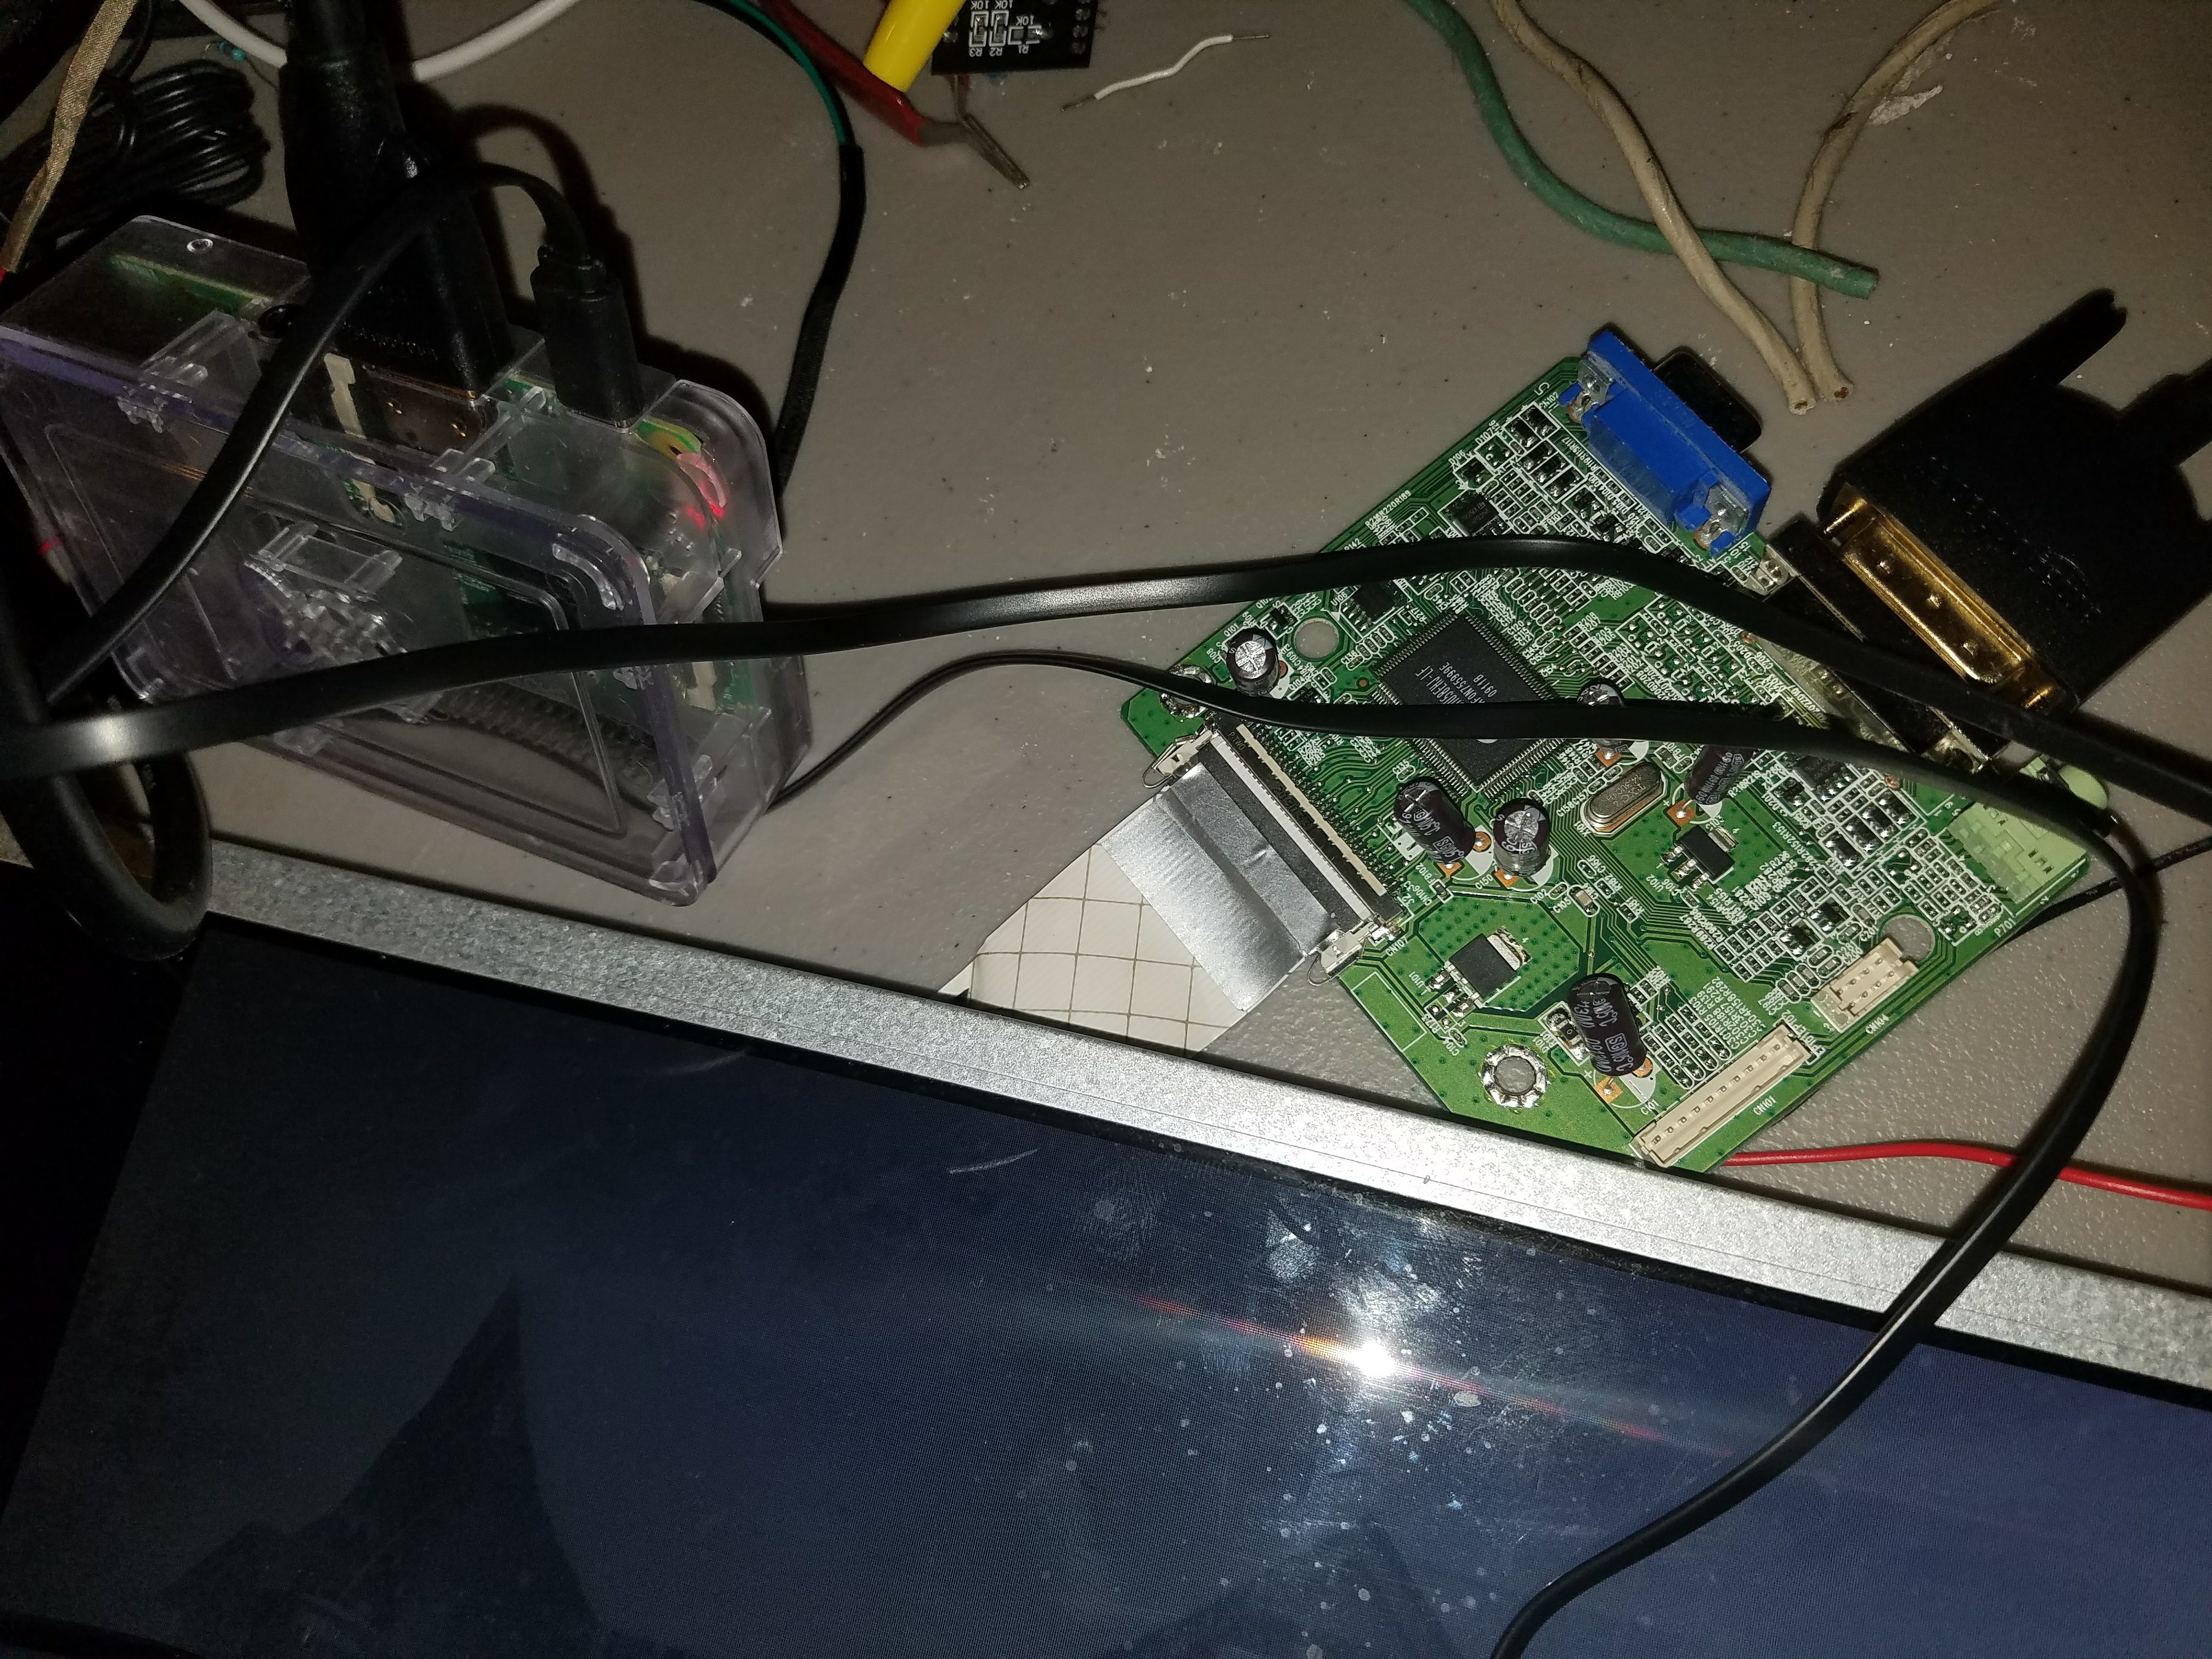
This is a close-up of the LCD Driver board and the raspberry pi. All I have done to the driver board is probe around with a multimeter to figure out where I need to supply power. I found the 5V supply pin and the ground pins, and soldered wires to those.
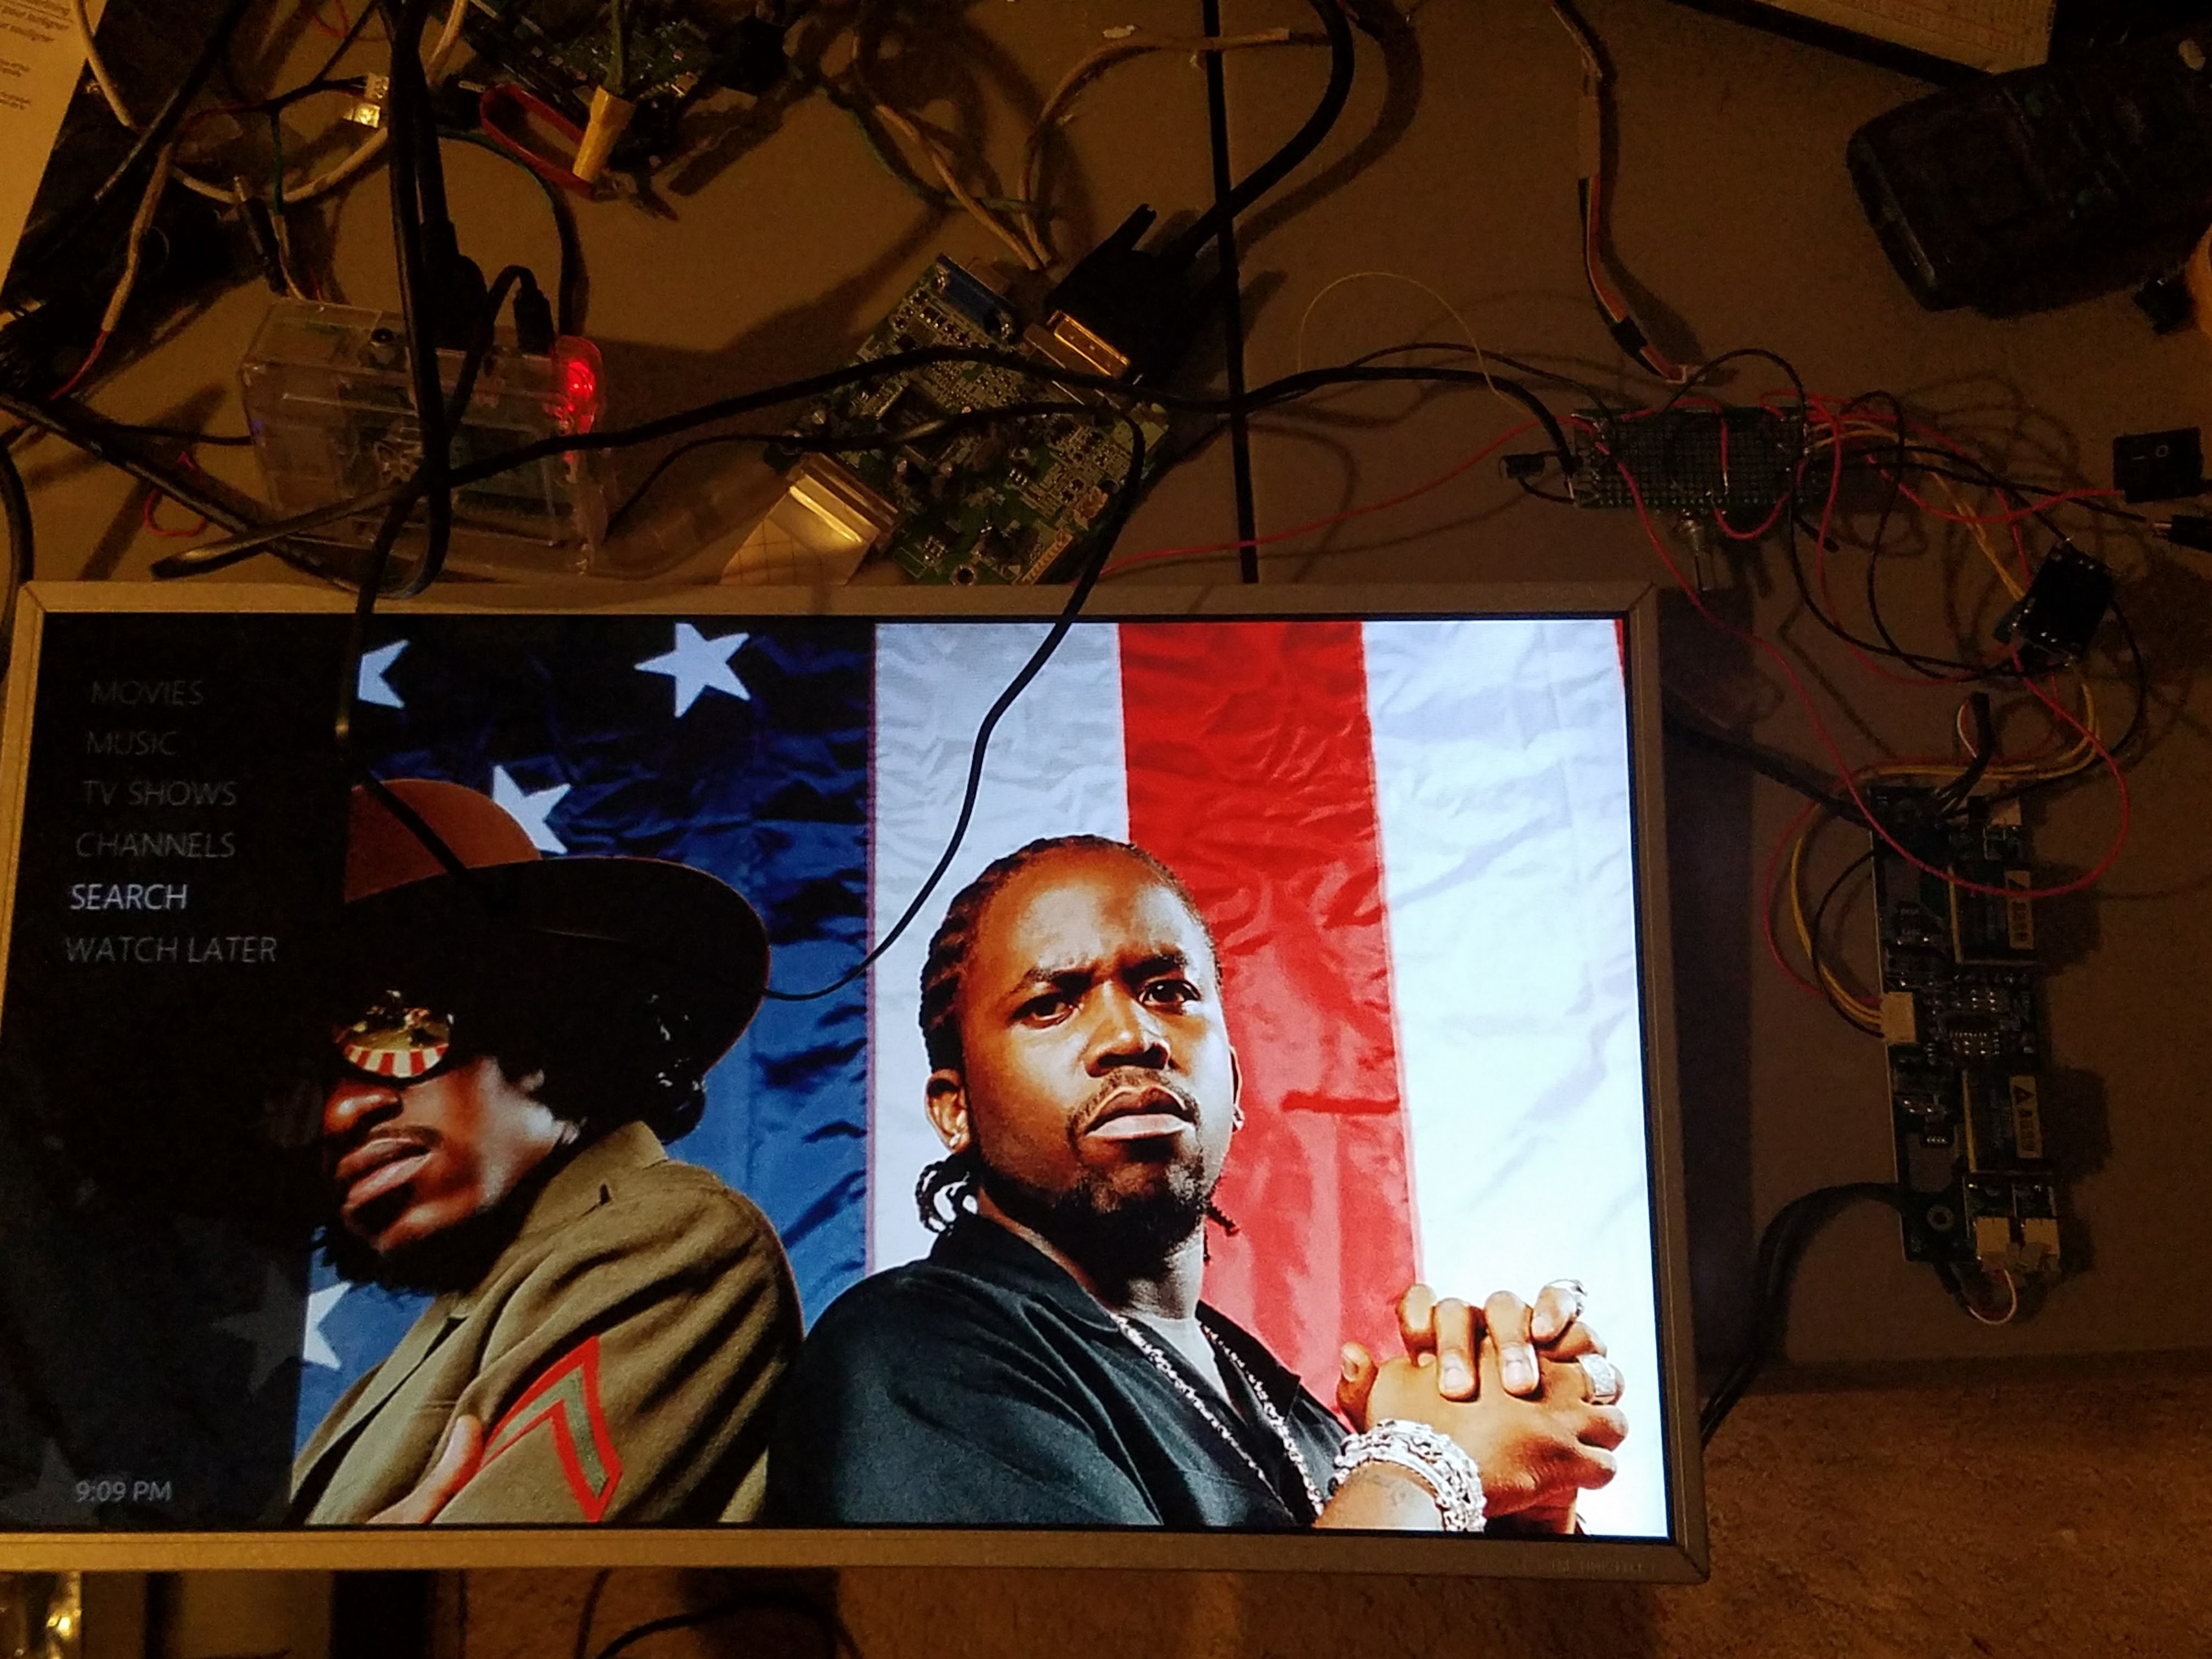
Rasplex running and all the circuitry minus the battery. In the end I will install Raspbian, as this will be a real, usable laptop.
There are a couple more things I need to figure out before this goes in an enclosure: speakers, and how I will be charging the battery, and a couple other miscellaneous things.
Feel free to ask any questions! I will staple a note to my forehead reminding me to check this post.