Is that an Origin 300 ship from Star Citizen that I spy there?
A what?
That sticker or decal on the underside of the lid.
I don´t get it. Never followed that JPEG collection game.
Haha! Okay, no worries.
Update
I have hit 2 little snags:
- The place I planned to order my acryl from does not reply to me… So I have to dig up another one and start the whole process again.
- I can´t get a job during march as planned, so available funds for the missing parts of the project is at 0 now. In other words, the only PC-components this project will see for ~7 months is going to be very old parts I have about. Be ready to be underwhelmed!
3 Likes
Don’t worry about that. It is the building that is interesting, all good things in time.
1 Like
Another update.
I got the MDF piece that will carry all the components. At least my measurements and planning work out:

The power in and distribution box aswell as all the front I/O are the final components, the fans, PSU, mobo and GPU are placeholders (hopefully).
5 Likes
Minor Update
Went through some old stuff I piled on my desk.
Turns out I have everything I need to complete the project as planned (and in time for the next local LAN).
Acrylic is cut to shape and on its way.
Made an error on the MDF though, should have been 640x390mm, but I got 600x350 because I am stupid that way. Not a big deal as that will be like 12€ to fix.
3 Likes
Update
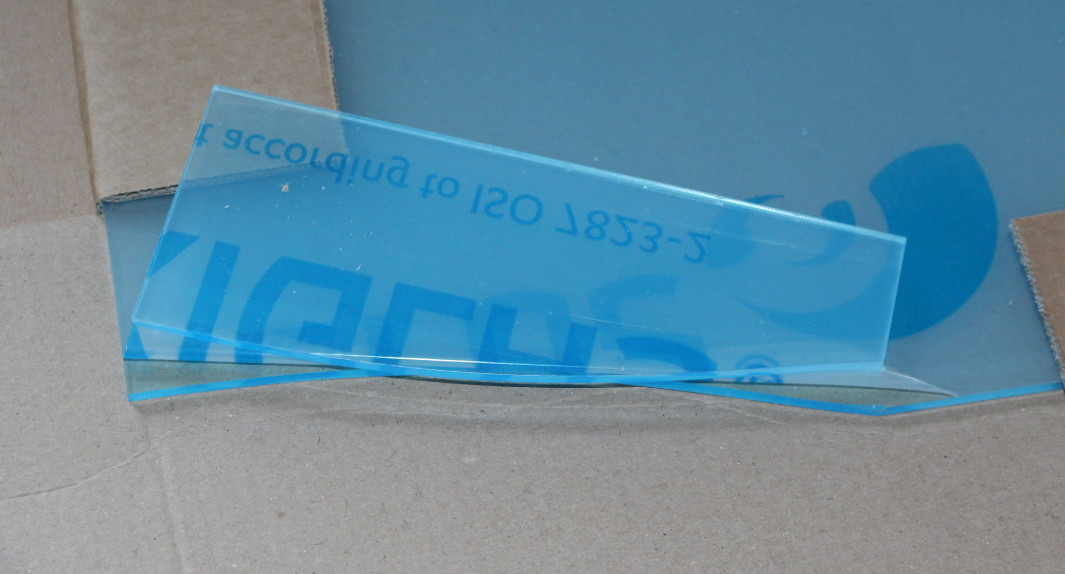
Acryl arrived, features are as specified. Damn shame this got damaged in shipping…

Blanked out the sticker with all kinds of info, don´t want to dox myself just yet
Edit: Company replied, replacement will be on the way shortly. Get to keep this thing.
3 Likes
What part is damaged?
Ah I was not sure if it was just the film or how it was packaged that looked like that, whoops.
I wish it was just the packaging or the film.
Emailed the company about it, included the two photos you see here aswell. Now I wait…
3 Likes
Update
Acryl arrived, now intact. Will not post a new picture until I do a test fit.
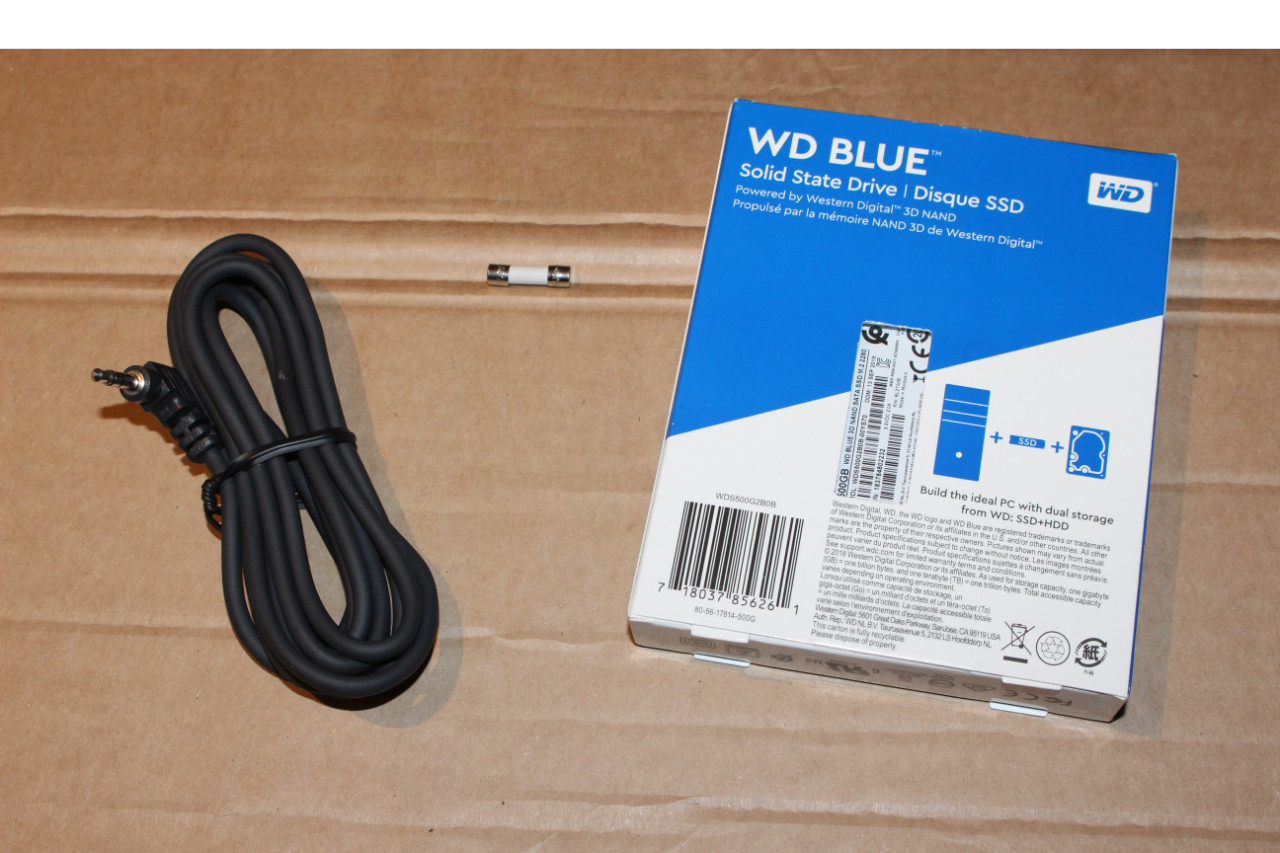
A fuse, an audio cable (silicone, feels amazingly rugged) and an SSD.
Case parts arrived.

It is a construction kit! MY construction kit! Consider me happy.

Because I did not do a german quintouple check, I forgot something really important…
These two frames should be 100mm apart, but I used up all the frame pieces.


8 Likes
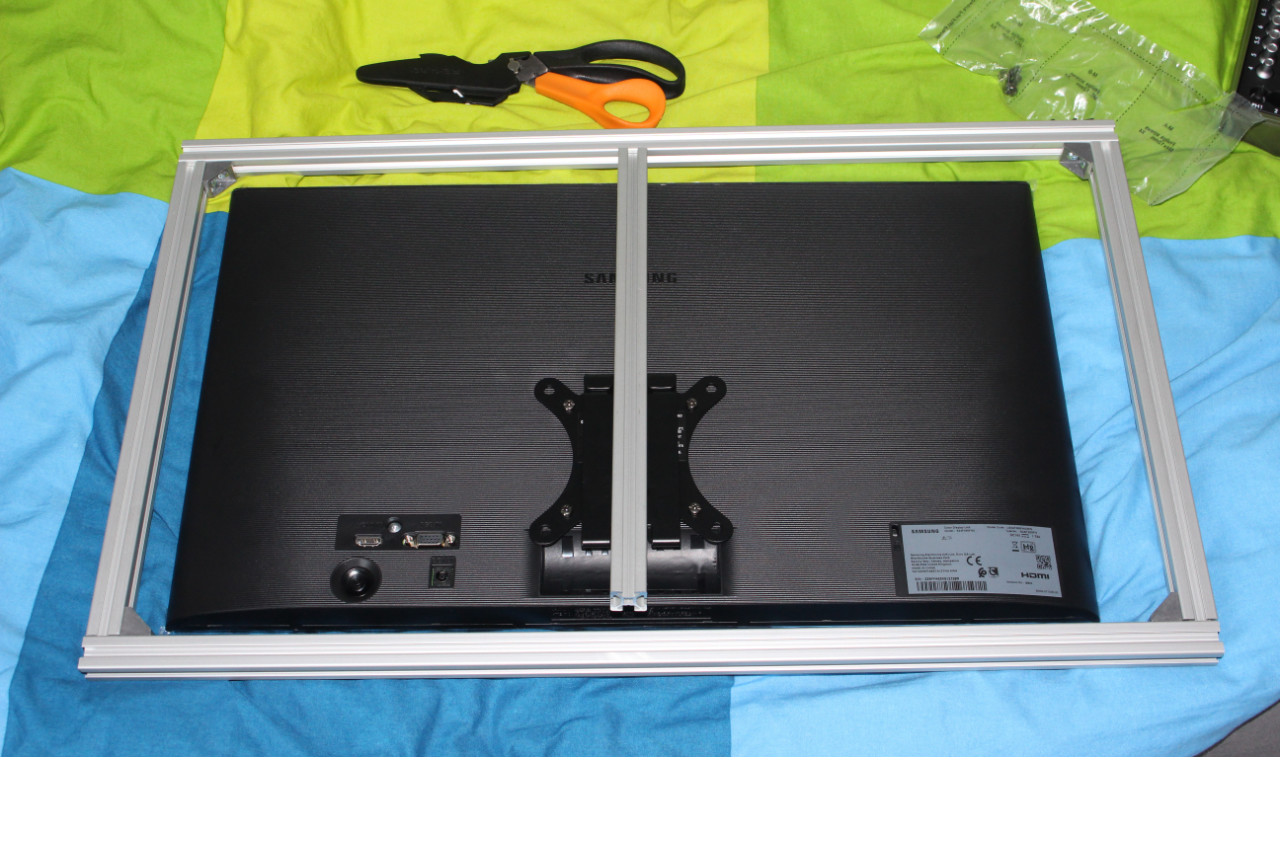
Decided to get going on other parts of the build. The screen for example.
I used this tutorial to get the monitor apart and remove the stand hinge. Note that there is one screw the needs to be removed too.

These two out:

The most valuable tool of the day

Ready for installation.
I encountered a small problem: The locking hinges are not nearly as strong as I thought (should have read the spec sheet…). Might have to put some string or so to keep the lid from falling backwards.
5 Likes
Update
(a big-ish one)
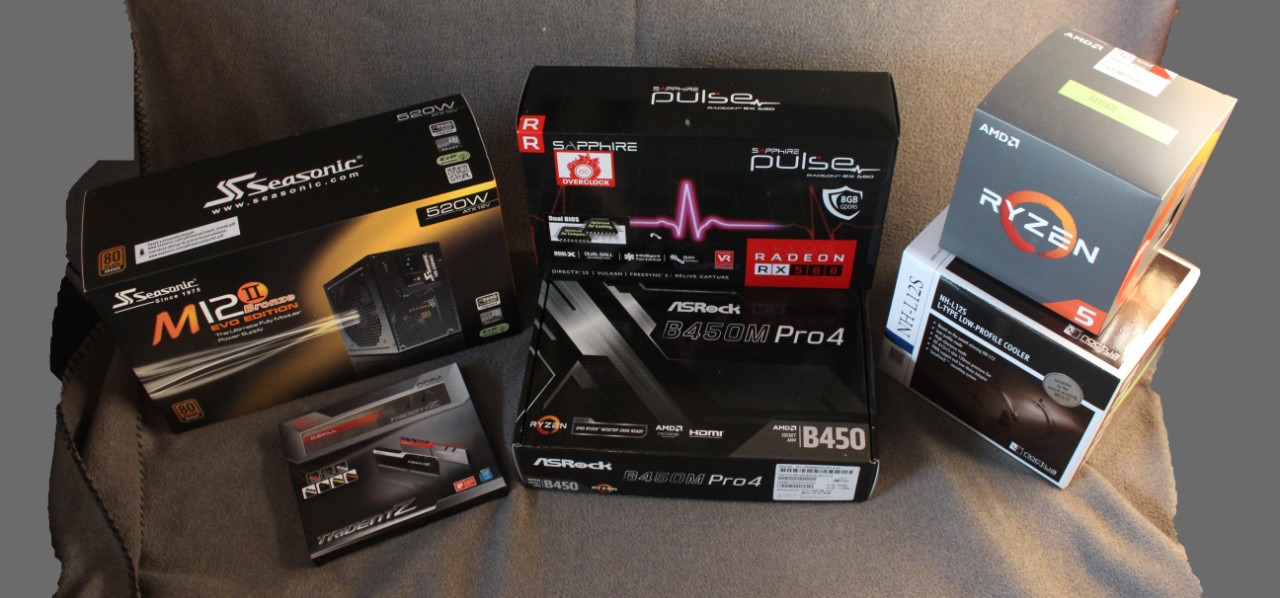
I now got the computer parts:
Rough position of the components(the MDF underneath will be a running theme. In the finished machine, I will paint it black):

Look at this sexy thing!

Manual to the rescue:

Had to install the RAM first. Would not recommend G.Skill Trident-Z with Noctua NH-L12S.

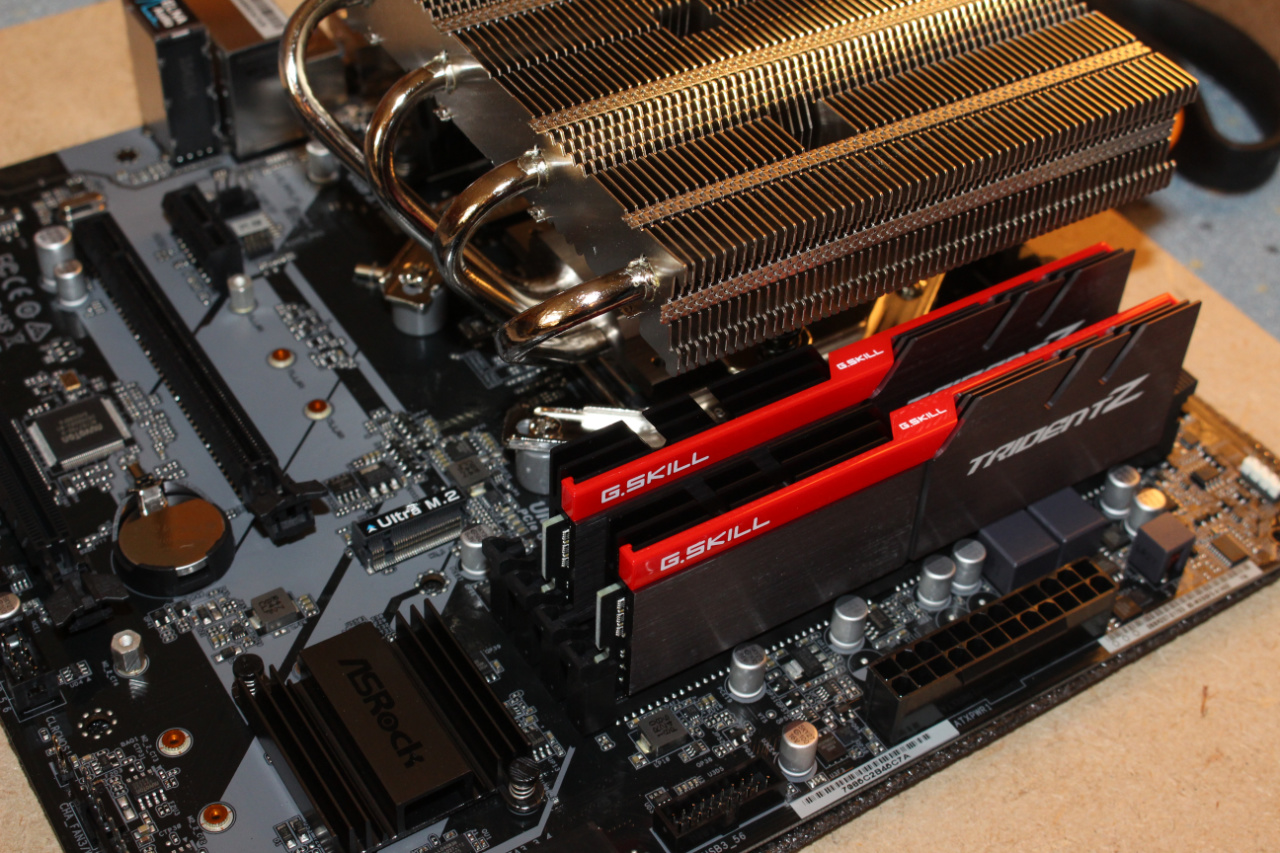
SSD, CPU-Fan and Fan-Splitters installed:

I love how sexy the Sapphire RX580 Pulse looks! I mean, look at it! Edited two pictures in one, only one GPU here
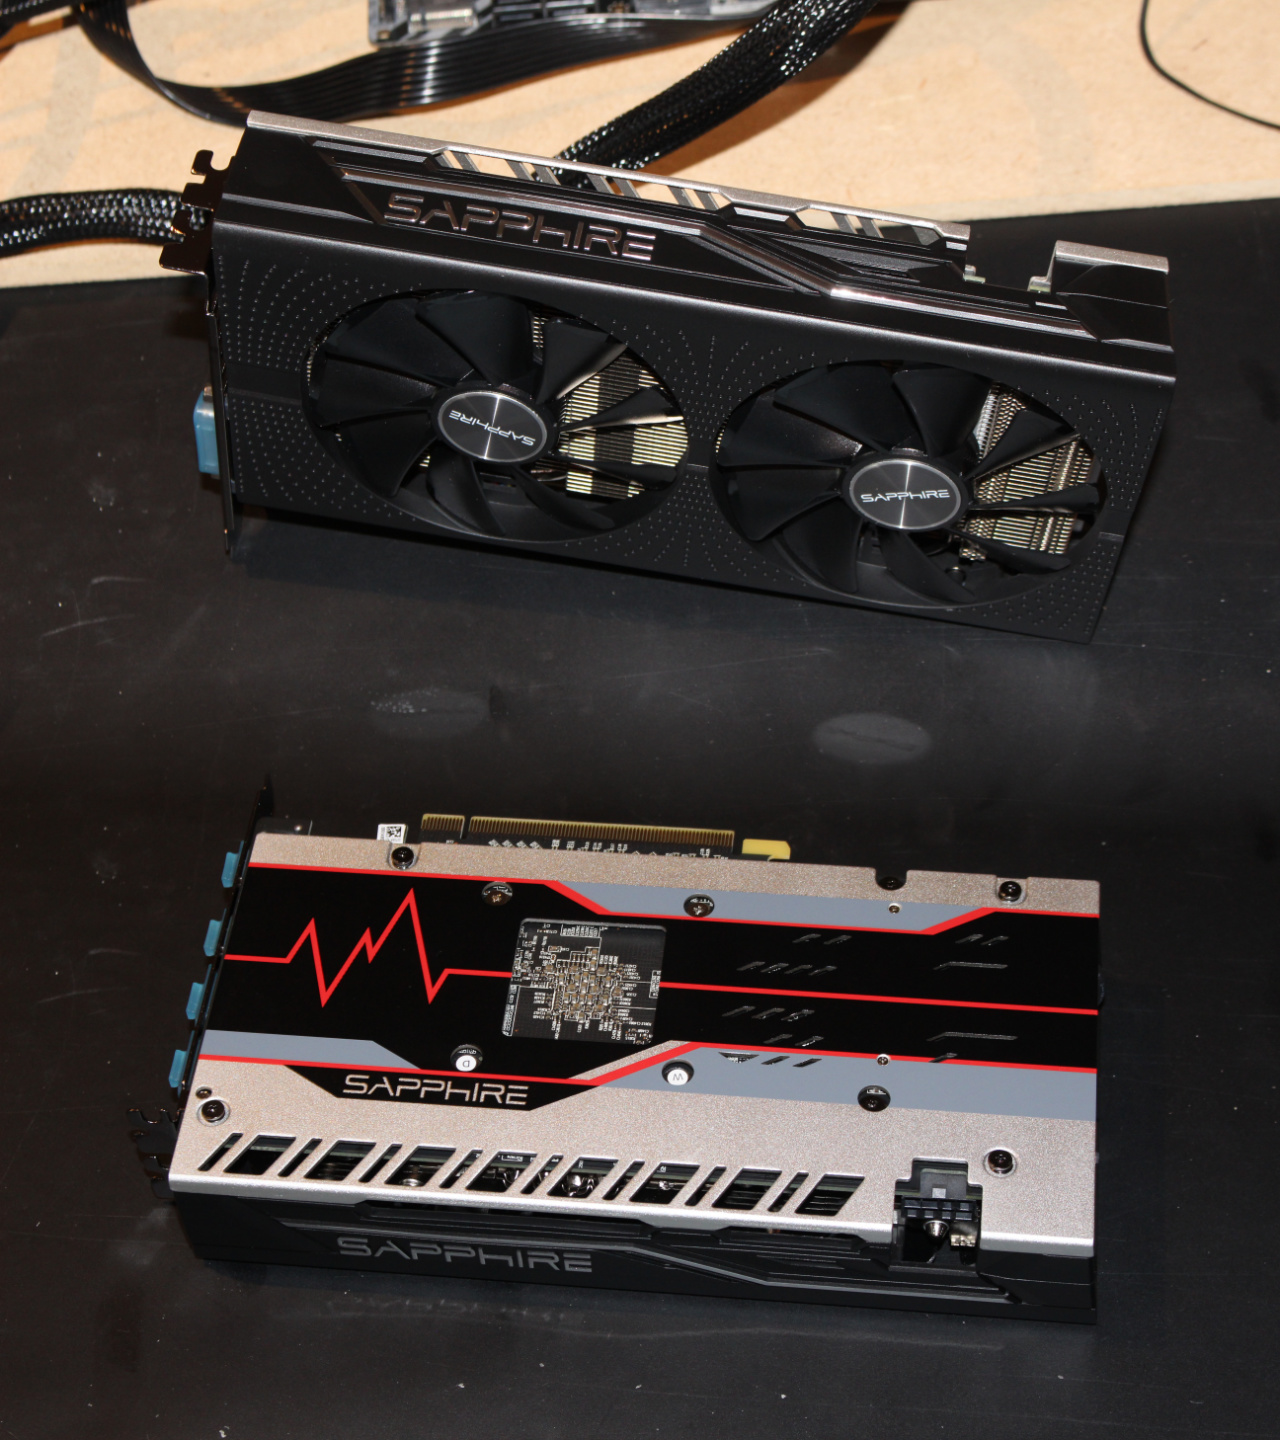
Machine set up to be tested. Runs whisper quiet (“Case” fans at 400RPM, CPU fan at 600RPM until the CPU hits 45°C)

10 Likes
On a somewhat side note,
They still make the solid colour Trident Z!? I have wanted the yellow kit since they first came out and then RGB destroyed that as far as I could see.
1 Like
Yes?
“Trident Z” and “Trident Z RGB” co-exist
1 Like
I hope they are still around when ever I upgrade my hardware. I am tempted to buy some and just keep it in storage just in case.