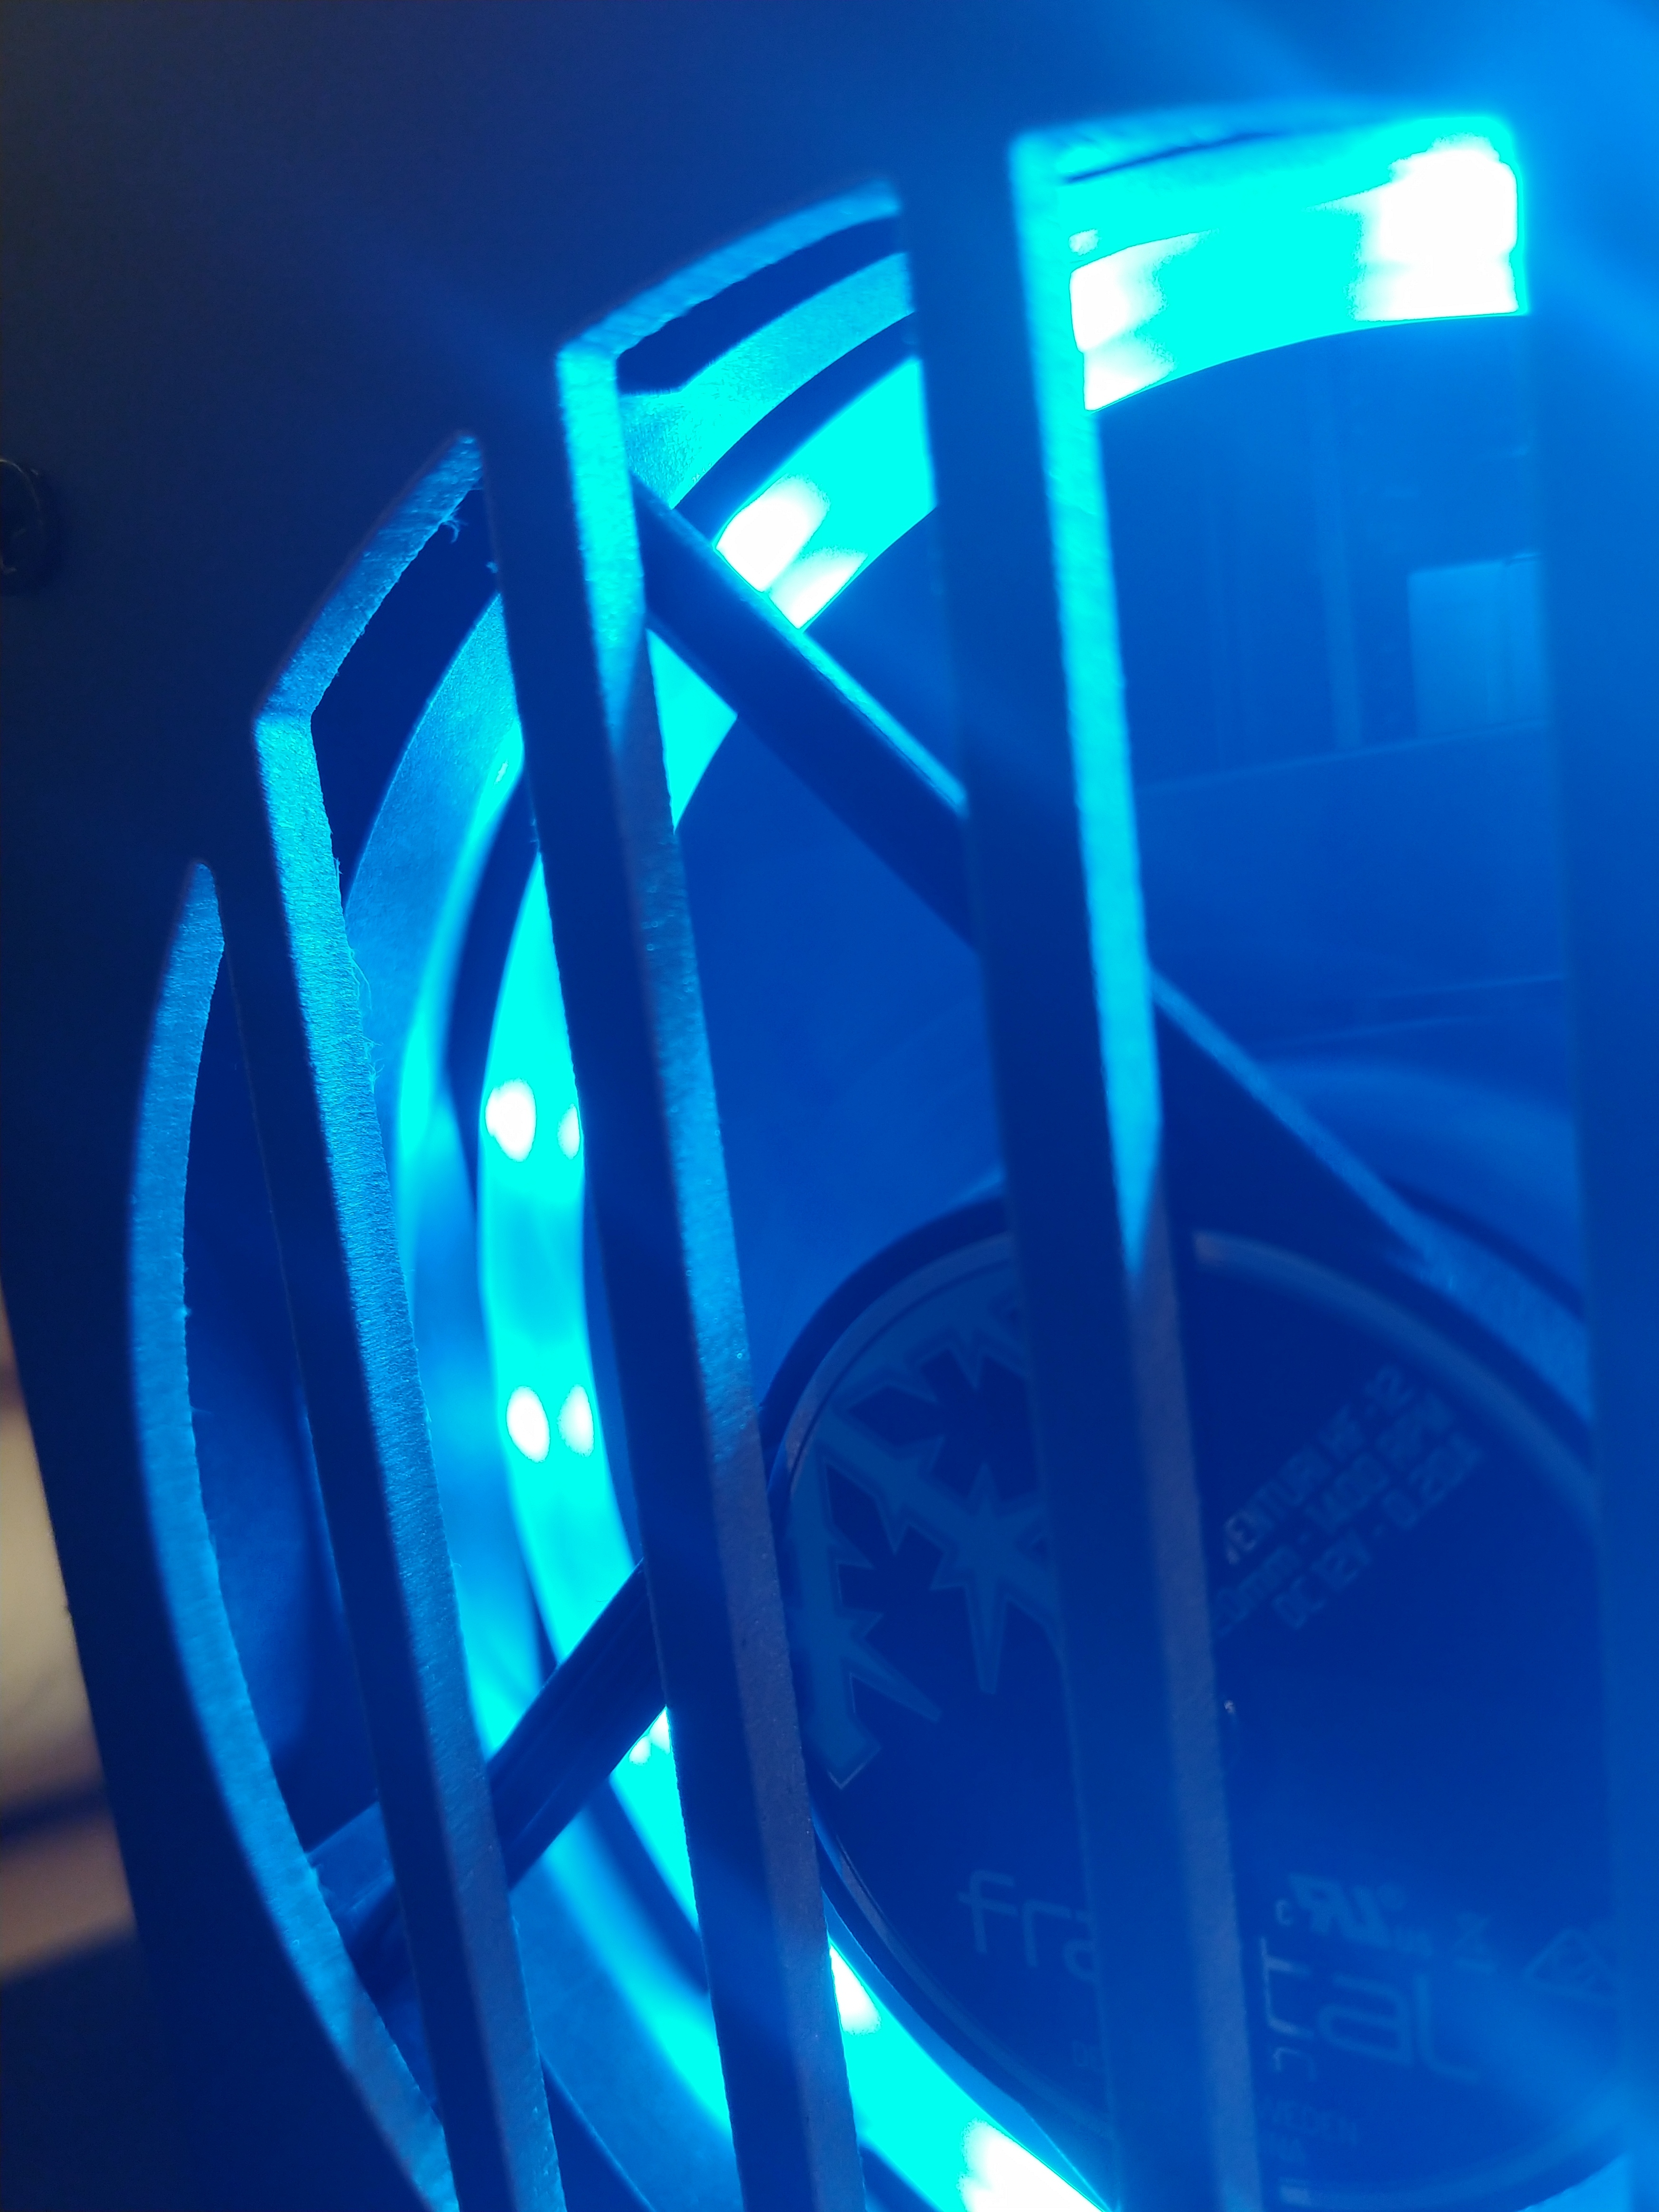
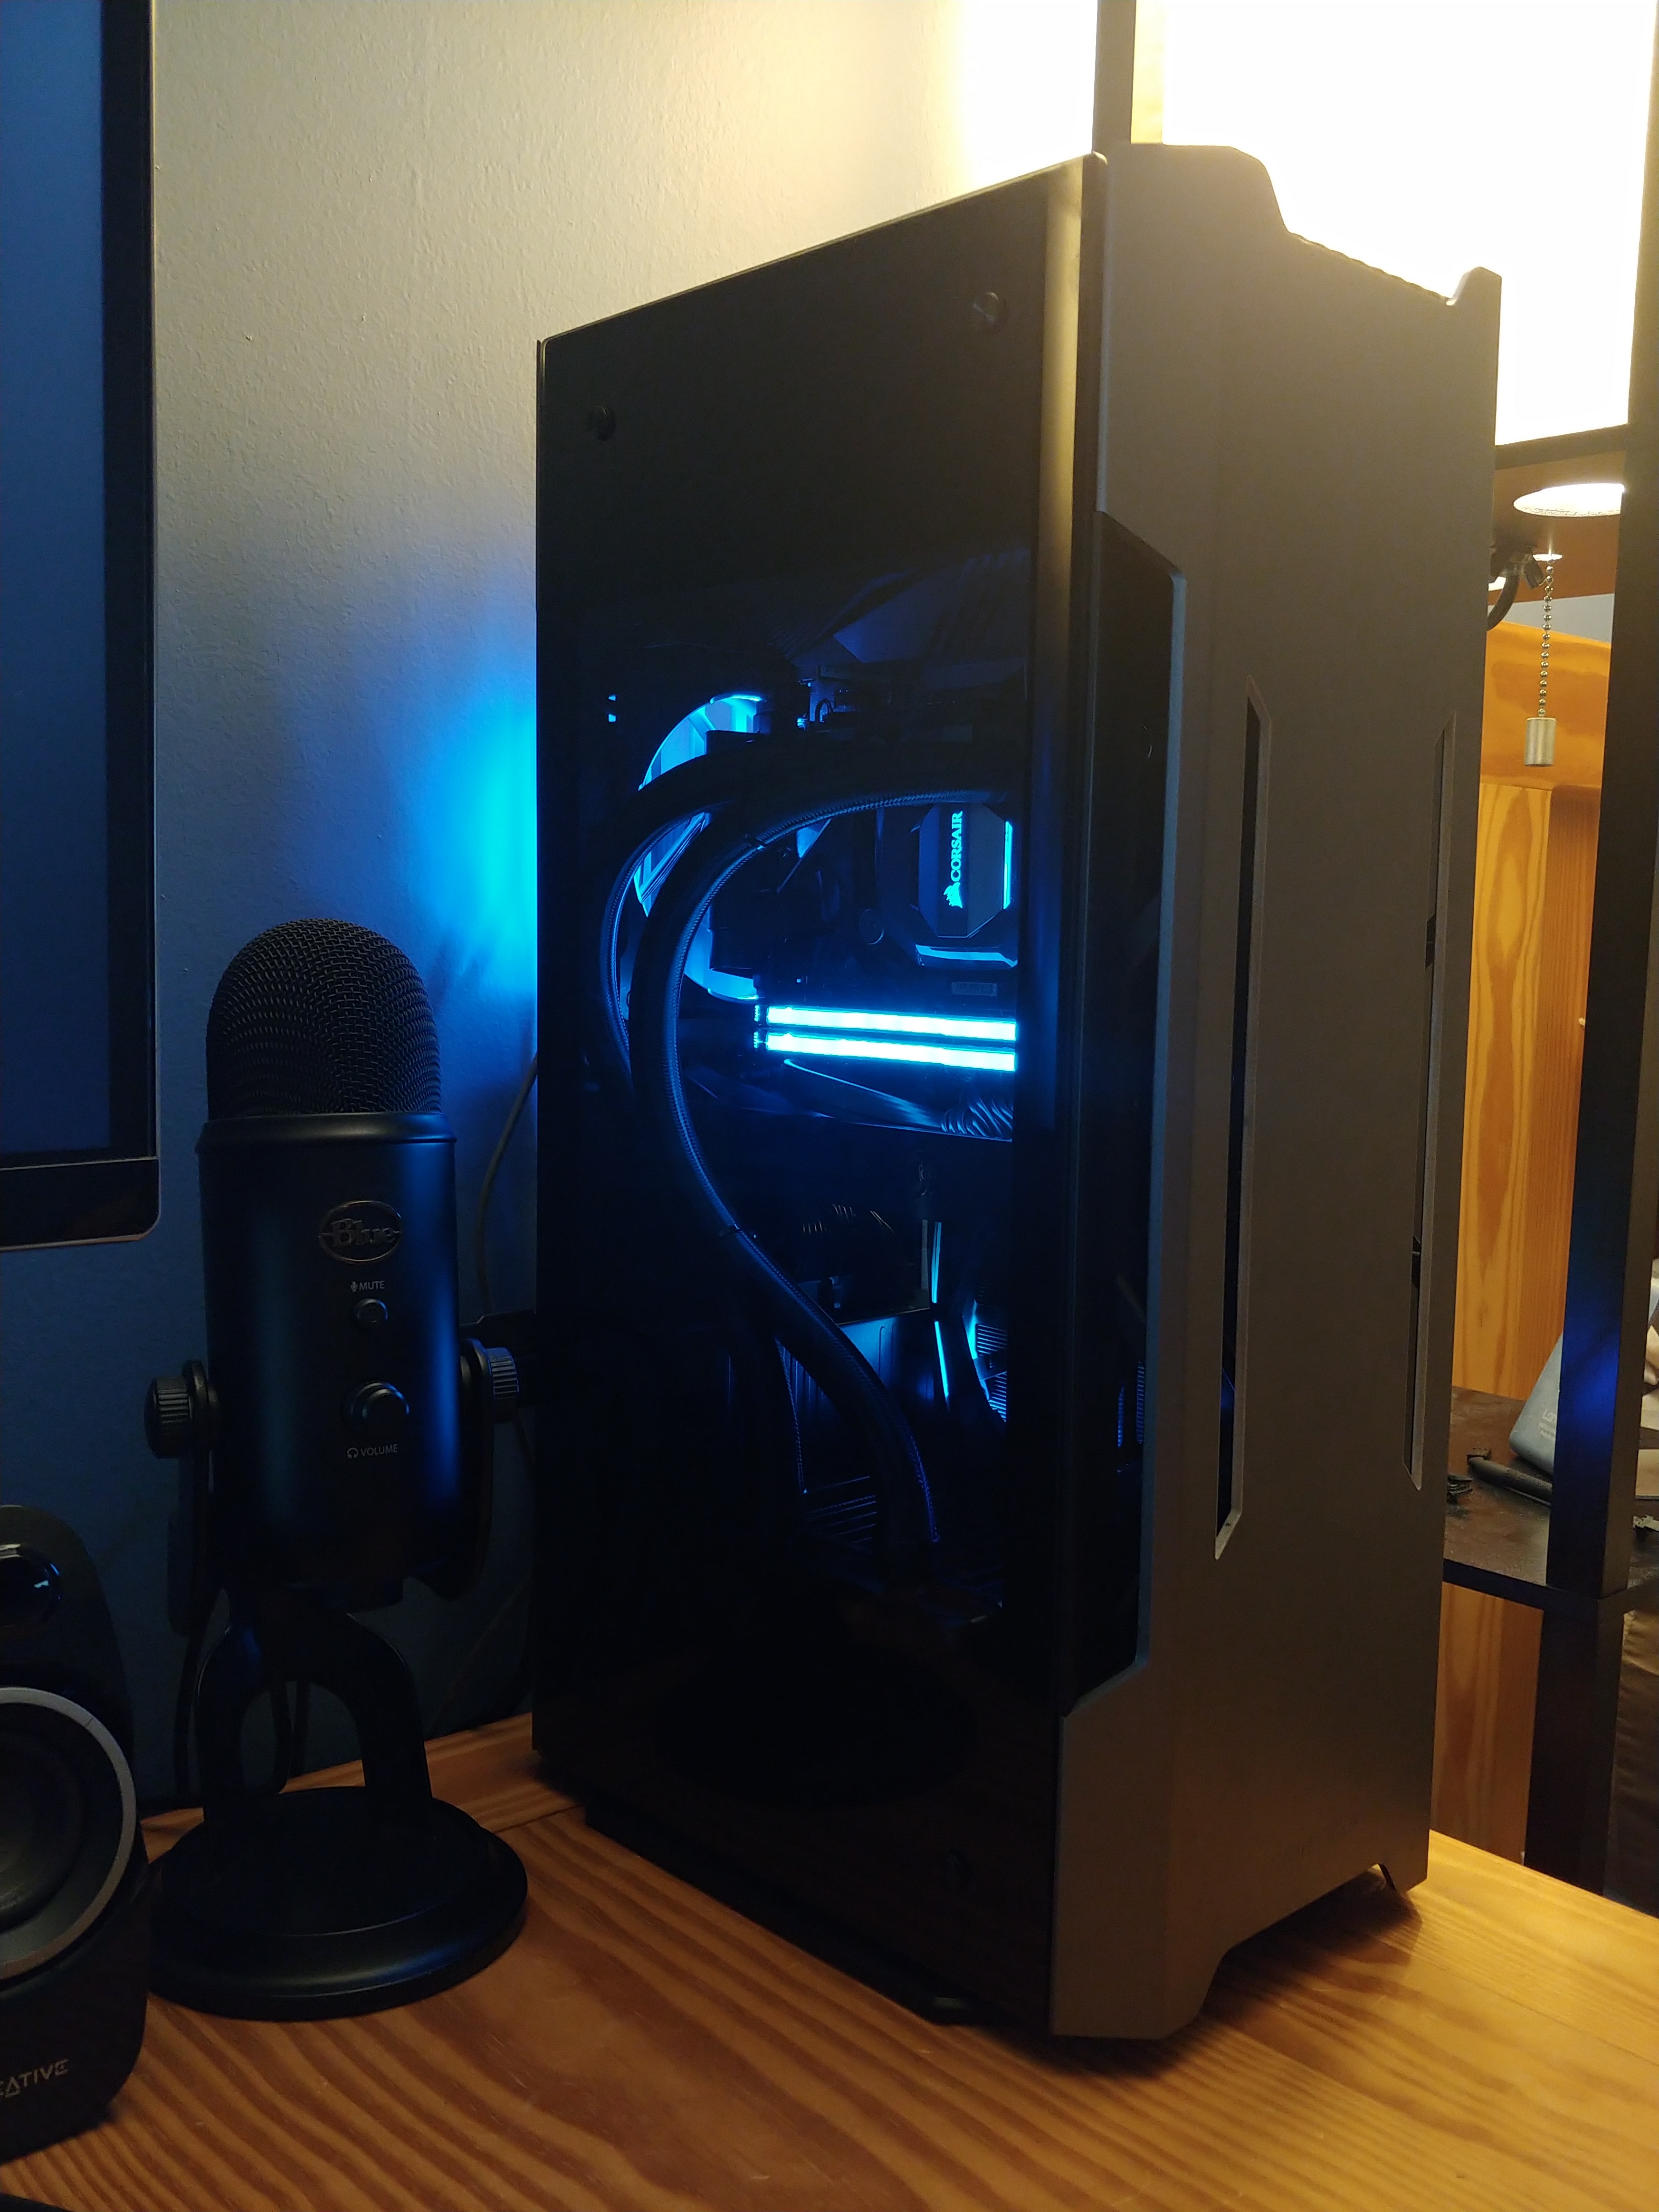
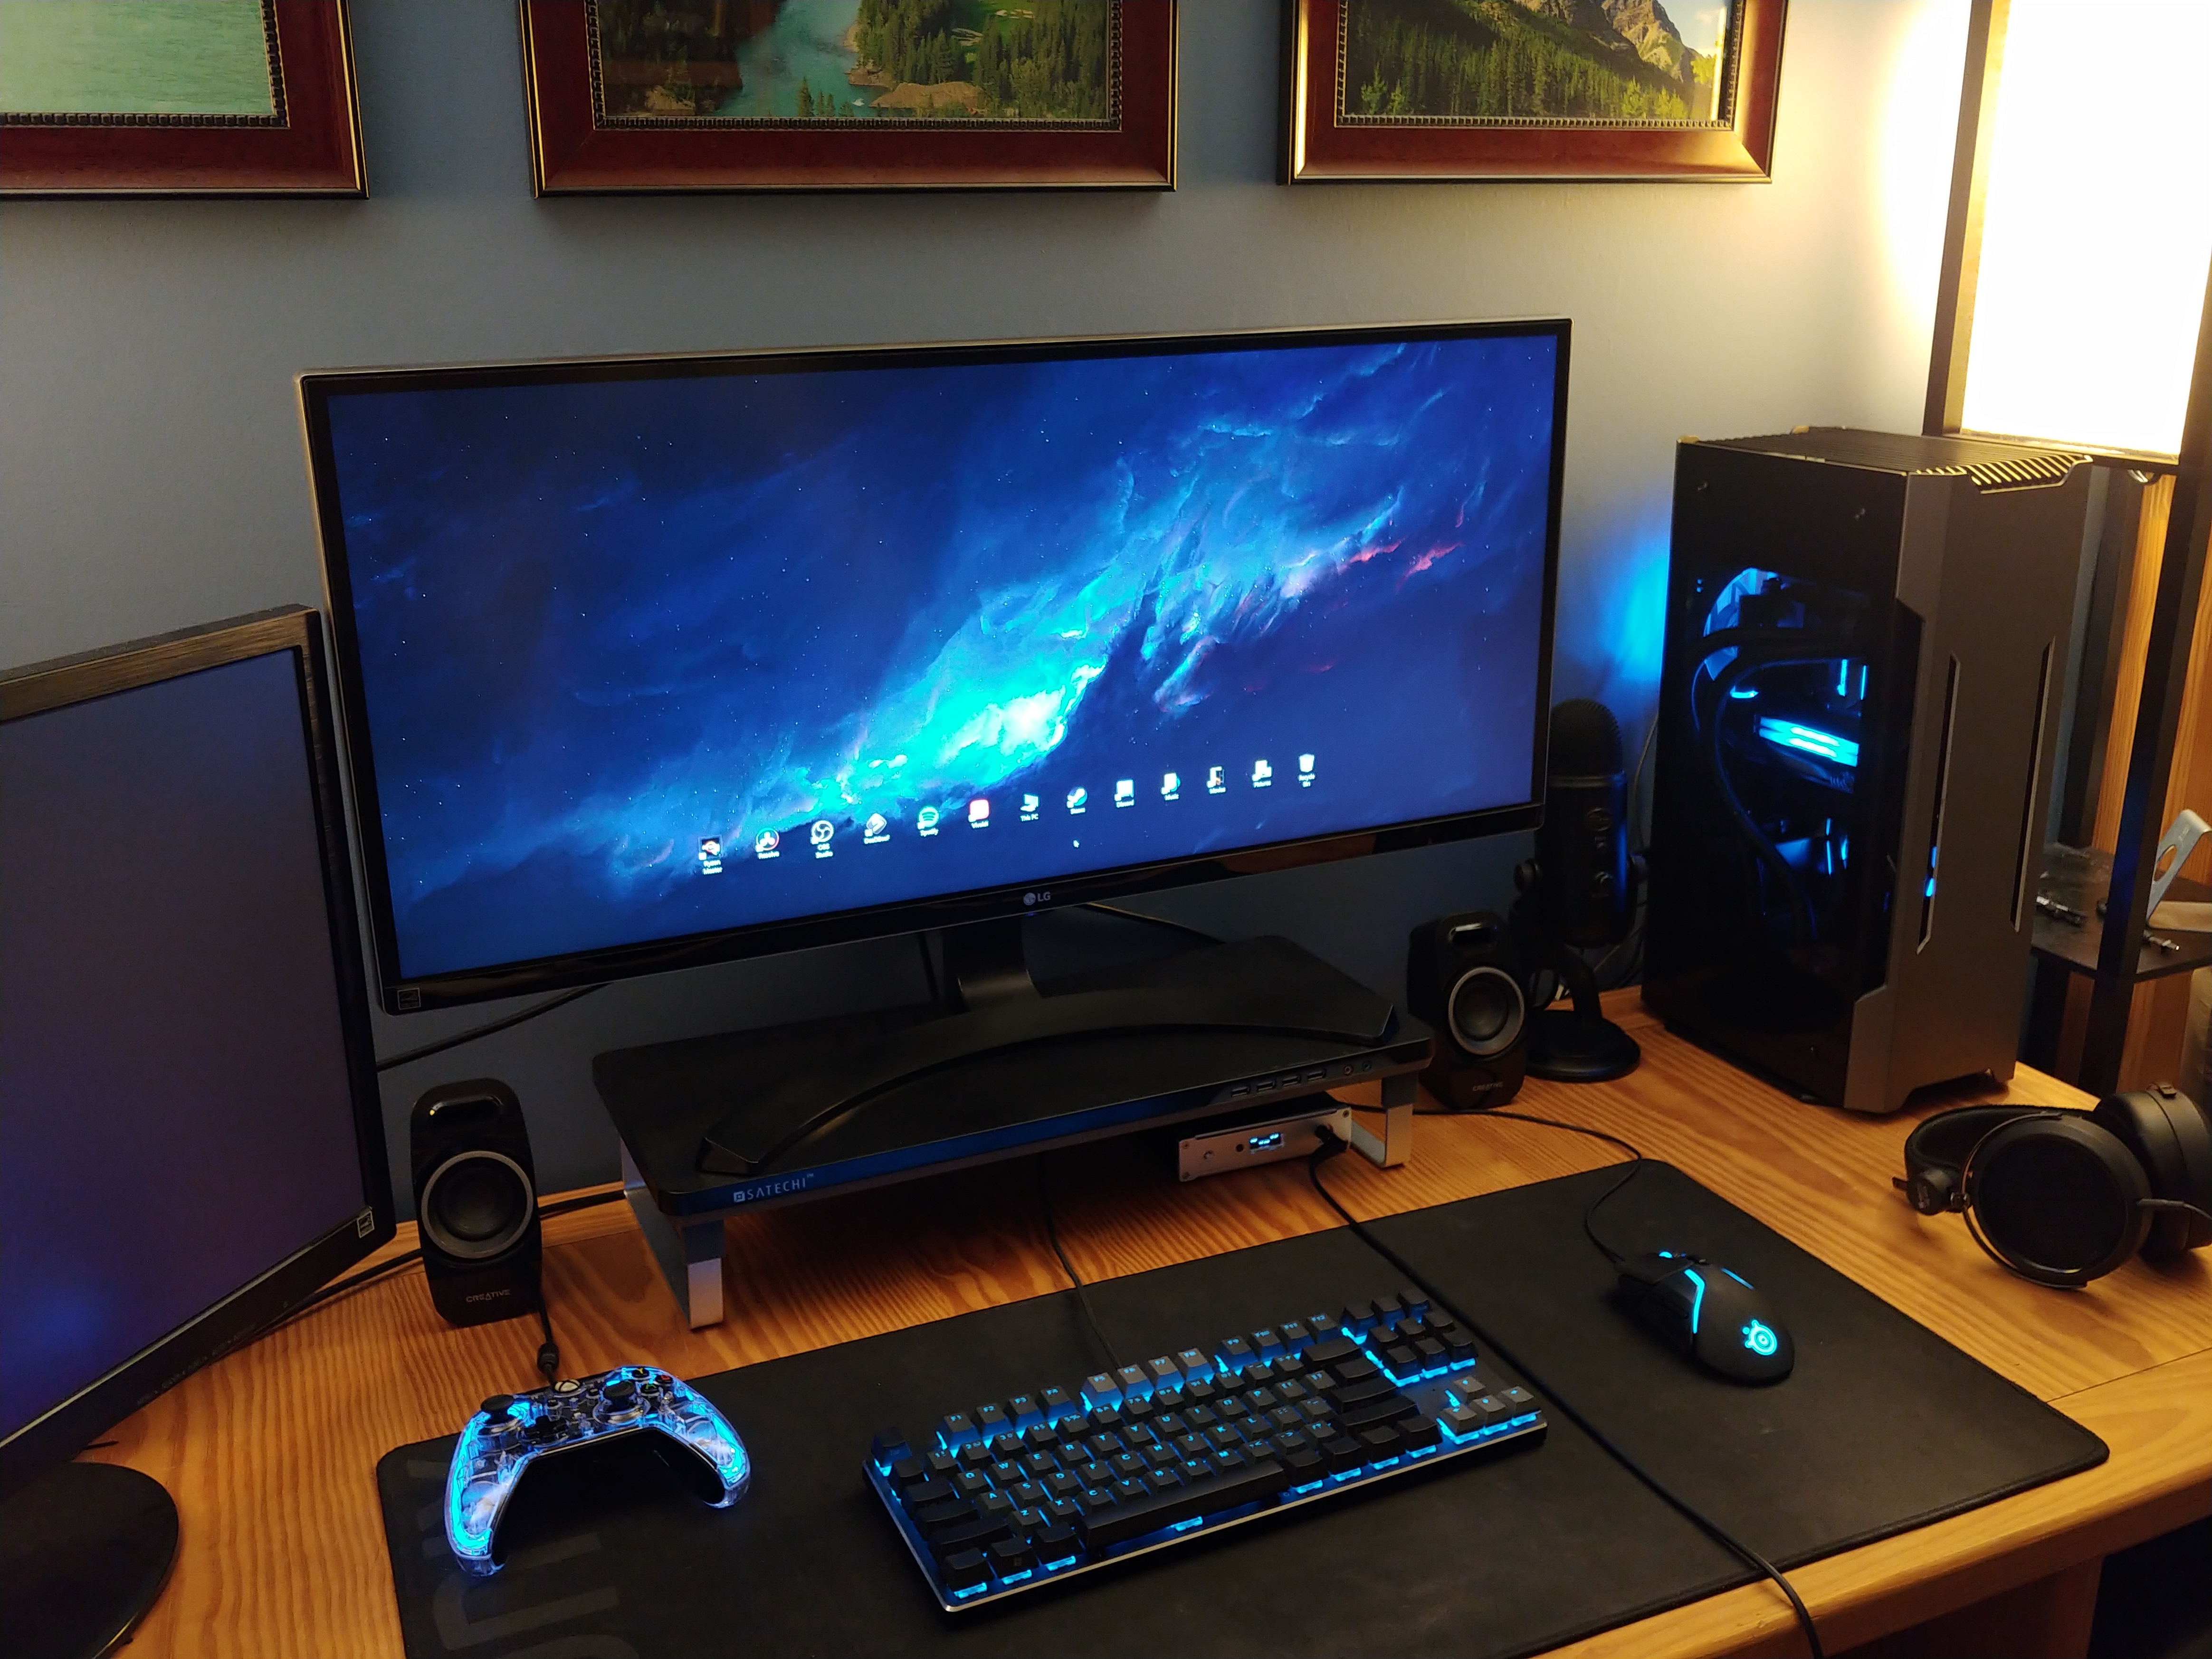
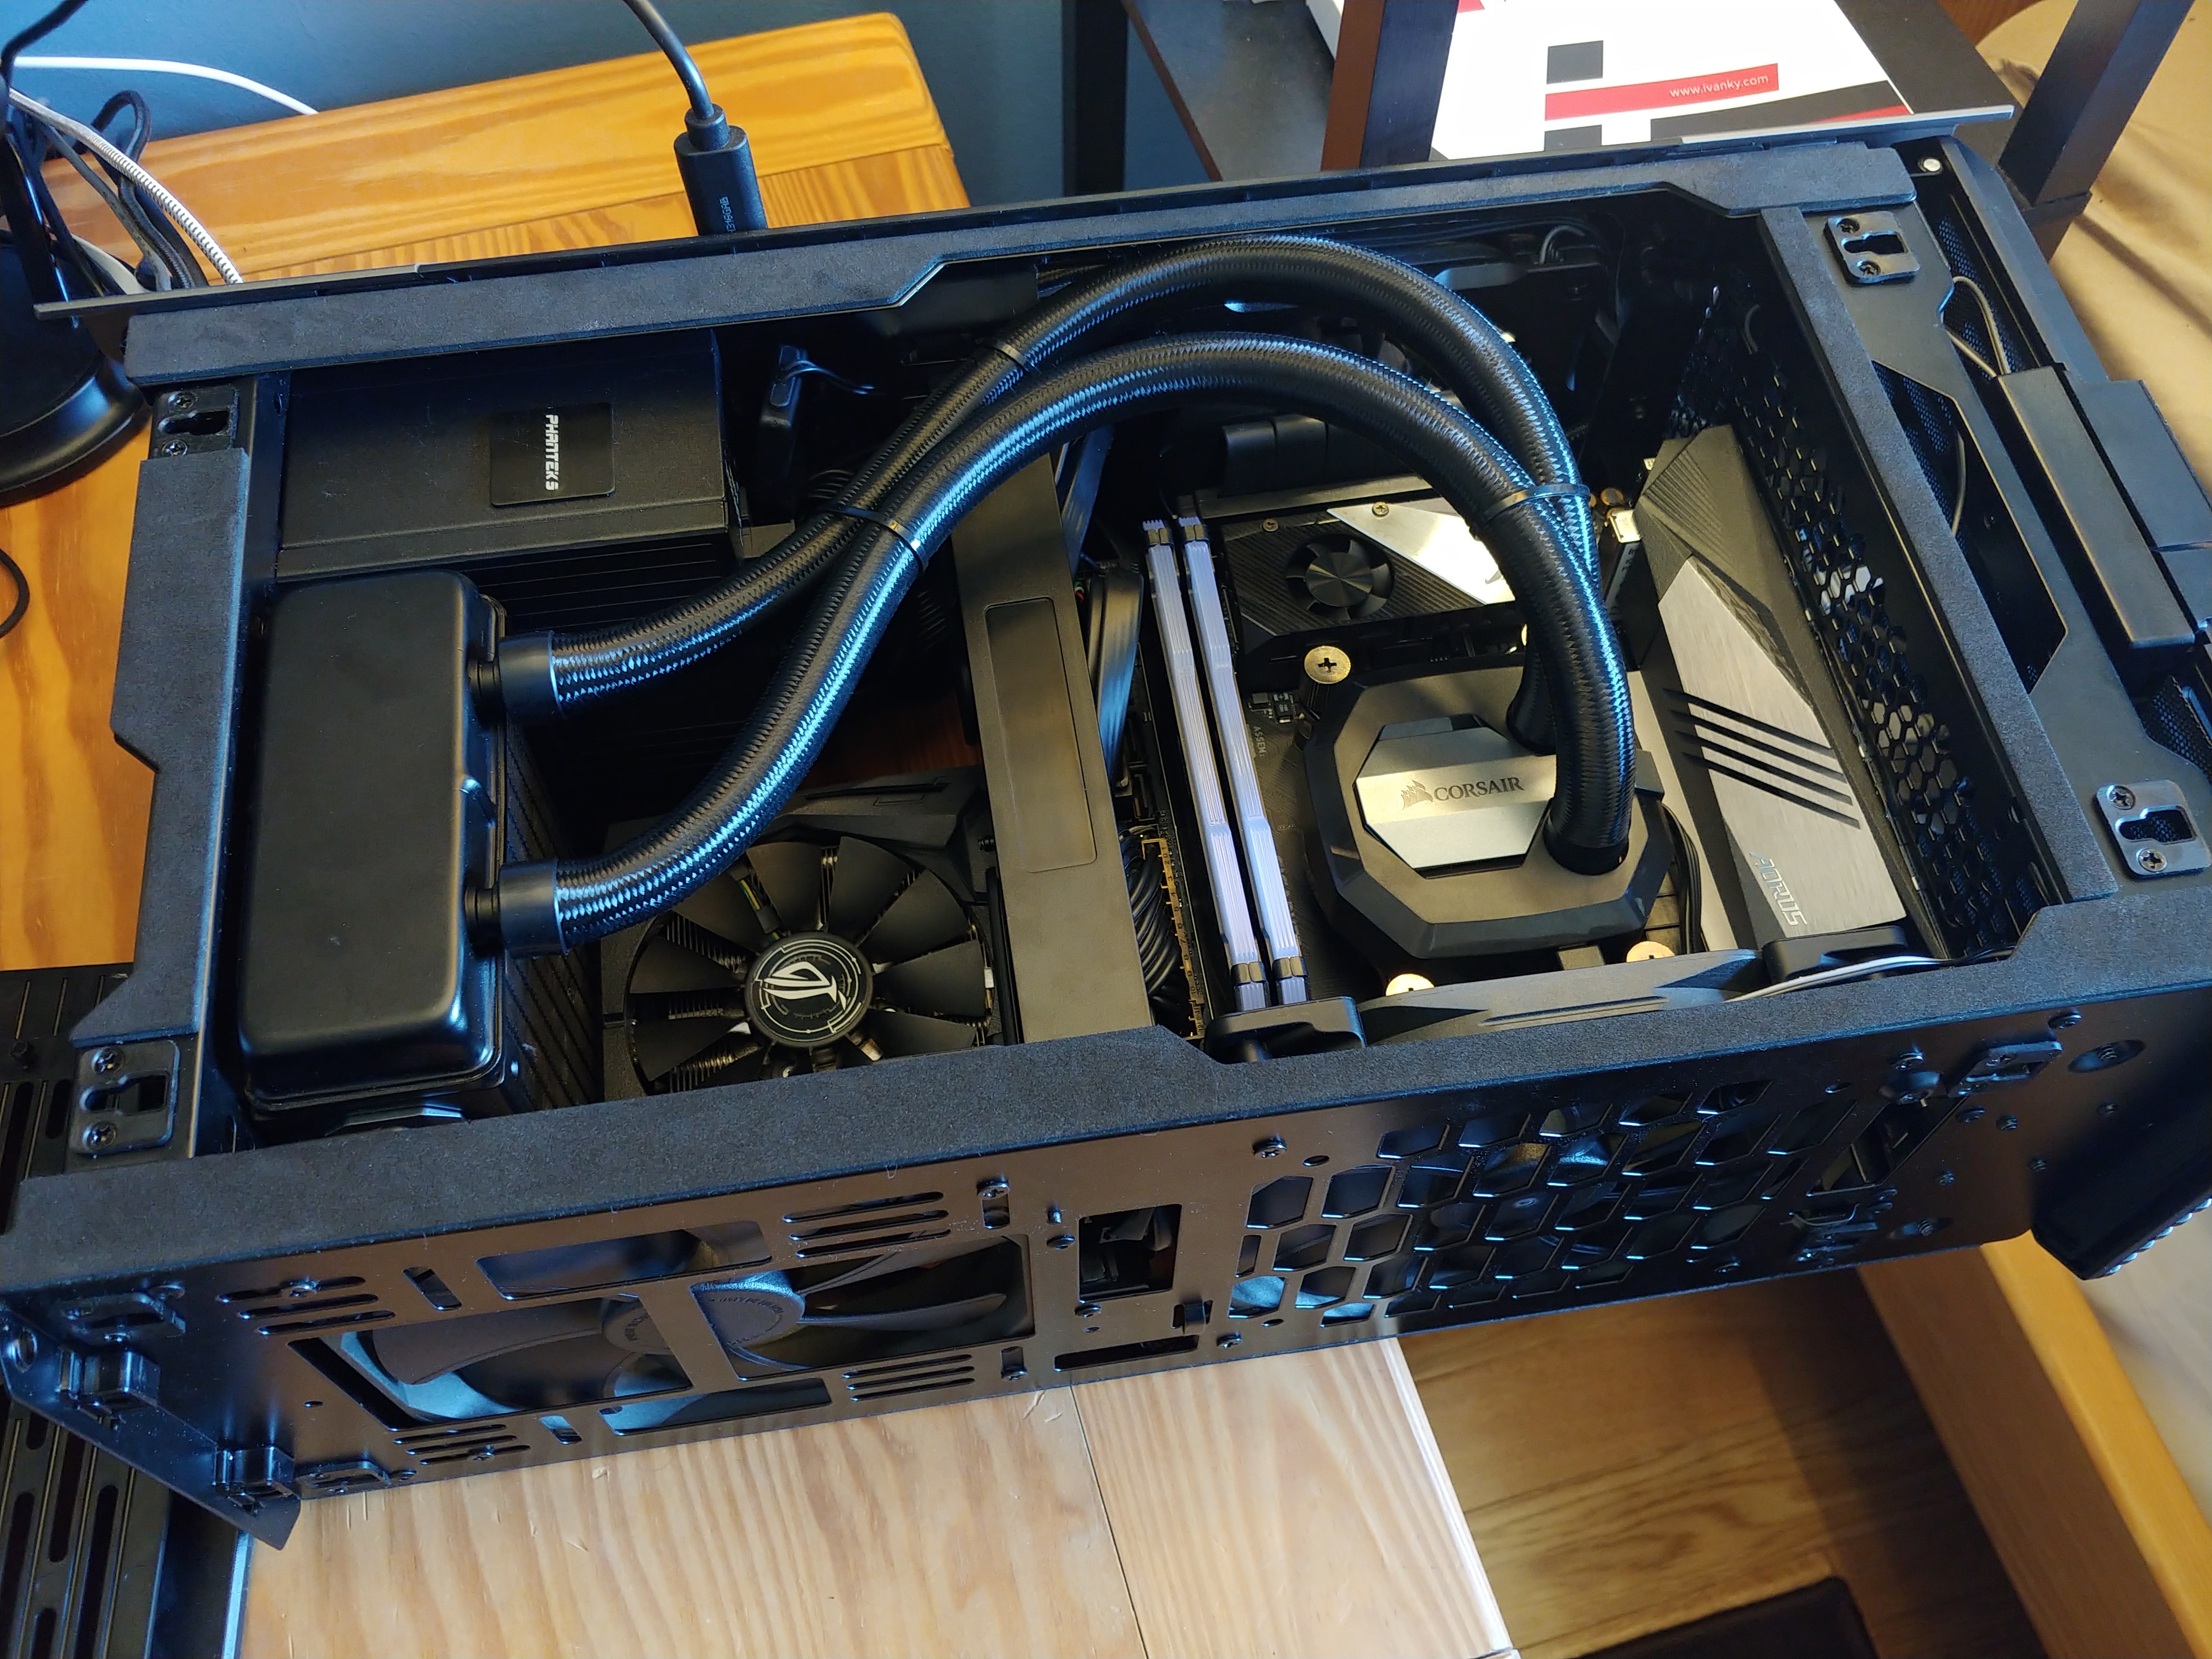
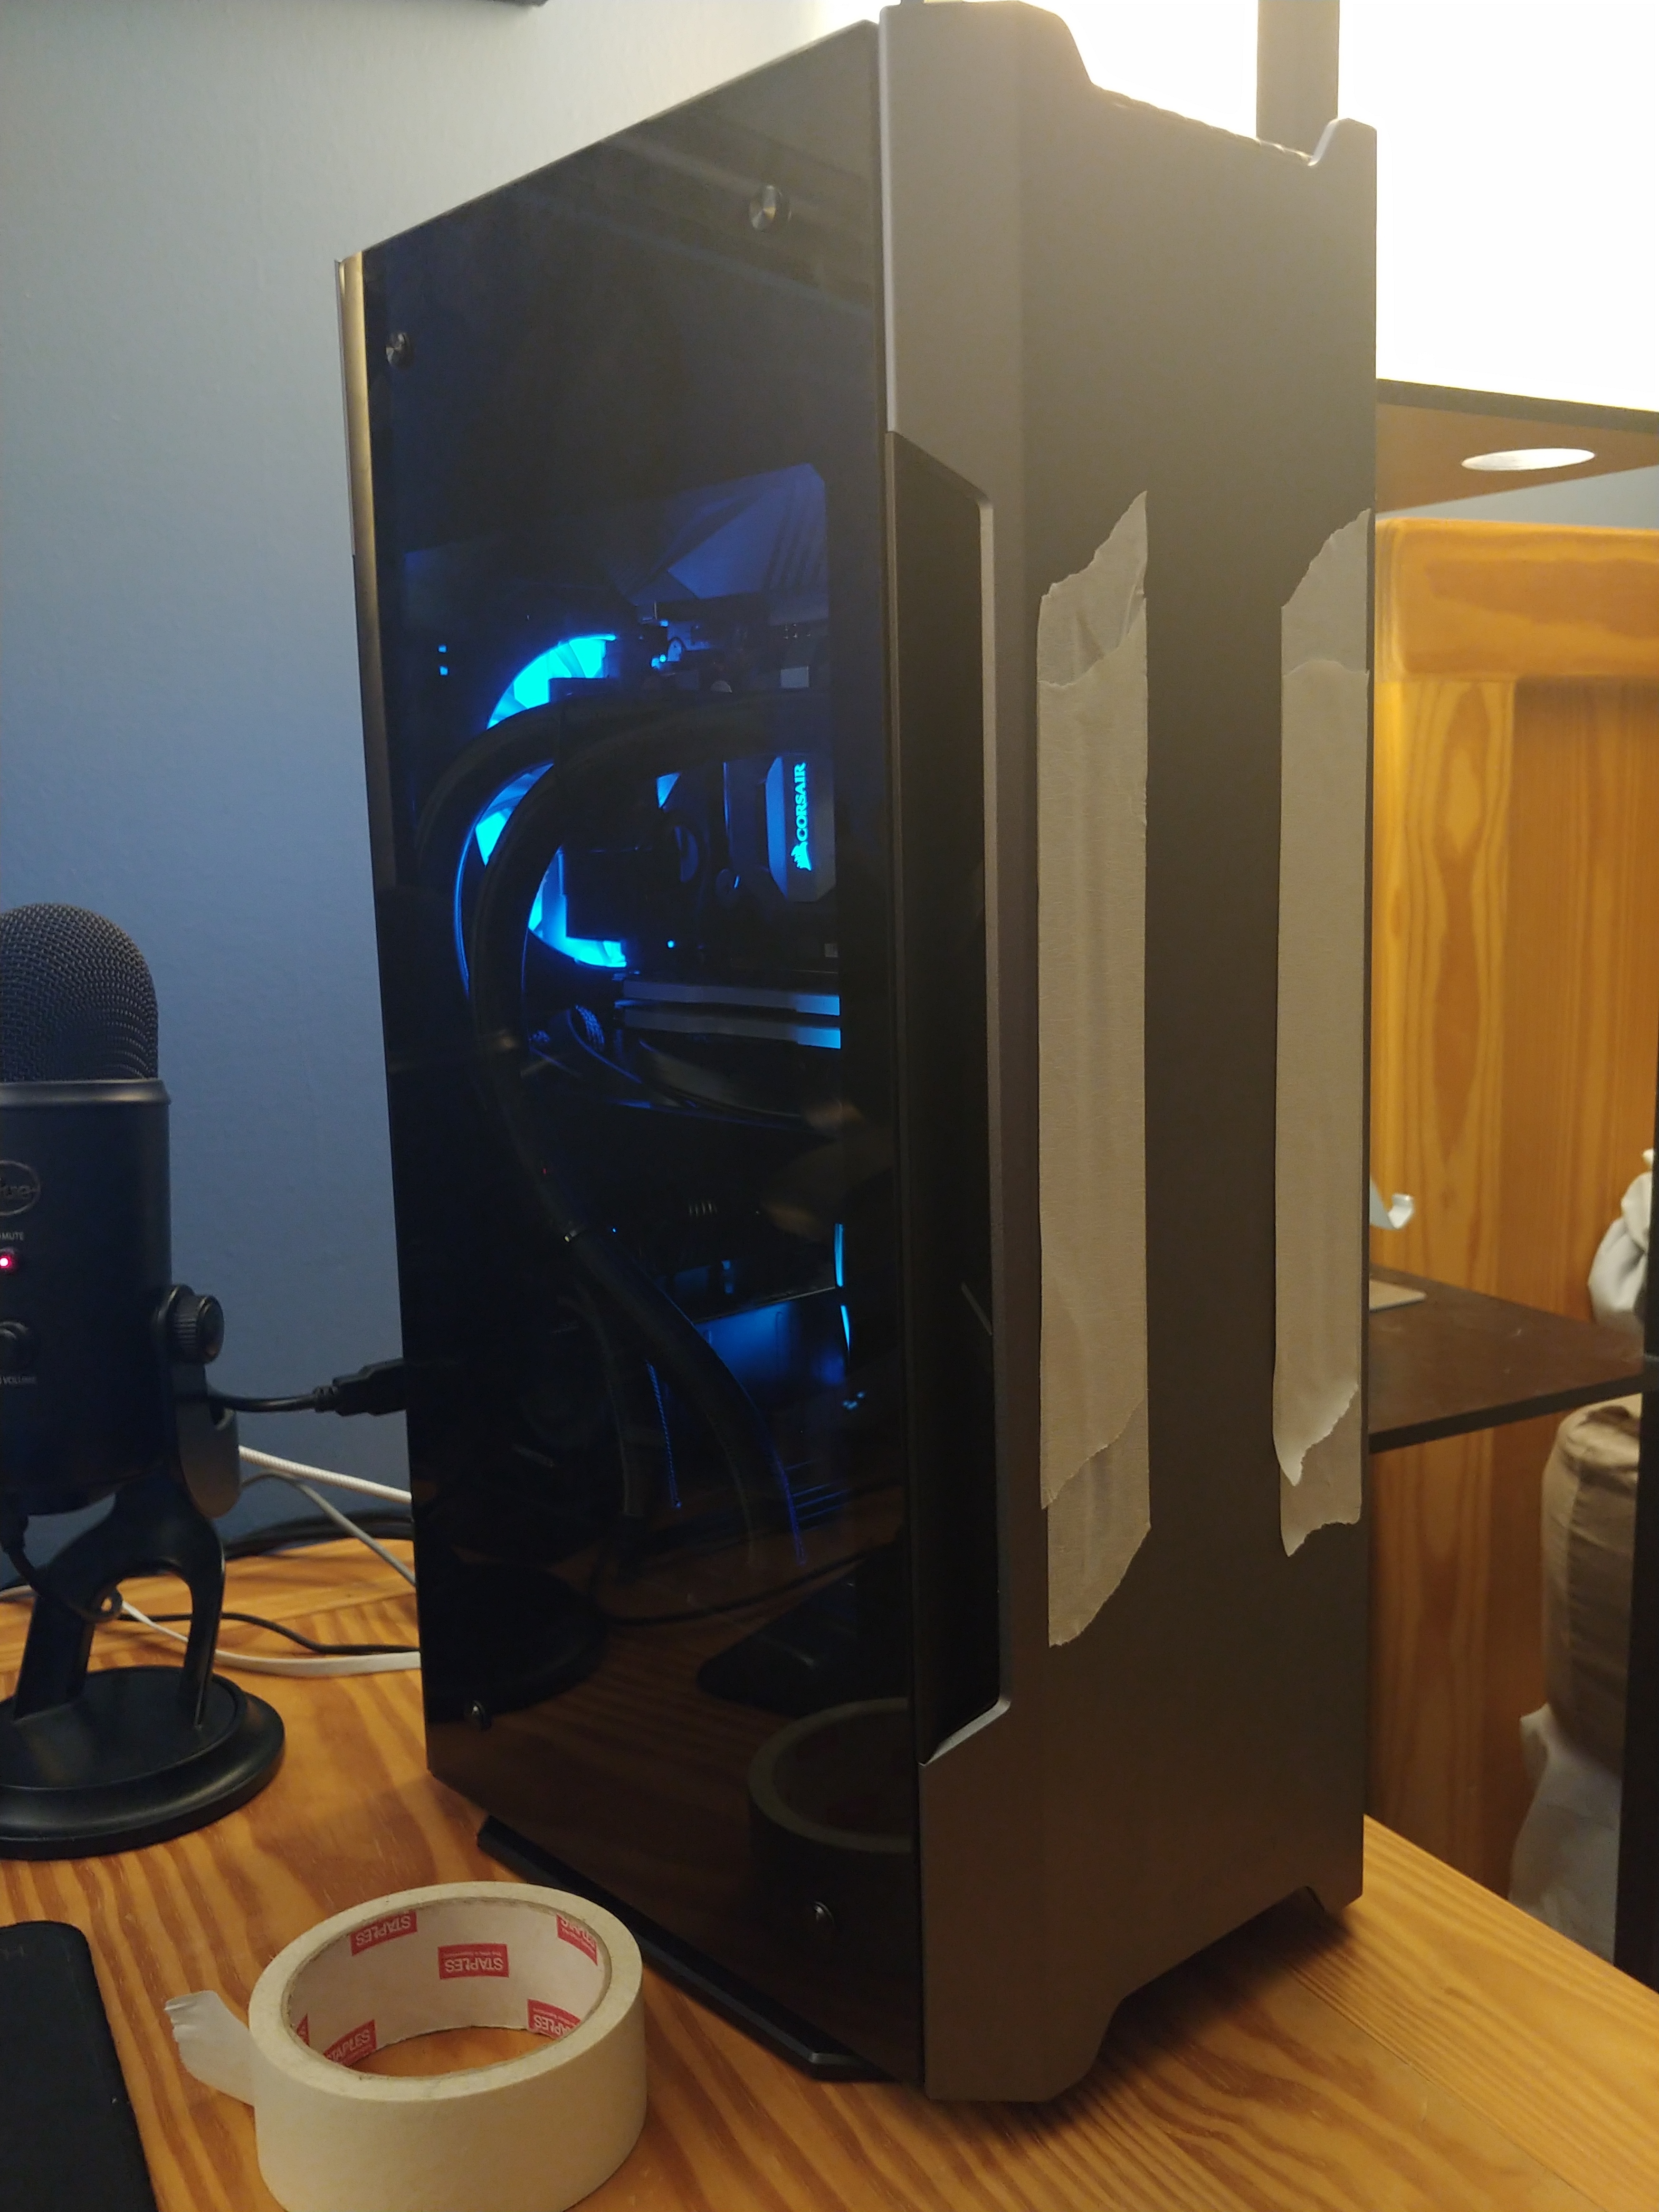
Here it is, Obelisk finished and looking fabulous!
When Zen 2 was released and I saw how well it performed; I had this urge to build a compact PC that was strong enough to game/stream 1440p games and render videos at blazing fast speeds.
I was using my 6 year old Haswell i5 4670 and GTX 970 (until it blew up and I got a 1070) so it felt right to upgrade now, my old specs barely gave me a steady 60fps on my ultra wide 1440p monitor in most games as my CPU kept running at 100% utilization (which was holding back my 1070).
I enjoyed modding my first case and I thought it would be fun to do another project that other people can see and learn from through my mistakes/discoveries.
After some sales popped up I started buying parts, here’s what I got:
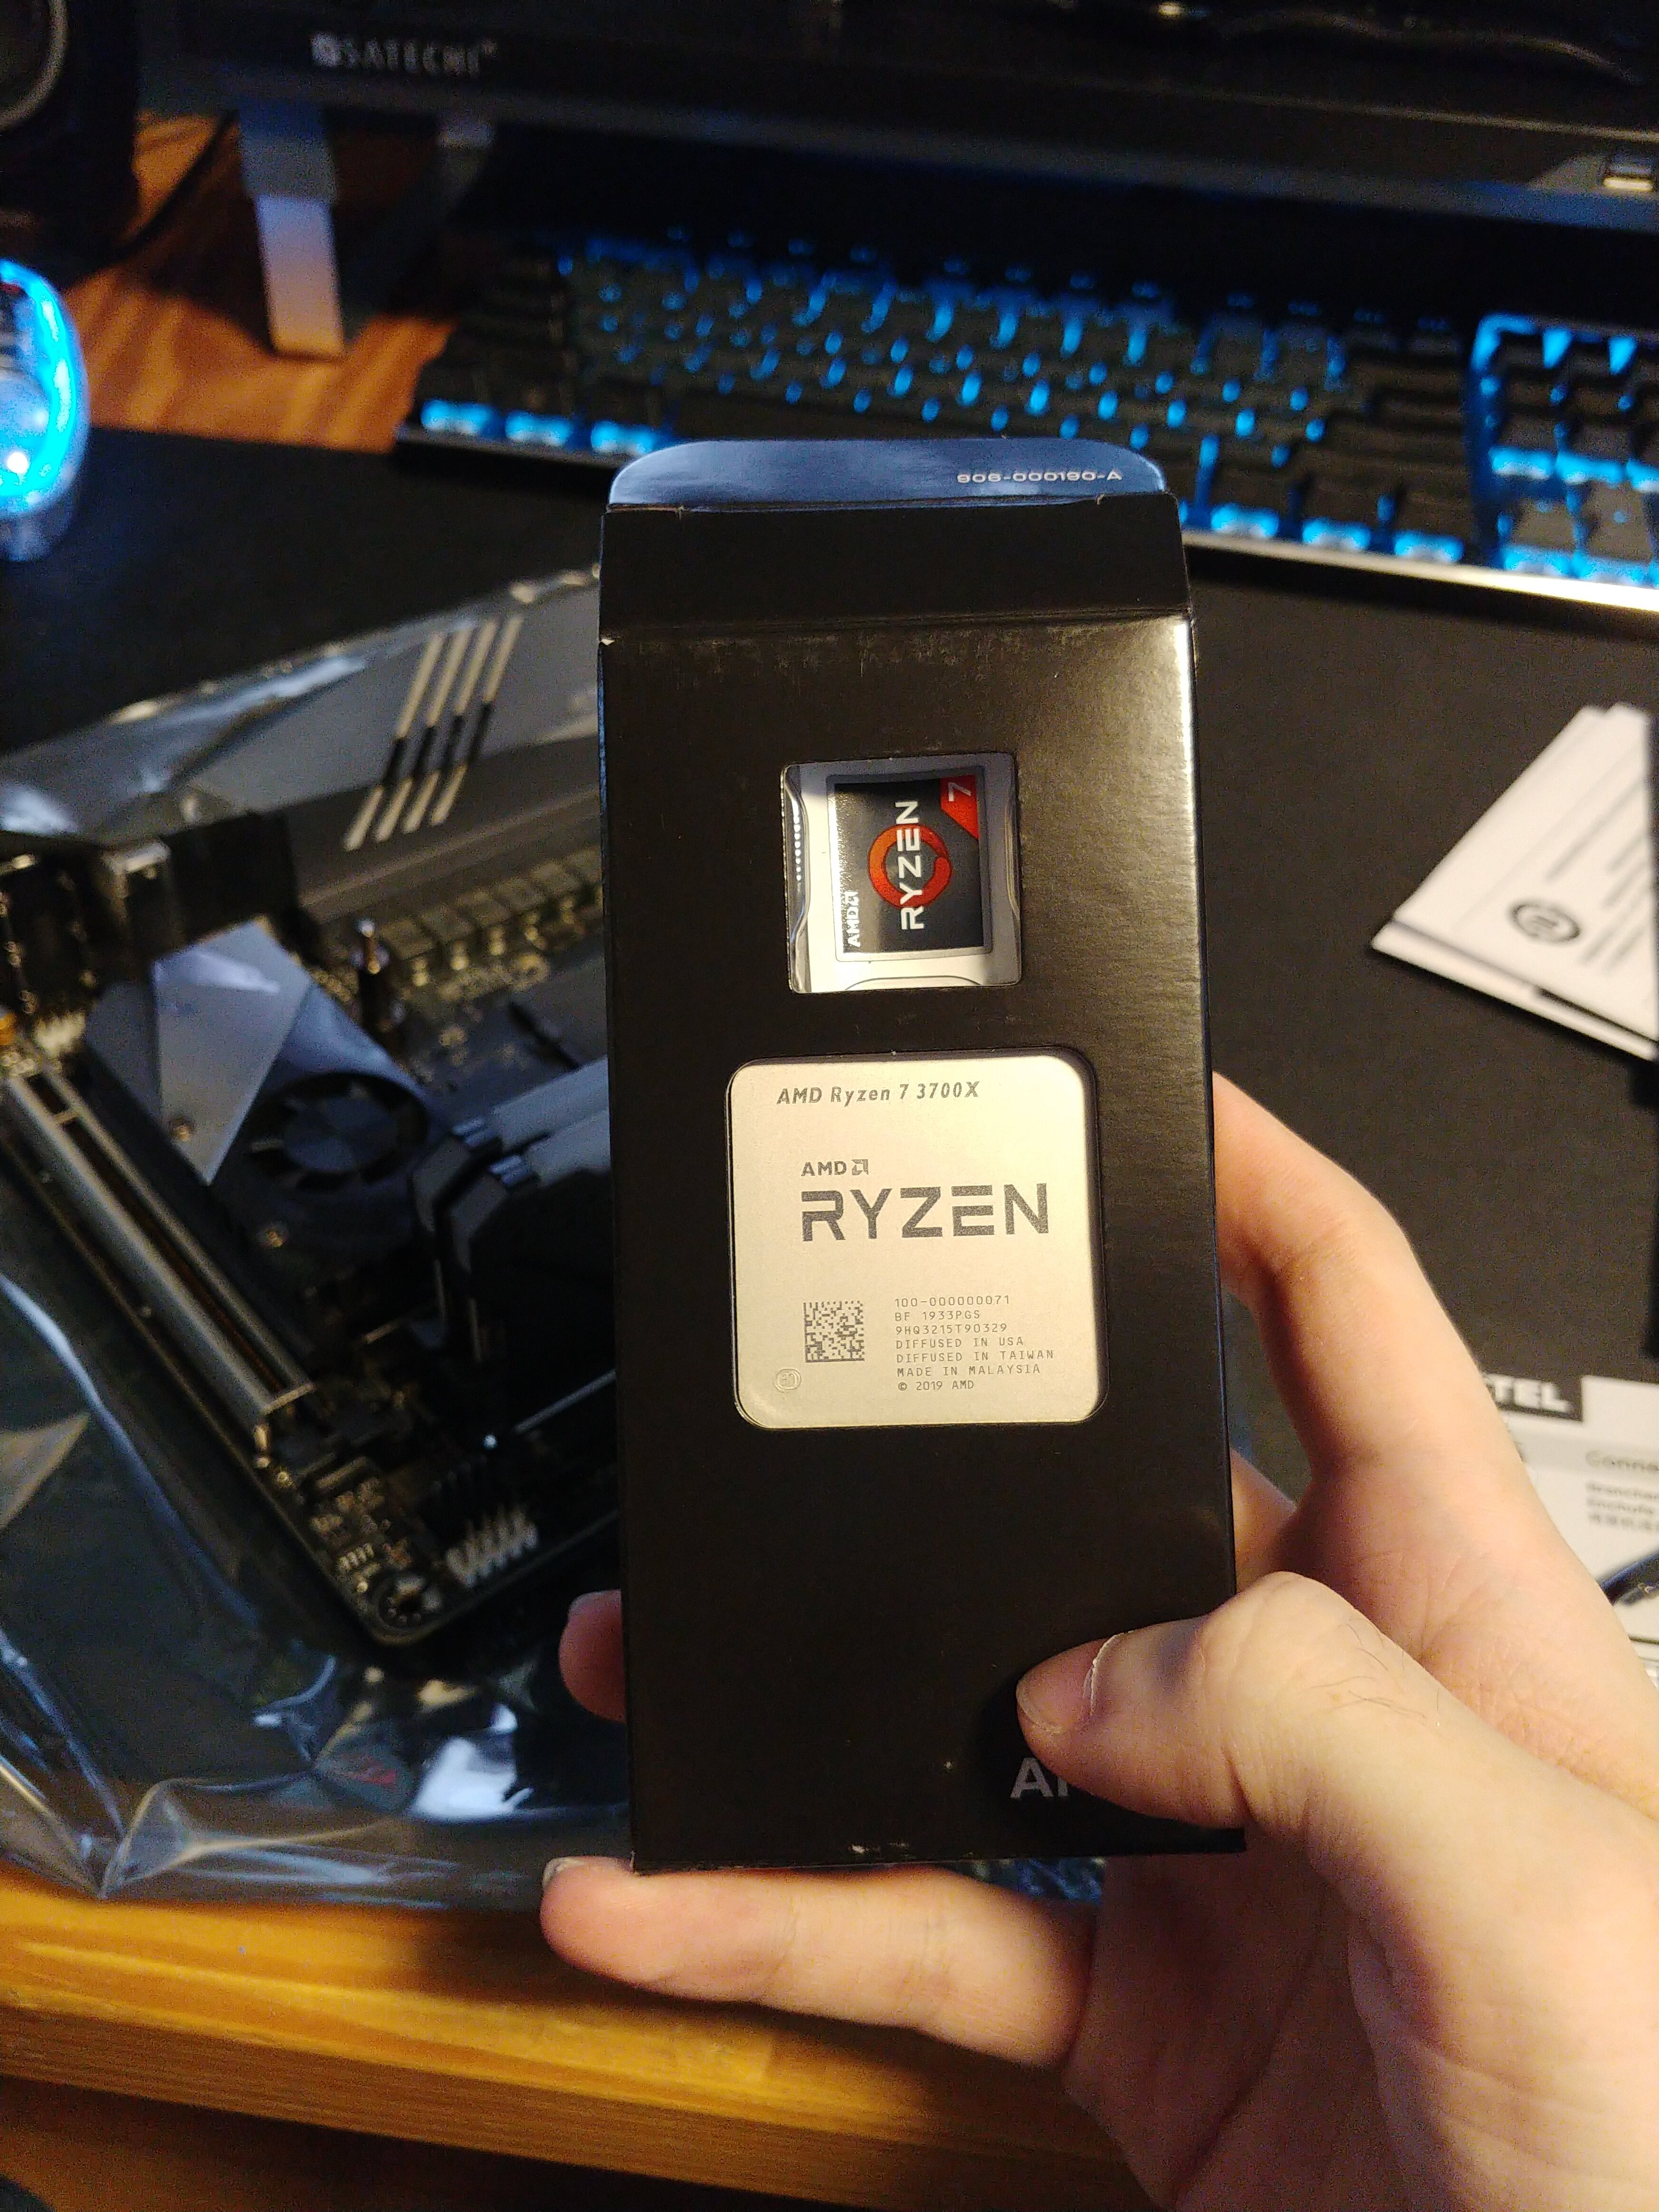
- Ryzen 7 3700x
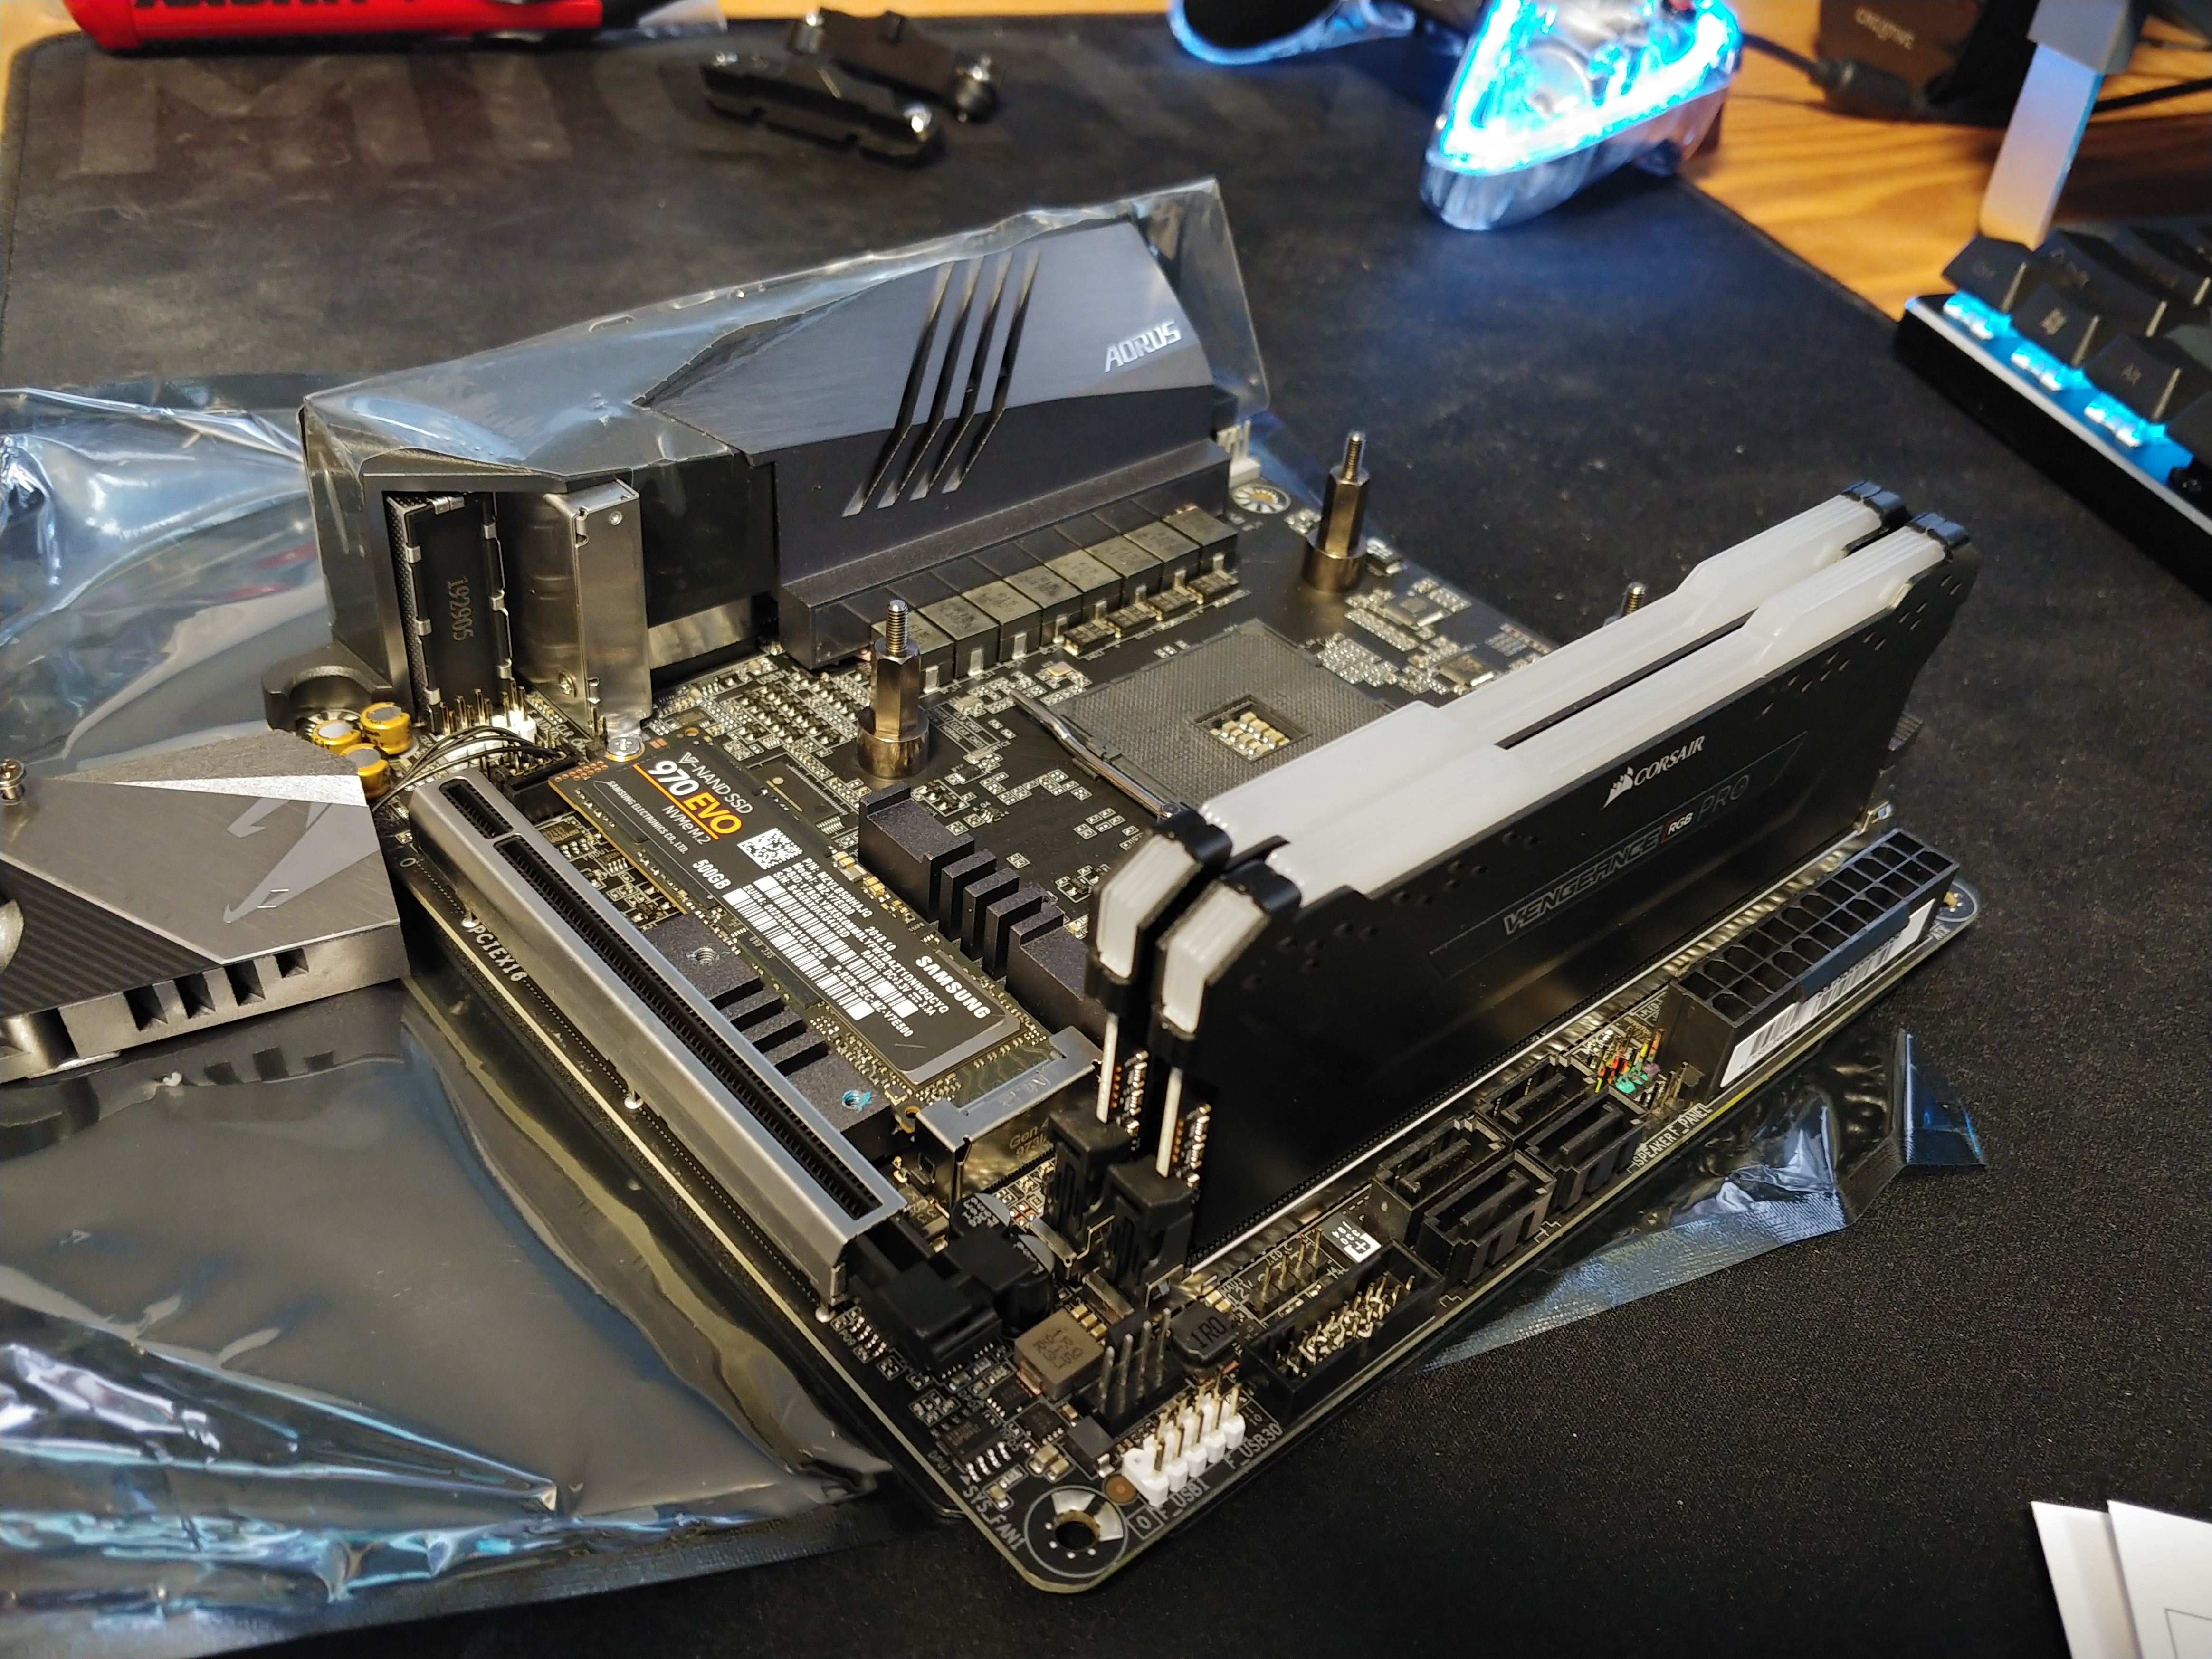
- Gigabyte X570 Aorus i Pro Wifi
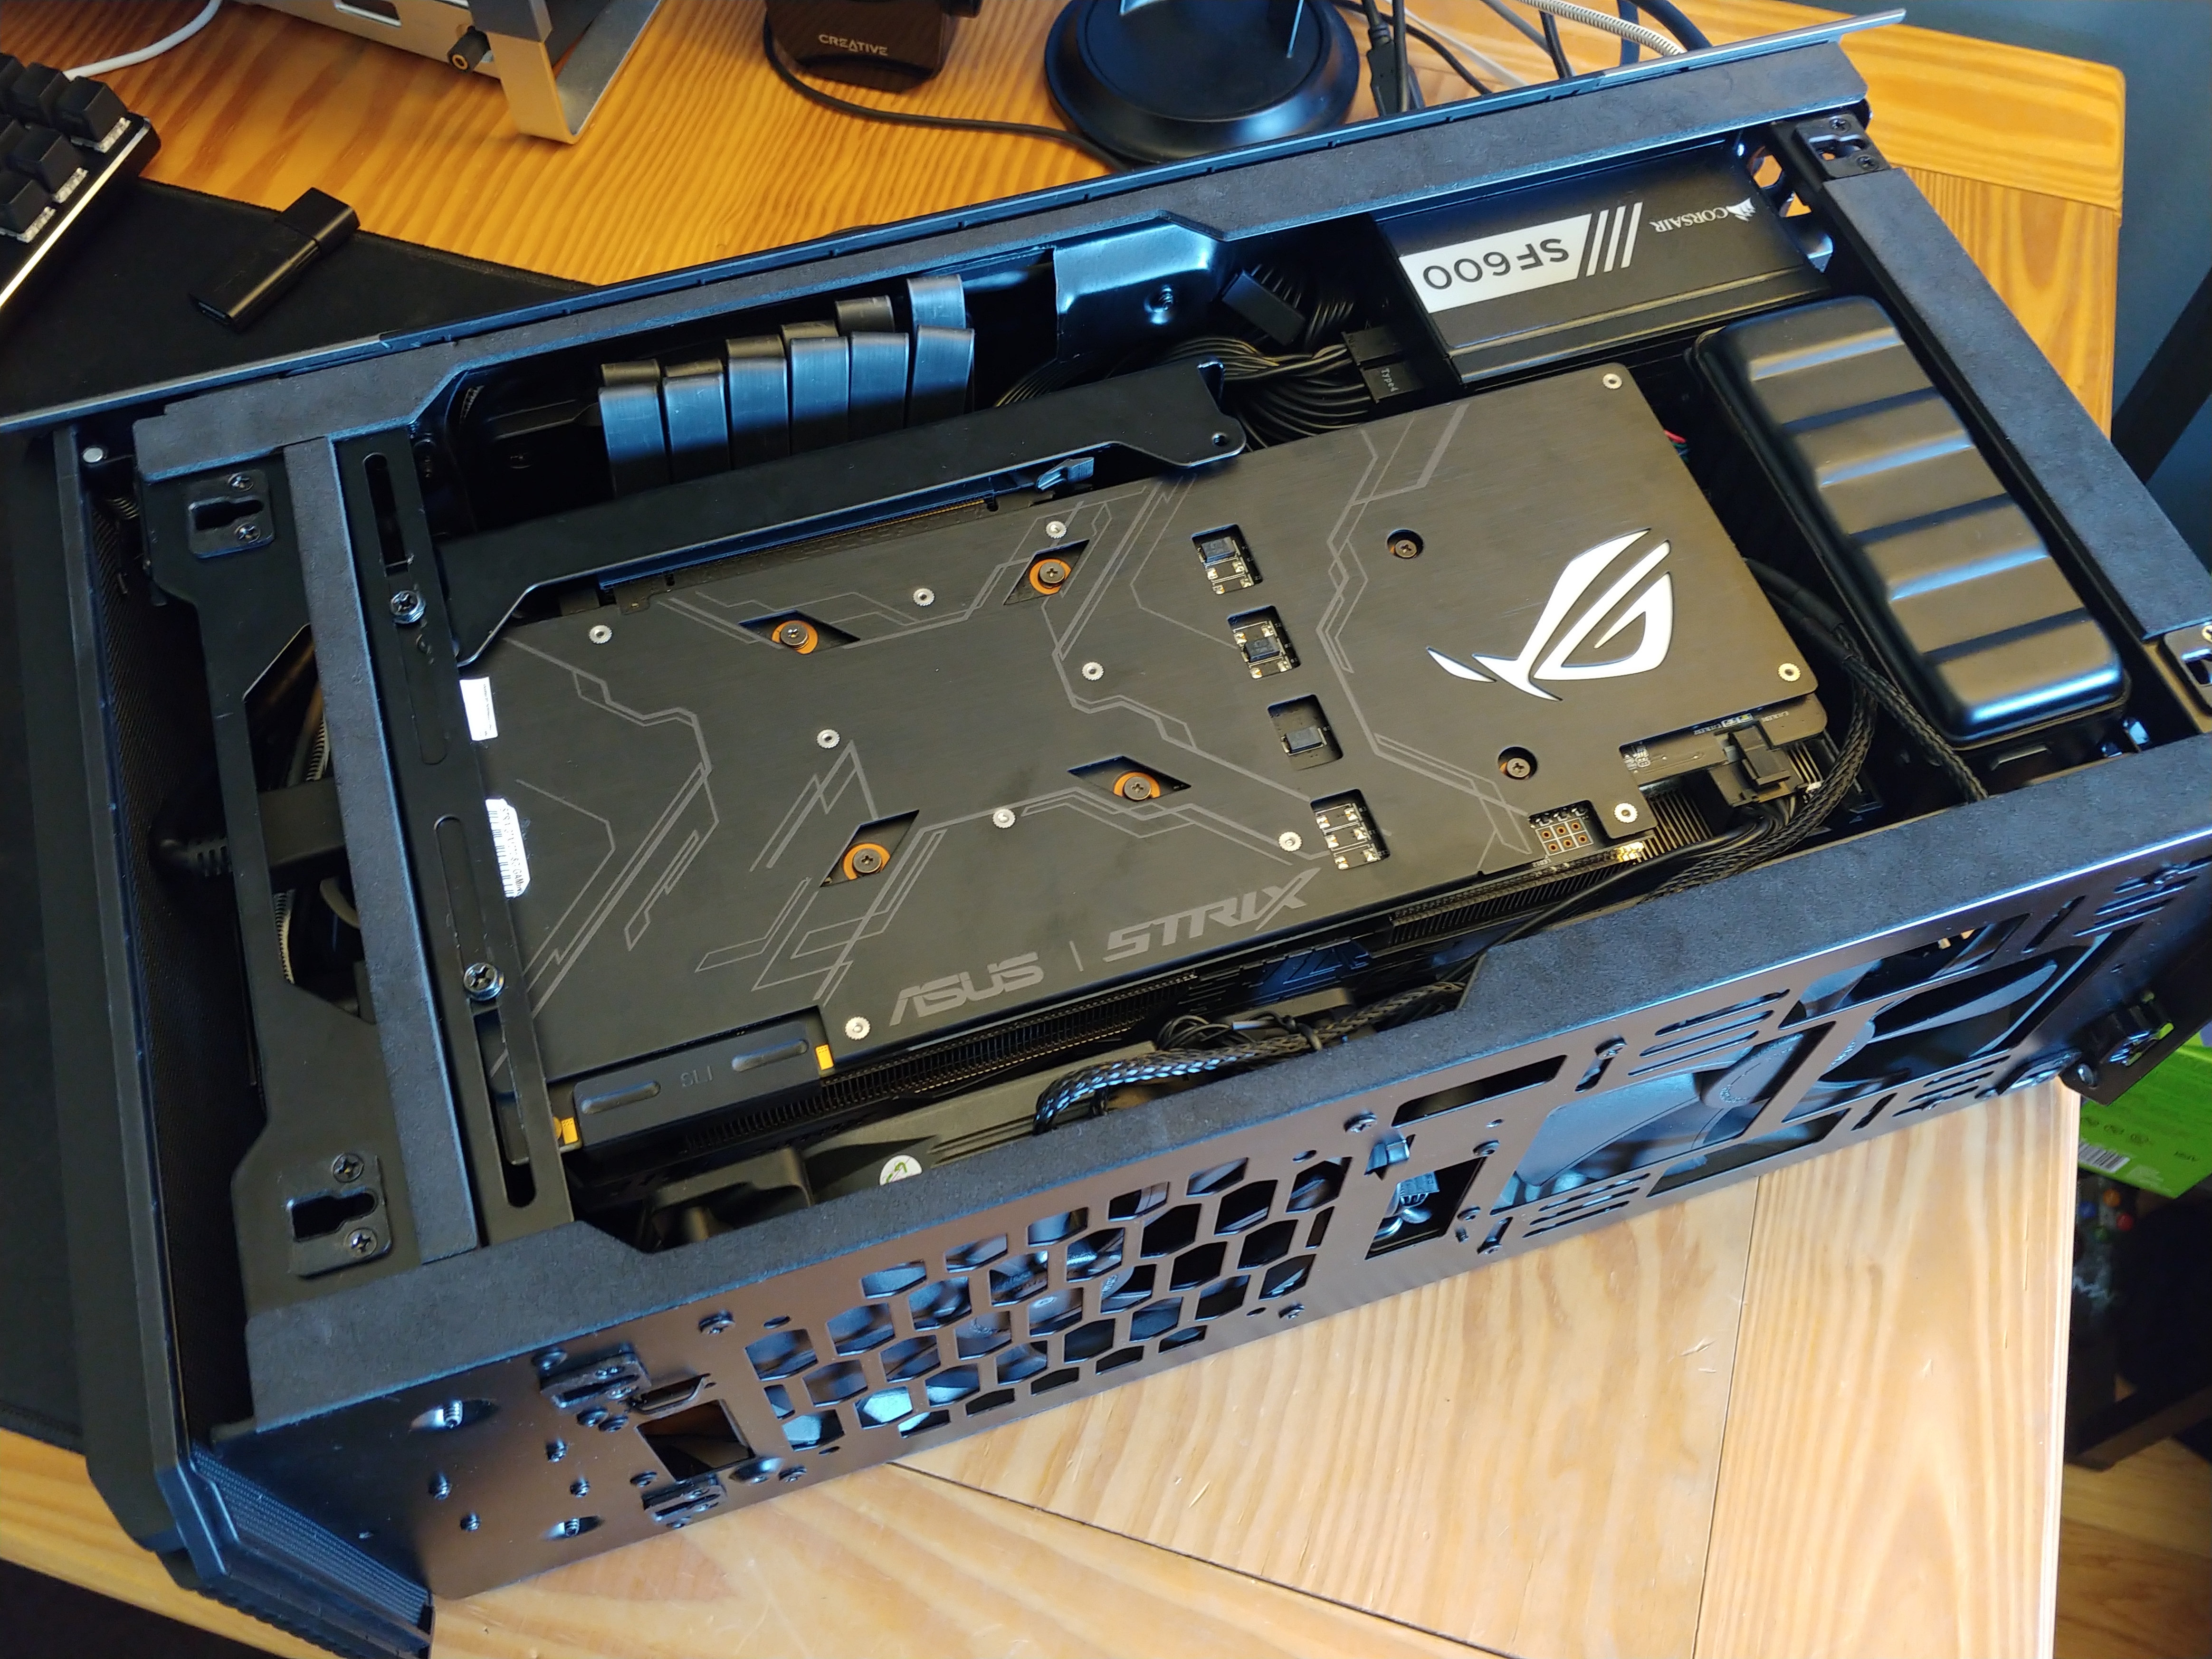
- Asus Strix GTX 1070
- Corsair 16gb (2x4) 3200mhz CL16
- Samsung 860 (1TB) SSD & 970 (500Gb) NVME
- Corsair SF 600 & H80i V2
- Fractal Design Venturi 120mm & 140mm fans
- Phanteks Evolv Shift & Halos Lux
Total Price: $1985 CAD (before tax)
The subject at hand was the Phanteks Shift, small and closed off case with minimal airflow. Many people have had thermal issues and I wanted to see if I could fix it!
I loved the look and size of it, but I wanted to get better airflow considering my 1070 would take up a massive amount of space inside.
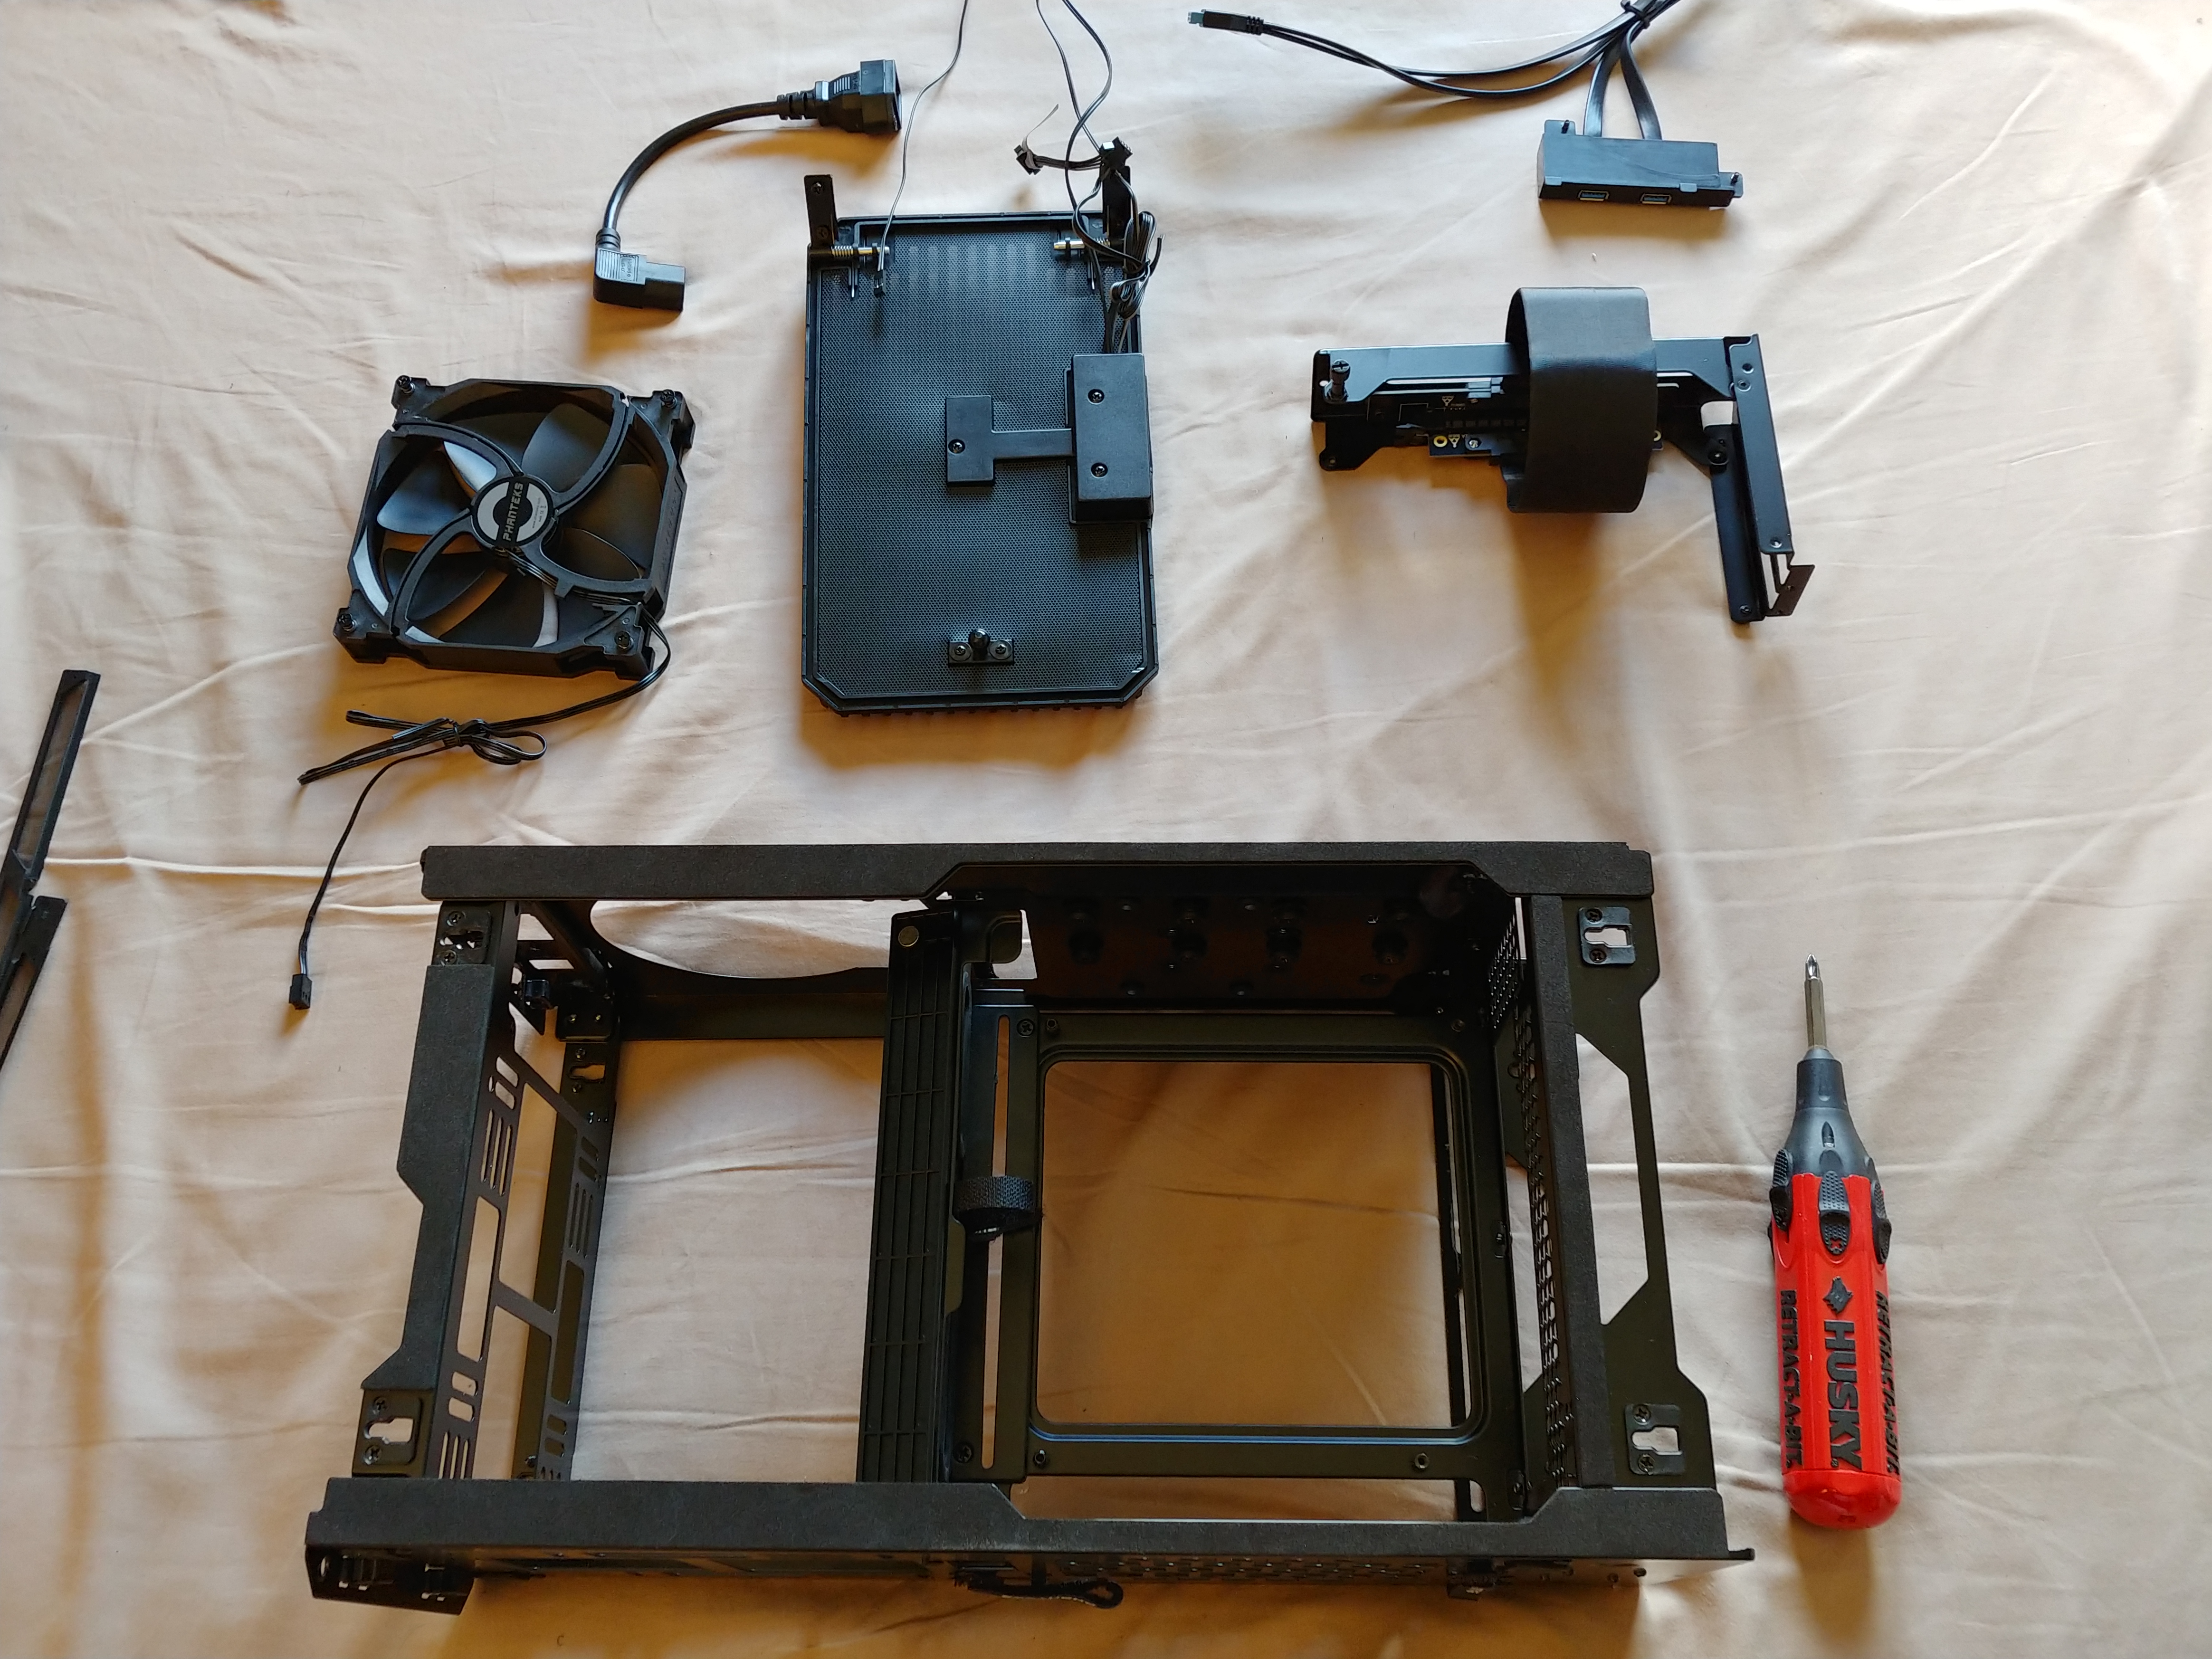
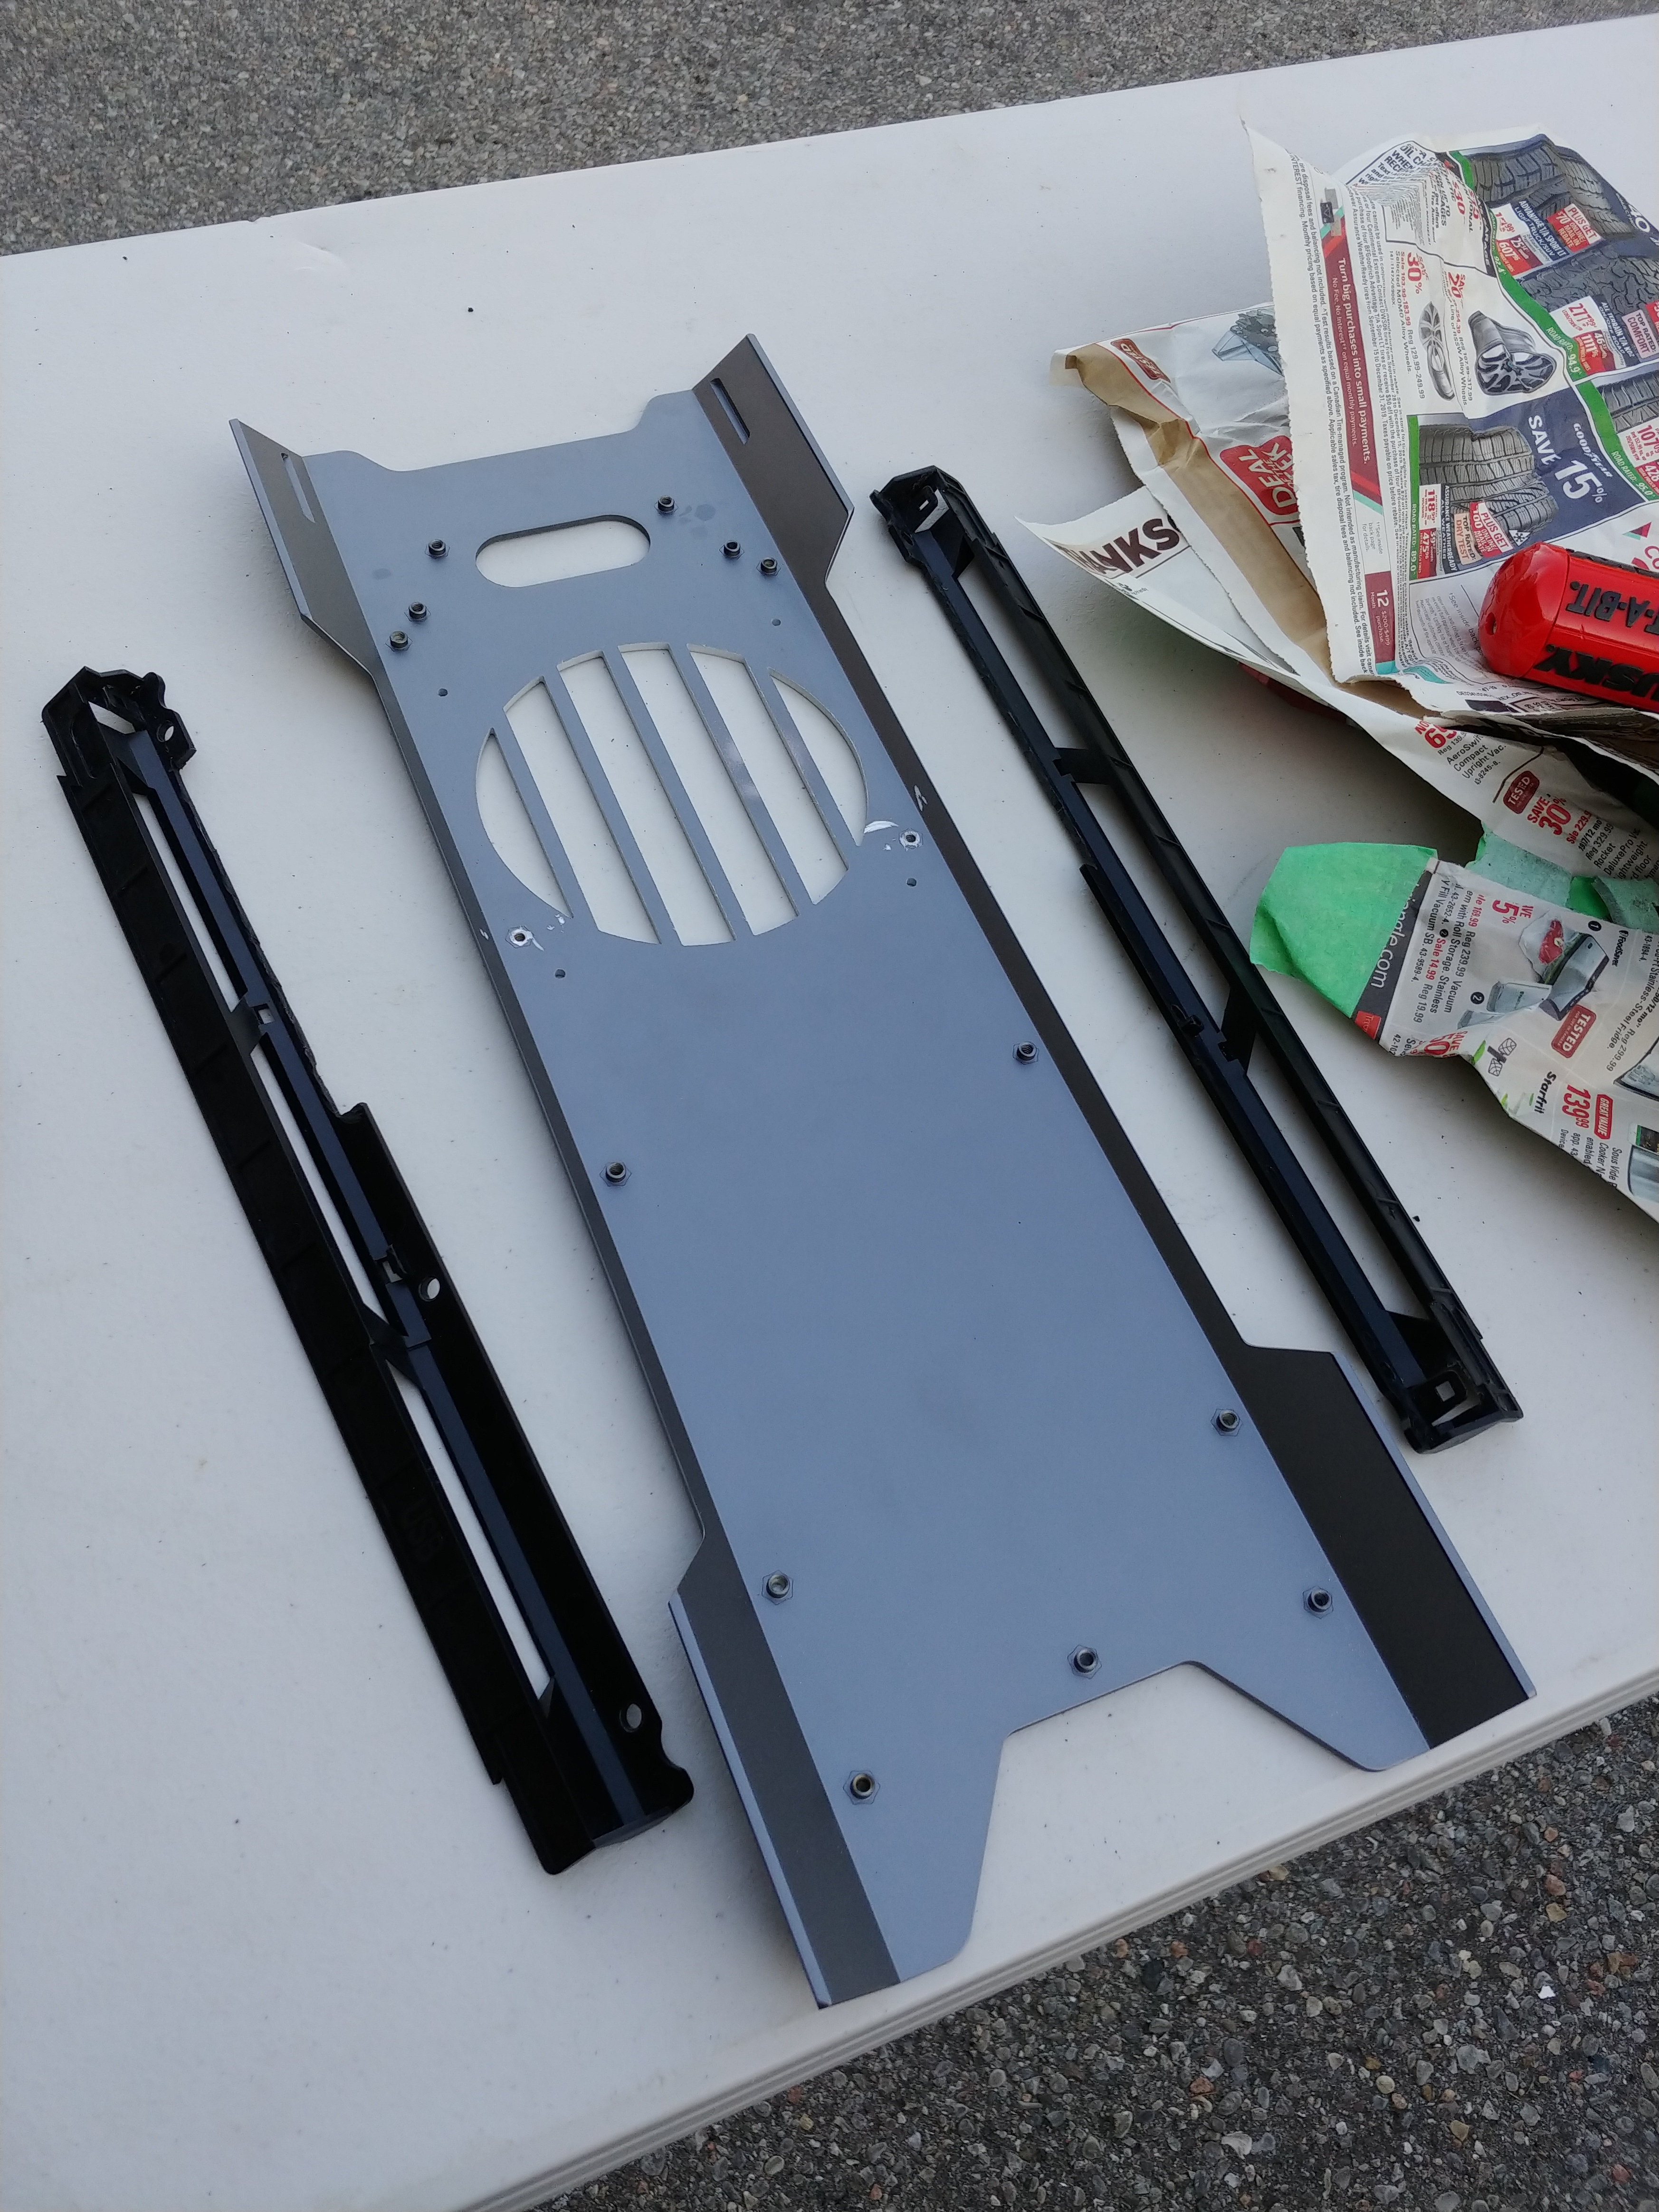
So anyway I started blastin’ ideas in my sketchbook and came to a final design: to make two vents on the front panel and a fan mount in the rear.
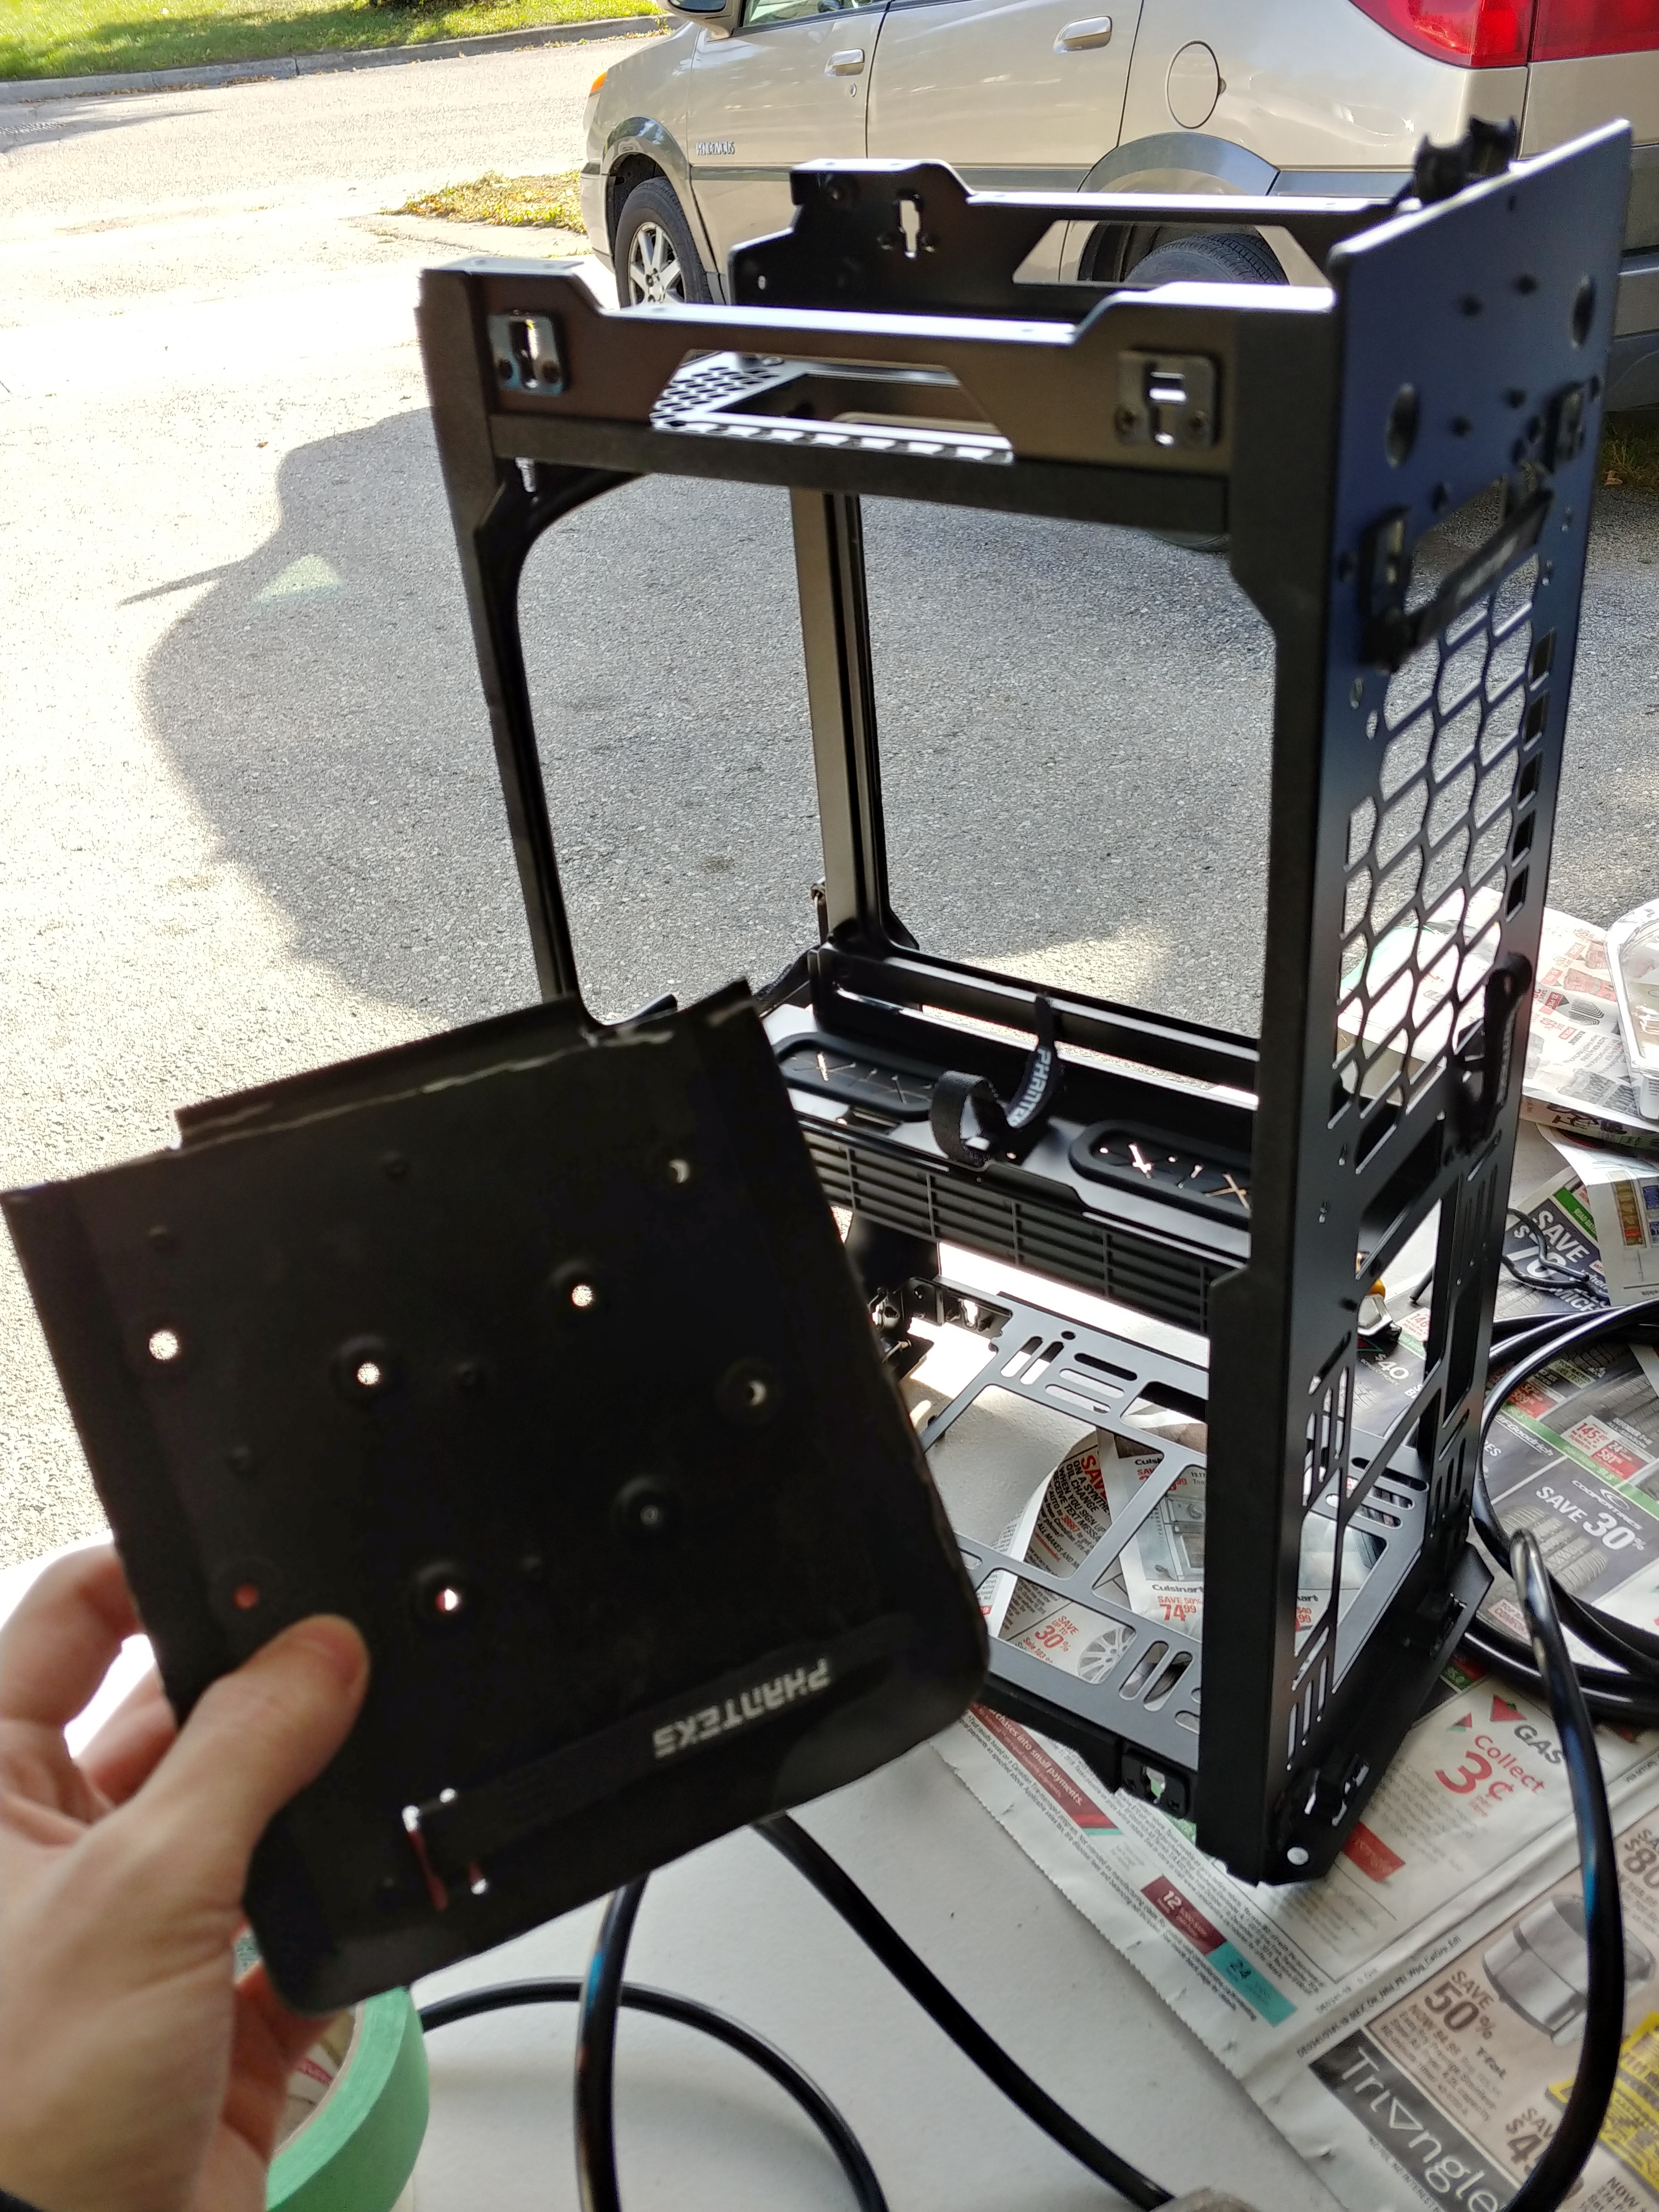
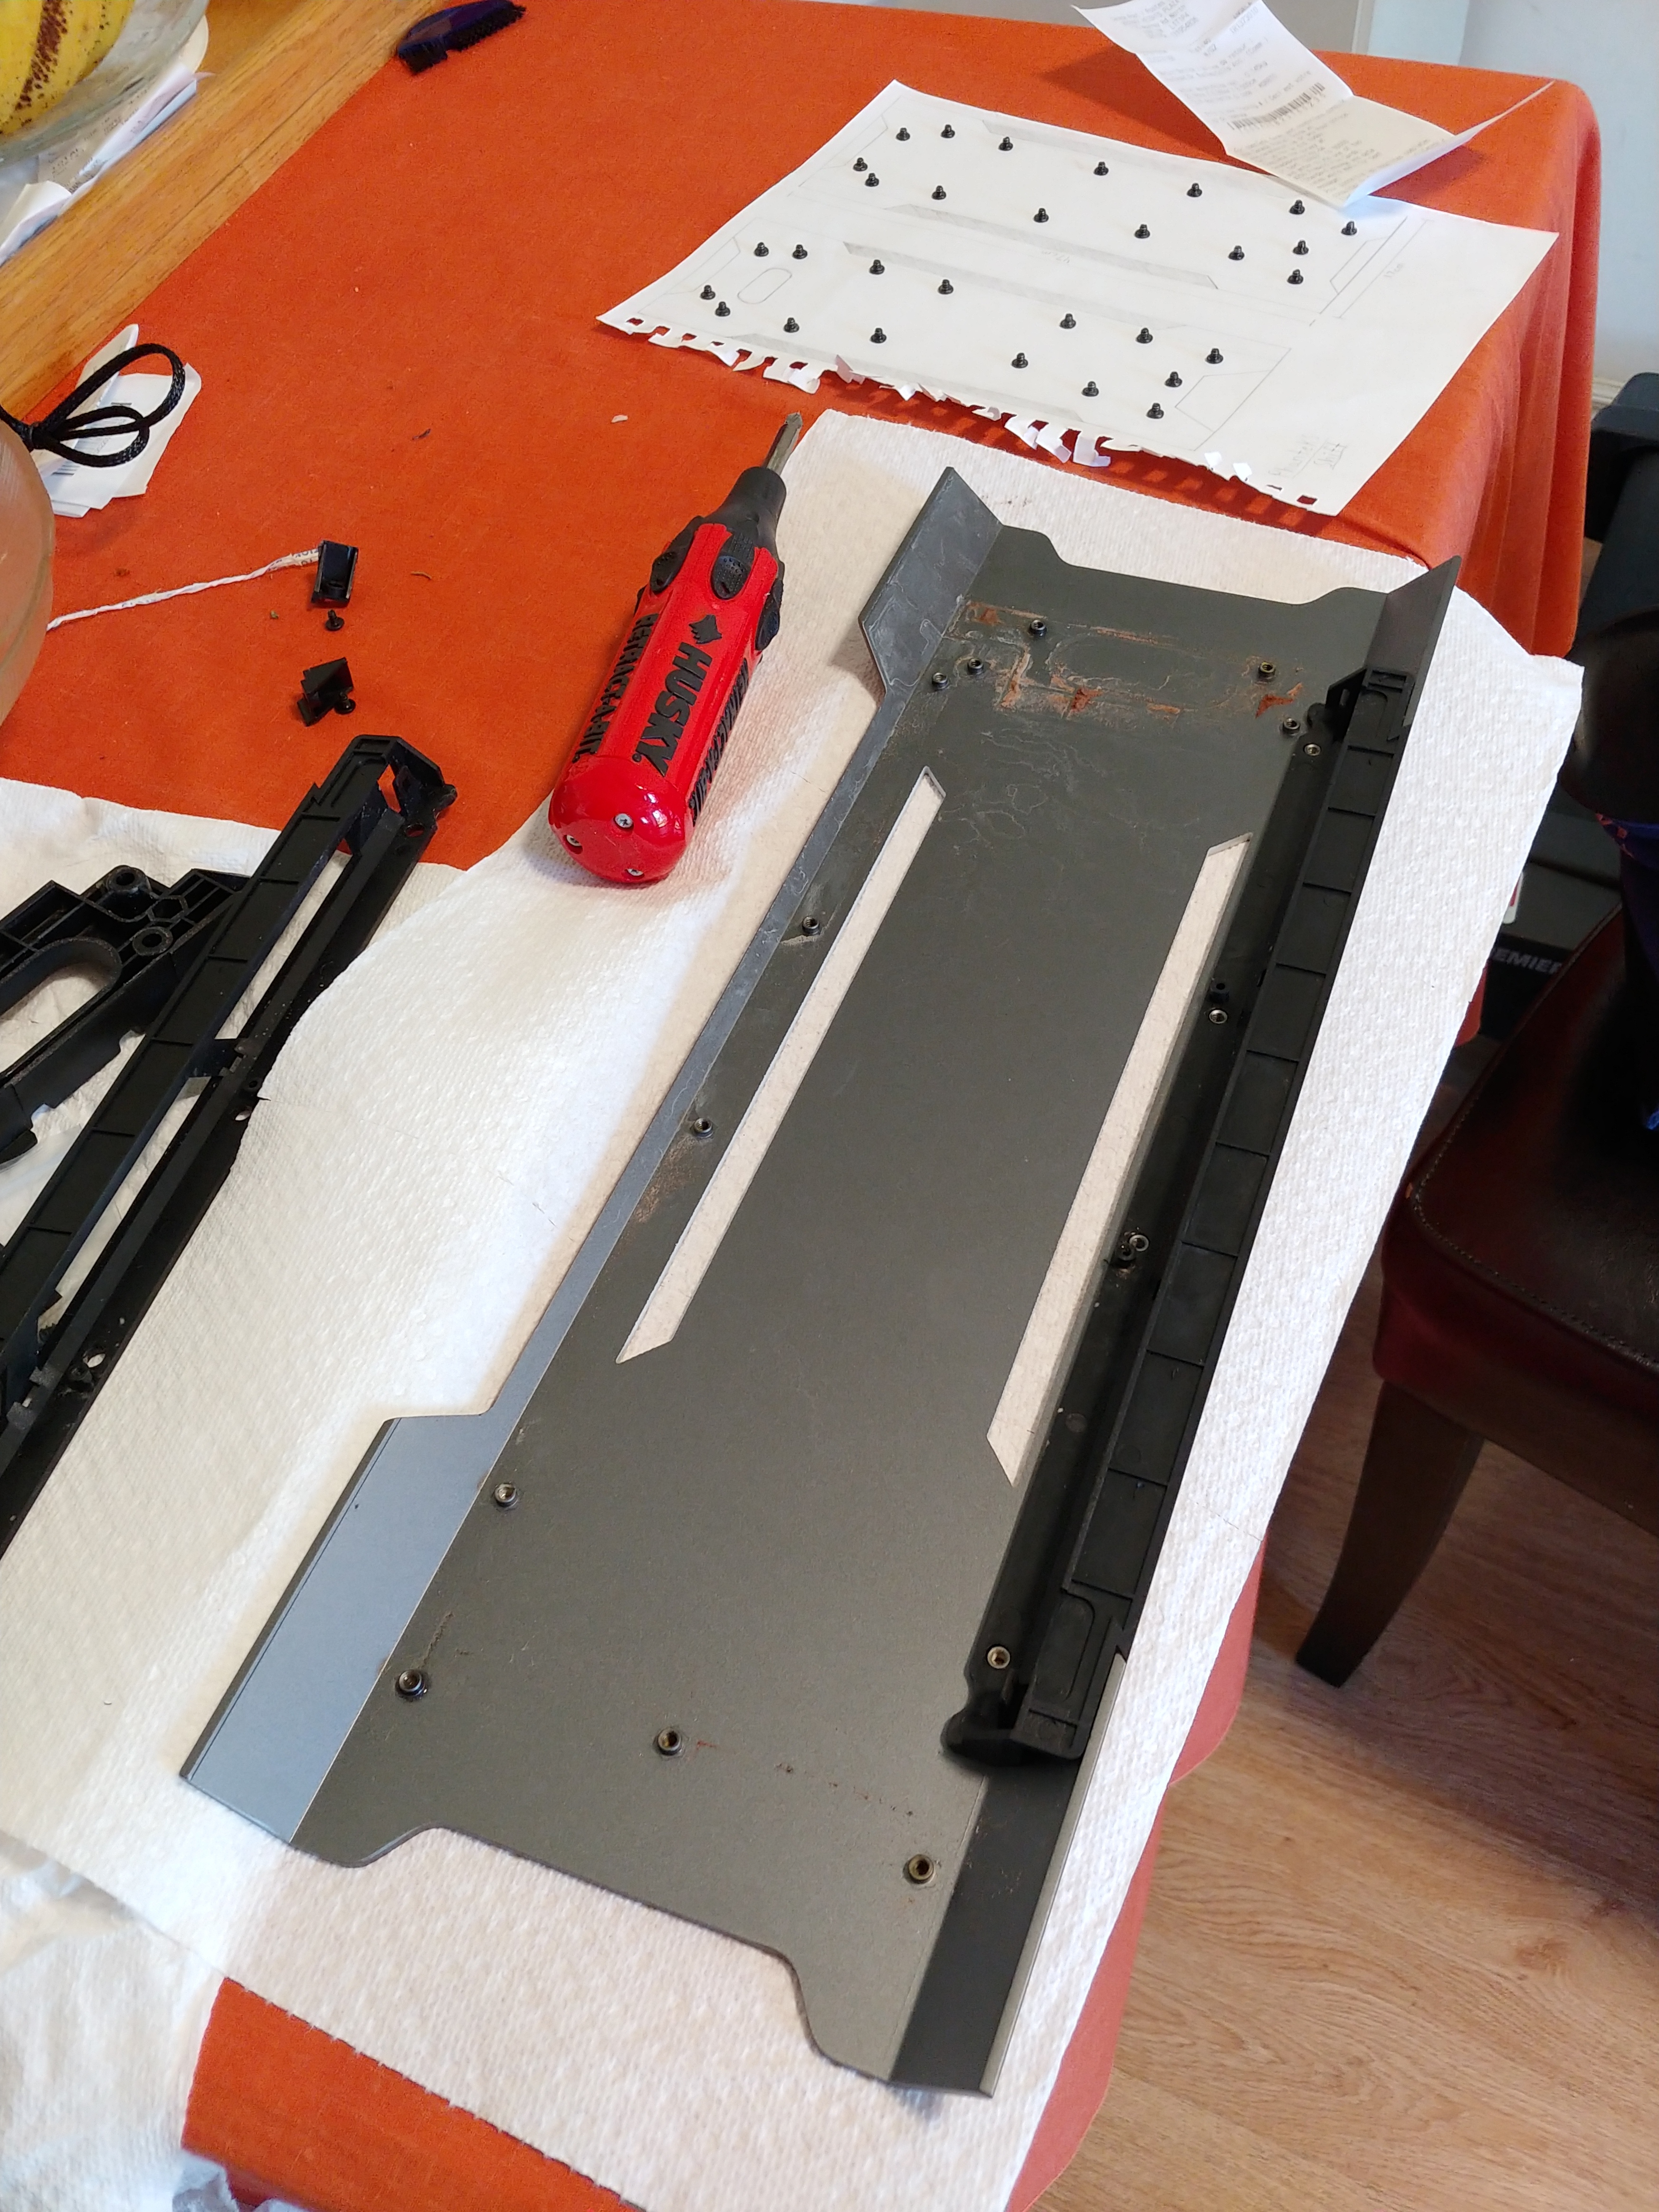
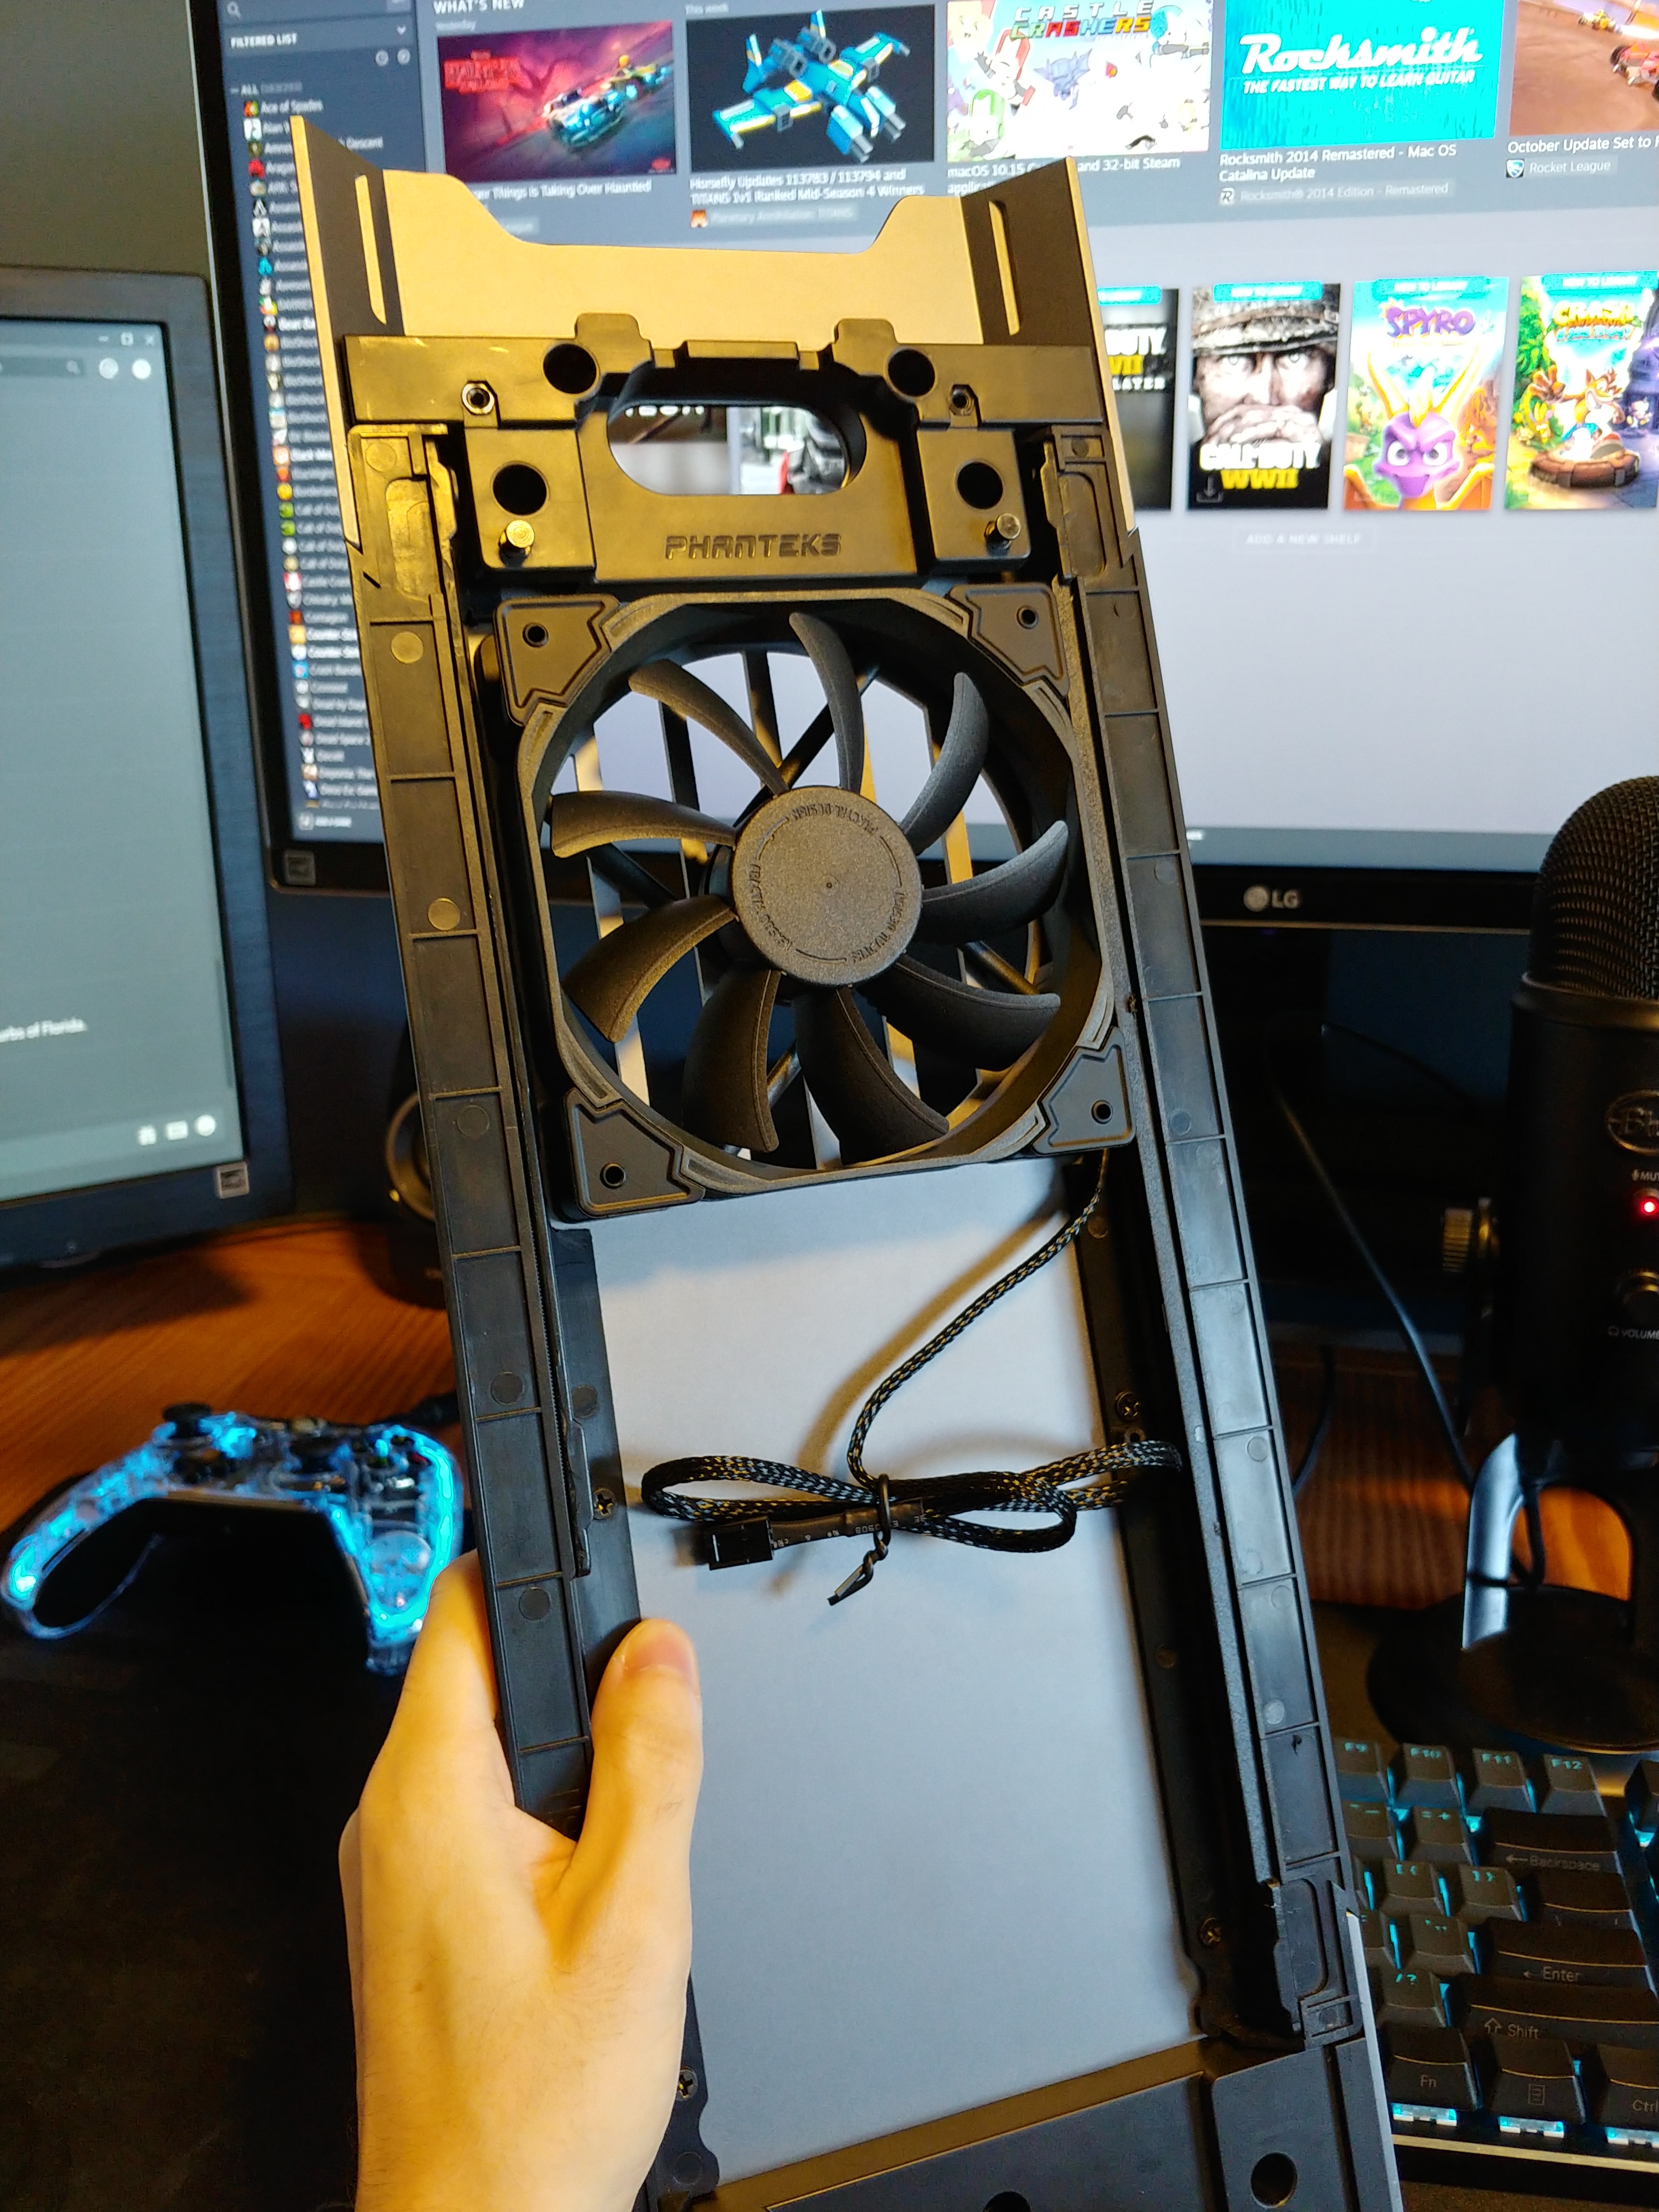
First thing I had to do was make space for that fan which meant I had to remove the SSD/HDD mounting plate, Im happy to report that almost everything can be removed to avoid metal particles (top door latch and cable management flap couldn’t be removed)
Then I took my designs to a local waterjet cutting place and charged me $40 for both outer panels! Its good to help out the local shops when you can 

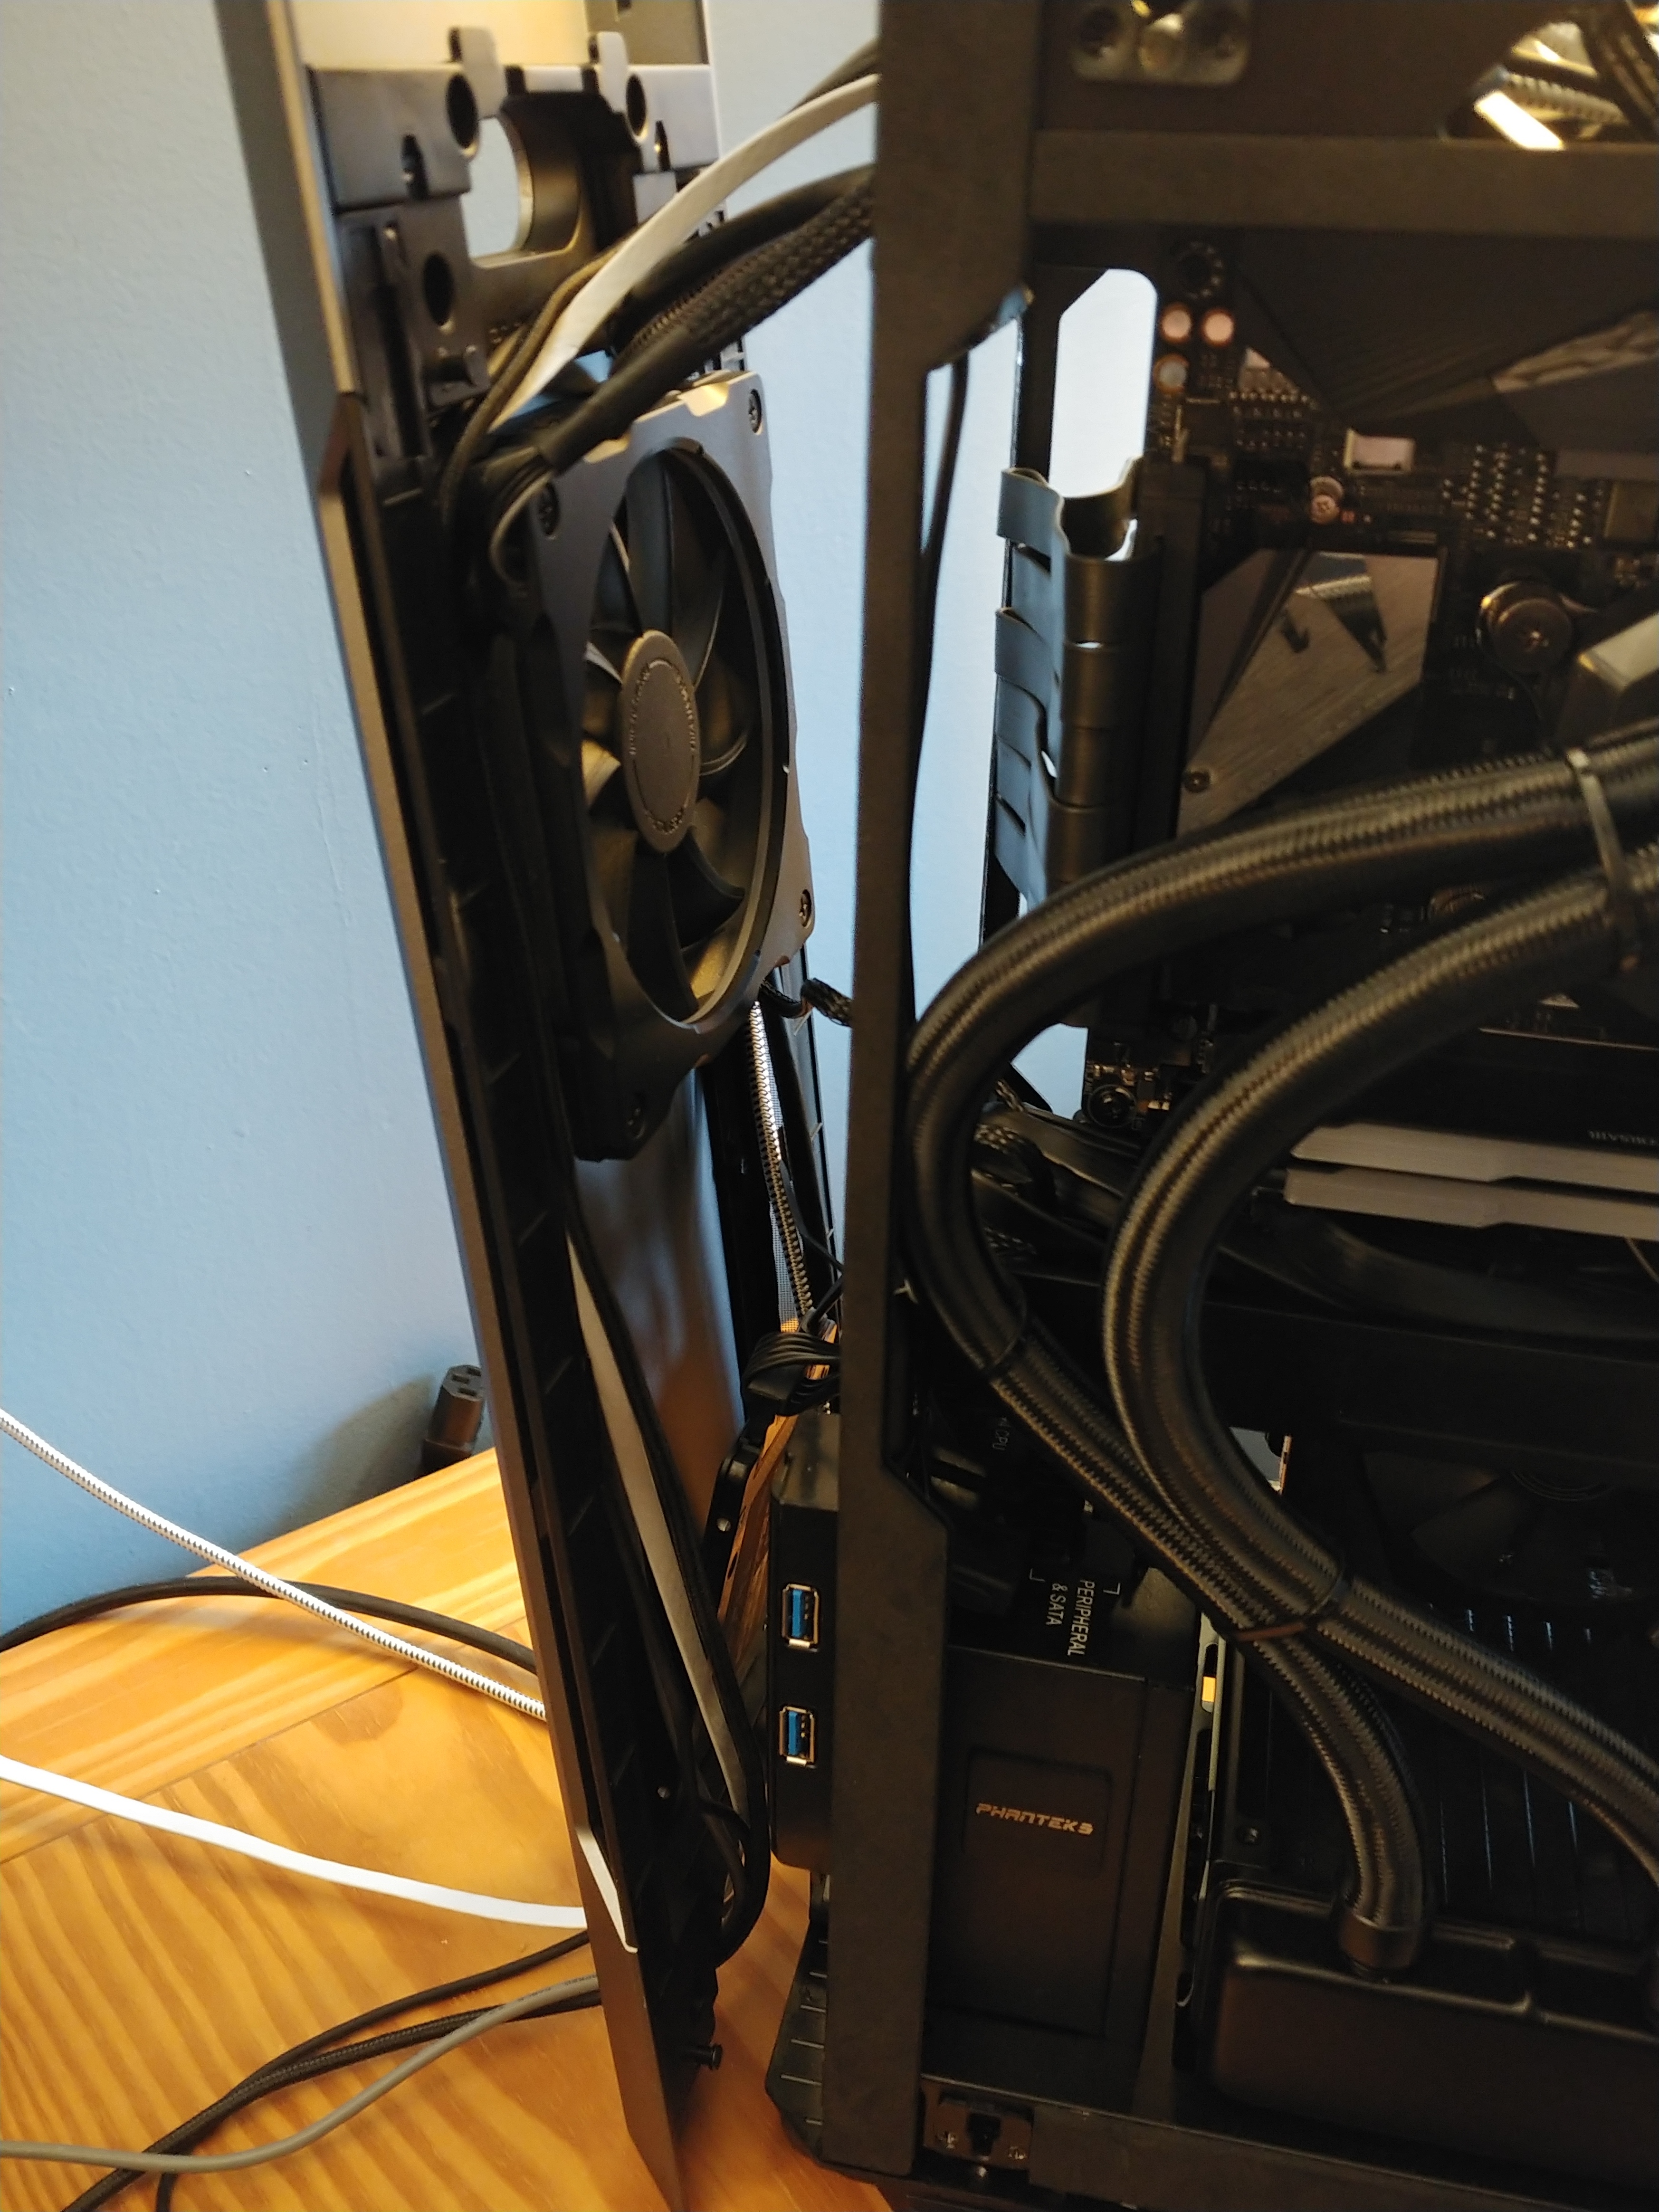
The rear Panel was tricky as I had to remove two metal screw posts and dremel some plastic out of the black trim to get the fan to fit and sit flush. Sadly my dremel nicked some of the metal exterior paint but luckily the fan covers my little mistakes.
After that the hardest part was done and I could start building!


However the battle was far from over… I still had to deal with Thermals and Cable Management
Cable management was a pain in the gluteous maximus as I failed to realize I cut out the cable management hole when adding the fan, but at least the power supply cables were easy to manage thanks to the flat cable design.
The only way to cable manage things to the motherboard IO without having them dangling out the rear in an ugly way is to route them around the fan (1cm of space to work with) and do sharp 90 degree turns, somehow… I did the impossible…
My god what a squeeze especially with those video cables, you have to go around the power cable and the USB hub in the back as well as the top above the fan all at once to get it to fit, if you attempt this… good luck 
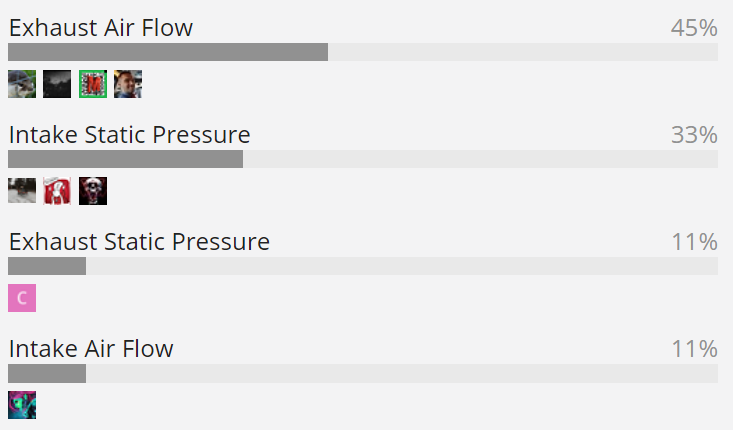
Next came thermals, I put a Poll to see what people thought would be optimal for the stock case as I didn’t want to leak my mod early. I was curious about which fan type and pressure to use and if it really does help a small form factor case like this.
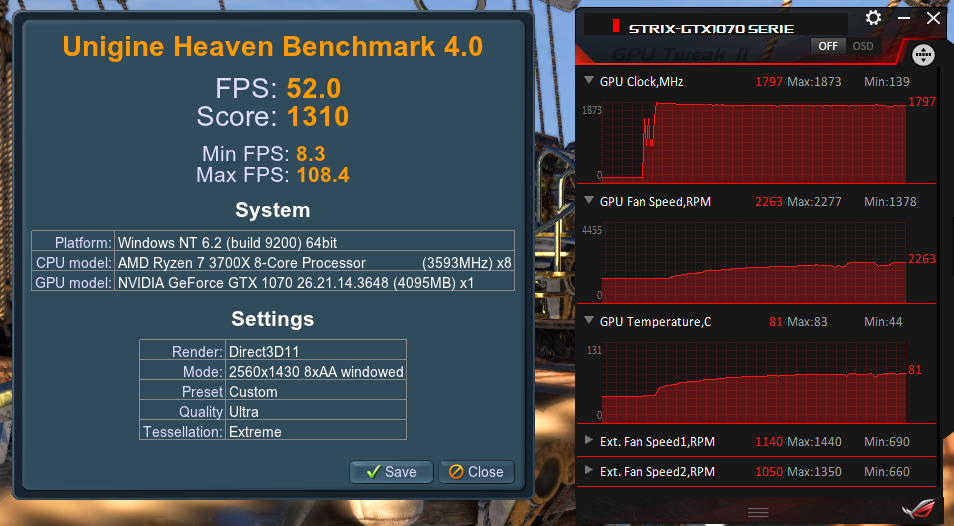
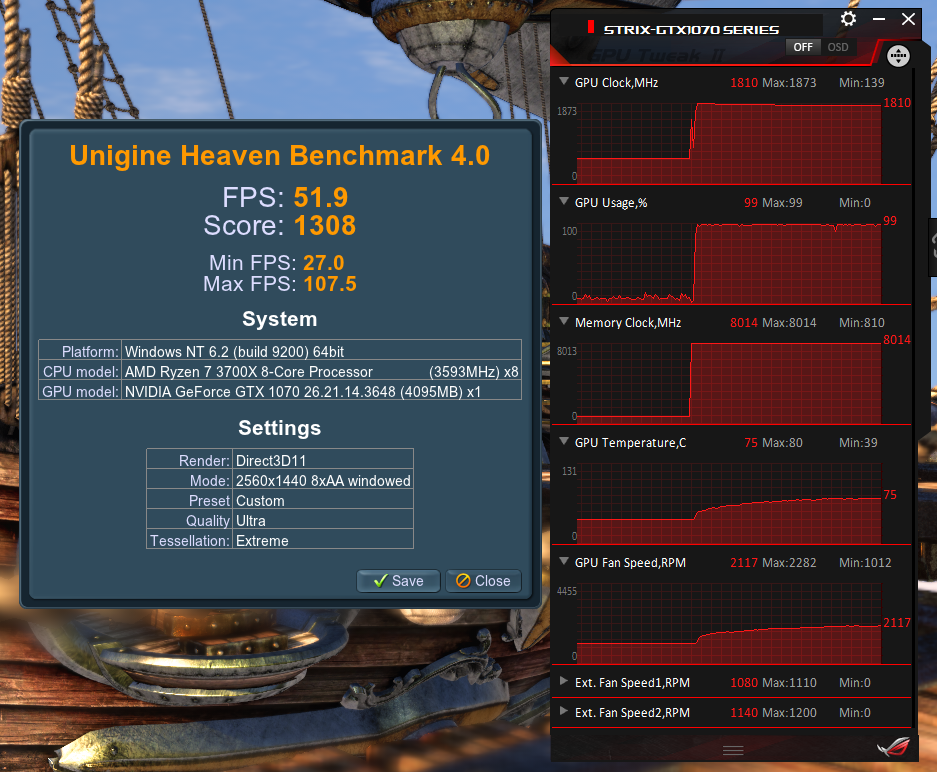
For 3 days I tested Unigen Heaven in similar ambient temperatures (79F-80F… its cold here lol) and GPU/CPU/Heaven settings and fan curves to get the best results. Surprisingly many of my tests ran pretty similar with minimal differences… until the next day results changed with the same settings for some reason… I cant explain it but whatever, on with the test!
Air Flow Test Results
In Unigen Heaven, the worst airflow setup was when the only source of cool air was coming from the radiator, obviously.
Surprisingly this was a little worse than the front fans being intakes with the ‘stock case’
I did many tests but then realized I forgot to switch the rear fan around as well, when I did there was a world of change.
I noticed that all this time that some heat was trapped in little areas keeping the gpu warm; and the rear fan was not sucking out as much hot air as I expected. It seemed to be blocked by the PCIE riser cable or something but I cannot explain why it wasnt working as I thought it would.
The tests showed minimal difference but what shocked me was the time for them to cool down varied a lot, some taking longer to reach lower temps than others.
Swapping the rear fan to an intake changed everything, it reached the same low 75c temperatures as other setups when it was under load; but it helped lower temps after the tests or games by a noticeable margin!
The best result in the end with the best cool down time and temperature sustain was with the rear AF 120mm and bottom SP 120mm fans as intakes; and the front 140mm SP fans as exhausts.
My findings also found that SP fans are better as intakes or exhausts when in close proximity to hardware as the AF fans wouldn’t move air as fast with things close to them.
Right now I run the case fans between 800rpm-1100 rpm and the AIO fan at 800rpm-1400rpm, the GPU seemed to suffer a bit with them at higher speeds for some reason and I can only assume it messed with the airflow passing the hot air from the gpu to the fans.
GPU speed tops out around 2000rpm but thats to be expected for a small case. Thermals were promising at 1440p 60fps:
GTAV 60c-68c (very high/high)
Witcher 3 70c-75c (high)
Rainbow 6 Siege 60c-65c
(I wish I had shadow of the tomb raider)
In short the best thing for this compact case (and many others most likely) is a negative pressure airflow with SP Fans being the best choice to use when in close proximity to hardware that creates a lot of heat.
AF fans couldn’t take the heat away as efficiently in my tests as they seemed to get too choked when too close to something blocking their air supply (probably a given to many but an interesting test in this scenario).
To the one person voting Exhaust static pressure; you were right, but SP fans blowing air inwards isn’t bad as long as you got fans that can easily suck the hot air out (unlike this case for some reason). Also amazingly the stock fan included with the case is really good, for once a stock fan isn’t poor quality!
I gotta say these results had me concerned when I saw the first few runs hitting 80c with the fans being super loud, I felt like Suzuha in Steins;gate when she left the letter saying “I failed, I failed, I failed!”. I even considered making some acrylic side panels with vents in them to air out those hot pockets of air!
After some tweaking with fan curves I’m now reaching temps similar or slightly higher than my old Phantom 410 had while under load, I’m impressed with the case mod I did, even more impressed with the 3700x’s performance and temperature (glad I got that and the X570 on sale!).
Was the modding worth it? I had fun
Would I recommend it… hehe Hell no unless you like modding and the joy(pain) that comes with it 
The truth is; it’s definitely better to go with a decently sized case with better thermals.
Very few itx cases perform great while showing off the hardware, and even fewer at a decent price. I hope we see more unique itx cases with great looks and airflow in the future!
Hope you all enjoyed this lil adventure of mine!
If you want to see the troubles I faced along the way, here’s a rant.
Rant
Case rant:
Alright first off WHO PUTS A PCIE gen 2 CABLE IN A $140+ CASE?! At least Phanteks gave me their newer cable and the power switch PCB because a connector popped off somehow… at least they answered that email! BUT THE CABLE THEY SENT WAS LONGER THAN THE STOCK CABLE!
You can see I had to bend the riser cable in an M shape like a crazy madman and I was having a heart attack hoping I wouldn’t break it! They new what case I had; surely they had a smaller cable… if not then WHYYY
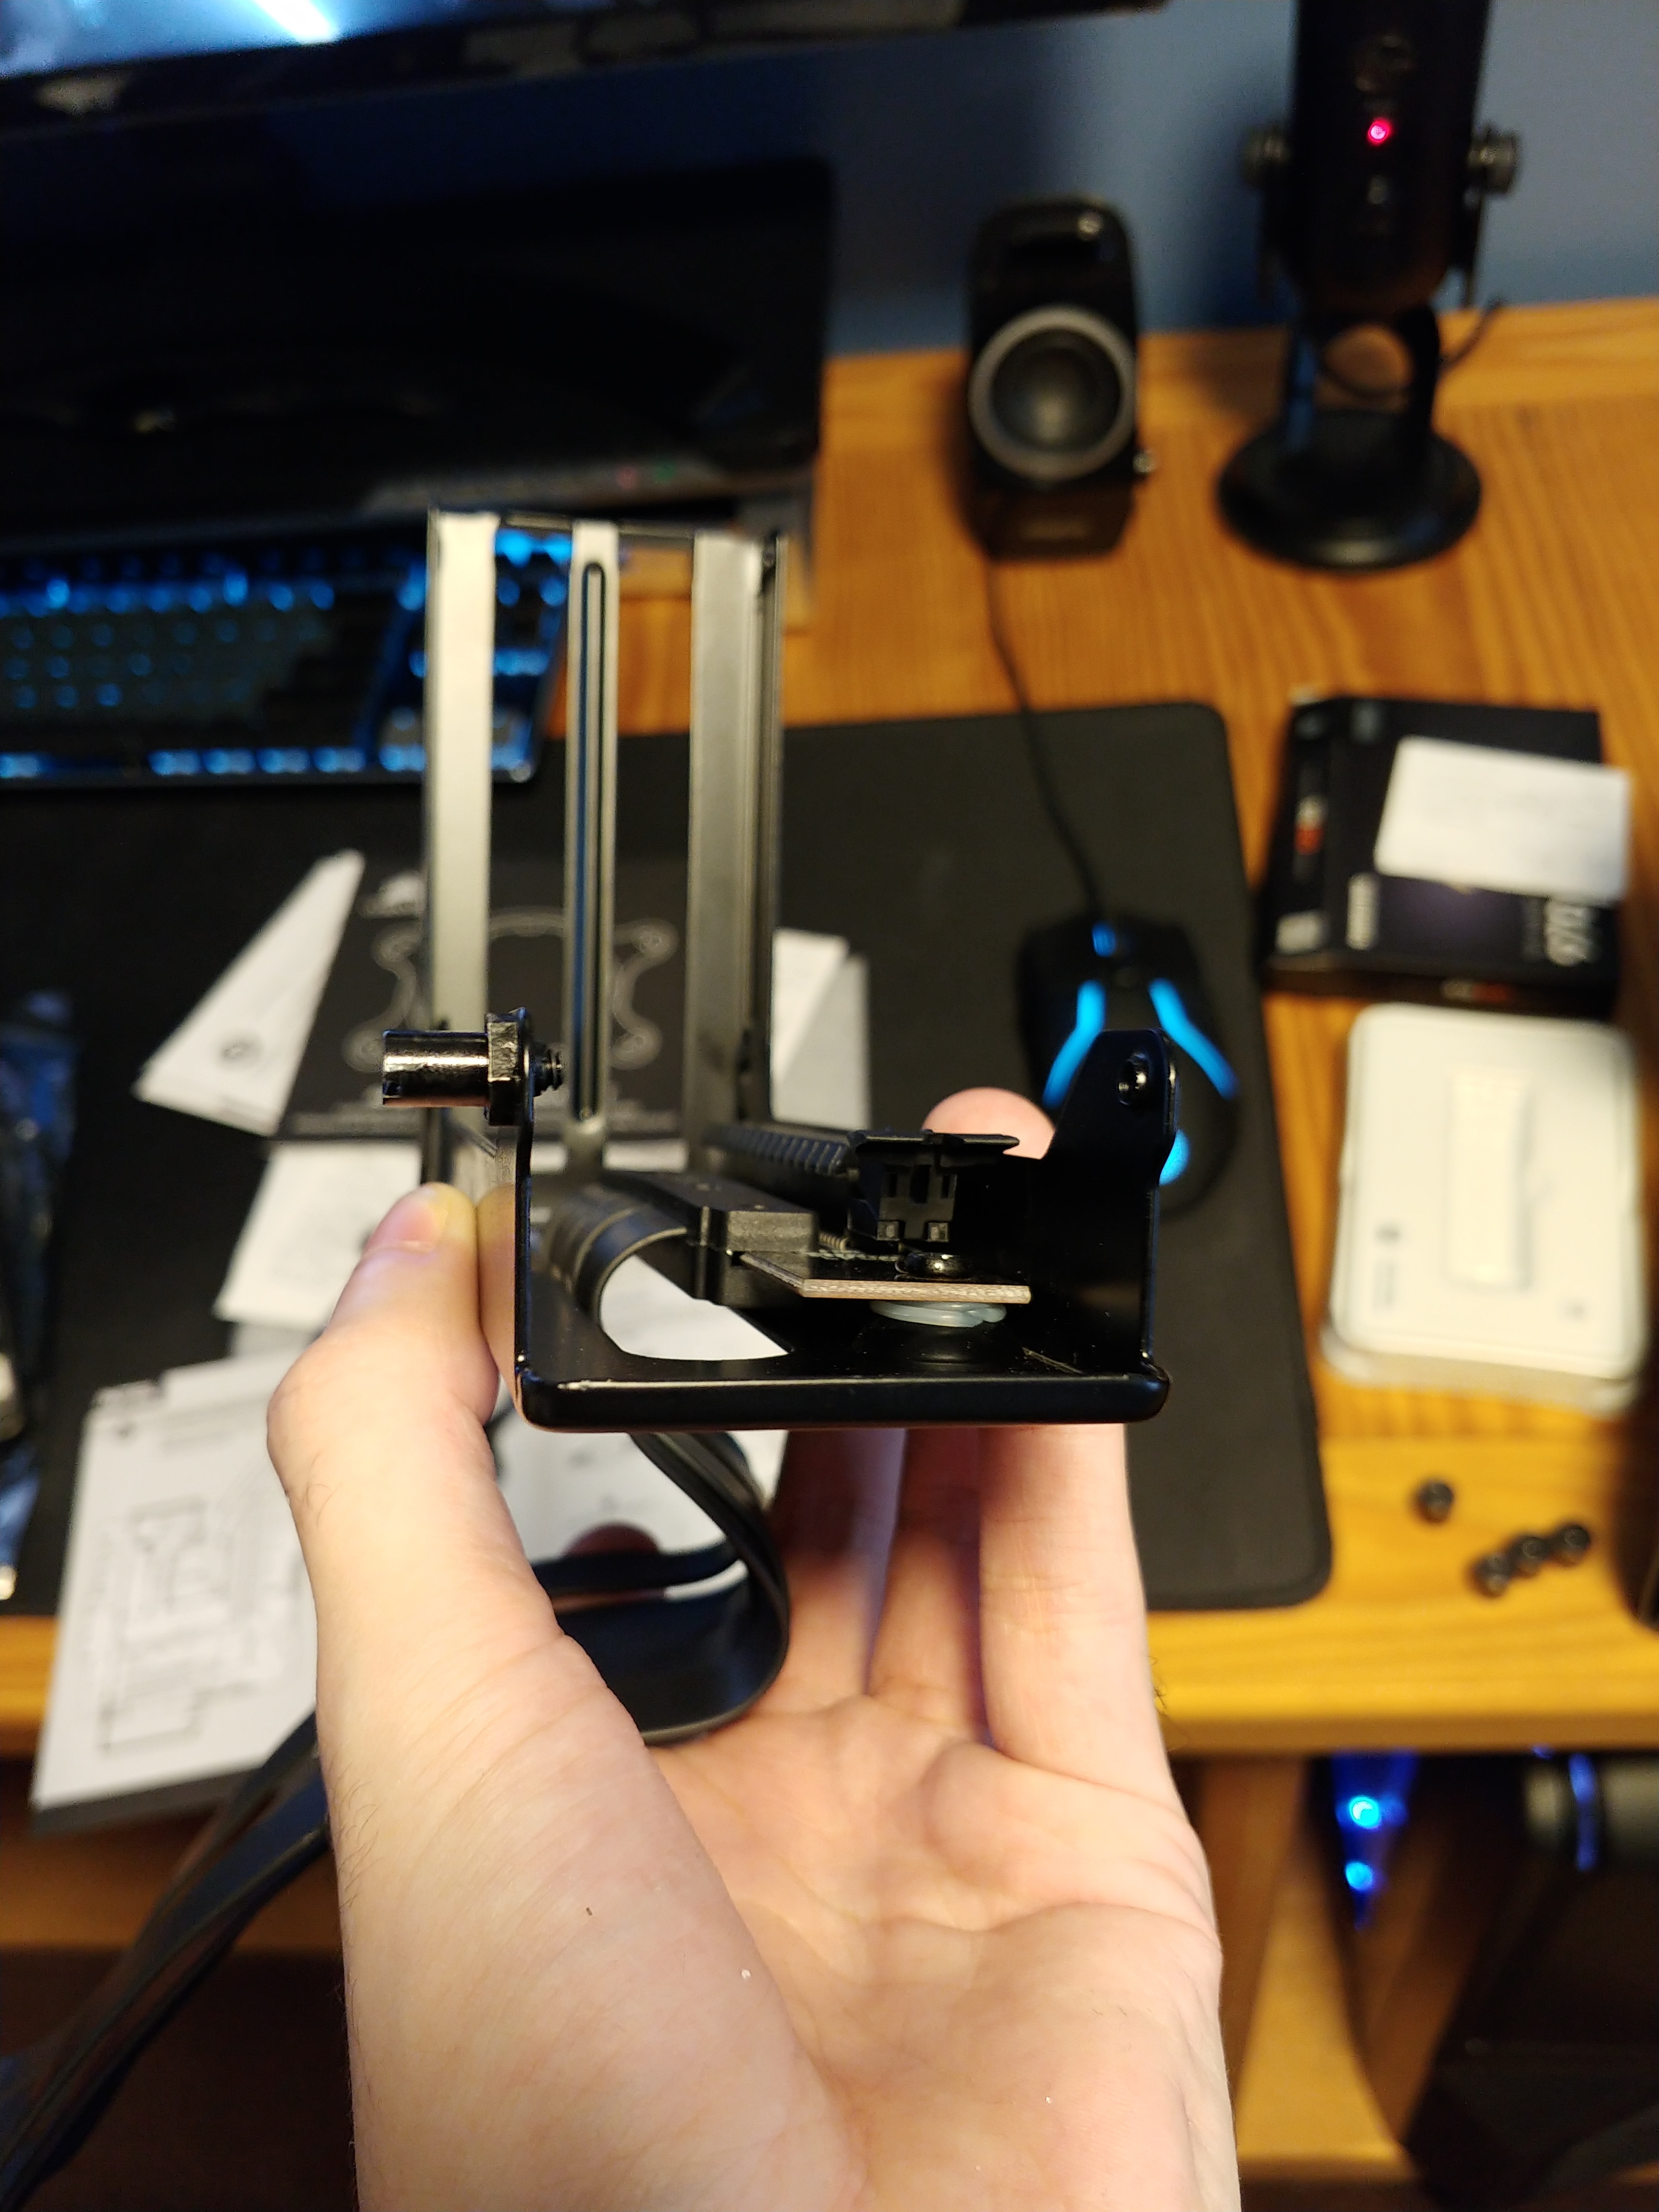
And finally the biggest irk, the GPU bracket, it was slightly off 90 degrees so you either plug the card in and its at an angle or you get it straight to mount to the frame properly but its slightly out of the PCIE slot, I HAD TO USE O-RINGS TO PROP THE PCB UP TO BE PROPERLY CONNECTED!
OHH and also when setting up the fans in different positions, the front fan Grill actually makes the fans hum loudly if they’re set to intakes, I don’t know how that passed Phanteks QA testing but whatever, its another thing I recommend cutting if you want to mod one.
Mobo rant:
Being my first ryzen system some things were different and annoying to deal with.
Firstly I was freaking out that it kept booting me to the bios as I was used to my 2014 build sending me to the “boot drive not detected” screen so I thought something wasn’t right…but I was just stupid lol.
Moving on then to the UI… good god its better than older gigabyte boards but it still needs refinement, idk maybe im just so used to my MSI Z87 G43 bios but it did have a simpler UI compared to my x570.
Now to my Liquid cooler… for some reason corsair iCue wouldn’t apply a fan curve and I found out I had to set the fan setting in bios to PWM instead of auto because I guess it was assuming it was voltage controlled because the corsair AIO cooler uses a 3 pin instead of a 4 pin! I feel this is another issue where many people would have returned it thinking its broken.
Then there was the fan curve, Ryzen has some seriously crazy temperature spikes so I wish they made a way to determine a median of the temperature to reduce fan spin-up/spin-down syndrome lol.
Lastly the tubes, stiffer than a snicker in a parked car during the winter… nuff said.
Case modding rant:
Modding the case made me realize how Phanteks could have easily made this case a huge winner in style and functionality. I’m slightly peeved they didn’t make a revision to this case after 2 years but ohh well.
I wish they could have done these things:
- Add ssd mounts on the front panel and contact pads for their power and data signals (I swear some cases do this with front panel IO so you don’t rip cables out or get snagged)
- Add a detachable flat cover for the back of the motherboard to seperate cables from the GPU so they dont hit the fans by accident
- Remove the front fan mesh and minimize the bars going over the fans to reduce the hum from fans.
- Give more room up top for cables, even an extra cm would help many display cables… heck you could even make room for a 60-90mm fan mount by moving the power LED somewhere else!
-Fan hubs would be fantastic here since most motherboards dont have many fan headers.
However a mistake on my part was not making the fan hole in the rear big enough, I believe its caused some extra fan noise at higher levels or maybe its prevented it from removing hot air as efficiently as it could have… but I guess I’ll have to live with that failure.