Day 22:
Stuck and fed up
Day 22:
Stuck and fed up
story of my life. hang in there buddy
Day 23:
I opened my first issue today: https://gitlab.com/IGBC/rustic-zen/issues/1
That’s the official f**k it I give up, someone else can deal with this bloody problem. The original author of HQZ herself admitted that the vertical ray bug never really caused a problem for her. She hadn’t actually found the bug until my project highlighted it.
So I relent and move on. I wrote a fresh test to check the top and bottom bounds using a ray at 45° to the horizontal, and reverted to the original algorithm. This test passed so I moved on.
Debugging the still failing raytrace test was frankly a cakewalk compared to the algorithmic problems I have been battling.
I’ll skip the details of the hunt but the bug was an unchecked cast, throwing unbounded results. This was the code in question:
let ypxl2: usize = yend.floor() as usize;
So what happens if you cast a negative number to an unsigned int?
The Answer is you discover that Rust isn’t as safe as the marketing materials promised! So it turns out that casting a float to an int using the as keyword is full of undefined behaviour. There is even an open issue about it on Github.
The second answer is you learn that using unsigned types where you don’t need them is a premature optimisation that can hide bugs. If you’re using unsigned data you need to ensure that you are correctly and explicitly converting your signed data as it enters the unsigned variable.
The final outcome is this though:
test niave_rt::tests::nrt_works ... ok
I successfully ran a raytrace! \o/
Now I just need a picture output so I can see if the output is garbage or not!
Day 24:
Are you ready for this edition.
To get here the first thing I had to do was set up the png encoder, easy enough in Rust, the crates documentation is good enough that it took 20 mins. Next I had to write a serialiser for the image, that also down-samples the u64 channels to u8 (I actually ended up writing two of them)
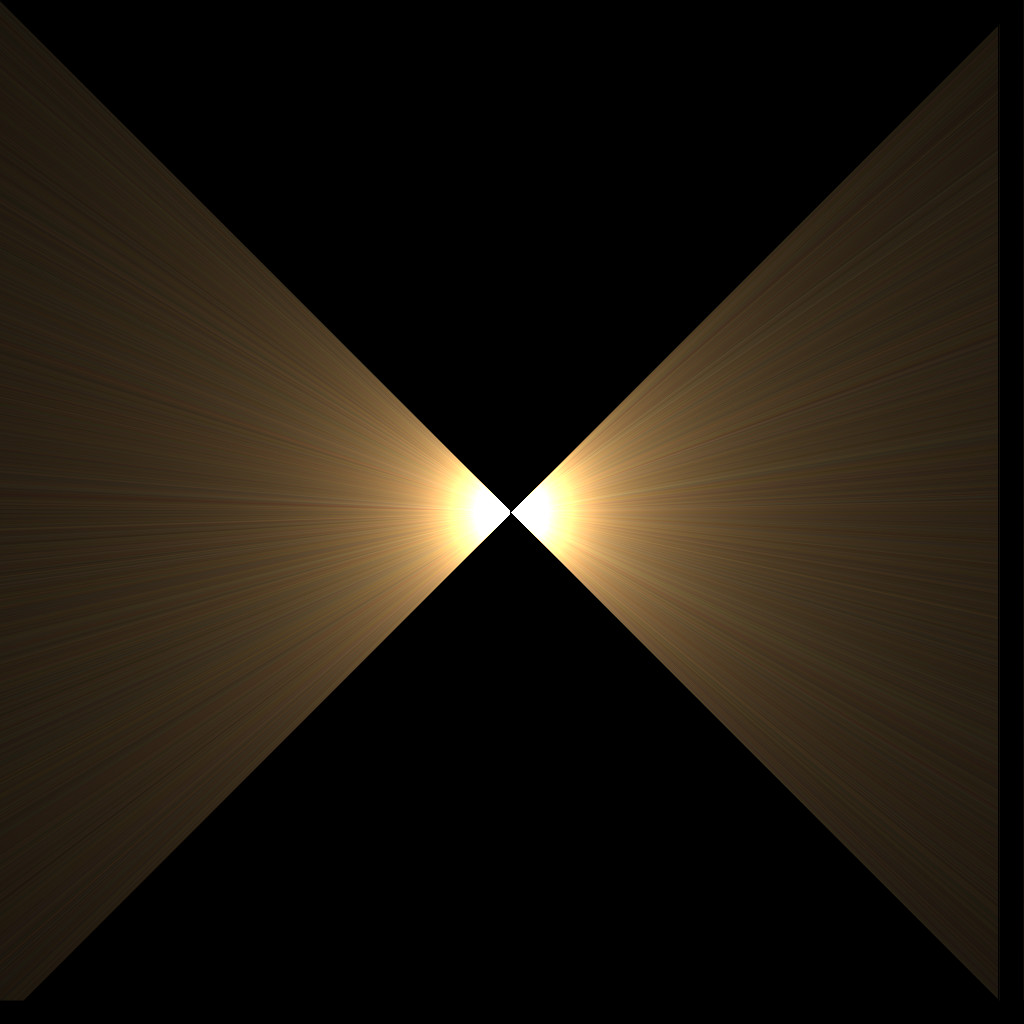
After diagnosing a couple of coding mistakes including a backwards if statement forcing only black rays to be rendered, a dozen overflow and bounds issues, and a lovely oversight where I was trying to use a light with a blackbody temperature of 0°K, the first non black image it spat out was this:
It might not look like much but I am massively proud of this 200 x 200 image. This image draws the line between this thing being a theoretical software project and a tangible art project.
From there it only improved:
One more glam shot:
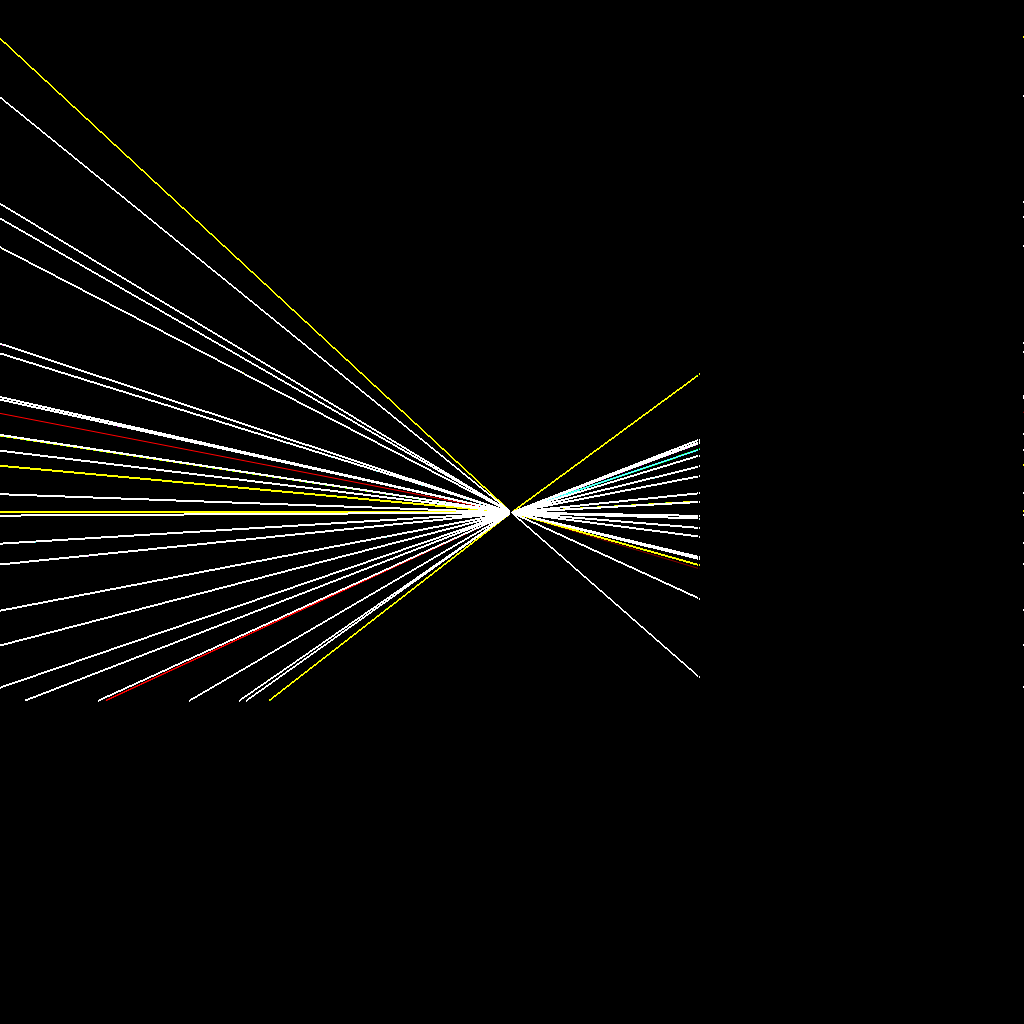
Now if you’re thinking while you read this you’ve probably already spotted the big bug.
There is nothing in the vertical sections of the image. That’s because I have a bug that is remapping steep rays to shallow rays and not also remapping the image space. 
I guess I know what I am fixing next.
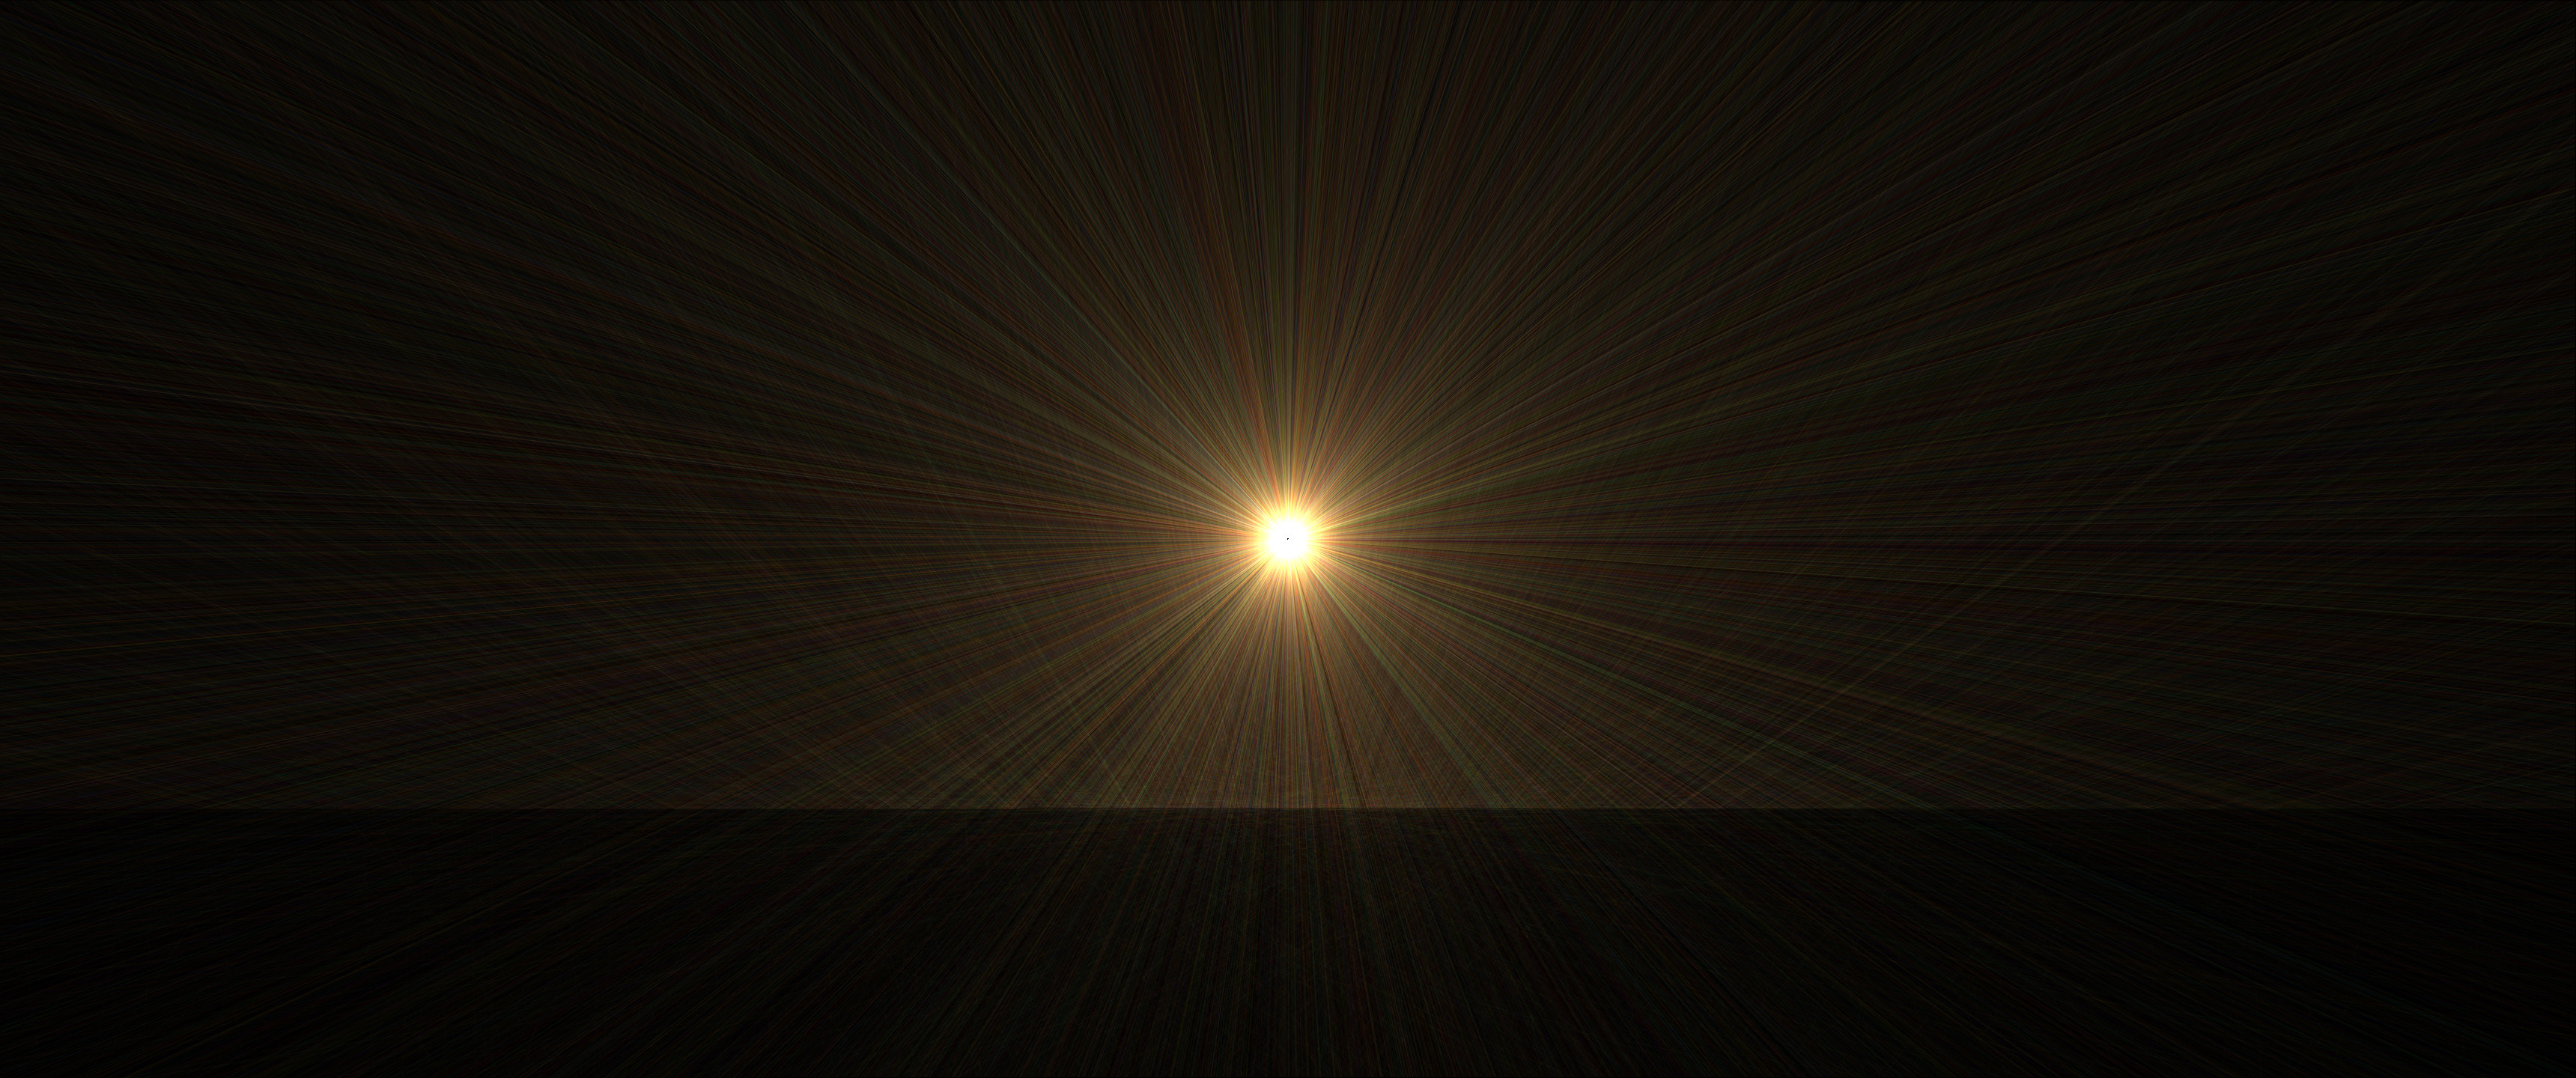
Day 24:
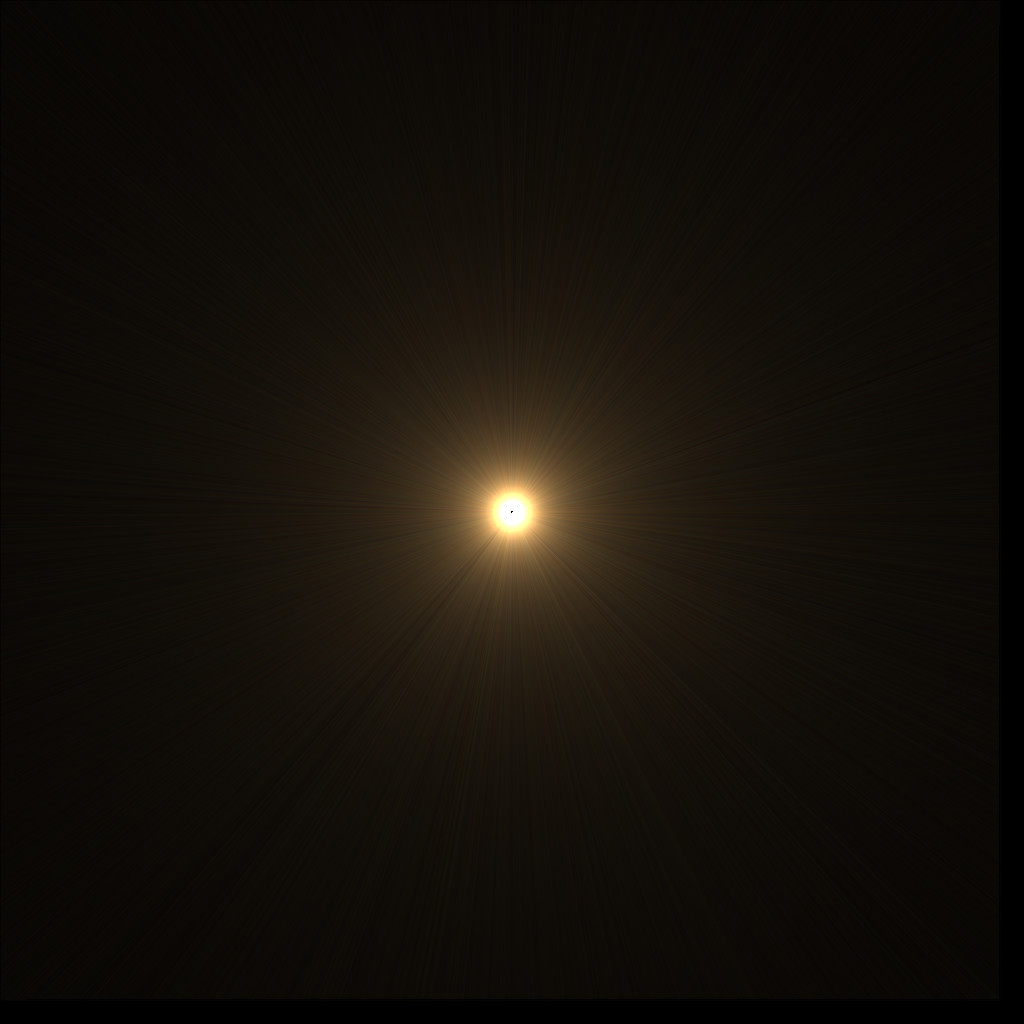
You are not ready for this edition:
A star is born!
This is also the “I melted my laptop” post, these images contain 1,000,000 rays and are taking up to 22 minutes to process.
Hell yeah my man! I remember playing with the web thing, it’s pretty fun.
Can’t wait to compile it on loonix 
Day 25:
December 25th is the day my country celebrates Christmas so not much coding time.
All the same I managed to fix one small bug and run a demo:
Day 26:
I built a new demo, which was able to highlight a bunch of bugs:
I was also able to fix one bug: the channels are now definitely in the right order on the output stage.
Day 27:
In the early hours I set up CI on Gitlab, so that the multi million ray example runs can waste someone else’s electricity.
I also put the time in to clean up the code and delete a bunch that wasn’t doing anything. I’m also starting to think about how to design a nice library interface to make this library easier to use.
Day 28:
We’re in the final leg of devember and bugs are starting to crumble.
Today I took on the colour mapping bug and the gamma weirdness.
First lets talk about colour and assumptions about colour. When I originally coded the wavelength to colour algorithm I took the assumptions that the RGB components would be positive and used unsigned ints for the colour output. What programmers think of as colour sadly is an oversimplification of the matter, and has nothing at all to do with wavelengths of light. So in the original HQZ model of colour Negative vales are used to interpret the absence of a colour from a given wavelength.
I took HQZ’s model a step further by swapping all colour and pixel values to long floats. This has the twofold performance increase of removing a bunch of casts and conversions, and removing the u64 saturation checks. Also int 16 math is not a very optimized execution path on modern CPU’s.
Details aside I was pleased to find I gained speed by fixing the colour output.
But Just cos chroma was correct now didn’t mean I was getting a desirable image output; I had to tackle gamma, which had been behaving oddly since I implemented it. The symptom was a washed out image whenever the gamma was set. (by default it was infinite)
Debugging was easy, HQZ applies 1/gamma to an exponent function. I had made a mistake in the translation of the algorithm and substituted a minimum function between the base and the power, essentially making the exponent a minimum value threshold, washing out the darkest parts of the image.
Fixed all left to do was tweak the demos to get the desired output:
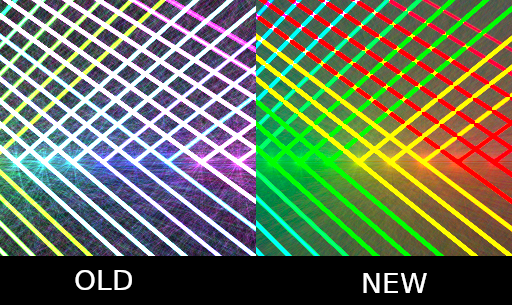
Before:
After:
Dawn.rs Rendered Properly:
TFW when you liked the buggy version better
I think I am going to miss the pastel colours and insane brightness of the earlier broken program, but it was difficult to work with and predict an output. With the right outlandish input settings I can make similar images to the broken version.
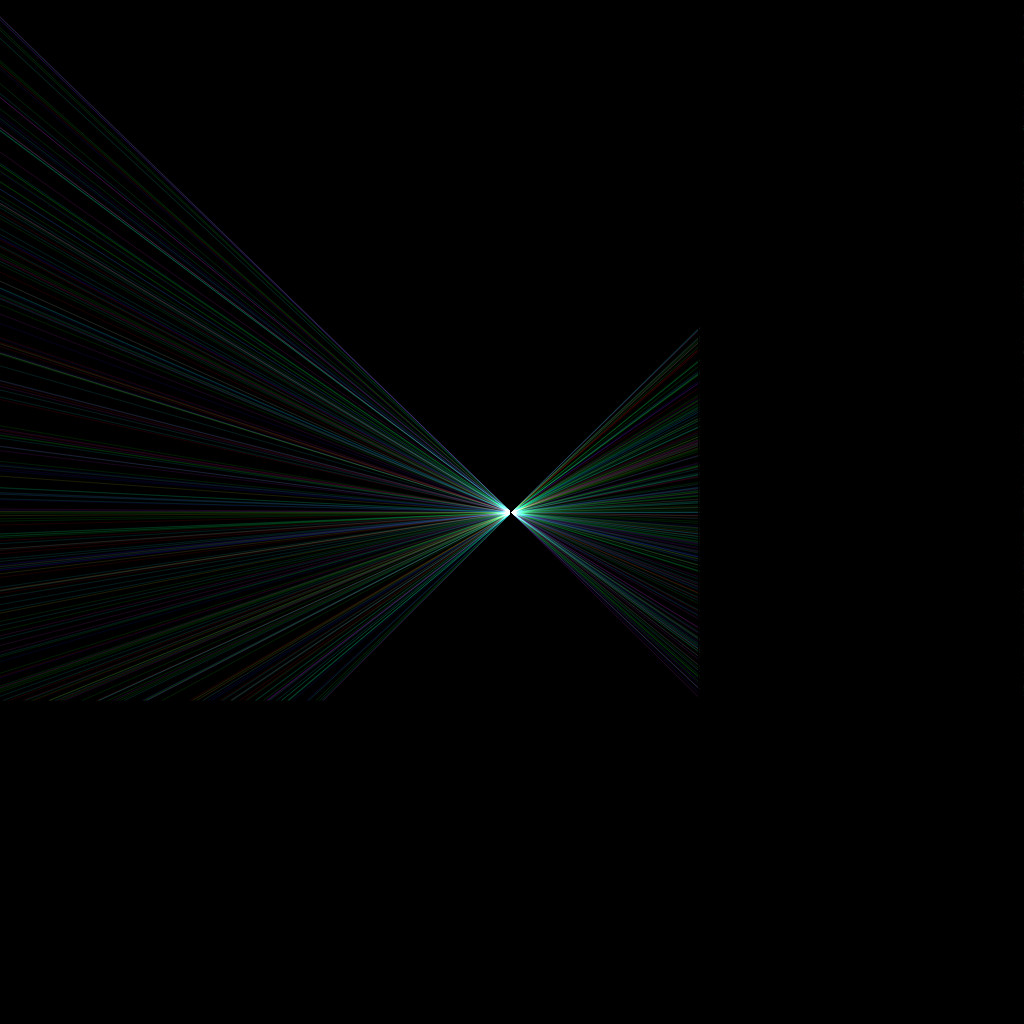
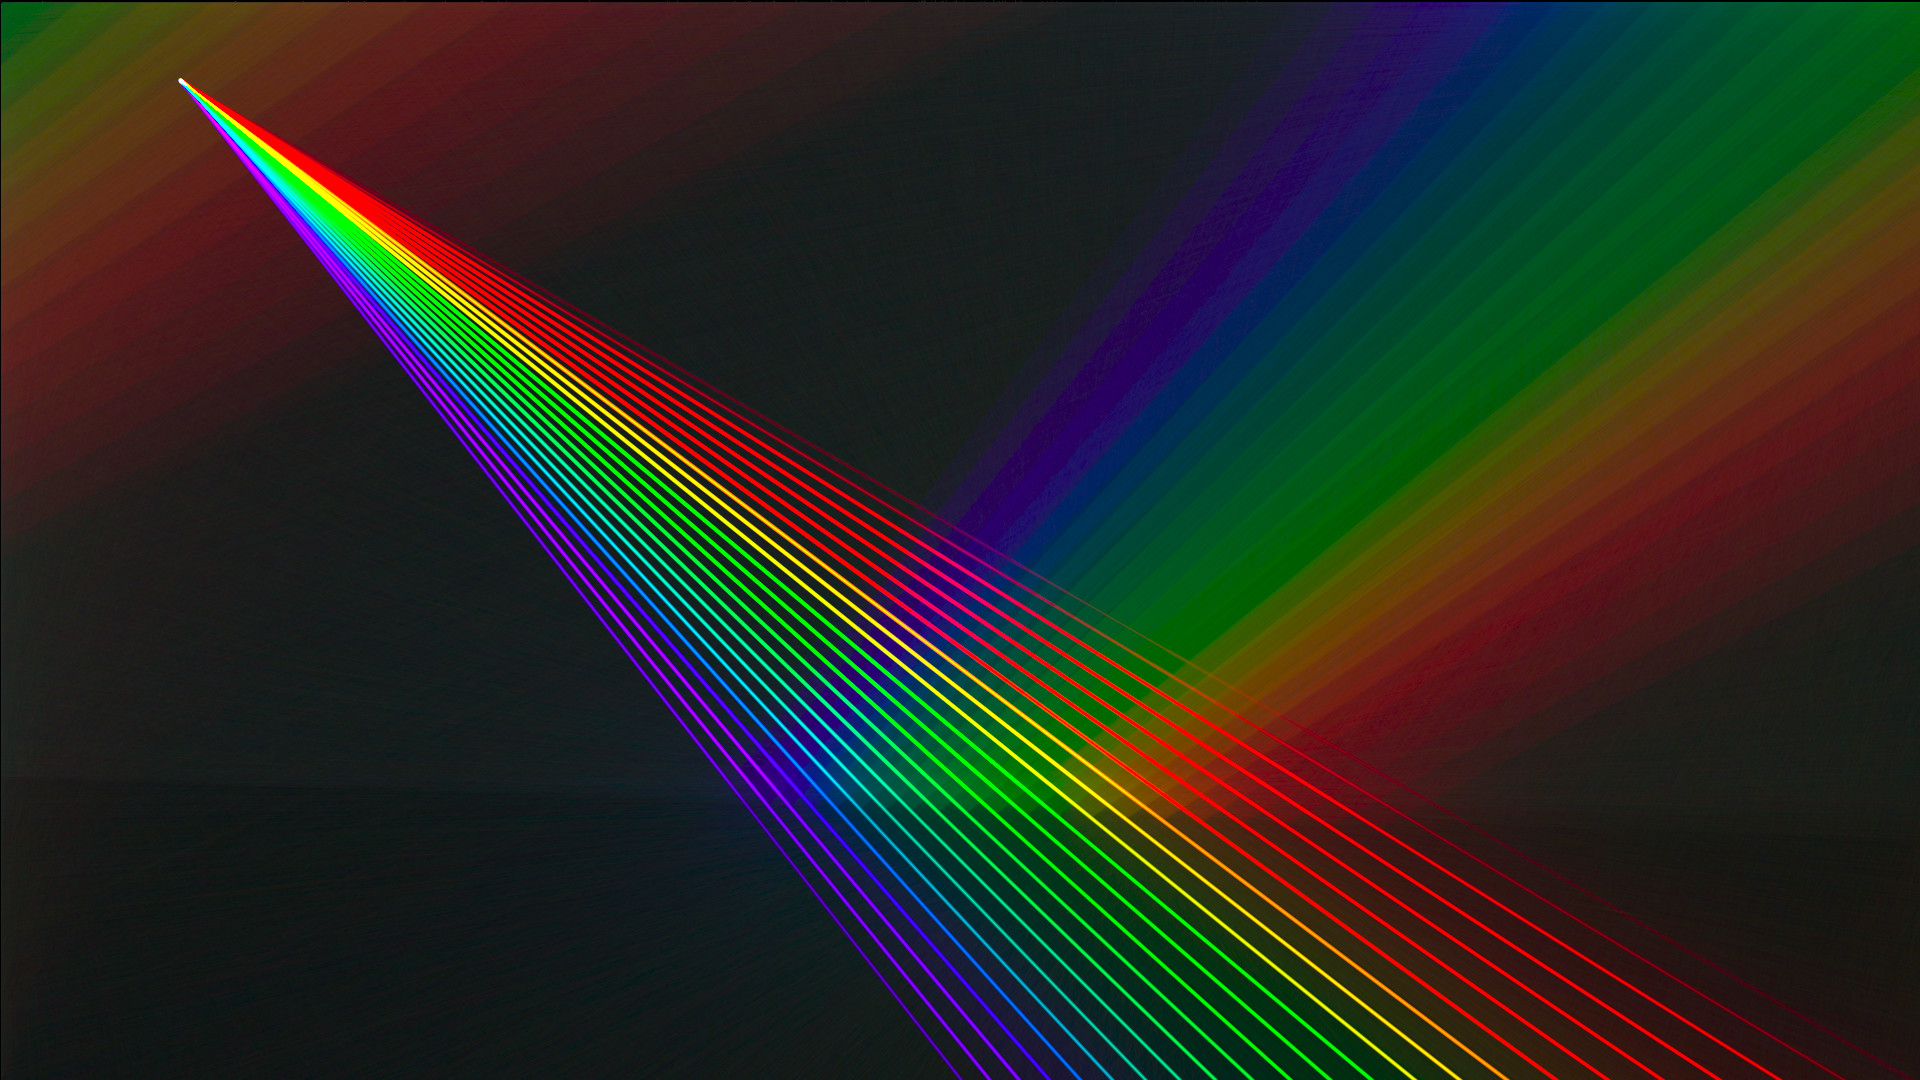
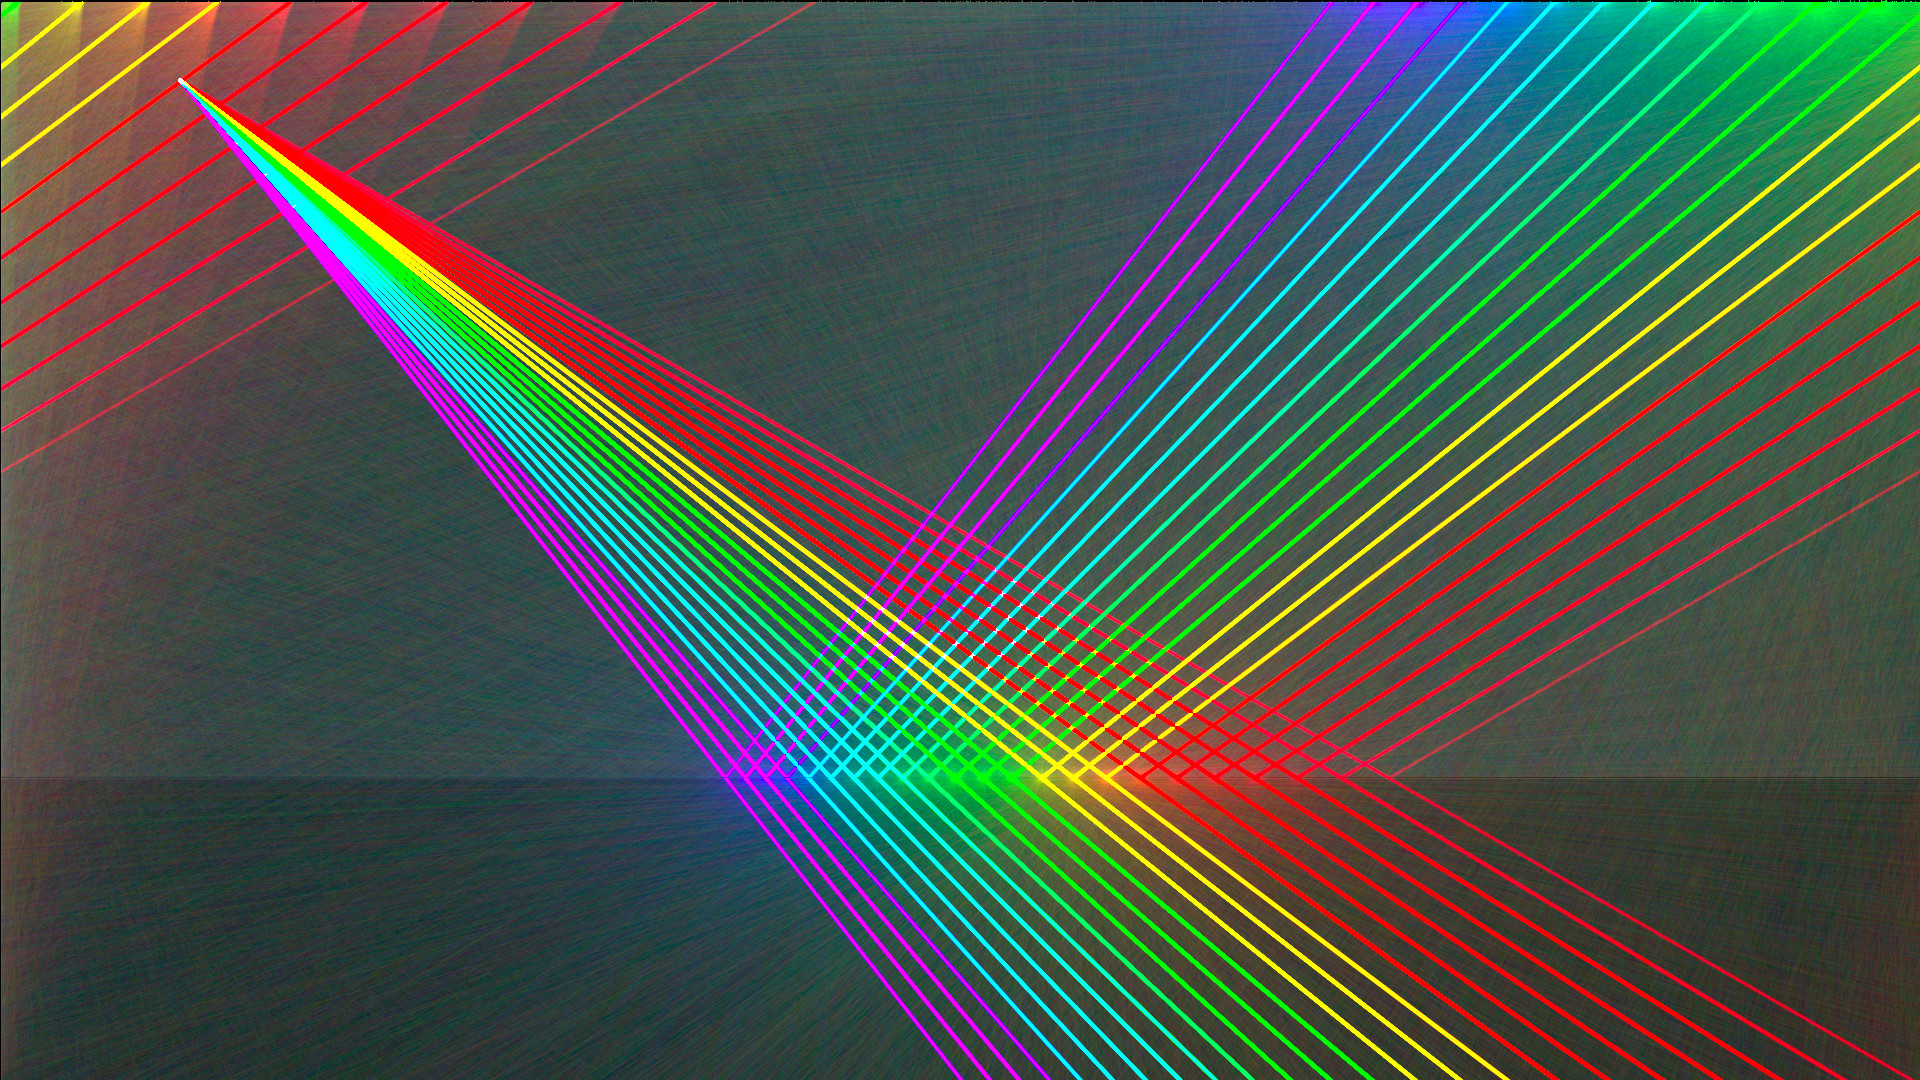
Its entirely possible to create those overexposed blown out images in the fixed version, crank up the exposure and down the exponent, and look up the wavelengths for cyan, orange and magenta on wikipedia,
Its a skeleton but usable, I would encourage you to download it and have a play I am curious to see what other people come up with. The horsepower needed isn’t that insane either, Laser Rainbow (above) renders in 28s on my 3yr old desktop. (single threaded)
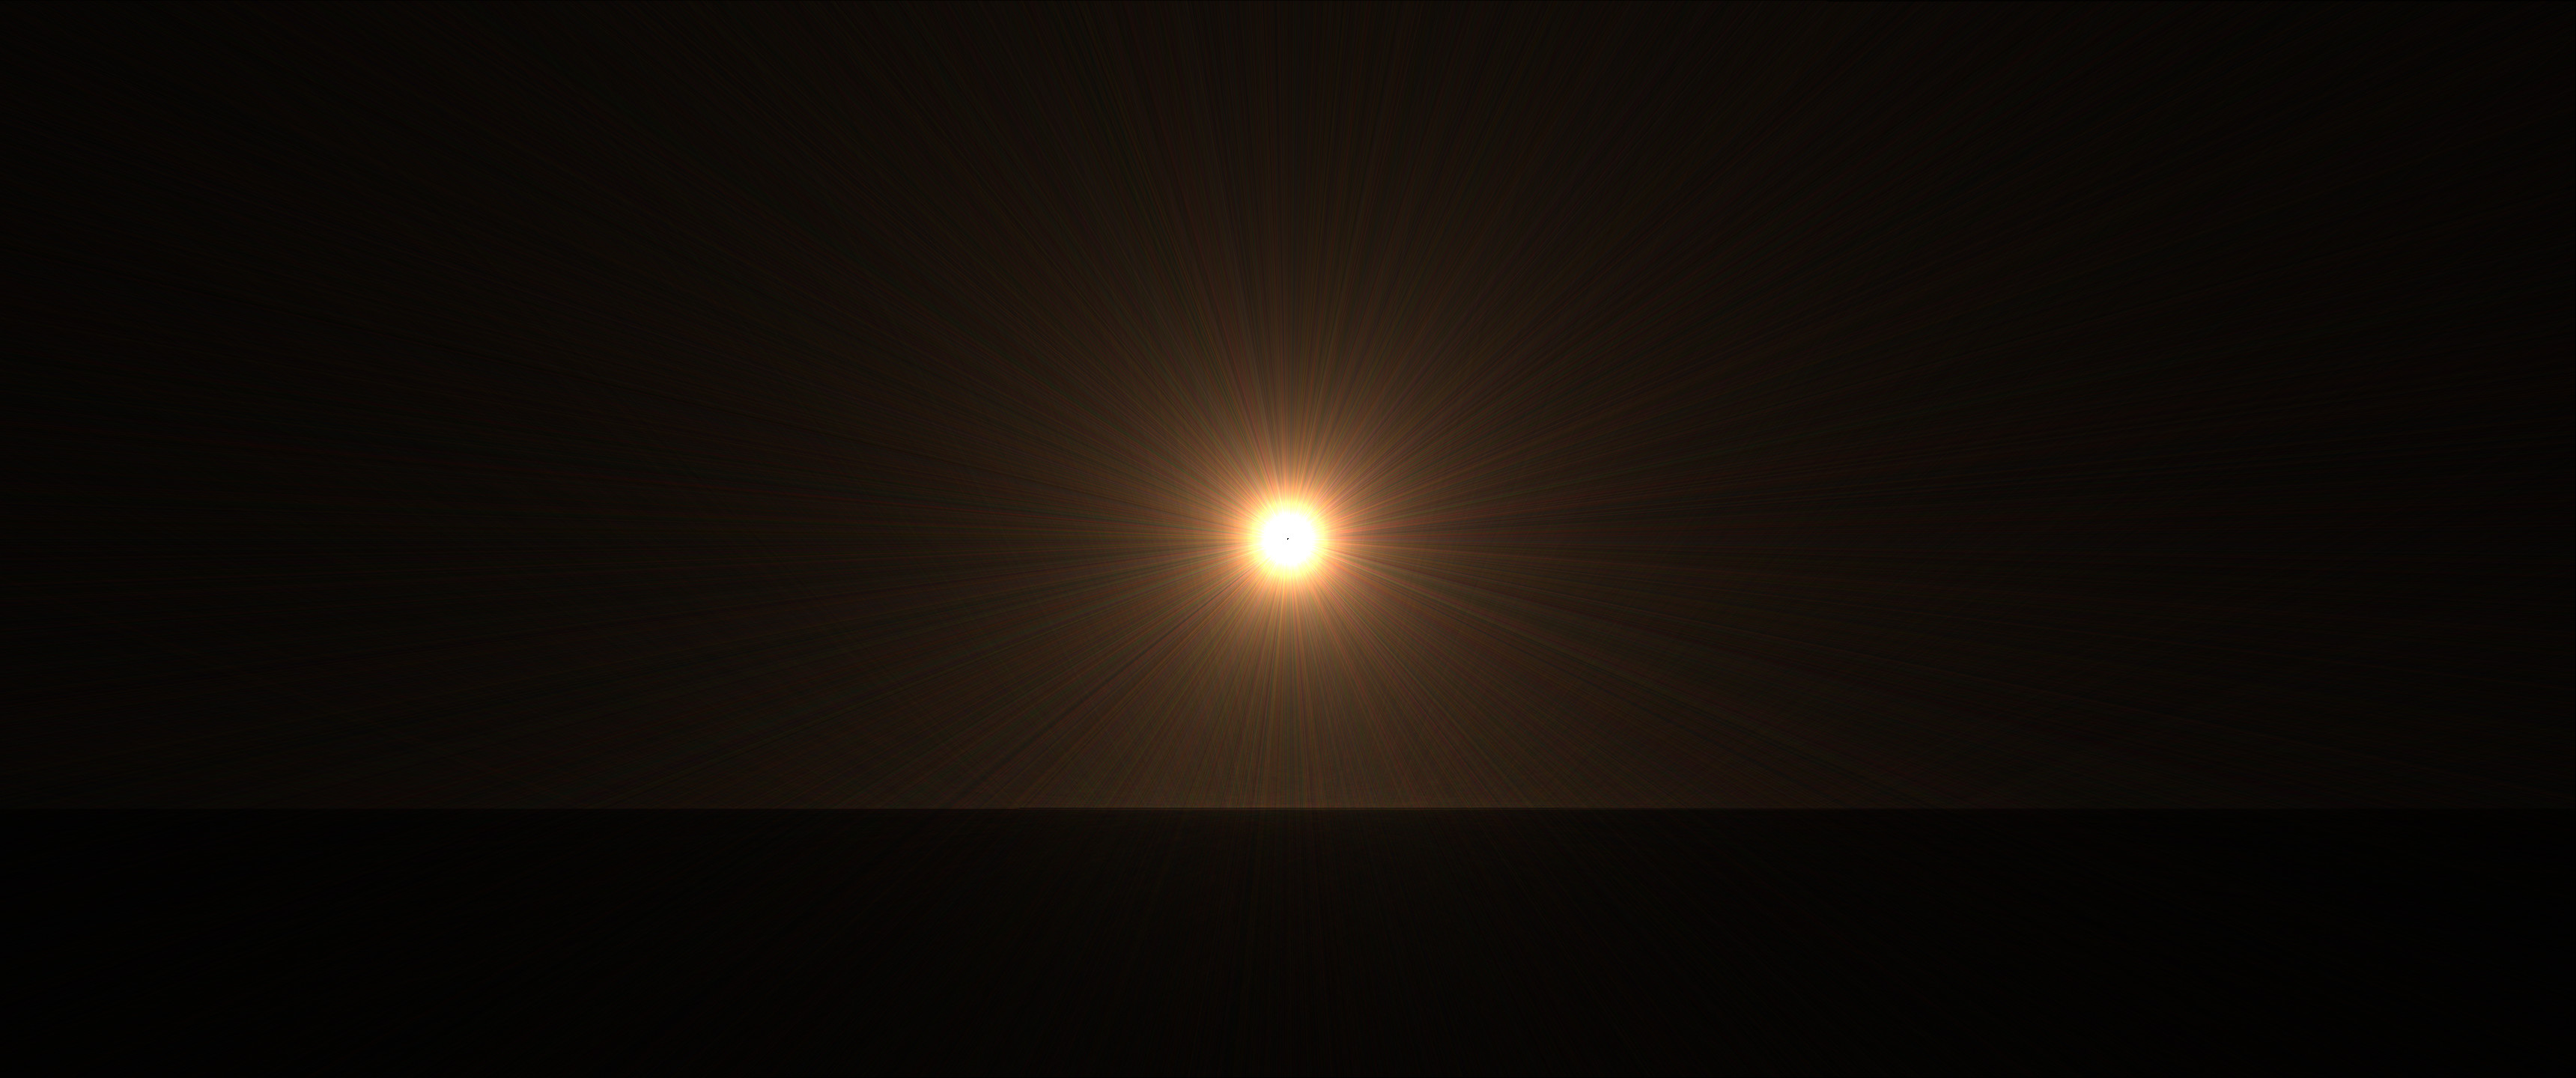
Day 29:
Goddammit Man… I really TRIED To get the same effect…
I got this:
Best I can do without messing with the colours. But its not the same. I will highlight why:
If you look closely at the flares around the reflection point in the old image you can see they fade from near white back into their true colour. In the “fixed” variant the flares are true to their real ray colour. This over saturation in the old version is due to the cumulation of energy in a given pixel. As the fixed version can subtract intensity from unused channels (AKA blue in the green ray) this isn’t happening. This retrograde action is what clamps these ultra bright colours into something representable in the RGB gamut. (colour is weird man)
So why does the more accurate version look worse?
Real light contains components of all colour channels (RGB), as a channel saturates its proportionality to the other channels is lost, as the others also saturate the colours fade to white. This is easily experienced by taking an overexposed shot on a camera. But reality is as always perceived through the filter of our senses, and we use RGB channels in digital colour because our eyes also use RGB receptors (or cones) to detect colour. These can can also be saturated, and if viewing something bright enough it will look washed out, and colourless (do not do this the intensities required will damage your eyesight, your eyes can easily see 15 stops of dynamic range, that is a lot of brightness)
So TLDR we associate intensities in brightness with a fade to white (or just off it), this makes the “broken” image look more intense and powerful, even though in reality it has measurably lower colour intensity.
How do we fix it?
it is possible to recreate the saturating effect by removing the retrograde action of the colour profile built into rustic-zen, but this makes colours hard to predict and control, as zen operates at maximum intensity all the time. Short of making the whole colour profile swappable, I think adding a retrograde scaler tweakable would help make this controllable on a per image basis. While we’re at it adding a prograde scaler is just logical.
TLDTLDR: @redgek I’ll make a ticket.
Great progress tho! Keep it up!
Day 30:
I spent some time doing the write-up for my project today, Its only a short ish blog post but I felt it’s important to write up what I learnt from this experience.
English is hard (and I am a native speaker) and getting a month’s rambling notes down in a coherent manor is hard, and surprisingly time consuming?
Day 31:
And a happy new year.
I would love to continue this project into the new year, but I have exams coming and a new semester of University. So I have to bury this project again before it steals any more of my time. I haven’t been tracking it closely but I think I have averaged over three hours a day on this project over the last month, so I have easily put over 100 hours into this project. That is a major time commitment, so before I kill it I want to talk about what this experience.
I set out to build a 2D ray tracer in rust for rendering artworks defined from a scene file. This was inspired by HQZ a work by Micha Scott (@scanlime on twitter)
I achieved a rough feature parity with the original HQZ and was able to to output PNG images, from equivalent demos. In this regard my project was a huge success. I built something complicated from a set of algorithms I half understand and the cobbled together mess works.
One of the goals was improving performance, and my build has an edge over the original HQZ in terms of demo execution times. I have some performance bottlenecks especially in the blackbody wavelength calculation (which is O(N) list comparison in the critical path).
I never actually wrote down the scope for this project, but what follows is a list of items that could be trivially implemented on top of what exists, but wasn’t originally in scope, so I never actually built:
This is the stuff I didn’t get time to complete, sadly. I could spend twice as long again implementing some of these:
I wrote down my experiences developing this in my Blog. You can find it here:
https://sigsegv.tech/articles/devember-18-working-with-big-projects.html