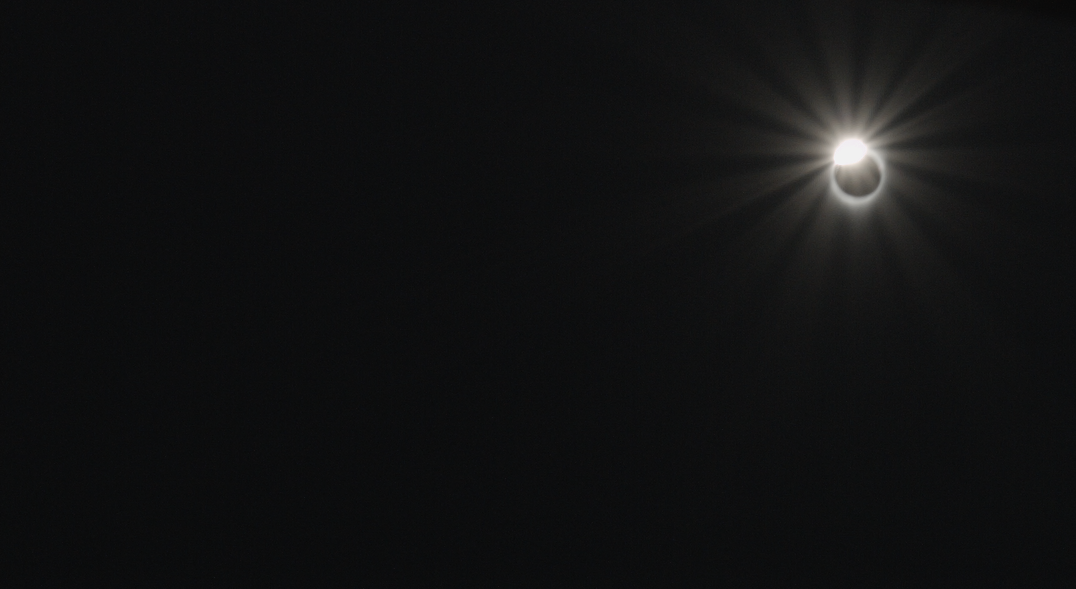
Manual crop of the eclipse at apex totality done on an old film camera with an aspheric pancake lens:
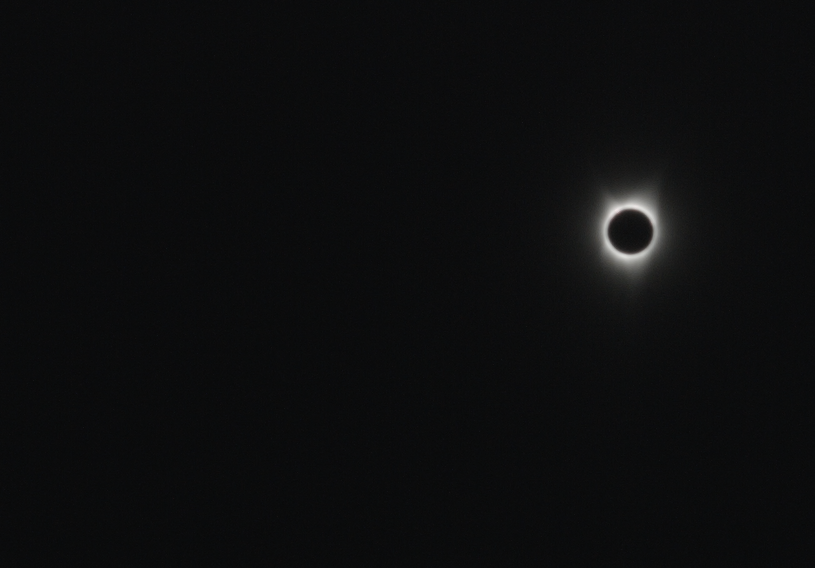
and exiting totality:
Manual crop of the eclipse at apex totality done on an old film camera with an aspheric pancake lens:
and exiting totality:
Do you have a RAW of the second image?
Naturally… only shoot in raw.
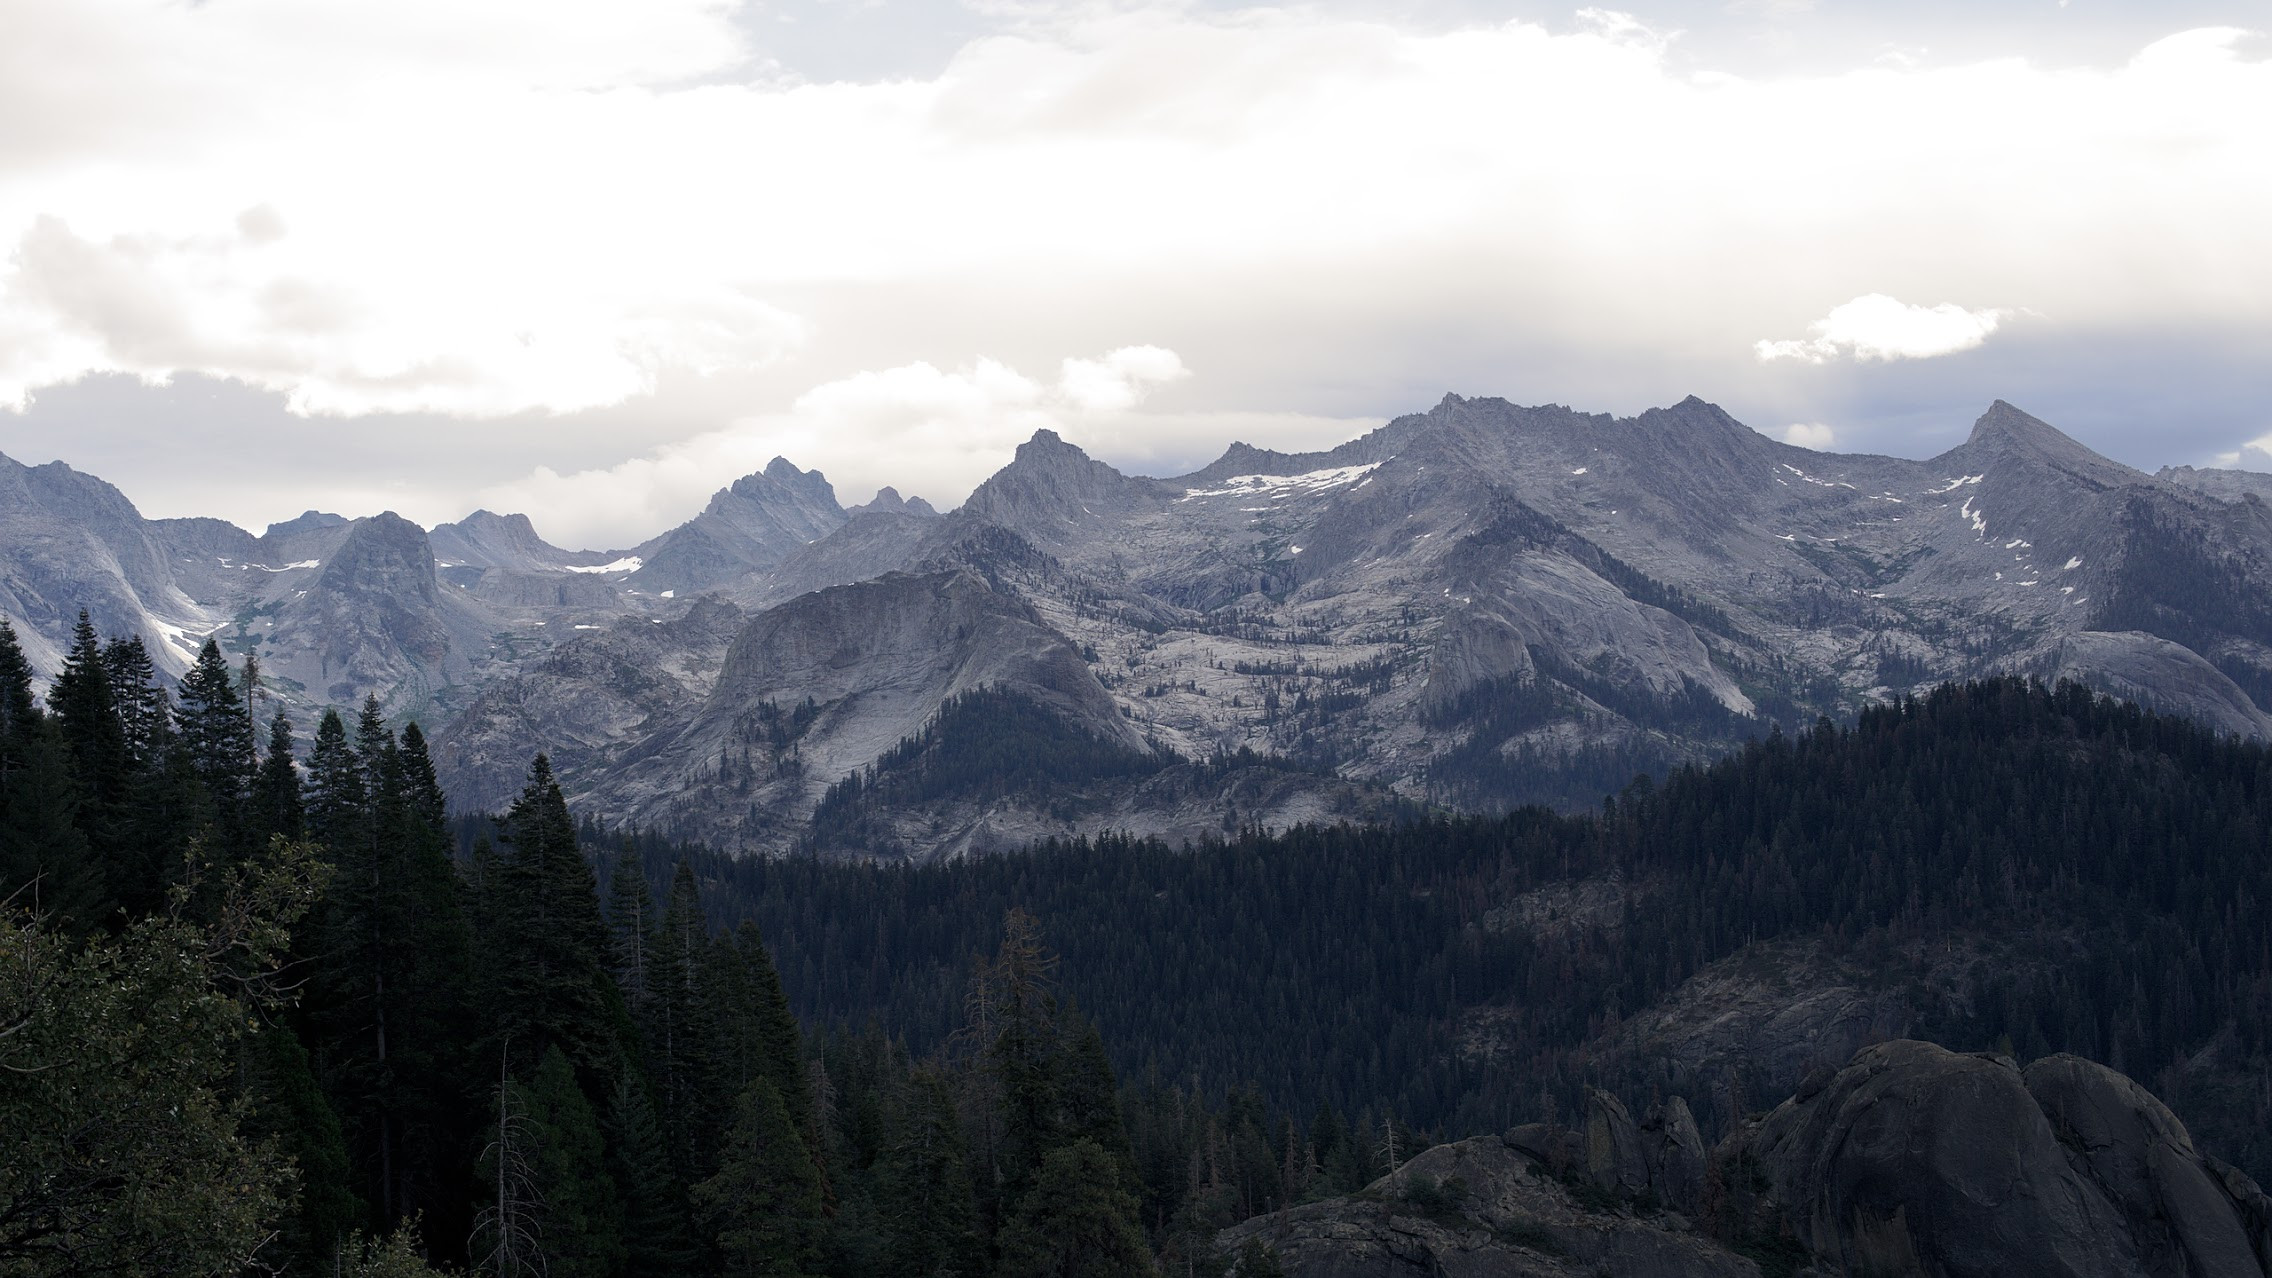
I had to just sit and look for a few minutes while wishing I was the one who got to hike up there to take that photo. My jealous 1st thought was last night I played FarCry Primal to go for a virtual hike in the woods and this guy is doing it for real.
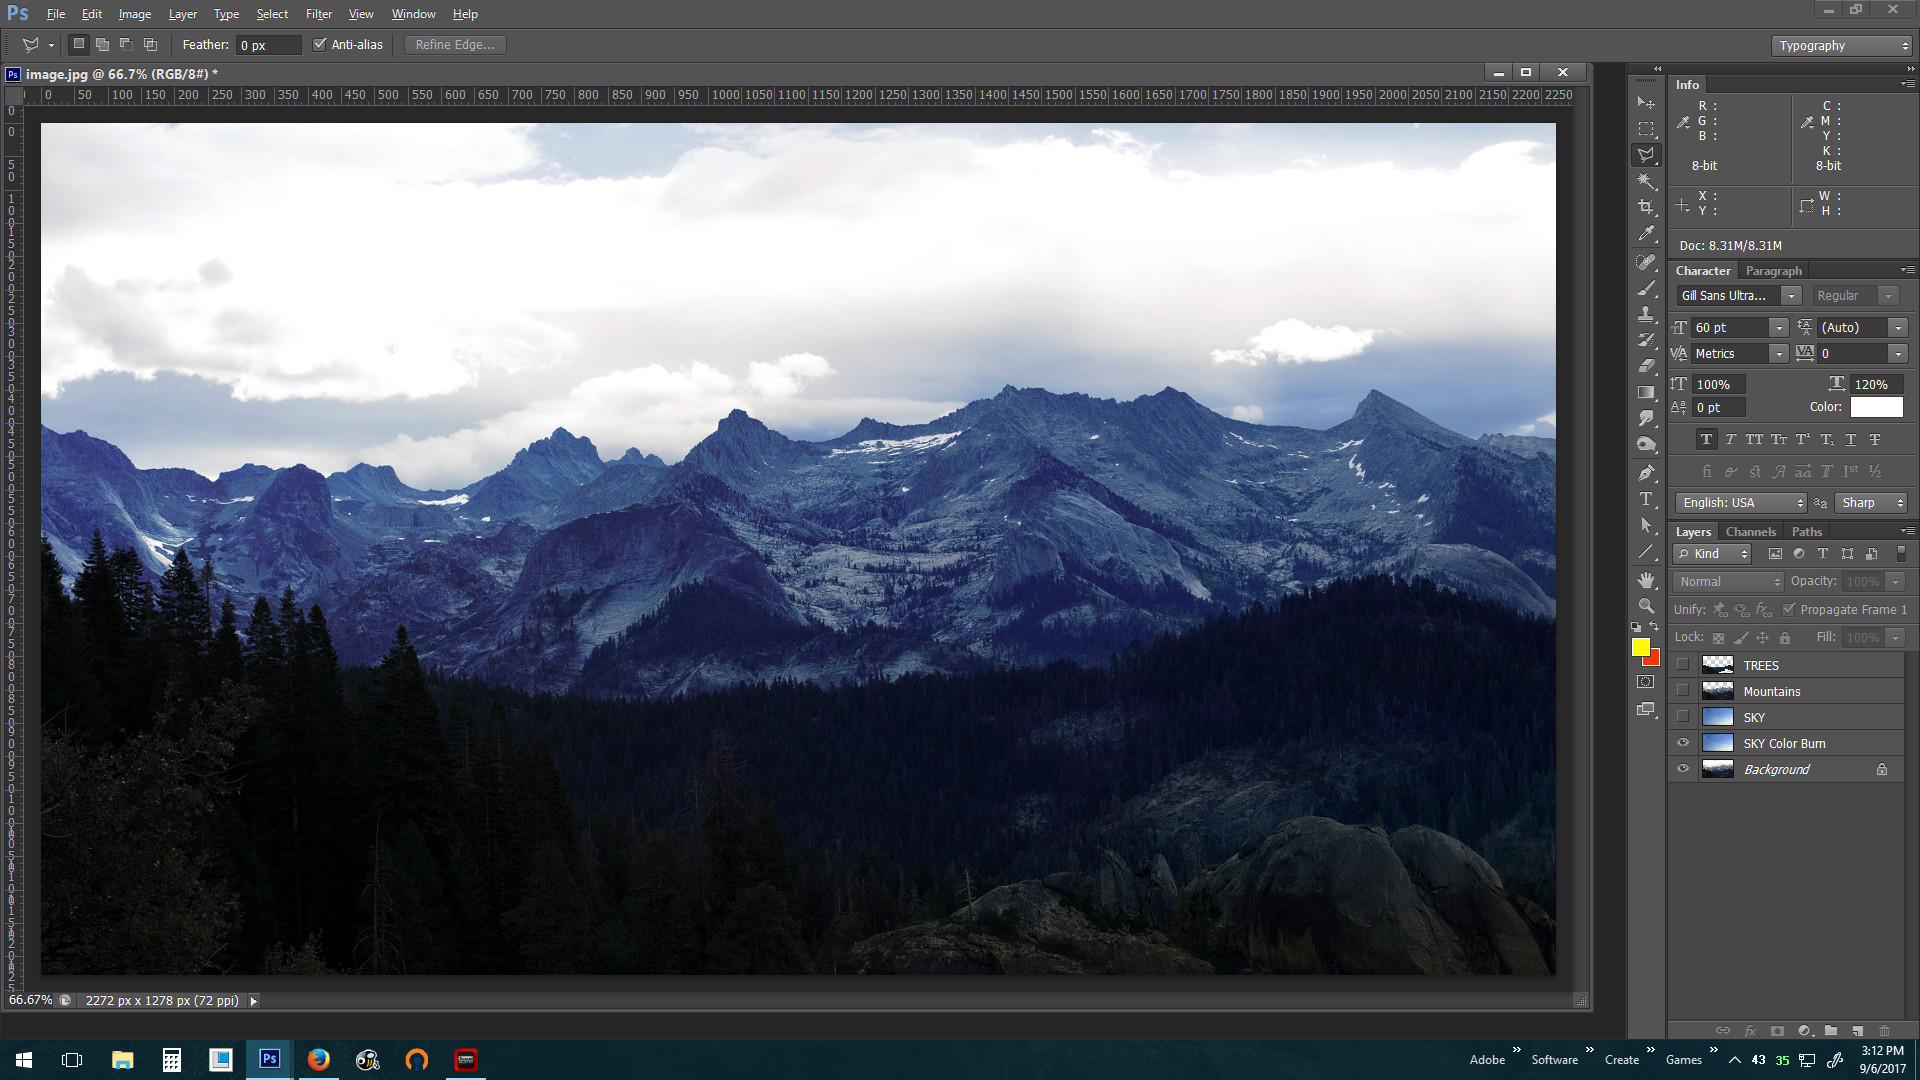
I especially like the way it has 3 layers - foreground, mountains and sky.
Thanks!
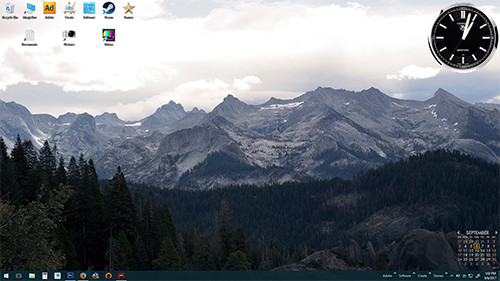
I love your screen cap. I’m totally flattered!
You are welcome.
I did tweak it a bit in Photoshop. The levels were good. I adjusted hue and saturation to make the foreground trees pop. Like -8 less blue = more green and +15 on the saturation. My changes barely affected the mountains.
Oh yea, I can see the changes now.
I think I was contented with them being a dark near object which is why I didn’t bother pulling them out. I’m also sort of a speed editor… I don’t spend a ton of time working on it. Heck, I’m still learning to edit stills in general.
Want the raw? Sending it to @noenken as well tonight when I get home. I’m curious to see how you guys would edit it. Take some screenies to show what sort of methods you use and why.
It’s a pretty good image right off of the sensor.
If I were to Pshop the hell out of it, I would leave the mountains untouched, overlay a transparent sky to tint the real sky bluer and then do more work on making the foreground pop while leaving it dark.
Sky color burn
Sky 25% transparent overlay
Mountains untouched
Trees (excluding the rocks) Levels midtones 1.02 lighter. Hue -19 greener. Saturation +37 intenser.
Wait till you get the raw… lol
It was pretty bad visibility due to the fires and it was basically 100% overcast.
Shot on my Canon Rebel T1i
Sony RAWs are always packed with information, they are so awesome to work with.
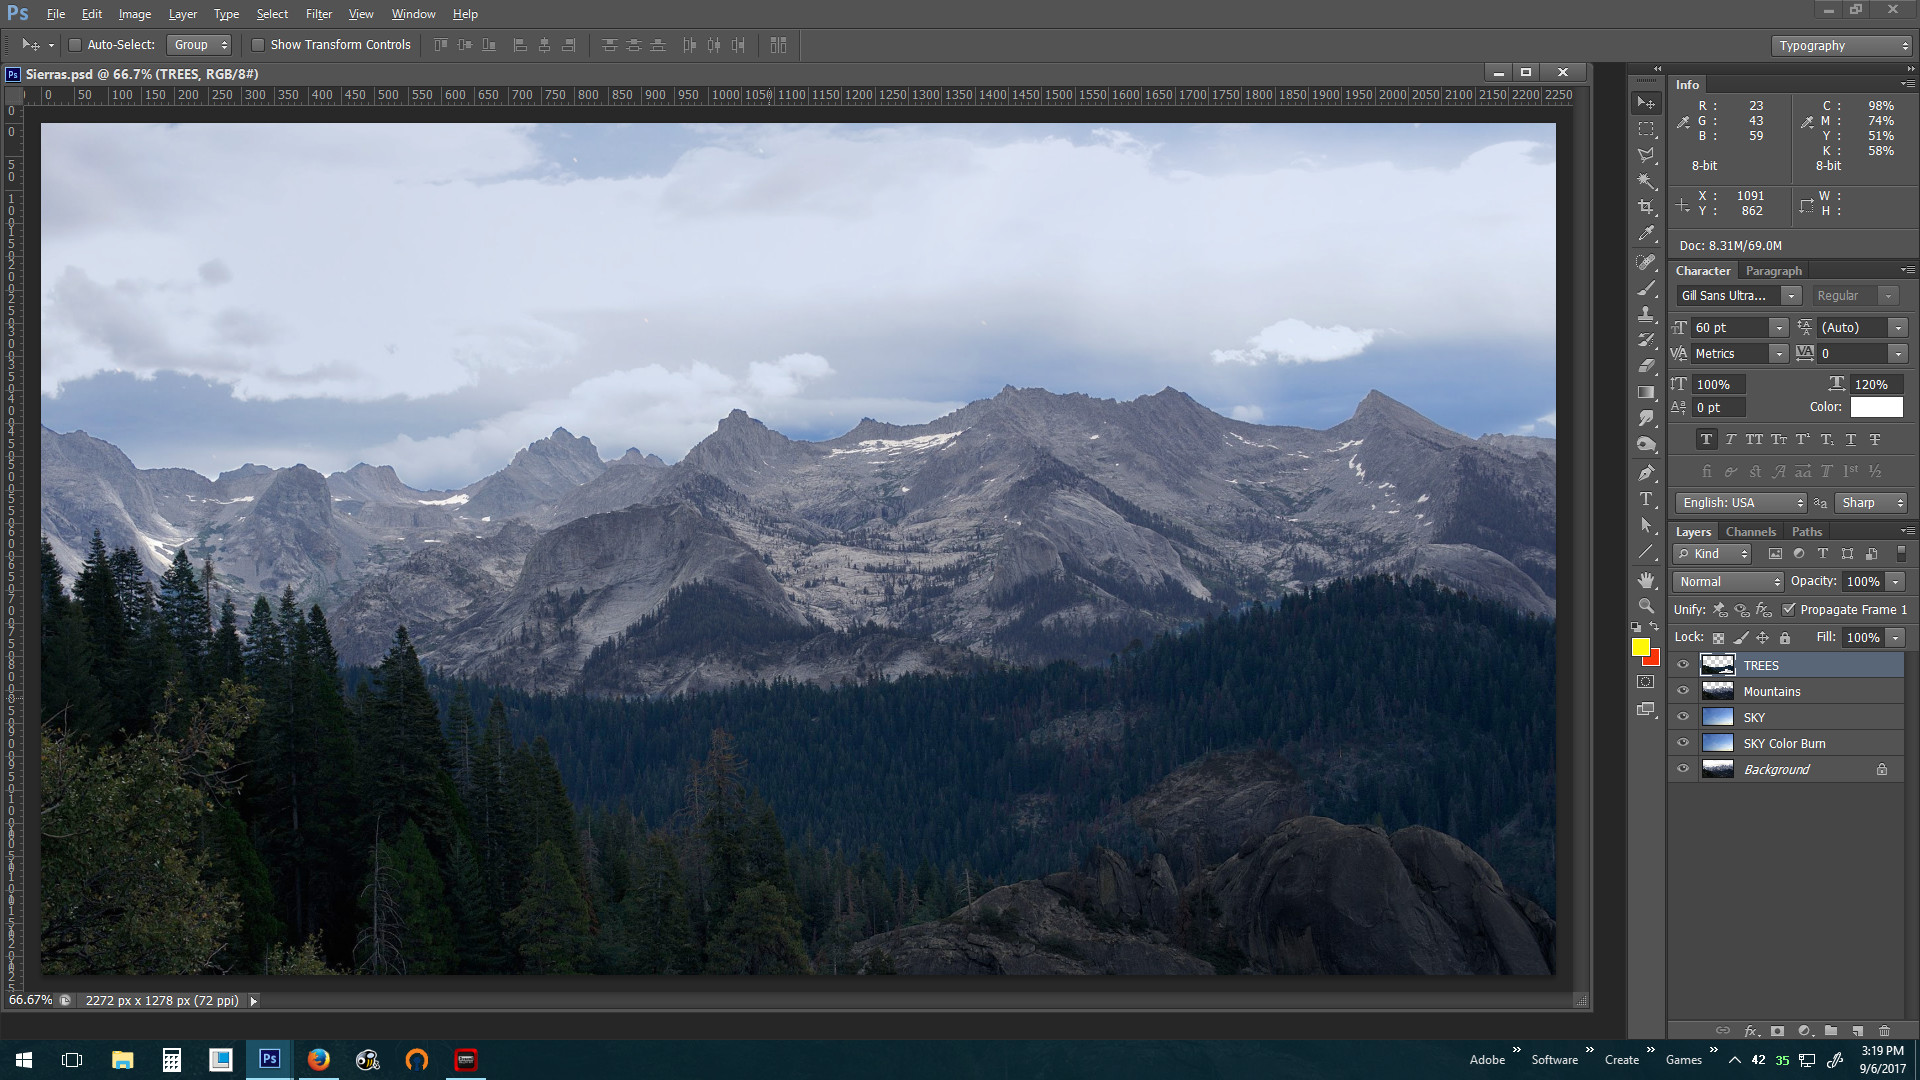
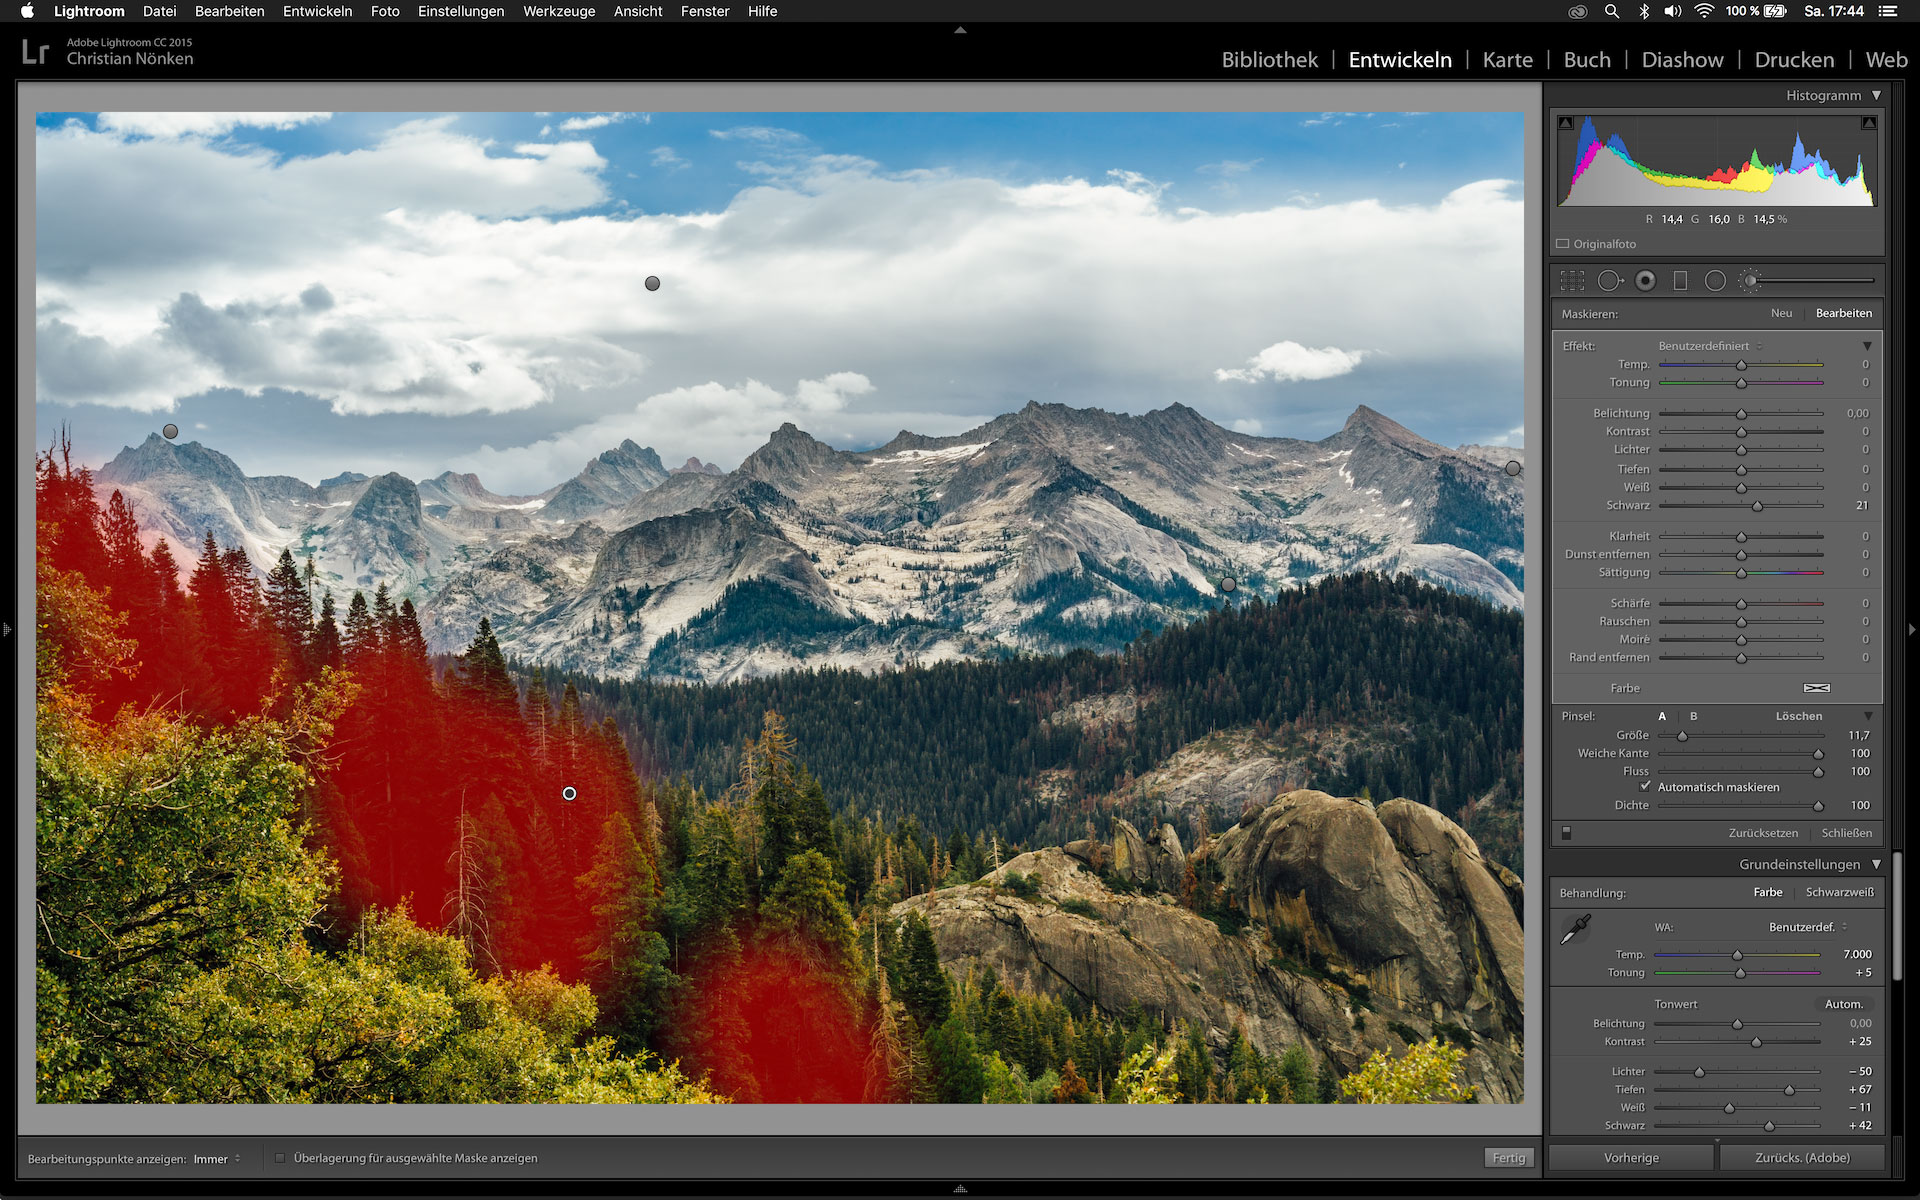
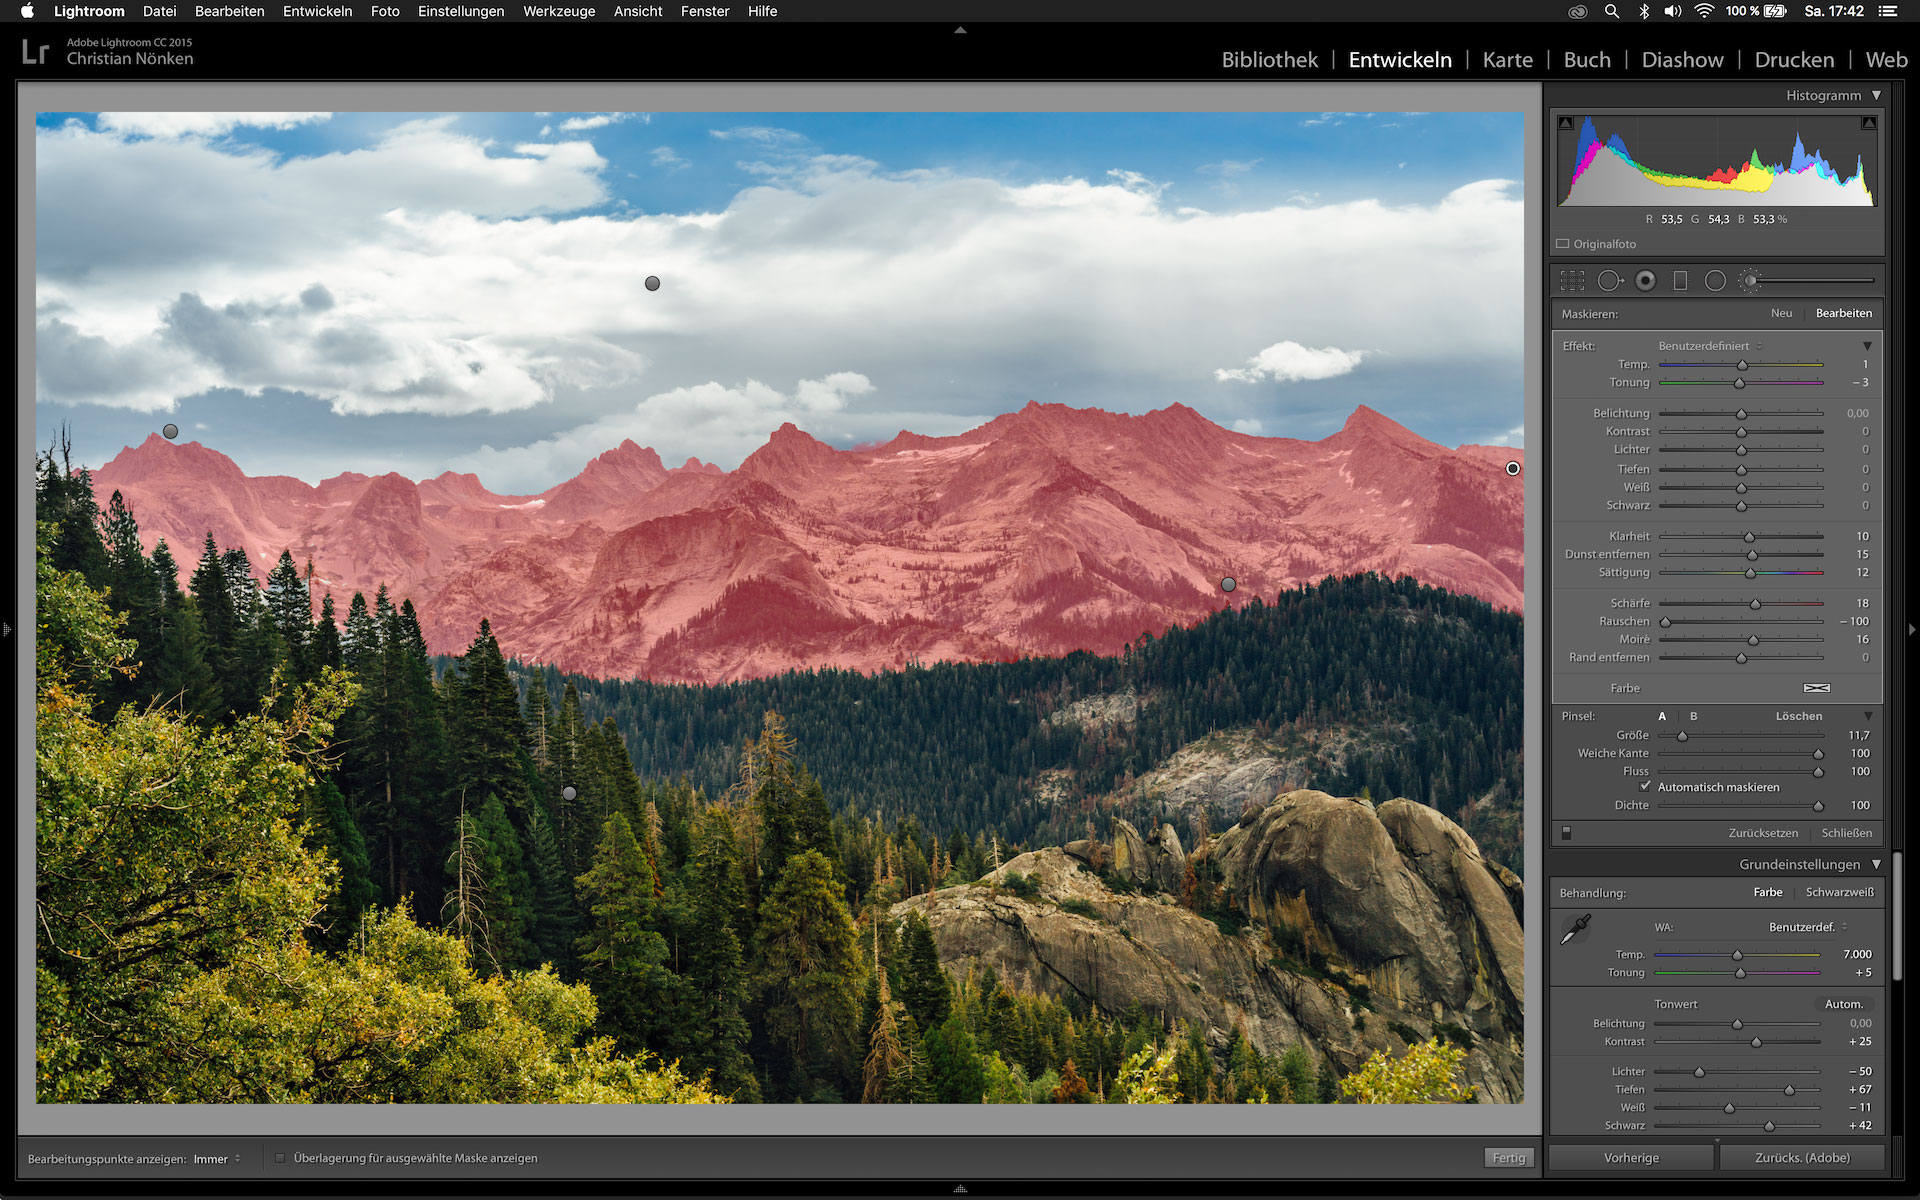
OK, I had a bit of time here and there and did a few things. Because I’m lazy I always start by ramping the shadows to absurd levels and pull down highlights until I can see every pixel. That is just to look what I can get out of the file. After that I slap one preset after the other on there to get an idea what colours I like. From there on it is a lot of back and forth with basic sliders for the whole thing as well as on masks.
It is by far not perfect but to be able to do things like this in reasonable amounts of time is why I still use adobe stuff. I will look more into FOSS alternatives when my rack is up and running though.
If I had a real workflow I would love to tell you but it is always different.
Here are a few screenshots, maybe that helps.
… I mean that looks a heck of a lot better than it did in real life but damn… that looks good.
I really need to step up my editing game.
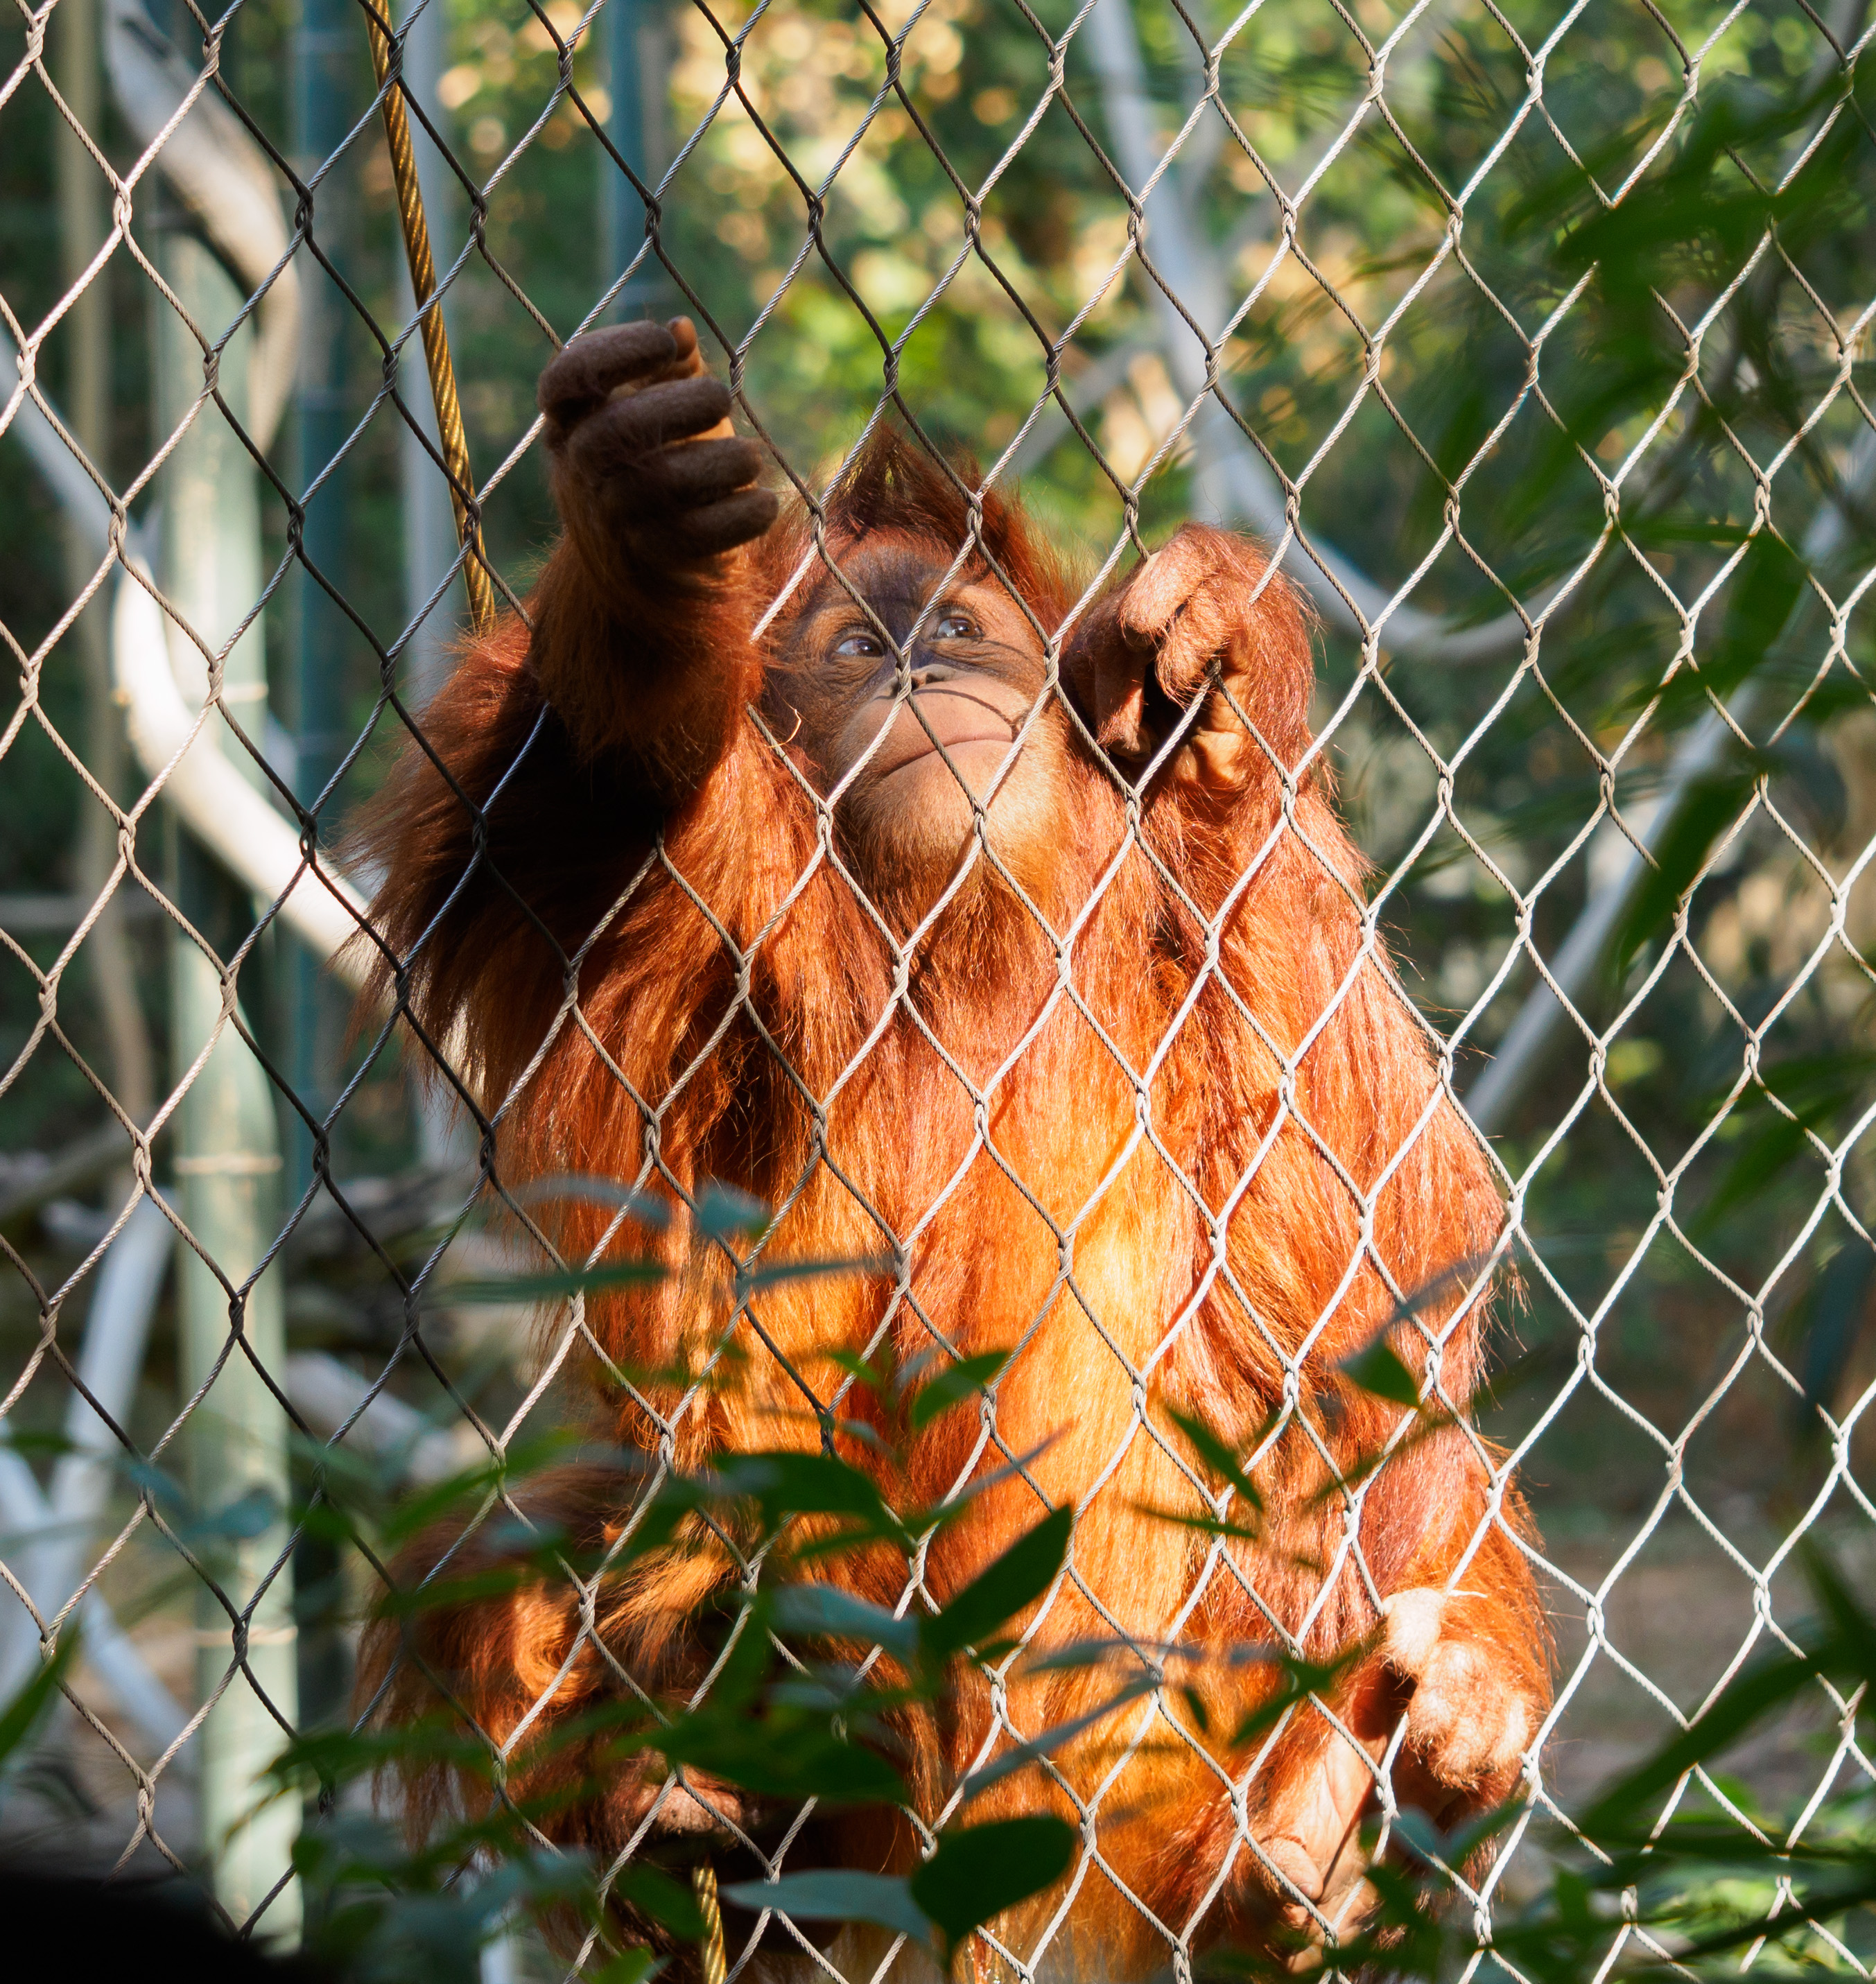
Went to the zoo today. I’m not a huge fan of zoo photos usually because everything is right there in front of me and there’s almost always a cage or smudged up glass in the way, unless they’re in a sunken enclosure, and then all I can get are higher-up angles.
I did like this one though.
And here’s kind of an example of why I don’t like shooting at the zoo all that much. It’s decent, but I wanted to get down to the bird’s level, but I couldn’t without climbing over the rope into their little river setup. I actually reached over and used the articulating screen to get down this low, but still couldn’t get as low as I wanted to.
I like the composition on that last one.
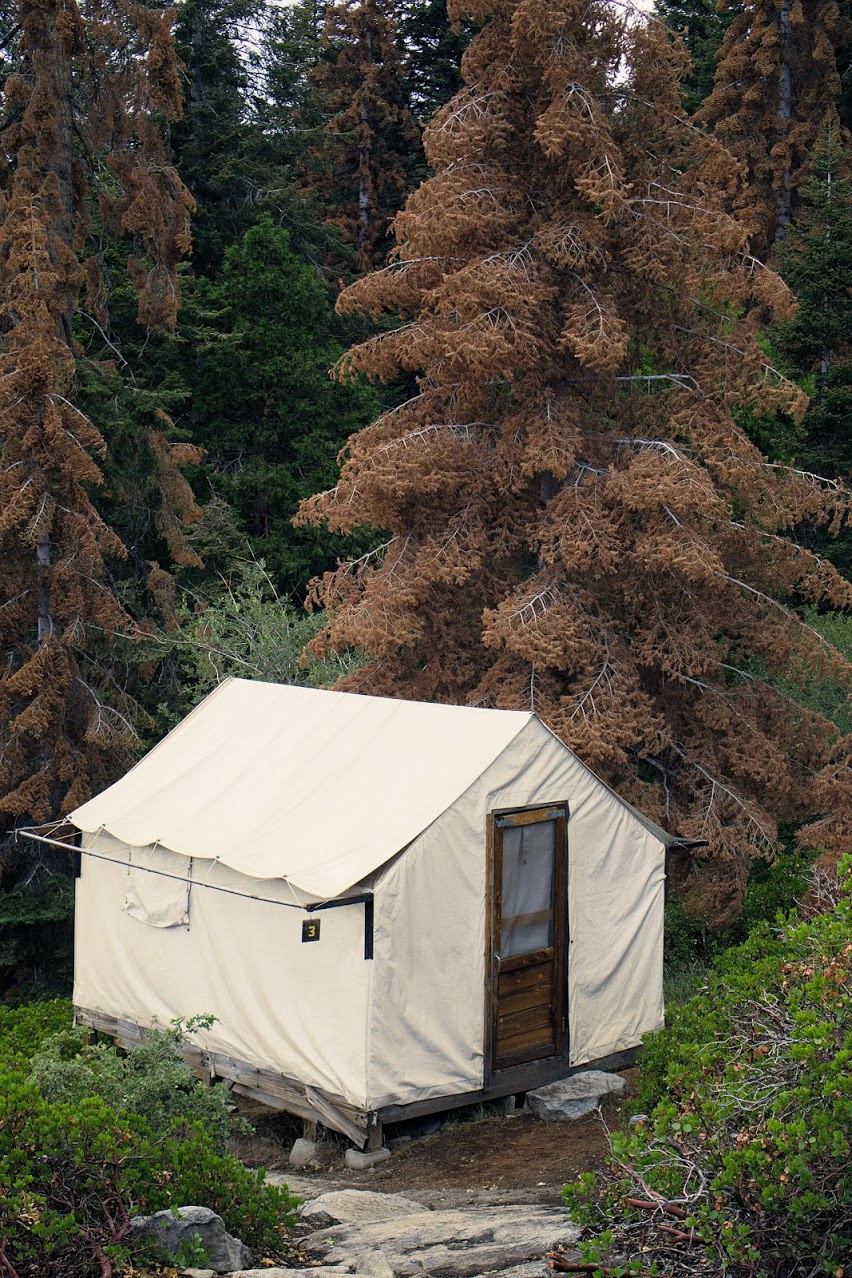
Darkness falls across the land…
[DELETED]