Ahoy there, Its been quite a while since I last was here…
I’m AT0MAC and I used to build a whole lot of PCs, but as the market have been lately, I mainly only upgrade my own PC(s) these days.
This is one of those - this is my main PC, my gaming PC, my video editing PC
First let me show you what we are working with:
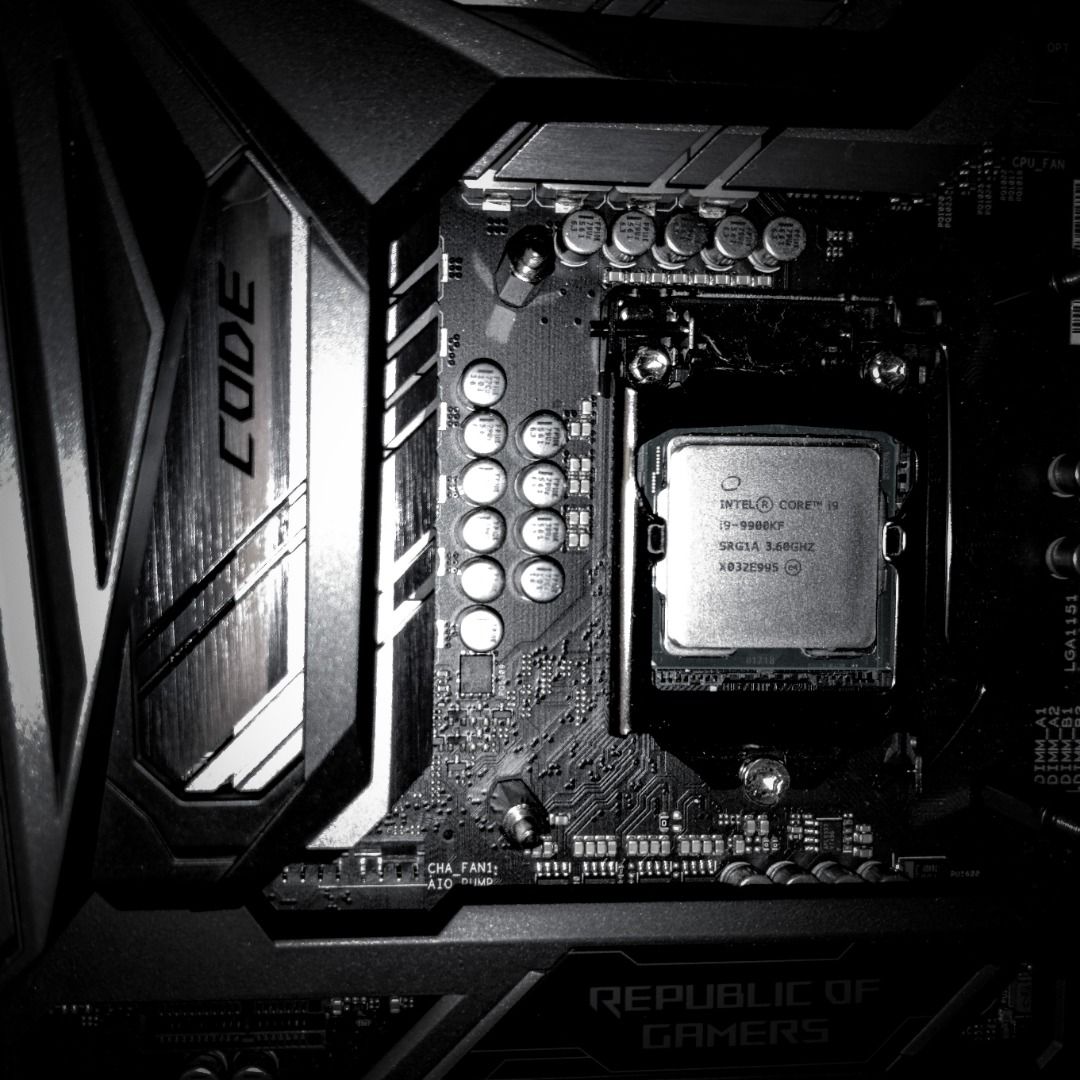
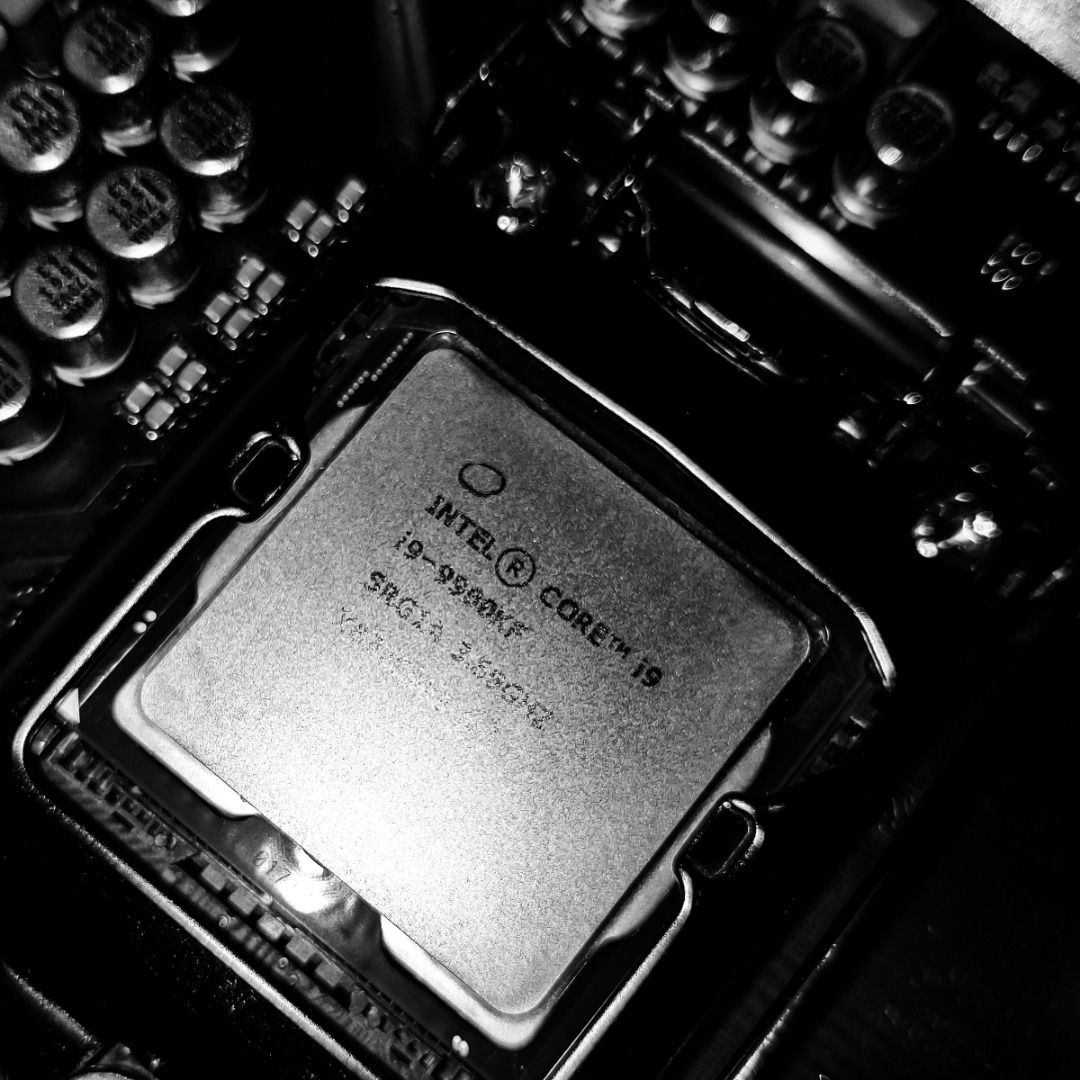
Intel Core i9 9900KF
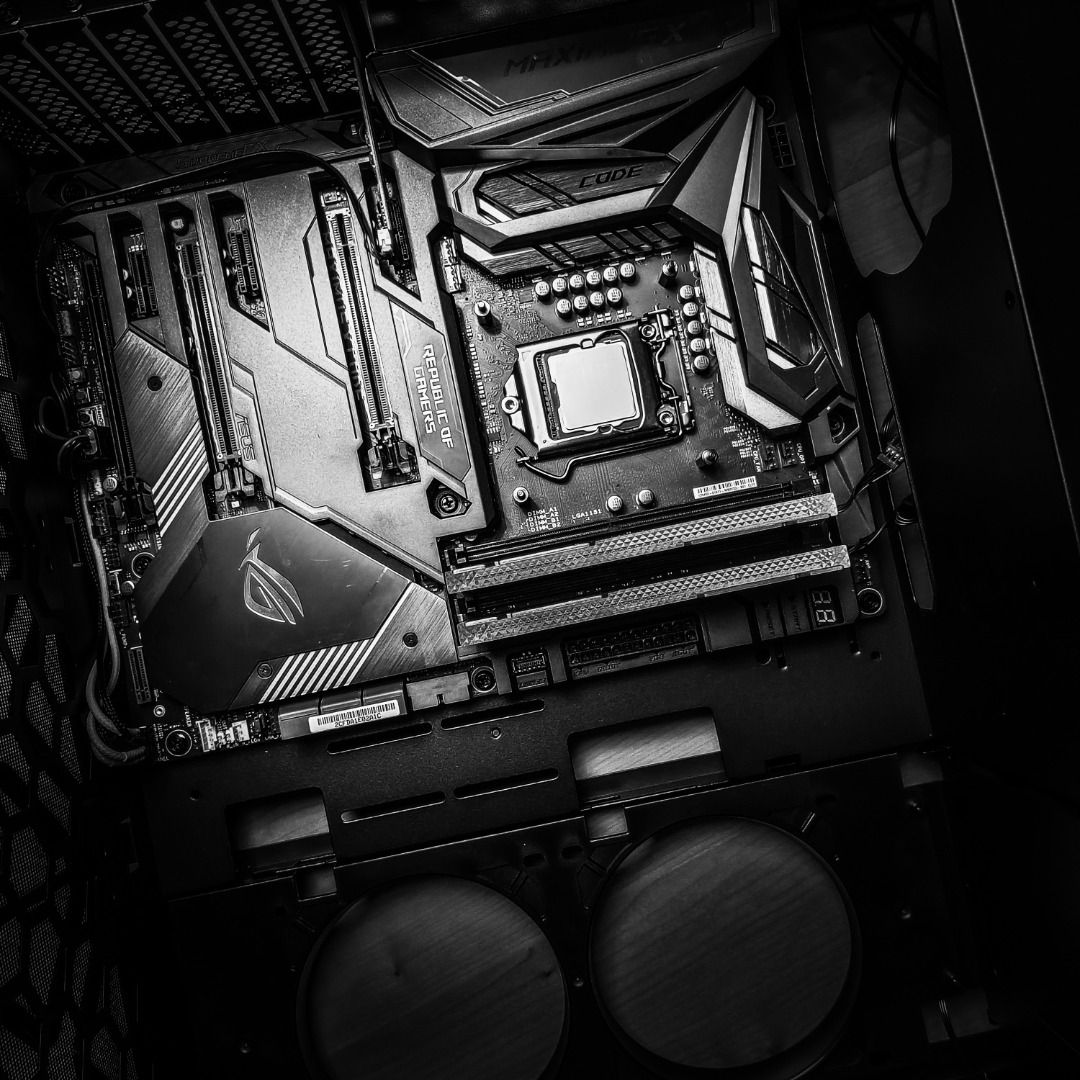
Asus ROG X Code Z370
64 GB RAM DDR3000
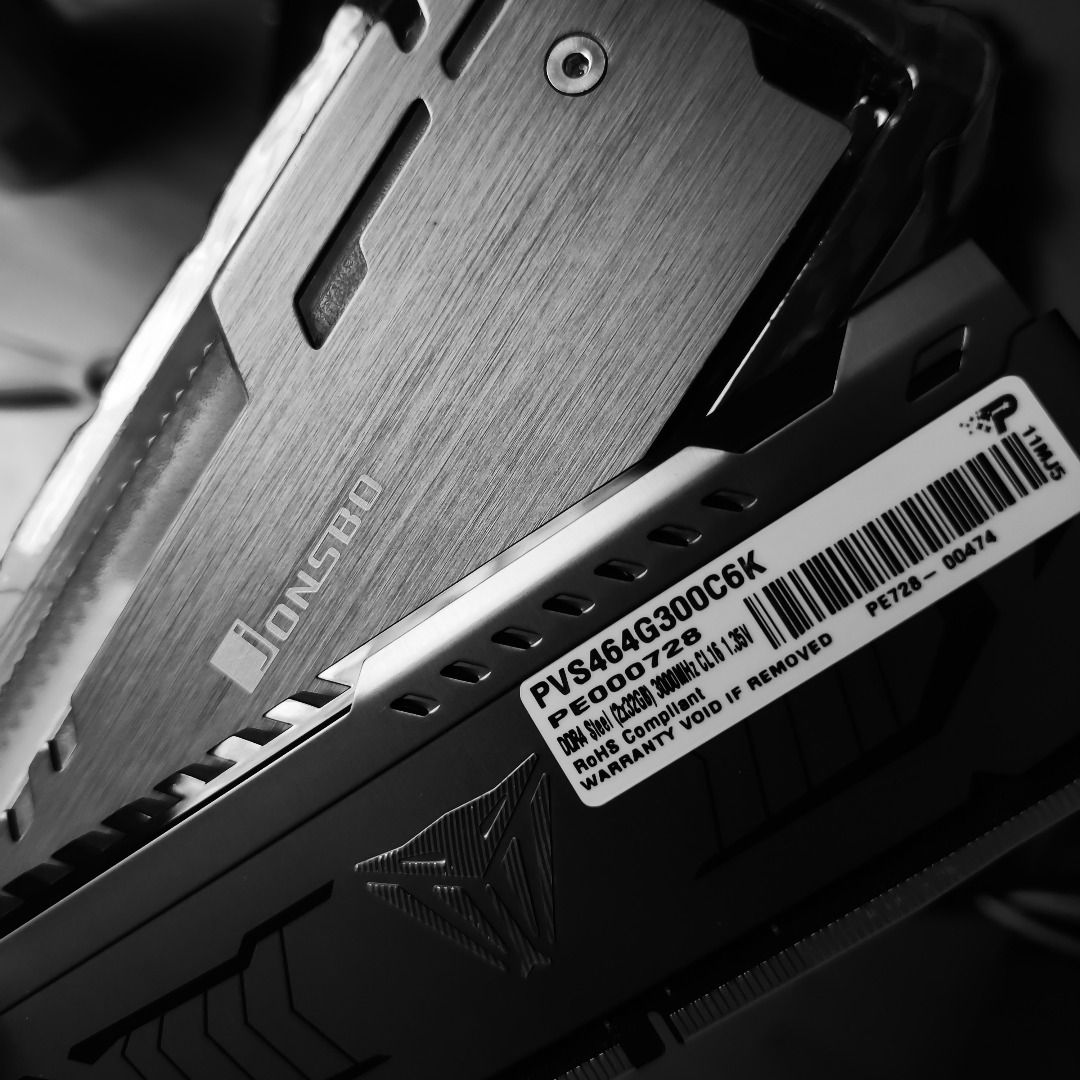
Jonsbo RAM heatspreaders with RGB
2 TB Nvme internal storage + a 1 TB HDD, a 500 GB HDD and a 250 GB SSD
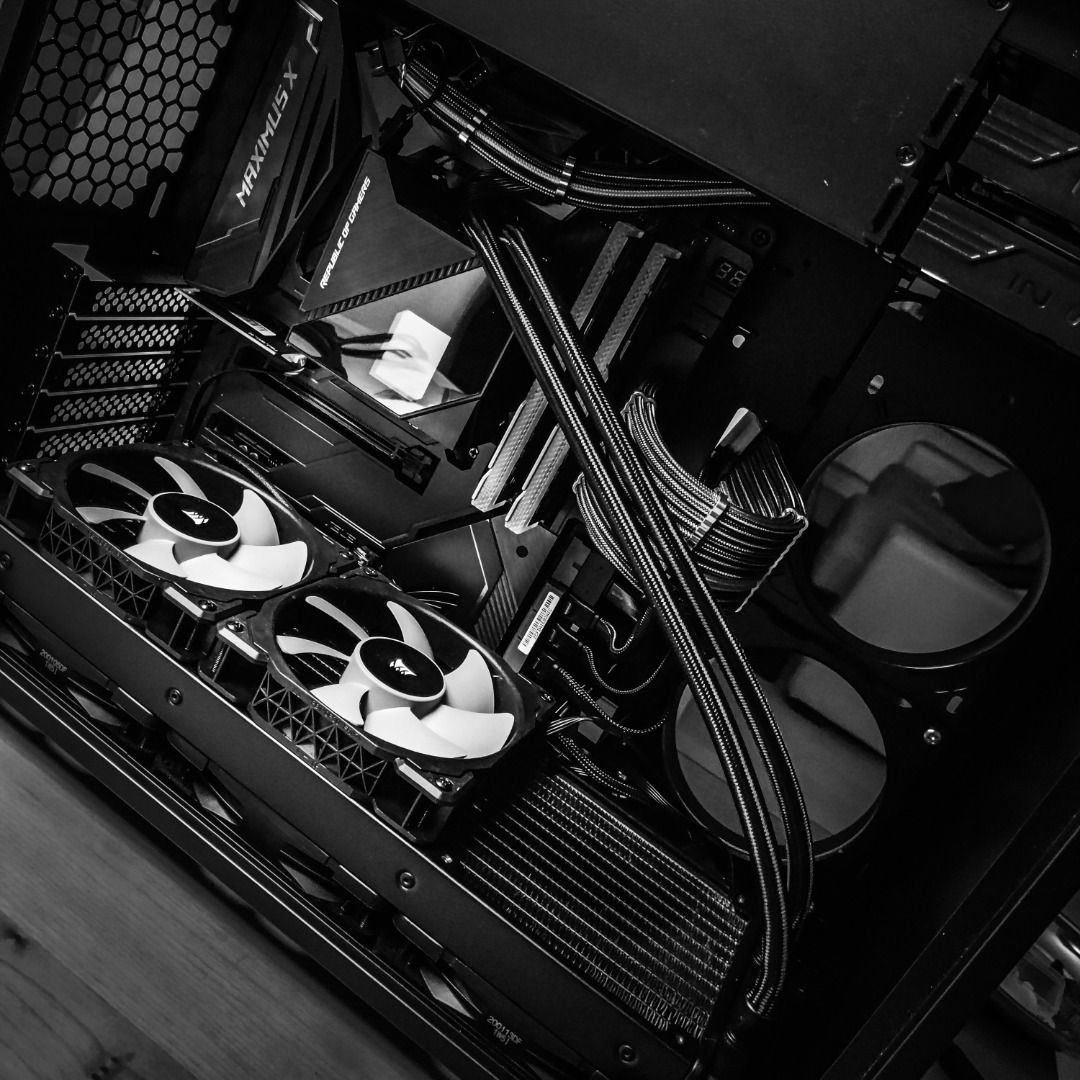
Asus ROG RYUJIN 360 AIO
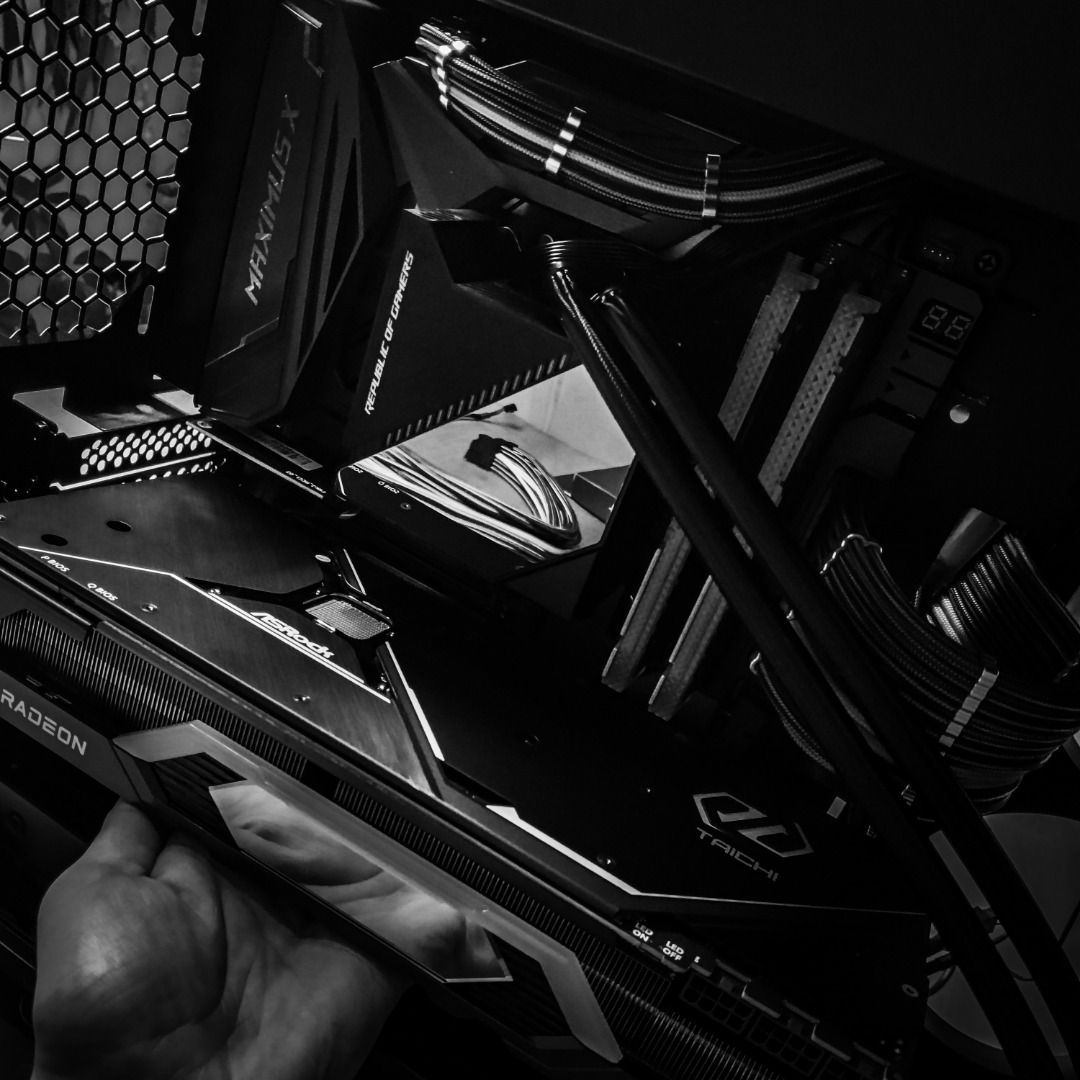
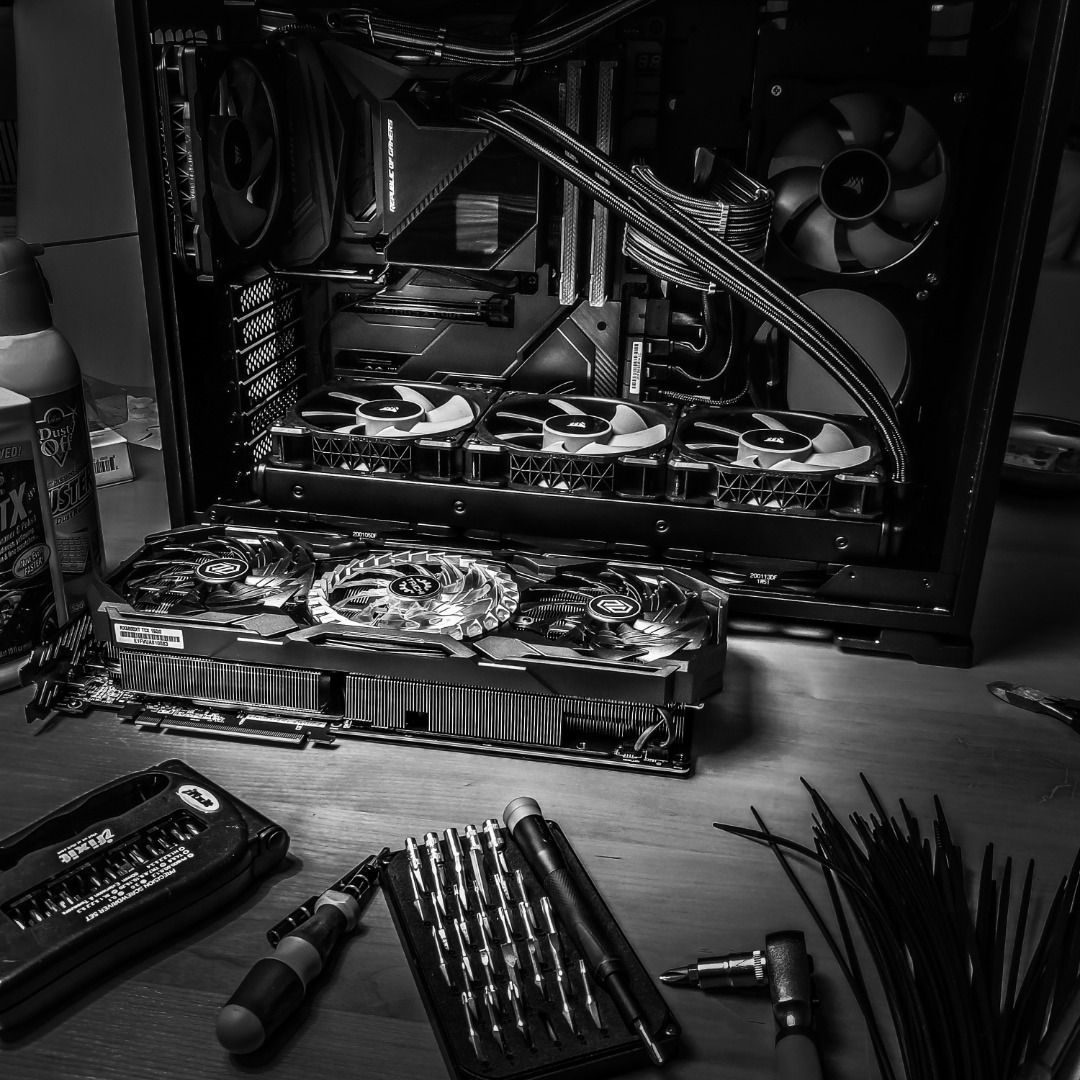
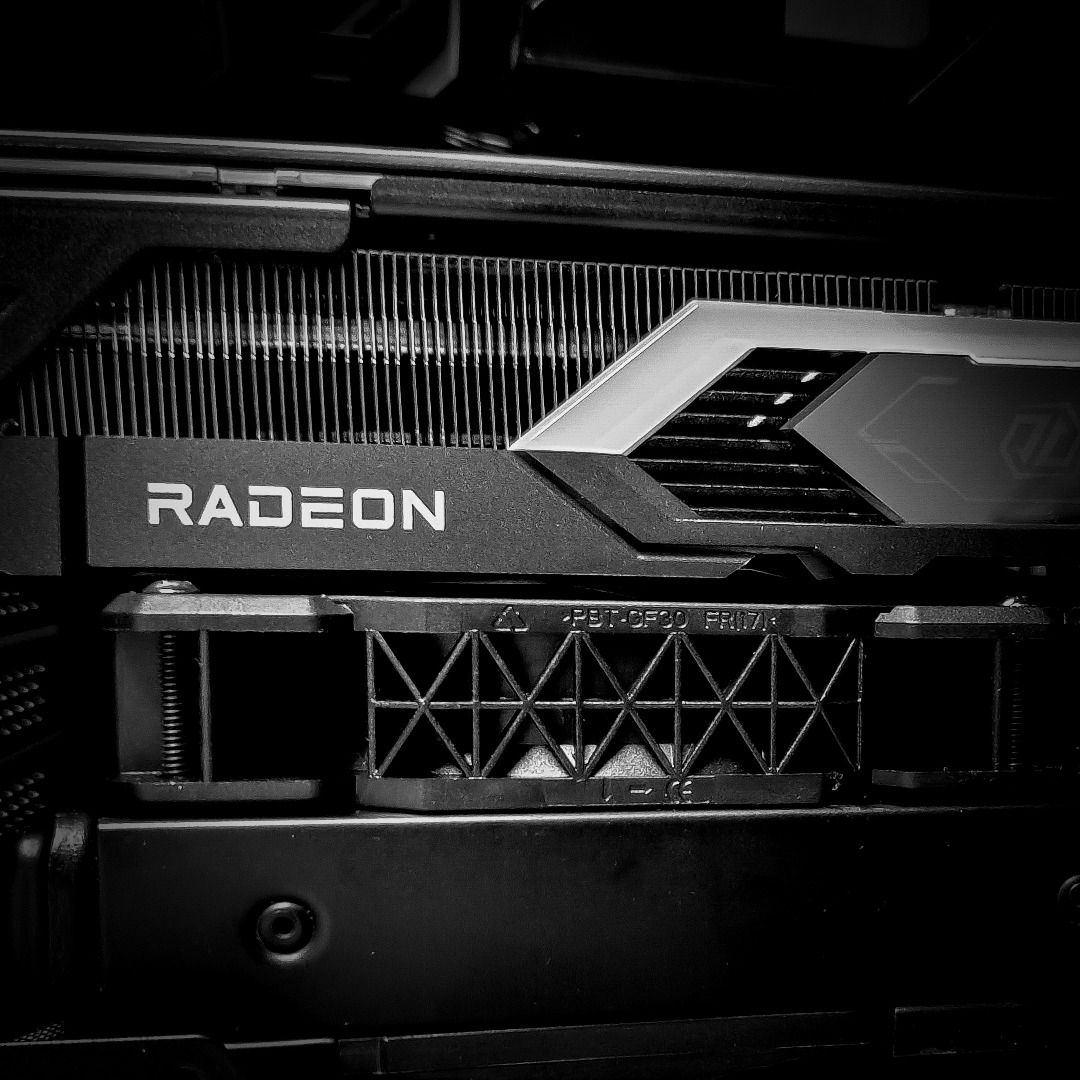
Asrock Radeon RX 6800 XT Taichi X 16G OC graphics
Lots of Corsair ML120 fans
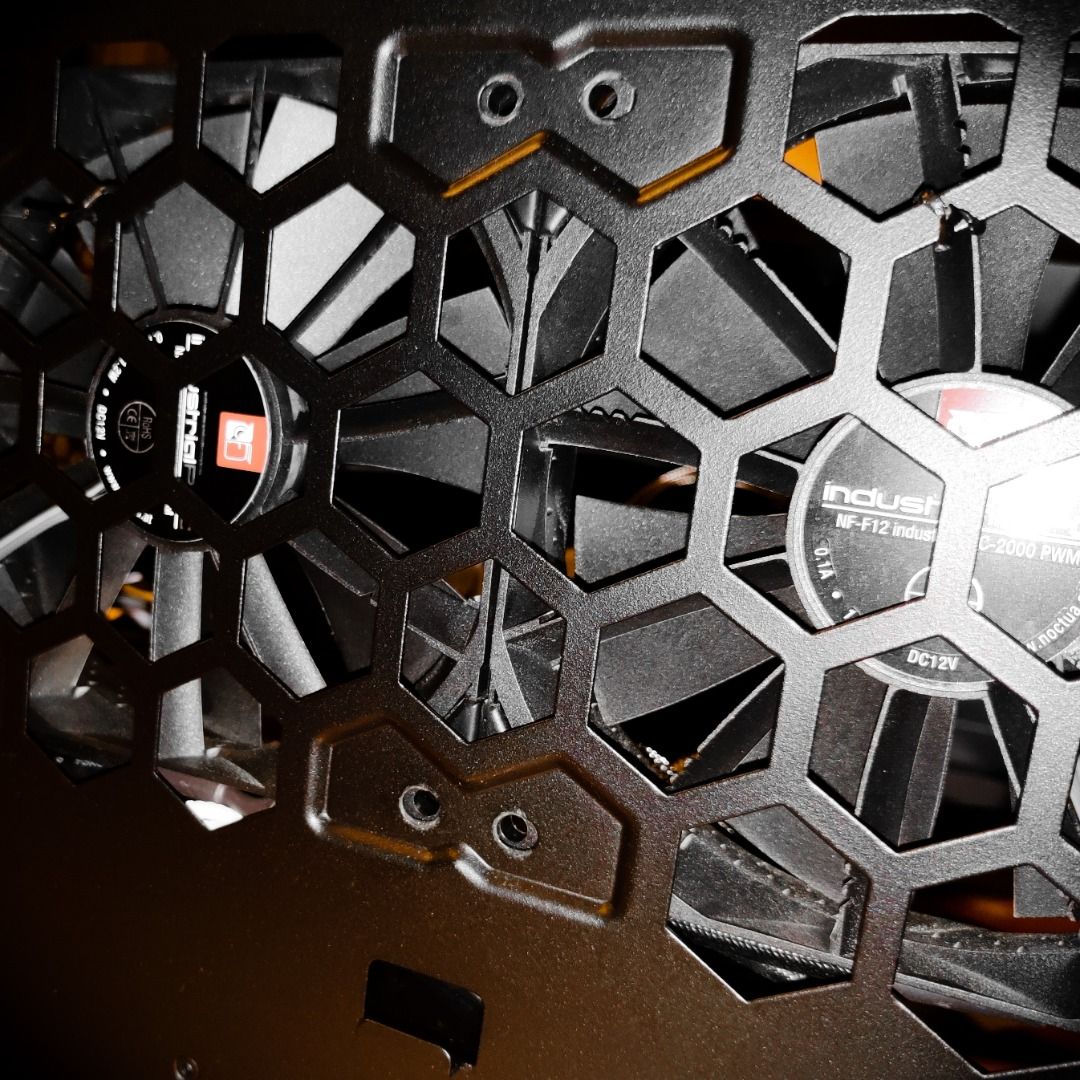
Phanteks RGB fan frames
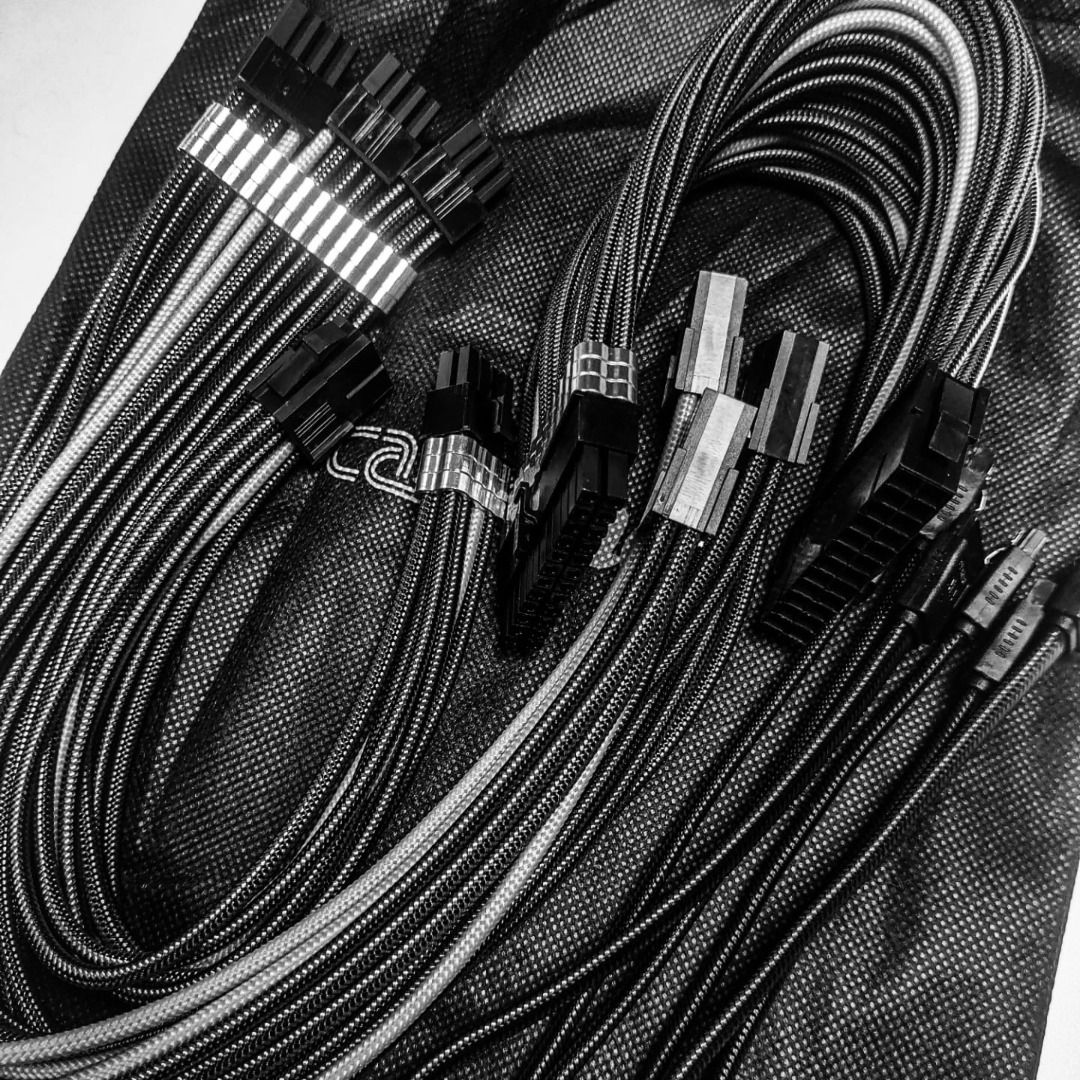
Cablemod cablekit
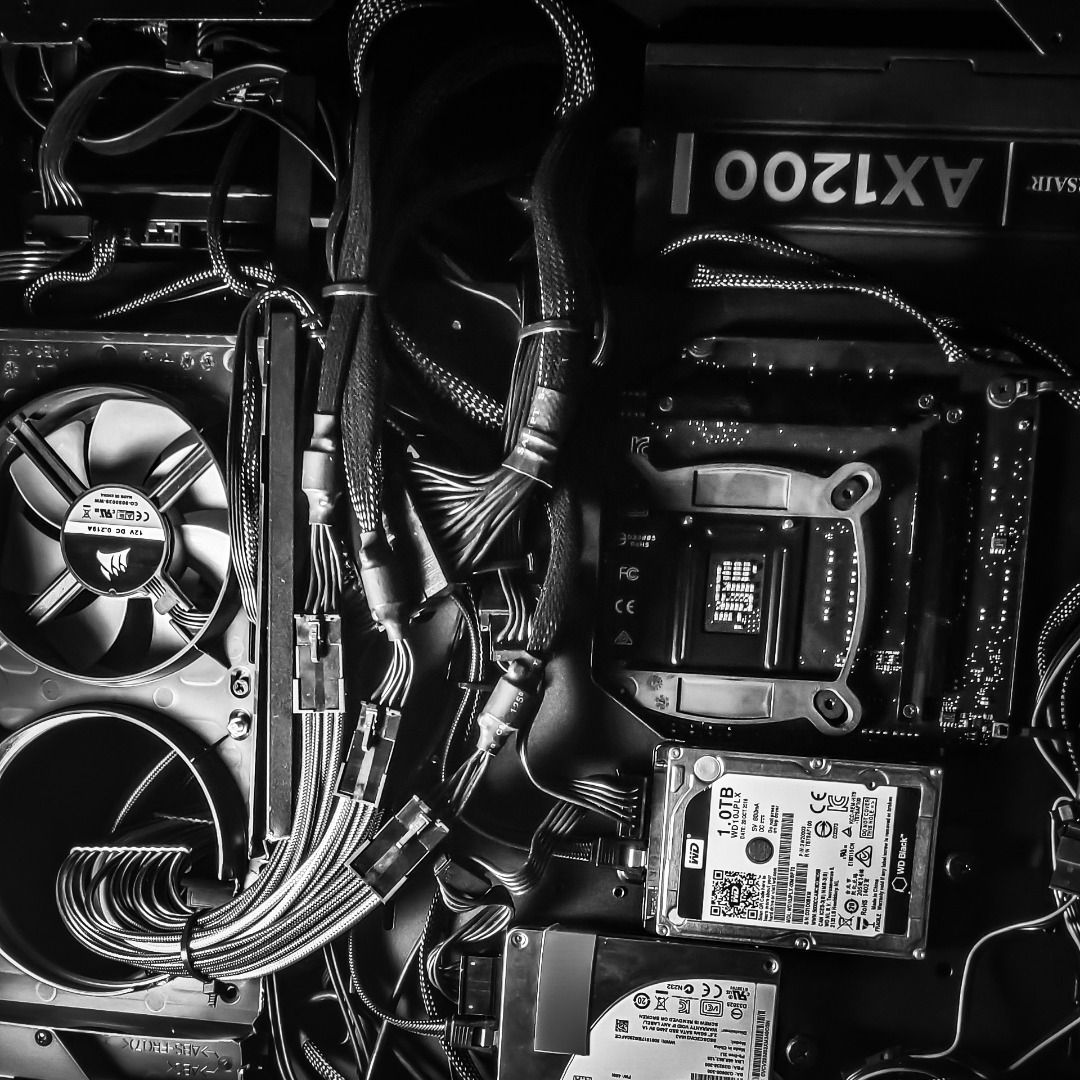
Corsair AX1200 Gold PSU
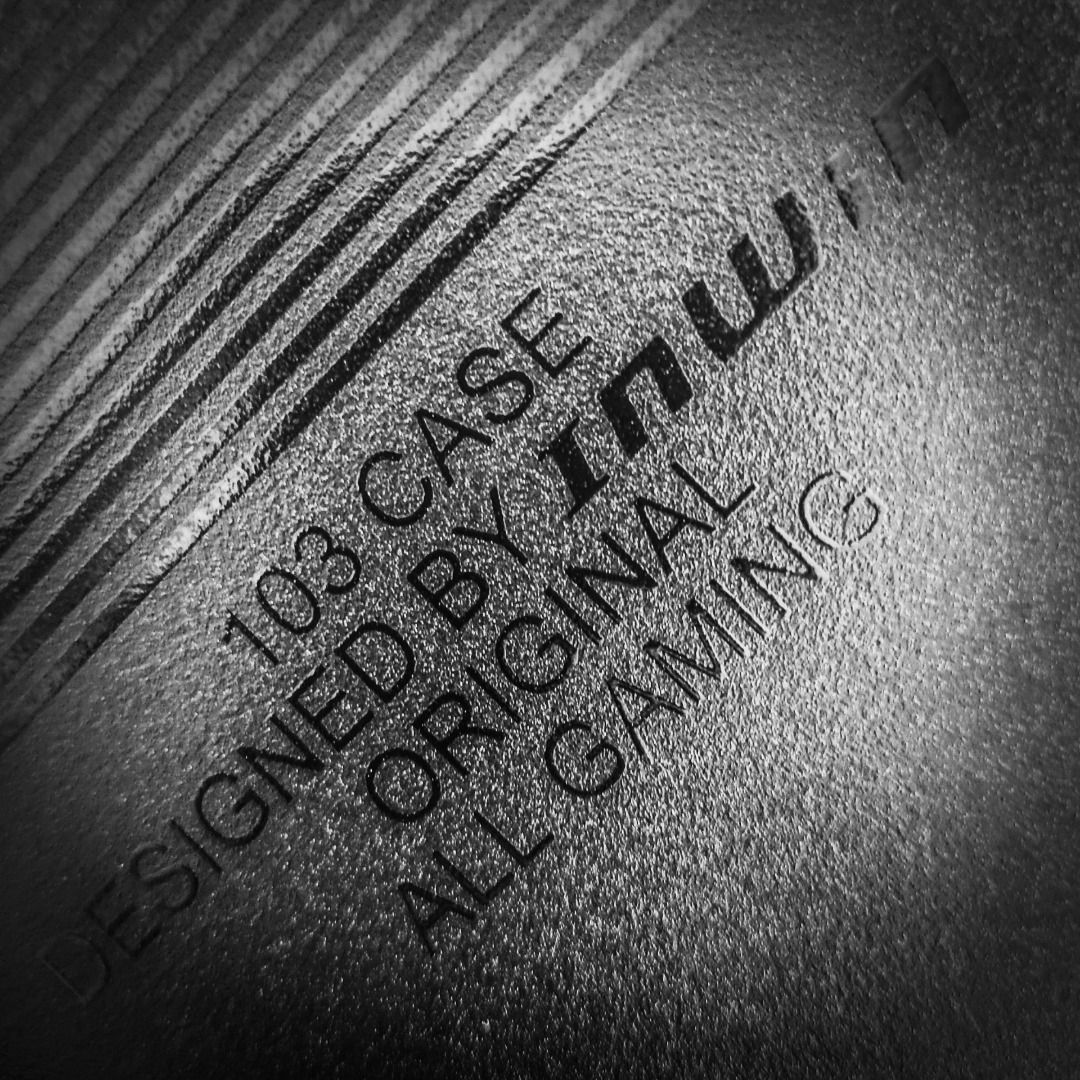
InWin 103 case
I think thats about it, plus a few external SSDs and haddrives.
Let me say by the way, all pictures are taken with my phone and some of them in not so great lighting conditions, so I’ve chosen to simplify their look and it will mainly be a black/white story about my PC build
It all started with I was looking at new CPUs around Black Friday, found out that would no matter what be pretty expensive to upgrade my old trusty 8600K to something with more power, mainly because it would not only be the CPU, it would also mean a new motherboard - and if I wanted the same quality as my Z370 X Code is, those boards are expensive. So that plan was scrapped pretty quick.
Until I found out, around here where I am 9900K models are getting cheaper, I guess so stores will sell out what they have and not get more, as those chips are kinda old now.
But with a BIOS update, my old motherboard would work with a i9 too, so I ordered one!
As you maybe know, the 8600K is a unlocked 6 core processor with a usual speed up to 4.3 GHz, I ran mine at 4.8-5GHz, depending on what I would do with it. Its been a real trooper, but when video editing it started to show signs of not really be enough.
The 9900KF I ended up with though, its a 8 core/16 thread CPU and quite a monster in comparison! Runs at a usual speed of 5GHz straight out of the box, but mine actually runs at 5.2GHz now instead, just to get a little extra out of it.
My PC until now have been the one I called “ImBalance”
I have for long had bit of an issue with the case, the case did not fit my 360 AIO, so I mounted it on top and it all looked a little weird.
I have some limiting size restrictions for where the case is placed, so finding a new one have not been super easy.
My PC sits in a closet in the opposite end of the room of where my monitor and kb/mouse is, because of noise and because I can cool it with cold air from outside (more on that later)
But it means it have to be a specific size to fit and that made it pretty complicated to replace the case, while at the same time fitting a 360 rad.
So now when I got the new CPU I thought, its time to do it right!
I ended up ordering the odd case InWin 103, because it fit into my special size requirements, it looks very different and it looked like it would fit all my hardware perfectly.
It took a while to arrive…
In the meantime I ended up also ordering a set of Cablemod cable extensions, because I thought this case have a glass side, and why not make it look really nice now I have the chance.
They also took absolute forever to arrive…
One of the really cool things about the Cablemod cables, is they have a model with 3x PCIe plugs, my graphic card need 3x so this is perfect! I had to order that…
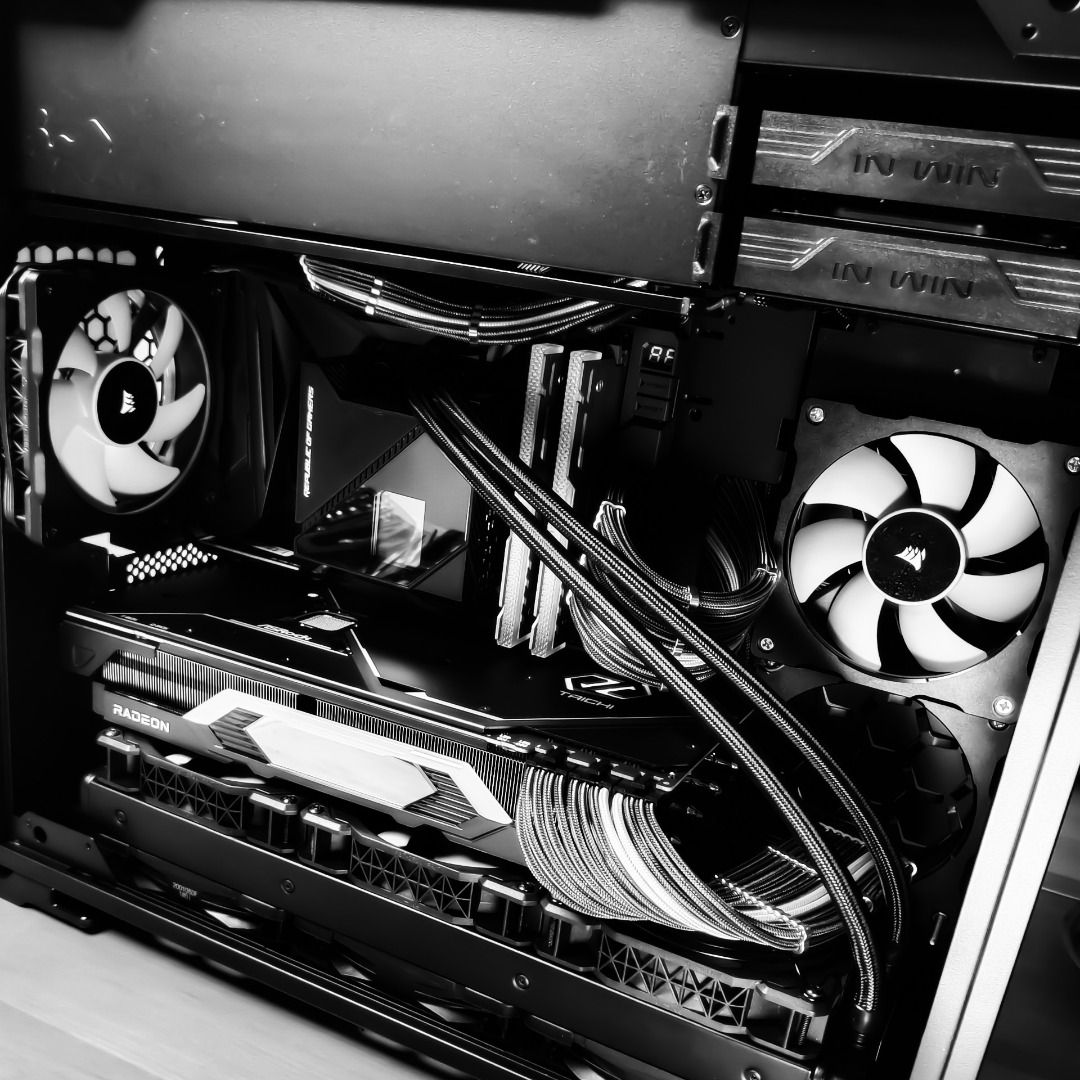
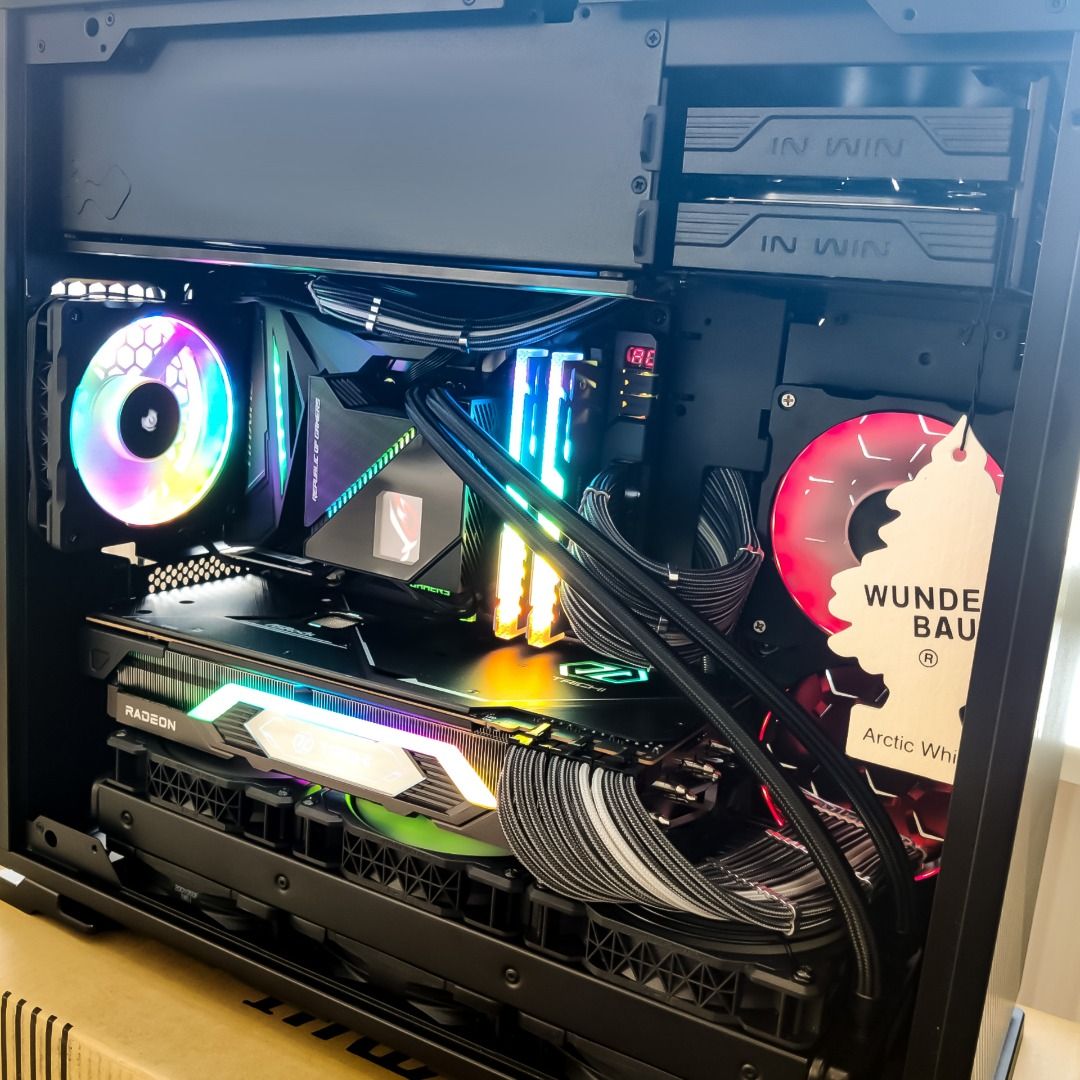
Designed them so they are black and aluminium silver, so they fit my motherboard and graphic card that follow the same color scheme (or lack of color)
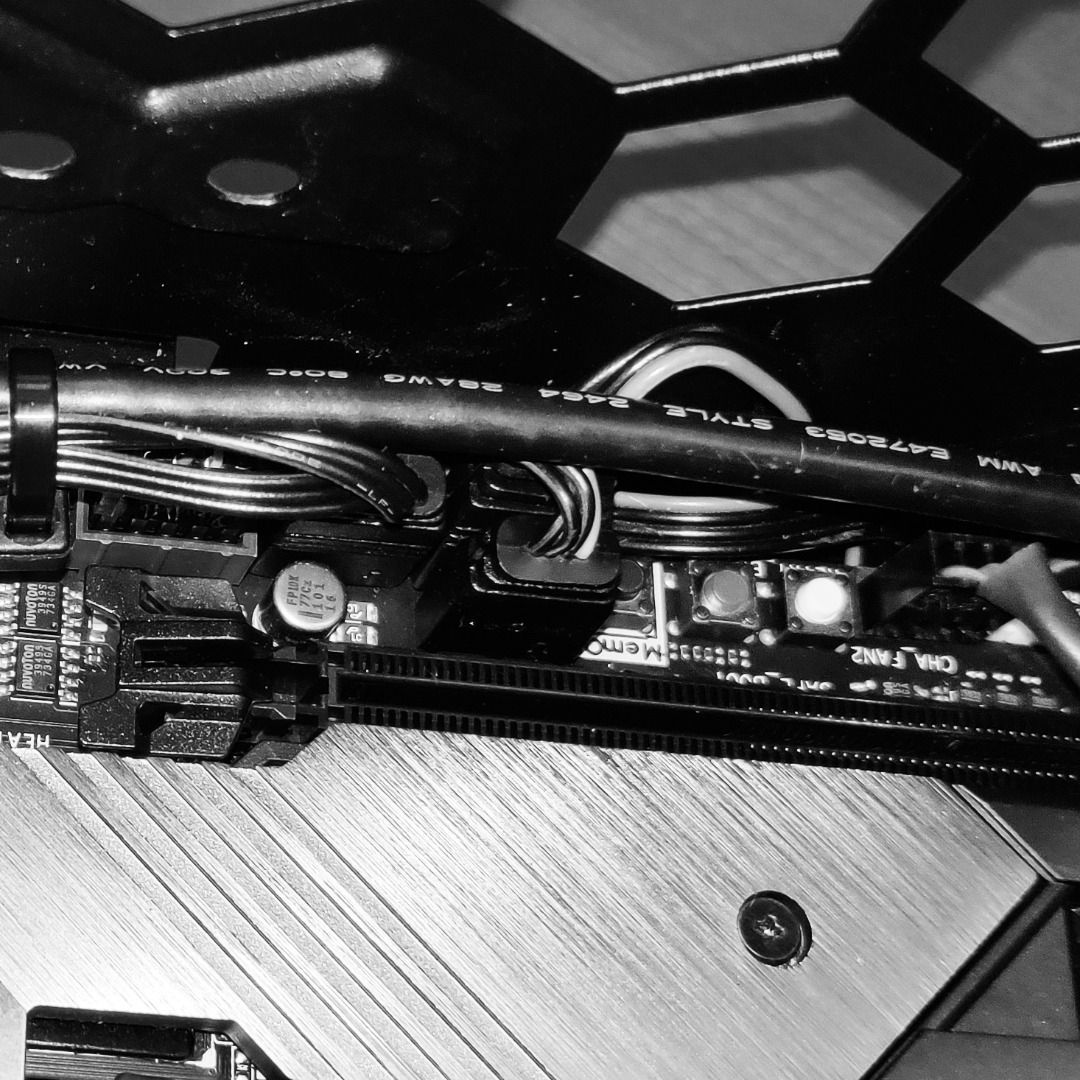
As you can maybe see here, there is not even space to route the USB and fan cables under the motherboard, only some of the slim RGB cables can go between the case wall and the board before running out of space
Maybe you noticed that the RAM heatspreaders look a little odd.
Its because I switched them out for some RGB enabled ones from Jonsbo. In my old build the RAM area got so hot the RAM heatspreaders have actually loosened and did not really have any use
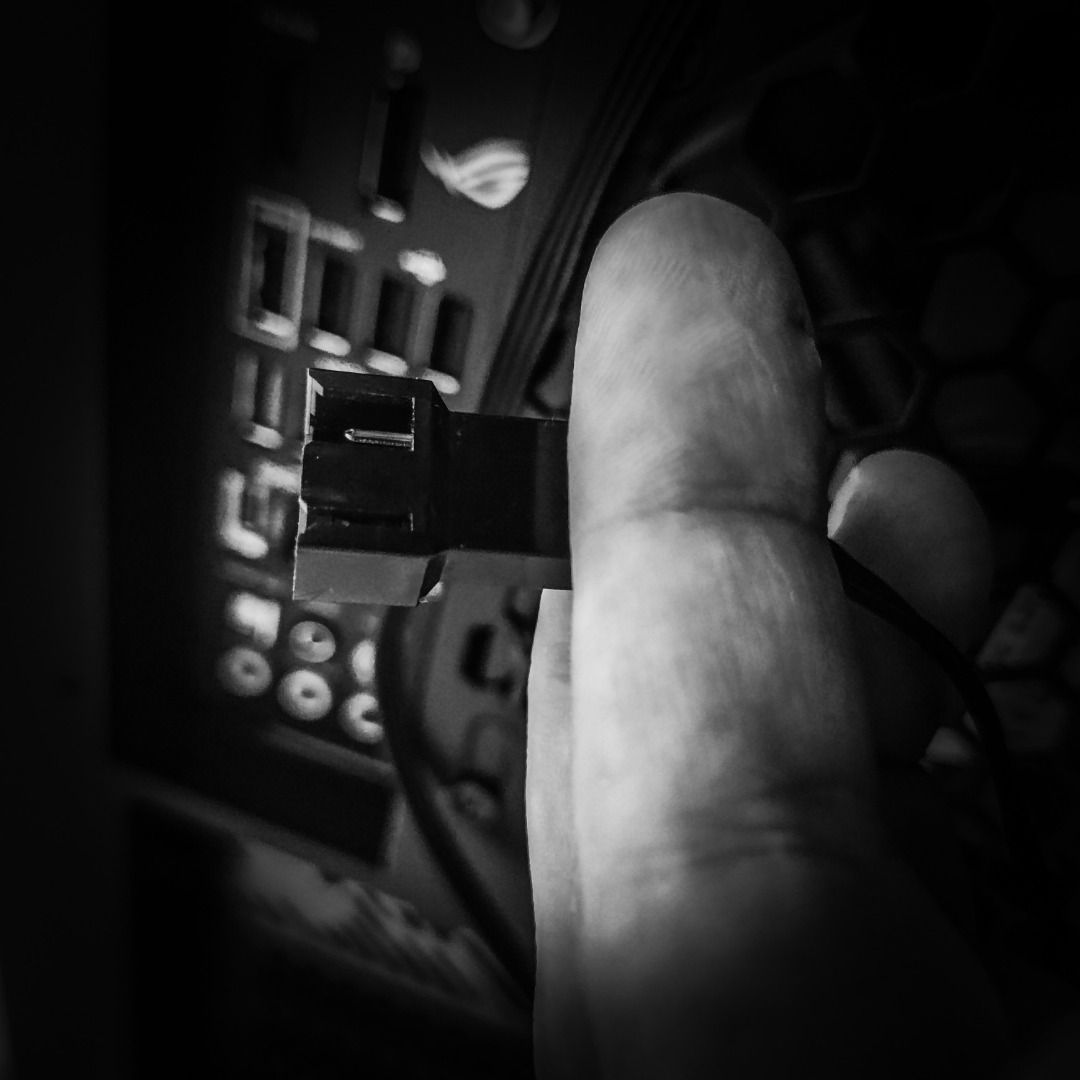
While on the subject of fixing things, I only have 2 hands, and in this build the 360 mount is in the bottom of the case.
So I layed it on its side to mount the rad, meaning it was bit of a pain to hold in the 3x 120 that goes under it…
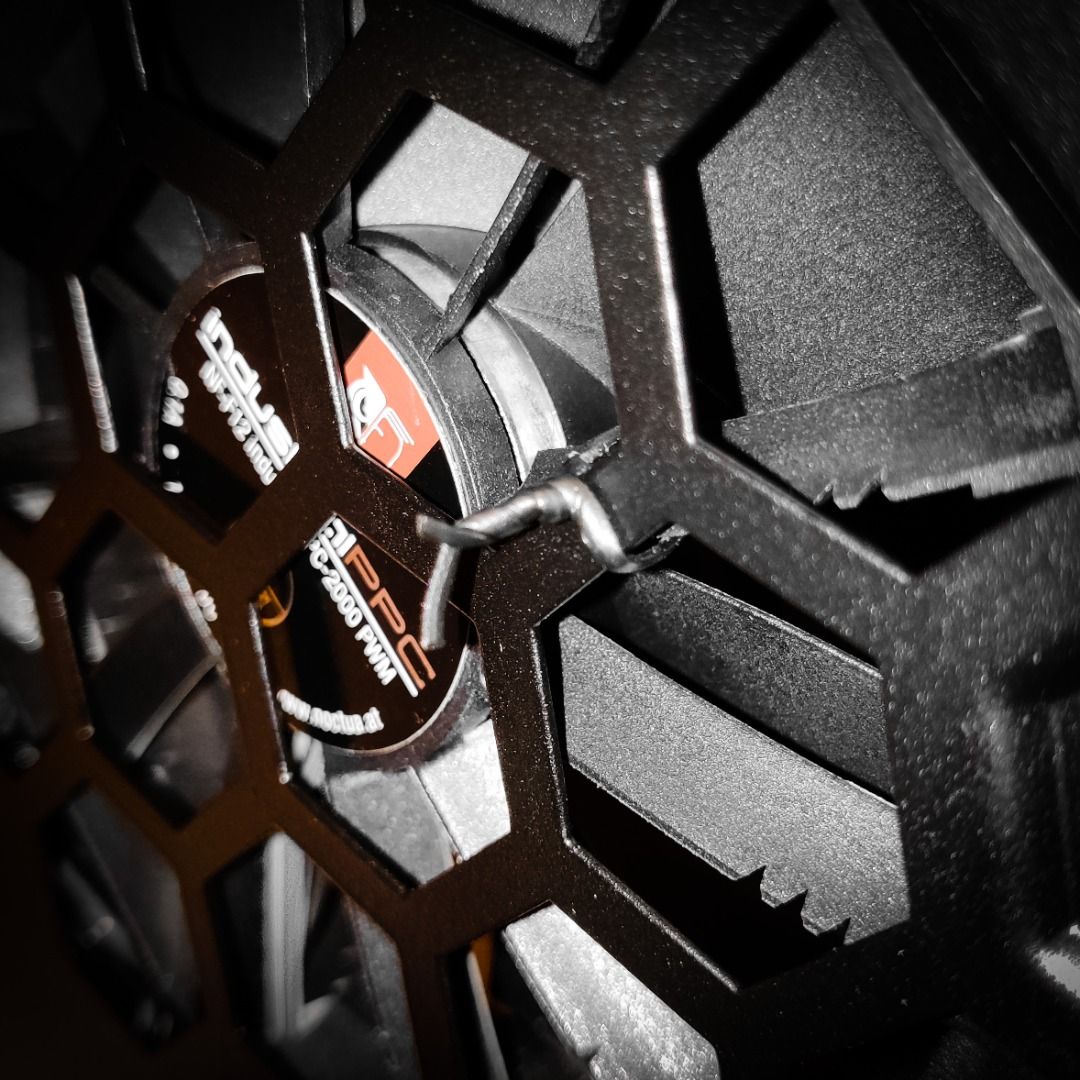
Until I remembered the case had these things to hold in the front panel cables!
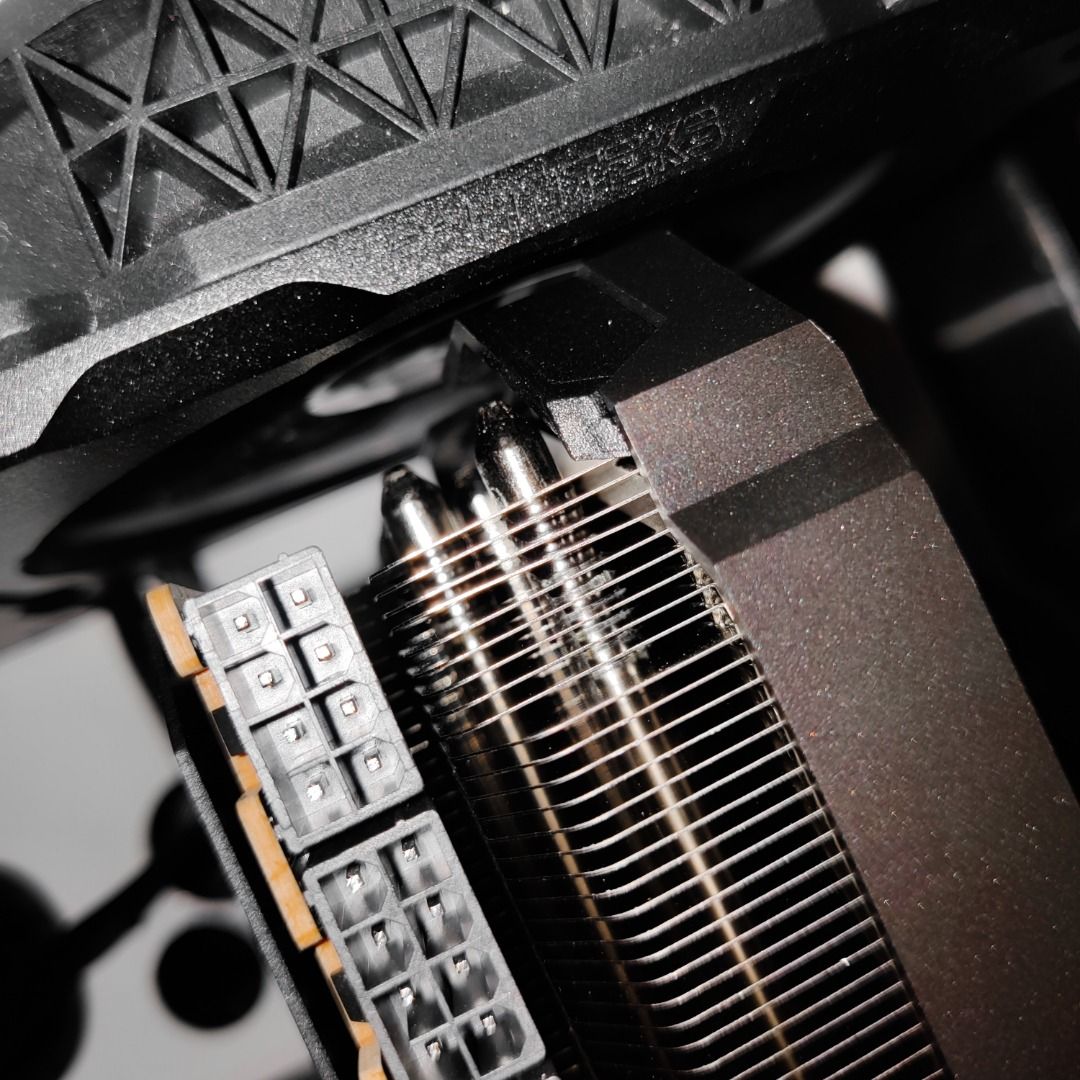
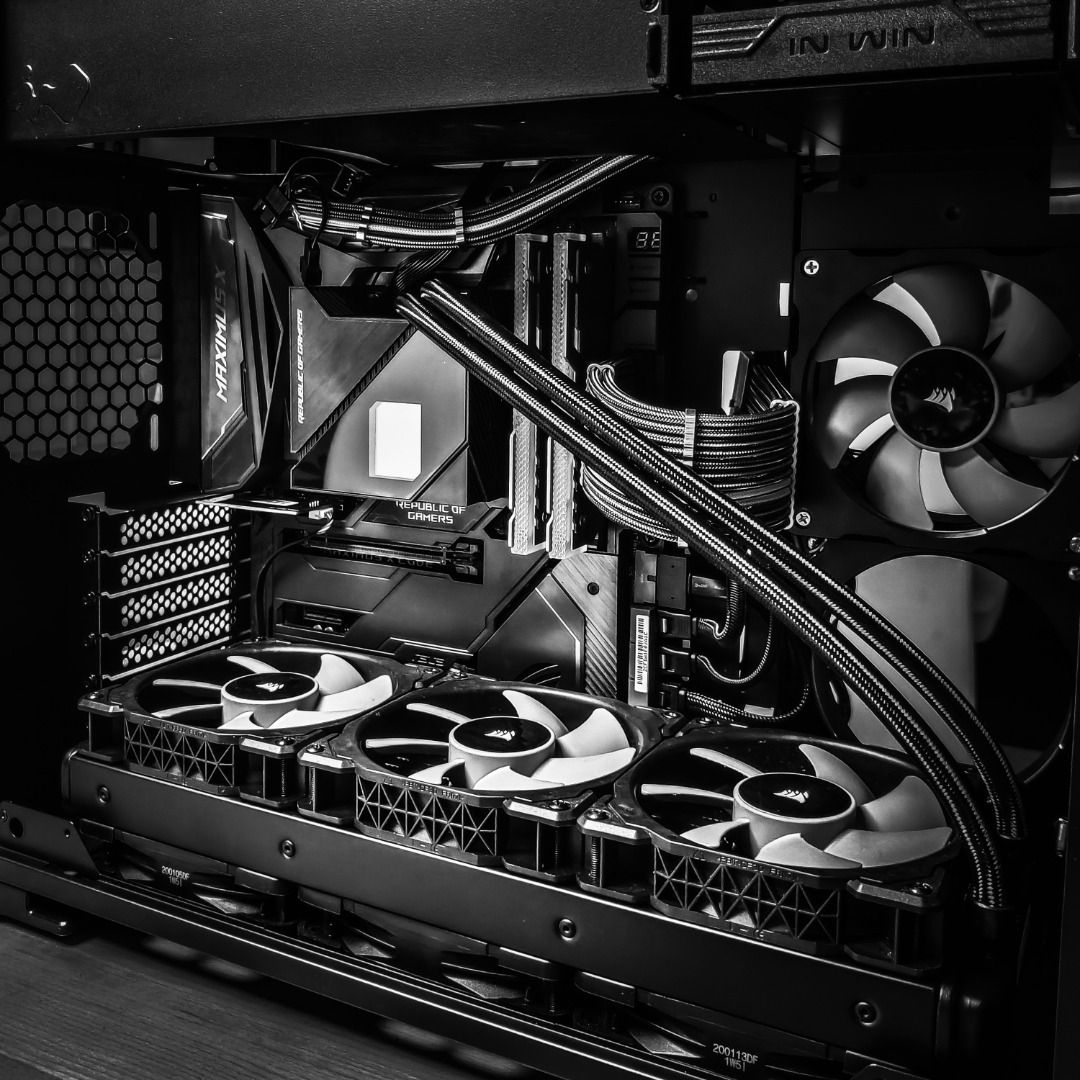
We are back to having a similar quirk as in the old build, now there is NO space between the front of the graphics card and the nearest fan, but the back end is clear this time
As you maybe notice, I have NOWHERE to route the big 3x PCIe power cable, other than leaving 1 of the side fans out.
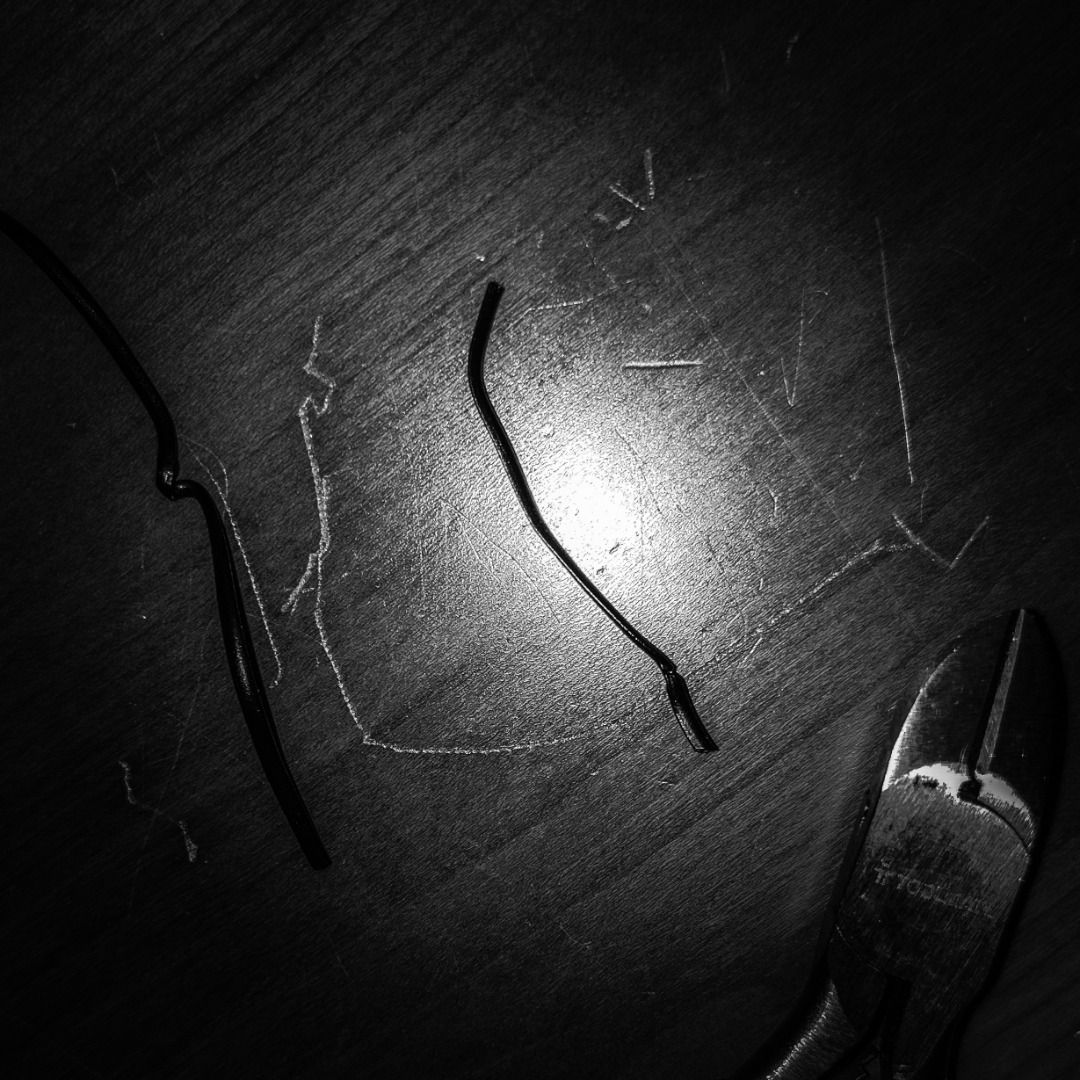
I ended up cutting away a small portion of the case on the backside of that spot, to route the cable else even the back sidepanel would have been a problem.
Im not quite sure InWin had THIS much hardware in mind when they designed the 103…
Let be done with the black/white pictures soon and show you what I actually build…
First one Im not really proud to show - the backside. This case is TINY and I have pushed SO much hardware in that cable management is not really an option (or if it is, show me!)
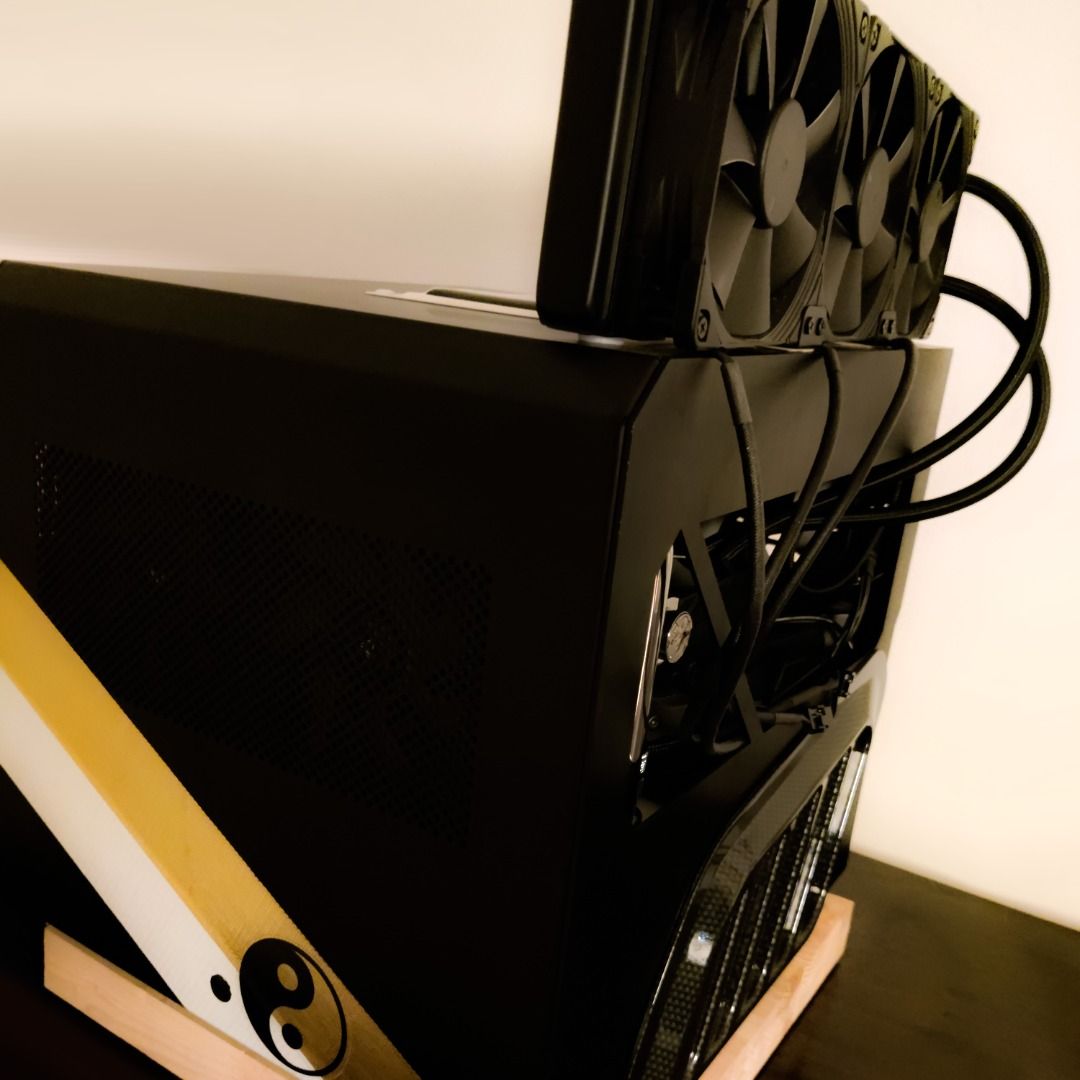
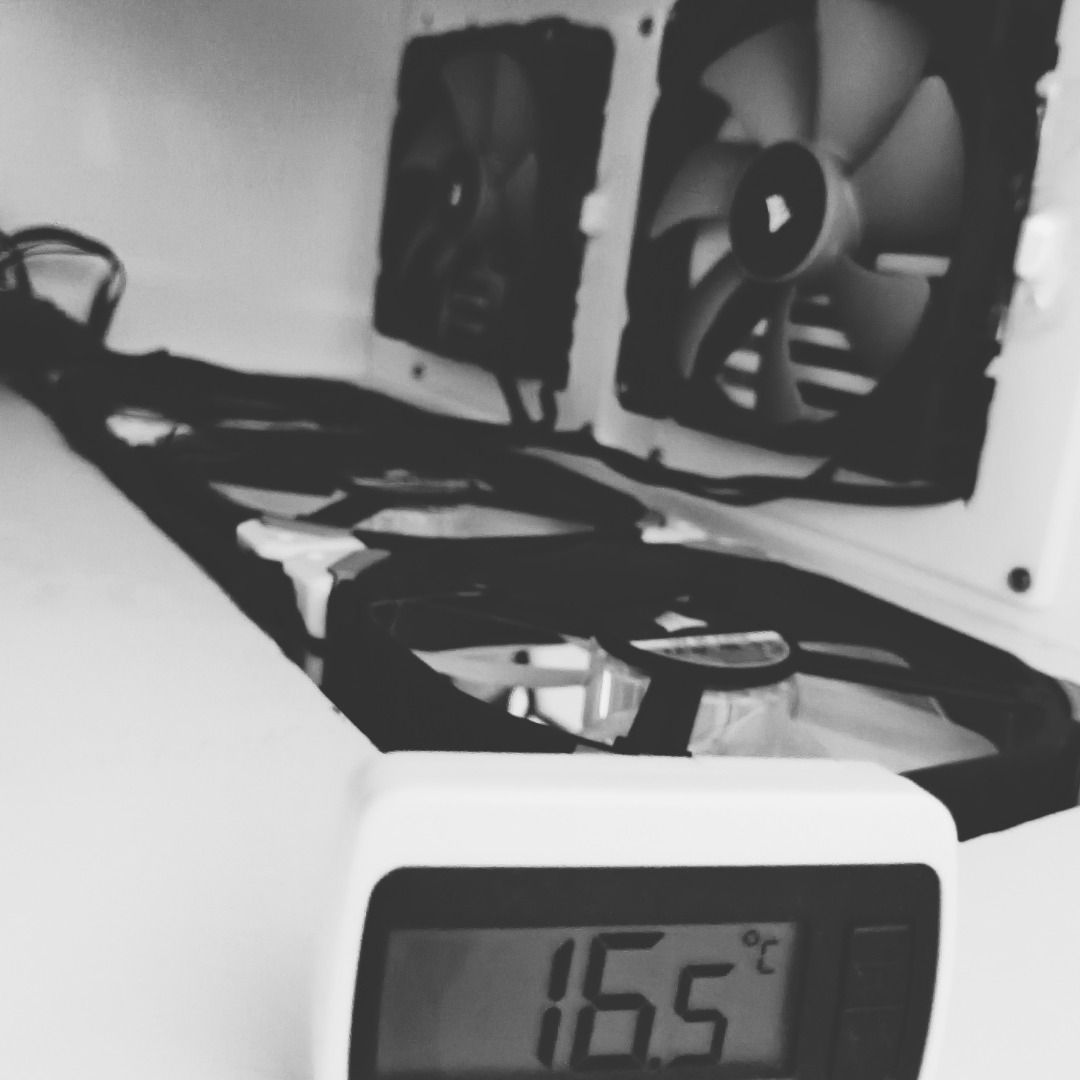
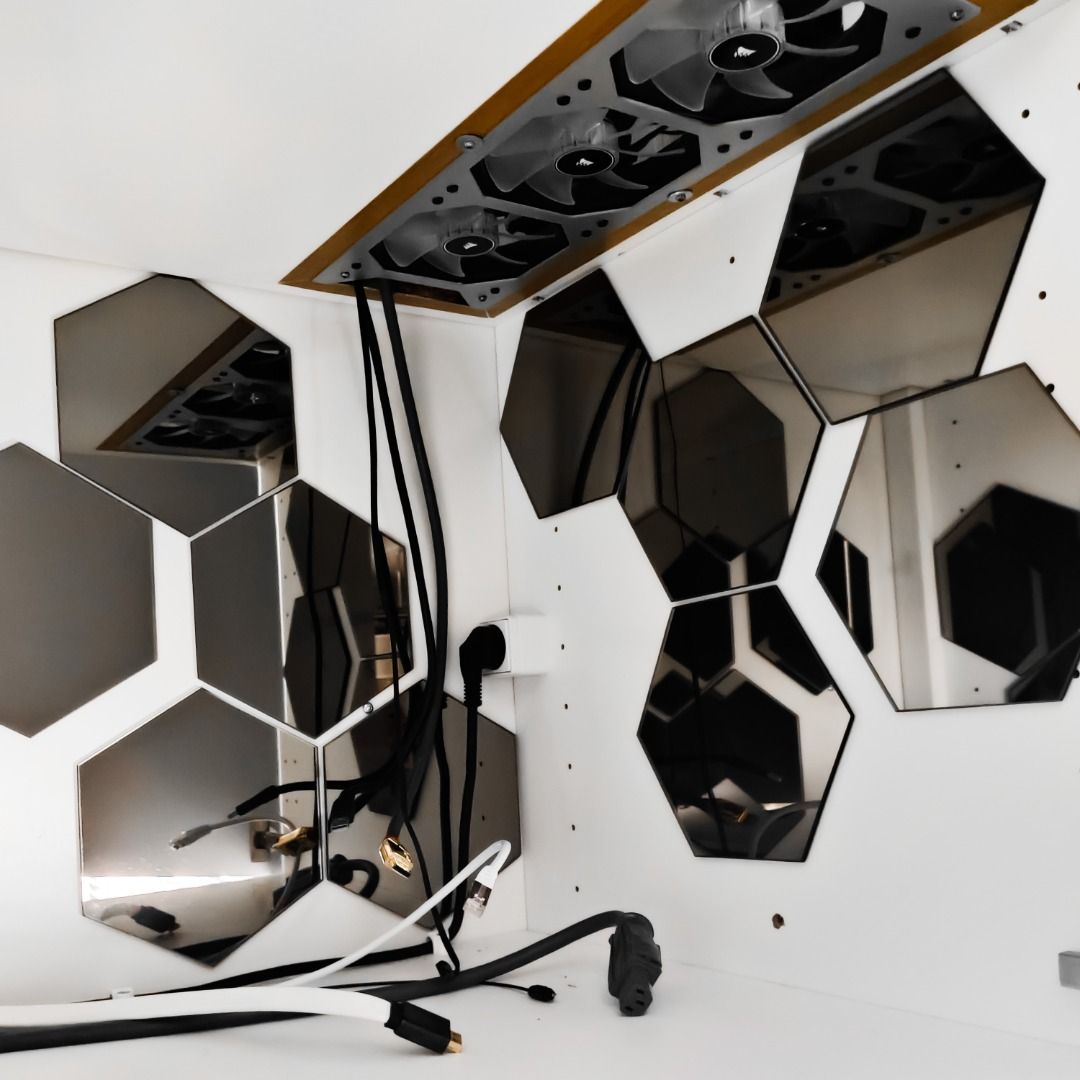
Up here is 3x ML140 fans and 4x ML120 fans, that draw in colder outside air into the closet the PC sit in. Its filtered so no dust or mosquitos or anything else from outside come in that way - it really works well! But it was little odd making 2 holes in my house for this reason…
You can see the 140 fans above the PC when its placed in its place.
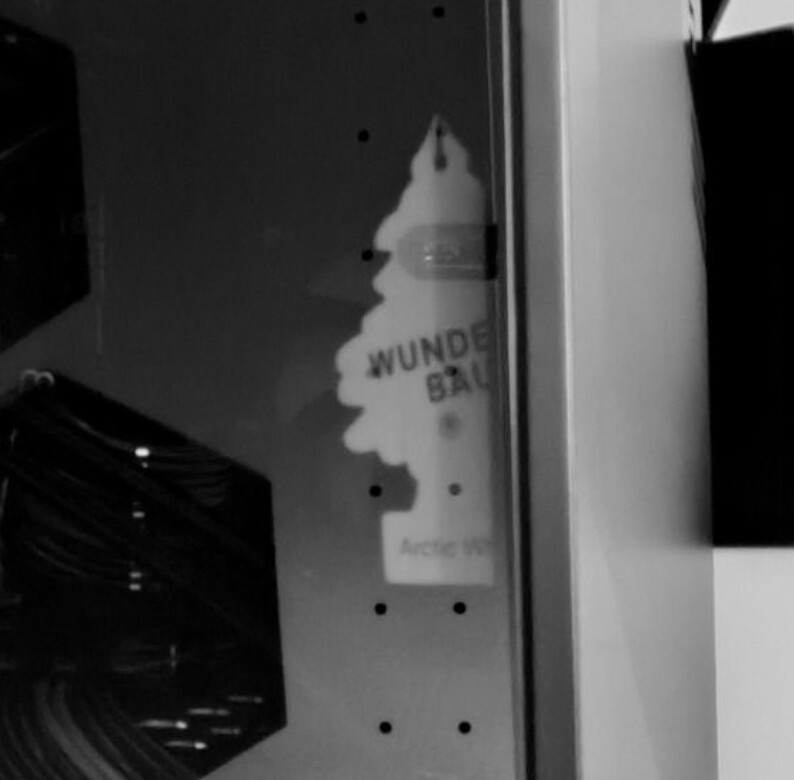
Oh yes, and that tree inside is a airfreshner… Its sort of my “mark” until I get a better idea to customize a build
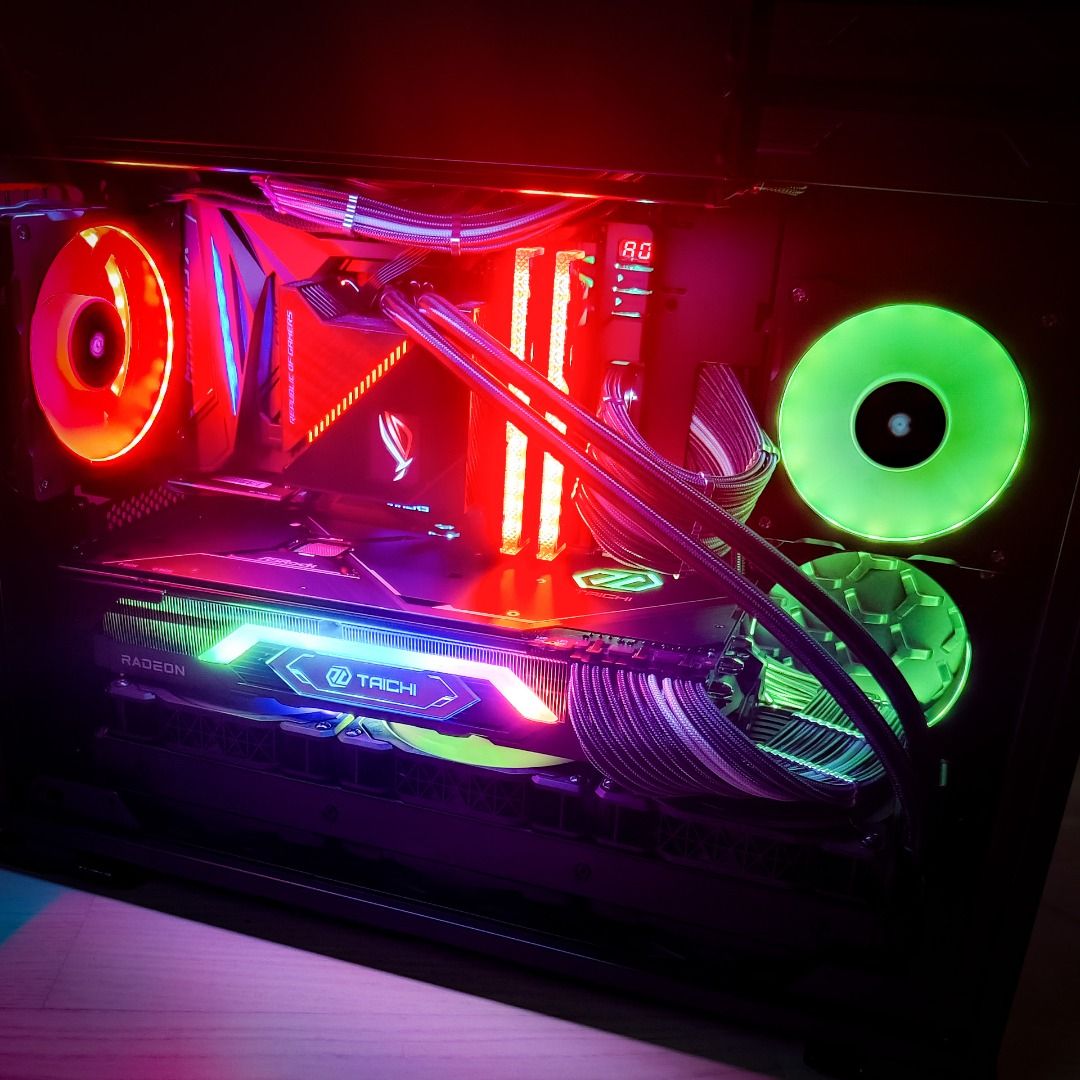
As you can maybe tell by that last picture, now we start to add some colors
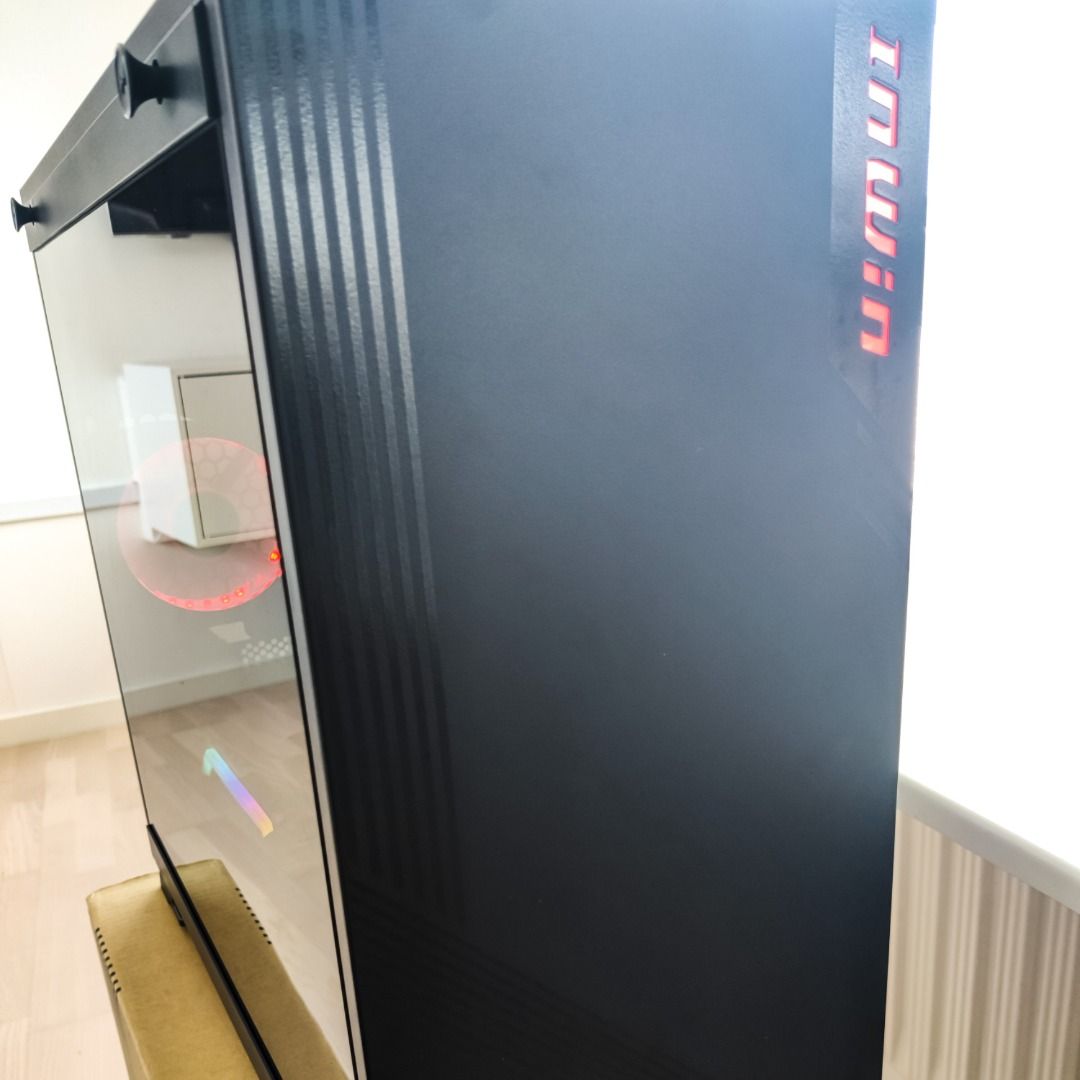
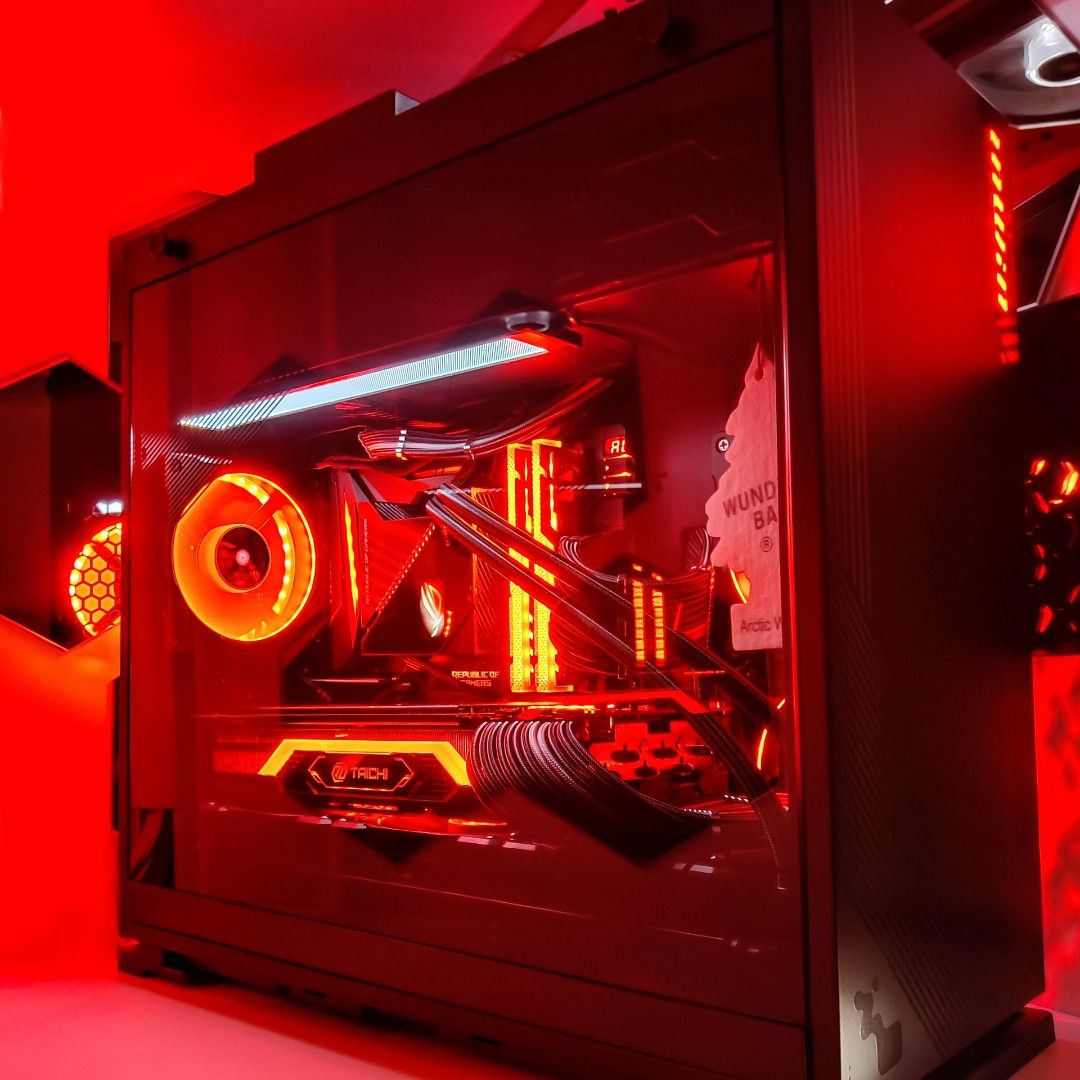
First a picture from the front. This case looks pretty stylish, it got these stripes and NOTHING on the front, other than a nametag with RGB led on the corner.
You can also see the button push side panel, its super clever! No tools needed to remove the really thick piece of tempered glass InWin have chosen to use
Thats before I push the remote and turn it on.
Wait a second… Yes, remember the PC is in a closet in the other end of my studio - so I have a Silverstone radio frequency remote thing to turn on the PC with, you can kinda see the receiver above the graphic card, a tiny little PCIe card with a build in antenna
Fun fact, I actually finished the build the 25th of December, and the default light when I turned it on looked like this - kinda like christmas
Wait… its more obvious when dark, so I waited all day and took the same picture again, without changing the LED effects, as standard it shift through all the colors and looked like this
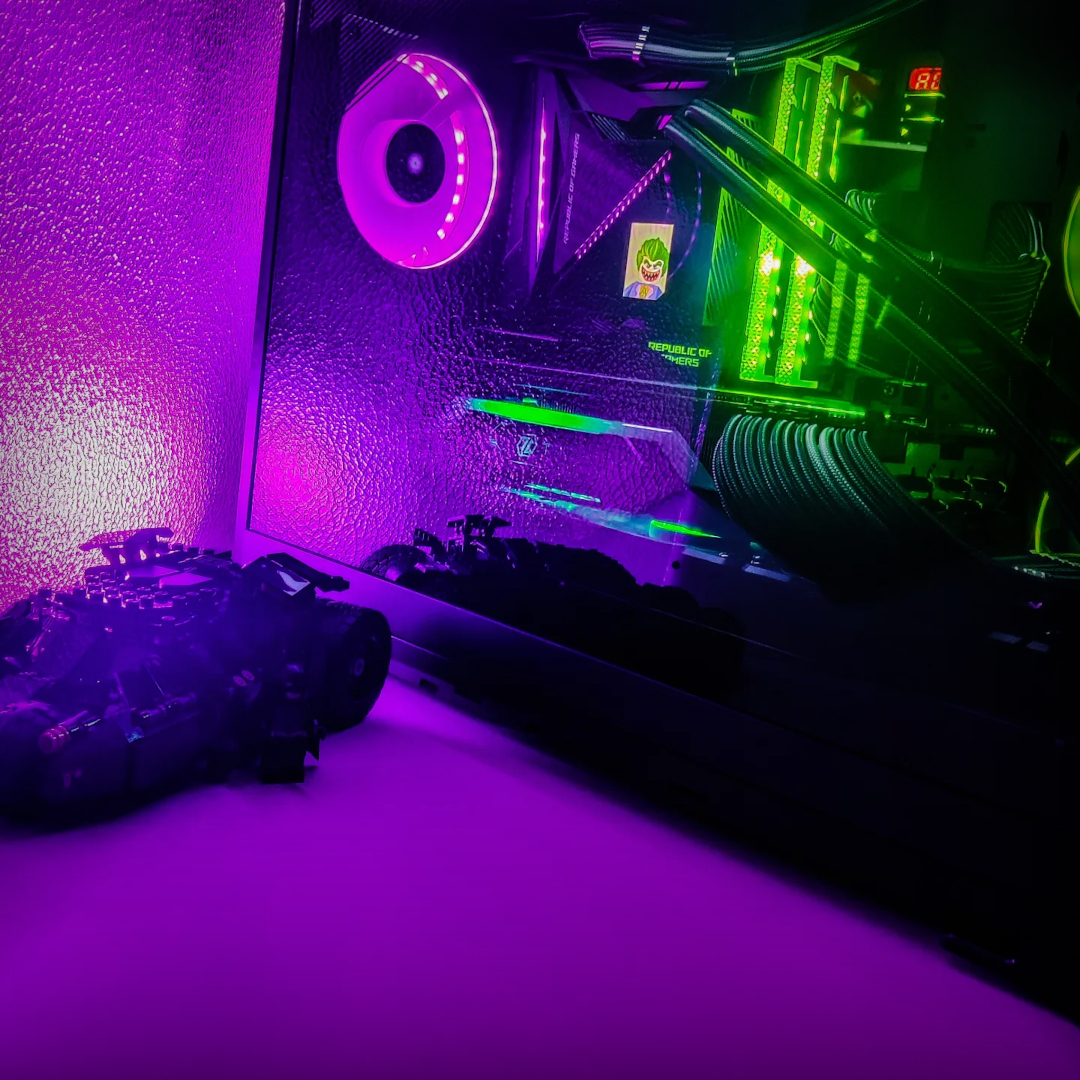
Just played around with light to fit the overall theme here.
Dont take this PC serious. Dont do what I do. Its a crazy machine, its not ideally cooled and it have so many compromises - but it works pretty damn well for my need so im very happy with it