My Workstation
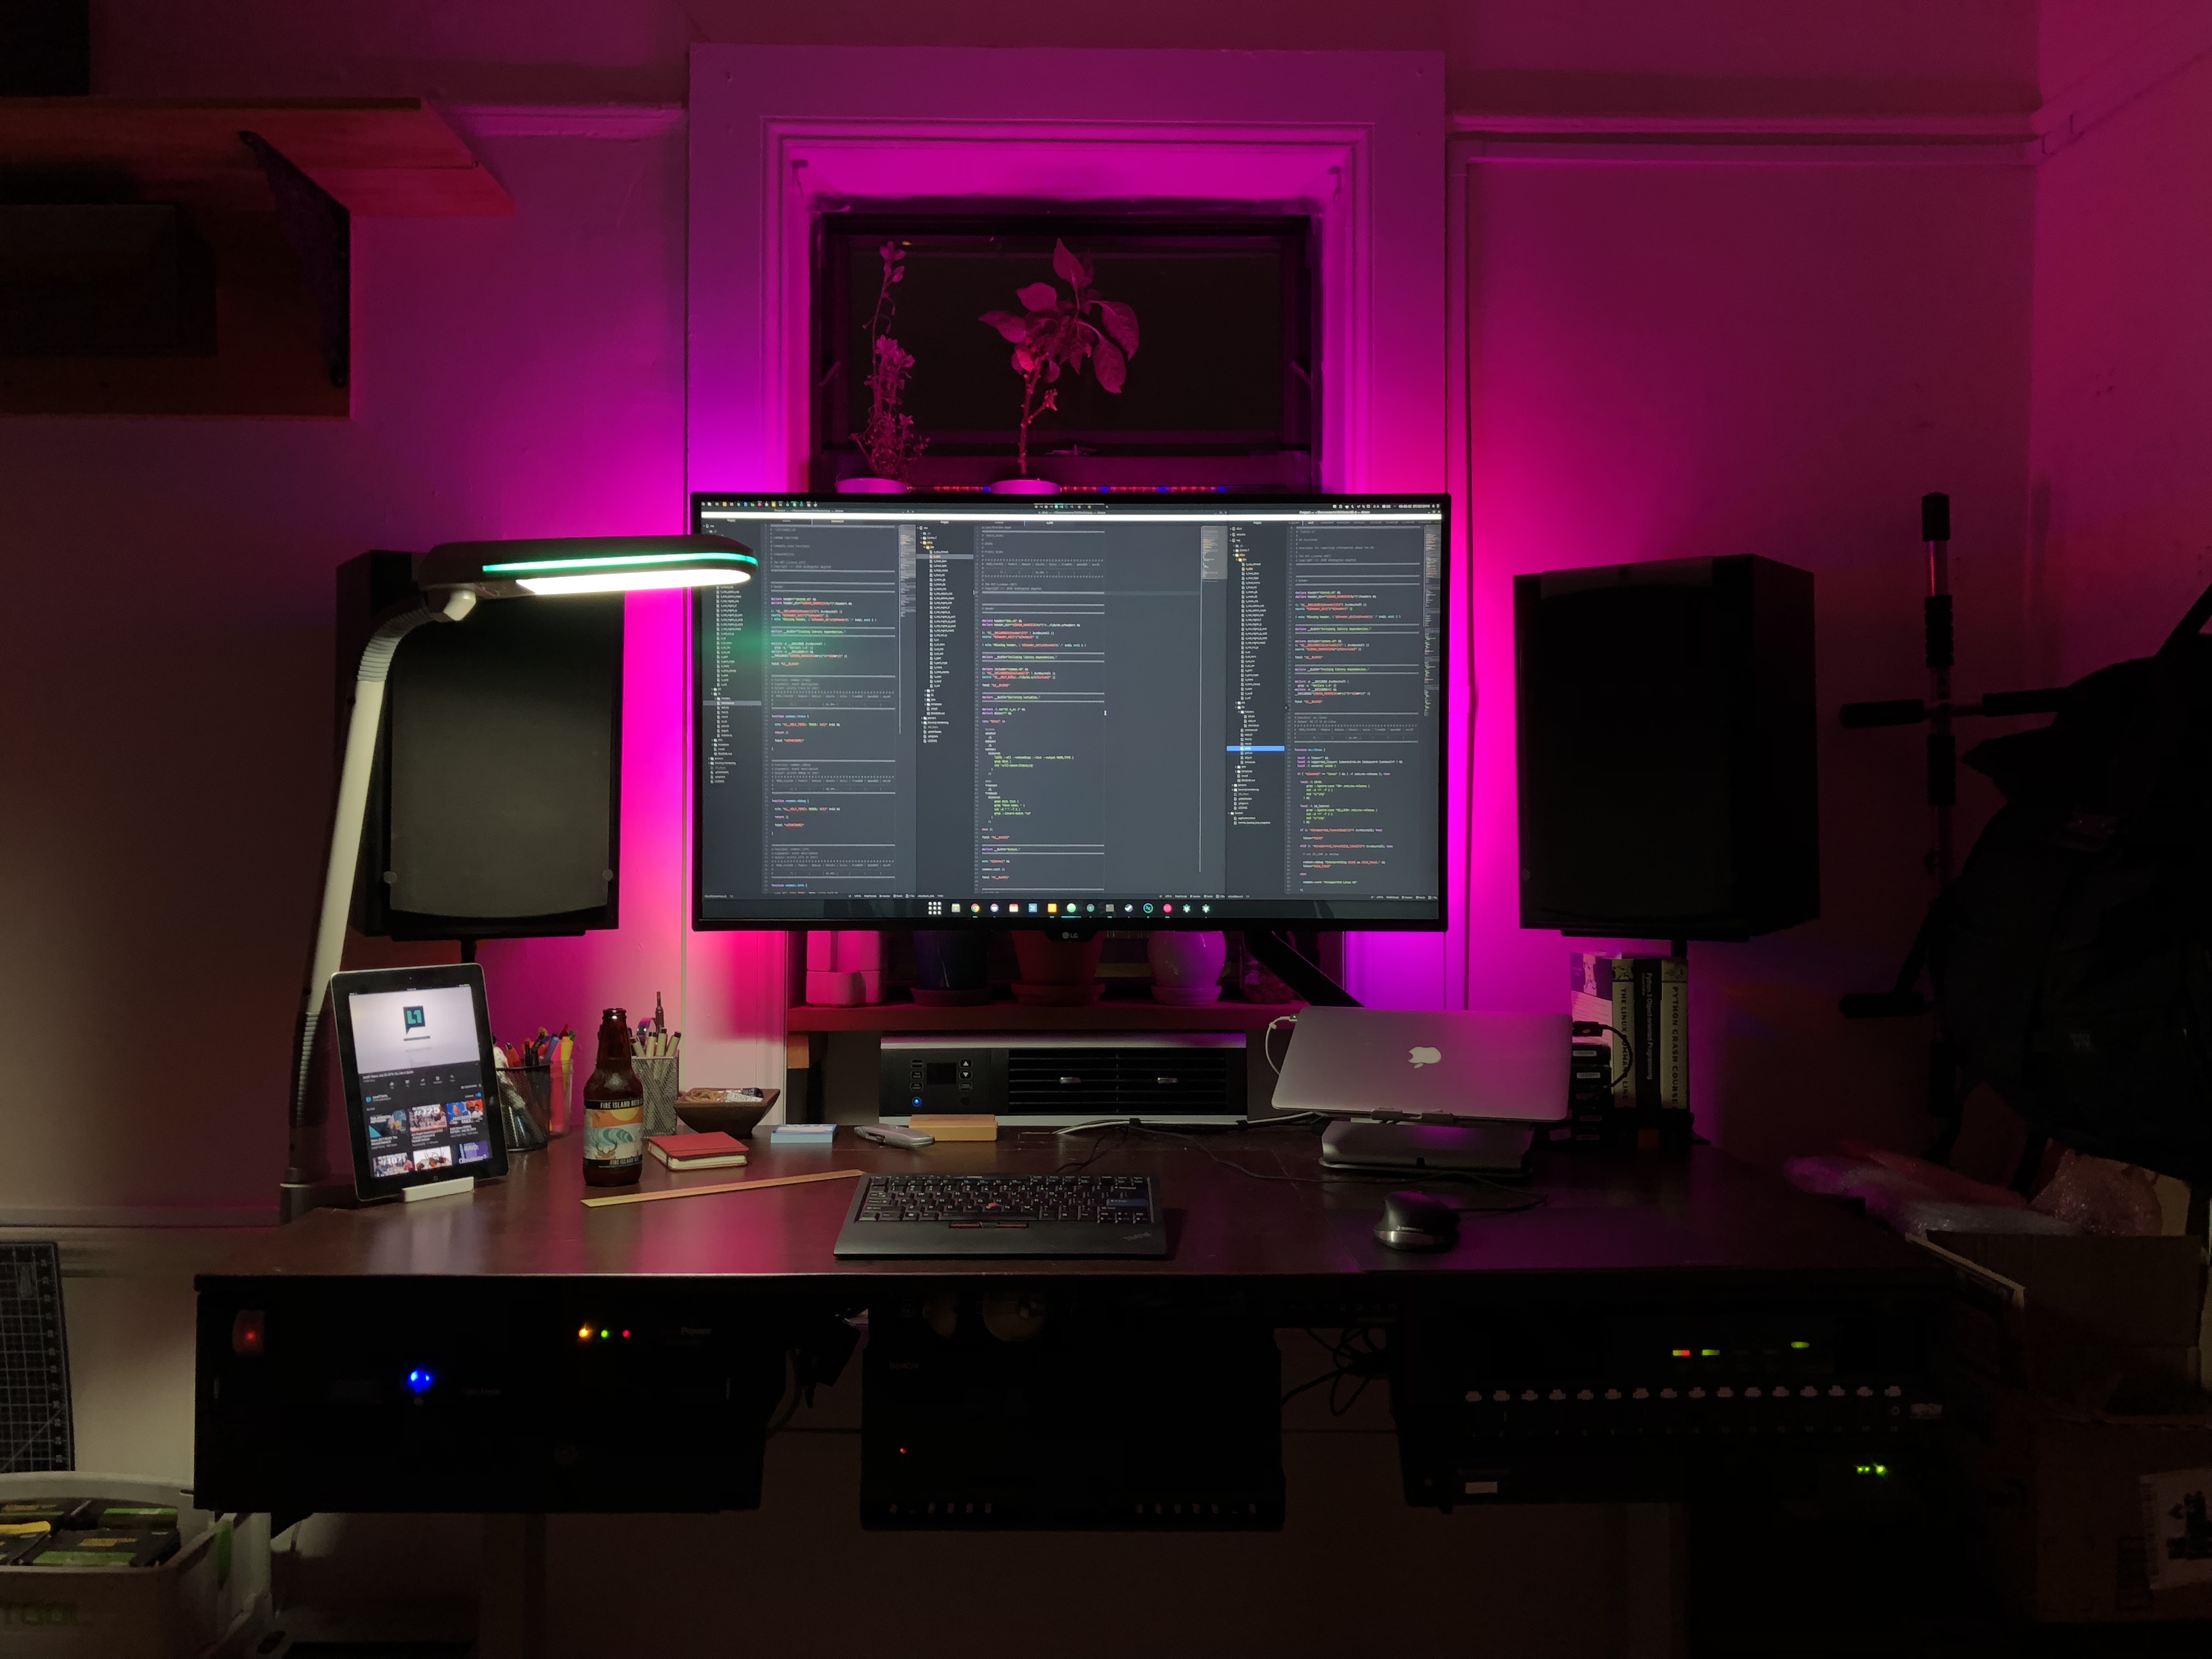
I recently got my workstation to a nice point and thought I would provide a detailed account of the parts I used to put it all together.
I have 2 earlier posts about this. One on how to mount the racks under the desk, and one speculating on the 1U workstation build.
Purpose
This workstation is mainly intended for IT admin and programming. I wanted something that was nice to look at (and listen to) and completely self-contained. I feel I have accomplished this with minimal compromise.
This is not a budget build by any means. I’d say it strikes a balance between form and function, possibly erring on the side of form.
Parts
Structural
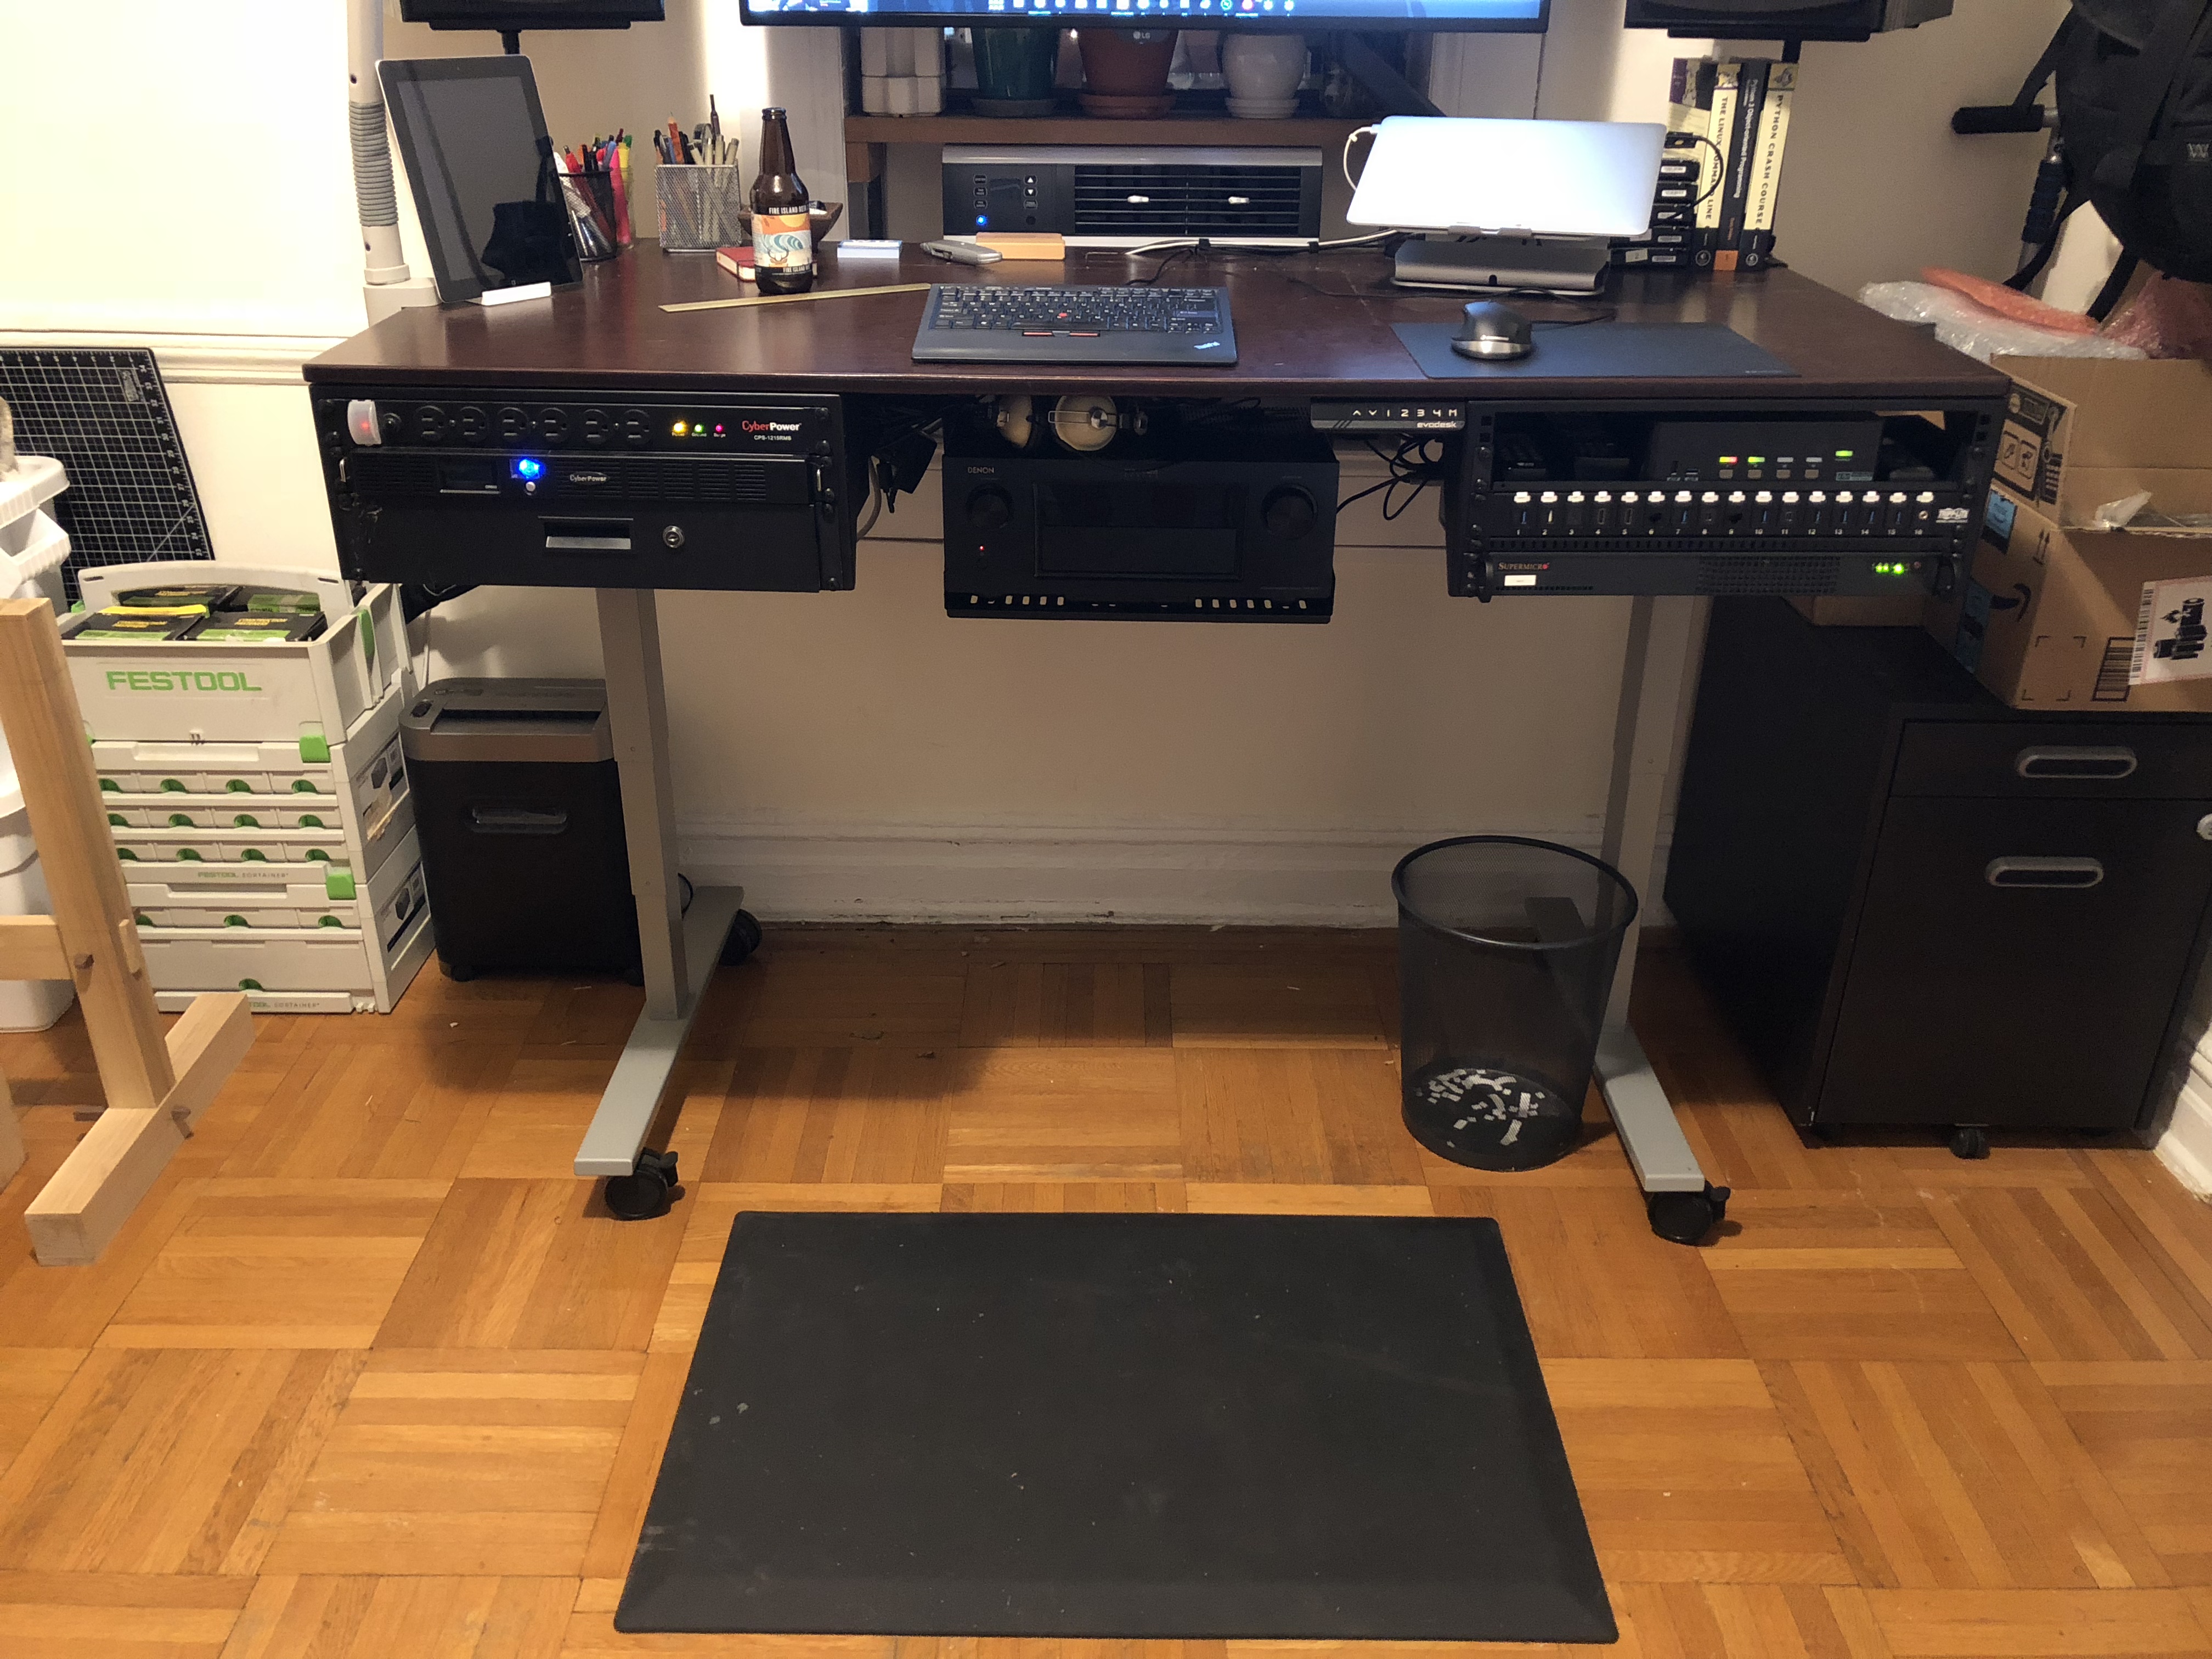
Desk: Evo Desk
- 30x63" Dark Bamboo Top
- Silver legs
- Programmable Memory
- Silver Cable Management Tray
- Casters
Standing Mat: Imprint CulumusPro
Racks: StarTech Vertical Racks
- 2x 4U
- 1x 6U
- See earlier post for mounting hardware and instructions
Speaker Stands
- 2x On-Stage TM03’s
- 6x Sure A26X’s
- 2x On-Stage MSA 6000
Rack Components (Left)
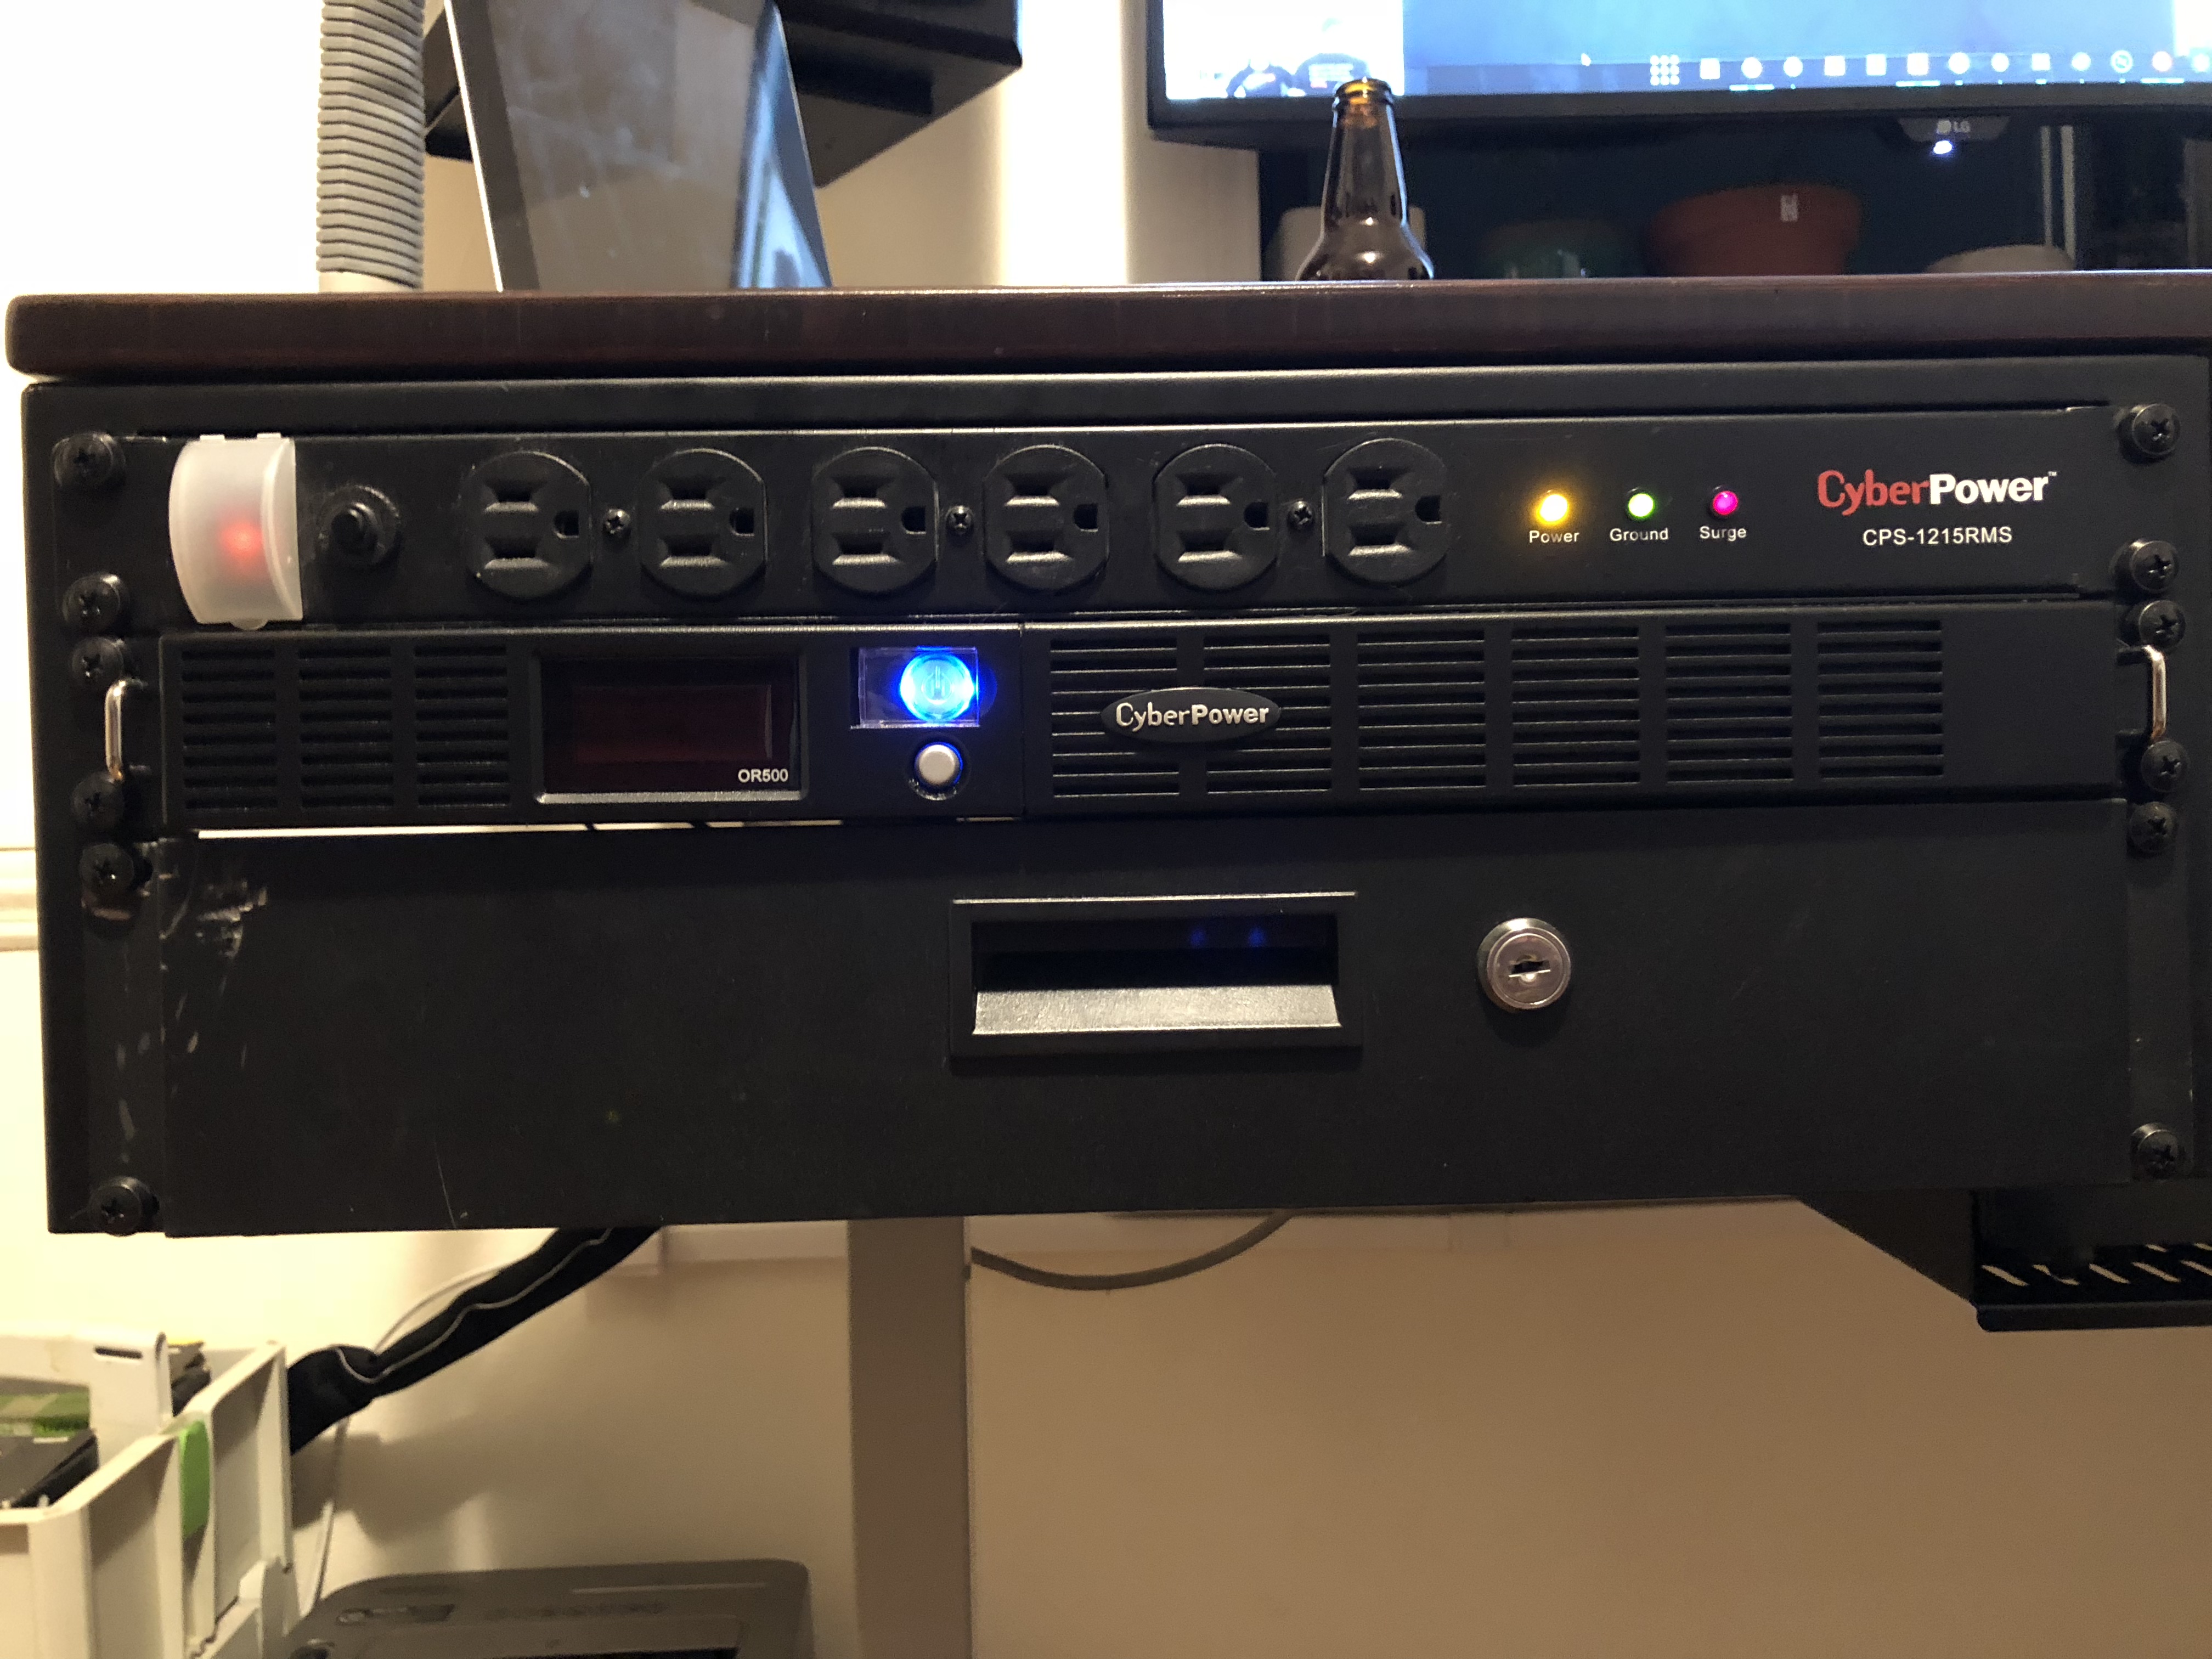
Surge Protector: CyberPower CPS1215RMS
UPS: CyberPower OR500LCDRM1U
Drawer: NavePoint Lockable Deep Drawer 2U
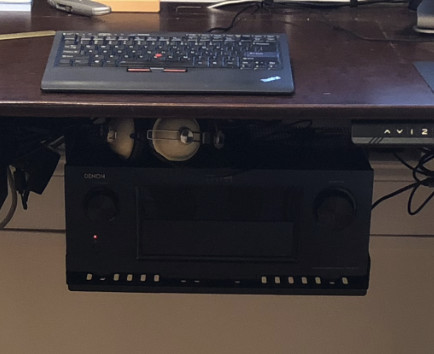
Rack Components (Middle)
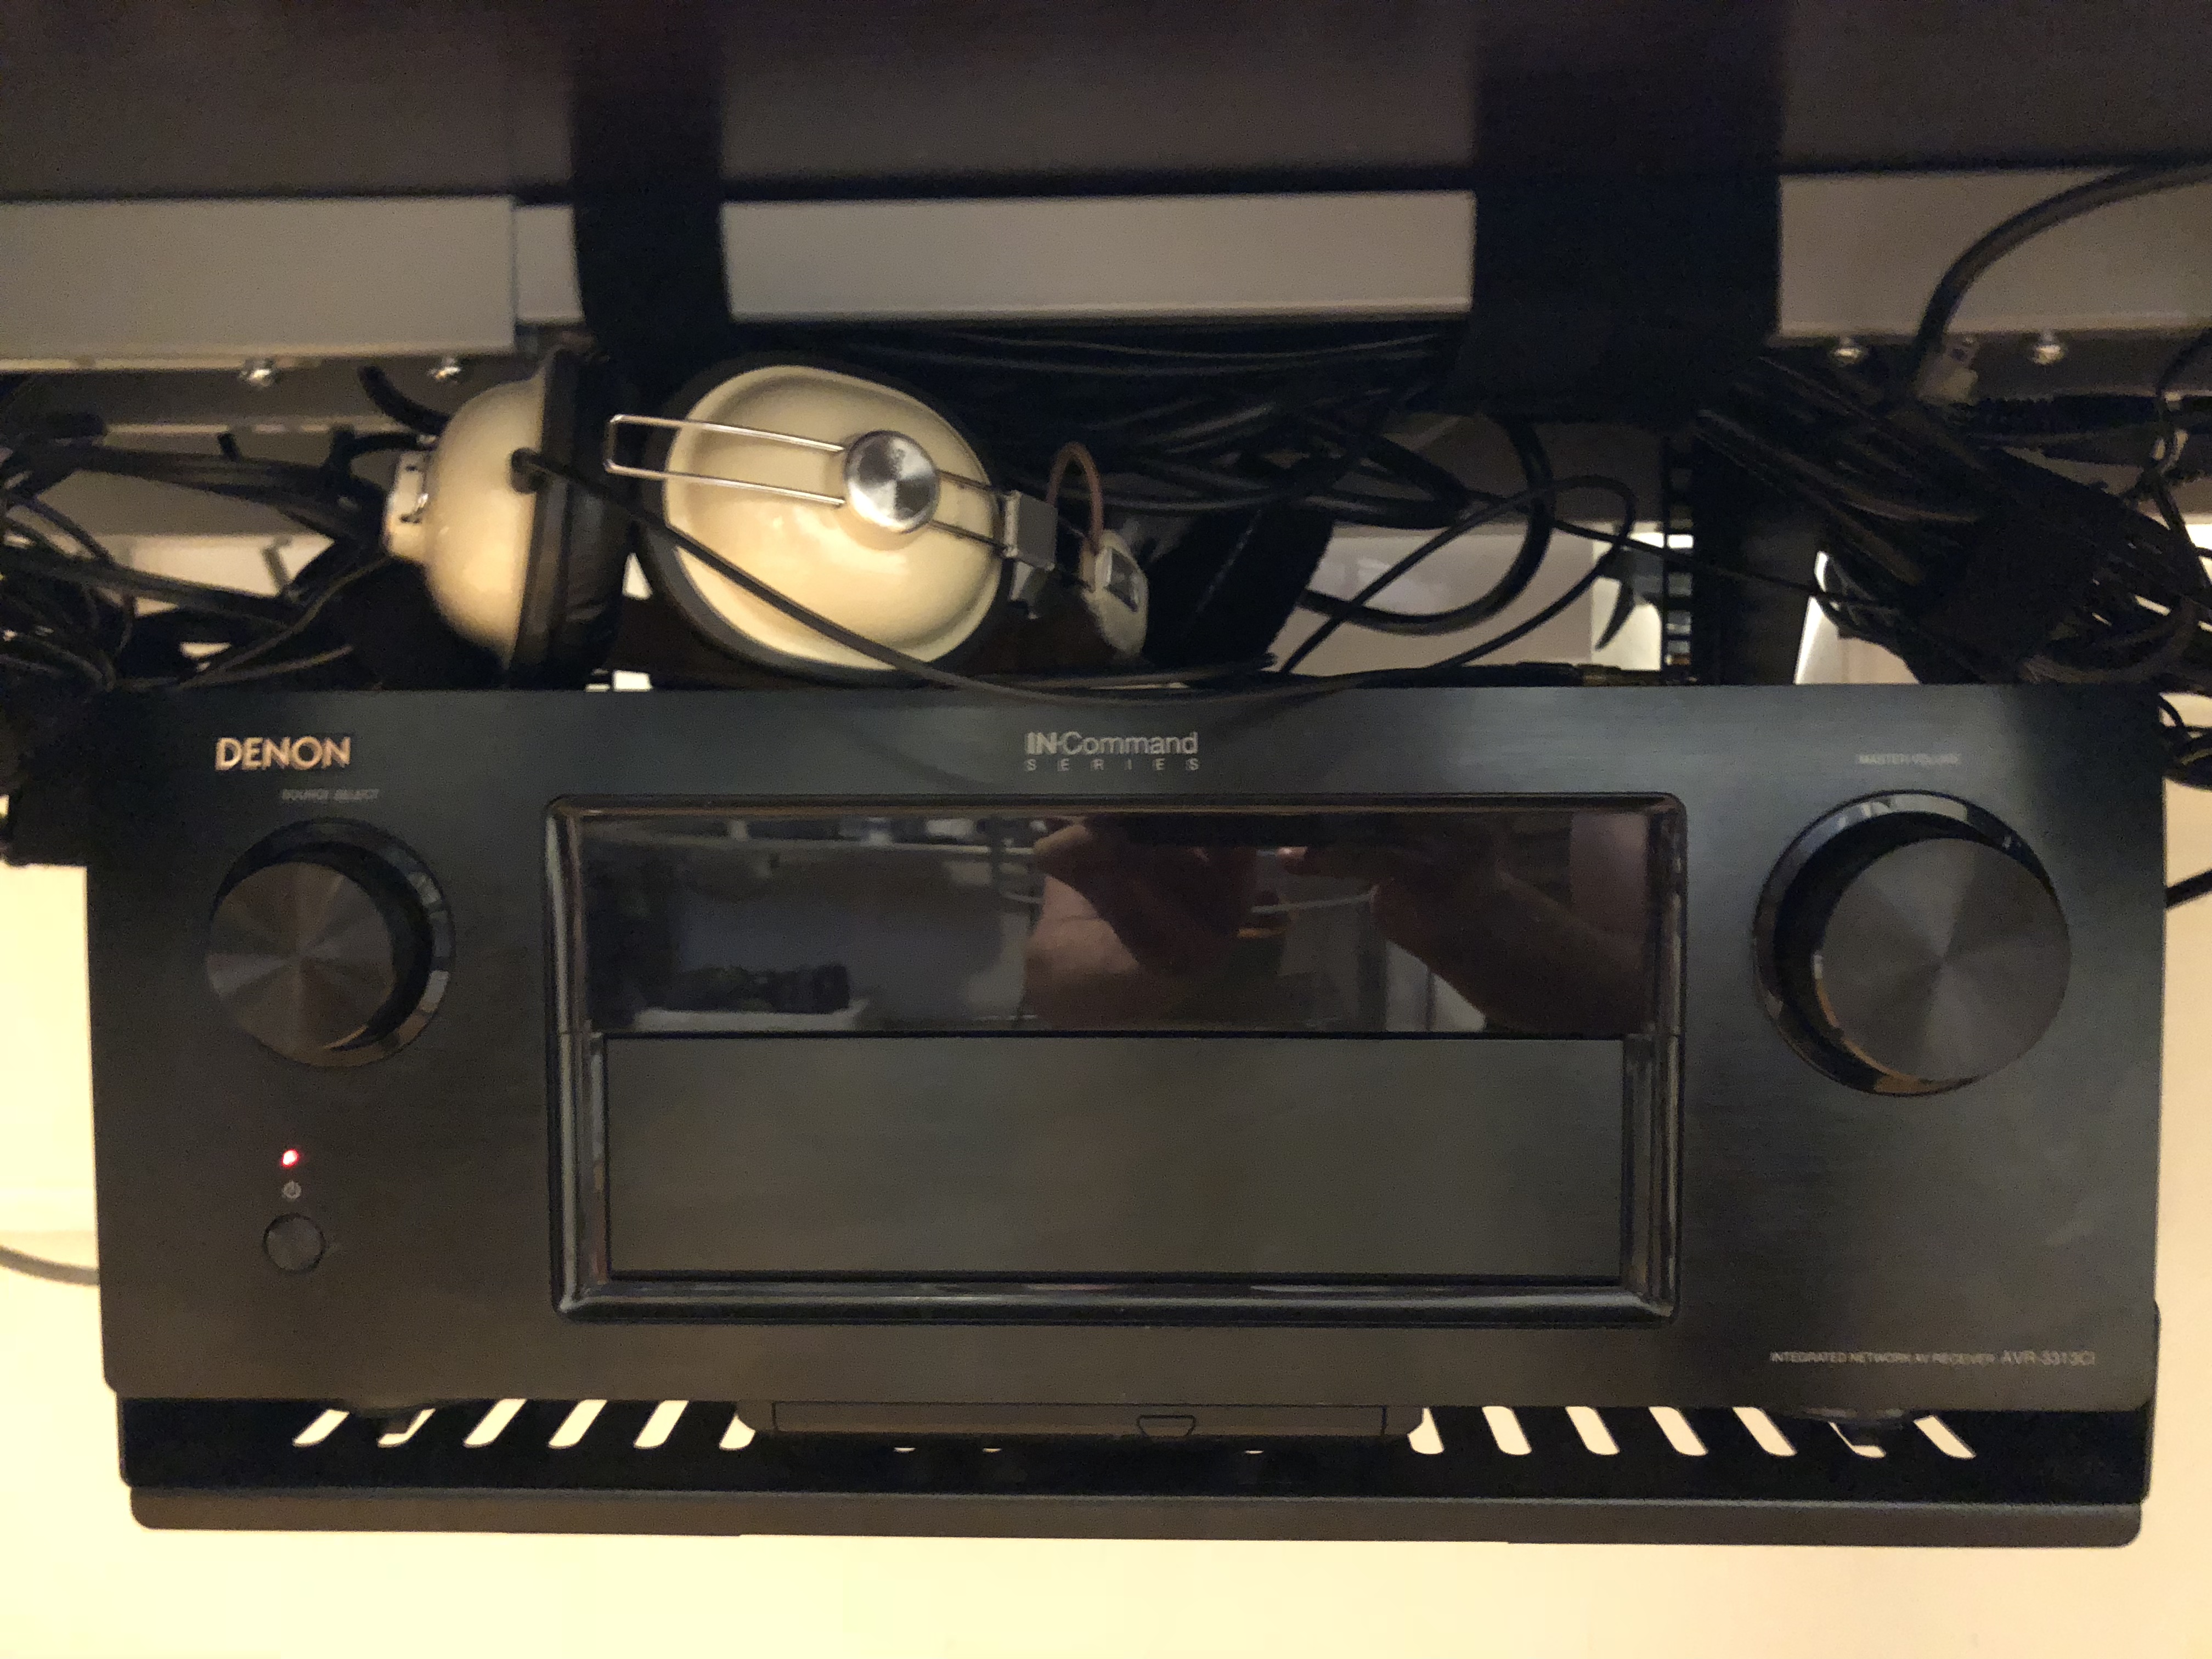
Receiver: Denon AVR-3313CI
Headphones: Mediocre Ones from 10 Years Ago
Rack Components (Right)
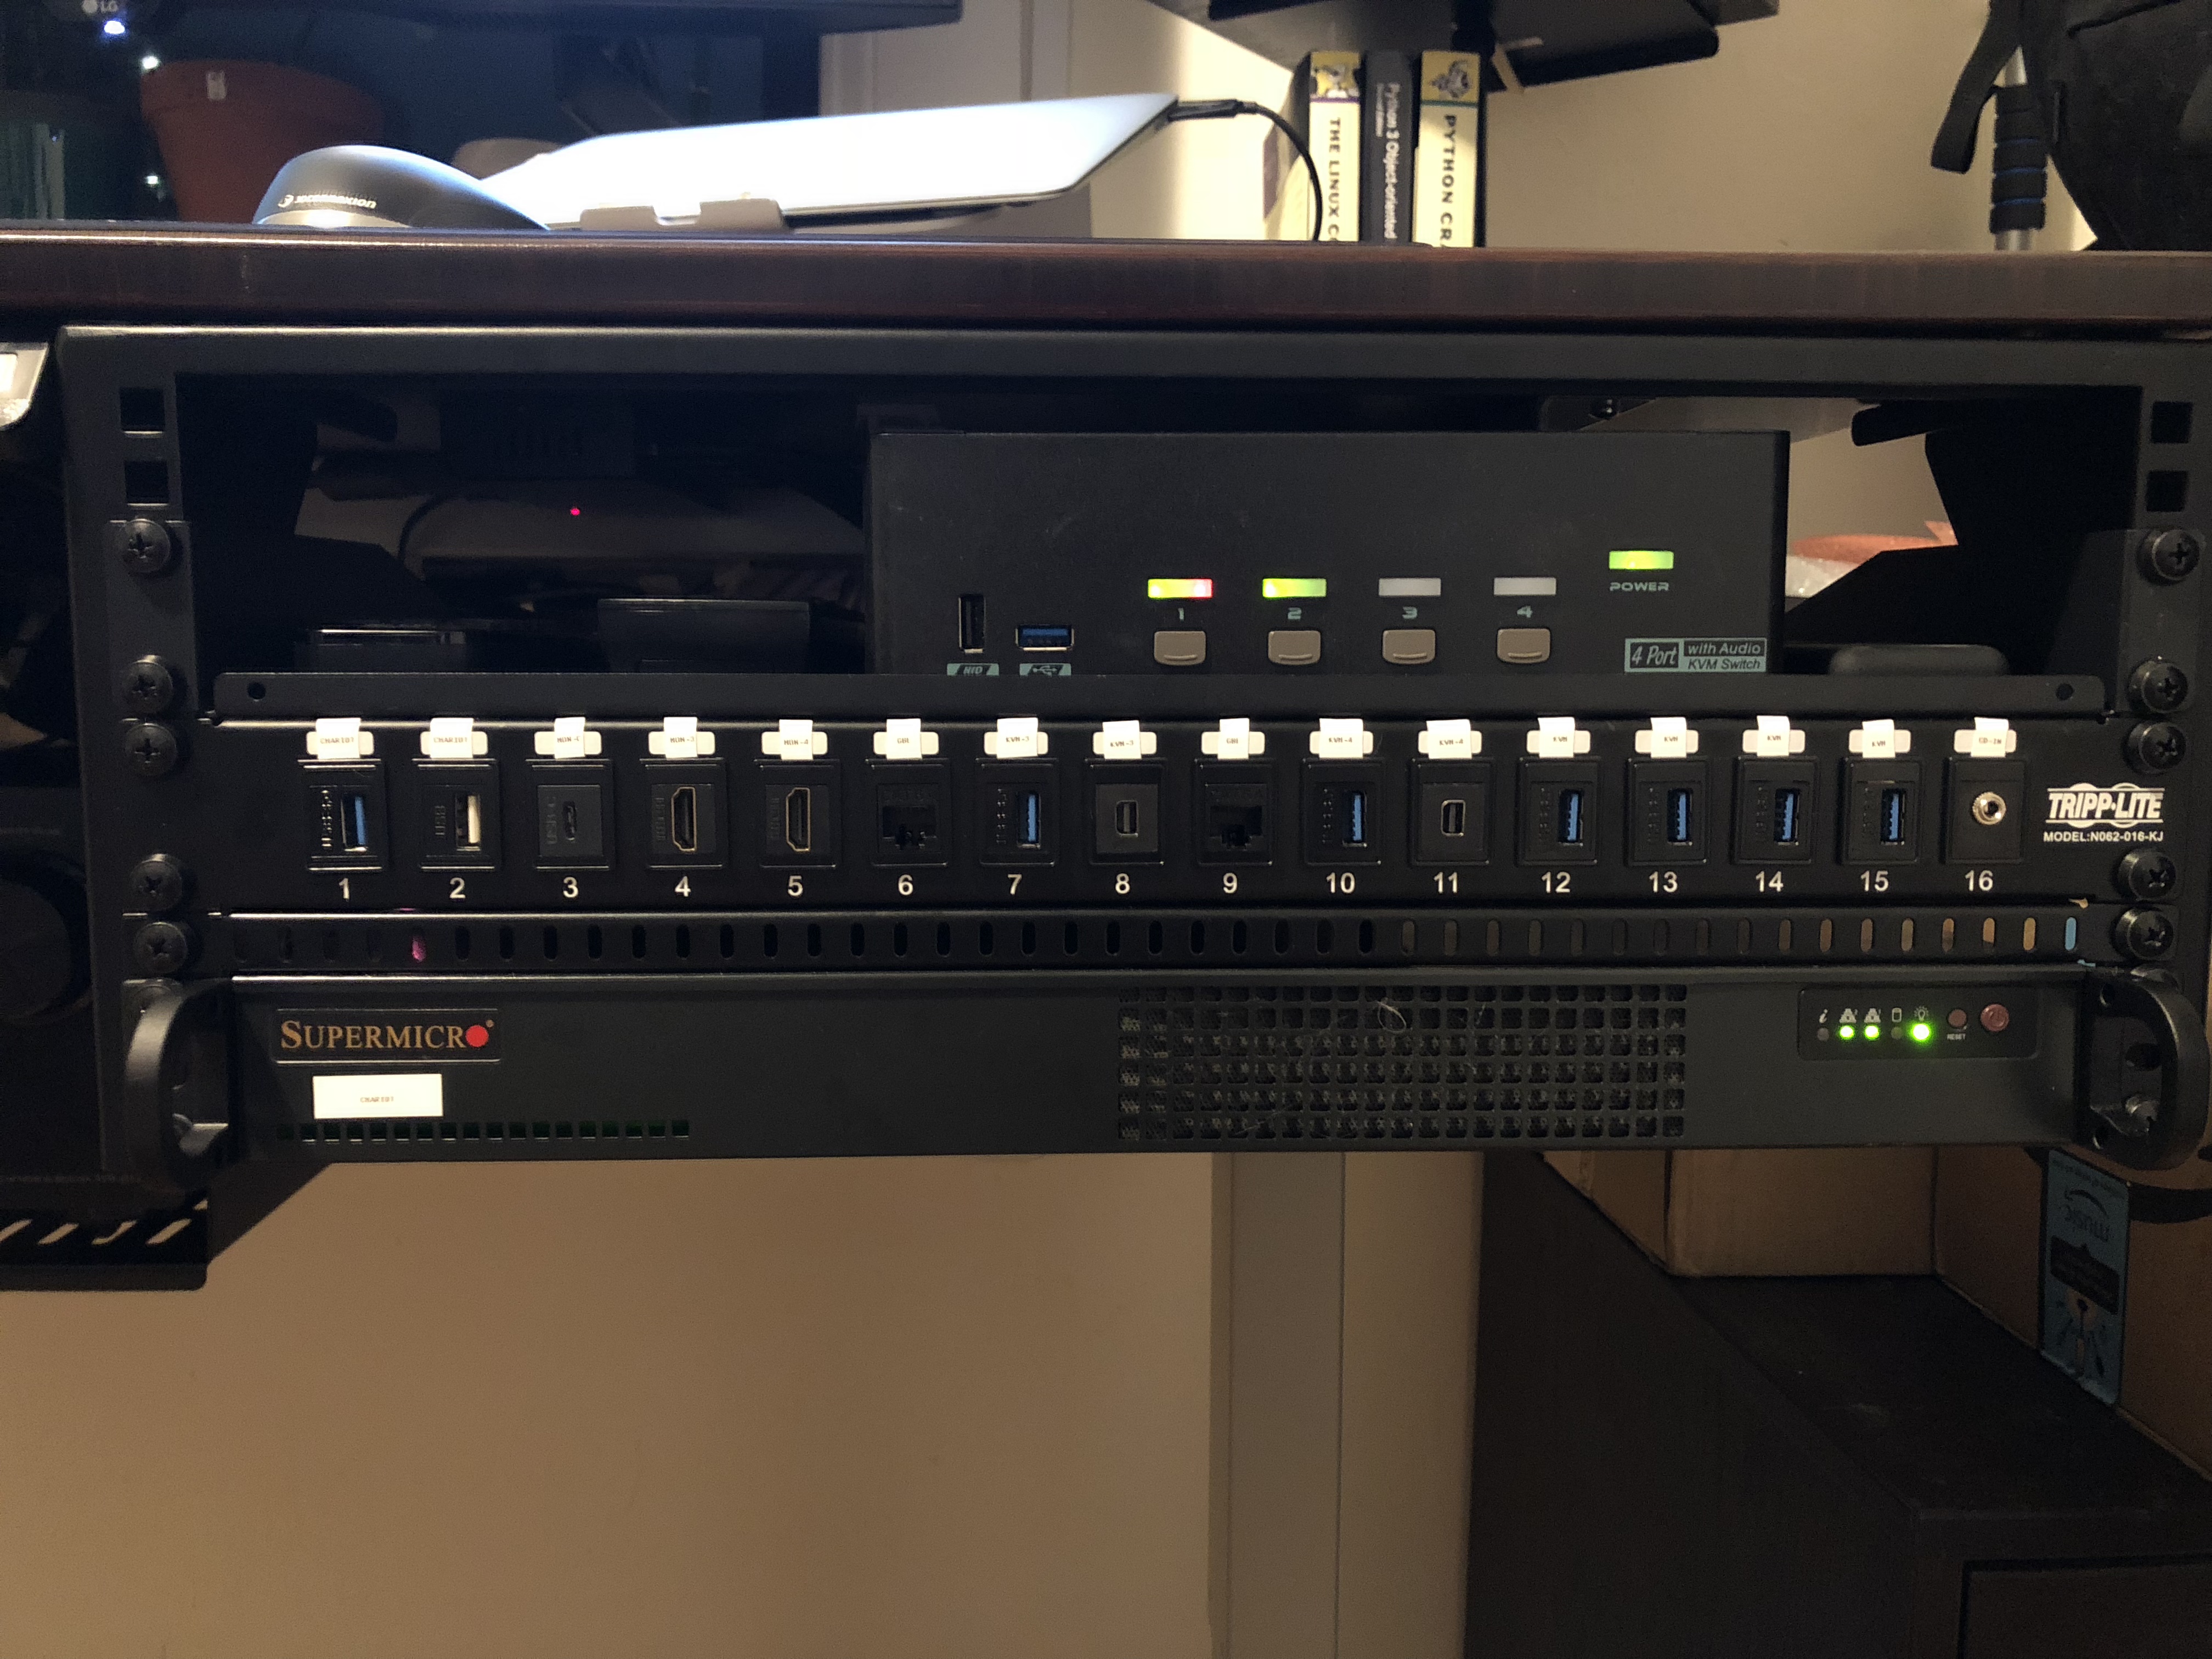
Shelf: 1U Rack Shelf (Permanently Borrowed from Job Site)
KVM: Level1Techs Dual Monitor KVM
Keystone Patch Panel: Tripp Lite 16-Port Keystone Blank Patch Panel
-
7x USB 3.0 Keystone Jacks: Poyiccot Female to Female USB 3.0 Adapters
-
1x USB 2.0 Keystone Jack: Poyiccot Female to Female USB 2.0 Adapters
-
1x USB C Keystone Jack: Poyiccot Female to Female USB C 3.1 Adapters
-
2x HDMI 2.0 Keystone Jacks: RiteAV Female to Female HDMI 2.0 Keystone Adapters
-
2x Cat6A Keystone Jacks: Monoprice Cat6A Keystone Jack
-
2x Mini Displayport Keystone Jacks: Tripp Lite Female to Femaile Mini Displayport Adapters
-
1x 1/8"/Minijack Keystone Jack (I can’t find where I purchased this, but I paid much less for it than this listing)
1/3rd U Rack Vent: AllMetalParts.com
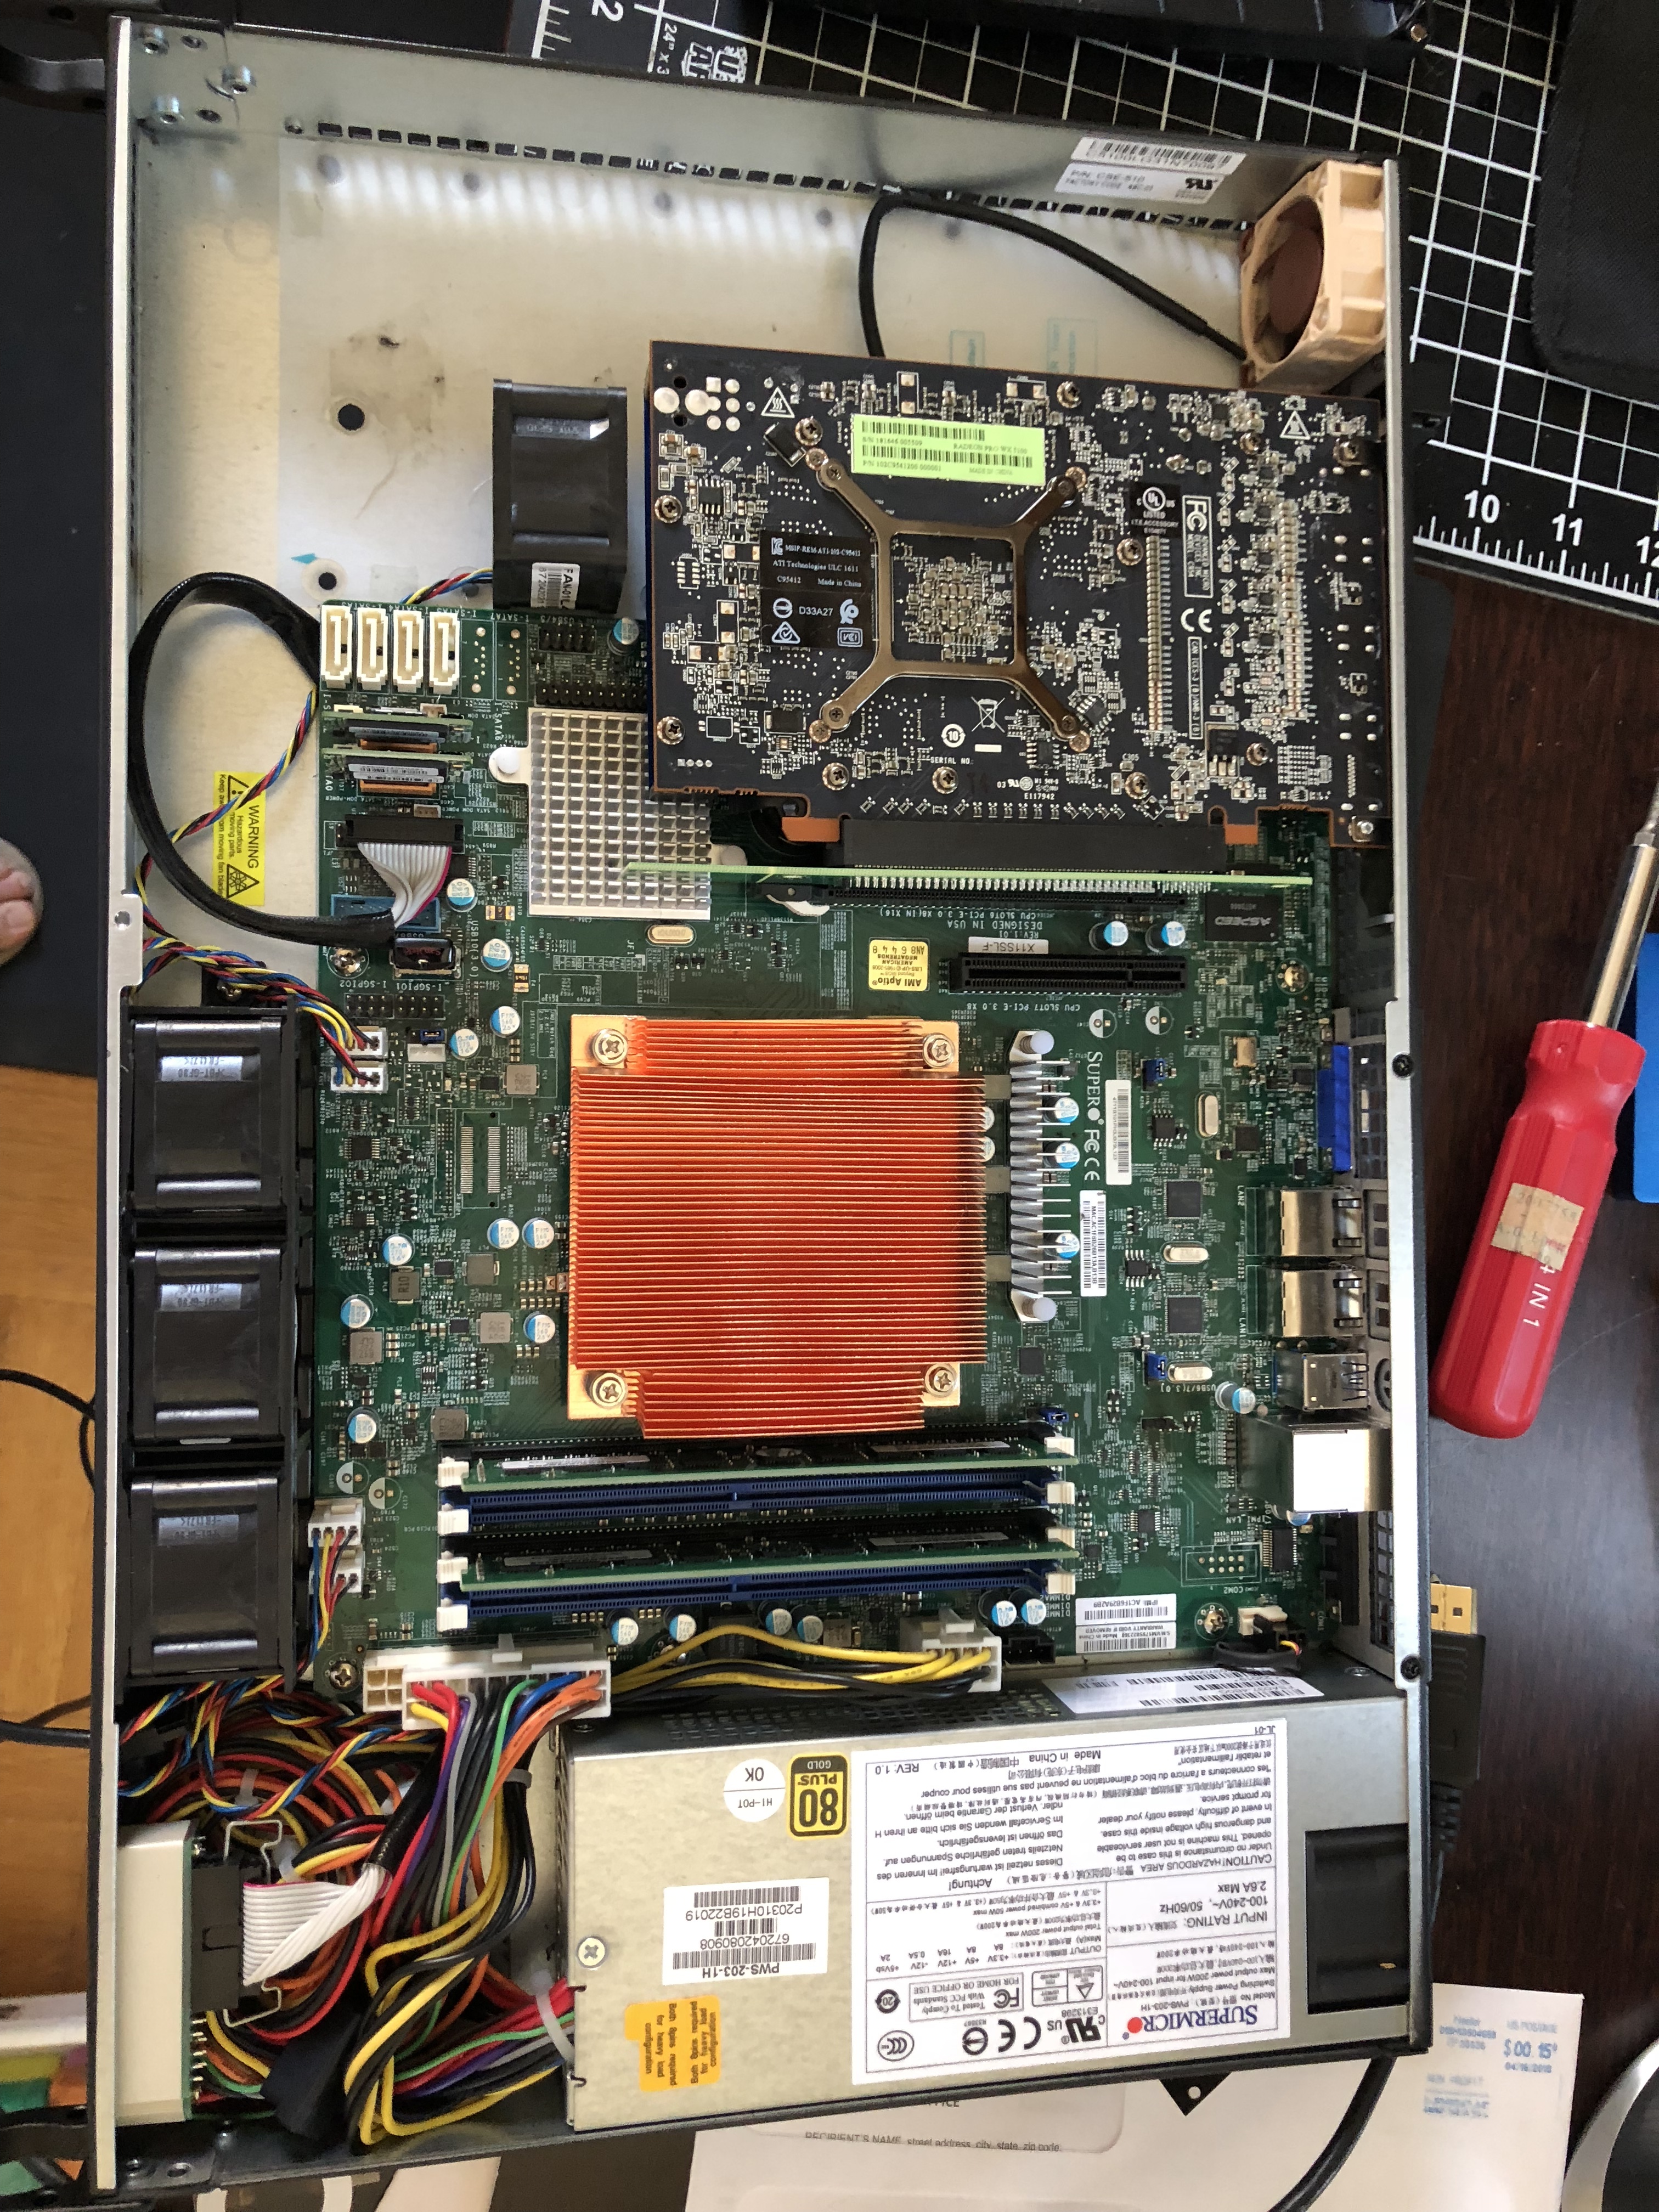
1U Workstation
-
Motherboard: Supermicro X11SSL-F
-
Additional Intake Fan: Supermicro FAN-0100L4
-
Additional Exhaust Fan: Noctua NF-A4x20 FLX (I bought the 3-pin on accident, meant to get the 4-pin)
-
CPU: Intel E3-1230v6
-
Heatsink: Dynatron K129
-
2x 8GB 2400 ECC UDIMM: 1CA79AA-MB
-
PCI-E Riser: Supermicro RSC-RR1U-E16
-
GPU: Radeon Pro WX 5100
-
2x SATA DOMs: Supermicro 128GB SuperDOM
-
Dust Filter: PVCM-30
Misc Desk
USB 3 Hub: StarTech 4-Port Industrial USB 3.0 Hub

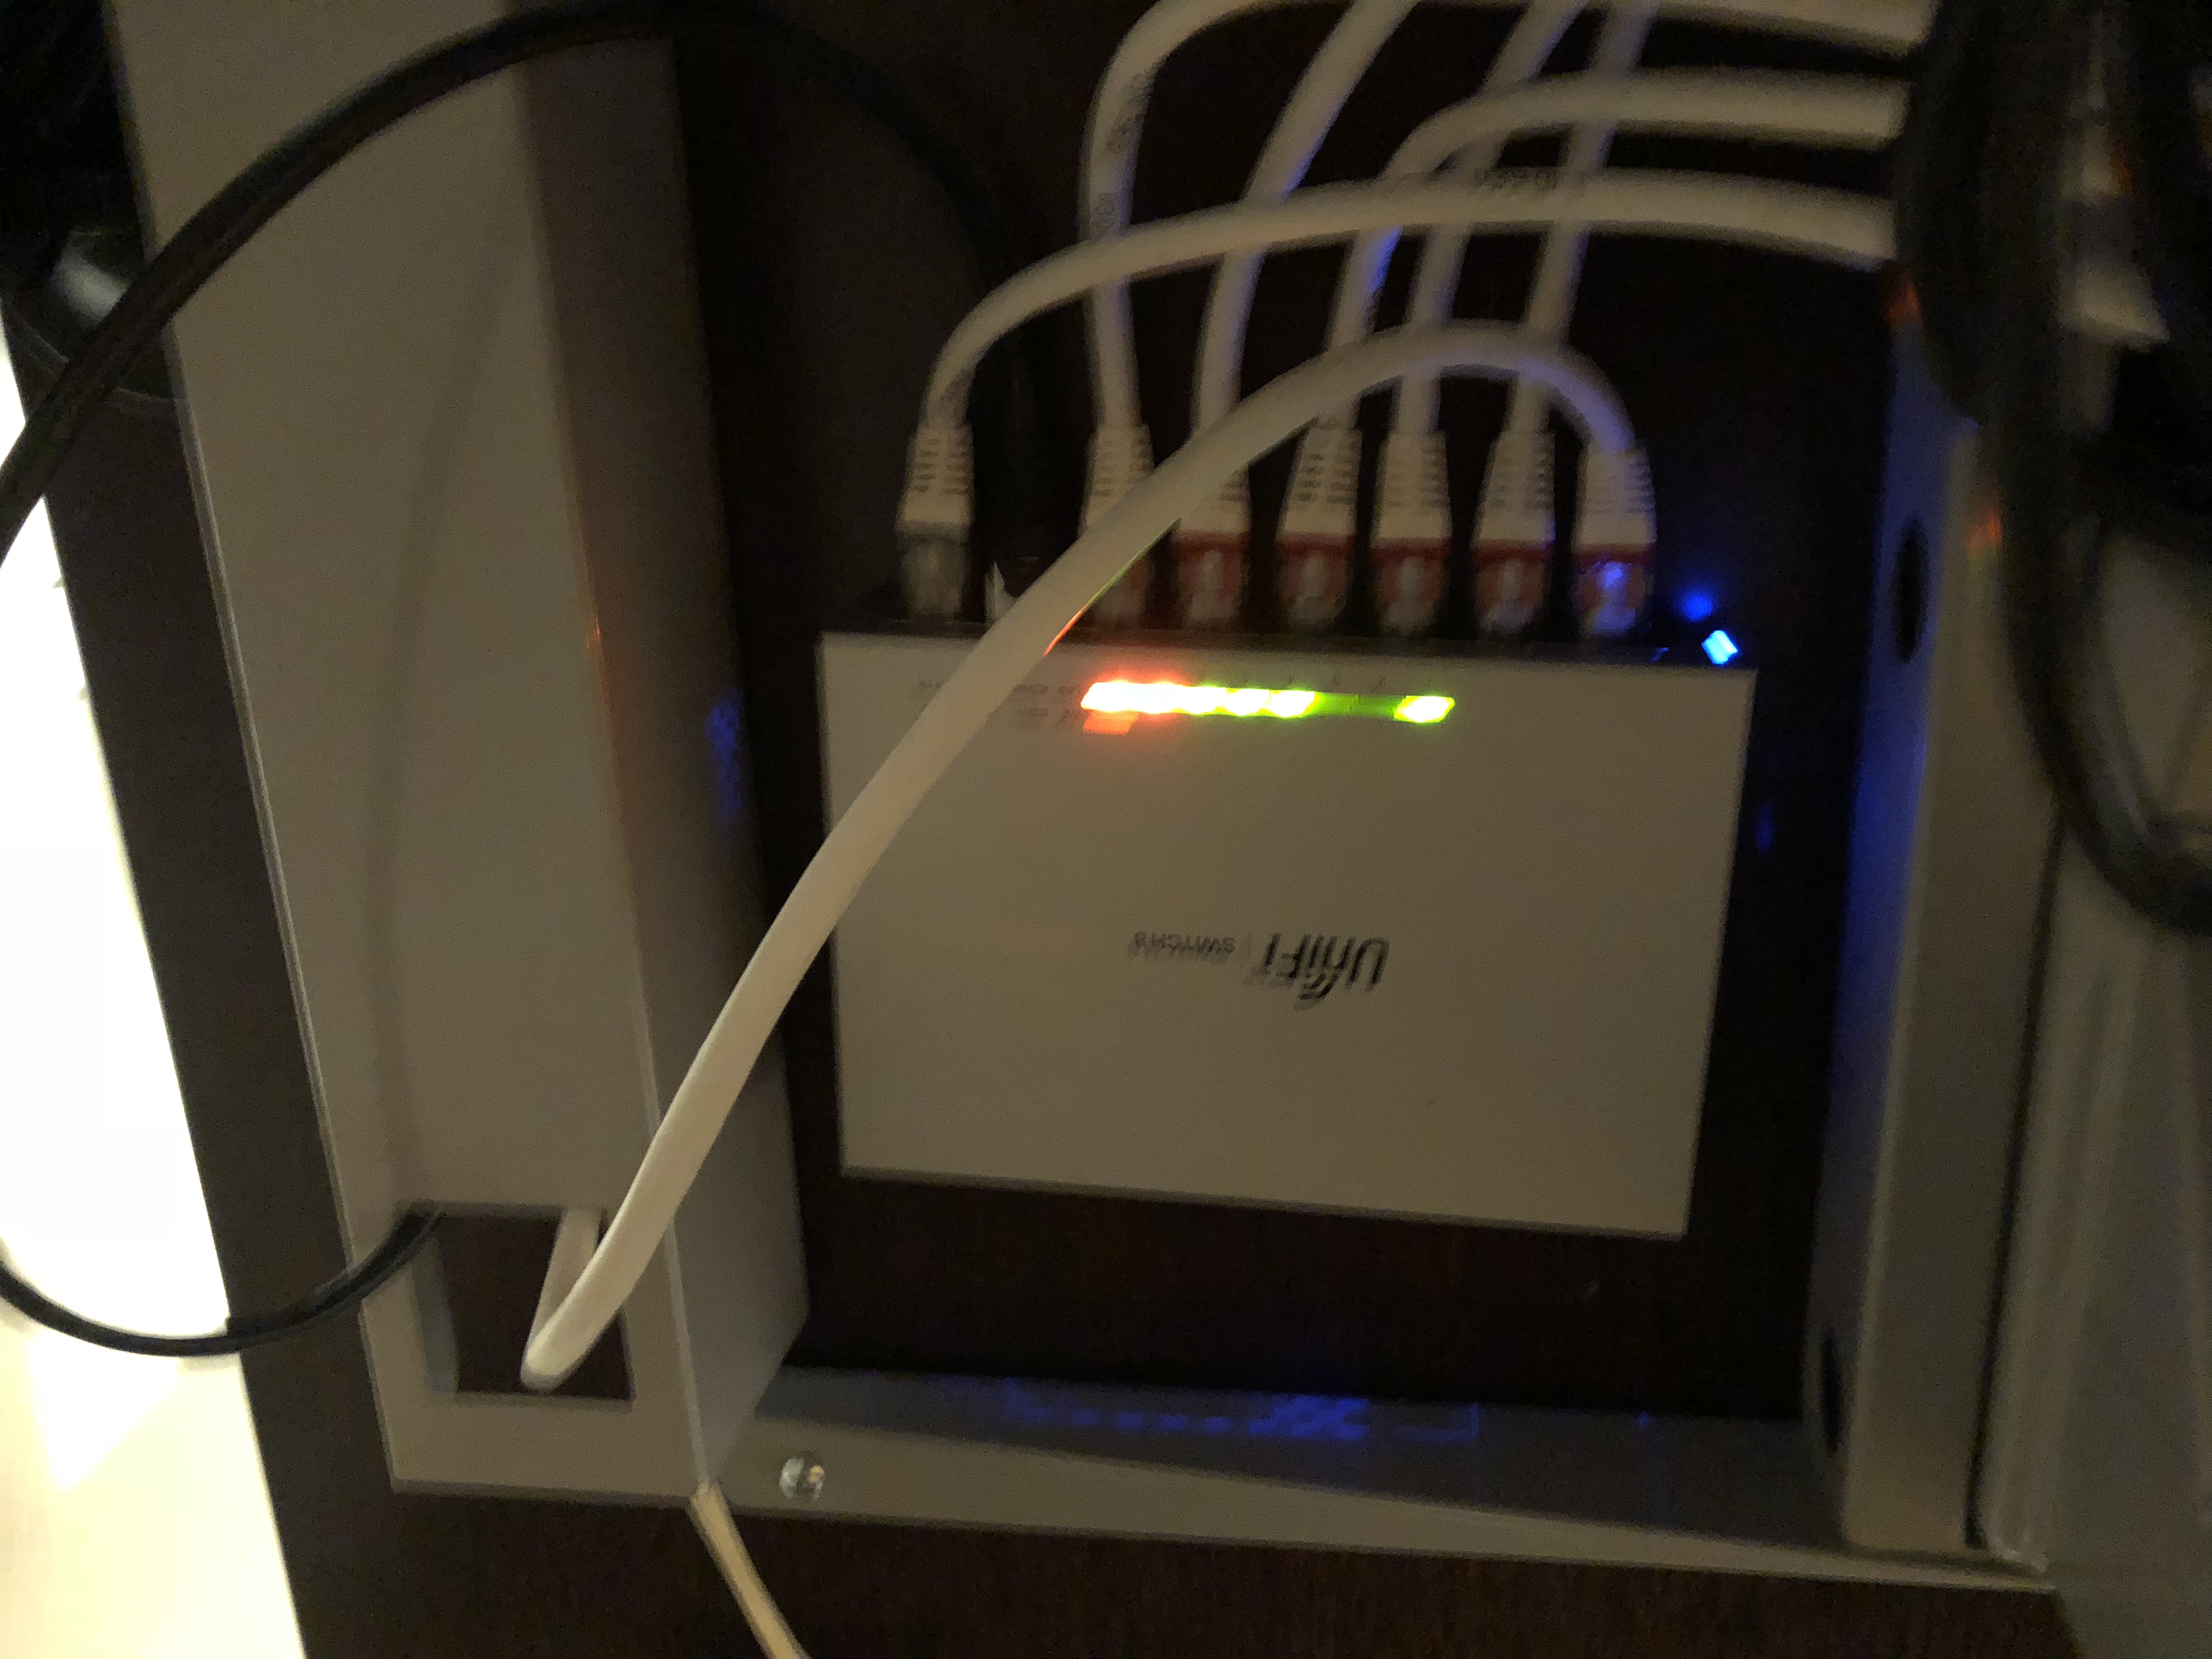
Managed Gigabit Switch: Ubiquiti Unifi Switch 8
Peripherals
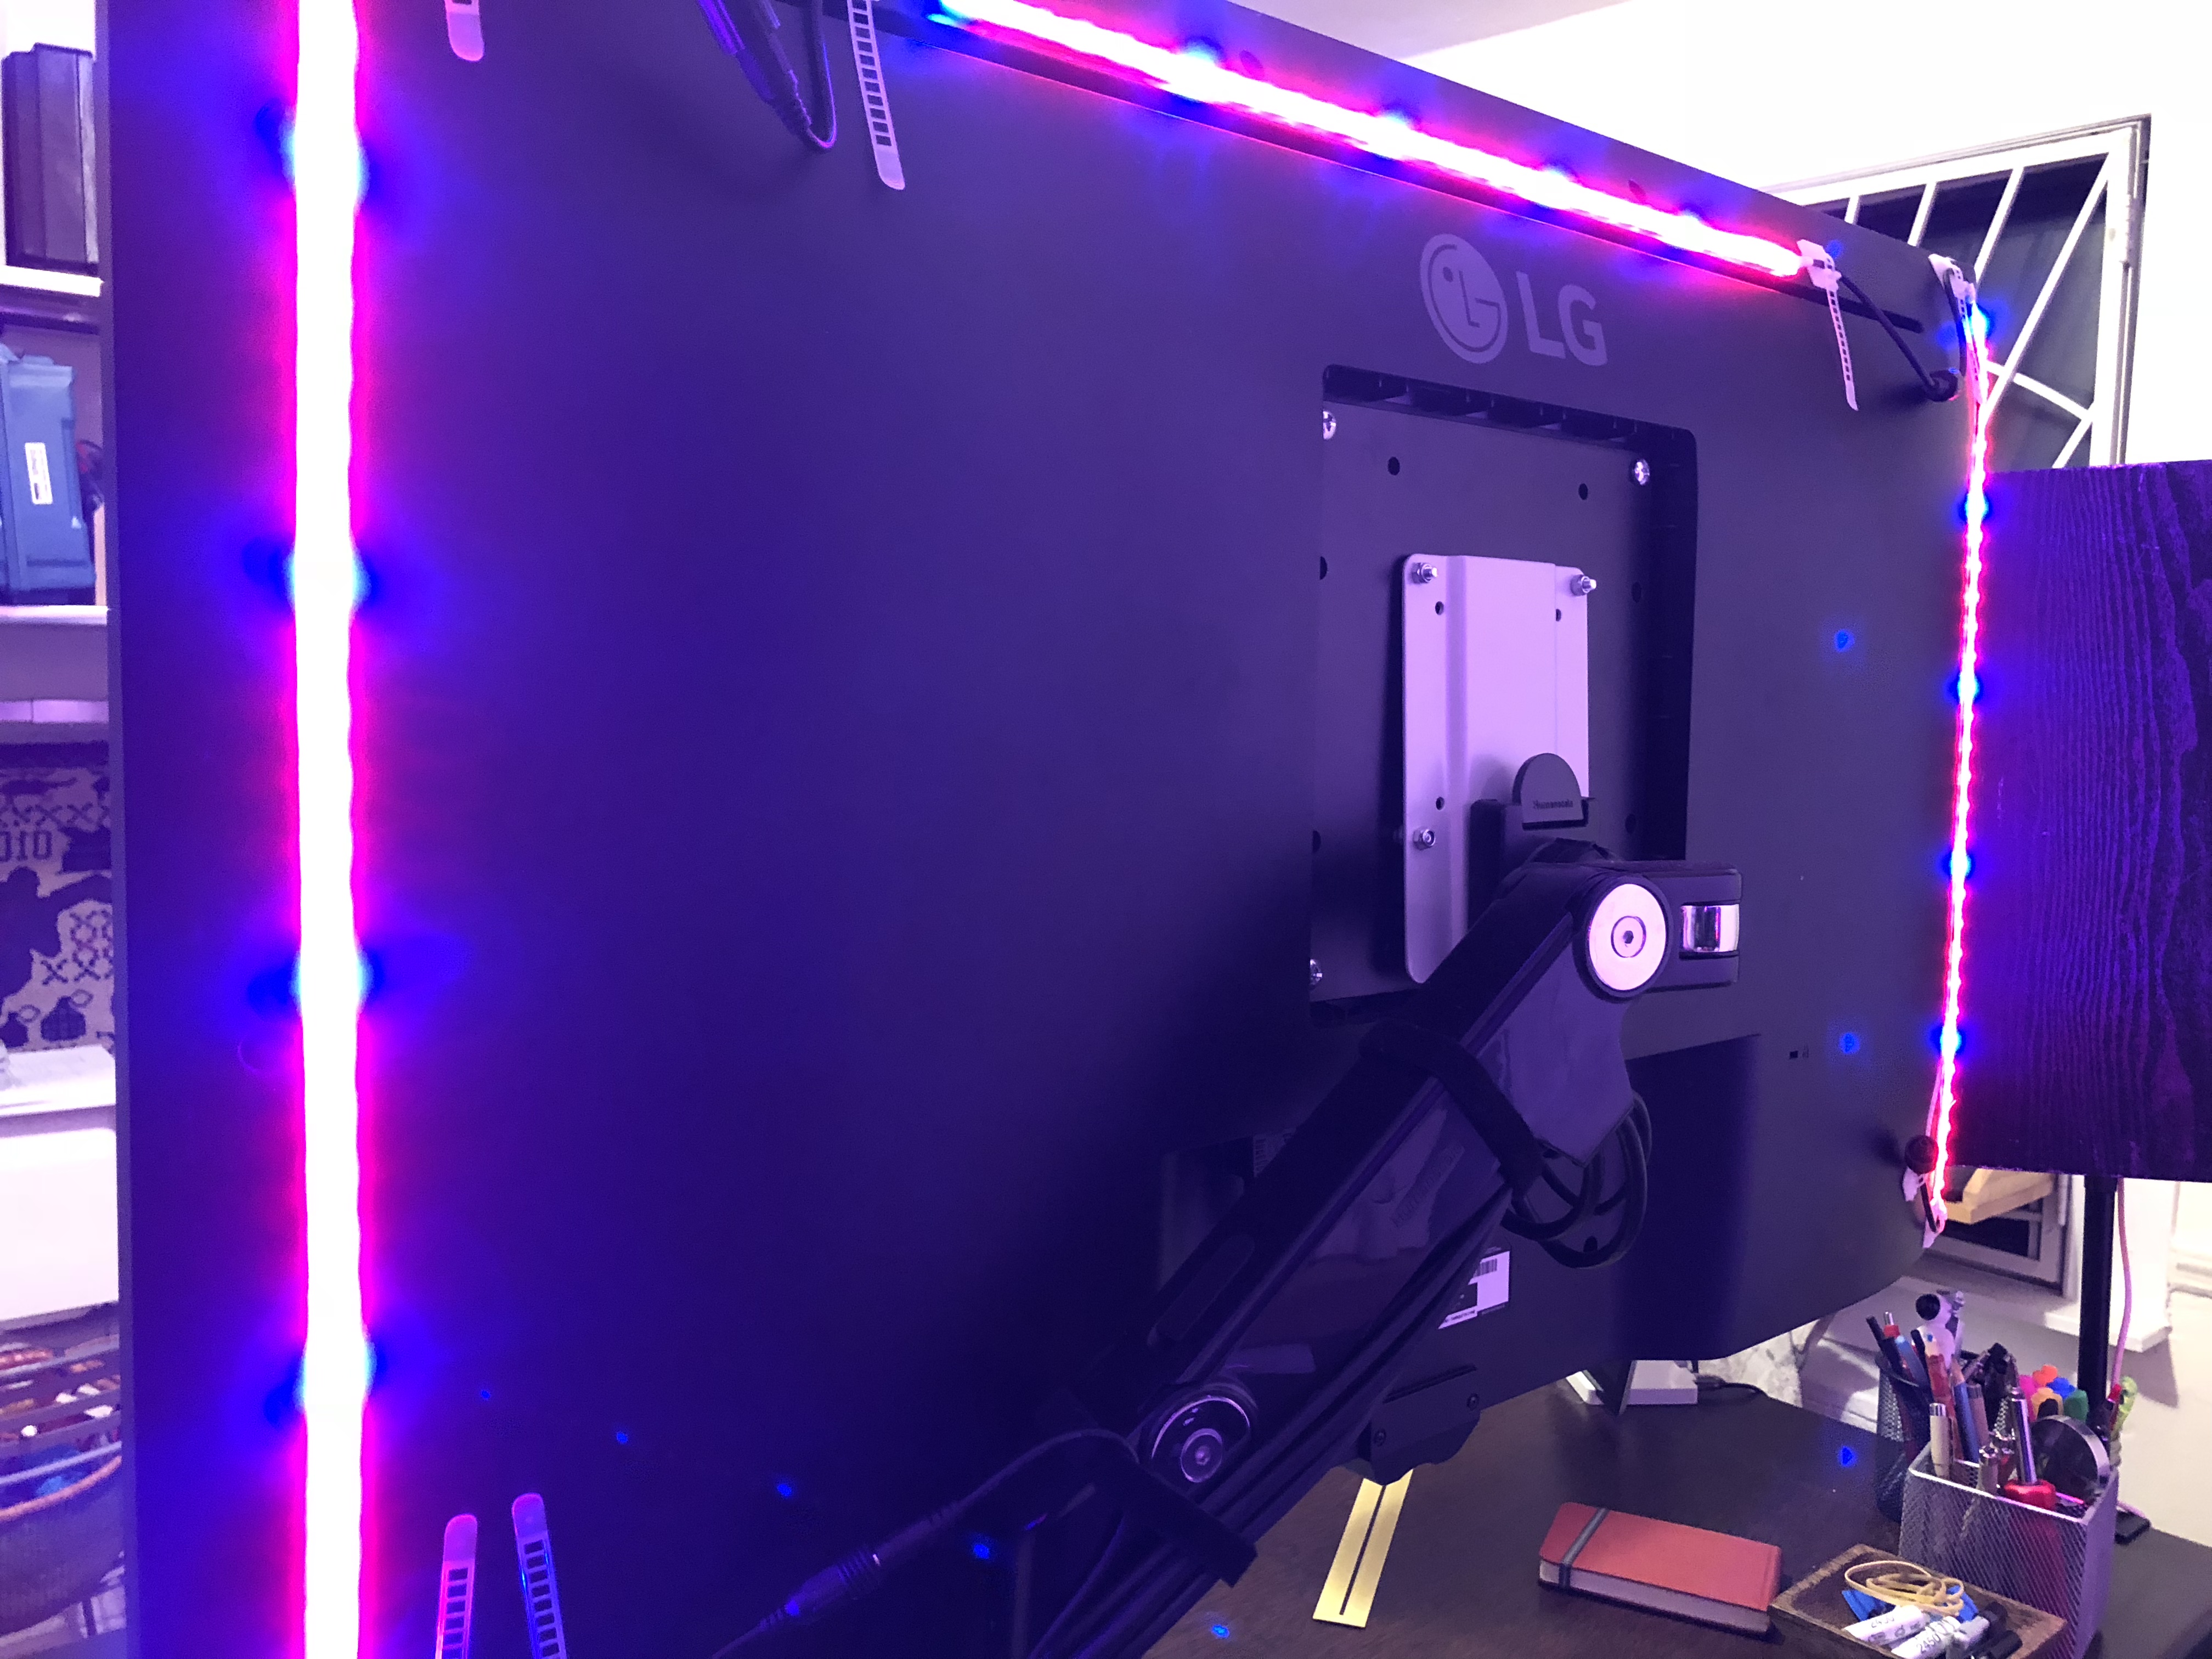
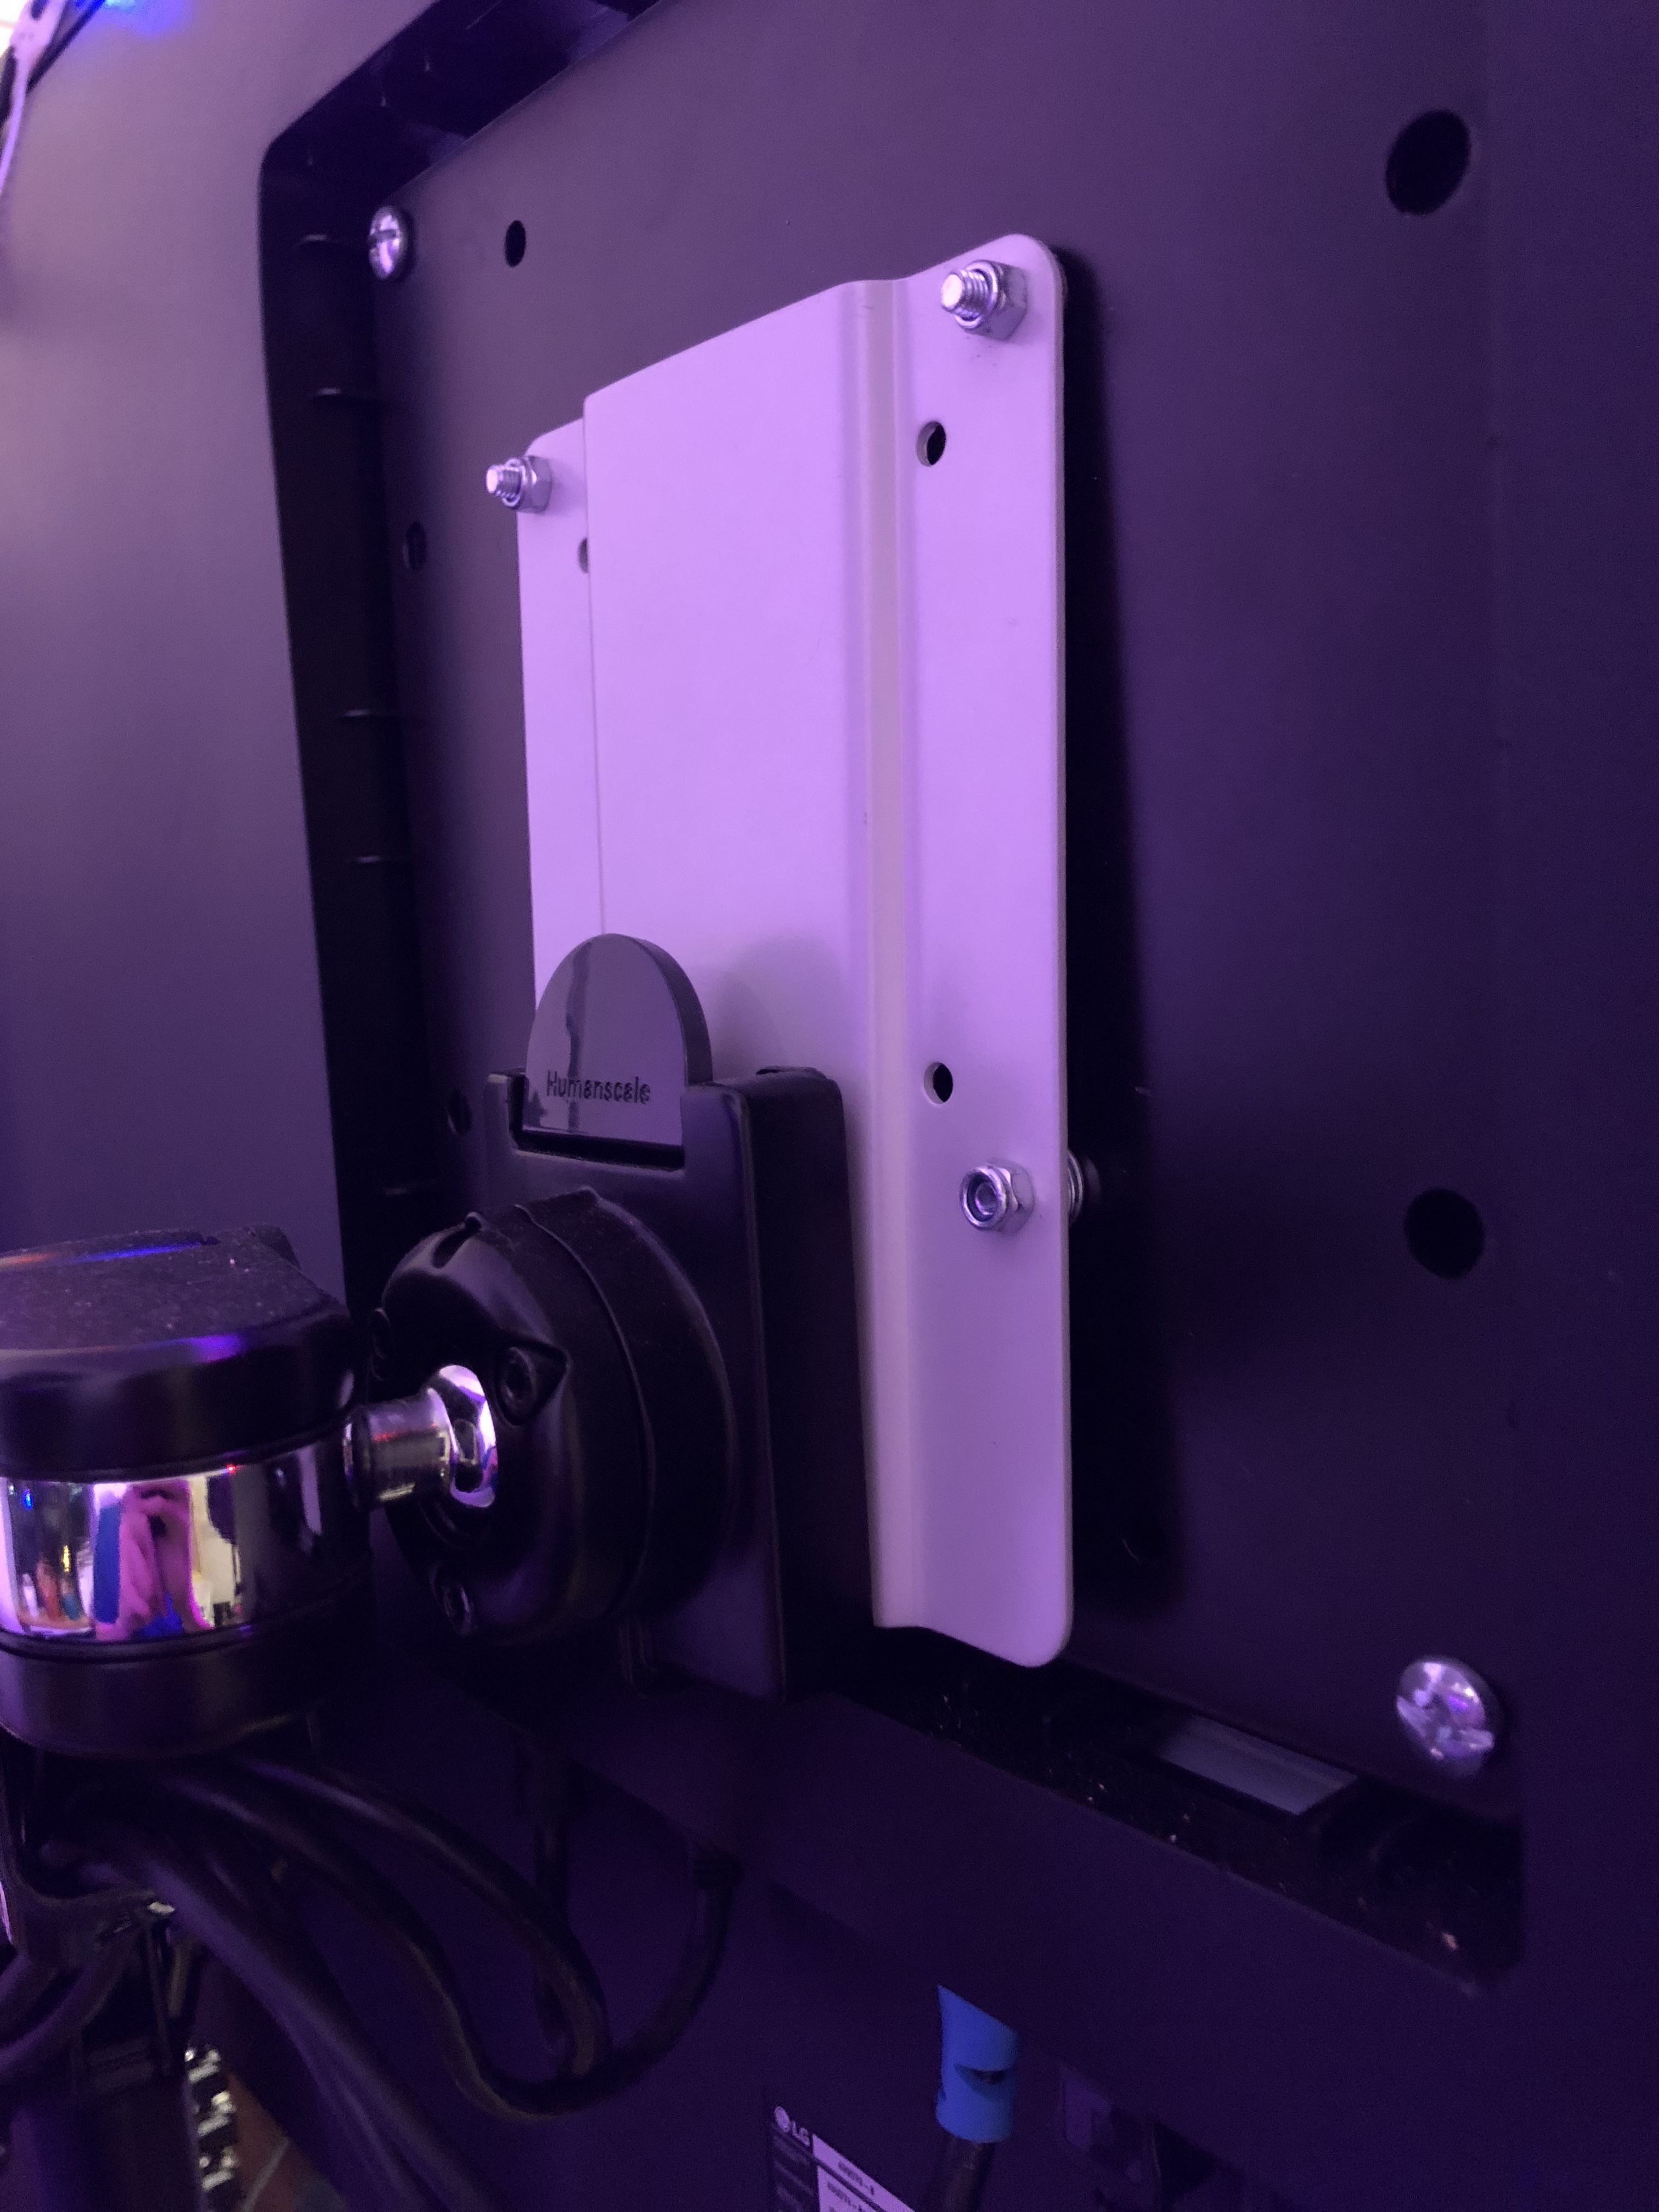
Monitor: LG 43UD79-B
-
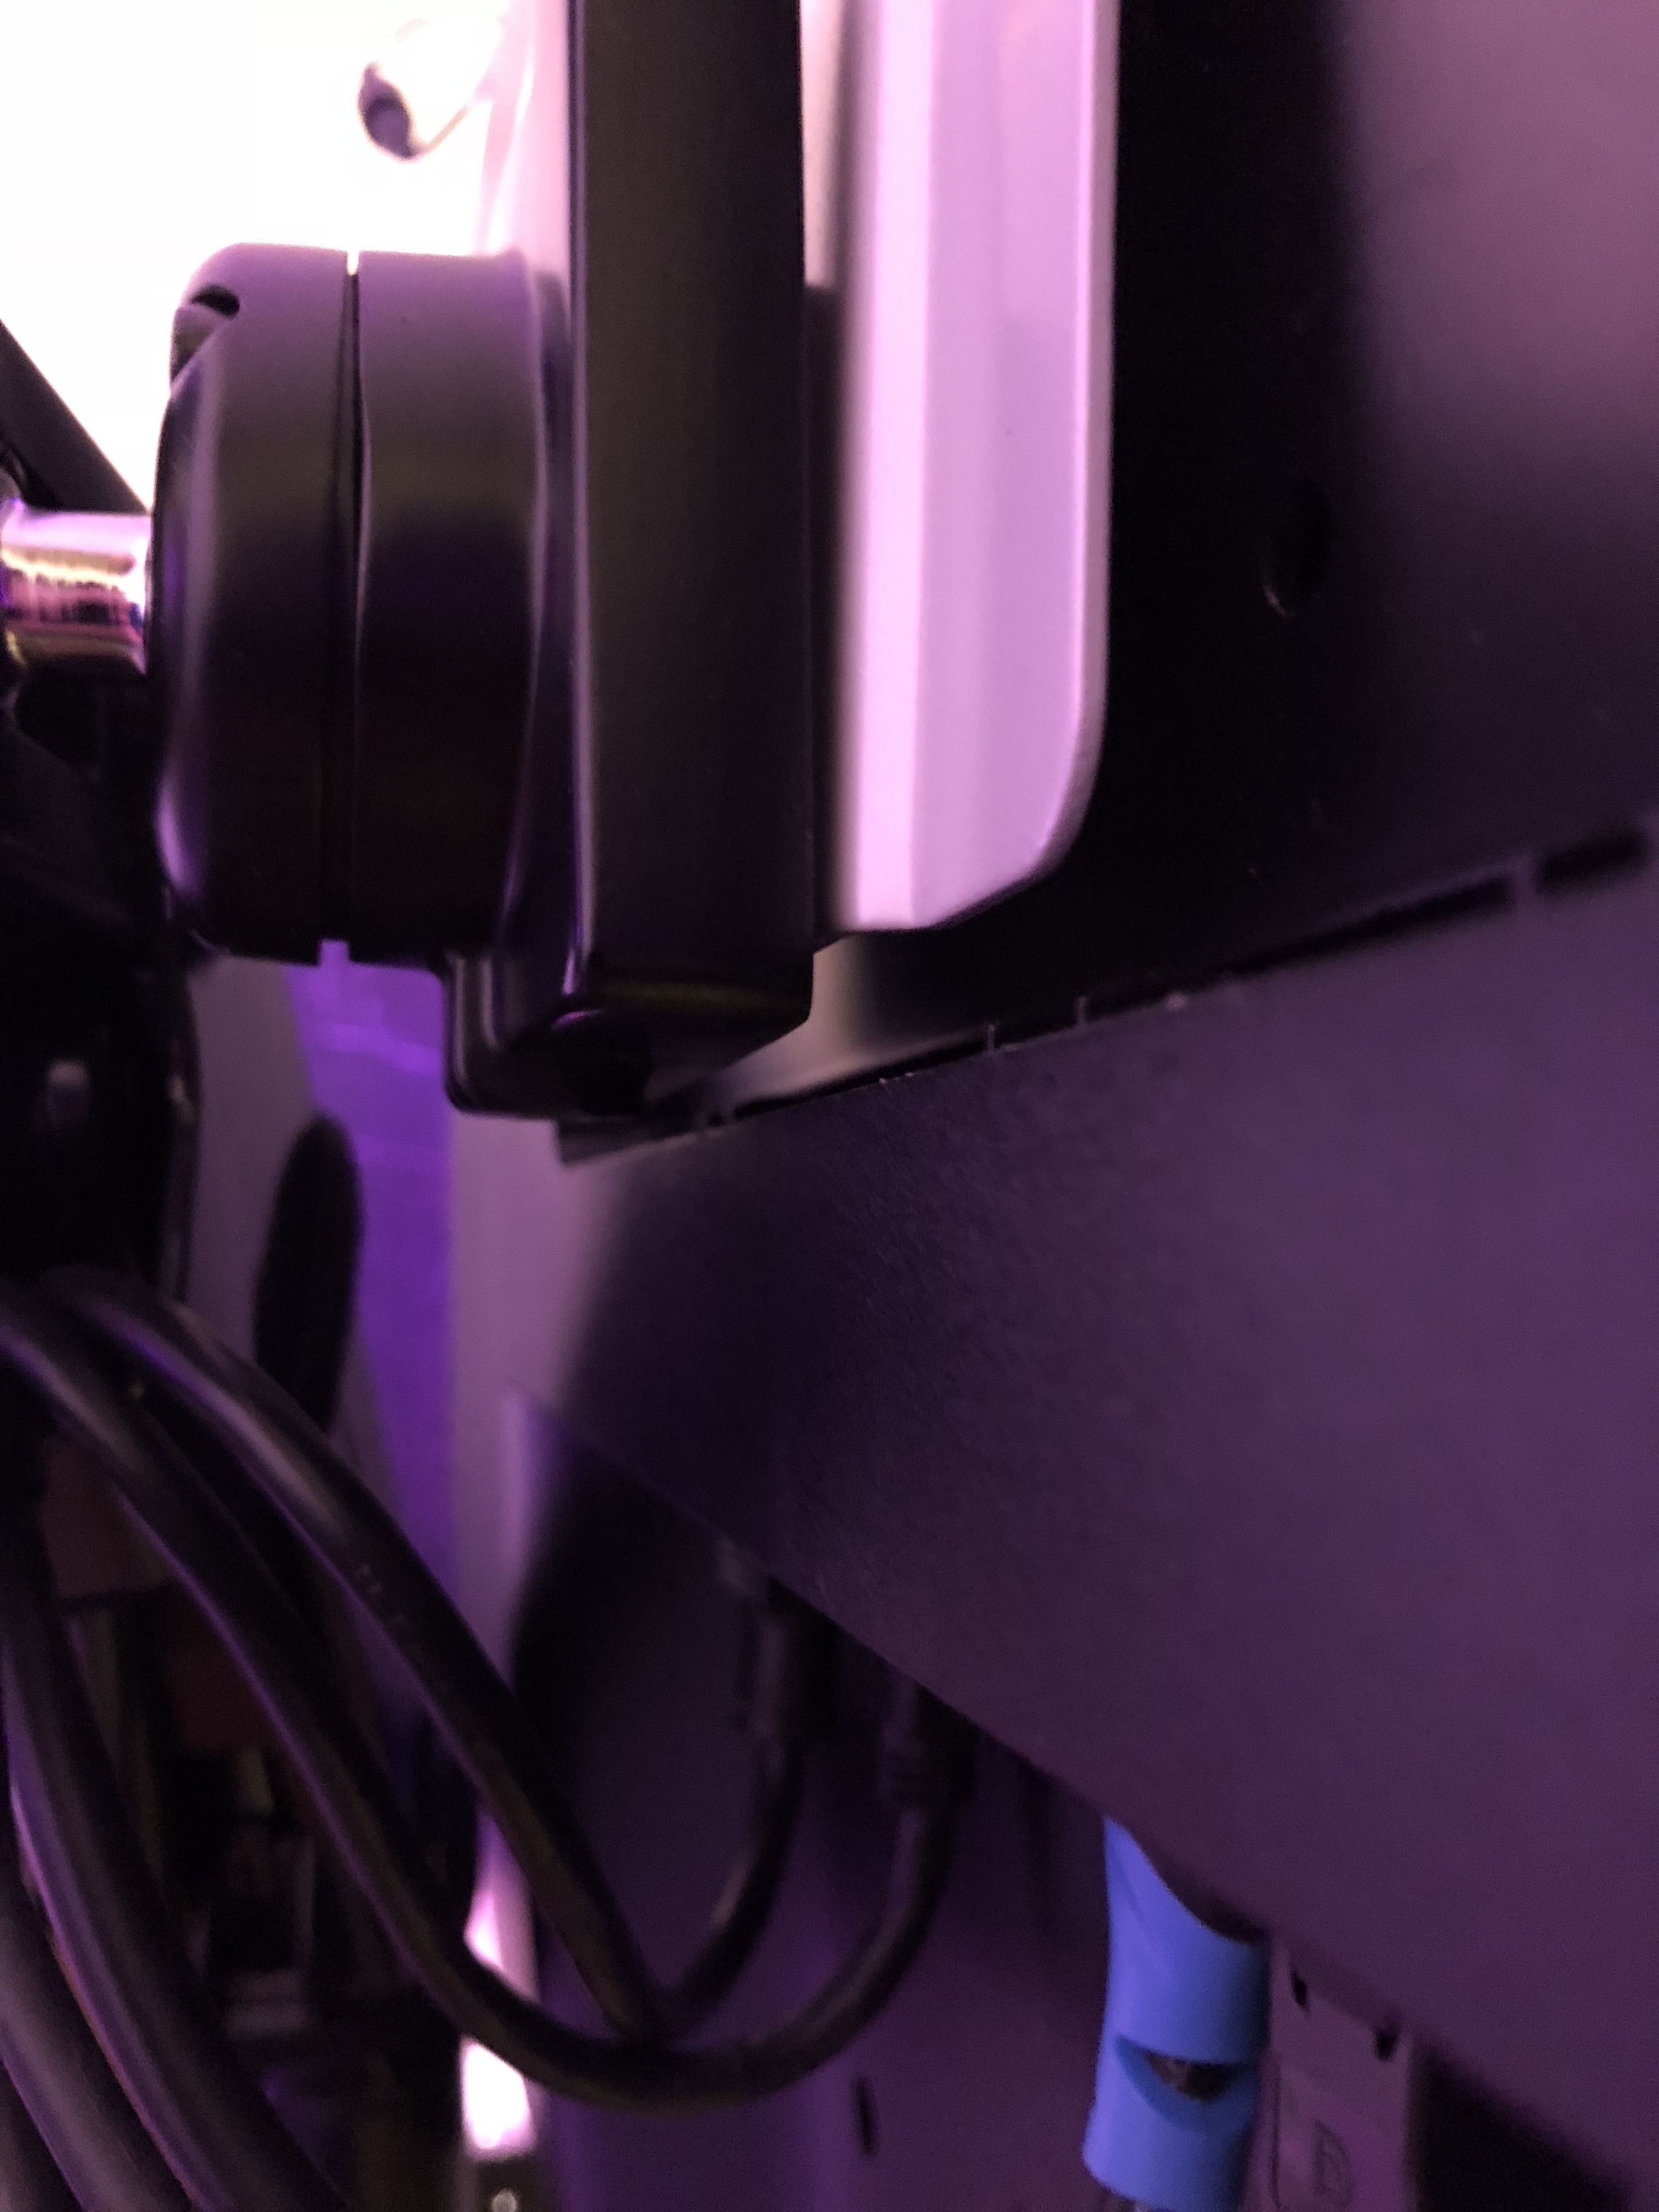
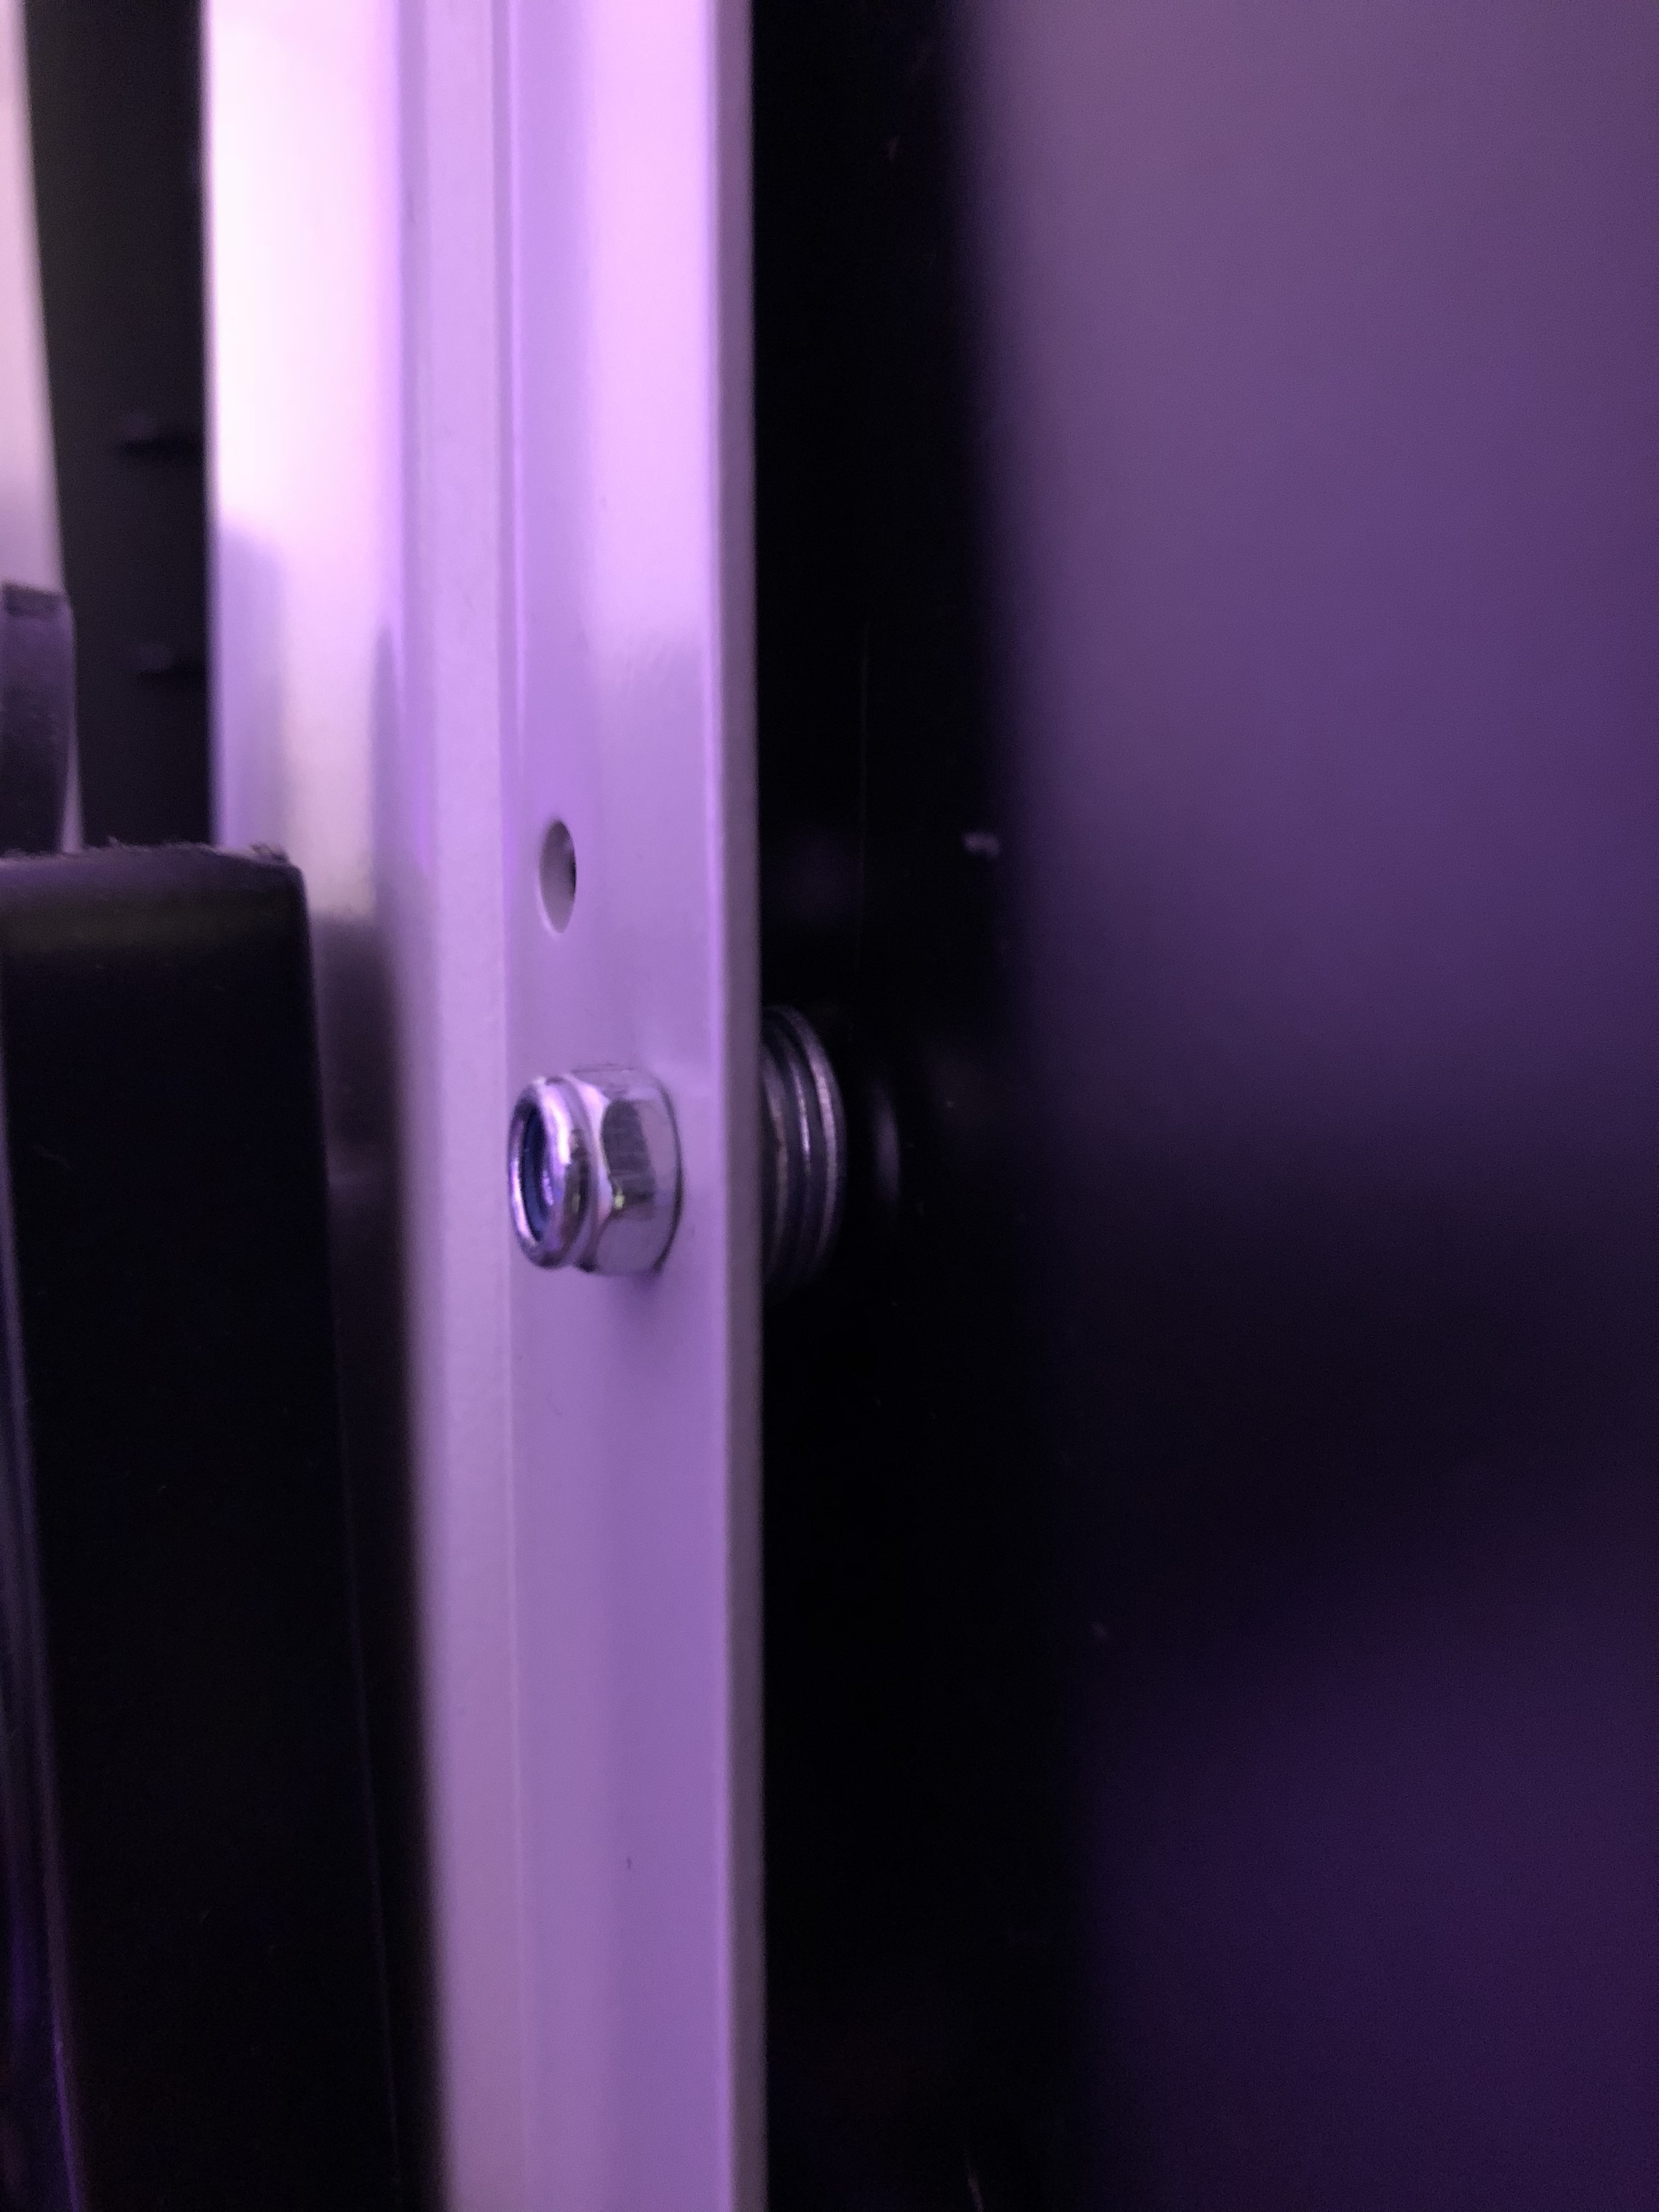
Vesa Mount: Mount World 1056 Vesa 200 x 200 Adapter
-
Backlight: Solmore LED Grow Light Strips
Keyboard: Lenovo SK-8855
Mouse: 3Dconnexion CadMouse
- Mouse Pad: 3Dconnexion CadMouse Pad
Speakers: JBL S38s (1st Production Run, Made in USA)
USB to SPDIF Converter: Phiree U2S
Desk Light: OttLite (~10 Years old)
iPad 2: Old
Laptop
Macbook Air: Who cares?
-
Stand: Rain Design mStand 360
Cable Management
Lots of Velcro
Challenges
Heat/Sound
Going into this, I knew that the 1U form factor would involve noticeable fan noise. I live on a busy street and I have a window A/C unit directly behind the desk, so complete silence is pointless, but I did want to minimize the fan noise as much as possible. I did 2 things to accomplish this.
Fans
I added 2 fans. The case came with 2 intake fans and a blank space for a third. I added the third and also hot-glued a Noctua to exhaust in the back. The primary purpose of the noctua was not to increase raw airflow, but to direct more airflow to the GPU, as the 3 intake fans only targeted the CPU and RAM.
Delid/Liquid Metal
I thought that delidding the CPU and adding liquid metal would mitigate fan noise by increasing the rate at which heat was dissipated. I used Thermal Grizzly Conductonaut and the Der8auer delidding tool.
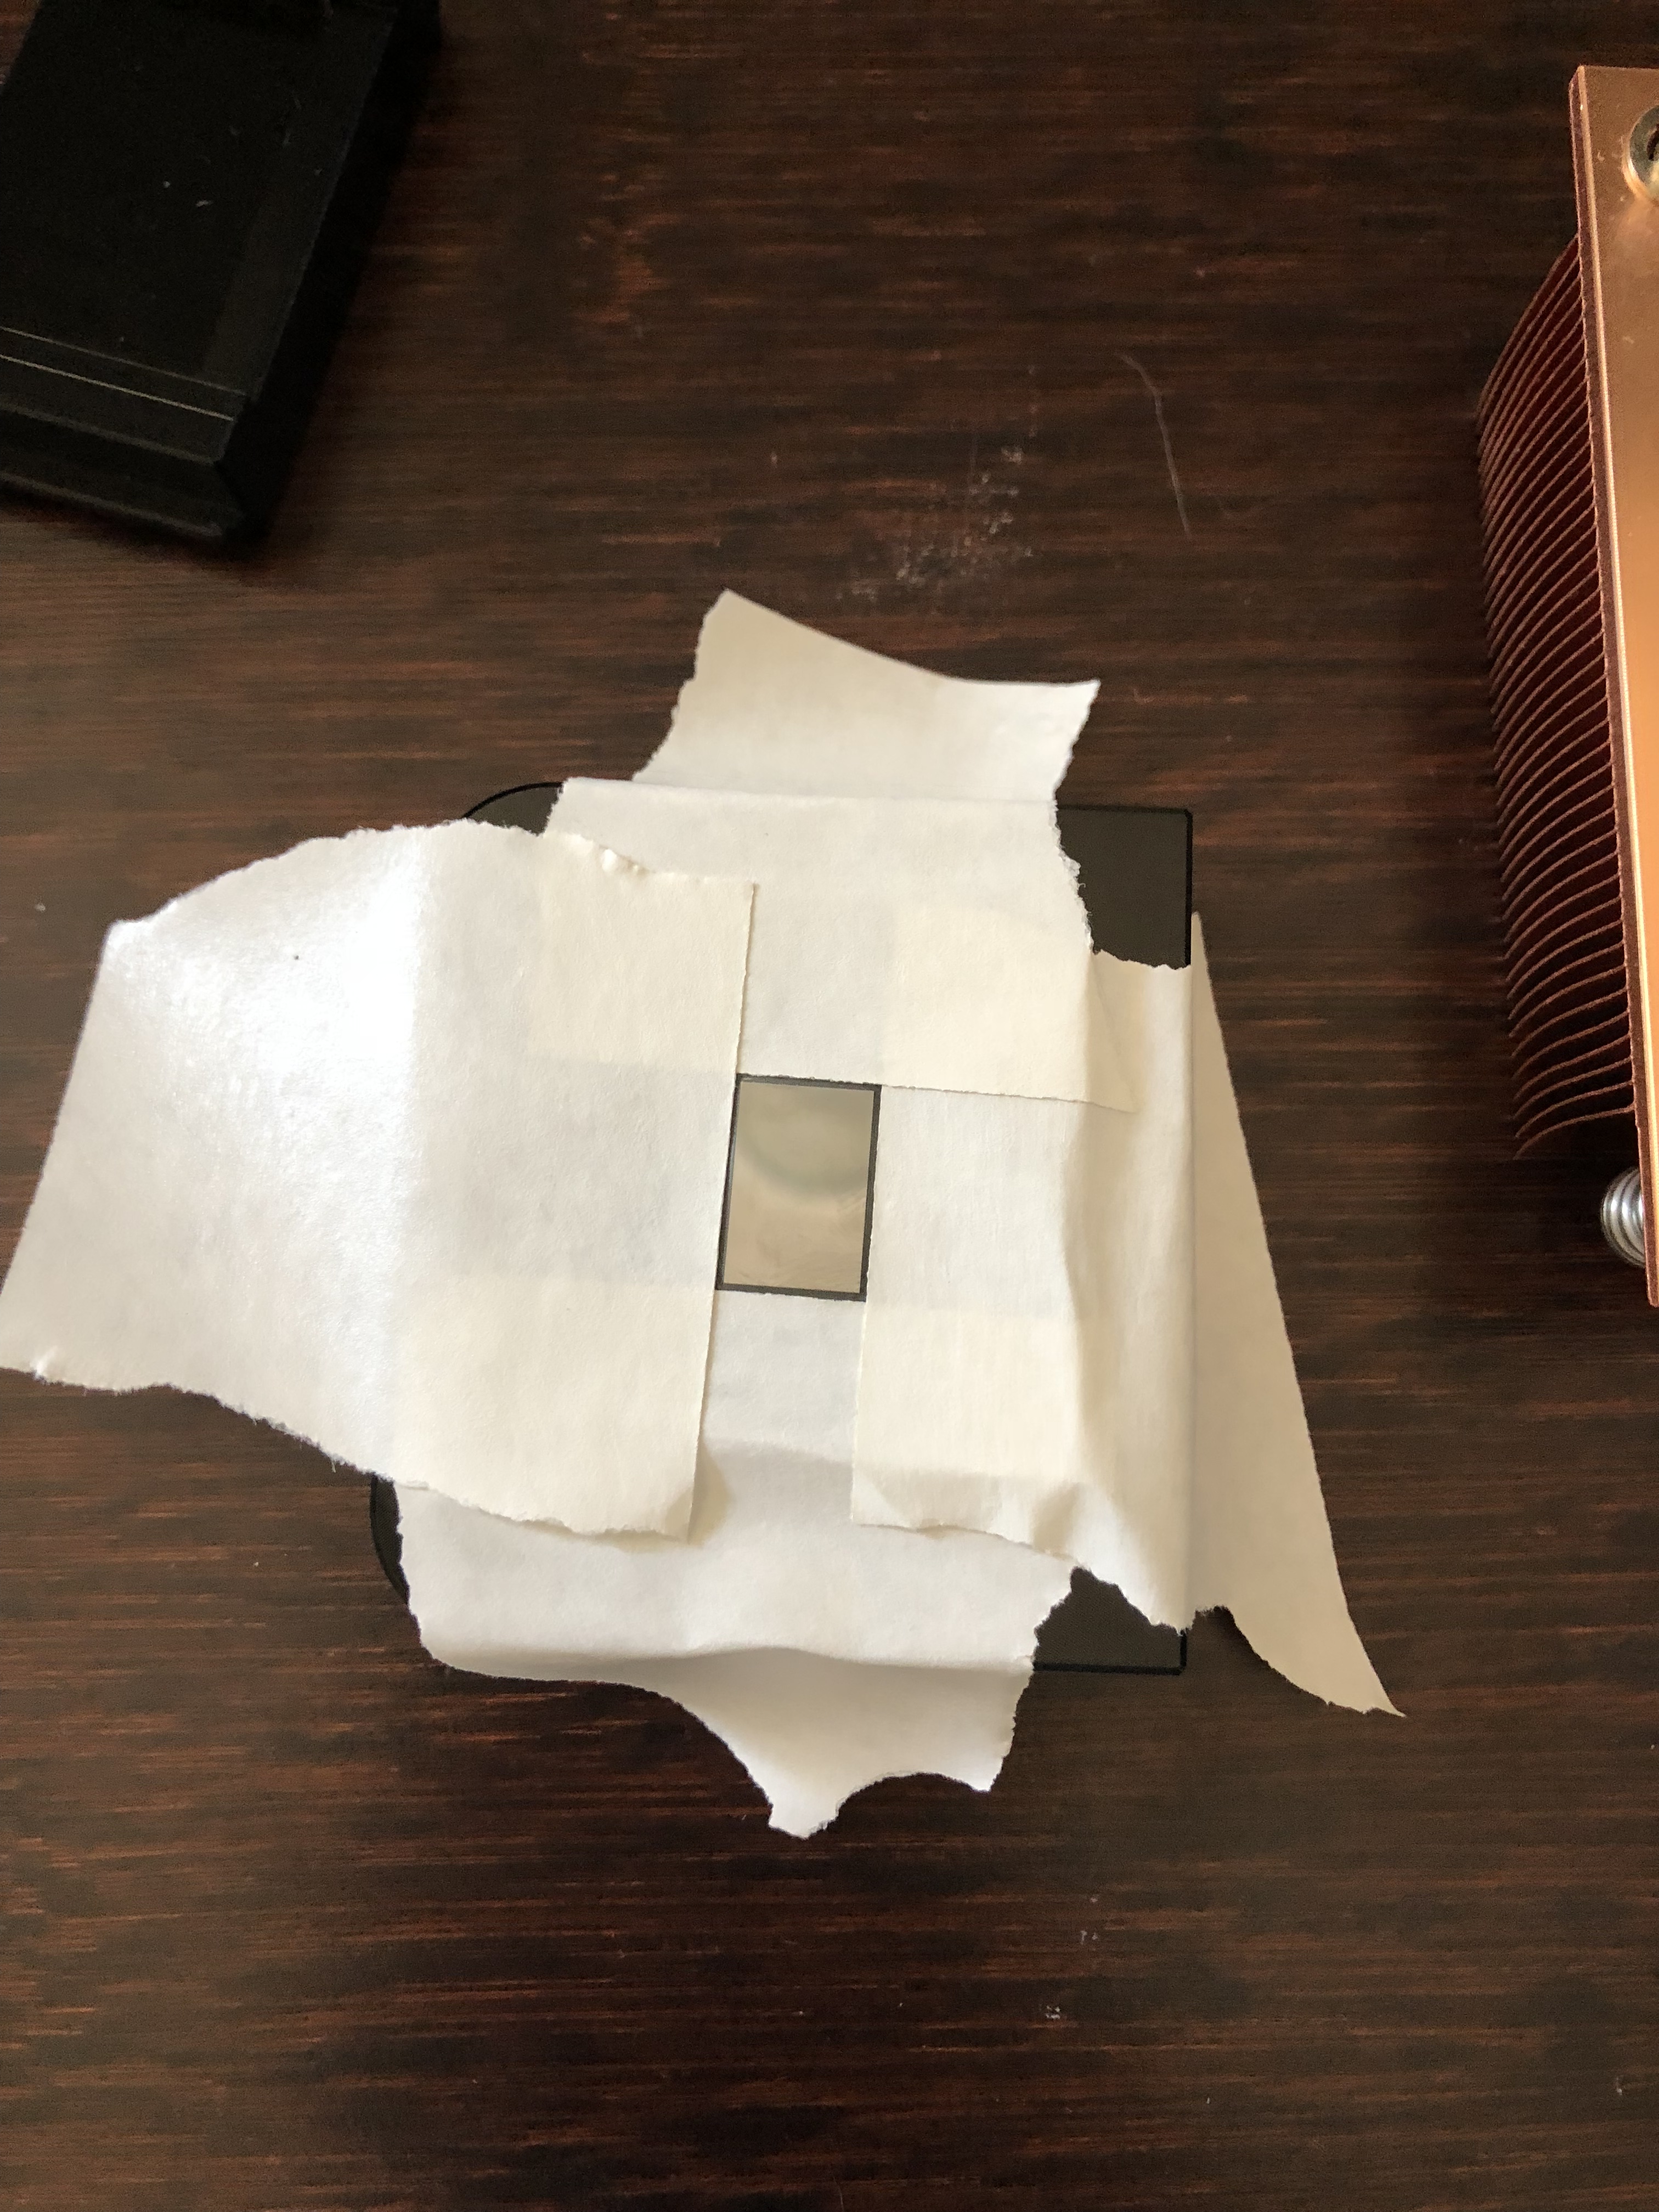
CPU delidded and ready for liquid metal
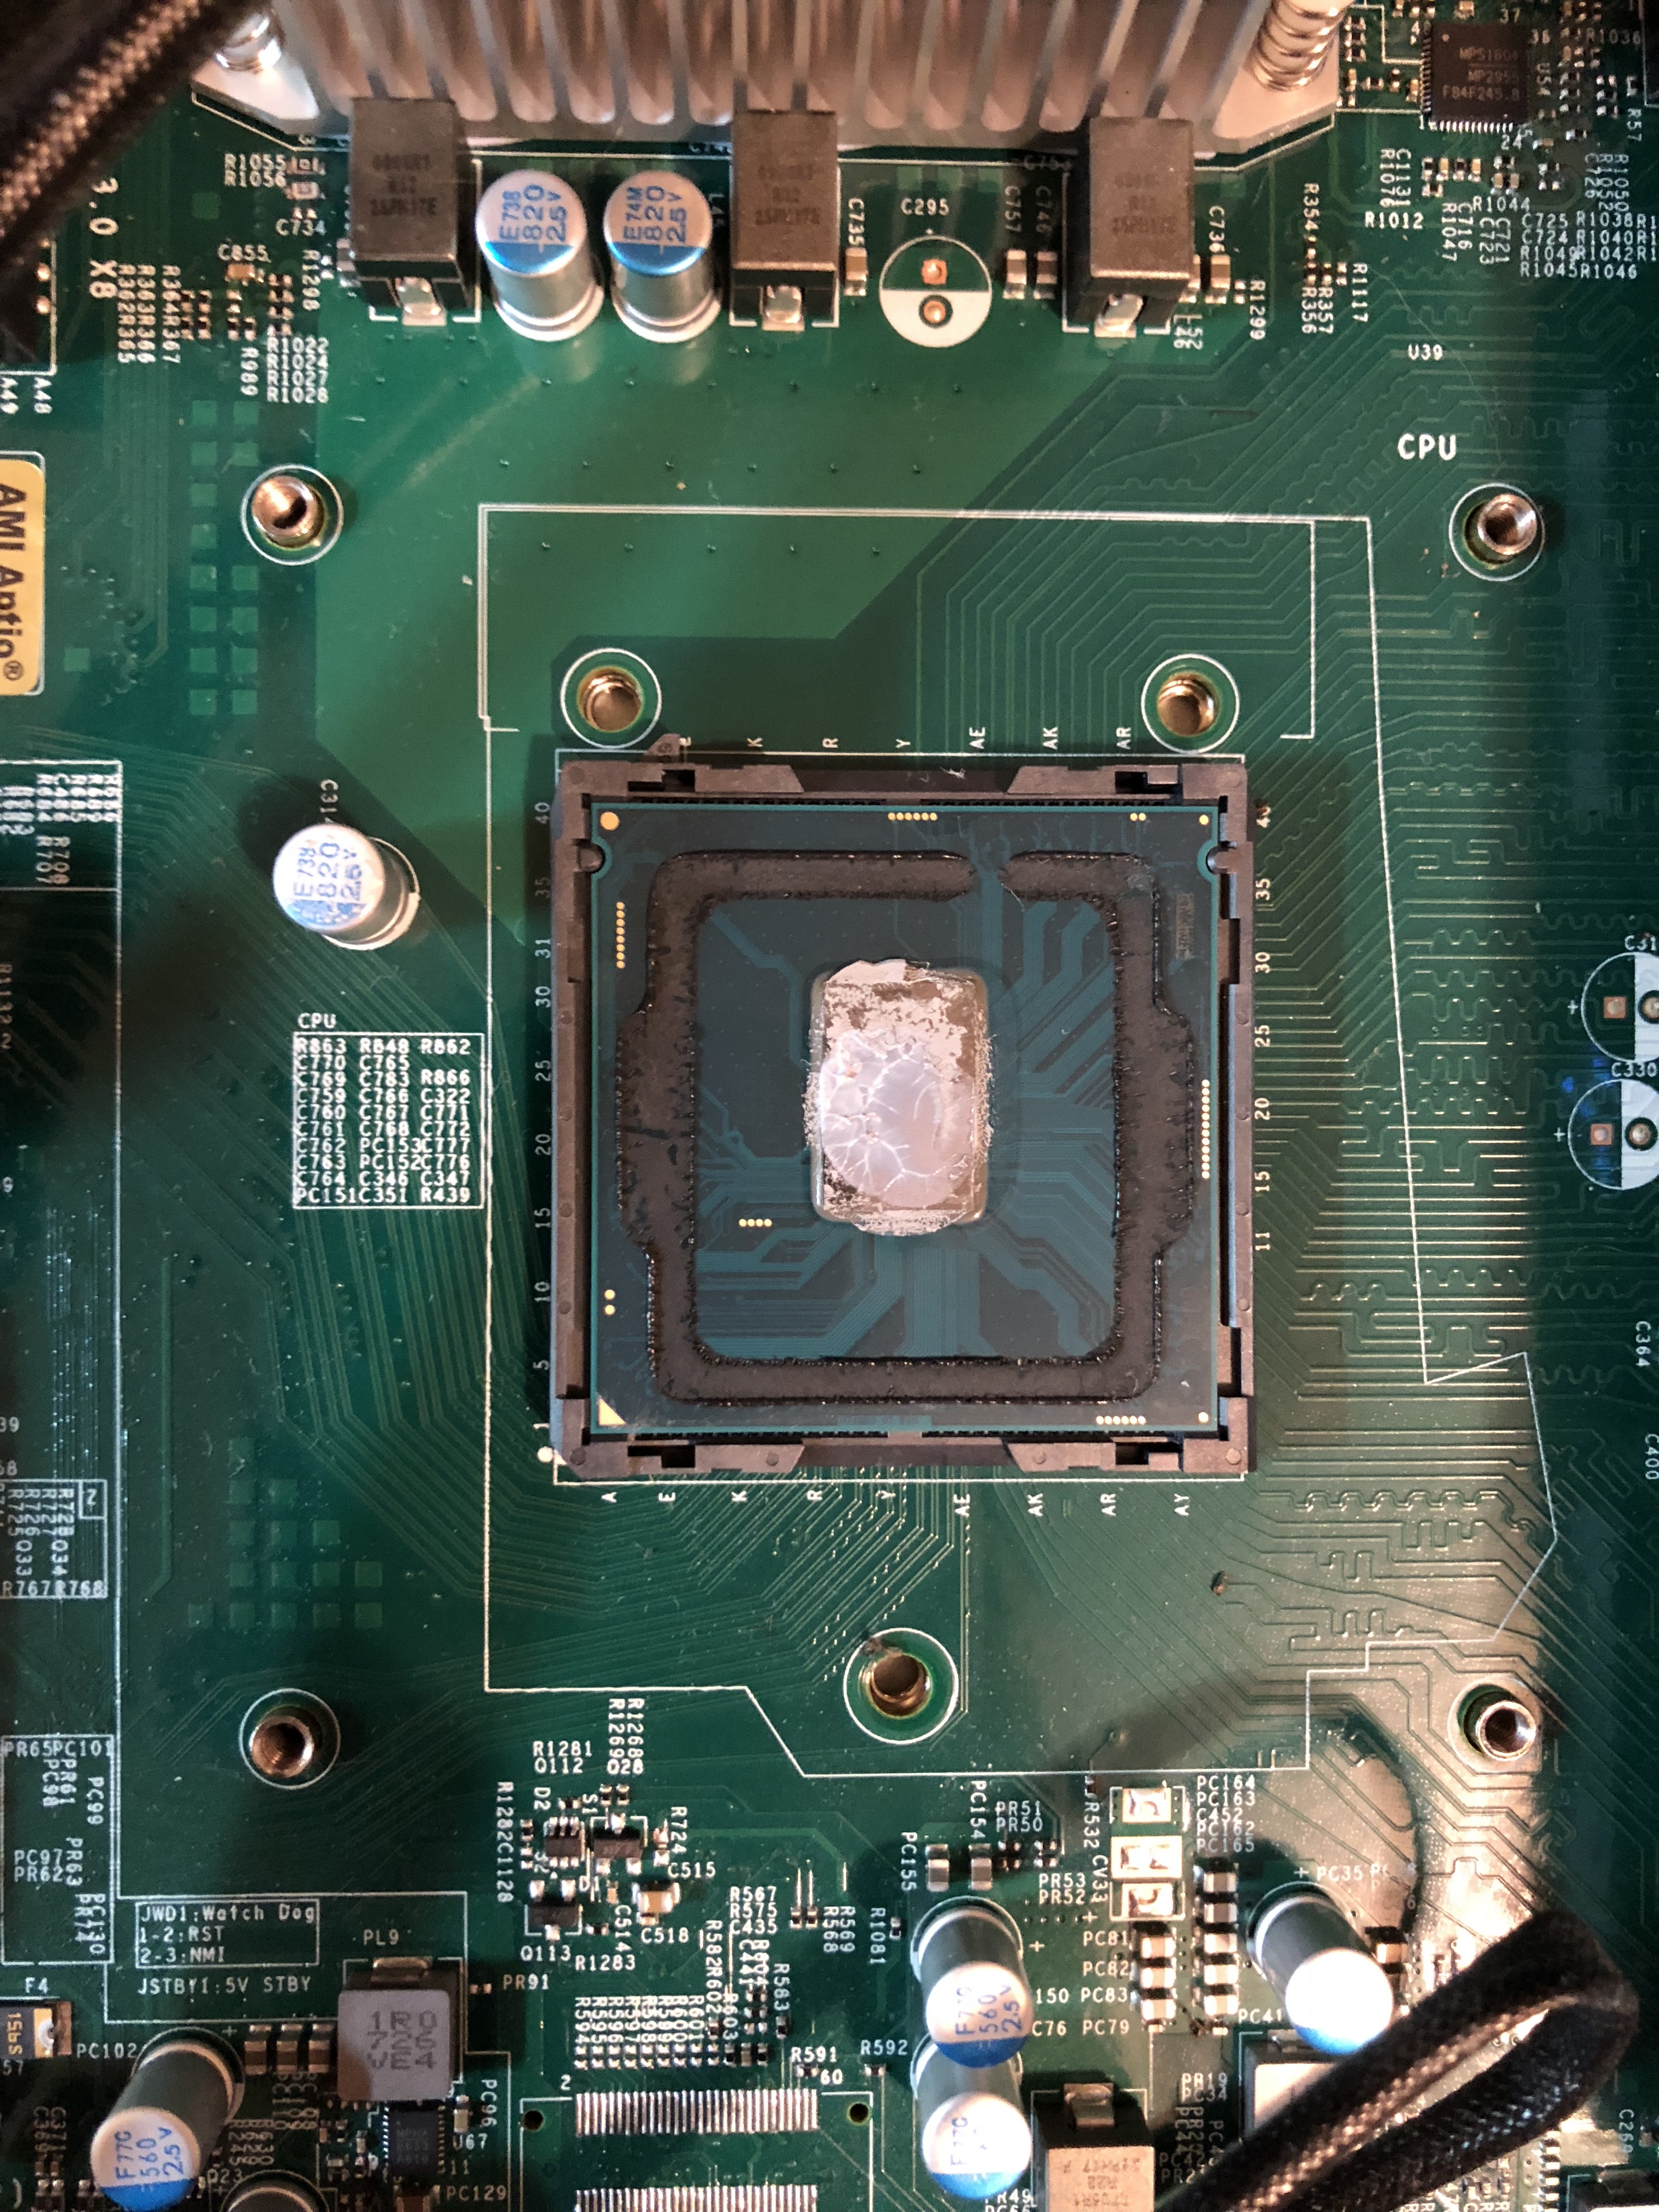
CPU with liquid metal in the socket.

This was also why I purchased the copper heatsink instead of using the stock aluminum one from Supermicro (liquid metal is incompatible with aluminum heatsinks).
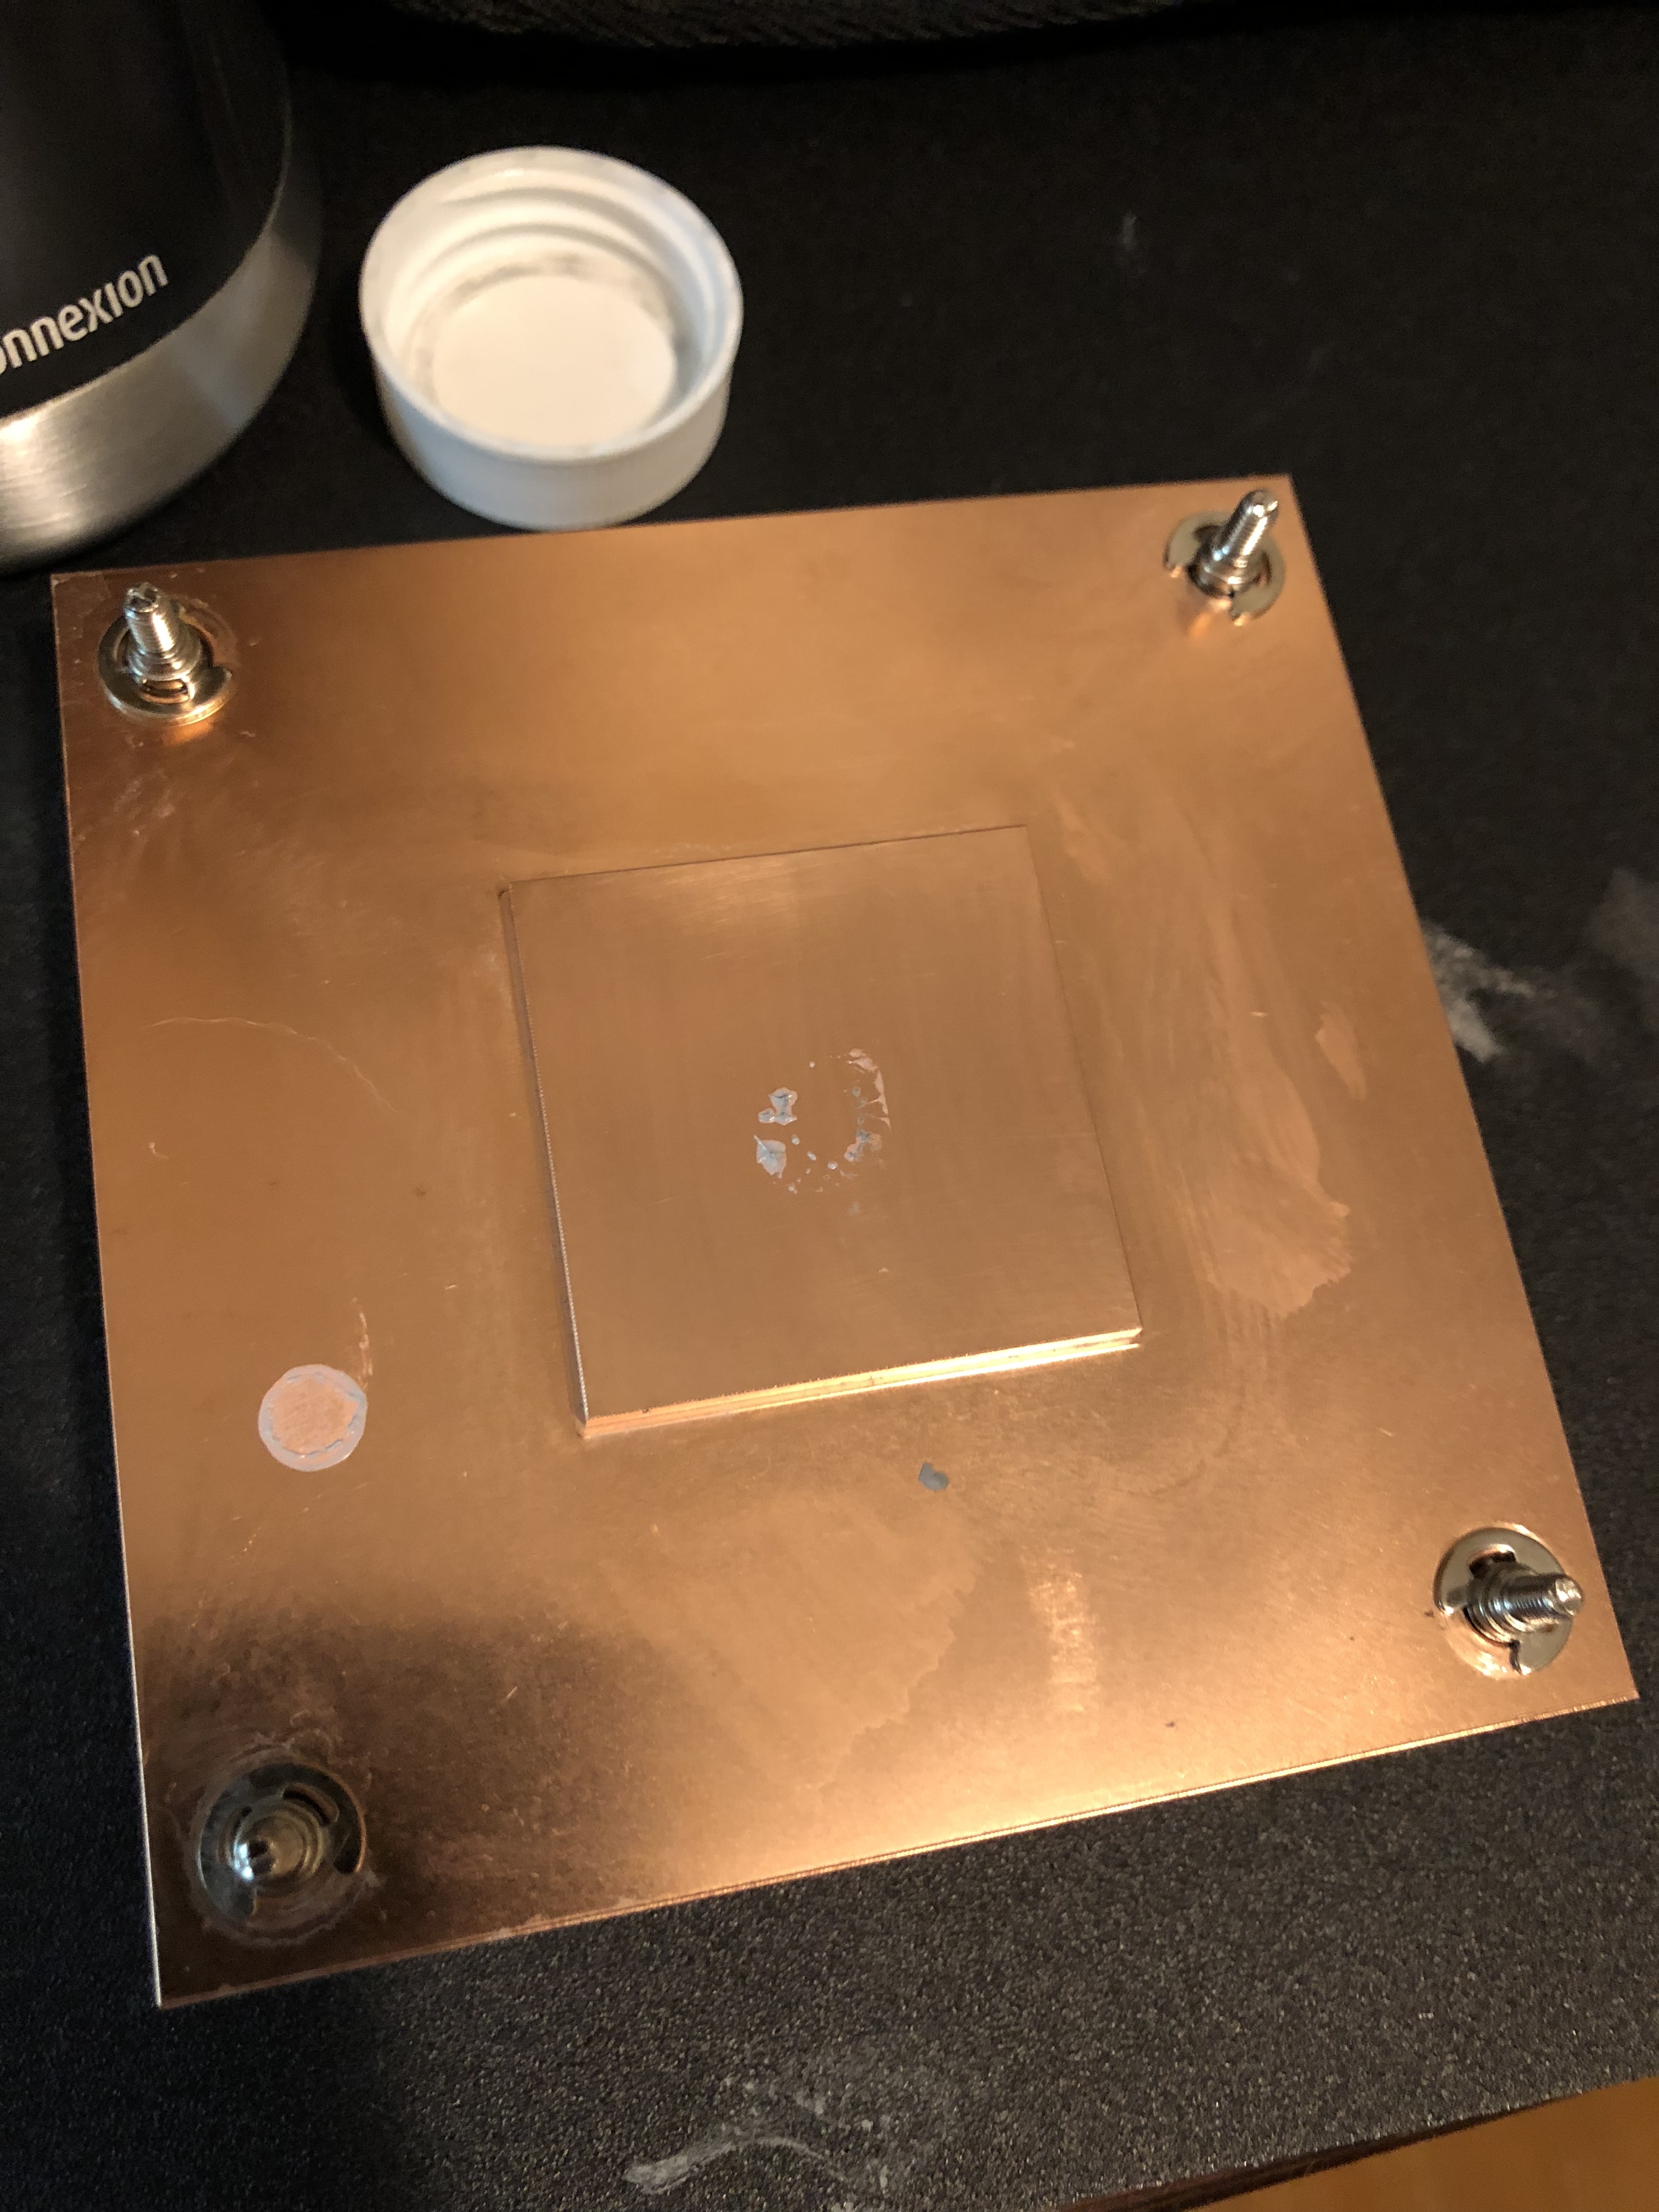
I had initially intended to leave the IHS off completely, but unfortunately, one of the capacitors on the board was too tall to allow this. I applied some thermal compound to it to see if it was making contact with the heat sink. You can see where it touched.
I re-attached the IHS, but with liquid metal both between the die and IHS and between the IHS and heat sink.
Fan noise was noticeably lower. Even under synthetic loads, the fans never reached full speed. During regular use, the fans remain at or near idle.
Dust
I cut a piece of dust filter for the intake to reduce cat hair/sawdust from getting into the system. Based on how much it has caught, I’d say this was a good precaution to take.
Future Plans
- “Brand New Model F Keyboard” has been paid for and is eagerly awaited
- Additional monitor?
- Have heatsink drilled to allow for IHS removal?
- Decent headphones + bracket?
- Balance board?
Misc
Old Components
Several components are things I already had and may or may not be ideal if you were building this from scratch. These include:
- iPad
- Speakers
- Receiver
- Drawer
- Shelf
- Power Strip
- Thunderbolt Dock
All questions welcome! All this required a good amount of research and trial/error, so if my efforts can be of help, please let me know.


 (Can’t remember if I confirmed with you or not)