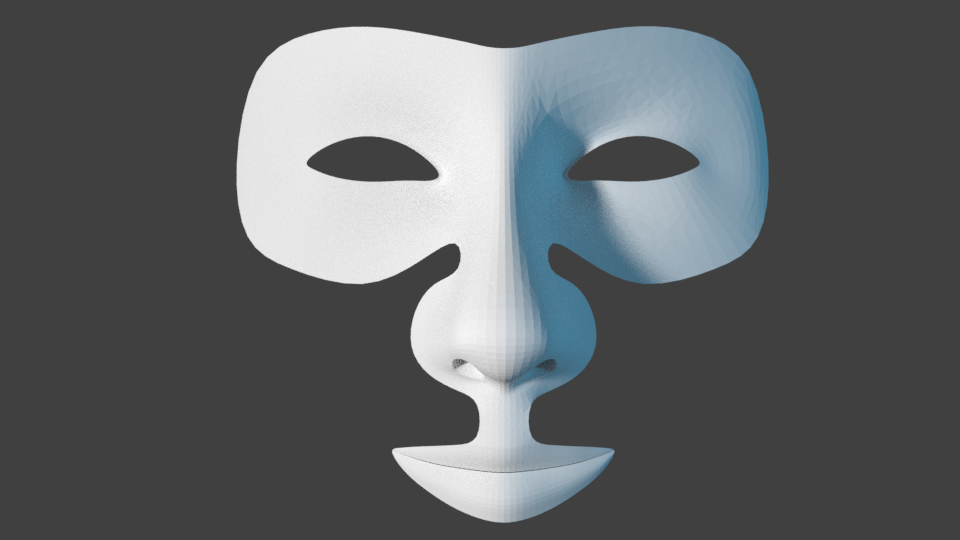
Working on my head, was worried it wasn’t going to look human-ish until I threw on a subsurf. makes all the difference.
4 Likes
Protip for everyone: If you switch to Nightly Blender builds you can render with your GPUs and CPUs at the same time. Speed increases from 10%-50% depending on the render and hardware setup.
Need to set your tiles to something small like 16, though.
1 Like
small GPU tiles can mean a huge reduction in efficiency, I’d recommend looking into multi-node rendering if you want to take full advantage of both at the same time.
That said, that’s a cool feature and I hope they implement it as I just described to get the most out of it.
2 Likes
Usually, yes. But small tiles with both enabled, for me at least, is faster than large tiles on my GPU alone. So for now I’ll take what I can get, hah.
I think it’s because small tiles on the GPU is more efficient still than large tiles on the CPU.
1 Like
yep. depends on hardware. IIRC they’re enabling this to make multi-gpu more efficient, so it’ll be interesting to see how it develops,
If you want even faster renders, check out this technique:
-
open blender twice, set one to optimal CPU, one to optimal GPU render settings
-
set both to half the numbr of samples you normally use
-
once you have the results (in less than half the time) use imagemagick or g’mic’s
averagefunction to combine them and reduce noise.
this is called “stacked rendering” btw. common practice in architectural visualization and large format
the bitwrk network render plugin also allows you to do tiled rendering with multiple local nodes, but that’s less flexible if you aren’t using the same hardware across the board because one will do 50% of the render, the other will do another 50% but slower.
with averaging you can adjust for this by changing the proportion of samples in each node, and averaging will take care of the rest.
I can vouch for the technique because it used to be the only way to do stills on multi-gpu without fiddling with the viewport and stitching.
2 Likes
Theres also the other render engine “Radeon ProRender” that’s geared directly for using multiple GPUs, even if they aren’t the same, plus CPU.
You can create your PBR textures in Cycles and then import them into Radeon and render them. From what I can tell it does a pretty great job of importing the materials.
1 Like
prorender was essentially created to work around the broken AMD/OCL support blender used to have. It’s nice, but I like the cycles results better.
there’s also renderman if you’re looking for efficient alternative raytracers btw.
1 Like
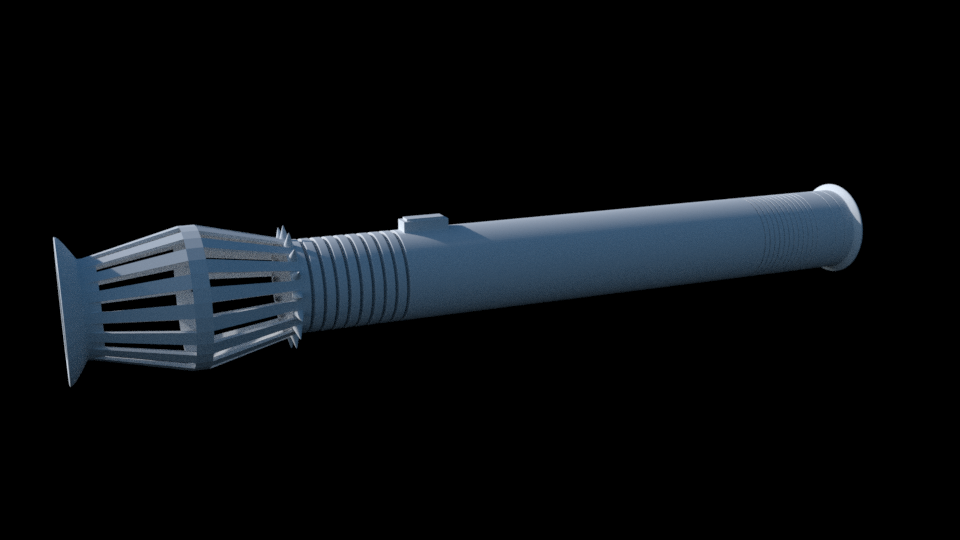
Designing my own lightsaber. The hilt is coming along nicely, I think.
Critiques on this before I continue?
2 Likes
Hey there! I am a experienced blender Artist (5+ years) and if you run against a wall, feel free to ask me. I’ll usually know a solution. We might also arrange a TeamSpeak meeting so I can talk a little bit about a 3D workflow.
Also some suggestions:
1st: there is a blender fundamentals series on the official channel, I can reccomend: https://www.youtube.com/user/BlenderFoundation/playlists
2nd: the official blender manual isn’t that bad so I I can honestly reccomennd: Read the … fabolous manual  https://docs.blender.org/manual/en/dev/
3rd: Blender 2.8 is right around the corner. Currently, it is still in alpha (if I’m not mistaken) and there will be bugs and crashes but honestly. I’d reccomend living with the inconvenience for the benefit of not having to re-learn the interface in November, when 2.8 is about to come out.
Since I’m always eager to give and reccieve feedback, you can look me up on artstation (betalars) and I’ll also read trough the thread to give some Opinions ASAP. Just let me write an own thread and have dinner. 
2 Likes
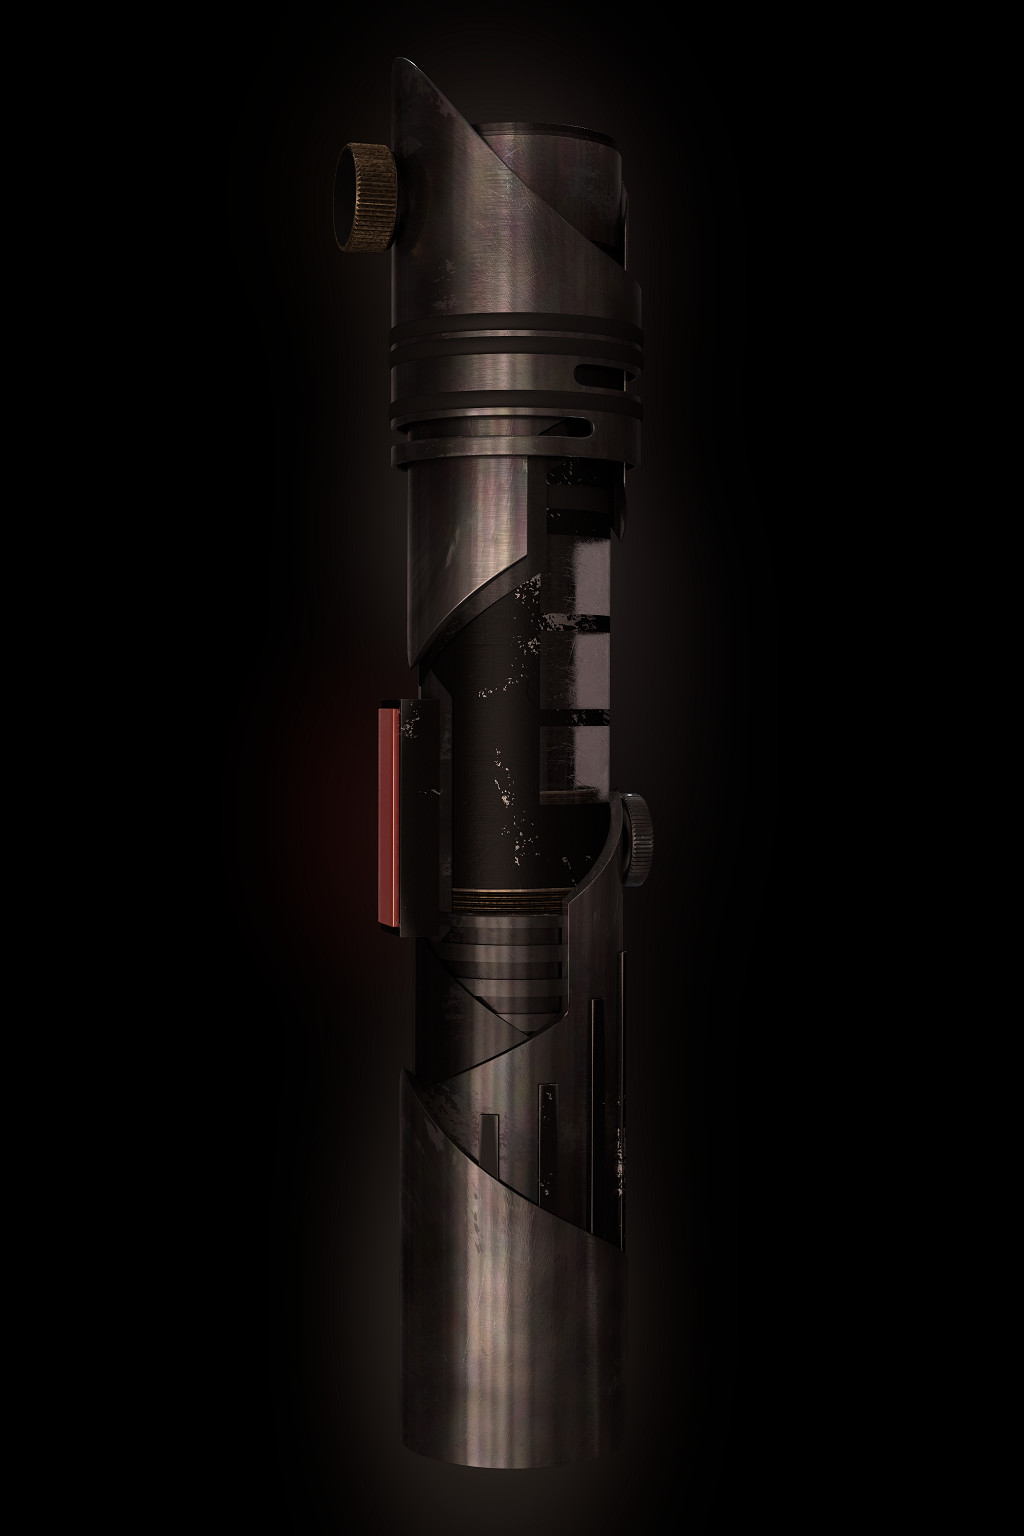
Can I post older stuff here? I once made a lightsaber too. 
I made pretty meh procedural materials, did not use nice textures (coz I can’t into UV unwrap) so there’s that.


3 Likes
I’d say scale down the top bit a tad to make it look closer to a sword grip in the hand (the button is more than a third of the way down, you could beam someone with it turned off like a billy club)
other than that it’s a personal taste thing innit
1 Like
doesn’t the interface only change with the “for artists” and “101” SKUS?
1 Like
The Ui is getting a general overhaul. You can set a lot of things back to the way they used to be in 7.79, but there are also some changes, that can’t be reverted. For example the left 3D-View Toolbar has been subject to quite a lot of changes and there has been a lot of changes to the backend as well.
For example Groups and Layers are compleately discccarded in favor of collections. Also the “classic” blender engine as well as the game engine are thrown out and being replaced by Evee.
1 Like
good riddance
is this in the style of UE4/Unity?
also regarding the toolbar: do they change the hotkeys
1 Like
You can do a lot with just procedural mapping as well. Just take the texture coordinates input node, combine it with a mappping node and play around with the values.
I have not used any UVs on a lightsaber, I did myself a while ago…
My lightsaber
To get a good metal look, I reccomend using a greish diffuse shader, a greish glossy shader with low roughness and a greish glossy shader with high roughness. Combine them with 2 add nodes and you have yourself a nice metal. You might want to switch the glossy node for antisotrophic nodes, if you’re going for a brushed metal look.
Make shure to add some scratches using a bump texture for flavor and some traces of heat using a colorful noise texture will also look great.
Nice sparks tho!
2 Likes
Yes, they change some of the hotkeys, but those changes can be reverted. But I’ll probably try to use the new keymap, because it makes a bit more sence.
Collections pretty much work similar to layers, but you can have subcategories and name them. But I have not dived that deep into it so take it with a grain of salt.
1 Like
yeah, sounds like it’s probably imitating unity collections (eevee is realtime, so it makes sense to match the workflows)
sounds like good change
1 Like
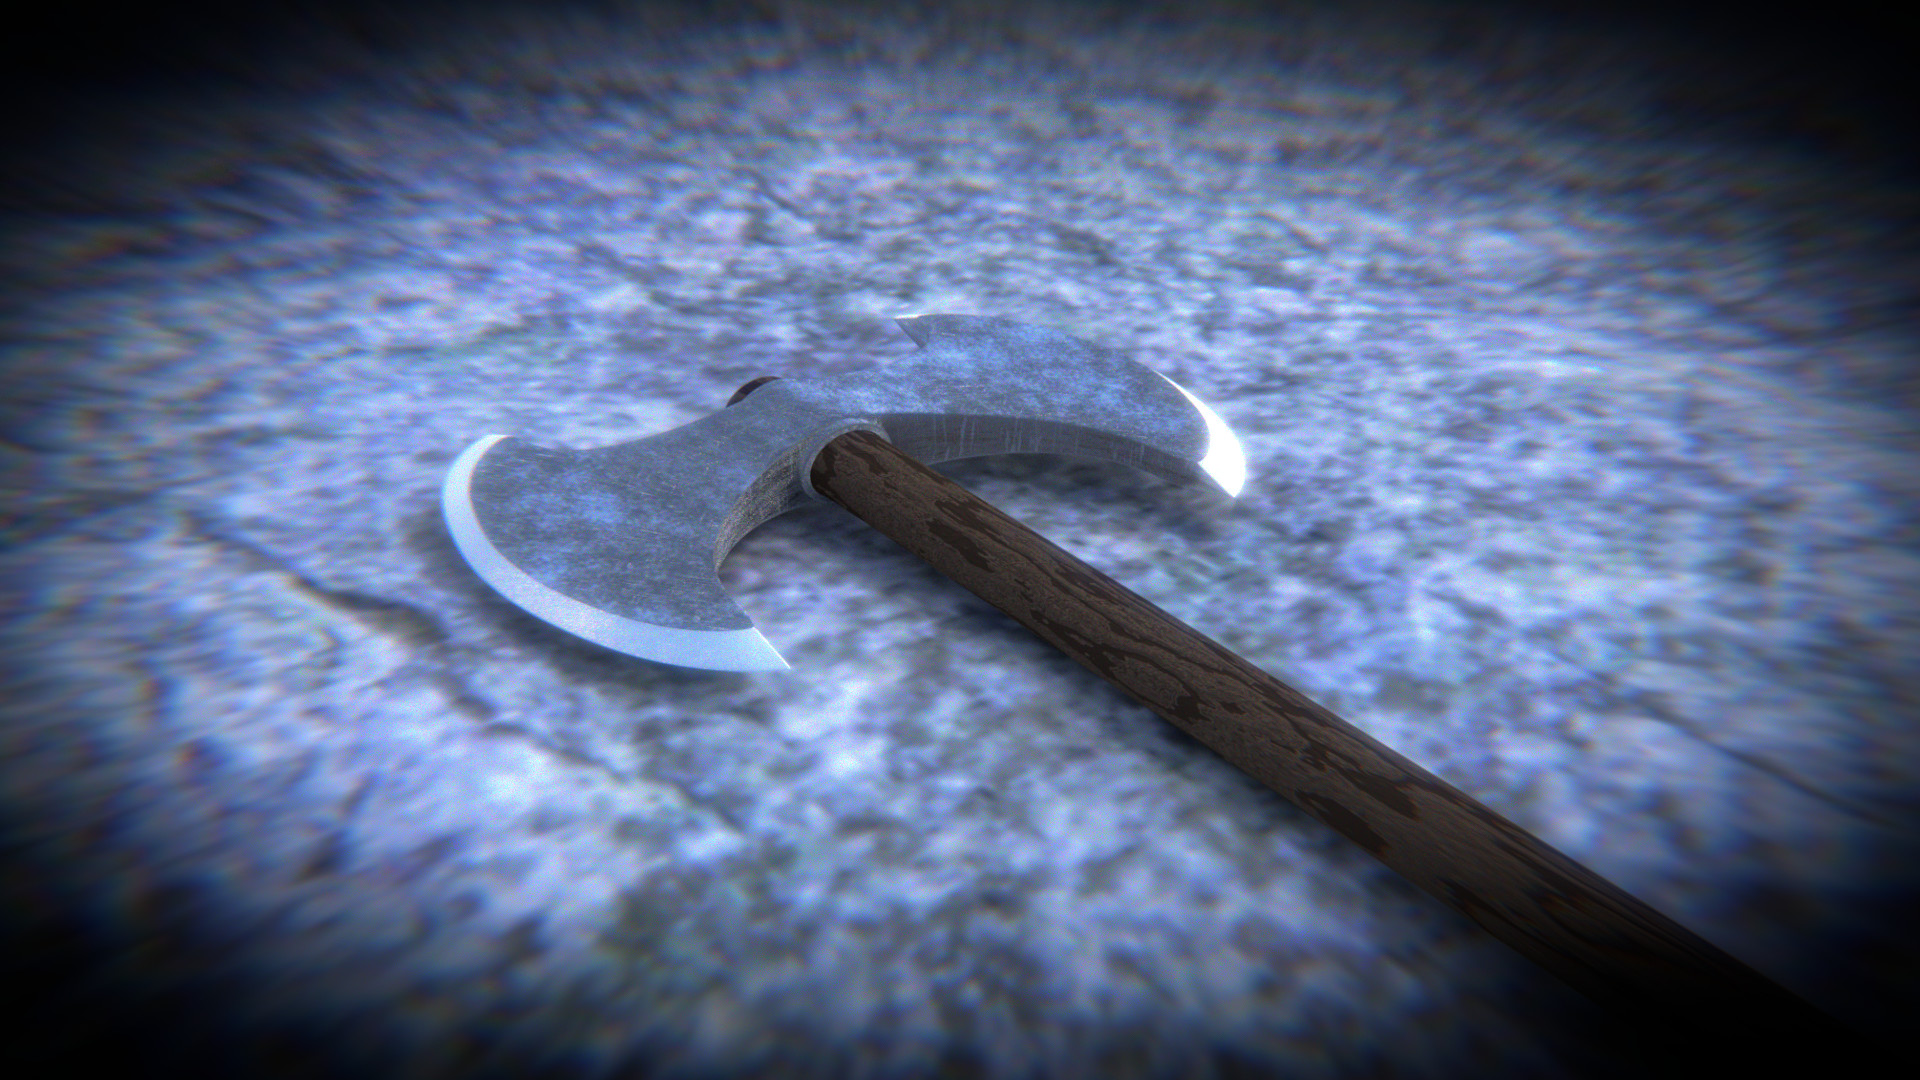
My try at own PBR nodes (pre Principled shader) and procedural textures. Wood and axe head are procedural, rock is not. Wood came out pretty bad lol.
I know I overdid it with vignette and aberration.
2 Likes
The eyesockets are sually a lot deeper in humans so be aware of this. Also remember to set your shading to smooth with organic stuff. I’d reccomend looking up face topology as a reference and also ask somone to put a few indicators on their face with makeup and then use a front and side photo. Just use the background Image in the right toolbar for this porpuse. You want to use a Tele-Lens so you have as few perspective distorsions as possible in your reference images.
I don’t have a good tutorial right now, but just by looking at google image results of face topology and asking yourself, why it’s done this way and trying to replicate it, you’ll learn a lot.
2 Likes
I think the wood isn’t that bad. Just try not do do too much post processing, if you’re looking for feedback on materials/models etx. If you want to make a highlight reel or portfolio, some subtile post processing is always a good idea. But it makes it a bit difficult to give good feedback, if you simply can’T read the image too well.
1 Like