I’ve got some questions, requests and inquiries about how to get into case building, what type of tools to get, what materials to use, etc. I’m trying to answer to those questions here, and hopefully encourage someone to bust out that Dremel and start their own projects. 
But first some disclaimers:
DISCLAIMER: Always use protective gear when using power tools. If you don’t know how to use some tool, consult manual or ask advice from professional.
DISCLAIMER: I’m not professional carpenter, welder, machinist, or anything like that. I’m just a dude who’s interested about case building and crafts in general. So please take everything what I say with a grain of salt.
DISCLAIMER: I will not take responsibility for any destroyed or damaged hardware, tools, other monetary losses, or possible physical injuries caused to individuals.
Also please keep in mind English is not my first language, so you will definitely see lot of spelling and grammar mistakes. Also, while I probably know vocabulary for computer science and all geeky stuff better in English than in Finnish, tools, crafts and all DIY related things are mostly familiar to me by their Finnish names, so I might get some words wrong here. Input on fixing those are welcome.
HOW DID I START
Now that I got myself to clear water, let’s begin. First, how did I get interested about case modding? I got really interested about case modding when my friend showed me modded computer case at CS class in junior high. This was in 2001 maybe. The case mod in question was Half-Life 2 themed case made by modder called Piloux.
My own case building hobby took off in 2011 when I started to build my first case from scratch. I’ve never done anything this big before and previously if I did build something, I had either my dad or school teachers guiding me.
So to answer to the question of how did I get into case modding, the answer is that I don’t know exactly. I just one day got bored looking at cool projects that others are doing and decided to finally do something myself.
USEFUL RESOURCES
Here’s some useful resources for those who are interested.
- Attila Lukacs has really good guides to machining and working with aluminum. I’ve used his guides a lot.
- Bit-tech.net has good case modding section, ranging from articles about case modding to actual worklogs, often picked from their forum. Their forums used to be good place to share your projects, but I haven’t been active there anymore.
- Mnpctech has quite a lot of pc modding supplies and what not in their inventory.
- Jeffrey Stephenson has built many interesting case project using wood as his primary material.
-
Metku.net has some case projects listed, but the site hasn’t been updated in ages. Still the projects are really interesting in my opinion, and can offer some inspiration to some.
I’m sure there’s a lot of other modding sites available, I haven’t been following them that actively for a few years now, so I don’t exactly know where the latest “hot stuff” is happening.
I also encourage everyone to google things and just simply figuring stuff out by themselves. That’s what I’ve been doing. Also, youtube has metric ton of awesome DIY channels that you can use to get inspiration form.
IDEAL WORKSHOP
Ideal workshop is the one you have access to. I started out by building things in the communal space of the apartment building my parents were living at the time. After that my dad got a garage that had small, maybe 1 meter wide and 50cm deep table area. Only recently my dad got better dedicated workshop, although the space still isn’t big.
What I’m trying to say is you don’t really need huge workshop for case building. If you have a garage, then that is more than enough. Communal spaces works too, but you most likely have to clean up the mess once you’re done for the day. There’s also all sorts of maker spaces, hacklabs and other community driven workshops that you can use, for a small fee of course.
TOOL LIST
Ok so this is the question I get asked quite a lot sometimes. Truth is I don’t have any fancy tools, and only power tools I use are jig saw, cordless drill, cheap drill press, and a Dremel. Drill press and Dremel are not mandatory tools, but they make life much easier. With drill press you are able to drill straight holes to solid pieces of material. This is crucial if you for example want to make threaded holes to solid block of aluminium. Dremel can be used to many different things, like cutting, engraving, polishing, etc, and thus it also just makes my life easier. You can of course buy Dremel copy, but make sure that either original Dremel accessories, like cutting discs, can be used with that Dremel copy, or the manufacturer of that tool offers enough accessories for it. I went with original Dremel because accessories are easily available at local hardware stores and thus easily available if/when I need them.
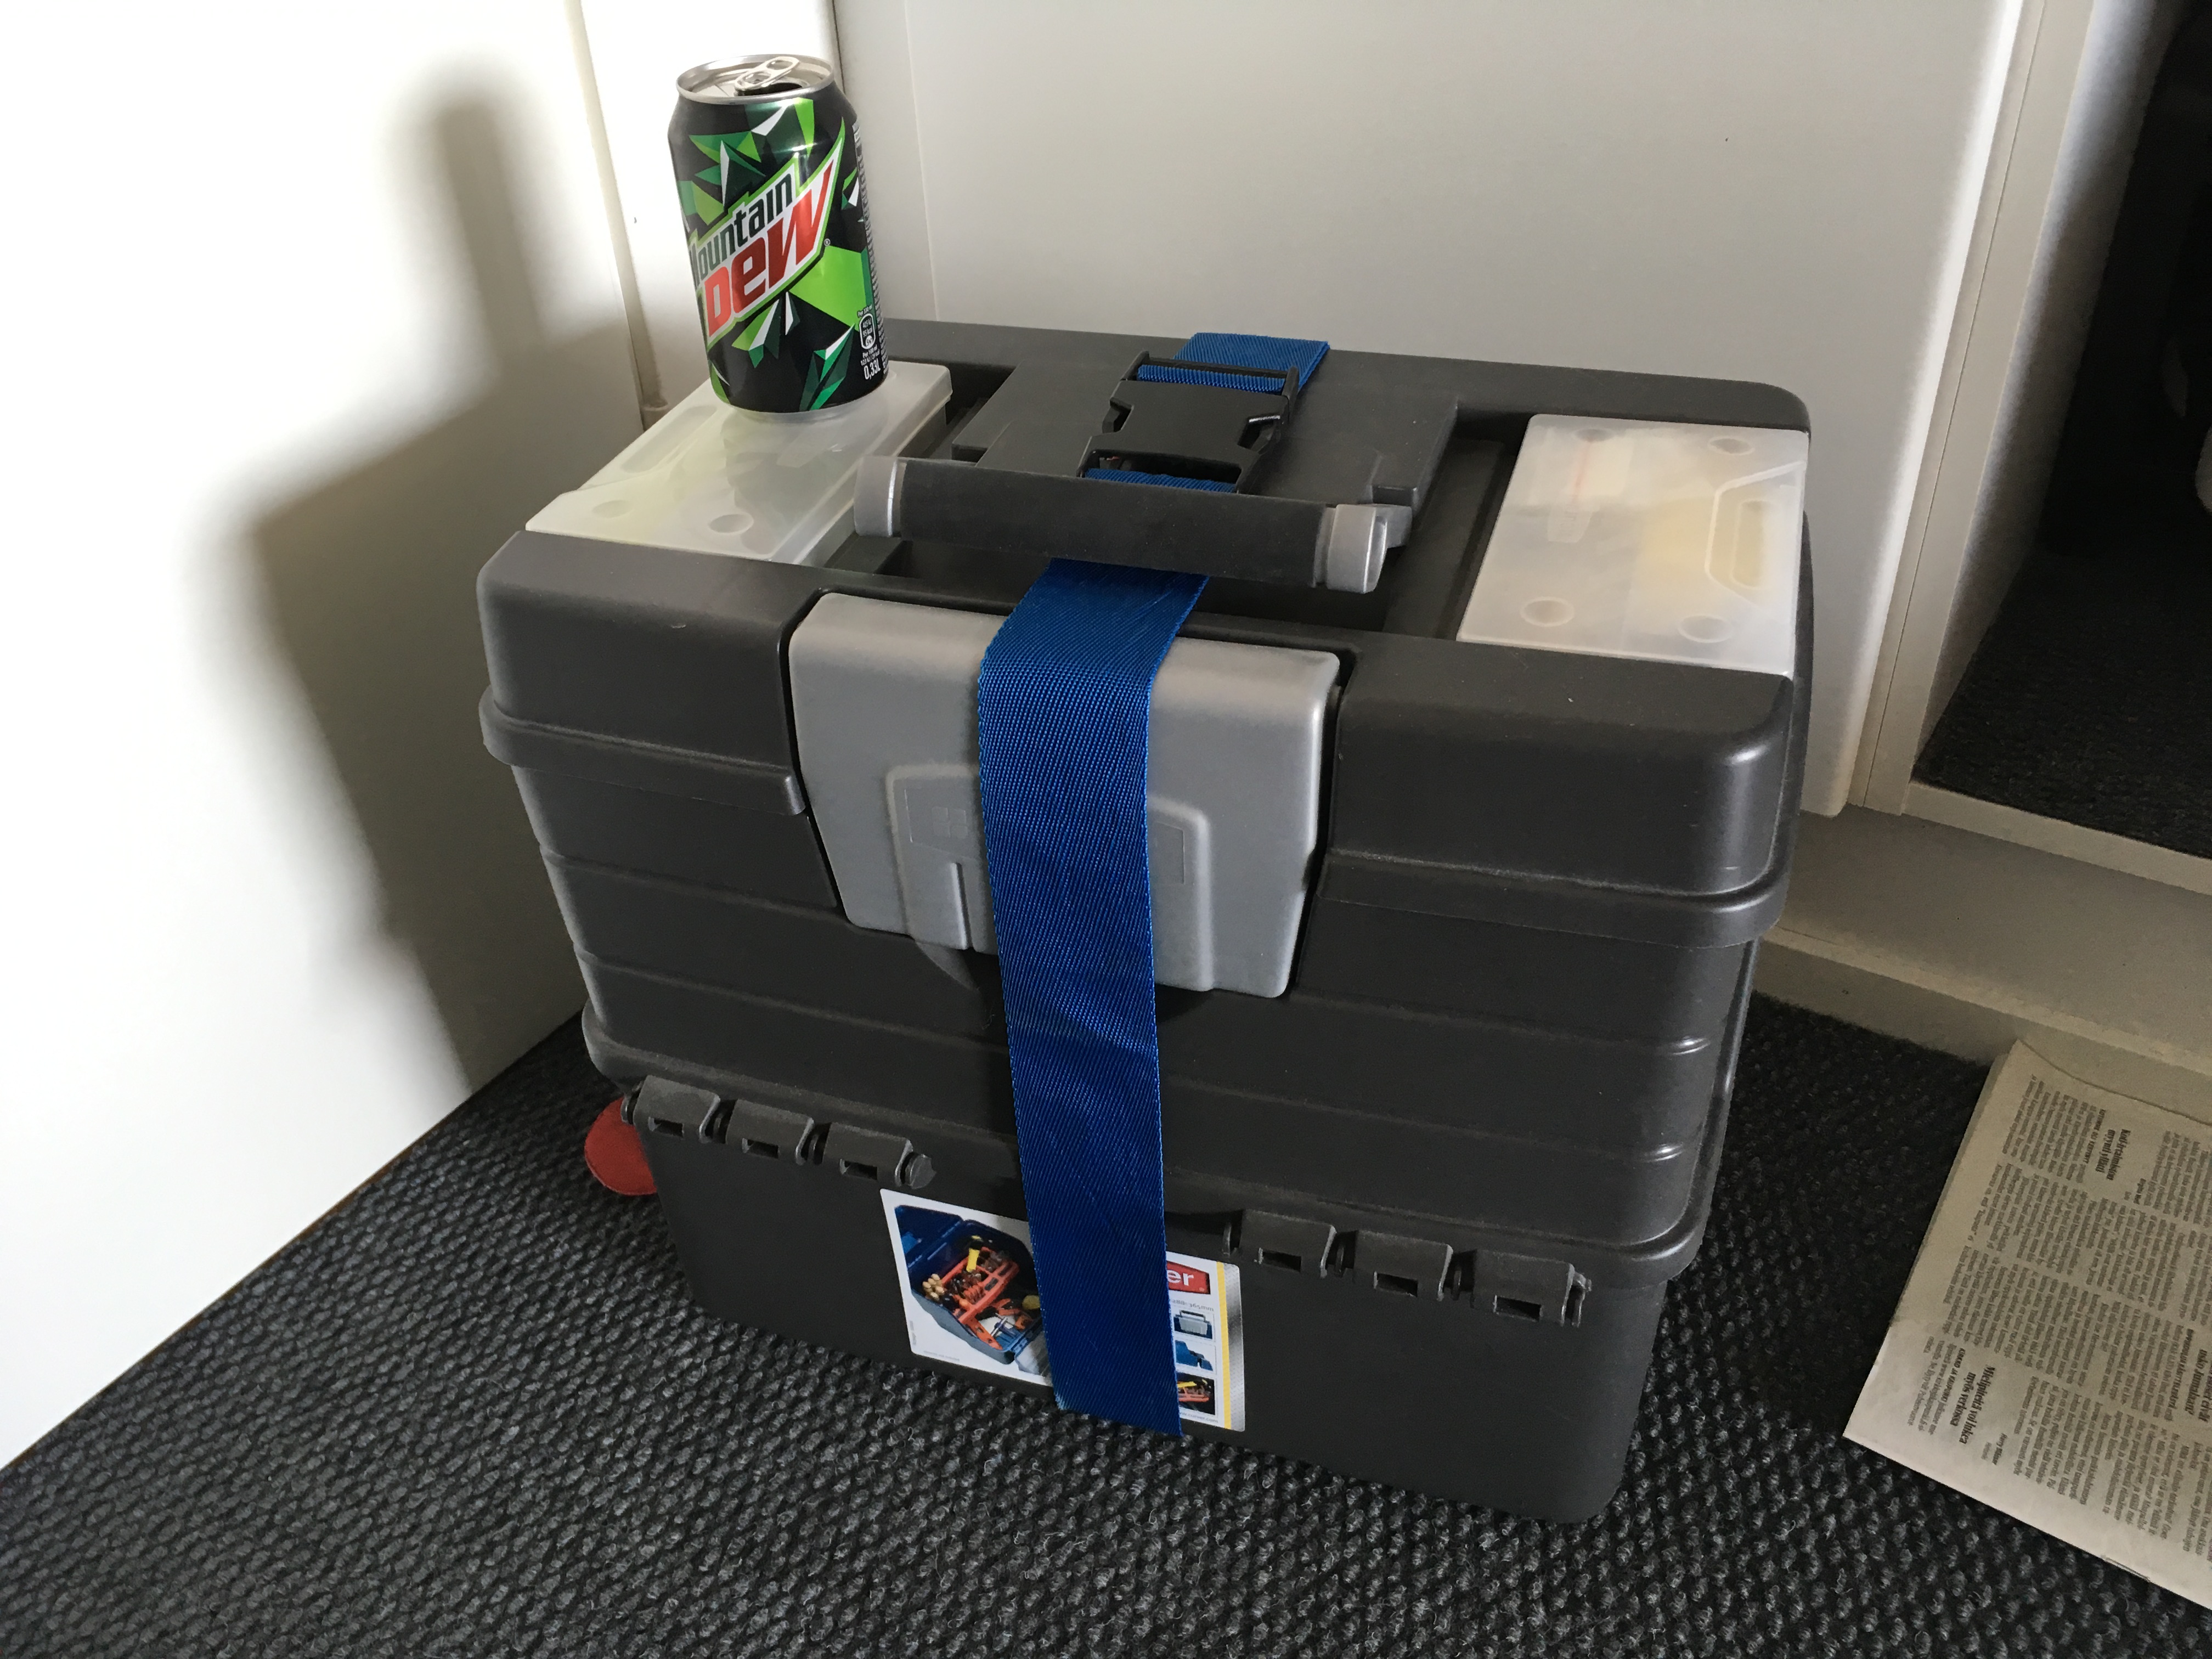
So here’s the tool list. All this fits in the toolbox pictured above. And before you ask, yes, Mountain Dew is the fuel of the champions!
I might forget some tools but I’ll add them here later. Also please notice my tool box is geared towards working with aluminium, hence tools like metal files.
- Set of metal files. Rounded, straight edged ones, big and small plus a needle file set. And also special brush used to clean files. Aluminium is a soft metal and can “clog” the file. You know what I mean once you start to file aluminium.

- Digital caliper. With this you can get really accurate measurements if needed. Does not need to be digital, but it helps.
- Tape measure, ruler, pocket calculator. “Measure twice, cut once”.
- Clamps. Different sizes for different purposes. These quick clamps are pure bliss.
- Drill bits. Buy those that are suitable for the material you are drilling. Also get spare ones. Especially tiny drill bits. They are like USB thumb drives. When you need one they are always missing.
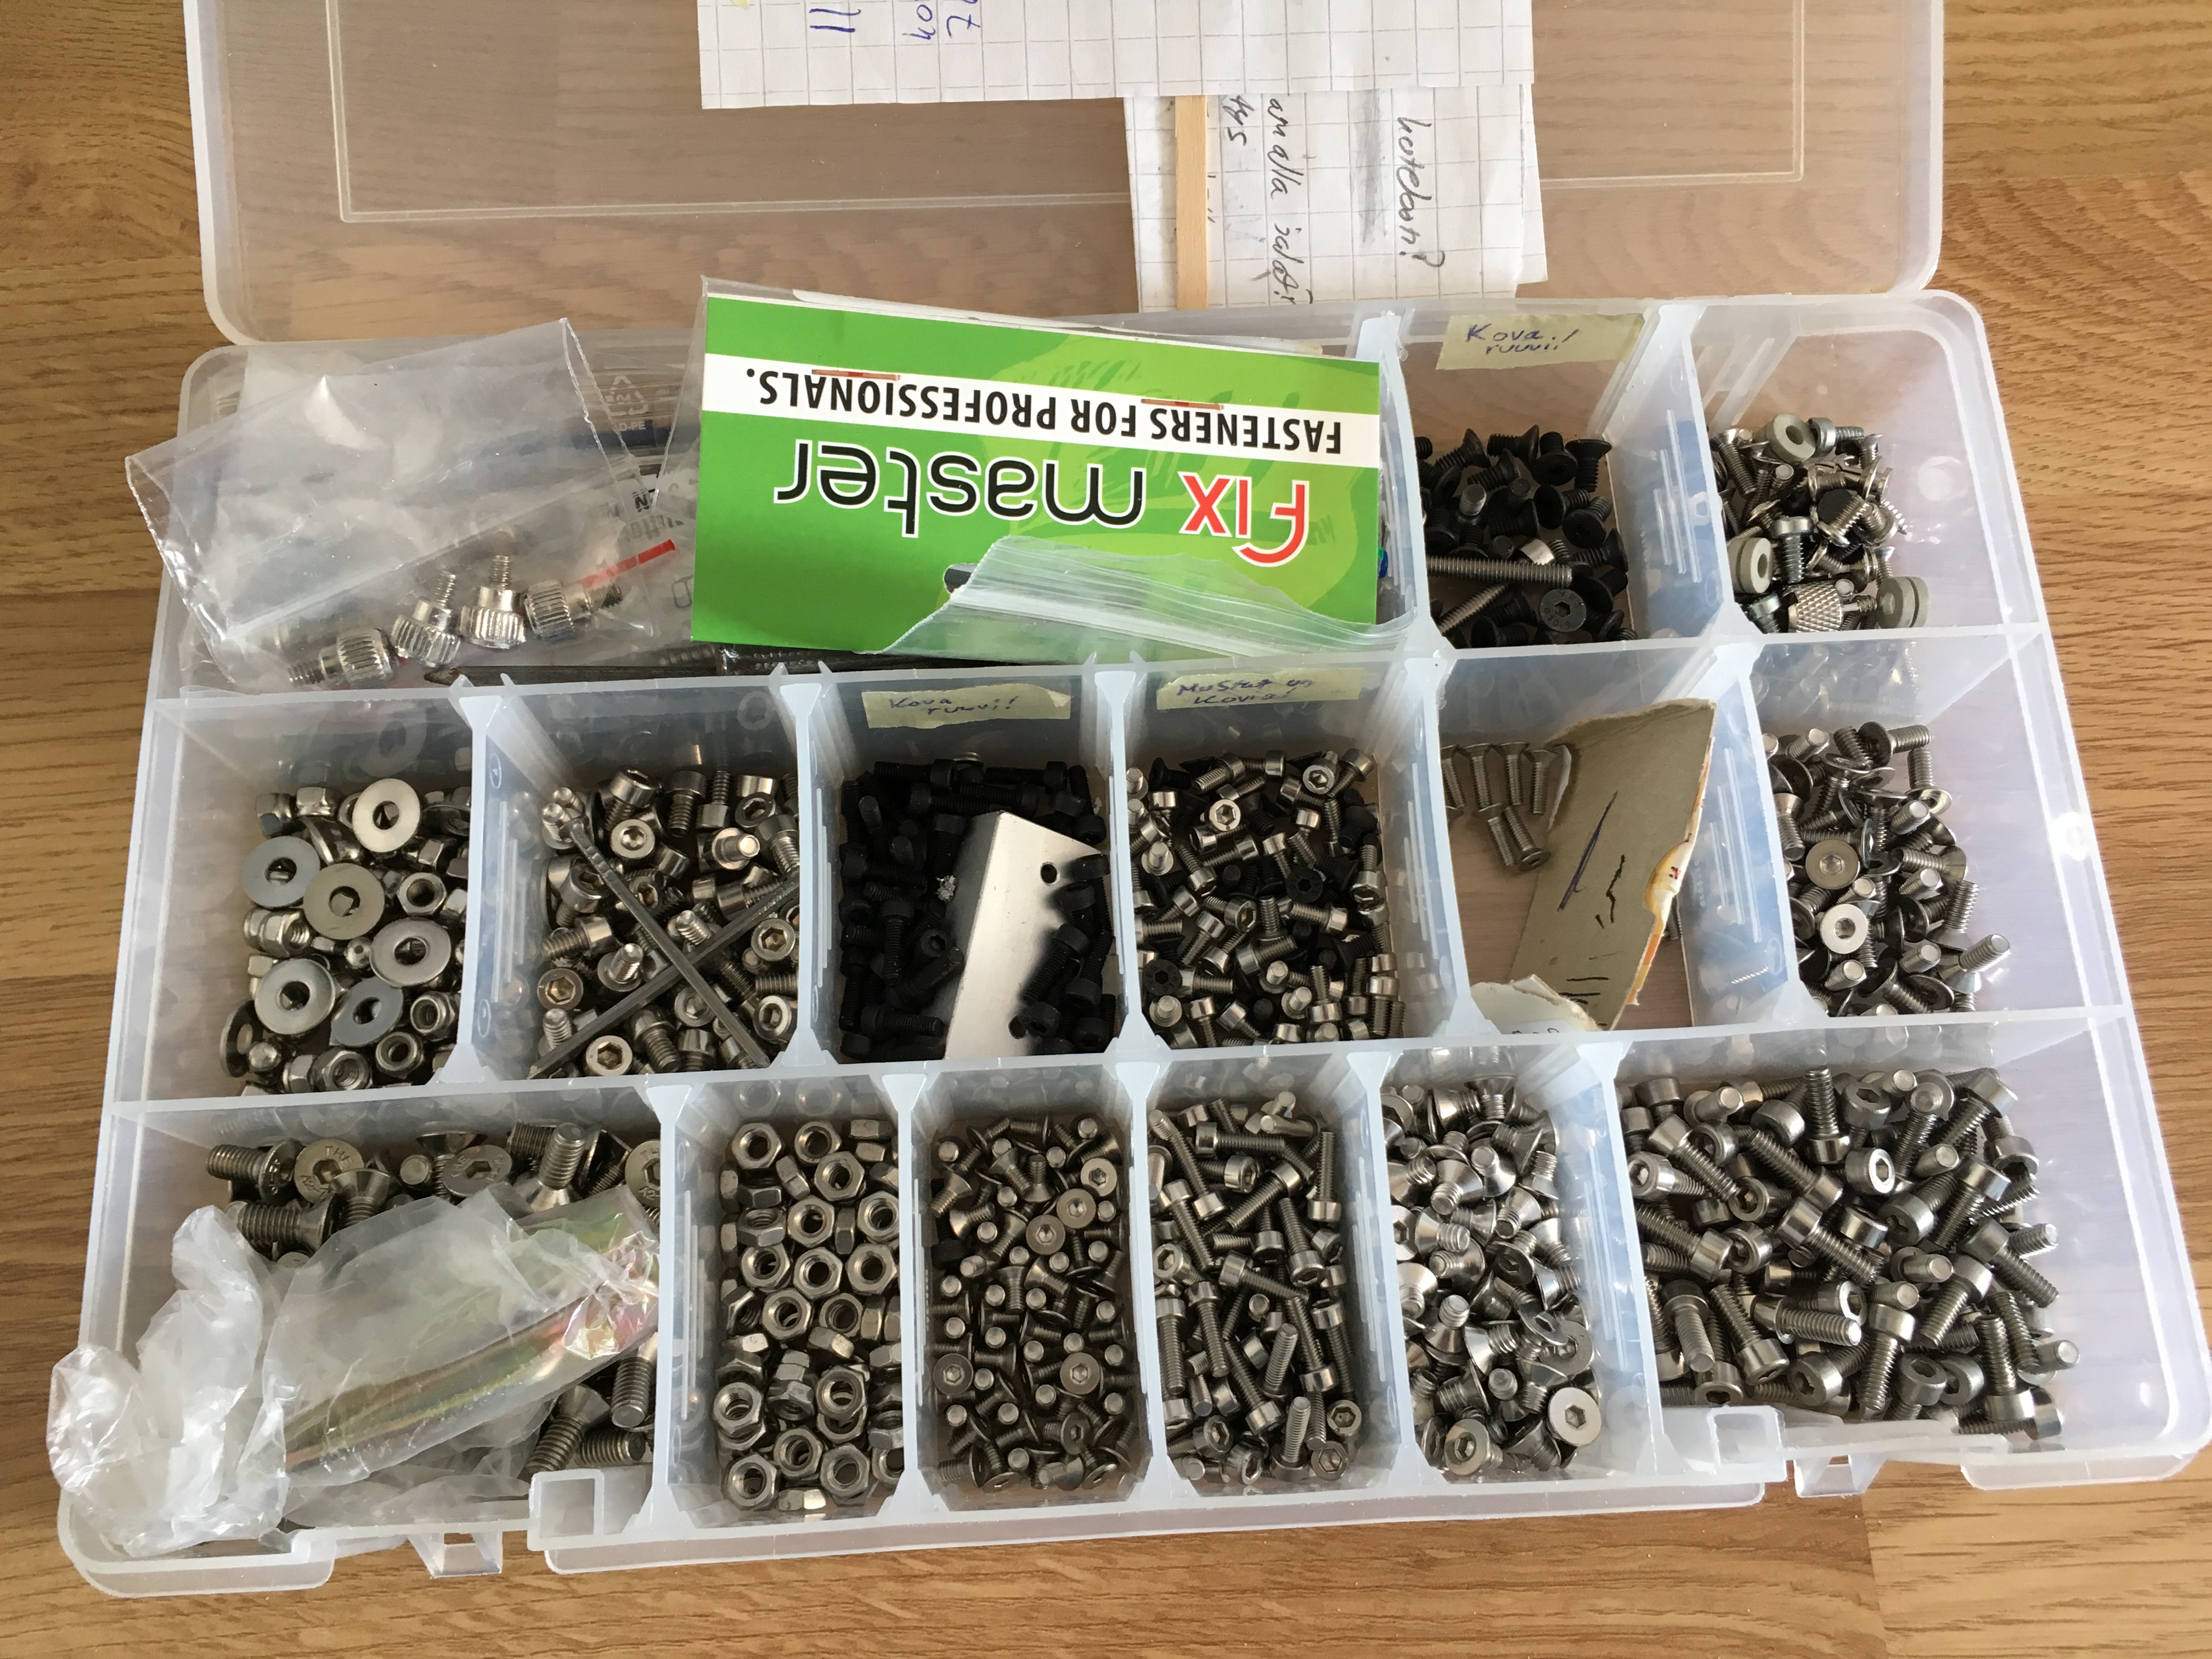
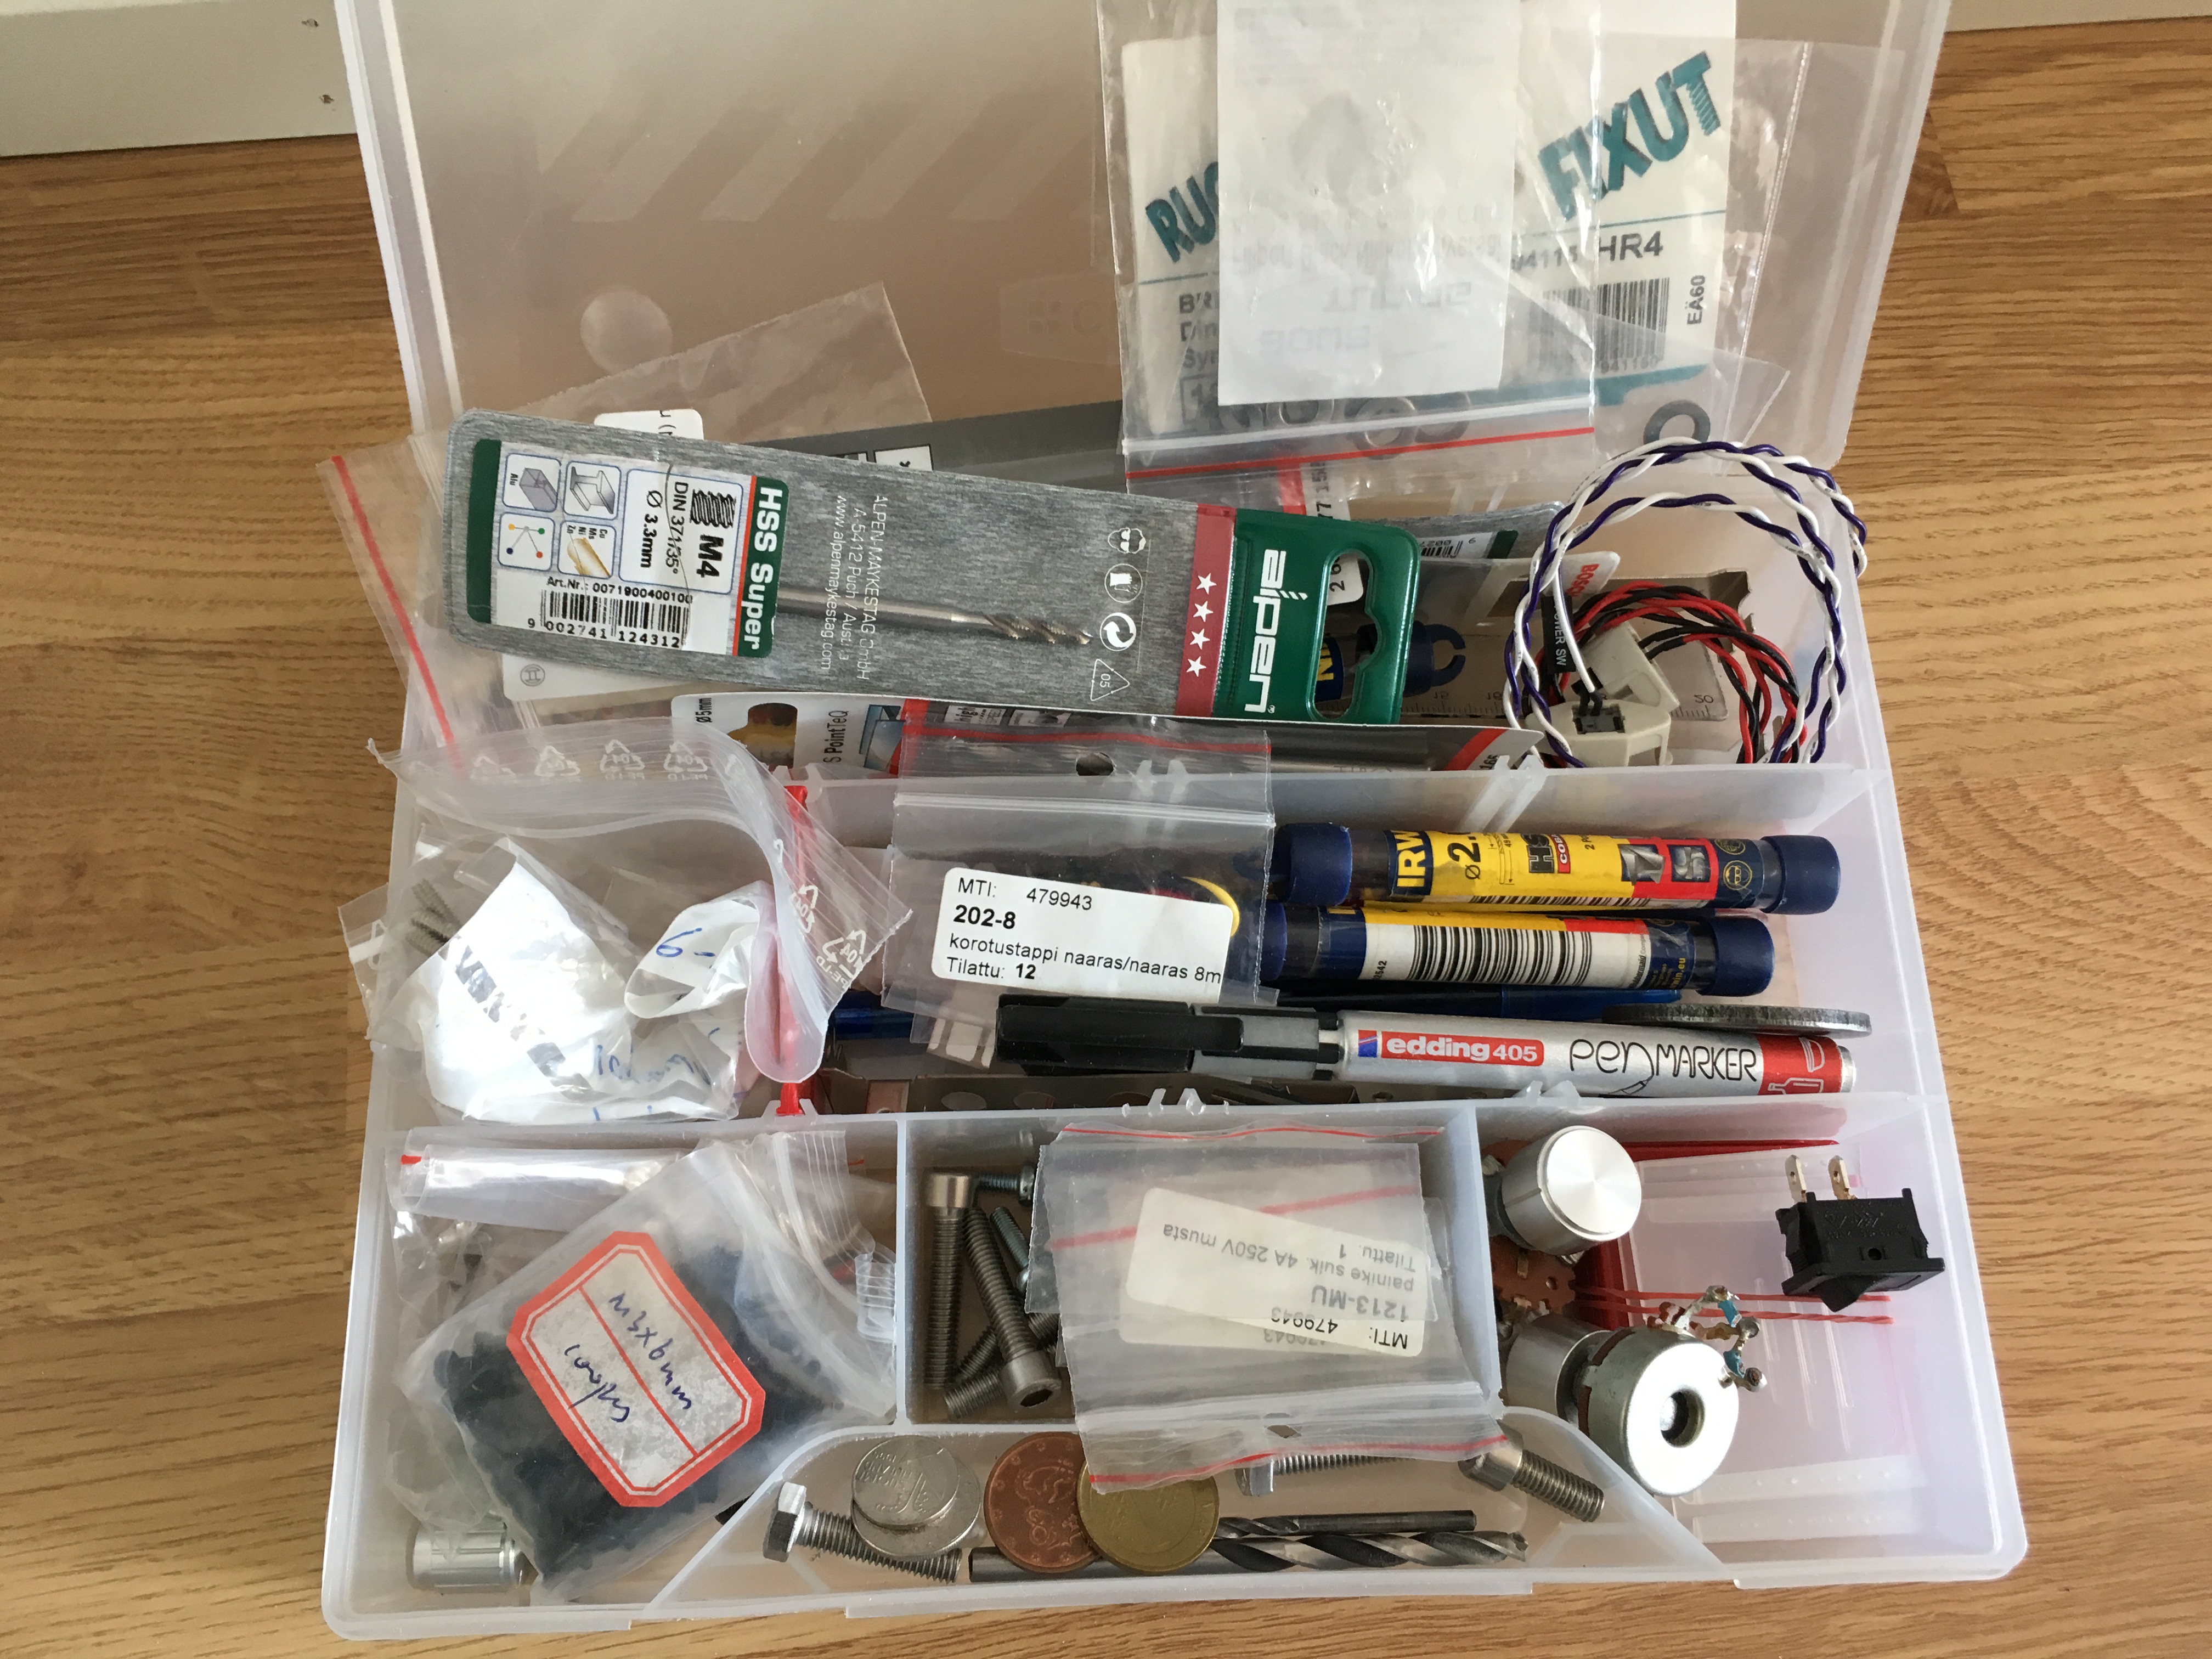
- Few assortment boxes. For screws and other tiny bits.
- Inside the assortment boxes I have screws, pens, thread taps, spare blades for jigsaw, spare blades for box knives, a box knife, and the list goes on.
- Protective gear: Gloves, hearing protection and safety goggles. I prefer to use mask type goggles that make seal around your eyes, but as long as you wear safety goggles you should be fine. Remember that regular glasses are not safety goggles!
And in addition:
- Drill press. Don’t buy the cheapest one, but you should be able to get by with affordable models. If you have space, rather get the floor standing model instead of table model. Drill press that sits on a table is easier to move, but the ones that stand on their own on the floor can be used to drill bigger pieces and thus are more versatile.
- Jigsaw. Some basic model should be fine for you. I have Makita one that cost maybe 130€ when I bought it. Adjustable cutting speed is nice to have.
- Dremel. Very useful for many different tasks.
- Cordless drill. I used to have regular corded drill, and I still have, but after getting more serious about this I got cordless drill, but you can get by easily with corded drill.
Remember that most of these tools are usable in other DIY activities too, like home renovation.
Here’s few pictures of what tools I have in my toolbox, power tools obviously missing. Safety goggles are missing, I just washed them when taking this picture.

I usually buy screws in bulk, it’s much cheaper and this way I don’t need to worry immediately running out of them.
MATERIALS
Ok now this is a topic that I’m not that familiar with, but I share stuff I’ve noticed myself and what I have heard from other case builders.
Aluminium
- IMO easily the best material to build computer cases out of. Soft, but still hard enough to be strong and well suited for case building.
- Softness means threaded holes tend to strip easily, so use caution when tightening screws.
Wood
- Relatively cheap material, depending what type of wood you are using.
- Computers can run warm, so if wood is used as a material for building cases, there’s a change wood might crack under huge temperature changes. Using dry wood should mitigate this a lot.
Plastics, like polycarbonate, plexi, etc.
- Material properties vary a lot depending on the type of plastic. Polycarbonate is softer material that does not crack as easily than for example plexi, but since plastic materials in general are quite soft, they pick up scratches quickly. Still, there was the time when see through computer cases made out of plexi were a thing.
- Here’s one example of scratch build case made out of plastic materials.
Steel
- I see you got a balls of… ok never mind.
- Steel is hard material to work with, plus it’s heavy, so cases made out of it are going to be really heavy to handle.
- Since steel is hard material, cases can be build out of thin material and case will still be sturdy.
- You can weld aluminium, but I’ve heard it’s not nearly as simple as welding steel. So instead of using screws, bolts or other ways to fix the case, you can just simply weld the case together.
I’m sure there is other material options like fibreglass etc. available, but I know nothing about those materials, so best not to include them. Also this guide/article is intended to be starting point for beginners looking for information and encouragement for case building, so because of that more esoteric materials are eft out. If you do have experience using some obscure material and want to build computer case out of it then go for it!
If you have any questions feel free to ask! I will update this thread if there’s some stuff I have forgotten.