 Introduction
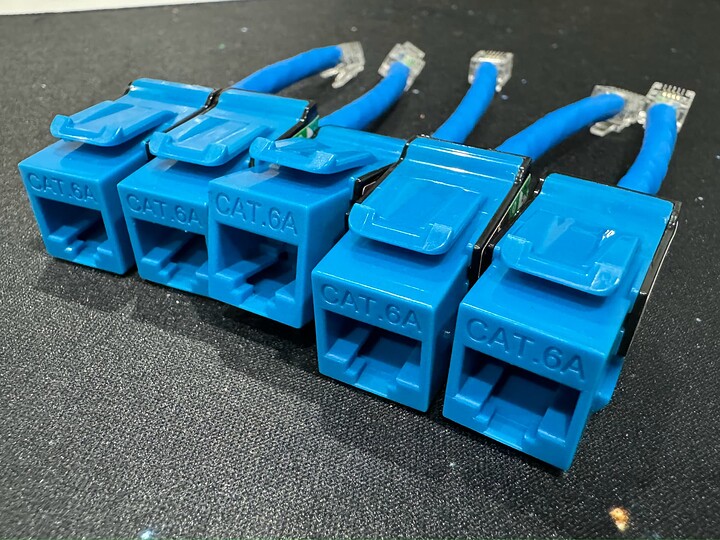
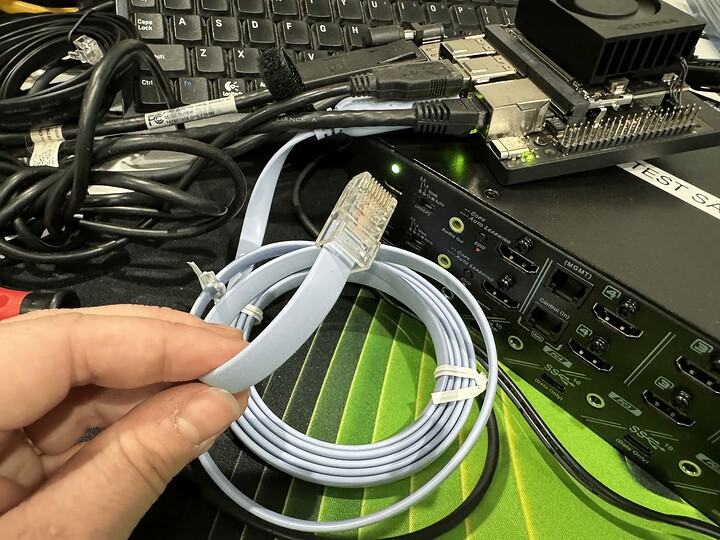
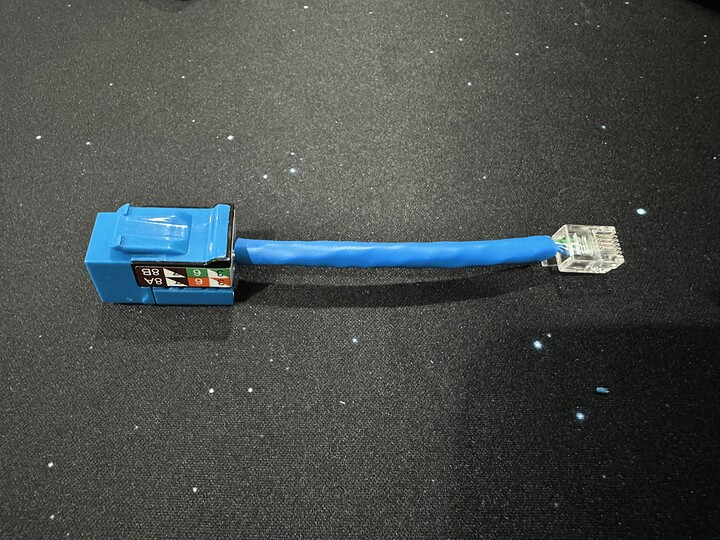
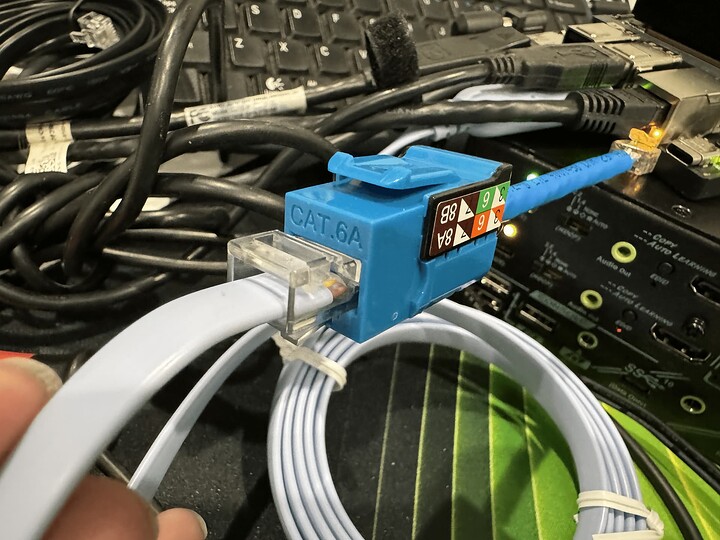
The L1Techs HDMI 2.1 KVMs and SYNC KM have a serial port on them. You might want to use an RJ45 connection, but alas the serial port is RJ11. In this example below, we have a Cisco-compatible USB-A to RJ45 cable that needs an adapter for the serial port on our HDMI 2.1 KVM:
This is a guide to walk you through how to assemble one of these for your use case (it’s not too hard!)
If you do not want to assemble one yourself, I will be assembling them for store.level1techs.com. This way, you still have access to them and could be bundled with your KVM purchase if you’d like ![]()
 Before You Begin
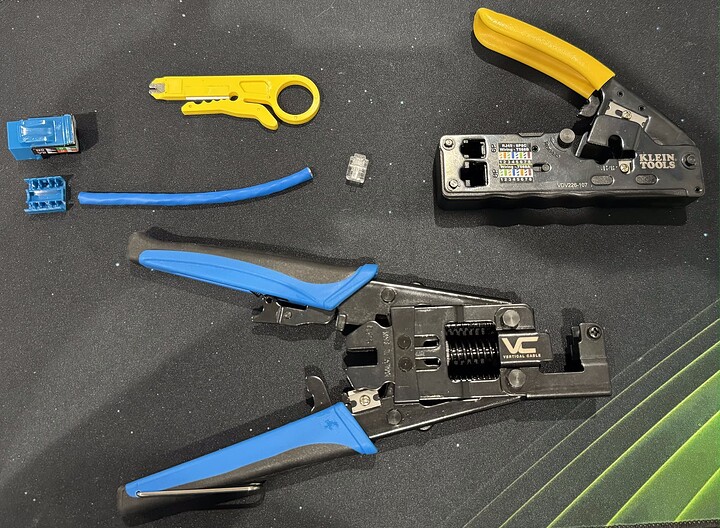
Required Items:
- RJ45 Keystone
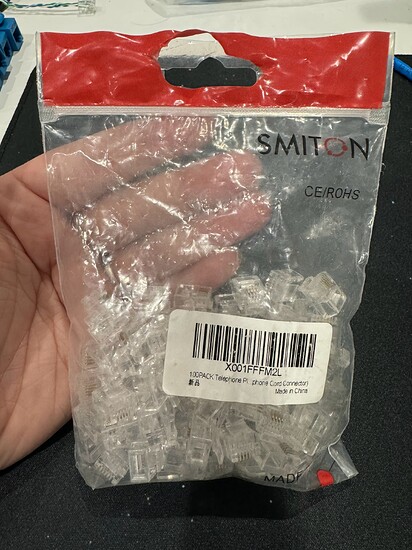
- RJ11 End
- CAT6 Cabling (about ~5in)
- RJ11 Crimping Tool
- Scissors (or other sharp object)
Optional, but nice to have:
- RJ45 Push Down Tool
You can accomplish this other ways, but this is the “correct way” to get the loose ends after assembling the RJ45 keystone.
- Wire Stripper
Same thing, you can open up the cable with any sharp object, these are just handy and “proper” to use.
RJ11 Ends
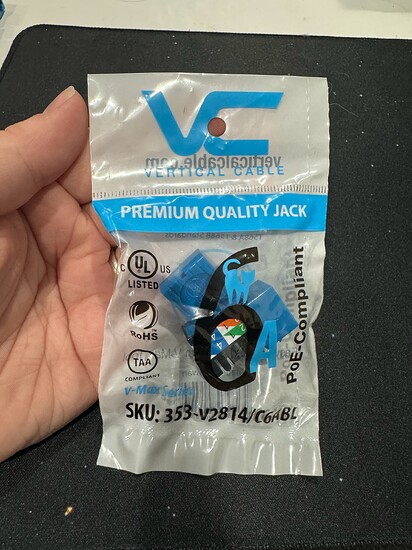
RJ45 Keystones
 Step 1 - Cutting the Ends
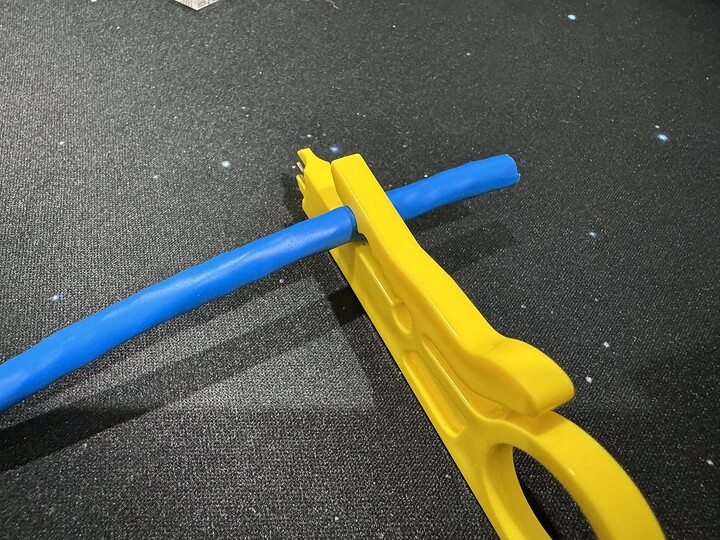
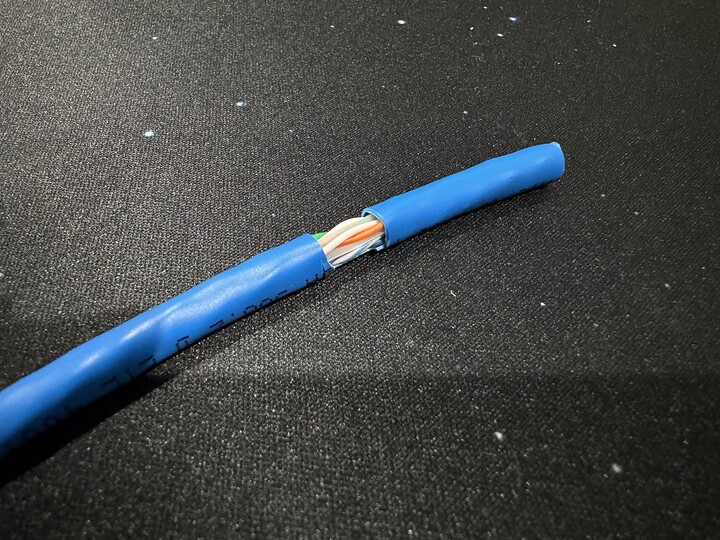
Using a cable cutter like this, be careful as to not cut the wires inside, just one turn around the wire will be plenty to take off the outer jacket.
After it is cut, check your cables for any nics, if there are some, cut a new piece of the CAT 6 cable and start again.
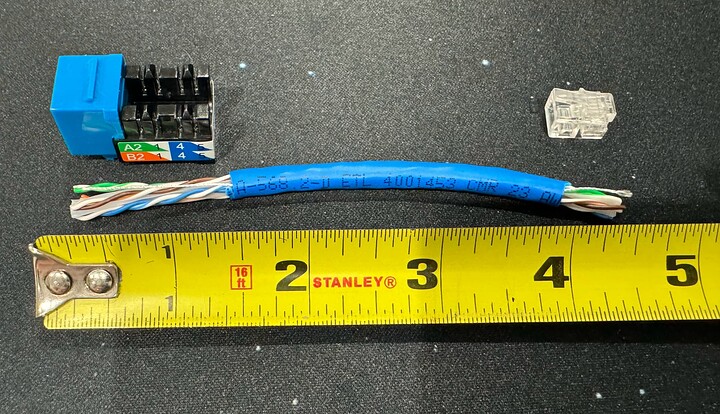
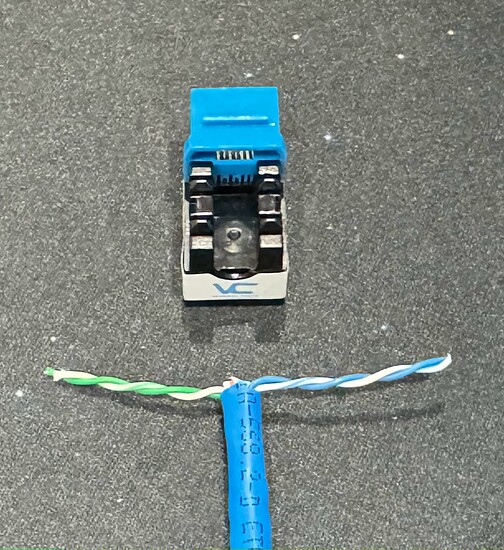
Here is everything laid out, approximately how much real estate you’ll need to assemble each end. I have 1 1/2 in. (~38mm) for the keystone, and 1/2 in. (~13mm) for the RJ11 end.
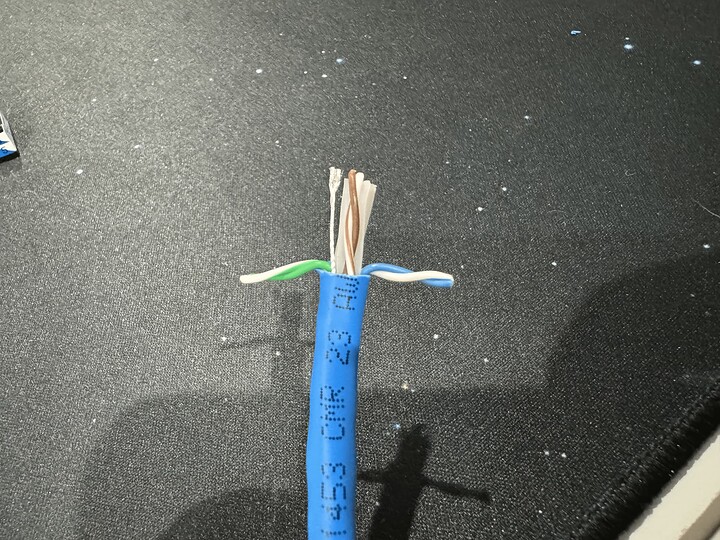
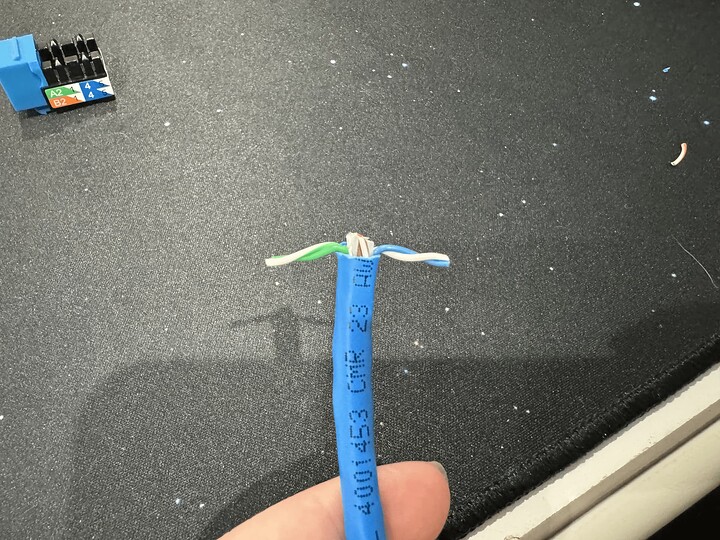
Separate 2 twisted stands (any color) from the rest. I’ve chosen blue and green for this demonstration. Do this for both sides.
As close as you reasonably can, cut with scissors the remaining material. Do this for both sides.
 Step 2 - RJ11 Assembly
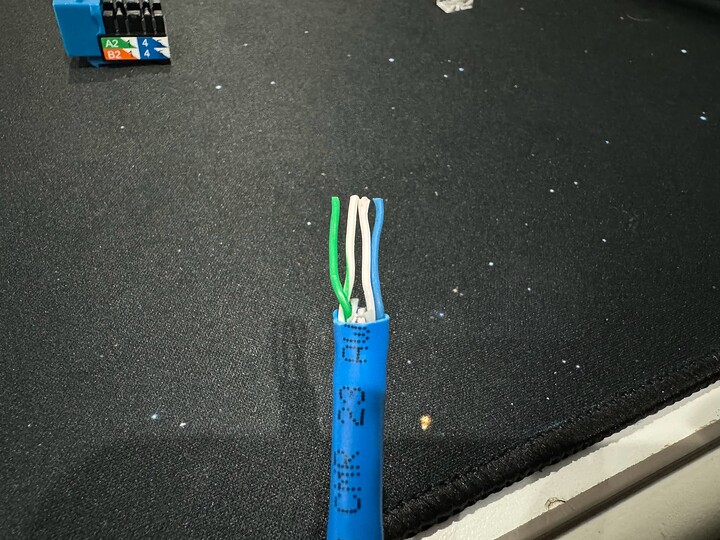
On the smaller side, untwist the 2 strands. They will be wavy still from being twisted, try to straighten them as much as possible (to make the next part easier).
The 4 individual strands should be ordered like this (left to right):
green, green/white, blue/white, blue
If you get this wrong your cable wont work! Double check.
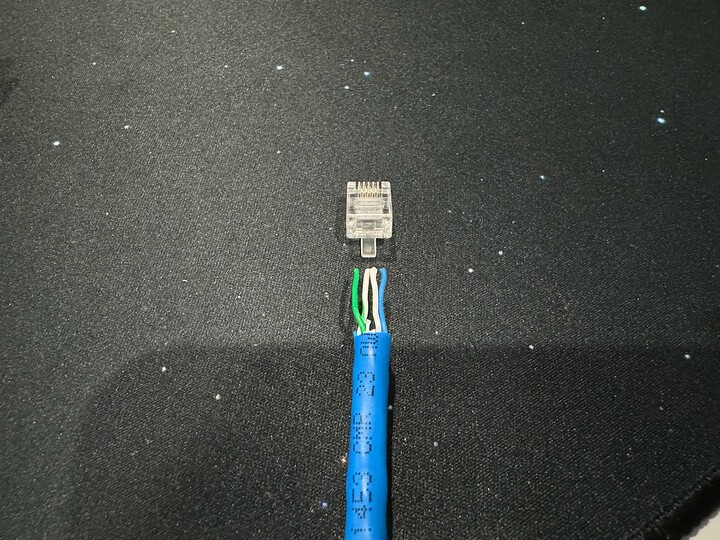
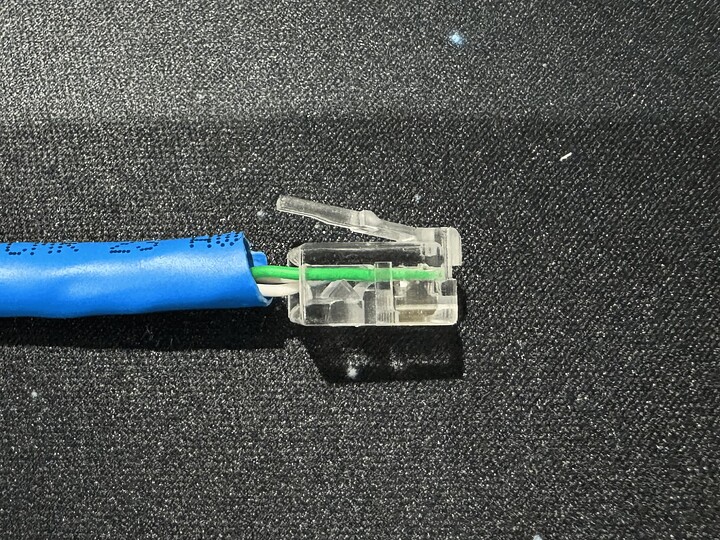
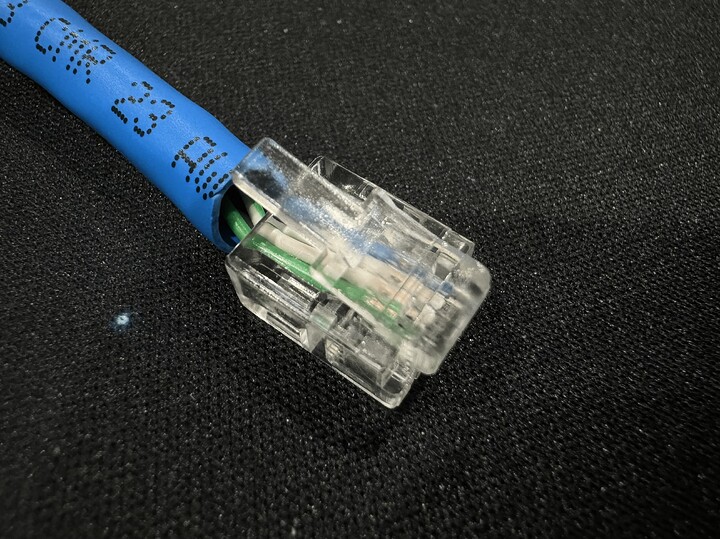
Hold your RJ11 connector with the clip facing away from you. Reference below for the correct orientation of everything.
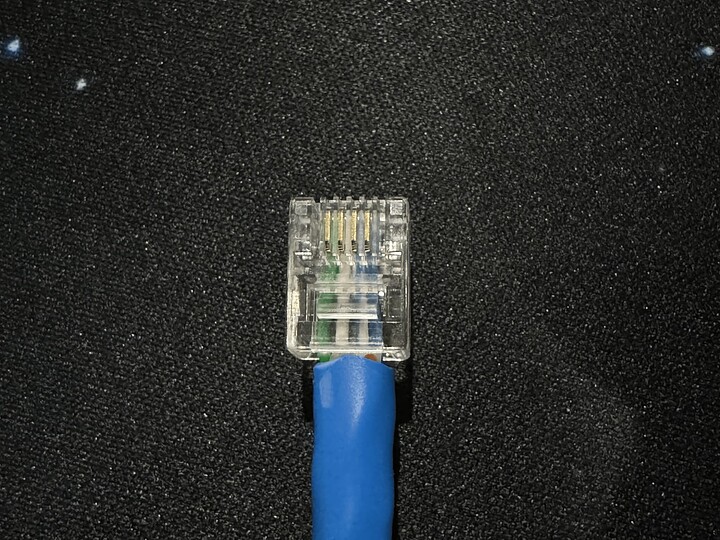
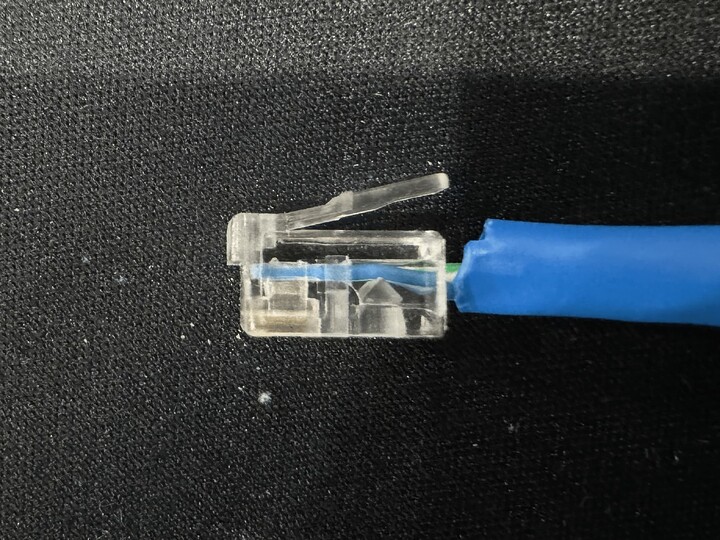
then (keeping the orientation of everything) push the cables into the RJ11 connector. This can be difficult! Be sure to check that they are completely into the correct slots. It can be easy to miss that they’re not seated correctly. Listed are examples of what your connector should look like when it’s slotted correctly.
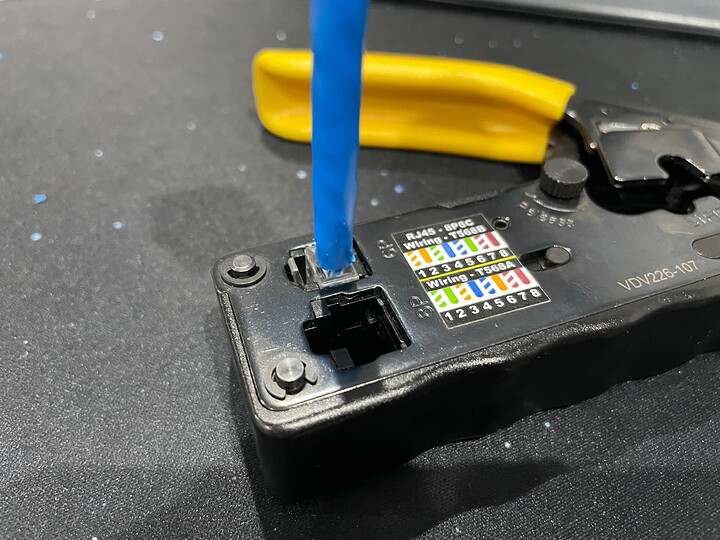
Lastly, we need to crimp the RJ11 connector. I place the crimper onto a flat surface and push down on the cable while pulling the lever. I crimp it 3 times just to make sure it’s secure, otherwise the cables can pop out while in use.
finished RJ11 end
 Step 3 - RJ45 Keystone Assembly
Lastly, we need to assemble the RJ45 keystone end. This is the longer section you cut earlier.
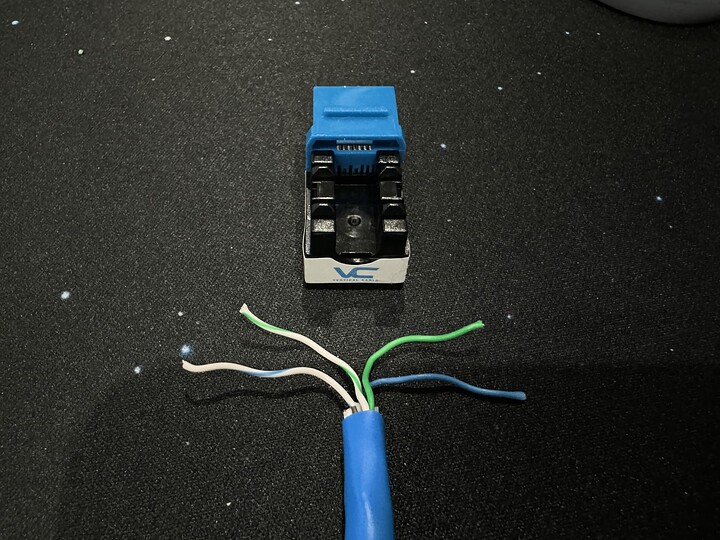
Like you did with the RJ11 connector, untwist the 2 twisted cables.
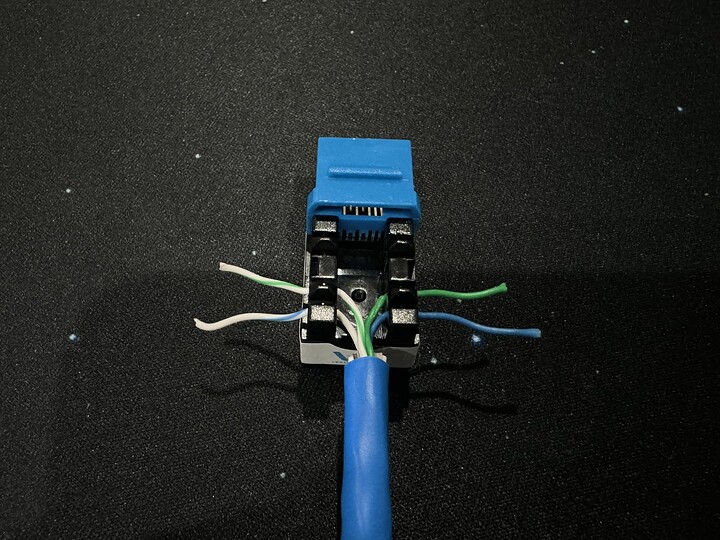
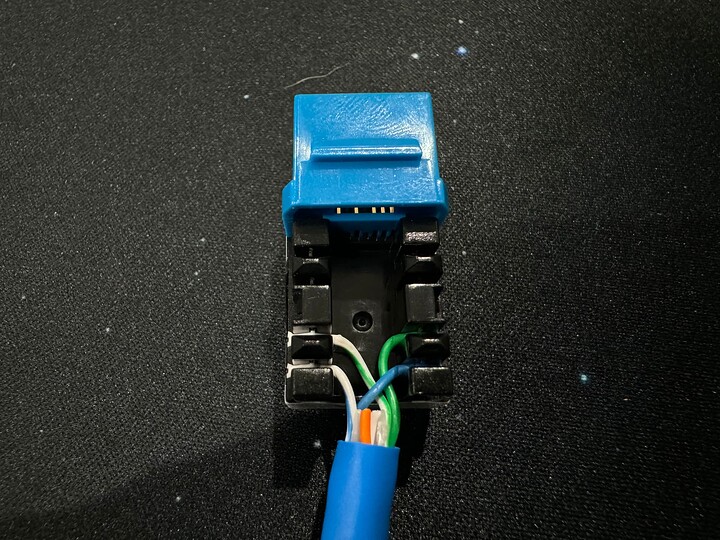
They will be slotted into the keystone into a specific order. The keystone has 4 openings on the left side, and 4 openings on the right side. From a top-down view, here is the cable placement:
| Left Side | Right Side |
|---|---|
| N/A | N/A |
| N/A | N/A |
| green/white | green |
| blue/white | blue |
Push the cables into the slots as best you can. You can use a tiny flat head screwdriver, or push from either side of the clamp to get it as recessed as possible.
If you have a keystone push down tool, you can use it now. It will push the cables as far down as possible and cut off the remainder.
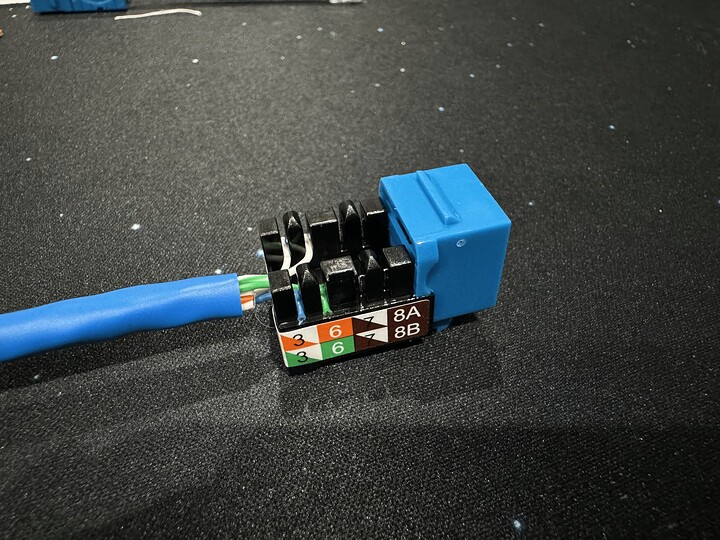
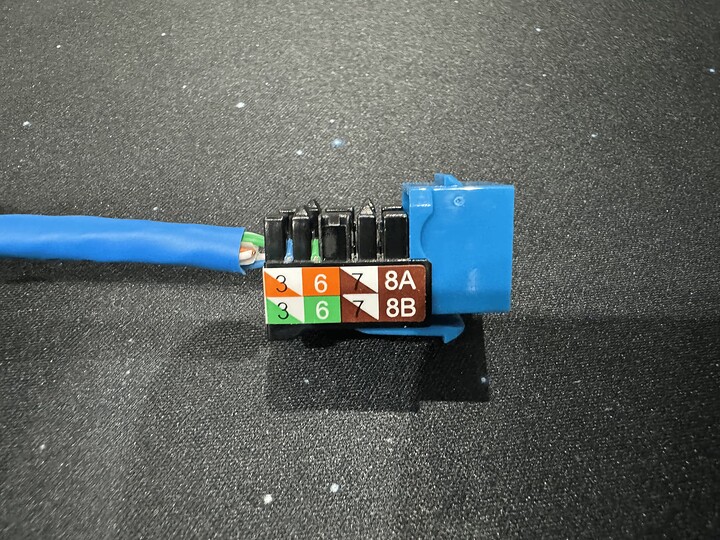
Here are some reference pictures for the finished keystone. Place the cap on top and you’re done!
 Step 4 - Test Your Adapter
As I said in the beginning, here we are using a USB-A → RJ45 cable, then connecting our adapter to the RJ45 end → HDMI KVM.
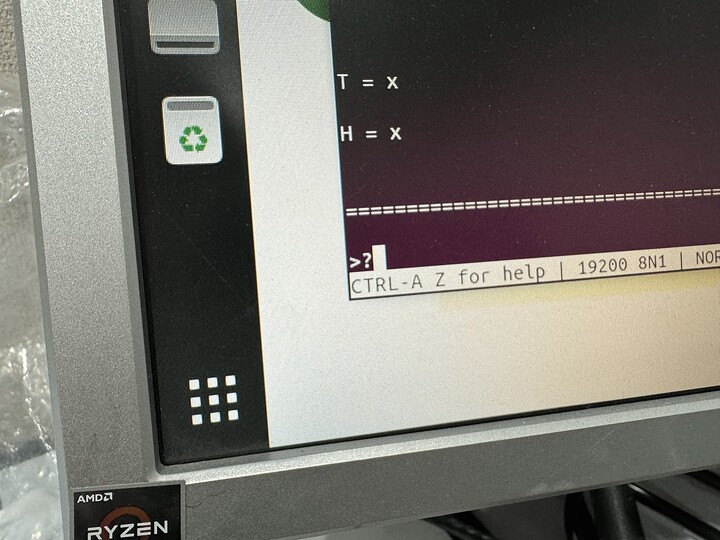
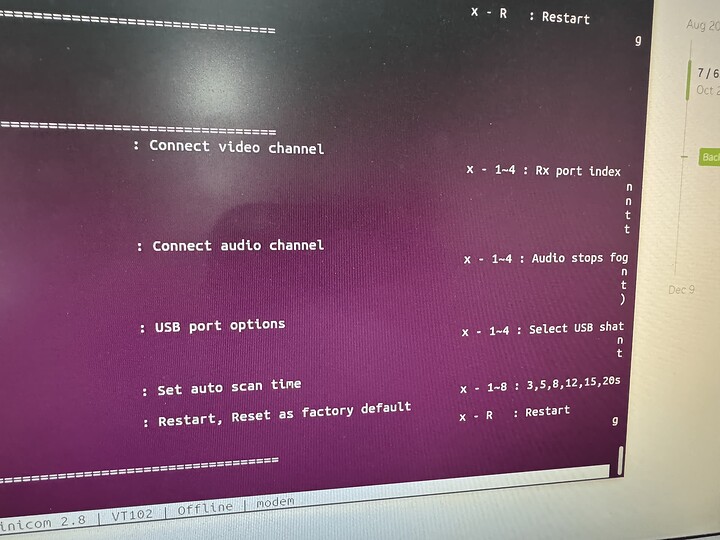
If you can type a question mark in the console and receive the proper output below, you’re good to go! If you can’t type the question mark, you get a weird result, etc. your cables might be in the wrong order. Let me know if you have any trouble.
success!
