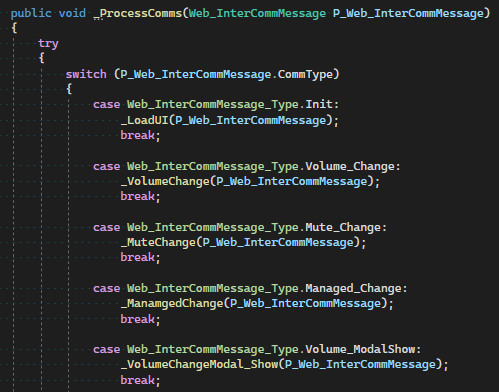
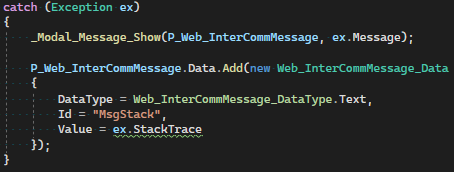
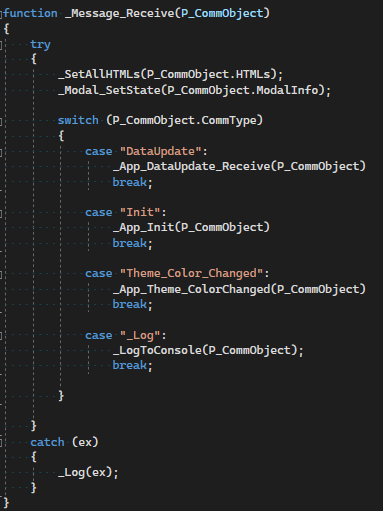
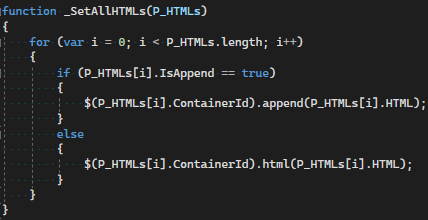
Update 9 Actual
Summary:
-Custom port
-Microphone volume
-QRCode
-Store and set Display settings
-Added icon for Speakers, Microphone, System Sounds, and if a app return the DLL icon
-Bad news, no Mic boost 
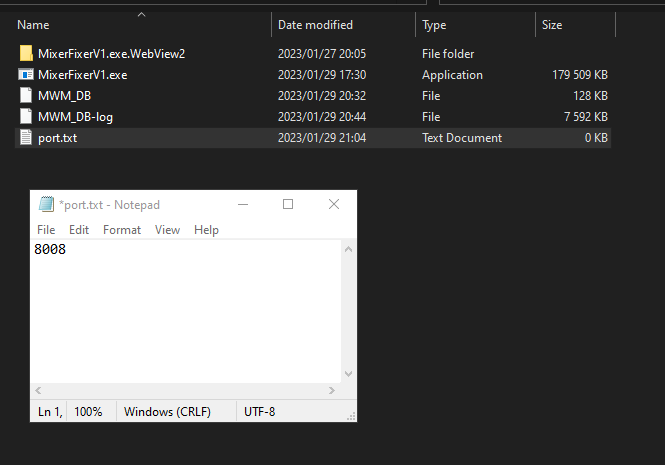
Custom port
My friend tried the app on his work laptop and the port conflicted with a test site he had running so I decided to change the default port to 5555 and allow the use to set a custom port. Didn’t have any good ideas on how so I settled on creating a txt file called port and typing the number in the file.
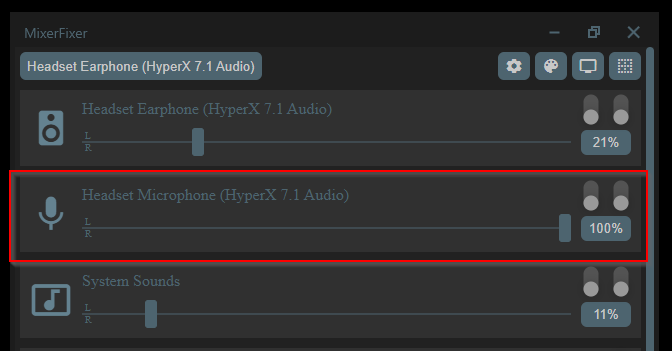
Microphone volume
I actually forgot about this. Only when I reviewed my original goals did I remember that I said I would allow changing of microphone volume. So I added that and it seems to work fine in my VM. I did forget that my HyperX cloud 2 does not allow you to change the microphone volume in Windows. I have to use the little wirid remote/DAC. For me this isn’t really an issue as I have the volume at 100% all the time anyway and the main issue I have is the fact that even at 100% volume the mic is too soft. O well… the volume slider is there and I’m sure it will be handy when I eventually switch microphones.
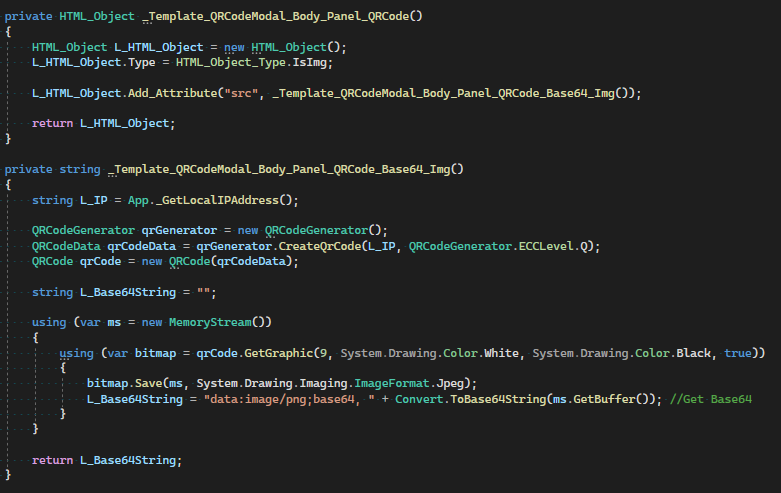
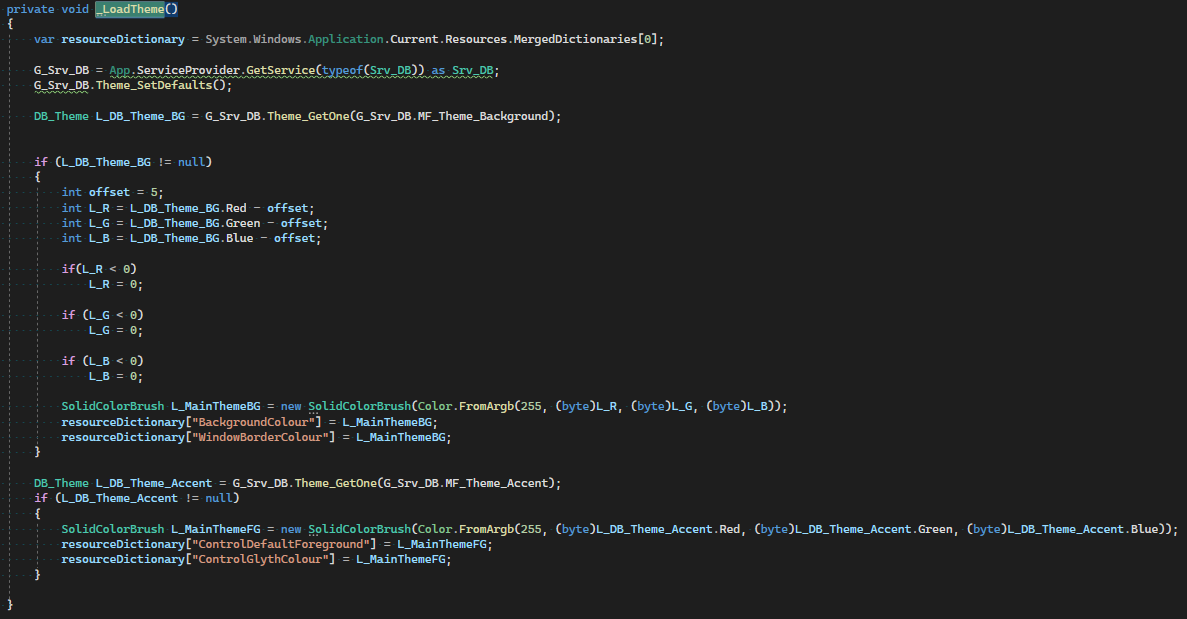
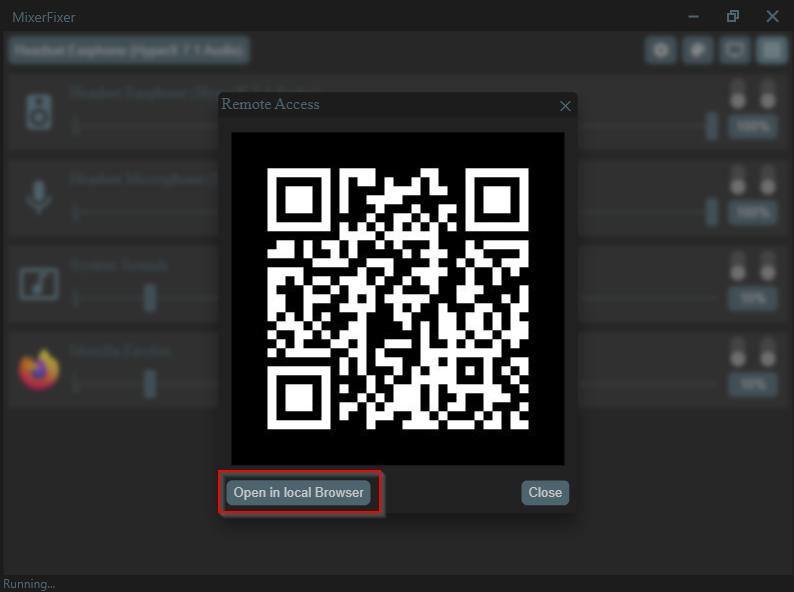
QRCode
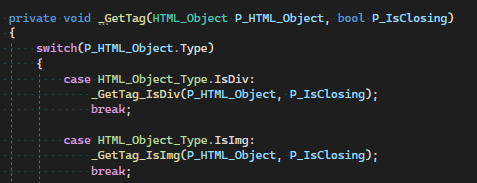
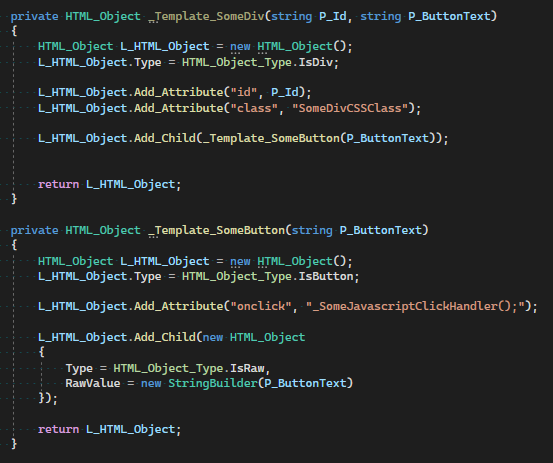
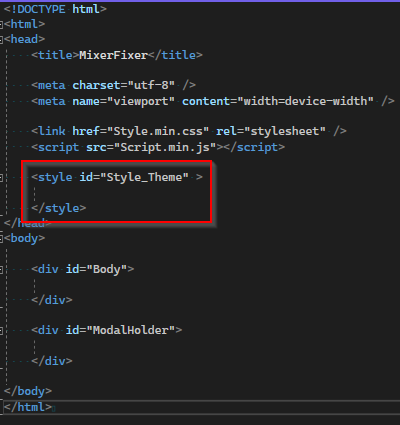
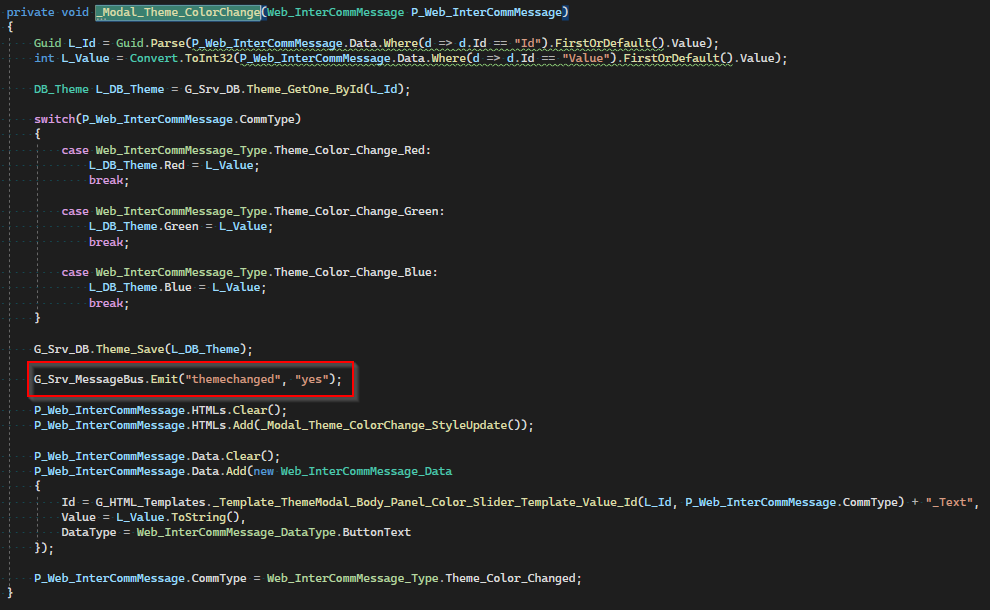
For this I’m using a library I’ve used before, QRCoder. To show it I just added another modal. While the HTML for the modal is being generated, I get the local IP address, pass that to QRCoder which results in a Bitmap. I then convert that Bitmap to base64 and embed it in the HTML as the source for the HTML image control.
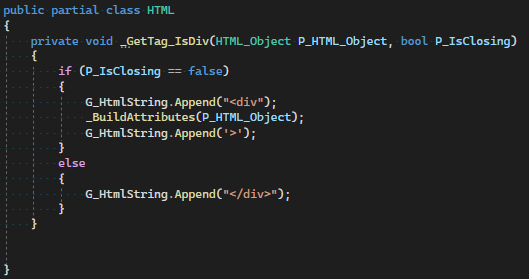
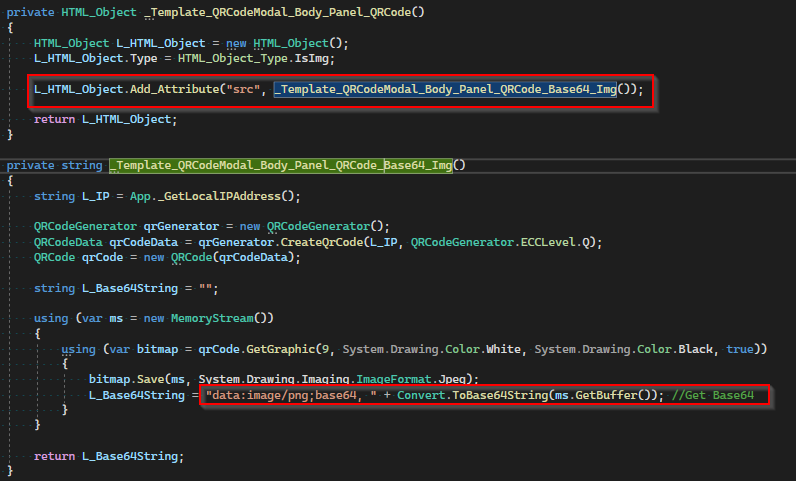
Below screenshot shows the HTML object being made for the modal. These objects then goes to the HTML generator to be turned into actual HTML.
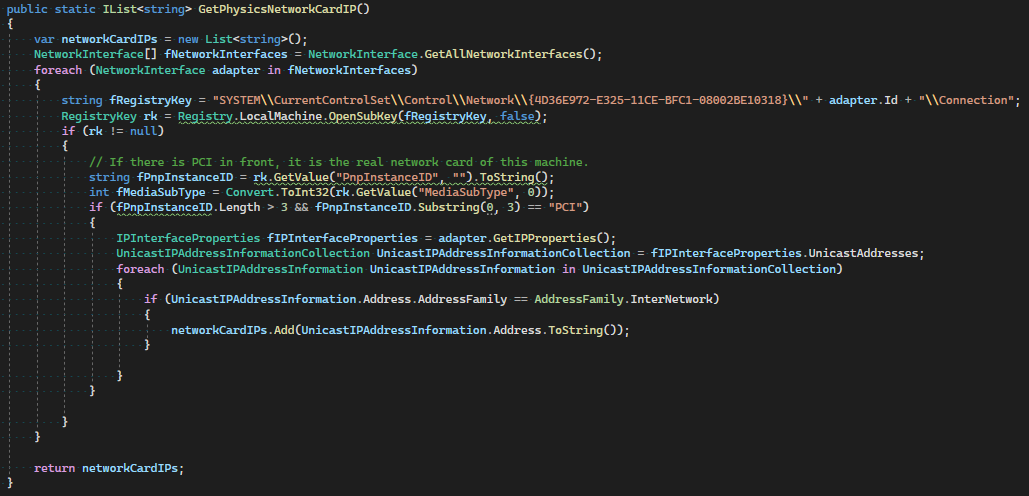
And below is the function that gets the IP address. My friend found that my old way of getting the IP address resulted in a IP address for a VPN instead of his physical device’s IP. This was due to things like FirstOrDefault() on the array of IPs. A quick google search let me to this function and it seems to be doing what we want and getting the IP of only physical adapters. It check the registry to make sure it’s a PCI device. This might not be 100% fool proof either, but until I can think of a better idea it will have to do.
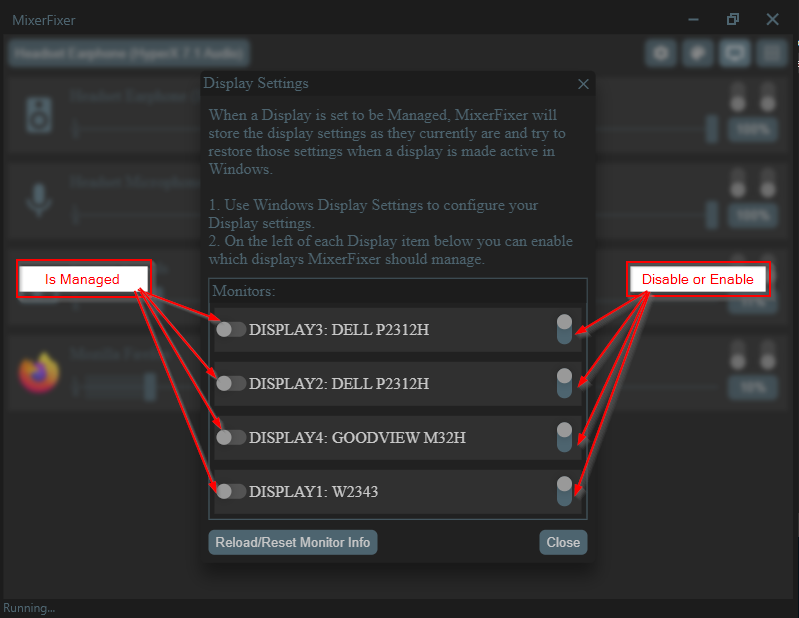
Store and set Display settings
Finally, the big one. First, just a quick recap as to why. I used Windows 8.1 until late 2021 on my old AMD FX8320. I also used, and still do, an app called ‘MultiMonitorTool’. Win8.1 had zero issues with me using this tool to quickly disable or enabling a monitor with a shortcut on the desktop and it would always place the Display back in it’s position where I placed it. This is not the case in Win10. Every time I disable my 4th monitor, Win10 would reset it’s position and I then have to go into Display Settings and manually drag it back to the position I want. Well… no more!
This turned out to be much harder than I thought it would be… well… sort of. I found a library called DisplaySettings. It can store and set things like position and resolution. Exactly what I wanted… but… I wanted to be able to turn a display on or off using MixerFixer and this library can’t do that. After a day of trying to find a way to do it and not finding anything that actually works… I should have given up… should have.
I then proceeded to spend another 4 days trying to make this work. 2 of those 4 days was spent trying to figure out a different library I found, WindowsDisplayAPI. I was easily able to find the Display I wanted and then disable it, but I couldn’t Enable the Display. Eventually talked with the dev and it turns out that I was using legacy code and that I should be using a different class in the same library. He then also explained which classes I should use to do what I want and that it’s not a 100% as the data stored by Windows will be different after a reinstall or graphics card change. The only 100% reliable way of identifying a monitor would be the serial… if all monitors had it and you could read it from it’s properties.
Anyway, we have 3 classes that we want to be using. PathDisplaySource, PathInfo, and PathDisplayTarget.
In short:
- PathDisplaySource is the source of what you want to display. This could be your main/only desktop, or your second/extended desktop.
- PathDisplayTarget is what the source should be displayed on. Basically, which monitor you want your source to be on.
- PathInfo connects your source and target(s). Each Path can only have 1 source, but could have multiple targets. In the case of a desktop clone, you have one source but 2 or more targets for example. In the case of an extended desktop, you’ll have 2 sources, 2 paths, and at least 2 targets.
The PathInfo object will contain a property for the Source and an array of targets. So for the most part you only really need to work with the PathInfo object.
The dev also pointed me at another project of his, HeliosDisplayManagement, which uses his WindowsDisplayAPI library that I can use as an example and with all that I was able to make my idea a reality.
In the end, I get all the Active Paths, I then serialize the ones I want as JSON and store it in the DB. This is exactly how it’s done in HeliosDisplayManagement. I can then at a later stage pull this json and de-serialize it back into a PathInfo object which allows me to restore a display to a previous state.
To tell Windows which displays should be on (along with positions, resolution, frequency, ect) you have to pass in all the PathInfos for each display.
Let’s say I have 3 Displays and I want to turn 1 off.
I get all the Active PathInfos which will result in an array with 3 objects.
I then remove the object of the display I want off and then I’m left with 2 in the array.
I then pass only those 2 to Windows and the 3rd display will be off.
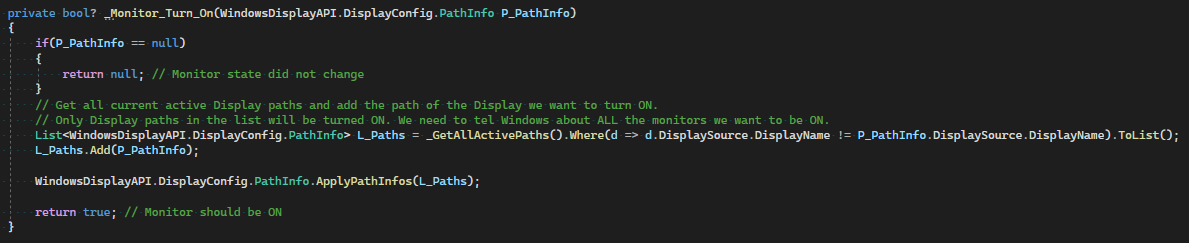
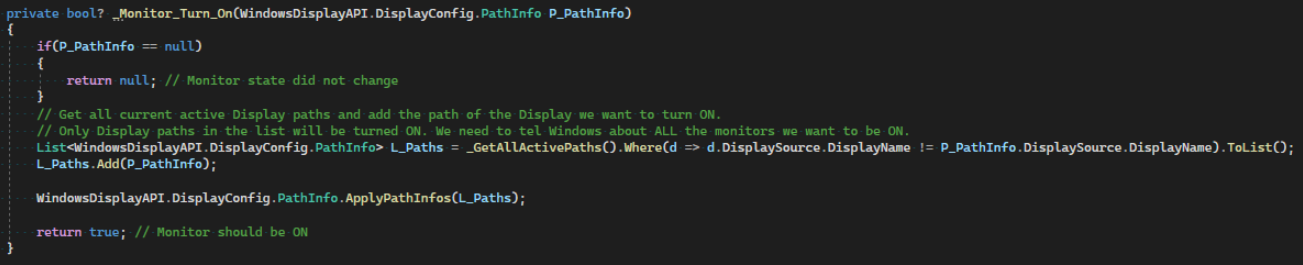
Below is an example of turning a Display on.
I first get all the current Active displays which in my case will be 2.
I then add my PathInfo object which was stored as JSON in the DB, and so now I’m passing 3 objects which results in all 3 Displays/Monitors being on.
In the background I have a timer running which will check if any monitors are turned on and then check if that monitor is marked as ‘Is Managed’ in MixerFixer. It will then restore that Display/Monitor’s position, resolution, frequency, ect as it was stored when marked as ‘Is Managed’.
You have to use the Windows Display Settings to set things up the way you want and then mark which displays you want MixerFixer to manage for you. After that you can disable or enable monitors and MixerFixer will restore them to their previous state if marked as ‘Is Managed’
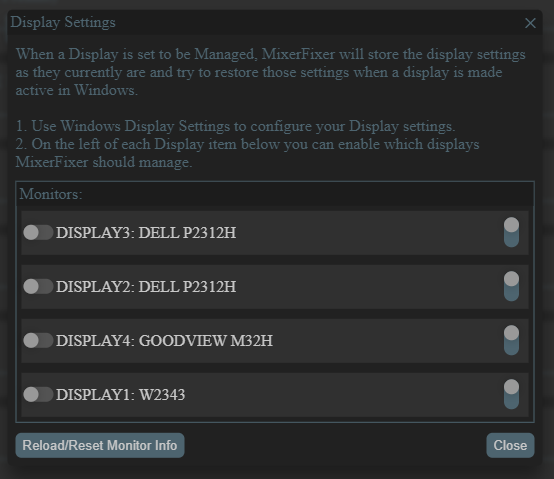
Also, the toggle on the right will turn a display on or off. 
How well is this working?? For me it seems to work fine. It’s rare that other people might want this and so I don’t really have tests done on other machines. If bugs are found I will try and fix it though.
Below is a new video showing it working
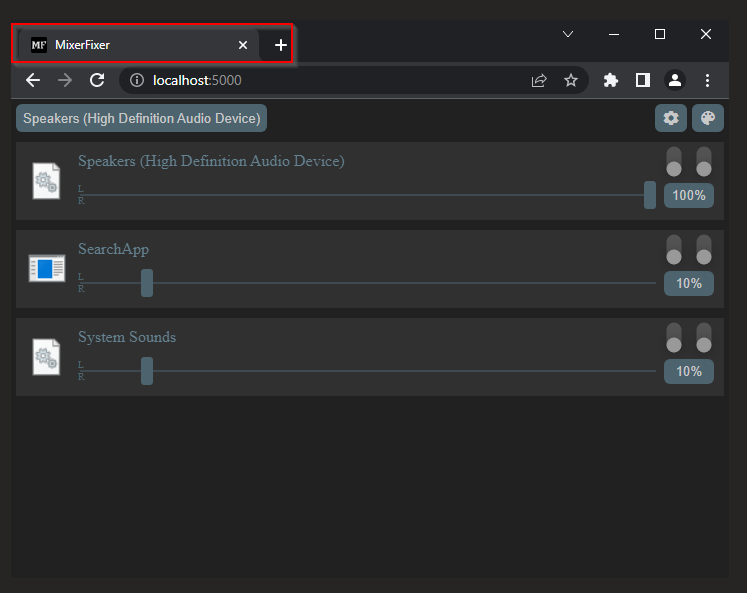
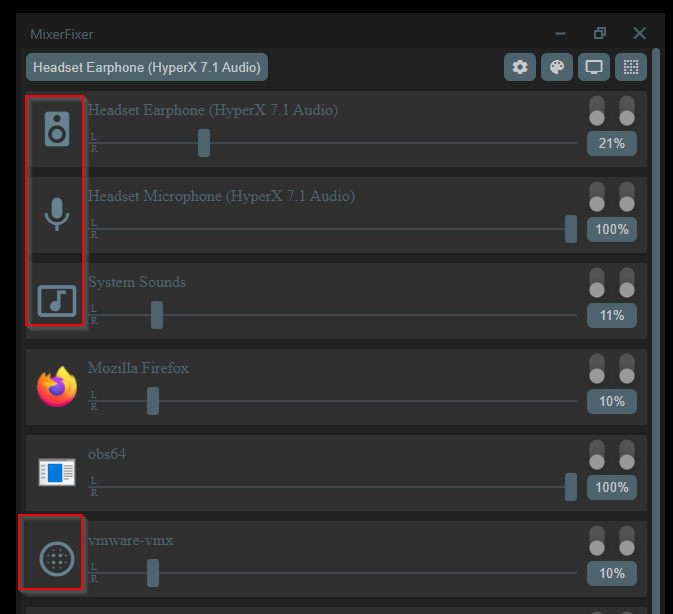
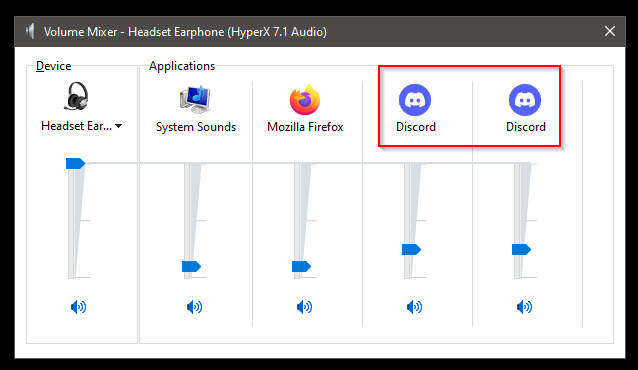
Added icon for Speakers, Microphone, System Sounds, and if a app return the dll icon.
Decided to add some basic icons for the Speakers, Microphone, System Sounds, and apps without an icon. When trying to get icons for these you end up with the generic icon for a dll file. I don’t know how to get the icons that Windows uses and I don’t want to risk falling down a new rabbit hole so close to the end. These will do just fine
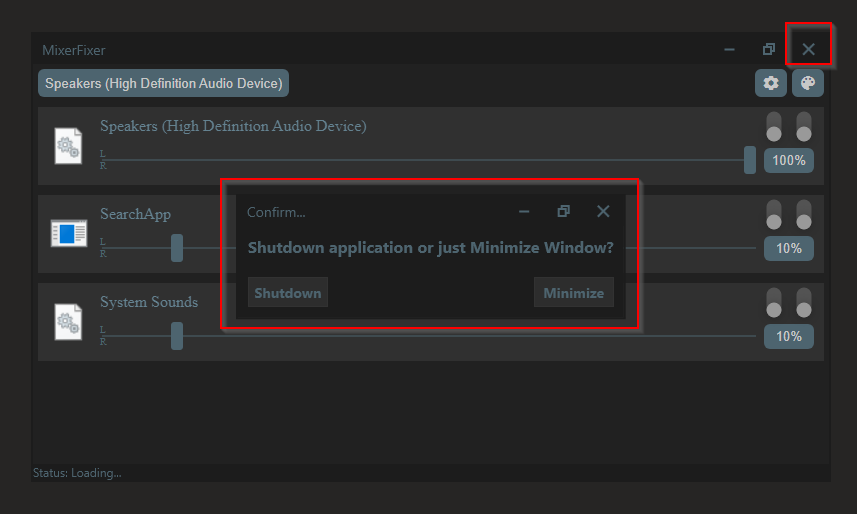
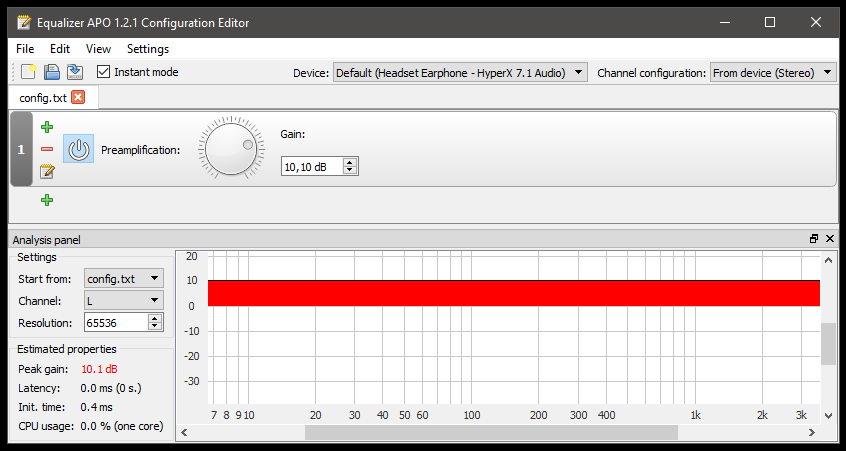
Bad news, no Mic boost
Unfortunately this will have to be a fail. I knew it probably would not be possible on app level to boost the incoming signal for the mic before it goes off to… err… what ever app might be using it. From what I’ve seen online it seems I will have to do something much lower down instead of in a crappy little app. I’ve used EqualizerAPO to boost the mic volume for a good few years now and it’s one of those set and for get types of apps which are generally the best kind. It looks like it’s doing stuff on driver level… maybe… I don’t really know, but if you’re looking to adjust anything audio related system wide then you should check this app out as it can do a whole lot more than what I’m using it for.
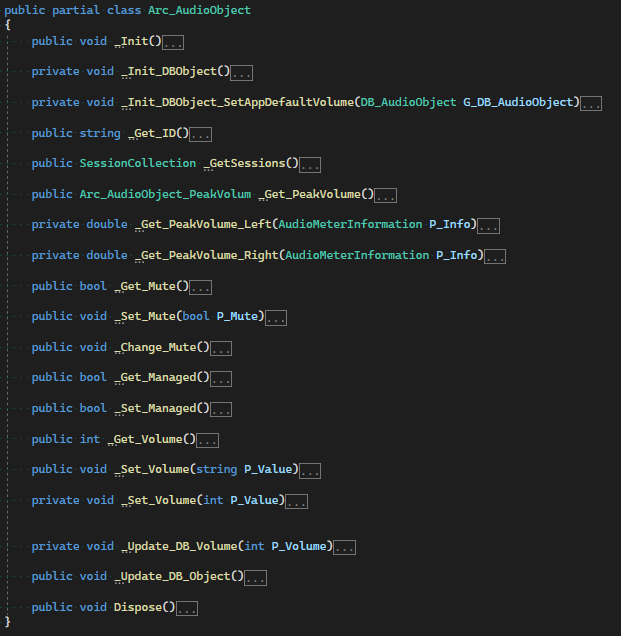
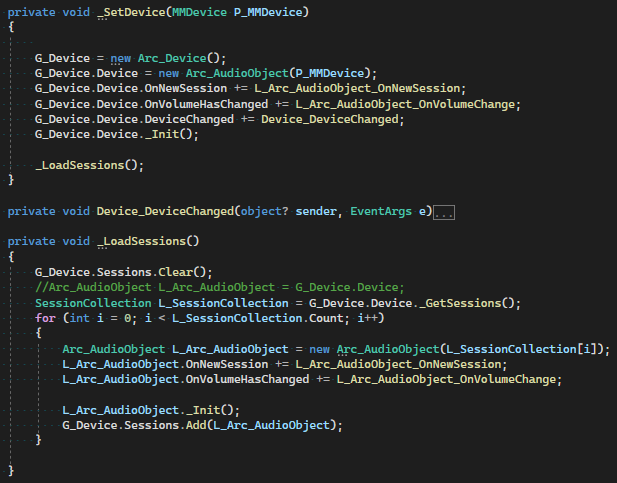
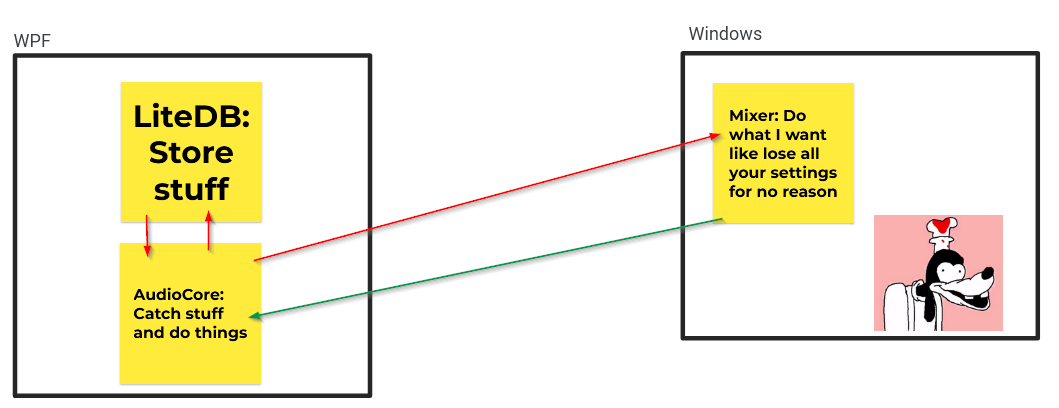
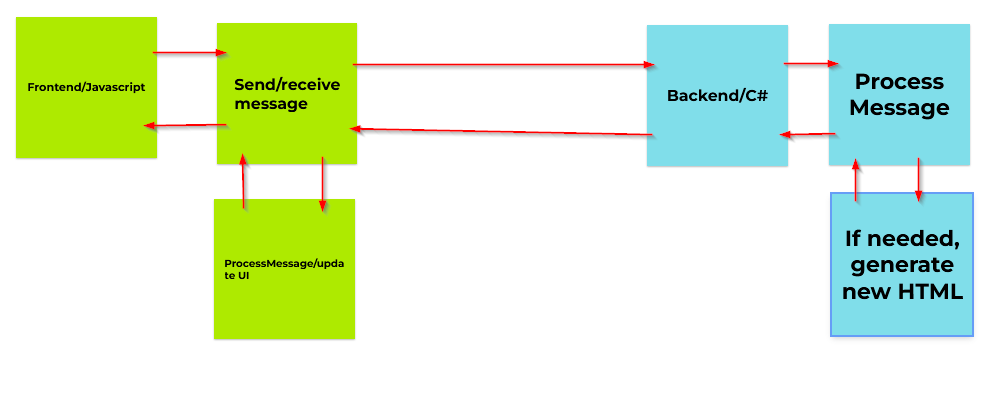
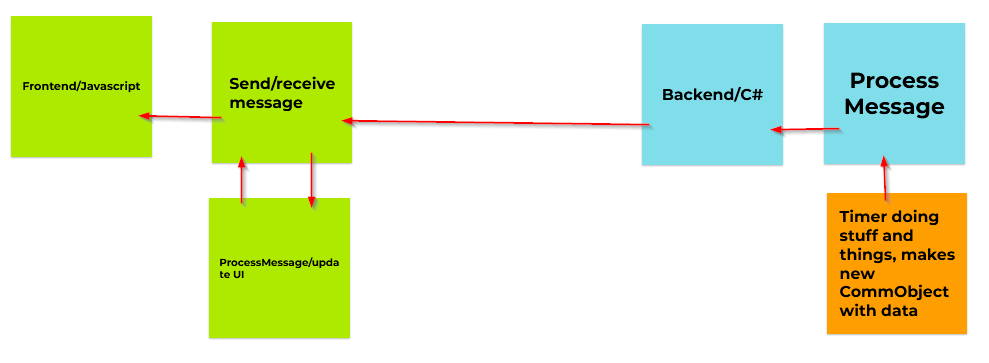
Although I consider the app it self now complete, I did say in a previous post that I was going to try and improve on how I’ve explained how this app works. It won’t be crazy details, but I think some visual aids are in order. I also consider this thread as part of the project as a whole and so I’m not done.
Today I was on the roof almost all day installing new wiring and I got some bad sun burn, but I will try and get these Recap Posts done before end of the month.
For today’s video, I decided that something local is in order.