Hello!
I will be posting stuff about bikes here. Ones you pedal, that is.
In here will be:
- Rides I’m on
- Maintenance I’m doing
- Things that break
- Problems I’m troubleshooting
- Upgrades I make/evolution of builds towards optimal states over time
- Parts I buy
- Build progress
- Planning and research for future builds
Let’s get y’all up to speed with where we are so far.
Currently, this is the only complete bike I own:
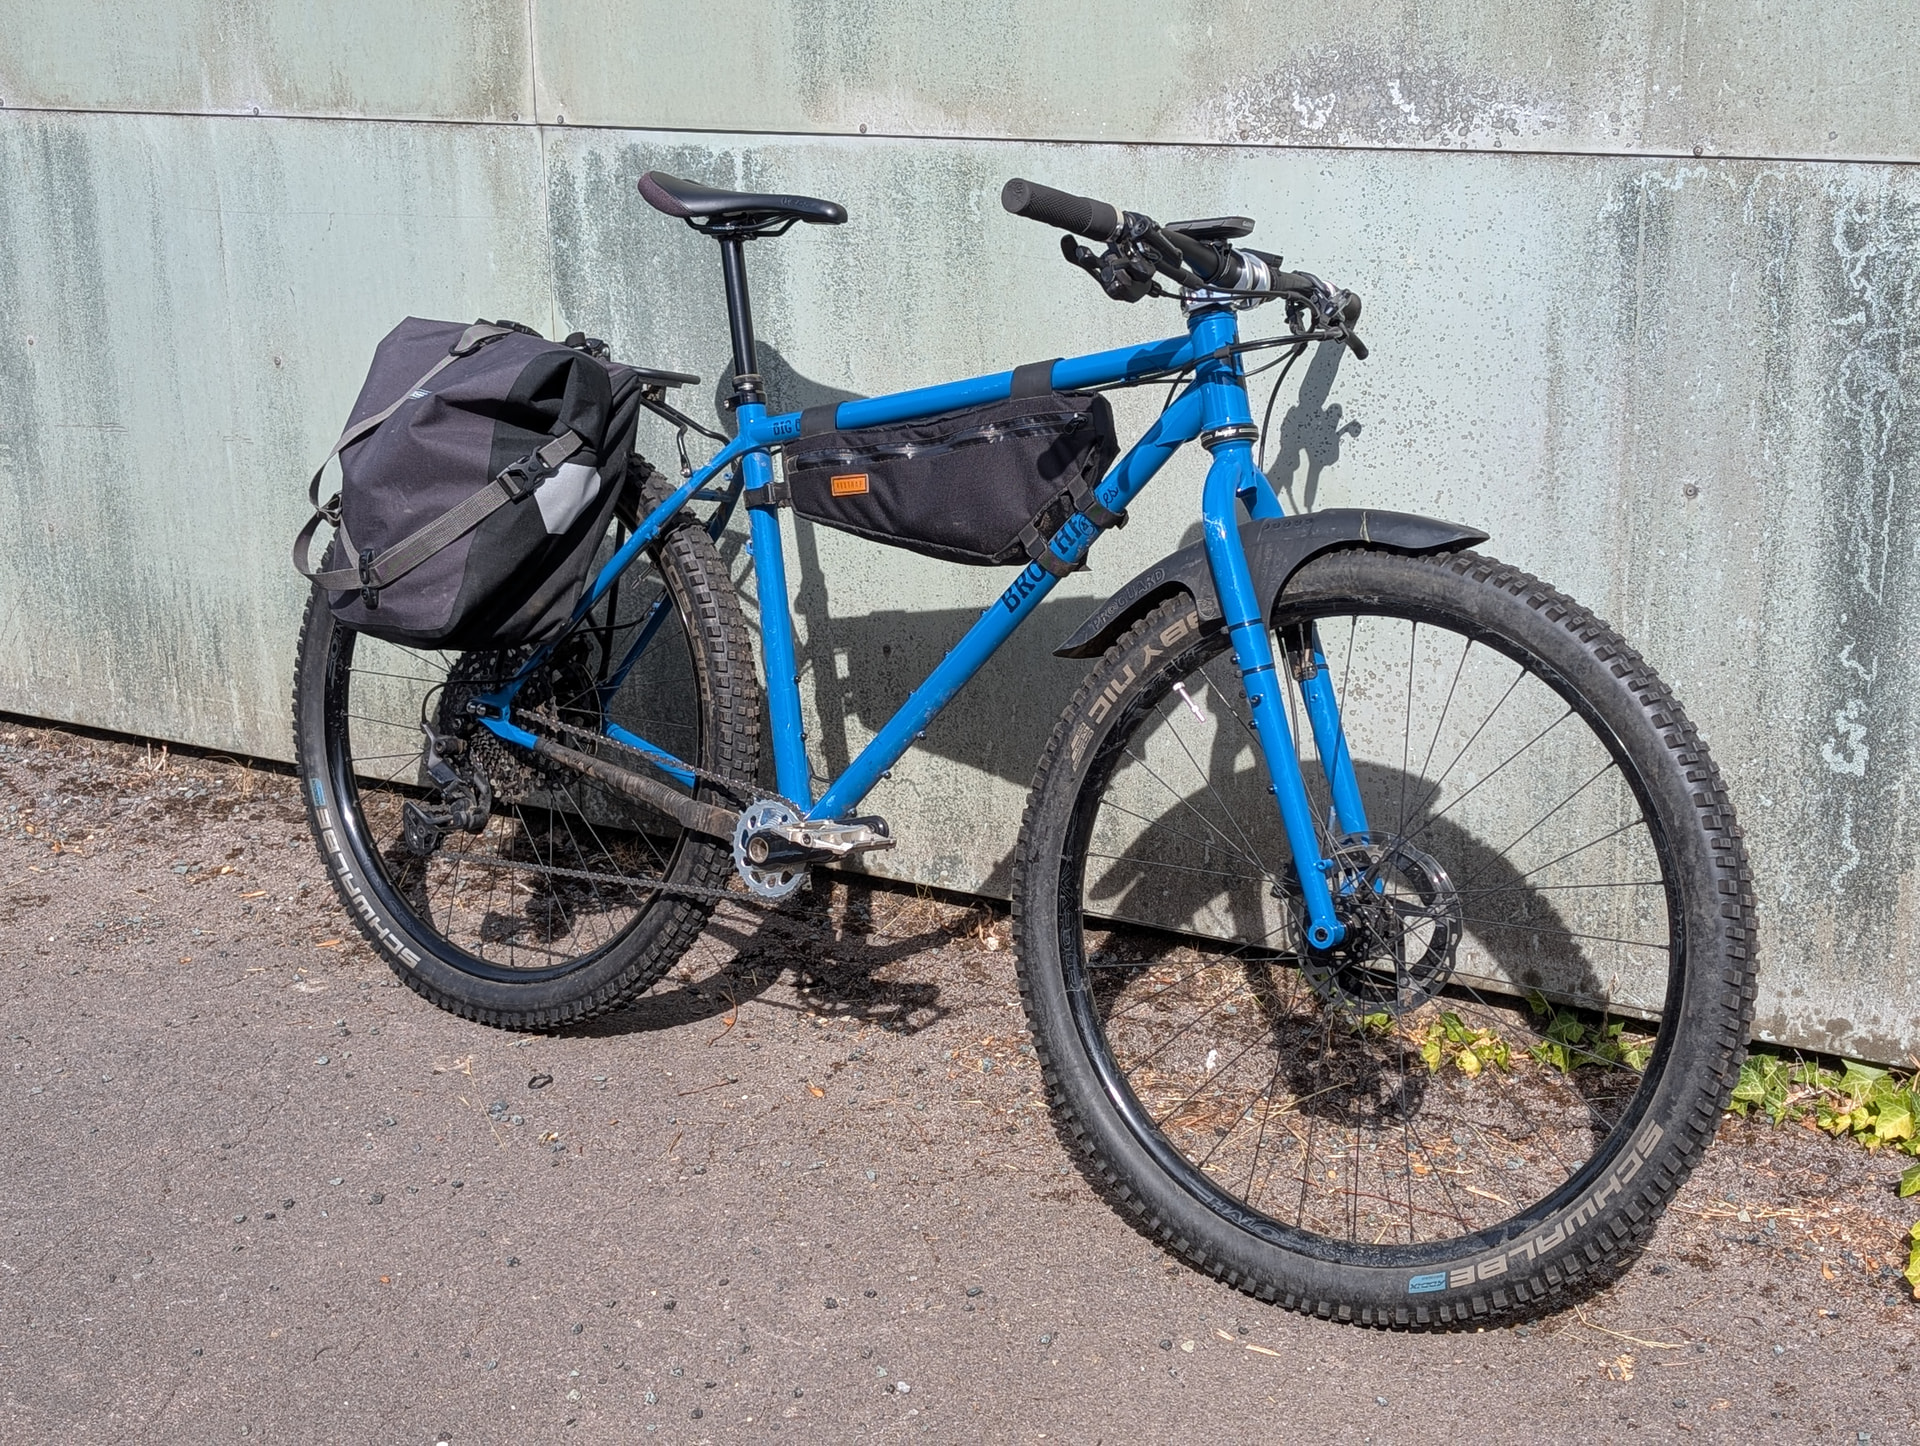
It’s based around a Brother Cycles Big Bro frame in Large.
Here’s the parts list:
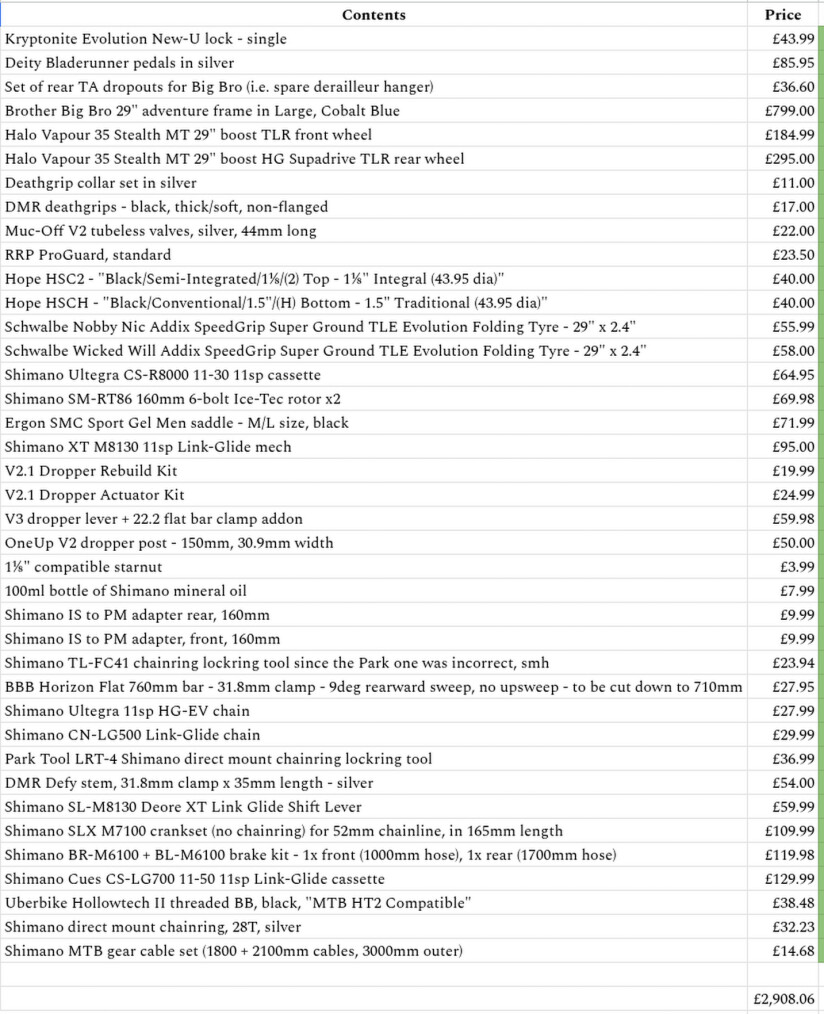
I finished building it in January 2025 and it has seen a couple changes since, notably the saddle (switched to an SDG Bel-Air III from an Ergon SMC Sport as I found it more comfortable) and the brake rotors (switched to Shimano RT-MT905 180mm from Shimano RT-MT86 160mm for stronger braking with the panier rack loaded up, and better brake cooling).
The dropper post is a 150mm OneUp V2 and I bought it second-hand from my friend’s brother for cheap, tearing it down and giving it a new lease of life with a rebuild kit (new bushings, new seals) and a good clean and re-lube.
It has a Shimano Deore XT Linkglide drivetrain, and it is so good. The shifting is dead nuts, dead reliable, and smooth, so much more so than drivetrains I’ve had on previous bikes and that I’ve tried on other peoples’ bikes.
I’ve already been through one chain with this thing, letting it stretch to 0.75% before replacement.
I did recently have problems keeping the rear tyre inflated. First issue - the rim tape had been compromised:

This let air leak out through the spoke holes. Annoyingly, this failure of the rim tape was down to Halo not having deburred the conterbores for the spoke nipples, creating sharp edges. Instead of going round the wheel and deburring the whole thing myself, I retaped the rim using Gorilla Tape, and as it’s much thicker and stronger, I don’t expect the problem to return, even if the underlying root cause is still there.
Second issue, punctures that wouldn’t seal. The hawthorns around here are pretty brutal, you can have 2-3cm thorns embedded into your tyres:
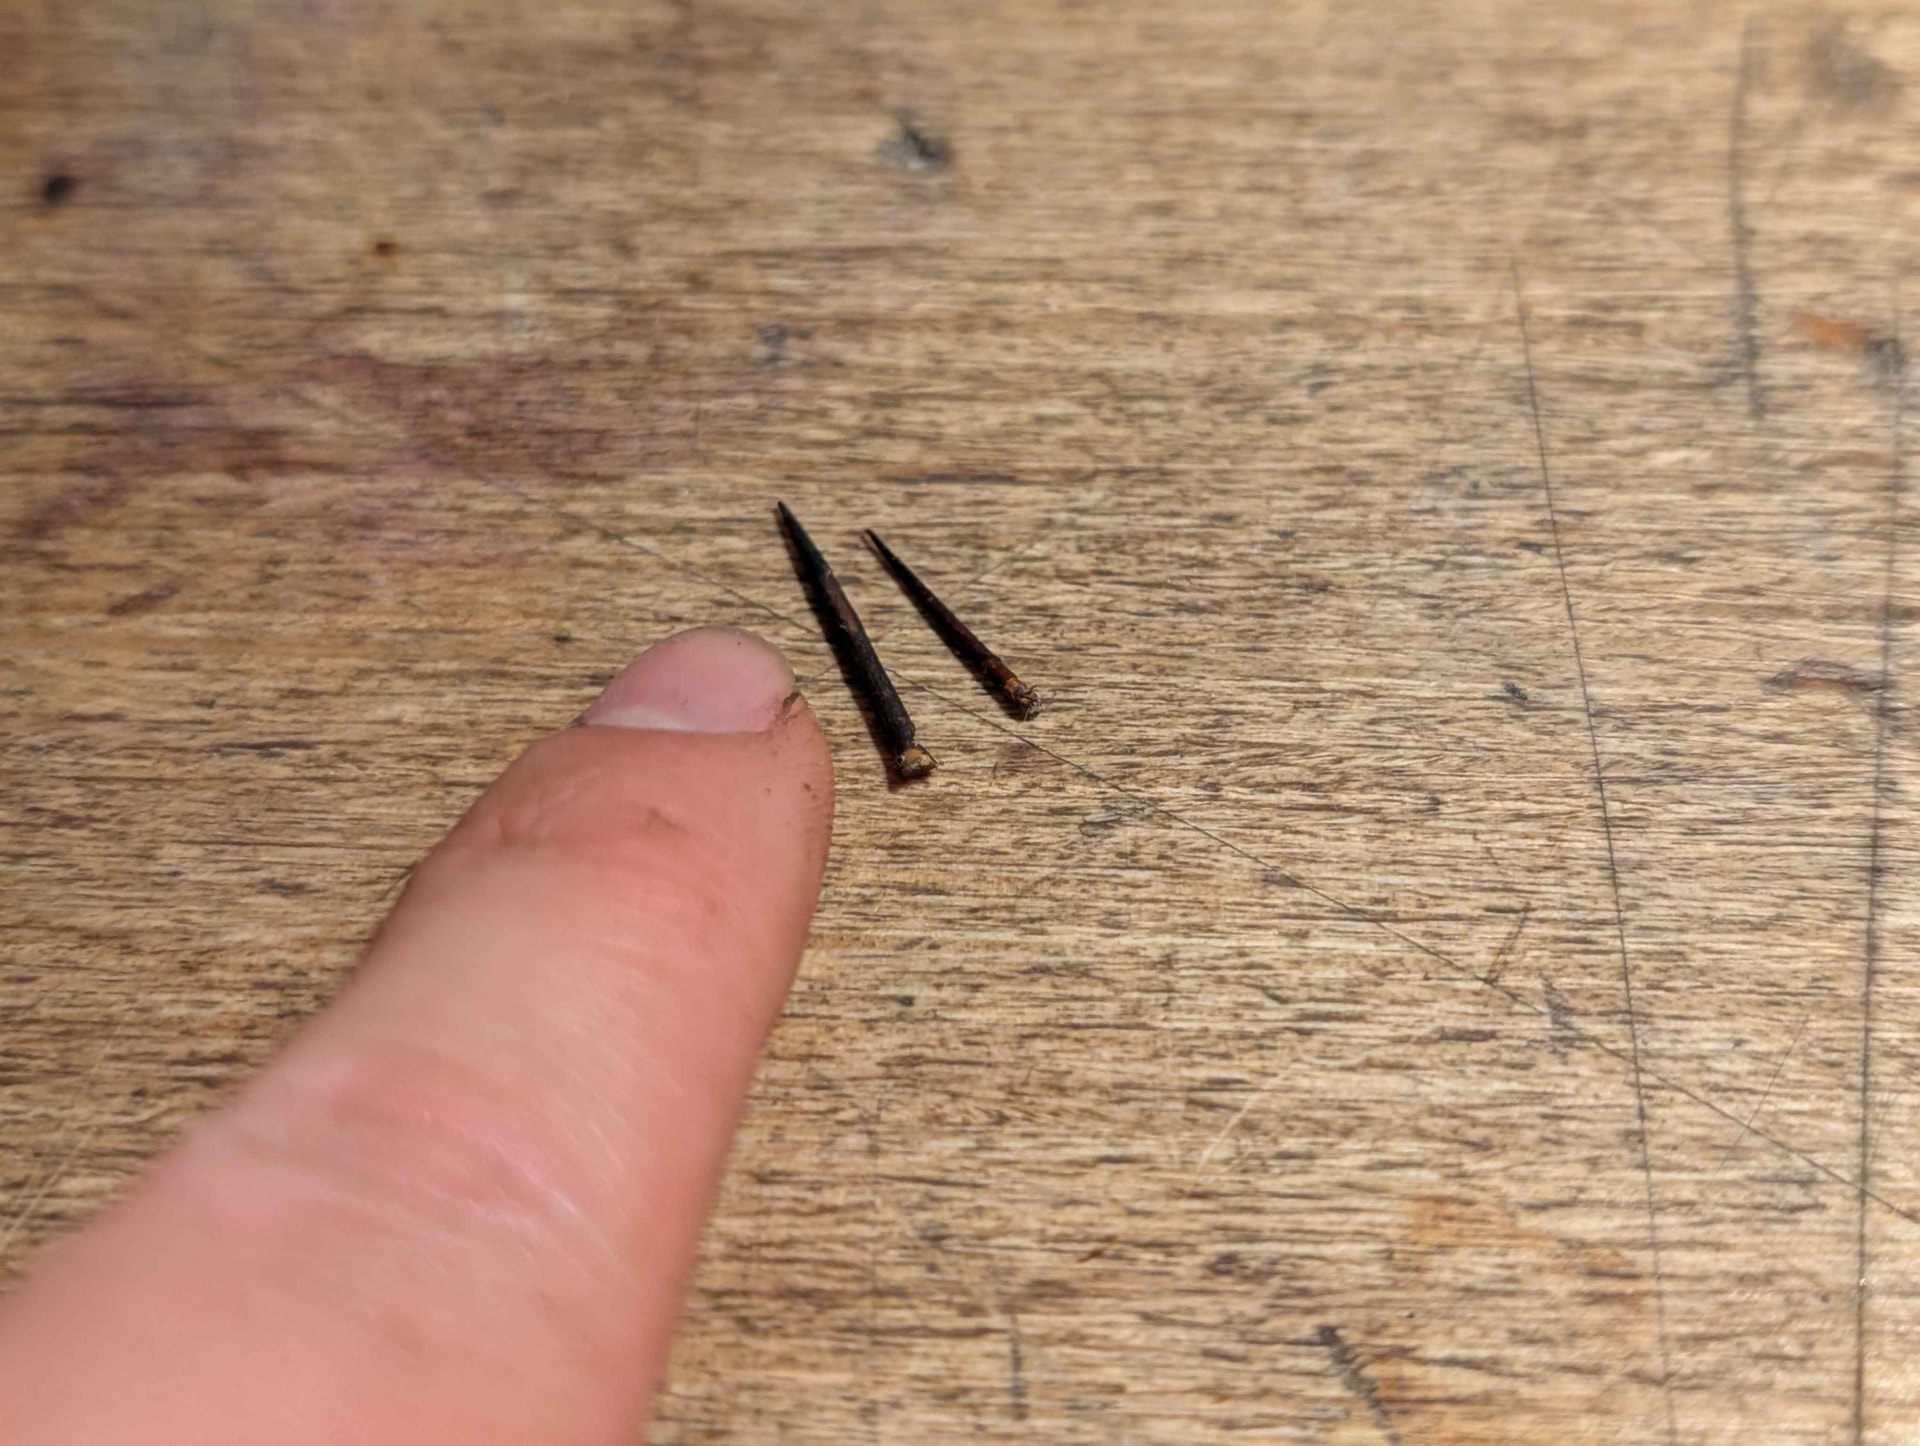
Turns out, using racing tubeless sealant from 2020 in 2026 is not super effective  A dose of fresh, 2026-vintage racing sealant did the job. Problem with that stuff is that it clogs up your valves super easily too. I’m going to have to clean out my valves and replace the valve cores pretty shortly.
Second major issue encountered so far on the bike is a major drivetrain-related creak after some time of riding. This I first thought was BB-related, as there is some pretty bad spinning on the NDS of the crank spindle:
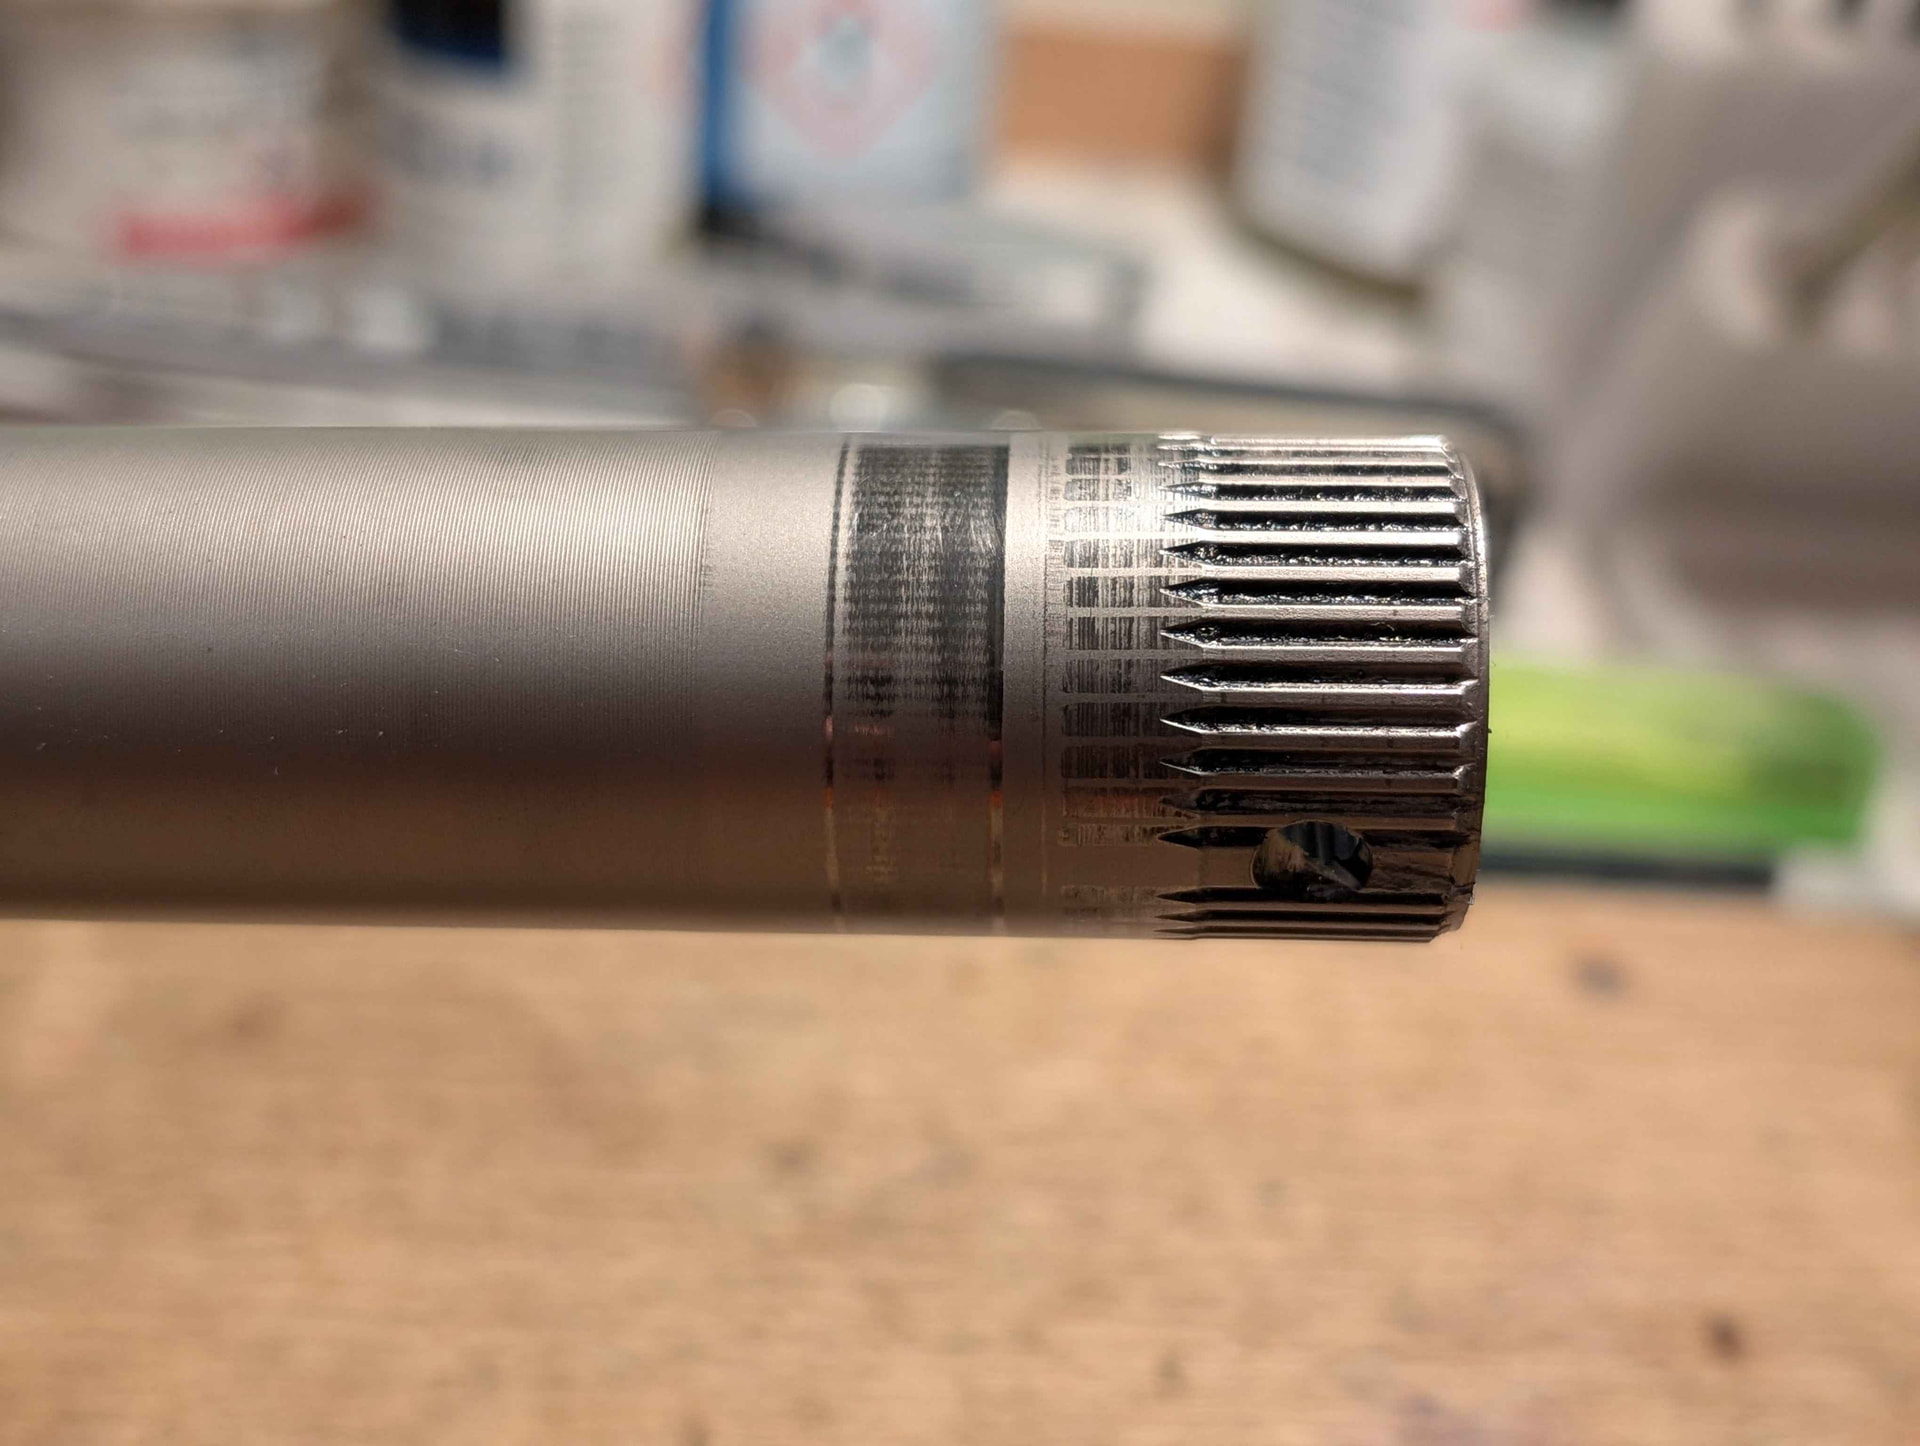
However, that seems to have been down to not having sufficient bearing preload in the BB, which I’ve since rectified. The bearings themselves are OK. I also found some looseness in one BB cup and on the cassette lockring, but fixing those issues did not resolve the creaking.
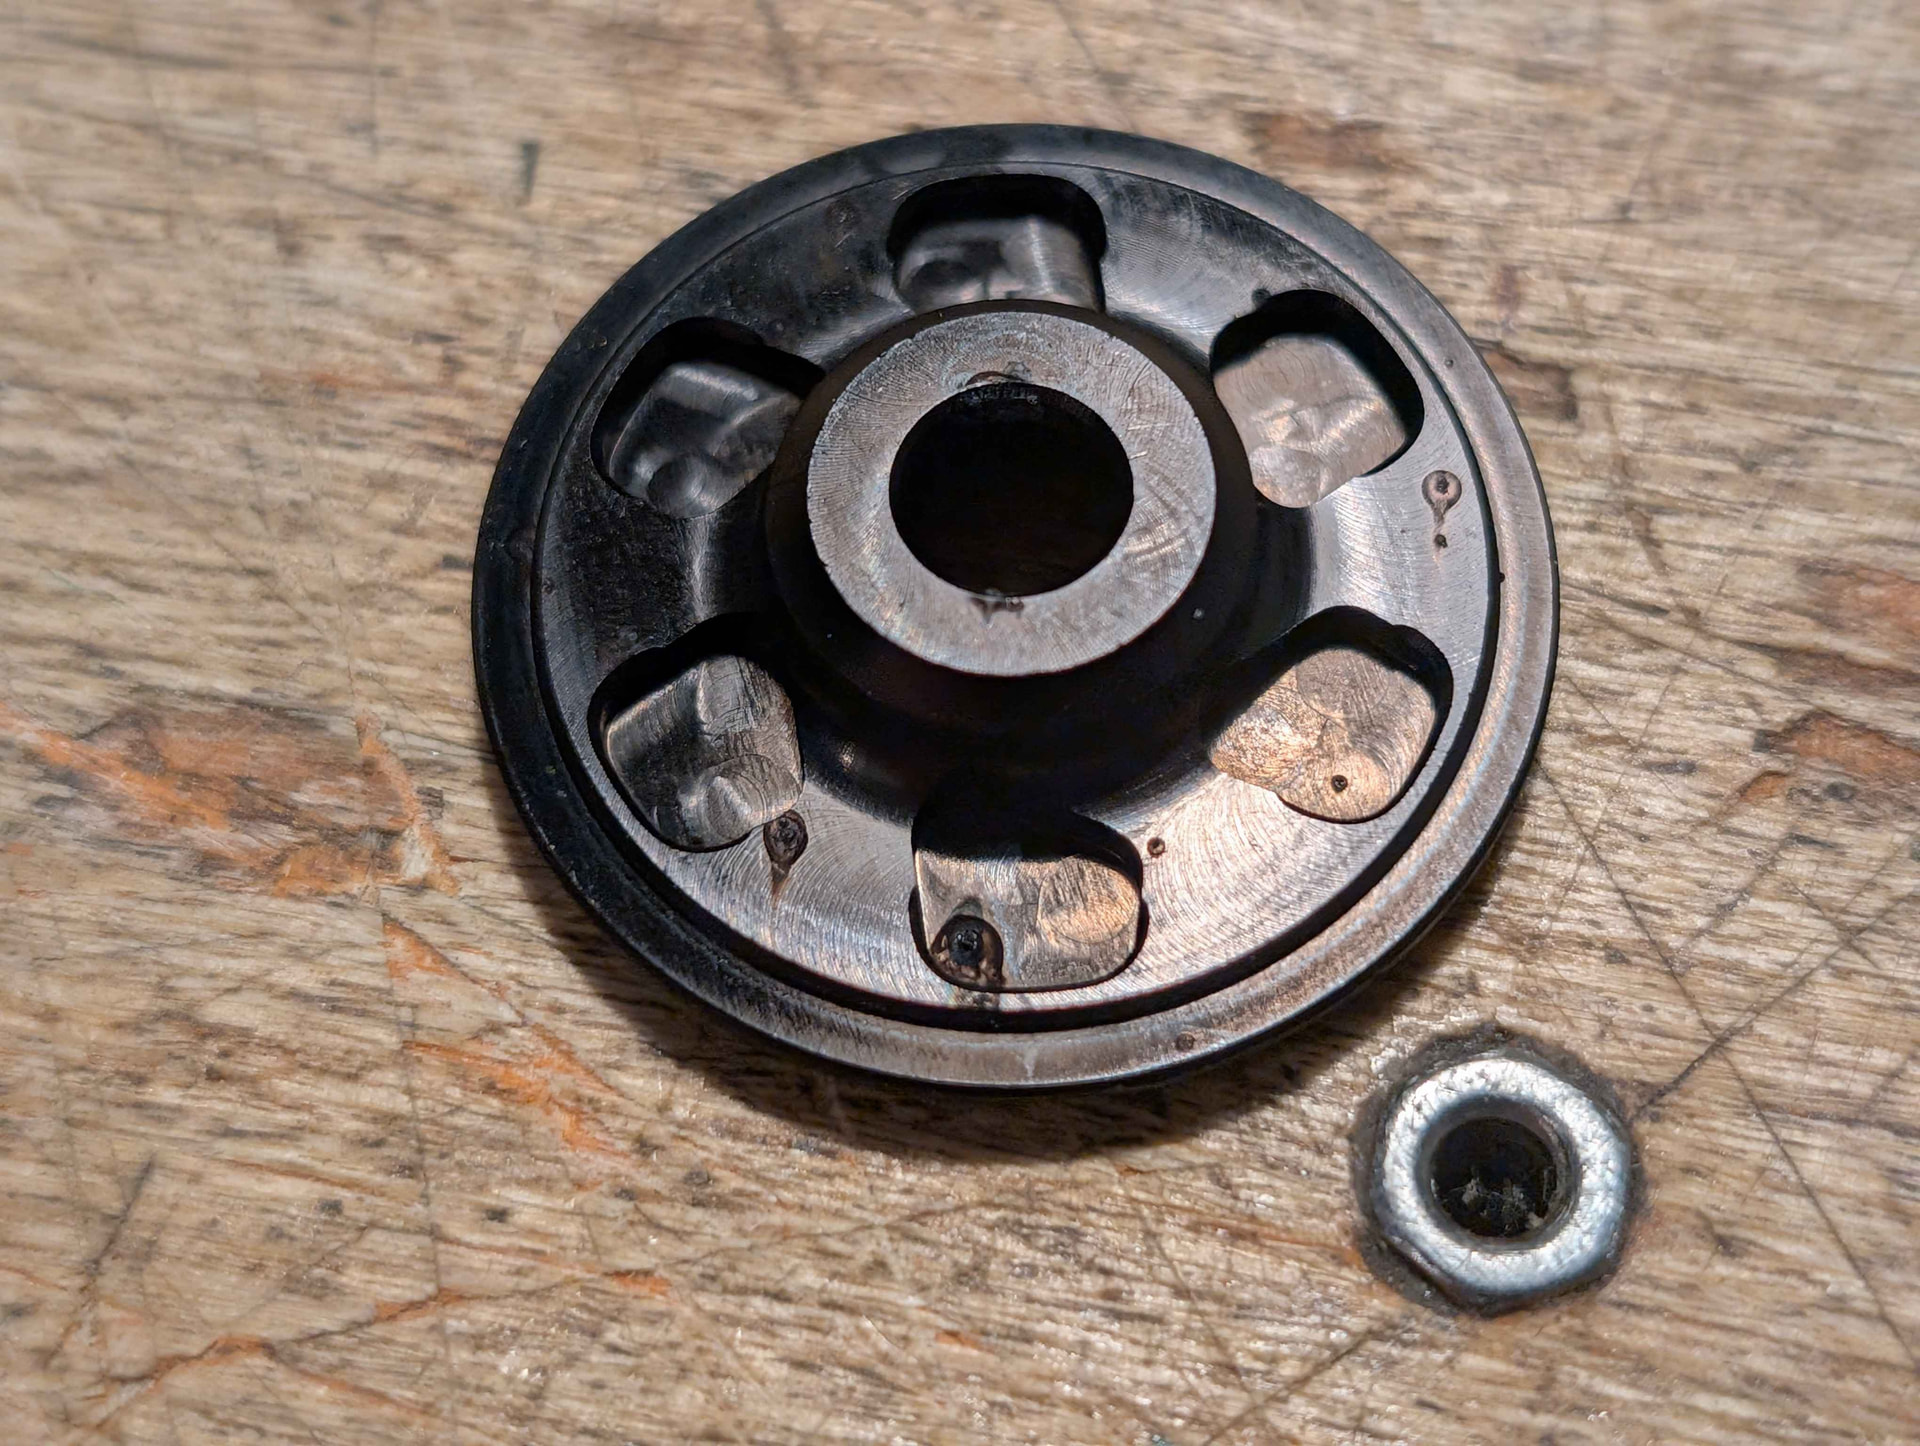
The bearings that aren’t OK, however, are the ones in my freehub:

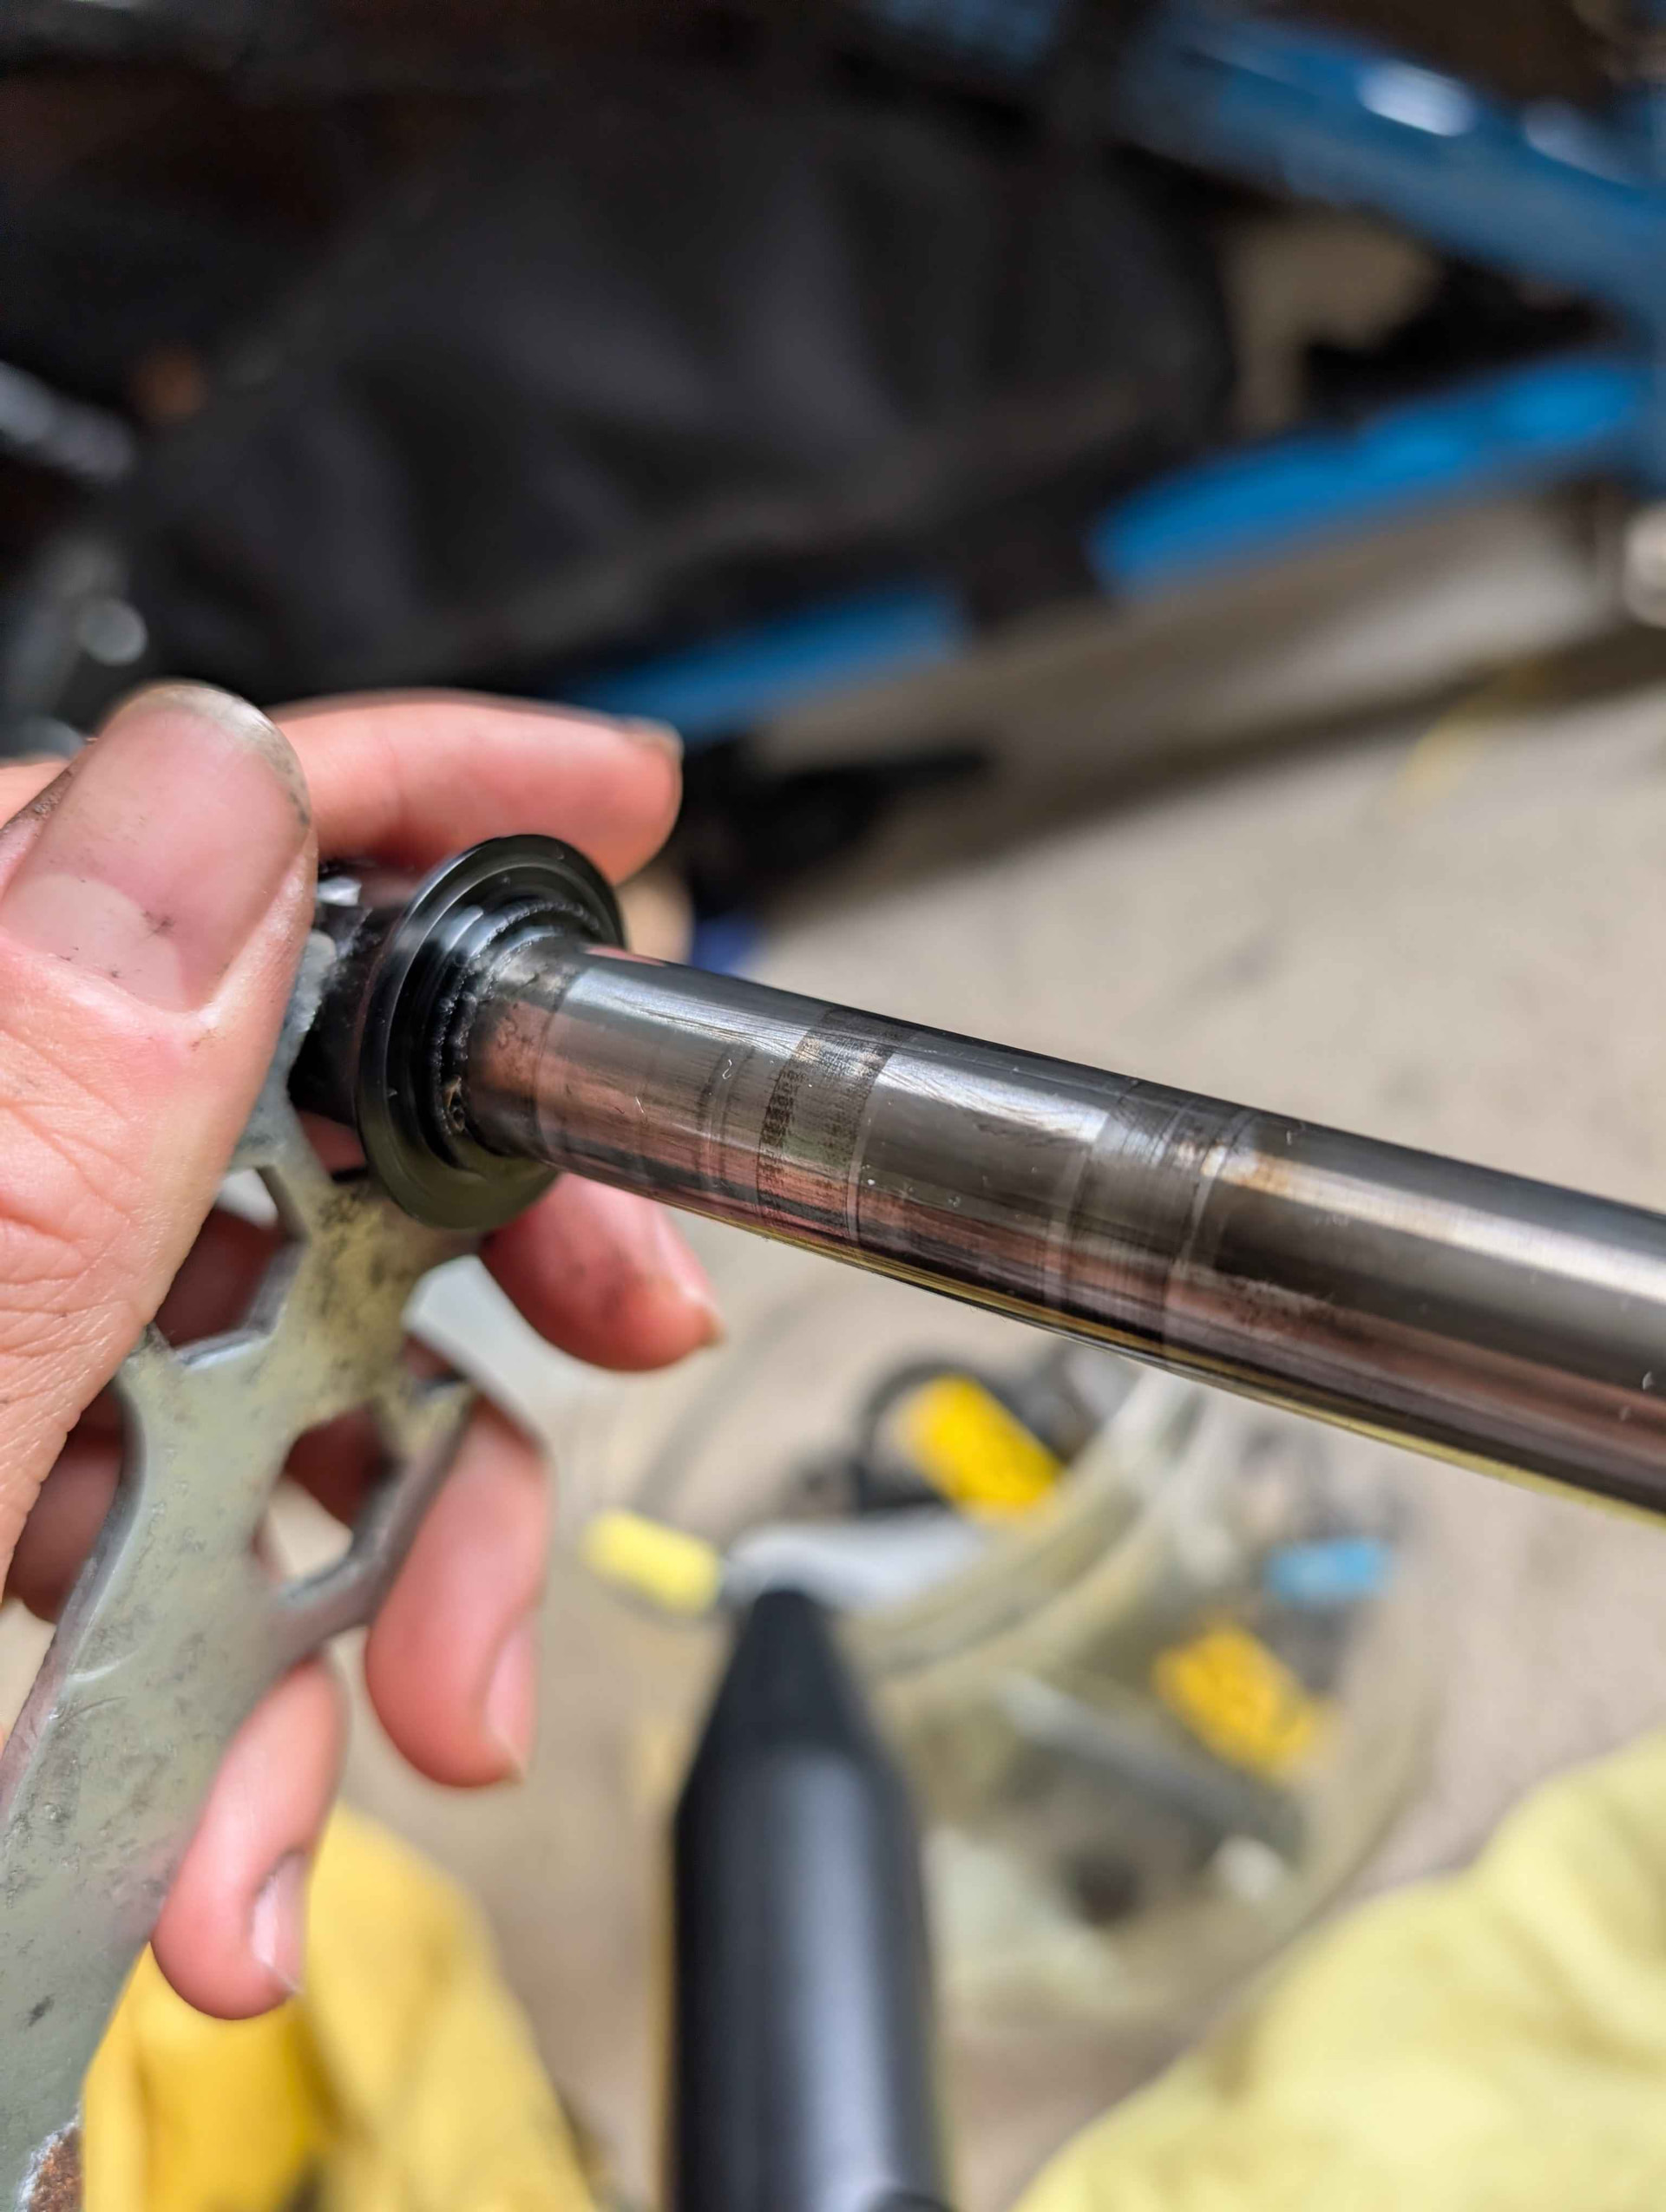
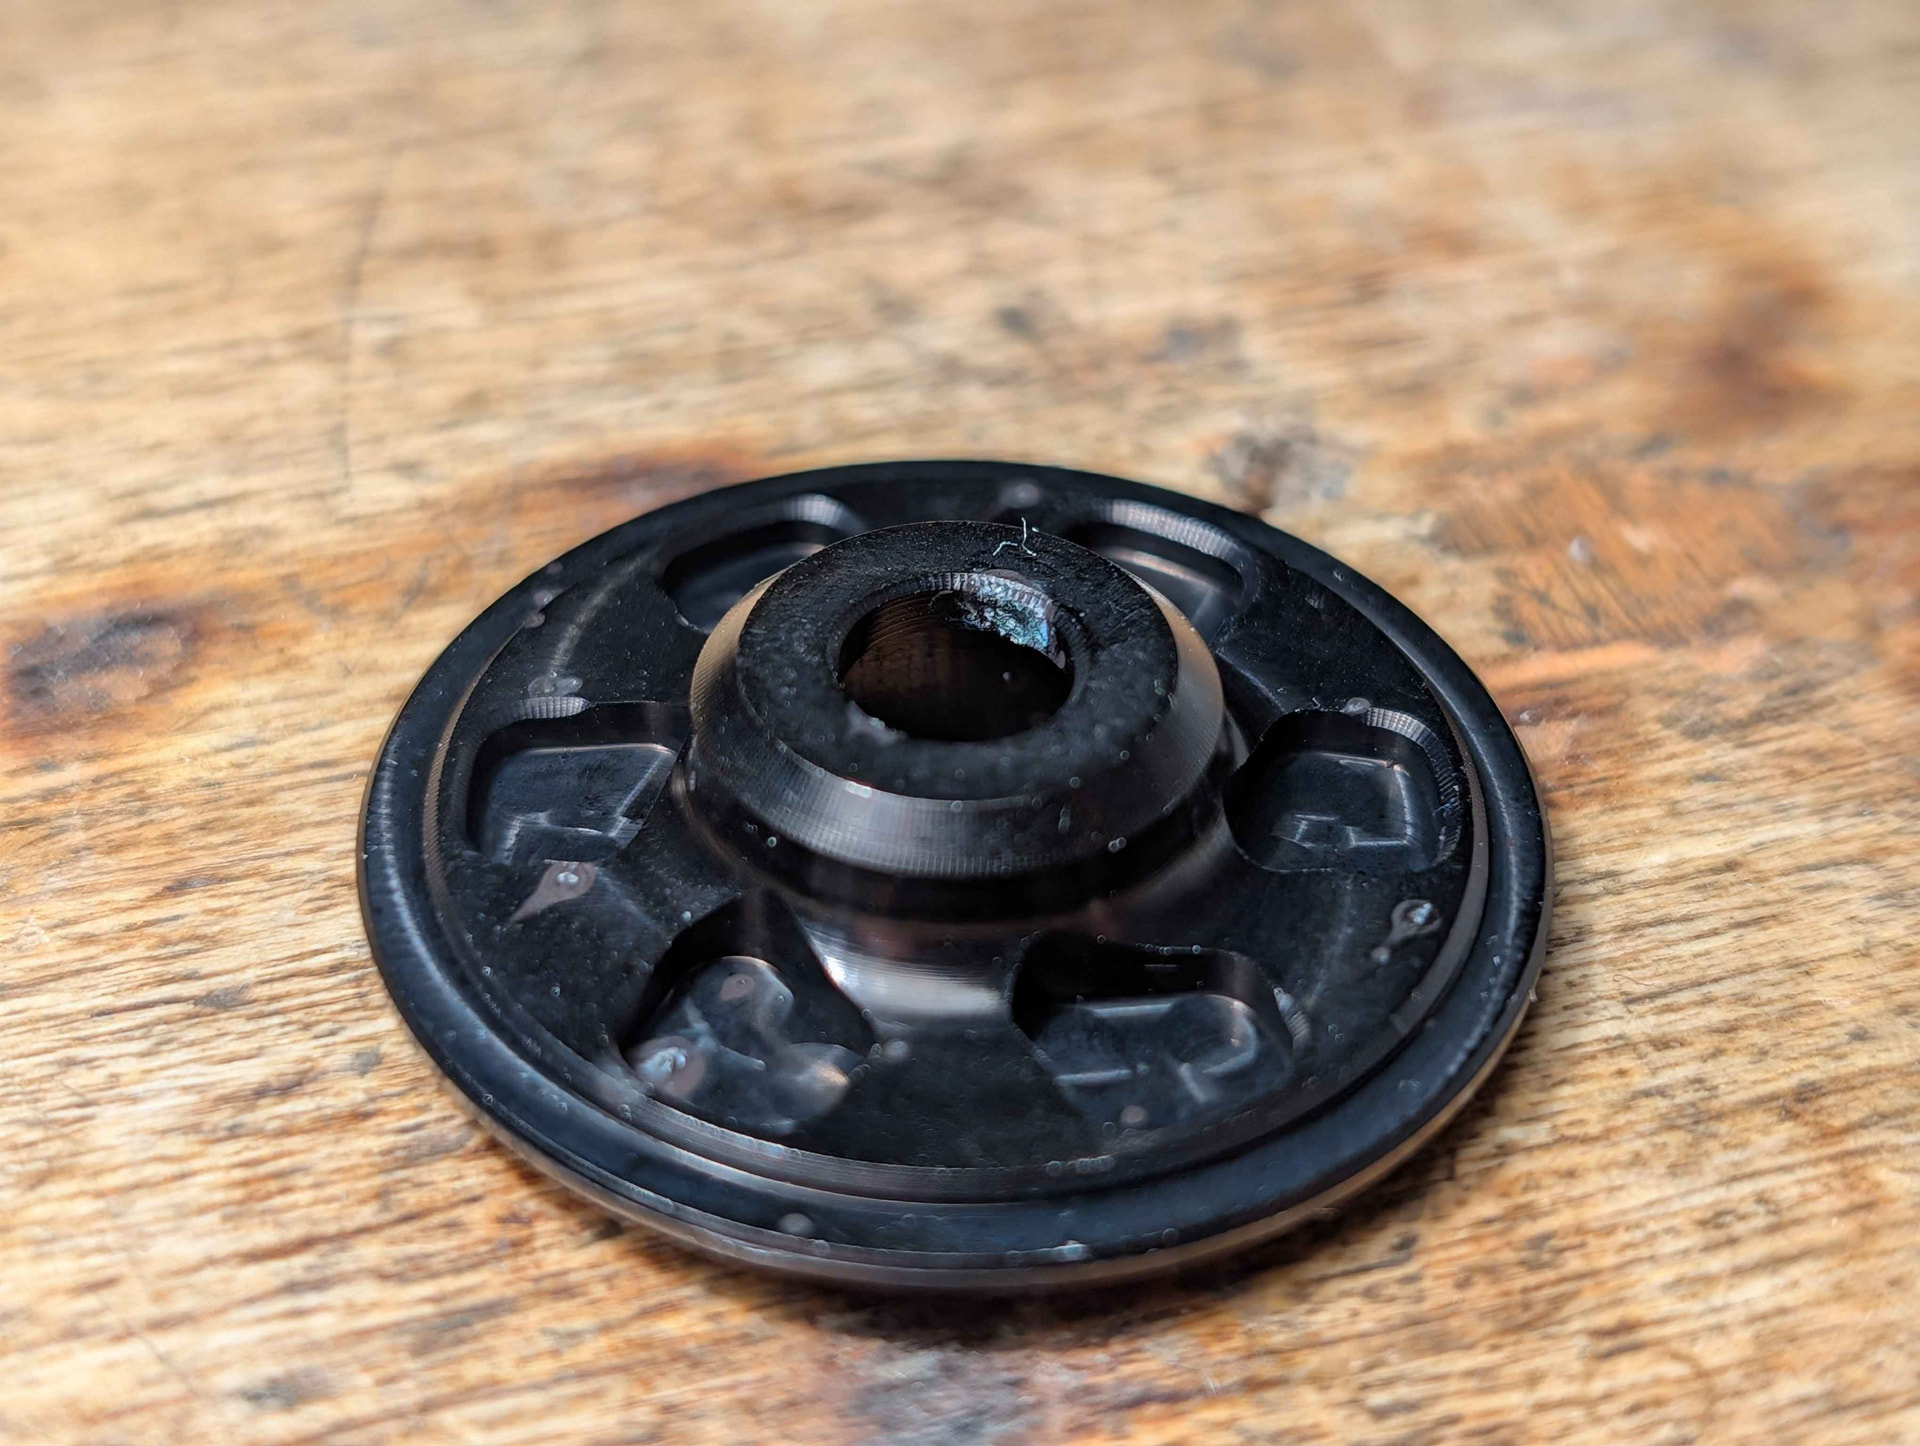
These are feeling very notchy when moved by hand, and as you can see, there is considerable chattery spinning on the axle within the rear hub. I have a bit of a theory that perhaps the chattering here was transmitting through the chain into the chainset and BB, creating the similar pattern there, but that’s pure conjecture. I further confirmed the issue by heating up the freehub assembly with a heat gun, and the notchiness got worse - explaining why the creak wasn’t happening until a significant amount of riding had already been done. These bearings are getting replaced next month.
In the (temporary) rebuild of the freehub, I used oil instead of my typical super-light-weight grease, with the hopes to flush out a few more contaminants still remaining in the assembly, while being easy to clean out for the final greasing after bearing replacement. Unfortunately it’s made the freehub so quiet I can’t really use it as a warning anymore  (I have no bells on my bikes, as such things are considered incredibly uncultured in enthusiast-space). I can’t wait to replace my bearings if only to have the sweet sweet yobbish freehub noise back haha.
If you have any questions about this build or aspects of it, feel free. The aim of this build is to do long trips with lots of luggage - lugging drones around to flying spots, taking camping gear along on multi-day bikepacking trips, so on, so forth. However, this bike is currently being used for everything as it’s my only bike.
This will be rectified in coming months.
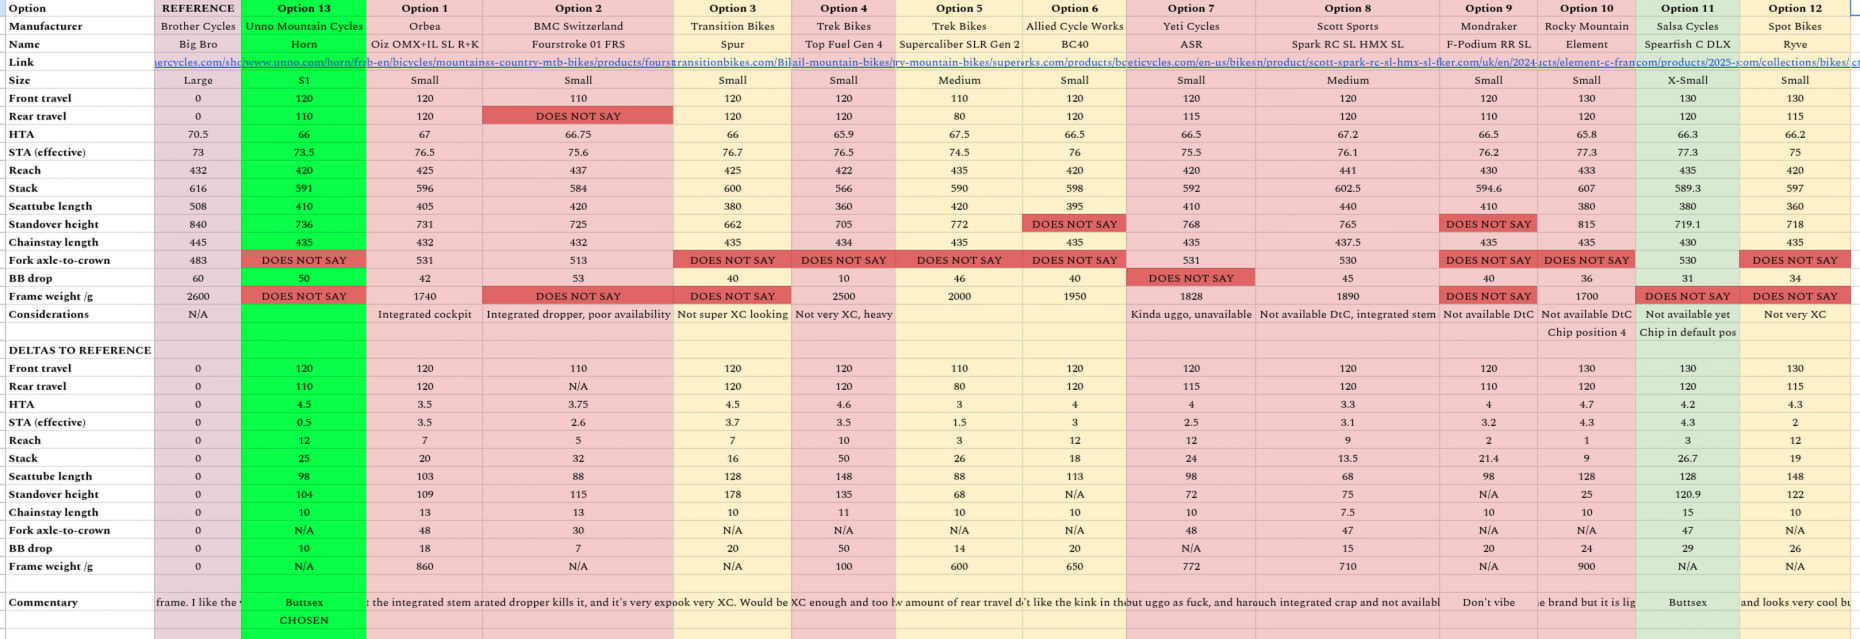
I am currently working on acquiring parts for a high-end cross-country mountain bike build, an Unno Horn in Small:
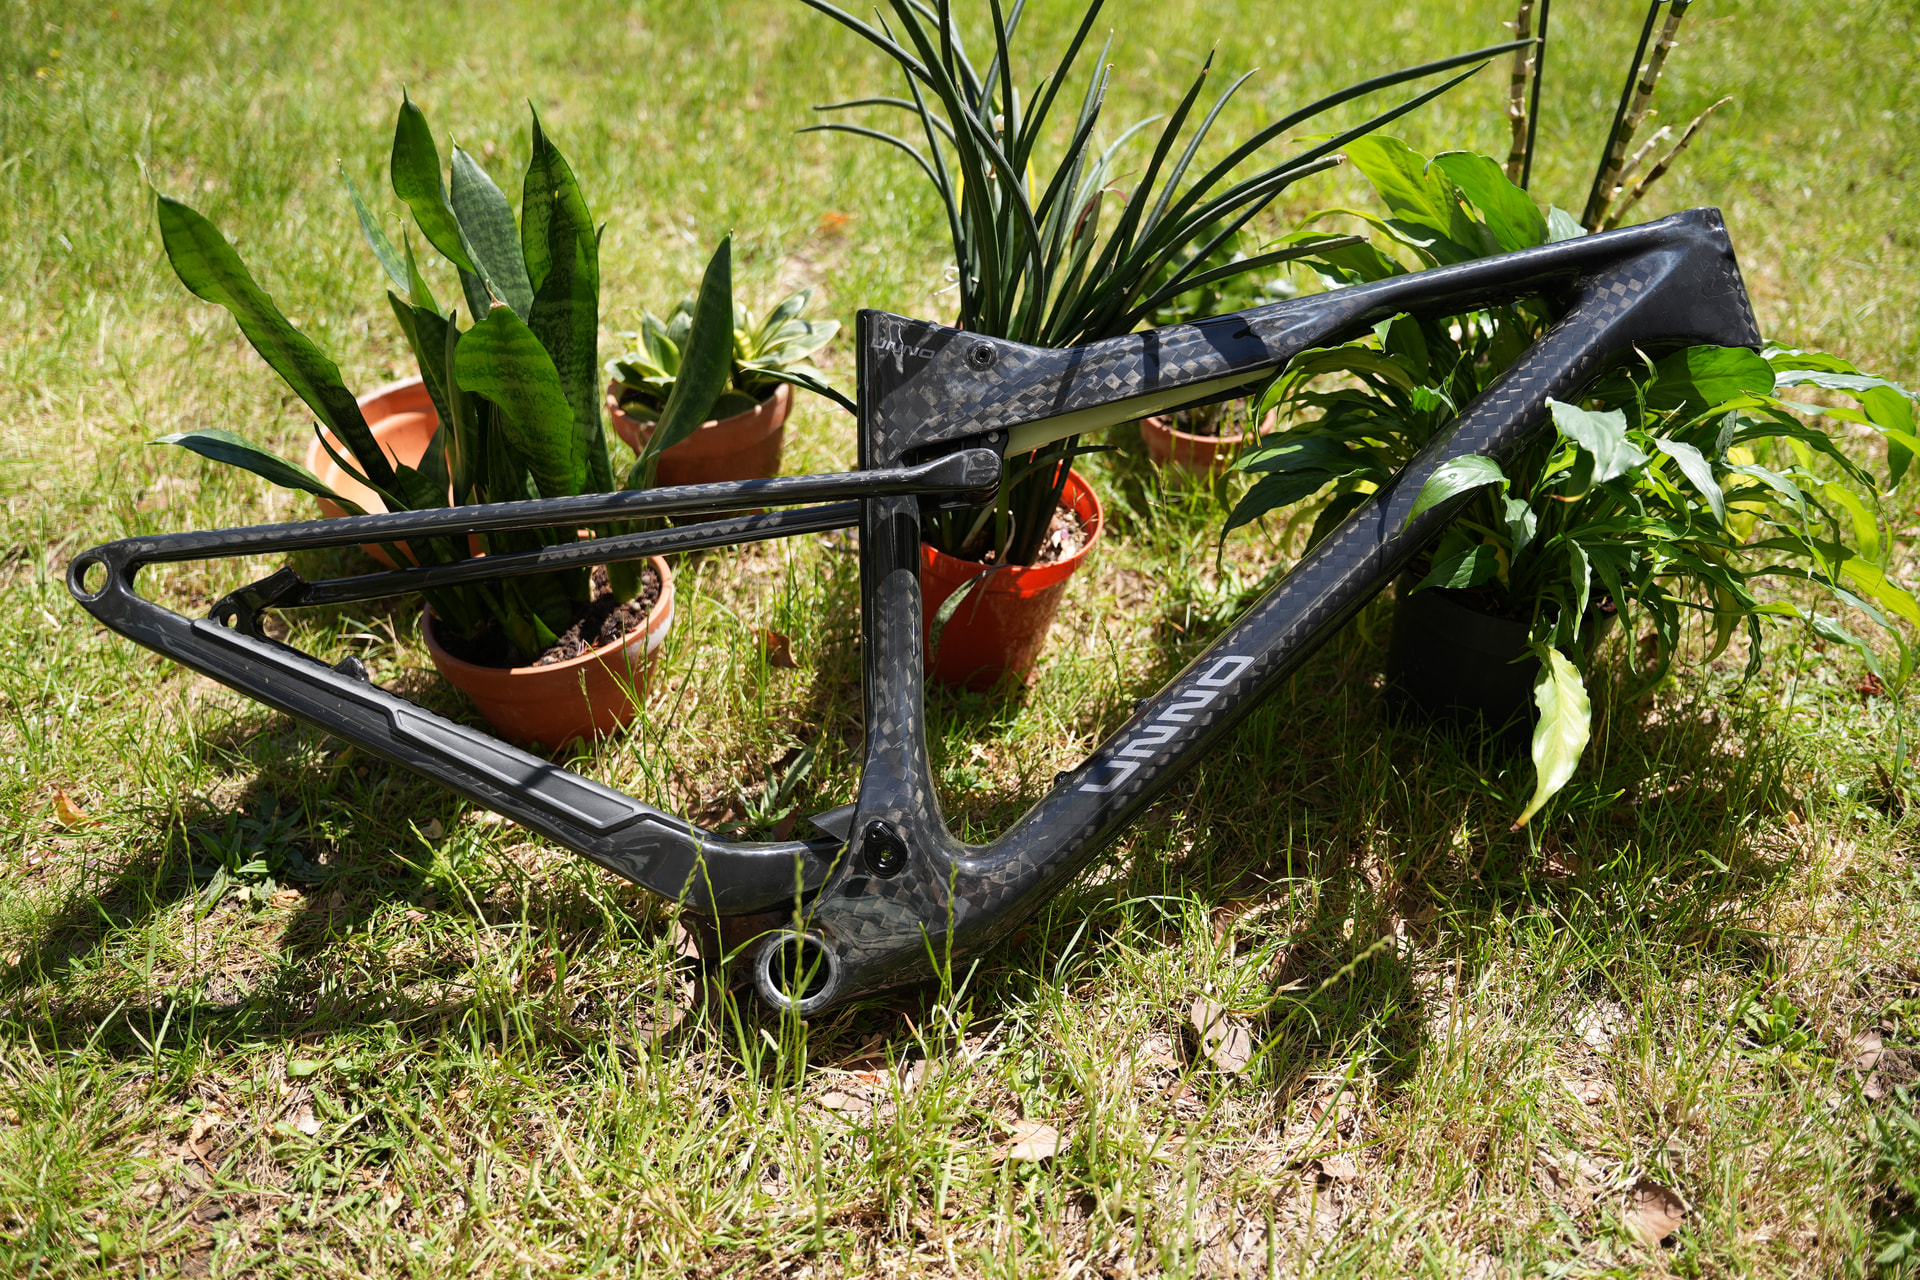

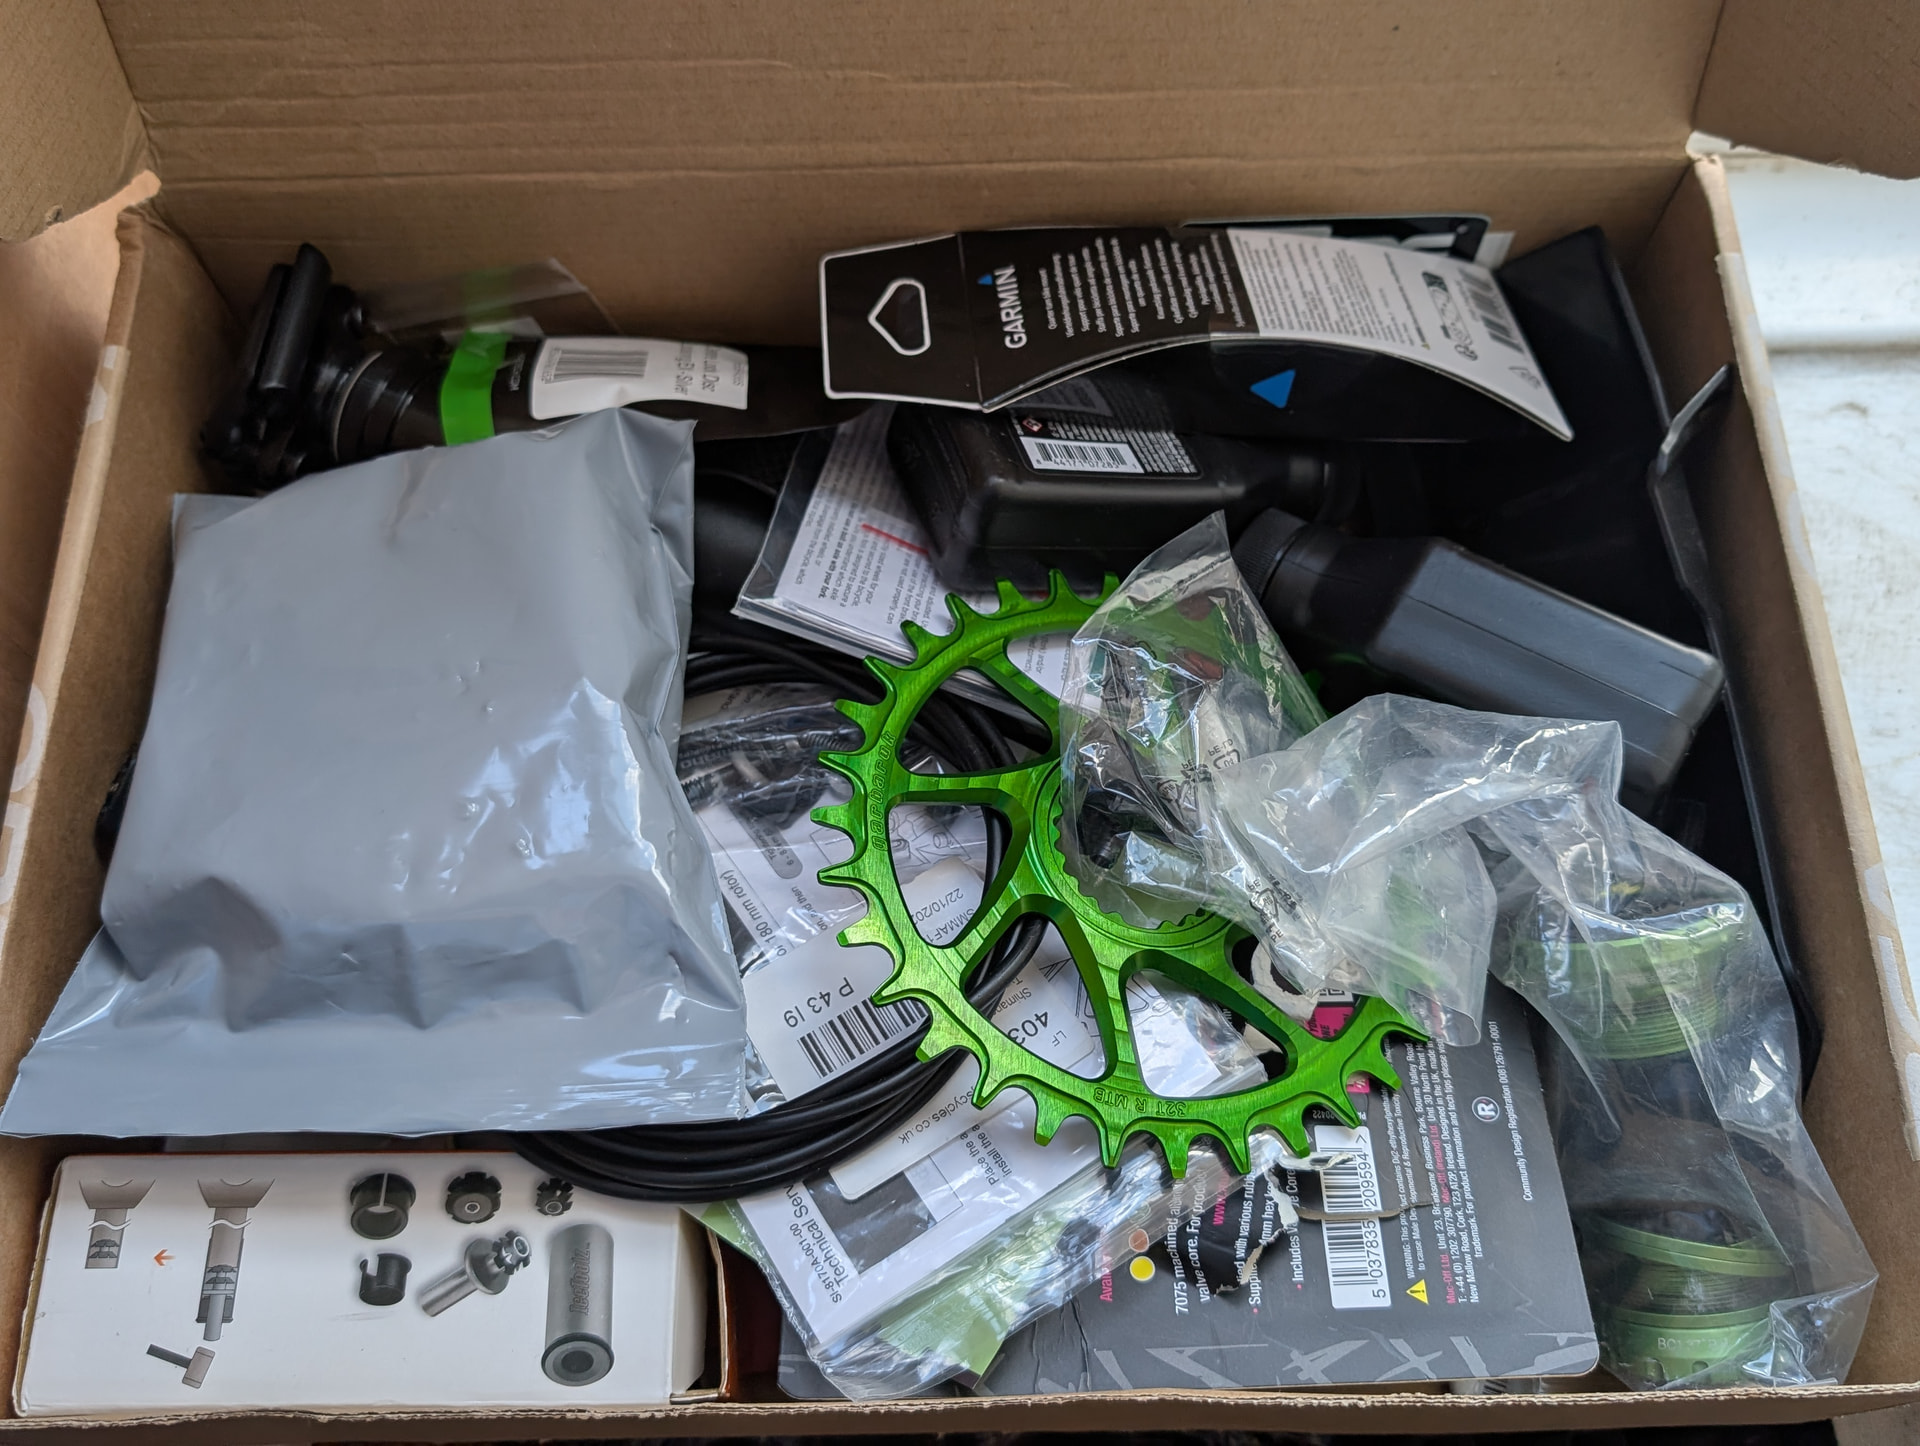
which I’ll be using as a livelier bike for harder hits and more dynamic riding, vs the Big Bro. Lighter, suspension both front and rear, and no luggage. A Pure Fun bling-machine. It’s very expensive though, so I have 2 more months of earning to do before I will have finally afforded and bought all of the parts for it.
Here is the parts list:
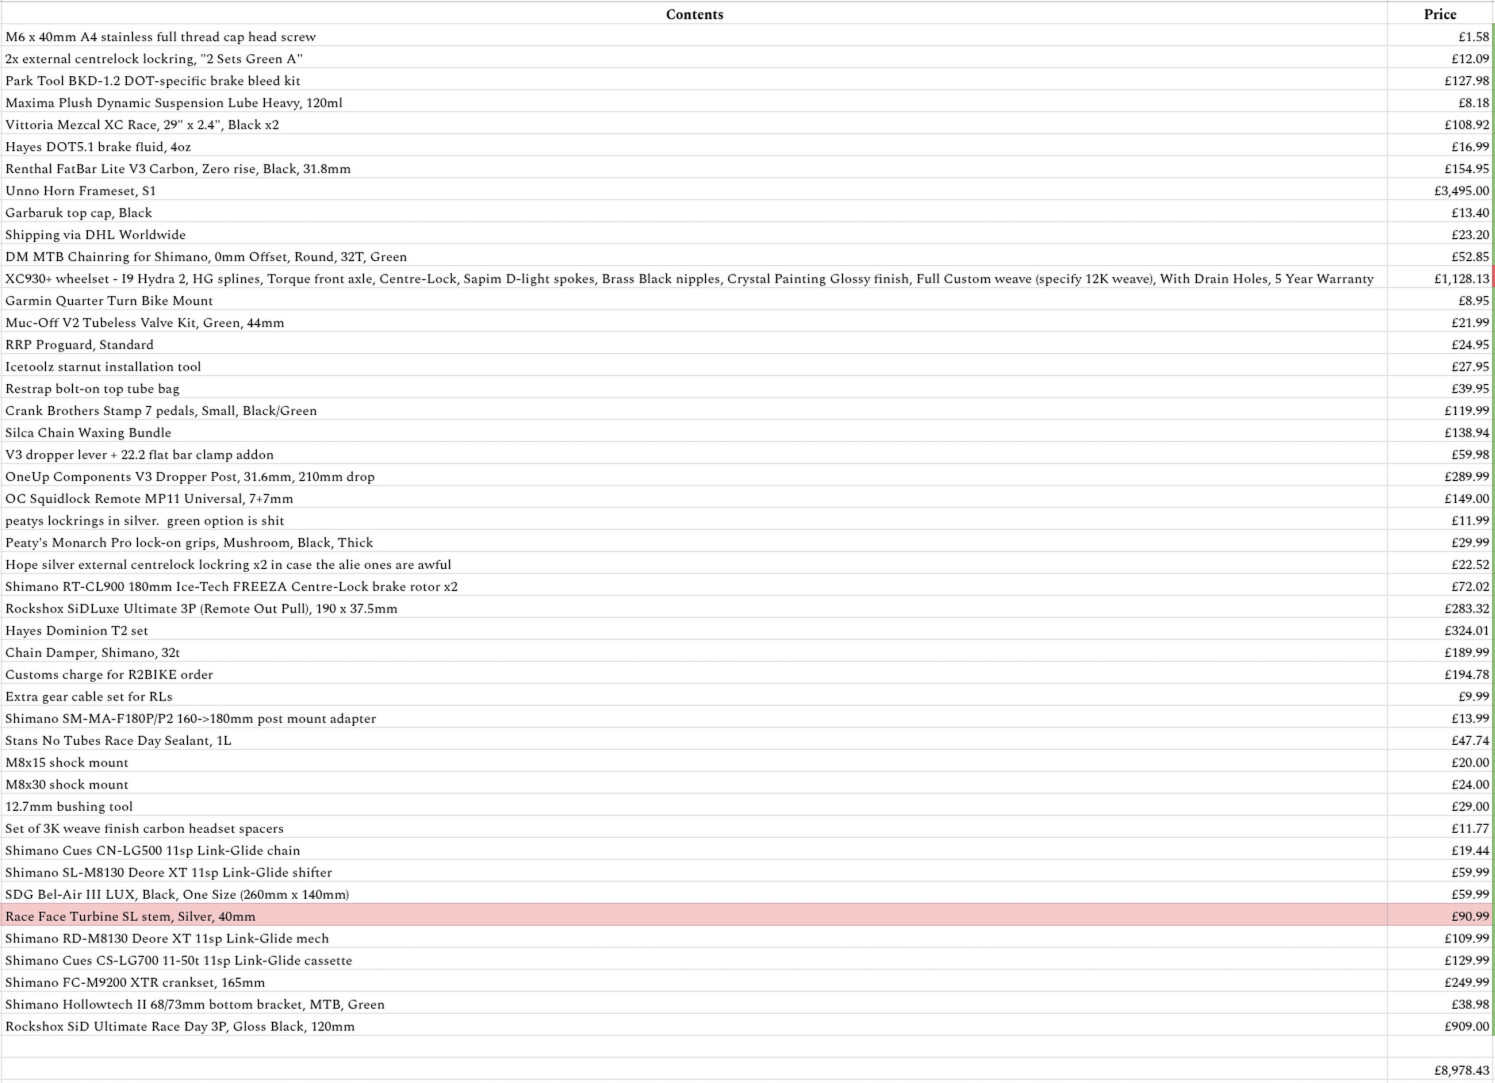
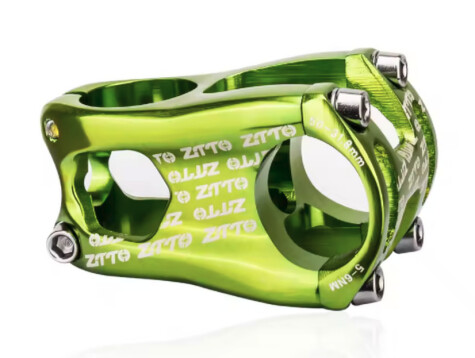
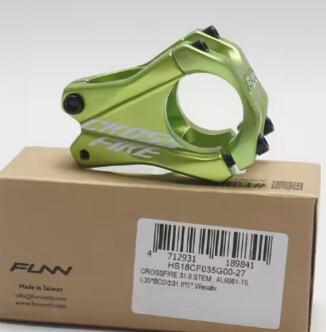
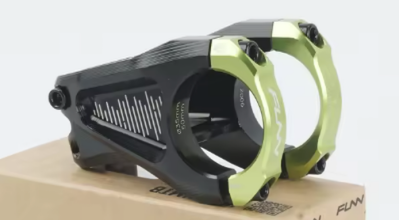
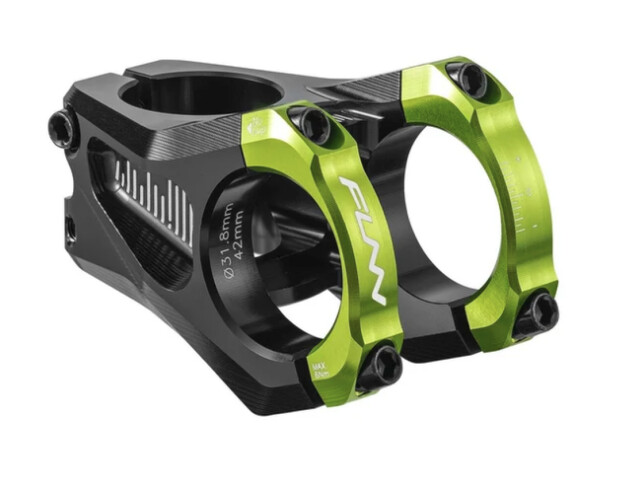
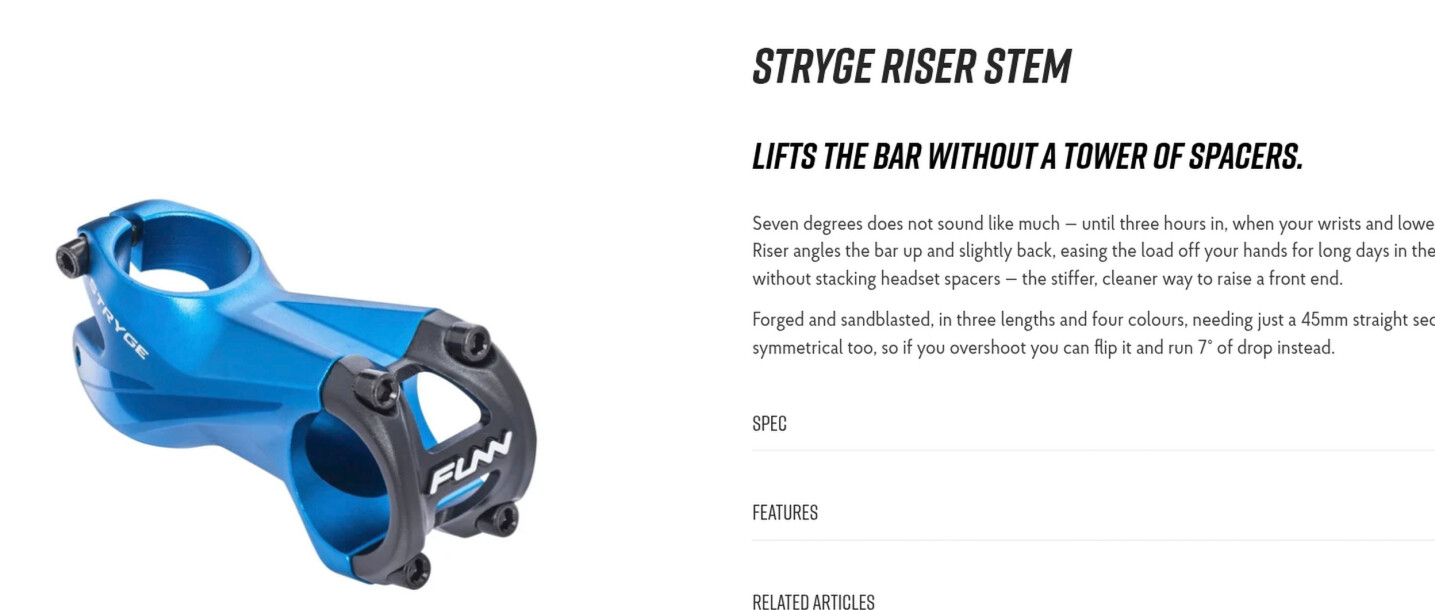
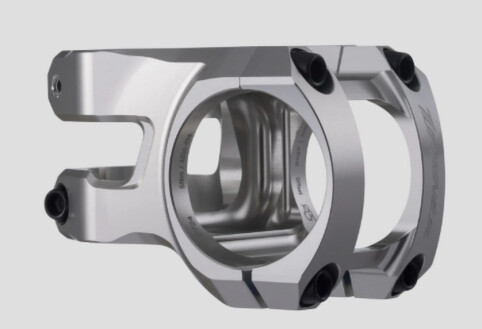
The line for the stem is highlighted in red since I’m not sure it’s the right stem for this build yet.
So far, I’ve cut down the carbon-fibre handlebar from its stock 780mm width to 730mm, which is wider than the 710mm of the Big Bro for a bit more stability and confidence, but without being excessive so as to be uncomfortable for my shoulders.
I’ve also mounted the shock into the frame:
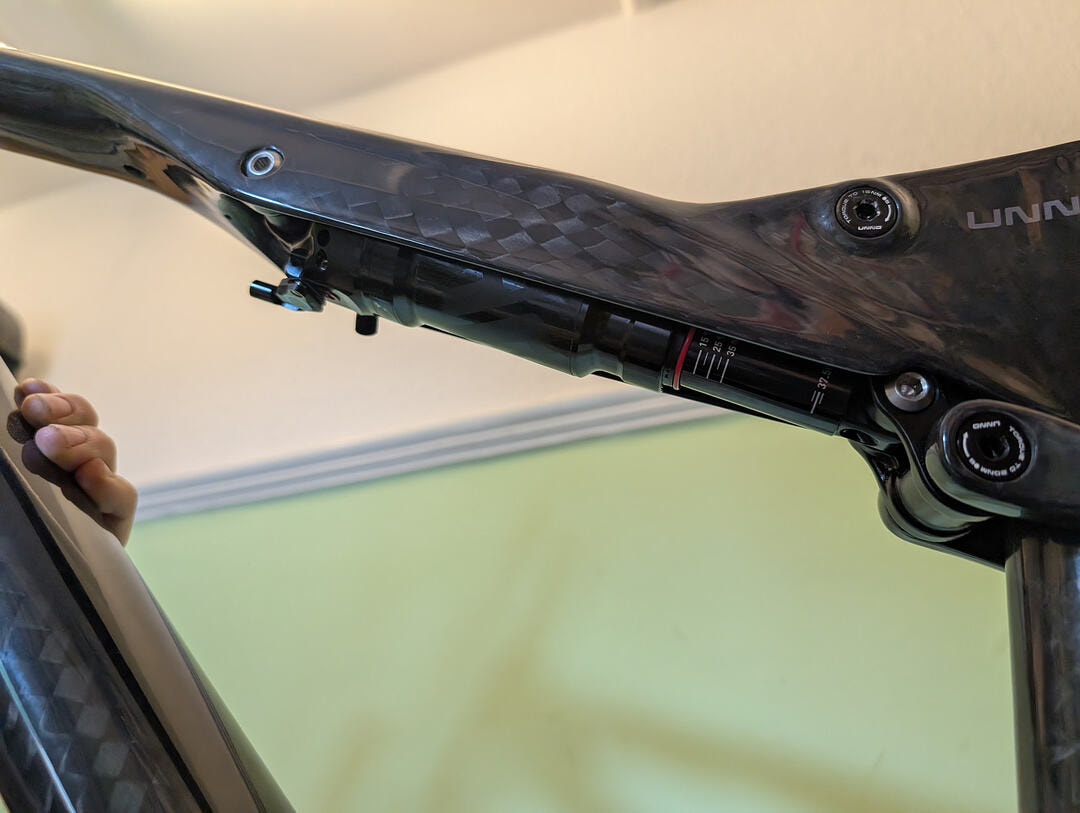
This was so, so painful. The manufacturer of the frame did not state what size spacers would be needed in between the eyelets of the shock and the bolts that fasten the shock into the frame. I ordered spacers based on measurements I took, and while I ordered the correct spacers, they were 0.2mm over nominal length, so they had to be sanded down to fit. Furthermore, one location on the frame was also under-nominal, so one of the spacers had to be sanded down further. The spacer manufacturer also wanted the stock eyelet bushings pressed out and replaced with their own (for longevity of their spacers due to minimising metal-on-metal contact, fair enough), so I had to buy a special tool to do that (which I of course realised after receiving the spacers and bushings).
Today, I test-fit the cranks, chainring and pedals into the frame to check clearances:
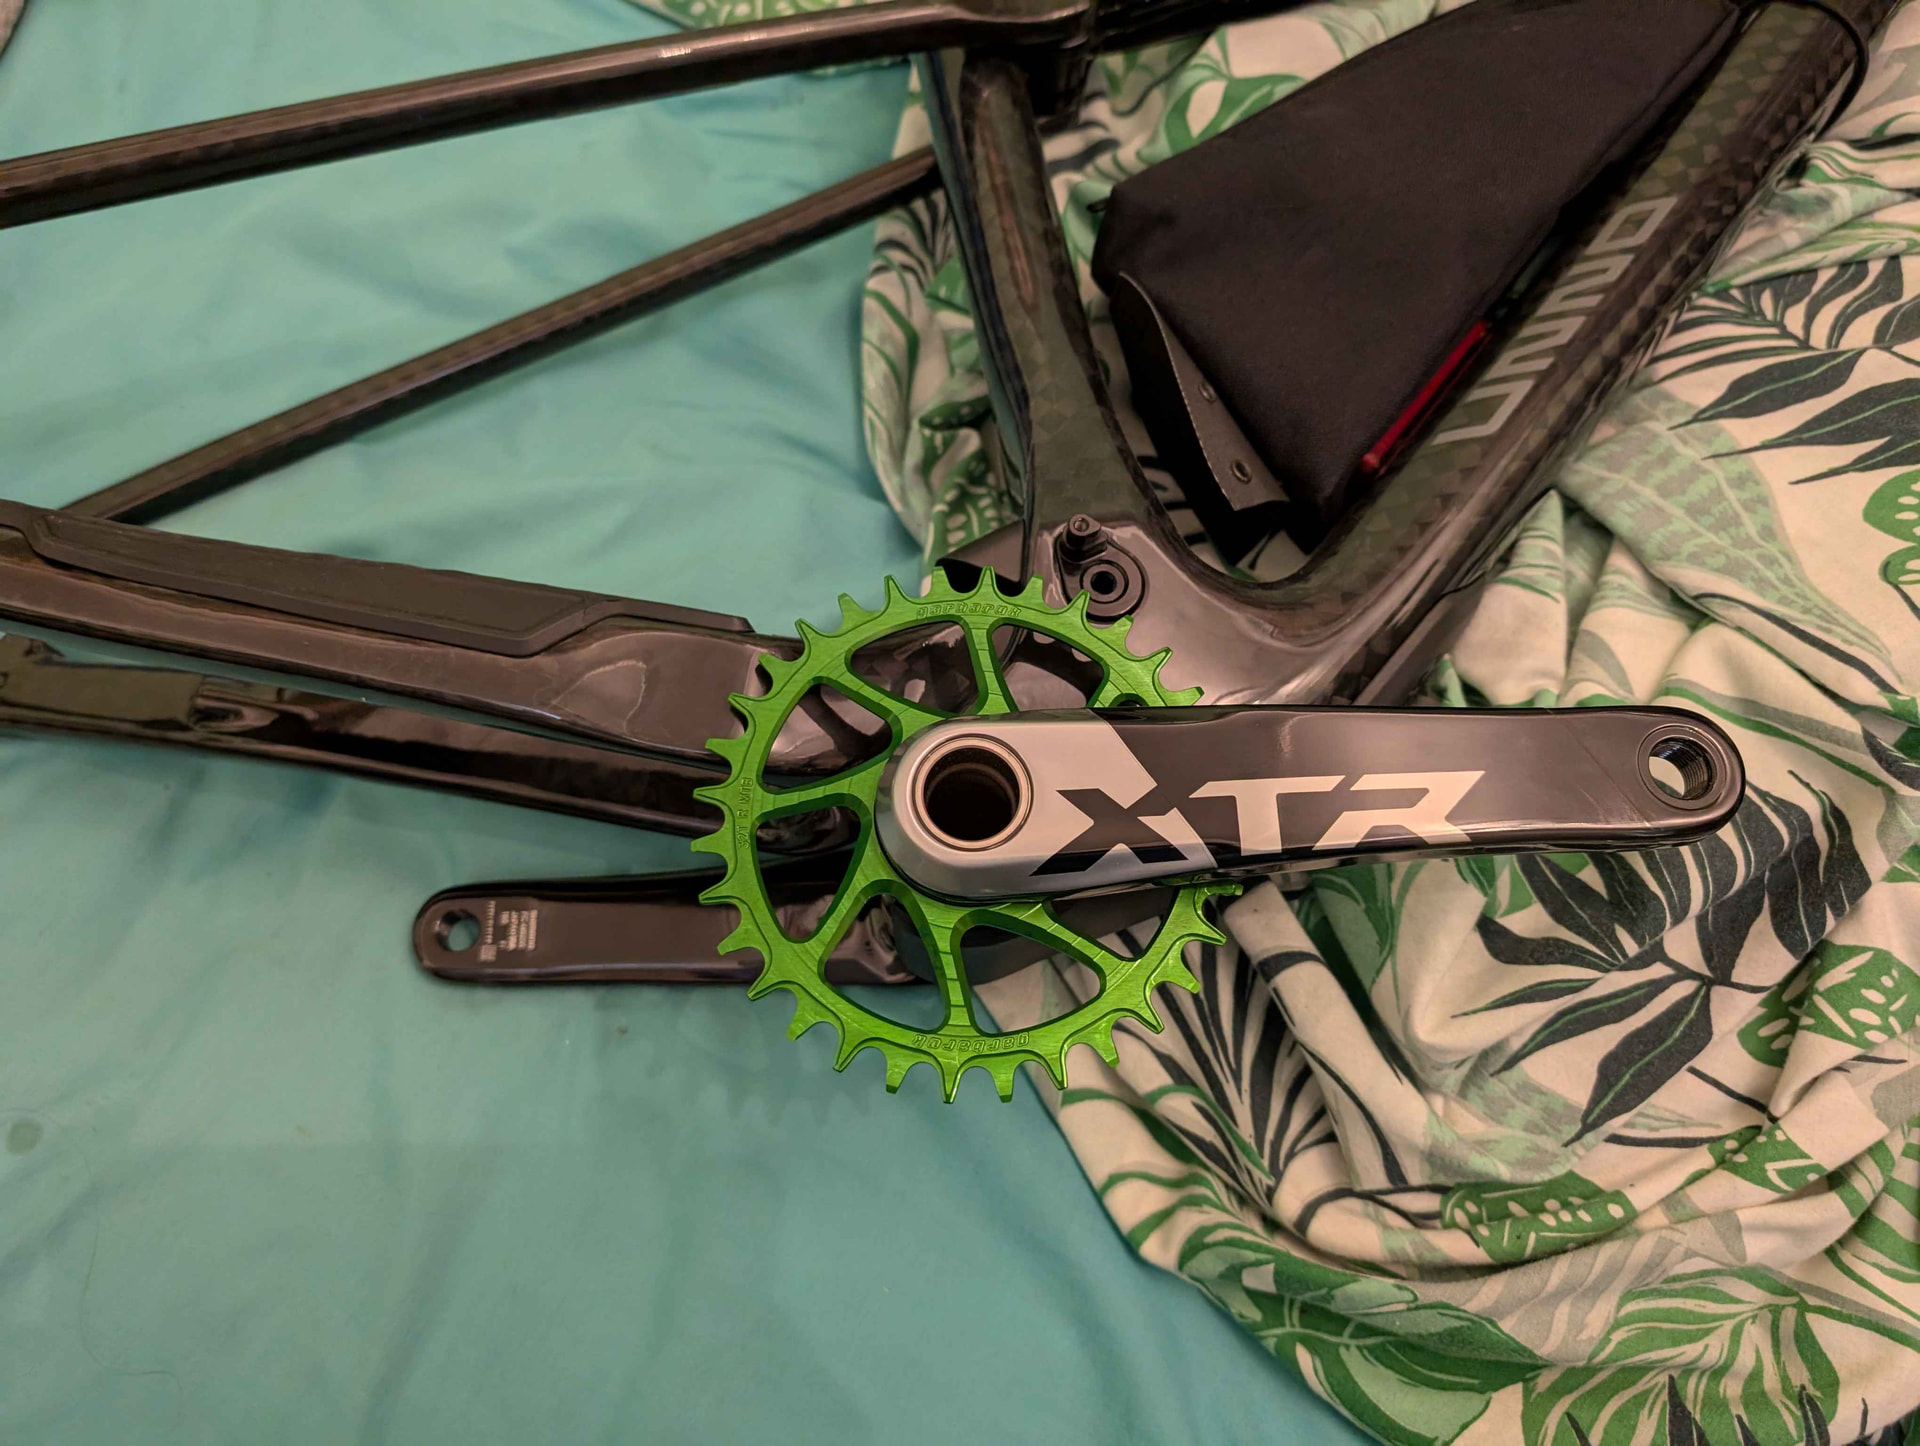
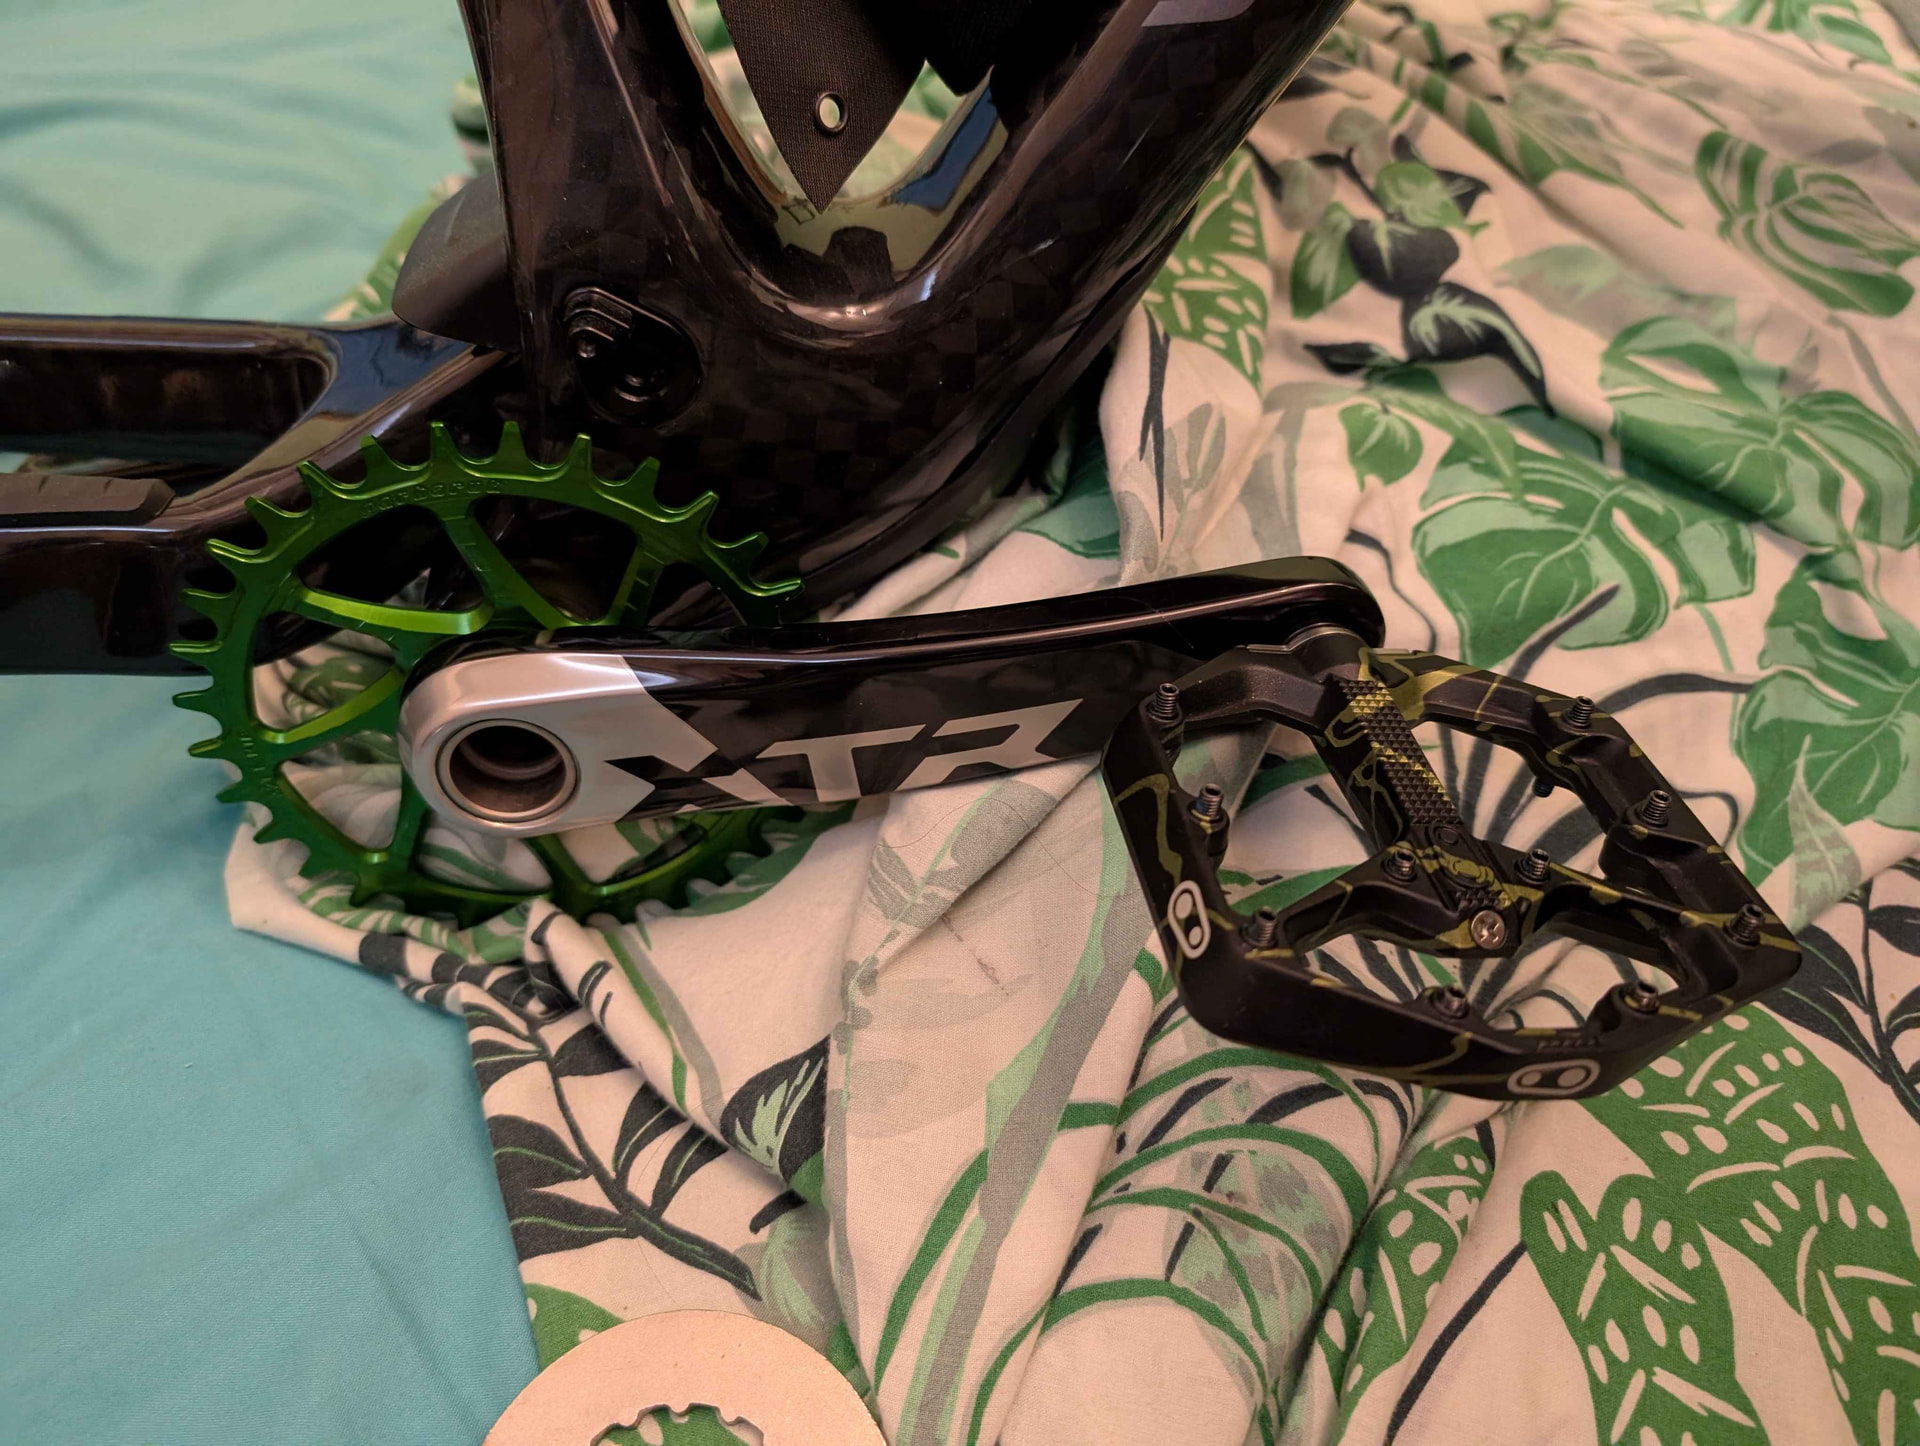
I love this dumb ridiculous bling-machine already.
(do excuse the bed, I don’t have much room in this apartment, lol)
The clearance between the chainring and the swingarm of the rear triangle is TIGHT. It’s about 3.5mm:
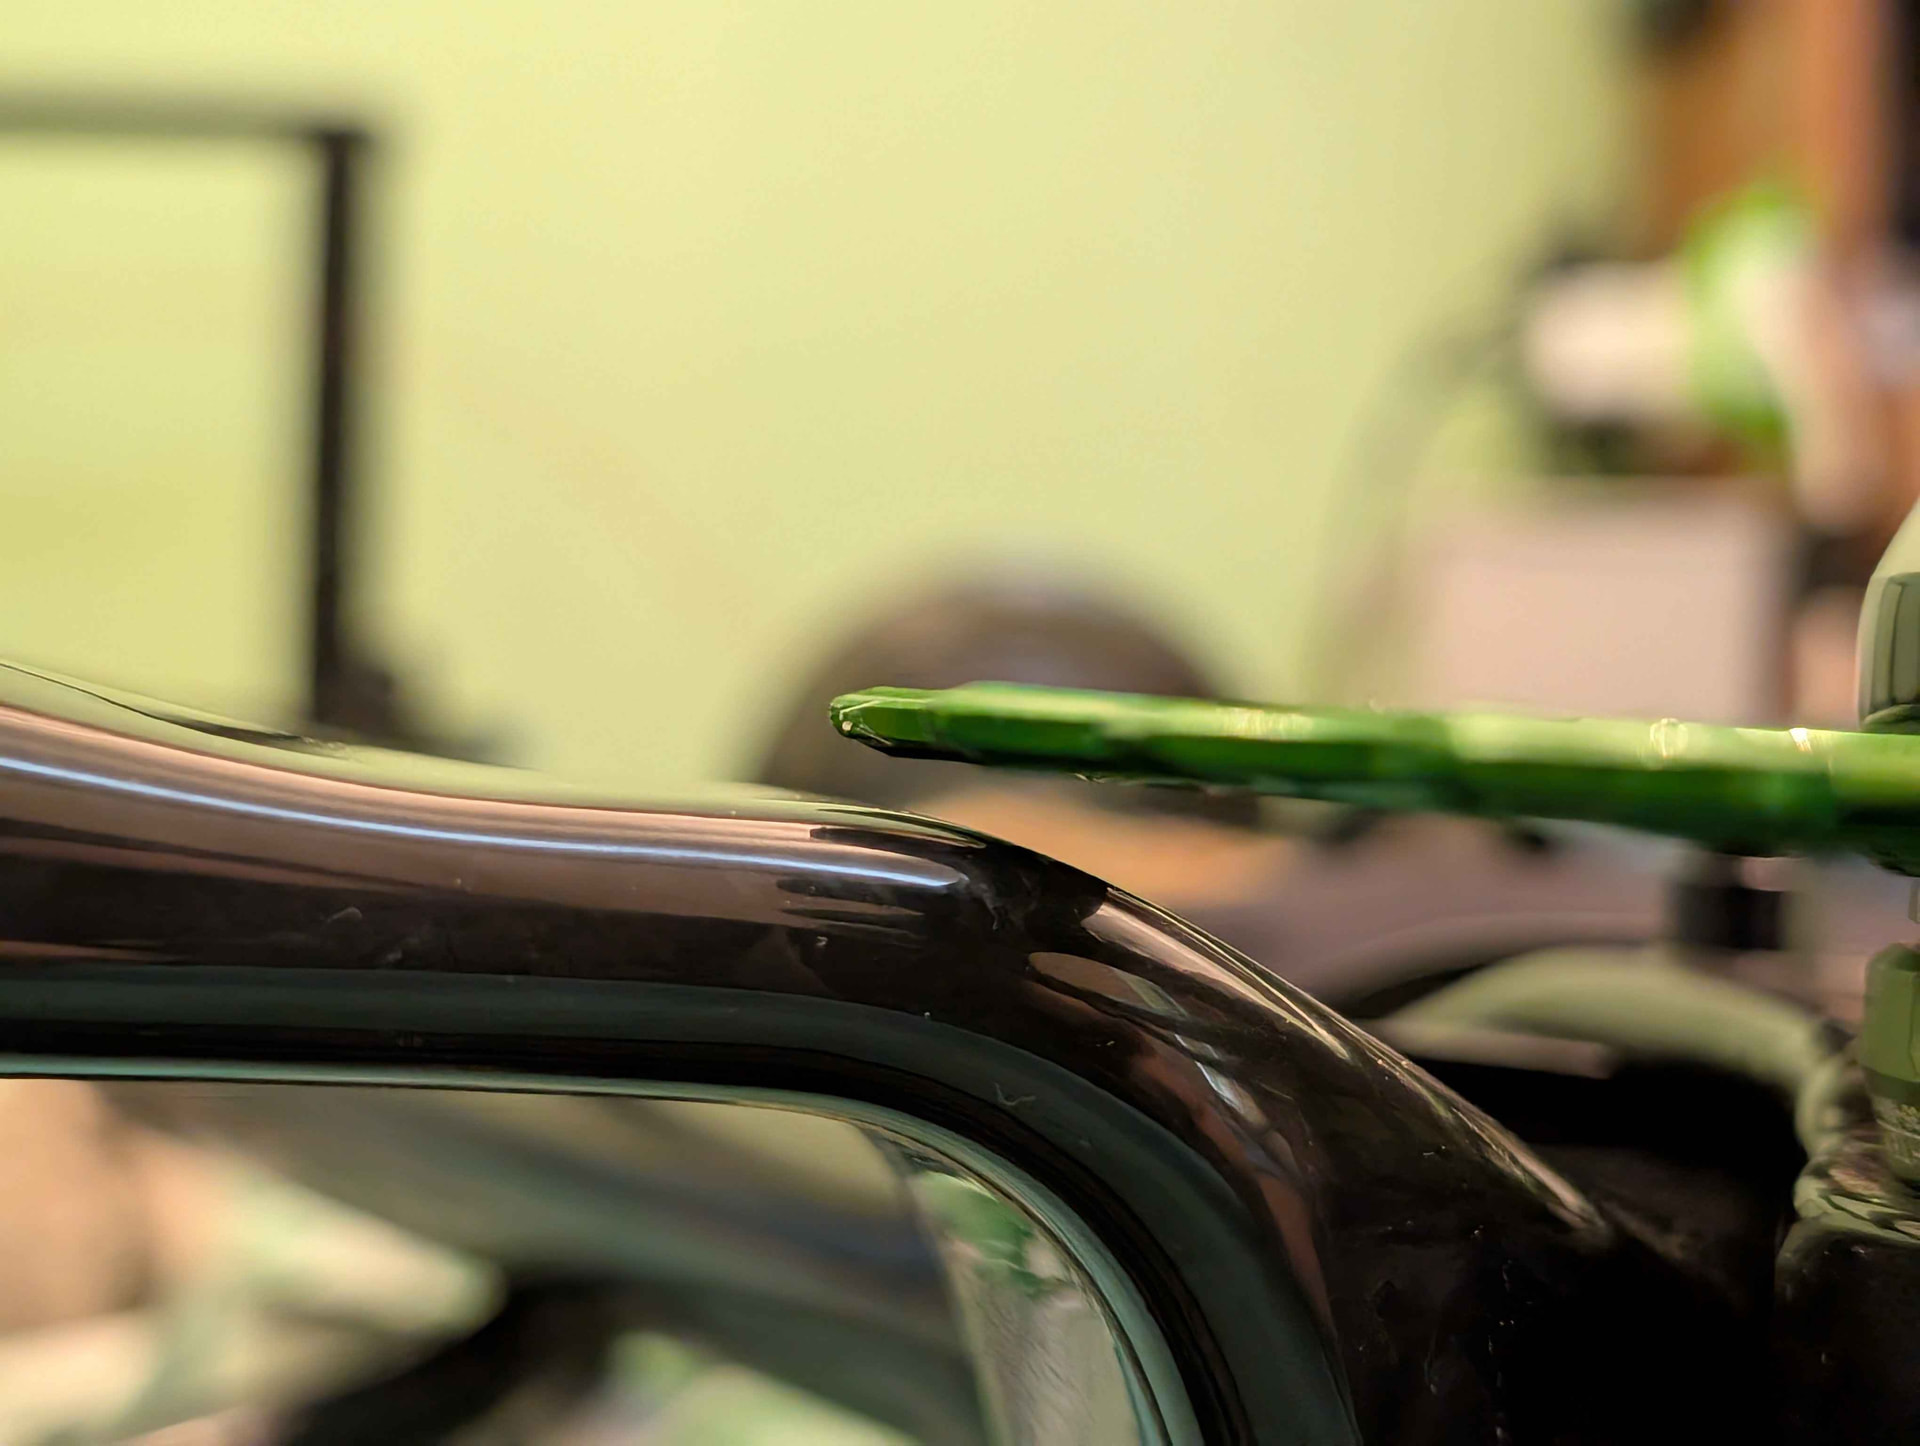
I could fit a BB spacer here to stand it off a little further. But it should be fine, provided the chain doesn’t get sucked up in between the chainring and the swingarm (which will not be kind to the carbon). Likelihood of this is incredibly low, though, so I’m going ahead as-is, I think. I’ll tell y’all if I change my mind further along in the build.
You might have seen the frame bag. Here it is in a better picture:
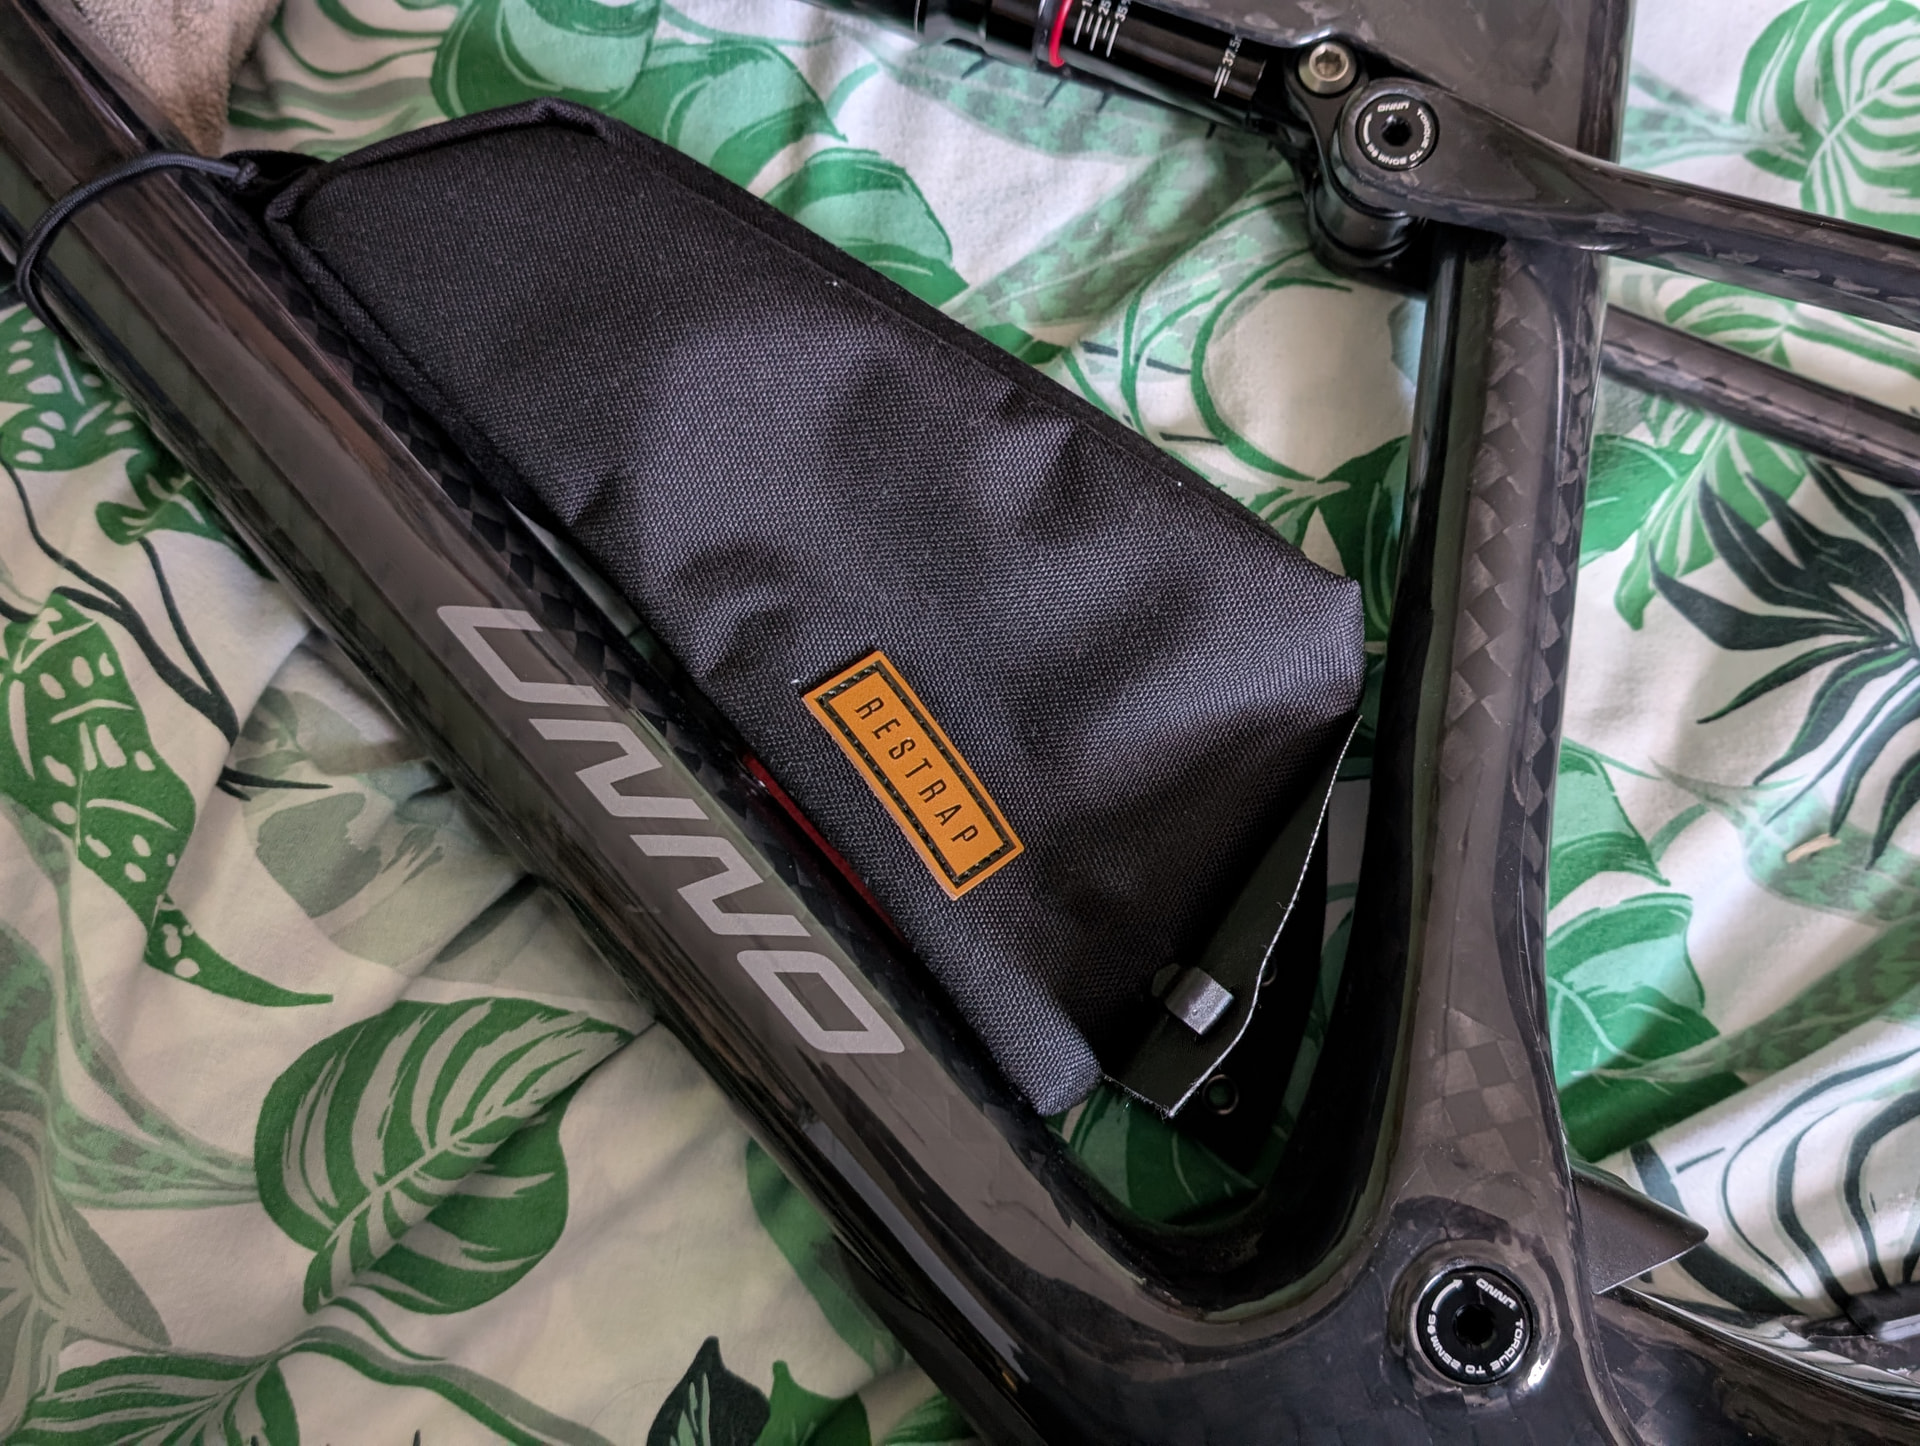
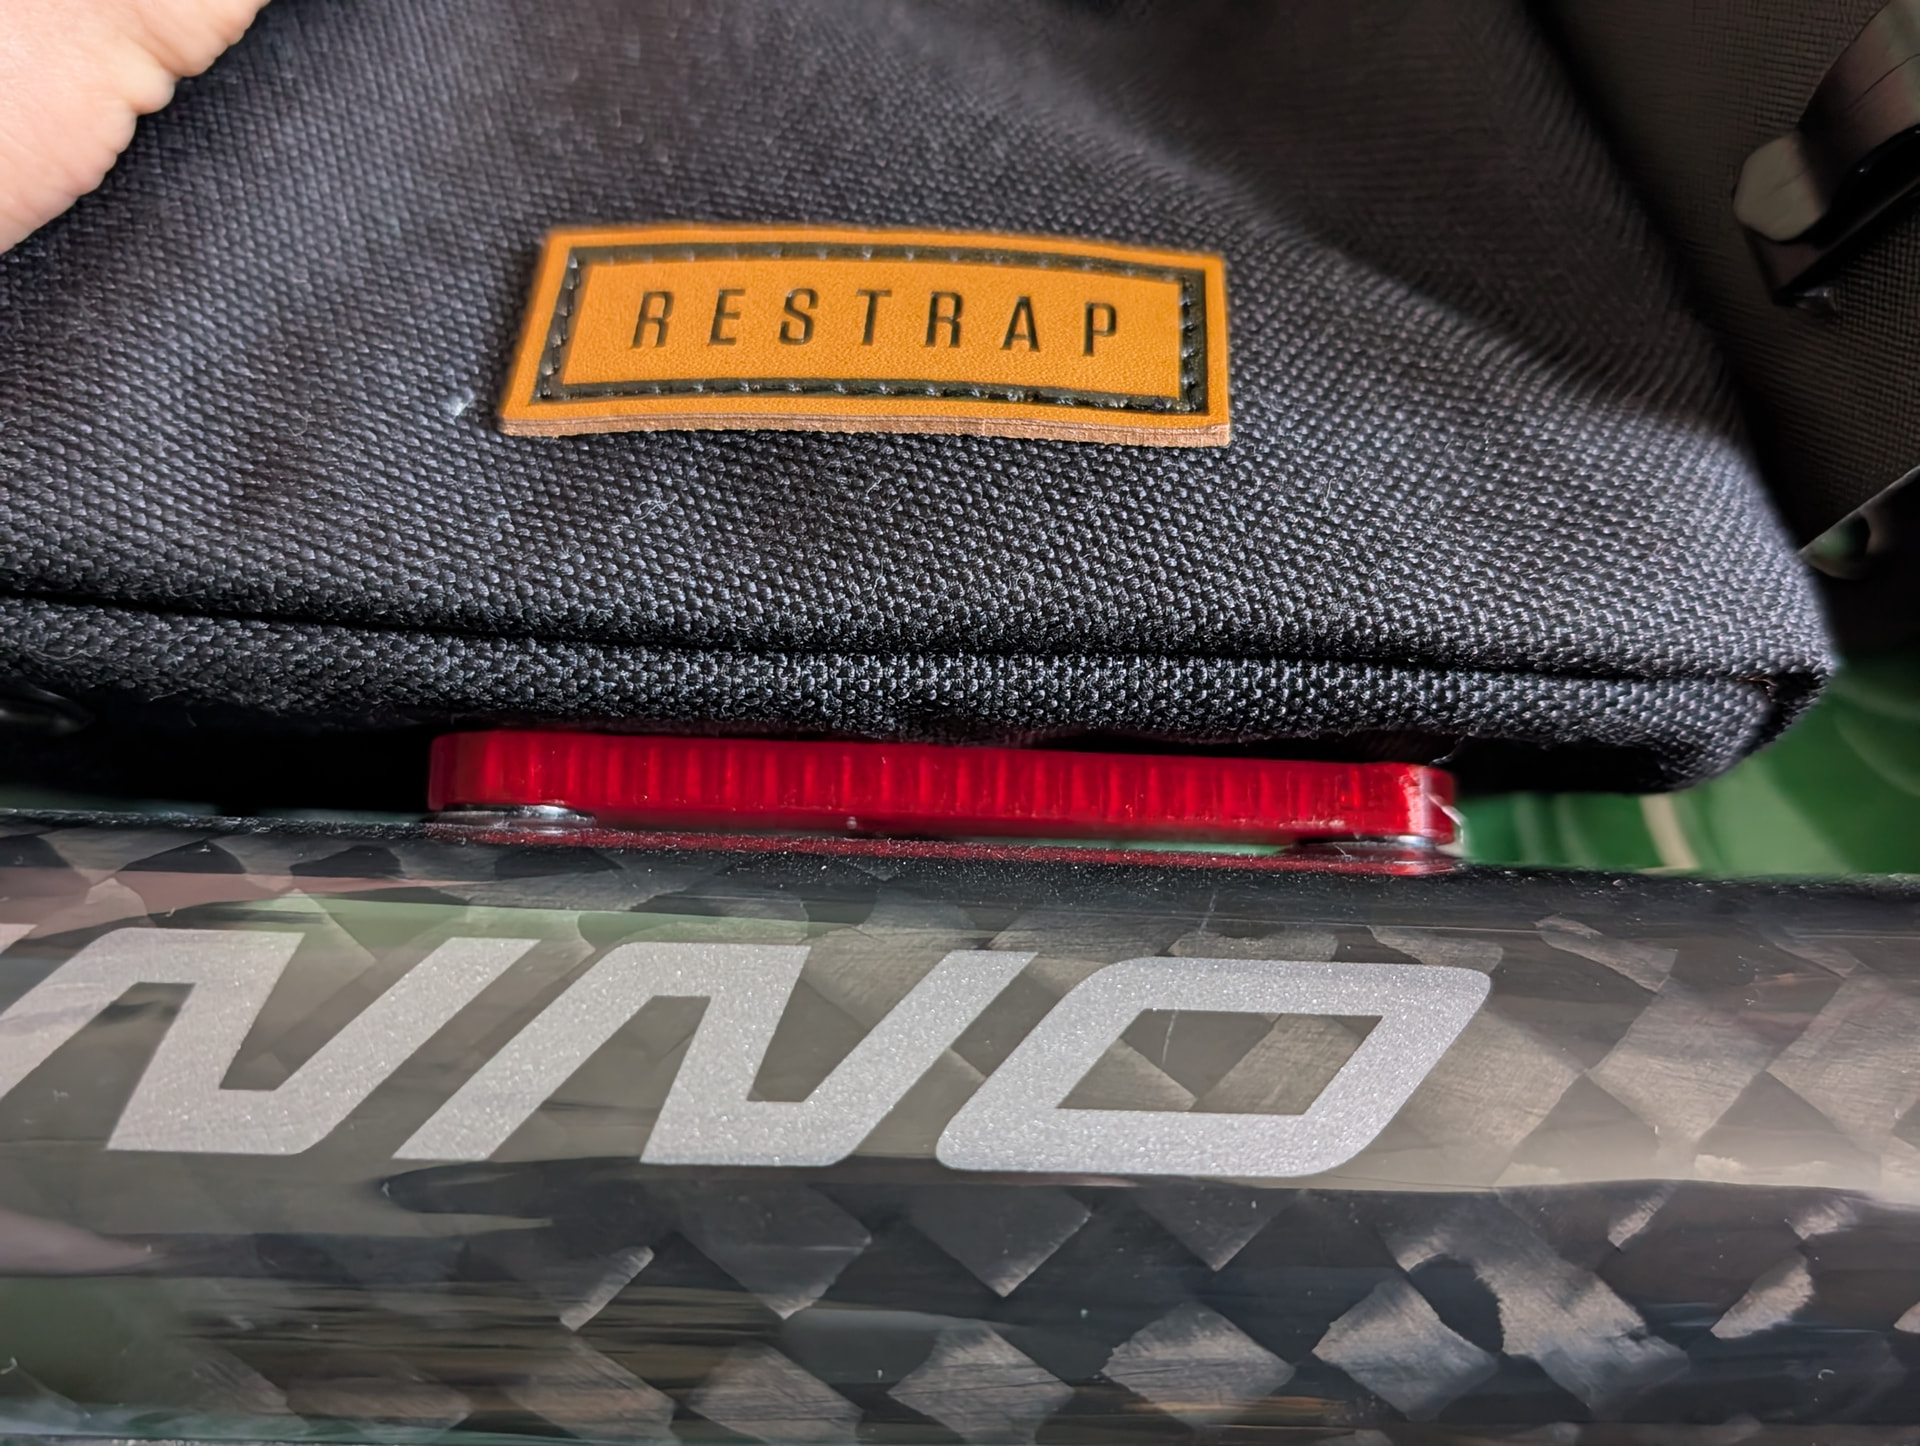
This is meant to bolt onto a bottle-cage mount on your top-tube, but here I’m using it facing backwards bolted to a cage mount on the downtube. This fits this bike (it has no top-tube based mounting options, and clears the shock better facing backwards than forwards) and will let me carry a pump, meds, tissues, bugspray and whatever other handy little things. It’s actually mounted on an intermediary 3D print that is bolted into the cage mount on the frame, as I had to offset the bag a little bit up the downtube in order for it to fit nicely against the seat-tube. The flap of fabric that would be attaching the bag to the headtube in the scenario it’s actually designed for will probably be removed (though I will still be figuring out how to loop a bit of elastic through to tie it into the seat-tube).
This is the CAD for the intermediary print:

A simple part. This will be revised for the final implementation to better blend into the frame (and of course, I’ll print it in green instead of red).
This is what it looks like closer up, installed:
And that’s where we’re at with that build. Will be updating here as stuff happens.
I am in the planning stages of a third bike build, built purely for commuting. It’s gonna have an absolutely-higher, tighter gearing range and use a few spare parts I have kicking around - the SM-RT86s from the original Big Bro build, an Ultegra cassette, and an 11sp chain. It’s gonna have a narrower bar than the other bikes, have no frame bag, might mount my bike lock to it, and should run more efficient wheels/tyres for better acceleration and lower rolling resistance.
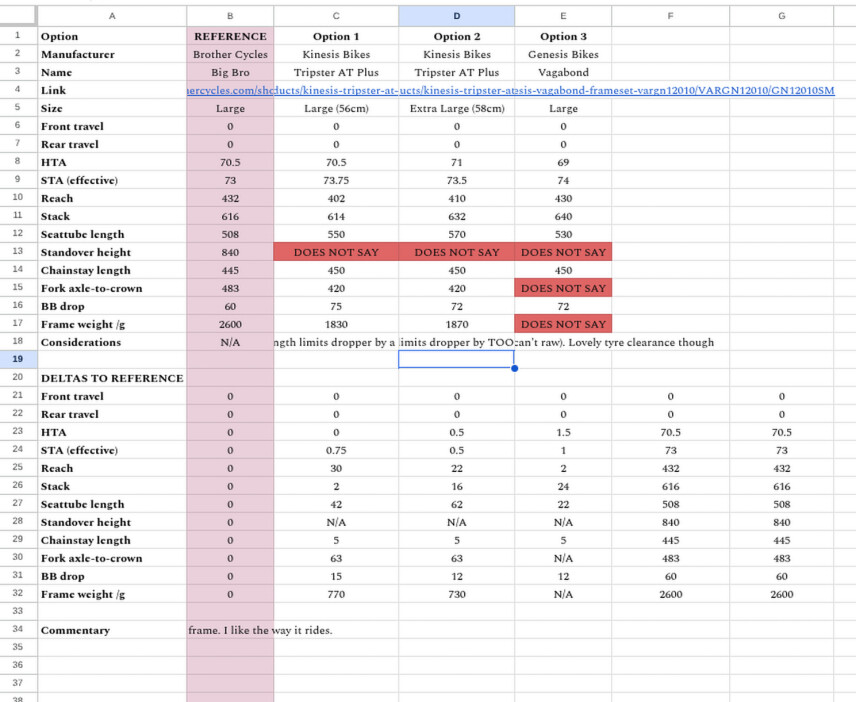
I’m wanting an aluminium frame so I can either screw up the finish without risking corrosion, or raw the frame entirely with paint stripper (both of these in an endeavour to make the bike less thievable). This is what I’m thinking of so far:
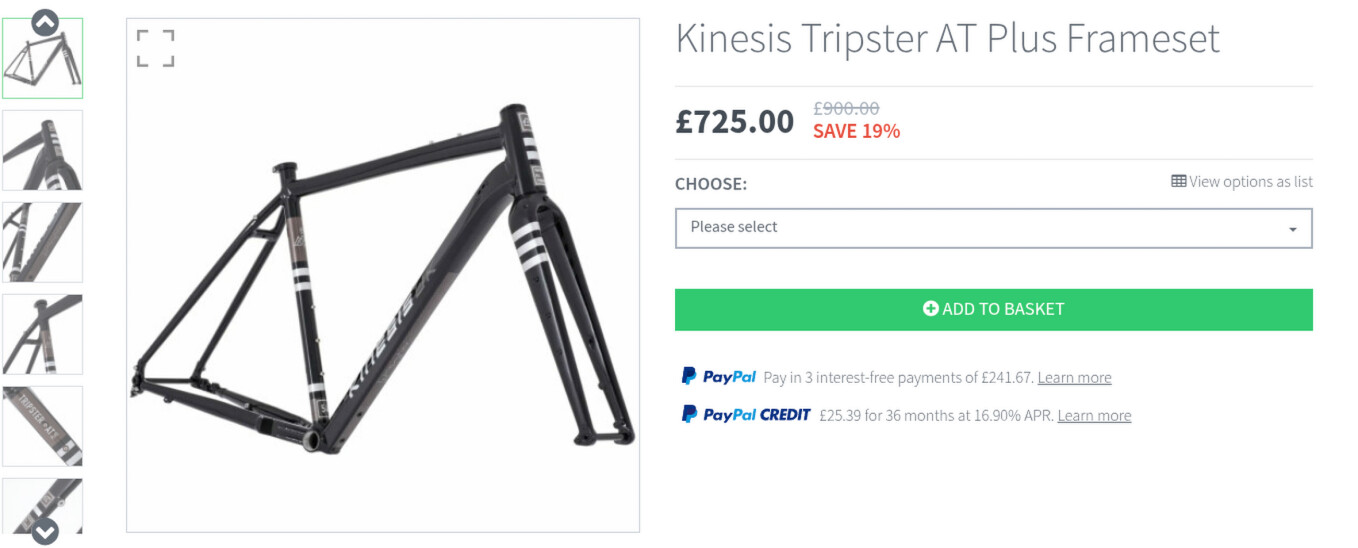
It’s not cheap but it’s fulfilling all the standards requirements I have. It’s meant to be a drop-bar frame so it has the geometry to support that (notably a very short reach and quite a high stack), but if you buy a large enough size, you can comfortably run flat bar with a shorter stem, so I think that’s what I’m gonna do (I am not interested at all in running drop bars).
Since this’ll be used for commuting, I don’t want it to be super expensive, in case anything happens to it. I’ve given myself a rough budget of 1 month’s disposable income, around £1500-1800.
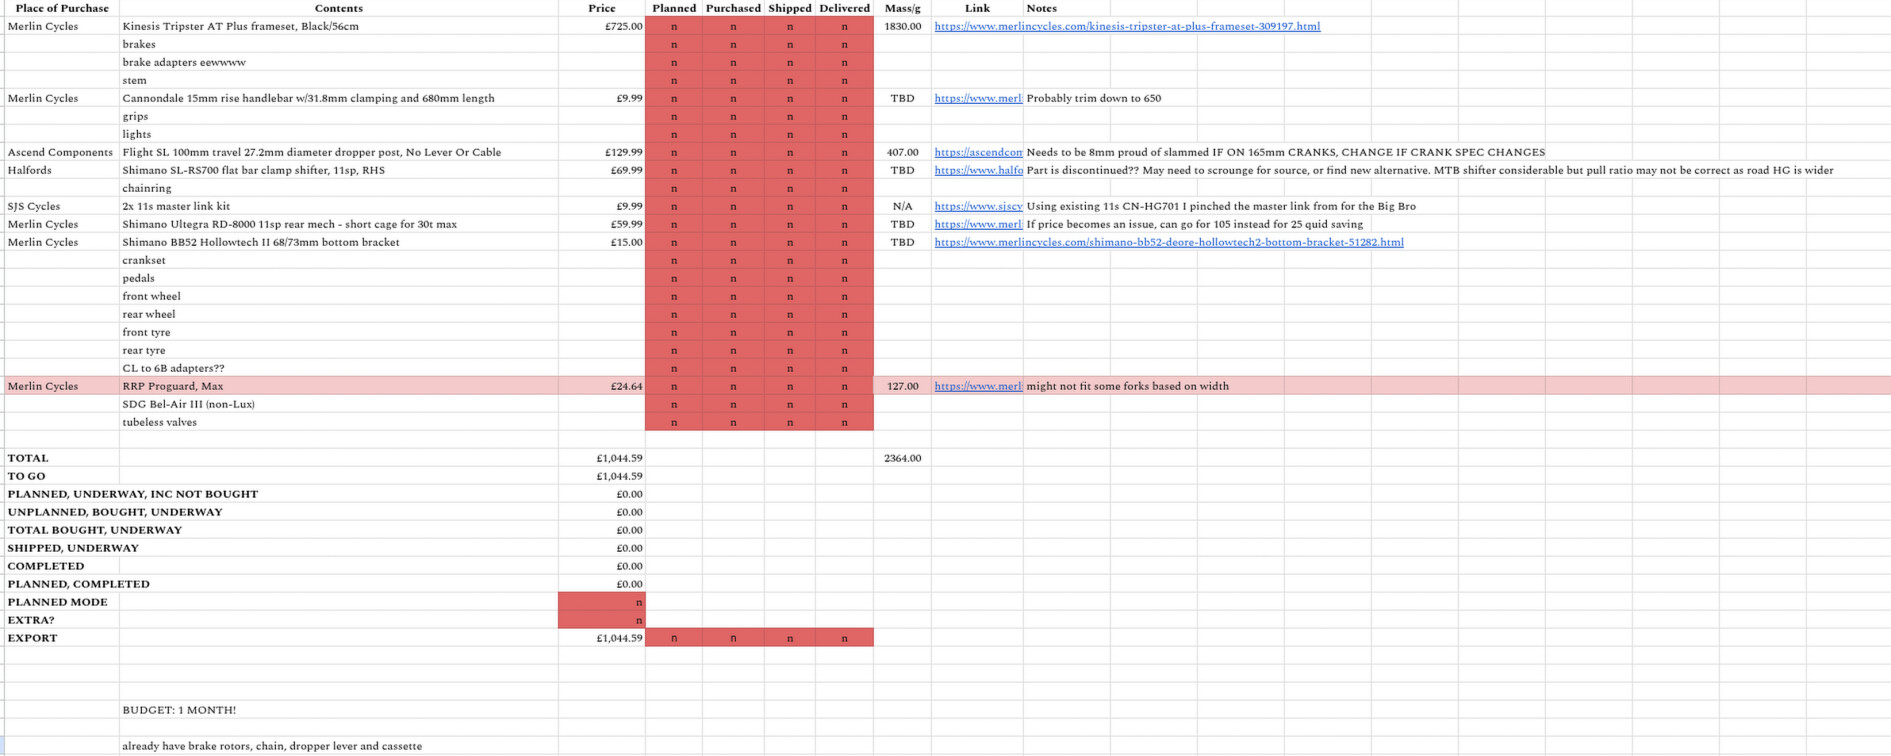
Here’s the just-started parts list:

The frame isn’t on there yet as I haven’t fully committed to using that frame yet, I’m still shopping around.
I did have a mountain bike, a 2020 Nukeproof Scout in Large, that was my first ever bike build, during Covid:
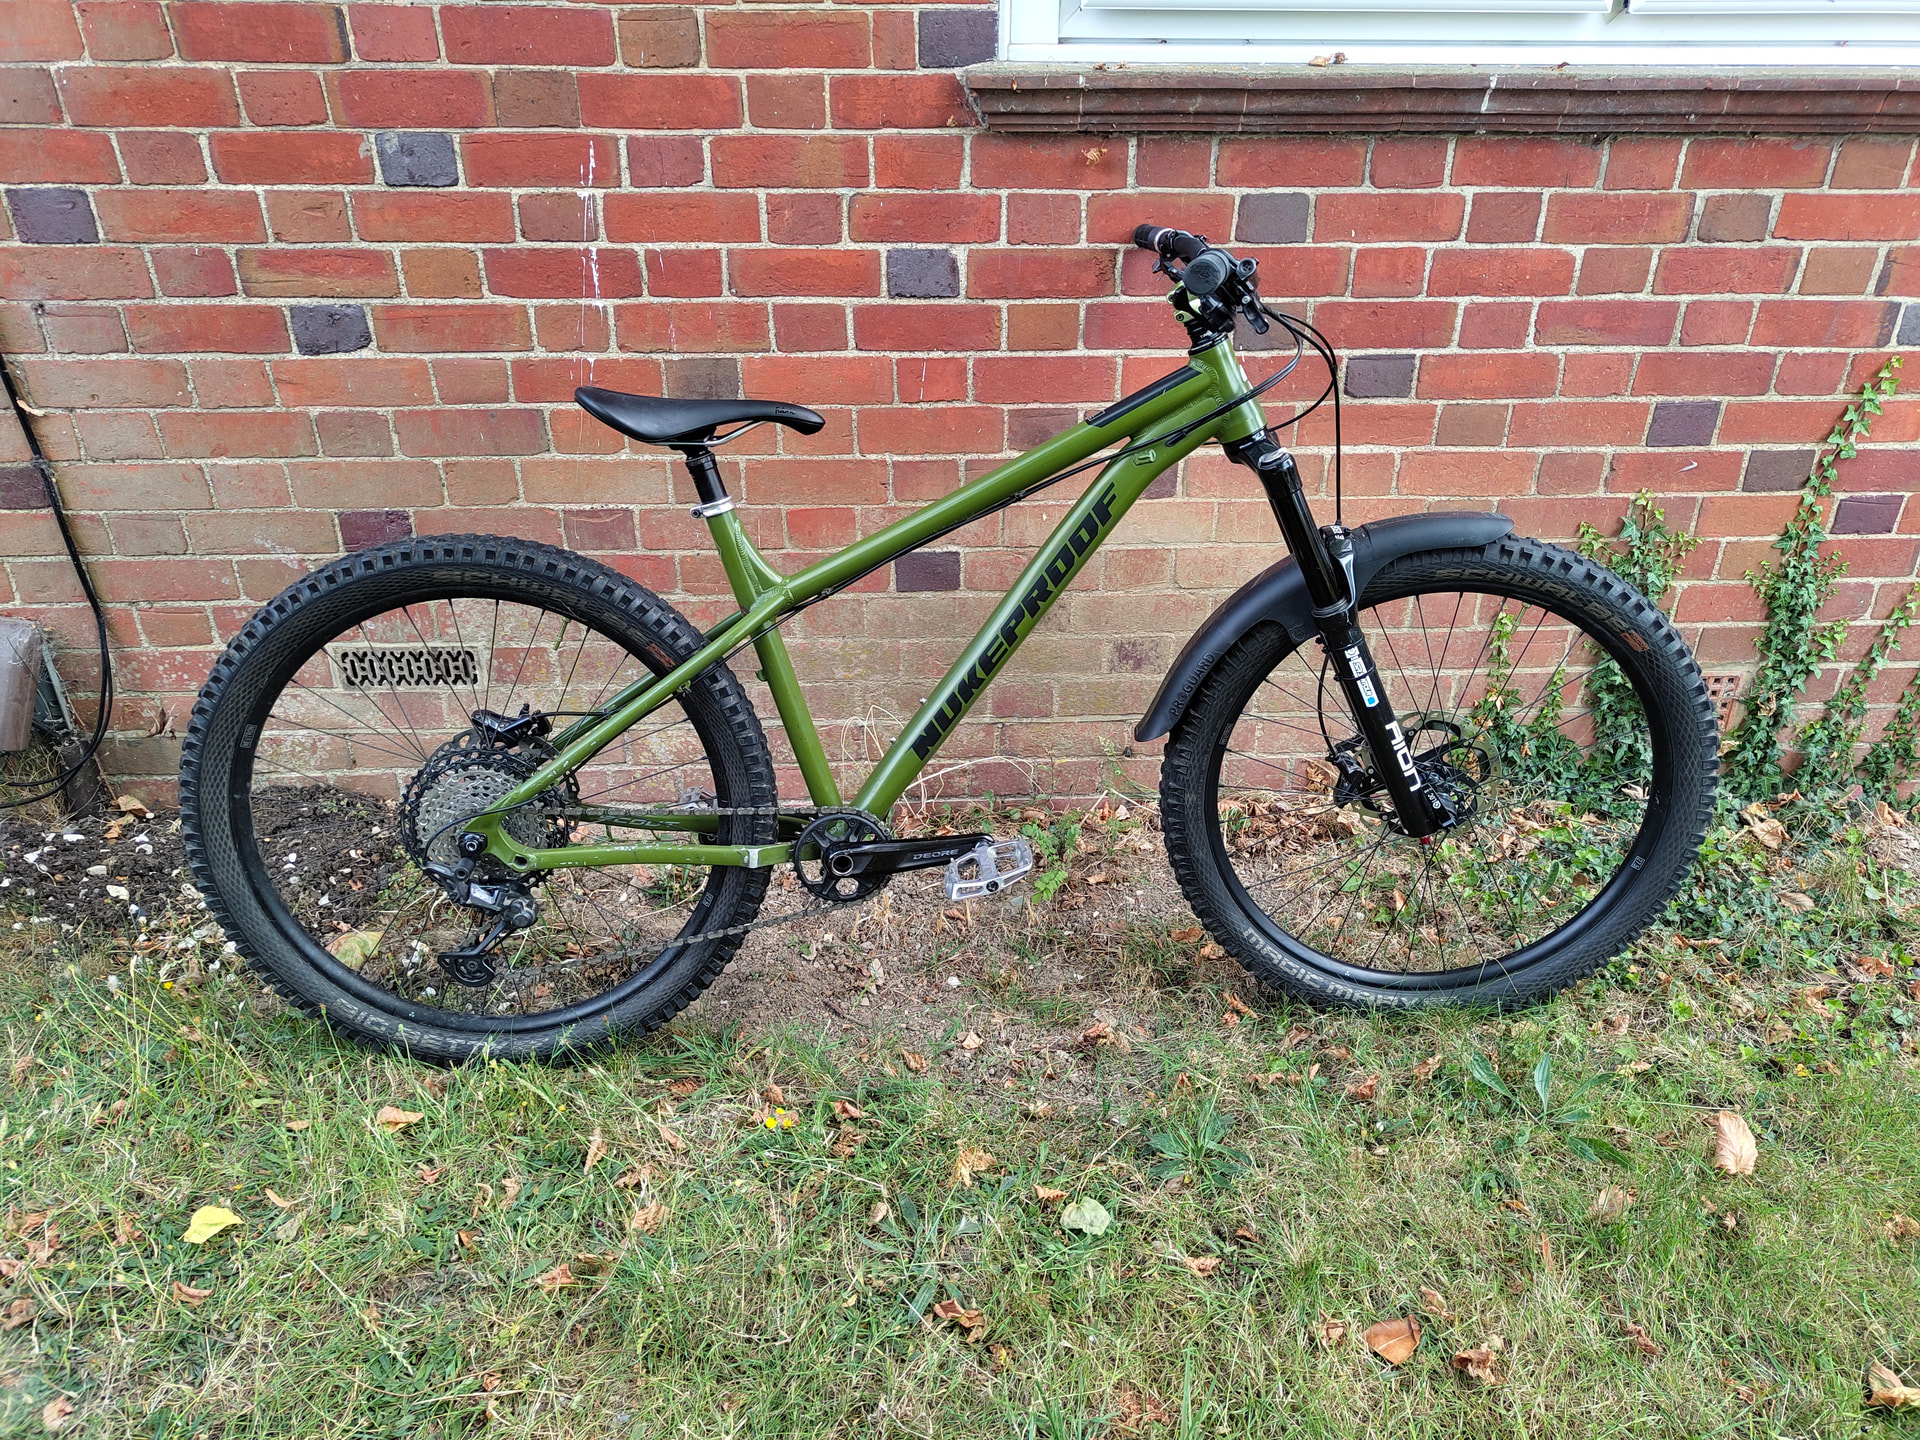
800mm bars, 203mm rotors with 4-piston brakes, 160mm of fork travel, 27.5”x2.6”. Monster truck, by and large.
It had Microshift Advent 9sp, and then Shimano Deore XT 12sp, and neither were super reliable (the Microshift was terrible though, the clutch was so weak, there was chain skipping all over the place, terrible when you wanted to put power down and you’d almost fling yourself off the bike)…
In upgrading the drivetrain to XT, I needed to change the freehub from the HyperGlide standard to MicroSpline, so bought the conversion kit, which included another set of pawls and springs - so I doubled up on the leaf springs behind each pawl on the new freehub in order to double the force of engagement (and make it louder, of course!).
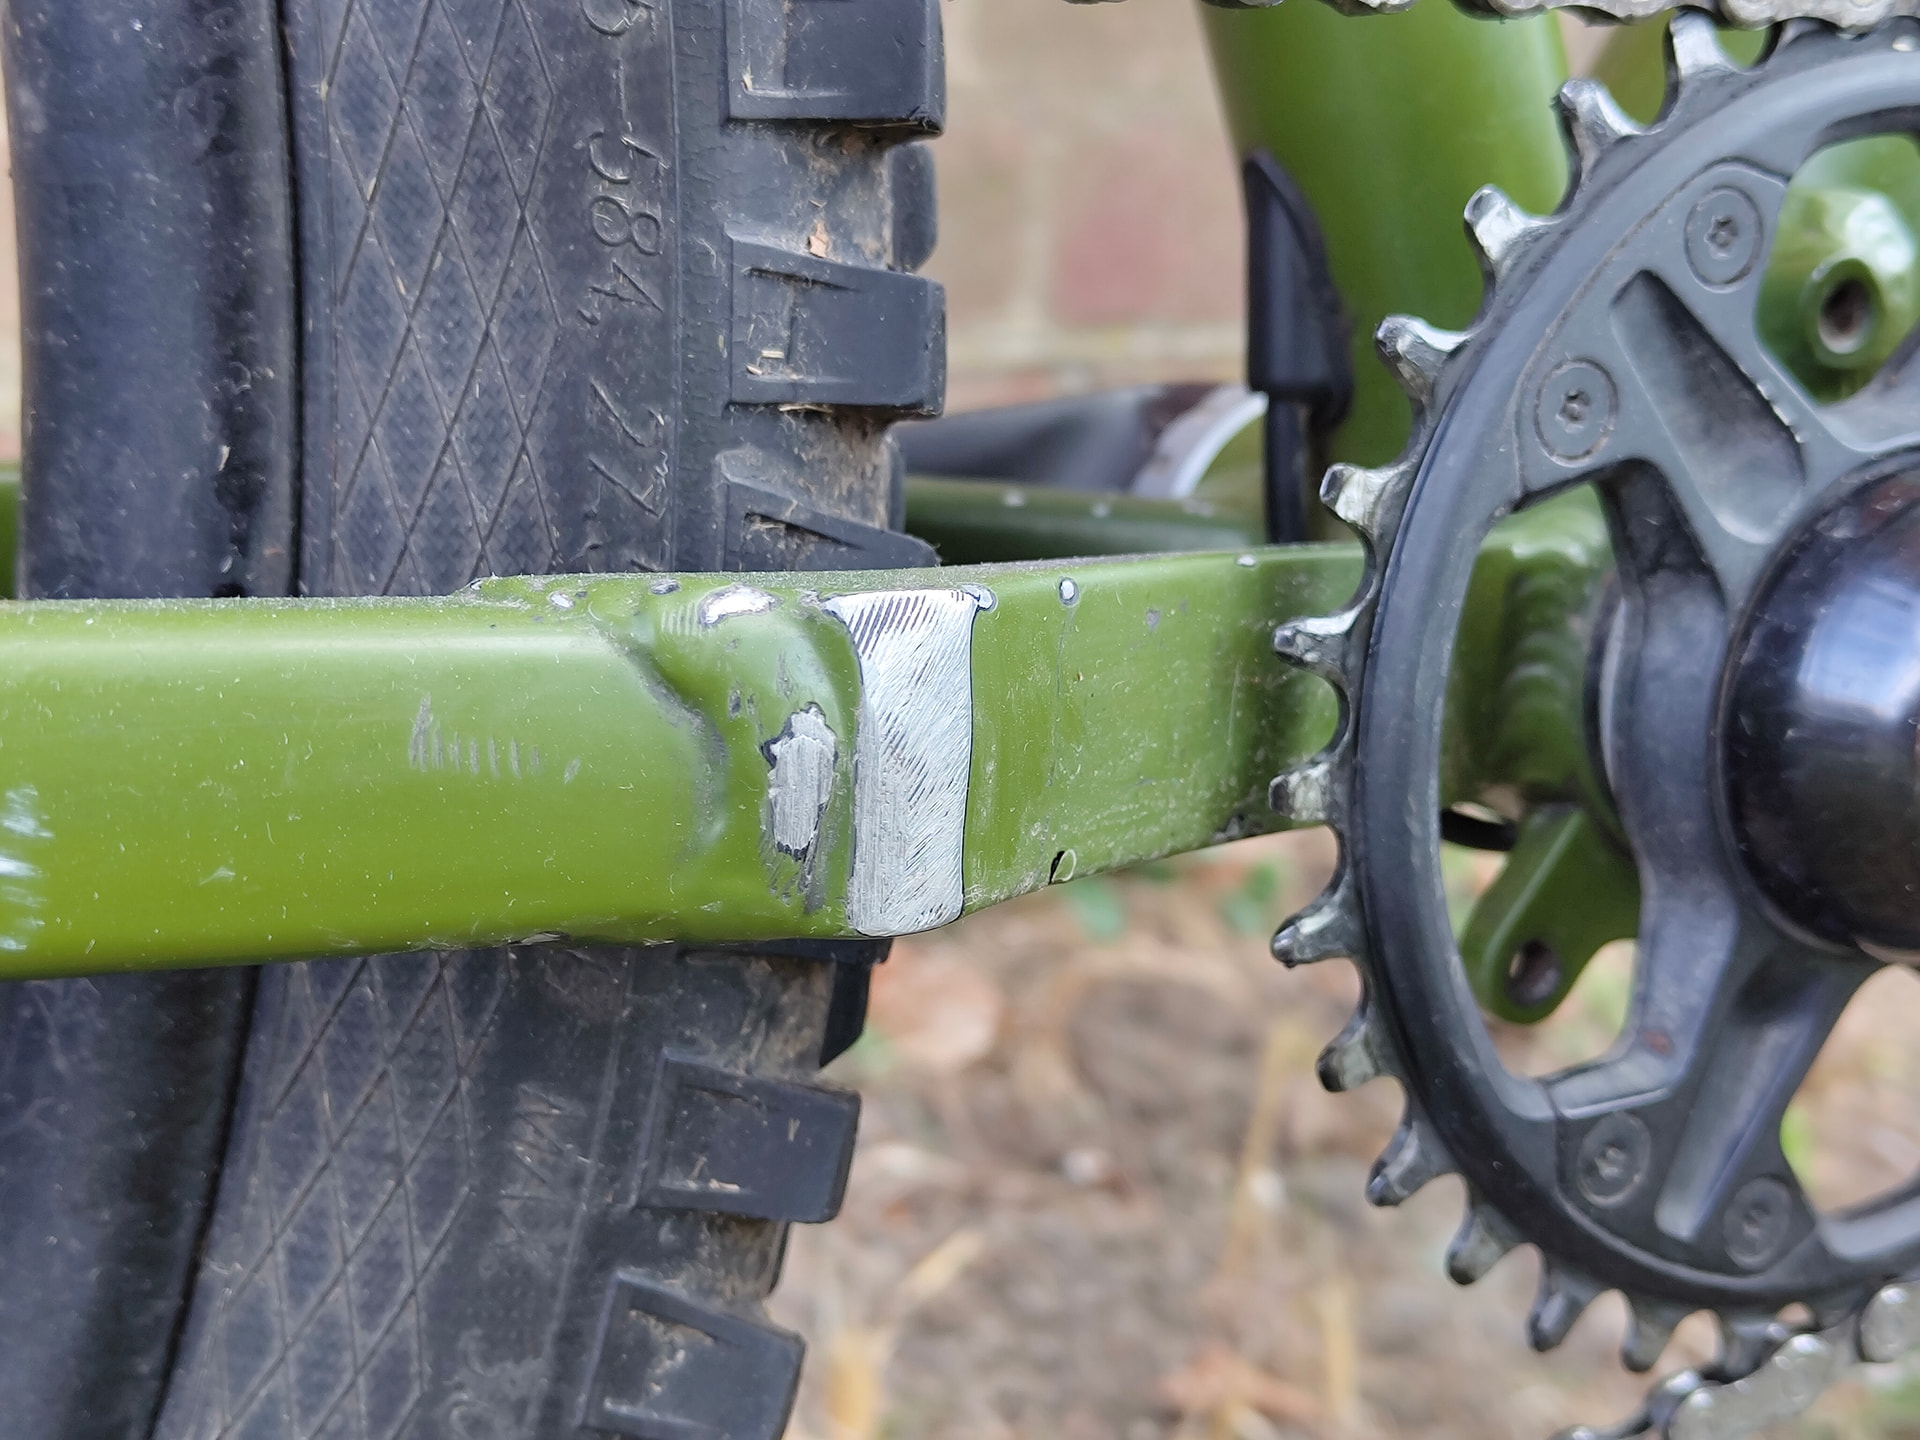
You can see where I had to file down the chainstay yoke for the cranks to fit (they were hitting with every pedal stroke, stock). I don’t understand why Nukeproof designed the frame with such a large outwards “spike” in the yoke.
It was heavy, very sluggish (both in terms of handling and in terms of rolling resistance), it was too long (in reach, the frame was too big for me) and overall it wasn’t the right bike for me. I took it on 1000s of km of XC, bikepacking and commuting, and only took it to the bikepark a handful of times. Once I had built the Big Bro, I did not ride this bike once in the following year. I sold it in the Christmas period last year and don’t miss it one bit.
So that’s where we stand today.
If you read all that, or even half of it, I salute you hahaha
Happy to discuss anything. Will provide updates as various things happen
(no AI was used to assist writing of this post, nor will there be in future posts)
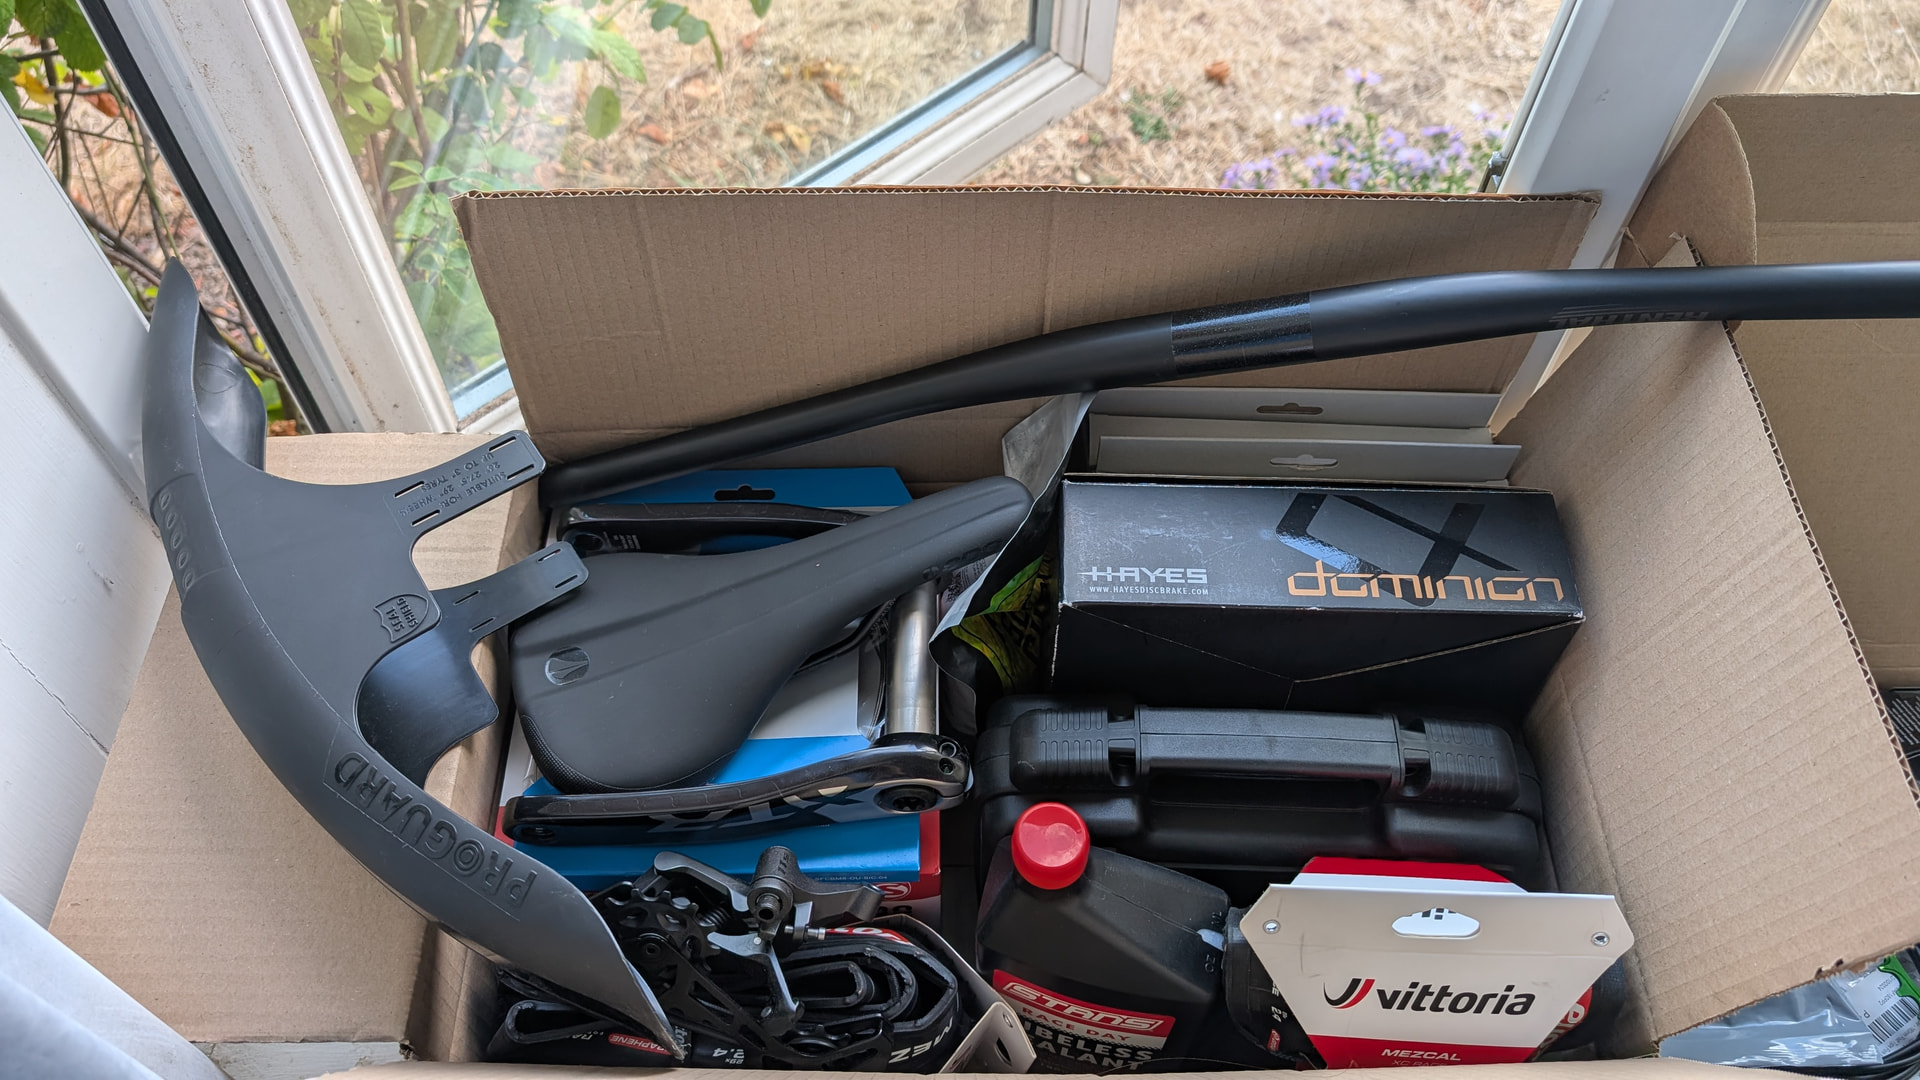
 ) but yeah. It might be a decent bit of trial-and-error with the front end before I’m happy. I might even need to buy multiple stems.