Oh, I tried the print straight onto the glass & had lifting issues, so went back to tape while I work those out. I tried raising temps on the bed & the hot end for the initial layer & slowing the speed down, but it didn't help.
I'm out of cleaning alcohol, so will grab some when I'm out tomorrow & see if a good scrub helps it stick.
for PLA, clean glass with couple of layers gluestick (i just use pritt) on top heated @ 70c You'll never have warping again it sticks like a mf, and pops off easily when cooled down. And it lasts for many prints! atleast 40 prints on my printer.
(only drawback is that the bottom finish is not as perfect and shiny)
I was using ABS on the weekend & it didn't even want to think about sticking until I used the glue.
Got a few good parts, but had an 8 hour print lift at about 6 hours in
I wasn't able to get the bed temp high enough. It's getting cold here at night & I haven't got an enclosure for the printer, so the max I could hold was 90c. I'll be building a cabinet over the easter break to let me get higher temps.
I was really impressed with the quality of the ABS prints that did turn out though. The holes were much cleaner & the tolerances were perfect, bolts slotted straight in.
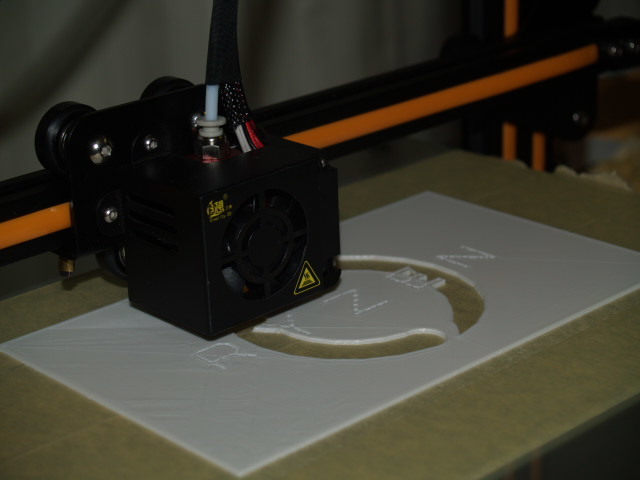
PLA is going much better now, printing straight onto glass with the gluestick coating.
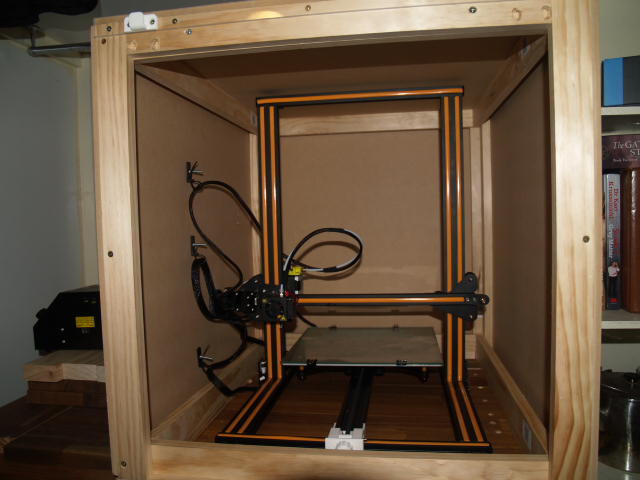
I made up a bench & enclosure for the printer this weekend. Got delayed today when I was out getting supplies, my car decided that it didn't want to go into gear. An hour of walking & a few zip ties later it was fixed, but it still screwed up my flow.
I still want to put a box on the side to house the filament, but the bracket that came with the printer is working nicely for now.
I do wish the cables were slightly longer from the control box, it's not easy to get it into a good position.
Despite the enclosure, I still can't get past 96c on the bed, so will have to look at getting a heated pad I think.
It really made it much quieter though. I have some Noctua fans coming this week to replace the jet engines inside the control box, once that is done, I'll barely be able to hear it
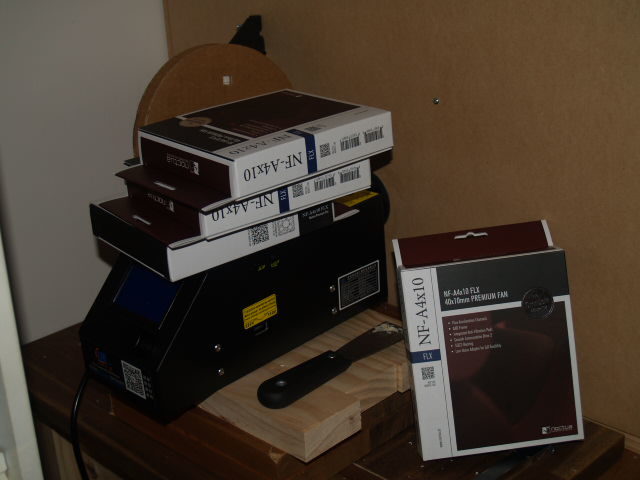
Time to muffle this thing. The fans were way too loud for my liking.
I actually got the wrong size. I measured the fans on the hotend at 40mm, had a quick look inside the control box & assumed that the little ones inside were the same size... However, one is 50x10, the other is 40x20.
No problem, I have some 40s, a spare 60, some zip ties & have seen MacGyver, we can fix this.
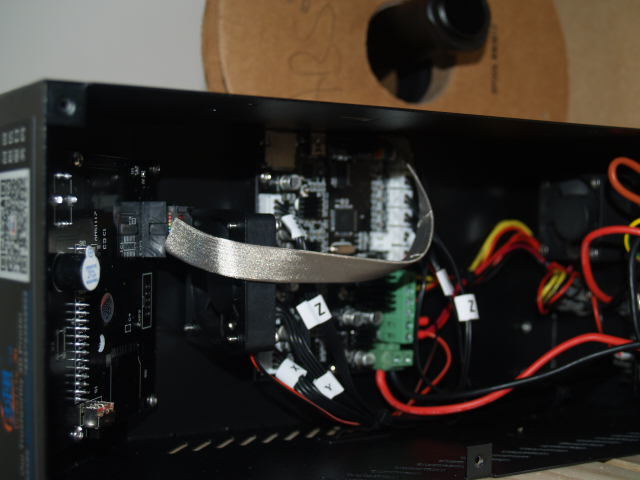
Before.
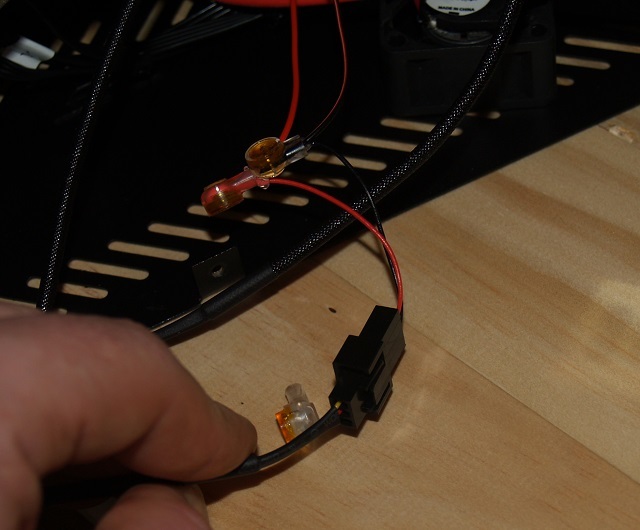
These joiners that come with the 40mm Noctua fans are fantastic, just push the wires in, no stripping required & squish it with some pliers. The joiner cuts into the wire & holds it in place, as well as breaks open a glue capsule, so everything is perfectly sealed.
And after throwing a spare splitter in there, we've gone from 2 to 3 fans, increase the total cfm being moved & cut the noise to barely audible. How much quieter is it? I can hear the fan on the hotend inside the enclosure above the control box now, which is my next target. I just need to work out if the Noctua 40mm will move enough air compared to the 40mm hairdryer that is on there now. I think with a new shroud directing the flow better it should be ok.
Just try & get something with the same or better cfm at a lower noise level.I have replaced it with a 60mm- Noctua NF-A6x25 FLX 60mm 3000RPM
The fan blowing over the boards is a 50x12mm. It's just a generic no brand fan, doesn't seem to move much air really.
I'd recommend using the same size fans so you can use the original bolt holes.
Also something to note is the power supply fan turns itself on when the power supply reaches a certain temperature, i think around 50c. This fan is still very loud. You may get away with it not turning on if you are not heating the bed.
I plan to open it up & look at replacing that when I get some time, as I've been printing a lot of ABS, which requires a high heat on the bed.
Another alternative is cutting open the side of the unit & replacing all of the fans with a single 120mm.
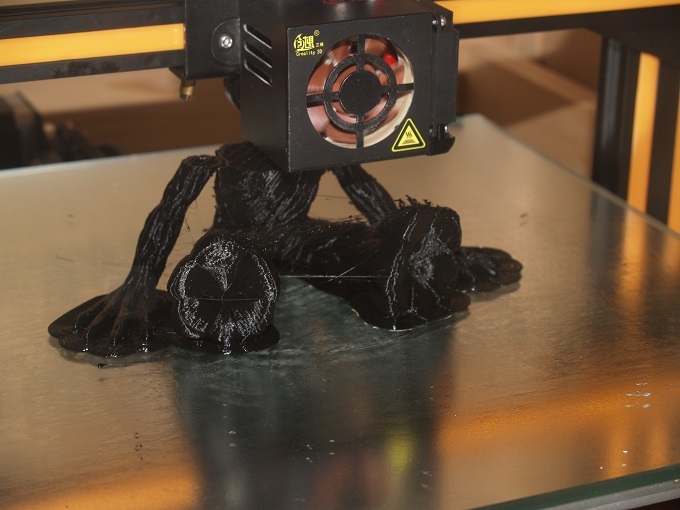
I tried printing this Groot model in Wood PLA. It started ok, but had some issues, the walls were extremely thin & had holes in places, I need to tweak the settings if I try it again. It ended up clogging the nozzle about 6 hours in, so I'm thinking I may not have had it hot enough. It had been printing great at 200-205c on other things.
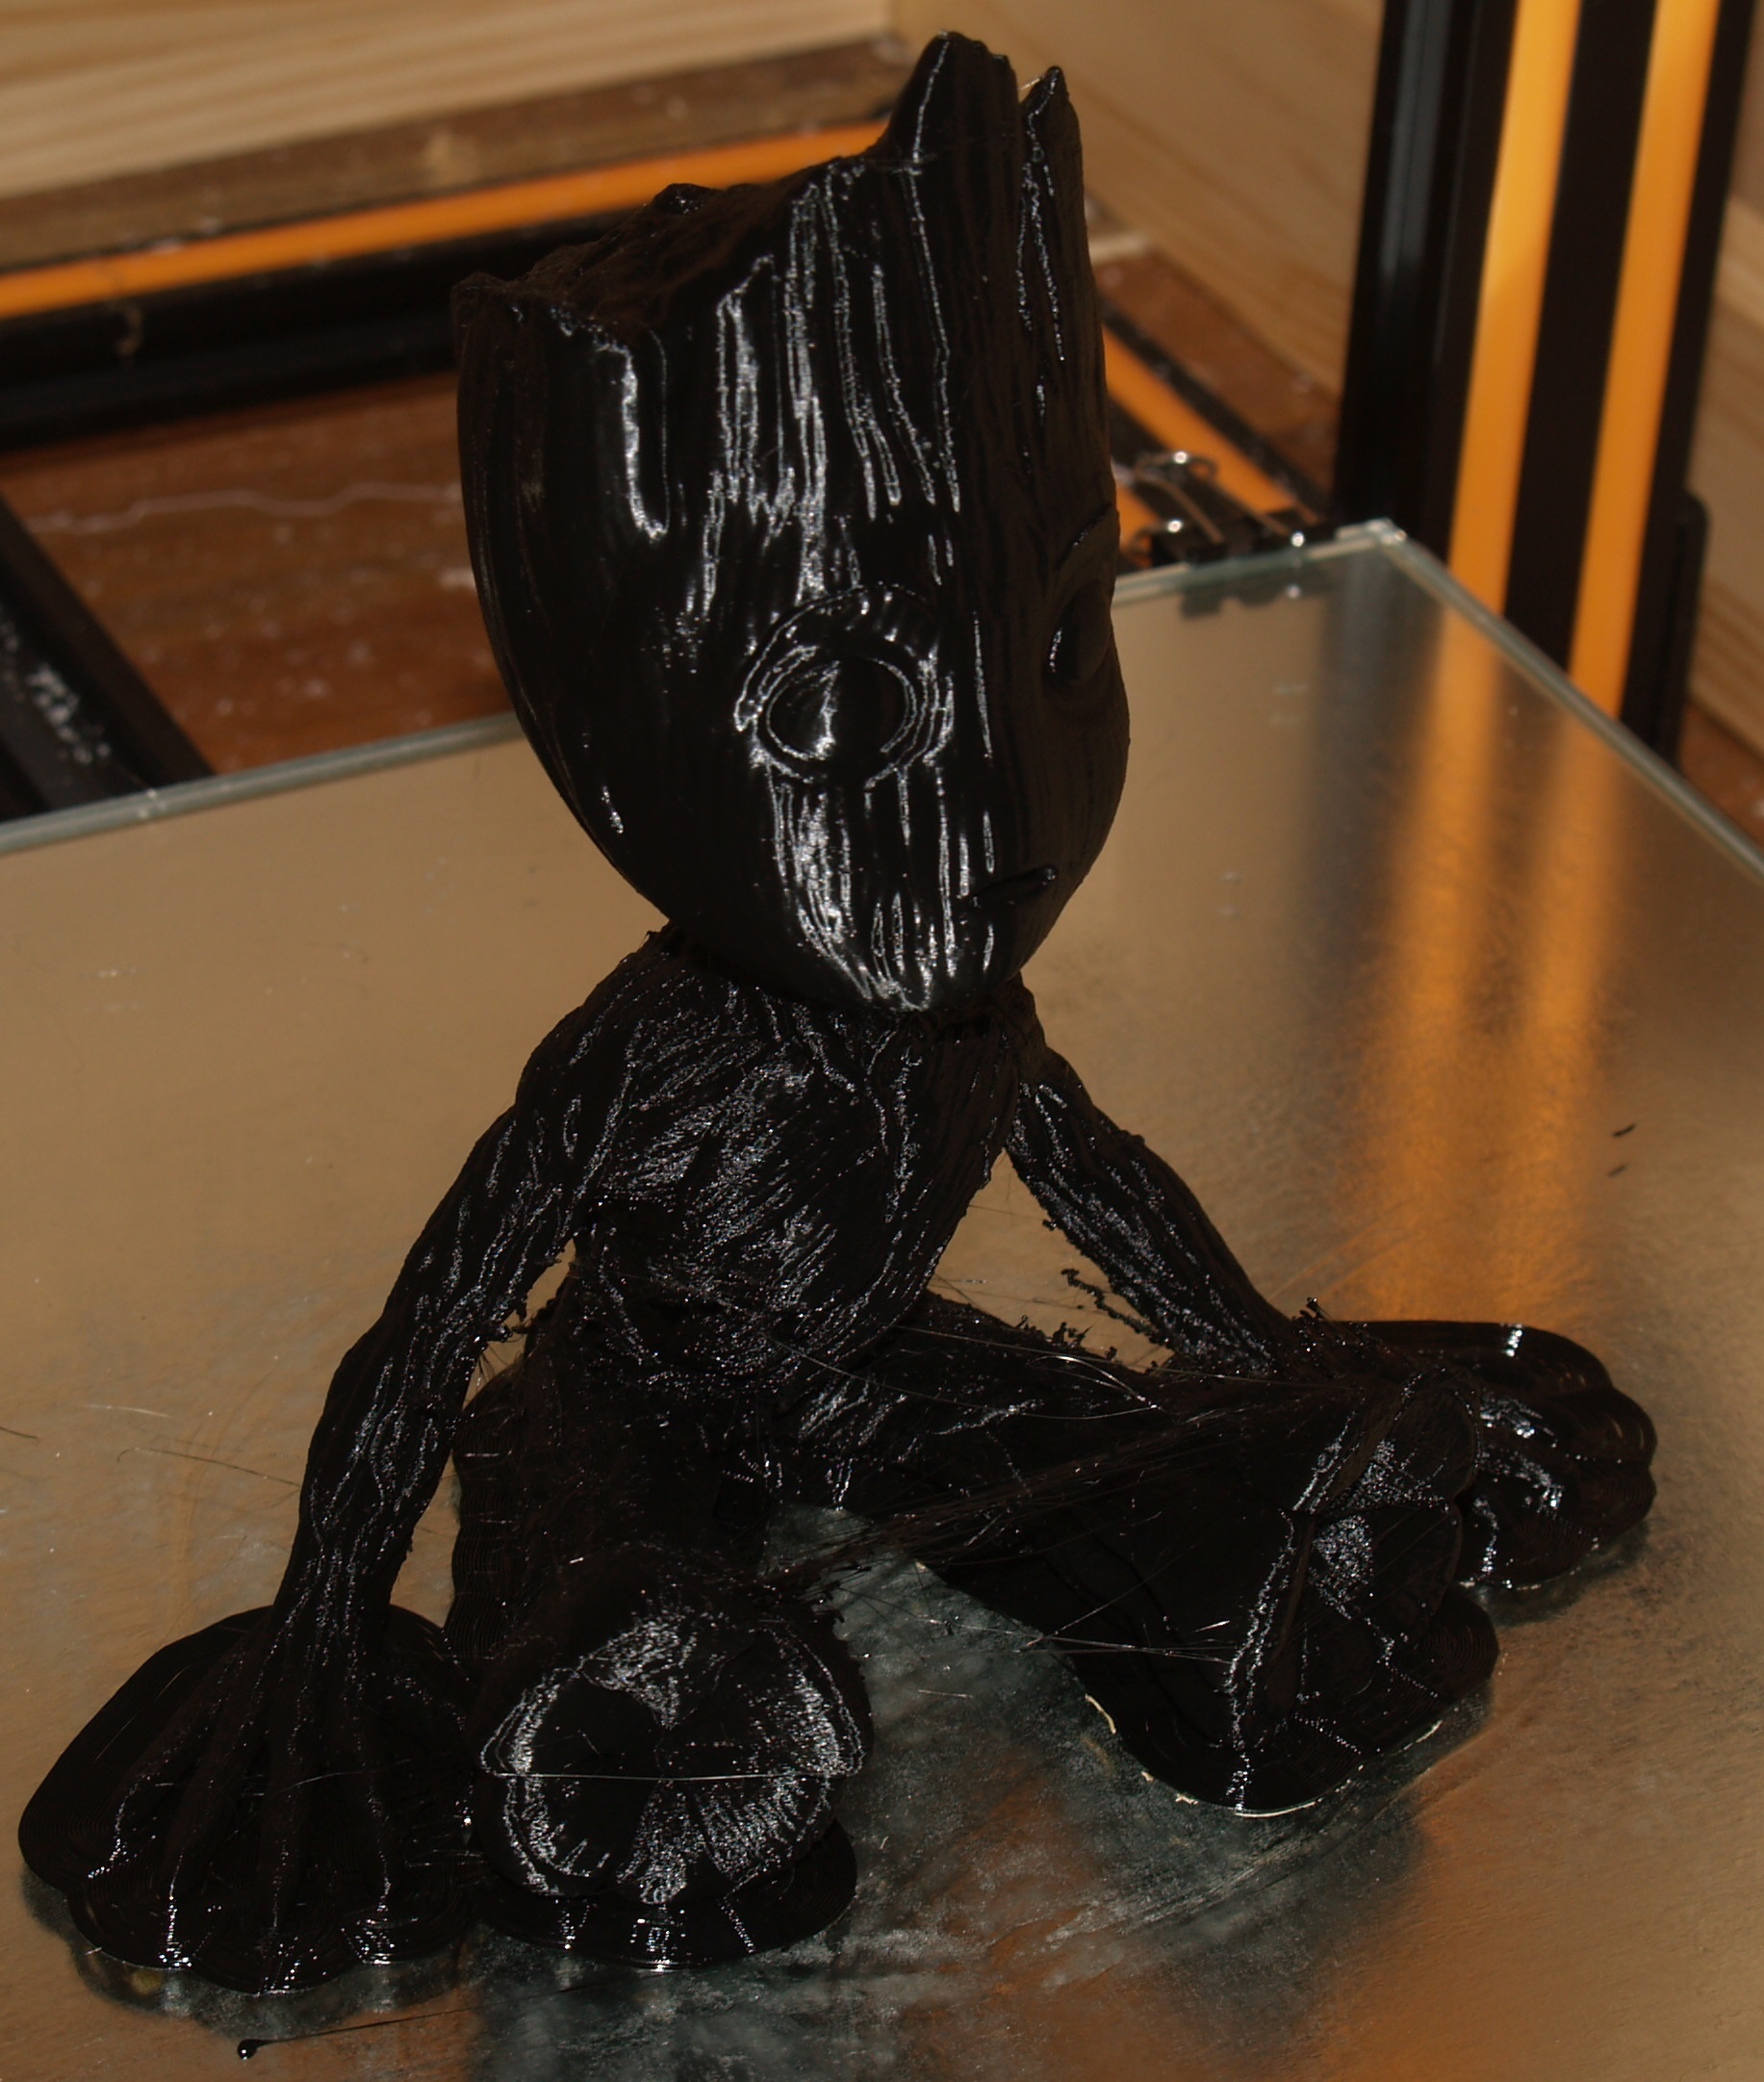
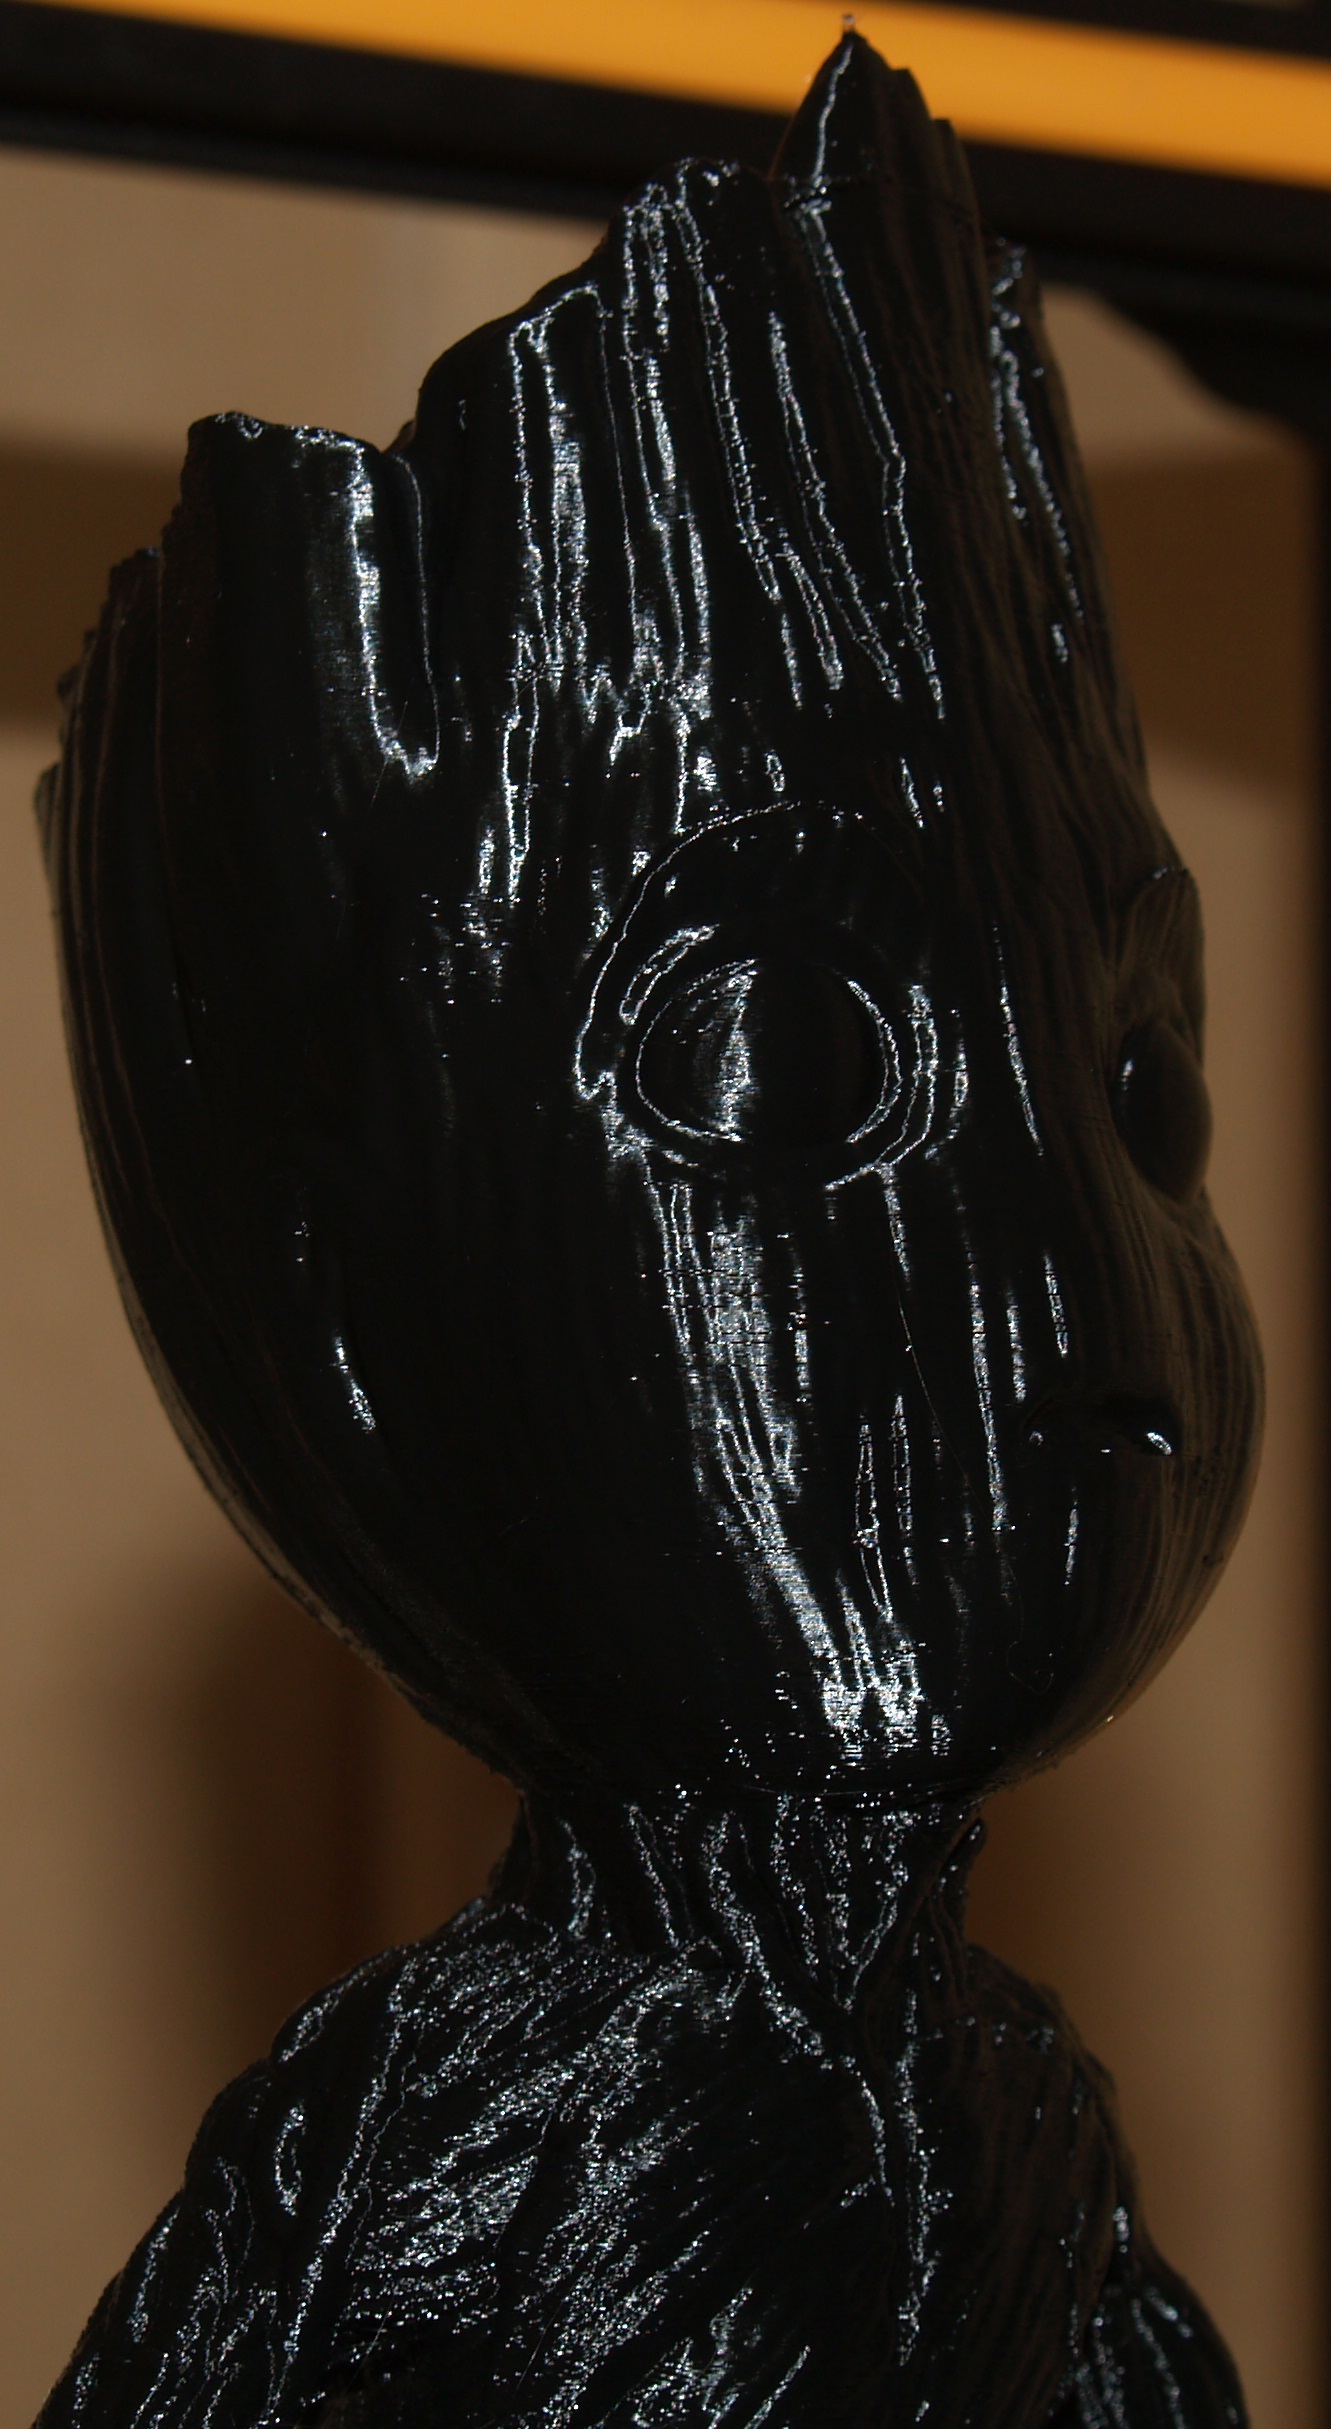
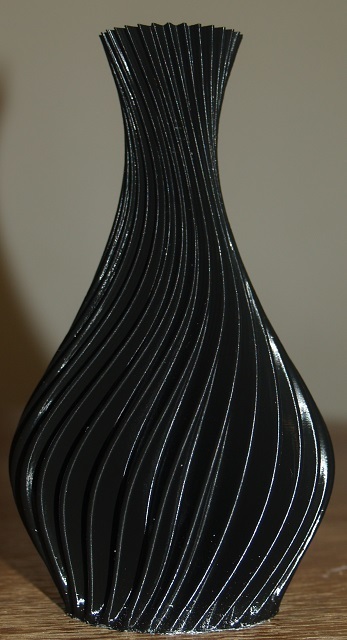
After cleaning the nozzle & hotend out. I tried again with Black PLA from cocoon. This stuff needs to run really hot to flow, up around 230c seemed to be happiest, but did give me some stringing. I dropped it back a bit, eventually settling on 220c & the results were fantastic.
I printed it slow, at 30mm/sec as it is quite a complex shape & at .1mm layer height. I can feel the layer lines with a finger nail, but not actually see them. The print took just over 24 hours.
A good model to help fine tune printing is this one:
Its just a little calibration cat, but has a simple overhangs to test the cooling, and a squarish shape to check for backlash. You can change some stuff, print another one and see what the changes are.
First prints in my new house. I now have a full room just for 3D printing, so I won't be kept awake by the printer running through the night anymore
The internet is horrid here, but will be upgraded early next year thankfully. I'd post the speed test results, but it drops so many packets on the upload that it fails to complete.. It's around .5 Down/ .05 Up. This makes it kind of hard to download models, so I'll be drawing a lot of my own for a while.
Your post inspired me. I printed off a fan adapter for the rear exhaust port and mounted a Noctua 60mm. (Ialso reaplced the center fan). Did you cut the rear of your enclosure? It looks like you have a large, open square hole where my box has a smaller, gridded round hole. Either way, I’m not sure my setup is providing enough airflow. I can barely feel anything coming out and it will just barely push away a strip of paper held loosely over the hole.
I printed ABS the other day for the first time since swapping the fans. Of course, the loud power supply fan runs full time while it’s supplying enough juice to keep the nozzle and bed that hot. After awhile, I started noticing a little odor with my nose near the rear of the control box (a foot or so away). Not exactly burning, but definitely smelled of plastic/rubber being heated up pretty hot. It never got worse, never smoked or gave any problems. Still, that worries me.
Your later comment about a 120mm fan caught my attention once again. After some measurements, it appears there is no room inside the cabinet for fans that are any larger at all. For the cabinet itself, I suppose that if the cable bundle at the right rear (with the control box upside down and the bottom removed) could be re-routed to make room for another 60mm mounted to the side. Suitable openings would have to be created obviously, and that still doesn’t solve the problem of the noisy power supply fan. I haven’t been able to find a single high-quality quiet fan that’s thin enough to fit in that location.
Here’s what I’m considering, and was hoping for some feedback. As you suggested, I would eliminate the other fans and plug the rear exhaust port. I would cut a large hole in the rear side of the cabinet and re-route the cables. I’d then mount an Artic F12 120mm fan to the outside. These are cheap, get great reviews, and move 74 CFM on the highest speed. I would remove the power supply fan and create a seal between that inlet and the inlet on the bottom of the control box using some foam weatherstripping. I figure I’d also need to fashion a baffle plate somehow between the front of the box and the rear to force the air to flow through the power supply instead of bypassing it.
My main concern here is that I can’t think of anyway to make sure that enough air is in fact flowing through the power supply. I’d never know if it’s cooking until it’s too late. I would really like to measure the internal temp of the power supply both with the stock fan and after the modification. Thoughts? Thanks for any feedback!
I didn’t modify the enclosure, the hole you see in the back is just where the power switch goes- I had removed it for access. The 60mm fan is blowing out through the gridded round hole you mentioned.
I have since replaced the power supply fan too with a 60mm Noctua. This does not fit inside the power supply box, so I have removed the original fan from inside the power supply & mounted the new one on the outside, cutting the intake area to allow for the larger fan. This also means that you can’t replace the bottom black panel, so isn’t attractive, or ideal. It sits on a couple of pieces of timber to lift it off the bench & allow the fan clearance.
I’ve had no temperature issues, with my longest print being just over 37 hours. The case is cold to the touch when running- ABS isn’t the most pleasant stuff, so it could have been that you were smelling.
I have seen a 120mm fan mounted on the outside (side opposite the memory card slot). This area has no boards mounted to it, so you could cut it open without having to relocate anything. This would still leave the power supply with the loud fan though.
I’ve been meaning to just design & print out an entire new enclosure, which I think would be the best option.There isn’t a lot of room inside it currently for changing things up, so I think making it a few inches higher & wider would allow you to make it much more effective & totally silent.
That’s a great idea to create a new enclosure…it would preserve the factory components so that it could be returned to the stock configuration if desired. I wish I could do such a design myself. I’ve only had my printer a couple of weeks and I’m still trying to master the printing process, never mind having the time to learn modeling software. Let me know if you come up with anything in the near future.
I just had another thought. You’ve built an enclosure already, but I haven’t yet. Perhaps I could design one with an integrated cabinet for the controls. That way, I could also incorporate my Astroprint box. That will be especially cool once the Astroprint team has the touchscreen interface working for the DIY crowd. I’ll have to think on that for a while.
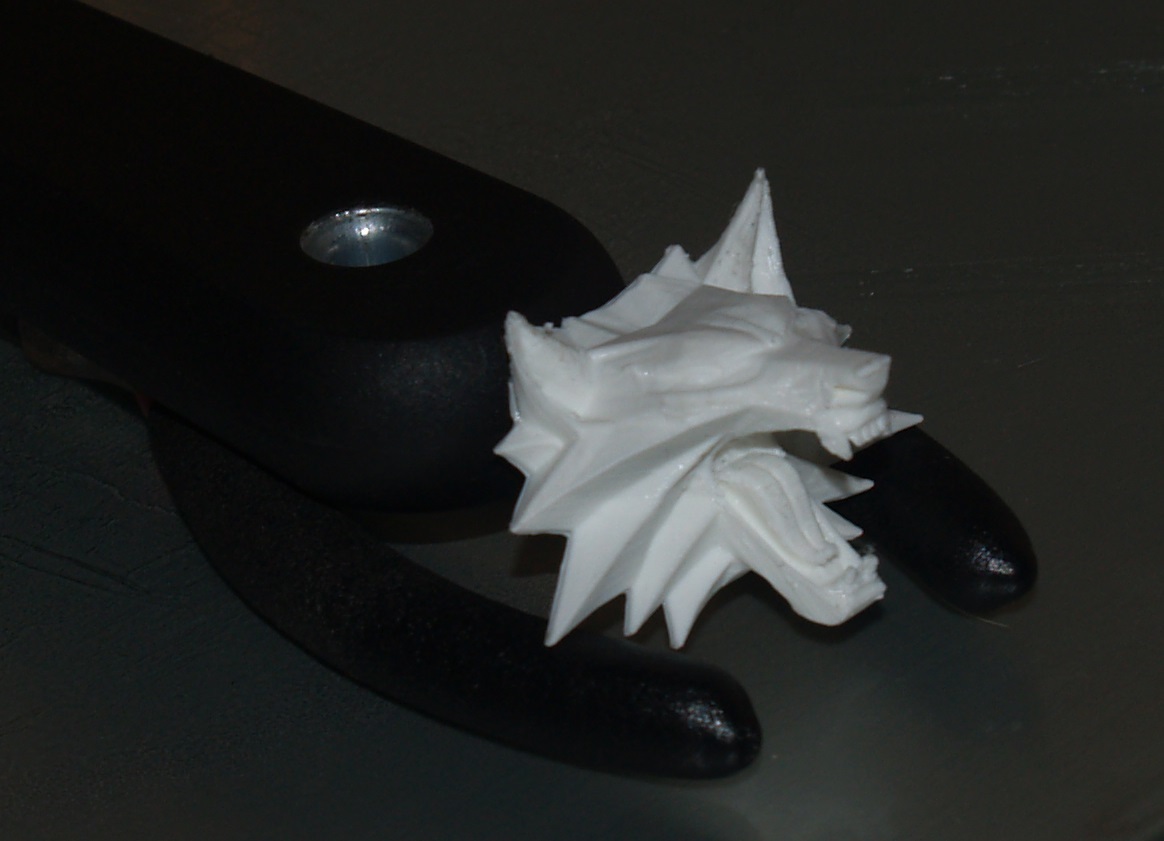
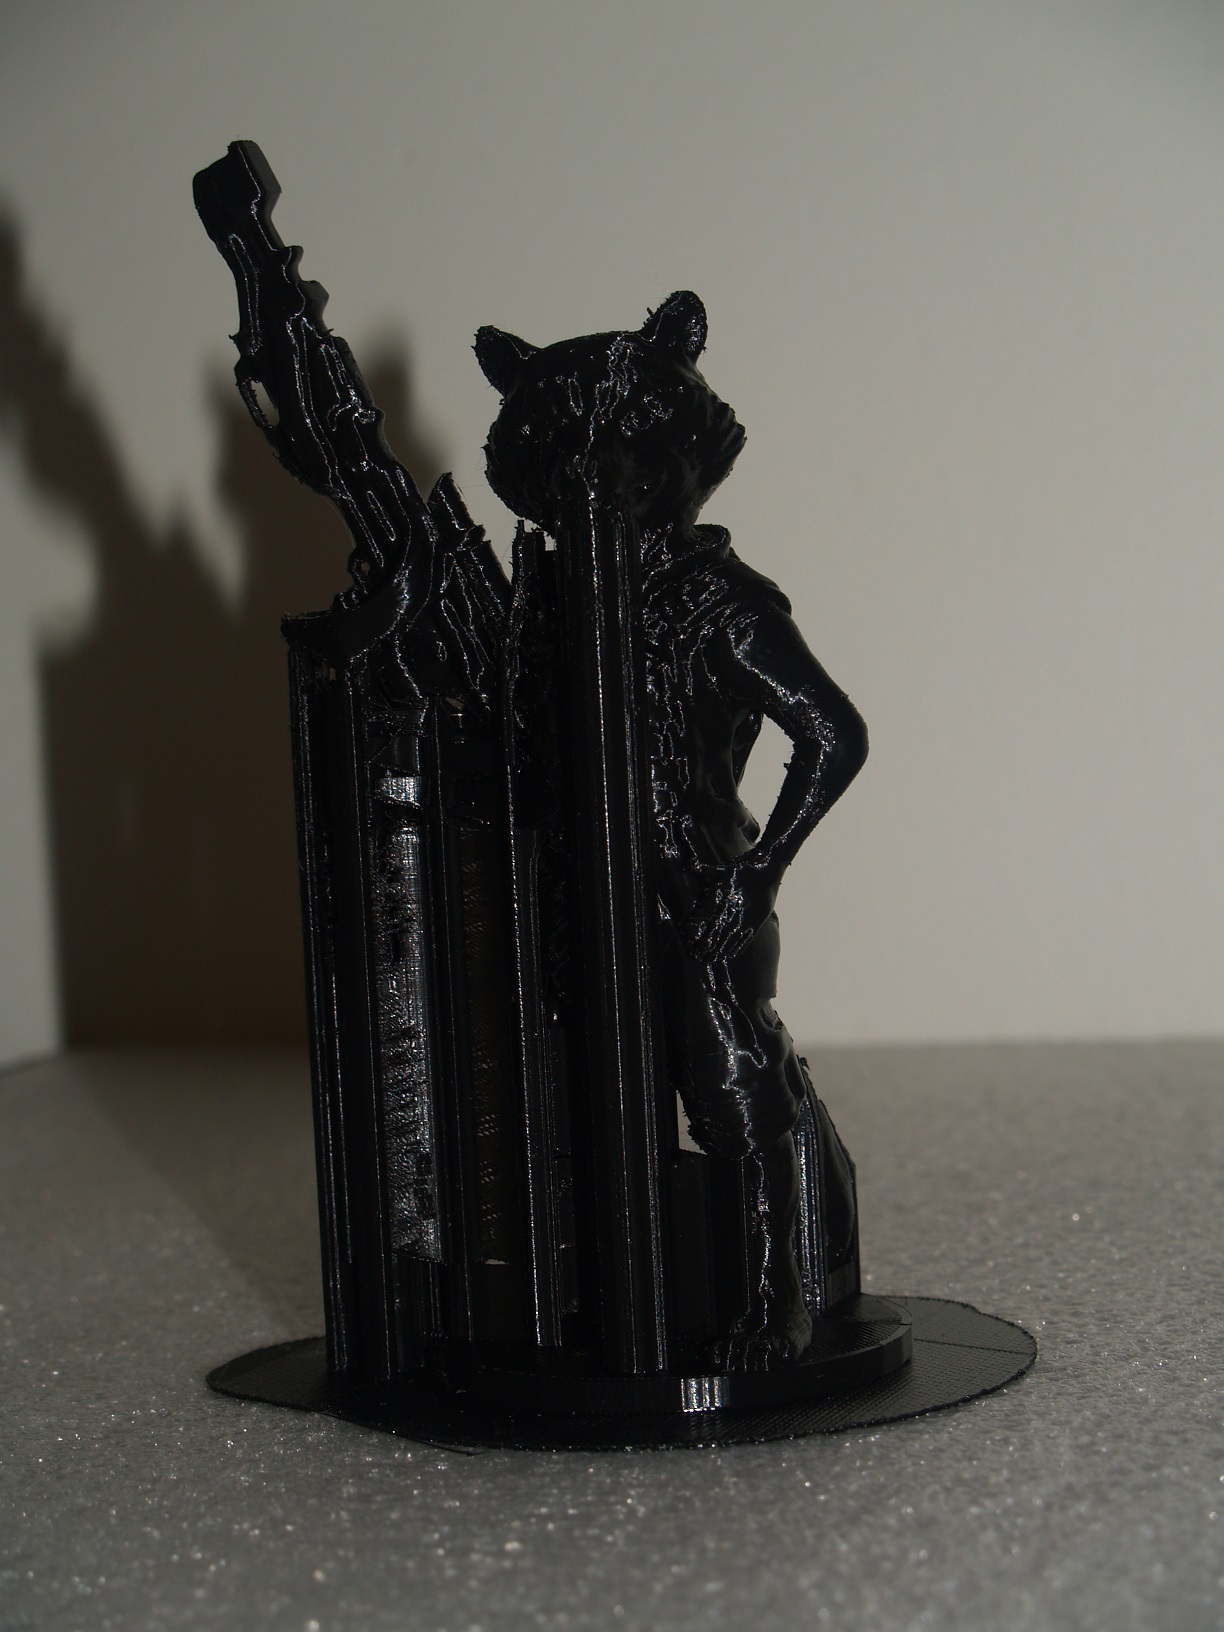
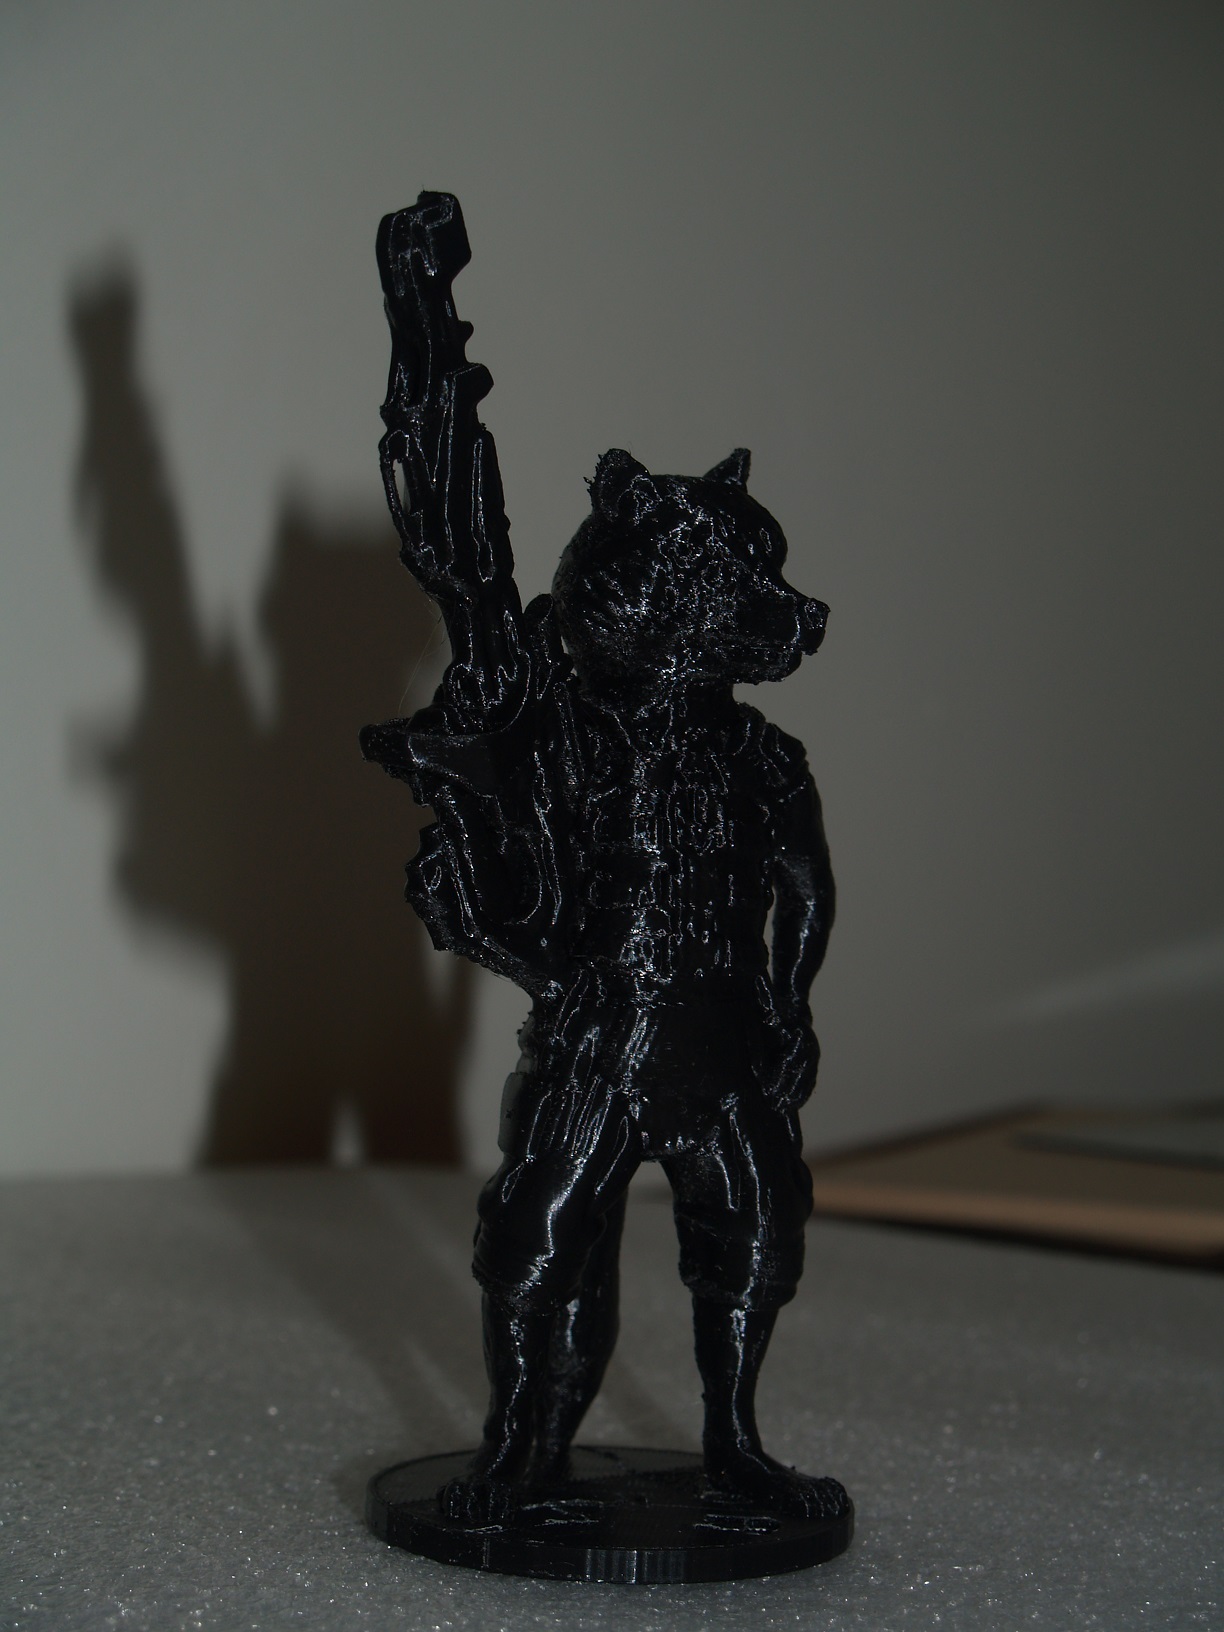
Printed Rocket from Guardians last night. I haven’t really done much that required supports to this point, so this was more about figuring out the settings in Cura.
The flash from the camera doesn’t do it justice, but it came out pretty good.
i have been playing with cura a lot lately… what is your settings for creality cr-10 in cura? is this .2mm on z axis or .1mm? Oh ya and just for the record the masking tape that came with my cr-10 is the only tape that does the job of keeping the print to the bed through the whole print.
This is .1mm, I tried the same model with .2 & it was ok, but the layer lines were visible.
That tape that came with it was really good. I have had success with glue stick & hairspray on most of my prints. Anything that doesn’t want to stay down, I print with a raft & that fixes it.
I’m printing at 215c, 60c on the bed.
retraction 4mm @ 60mm/sec
Print speed 30mm/sec
Travel speed 120mm/sec- stops any stringing between moves.
I could probably increase the speeds, I had it low to keep noise down when it was running over night & just left it at that. I printed a giant Groot for a guy at work last week. Took 42 hours @ .2mm.