Alright, updates!
finally
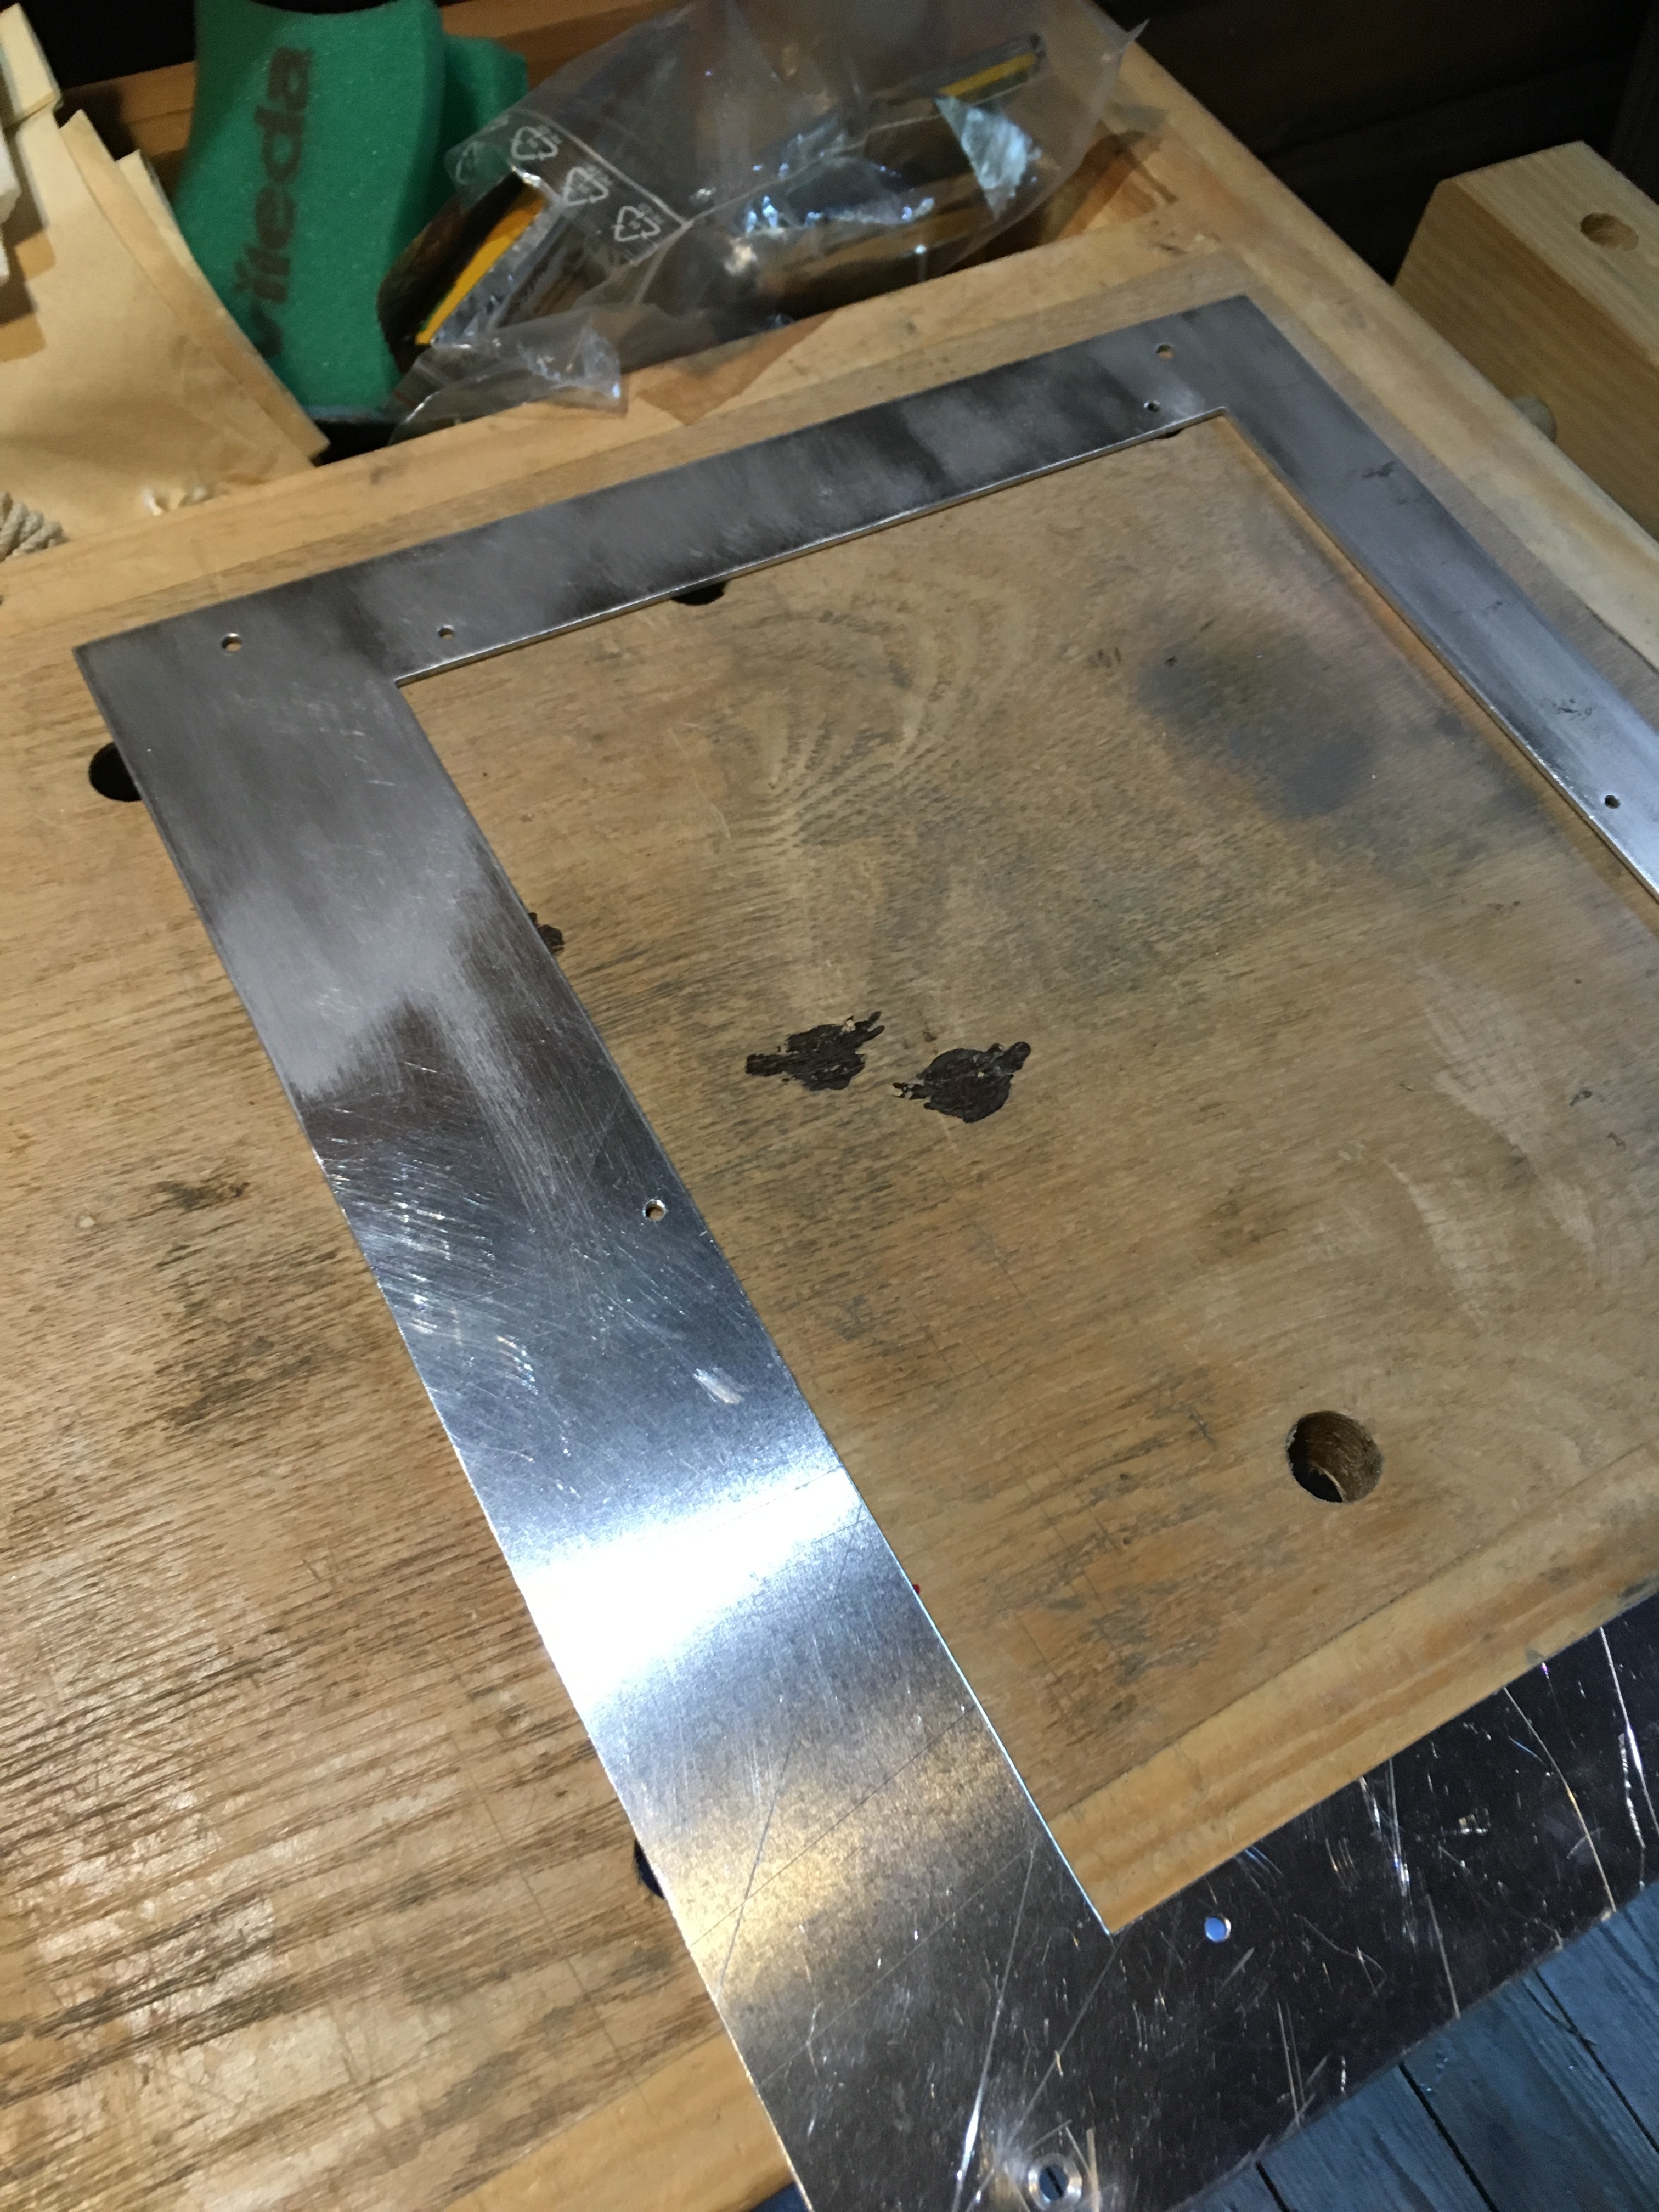
First the filter for the PSU. Since the SFX psu will draw air at the bottom of the case, I thought it would be wise to have some sort of dust filter. I tried to attach the filter with double sided tape, but it wasn’t strong enough and filter just kept falling down. I honestly didn’t have enough time or energy to make any fancy attachments for it, so I solved the problem the ghetto way: MASKING TAPE!
If I want to clean the filter I can either use vacuum cleaner to remove most of the dust (filter made out of metal, prob aluminum), or I can open the side panel and blow dust of from the inside. And it’s only masking tape so I can always peel it off, clean the filter and attach it back with new tape pieces.

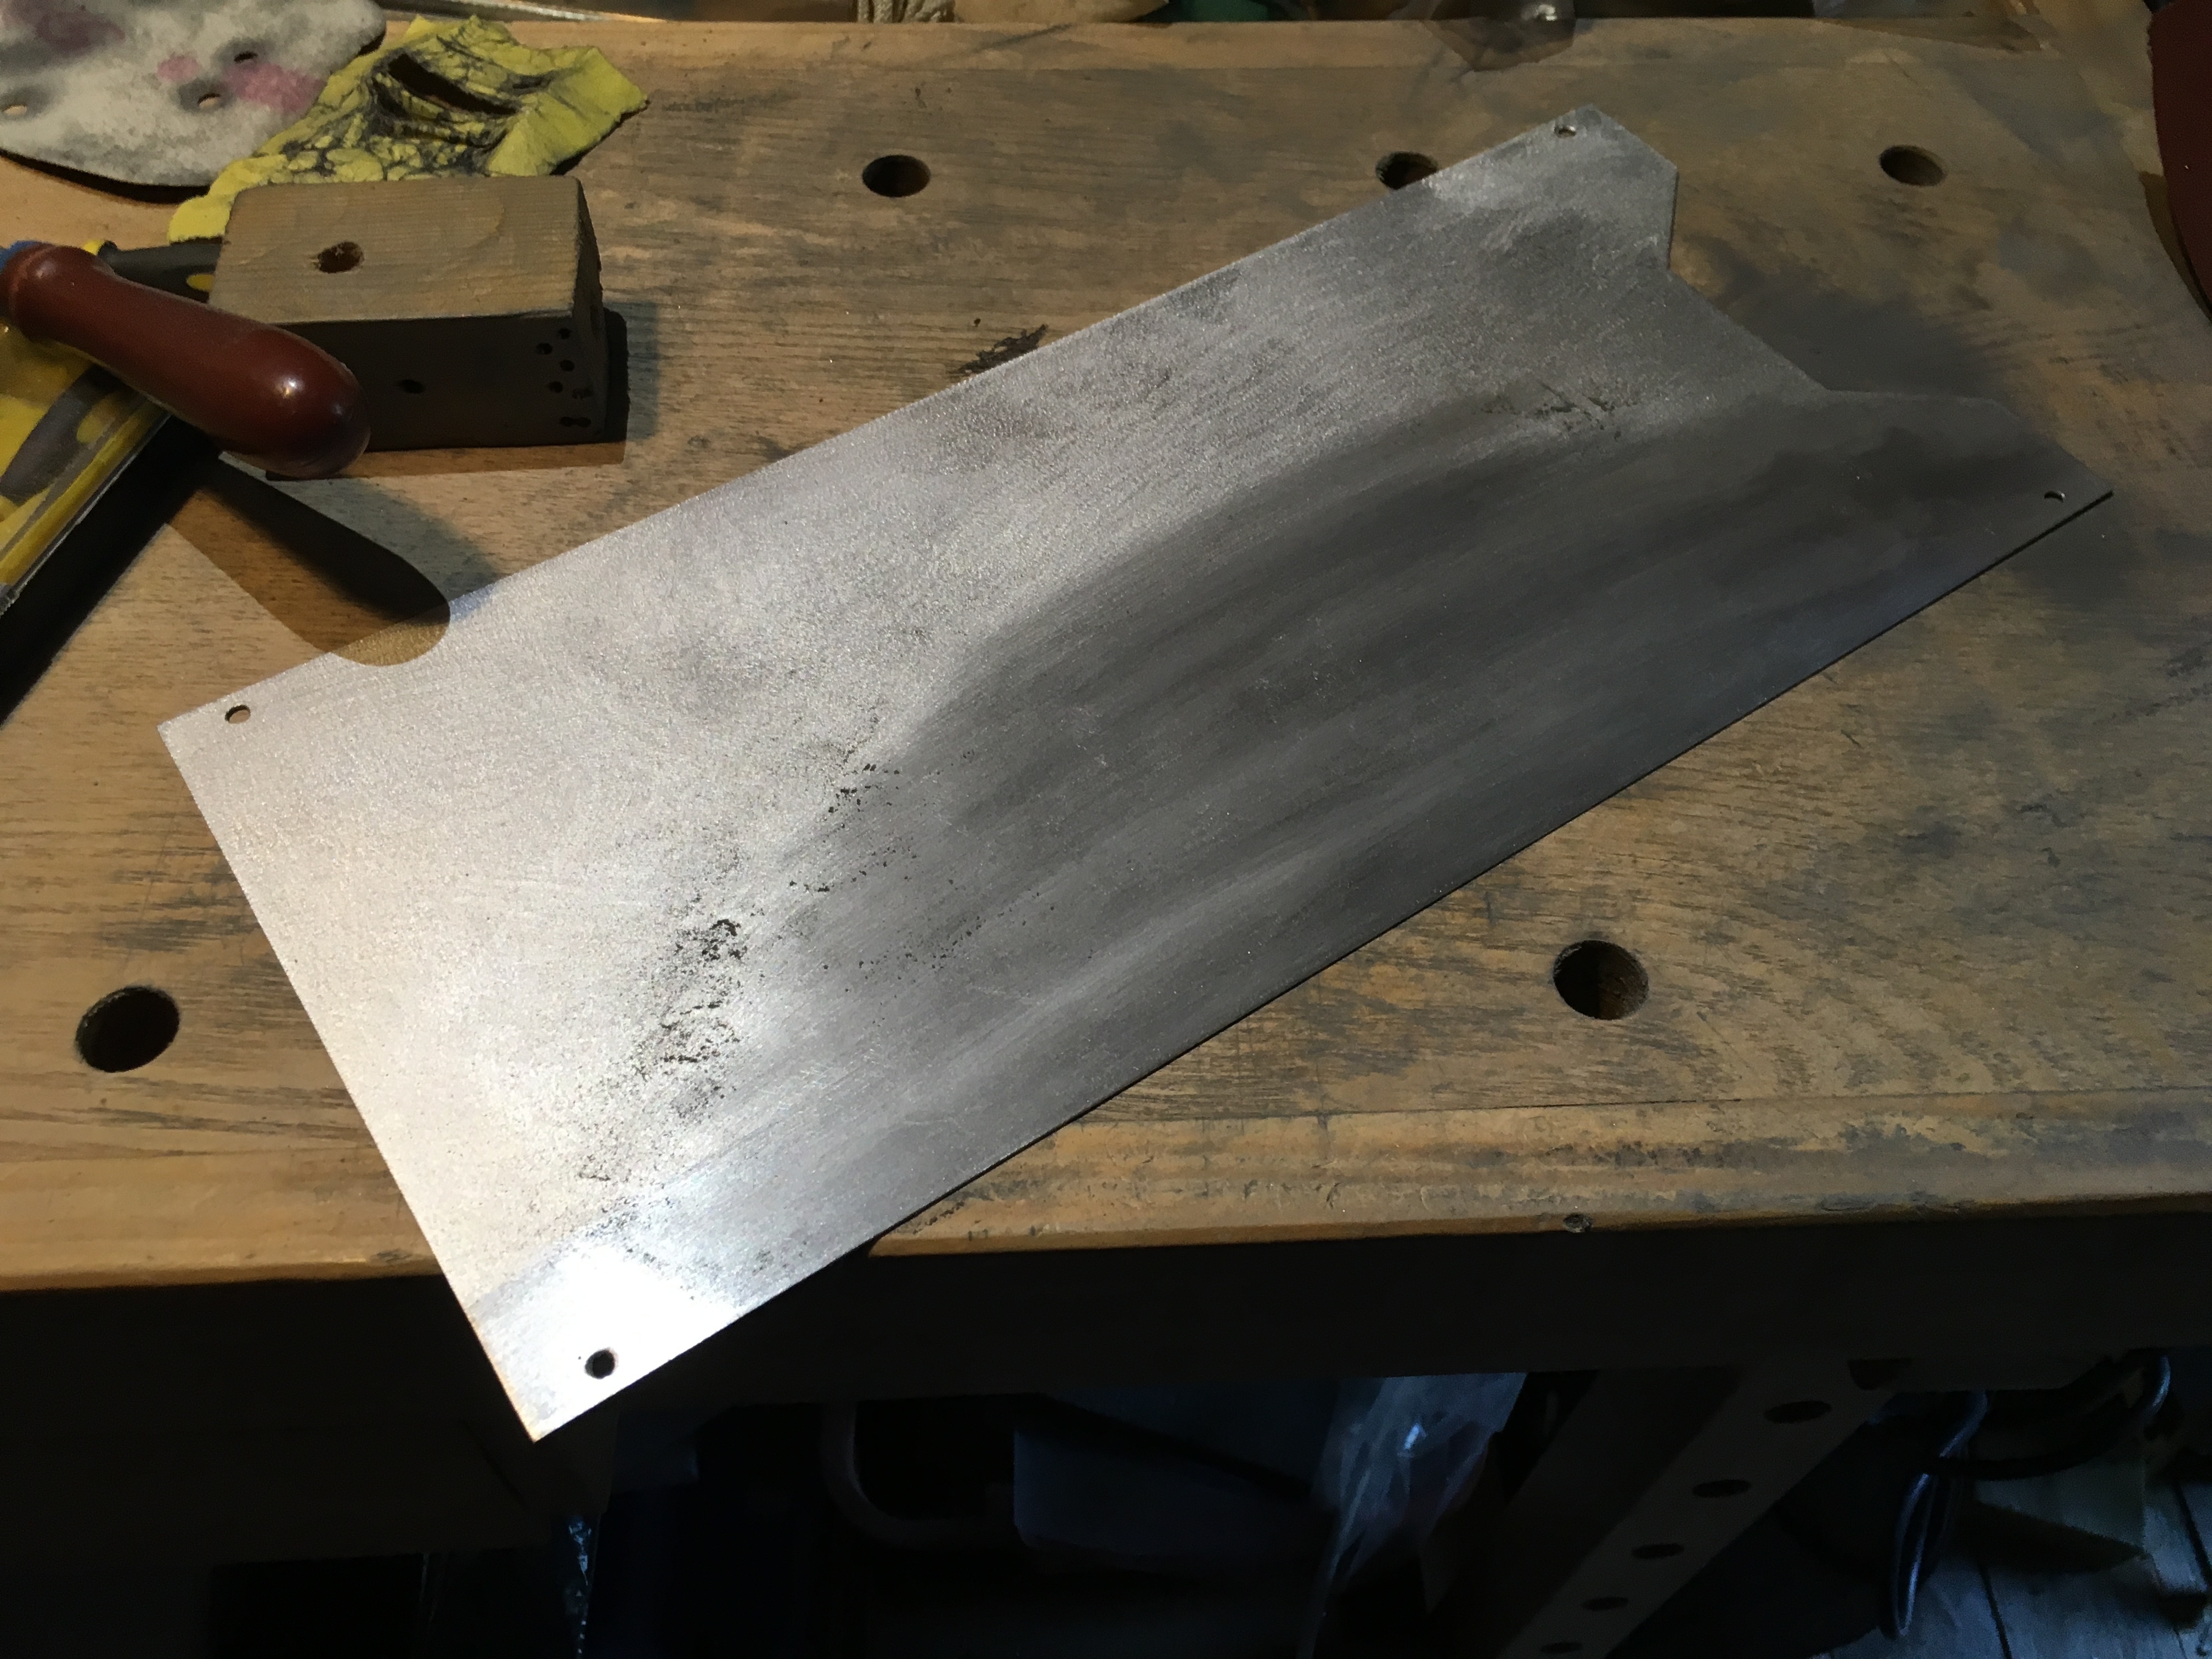
I pondered if I should paint this thing, or just sand it. I decided to just sand the case. Tired to get brushed look but not sure how I succeeded. You can be the judge.
I experimented with few different methods. I ended up using regular sanding papers to sand the panels. First 120 grit to remove the scratches, and after that 180 grit to make surface bit smoother.
Got tired of sanding by hand, so I cheated a little and used sanding mouse 
I didn’t have 180 grit sand paper sheets for the sanding mouse, so I instead used mouse to remove the scratches with 120 grit paper, and then used regular 180 grit sanding paper to clean up.

To make the surface grain look even, I only moved the sanding paper vertically on the surface. Bellow you can see the difference with the pattern the sanding mouse left behind and how the panel looks after sanding vertically by hand. Upper grain is from the mouse.
Finished pieces and side window attached reattached to side panel.
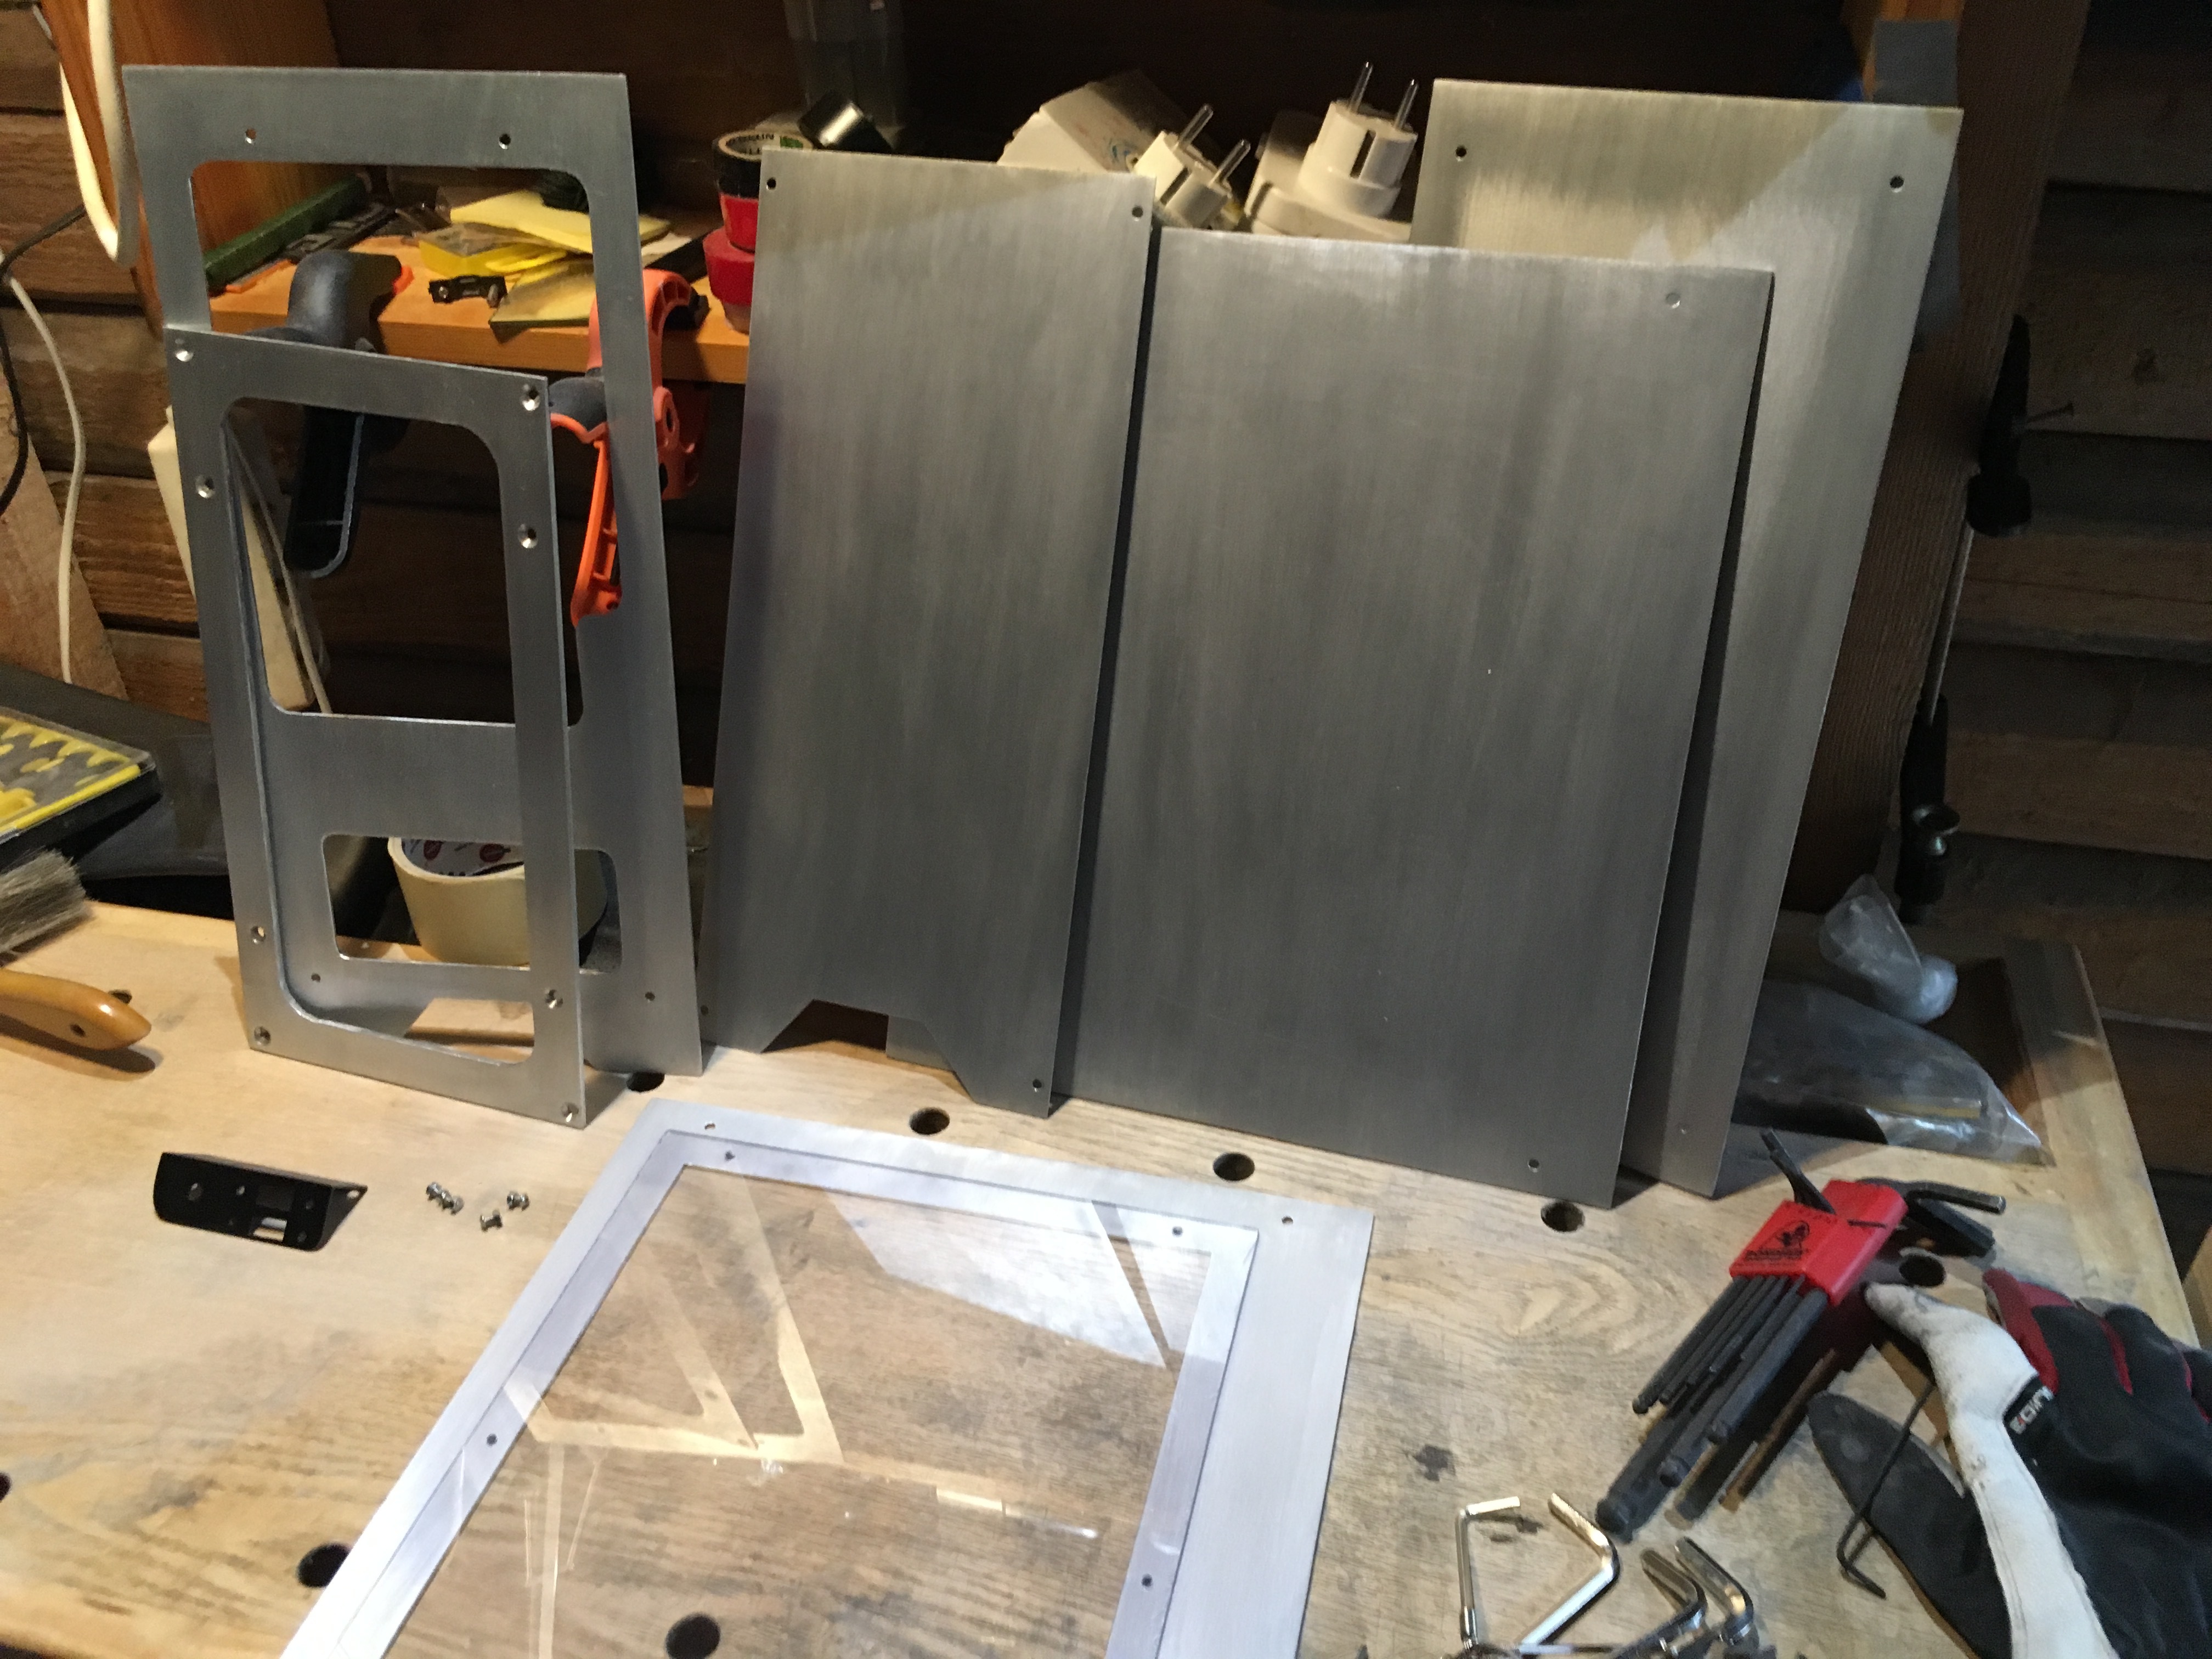
Money shots coming up next.
Also obligatory shilling: In case some one is interested I made DIY blog thread for all the small things I don’t care to make separate threads for, but still feel like sharing them 