Project 2 - Battery LED Lamp
This is not prototyping, this is tinkering:
Even with a smooth supply voltage and capacitor, it still misbehaves.
This is not prototyping, this is tinkering:
Even with a smooth supply voltage and capacitor, it still misbehaves.
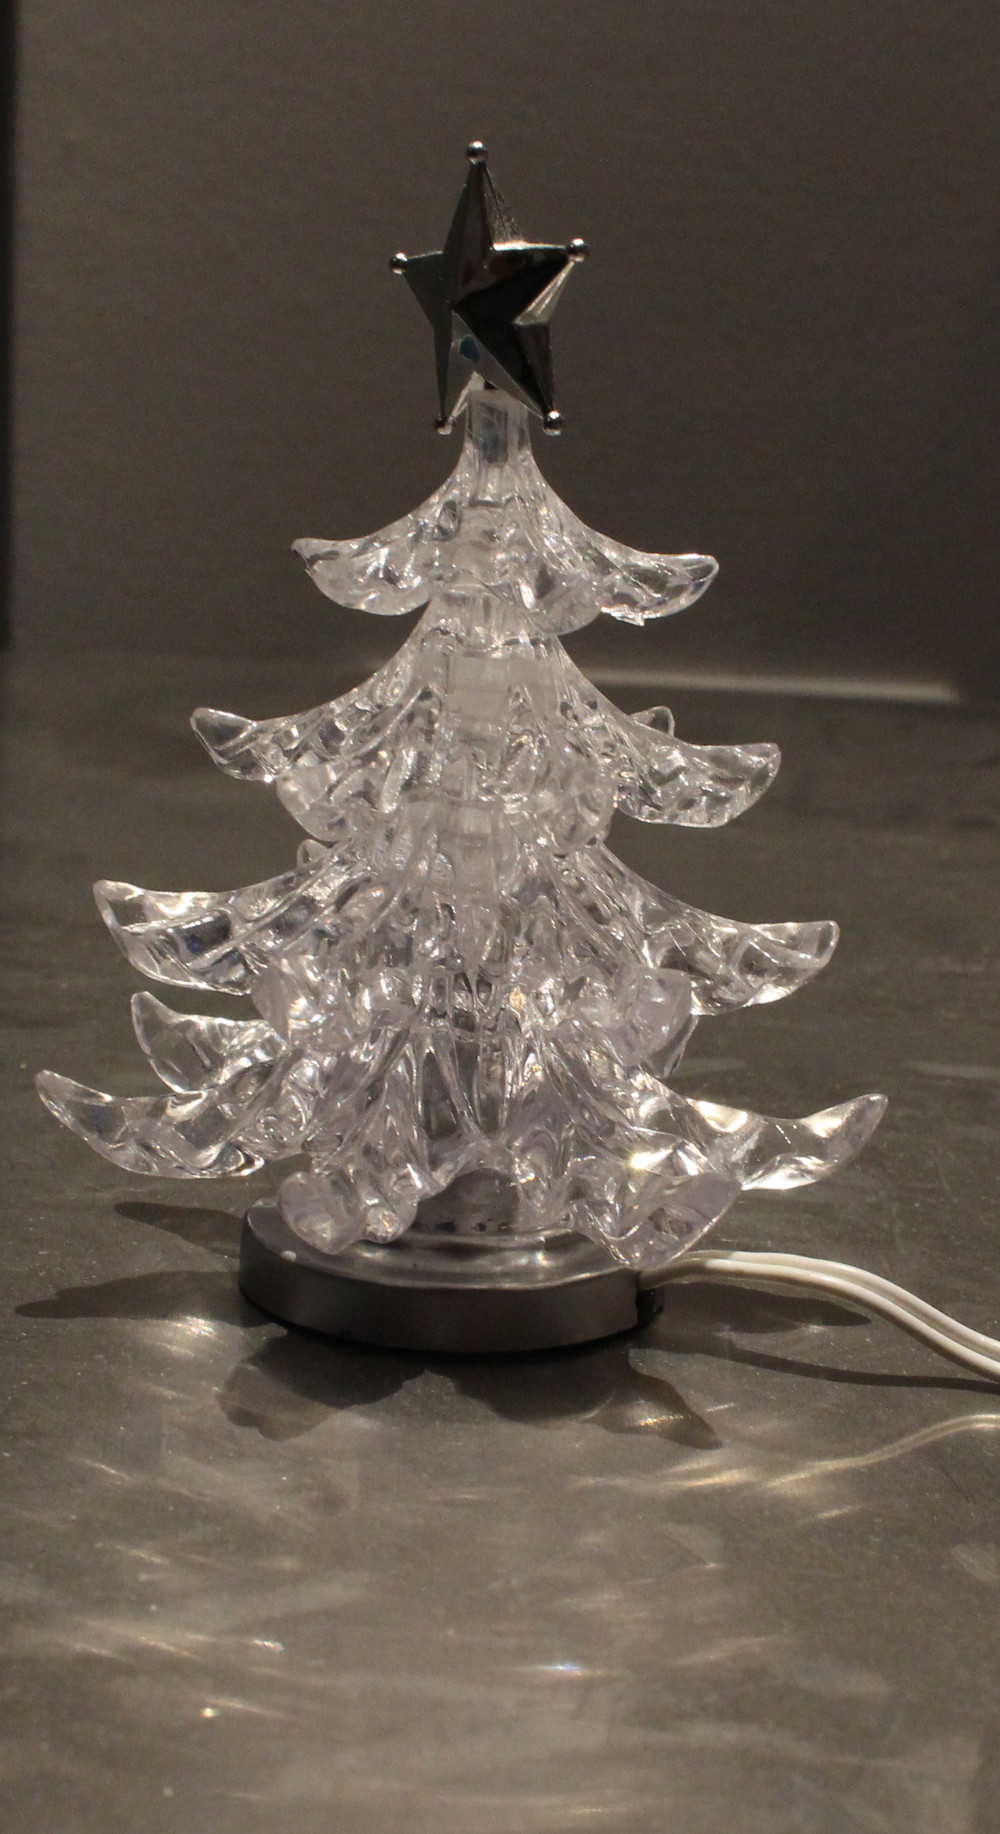
Oh, I’m really curious about the Christmas tree LED thing…
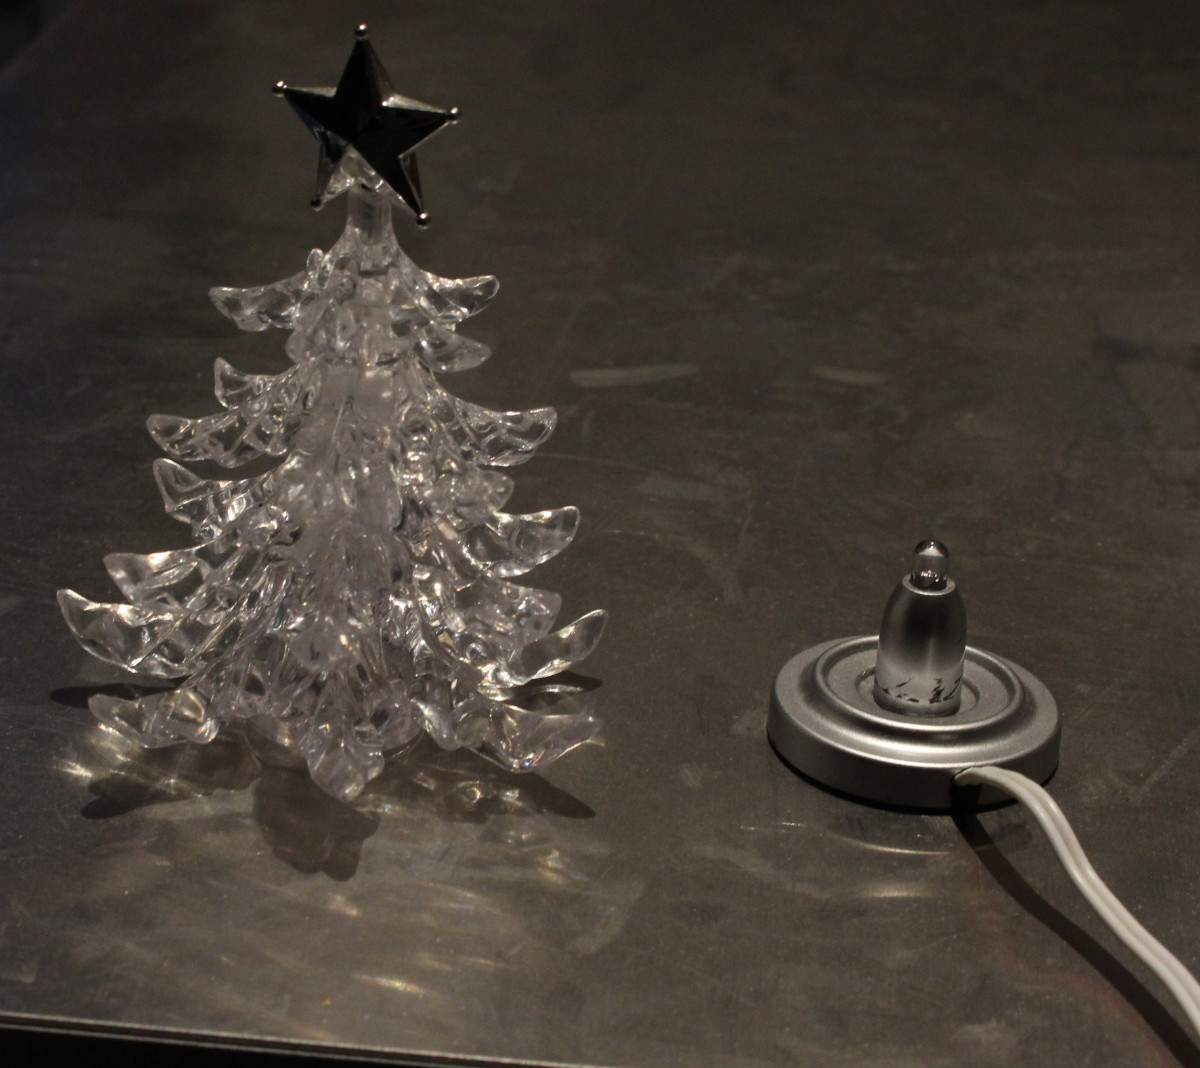
It is, nothing special:
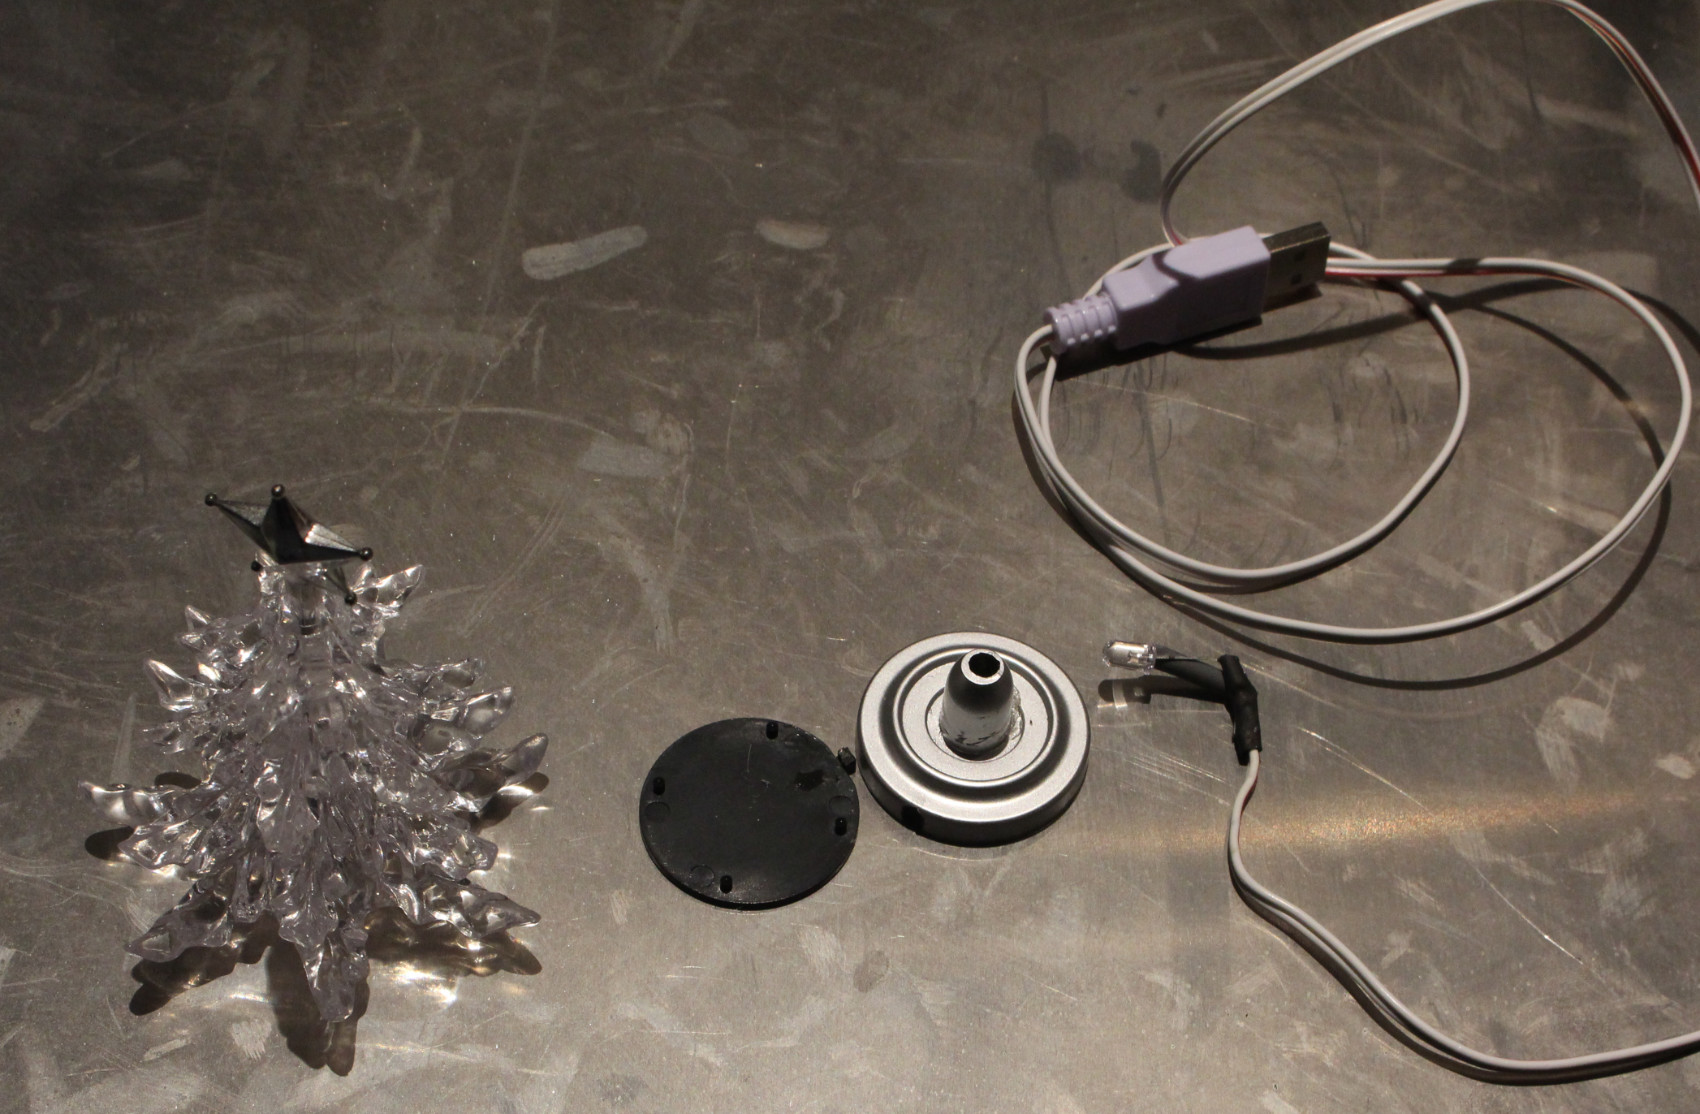
And in all its 4 pieces:
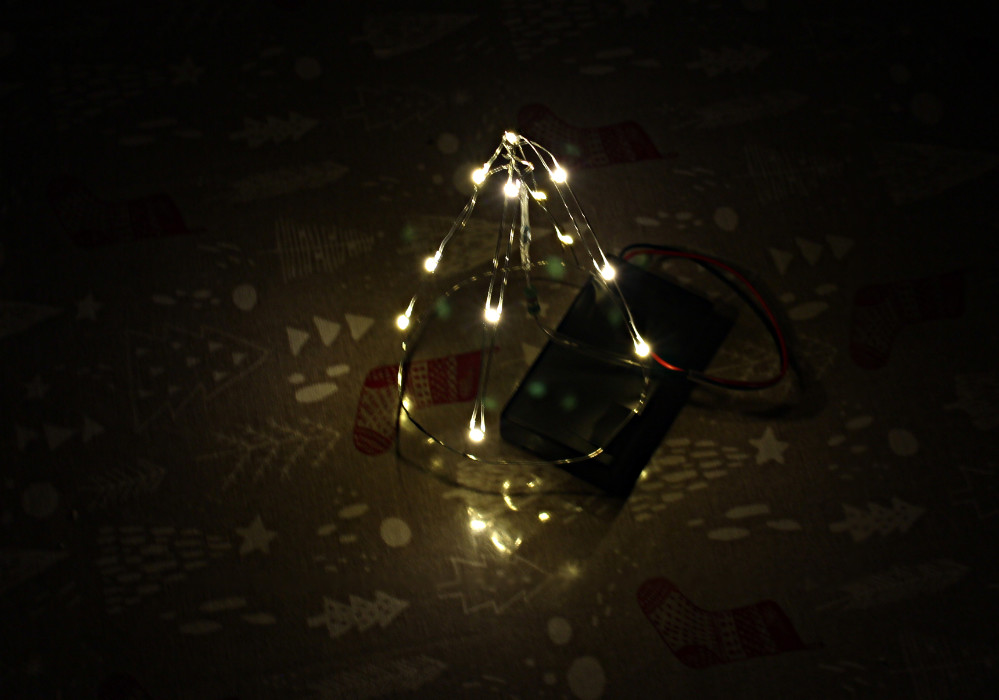
And the (annoying) color change sequence:
This needs fixing! Make it slow and smooth, less blues, more reds and greens.
Honestly, I thought you gonna build your own…
I have done that at some point.
It is a cone of green LEDs with some reds on it. It kind of sucked while looking crappy.
All parts are on order, will arrive soon™
Will update this thread when I get things going.
Long time no see!
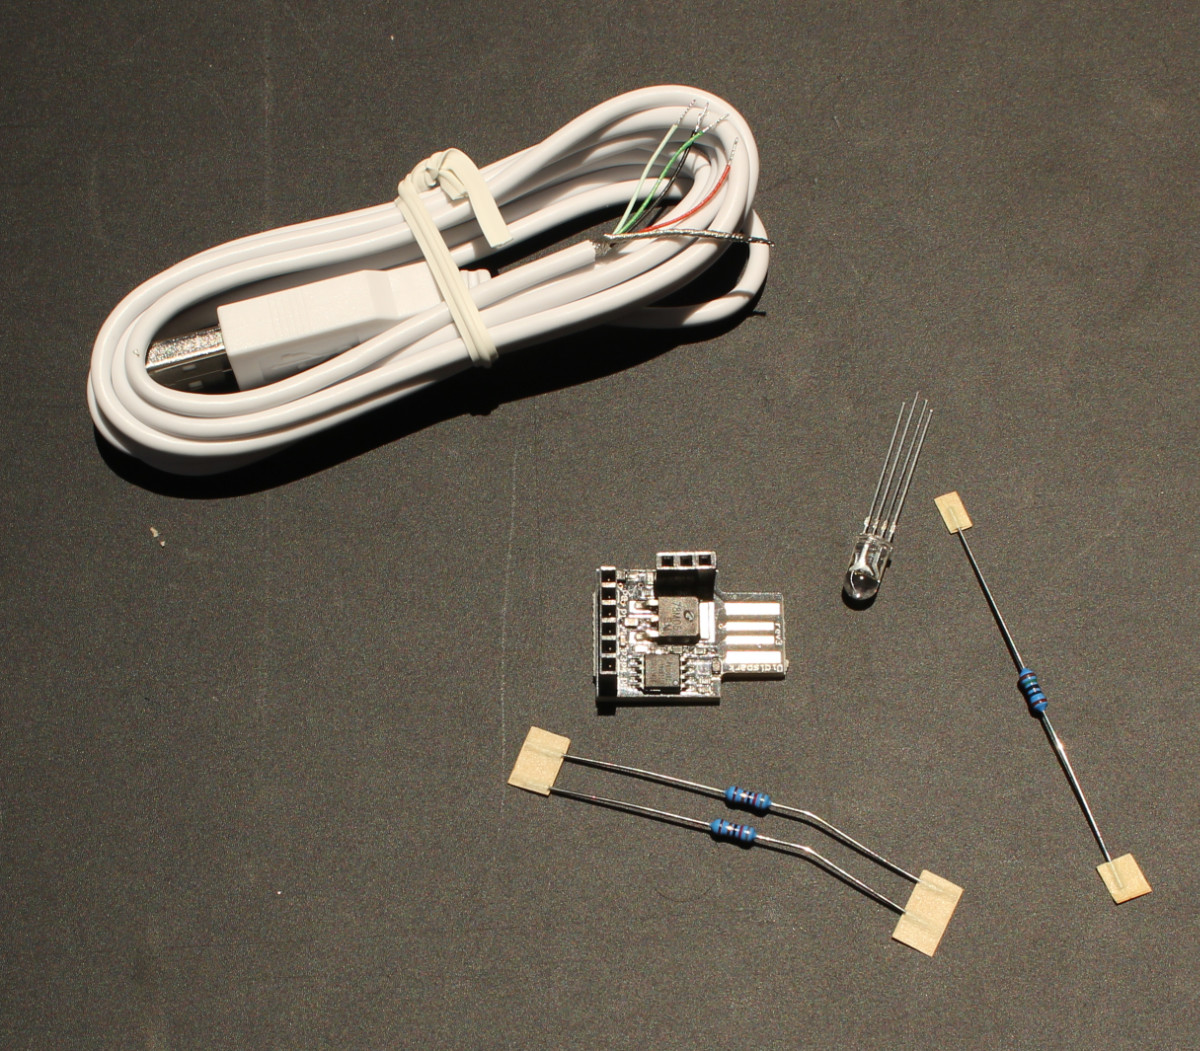
A bunch of parts for miscellaneous projects arrived.
1 - LED Christmas tree bits
2 - Battery LED Lamp
3 - BananaPi NAS
WIP
4 - LED Base
5 - LED christmas tree
As per @psycho_666 beeing disappointed over me not building a christmas tree shaped LED ornament, I will also do that.
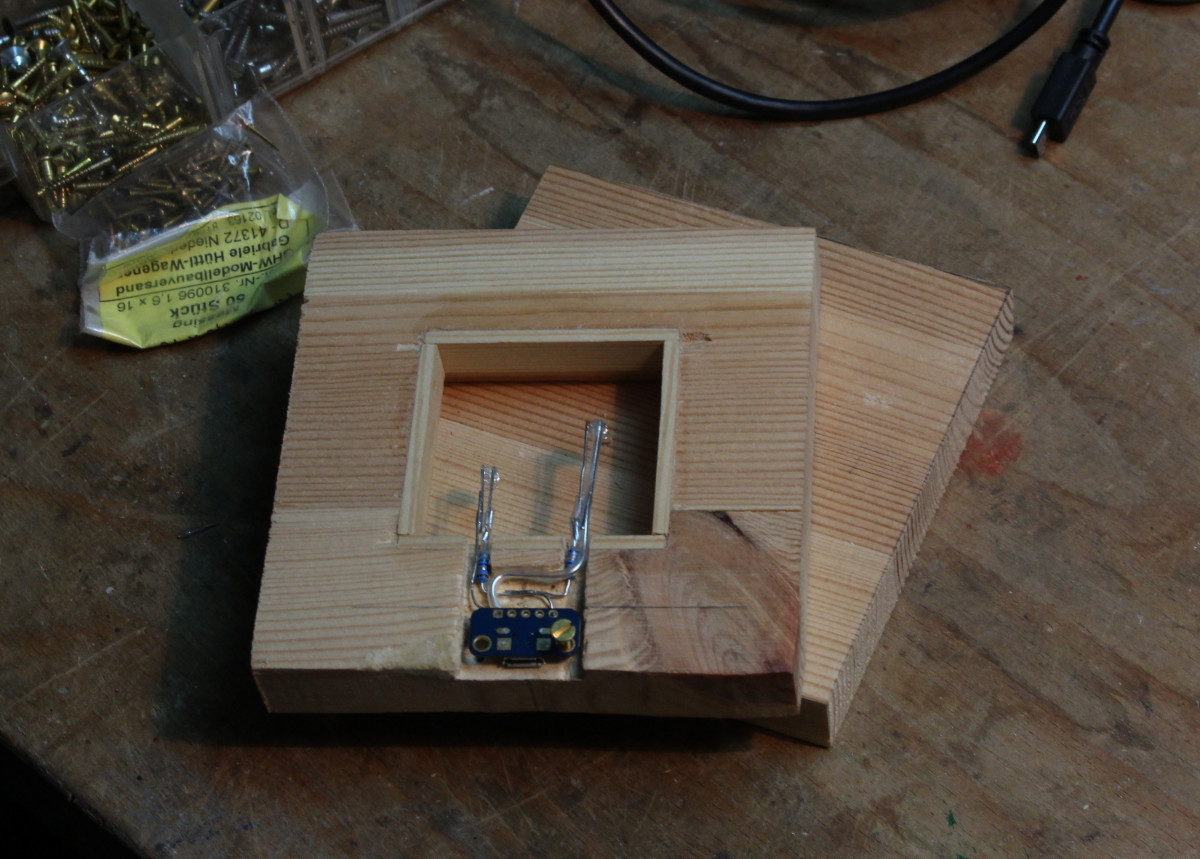
4 - Illuminated Base
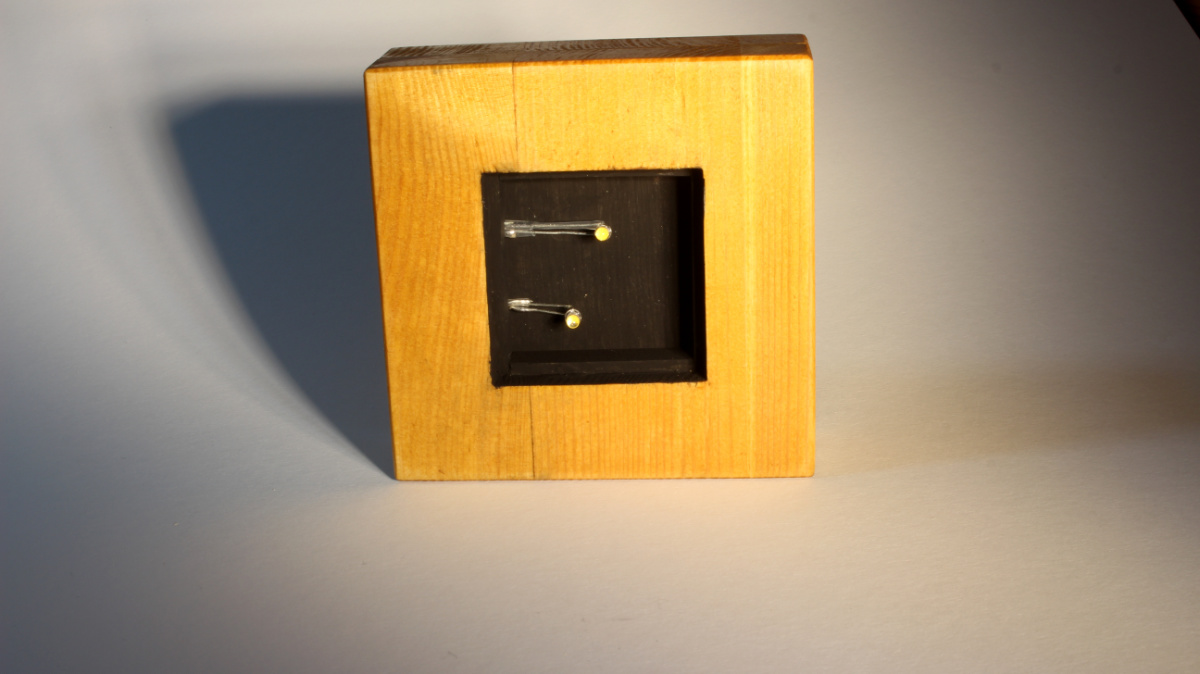
Soldered the components together.
Might change to one resistor with the LEDs in parallel after that instead of resistor&LED in pairs.
Currently, the thing is less of a light accent and more of a flood light, at 0.36W power draw…
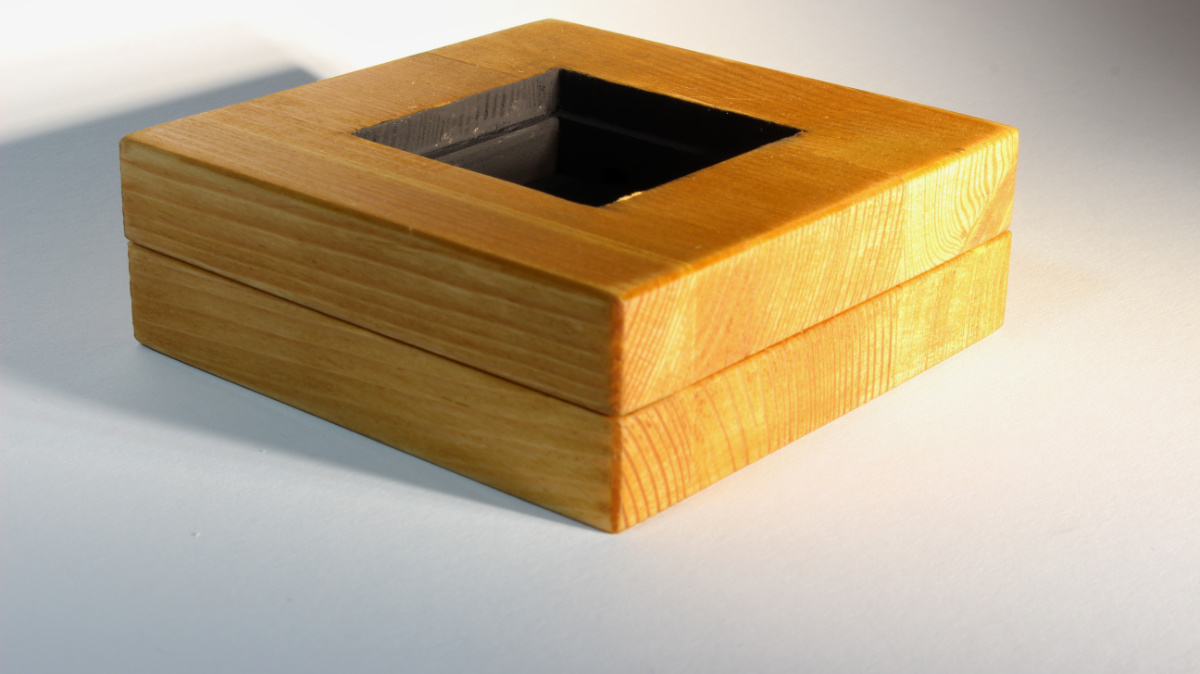
Wood part is WIP:
5 - LED christmas tree
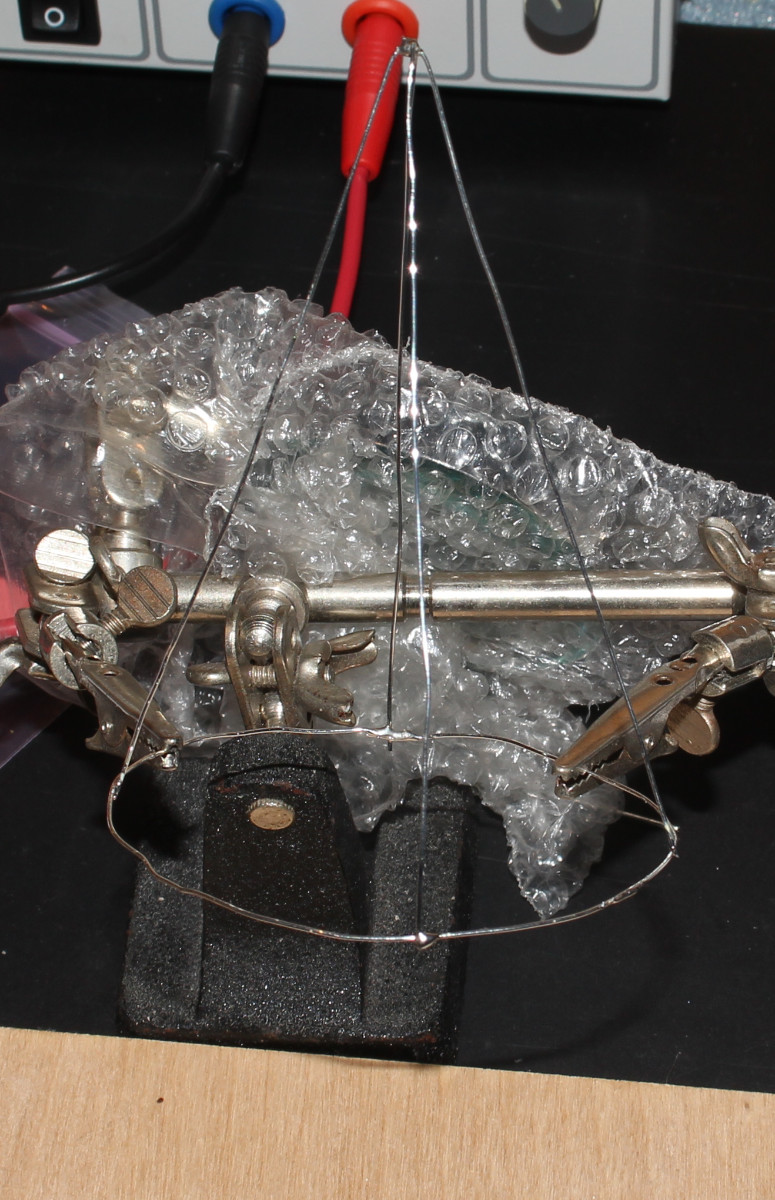
I am sick (man-flu, will die soon™), so I grabbed my soldering iron and went to town.
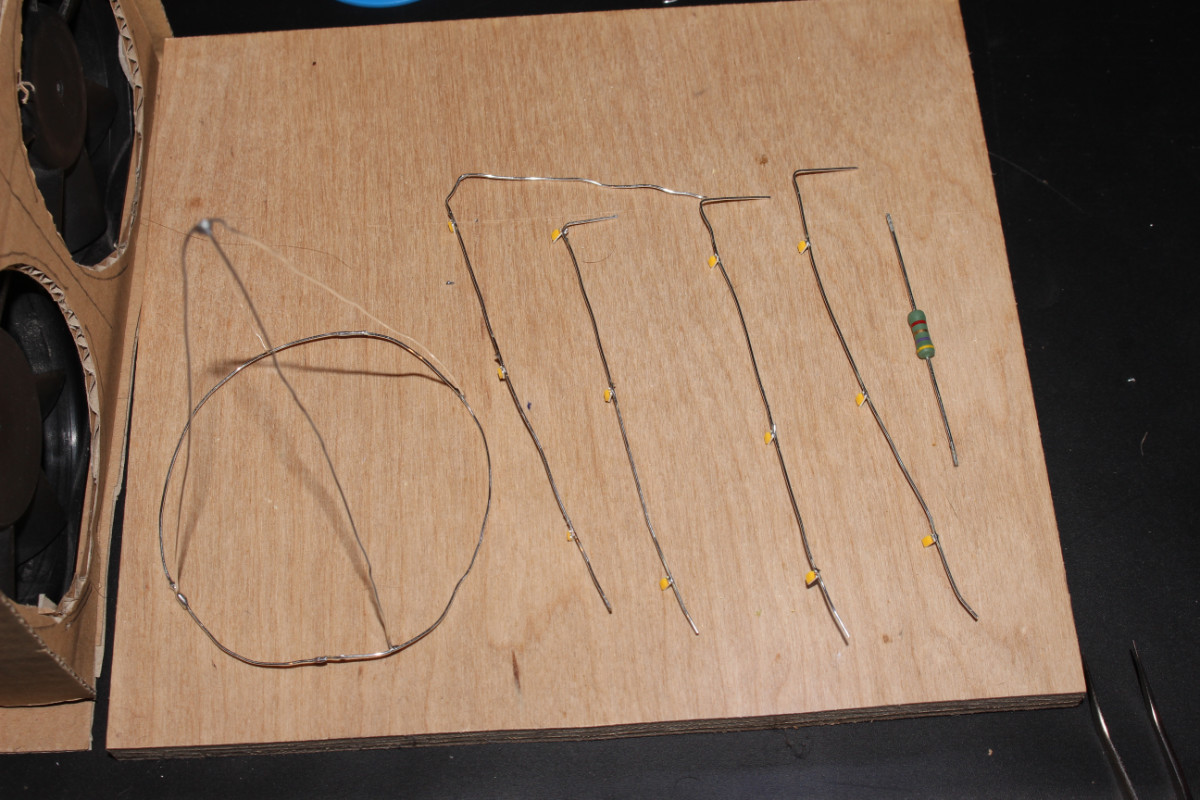
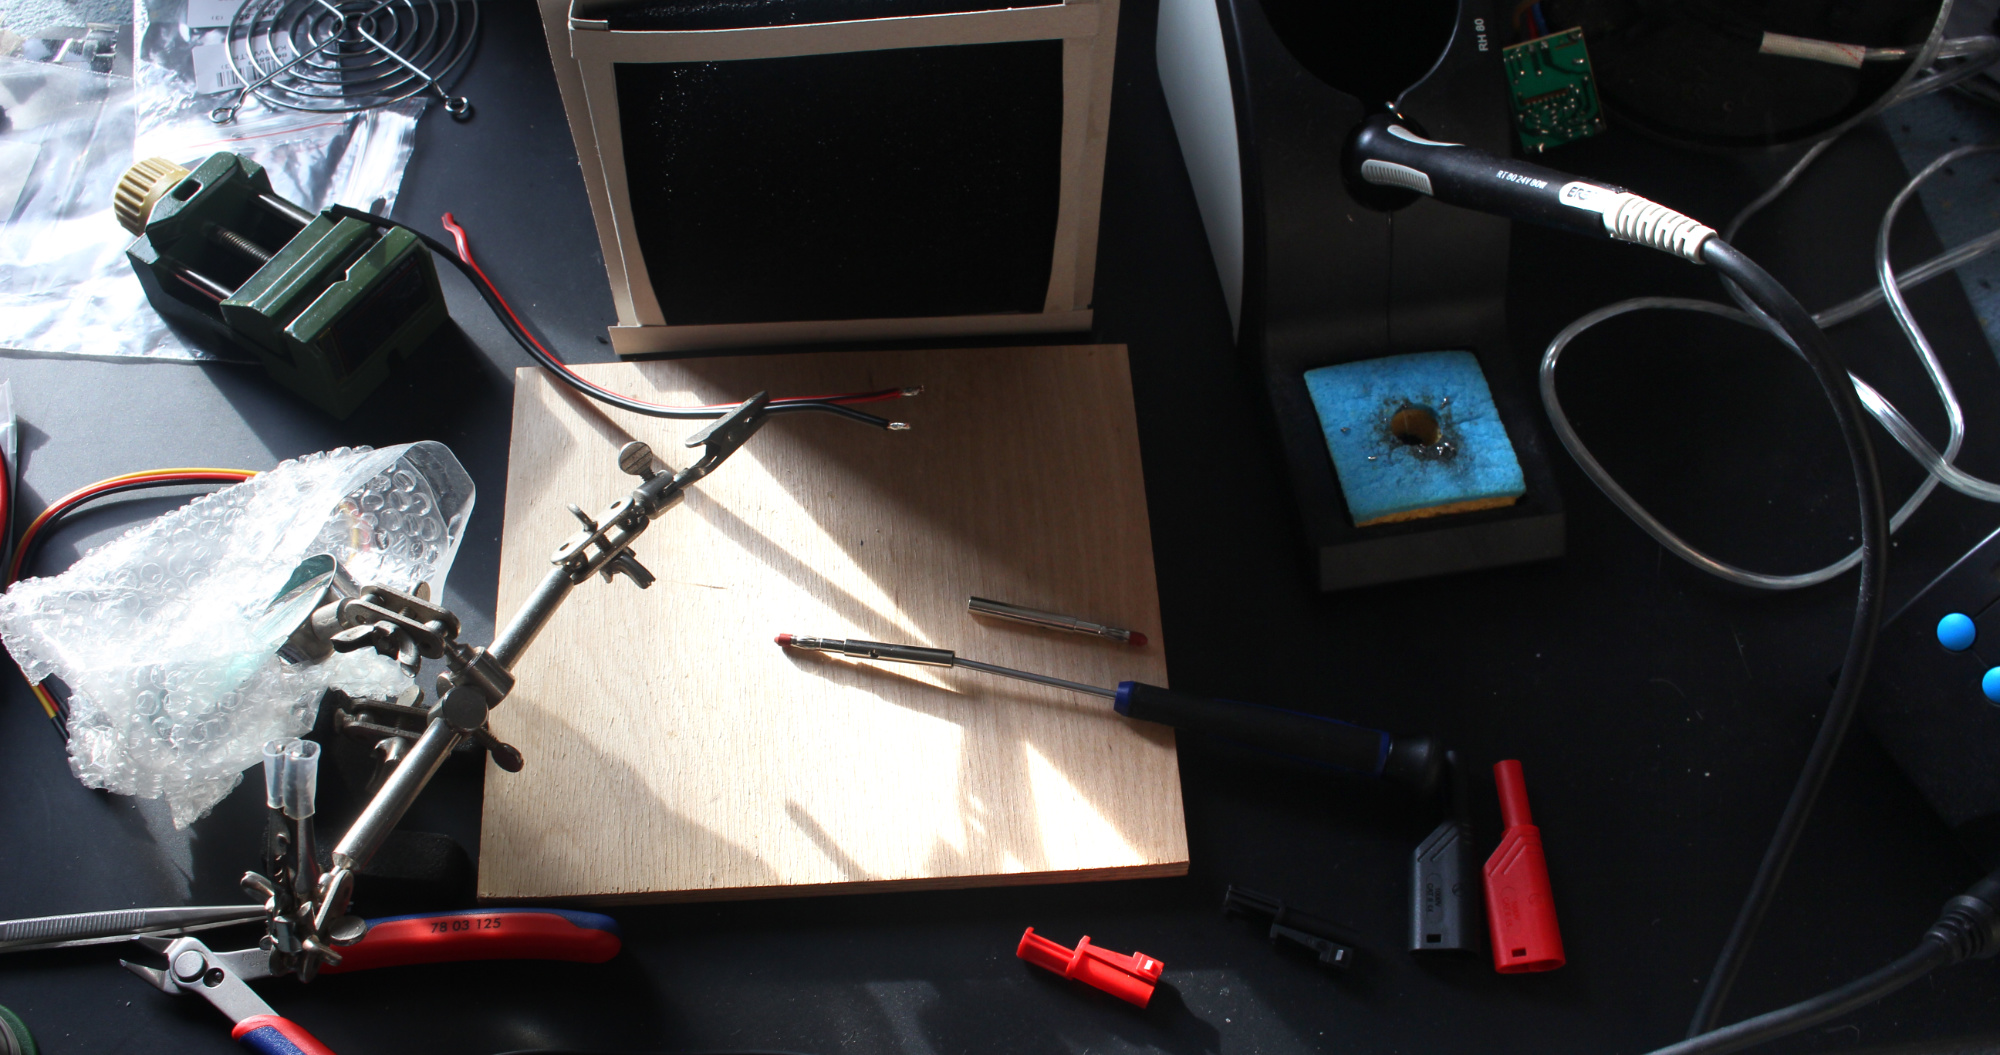
Setup:
Pliers, Snips, Solderin Iron @ 300°C, 12 SMD LEds (warm white), battery box, silver coated copper wire
I bent the shape of a tree (a cone)
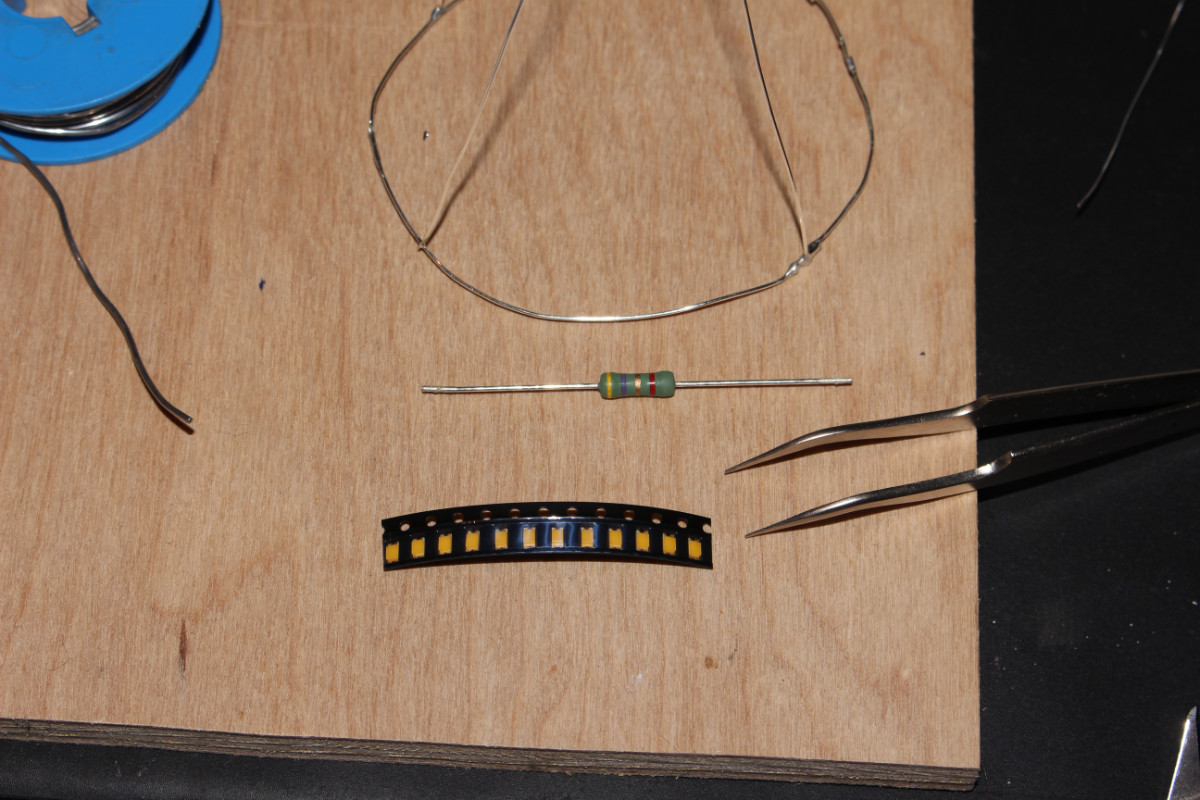
Next up, the LEDs:
Are you bored of simple solder projects?
Do you have eyes like an eagle?*
Do you enjoy physical pain?
Do you enjoy psychological horror?
Have you mastered all shaolin technics?
Then SMD-Soldering is for you!
How to:
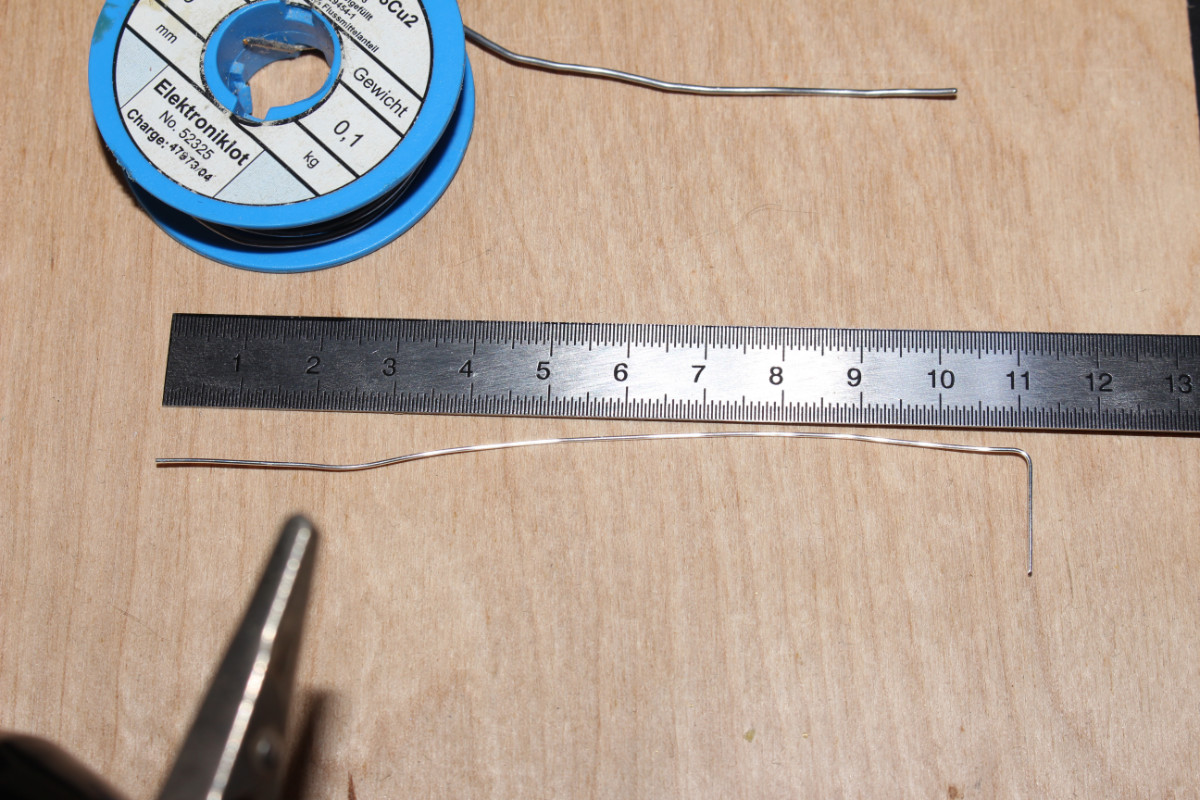
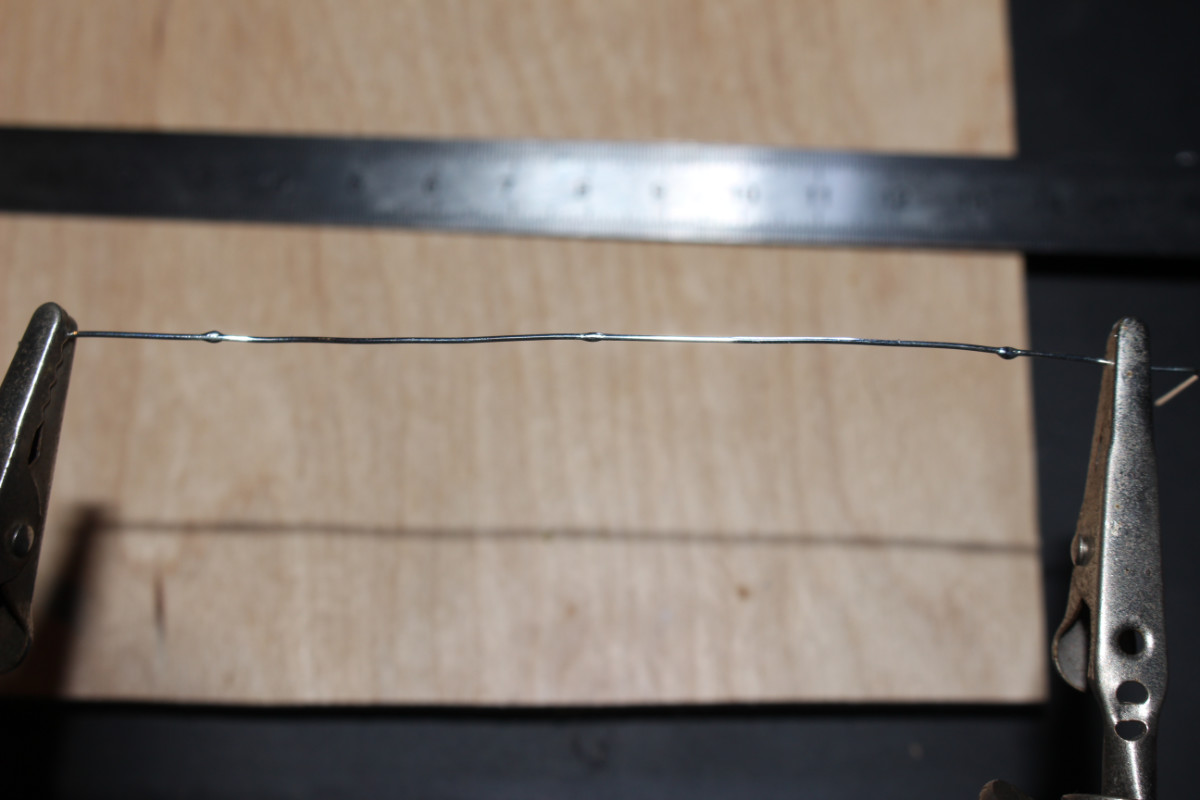
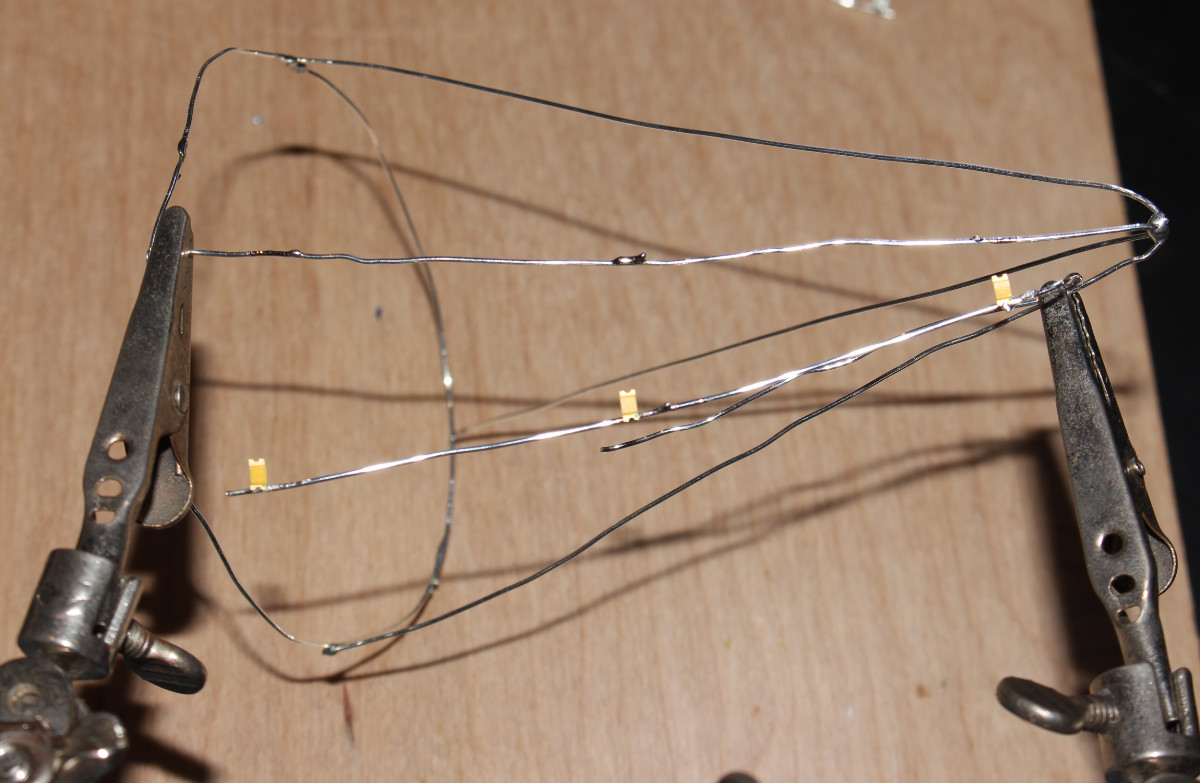
Prepare wire:
“Wet” spots you want to solder components to:
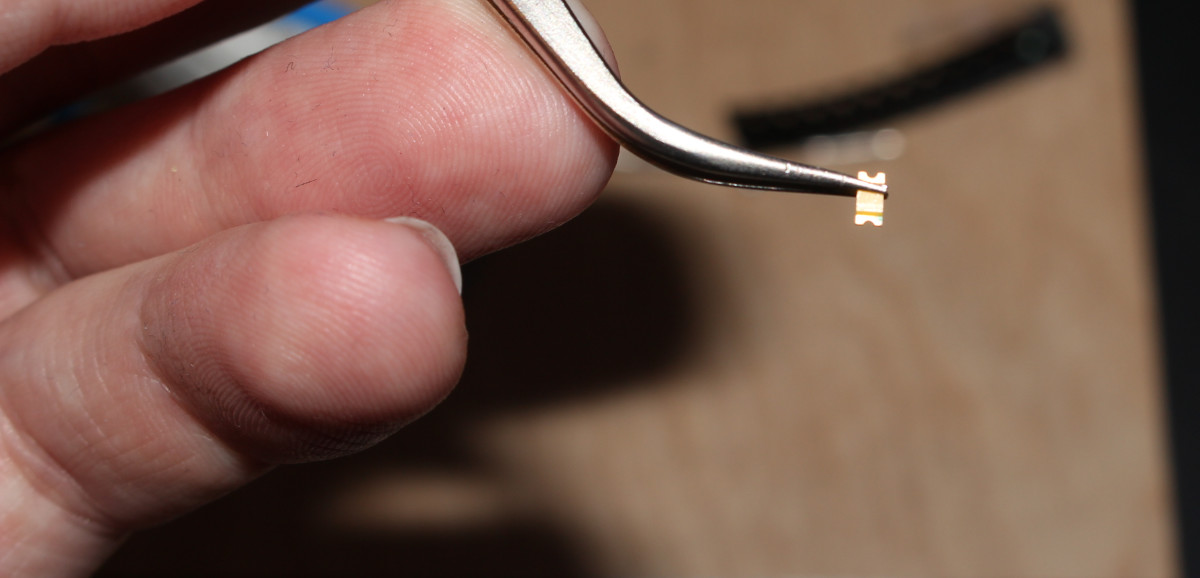
Grab component with tweezers:
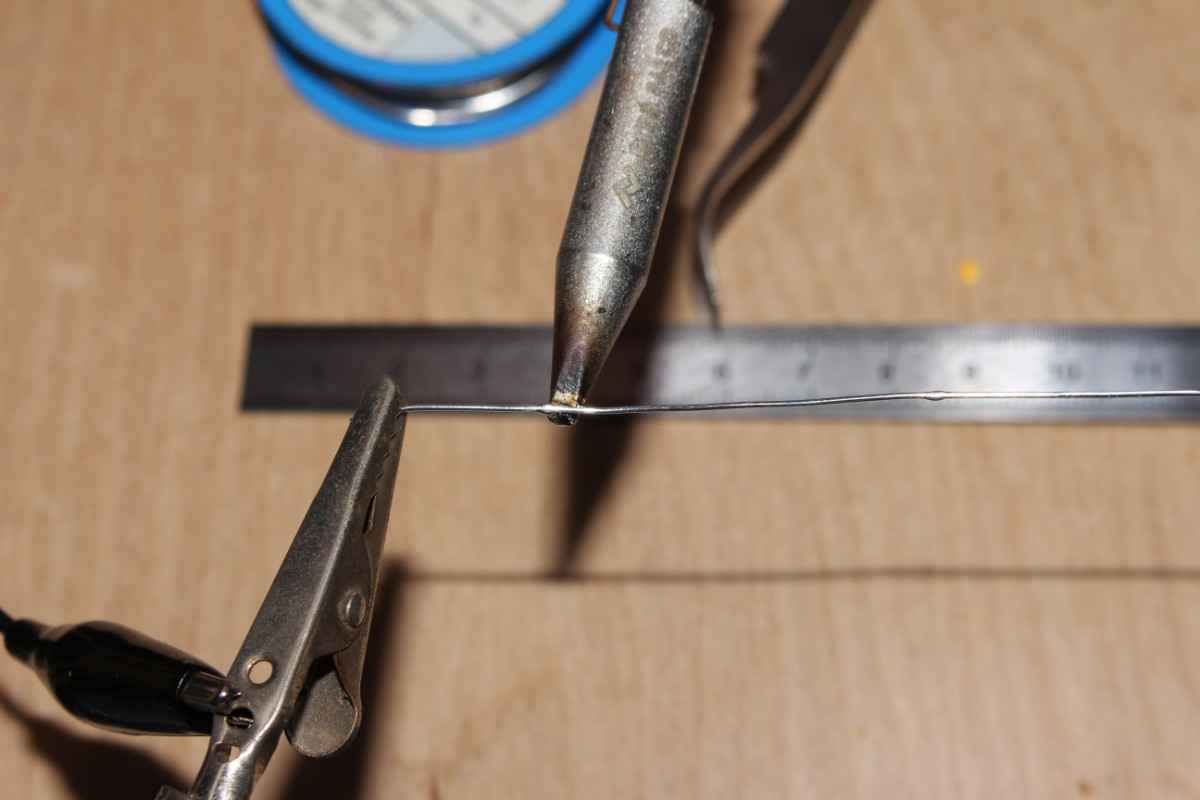
Heat the solder blob you want to solder to:
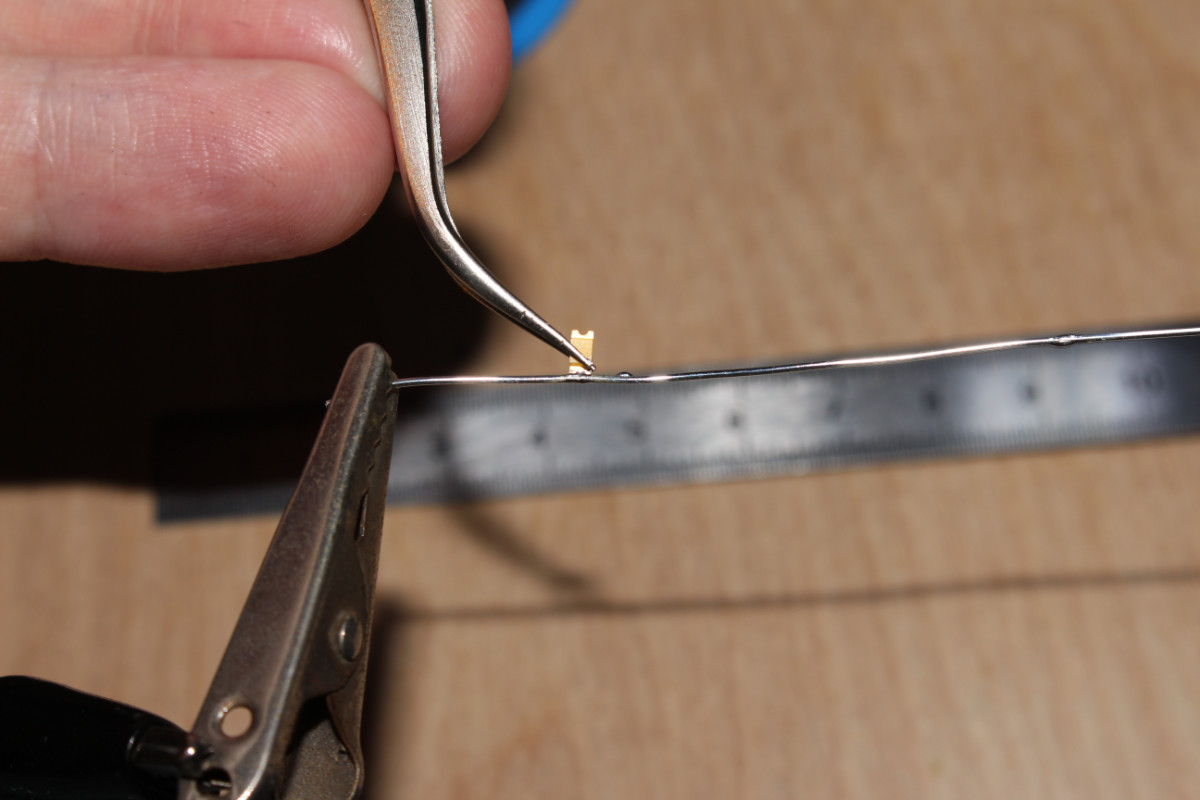
Hold component in solder puddle:
Because I had to take the photo and no third hand, you need to imagine the iron from the image above heating the wire 
Take away the iron and wait for it to cool down.
Repeat 12 times:
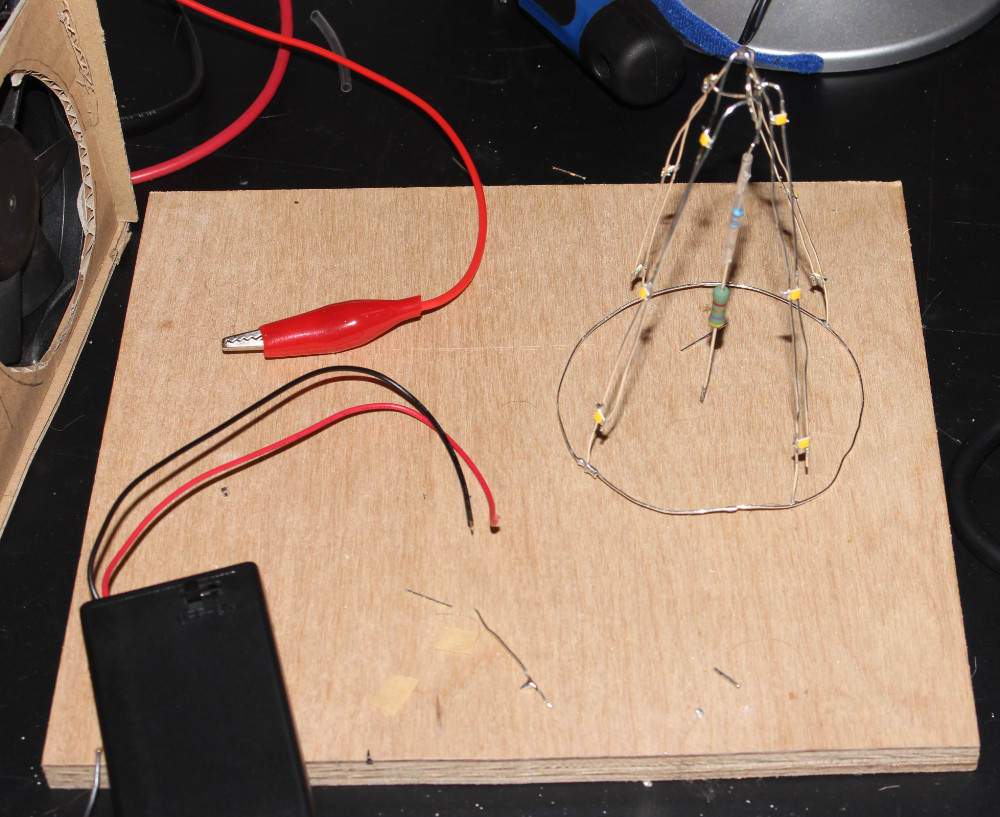
Solder some more:
Add resistor and do function test:
Add another resistor because it burns your retina out:
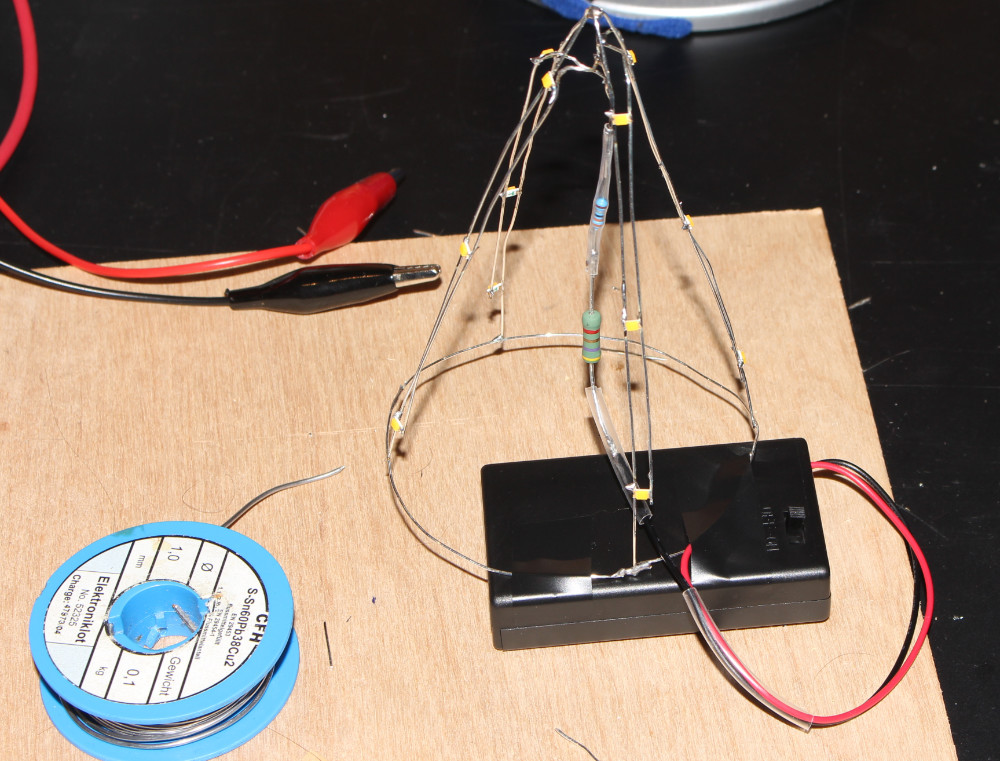
…and the battery box:
Done!
Only took 2 hours
Might add a green paper cone, because as is, it does not look much like a christmas tree…
I’ve been toying with the idea of making a set of Christmas tree PCBs that can slot together or something. I think ot would be neat.
And make it RGB™.
Takee green PCBs, use side emitting warm white LEDs and a few red normal LEDs and you are golden.
I usually use OSHpark which makes purple PCBs, but maybe some careful masking and some spraypaint would work?
OH SHIT make the silkscreen look like snow!
To the other tinkerers:
Why do you buy 10 fuses when you blow the one in your multimeter?
Because you will blow it twice to make sure you really had the wrong probe points.
4 - Illuminated Base
My dad did finished the base for me. It came out amazing!
Screwed in the electronics:
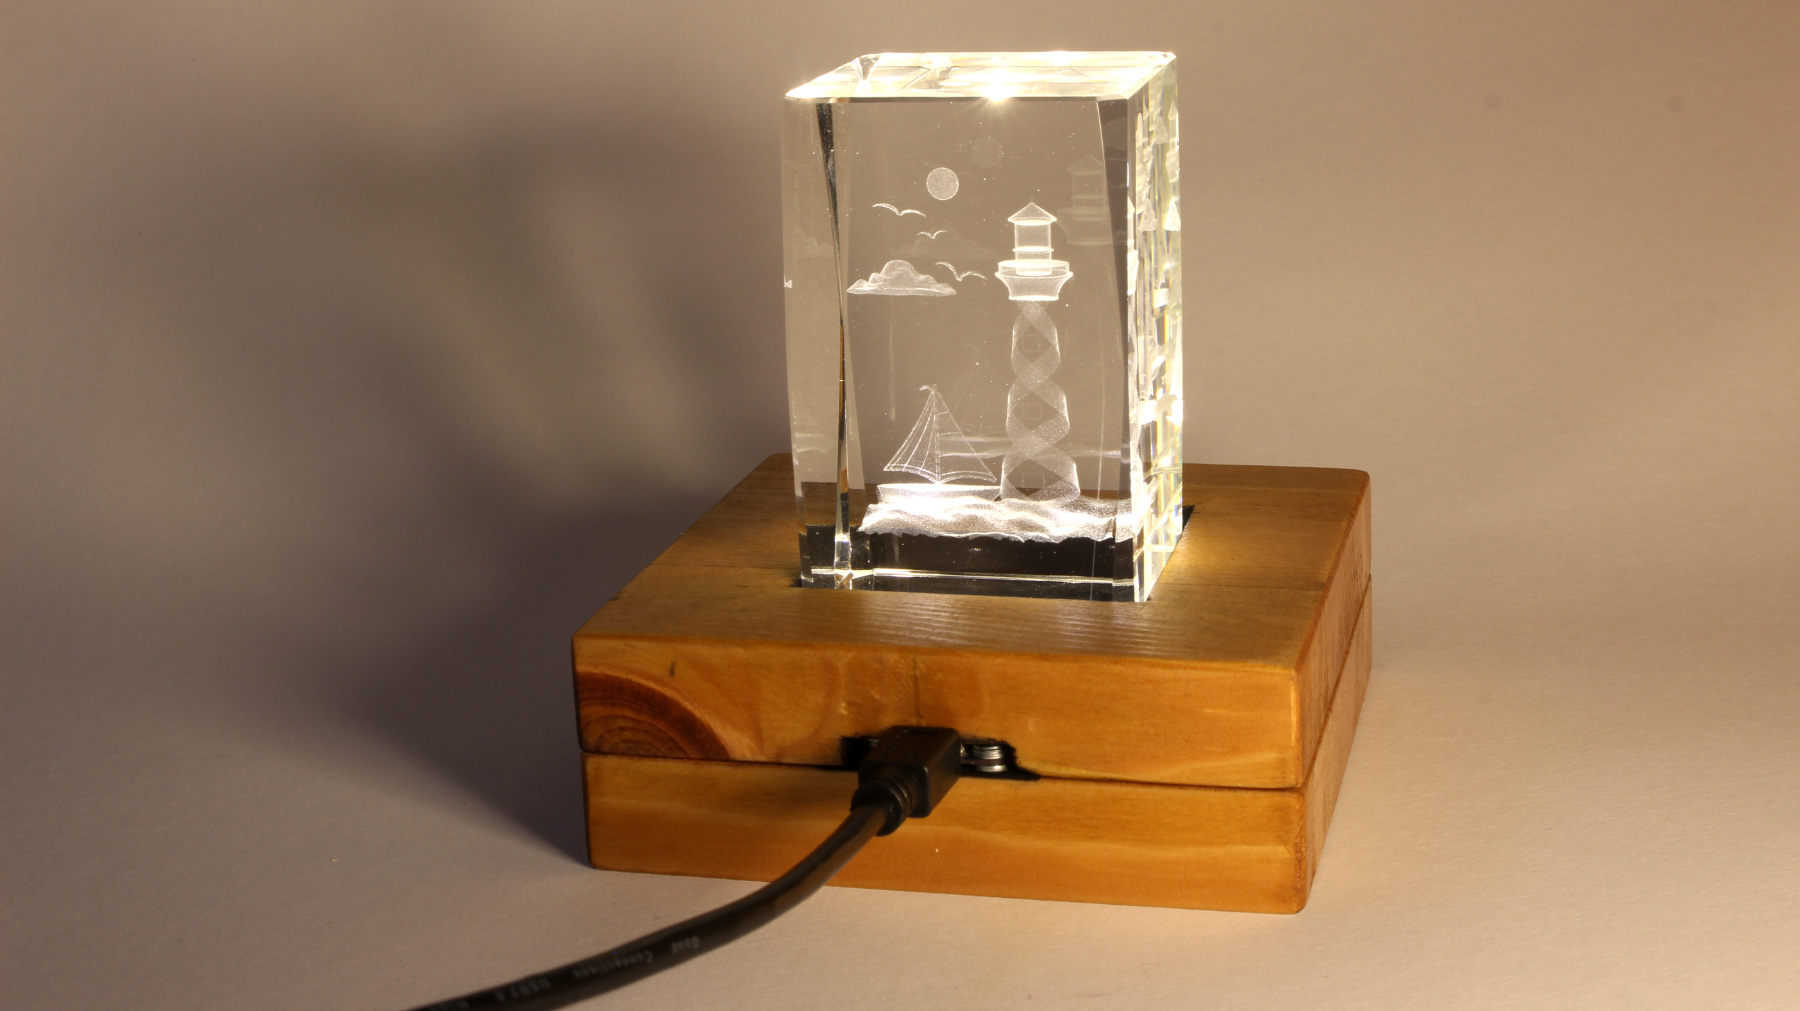
All pieces together:
DONE!
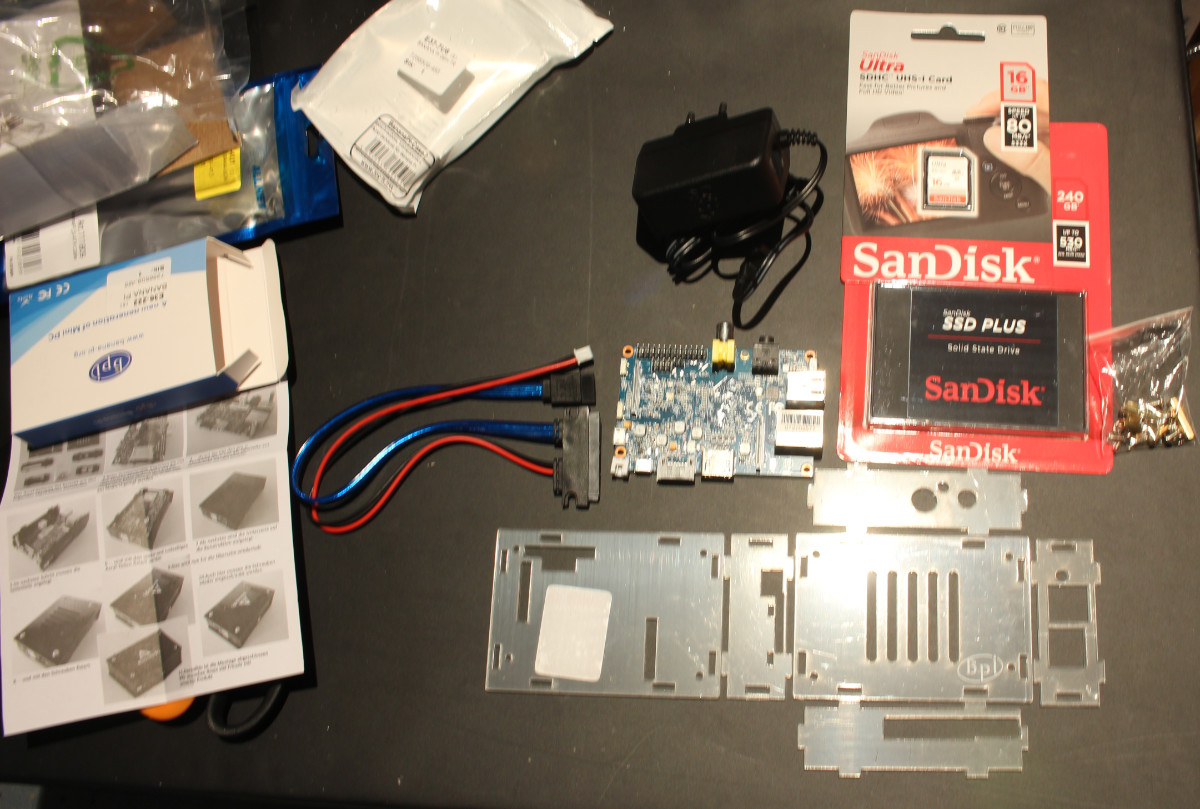
3 - BananaPi SSD NAS
…has been up and running for a while now. OpenMediaVault was painless to setup and use.
All bits:
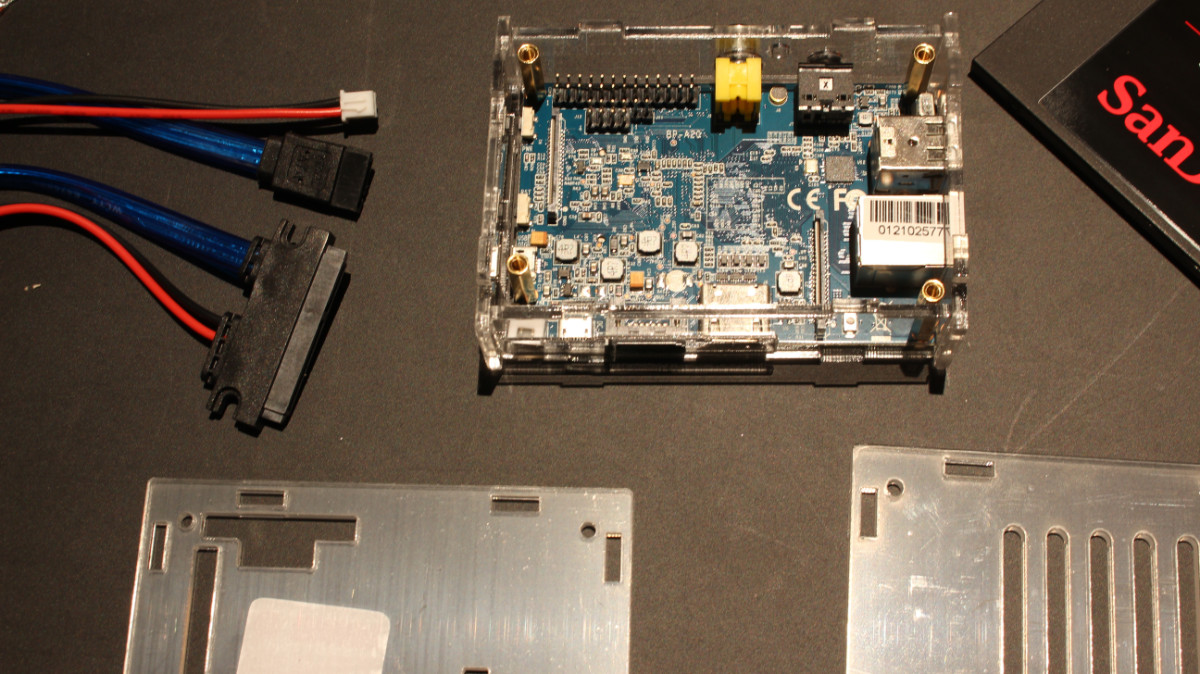
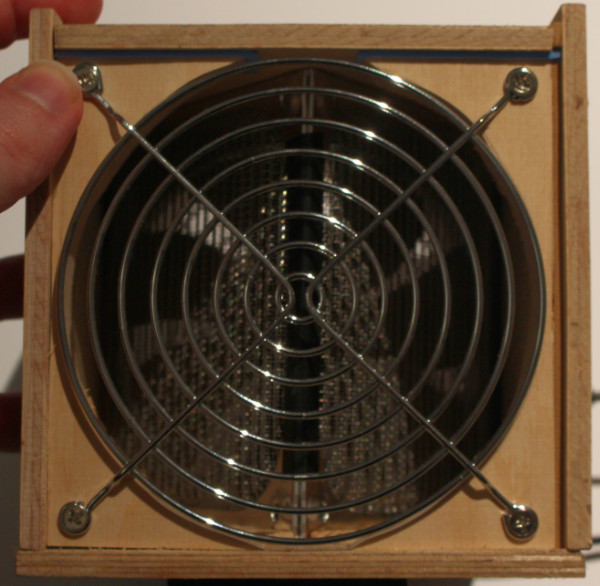
First side:
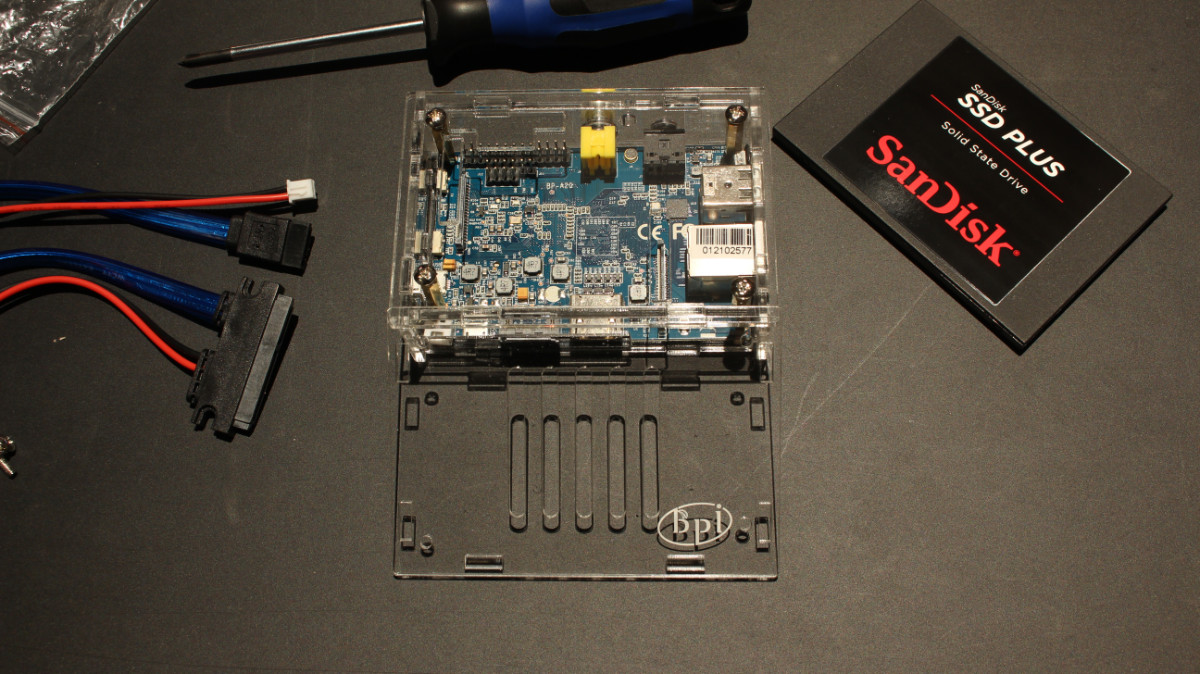
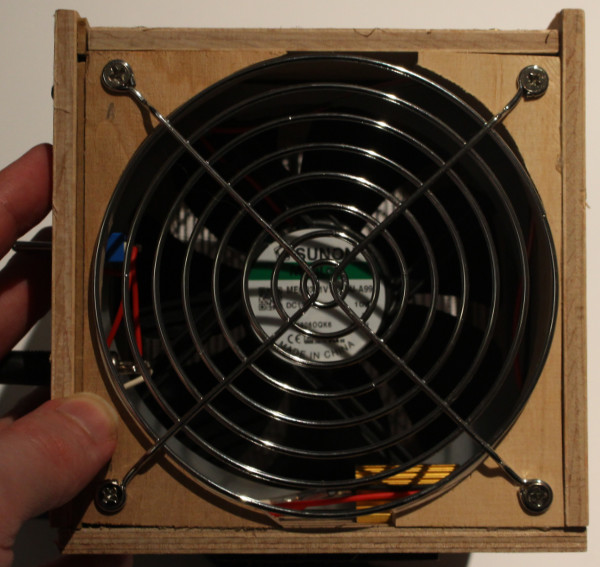
The other 3 Sides:
Base attached:
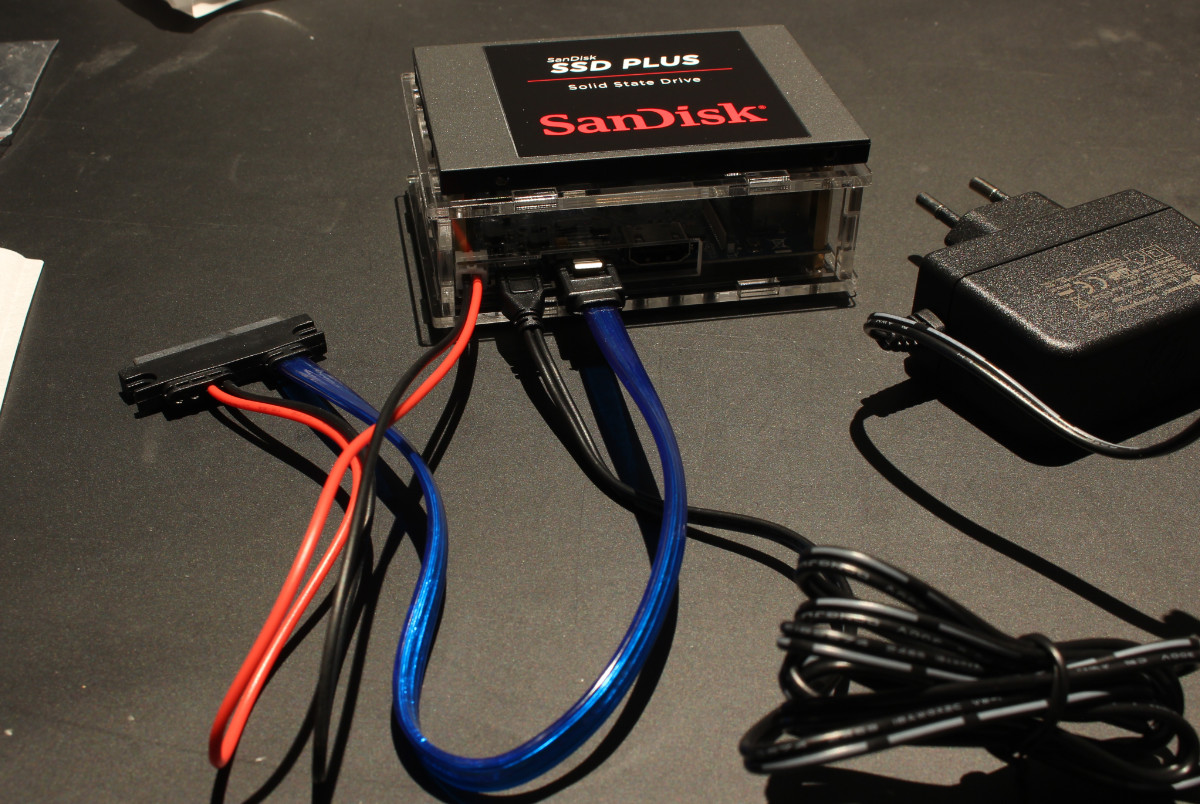
Cables plugged in:
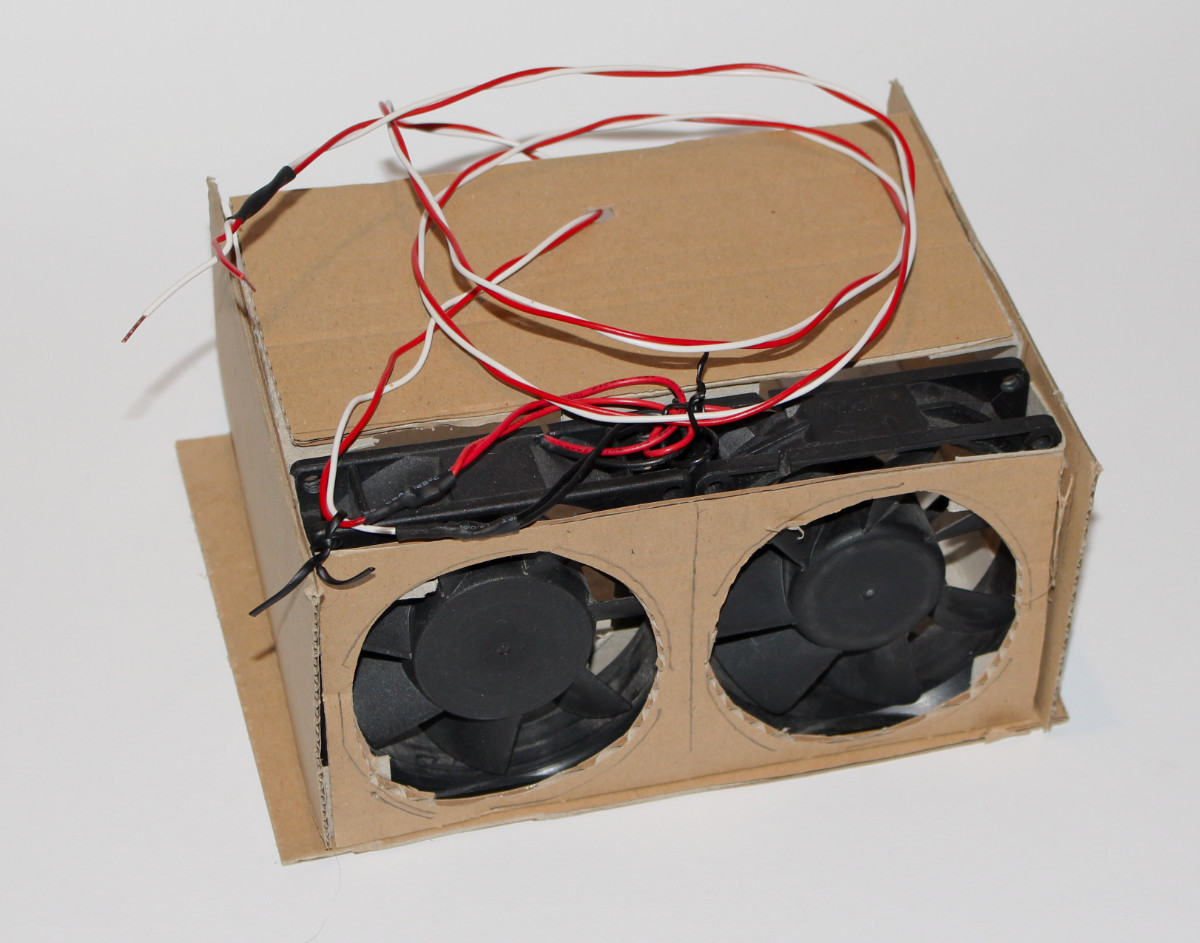
I have this horrible bodge of a fume mover. Consisting of two small fans salvaged from old PSUs and taking up my bench PSU for power.
Yes, hotglue was involved in the making…
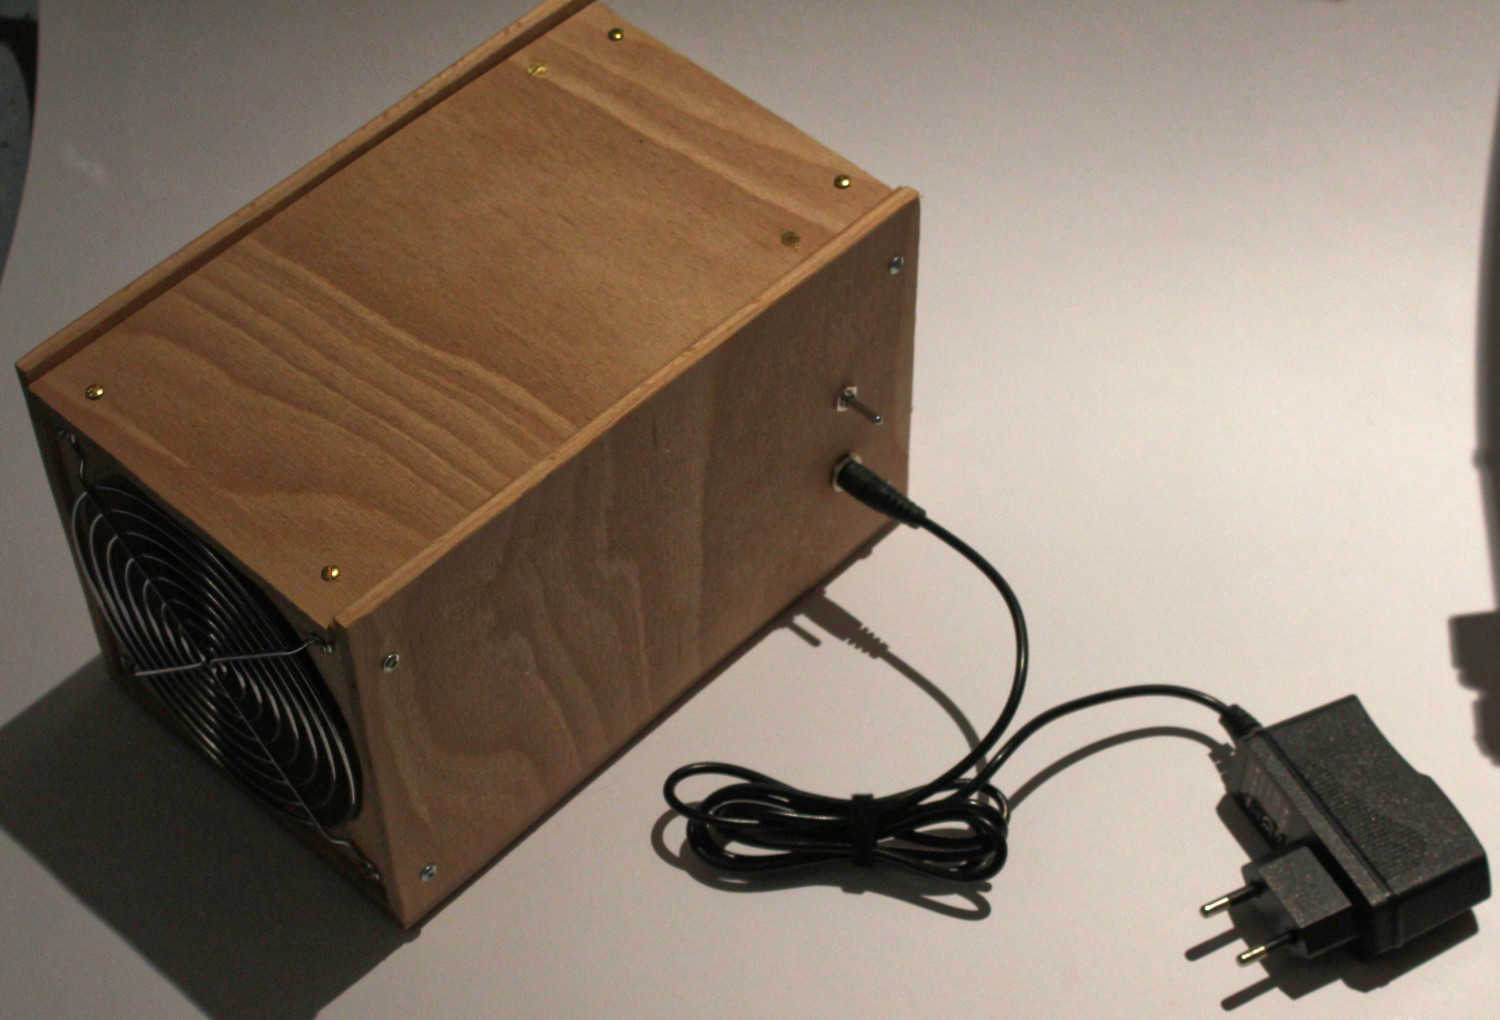
The Plan
Build a box with a fan and ways to support activated-coal filters, put a switch on it and boom.
Considerations:
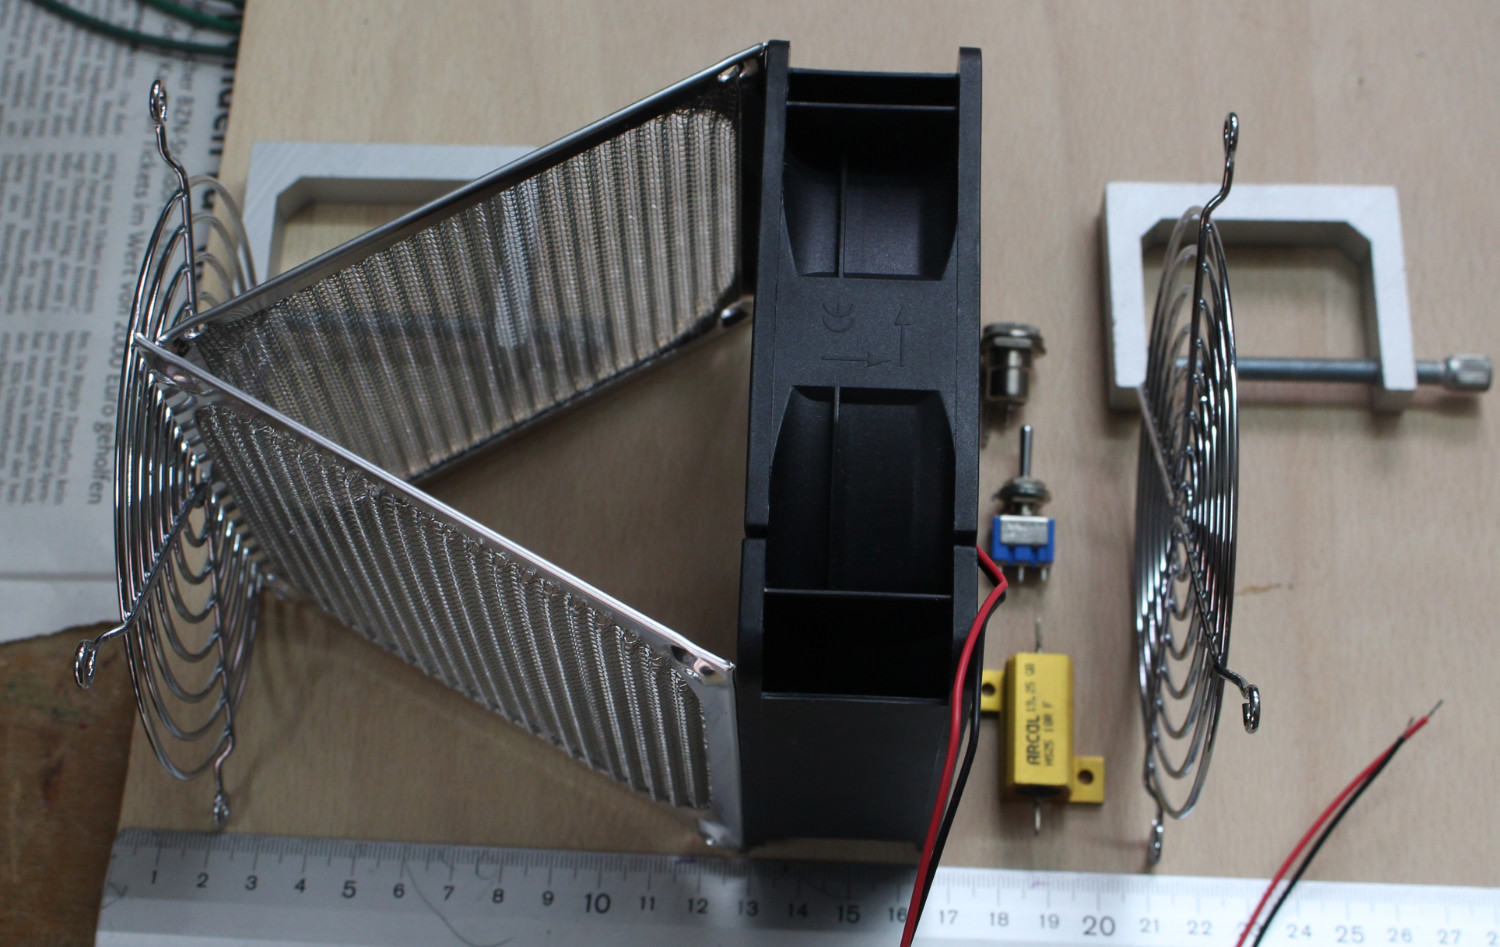
Parts:

Plan will have to change a bit due to the fact you can not put a screwdriver trough a wood block. I will probably moce the electronics into a small box that will also function as a grip above the main compartment.
I also took some video (somewhat noisy):

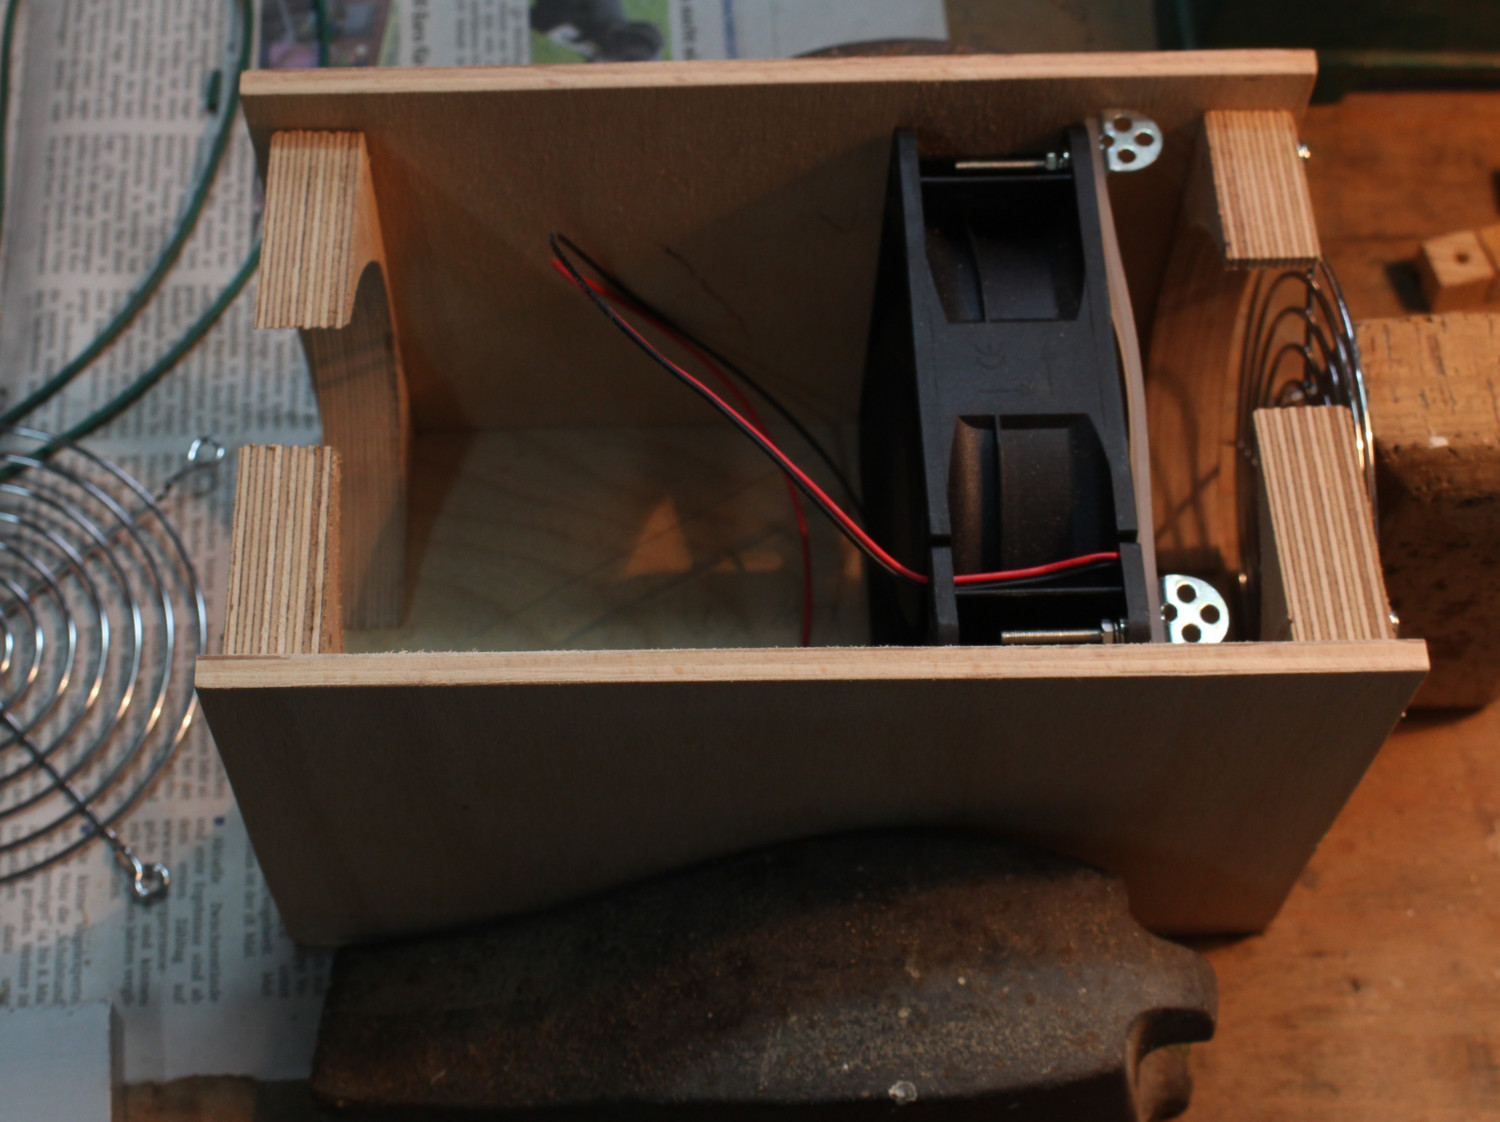
Physical design considerations (self doubt)
“Yes this works”
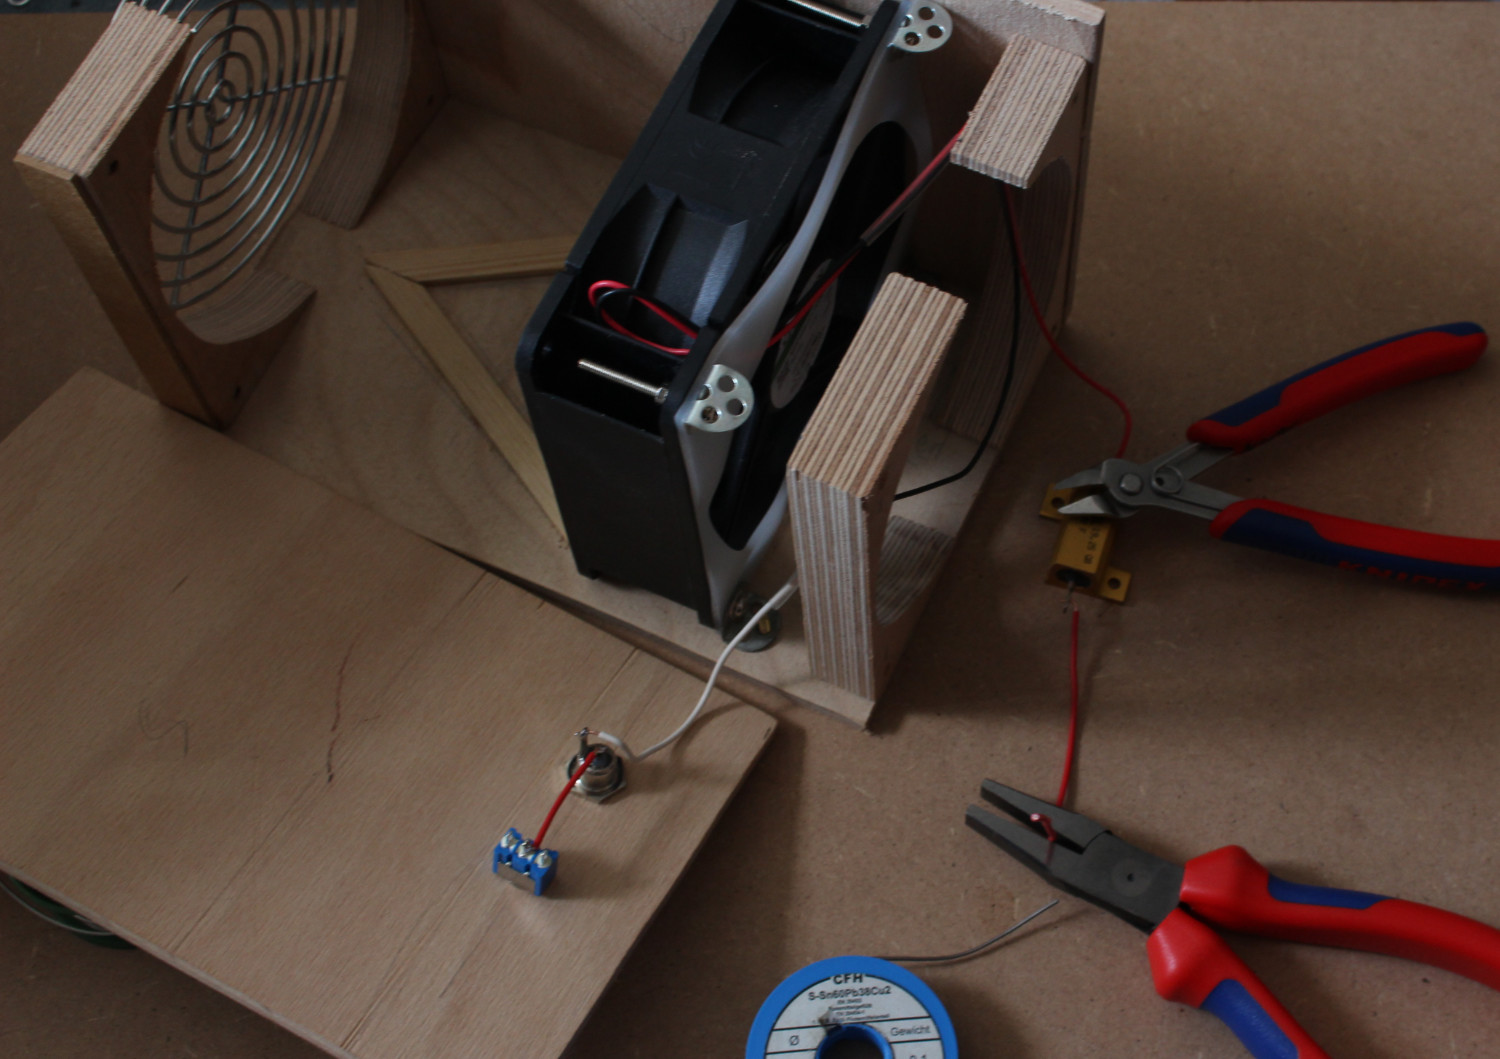
Soldering the components. The switch will either put the resistor (which is oversized as fuck) in series with the fan, or not).
Done!
Updated above post.
This thing moves a lot of air.
On “low” it runs at 50 ish dB©, high is almost 70 dB© and moves a TON of air.
The fan can actually hold the filters stacked against it’s inlet when running full tilt. So having double the area was a good decision.
Edit 2:
Took some measurements:
Resistor gets to 40-ish °C during extended operation. “Low” mode is 4W to the fan, “high” is the full 10W (or 9.6 as measured).
Works amazingly well for solder fume remover, also works to circulate some air through the room.
I am just going to keep this going.
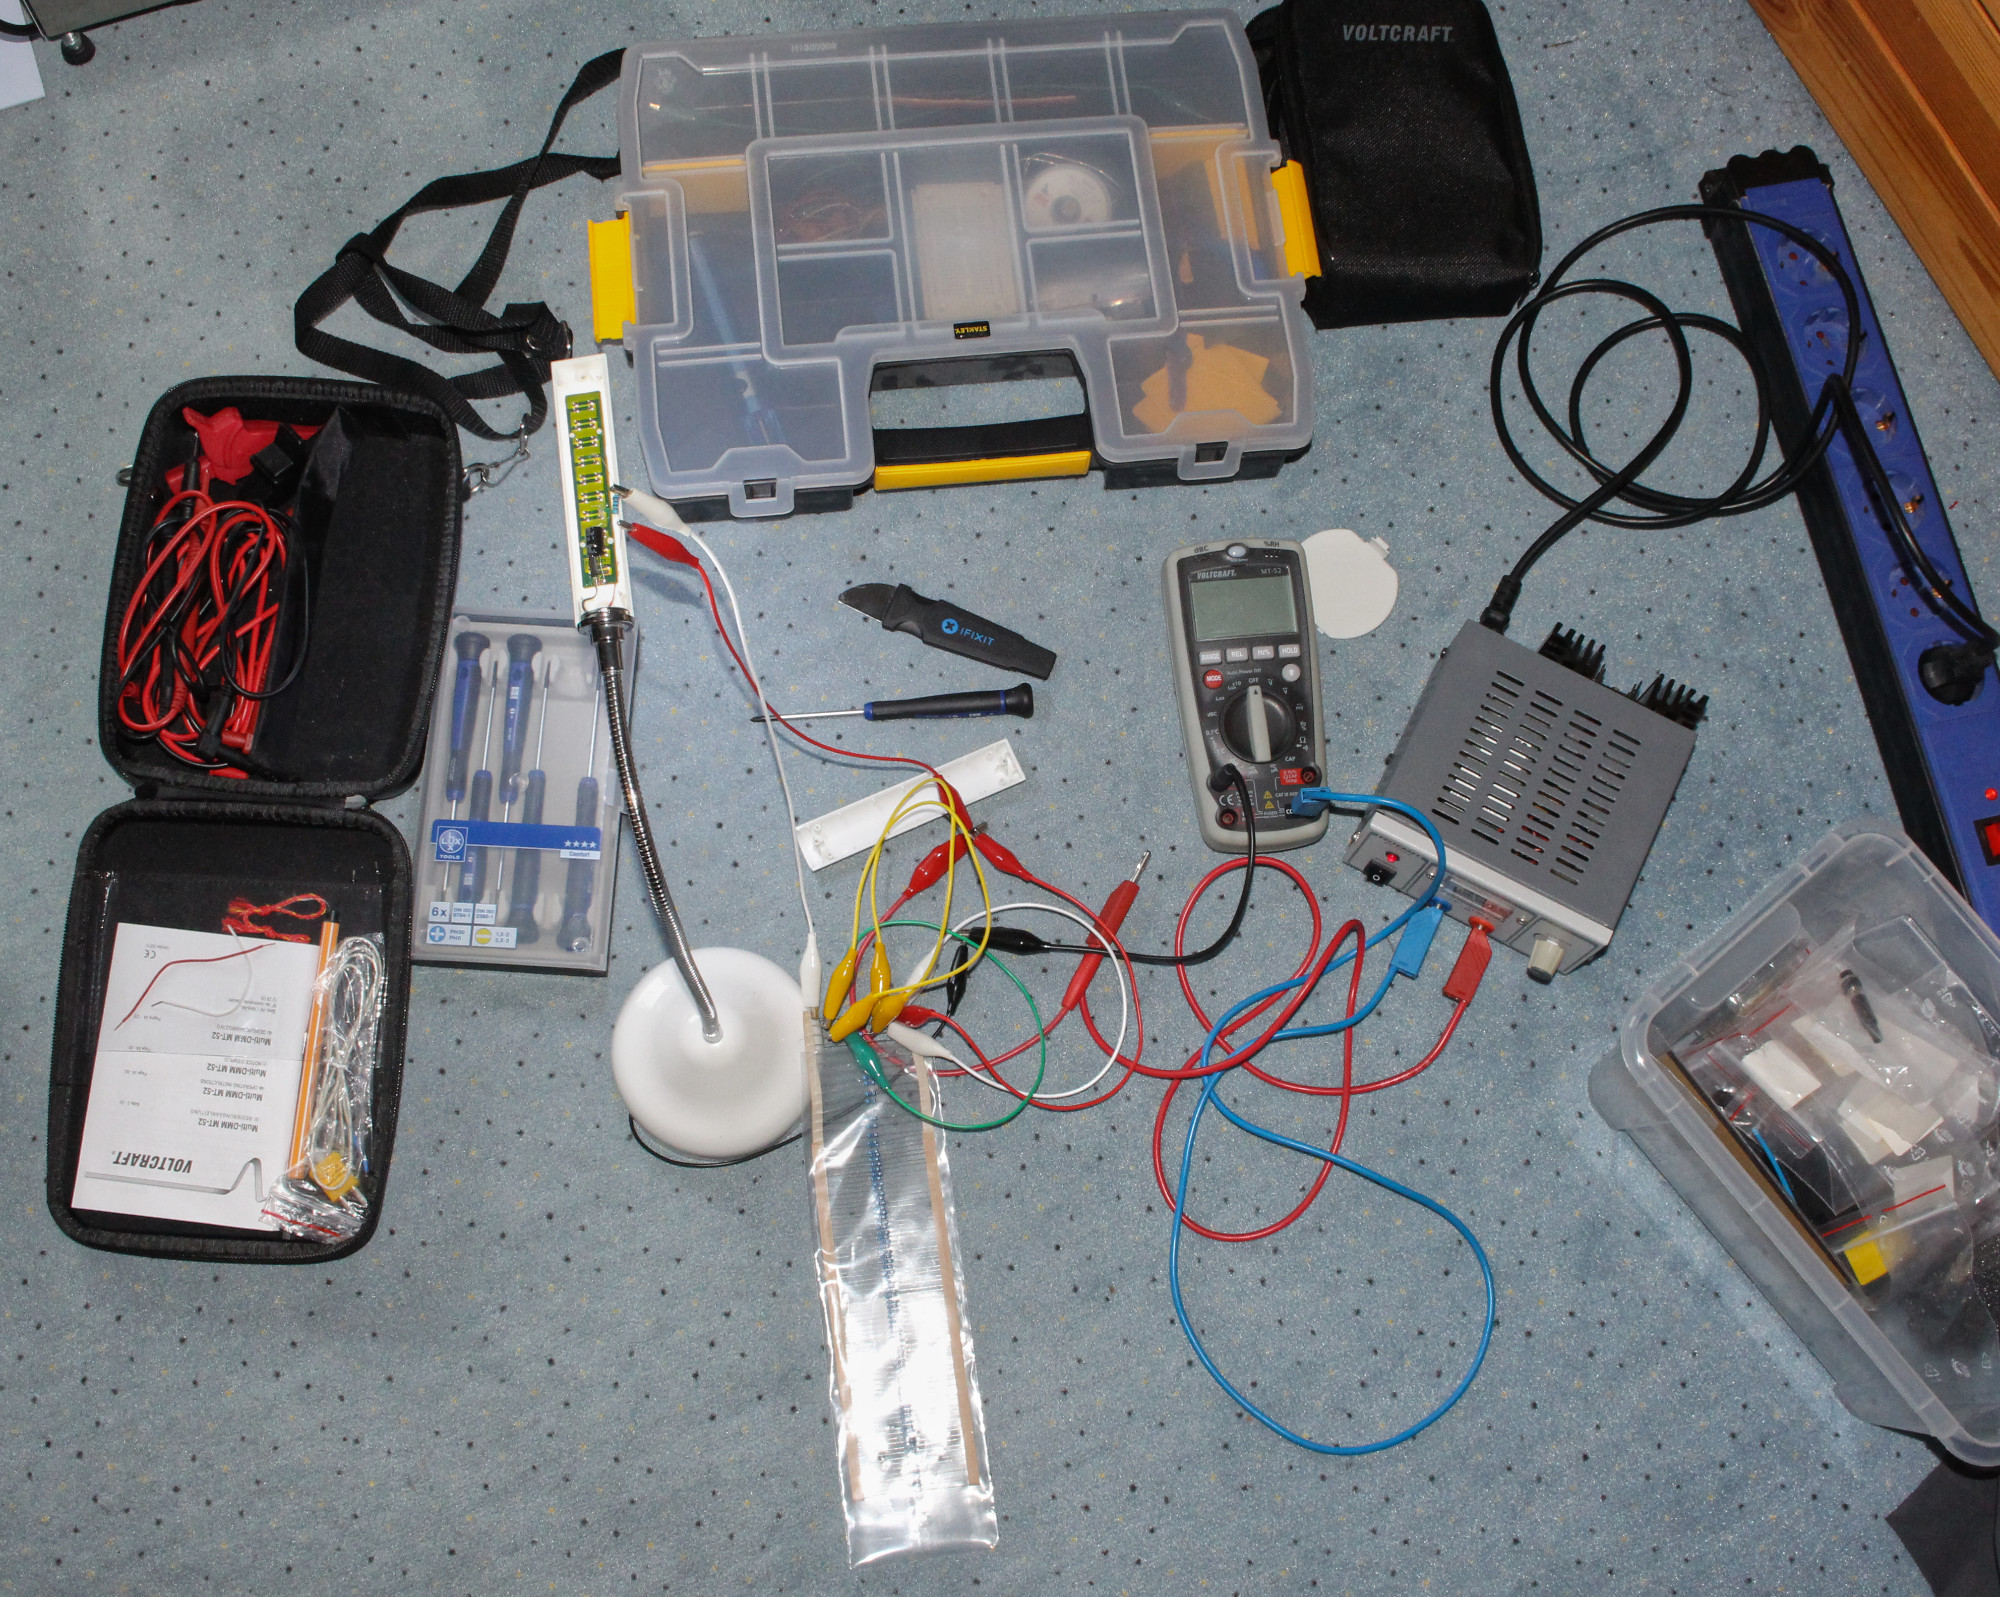
This here is to improve the cooling-bodge I have on my DIY-audio rack. Currently it is a 3rd Hand holding an old PC fan I had on hand, random wires stuck into the Tamyia-Output of a simple racing pack charger (as in: it is a constant current supply, 11.2V DC Powerbrick).
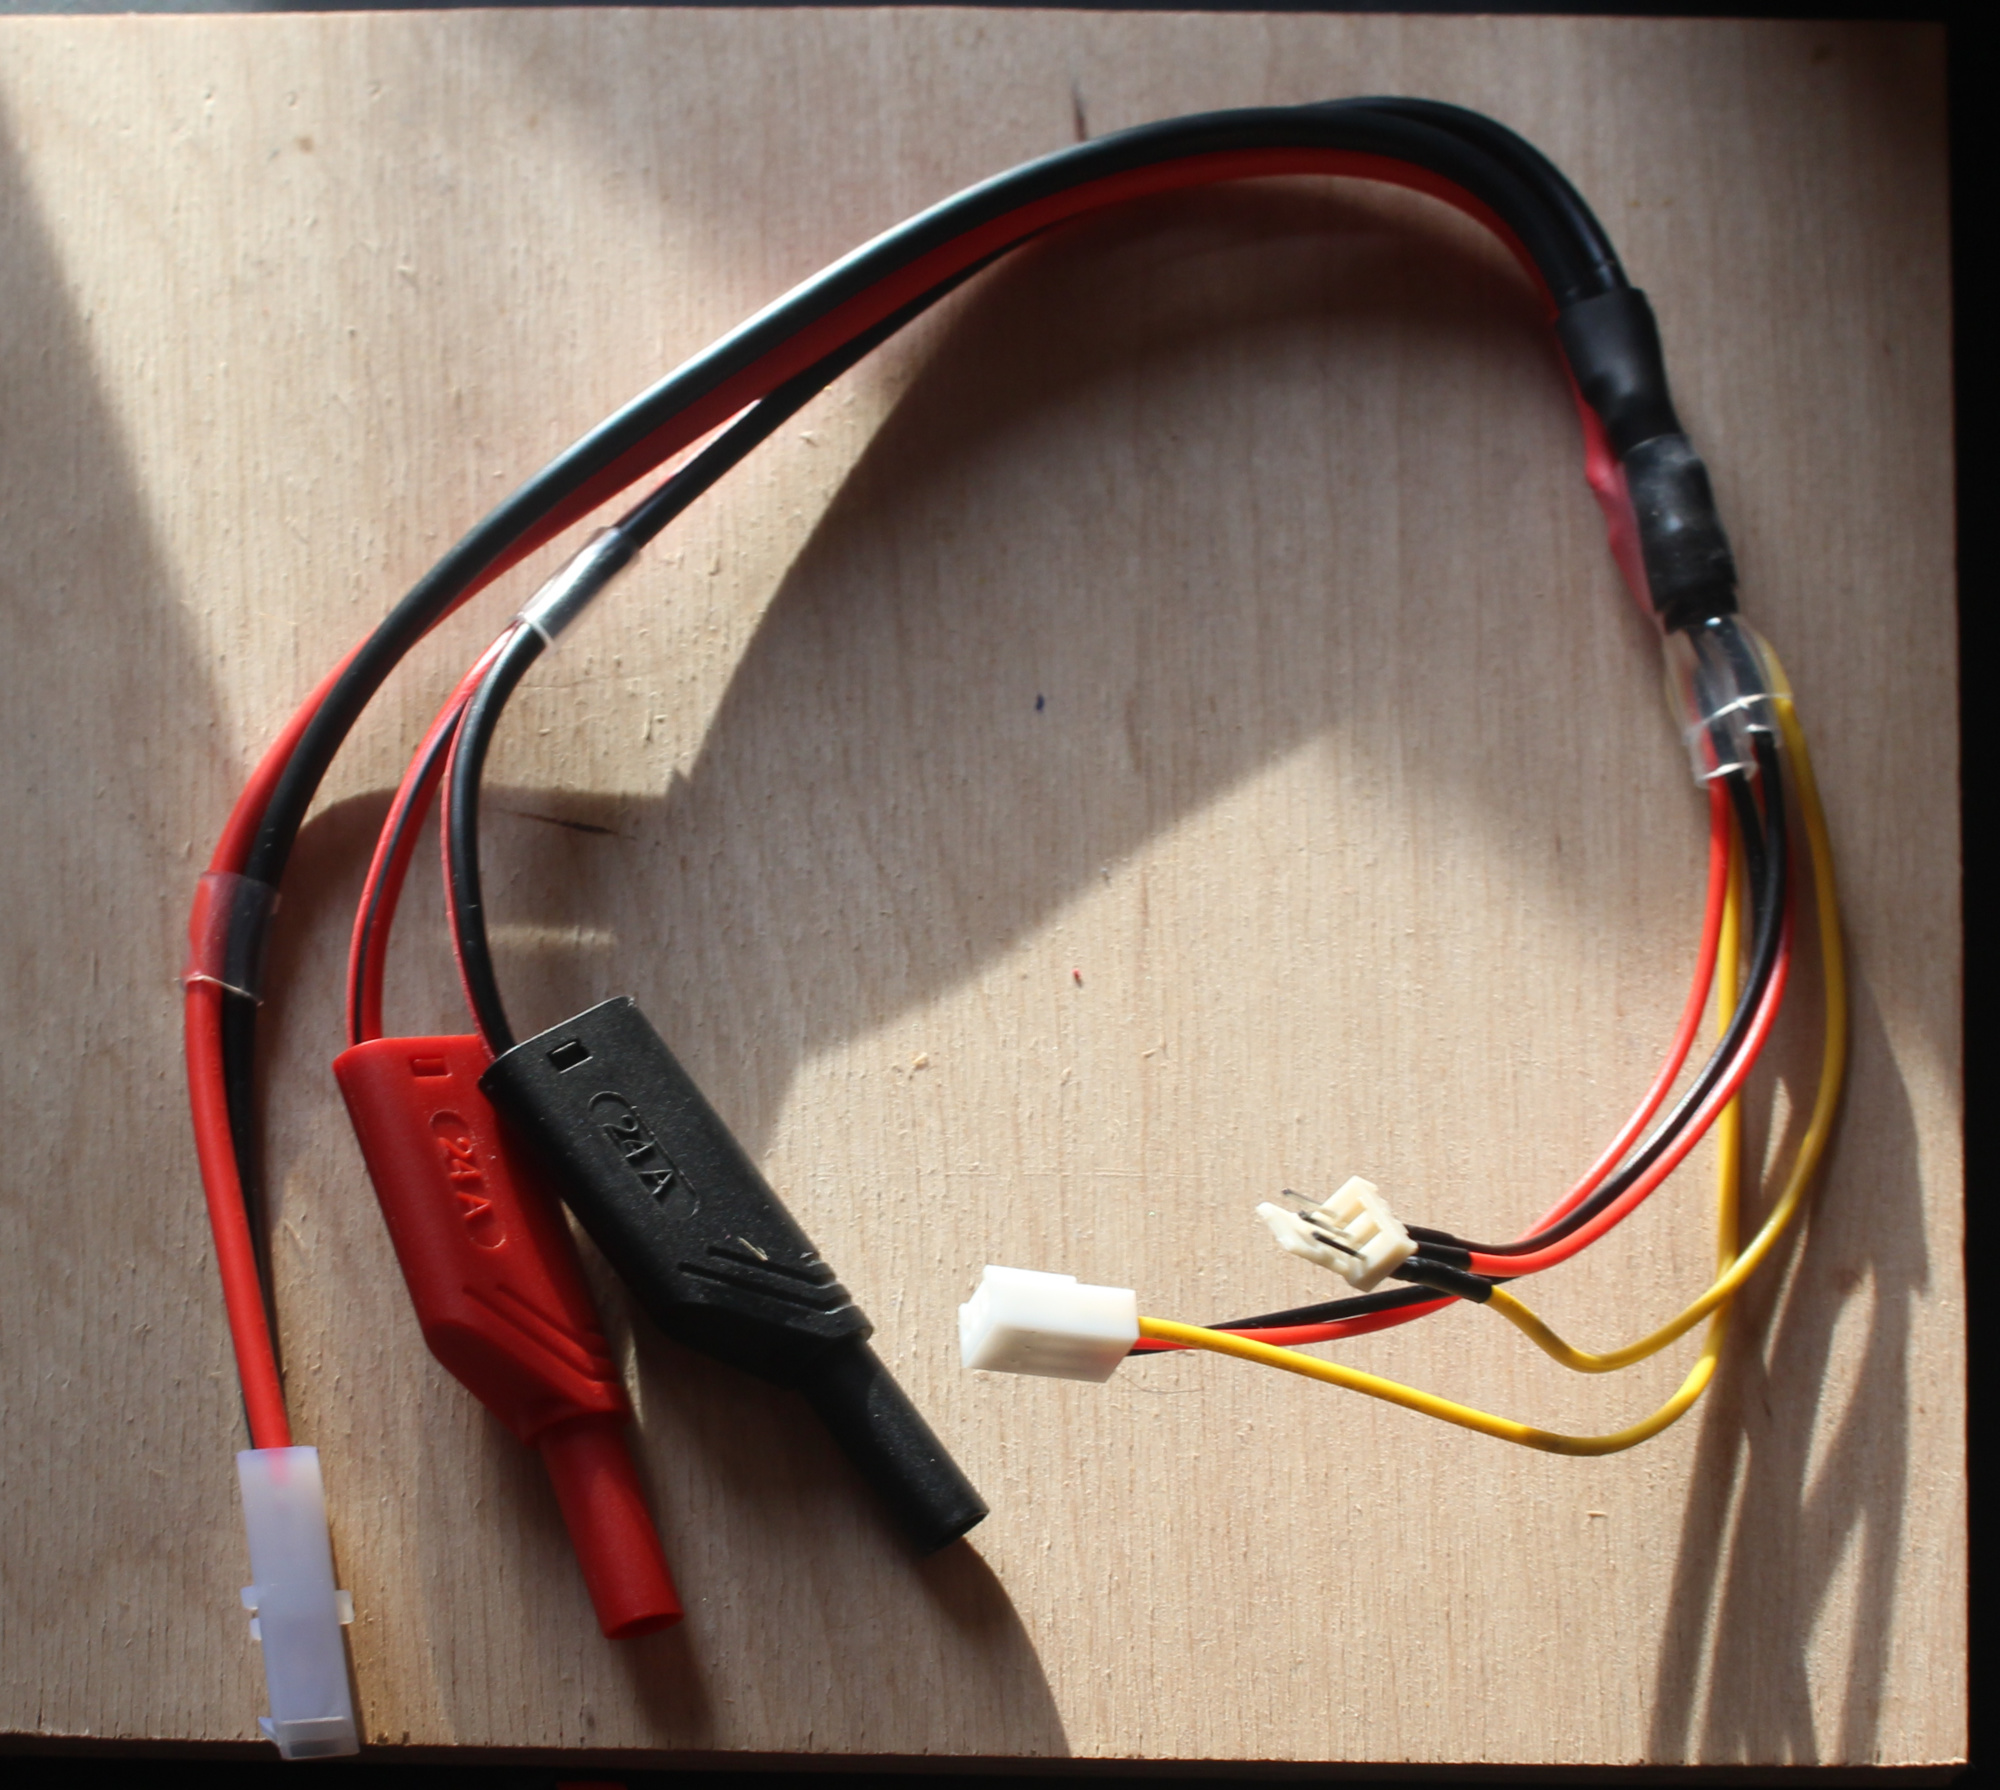
The goal of the adapter cable:
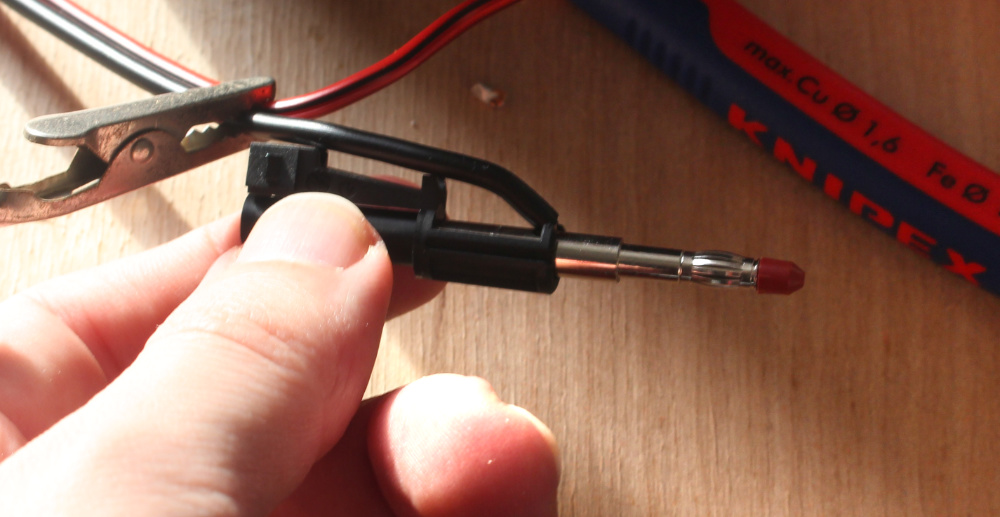
With that said, I present the parts:
To hook up the lab-connectors, I just used som speaker cable I had on hand.
There is a small grubscrew in the contact pin, just wind that back and stick the wire in.
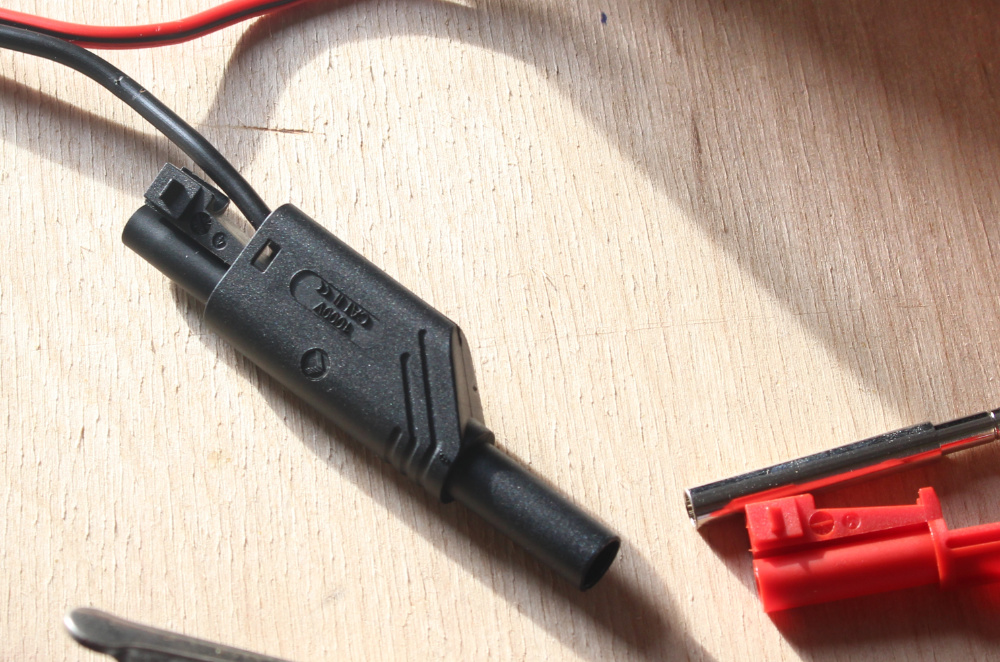
Slide the plastic bit on.
Then stick it into the caseing.
I cut the power part of the fan extension, soldered that to the lab and Tamyia connectors and done!
Came out better than expected but worse than it could be.
If you order stuff like the tiny85 from a jameco.com or lcsc.com (if you can wait on the shipping from china) you can get them significantly cheaper and without the pesky board: https://www.jameco.com/z/ATTINY85-20PU-Atmel-Microchip--ATtiny85-Microcontroller-8-Pin-PDIP_2151312.html