Introduction
After my initial idea for this summers project got stuck, I took out the list of many little projects I wrote down over the past year.
This thread will house a bunch of them.
perform sanitychecks = false;
do burn_fingers = avoid;
enable soldering_iron = true;
Projects
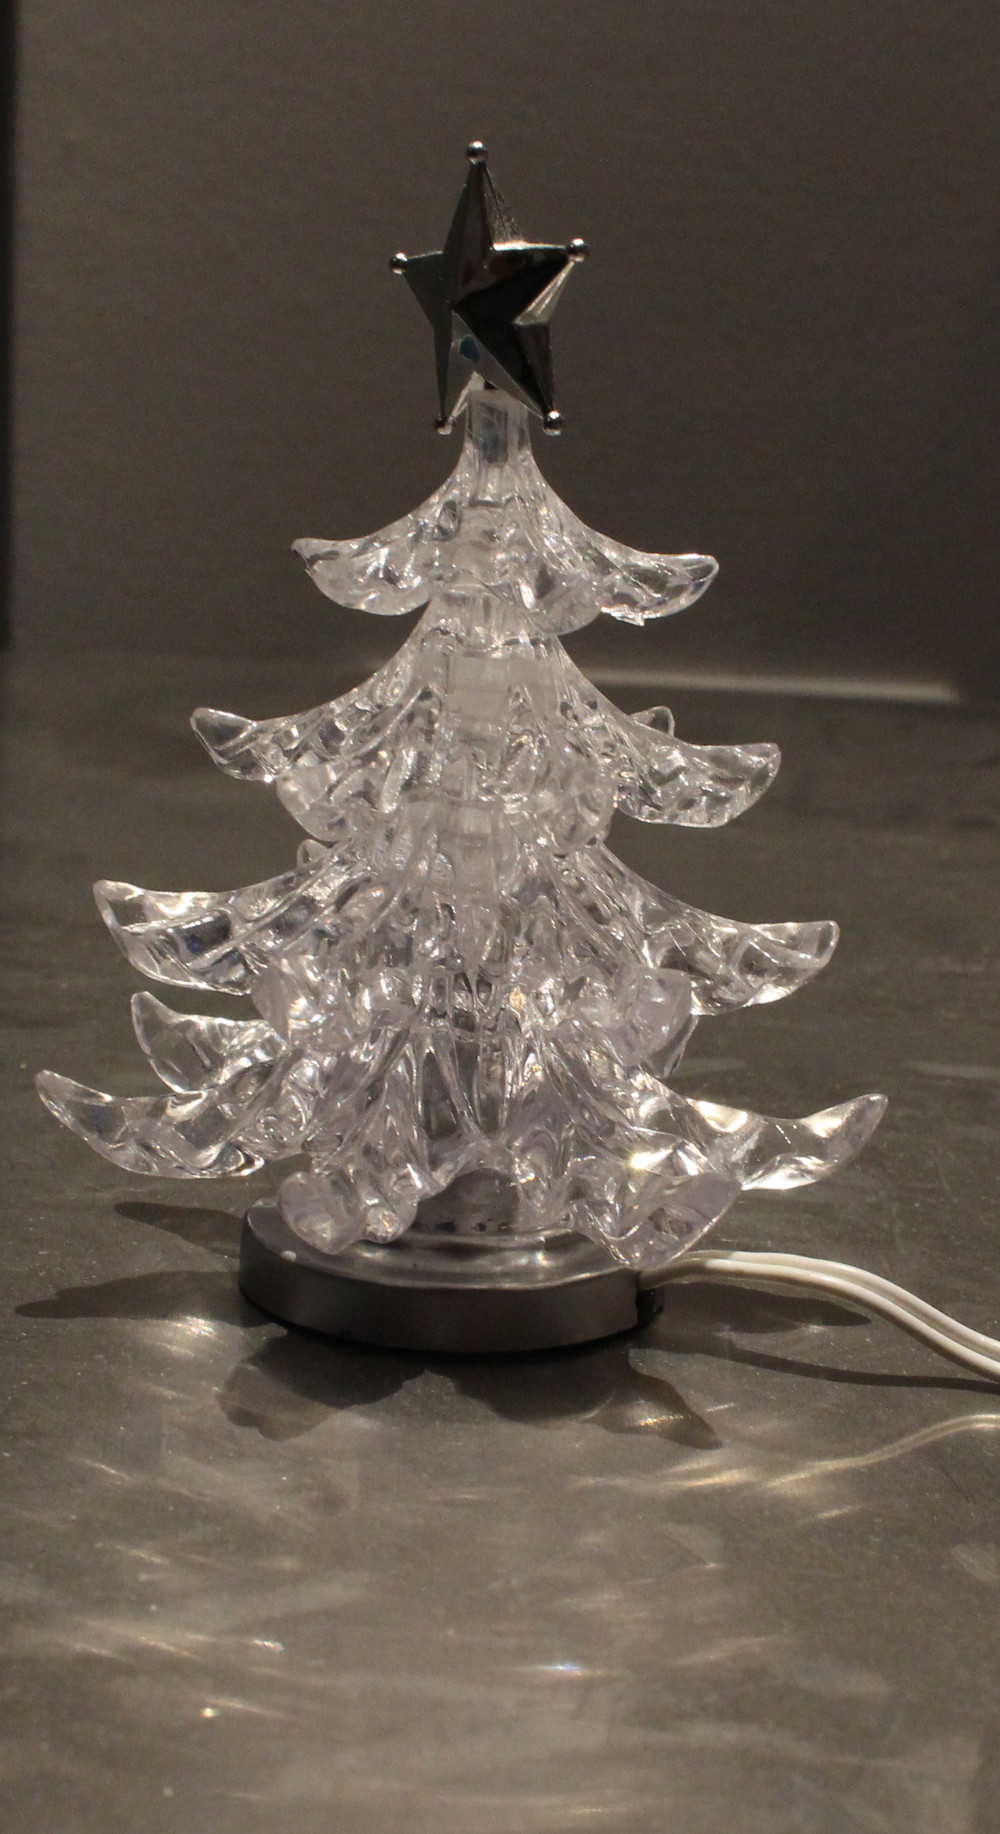
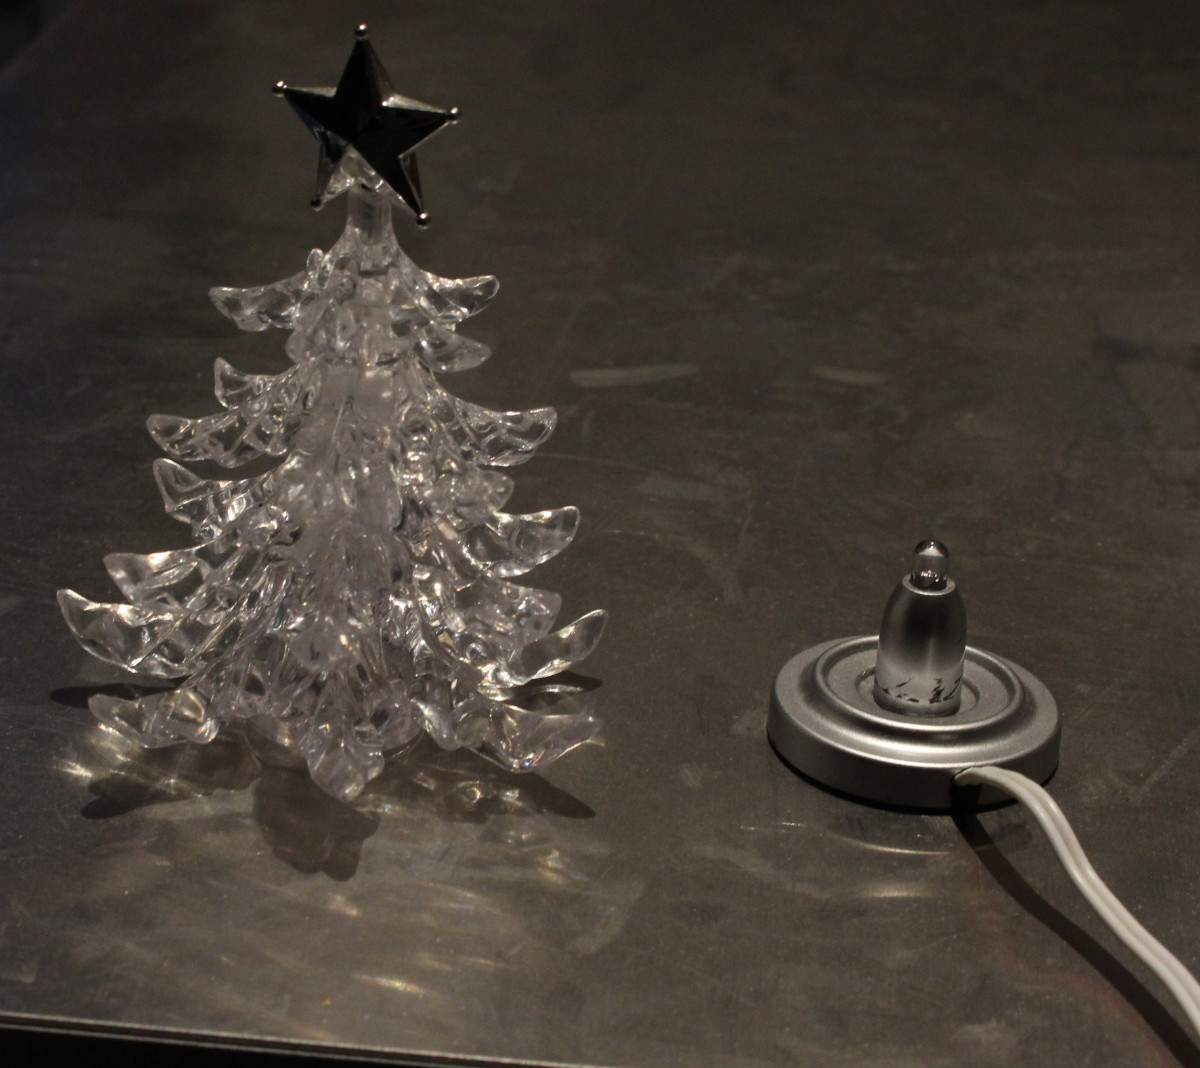
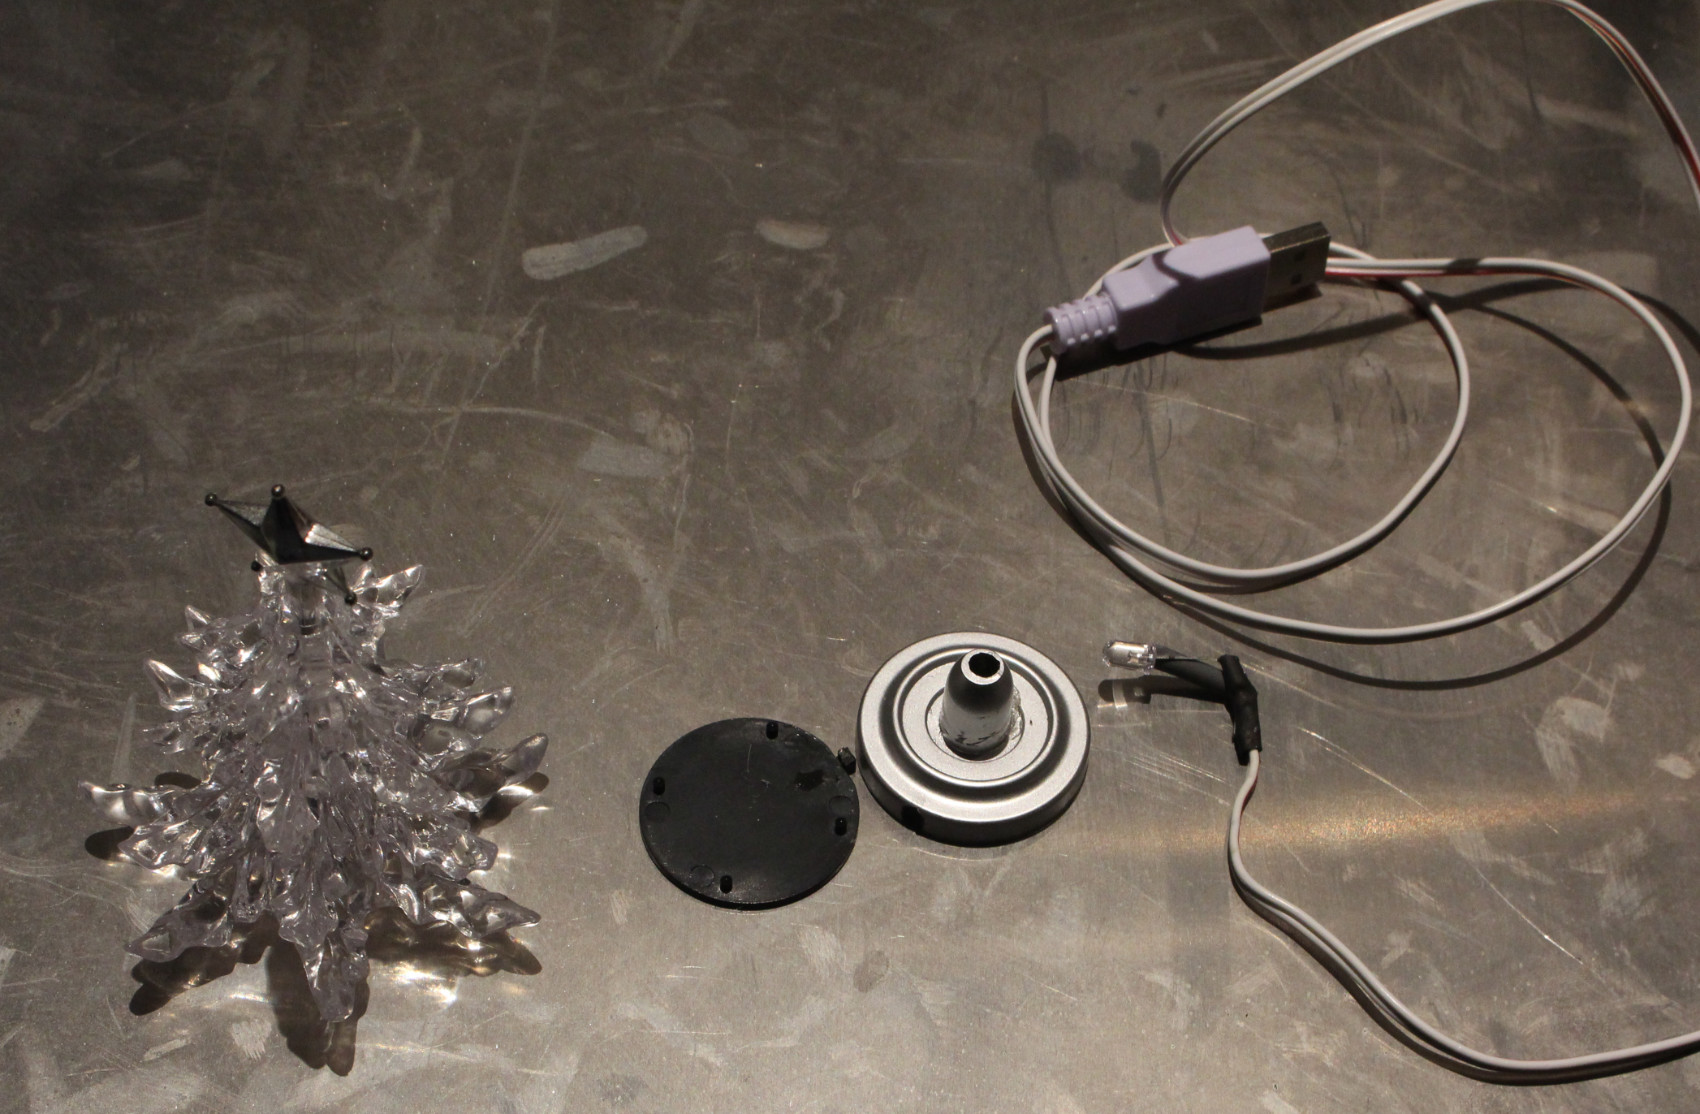
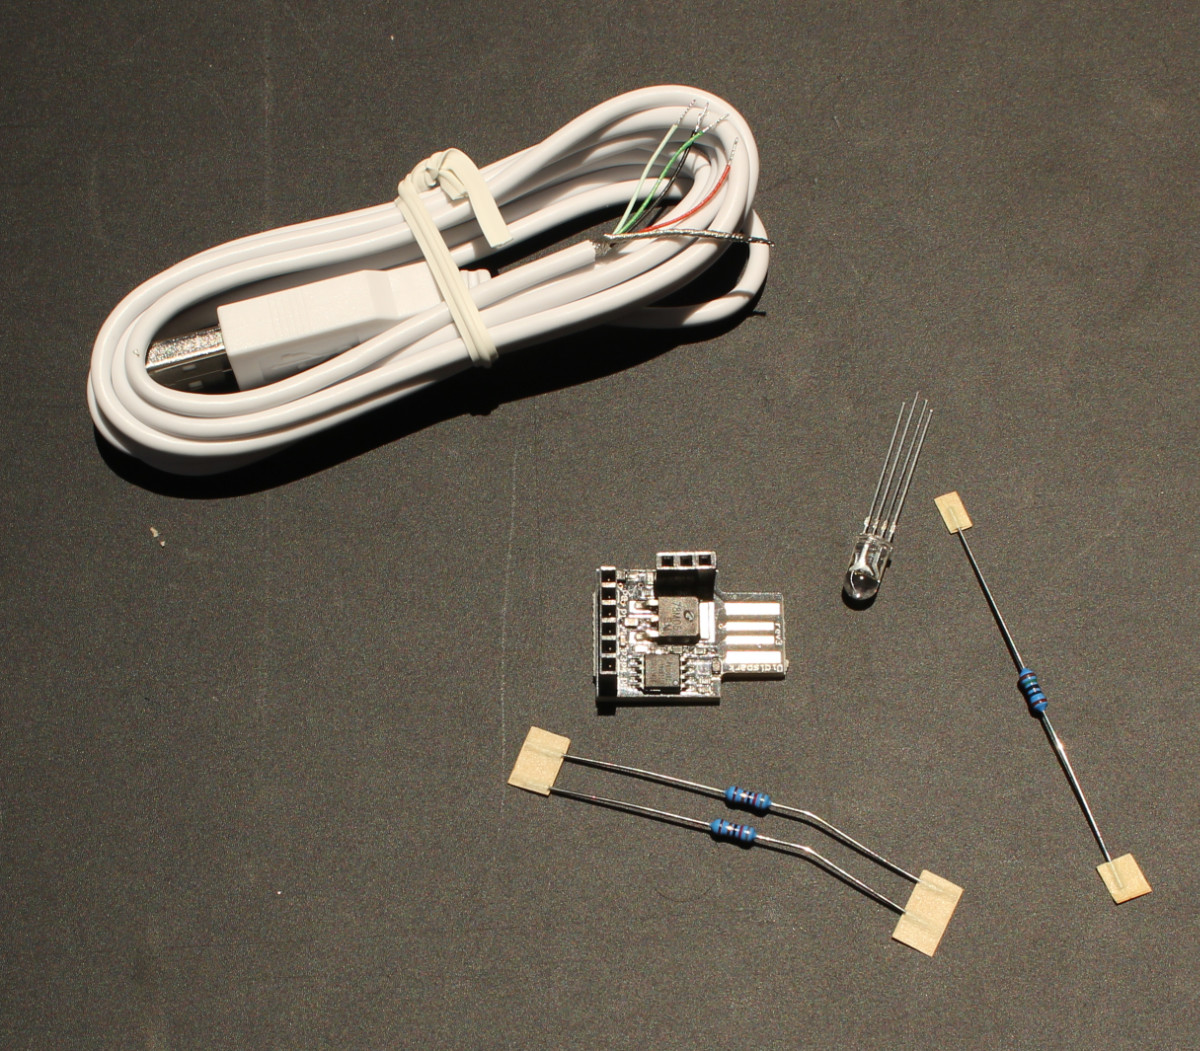
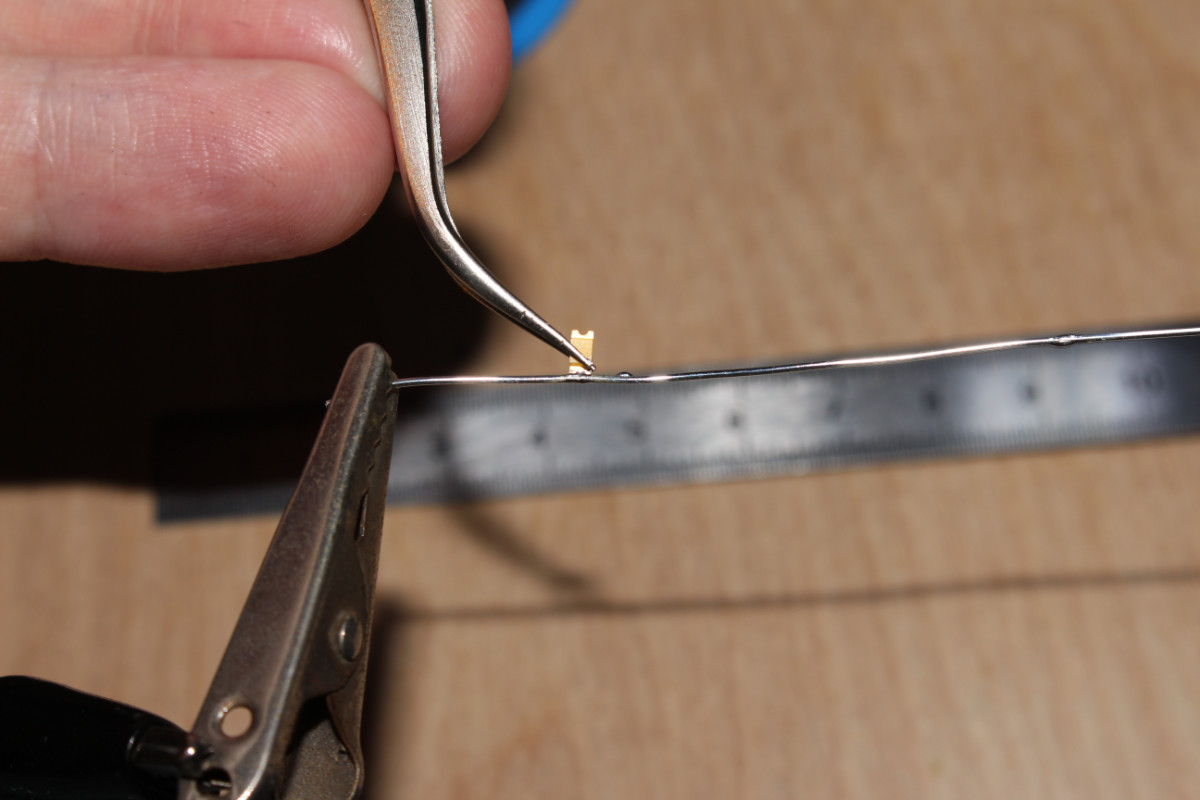
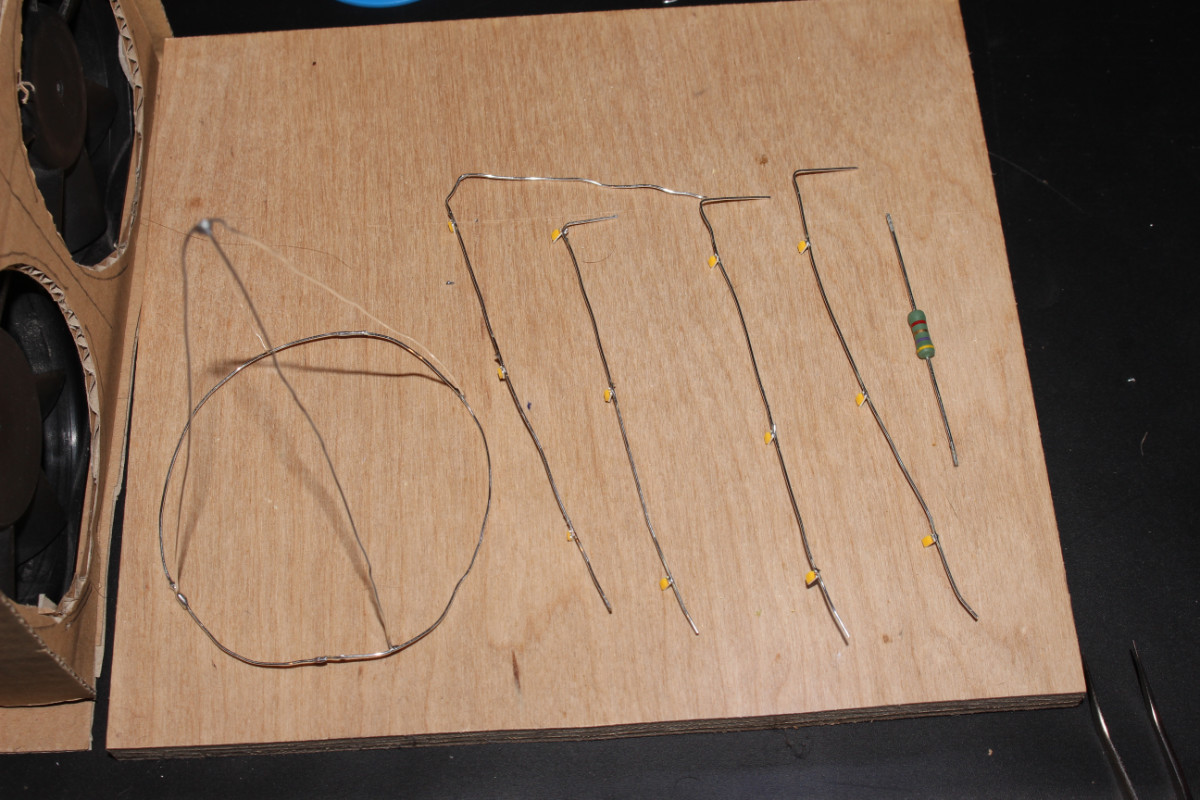
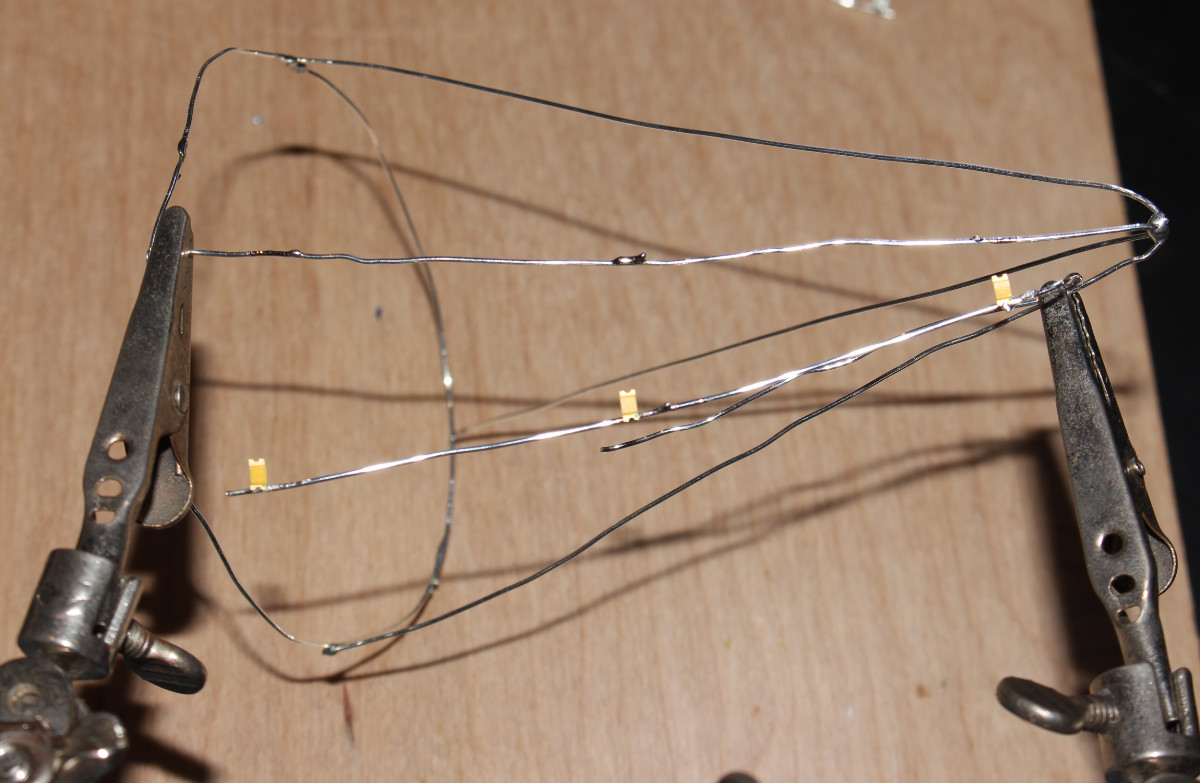
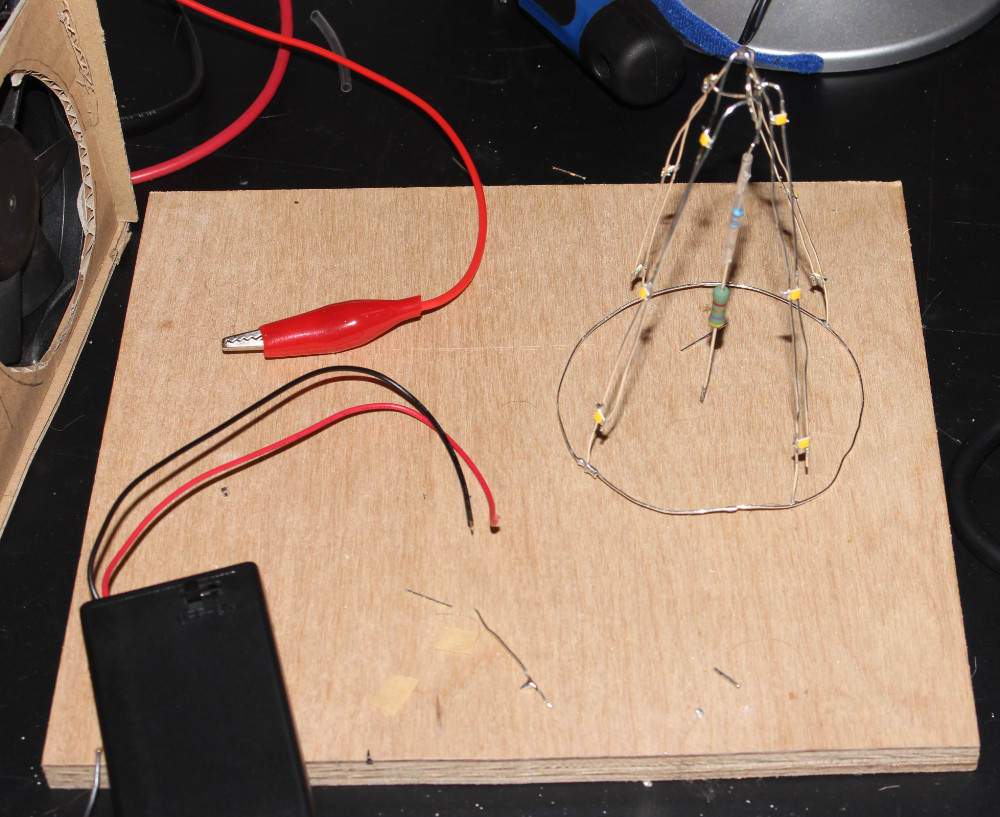
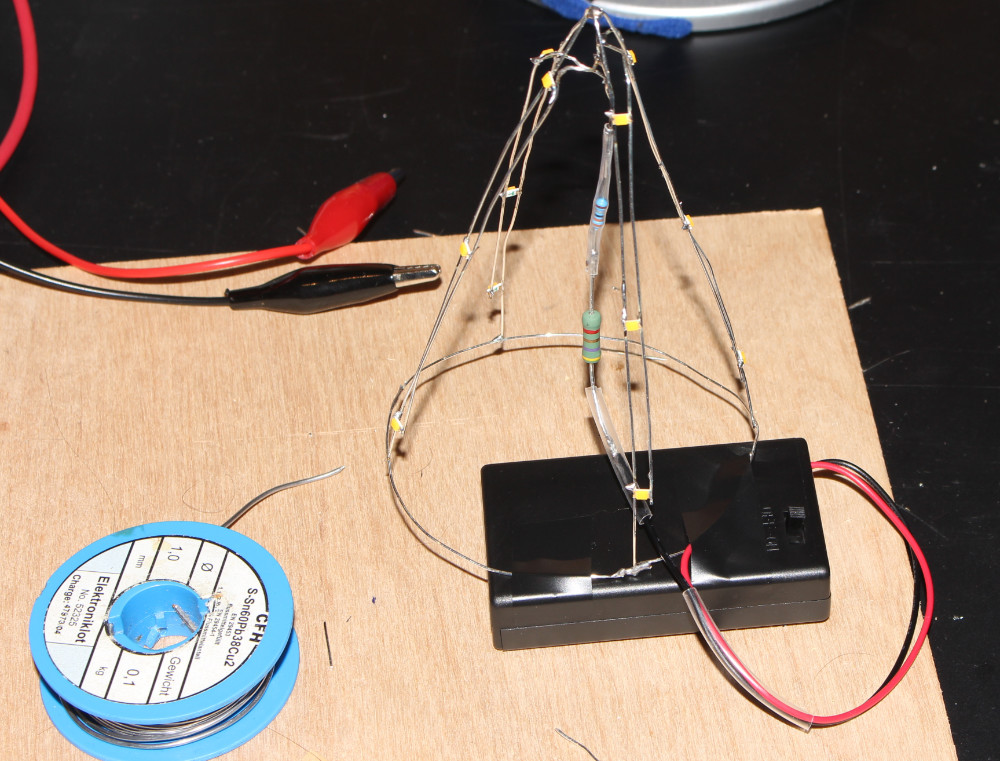
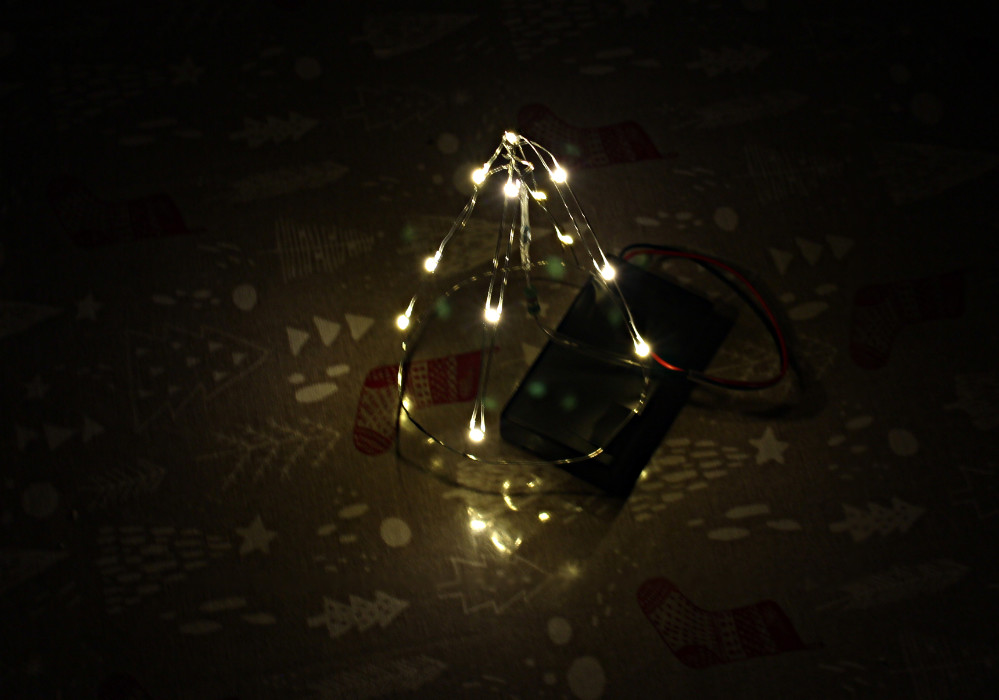
1 - LED-Christmas tree
Description: A cheap little USB christmas tree. As the original LED did not have a resistor, the one it came with burned out rather quickly. My instant fix was to solder some resistor that was in range of beeing the right one to it, and a blink cycling LED…
The idea: Replace the blinking LED with an RGB LED, attach that to a micro controller and programm it pretty.
Parts: Link
| Name | Count | Note |
|---|---|---|
| ATtiny85 | 1 | Cheap, simple, works |
| 150 Ohm resistor | 1 | |
| 56 Ohm resistor | 2 | |
| RGB-LED | 1 | 4-pin |
| USB lead | 1 |
2 - Battery LED Lamp
Description: LED light with an odd flickering quirck. I suspected the switch to be the cause (it is not), faulty wires are ruled out, a capacitor tacked accross the aray did not fix it…
The idea: Replace everything except the housing. New LED array, new switch, charge controller, battery.
Parts: Link
| Name | Count | Note |
|---|---|---|
| Switch | 1 | I do not trust the switch! |
| Battery | 1 | 500mAh, should result in 3 hours on time |
| white LED | 8 | |
| 39 Ohm resistor | 1 | >2W |
| Adafruit 1904 | 1 | Link, it is a charge controller |
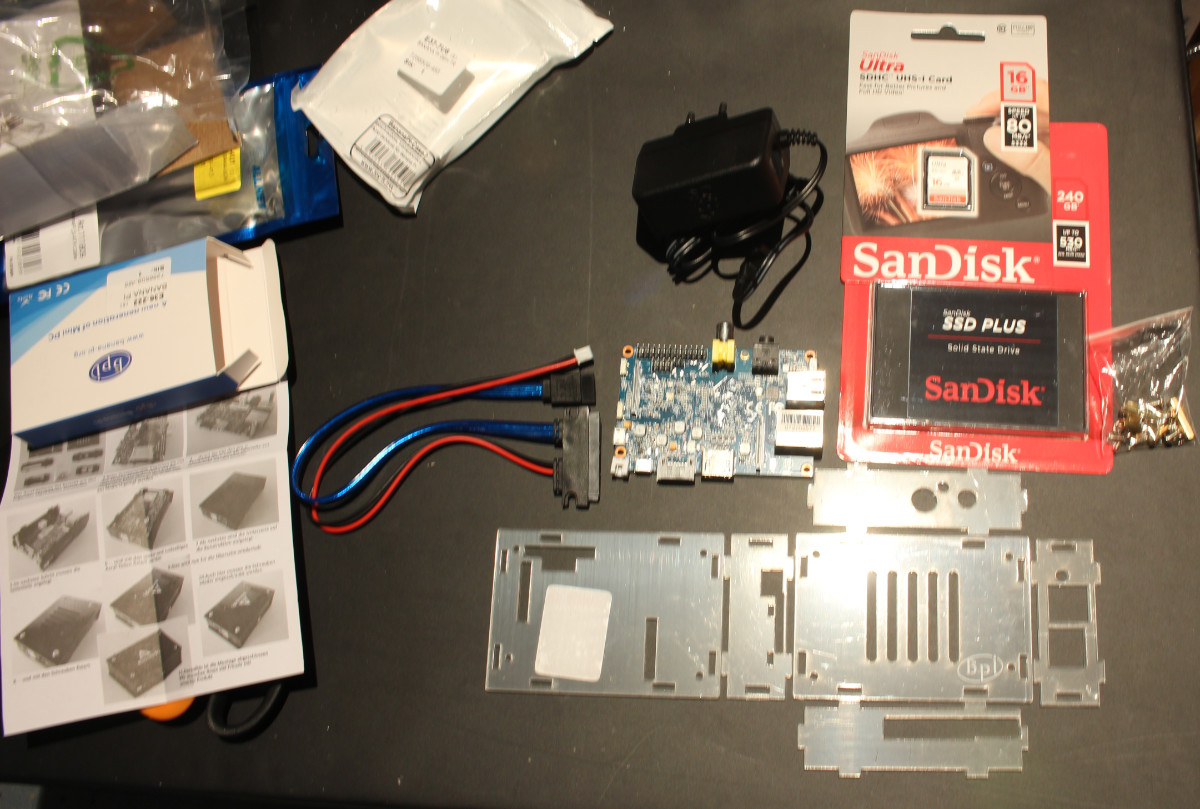
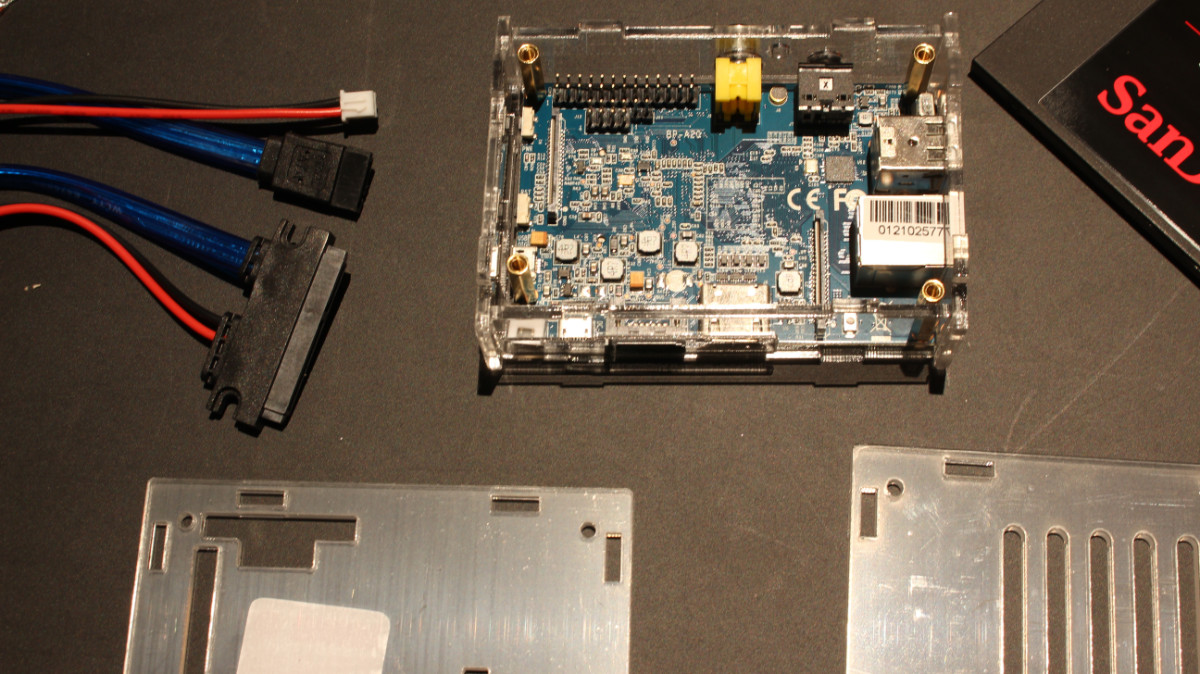
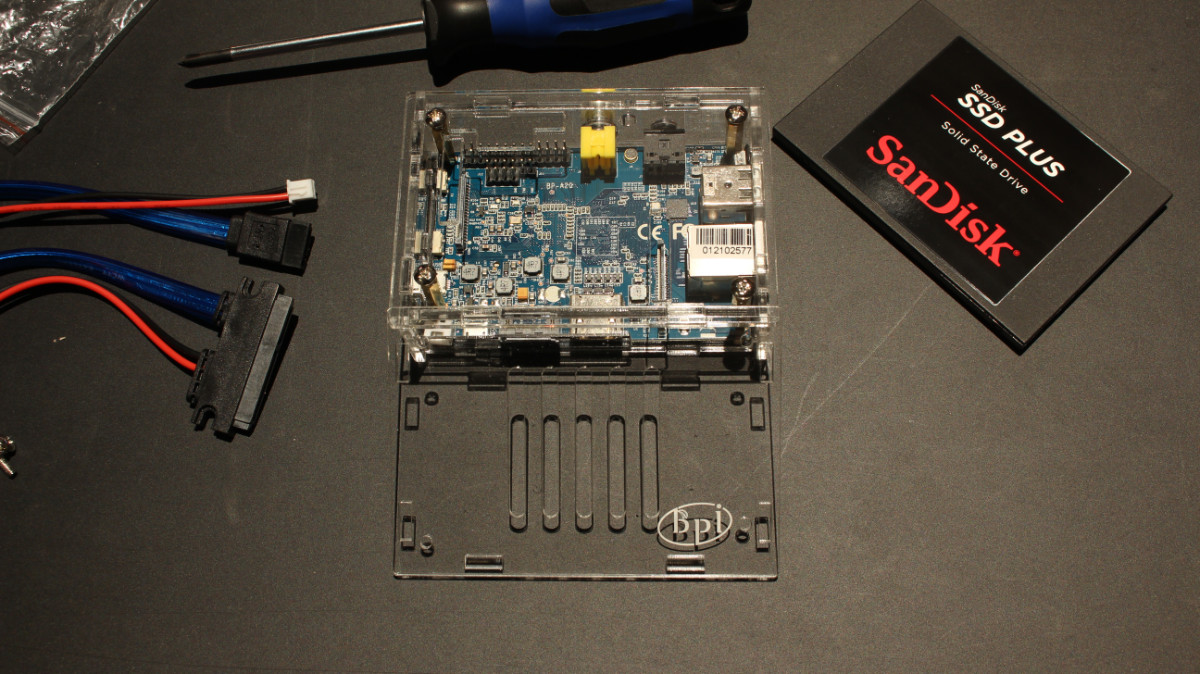
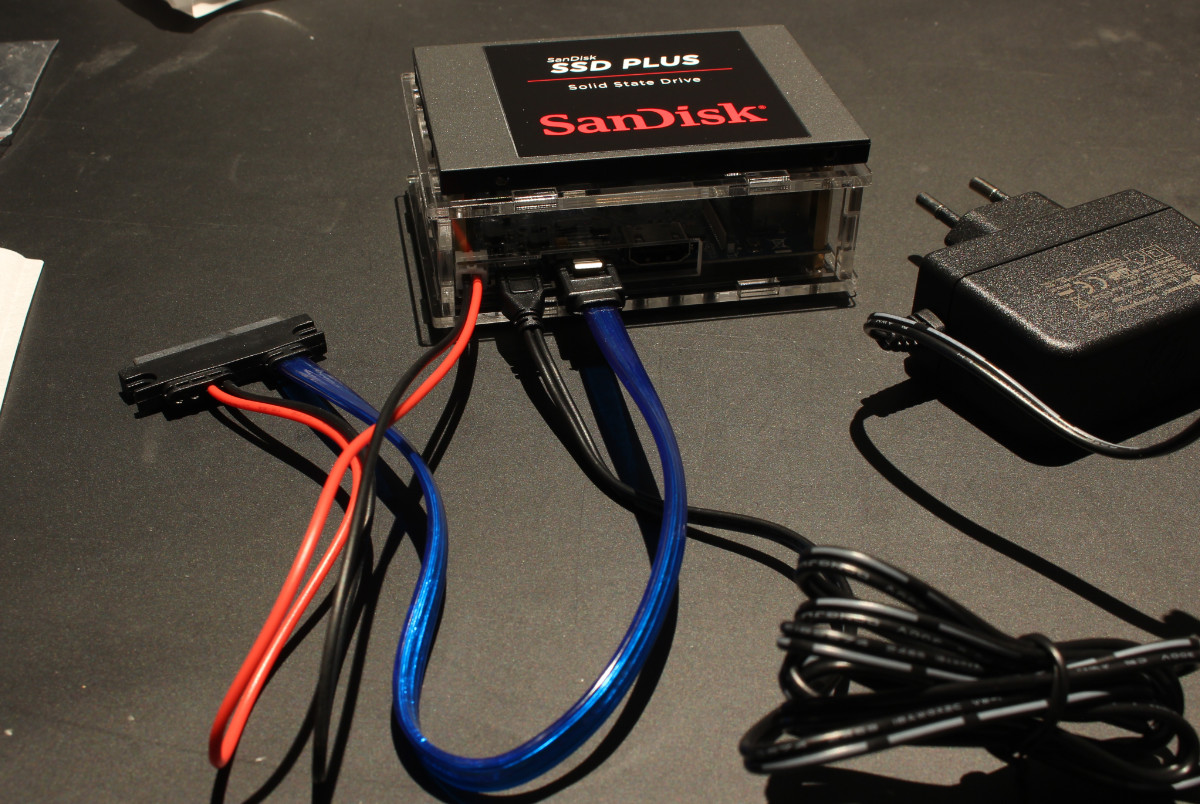
3 - BananaPi SSD NAS
Description: My mother and sister (sometimes me) are exchanging quite a lot of small files, be that single music tracks or a hand ful of photos. Right now, that happens via handing arround USB drives.
The idea: Have a BananaPi with an SSD, hide it somewhere and let that handle local file sharing. Be it via D-LAN or Samba (or something else).
Parts: Link
| Name | Count | Note |
|---|---|---|
| Banana Pi | 1 | |
| 5V 2.5A wall adapter | 1 | Or do I need 3A 
|
| Banana Pi SATA cable | 1 | curious how this works |
| Banana Pi case | 1 | |
| ADATA SU 630 | 1 | Unsure about capacity, 240GB, 480GB 
|
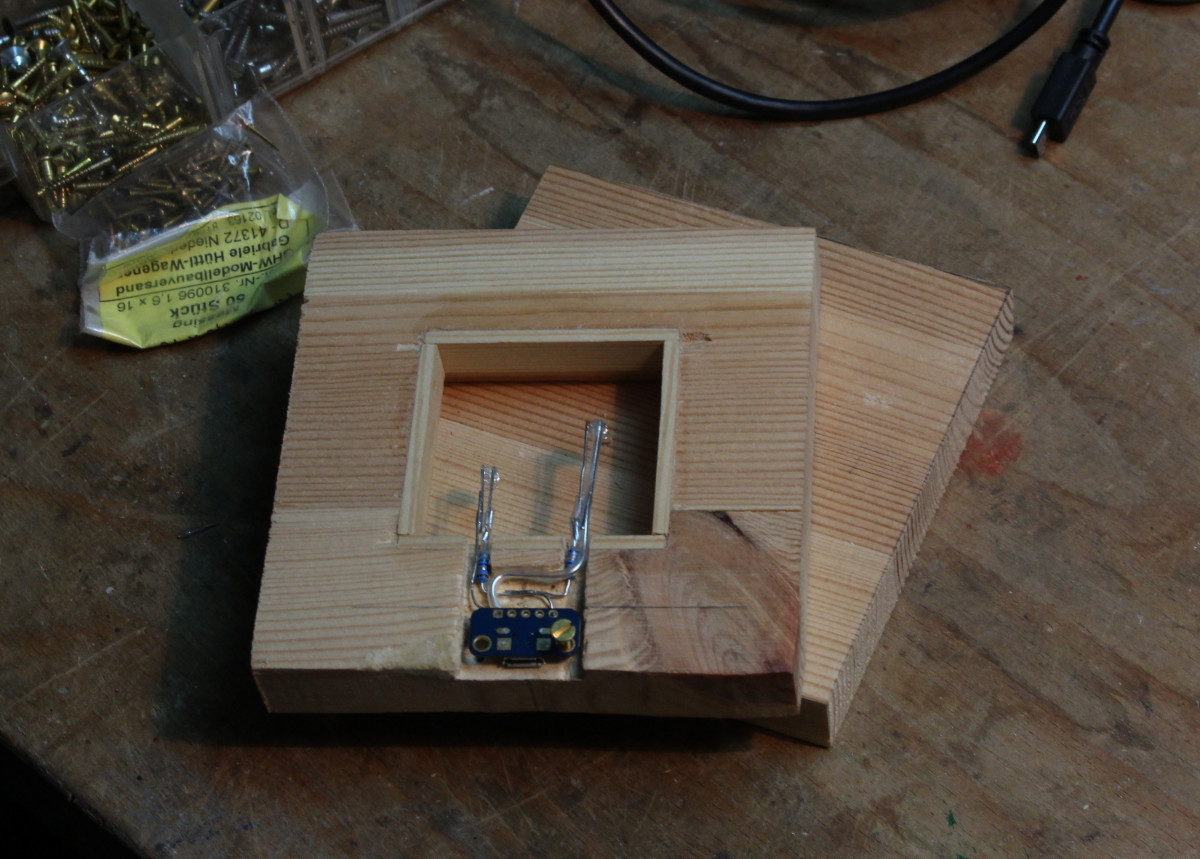
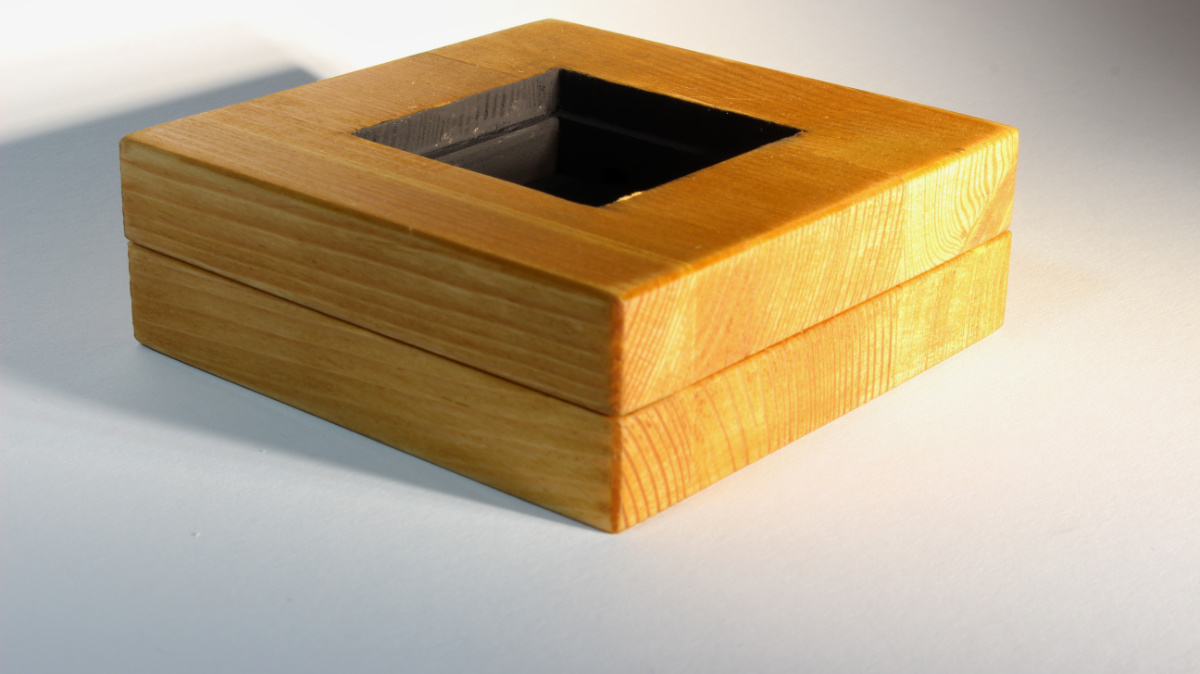
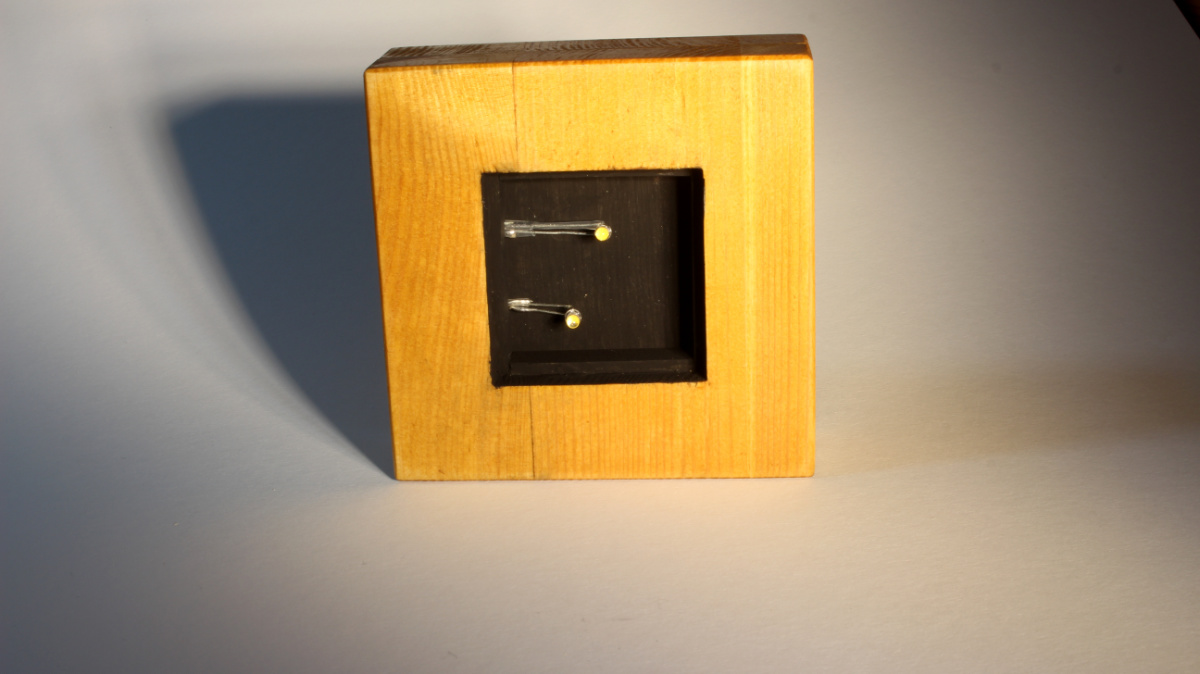
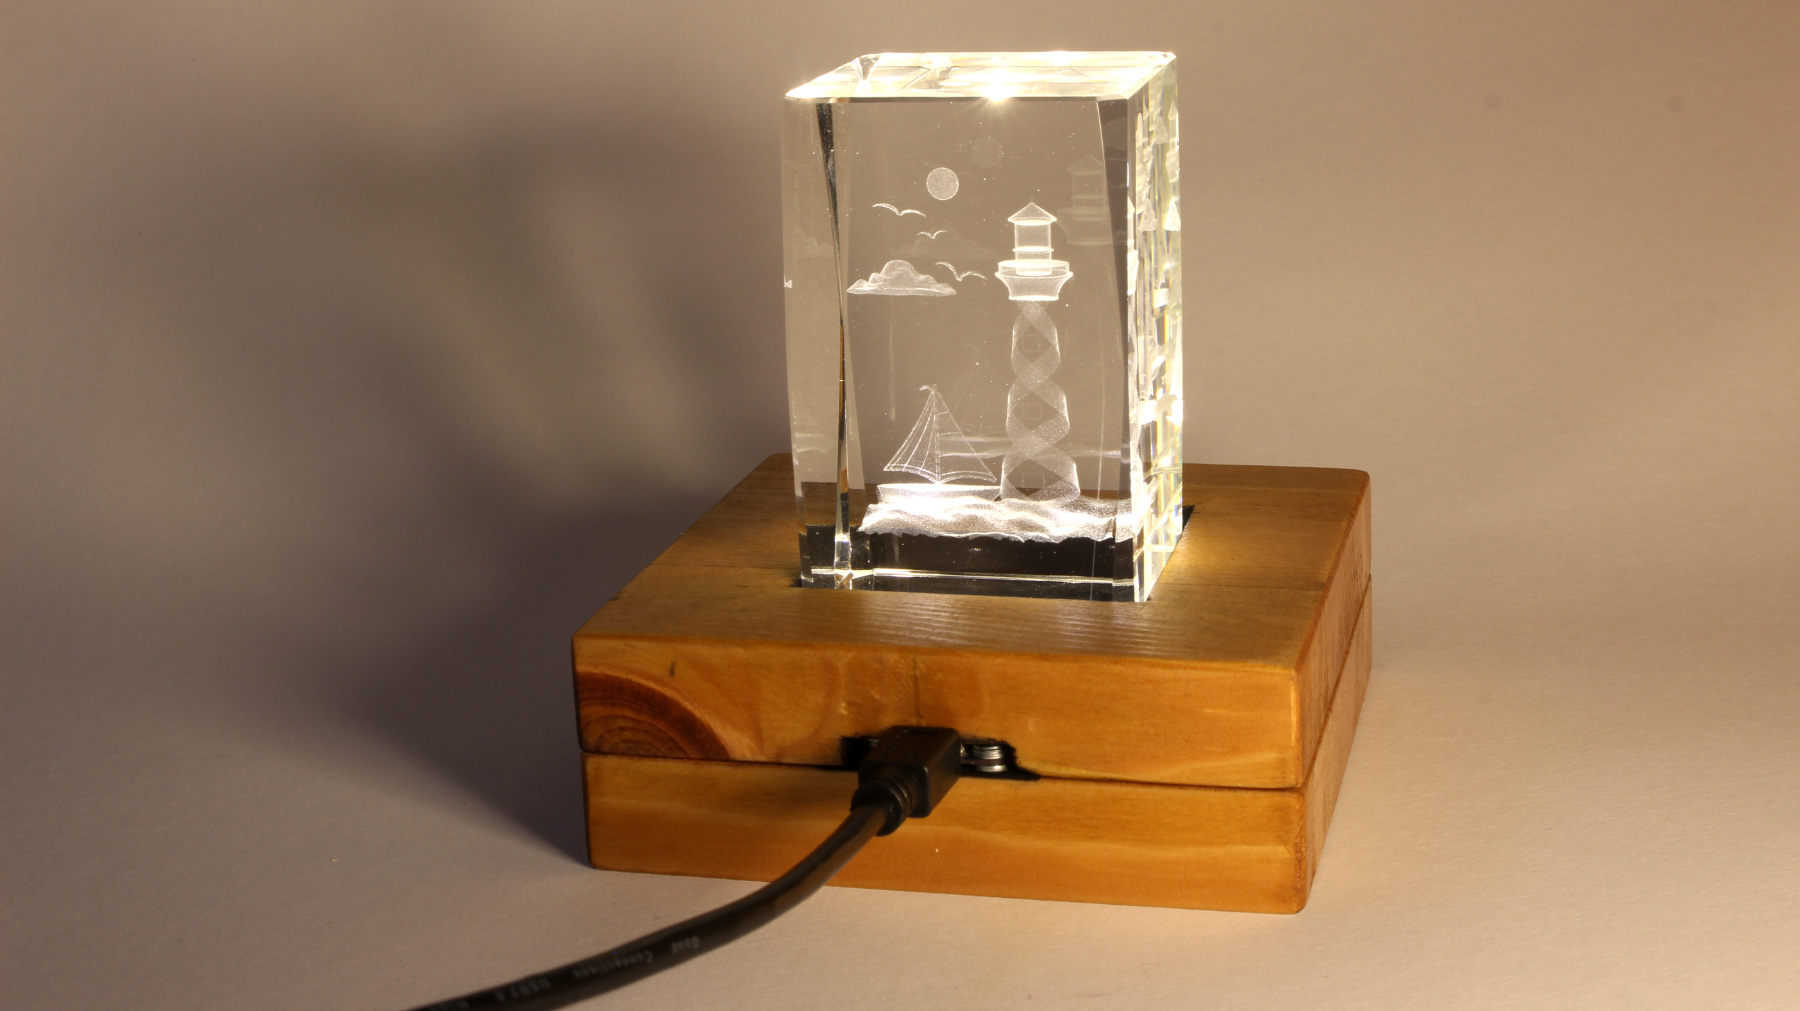
4 - Illuminated base for etched crystal
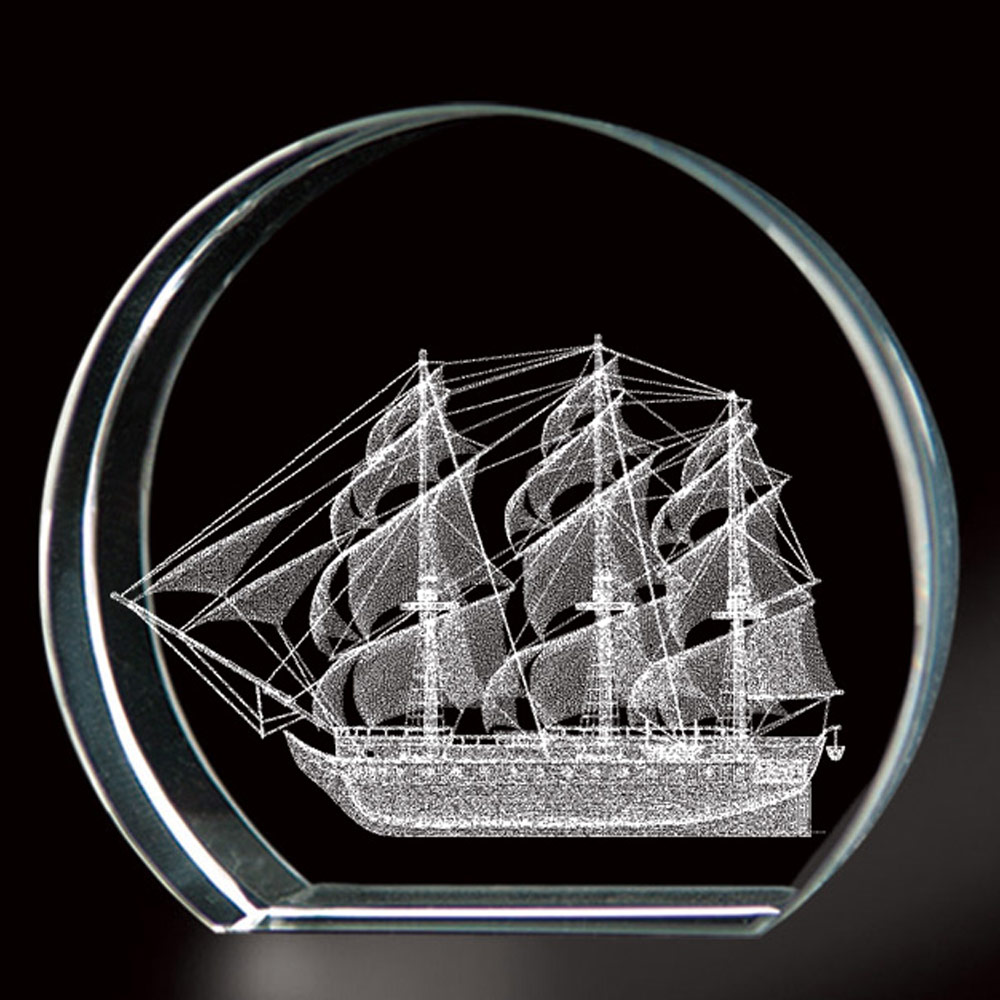
Description: I got one of these laser etched glas blocks similar to this. I want to give it an illumated base to rest on.
The Idea: Wood base with one or two LEDs in it, maybe light blue and amber?
Parts: Link
| Name | Count | Note |
|---|---|---|
| 3mm ww LED | 3 | One spare |
| 56 Ohm resistor | 2 | |
| 3m micro USB cable | 1 | Costs nothing, so better have one spare |
| microUSB breakout PCB | 1 | Makes soldering to it easier for 20ct more |
Thoughts
Some user input would be nice. Especially on the Banana Pi NAS.
All else is good to go as is.


