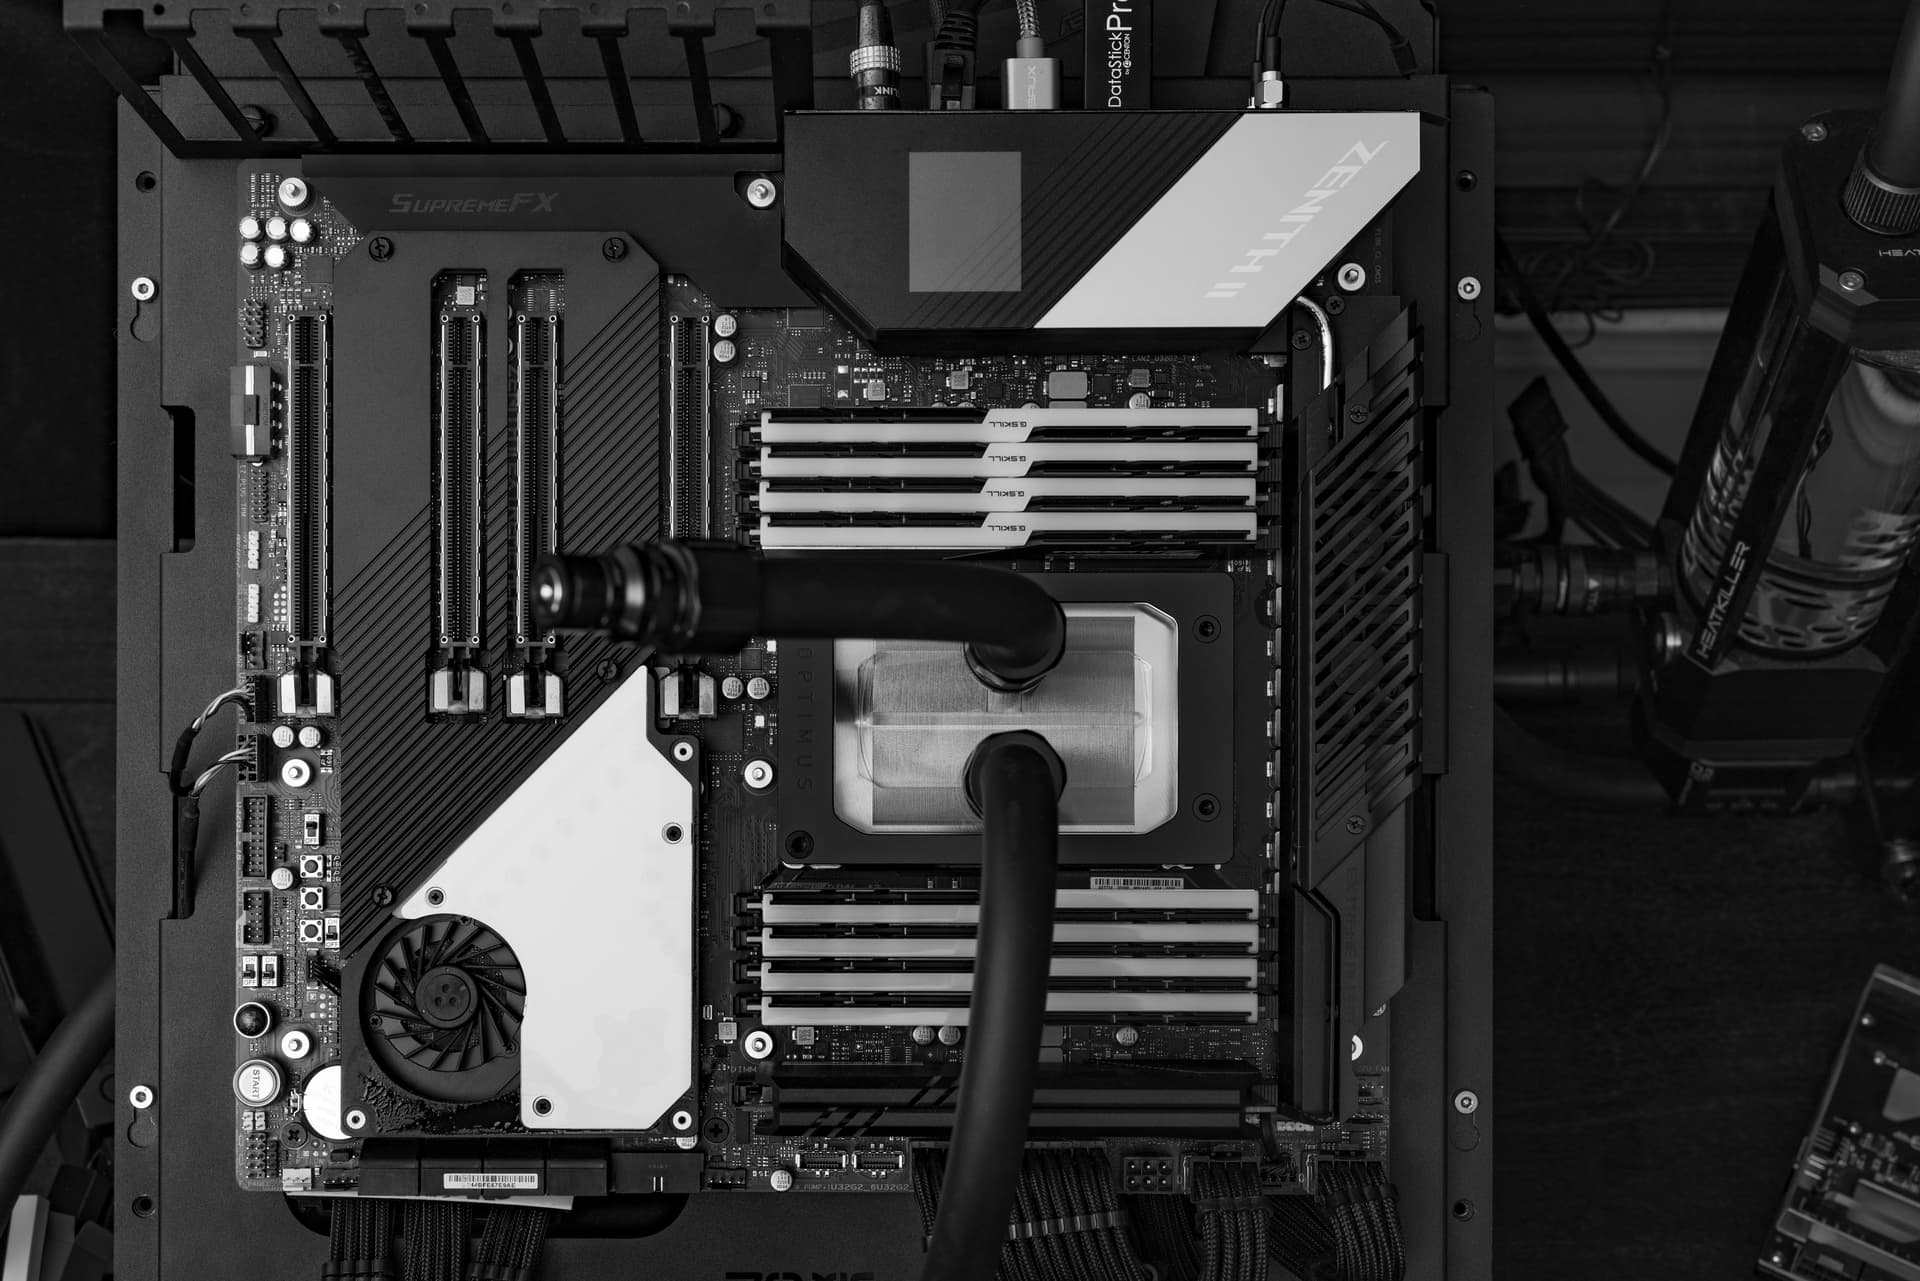
More pics of the Optimus CPU block.
The fins are sooooo dense.

Just nuts.
@Donk Hah! Thank you.
Yeah these Optimus blocks are incredible. Didn’t you have the raw copper version though?
Yeah, I swapped it to the Nickel to match the GPU block.
Still looks incredible! Your photos make it look even better 
Thank you very much!
I started the Sanjūni build knowing I would need to run the GPU on air for an uncertain amount of time. The only path to obtaining a GPU without paying scalper prices or enlisting bot mercenaries, was patience. EVGA came through with the 3090 FTW3 thanks to their queue system. At the time, there were only plans for blocks. Soon after, EK “released” their block, but it took forever to come to market after being announced. Even if I wasn’t holding out for Watercool or Optimus, that first batch sold out immediately. At this point, Optimus’ backlog was infamous, so I kept an eye on Watercool a bit more. It was promising at first, then silence. December came and went. January was even more silent, and by February, there was at least news via twitter that Optimus would begin making batches available “weekly.” It did not inspire confidence that each tweet was filled with people wanting to know where their orders from November were, but being on a list was better than nothing.
Sanjūni was already up and running in its CPU-only form, so I signed up and started waiting (and waiting). Fast-forward just shy of the two-month mark and SHIPPED! It was about double their longest estimate, but this was about what I was anticipating. From the perspective (and experience) of the r/watercooling server, I got my order quickly. Optimus is both very small and very new. Communication is something I hope they improve quickly. Given the strain on the entire water-cooling market with GPU blocks, I do not think saying 4-8 weeks would have scared anyone off. It certainly would cut down on frustrating tweets about missed deadlines and ignored emails. A lot of new companies do not want to be seen as small operations but, being more forthcoming about capacity and expectations would have gone a long way here.
Ok, the wait was long, but was it worth it? Absolutely! Was it worth the premium? I would say so. The design approach, the material choice, and the overall excessive nature of the block shows how uncompromising Optimus’ vision is. It is very much “we’re going to do this crazy thing, and if you want to come along for the ride, let’s go!” The acrylic is extremely thick and nicely finished. The clarity is glass-like. The slab of copper is substantial, and the fin array is large and dense. I opted for the XL backlate. It comes with a full-length Fujipoly 3mm pad. It is pre-cut and applied. The rest of the strips are pre-cut but, need to be applied manually. At some point, I would like for them to come pre-applied like Corsairs’ offerings. The price lends itself to that experience, but I do understand they would need more tooling/time and are not at that stage yet. With that said, the film on these pads was easy to remove. More so than either of my EK or Watercool blocks. Overall, I am please with experience. You really understand the mission once you get their blocks in-hand. I also swapped over to the Nickel Threadripper block to match.
In terms of performance, there was a nice jump in both peak and sustained frequencies. I used TimeSpy Extreme to help visualize this. On air, I was getting peak clocks of 2085 with average clocks being 1875. Average core temp was 59C @ 100% fans speed. On water, this improved to 2235 peak with average clocks at 2040. Average core temp was 35C. Fans on the MO-RA3 were kept at 700 RPMs which is not audible over anything else in the room. For memory, I installed NiceHash at the request of a friend, and let it run for an hour on air right before I broke the system down to install the water block. The junction temp went from at worst being peaking to 95C to never going over 54C once I had it installed.
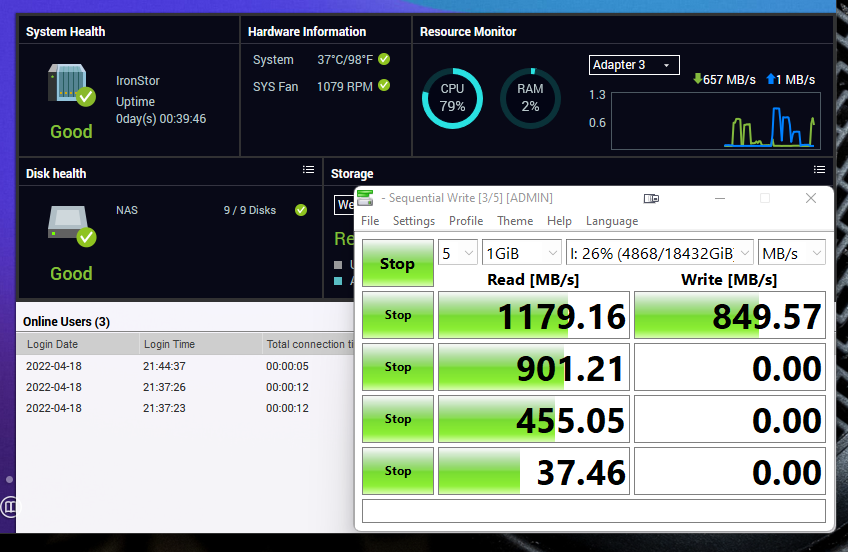
In addition to the GPU block, I’ve also swapped my OS drive to a Gammix S70 2TB. It is a FAST and consistent performer.

This is the system I envisioned when I started this build. Raw power at whisper. I am content for a little while.
This topic was automatically closed 273 days after the last reply. New replies are no longer allowed.
Glad this was reopened, it’s been interesting. What do you DO with all that hersepower in that system?
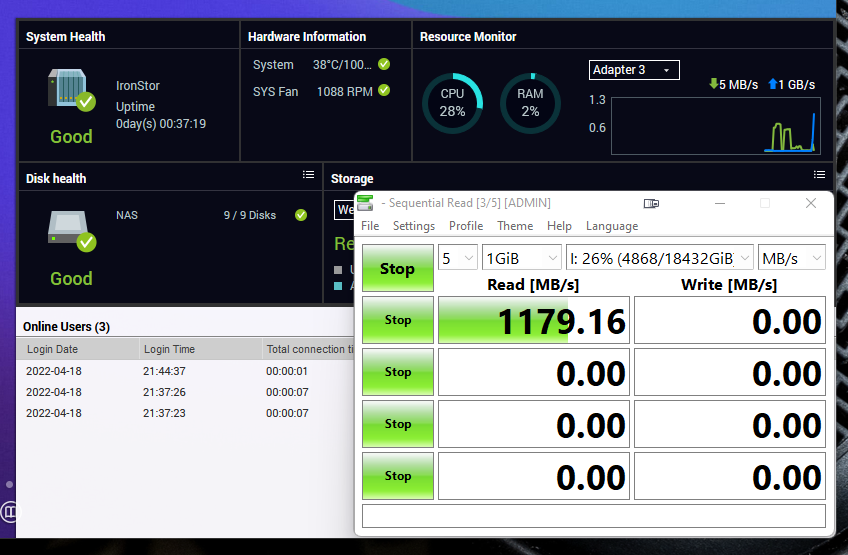
This issue ended up being data corruption. Something I resolved thanks to the magic of ZFS.
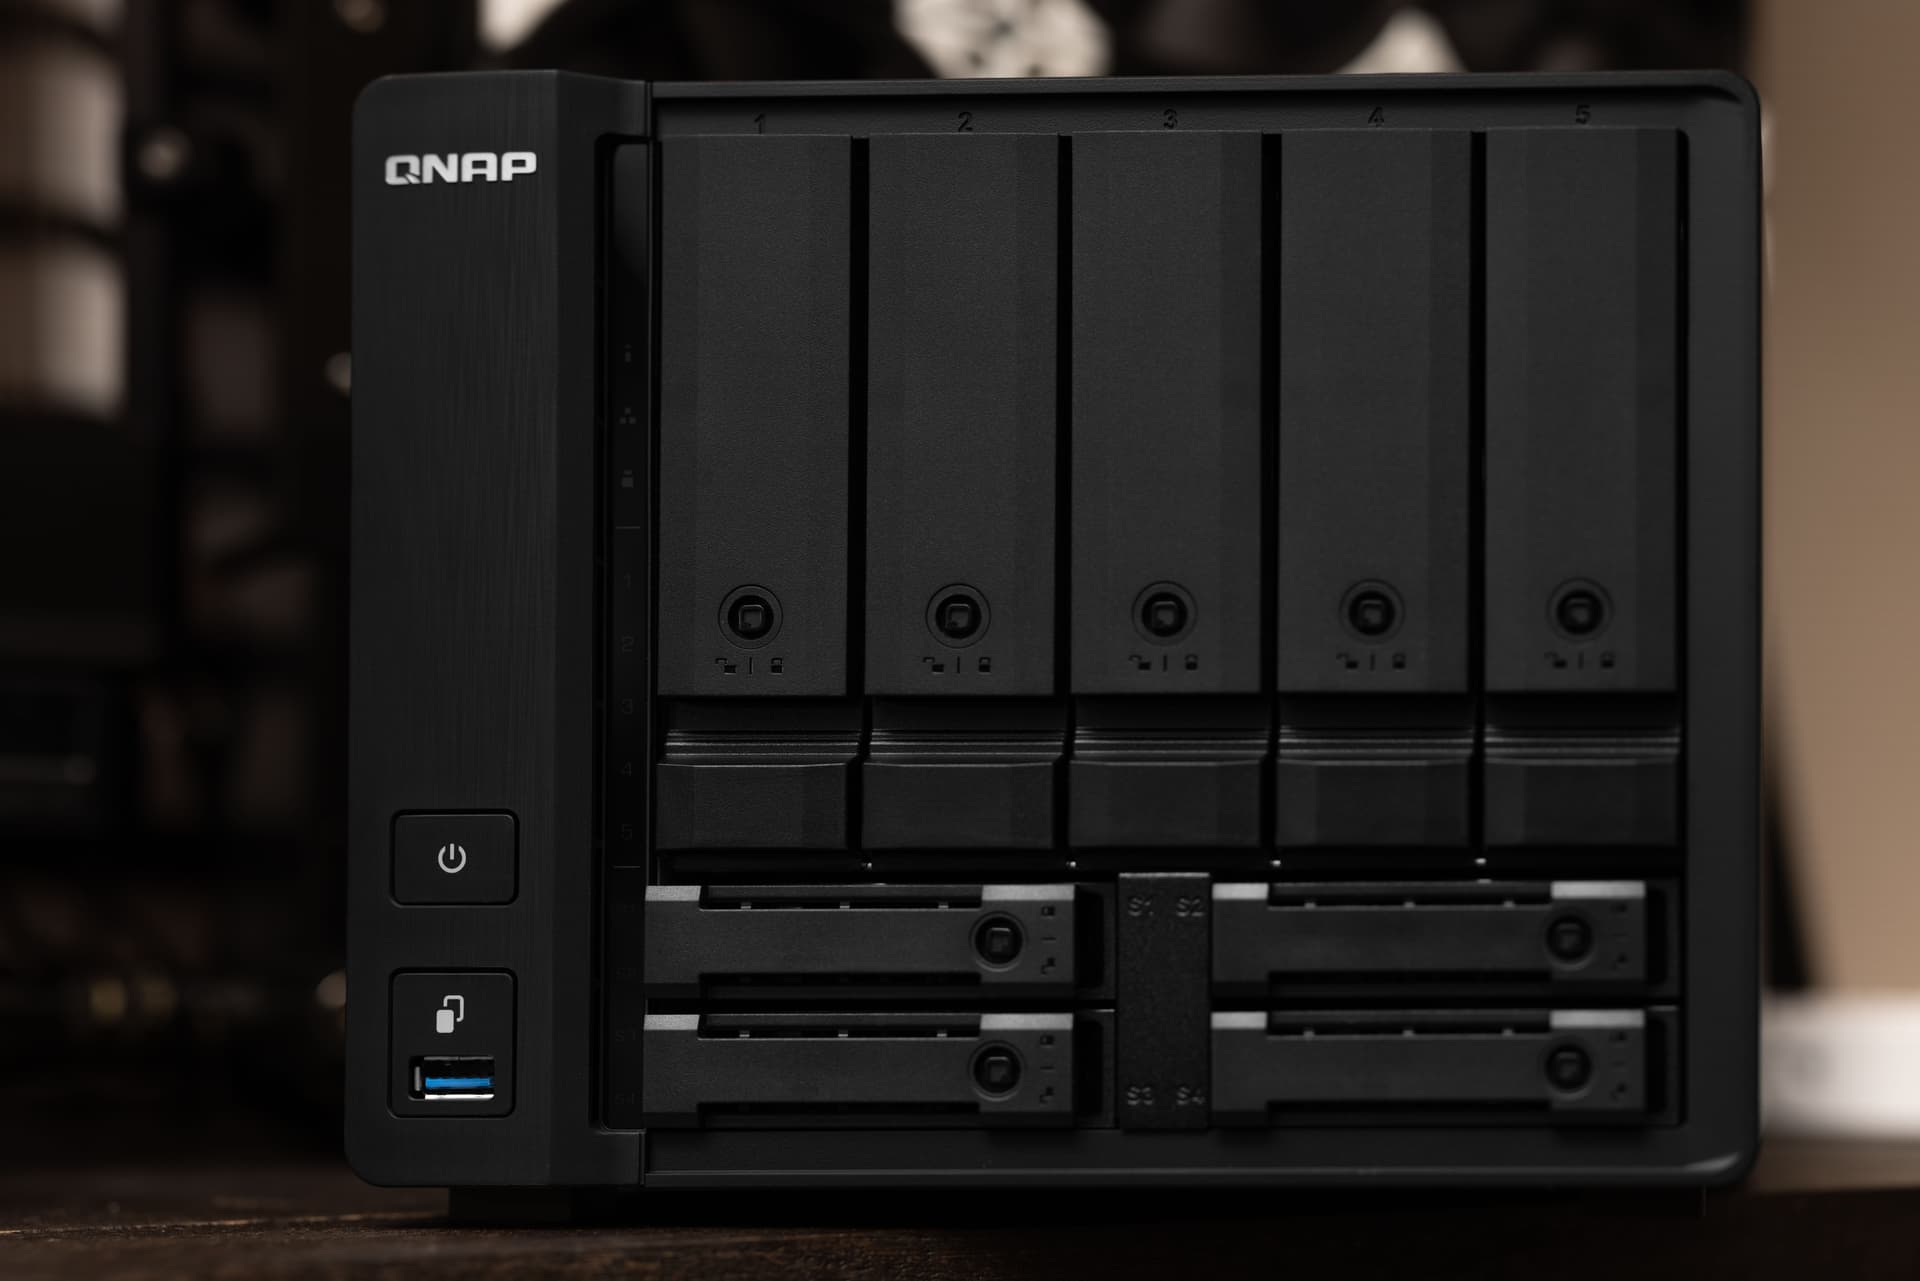
I went w/ a QNAP that uses the QuTS Hero version of their OS that adds ZFS support. I probably could have built something, but time was of the essence and I wanted to be as hands off as possible.
Most of my planning around this build was “don’t touch it for a few years, but if you have to… make it easy.” The tubing and coolant were chosen for their reliability characteristics. Koolance formulated the coolant to last up to 3 years. 1 year in and that’s looking to be true.
I went with quick disconnects to aid in this mission as well. Pulling the graphics card out to access the drives was a 10 minute affair.
I swapped out my OS drive so that I could do a fresh install of 11. I played around with it a bit via upgrade so that I could get an idea of how I wanted to set it up.
My biggest grievances with 11 were the task bar and context menus. The stock 11 setup made my workflow so ridiculously inefficient. I messed around with the preview months back and thought “surely they’re not going to leave this like this.” Well… they did.
The major workflow inhibitors for me were:
The simplification of the taskbar - Combining taskbar elements with no way to see what you’re actually working on at a glance was a disaster. Removing the ability to right click and get task manager and window management settings was far more detrimental to my workflow than I could have imagined. Condensing elements in the tray like audio and connectivity options created extra steps.
![]()
I’m also not someone who hides tray items, so having to go into settings and display them 1 by 1 was ridiculous.
The simplification and truncation of the context menu - Gone again were words. Replaced by small, thin icons and then a few things Microsoft deemed important, hiding MANY common tasks. I don’t know anyone who both uses the context menu AND wants simplicity. I know many people who go their whole lives not knowing that menu exists. Why it needed to be simplified is beyond me.
The project ExplorerPatcher by Valinet brought back everything I needed. It is truly amazing, but also makes it VERY clear that 11 really is largely a skin slapped on top of 10.
I have never donated to a project faster lol.
After that rant, you may wonder why I bothered with 11 at all when 10 will be around until 2025. What could possibly make having to do all of that worth it?
Multi-monitor management - 11 bring lots of great improvements to window management. I still use DisplayFusion for multi-monitor taskbars, but it was very well updated when I gave it a try.

There is also a nifty new window slicer. This makes managing more than 2 windows quick w/o the need for third (or even first) party utilities. Snapping is also great with portrait monitors. No more side by side default. It’s smart enough to stack windows on top of each other.
Window resiliency - I do two things quite often. RDPing into this PC and using my 4-port KVM. As you can imagine, both of those things are hell on window management and have been for years. 11’s ability to curb the pain of window jumbling in those two events has made it more than worth dealing with the pain points listed above.
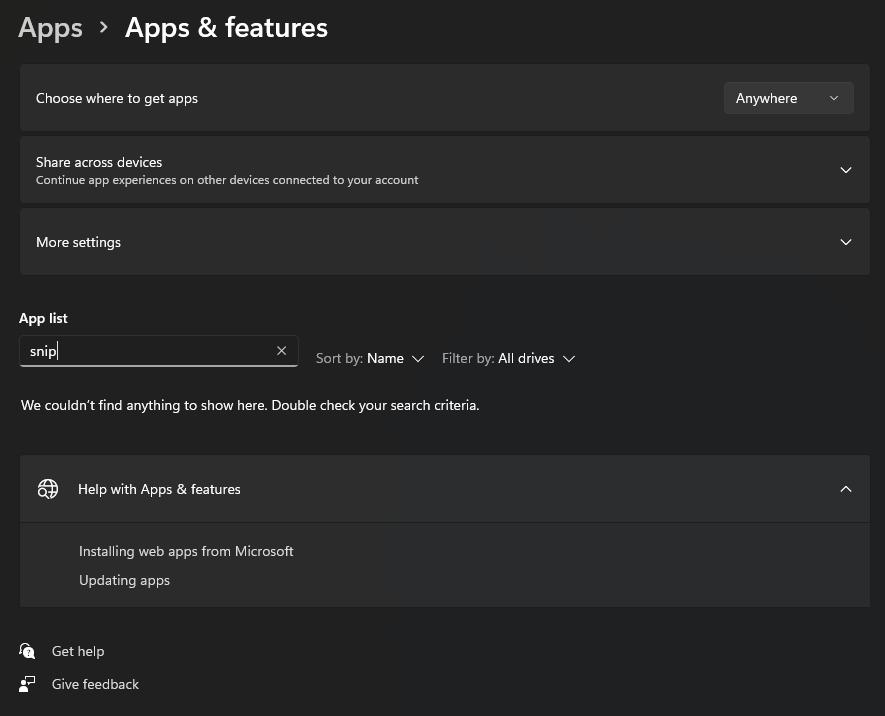
This WAS going to be the new snipping tool but the version that came with the upgrade is gone. Snip and Sketch is back. And as awful as I remembered it. I’m not sure if I accidentally got a preview build when I did the upgrade, but it’s gone again. Going to boot off of my old drive later via external enclosure to see if I can port that over to my fresh install. Turns out the new snipping tool is just in the Microsoft Store. I guess snip and sketch uninstalled itself during a series of updates.
Everything… all at once is how I usually explain it. It is not uncommon for me to leave several projects open concurrently for days on end. So I sometimes wind up with 170+GB of RAM in use. A lot of work with large images. A lot of work with managing VM environments. Lots of experiments. I just do not like closing things lol. Mainly all the horsepower isn’t used all the time. Likely 50-70%, but when I need 100%, I NEED IT. So it’s great to have the headroom.
Believe it or not, when you’re batch processing, Lightroom can squeeze every last thread out of the system.
Must have something to do with all those wonderful pictures of the system you posted. Those are really good.
I’m pretty sure if you took pictures of a 2004 Compaq persario it’d look sexy
I kiiiiiiiiiiiiiiiiiiiiinda want one now to try this.
wink wink nudge nudge
Whew! $266.
I’ll probably just look at a few thrift shops on Saturday.
I’ve been thinking about doing a sleeper build anyway.
Hmmm… I guess it heard me because now neither is installed lol…
Edit:
Oh. Weird. It was removed in an update, but the one I was looking for is now in the Microsoft store w/ the old logo… well alright then.
I put a i5 2400 dell OptiPlex and is running batocera in this exact machine
There’s also a Grey version in the basement I’m gonna paint and make a sleeper server