the best ventilation is a blower fan on the floor and on the ceiling.( old heat pump fans work well)
1 Like
My preliminary idea for the paint booth is this:
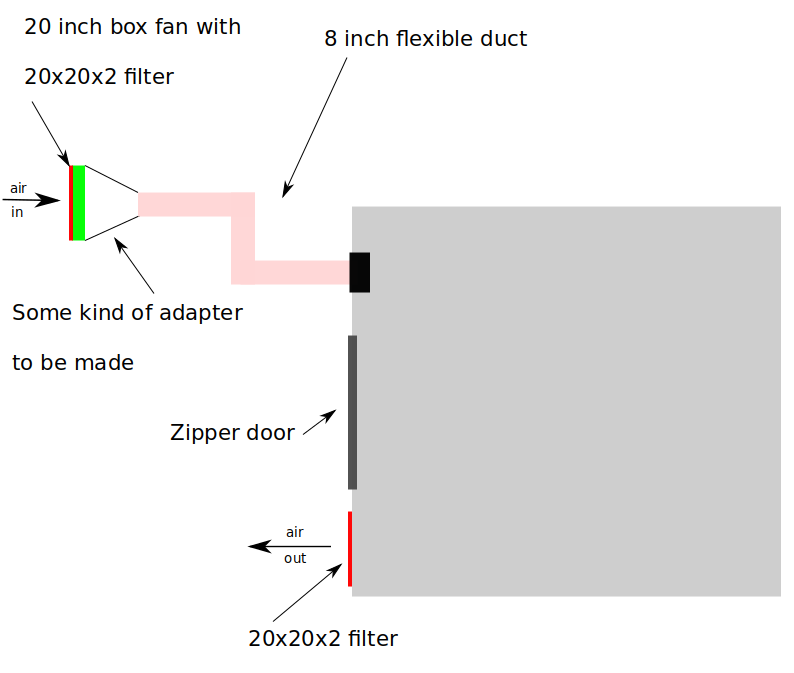
I’m a little worried about over pressuring the booth and all the paint and blast media being pushed out seams instead of through the exit filter. Maybe reverse the airflow, the fan pulling? I may have access to an old furnace blower too.
When you are really worried about overpressure, you could just add a second outlet airfilter.
That’s risks pulling in dust. Positive pressure is the way to go.
Ugh. Not making much progress lately. House is just so much work.
I tried the Speed Blaster thing. It works OK, but it really needs to be used outside. And I probably need a bigger air compressor. But using it in my ghetto paint booth was just a disaster. I didn’t get any air circulation done, just draped another piece of plastic over the open side in the above picture. Didn’t get out into my basement, but the booth filled up with dust so fast I couldn’t see.
So, hopefully this weekend, I will stop by a welding place in the town my house is in and see if he has a sandblasting setup I can use or rent. Or pay him to do it. Apparently he does all the driveway plowing for everyone in the town, so I need to talk to him about that too.
Oh, and unfortunately the case that had the crack through it broke again. I had tried to fix it with JB Weld, but it didn’t hold. The case is warped anyway, and a small crack has appeared at the IO cutout. Very expensive hunk of metal now. Bummed.
3 Likes
Welp. I haven’t given up on this project. I have, however, reached the point where I don’t want to dump more money into it.
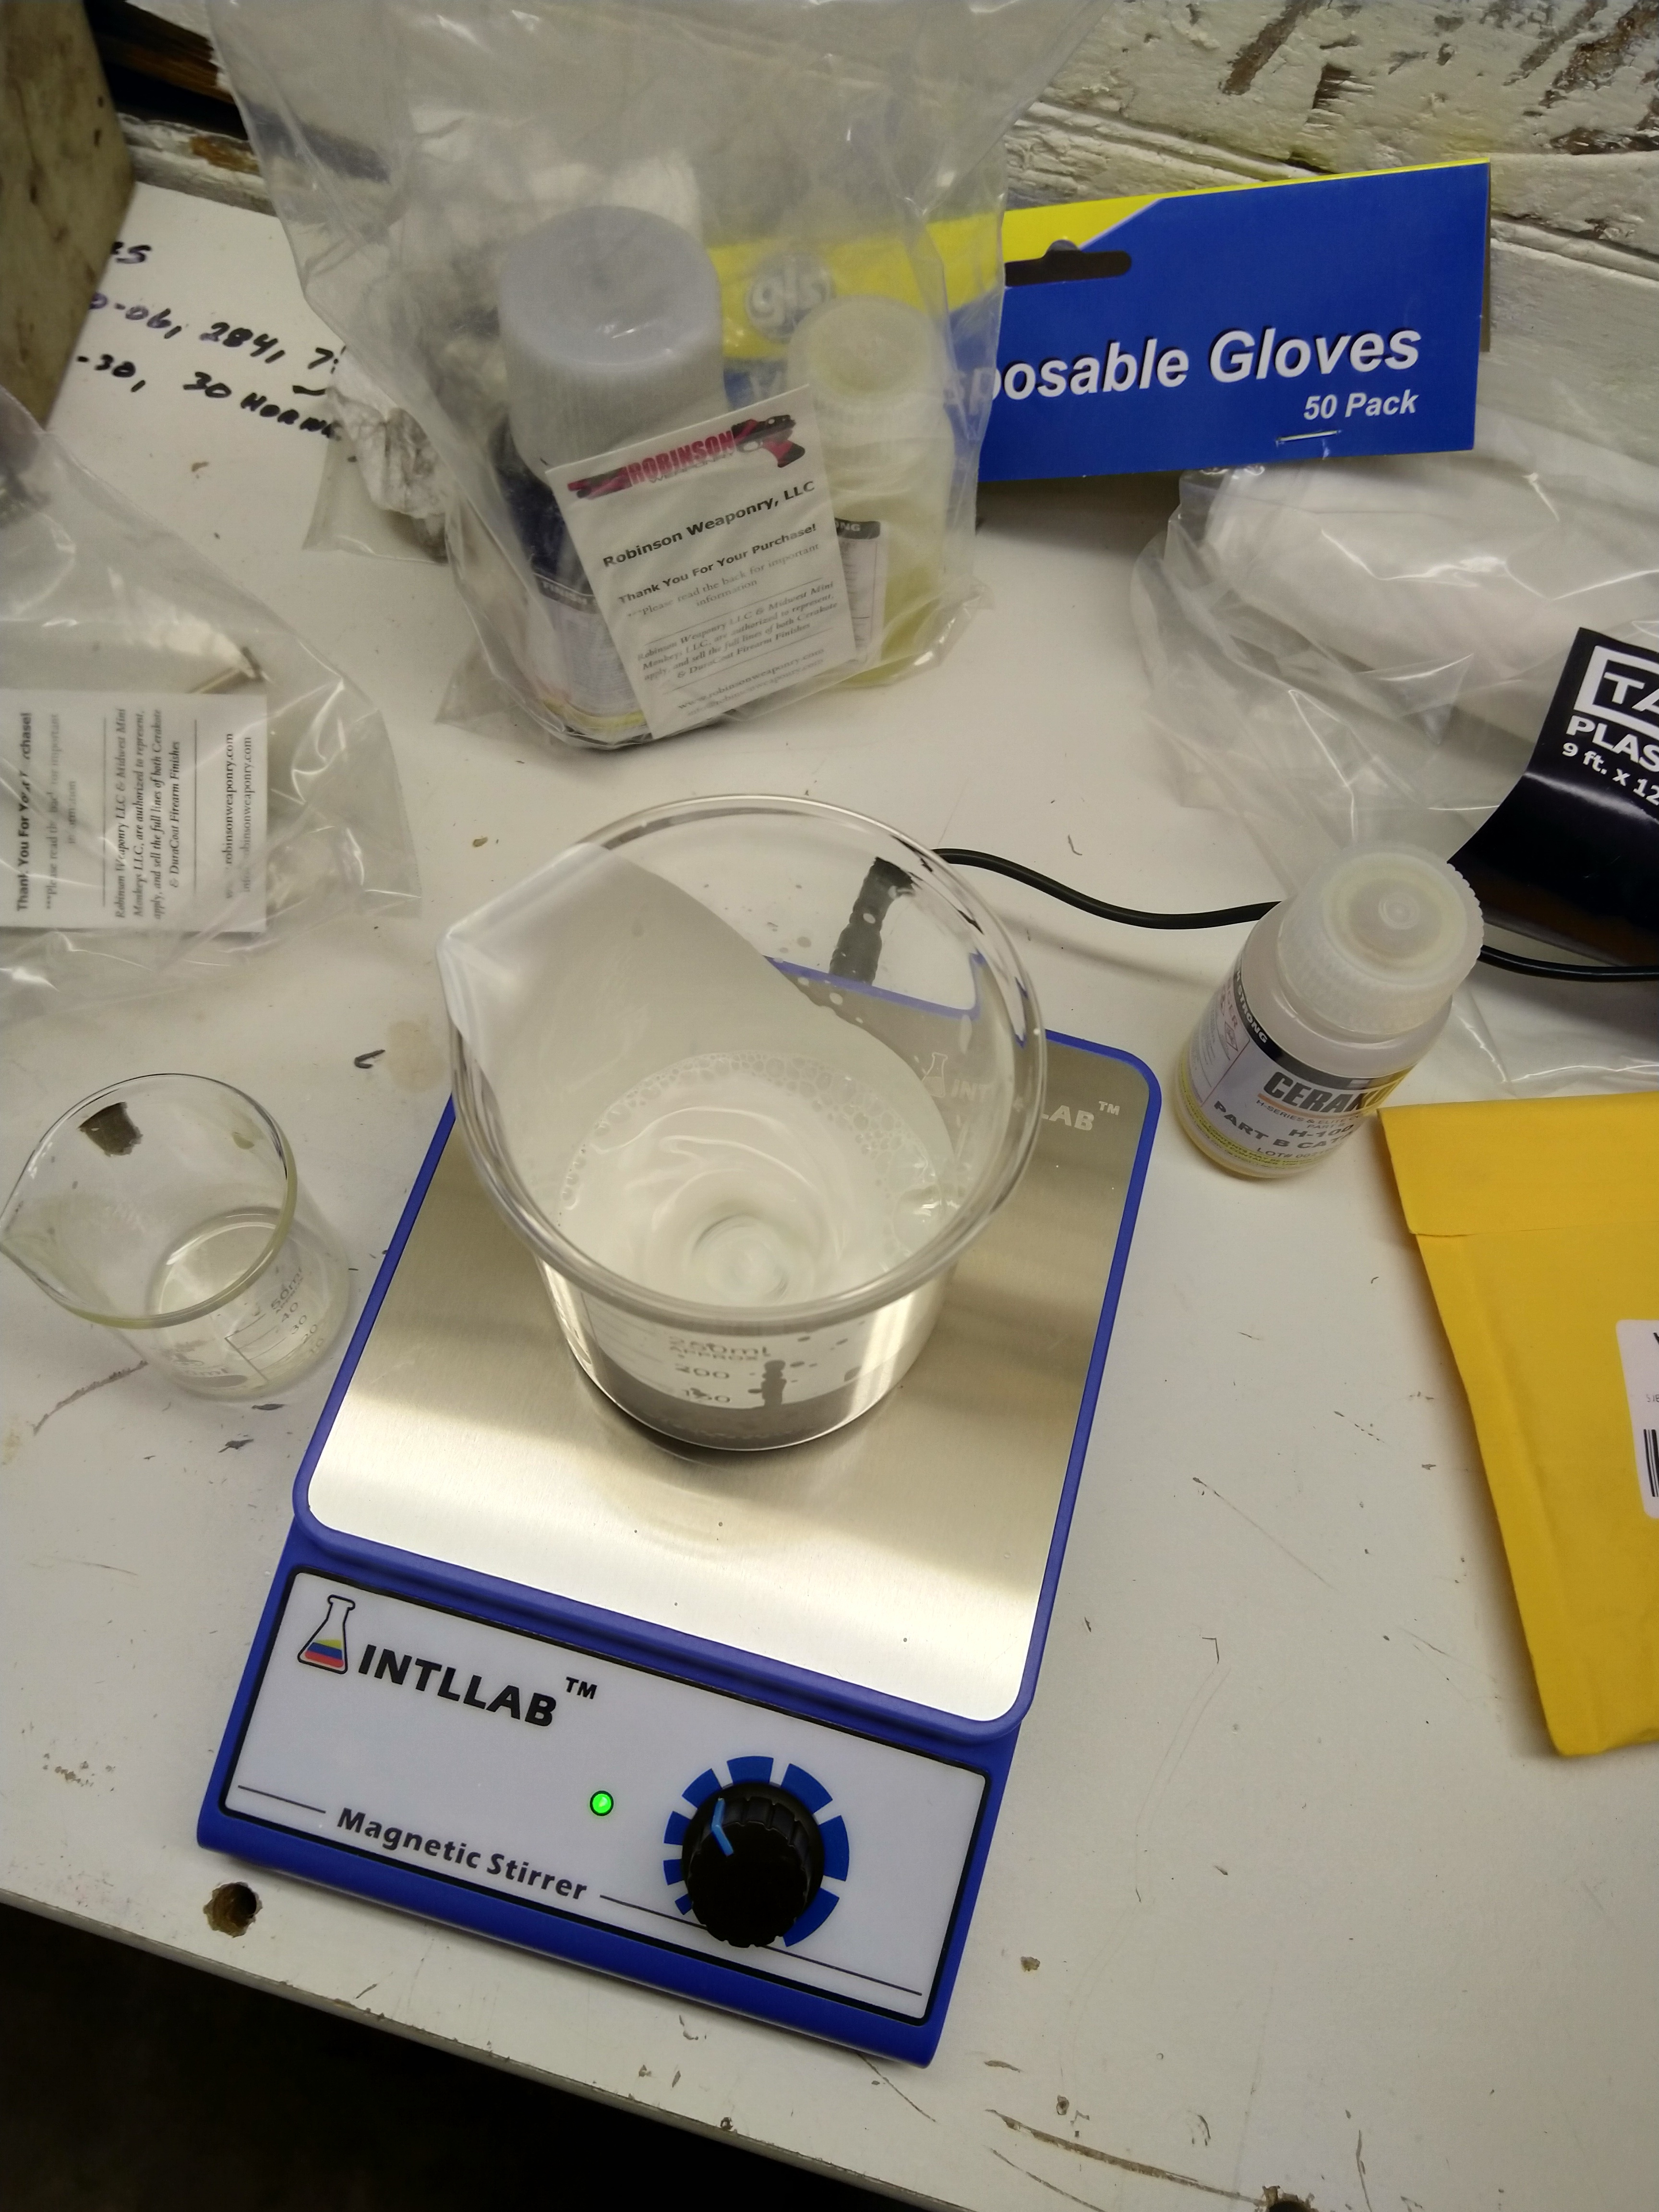
I took both cases to the welding guy. The one case had a failed application of Cerakote. The other one is cracked. He said he couldn’t weld the broken case. He sand blasted the other case, and it looked very nice. I took it to my house and gave it a new coat of Cerakote.
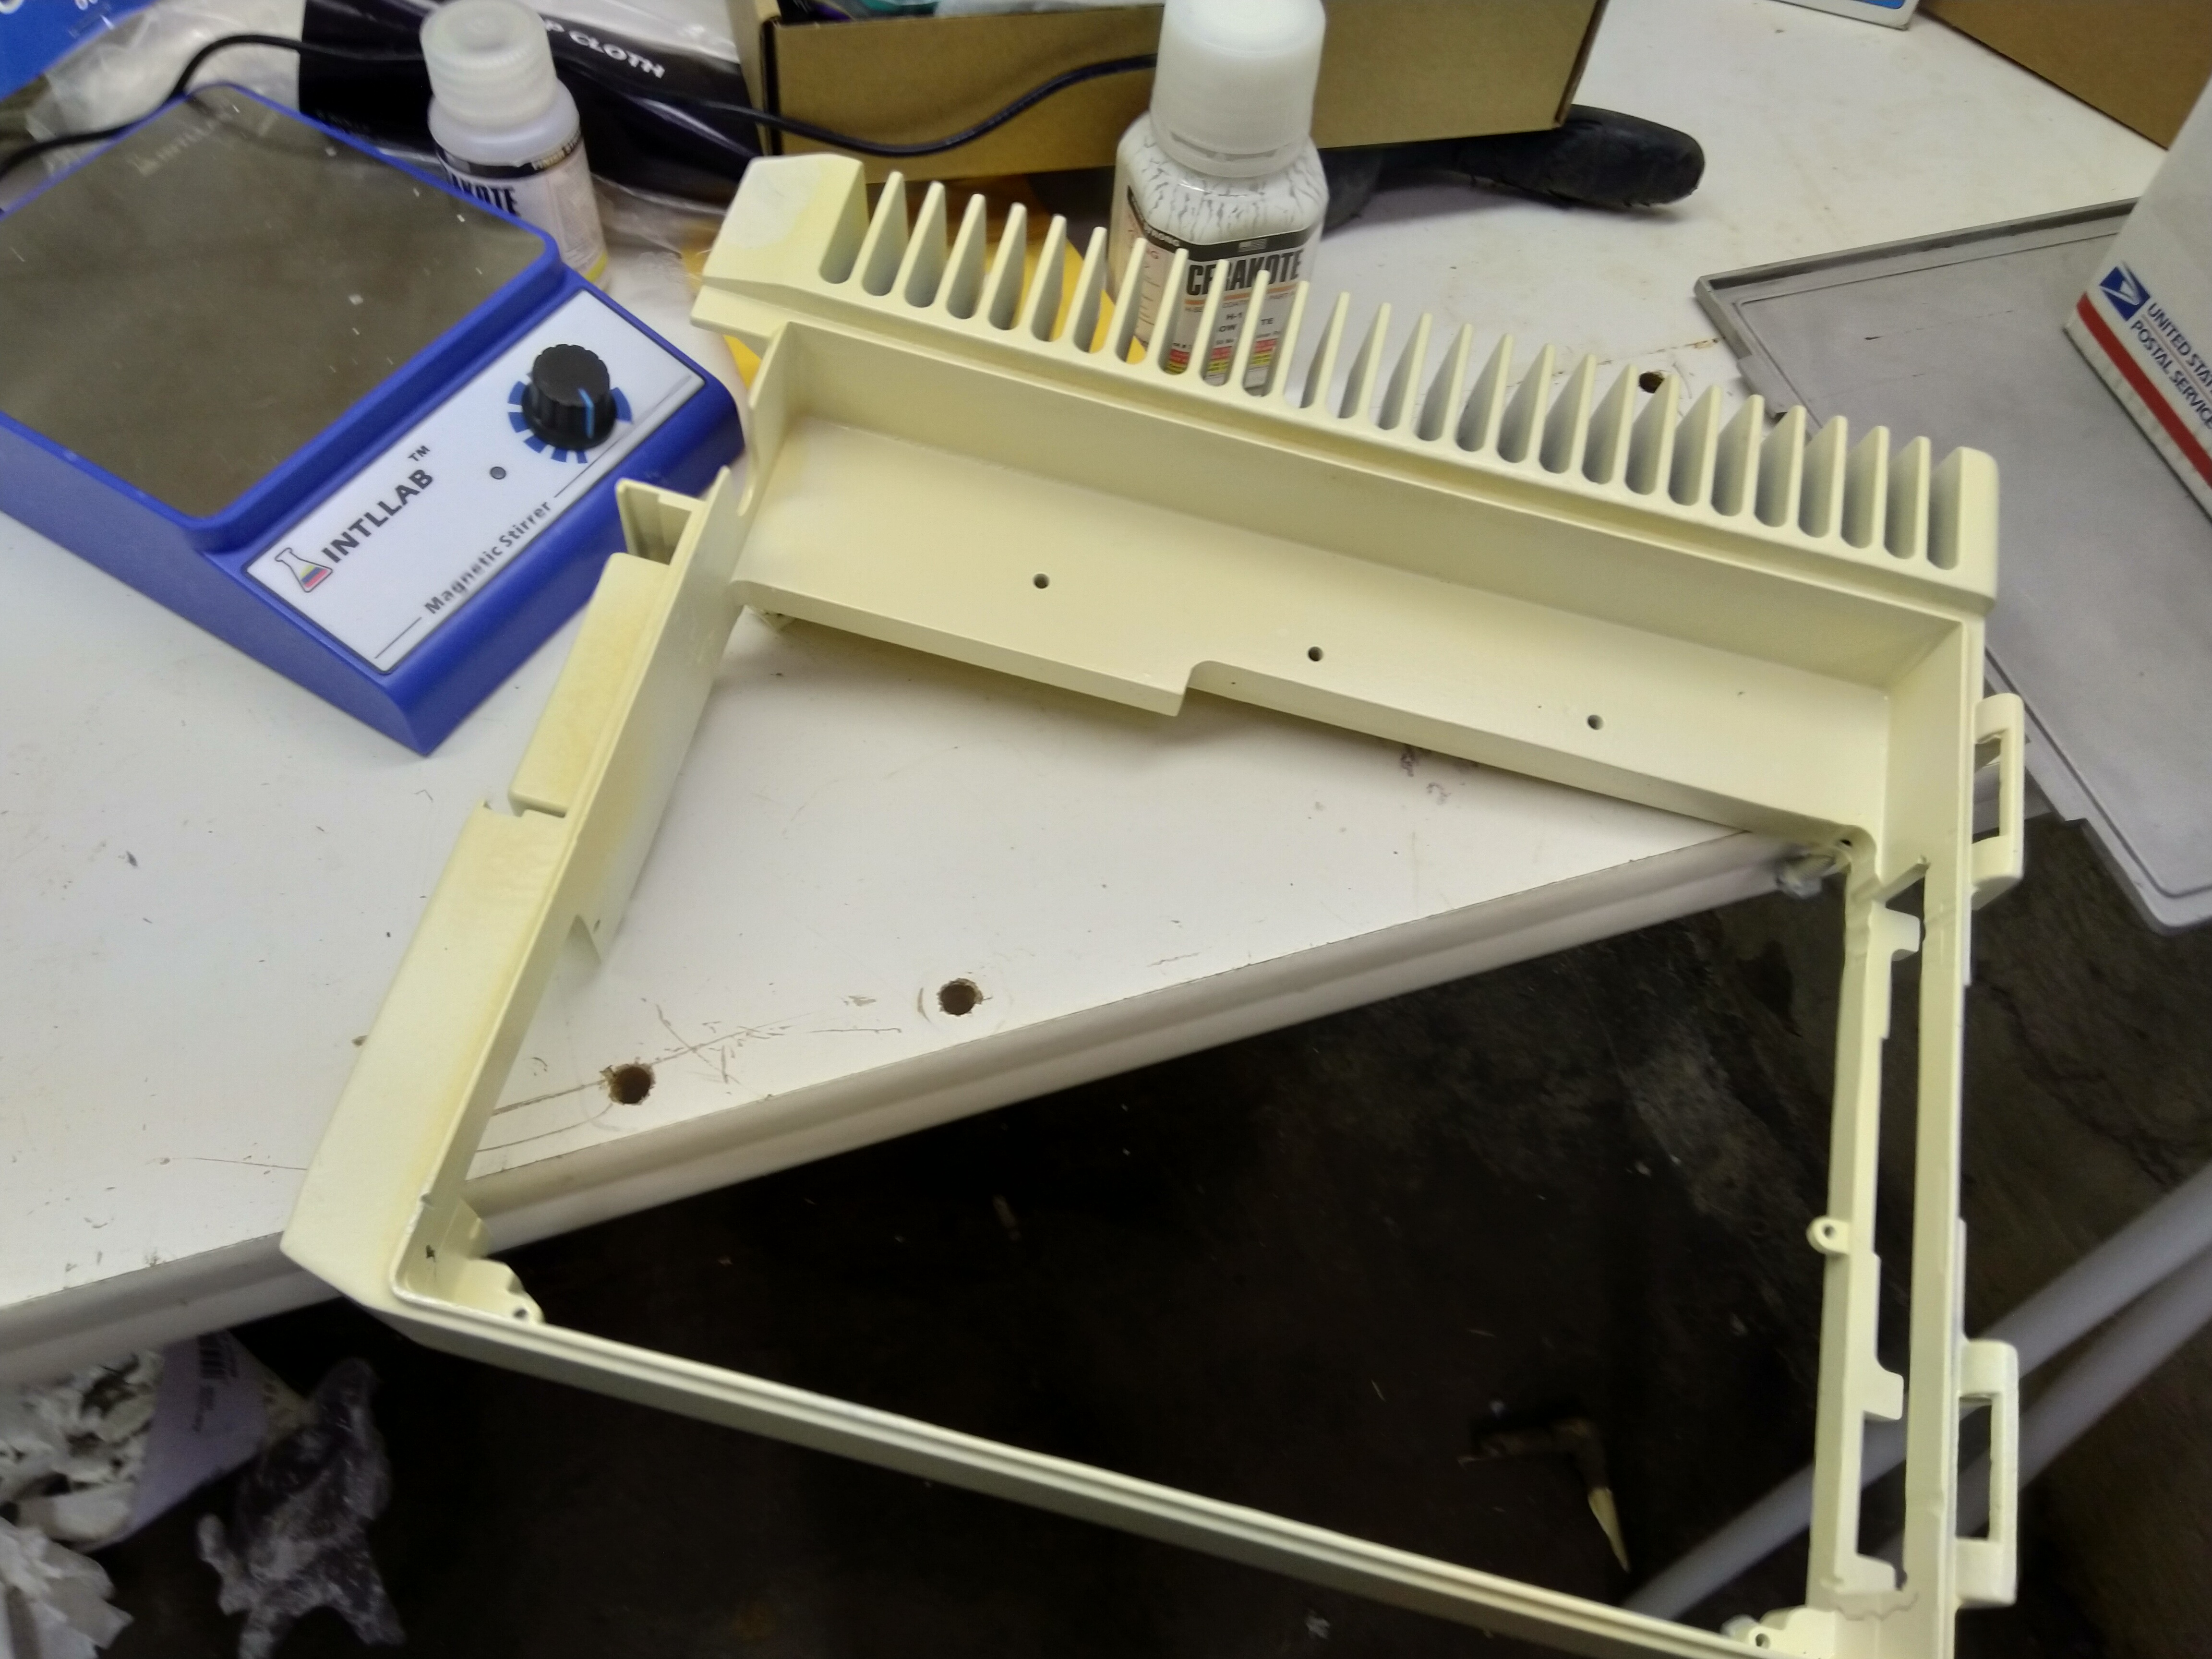
I mixed the Cerakote with a magnetic stirrer. I am positive I got the ratio right this time:
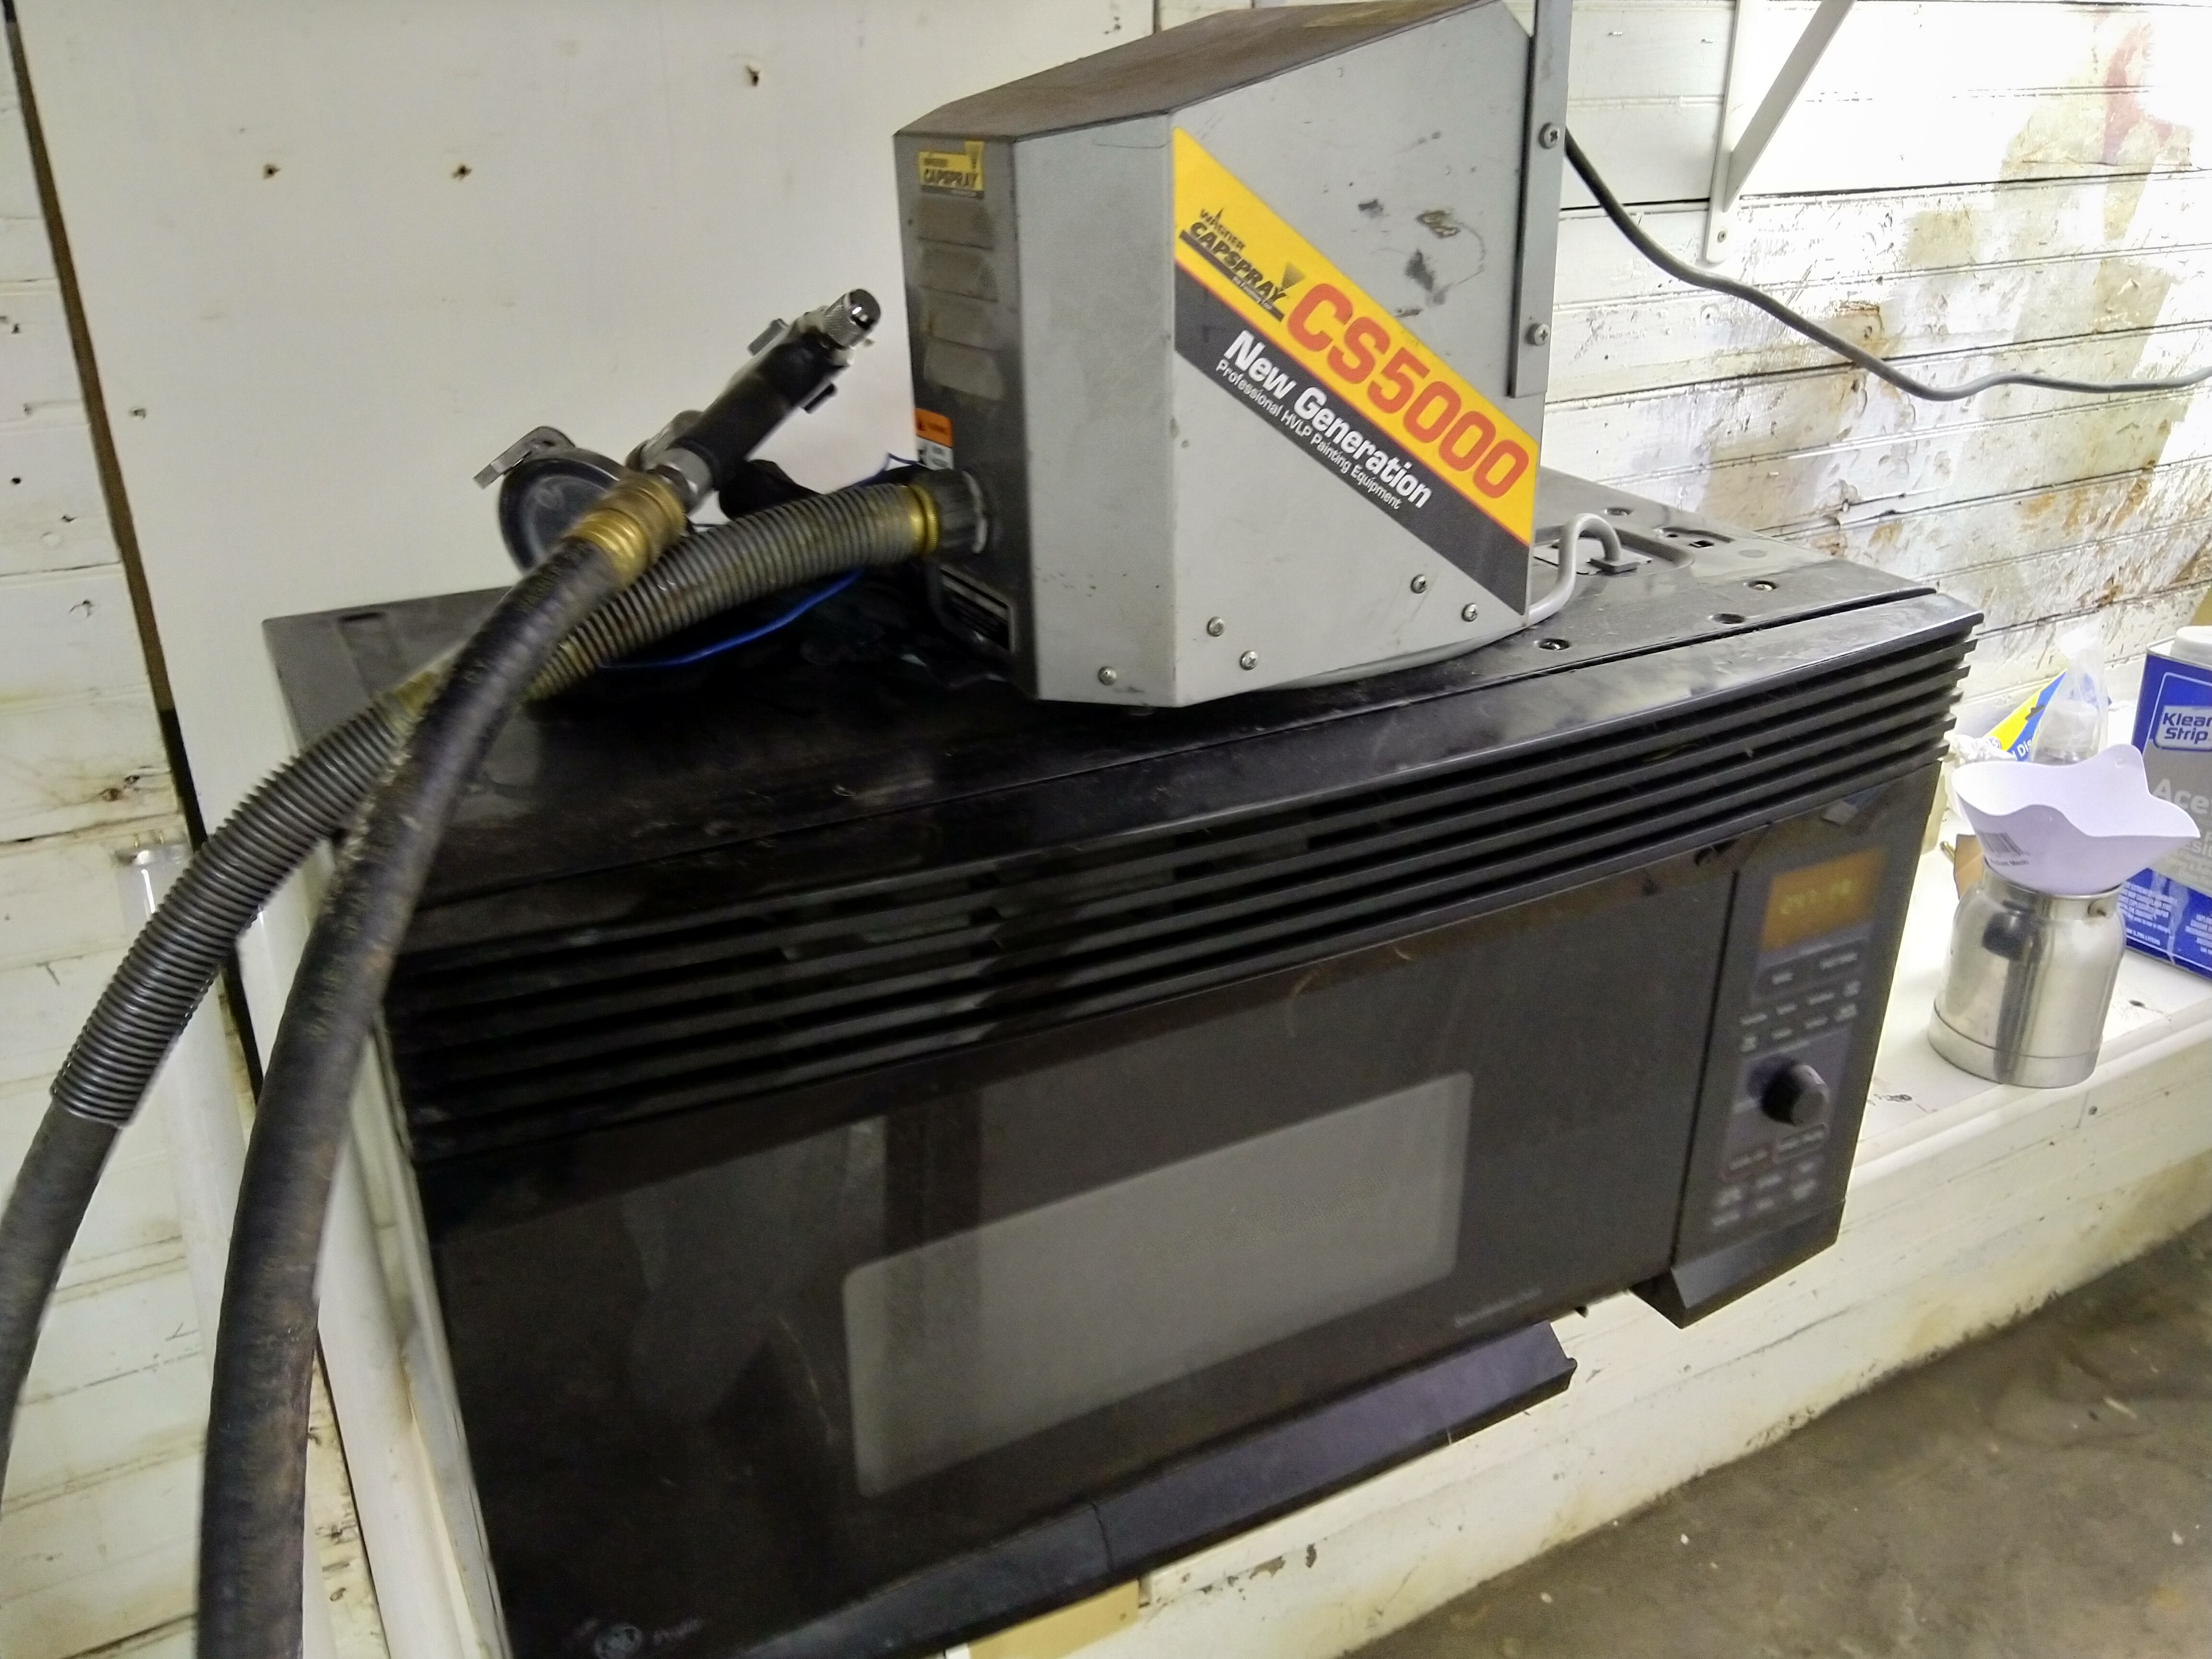
I used the same paint sprayer and convection oven from last time:
And it still came out yellow:
After some frustrated research, I figured out that white Cerakote will turn yellow like that because of three reasons: the mix ratio was wrong, the heat was too high, or it was heated for too long.
I am very confident the mix ratio was good, and it was mixed very well. I had it in the convection oven for exactly one hour, which is what was required. So that leaves too high of heat. So the convection oven is garbage and was hotter than 300 degrees.
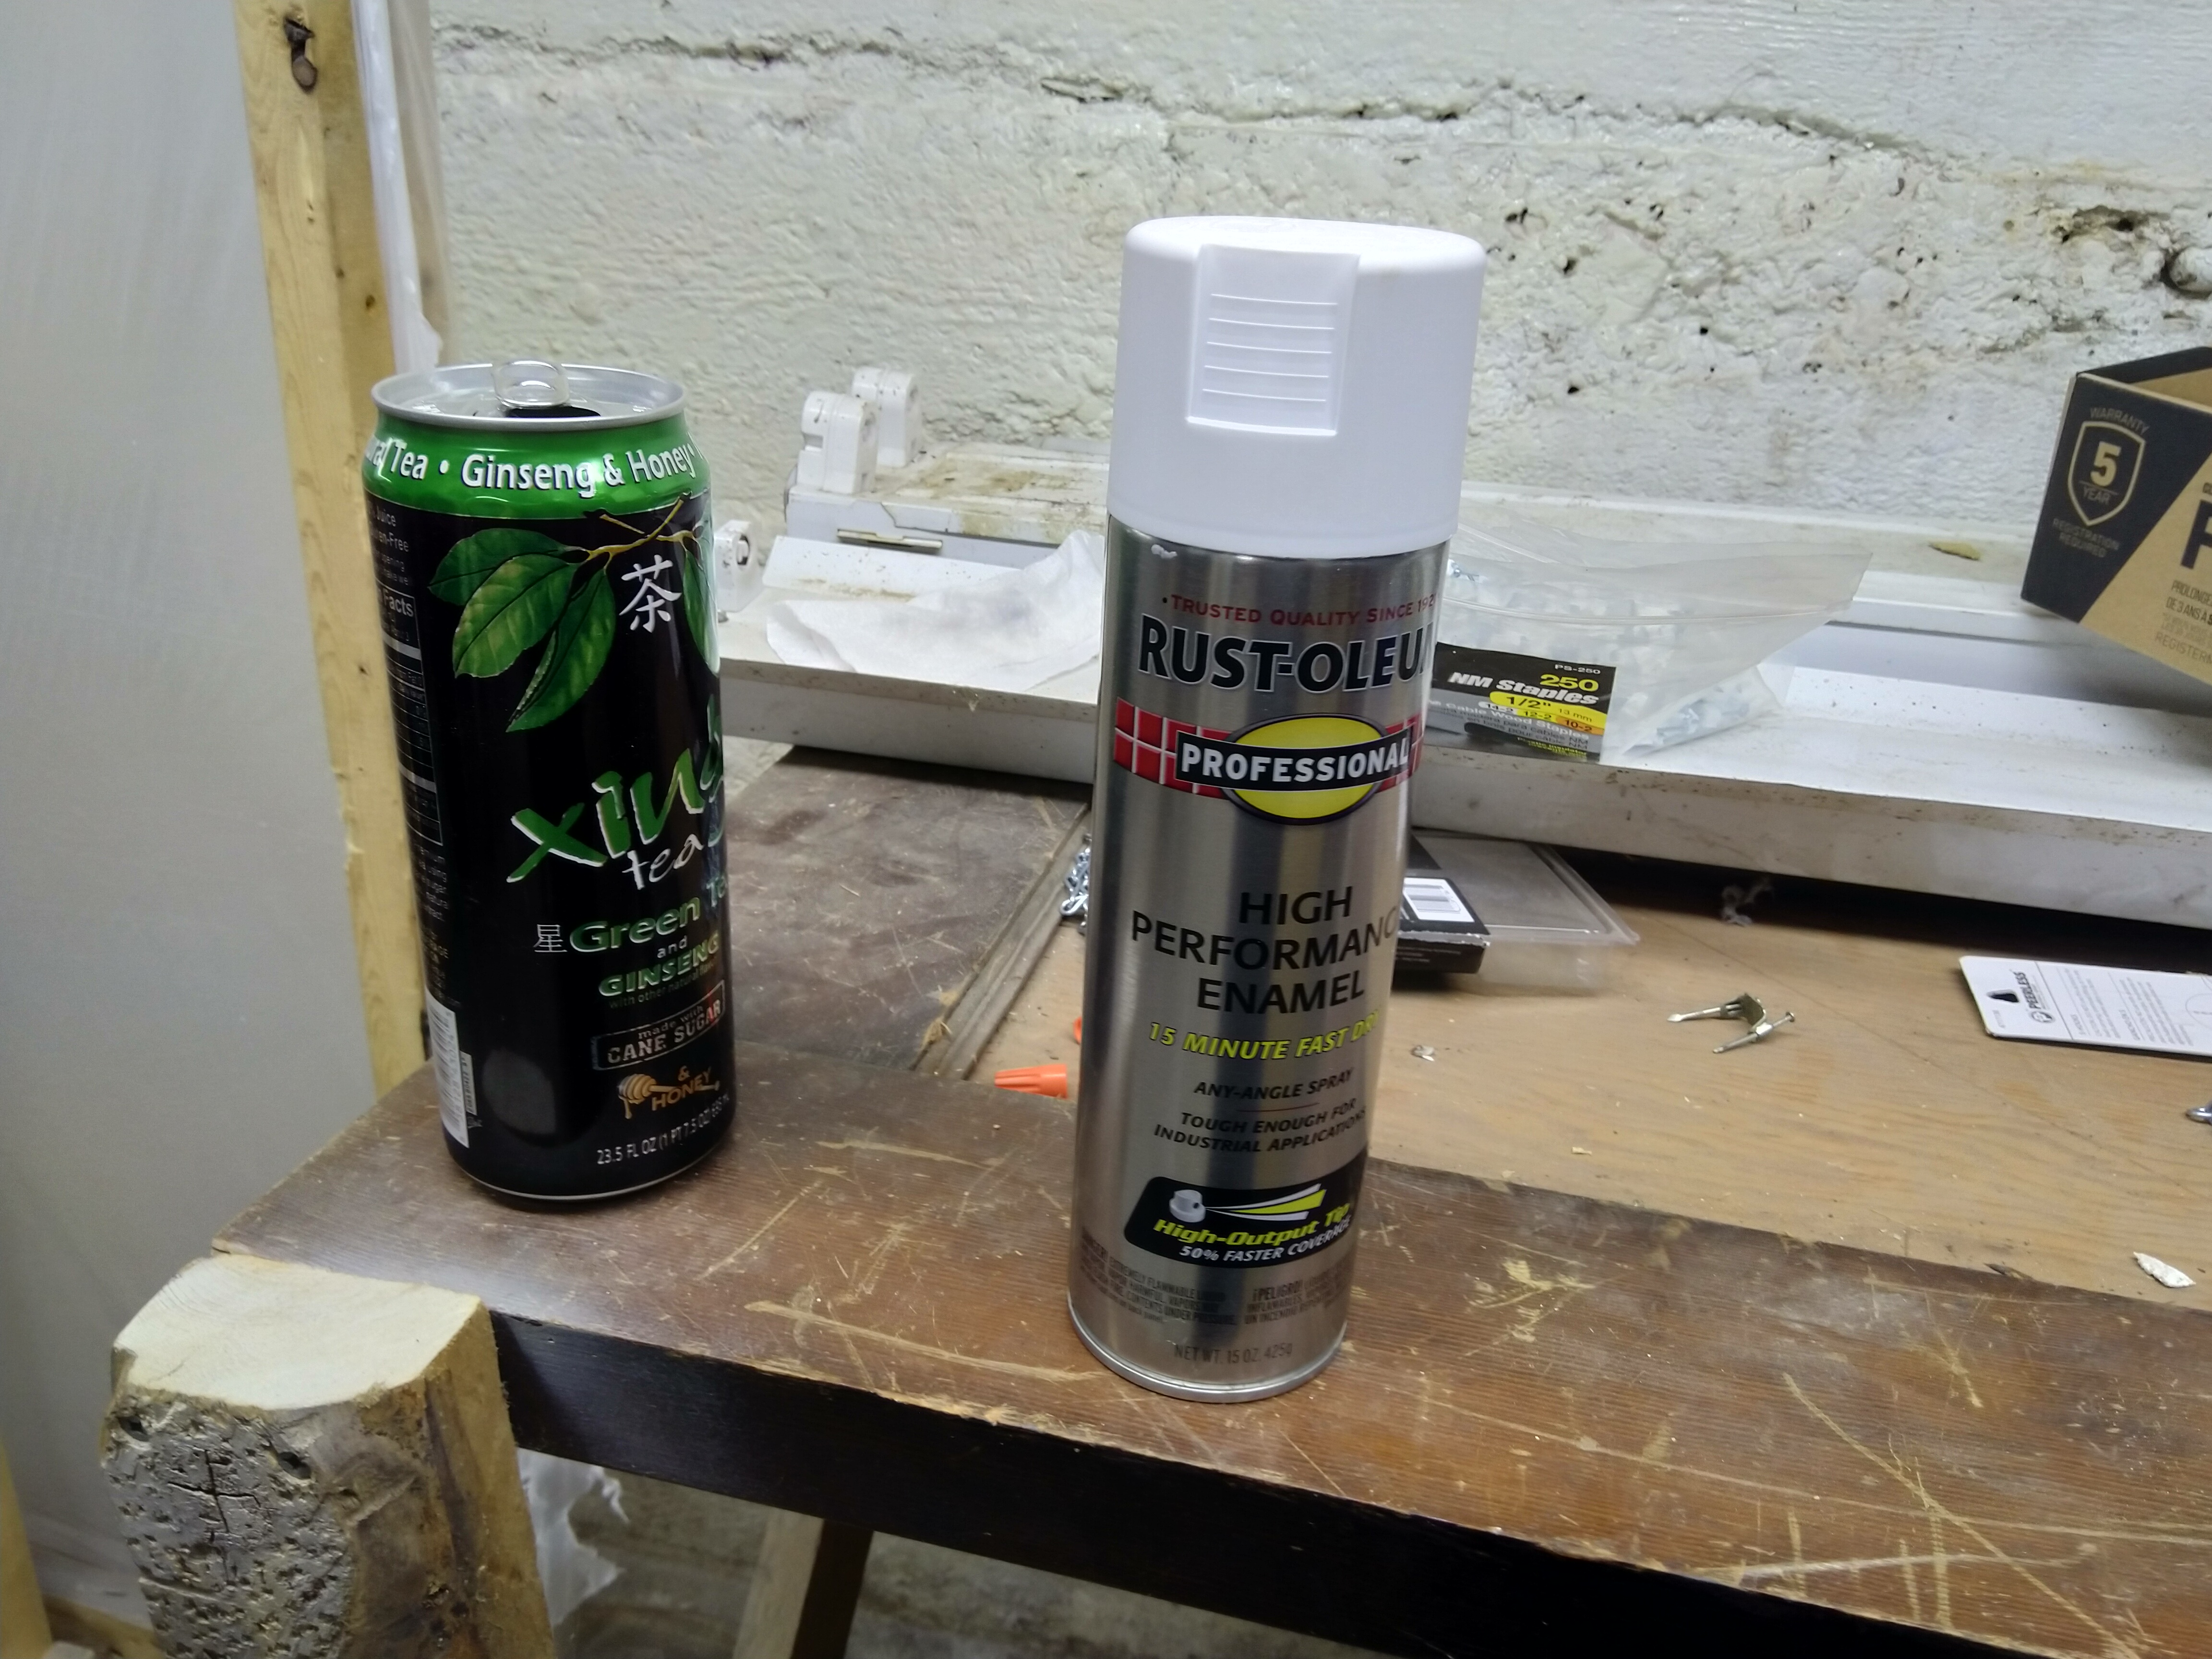
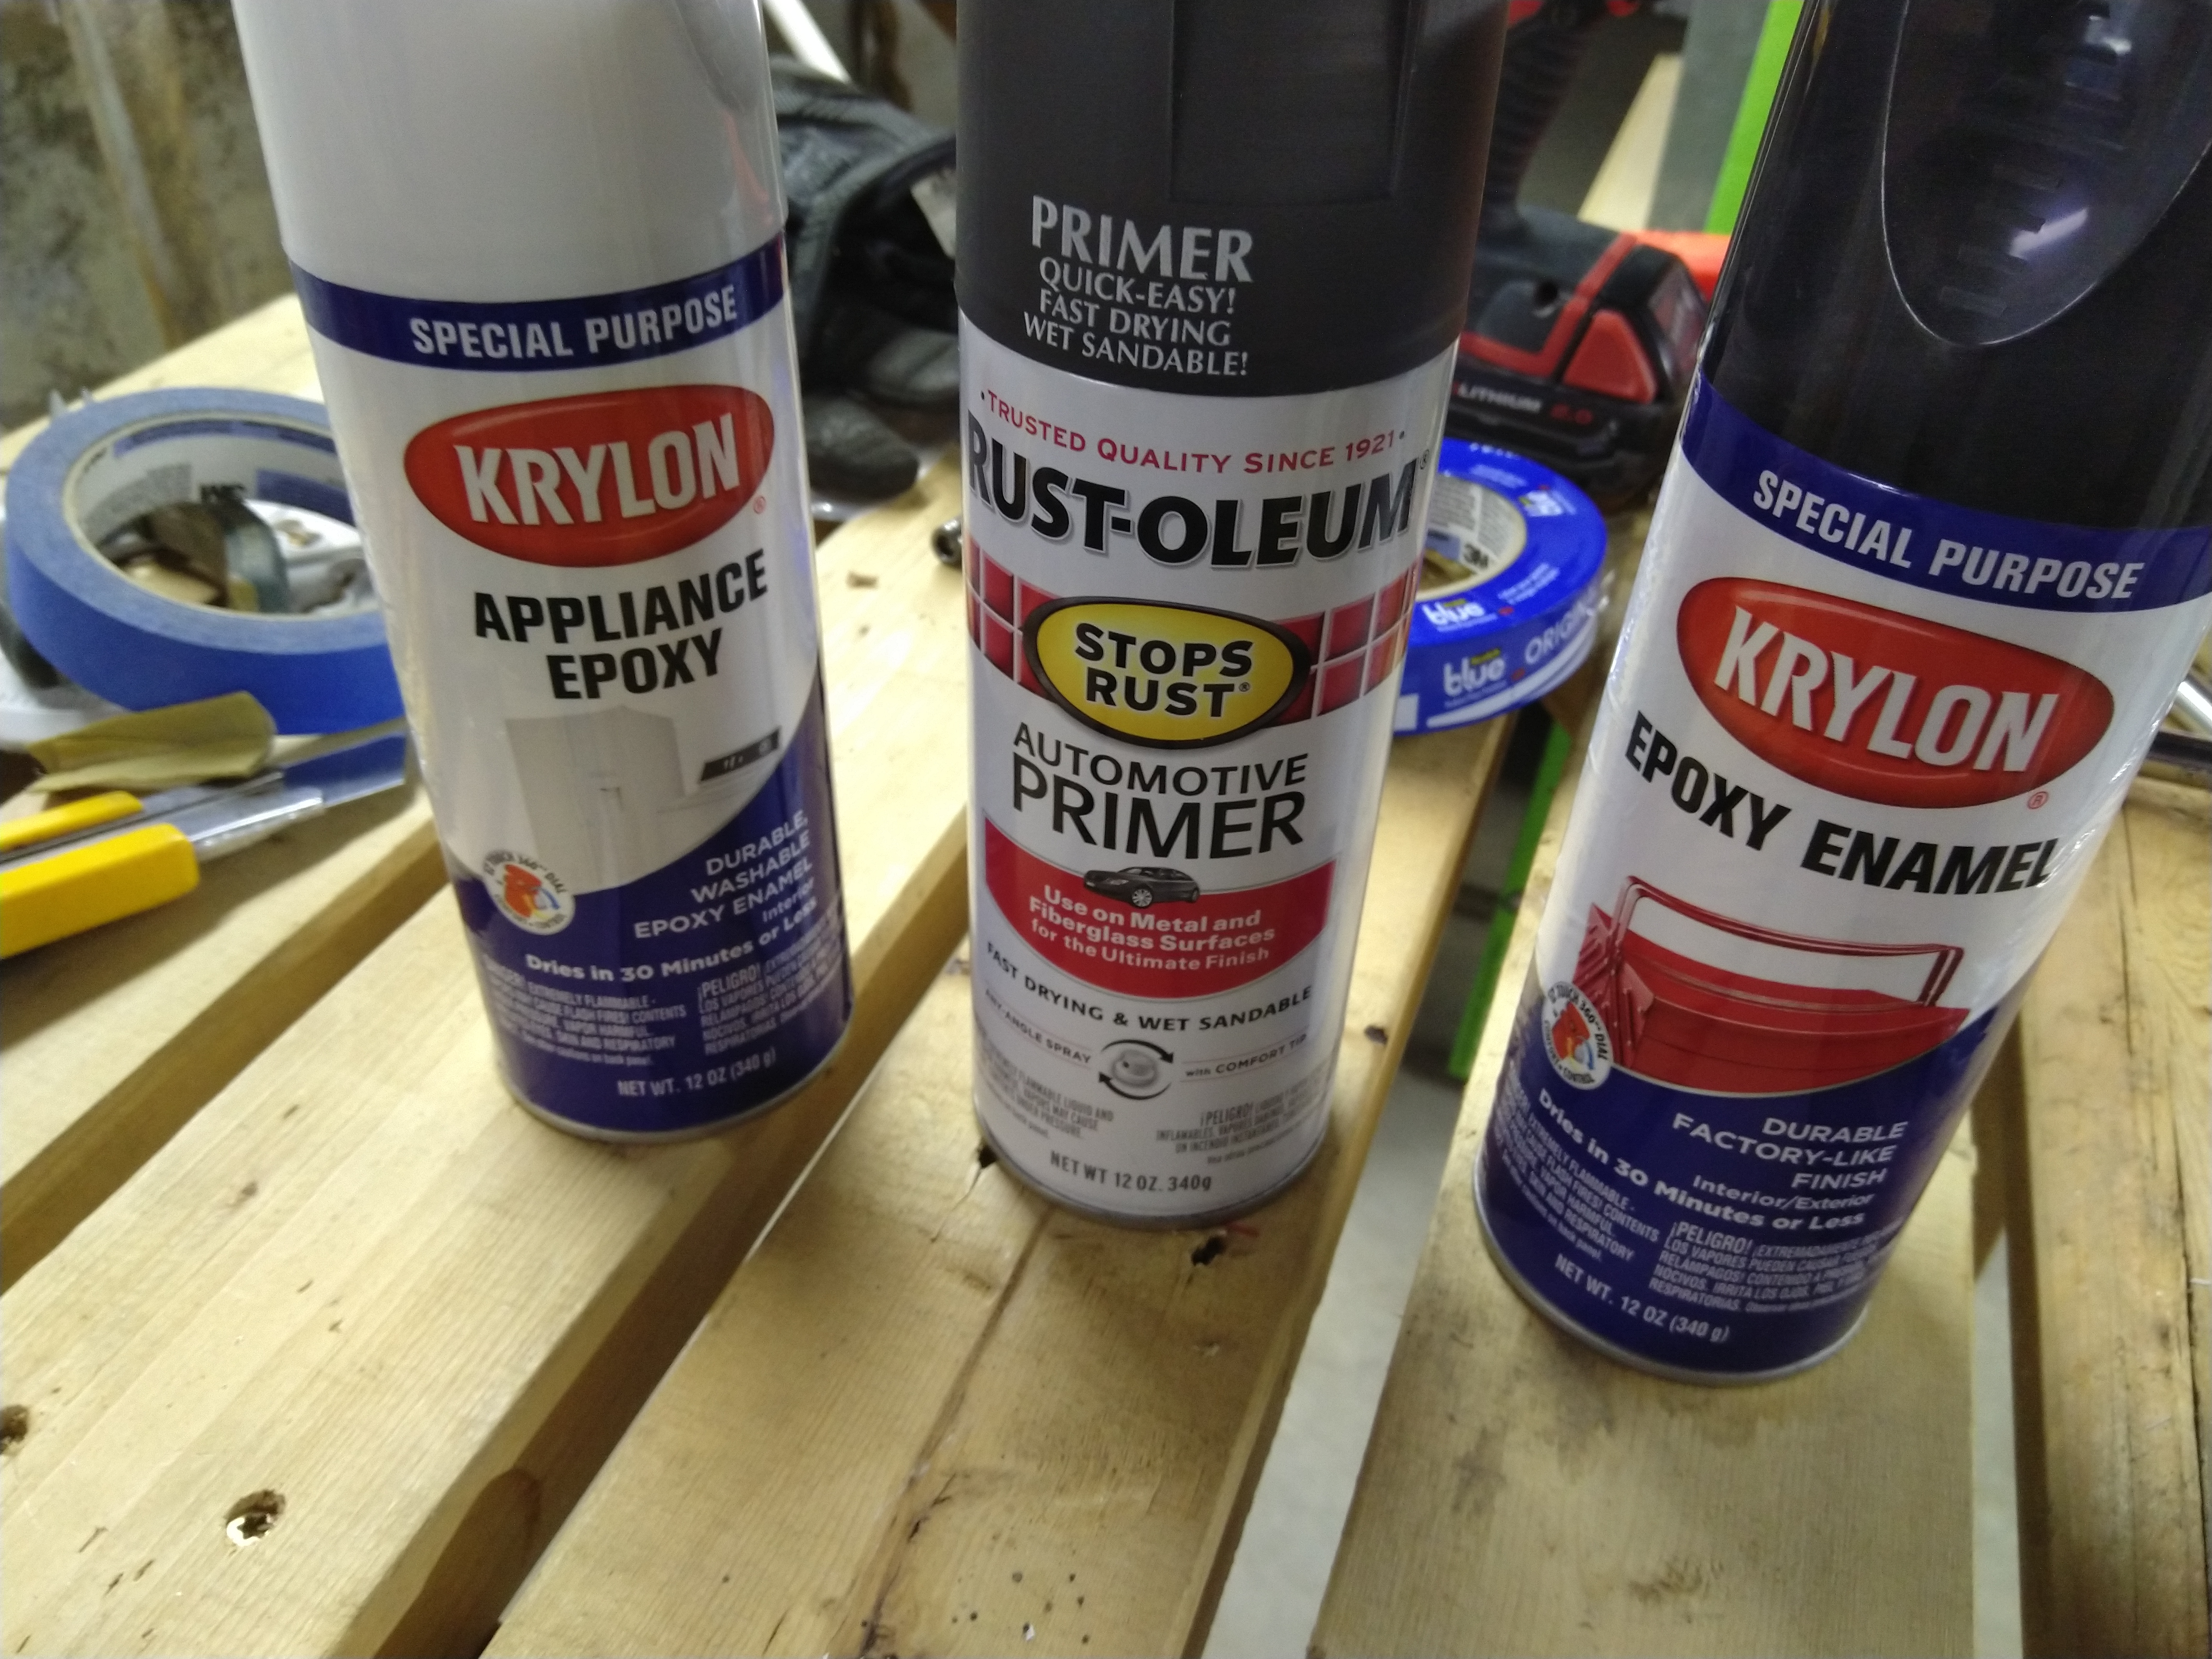
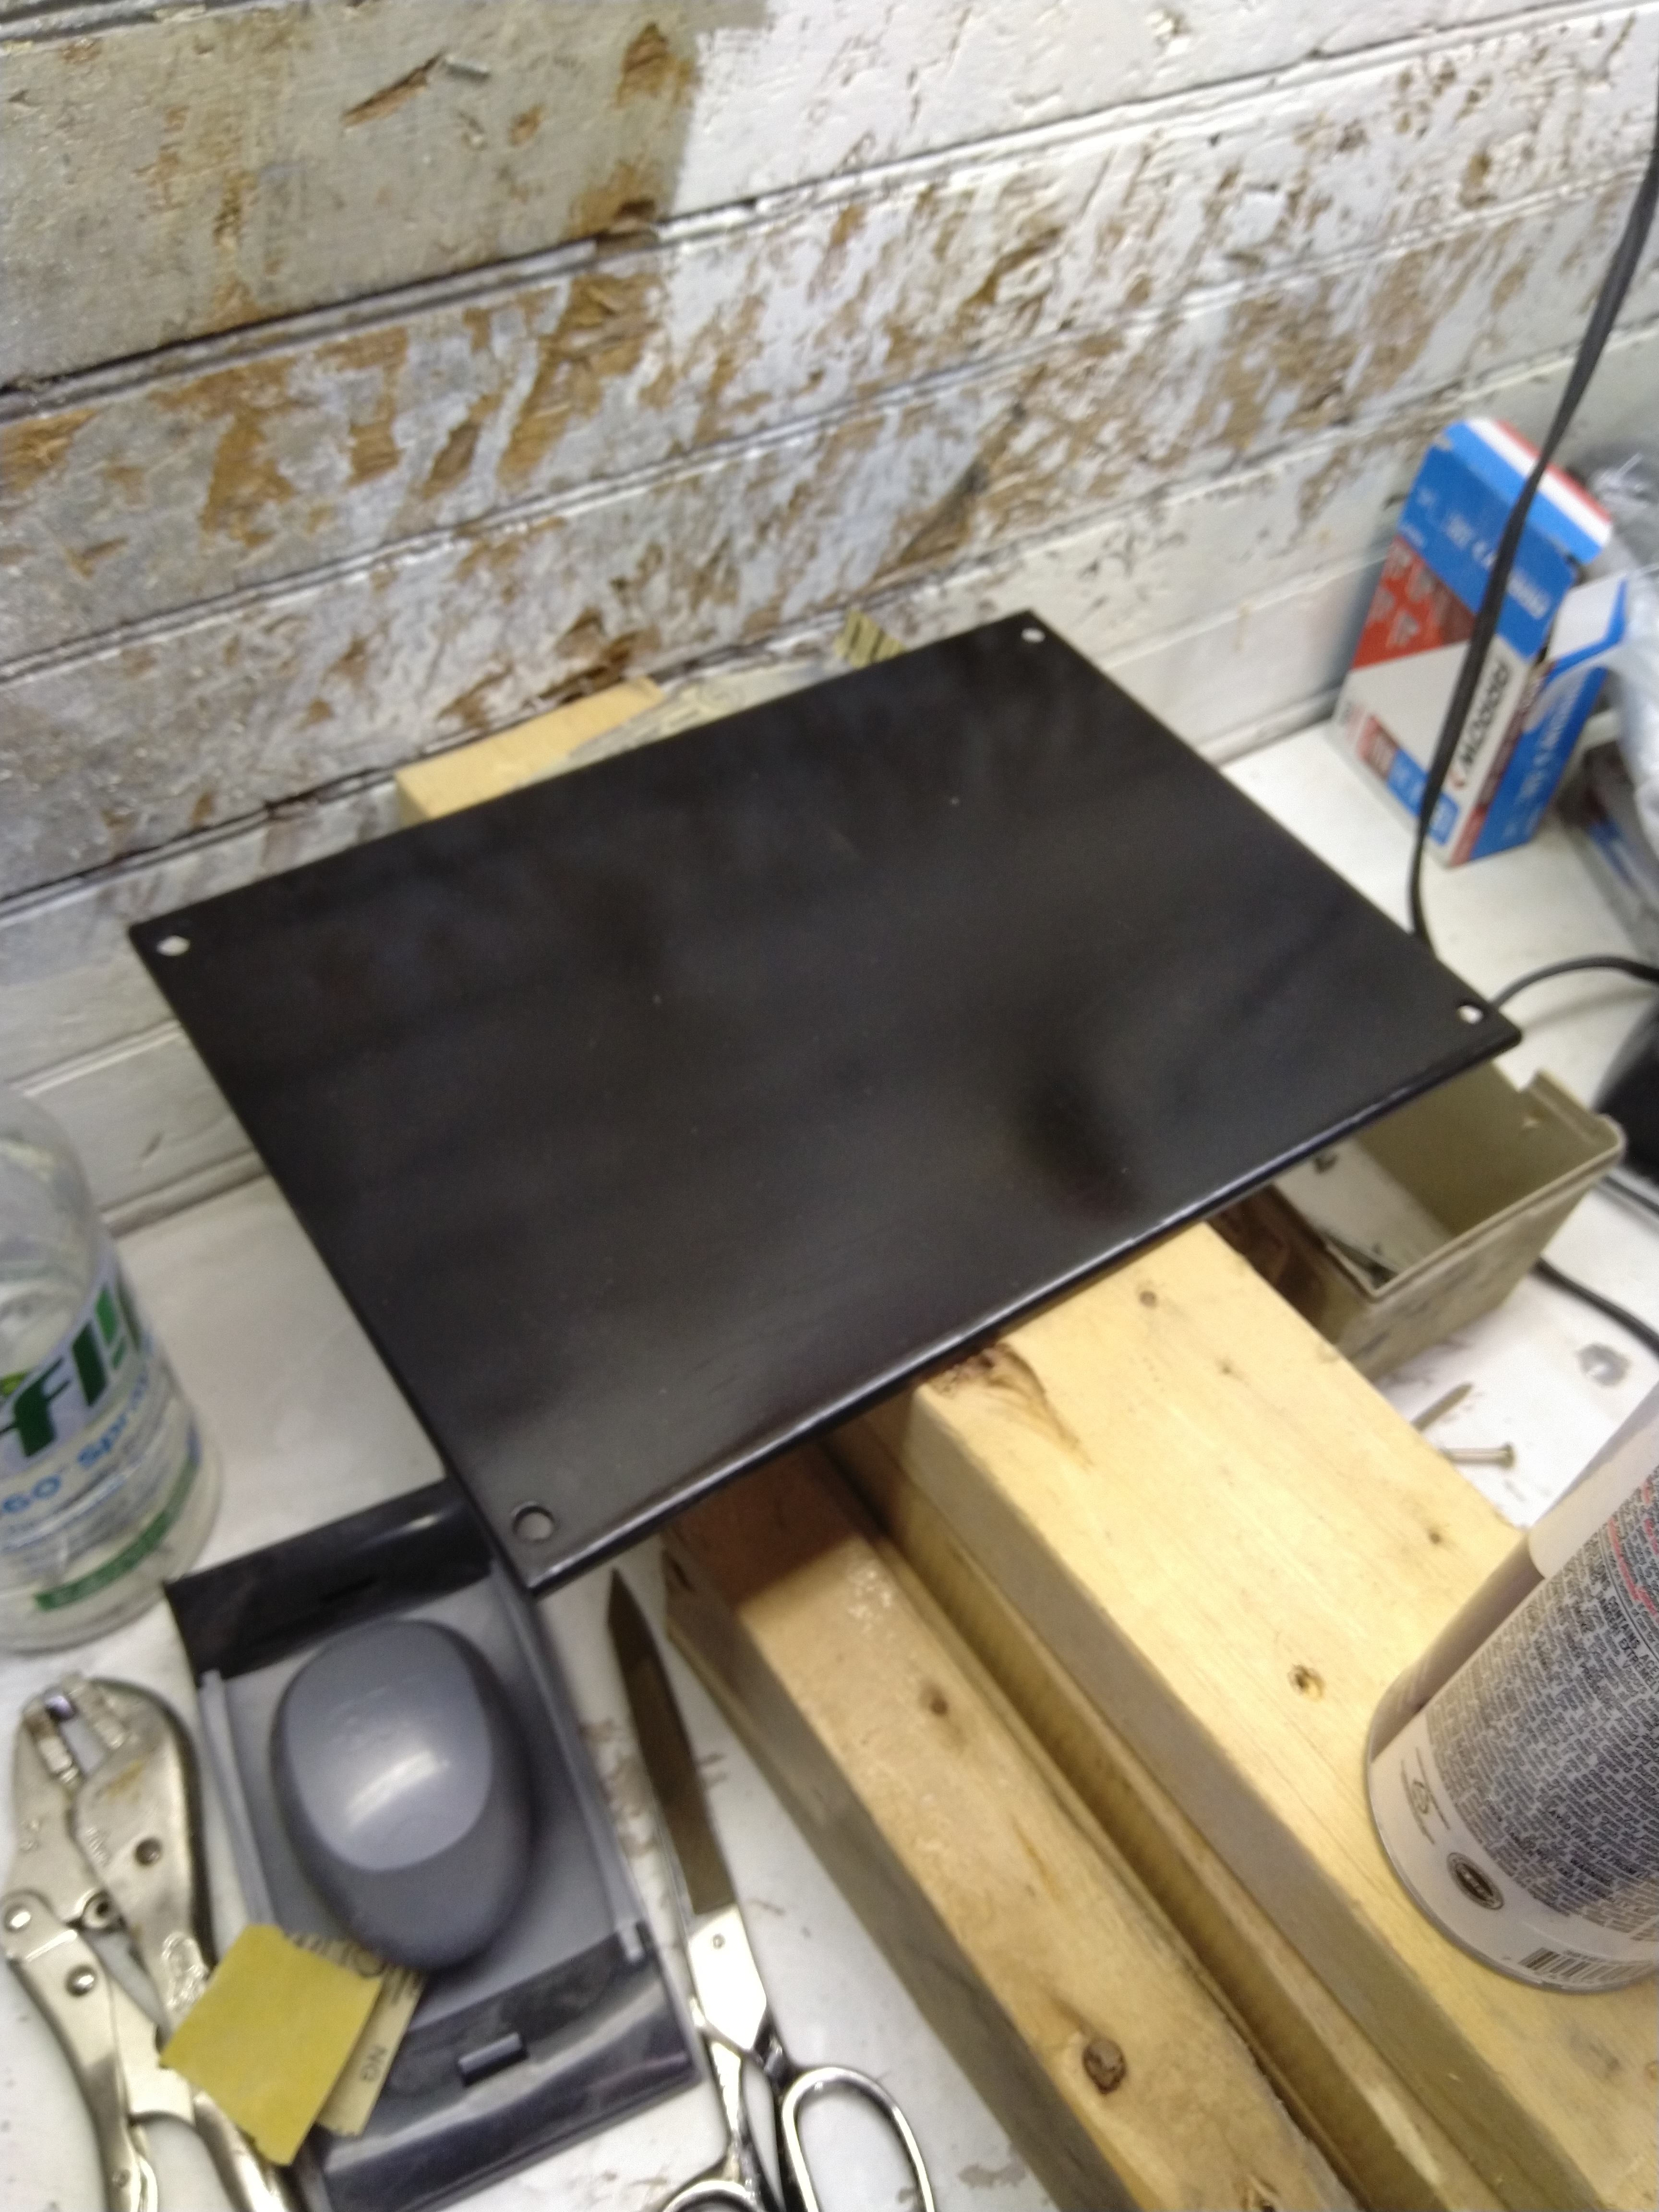
So, after much thought, I just sanded most of the case down again (not having it sand blasted again, very expensive) and sprayed it with this:
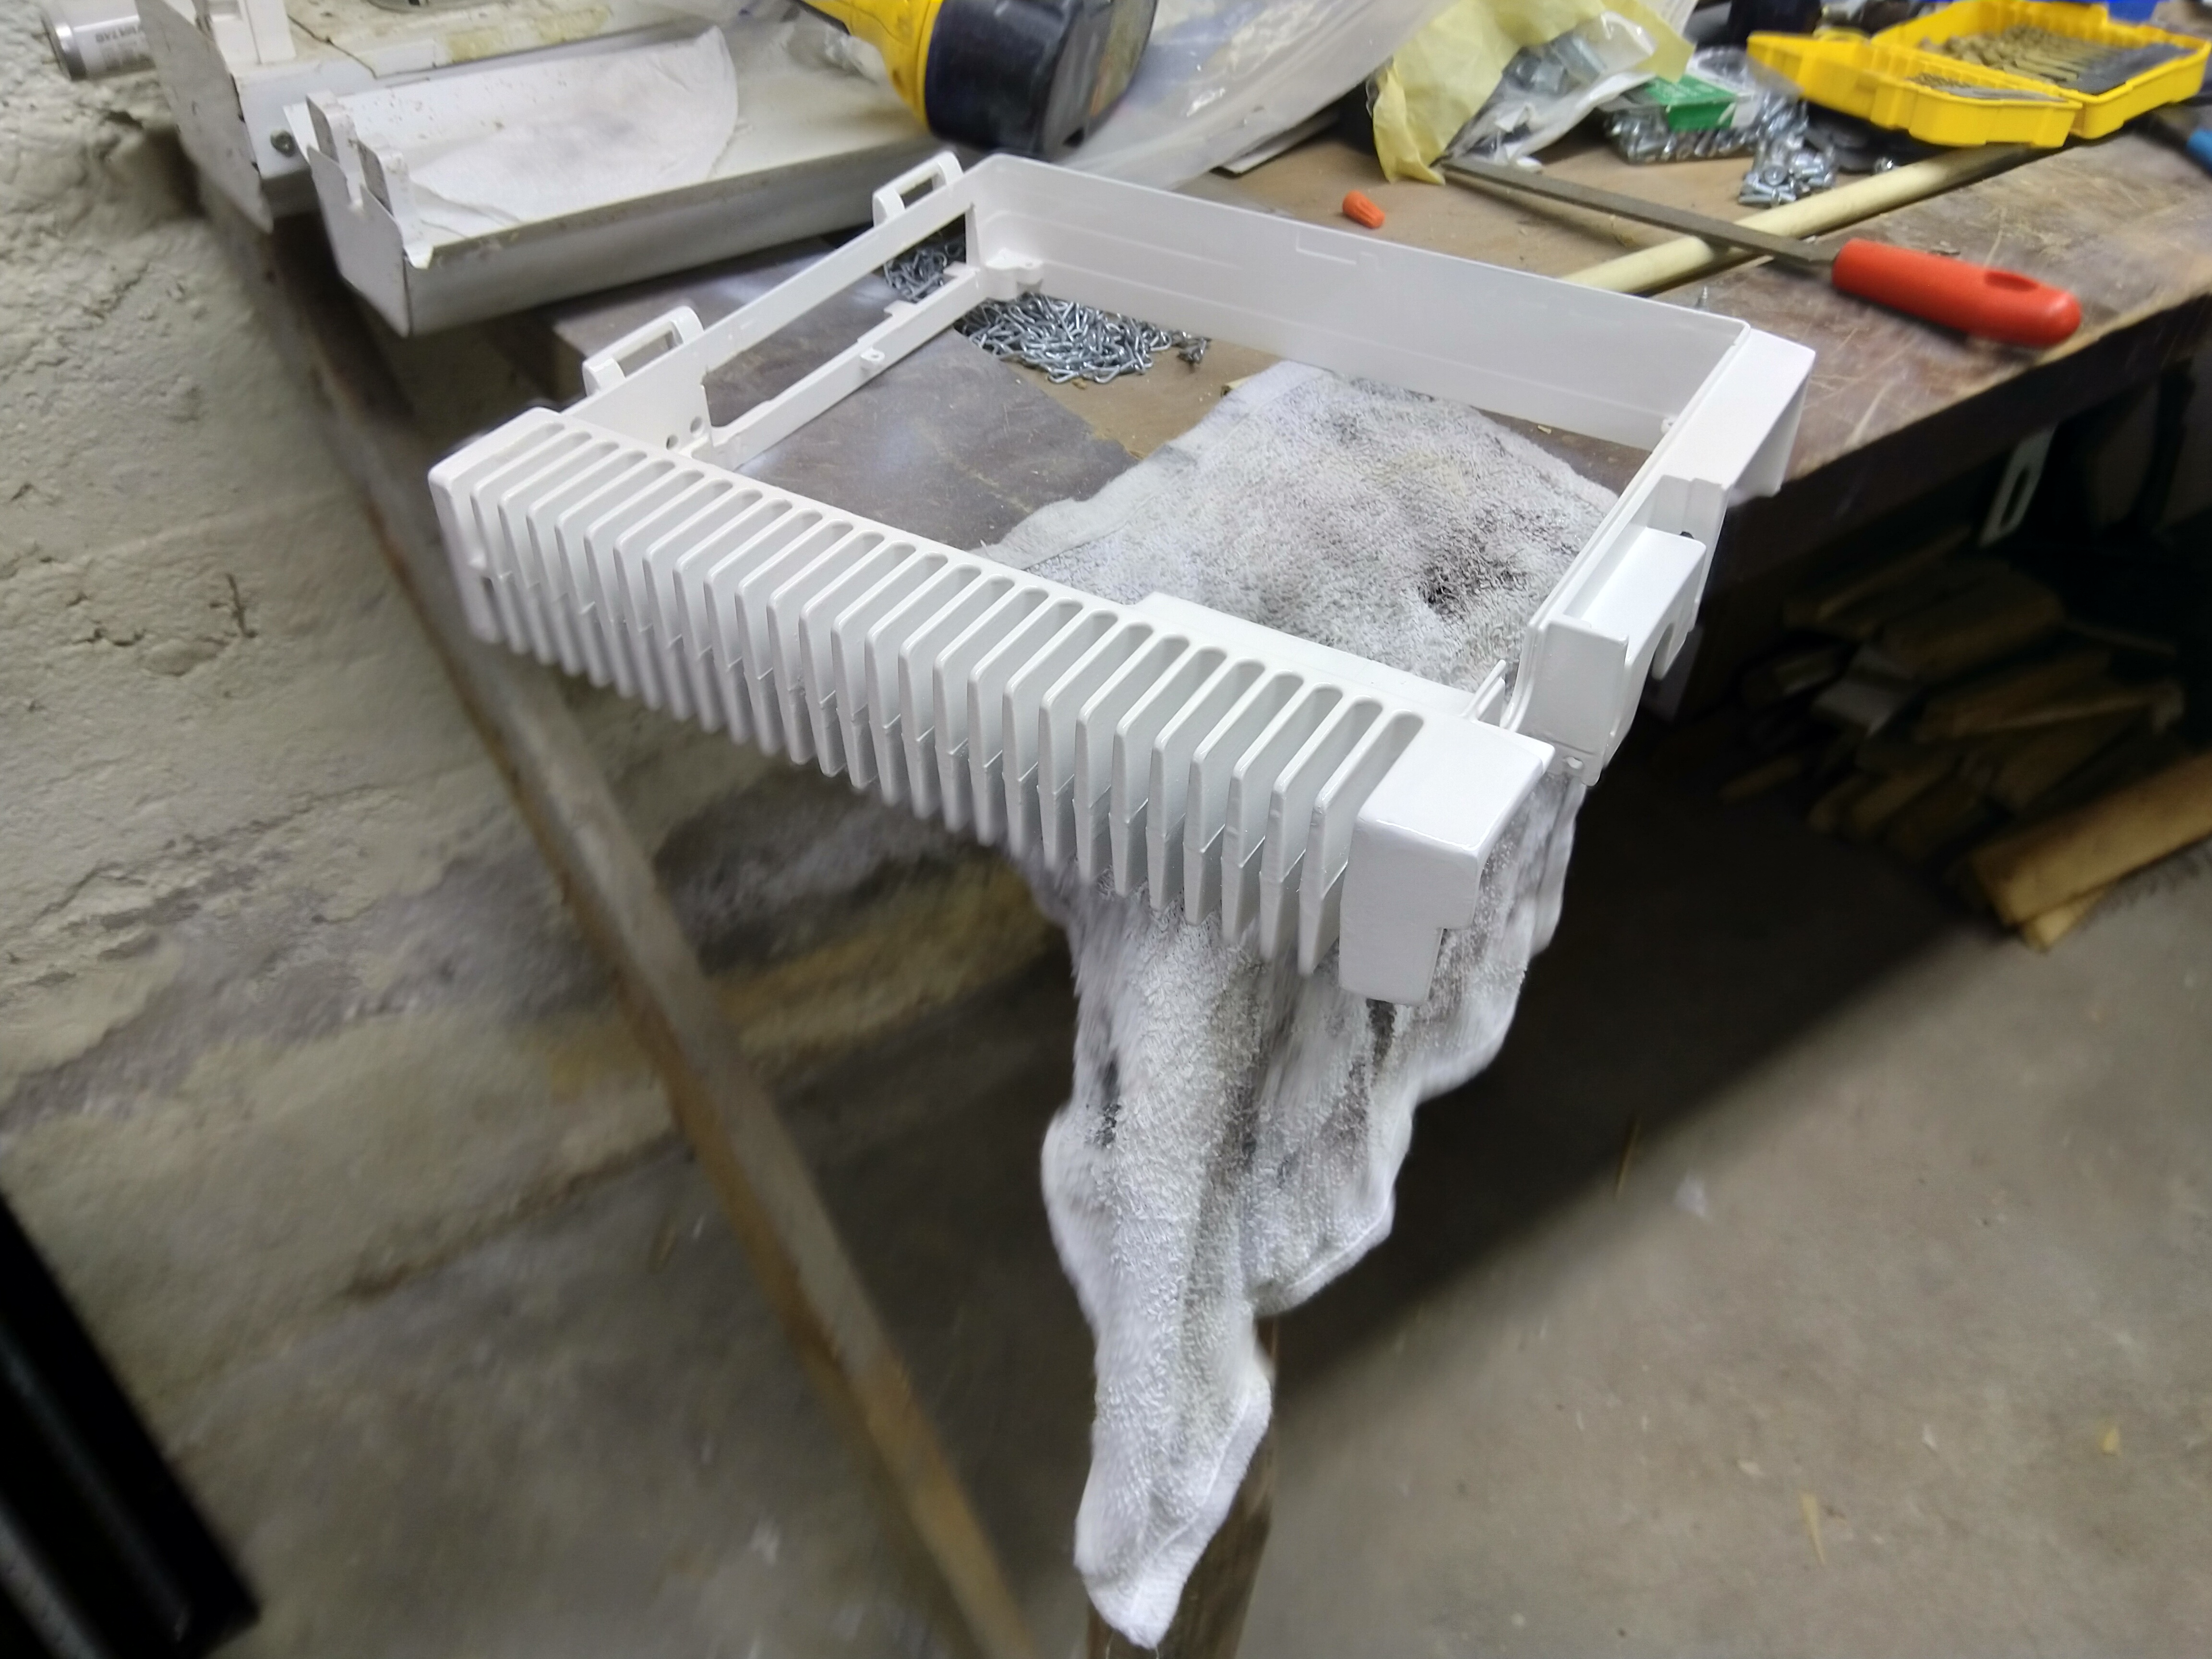
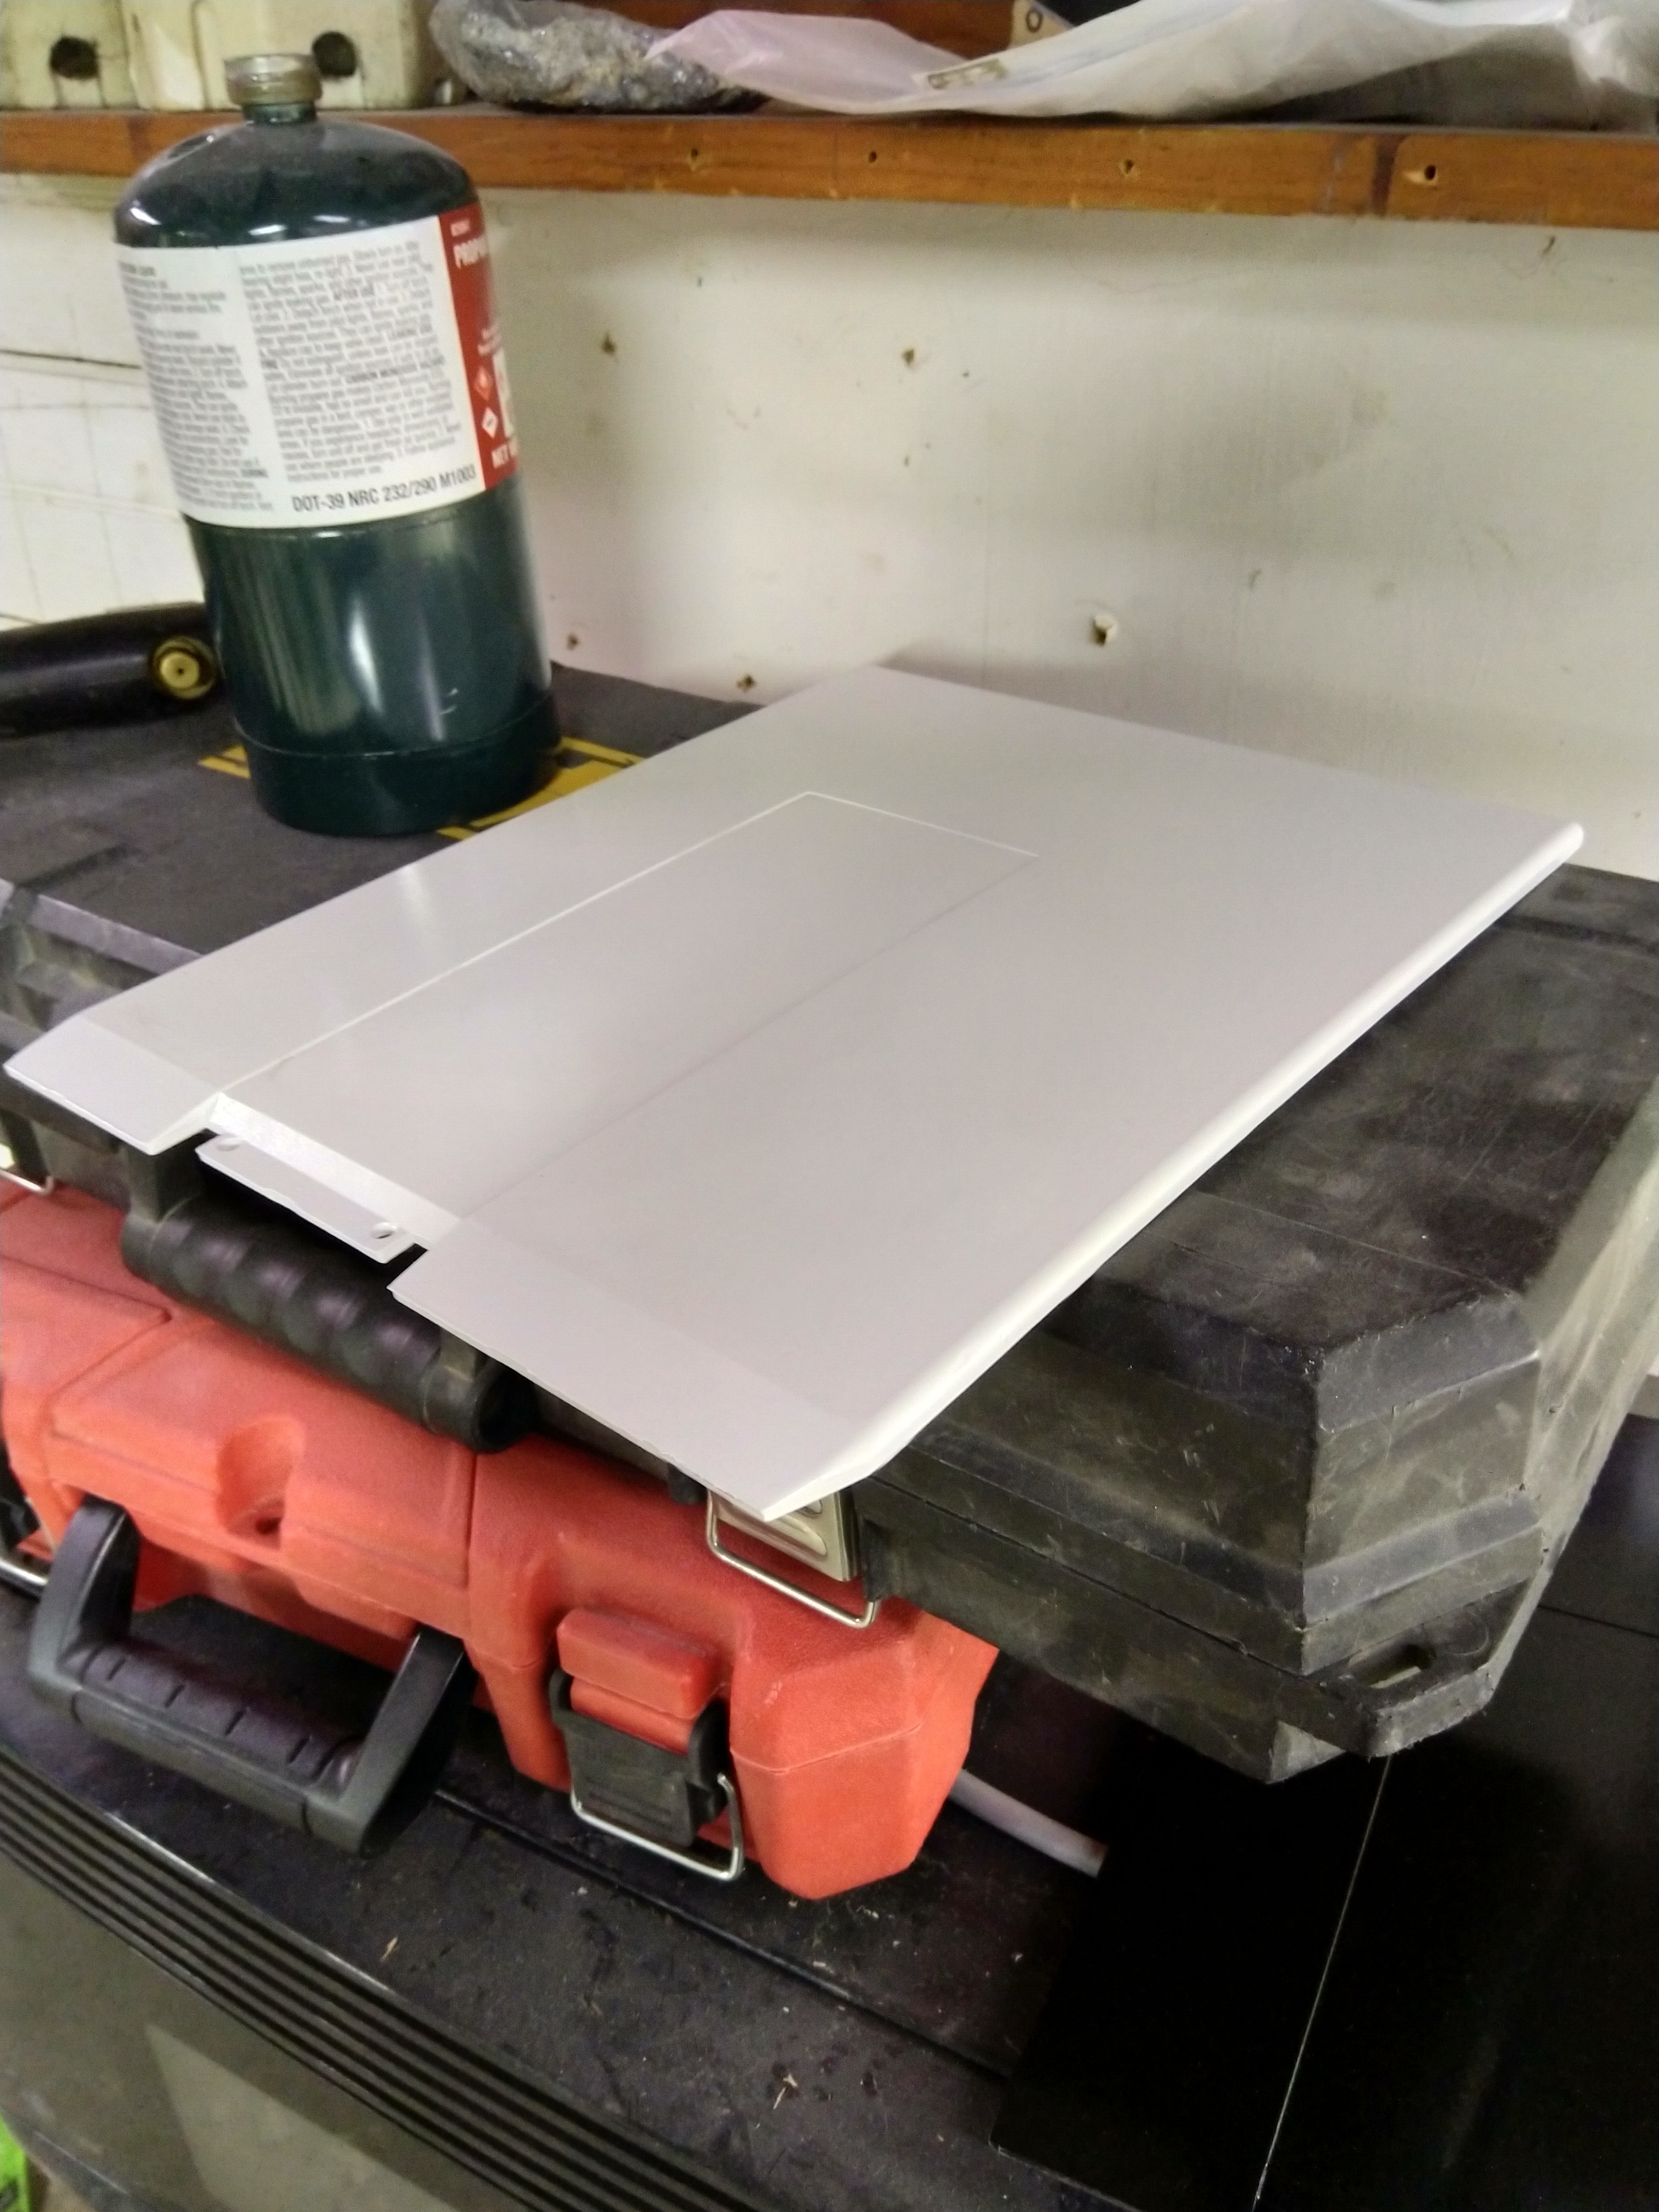
Which gave me this:

It’s not the greatest, and I definitely should have used an etching primer first, but it looks good.
Tomorrow I will sand it a bit and give it one last coat. Then I have to cobble together some kind of mount for the resevoir. Then I can put the motherboard and waterblocks back in. Then I have to find some nice feet and the bottom cover.
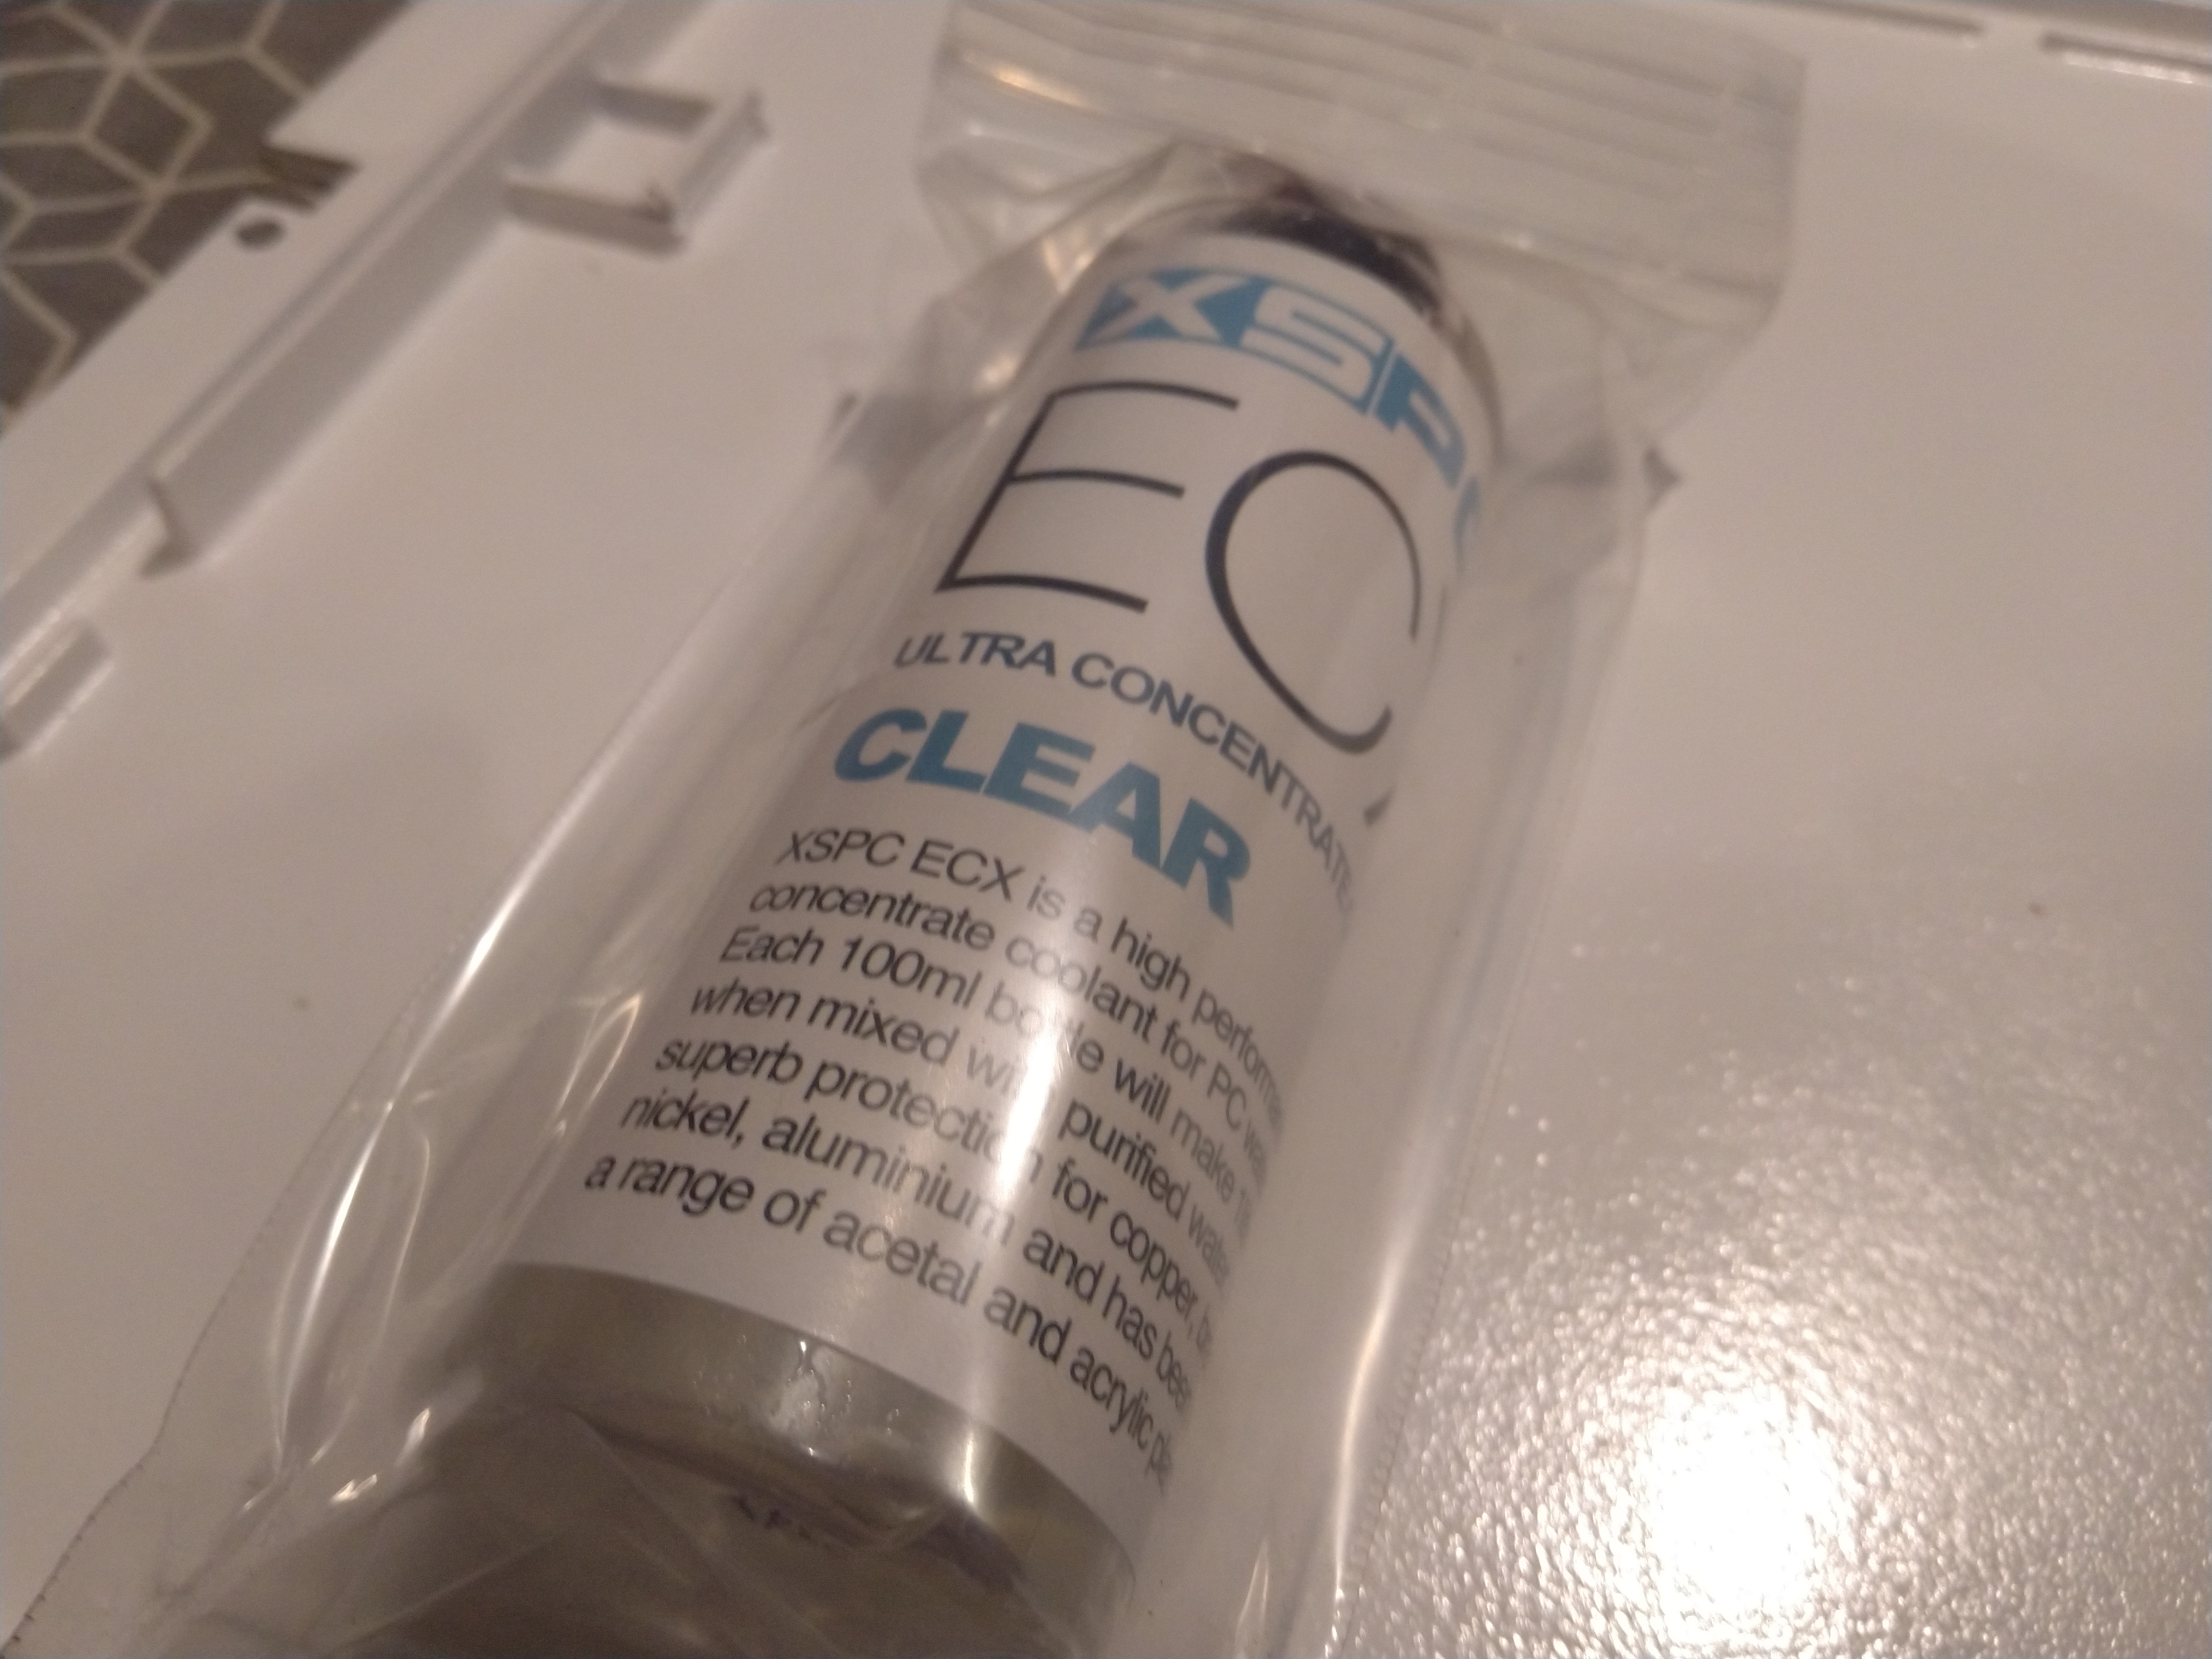
I took the water loop apart, as it started turning green in the tubing. Need new tubing.
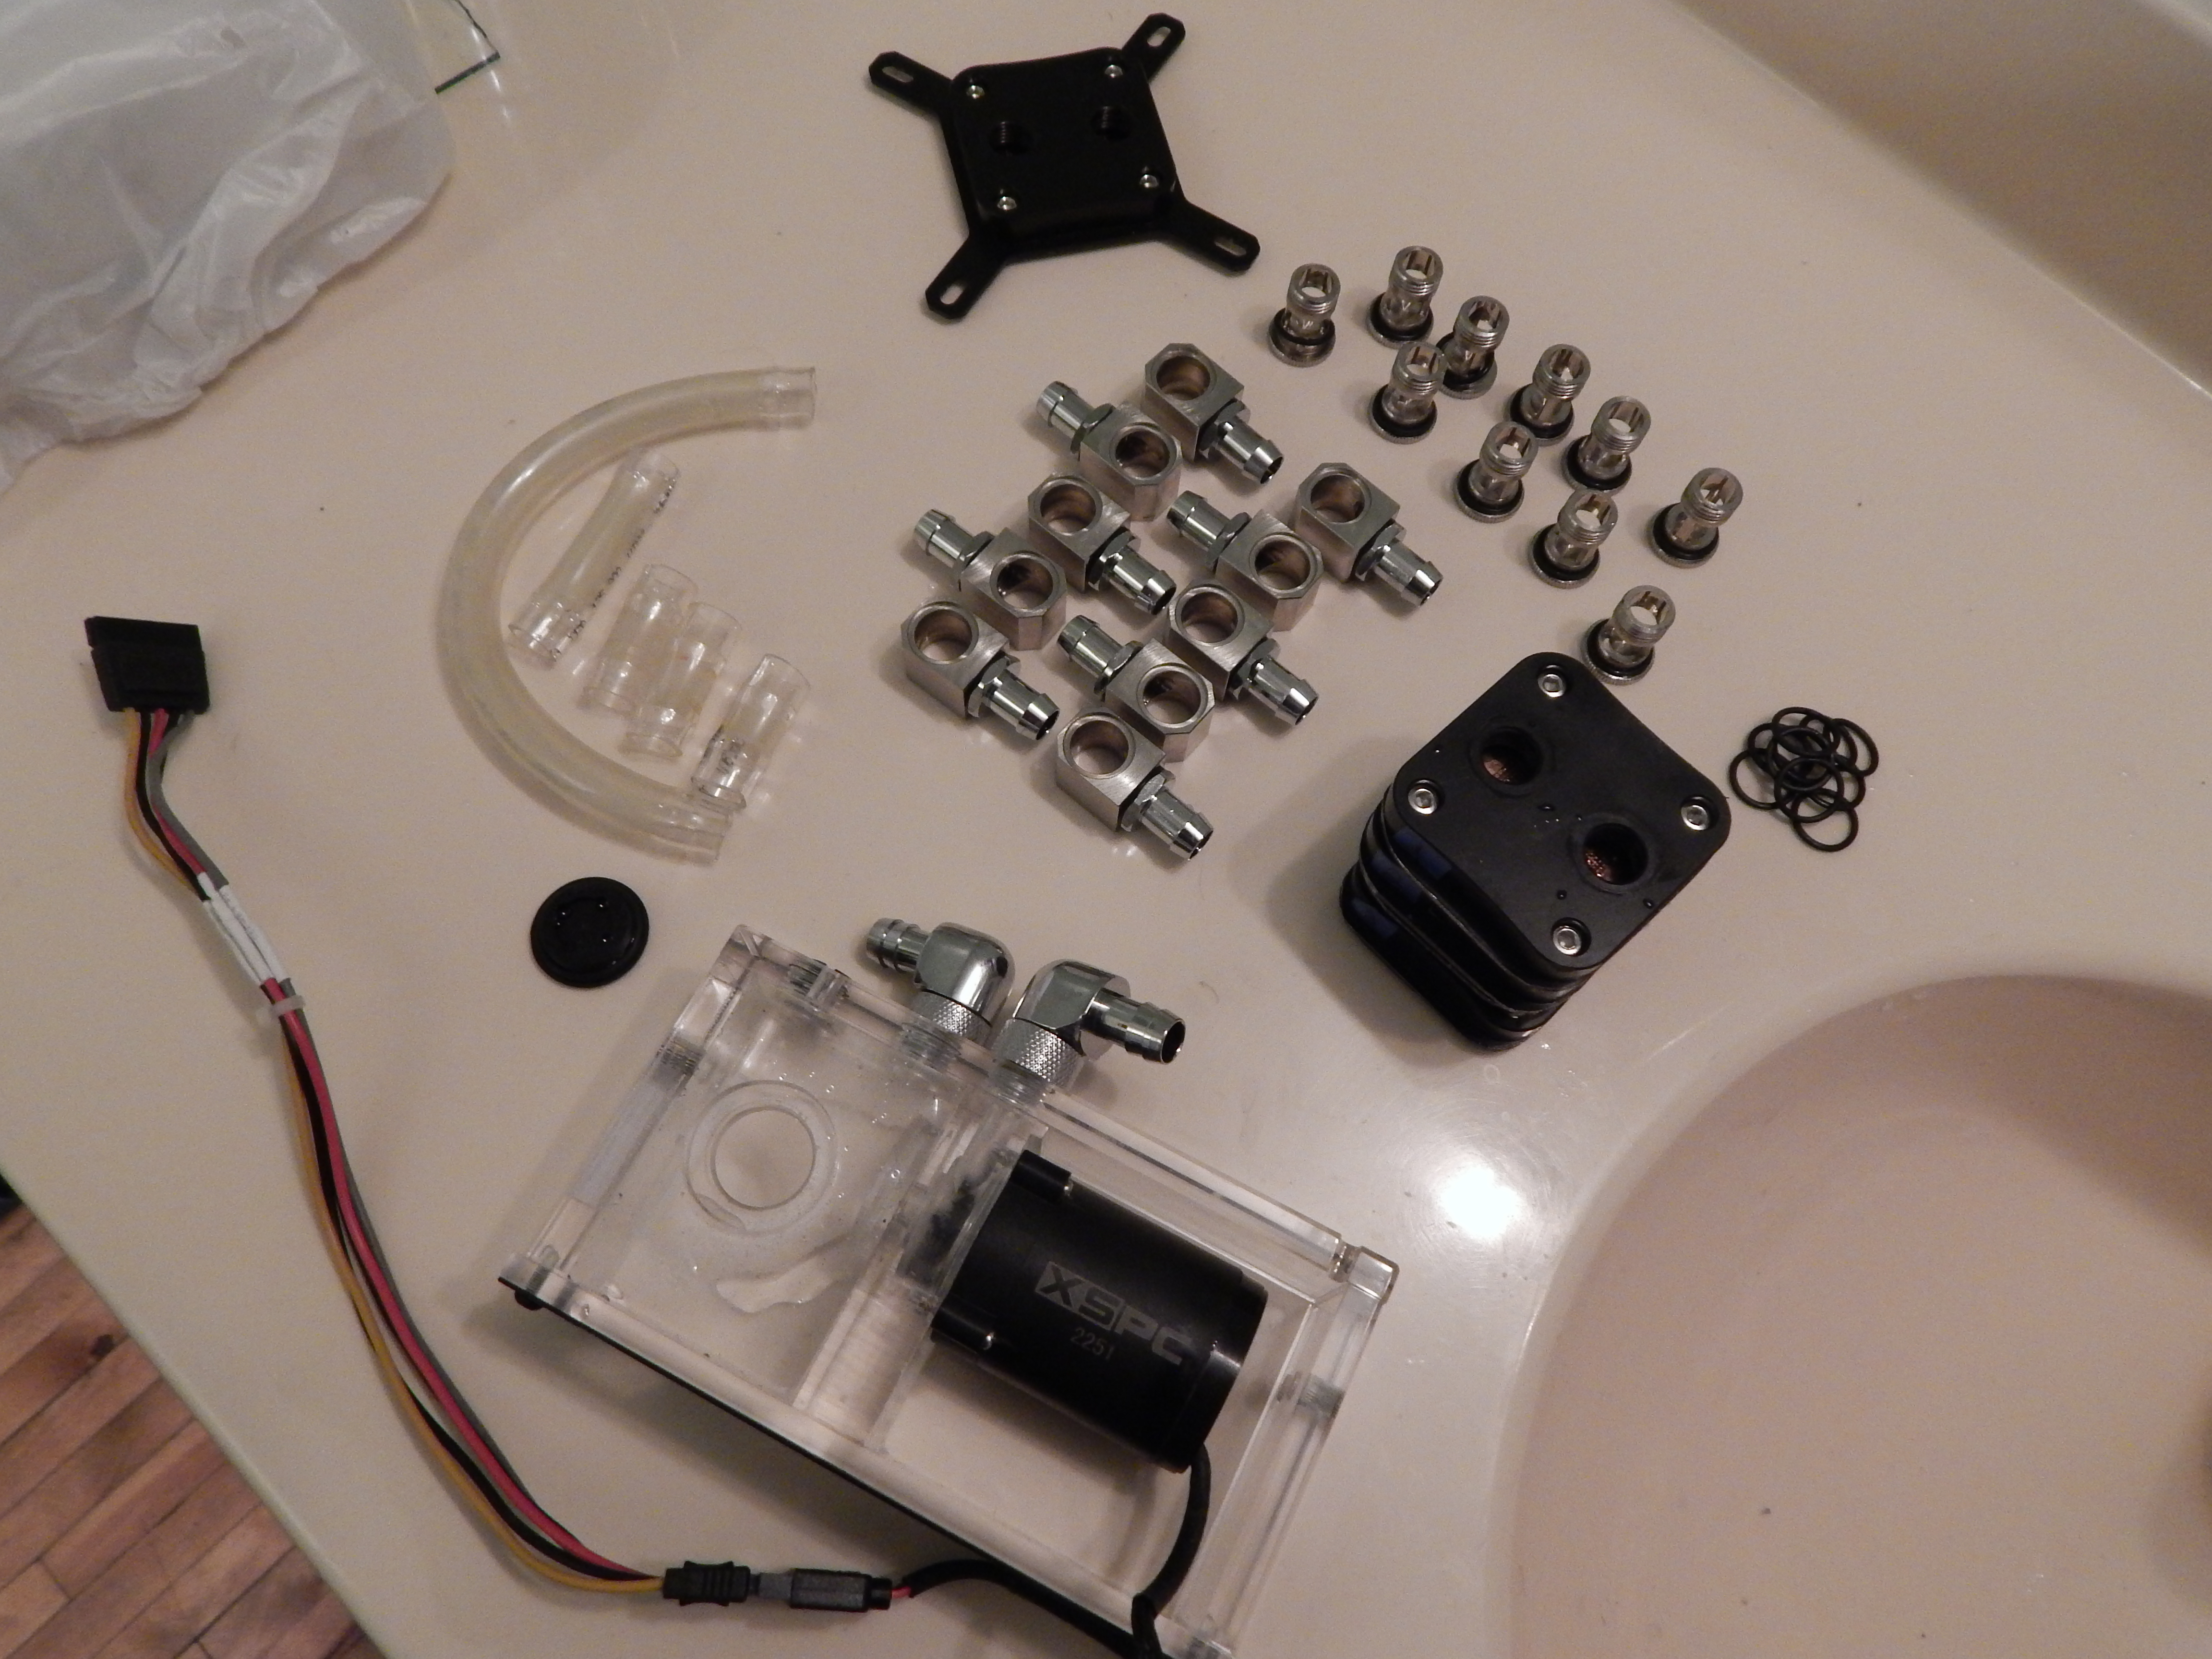
I thought for a brief moment that I should try hard tubing. Then I remembered how expensive all those low profile fittings were and that I want to stop throwing money at this.
6 Likes

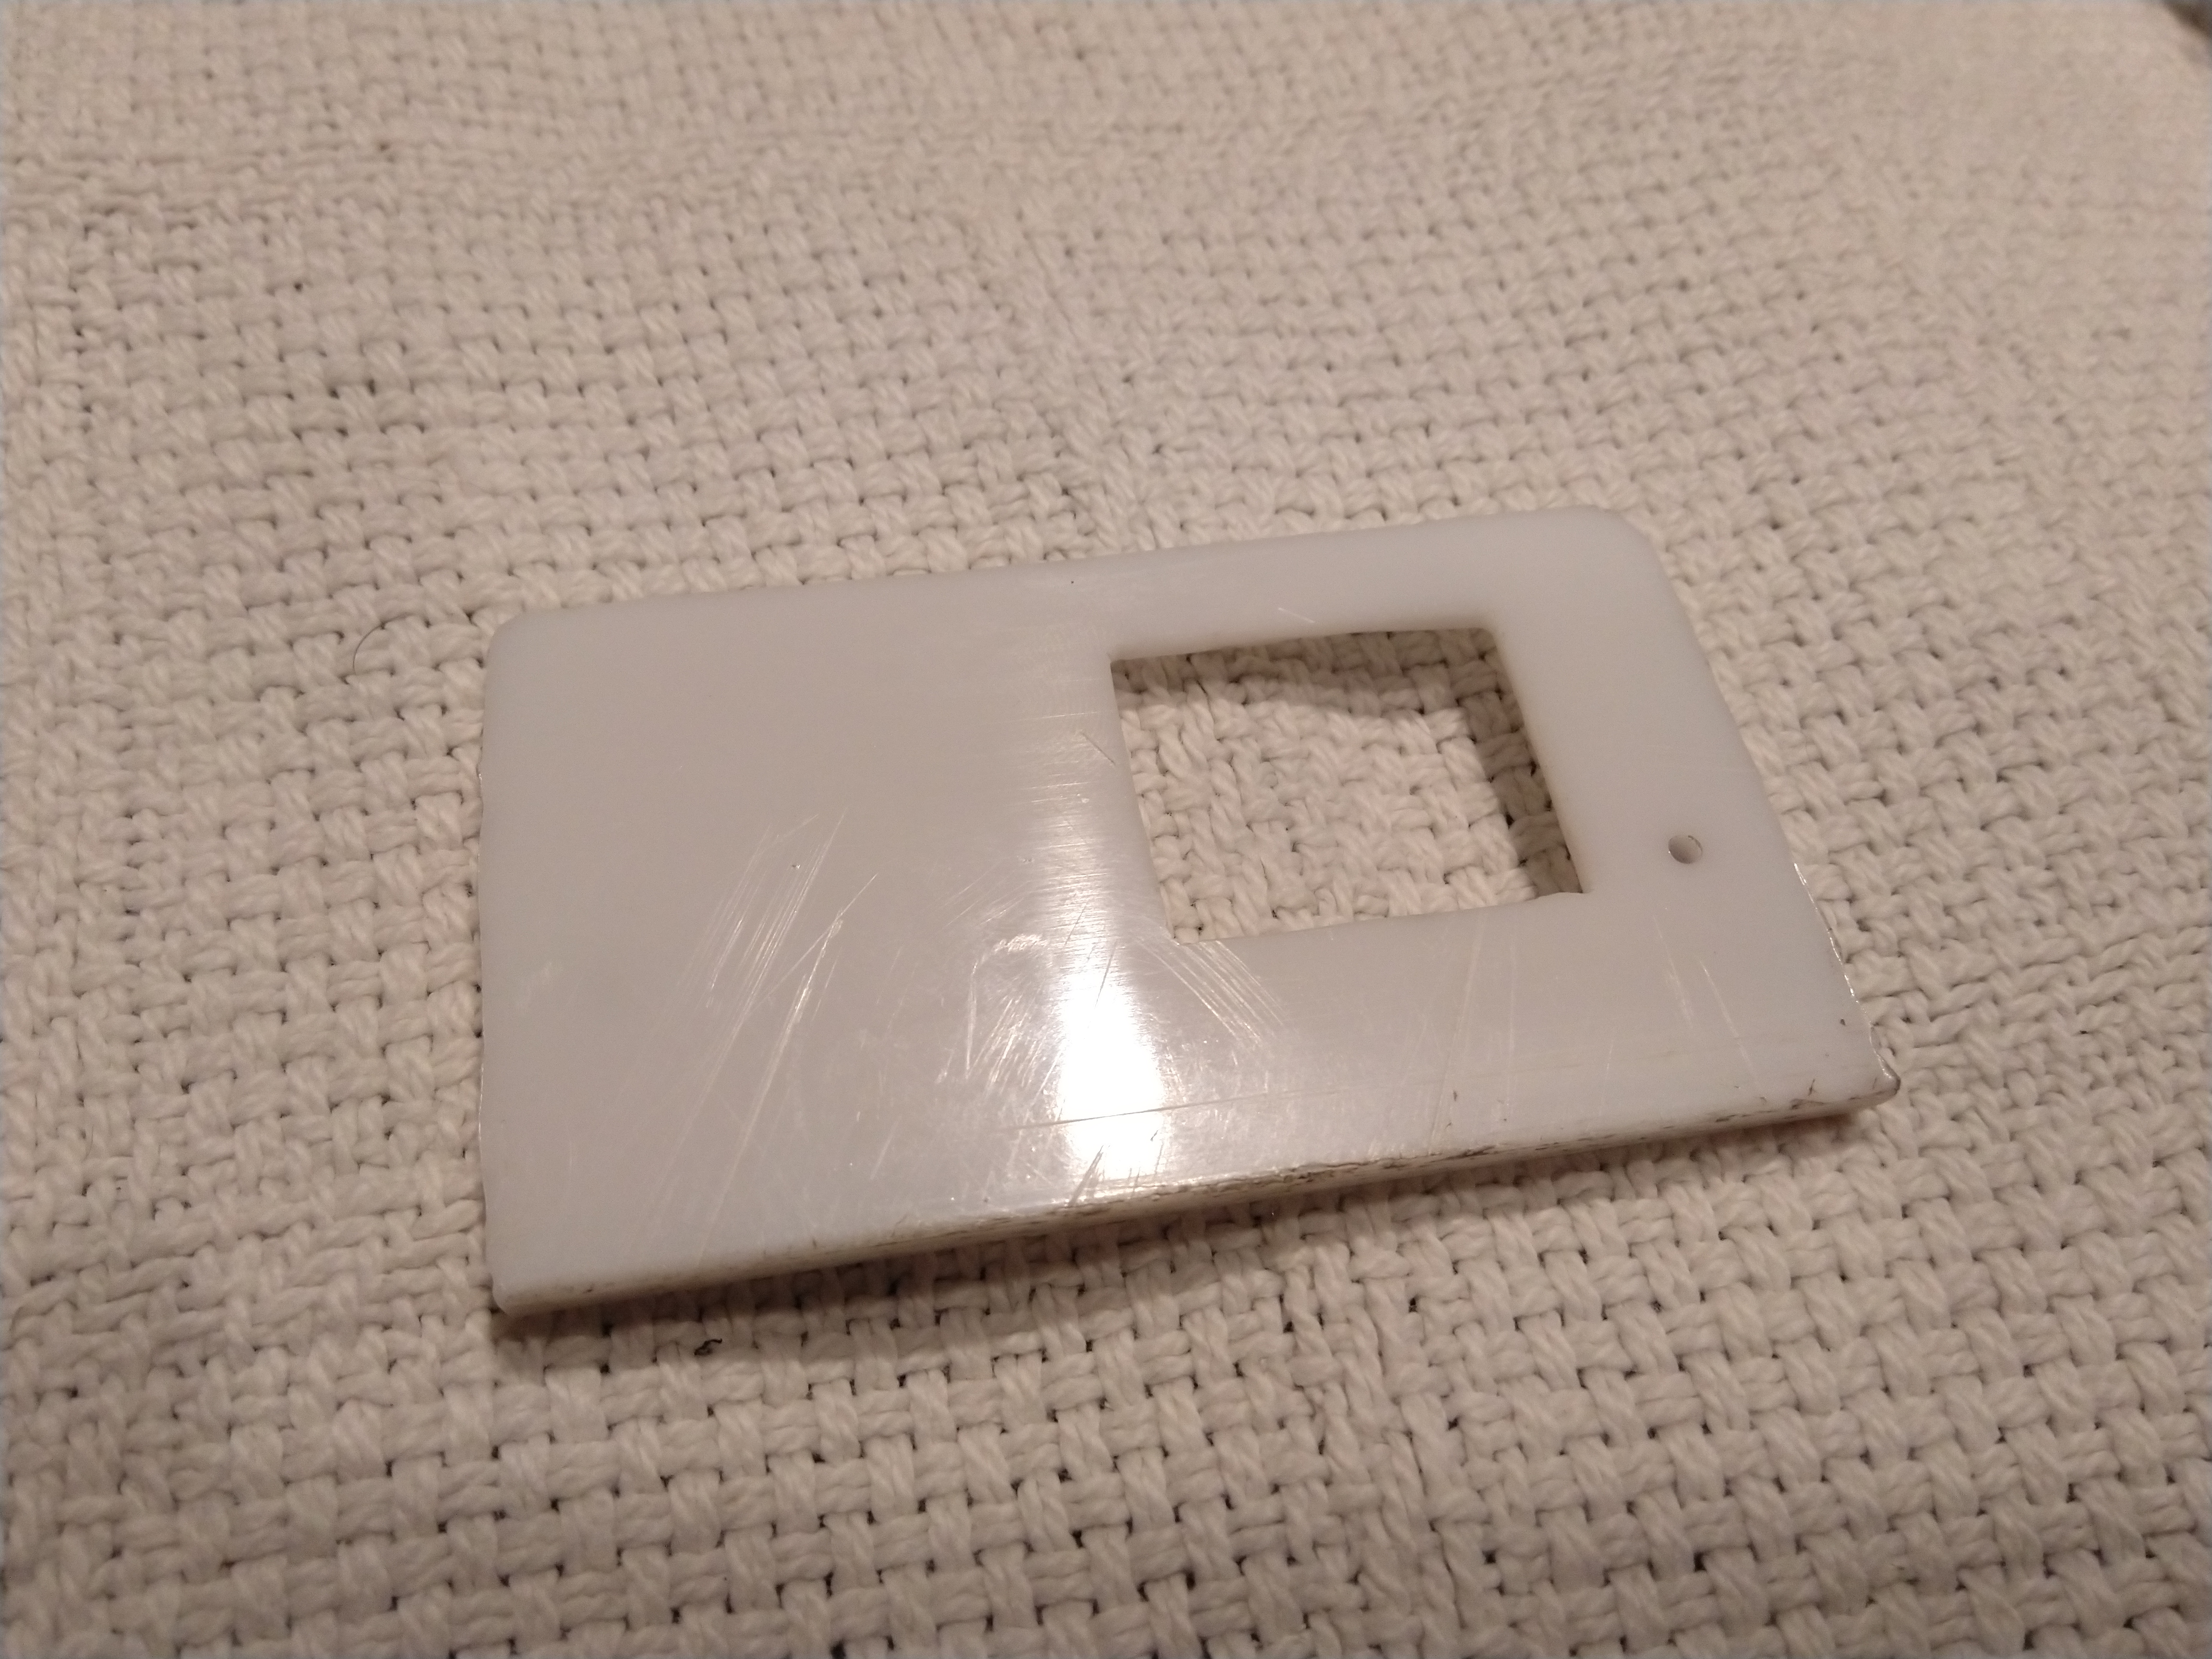
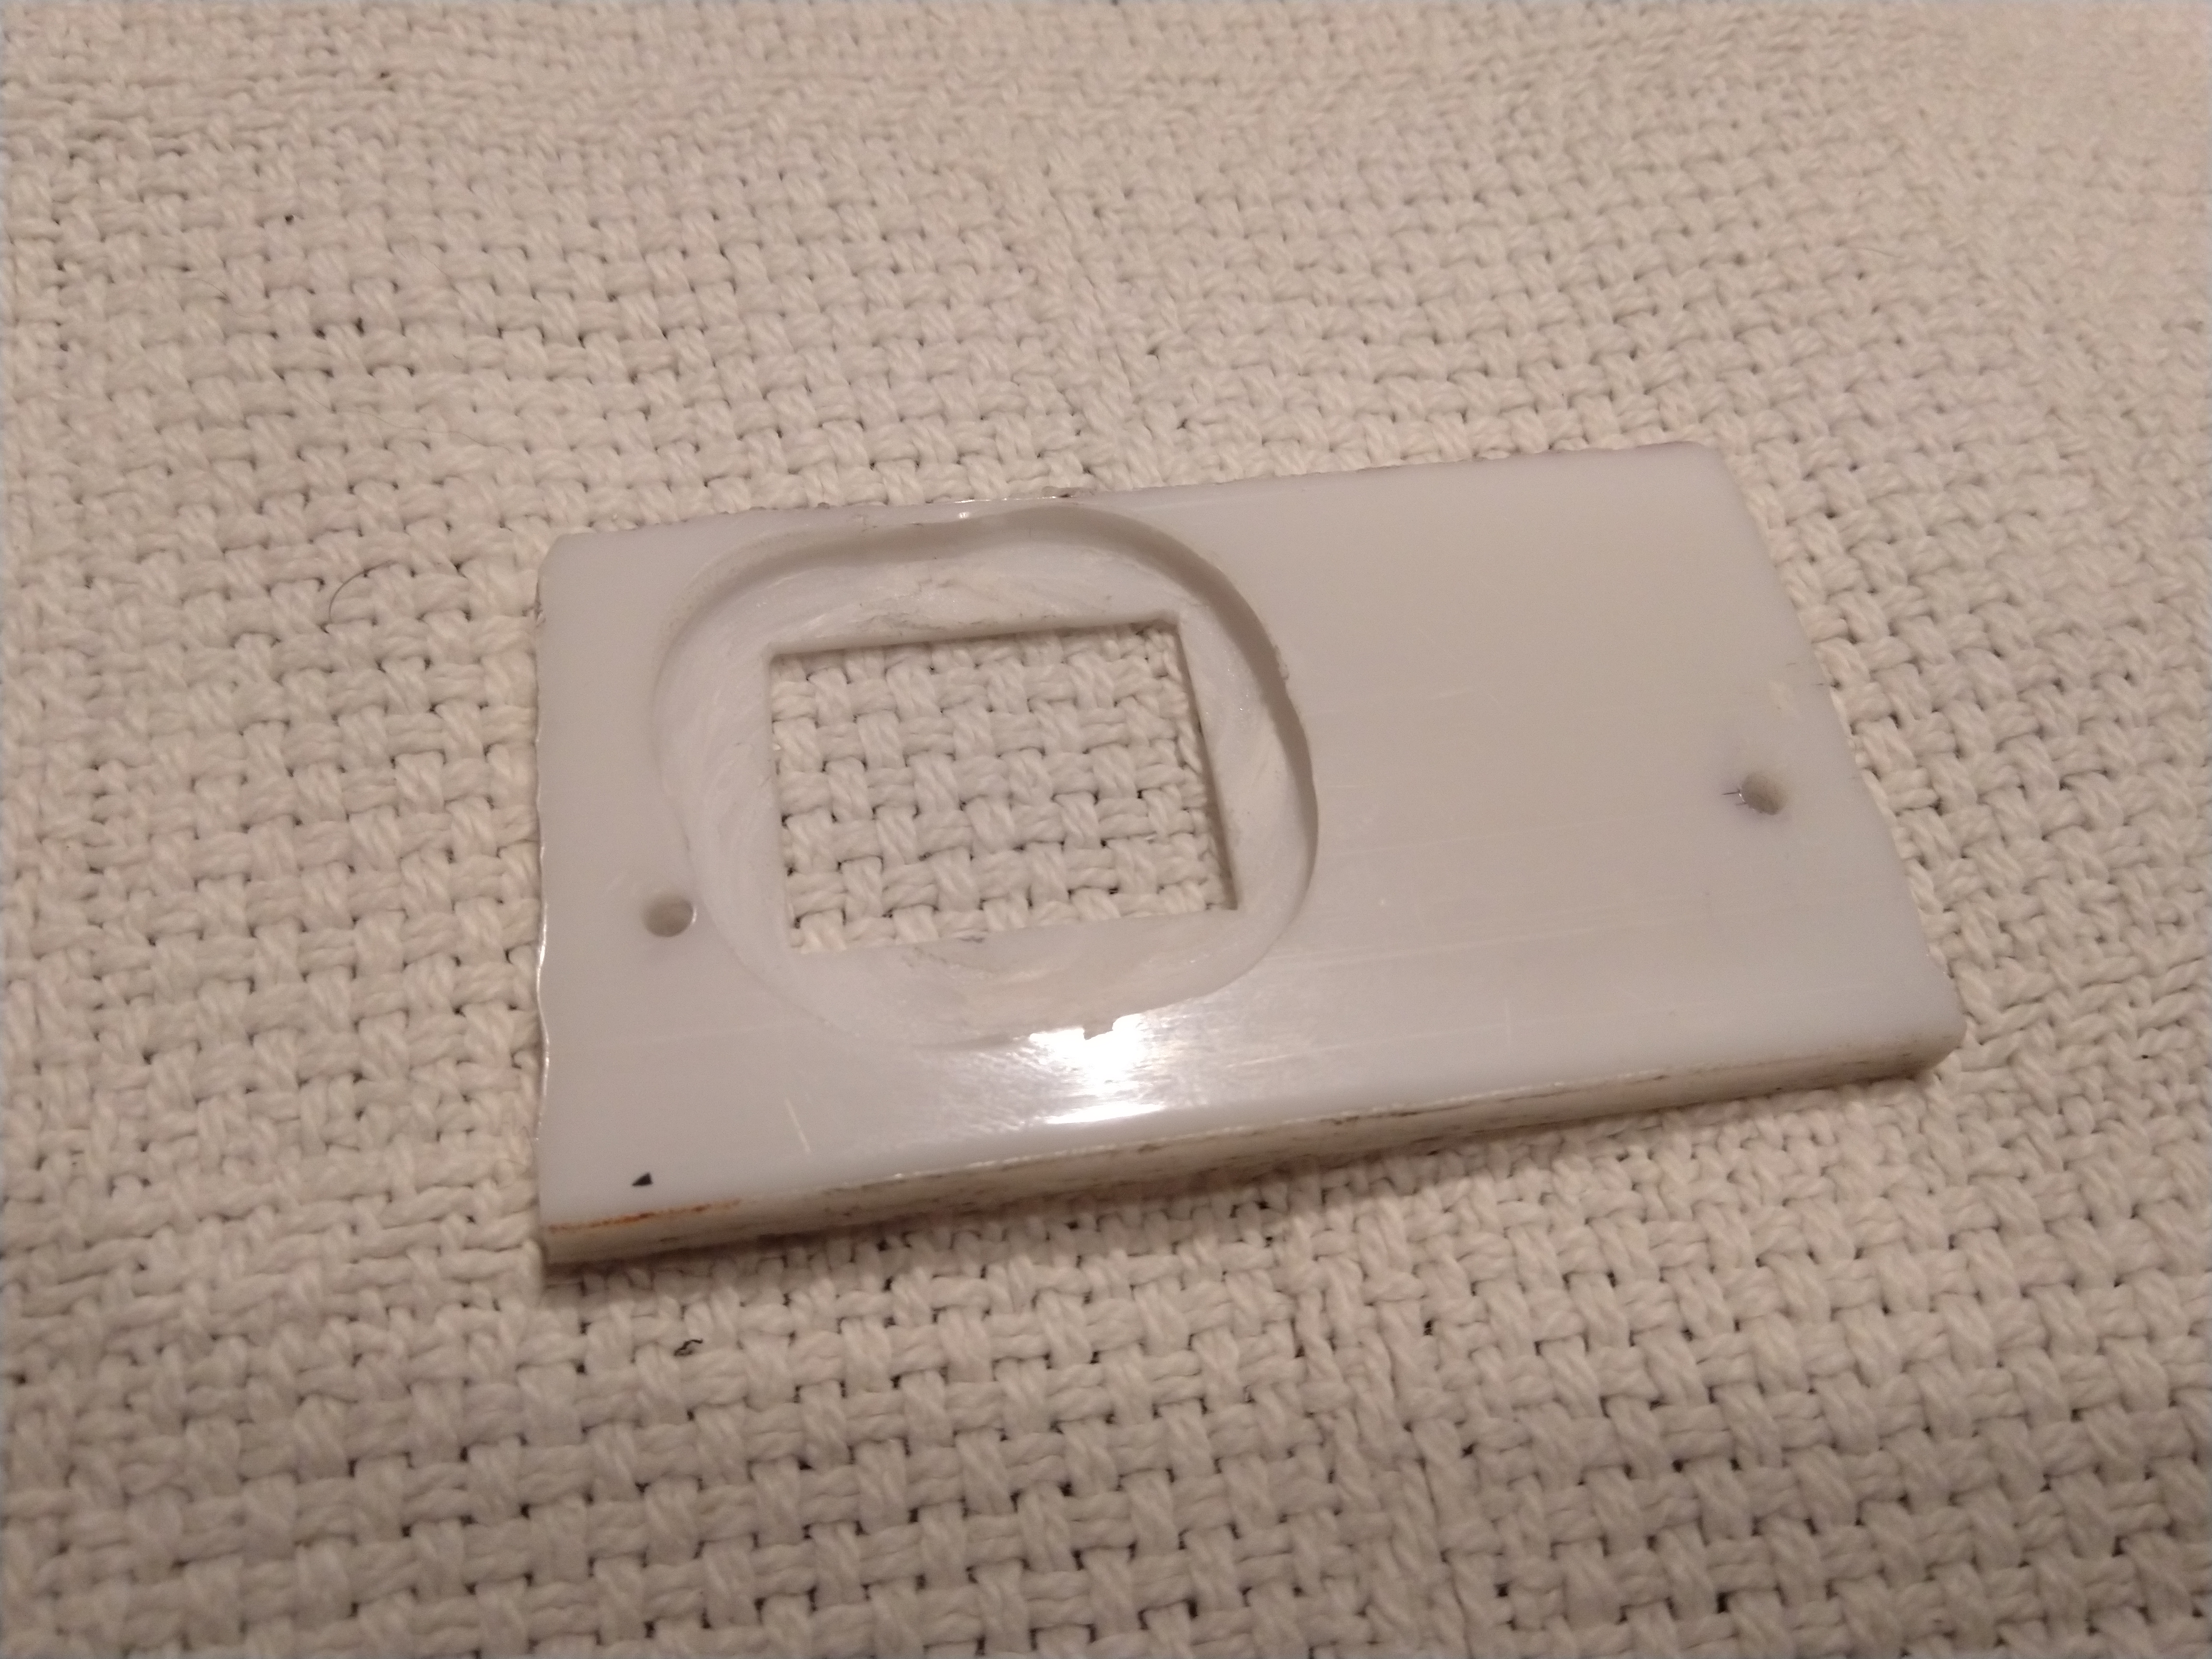
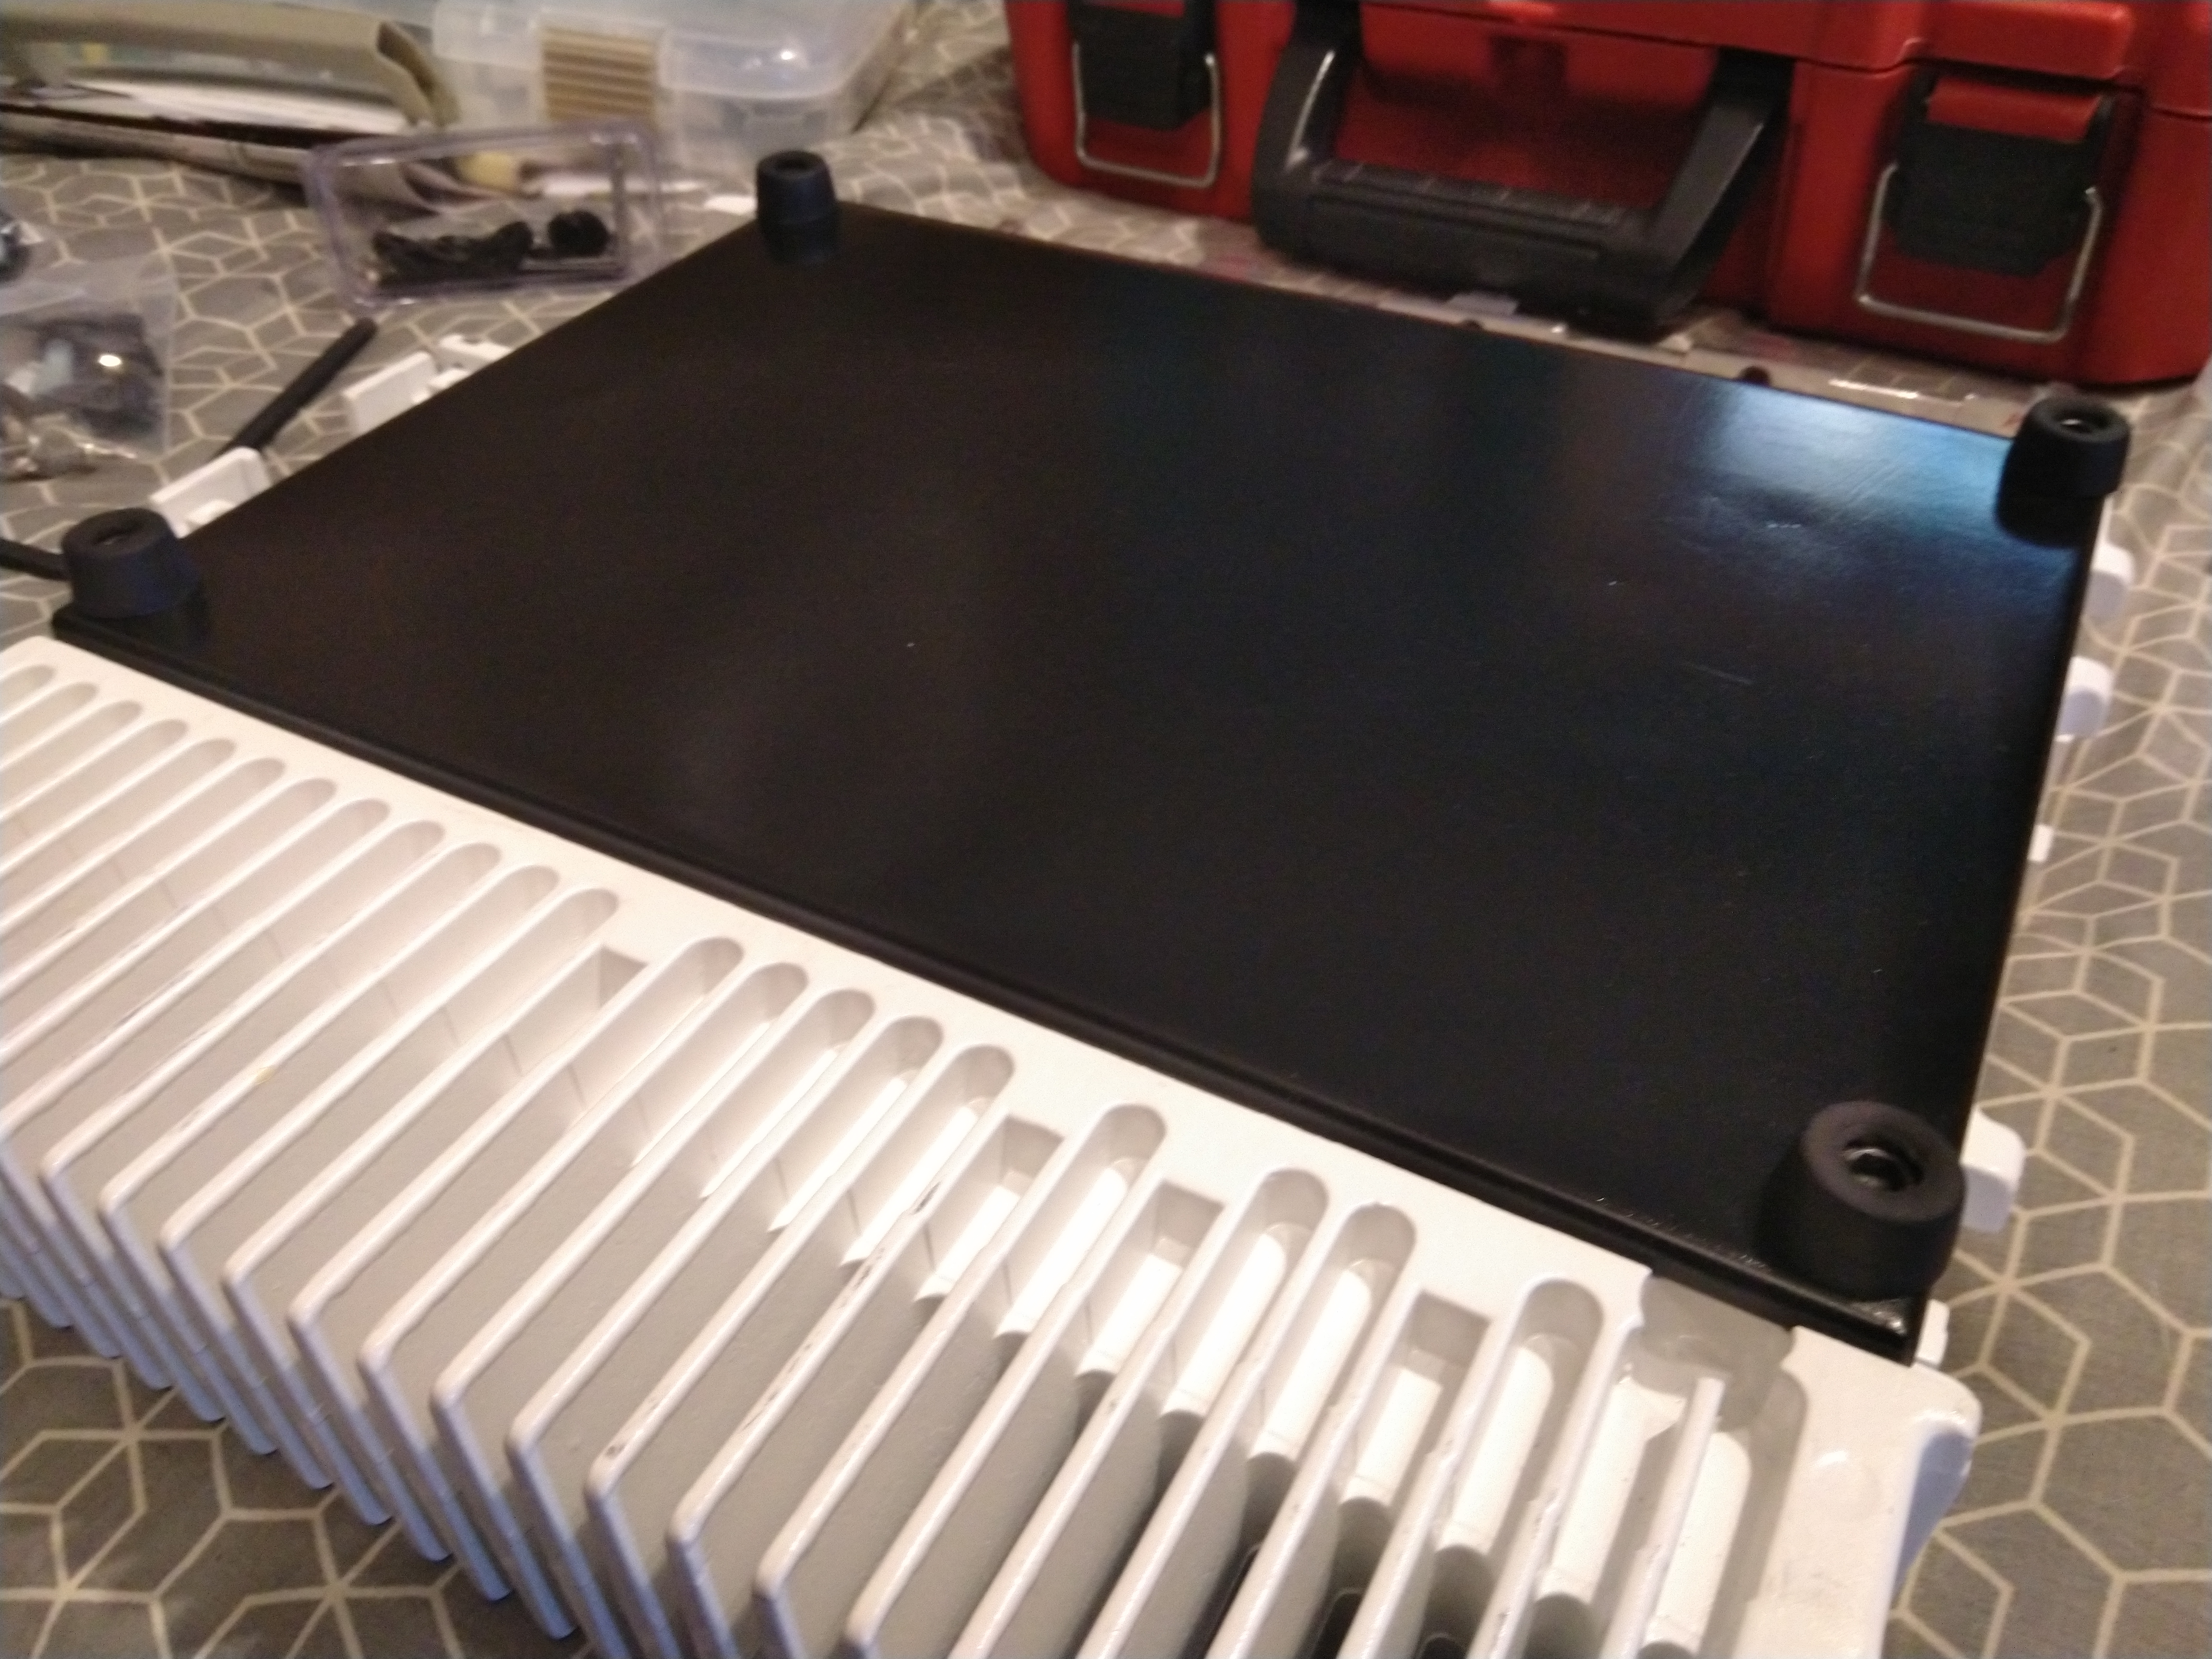
I think I am finally done putting coats of the enamel on. It looks good. I am trying to find feet that work good with the case. I’ve bought two different kinds off Amazon and they haven’t worked out. I also have to fab up a plastic piece to cover the rectangular cutout on the front. And maybe the rounded cutout too.
Anyway, very close to being done. I’ll get some better pictures of how it looks painted maybe this week. I won’t mount the motherboard and watercooling loop until I figure a good solution for mounting the reservoir. I need to spend some time at my storage unit looking for my dremel.
8 Likes
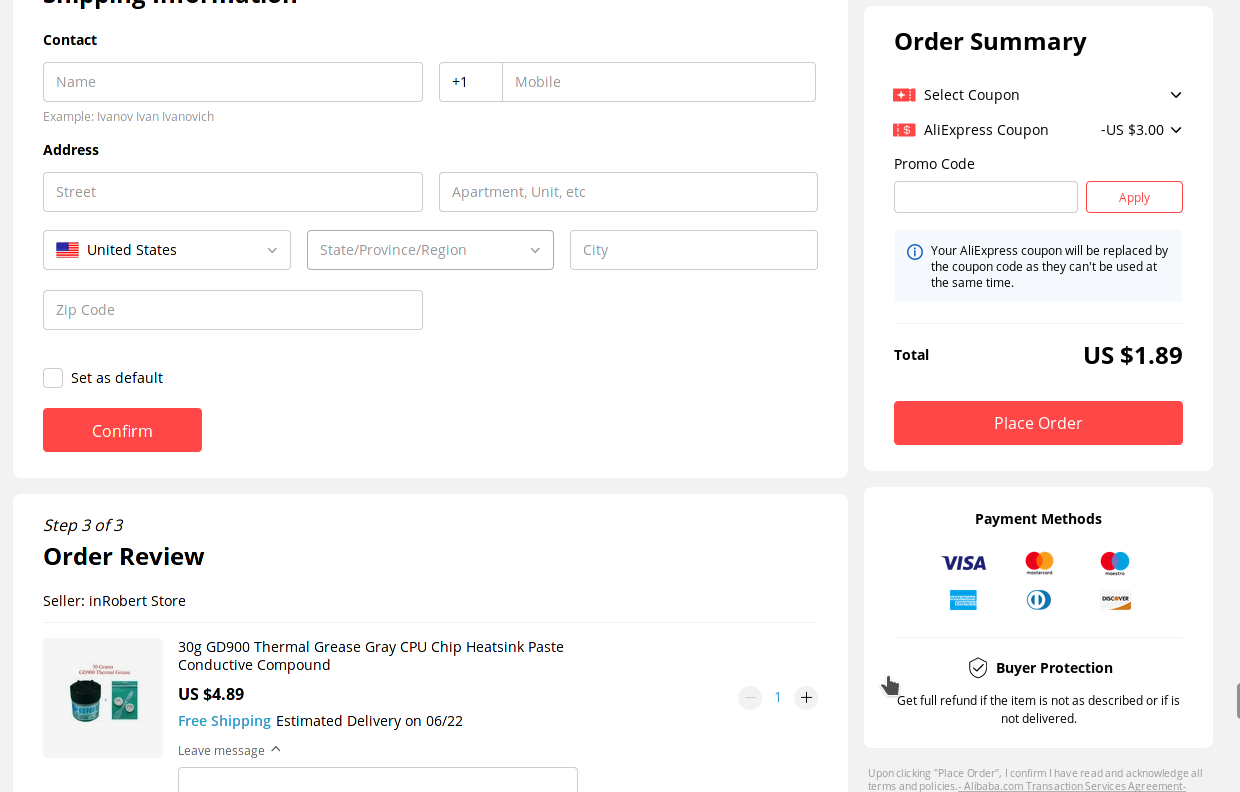
You said something about the res/pump vibration noise, you can put some cheap AliExpress thermal pads under it to suppress it, also you can buy a big cheap tub of GD900 thermal paste that will last you forever since you have like 5 water blocks GD900 is pretty good stuff
1 Like
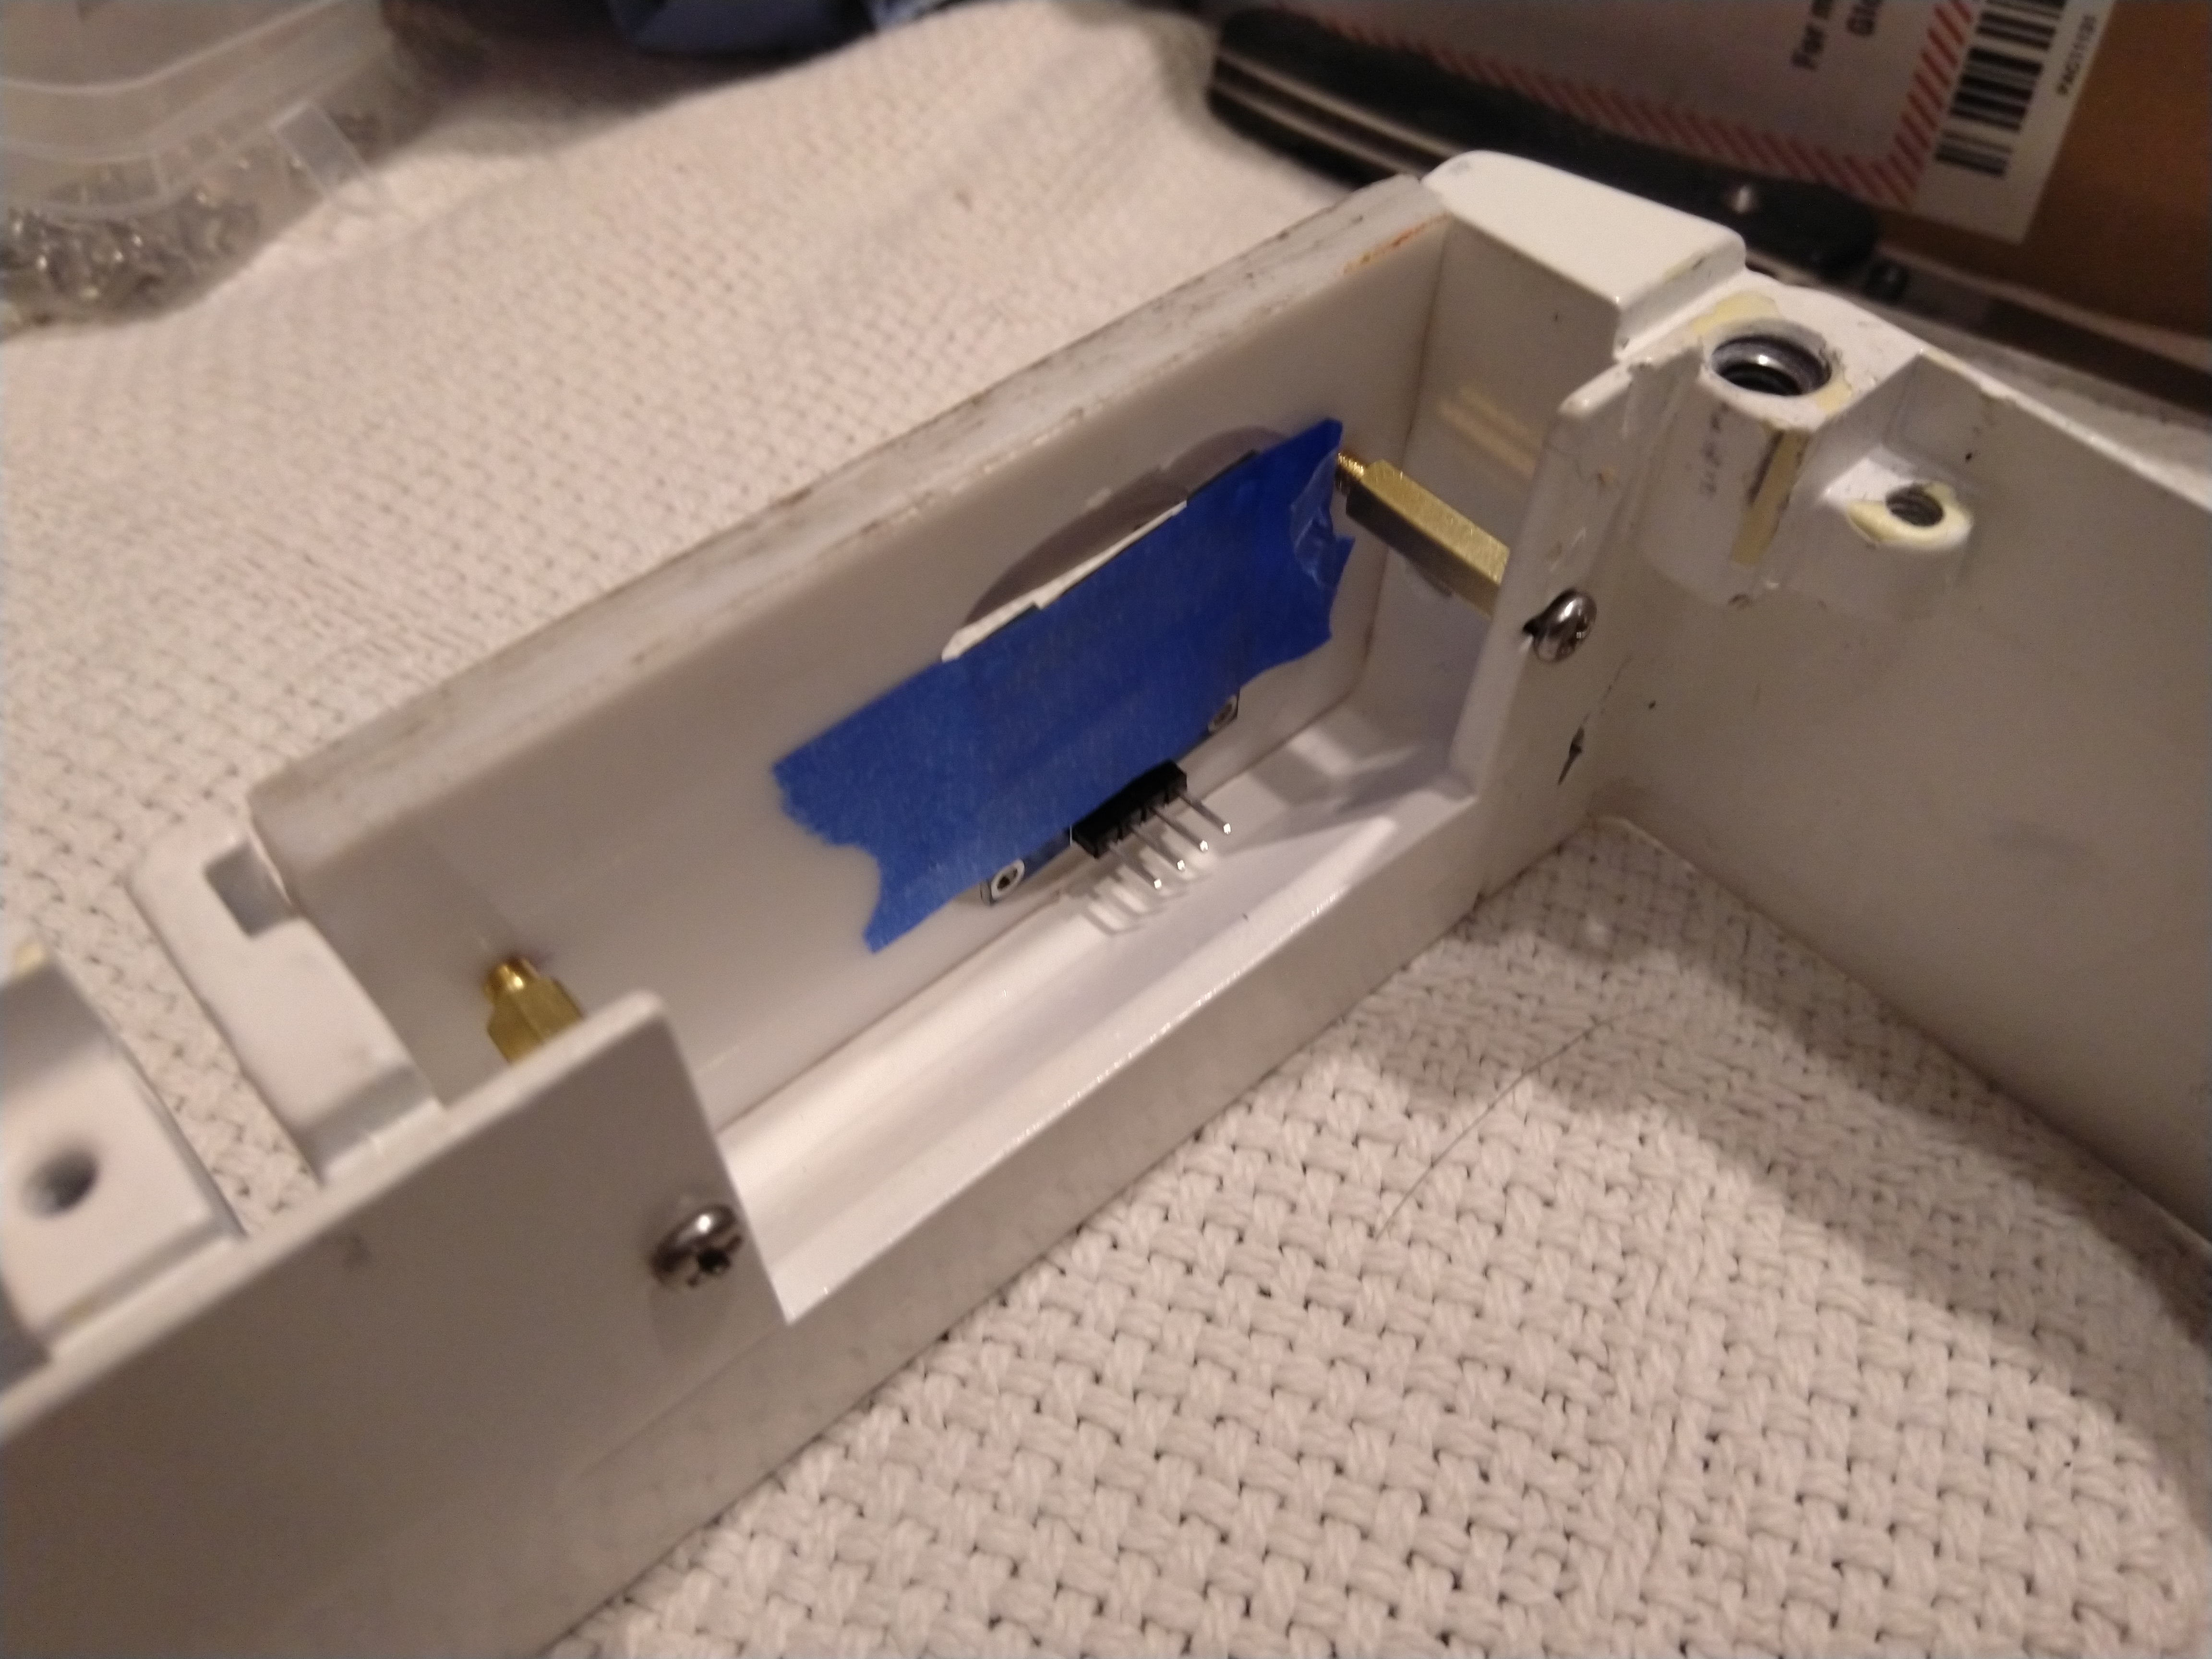
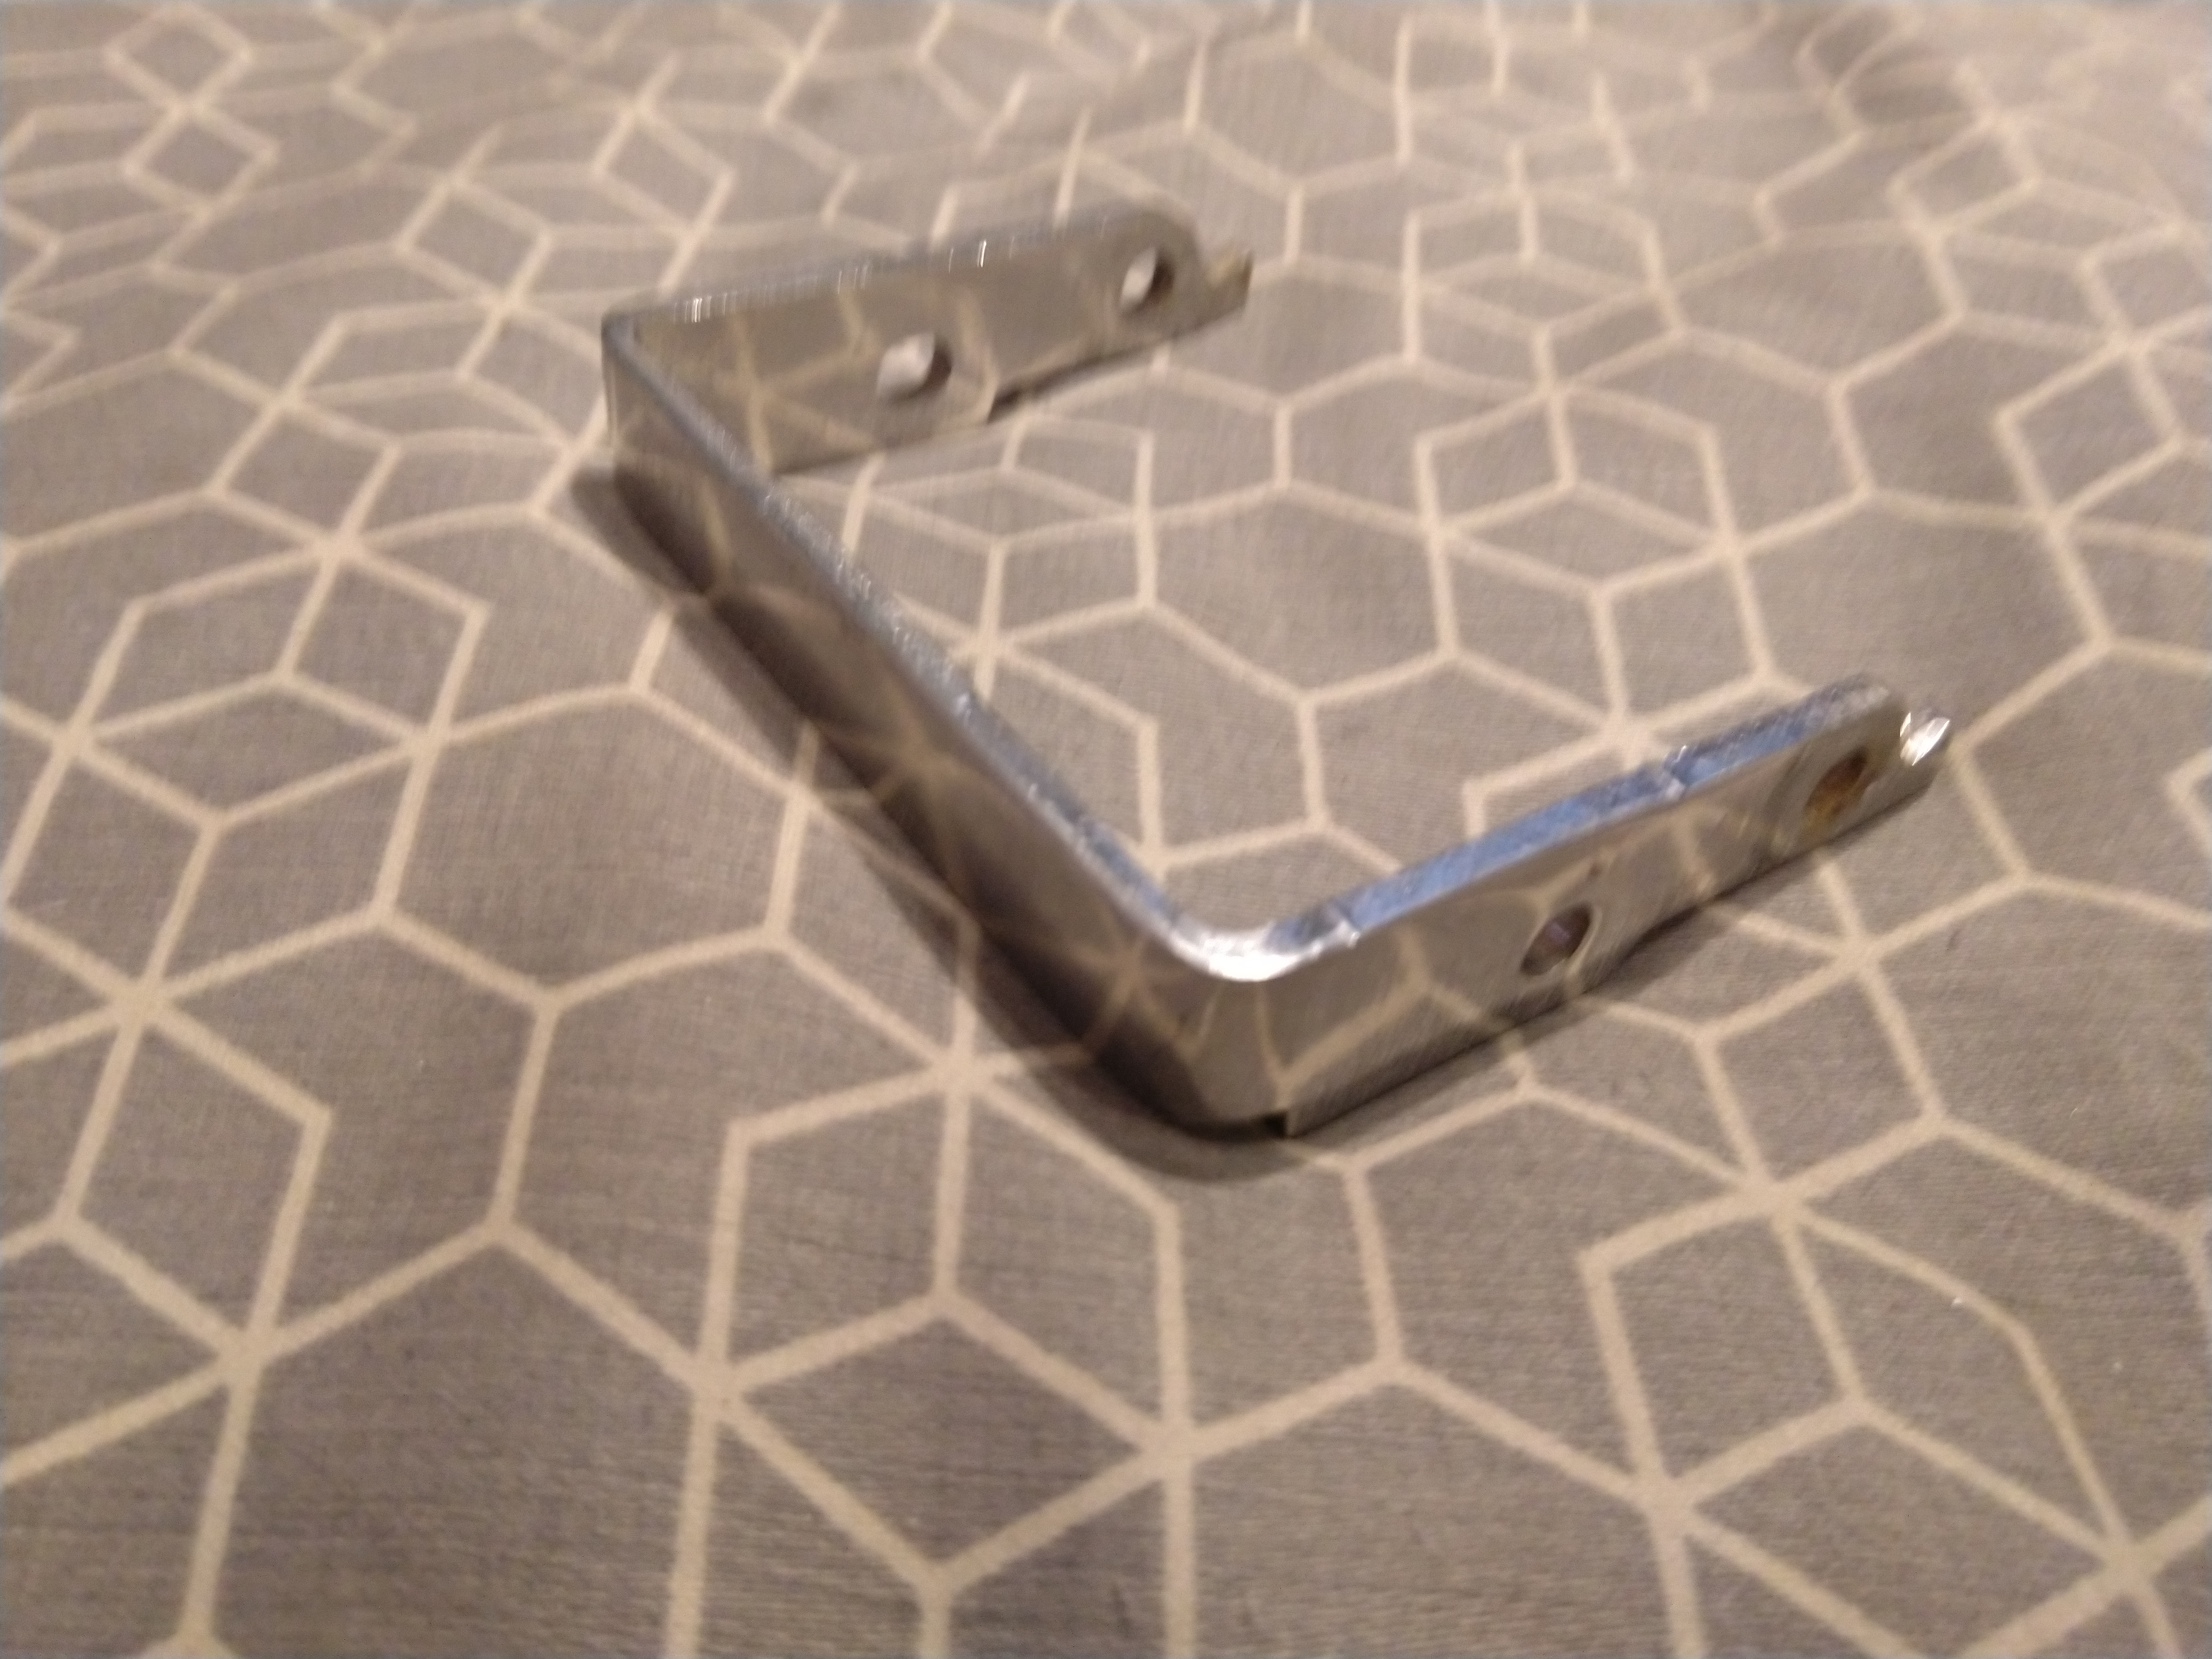
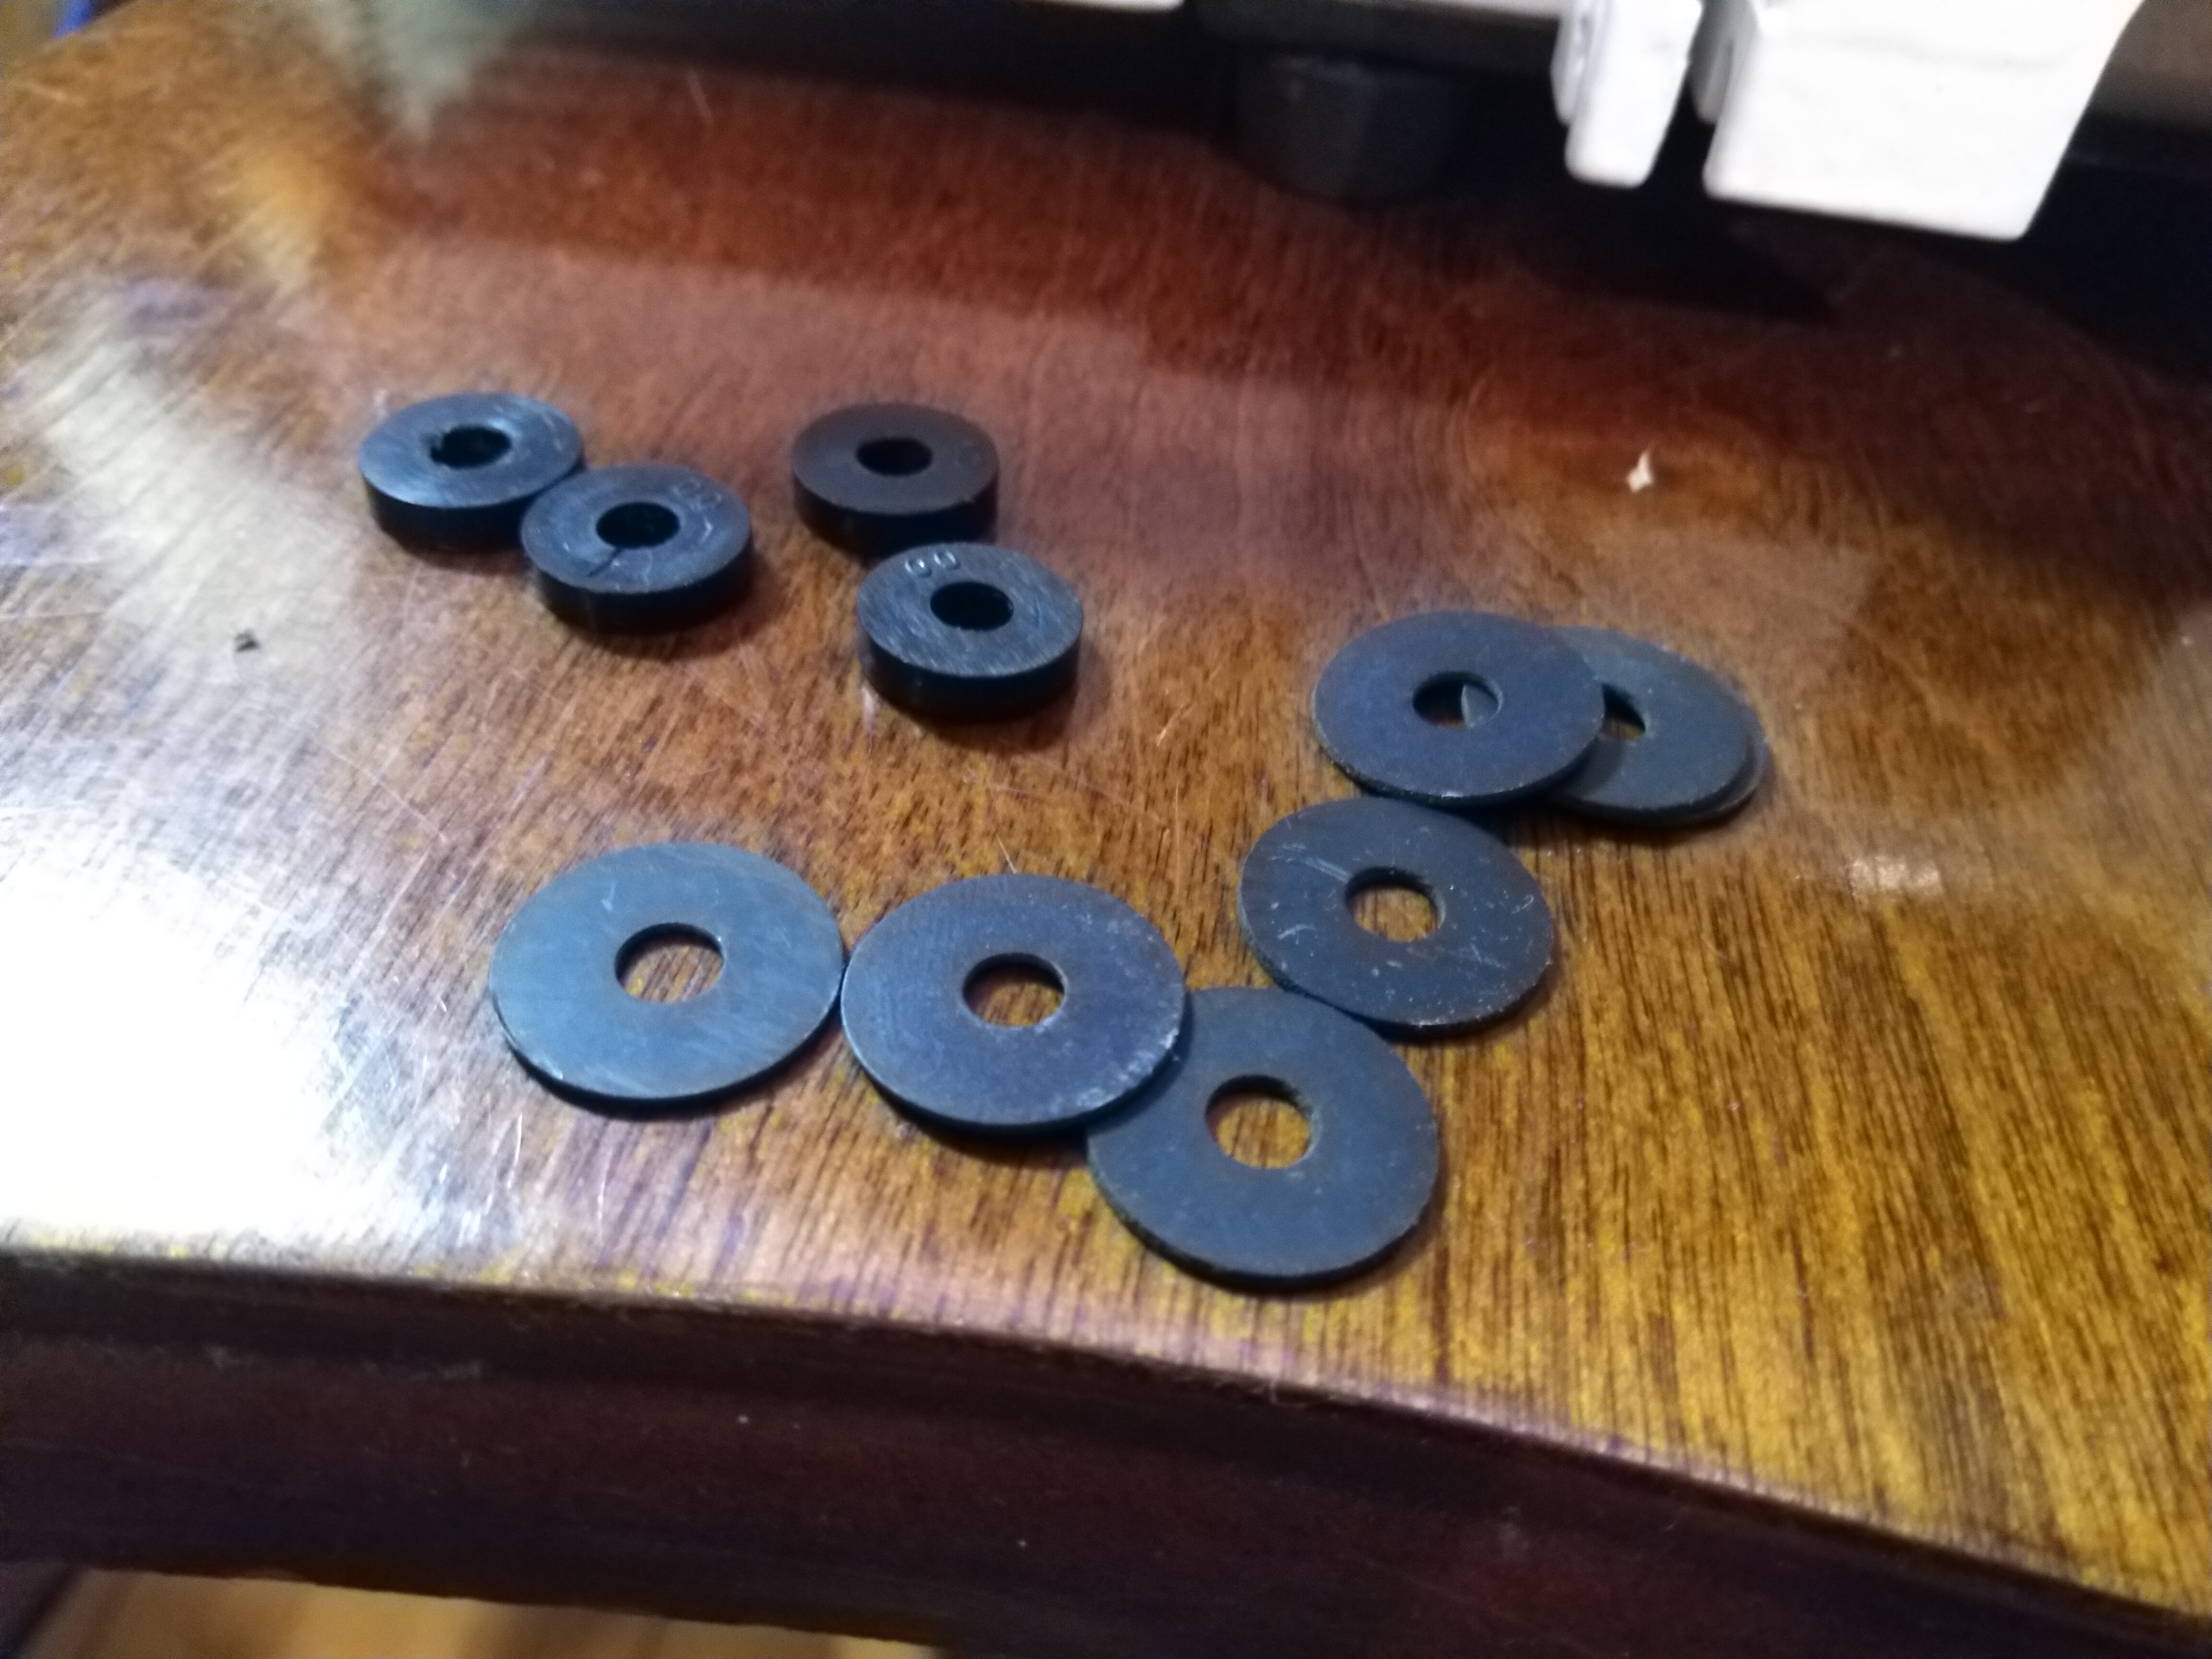
Yeah, the res/pump is noisy. I have an idea that involves bending a bracket out of some aluminum and using some rubber washers. If that fails the backup plan is some very thin closed cell black foam and a clamp made from aluminum.
Also:
2 Likes
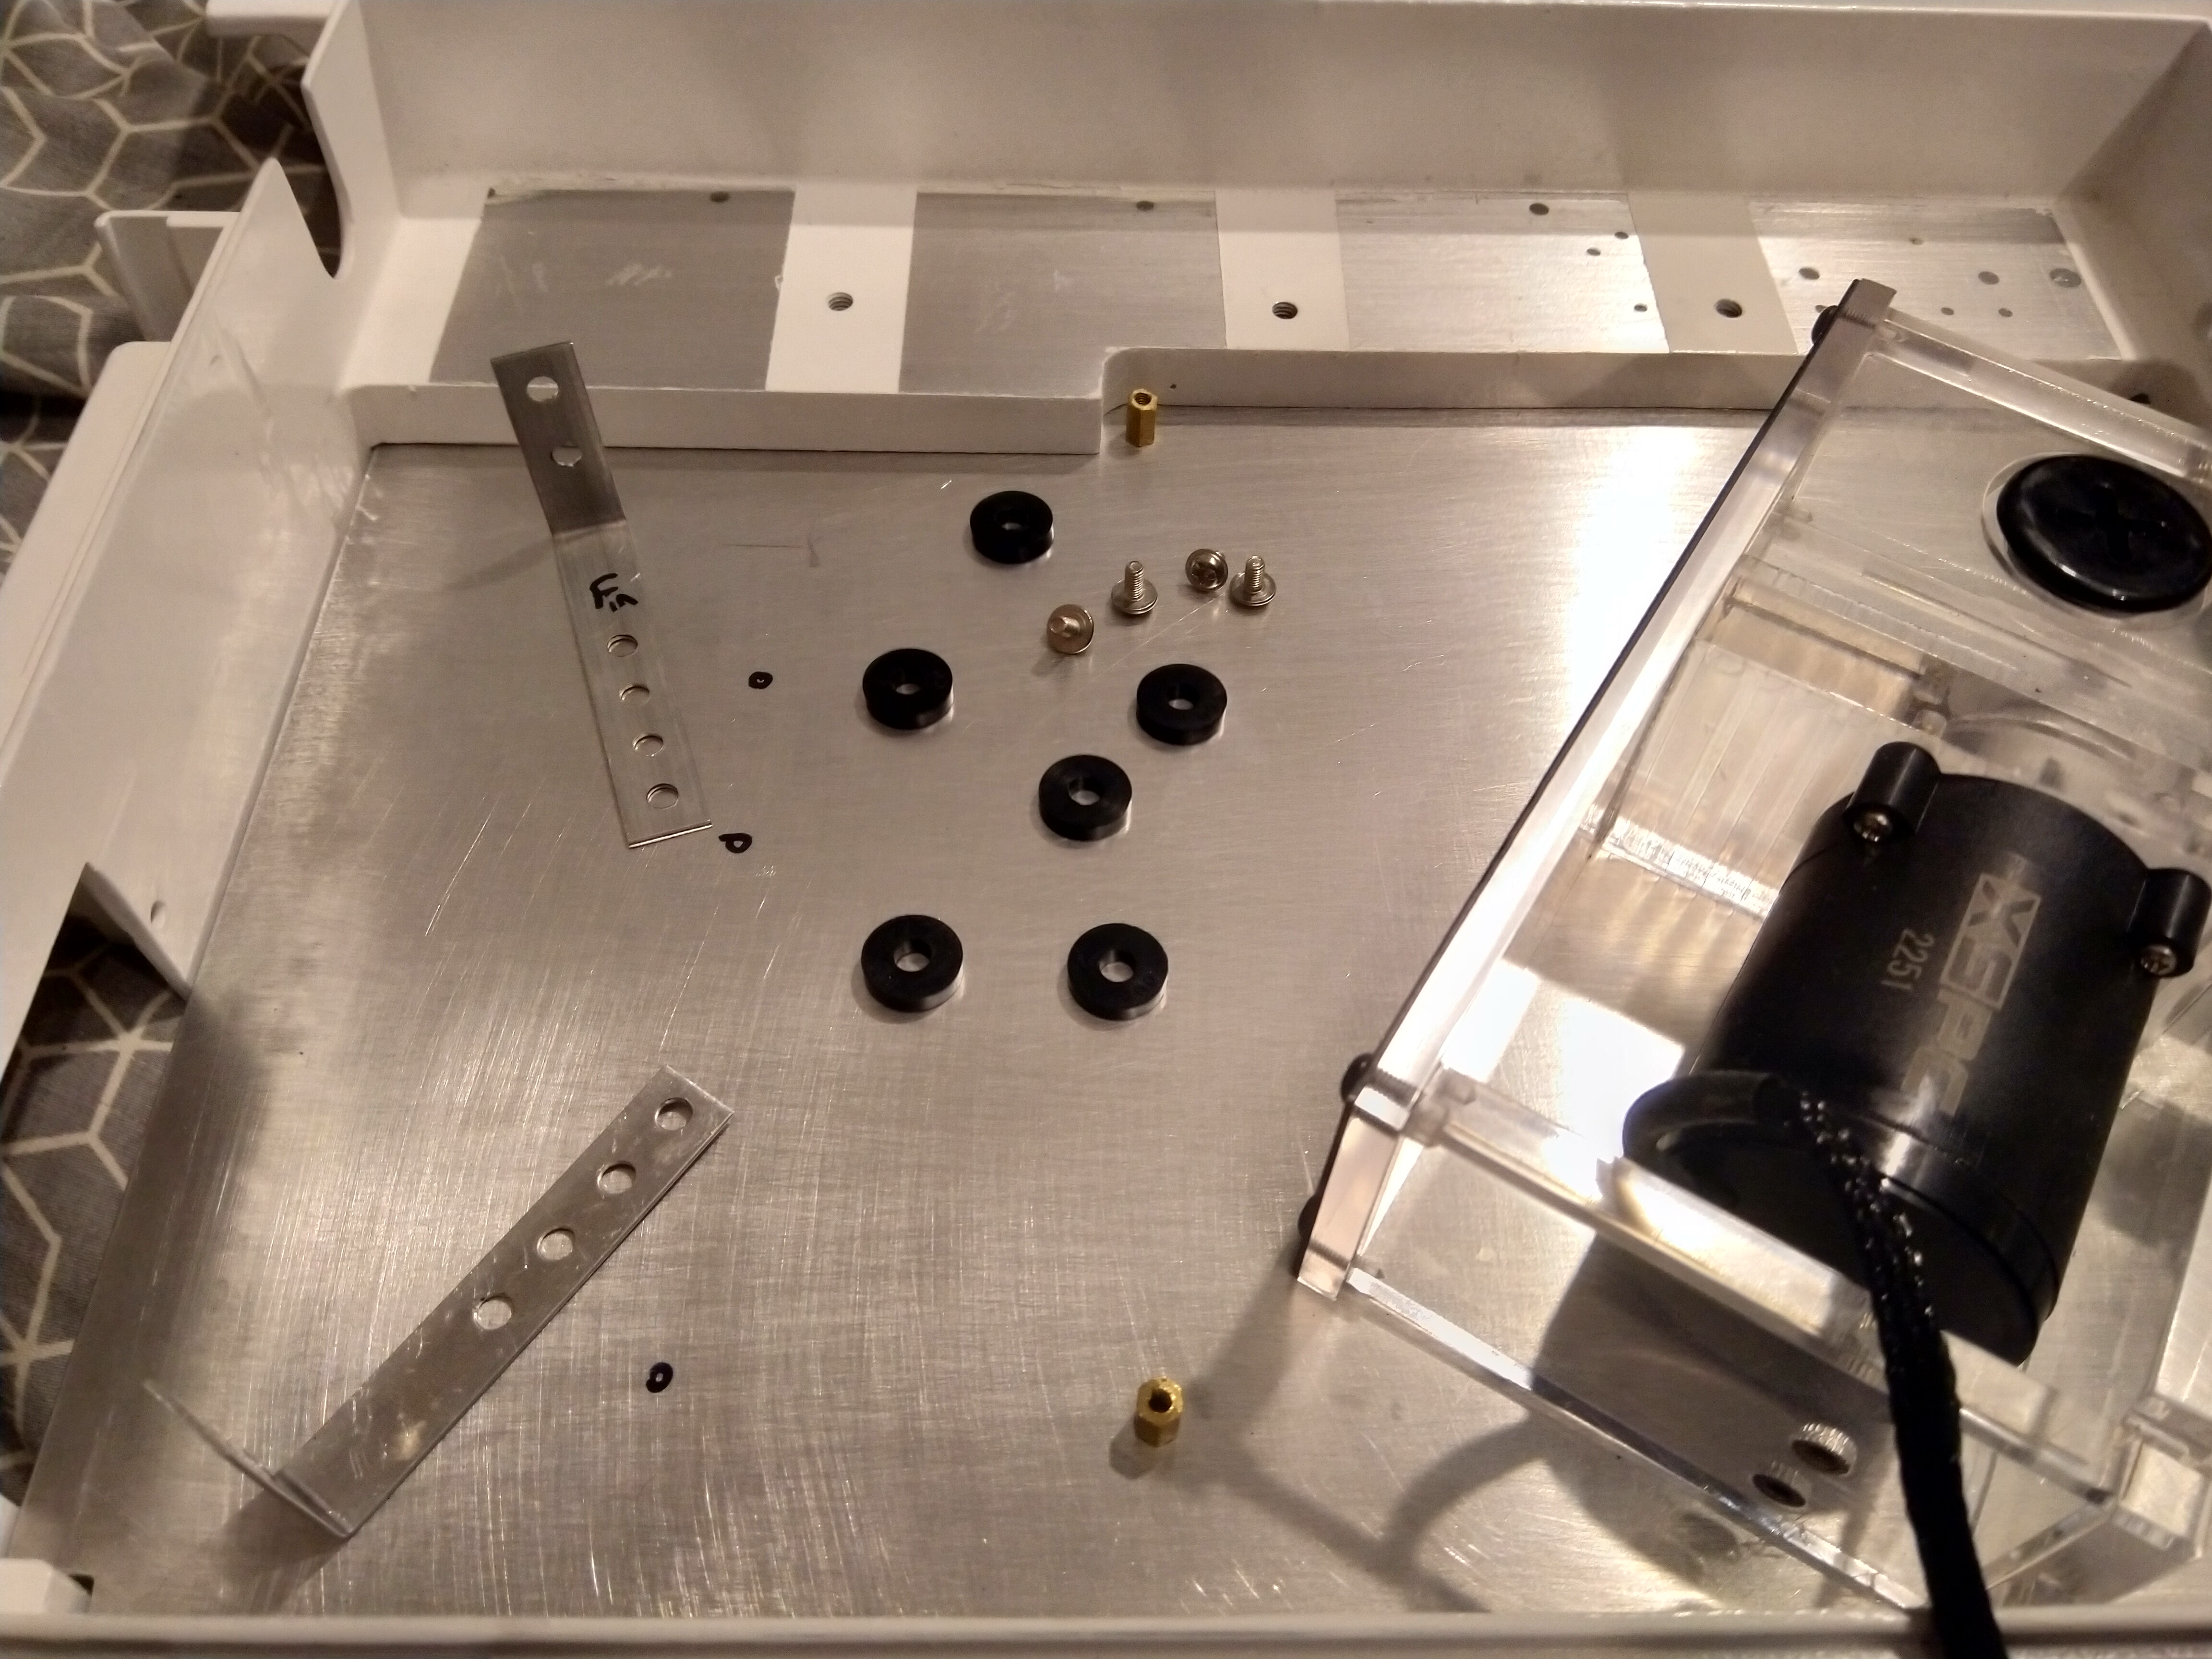
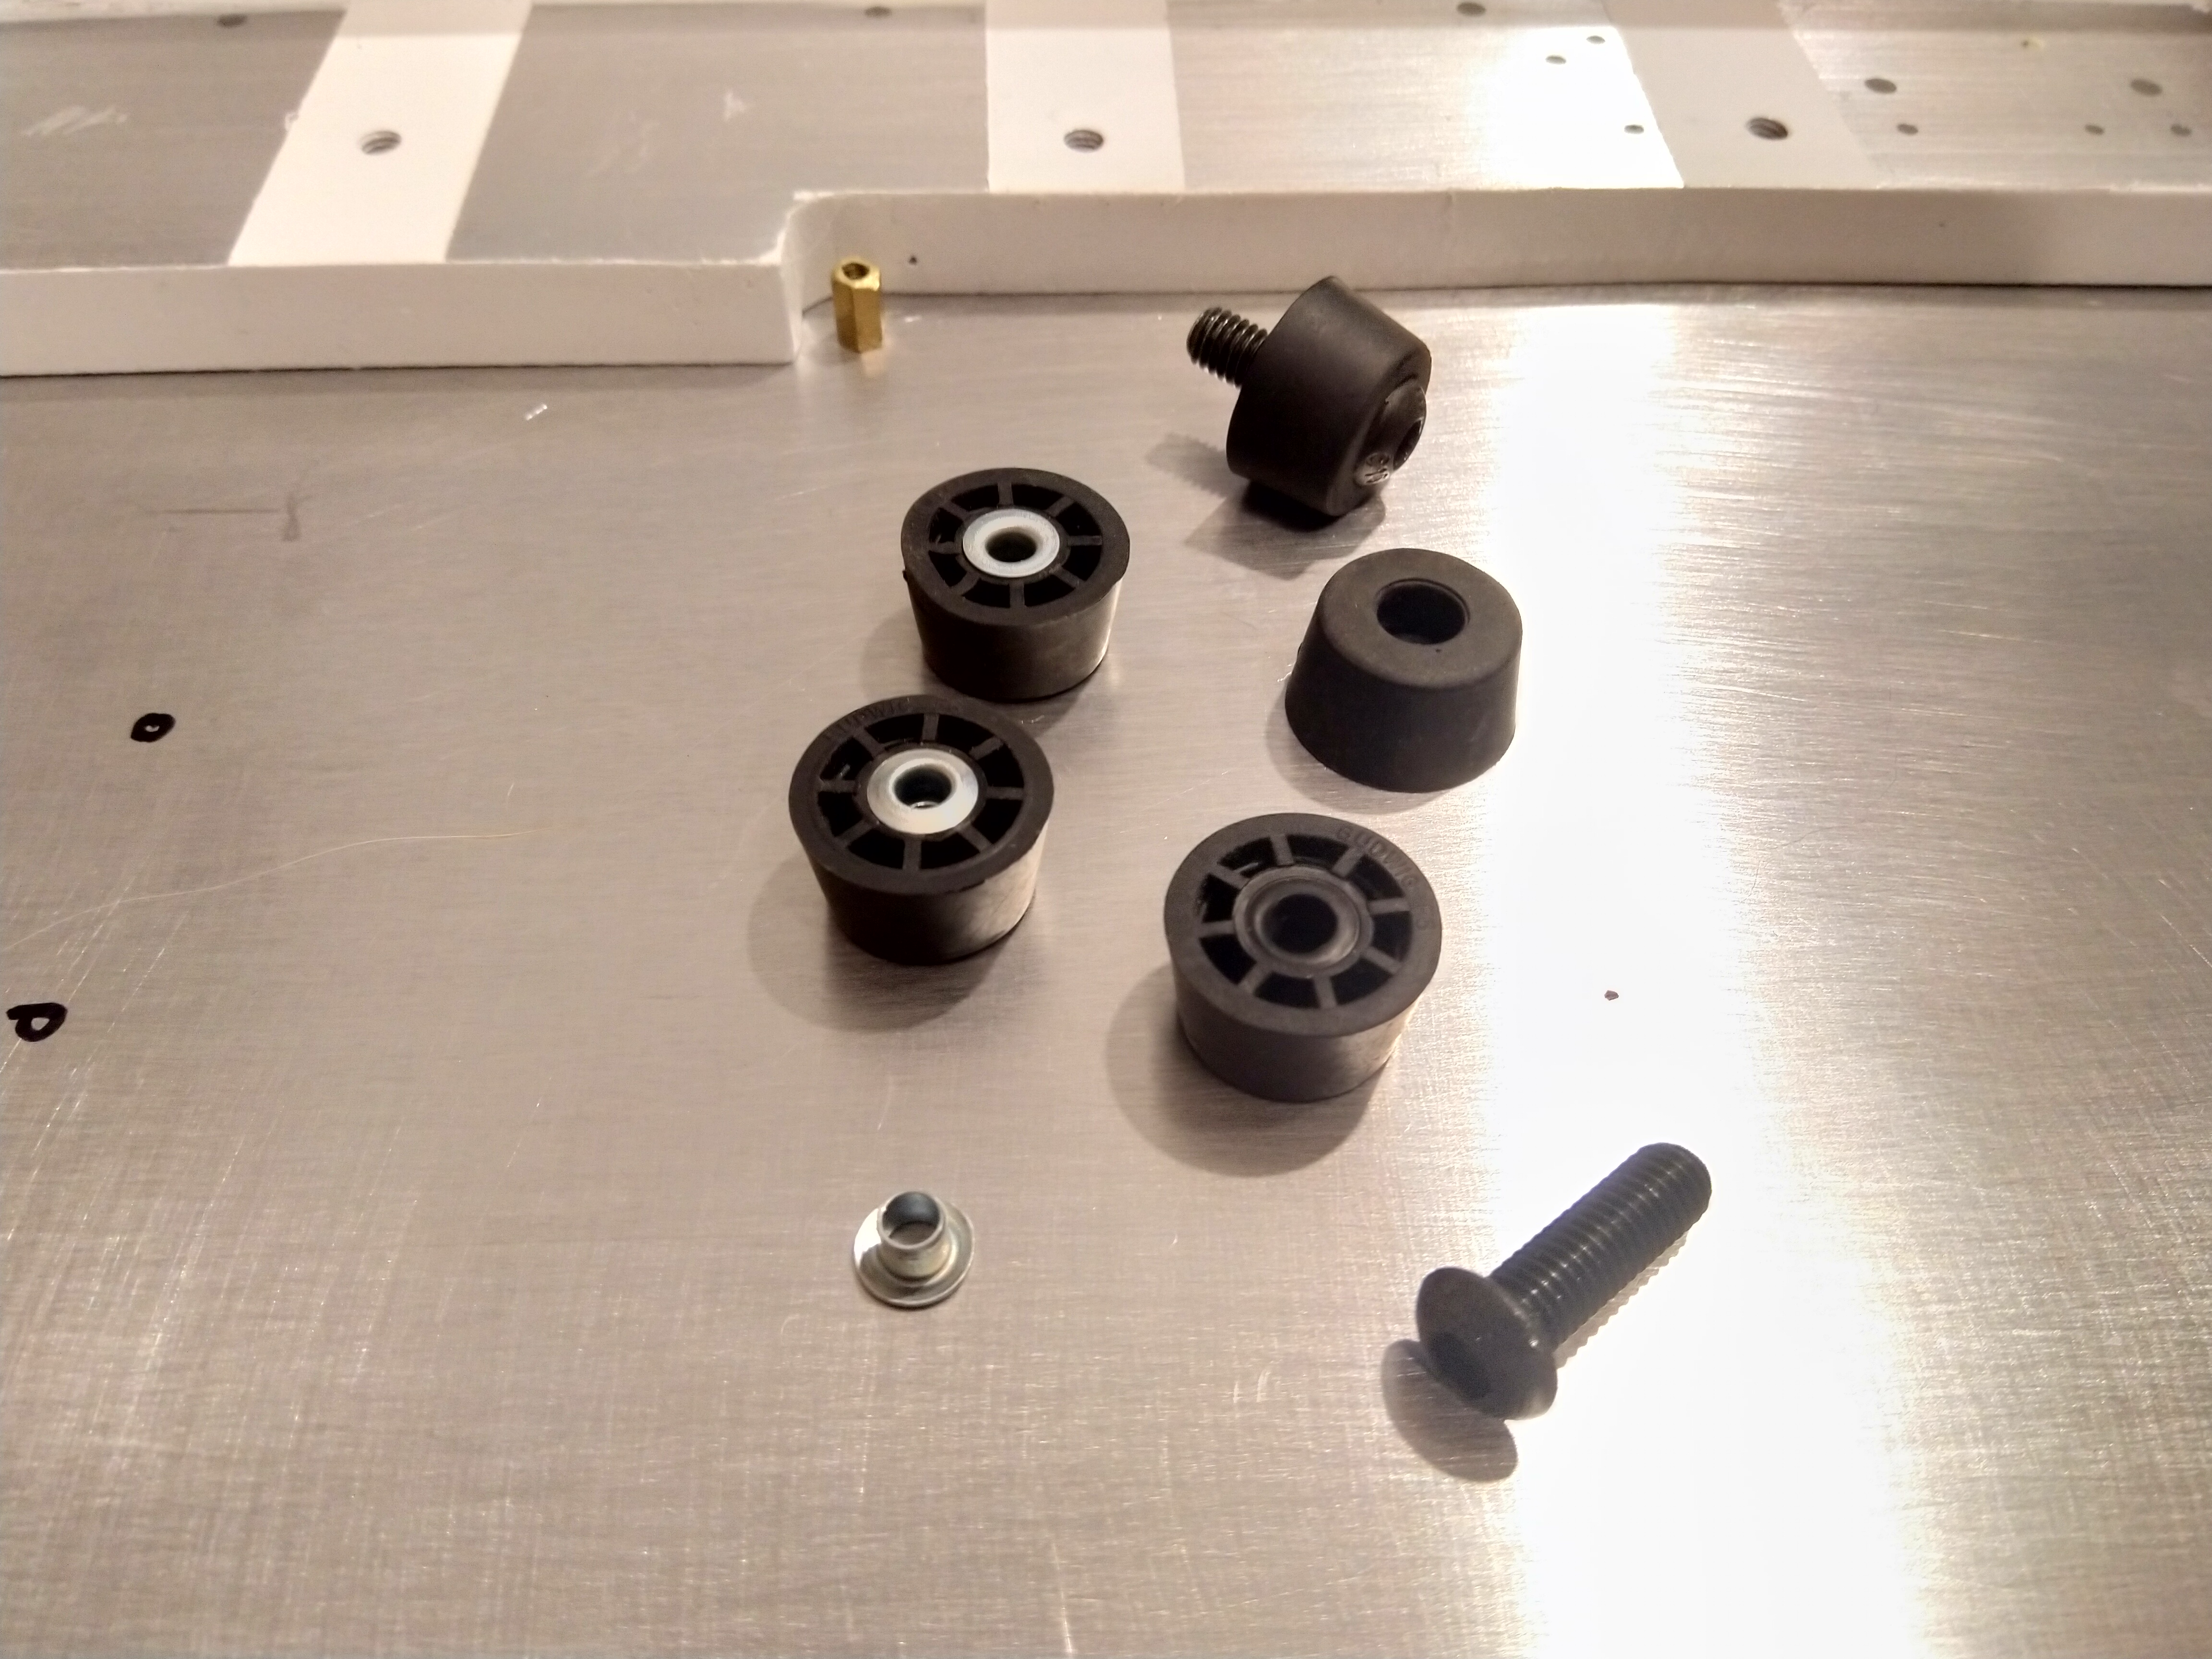
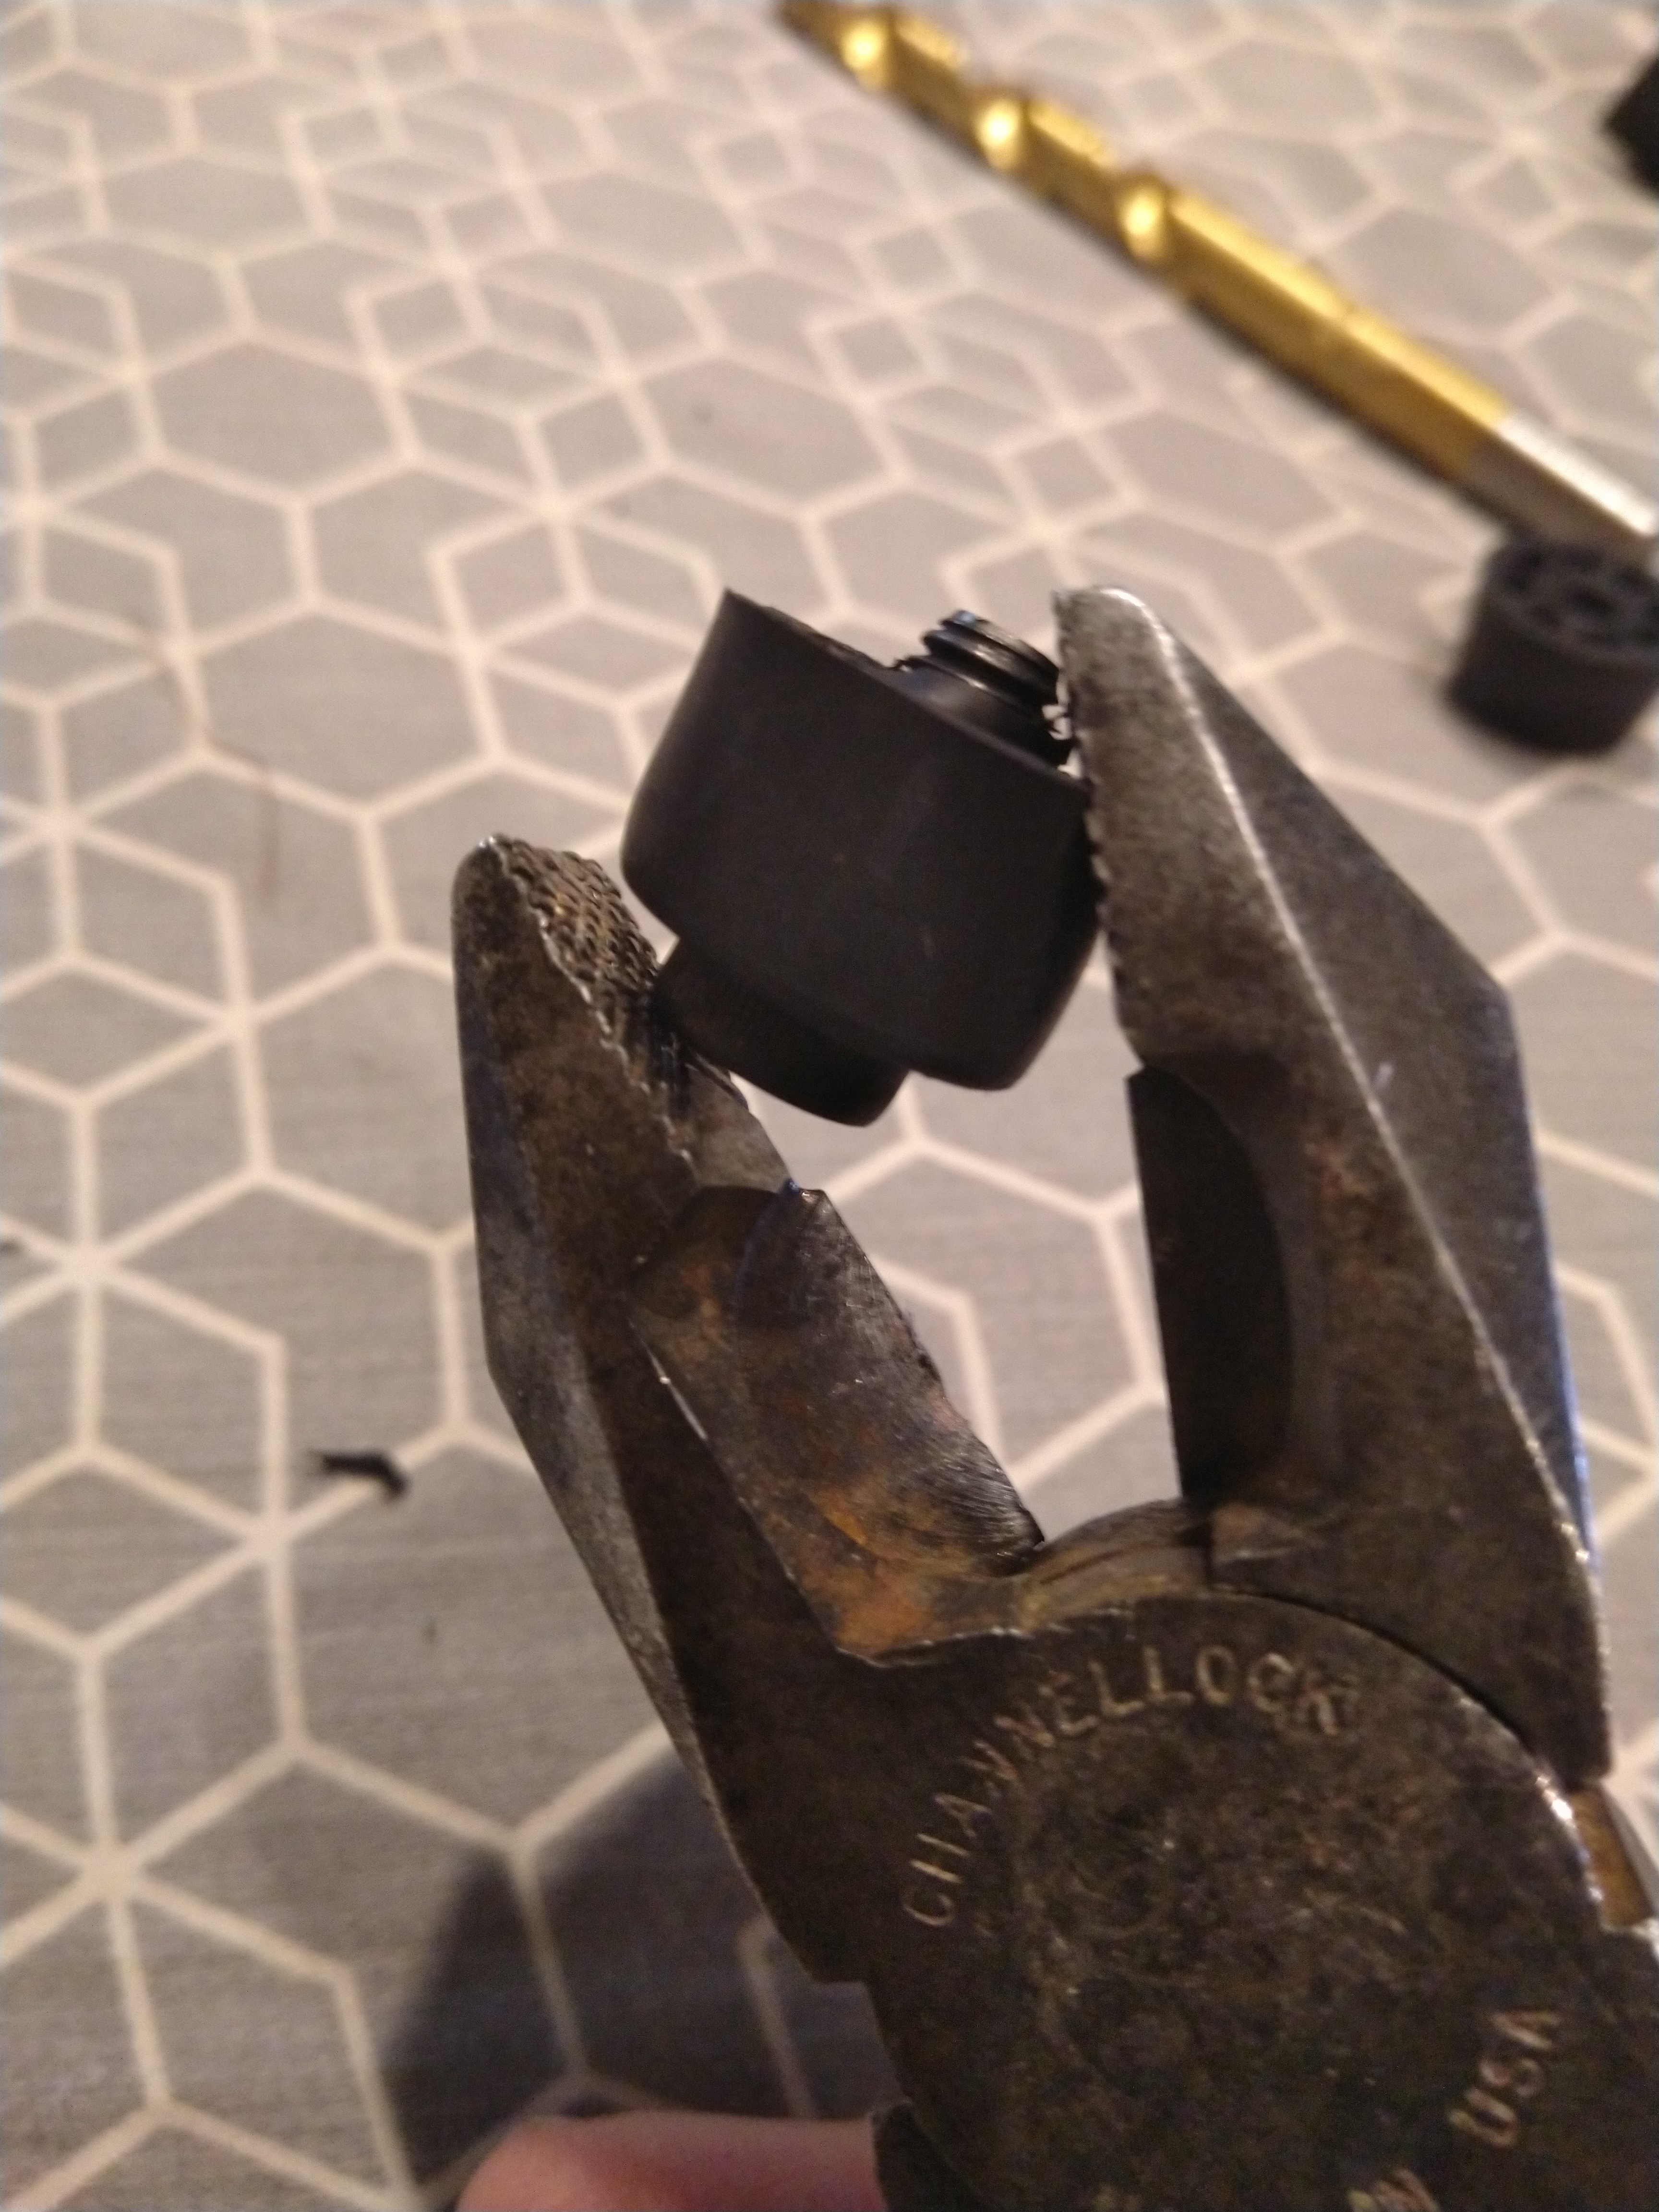
Quick update. Got some basic brackets made out of some thin aluminum. Also found some rubber feet that I can make work. I need to stop by the local hardware store and get some significantly shorter M6 bolts and some nuts for them. I can get the head through the hole giggity of the rubber feet by forcefully tightening it, but the bolt is too long and bottoms out giggity again?.
Anywho. Yeah, I have some of those rubber washers, too. Should dampen vibration some. Hopefully I can stop and get the bolts and nuts after work tomorrow.
5 Likes
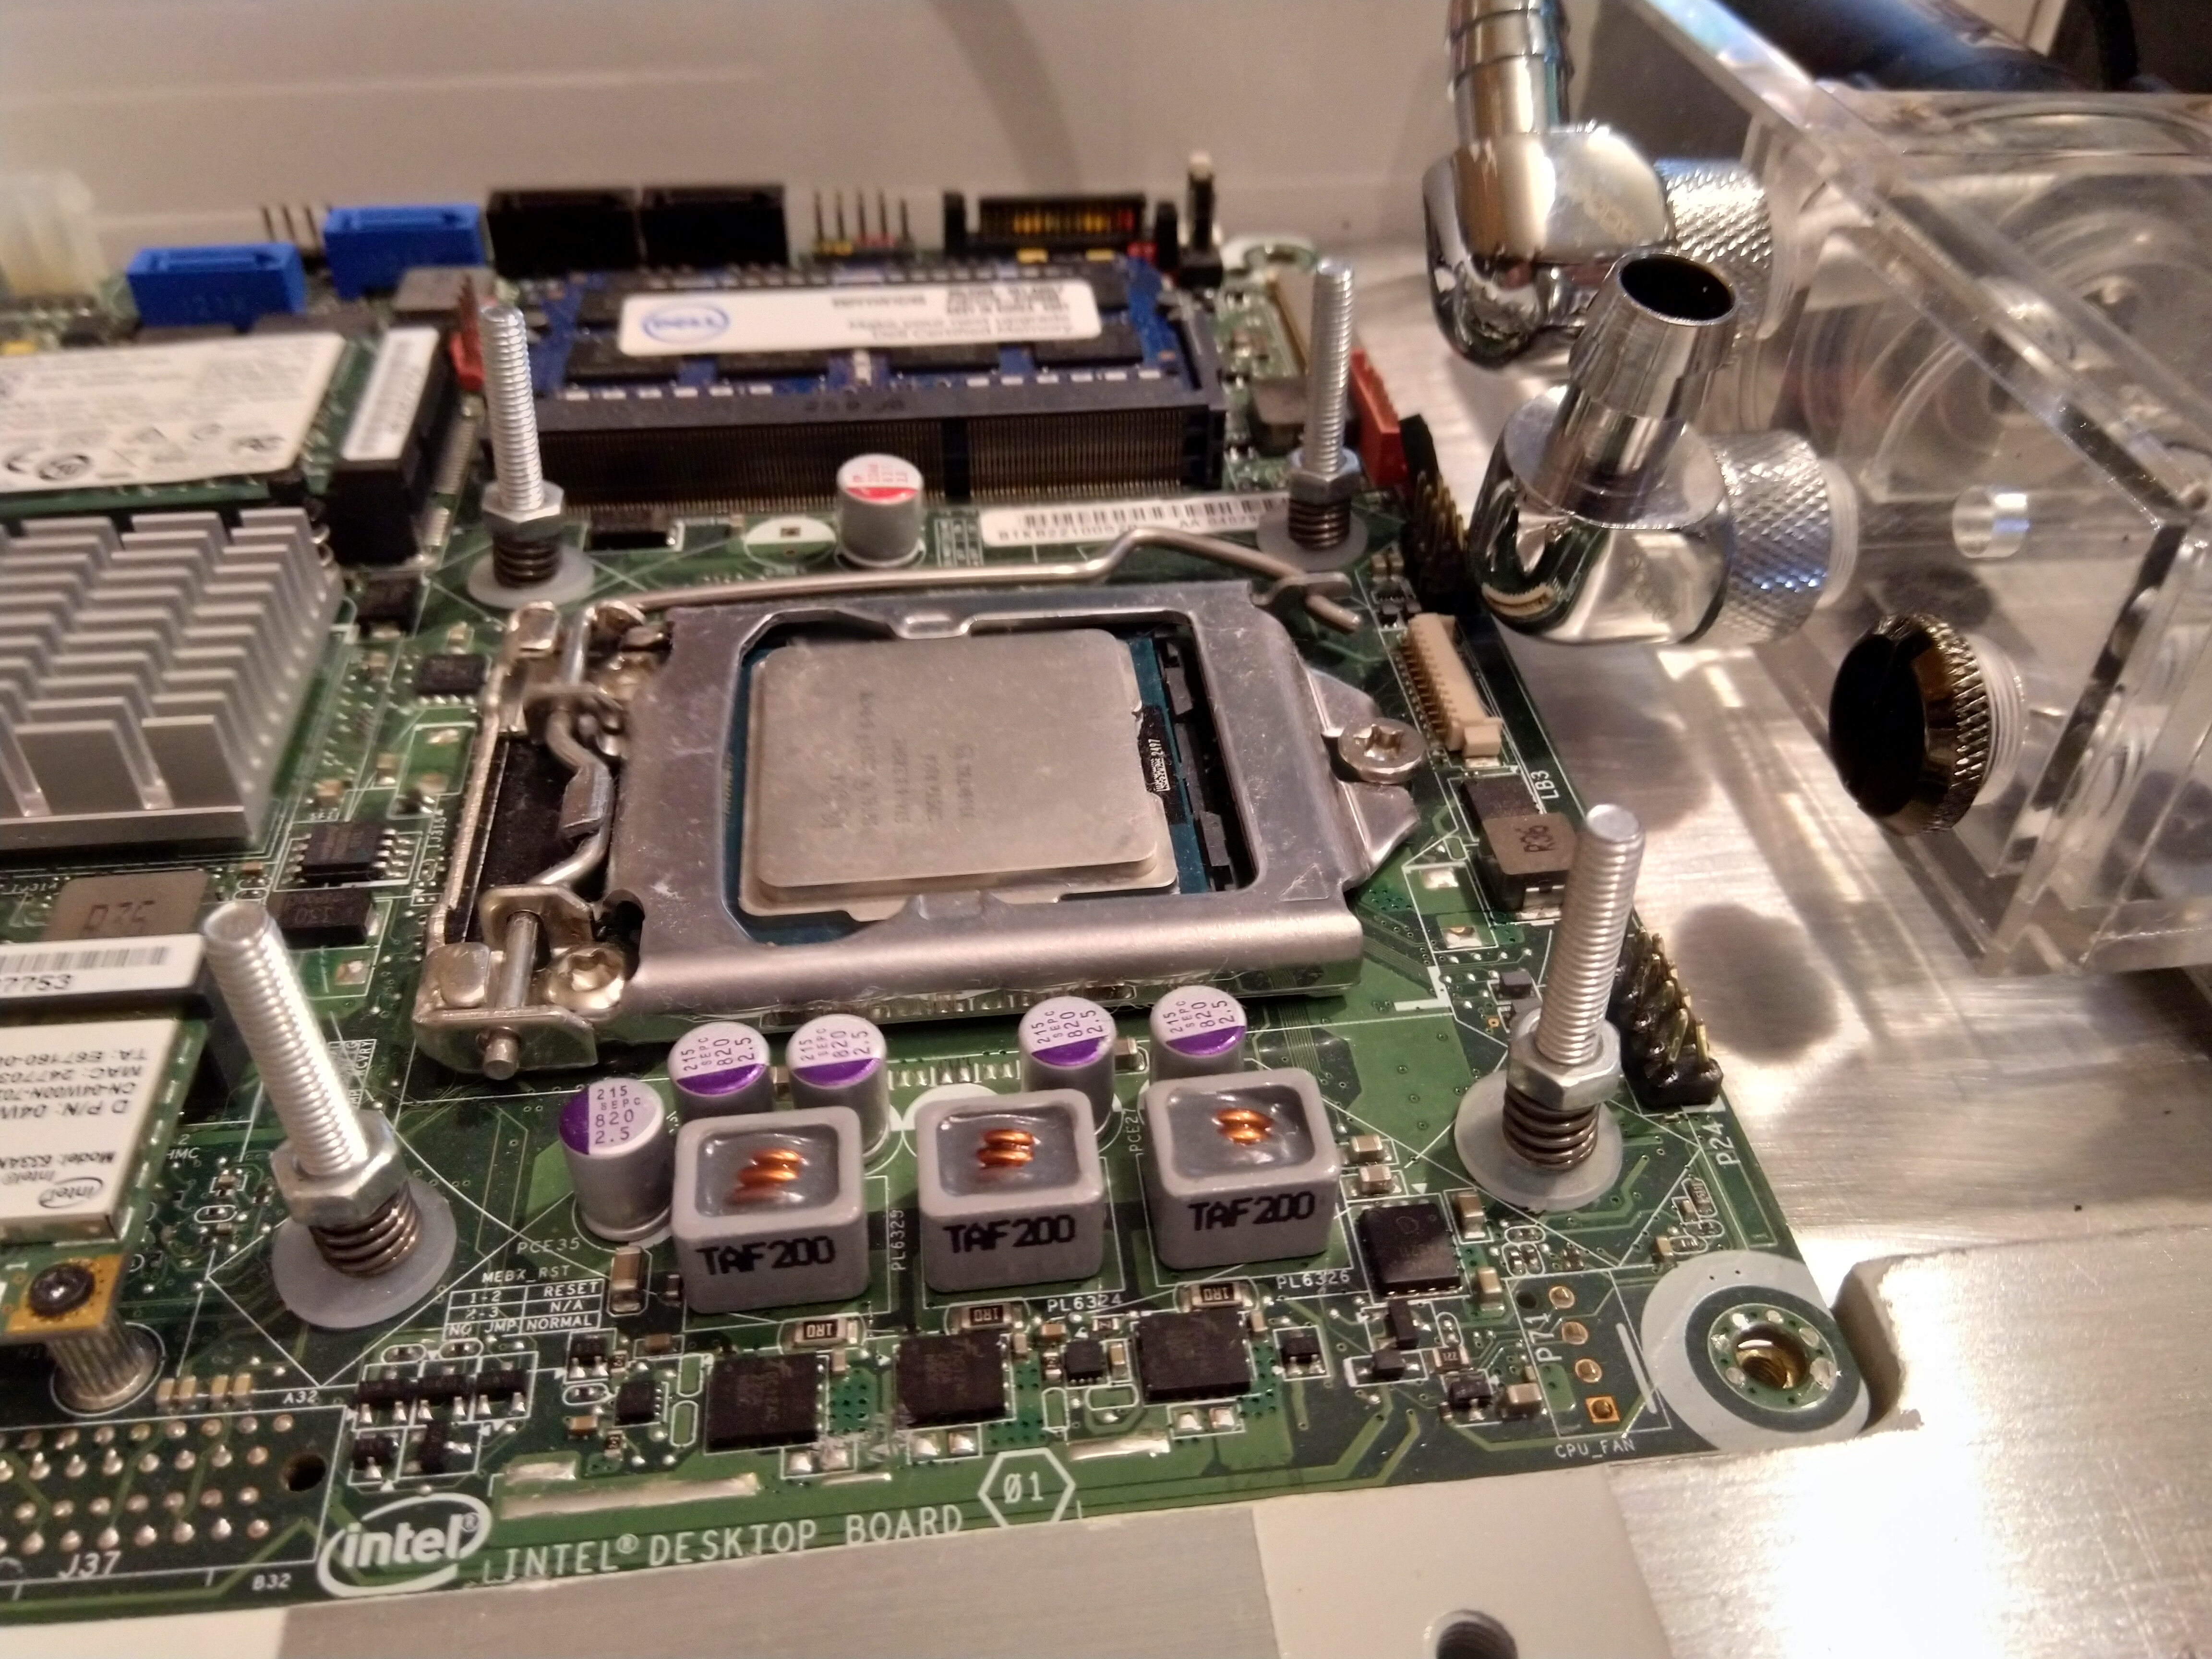
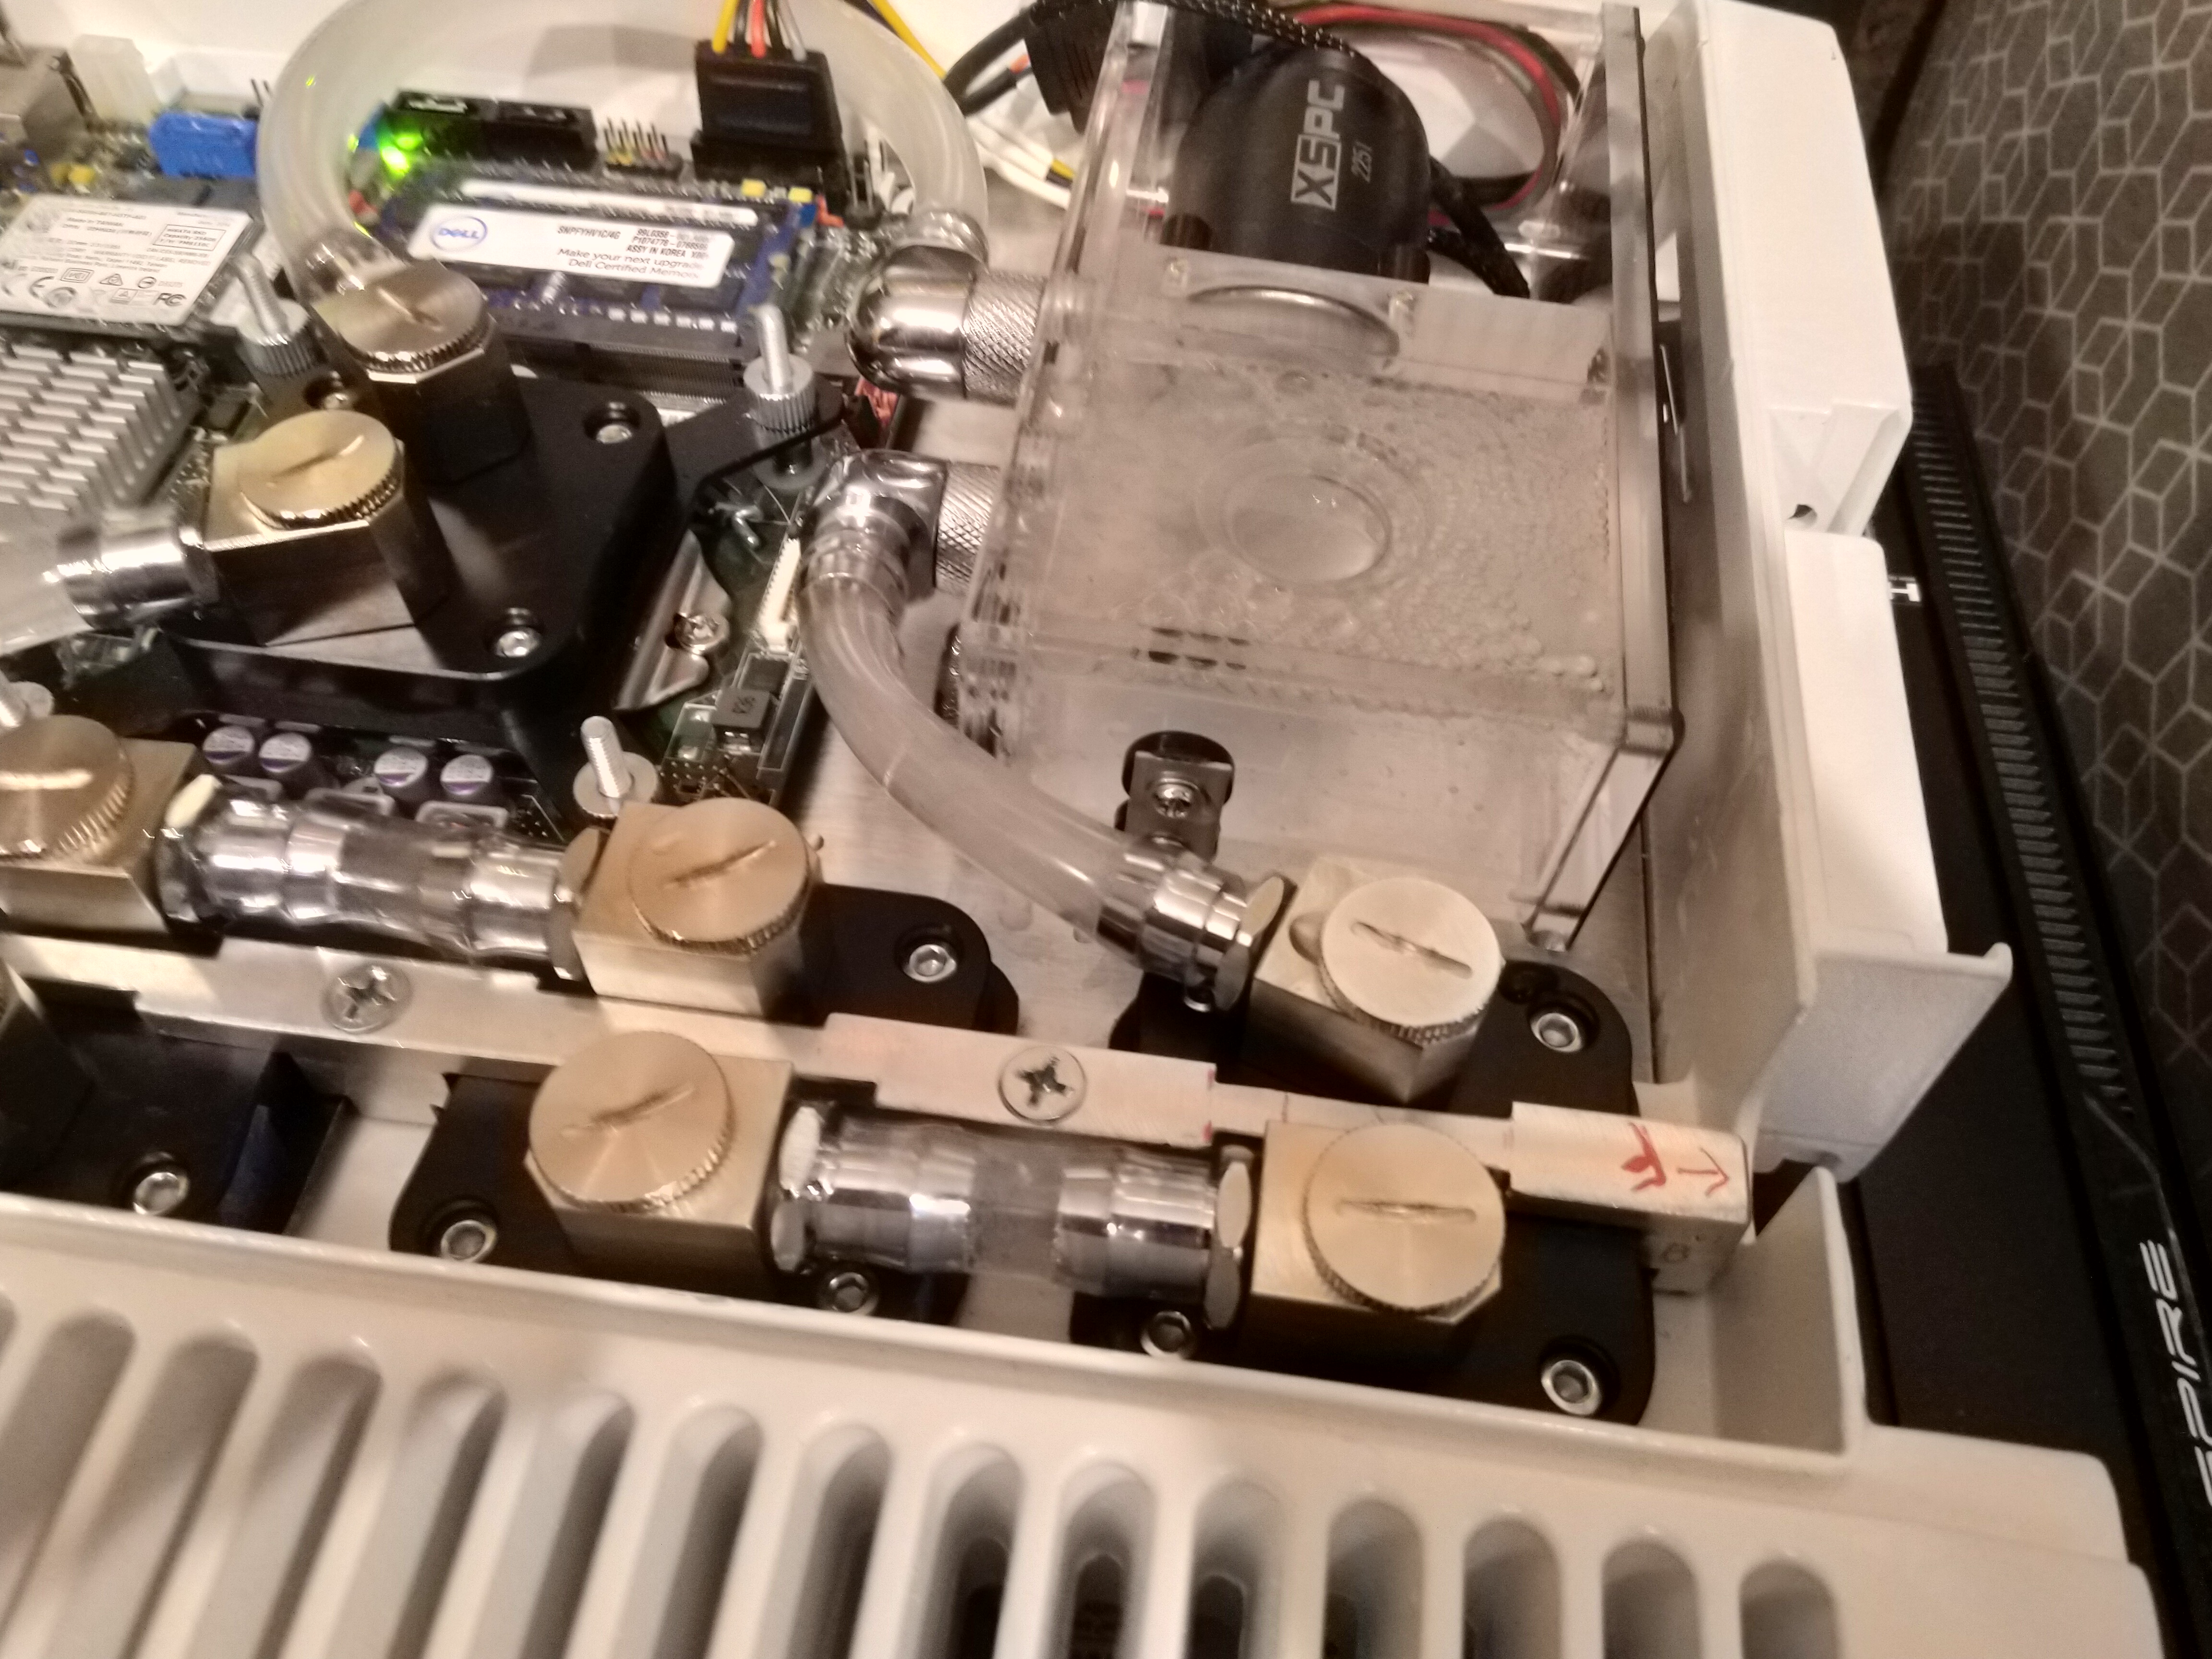
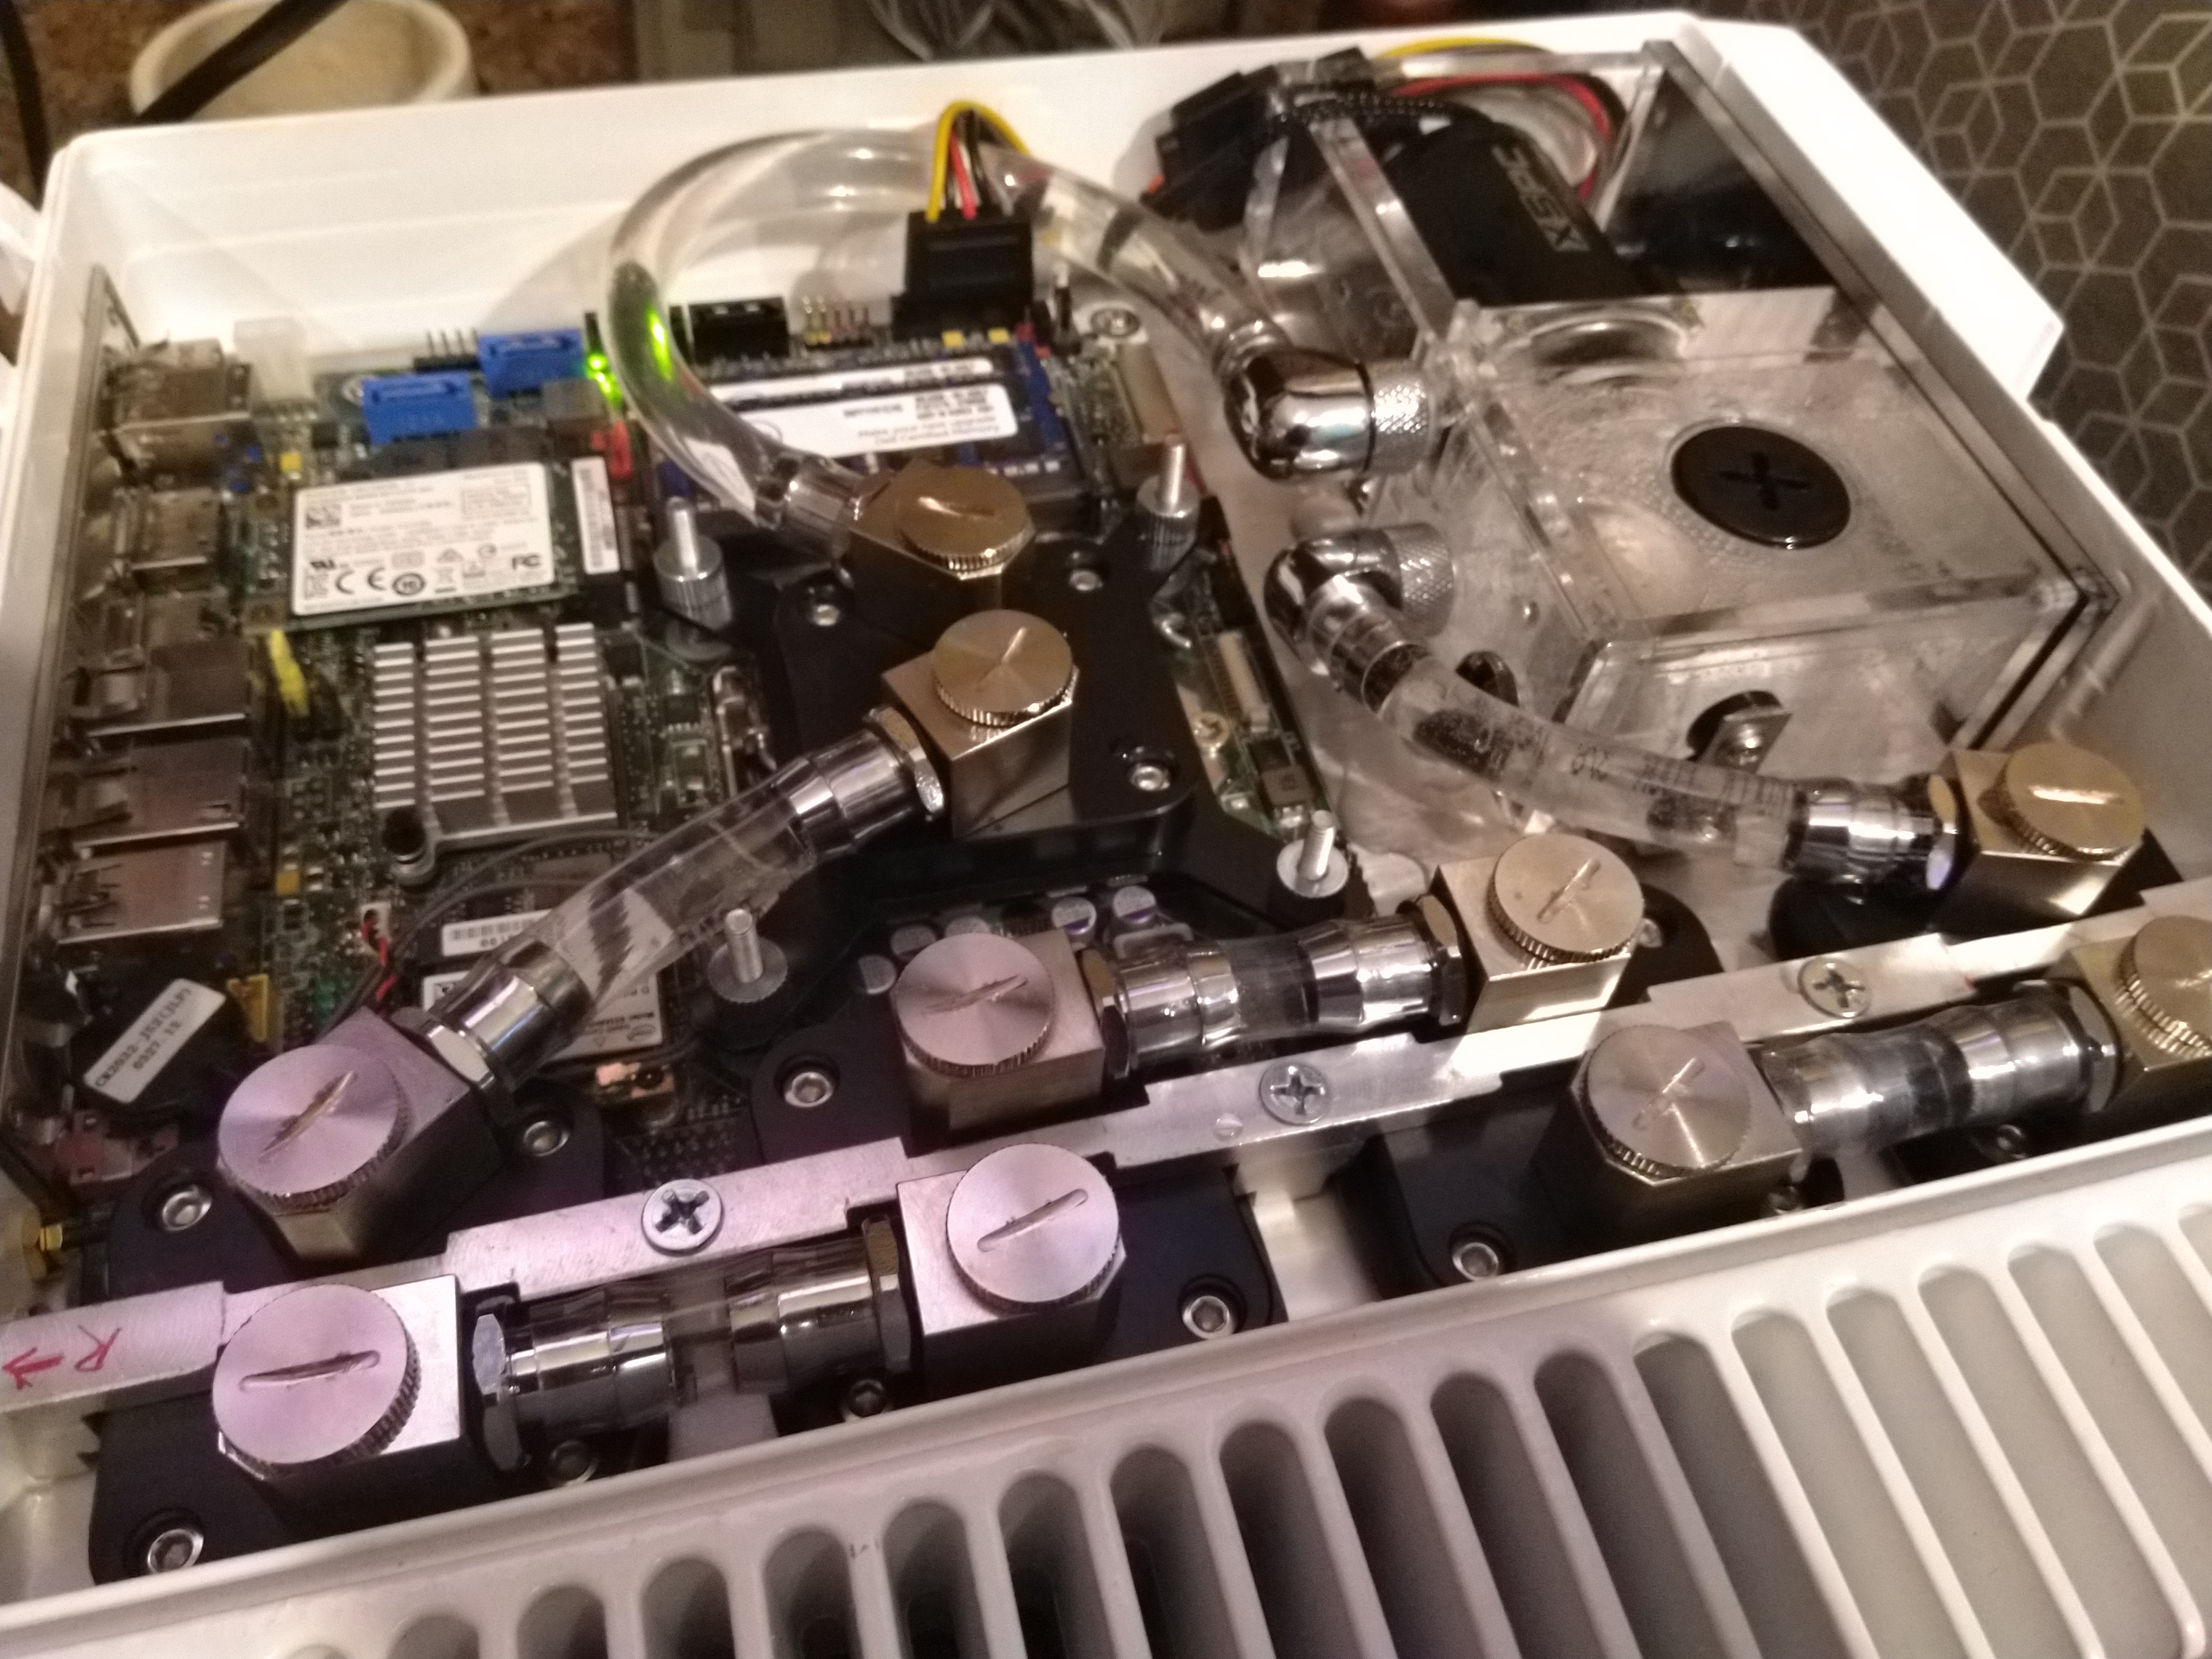
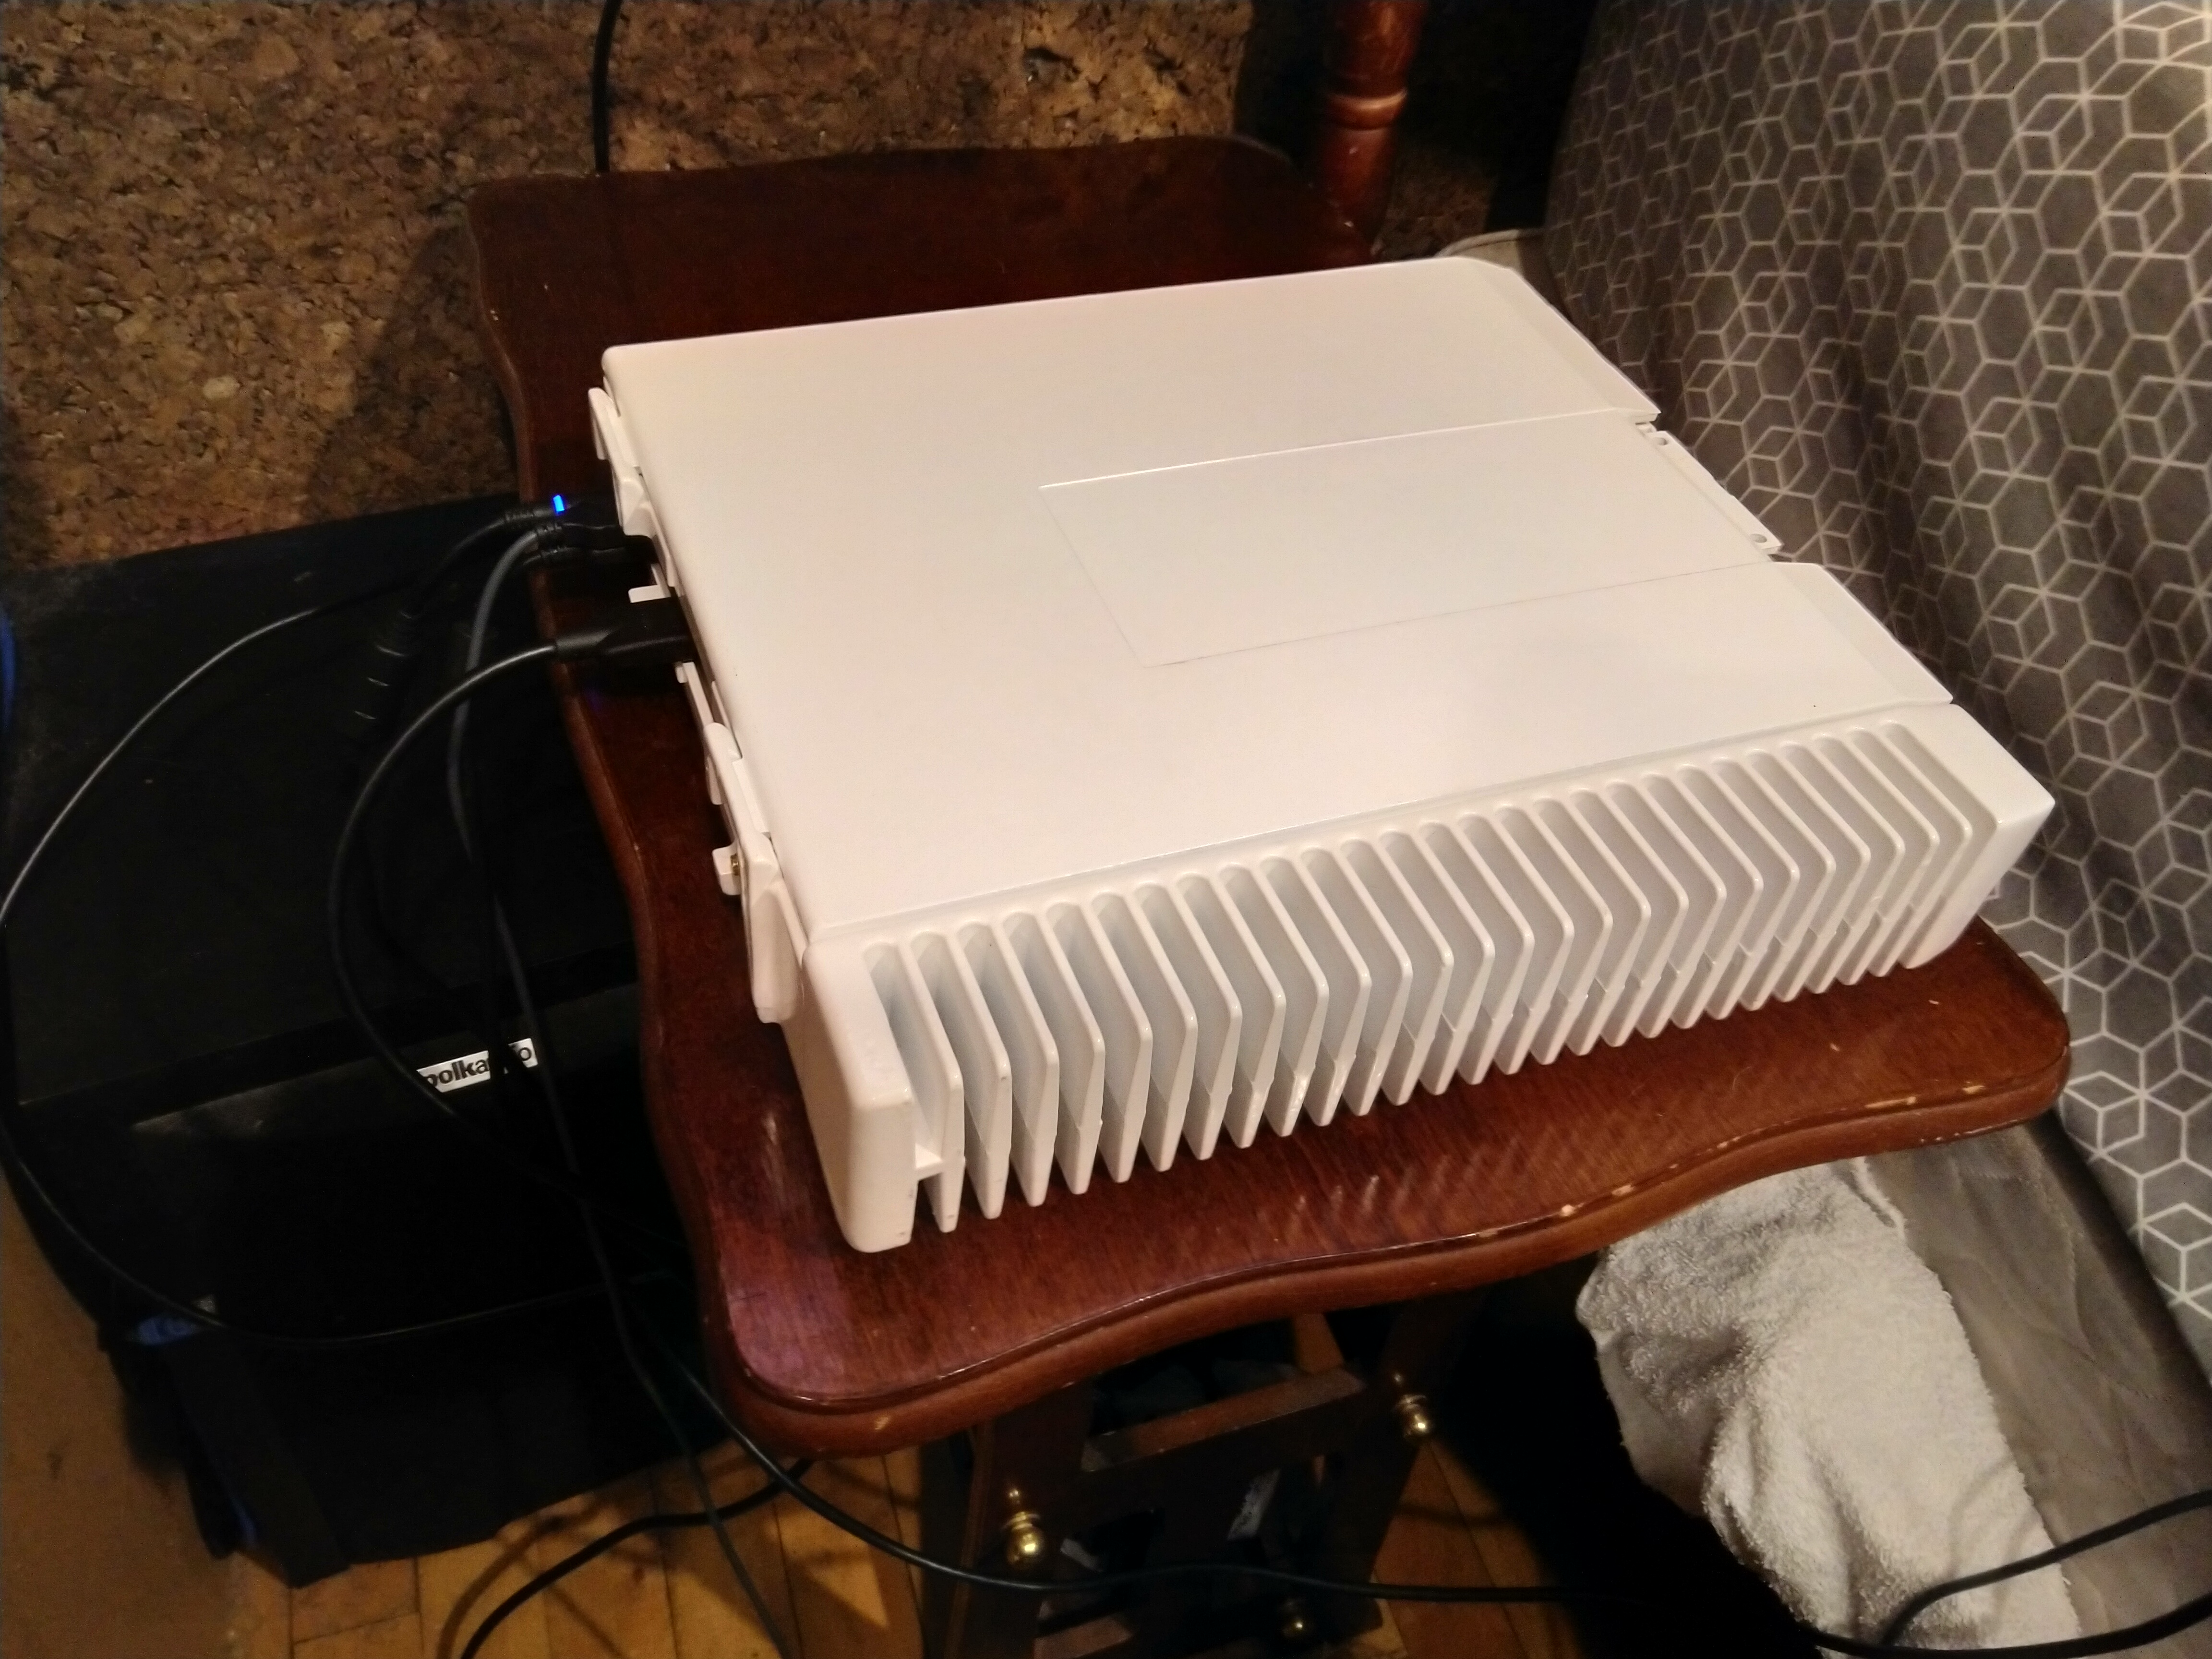
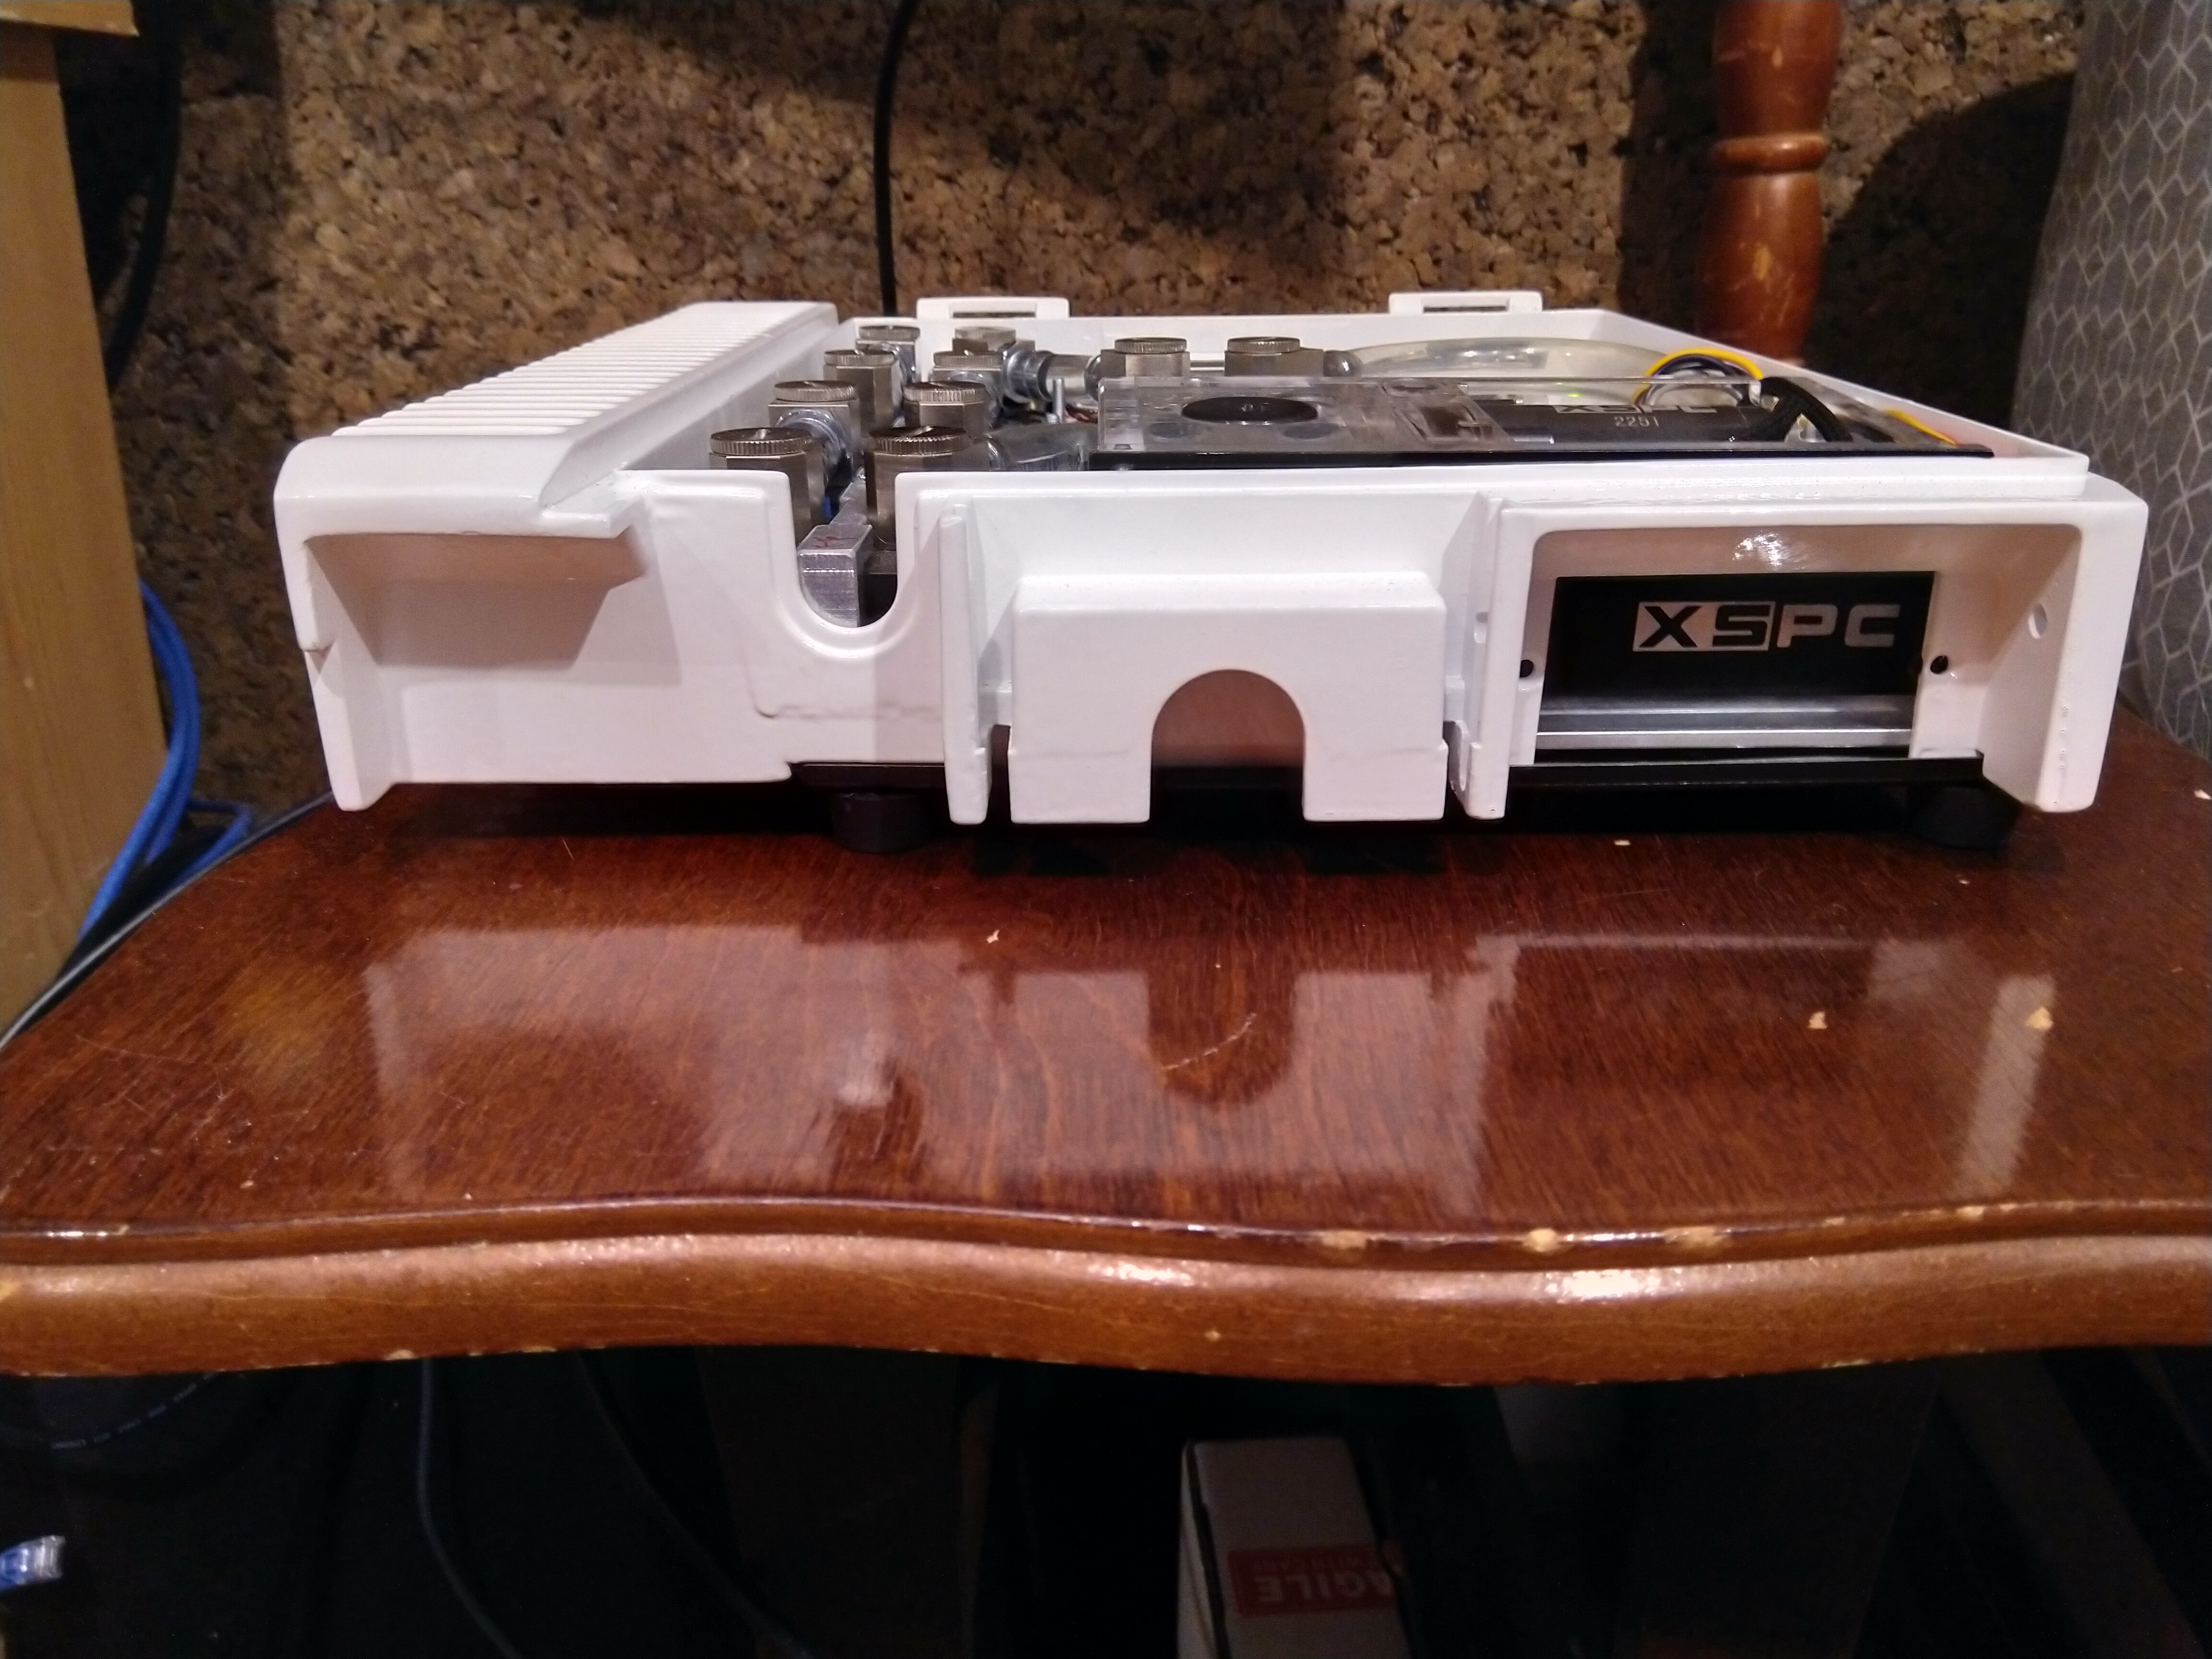
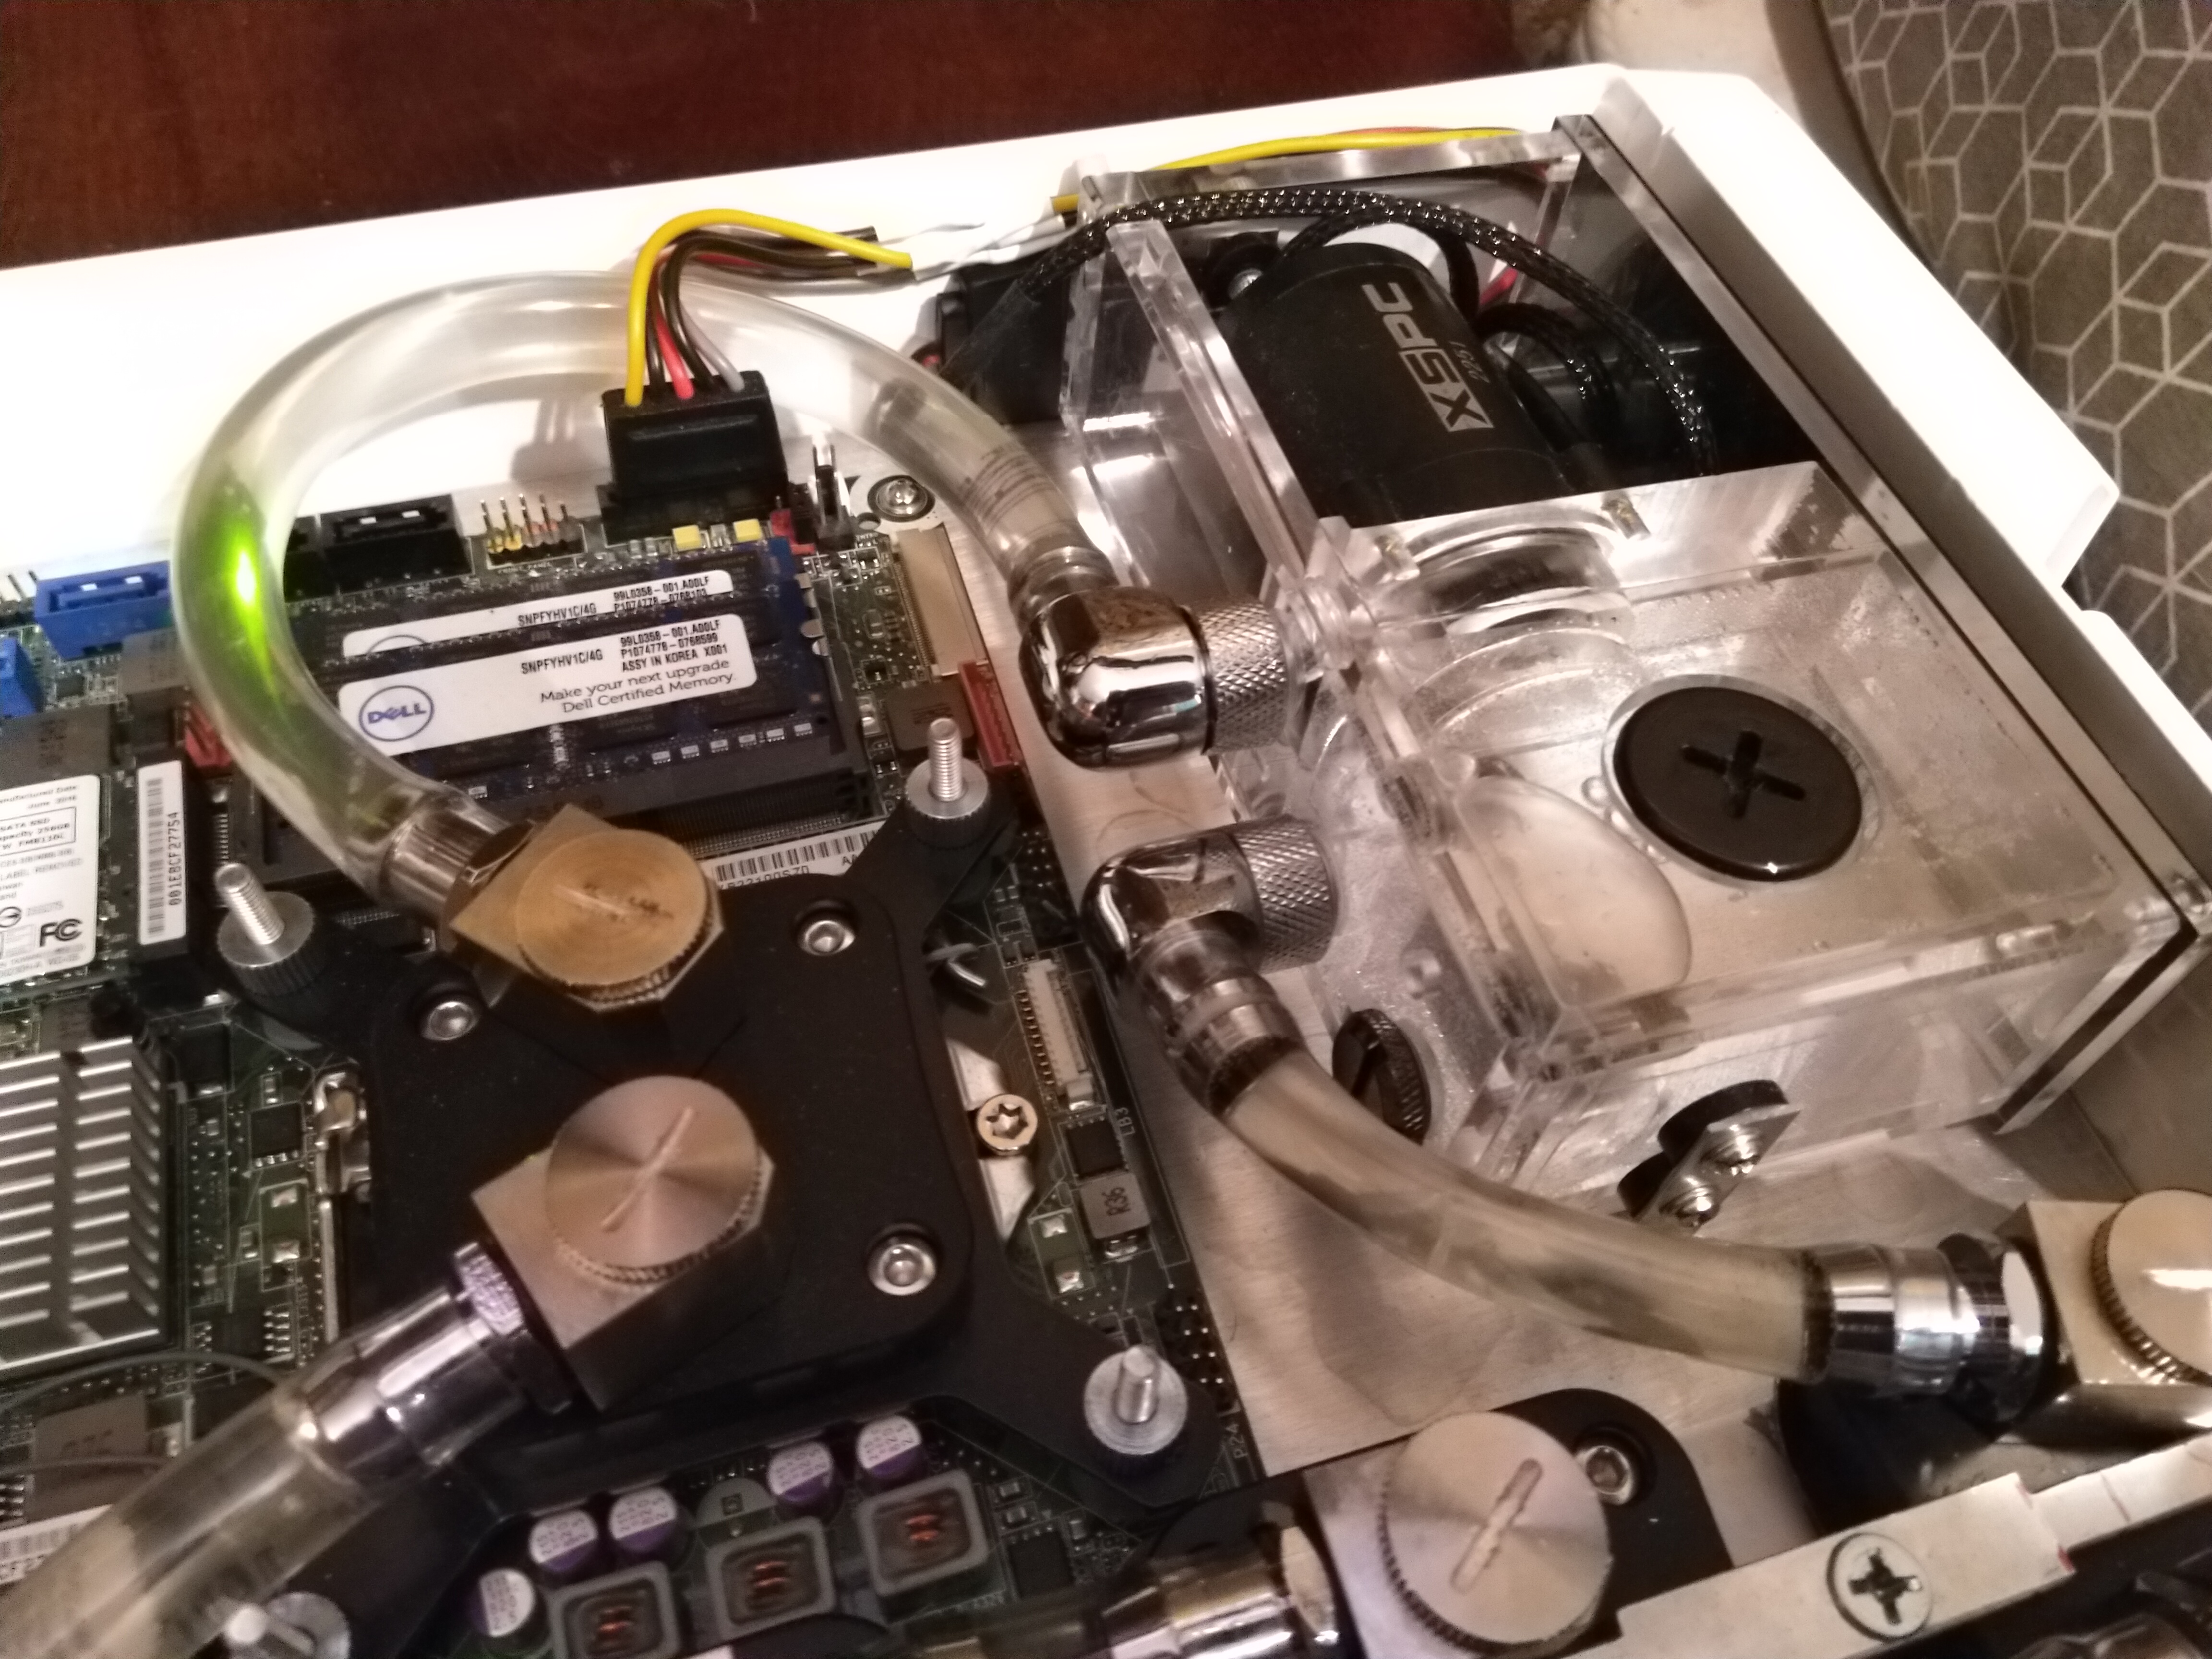
Picture heavy post. Took a couple hours, but I got everything mounted and in place. Temps are very good, even with an ambient of 80f. The pump vibration noise is completely gone and it’s almost completely silent. Just a soft whine from the pump itself, and with the lid on that will fade.
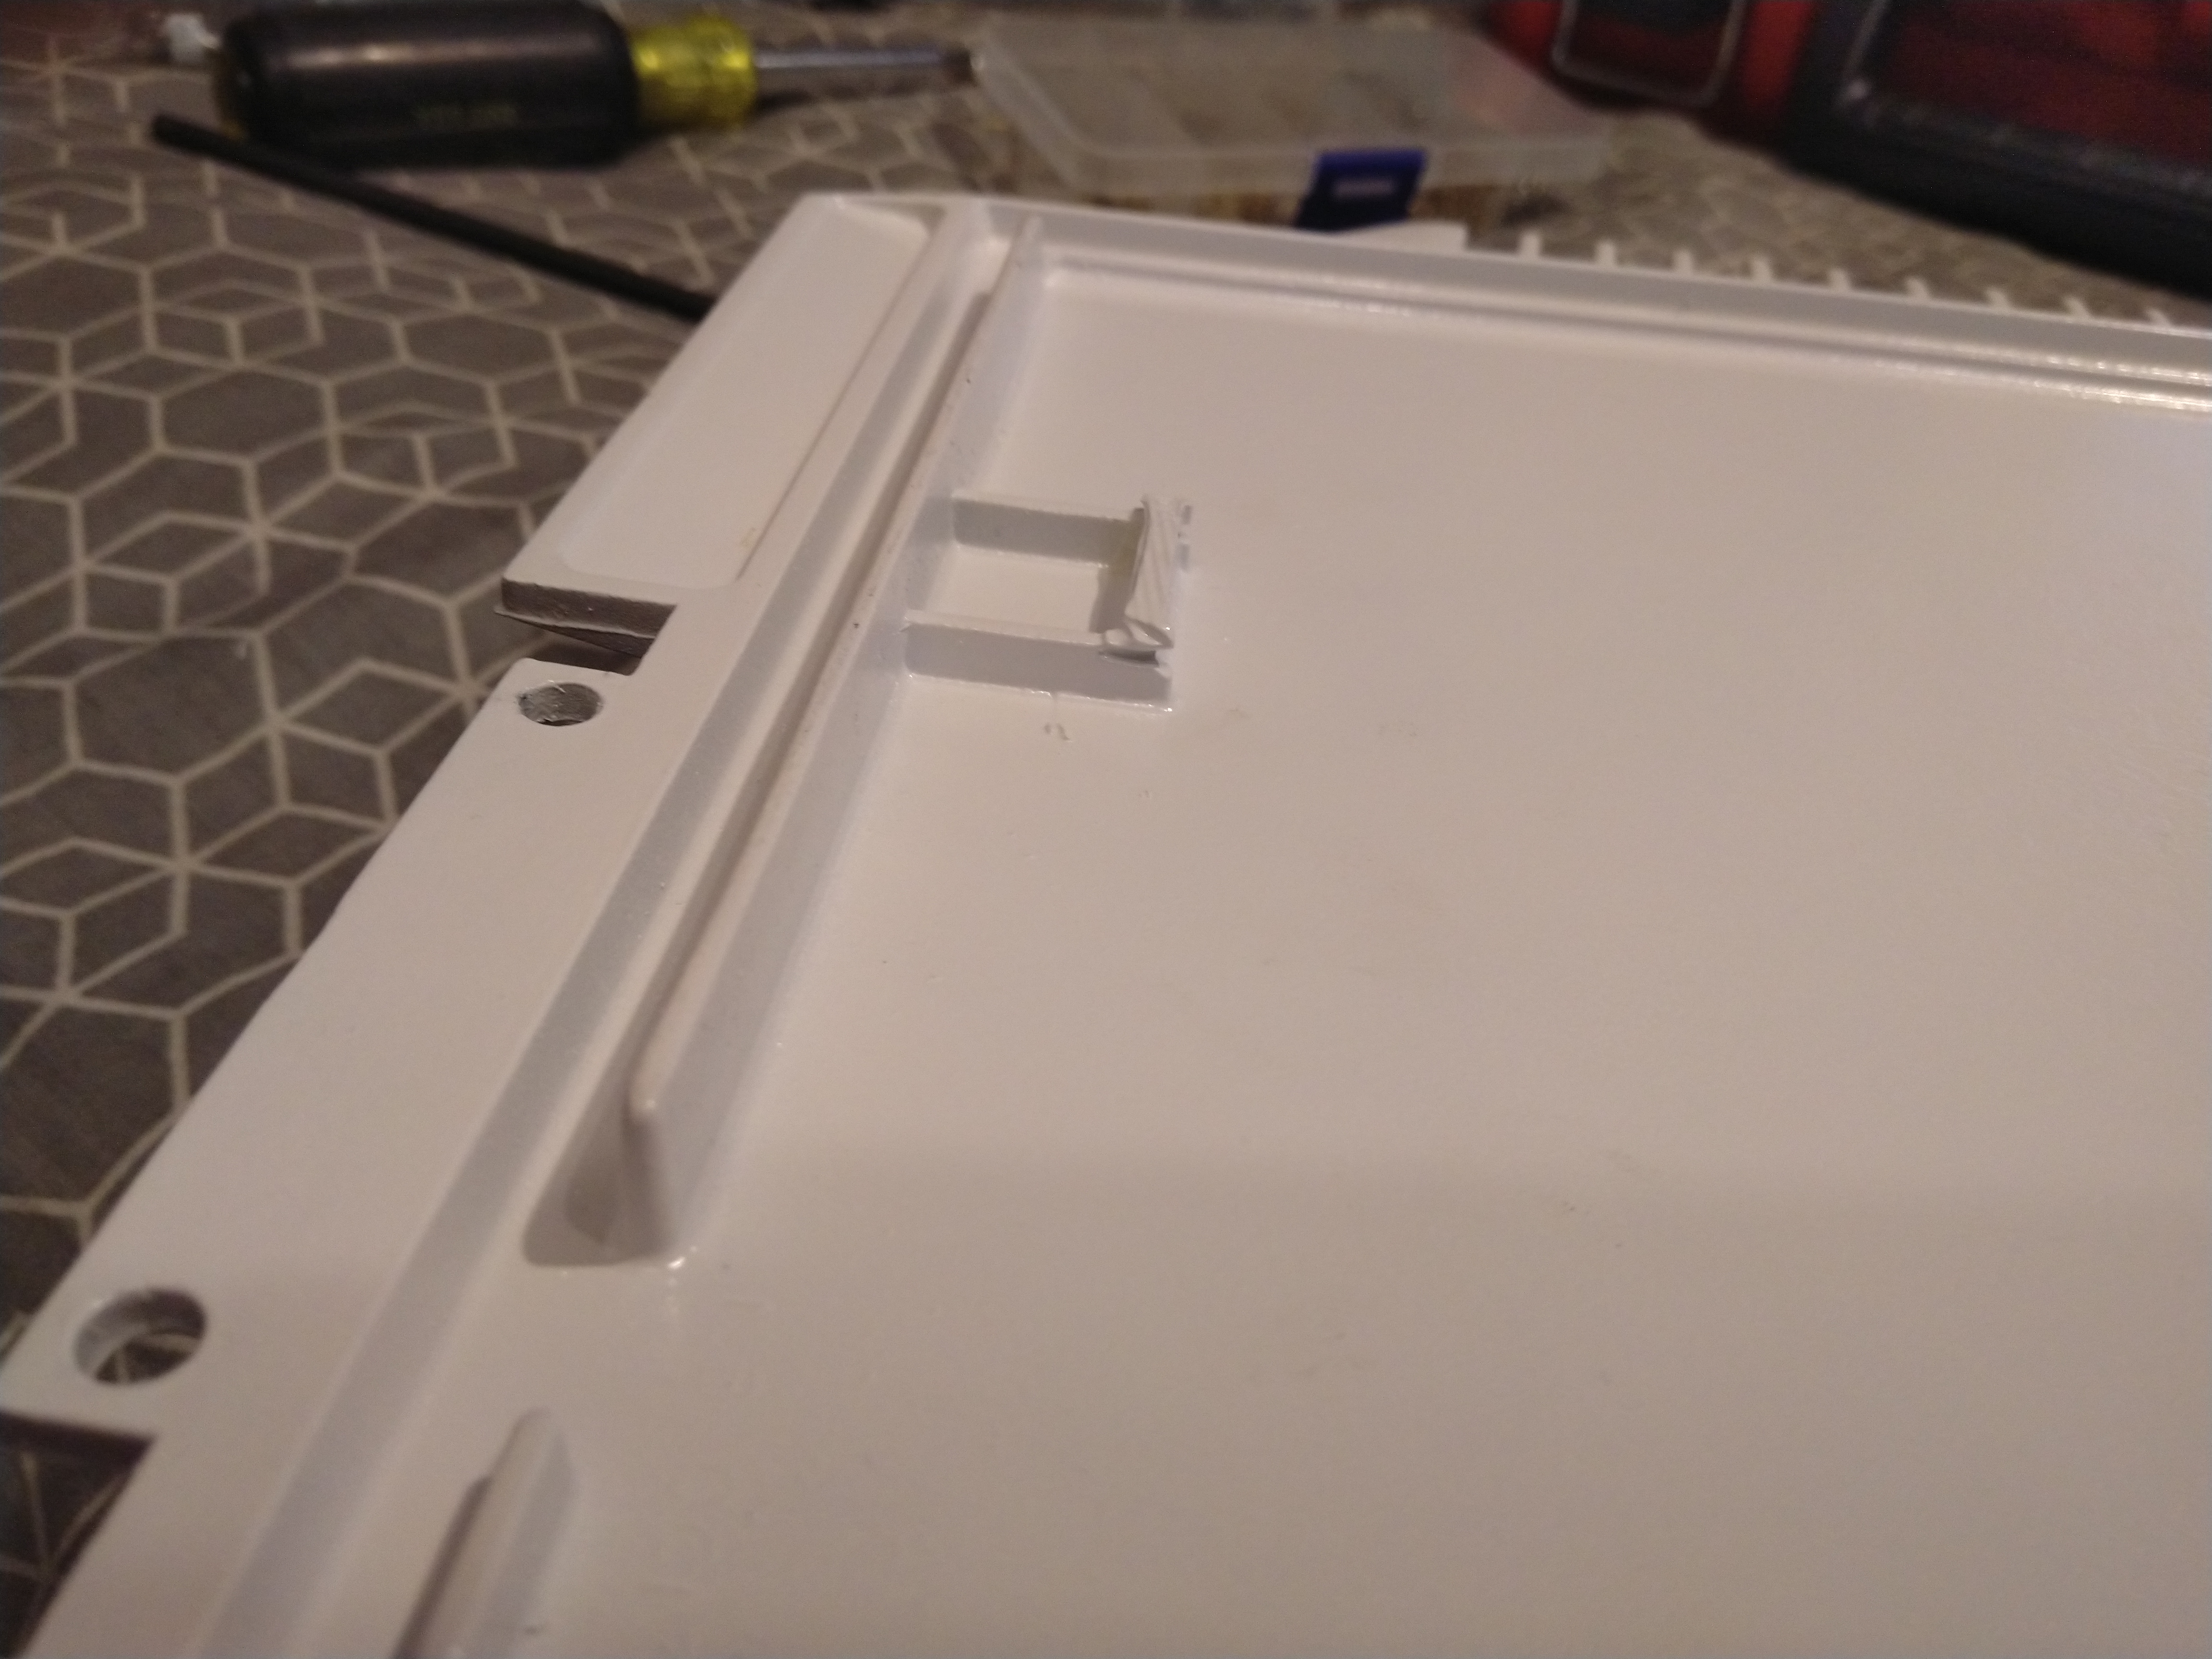
Need to modify a small part in the lid for it to close completely. So just that, the plastic piece to cover the hole in the front, and the handle thing that locks the lid.
I’ve got some stuff to work through the next few days, so I won’t be able to get back to this for a little bit. We’ll see.
pl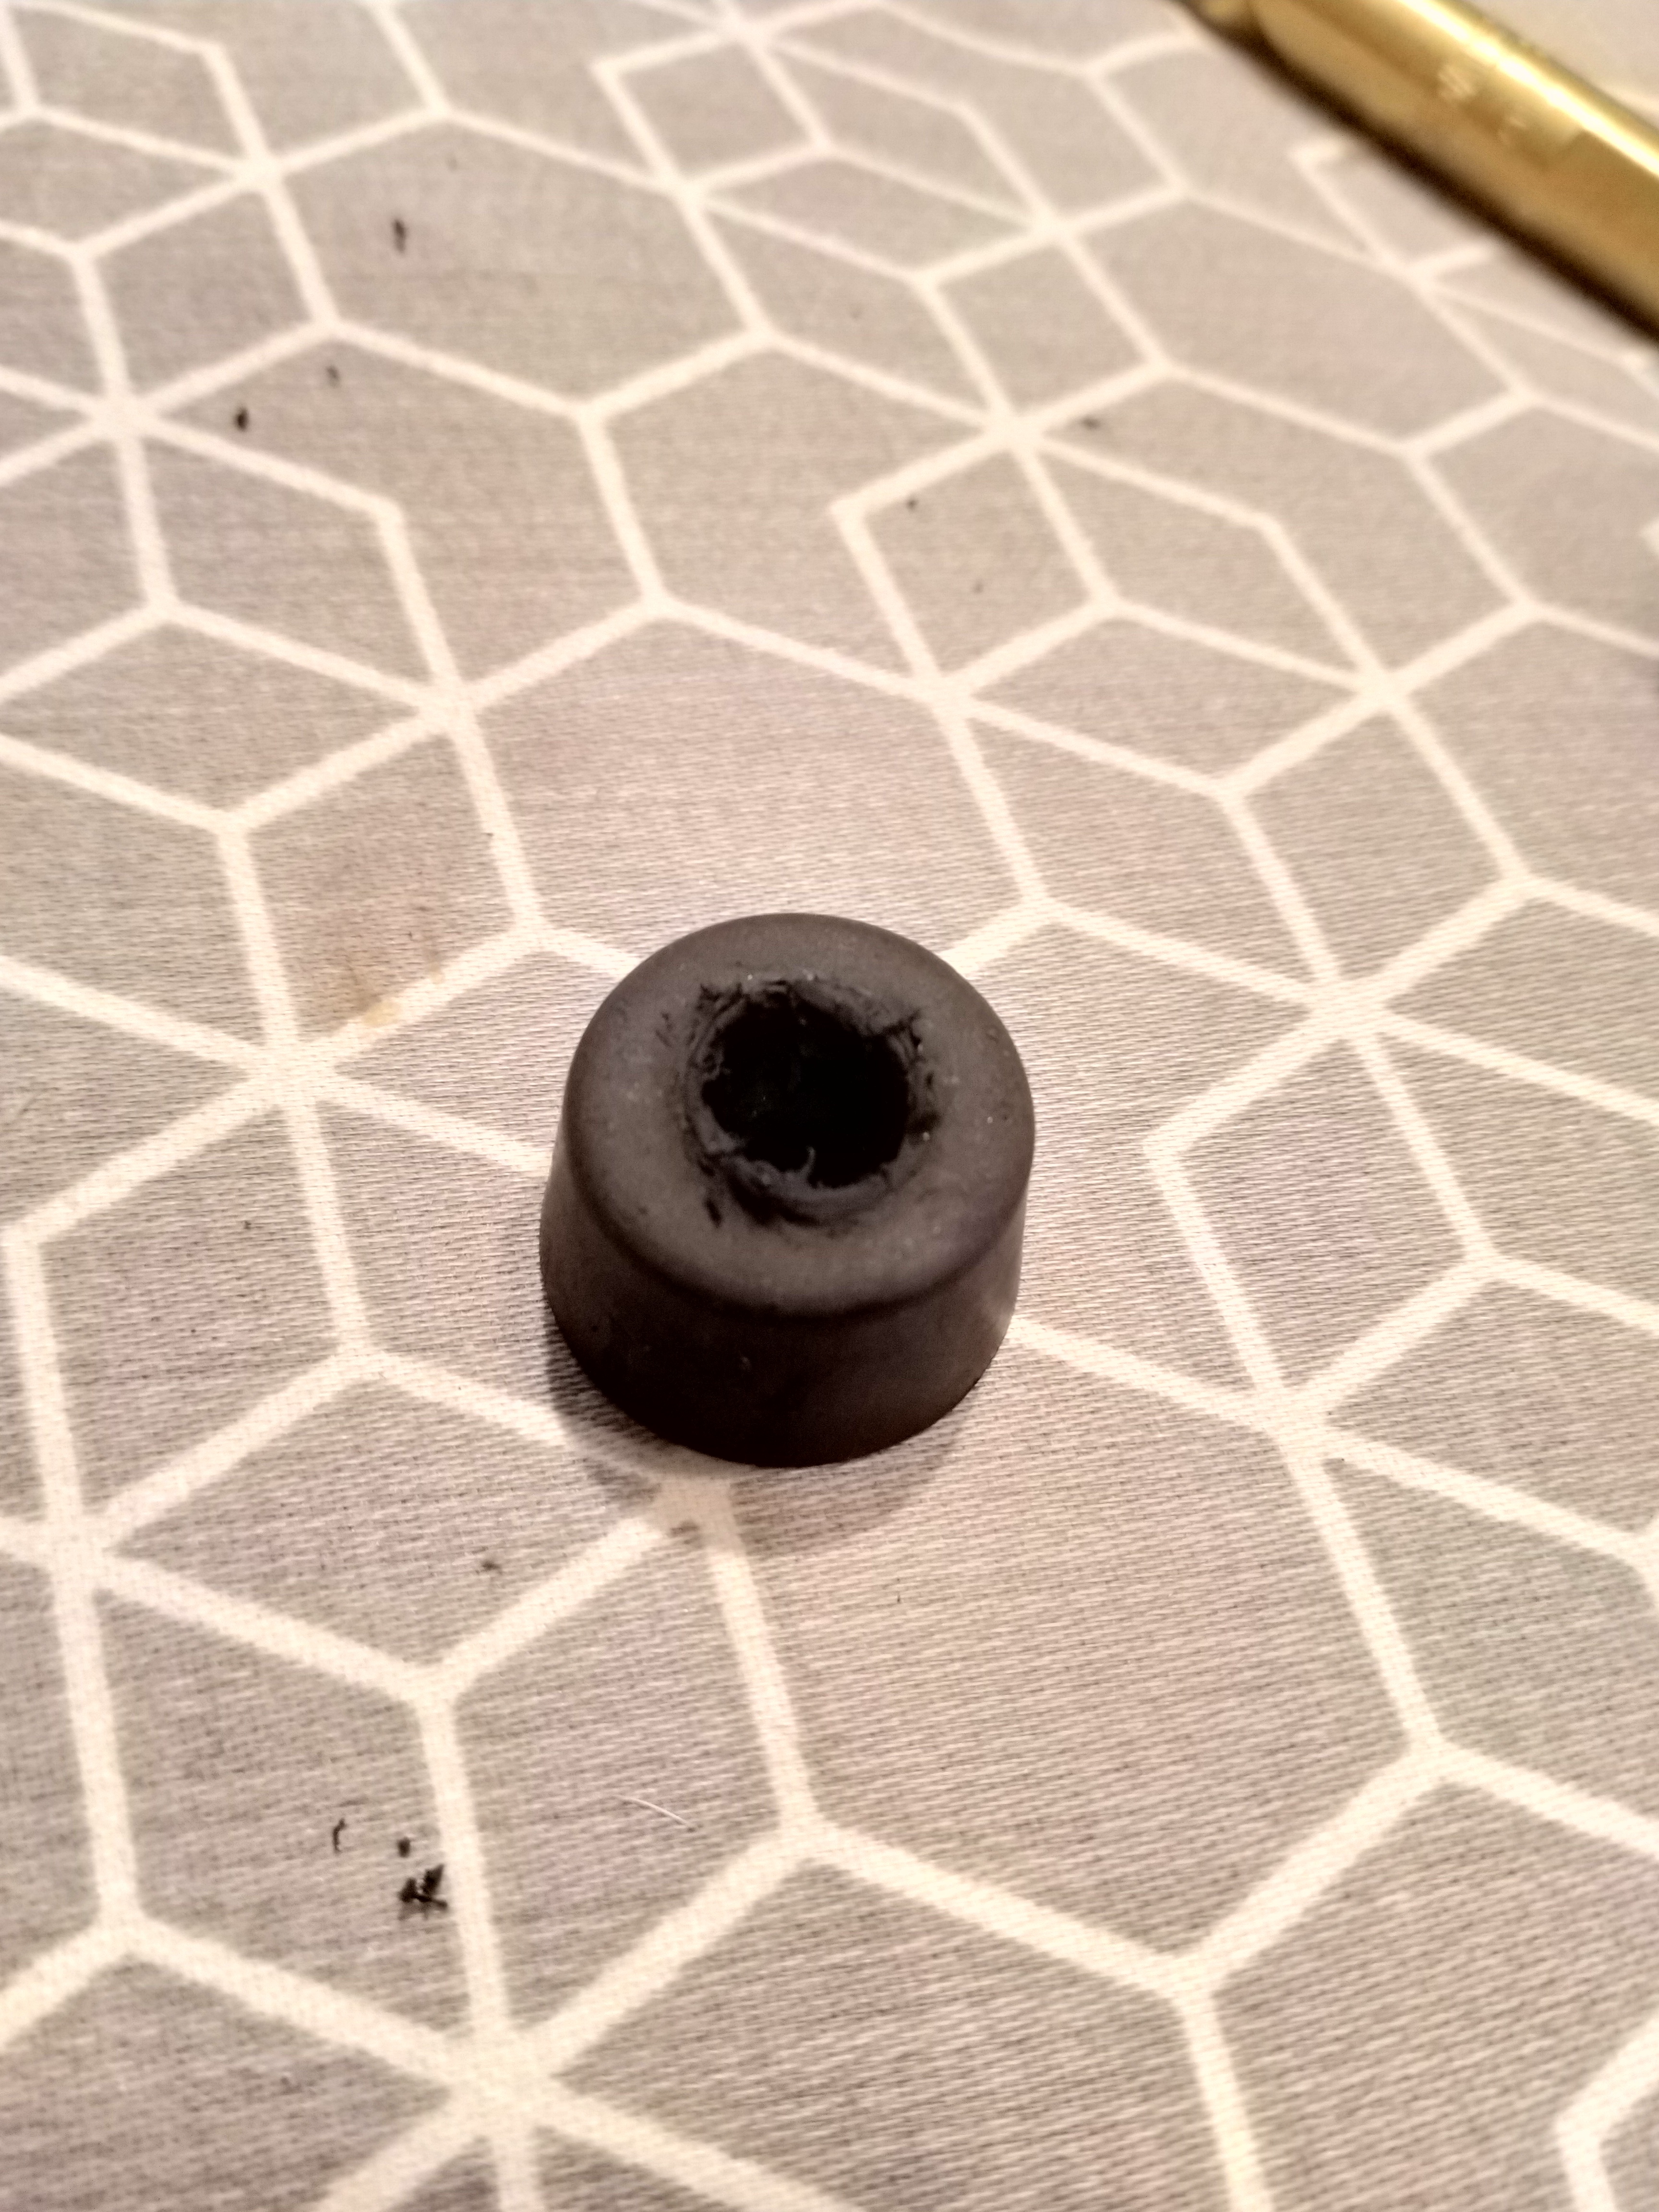


9 Likes
Update.
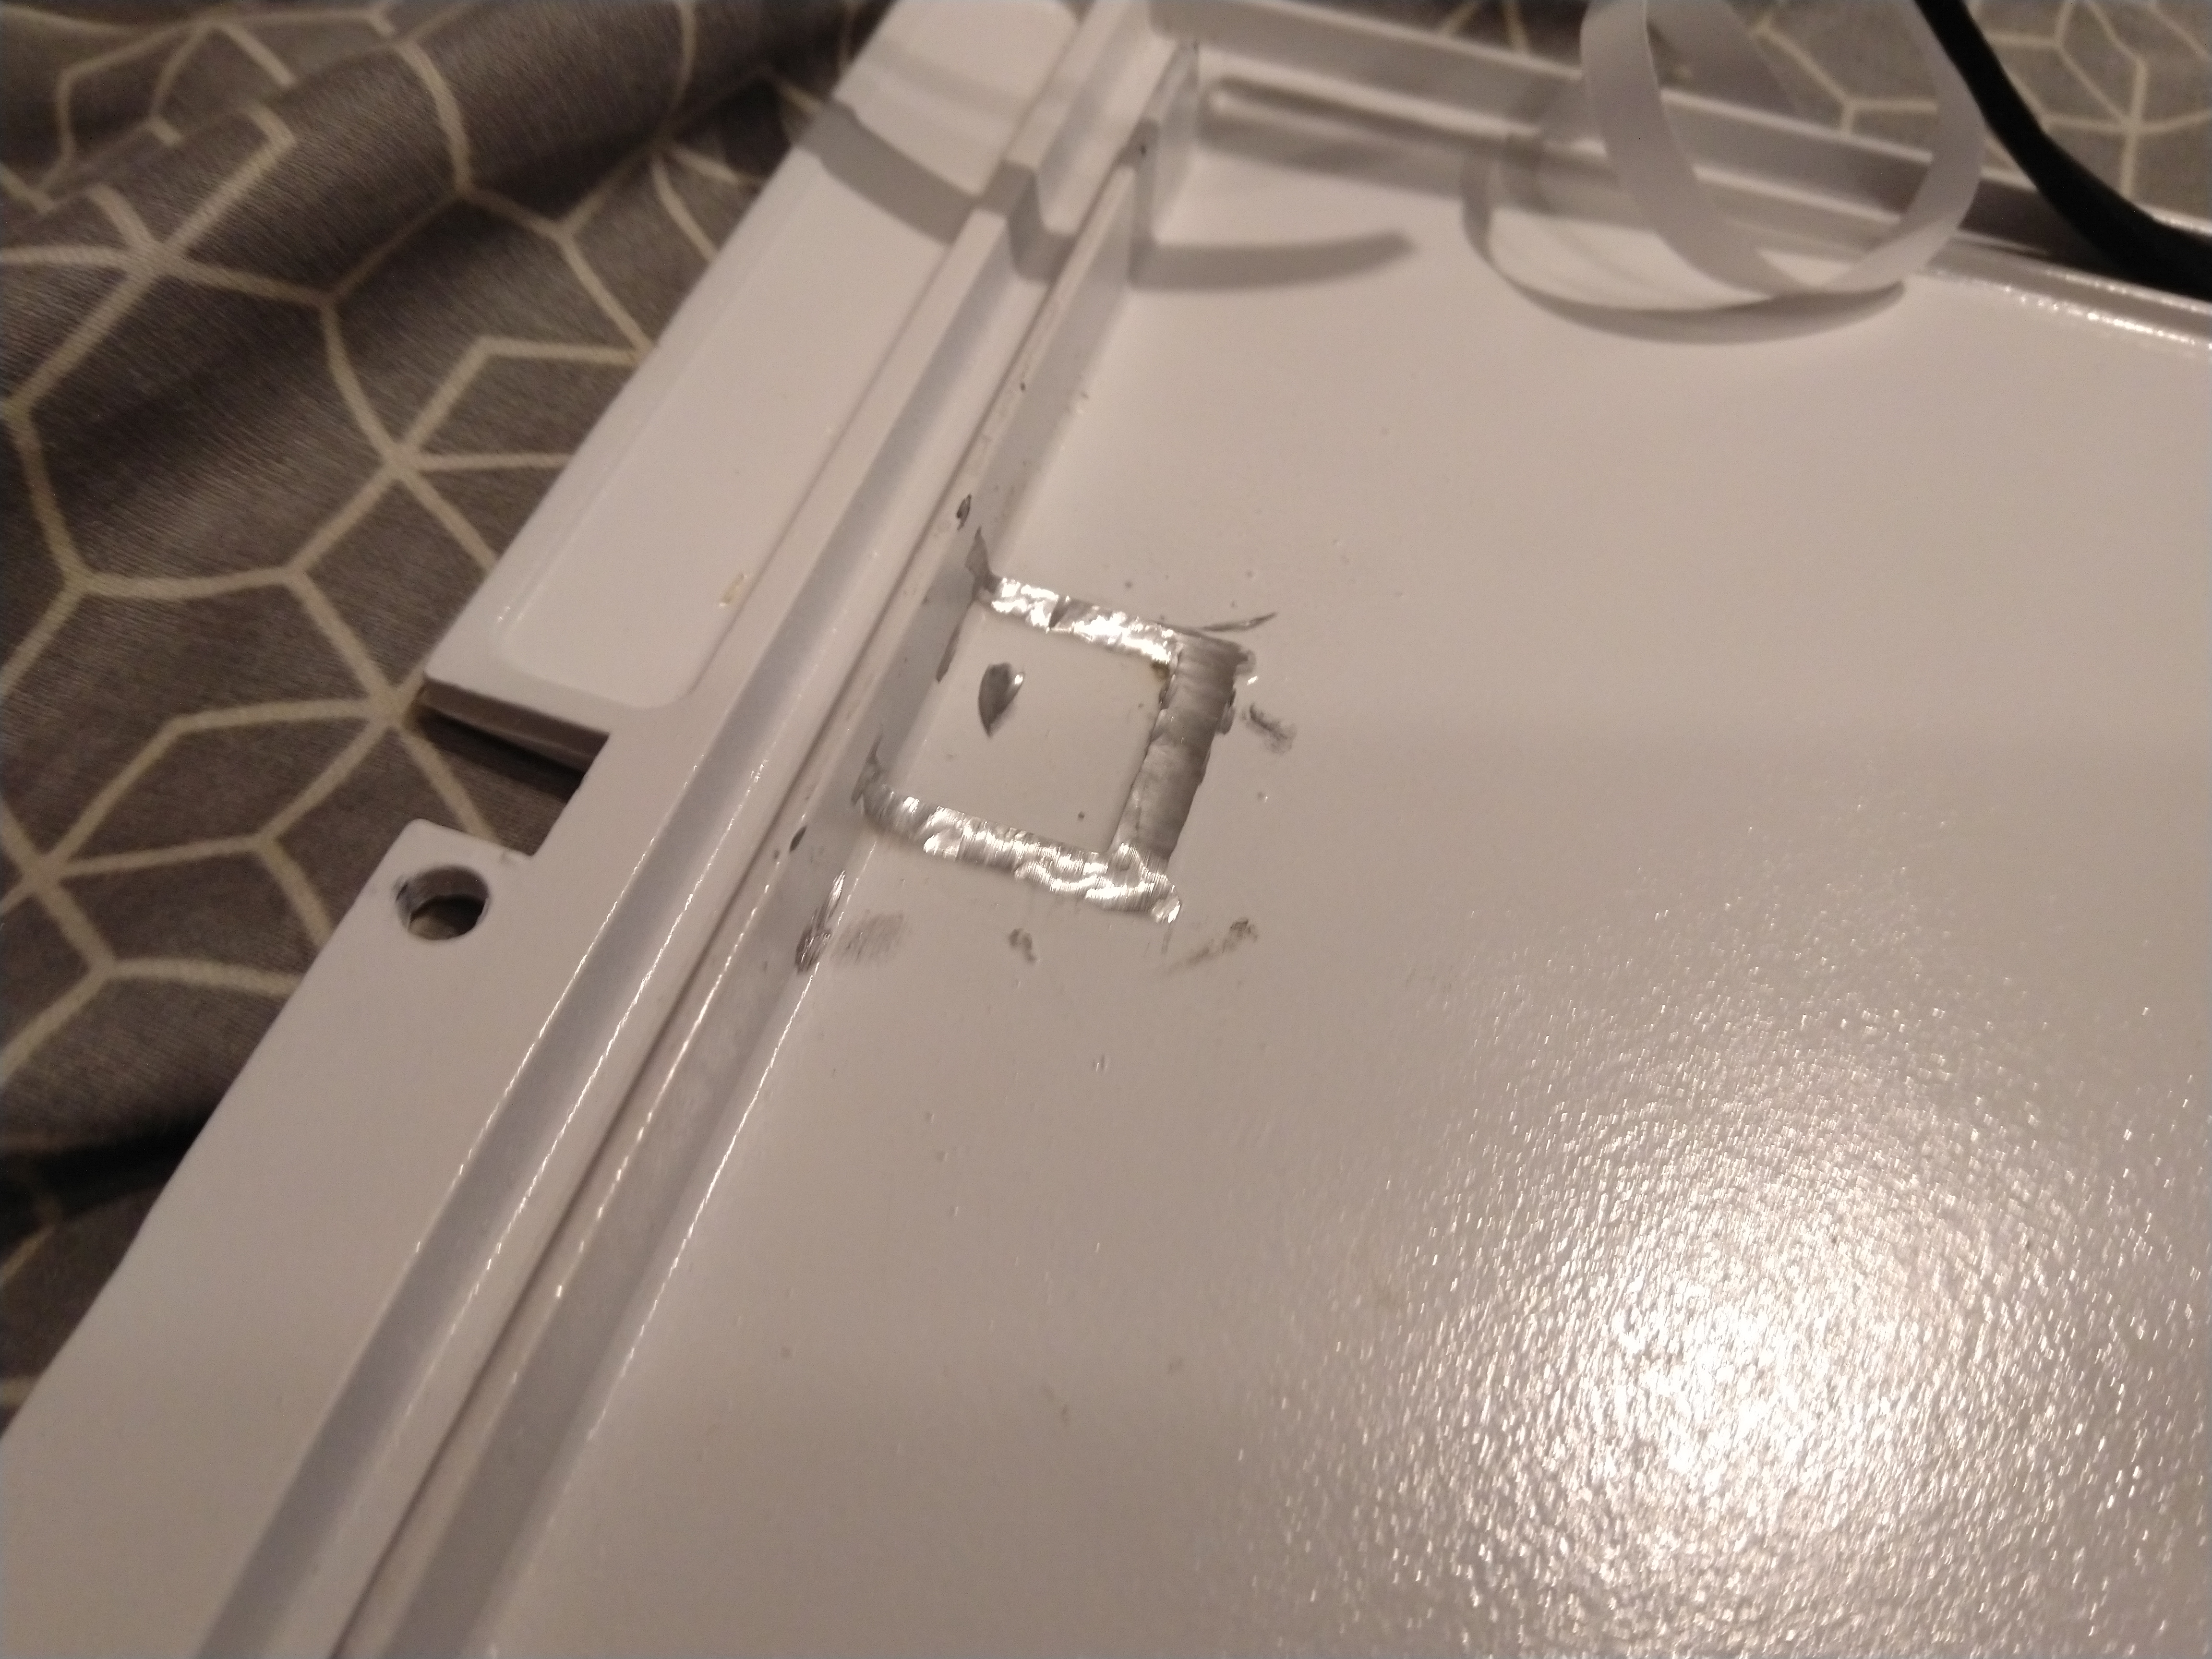
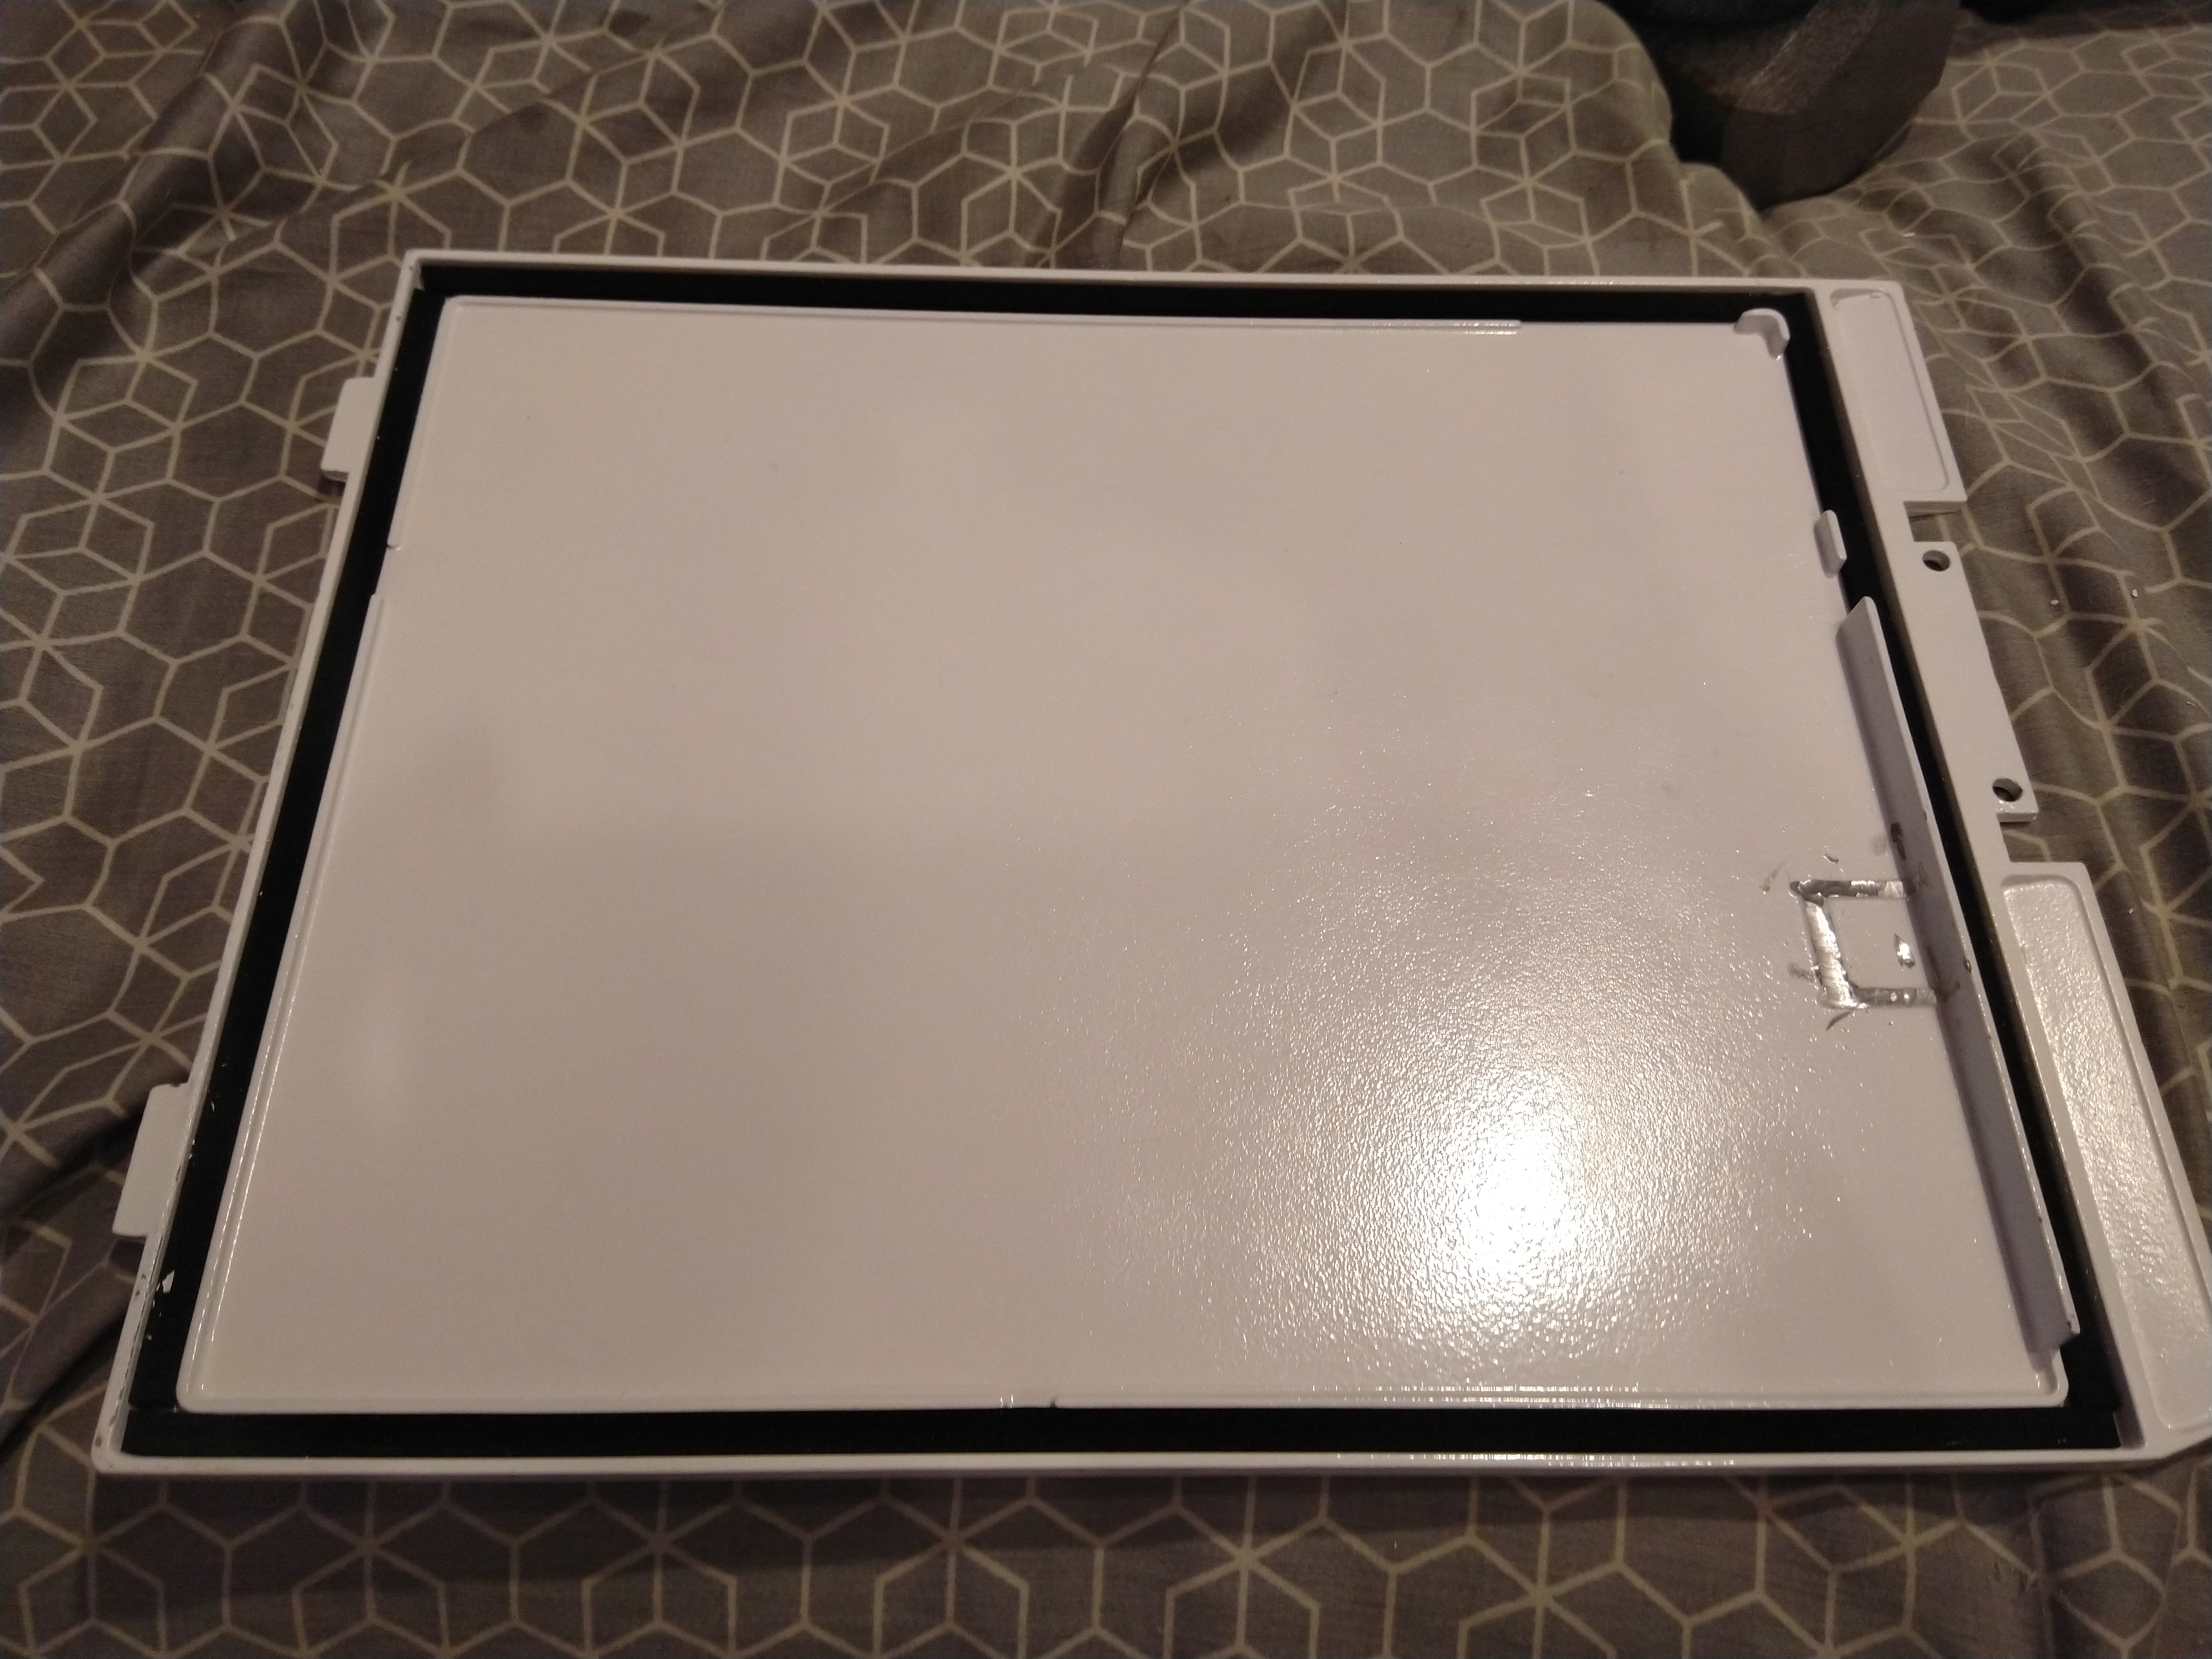
Found Dremel, got small piece cut off the inside of the lid.
The res still sat just a smidge too high, so I had to swap out the rubber washers with some thinner fiber type washers. Used two per mounting bolt, and now res sits low enough to not make contact with the lid.
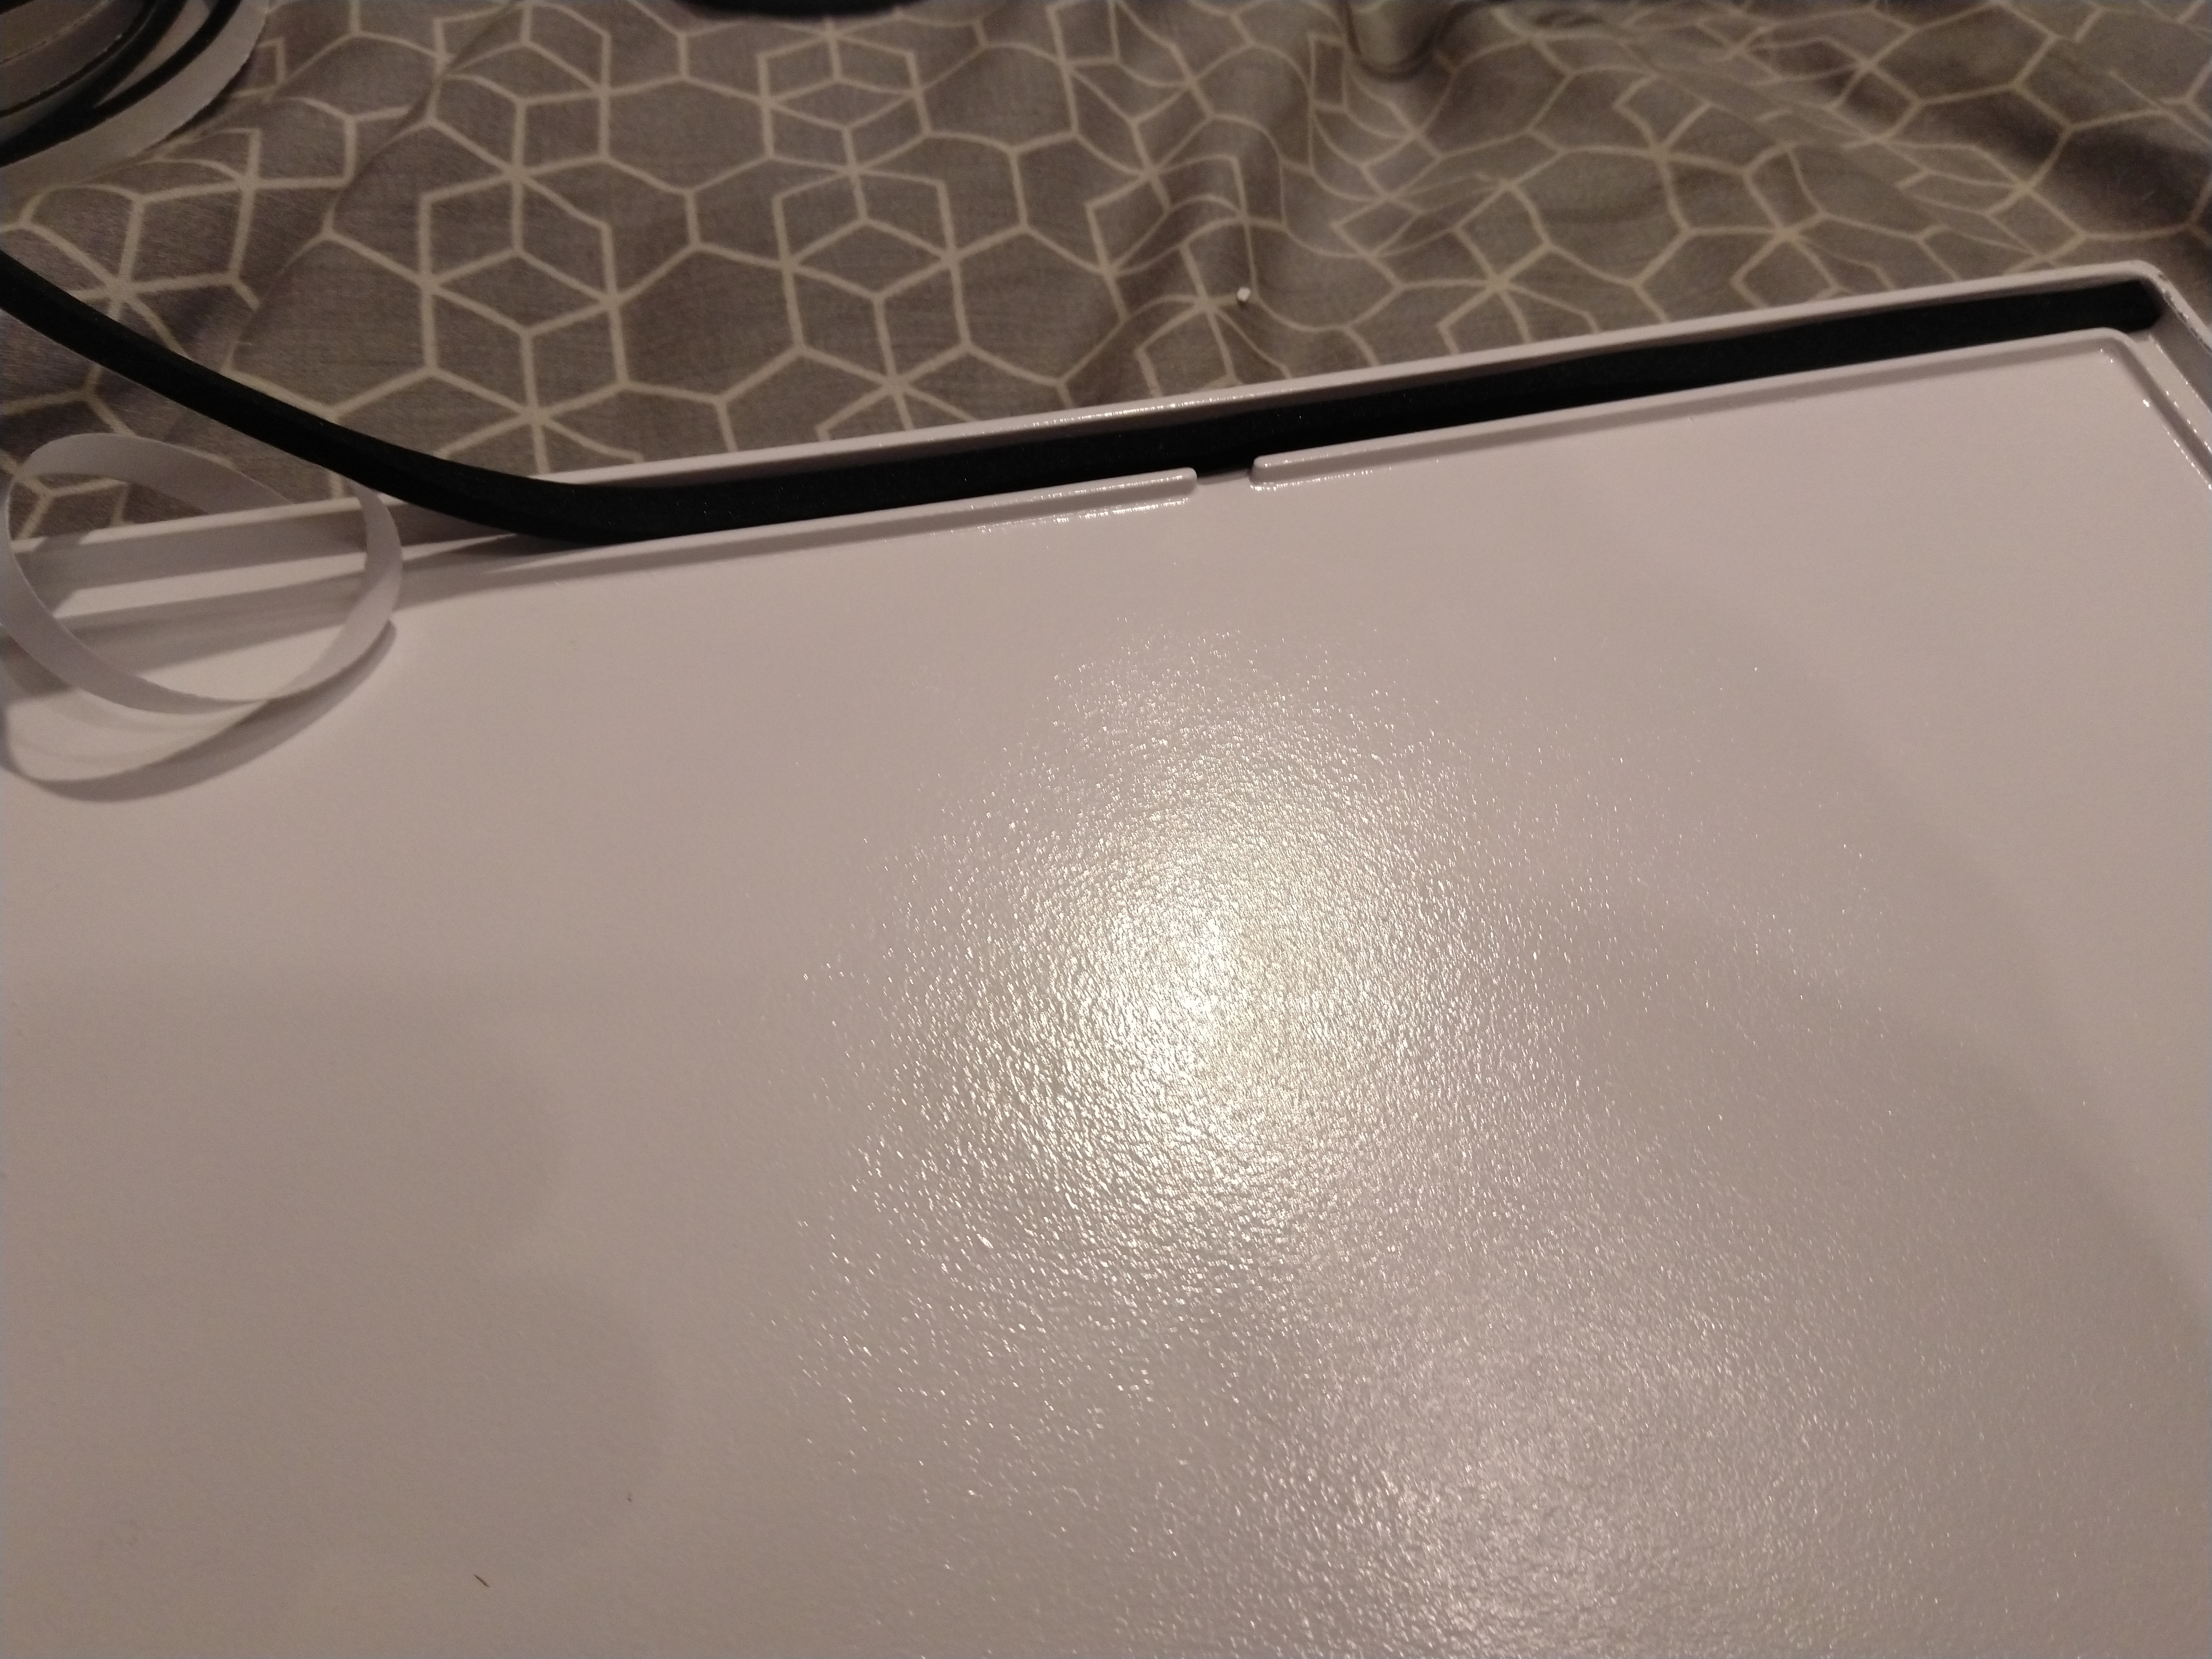
Also found some high density foam weather stripping I had from another project. It exactly fit in the channels around the inside edge of the lid. When I push the lid down tight the computer is almost silent.
Still need to cut some plastic for the openings at the front of the case and install the chrome handle latch, which will tightly secure the lid down. Hope it doesn’t scratch the paint off.

13 Likes
That’s turned out great. Really nice work.
1 Like
Awesome project to follow!
1 Like
Functional art. I love it! 
1 Like
Looks great!
1 Like
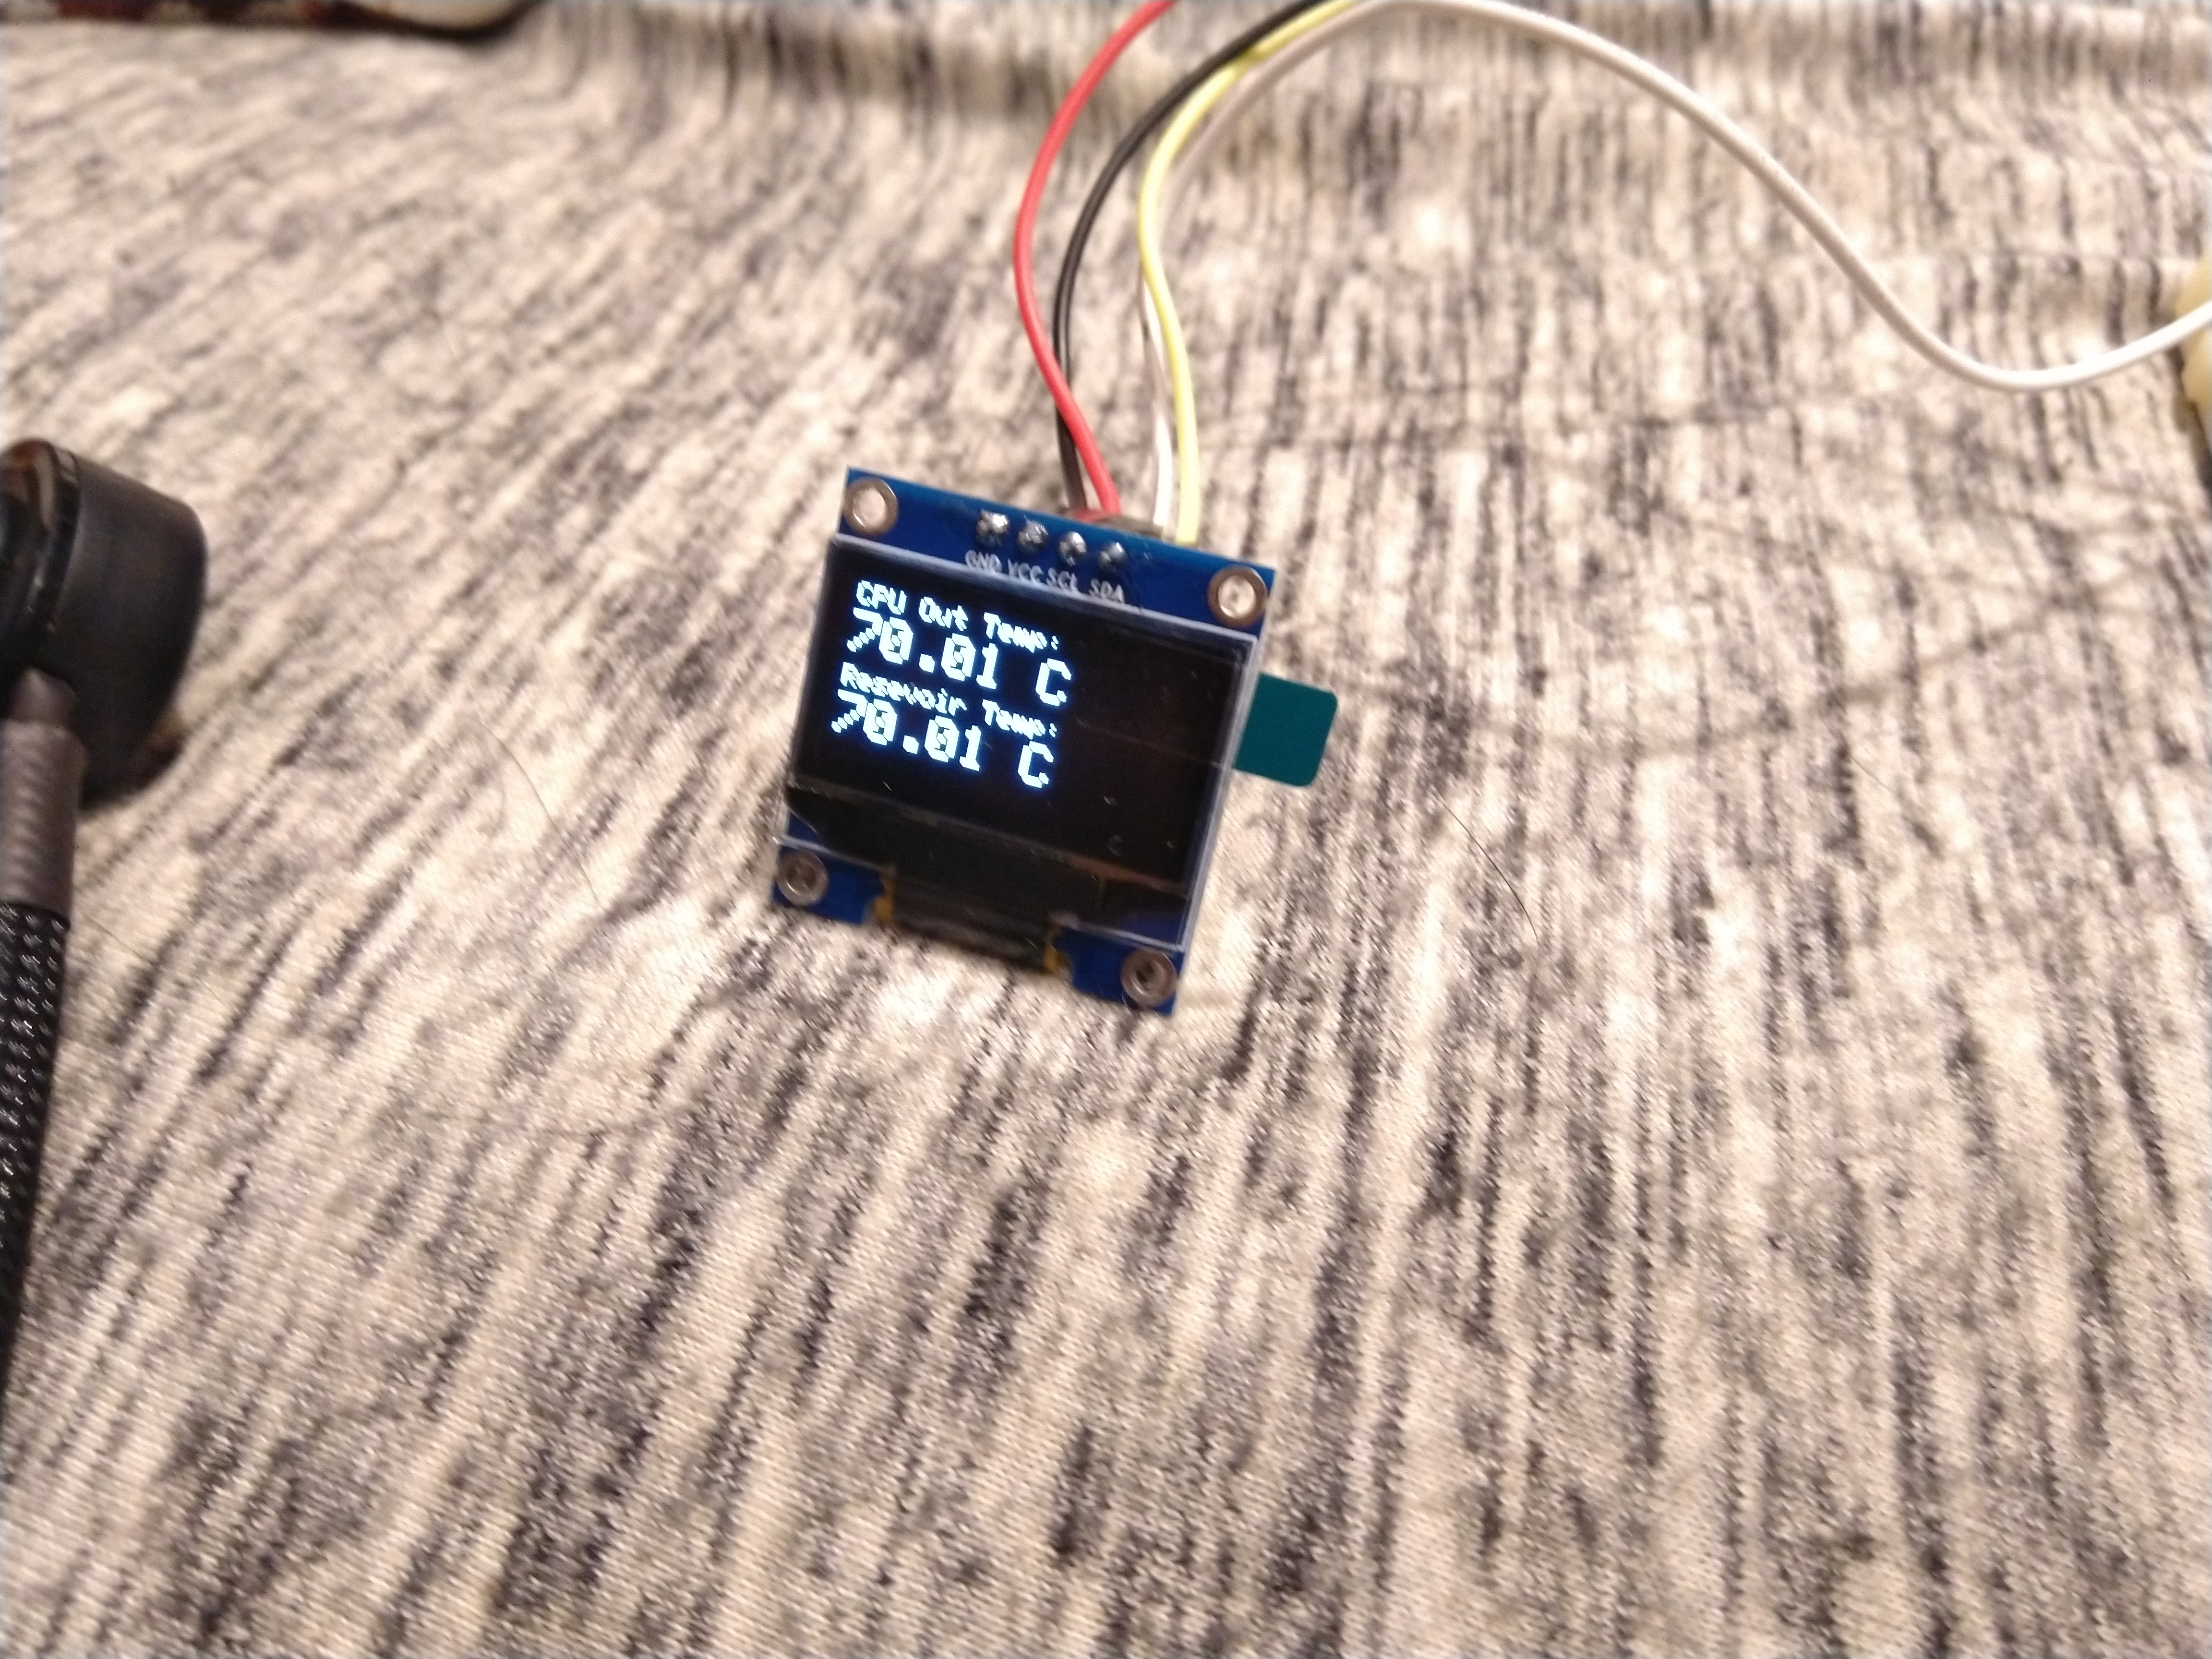

Is that the water temp or cpu temp?
After 60c water temp pumps tend to die
1 Like
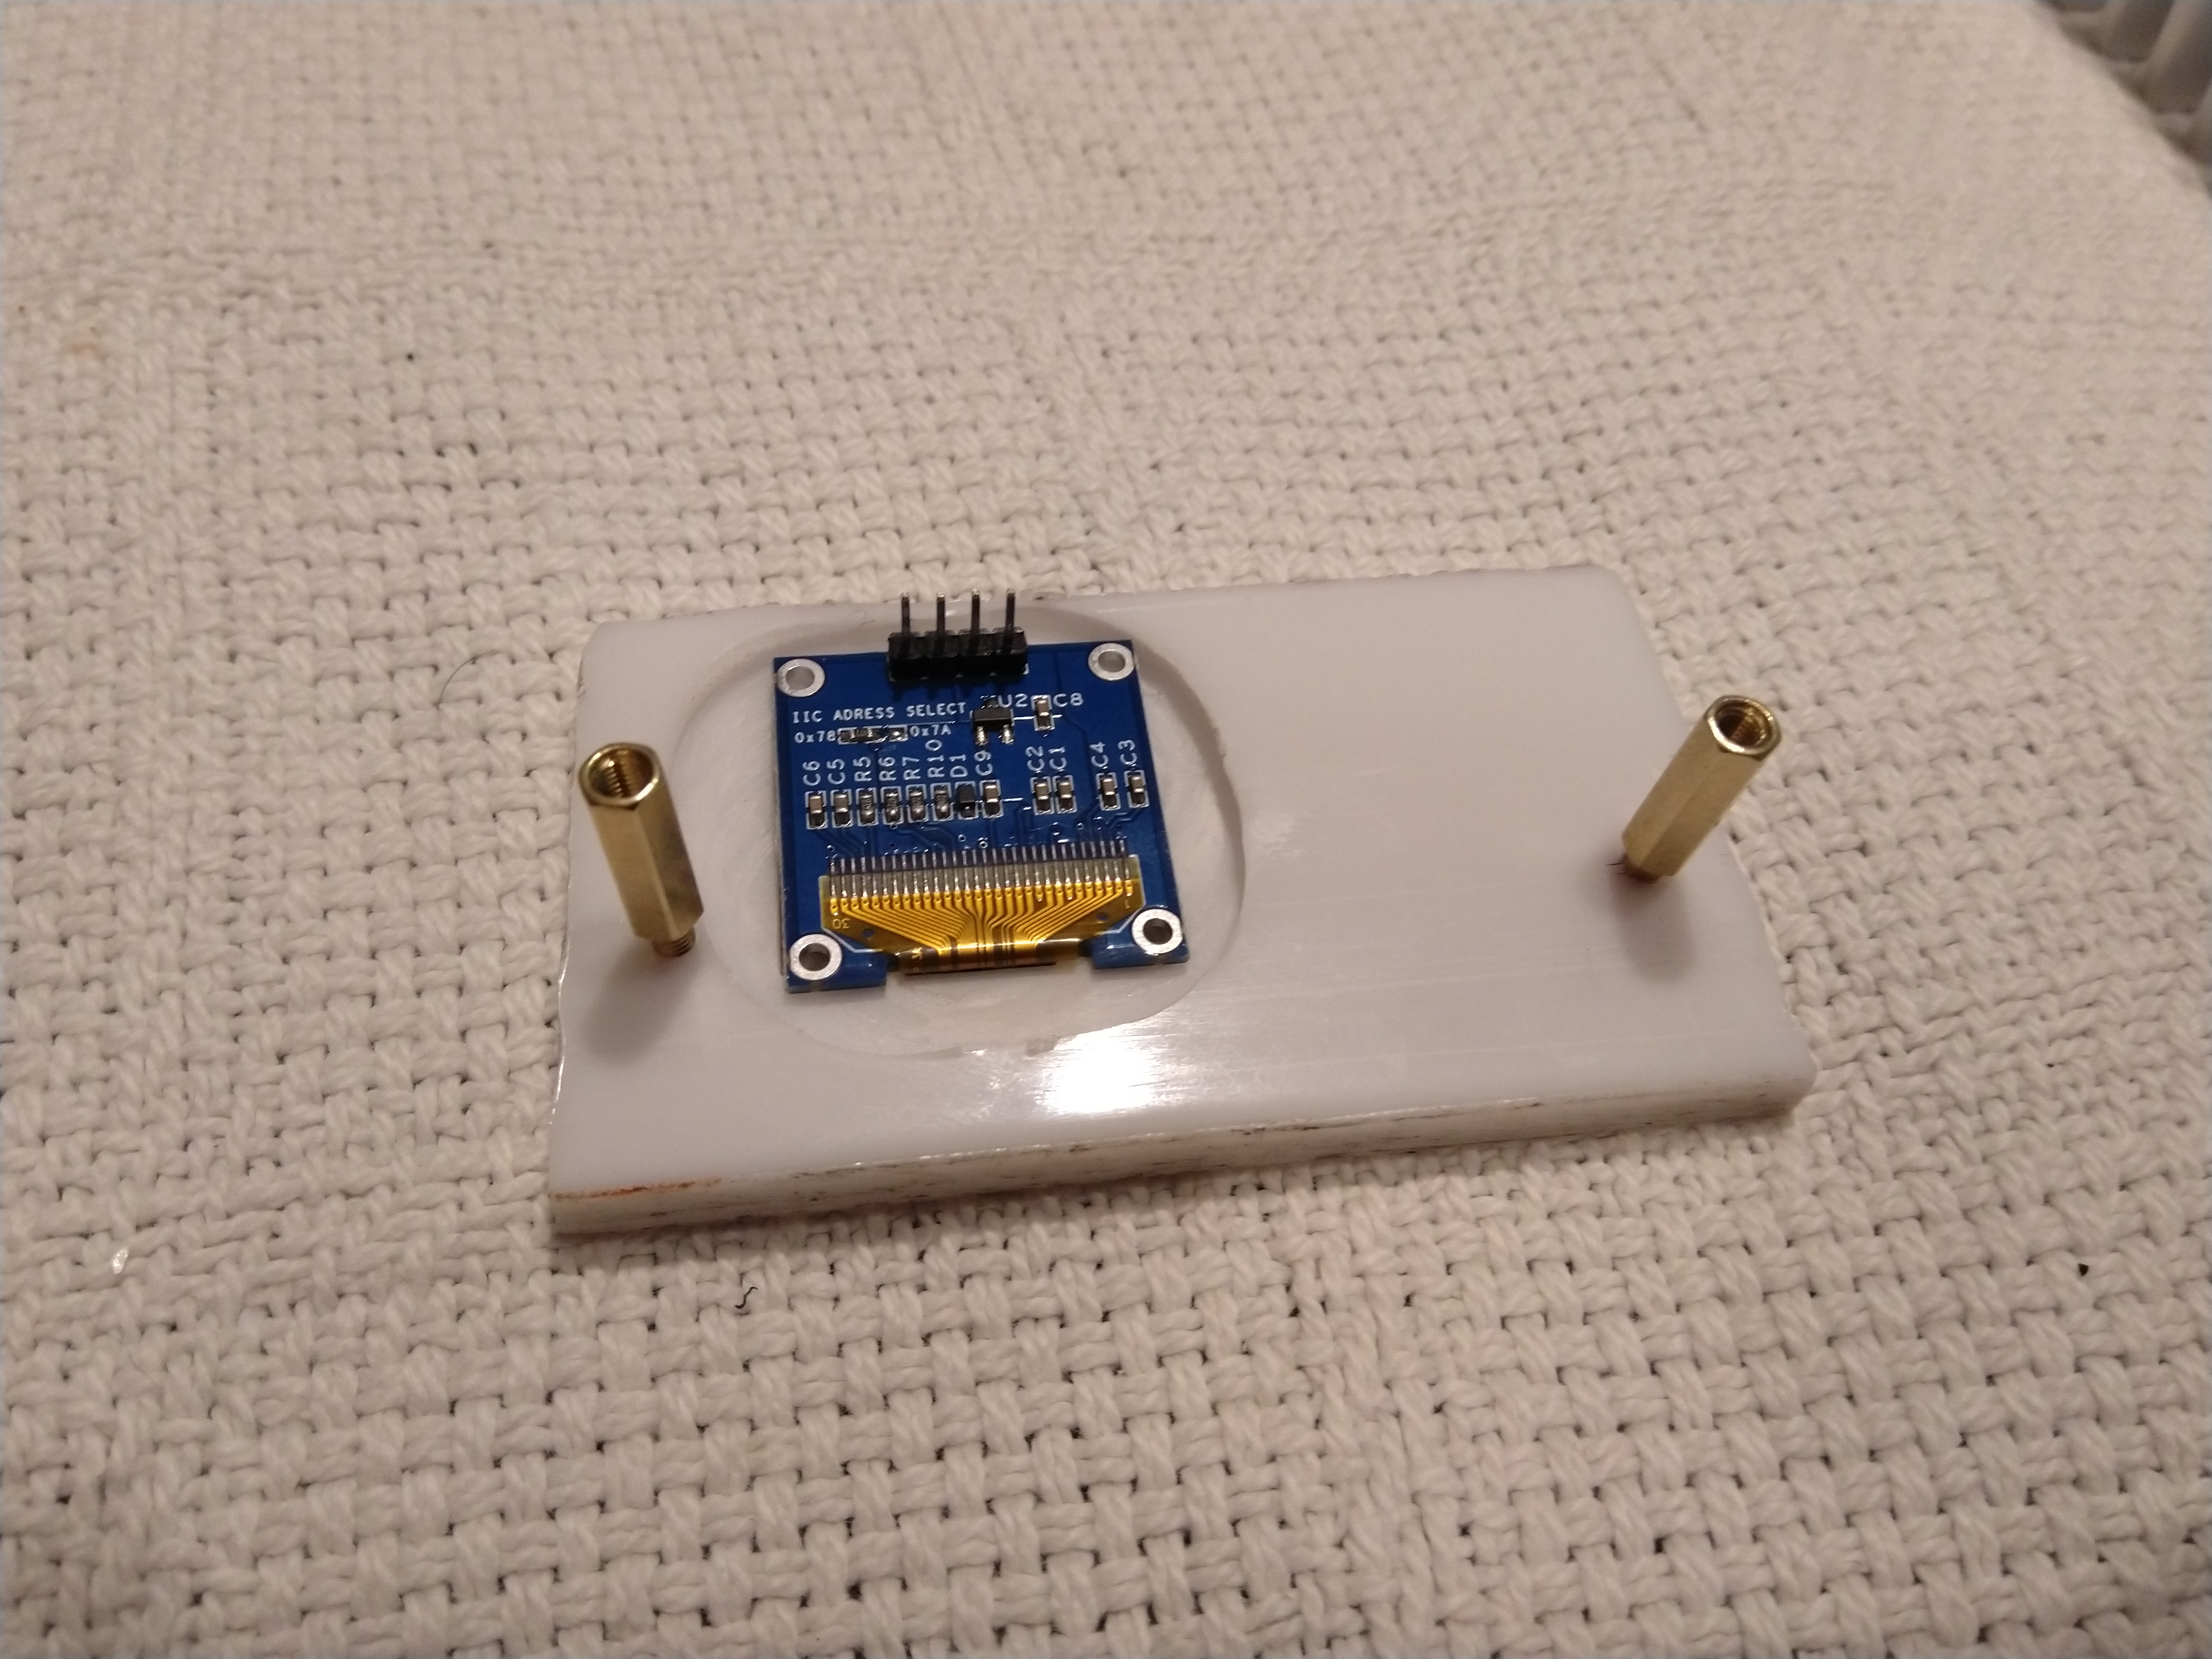
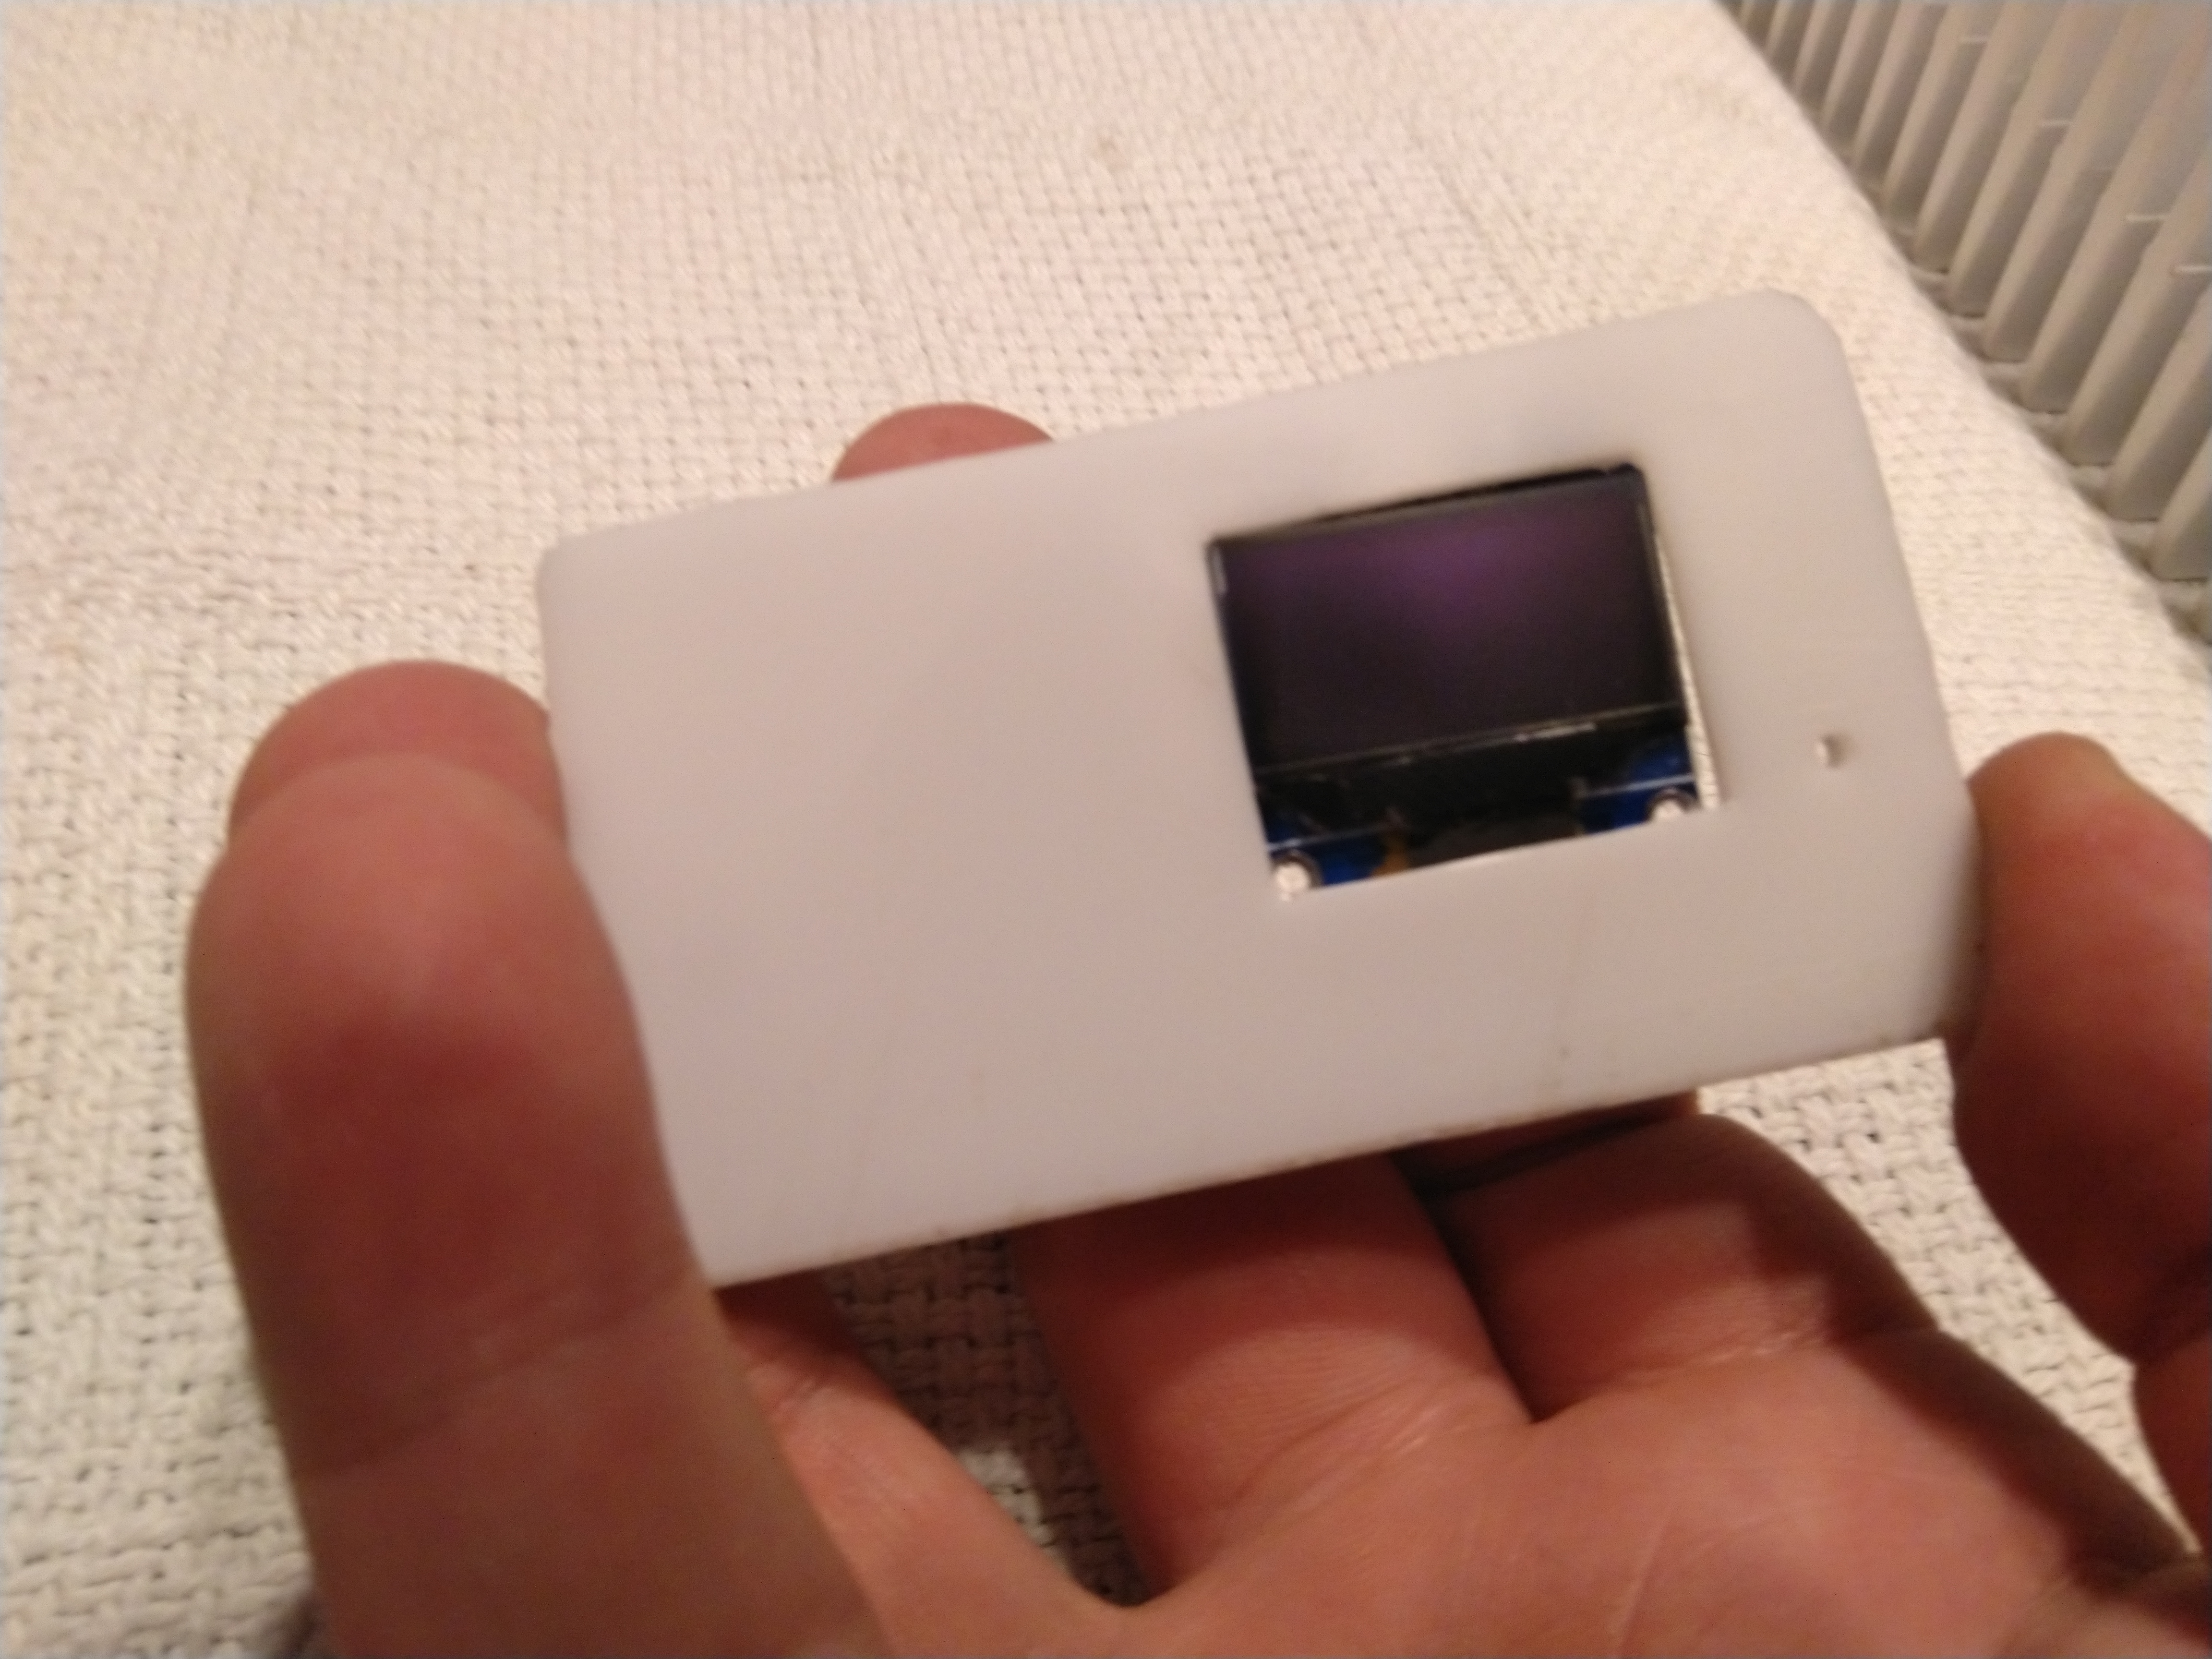
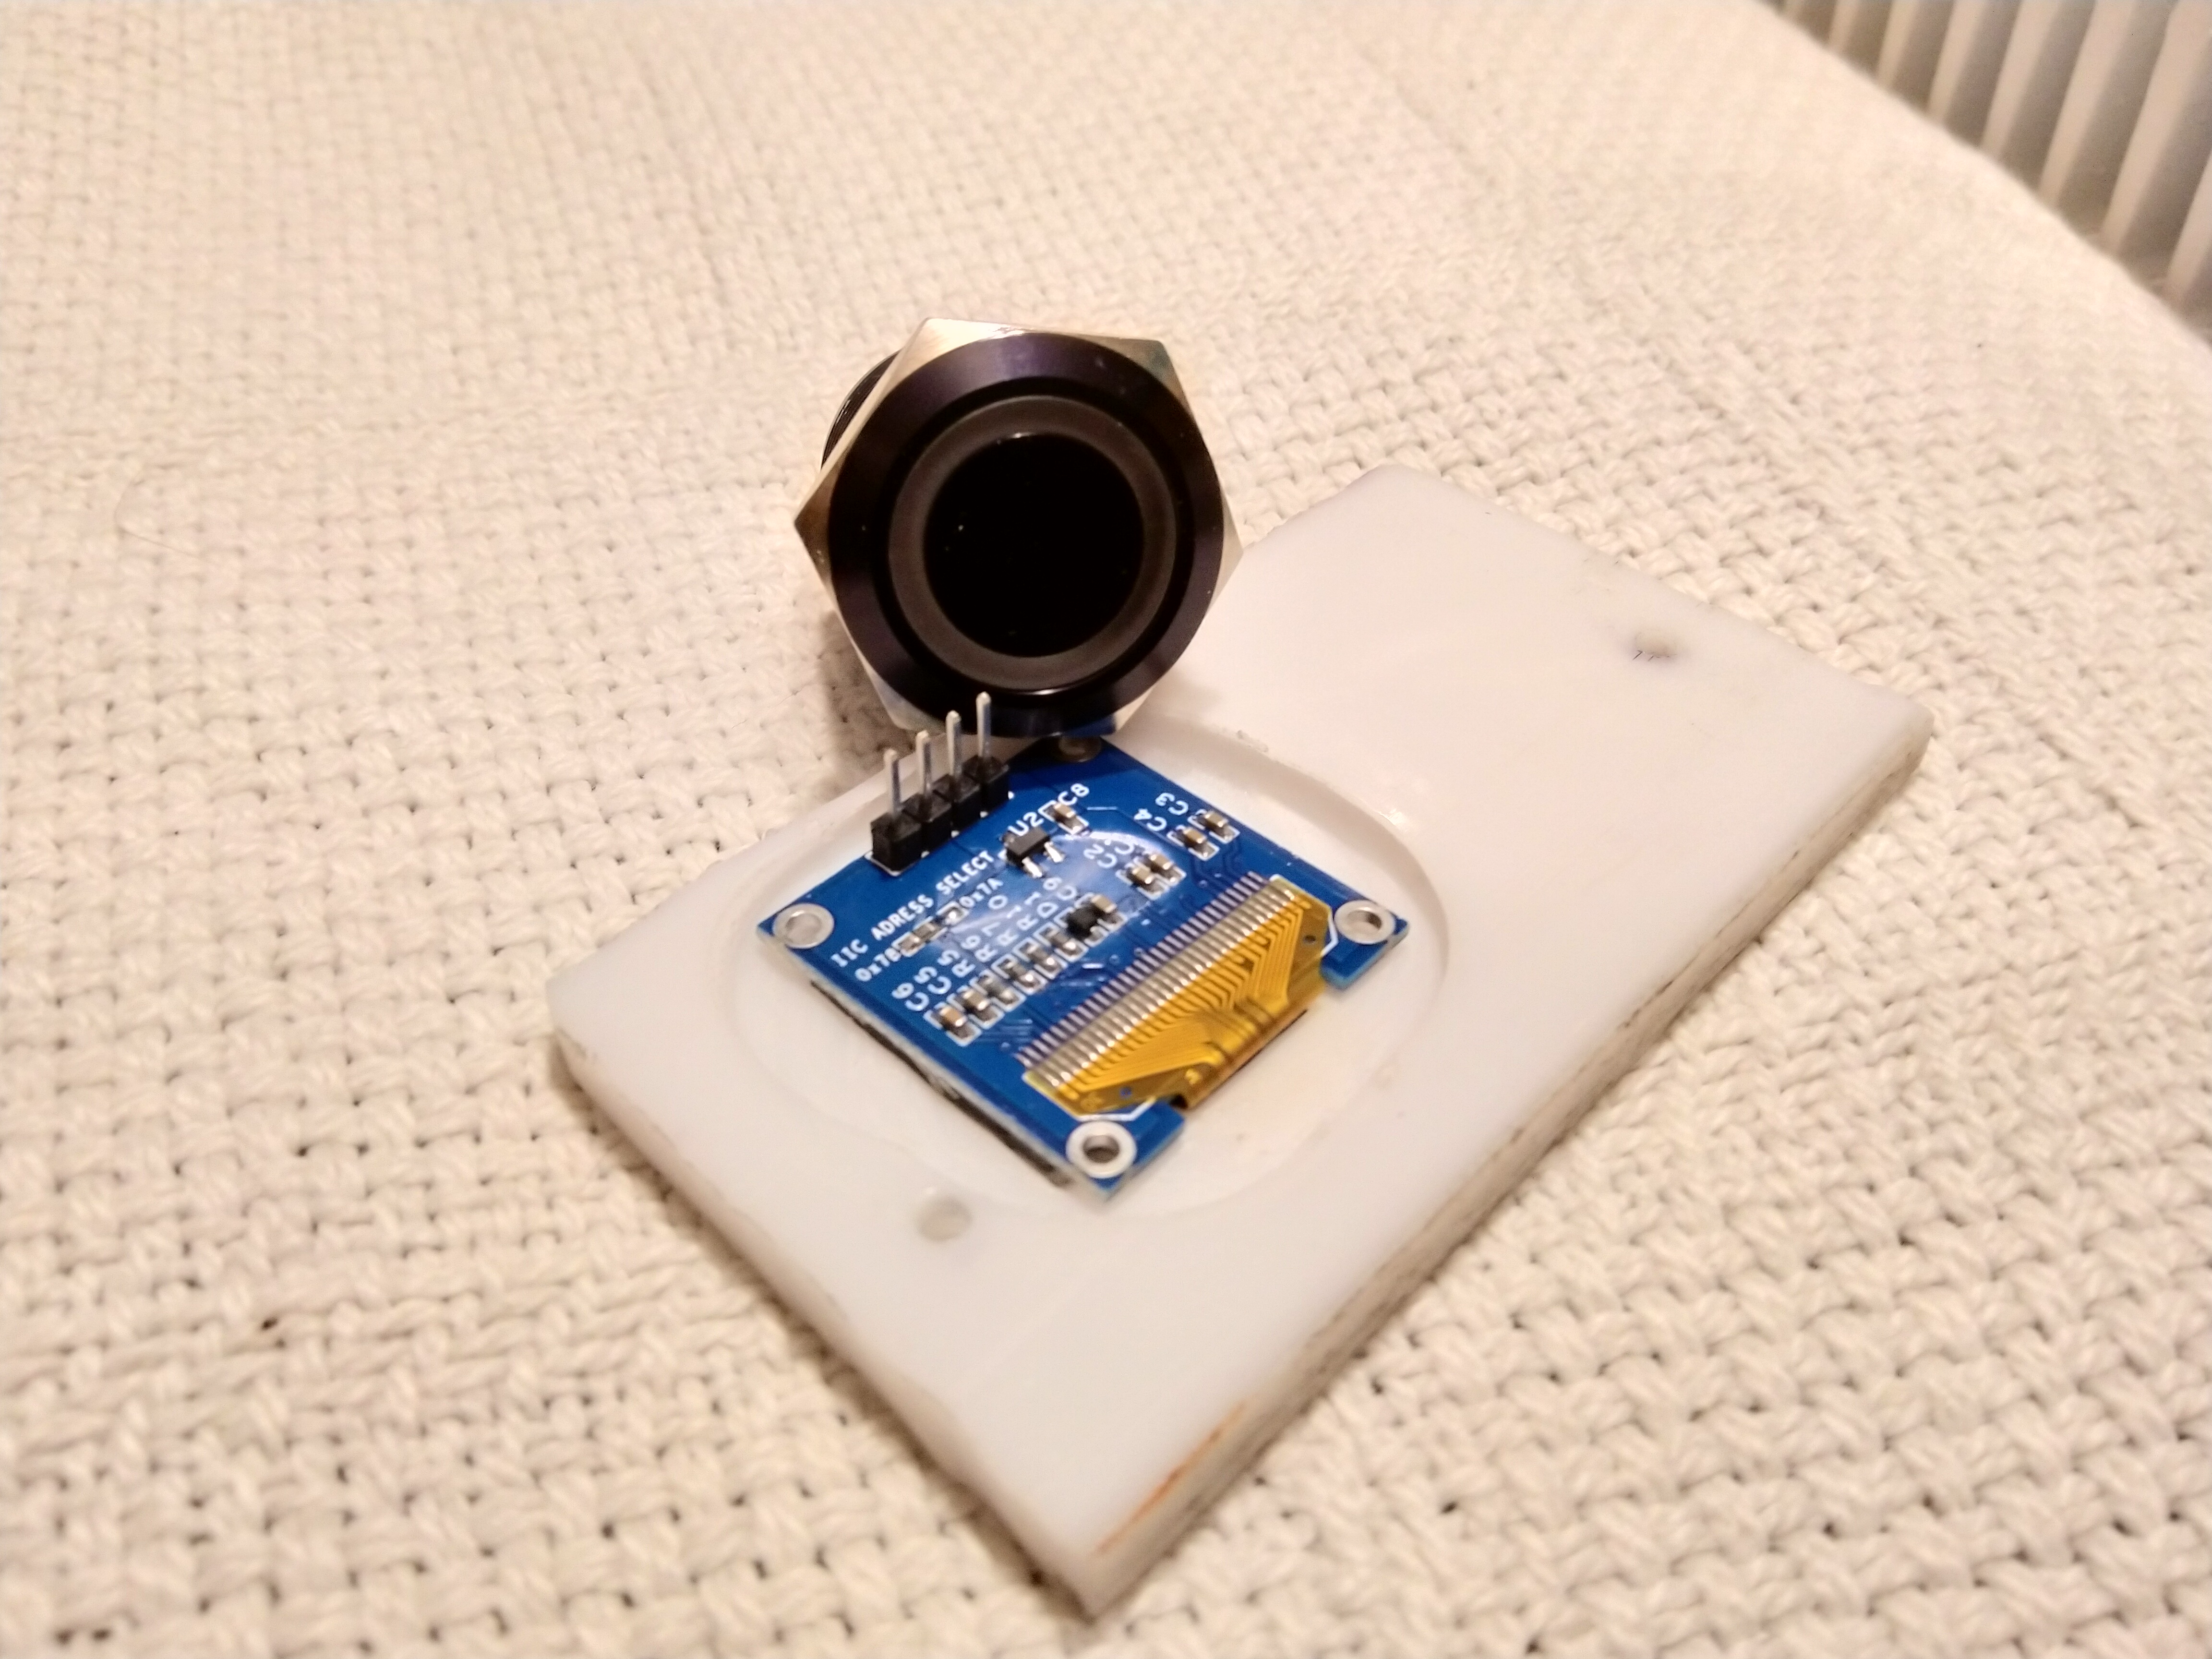
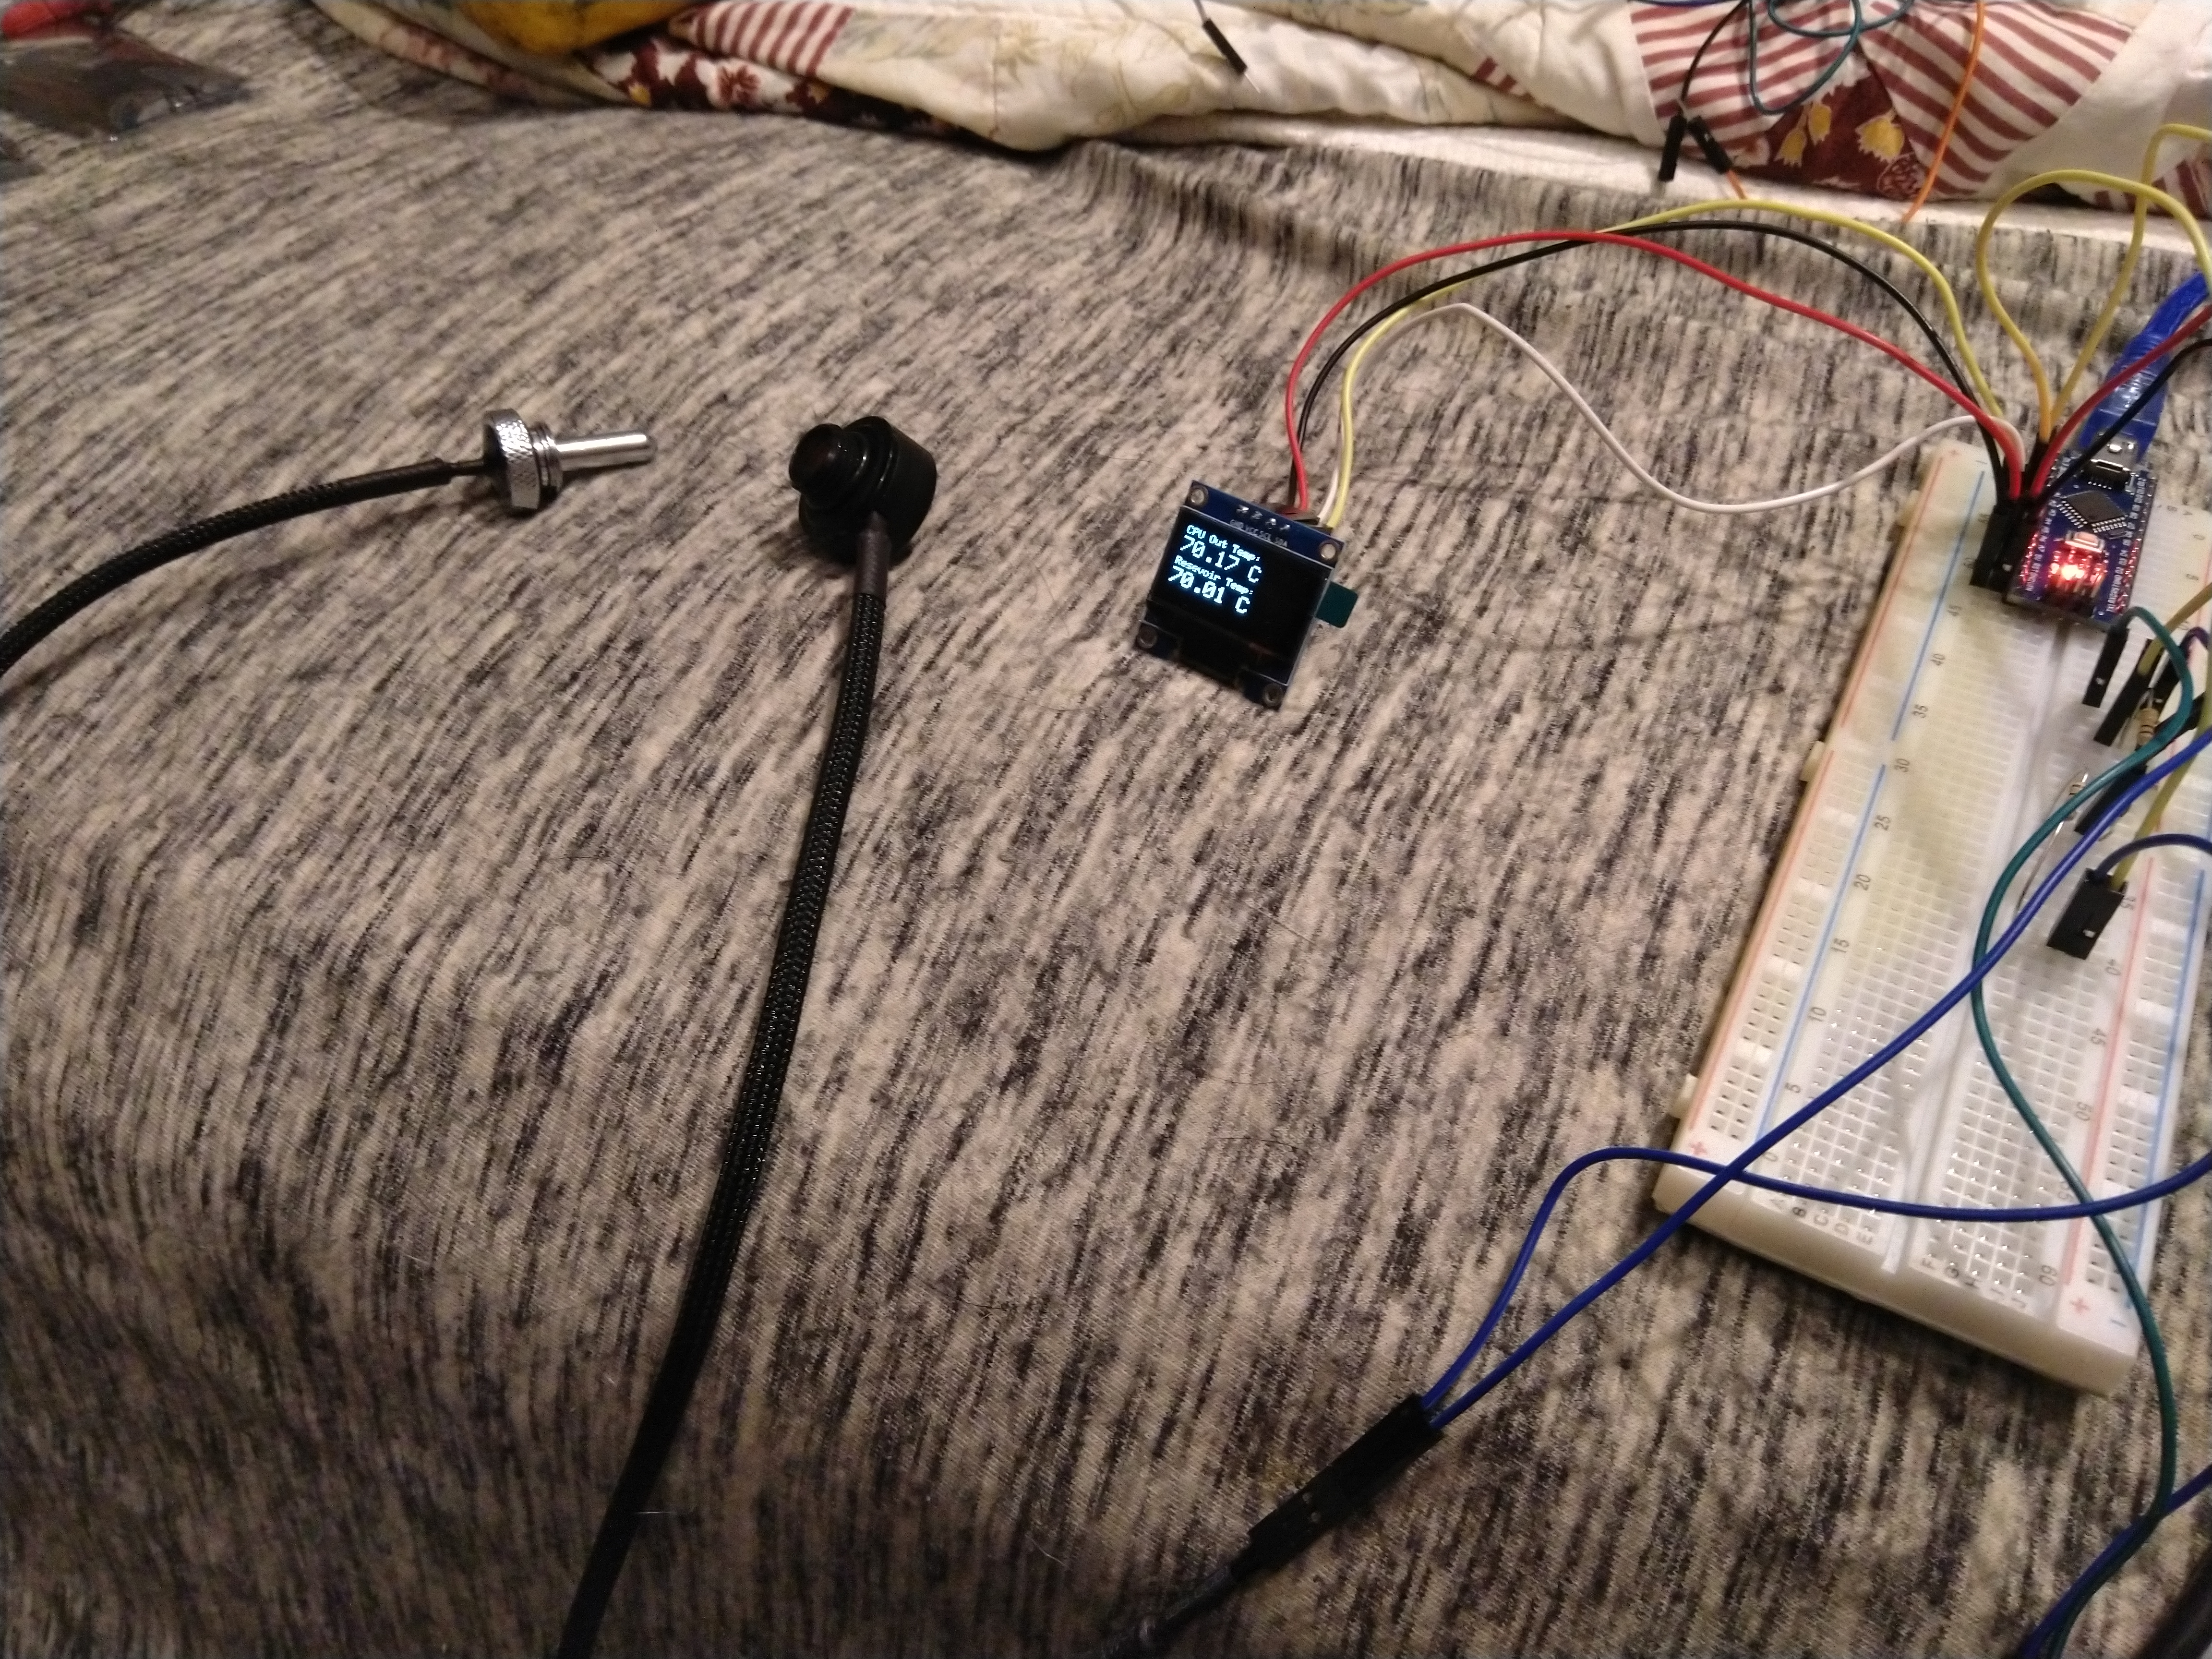
Right now it’s just air temp. And it’s actually reading degrees F, need to change that in the sketch. In the next day or three I’ll be attempting to integrate the two sensors in the loop, then mount the display.
It’ll basically tell you the temperature drop across all four waterblocks and if the fins are heatsoaked.
3 Likes