tl;dr - Building a luggable computer in a tablet form factor. Can’t figure out what to do for a back cover.
About three months ago I started spending more time (8-10 days a month) away from home. Most of the time, a phone and a kindle is all the connection to the outside world that I need. Monday nights, however, are video game nights. I’ve been experimenting with nvidia gamestream, wireguard, and a moonlight client on my phone with a USB monitor with some success but used this as an opportunity to explore another project I’ve wanted to try out.
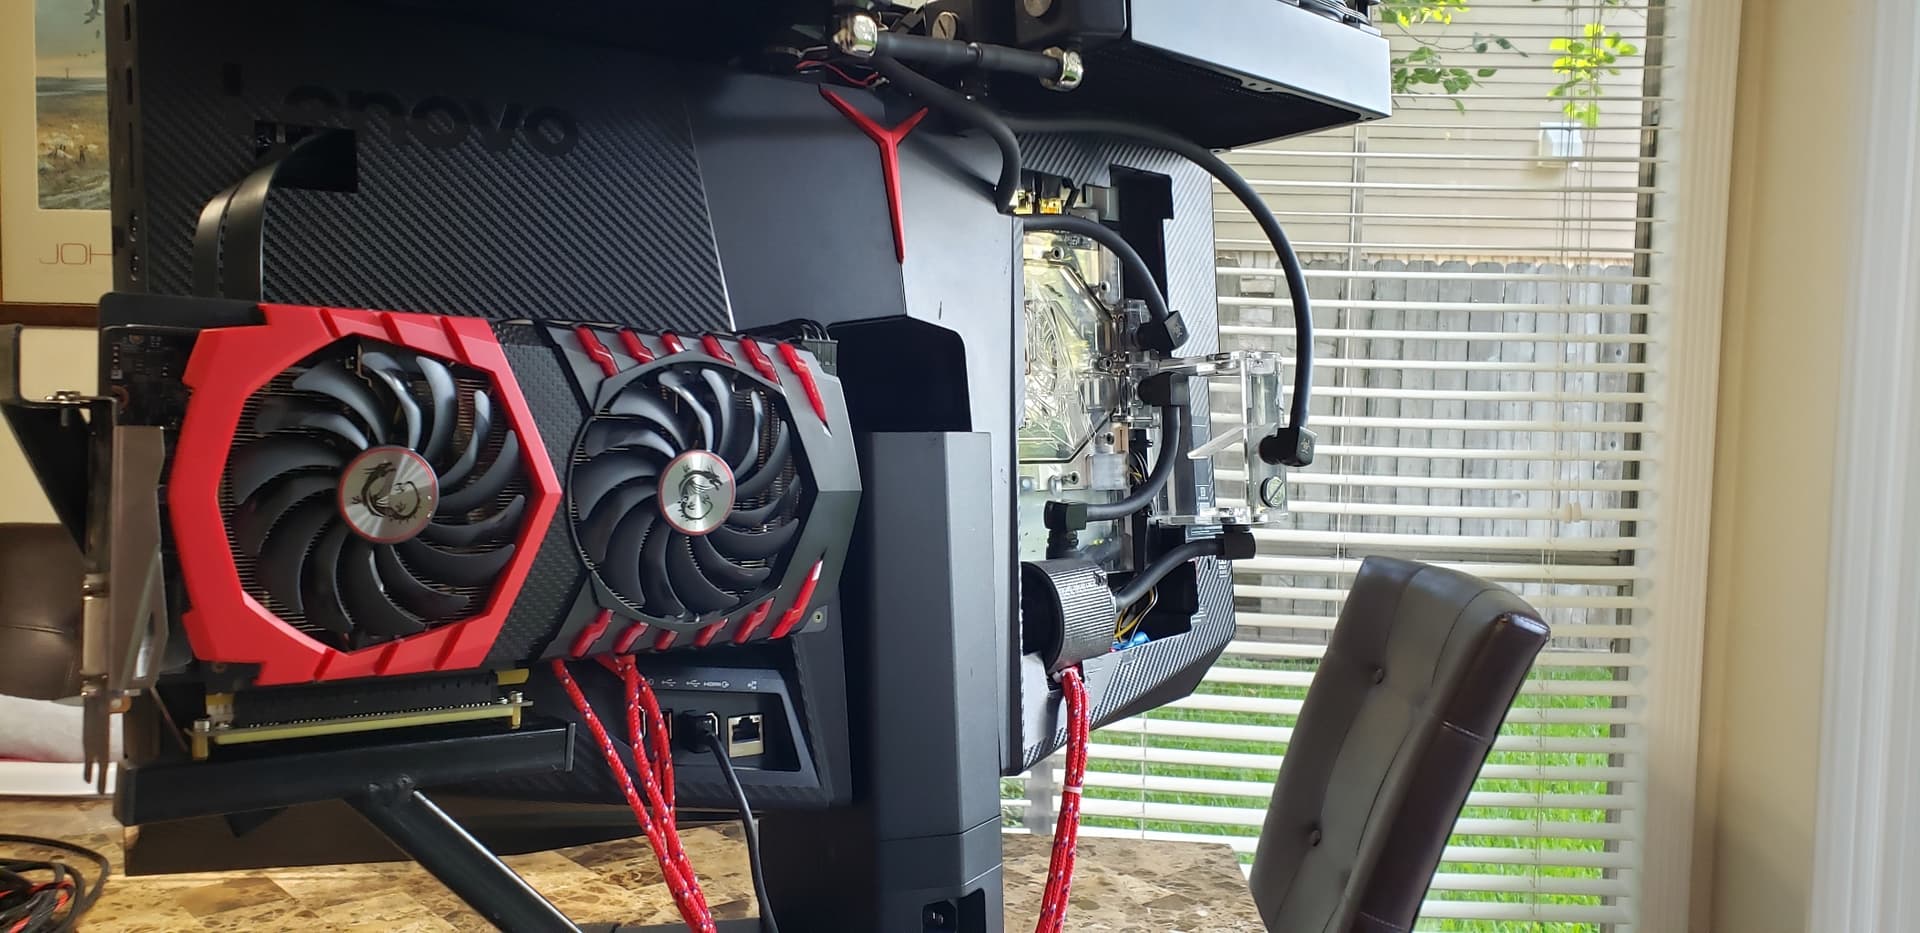
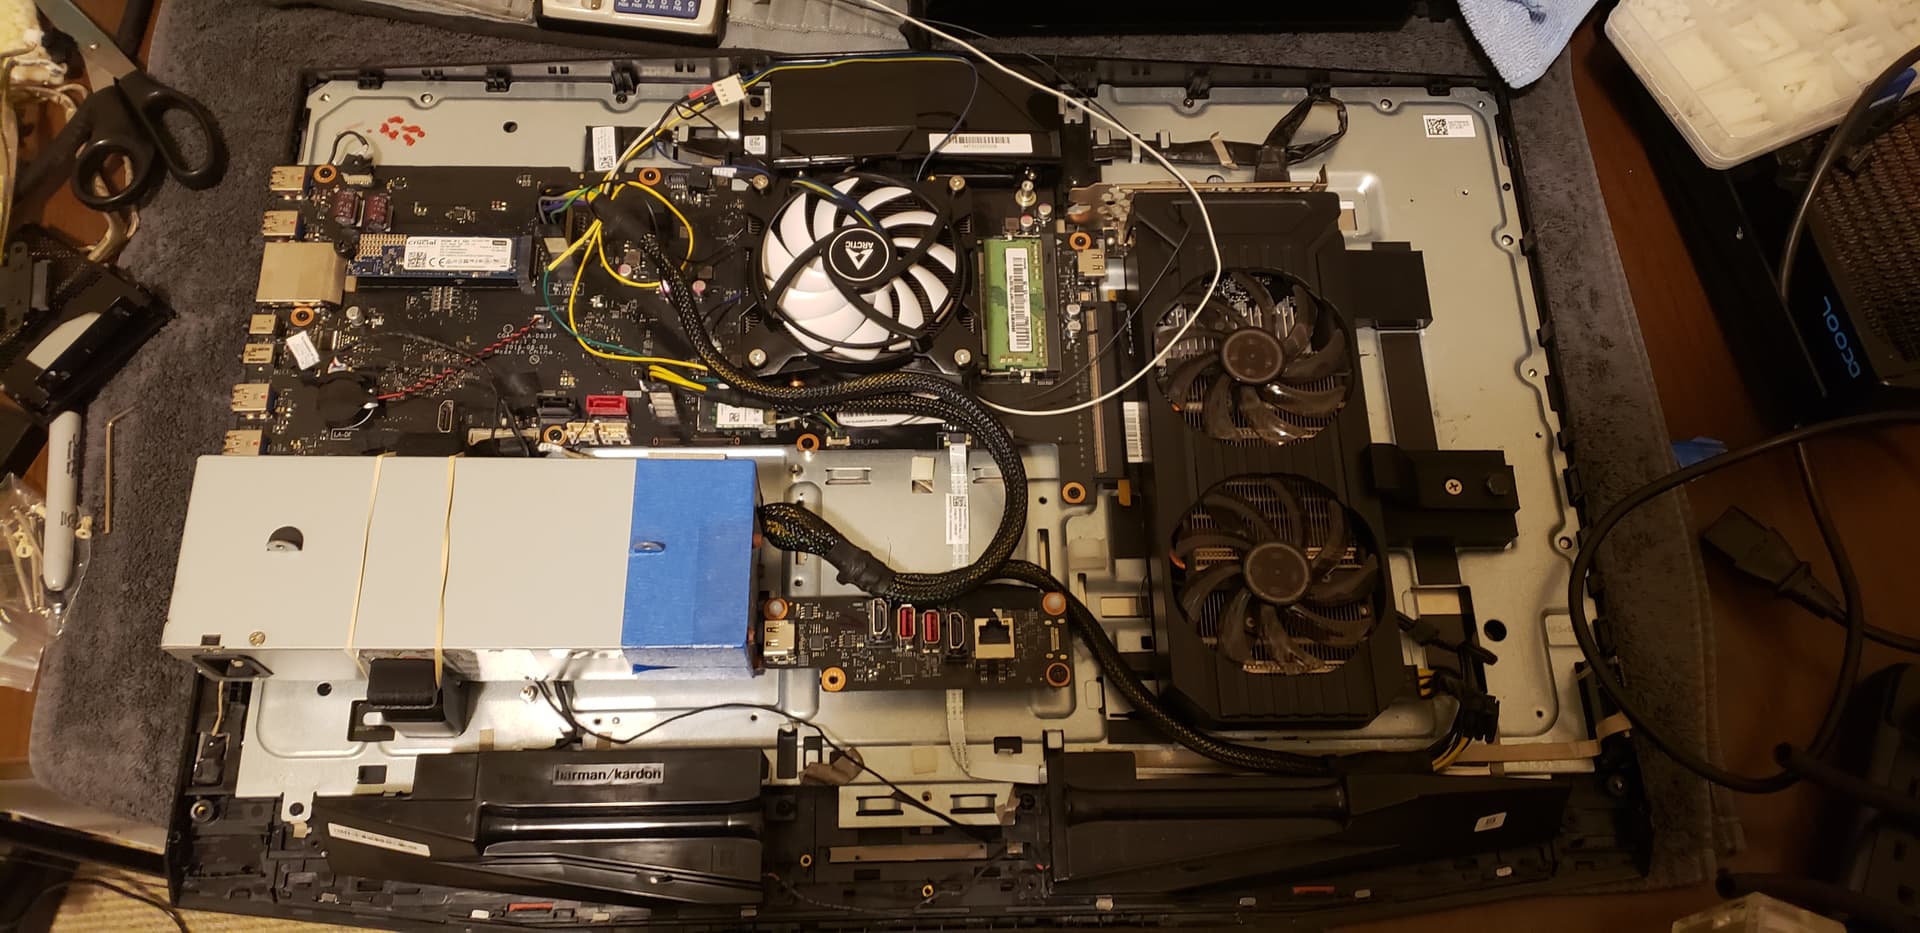
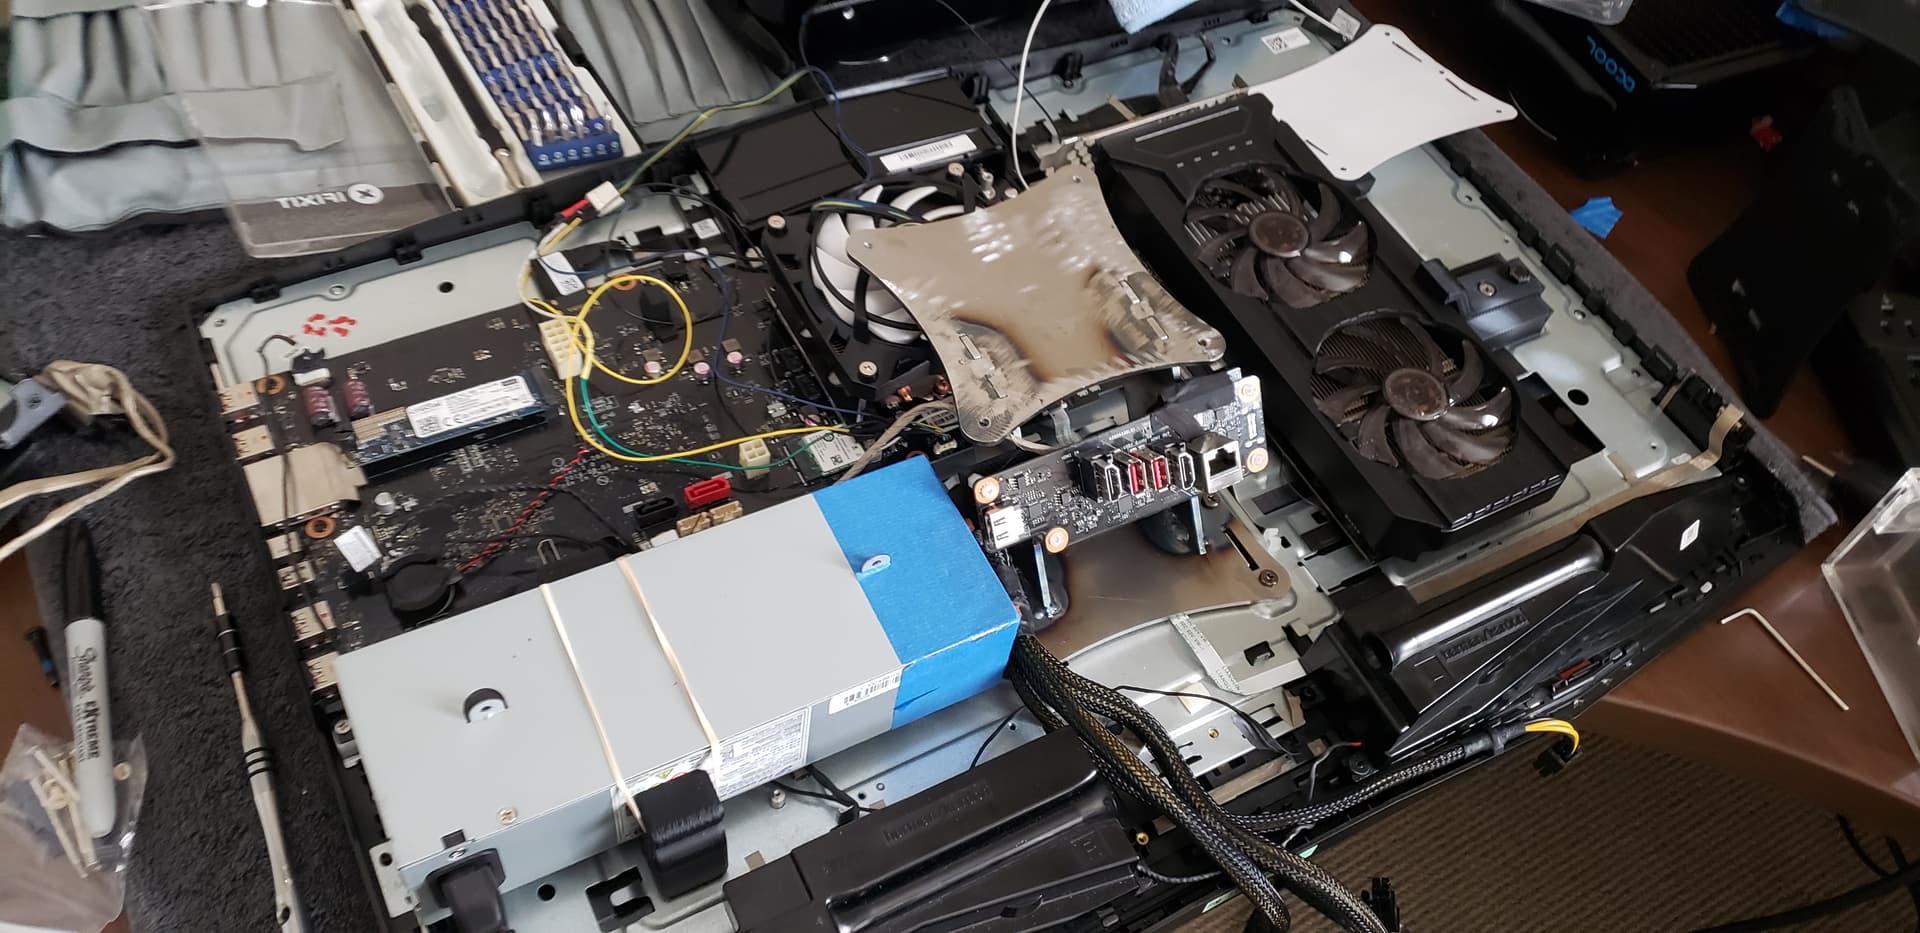
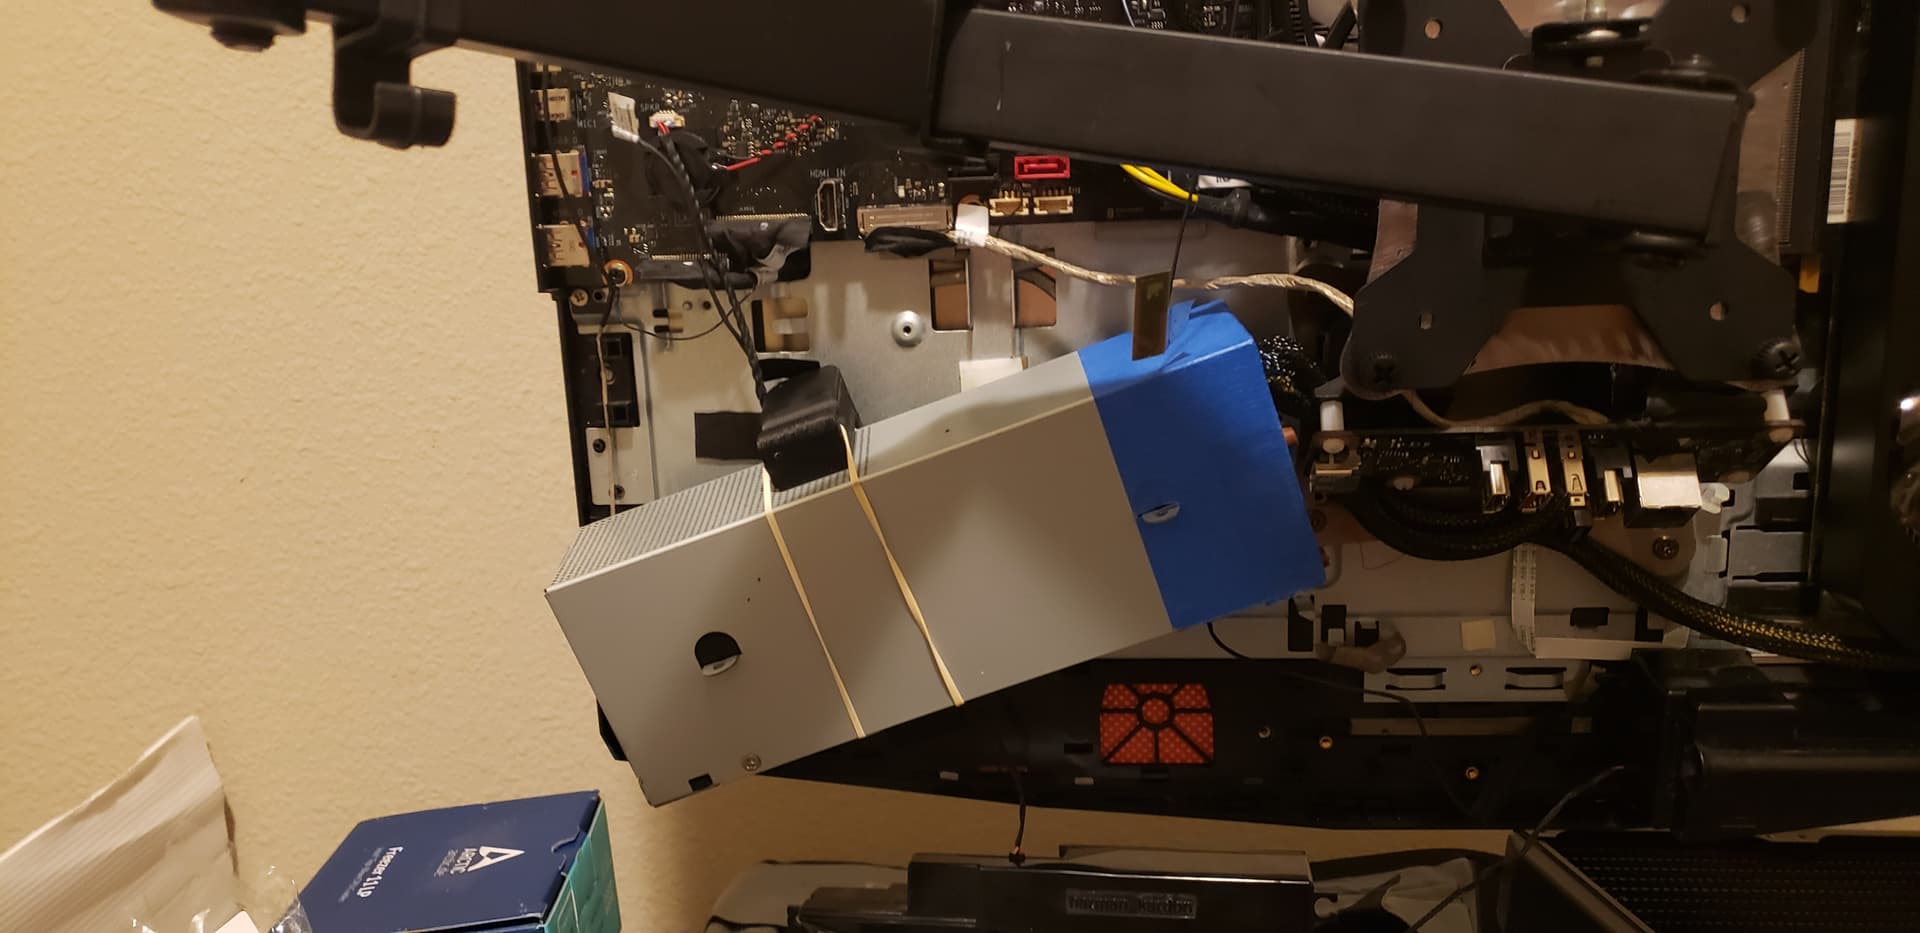
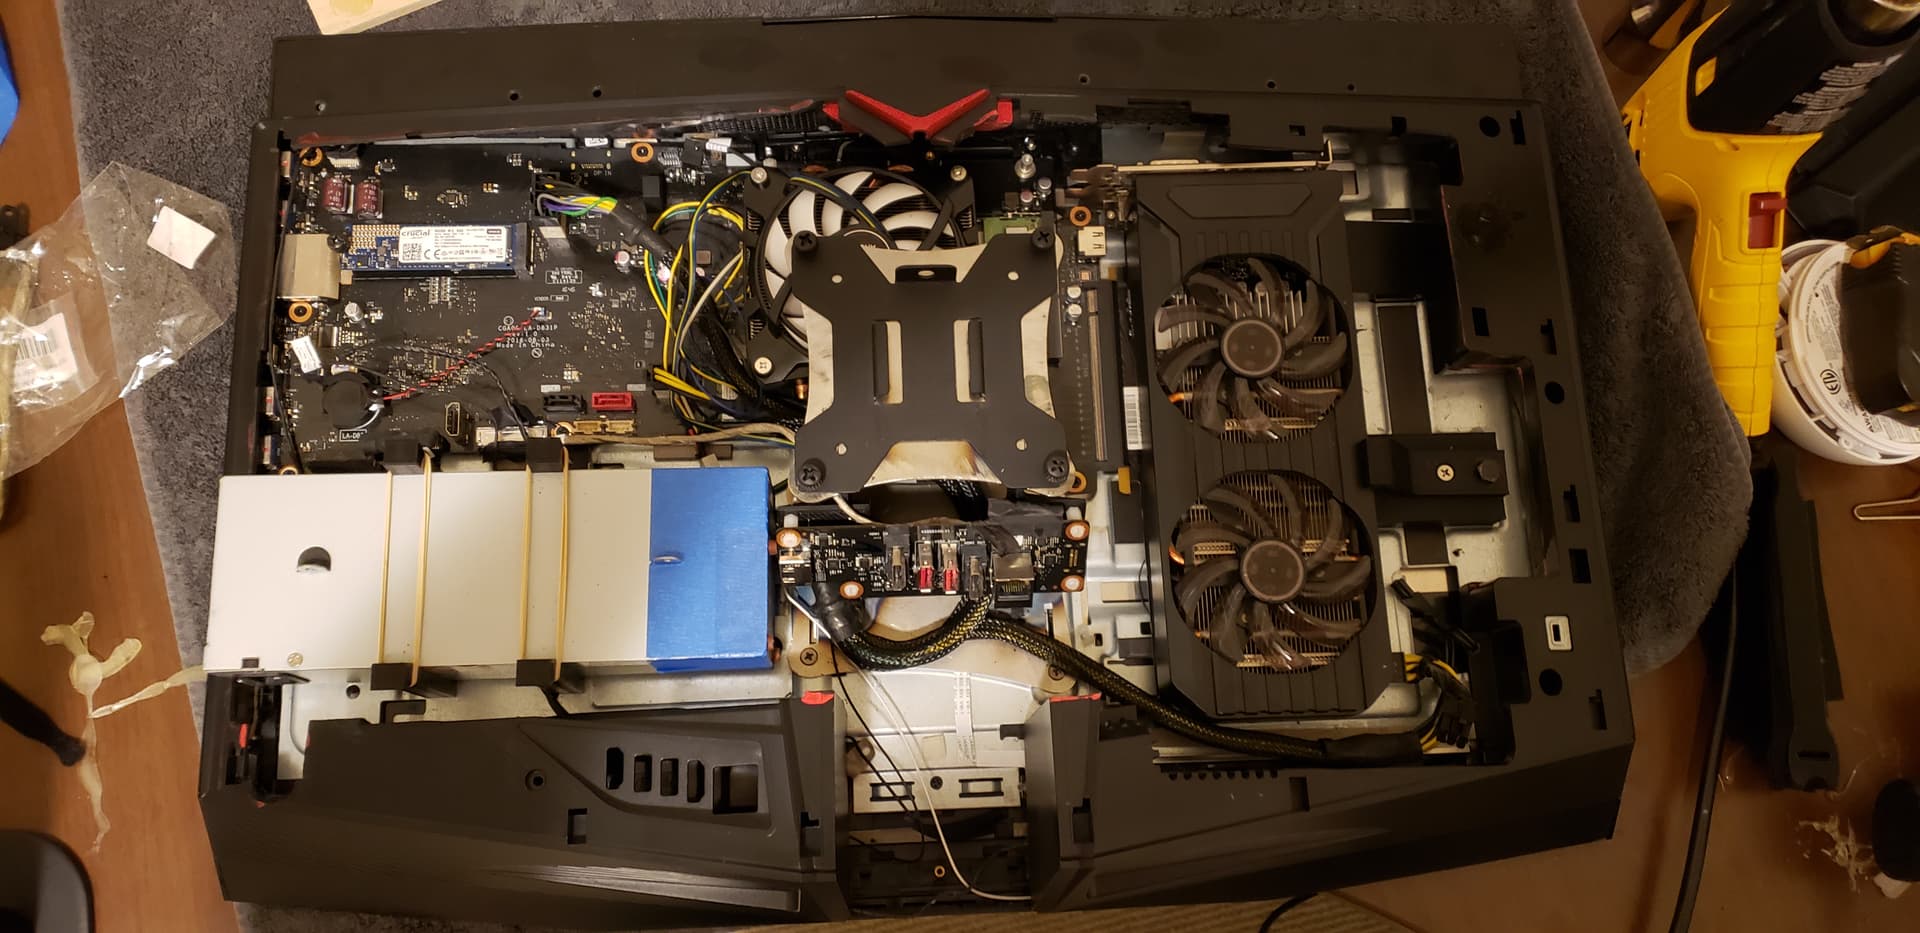
This compter started it’s life as a heavily modified AIO. I’m basically removing the power supply from the stand and cramming it where the optical drive used to be.
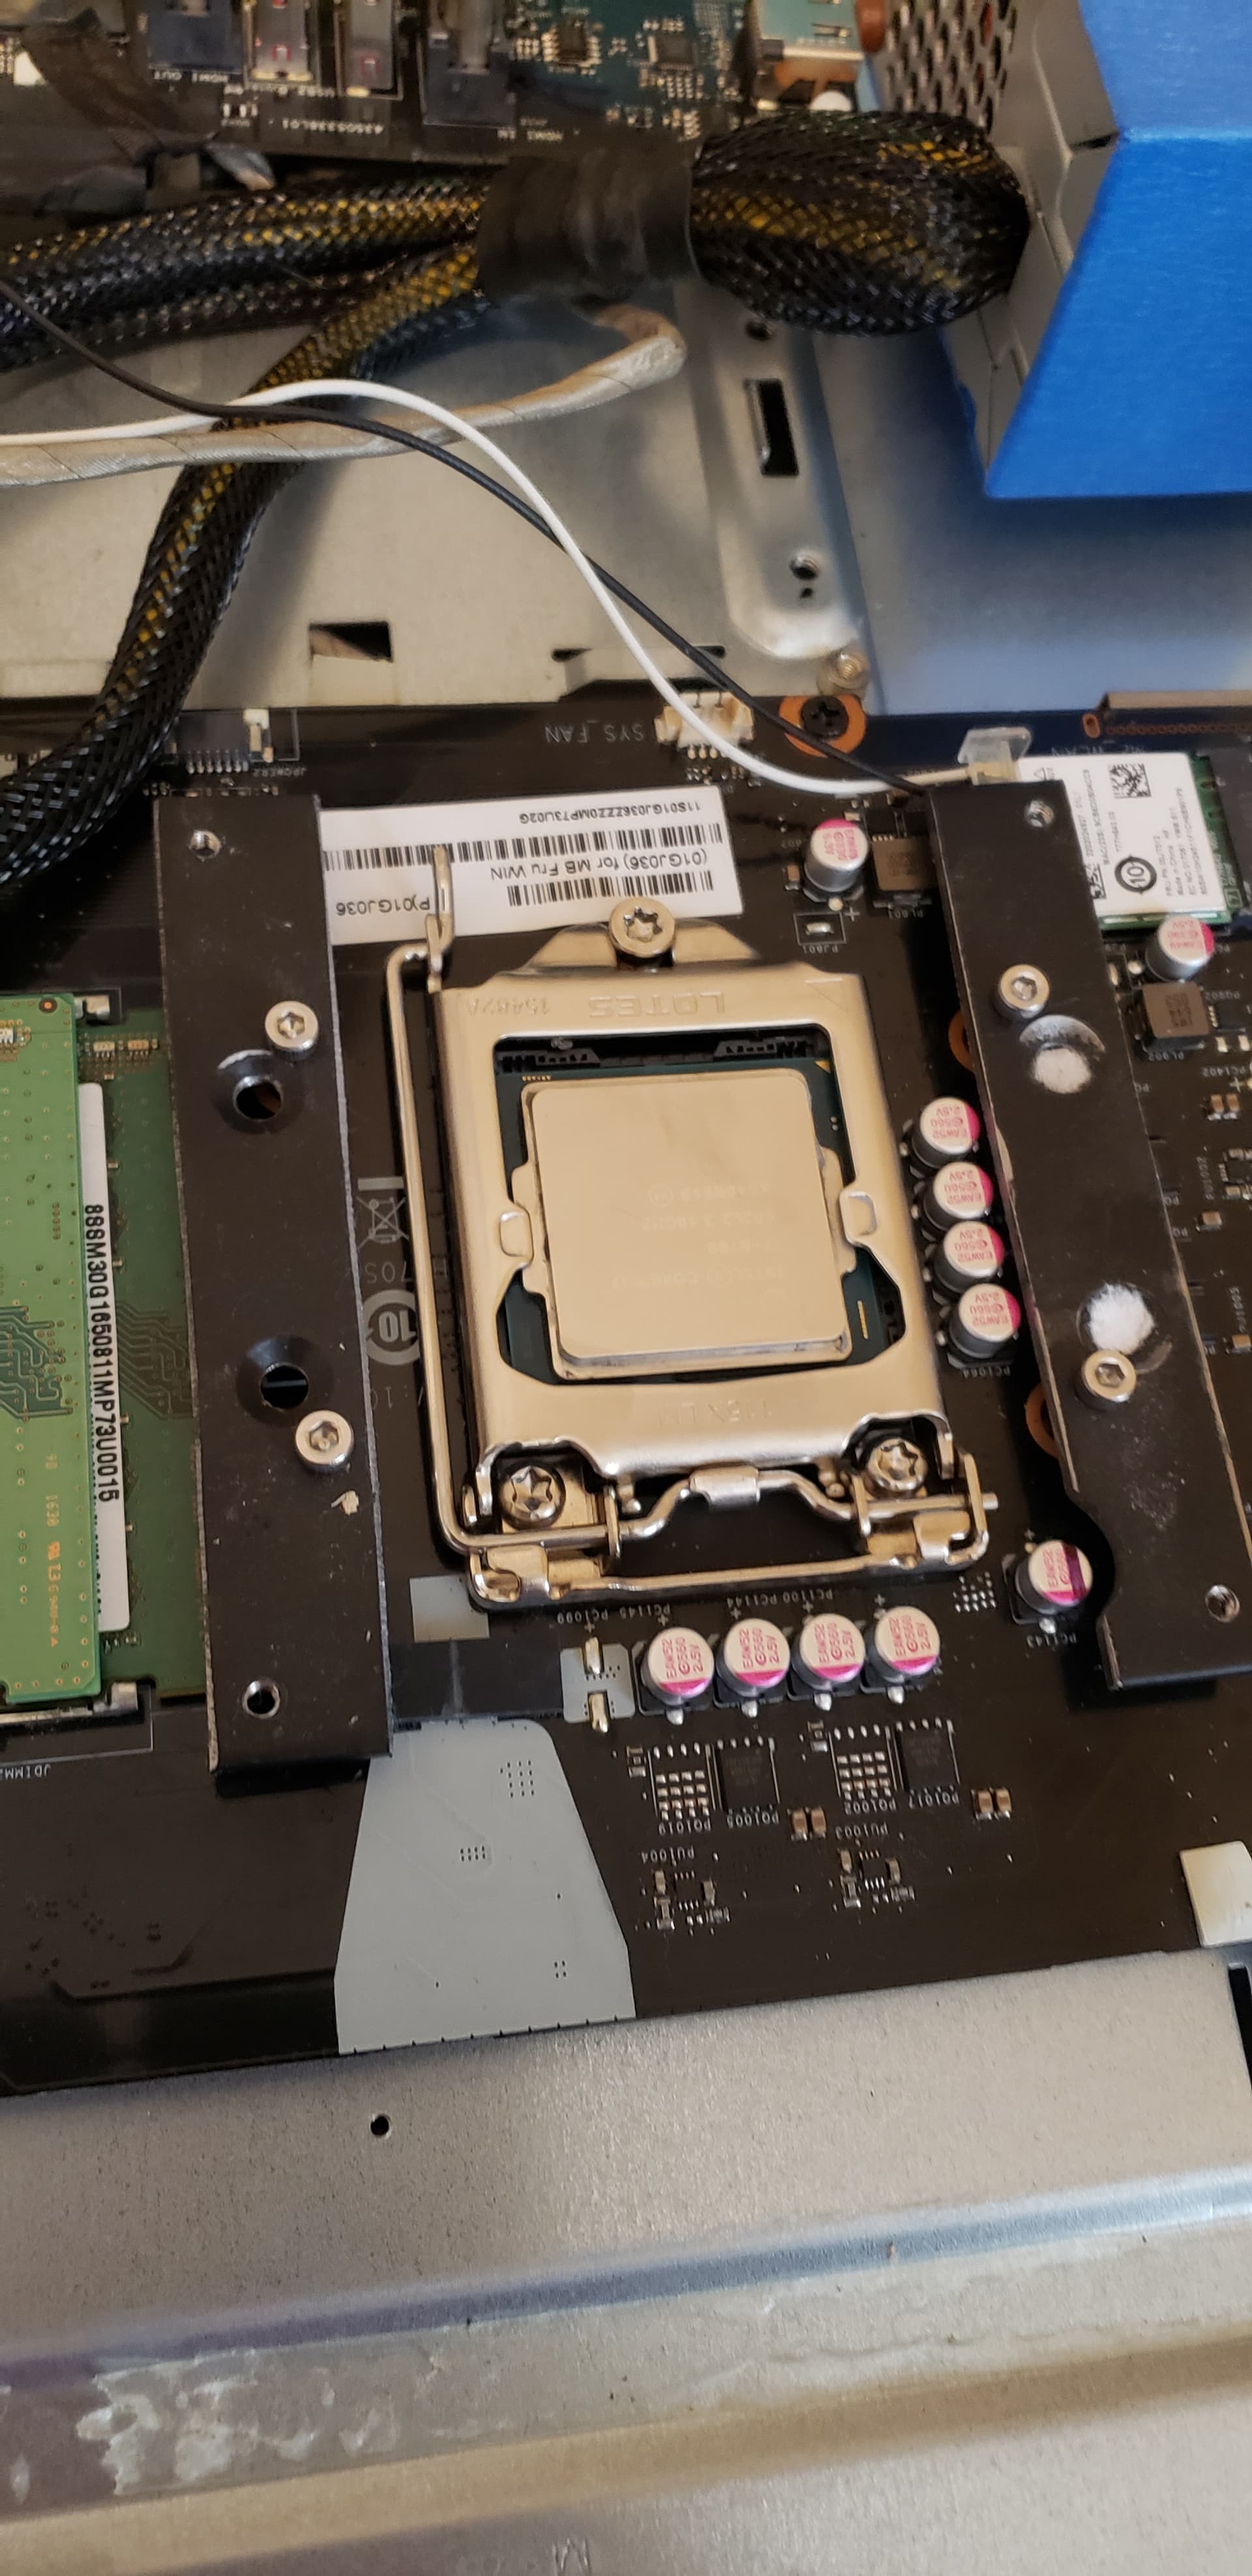
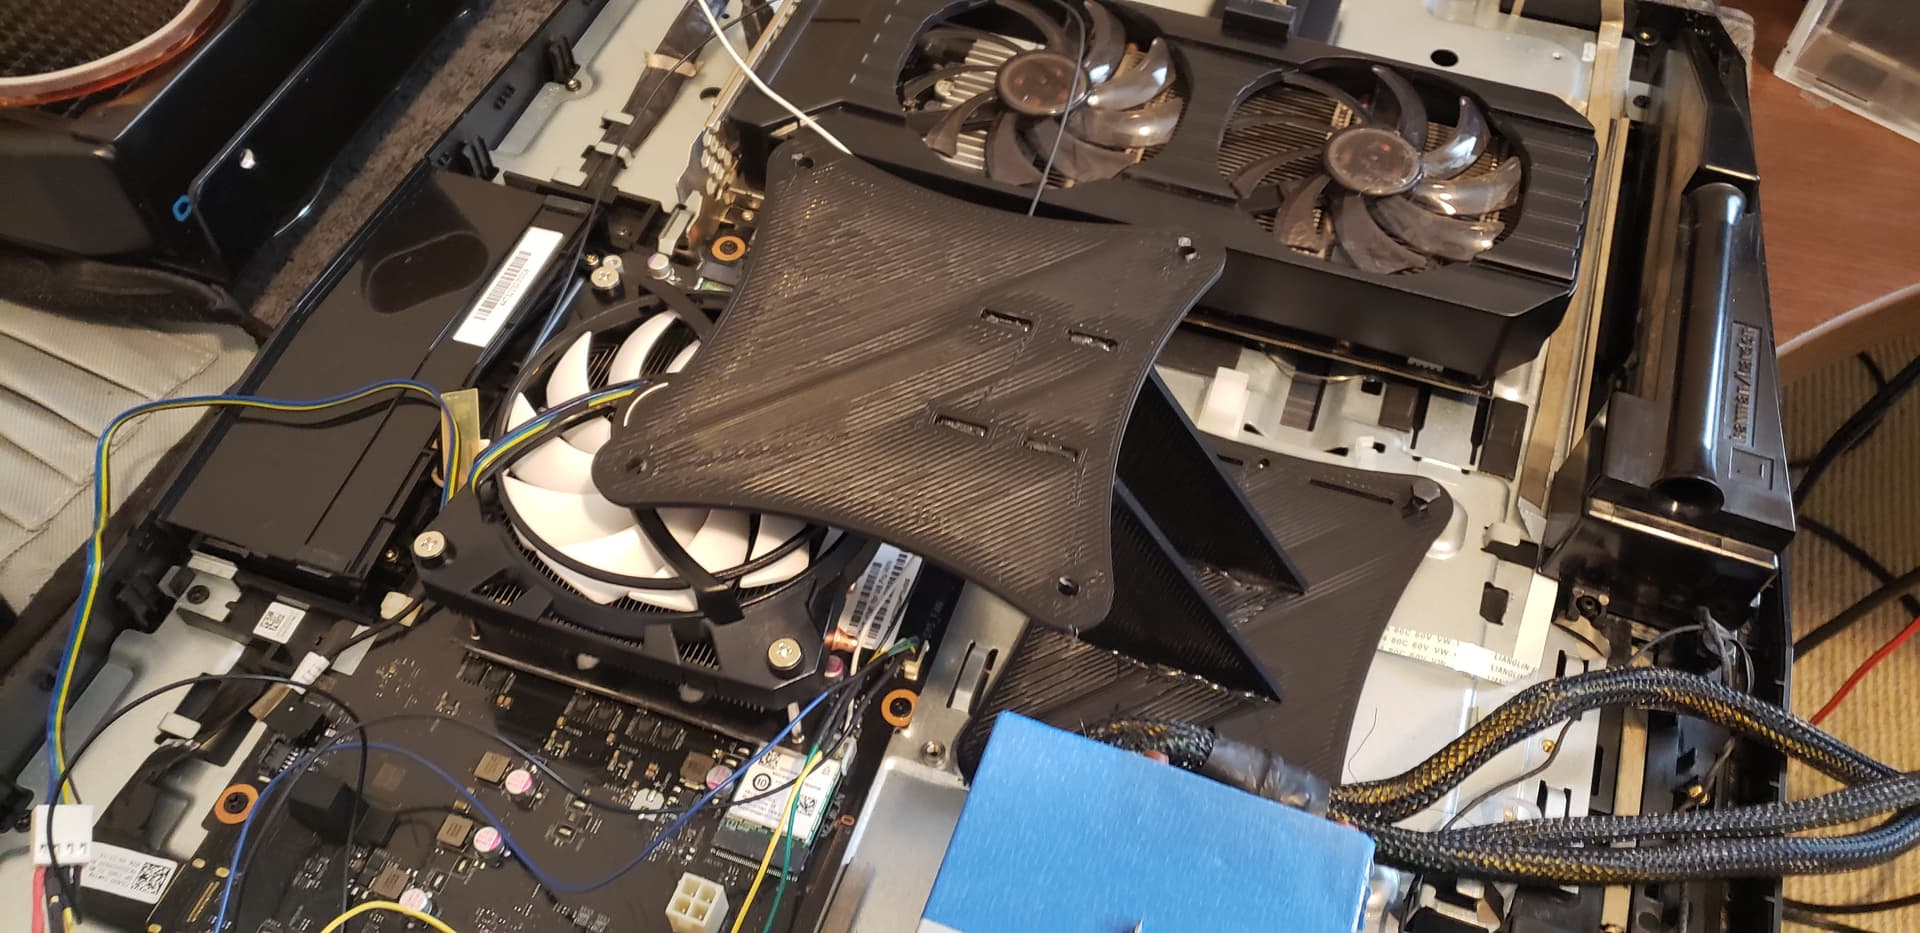
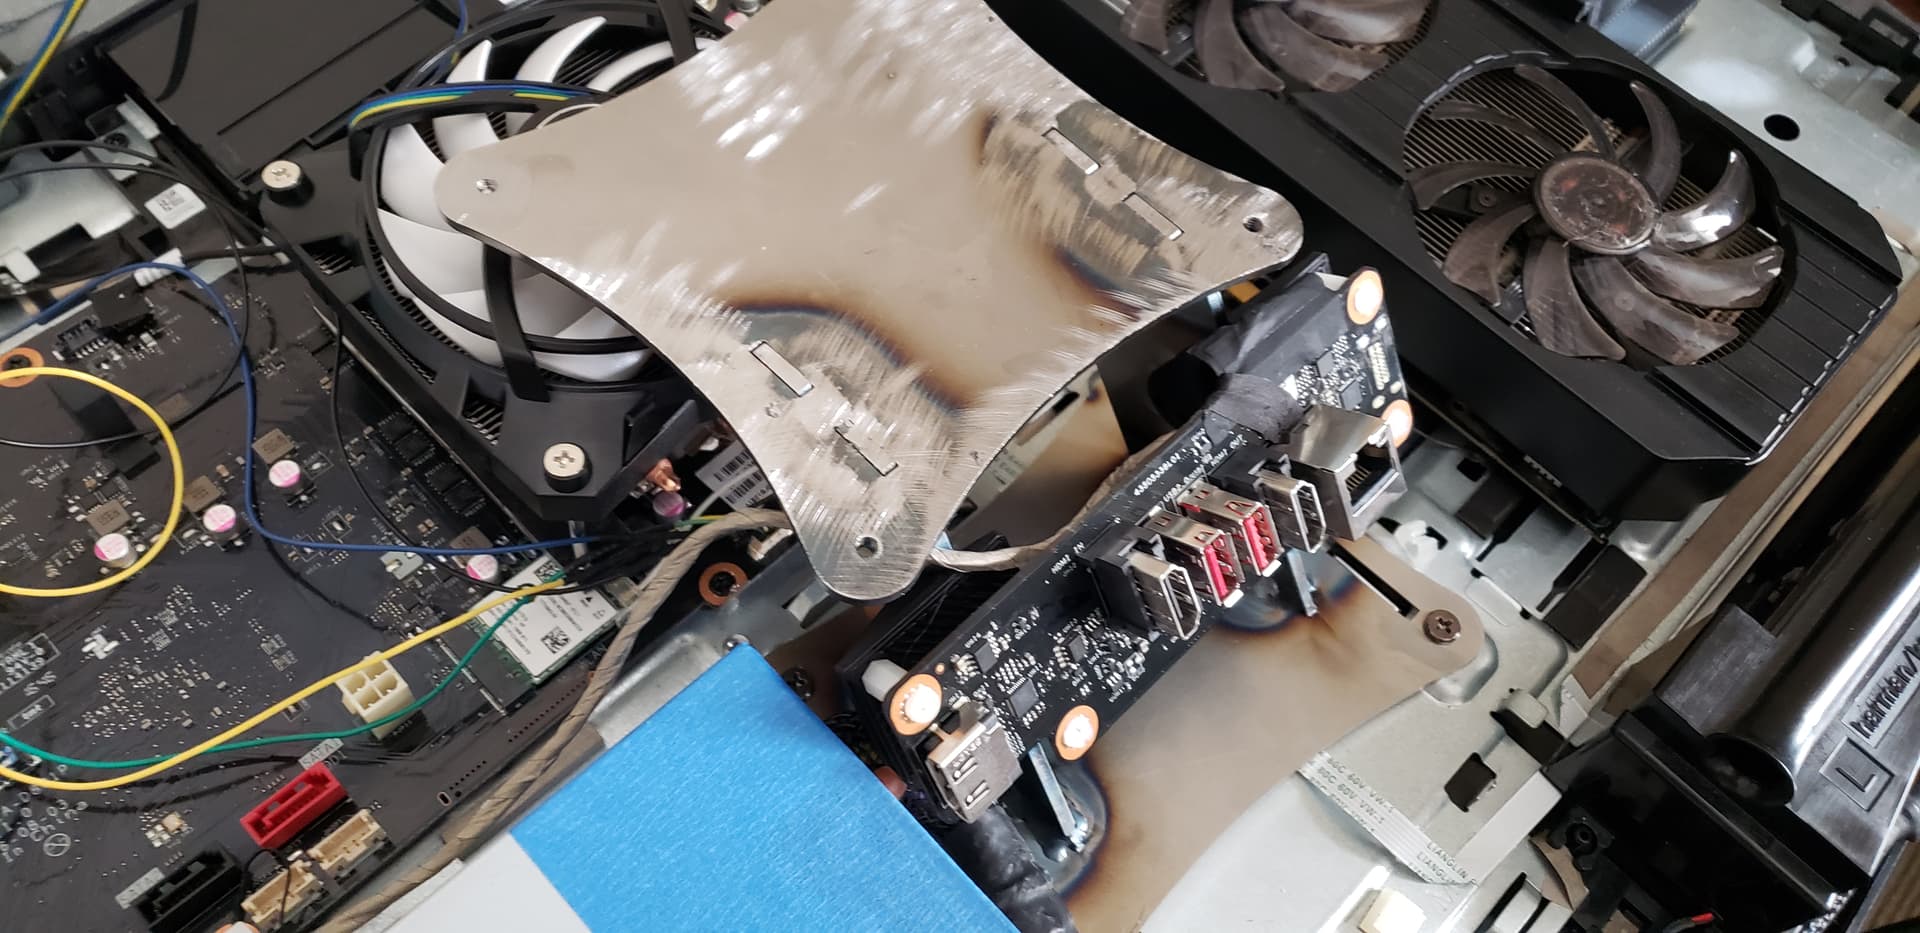
The most interesting part of the process to this point has been the adapters for a new CPU cooler. Previously, the entire system was watercooled, but water is heavy and a pain in the ass.
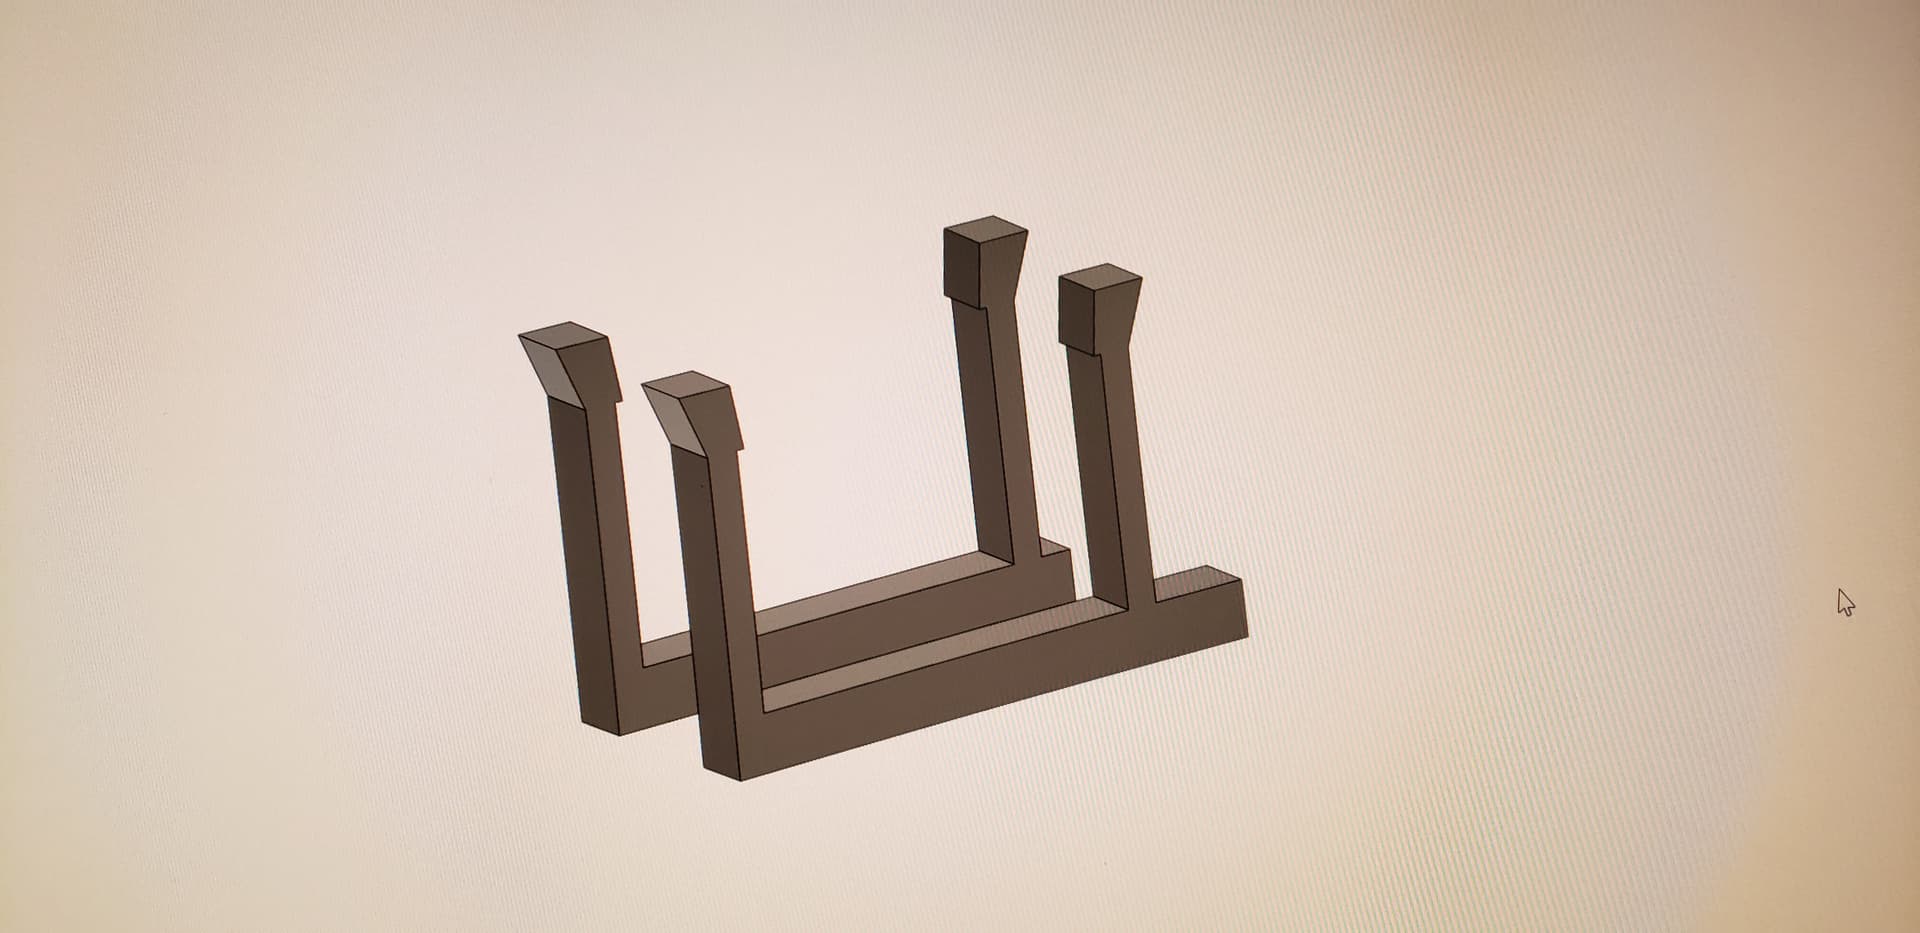
The case is going to have removable legs that will prop the screen up at the correct height and angle, the only real question is the construction of the back cover. To keep the thickness down, I’m likely going to fabricate this freehand around the fans and PSU rather than try to model the whole thing. I’ve been considering a couple options:
Mostly open air design built with 1/4" steel tubing (think roll cage). Structure +10/10 but comes with the risks of an open-air chassis. Would double as a transport handle.
Thin wood frame with fleece/resin “fiberglass” for panels. Structural +2/10 (or close to it) but would protect the hardware from scratches / contaminants and might come out really cool. Might just attach it with magnets to avoid visible fasteners. Would need to attach a transport handle separately.
A single sheet of acrylic held up with tall posts. Would technically get the job done but would be the thickest option and would look kinda butt.
Skip the back panel entirely and just YOLO it.
If you’ve got any ideas I would love to hear them! Is there a good option that I’ve overlooked? I’ve got the tools to work with pretty much any material / fabrication method.
I’ve been considering just stretching some breathable fabric over the back and attaching it in a couple spots. Power cord would be a little tricky but otherwise might be a cool look.
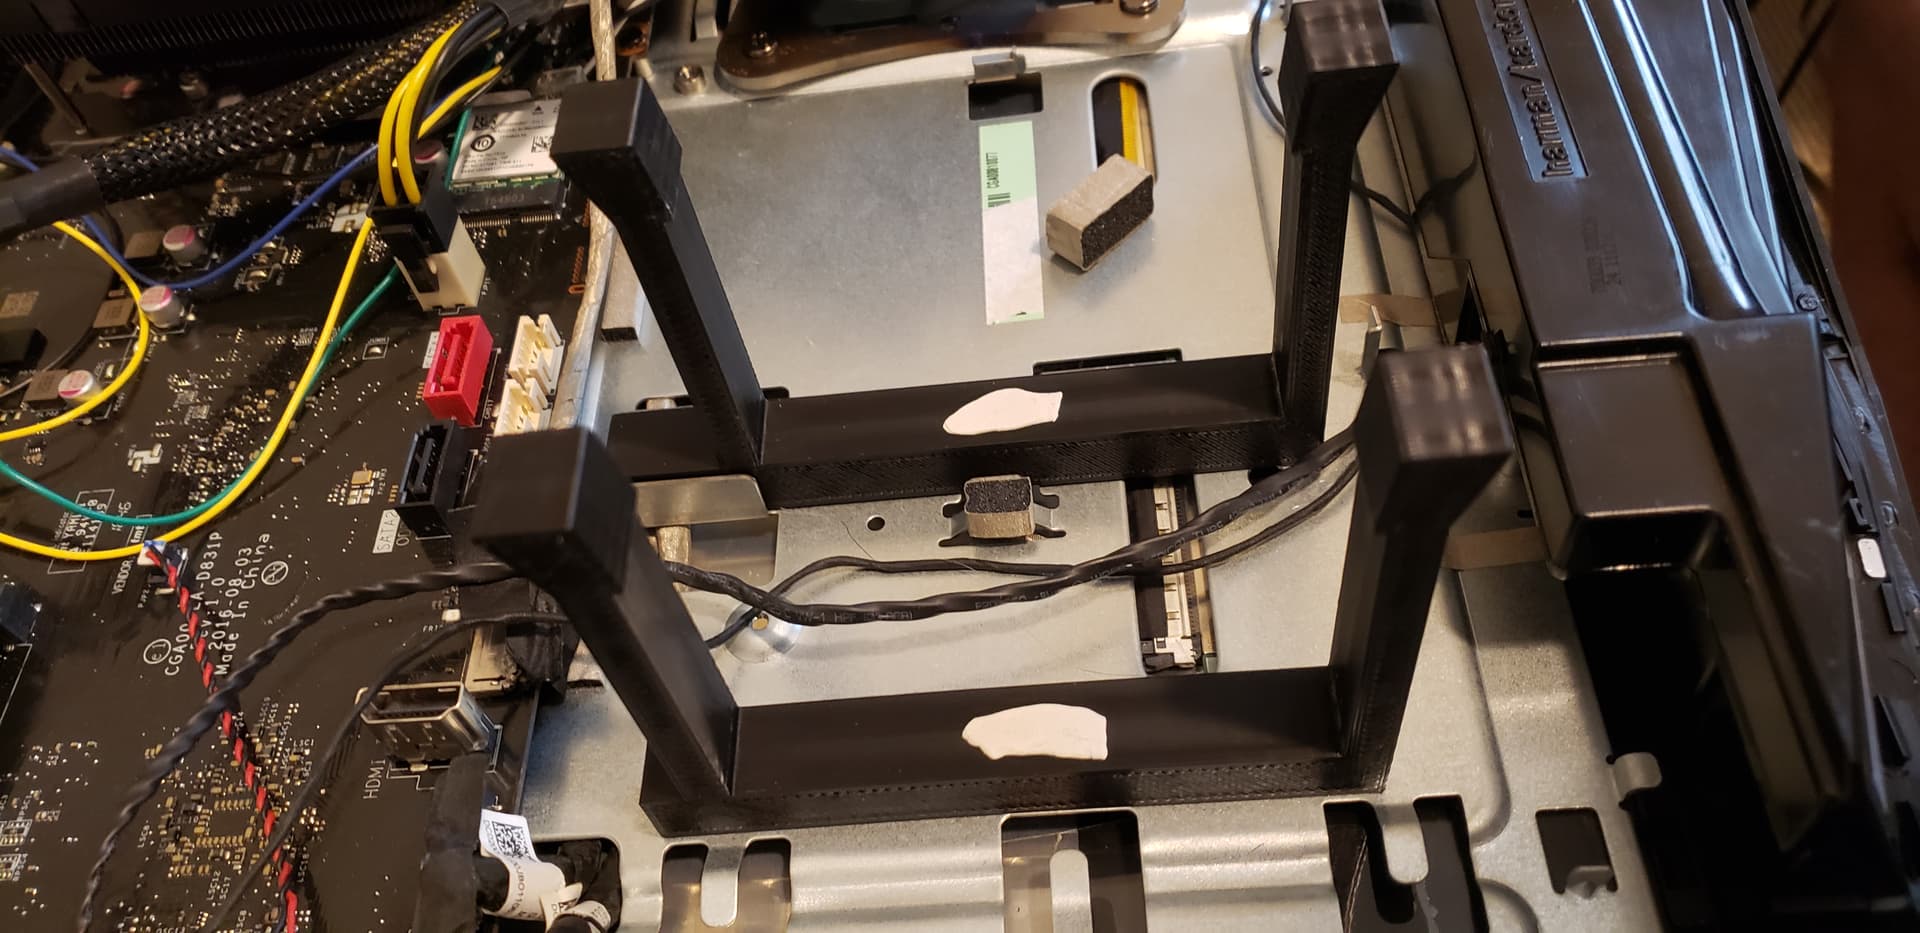
Steel parts for the bracket came in yesterday. Drilled and tapped the necessary holes, everything lines up and fits. This will get welded up on Tuesday when I get home.
Ended up with enough time to get this welded before I left. Needs to be pulled back off and painted, but otherwise all I need to do is clean up the CPU fan wiring and it’s ready for a back cover
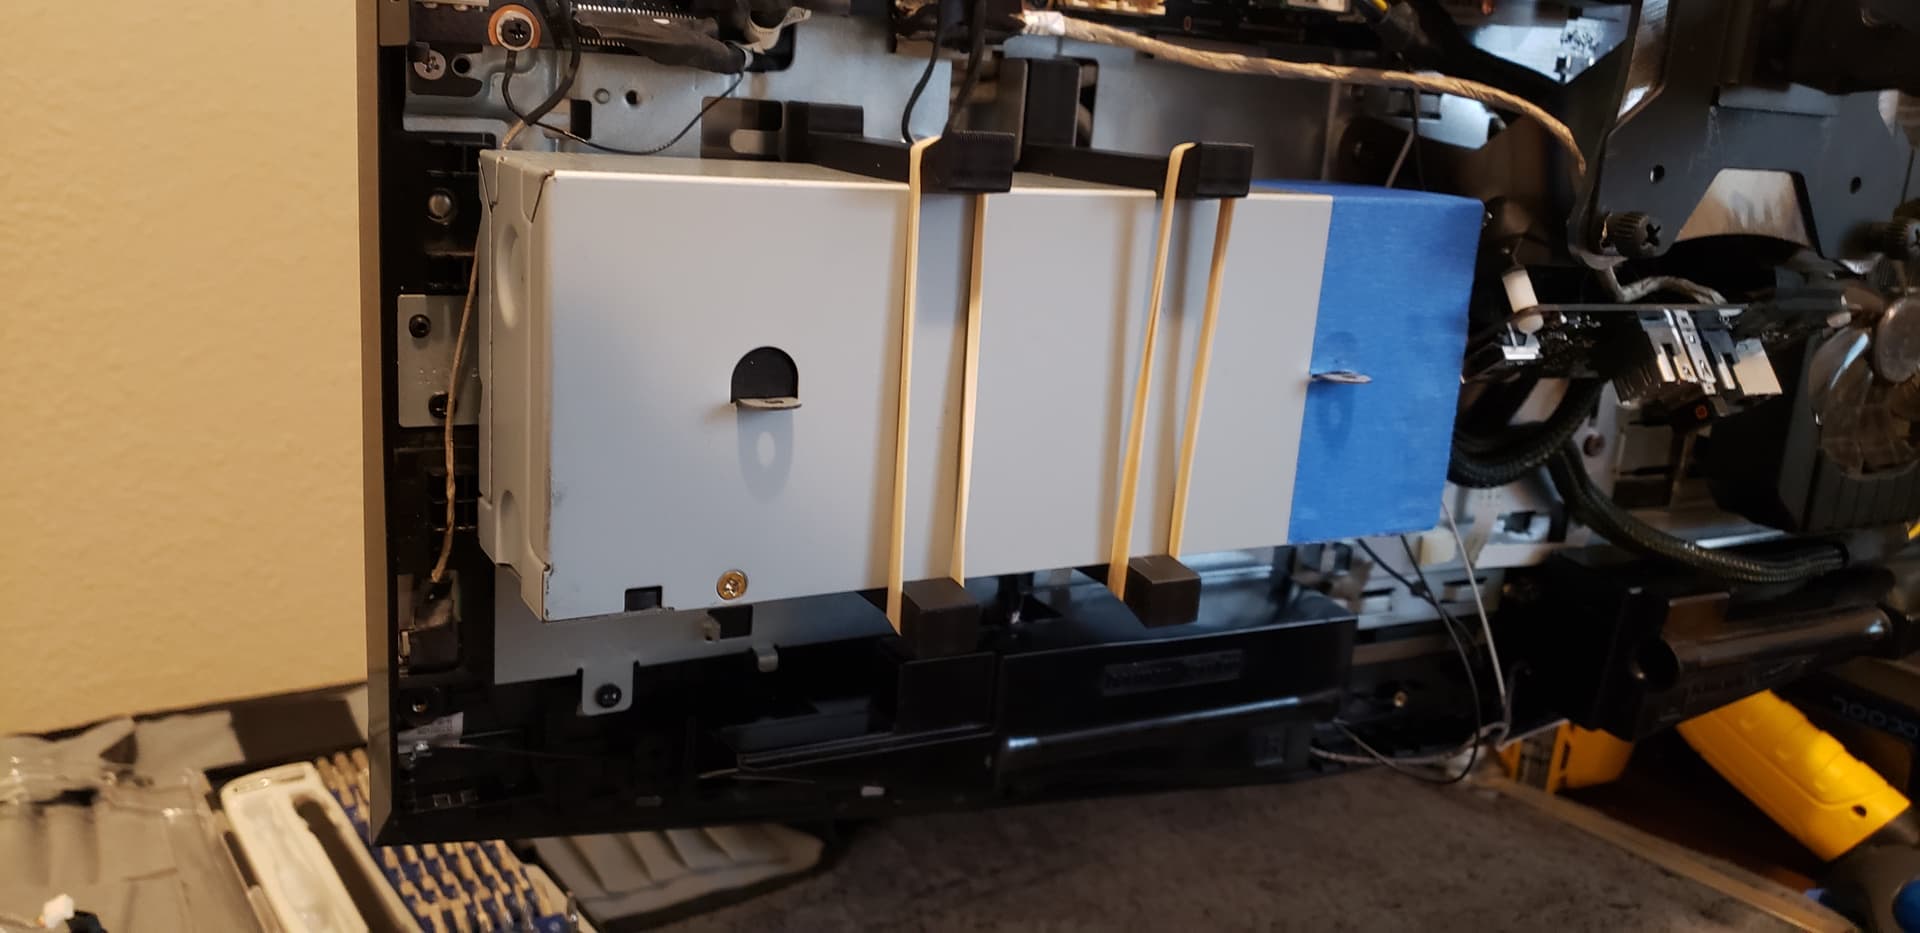
Ended up with as combo bracket and hot glue approach. I designed the clip to fit over the psu but stopped trying to be cute with hooks and magnets and just glued the brackets to flat spots on the case. Used one feature for vertical alignment and the psu itself to line up the second bracket.
The rubber bands are just there to reduce long term outward strain on the bracket that would eventually cause the legs to splay out enough to get loose over time.
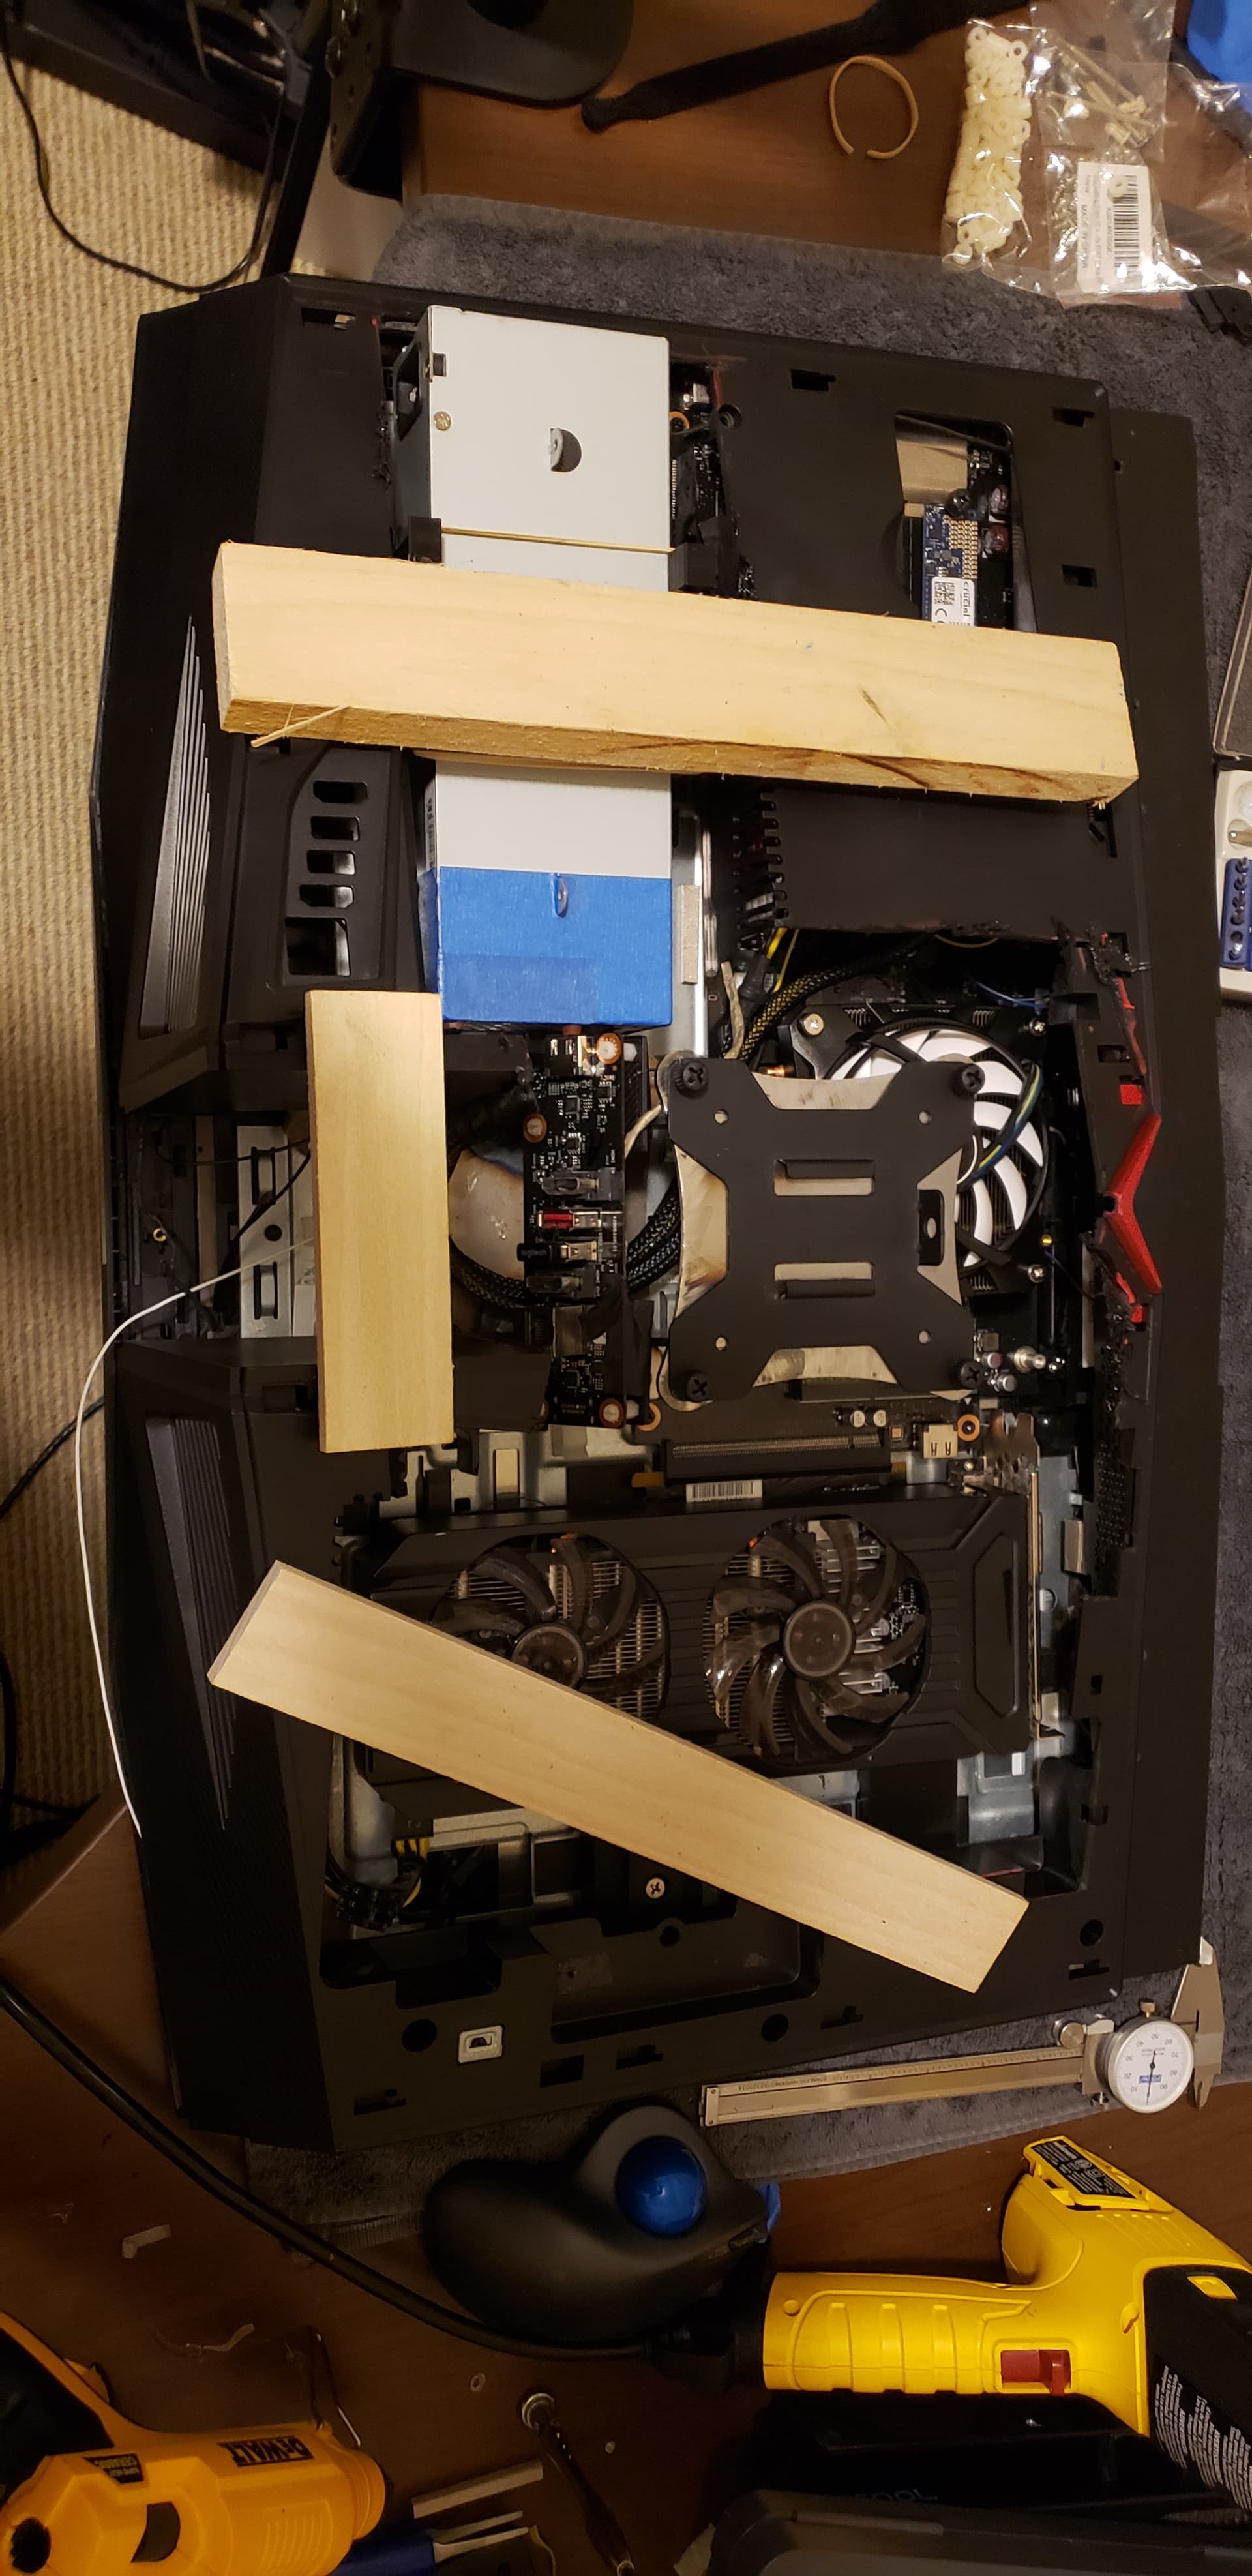
This was meant to be the test fit iteration which would then get cleaned up. There weren’t any fitment issues, though, so. . .
Would have liked for the brackets to be further apart, but there wasn’t a good flat spot that wouldn’t involve removing some metallic feature or cost me a good reference point.
Small update. I did a little more trimming and got the back cover fully seated so I can draw my reference lines. I still haven’t settled on how I want to finish the back, but I did decide that any handles I incorporate for transport will be attached to the Vesa mount. It’ll be WAY easier than integrating into the rest of the case.
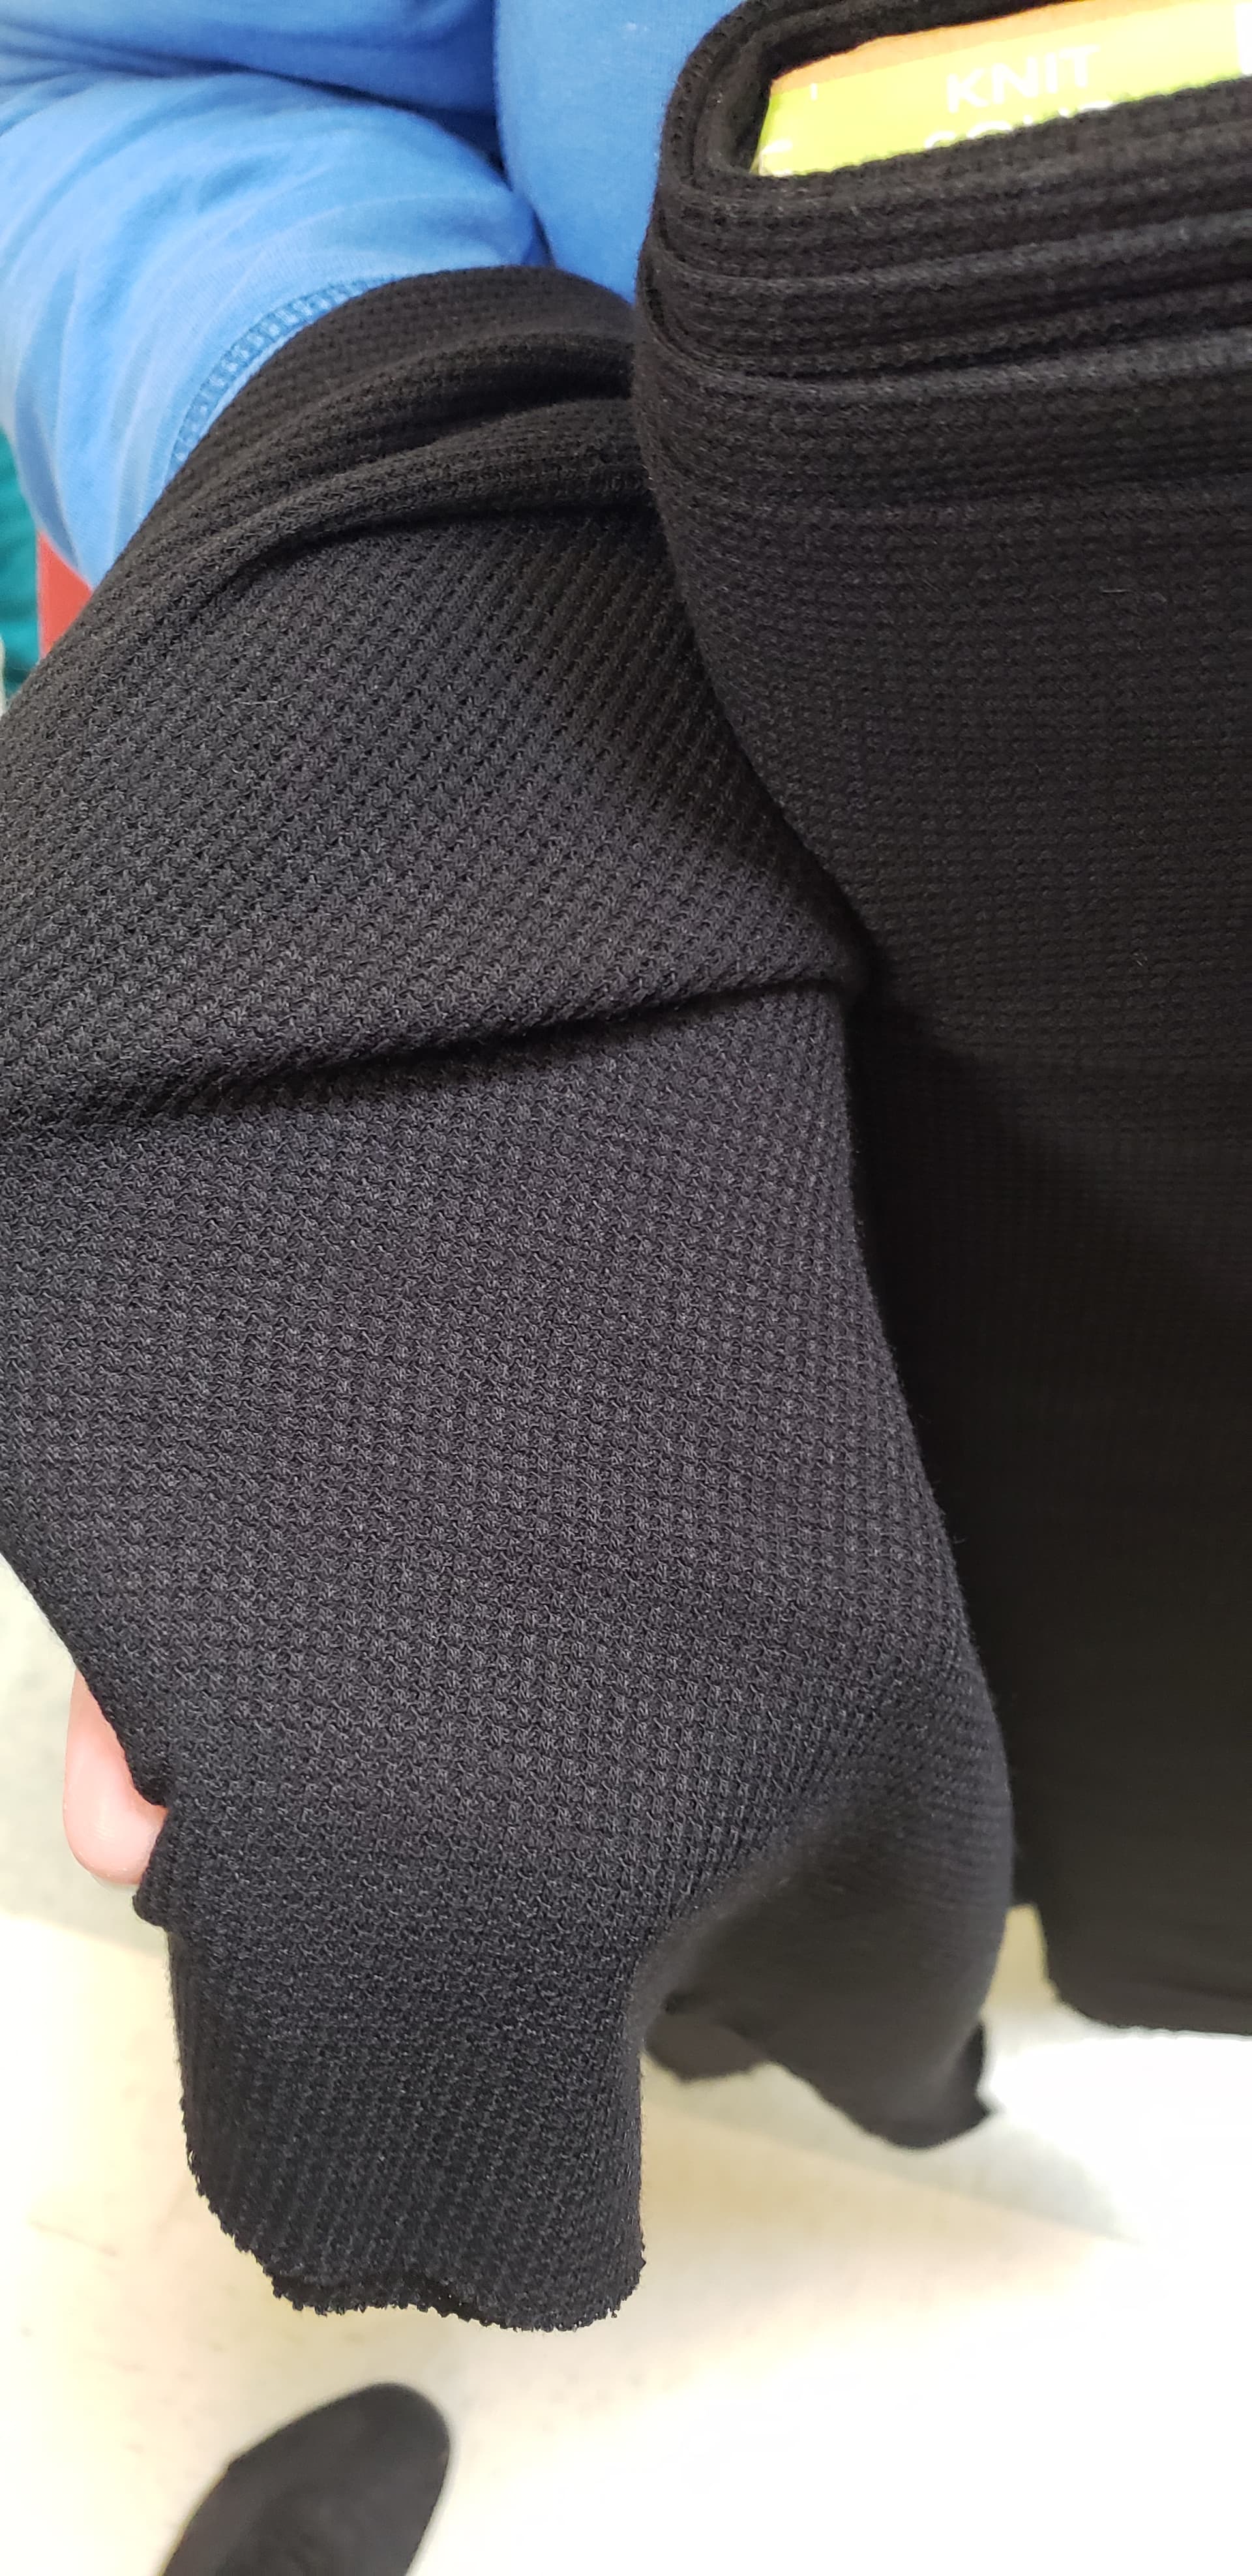
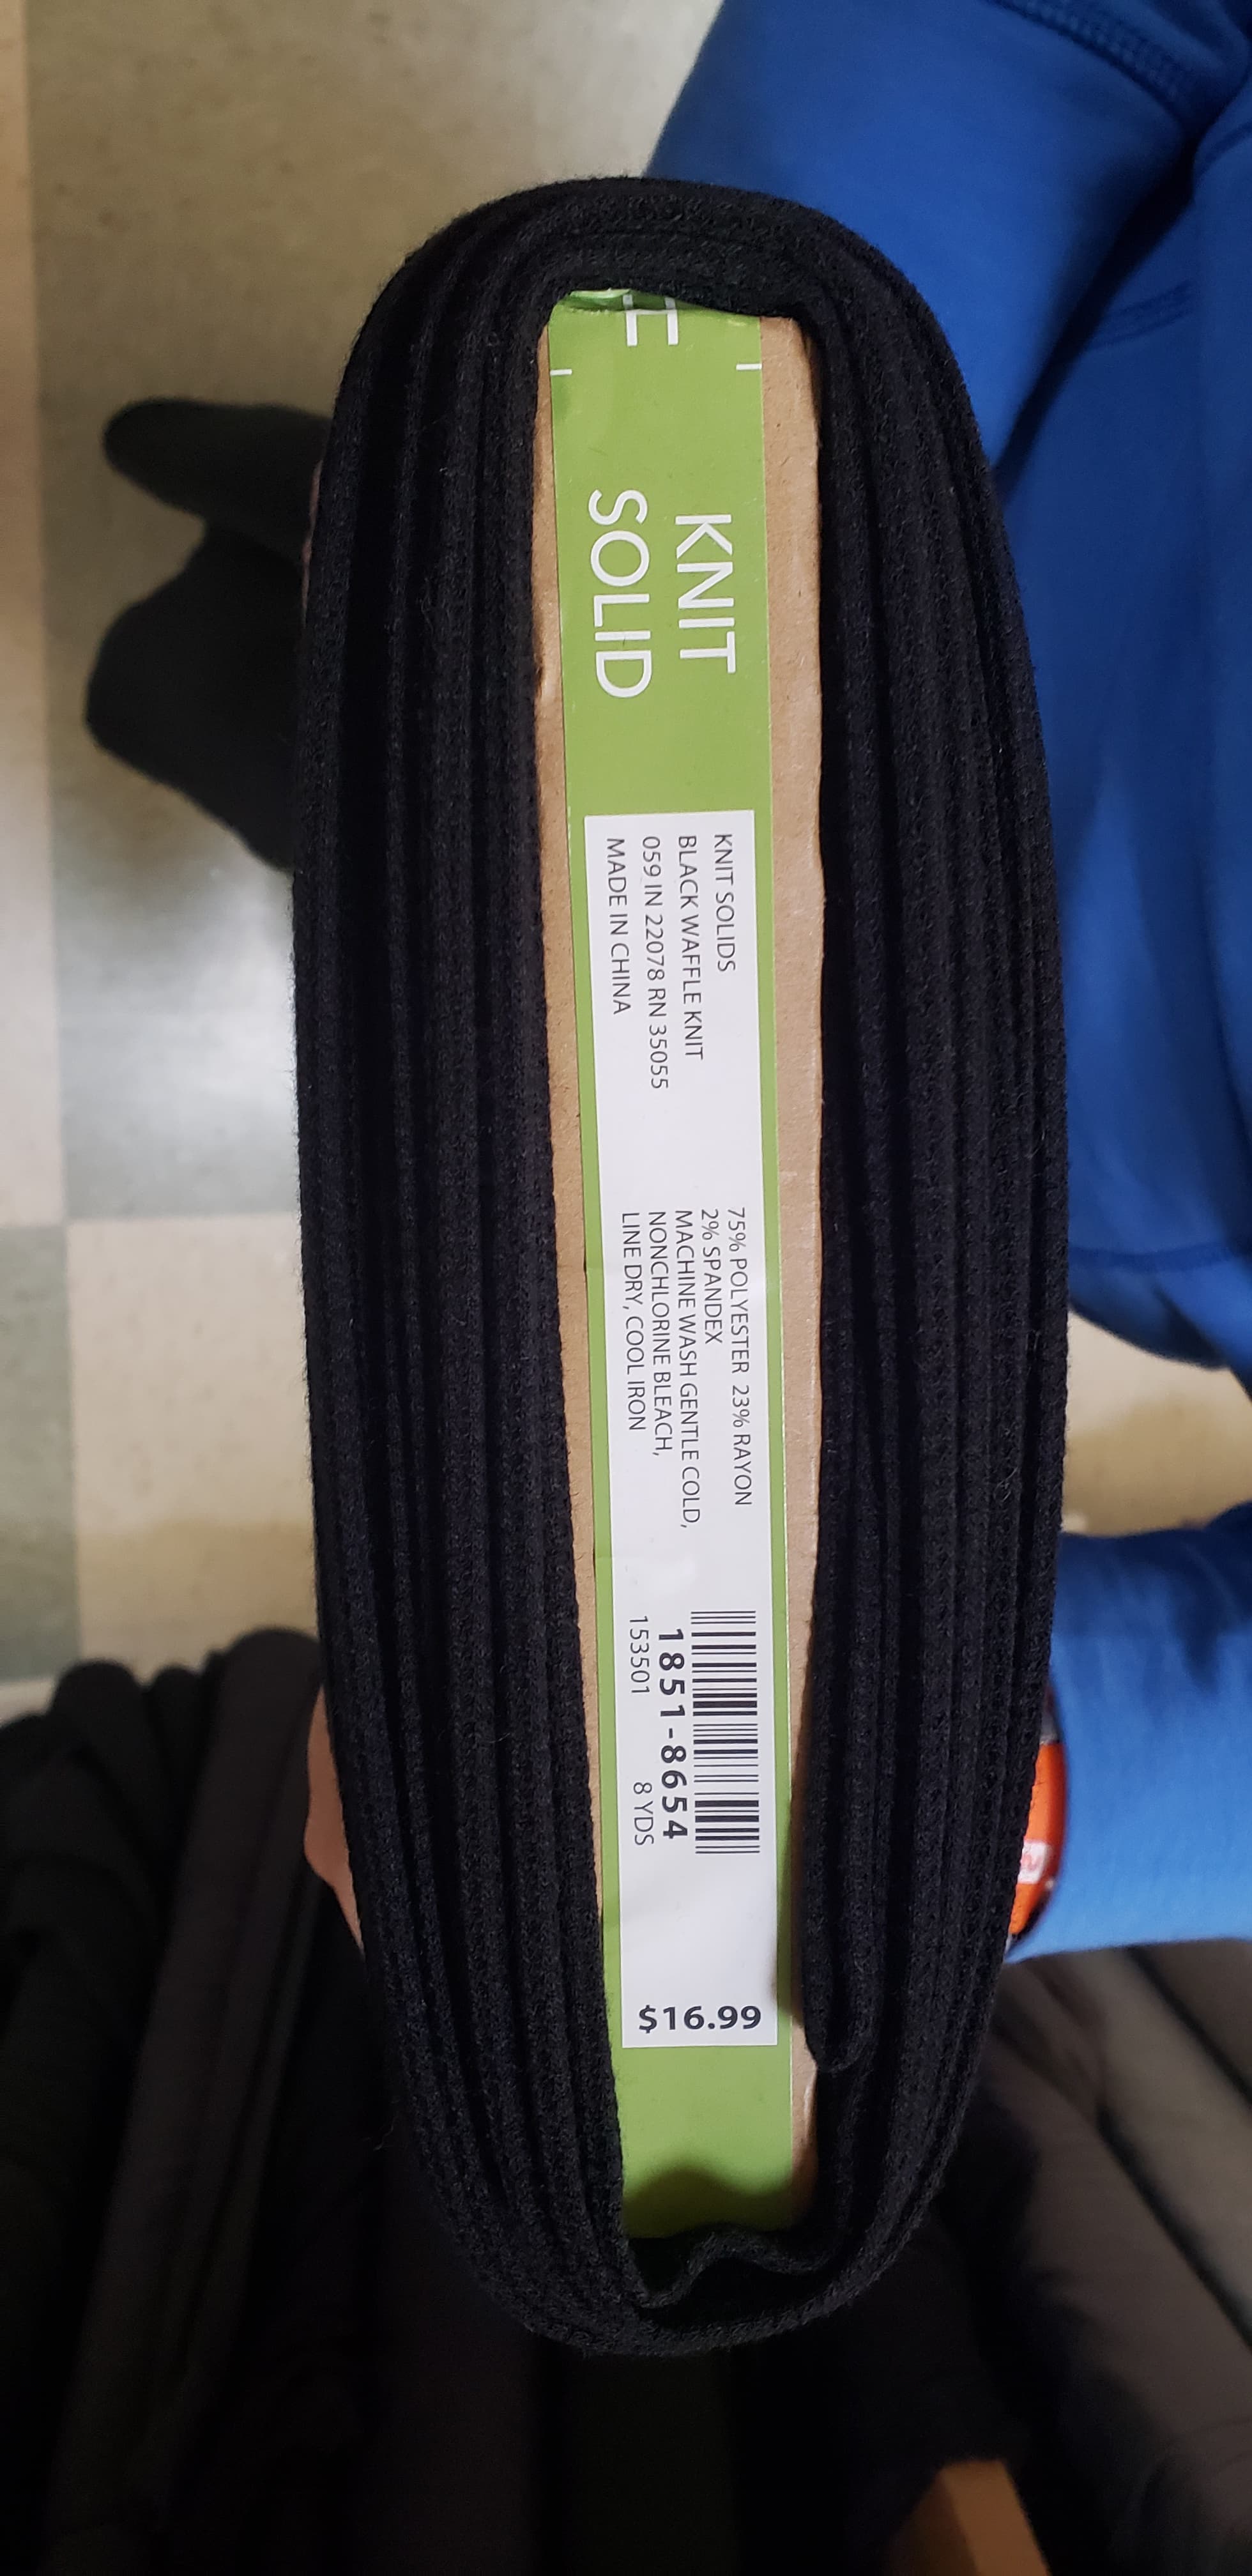
I also took a trip to Joannes to look for a potential material for the back that I could source locally. This stuff was breathable enough and was stretchy in both directions.
Got back at it with the saw and re-glued the psu bracket after the hot glue failed. E6000 should do the job.
The bottom section is pretty much flapping in the breeze with so much removed, once the glue dries and I get it back on the stand I’ll get a feel for how much reinforcement needs to be added. I’ve been trying to preserve the factory seams to make my job easier, but I may end up abandoning the sentiment.
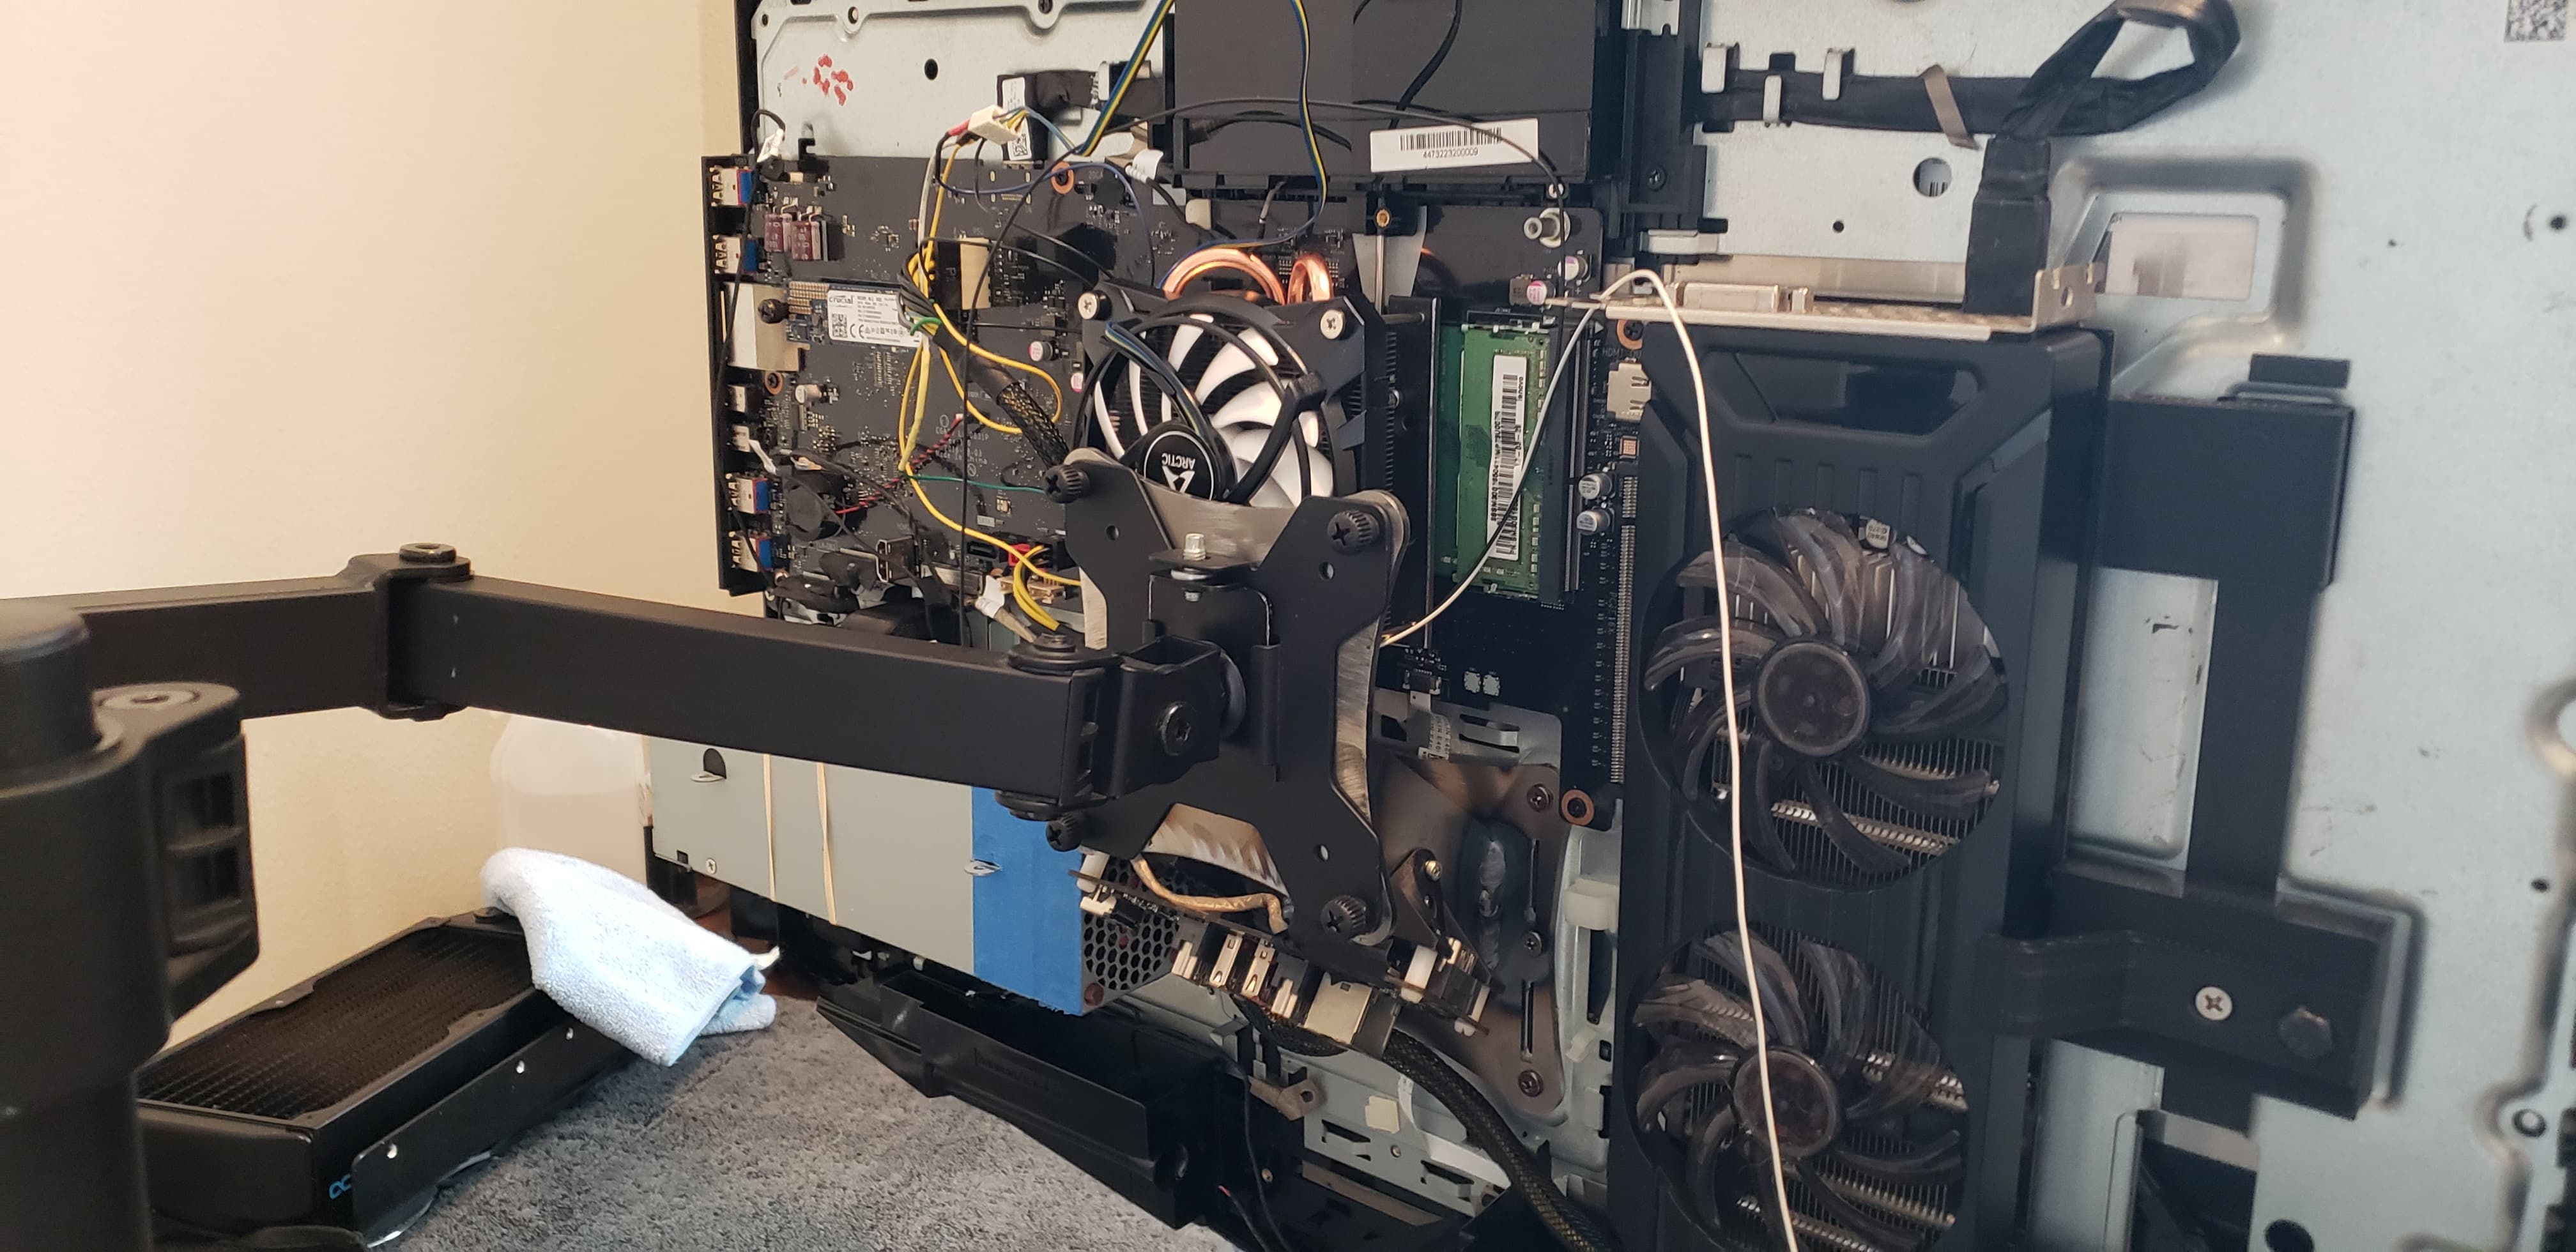
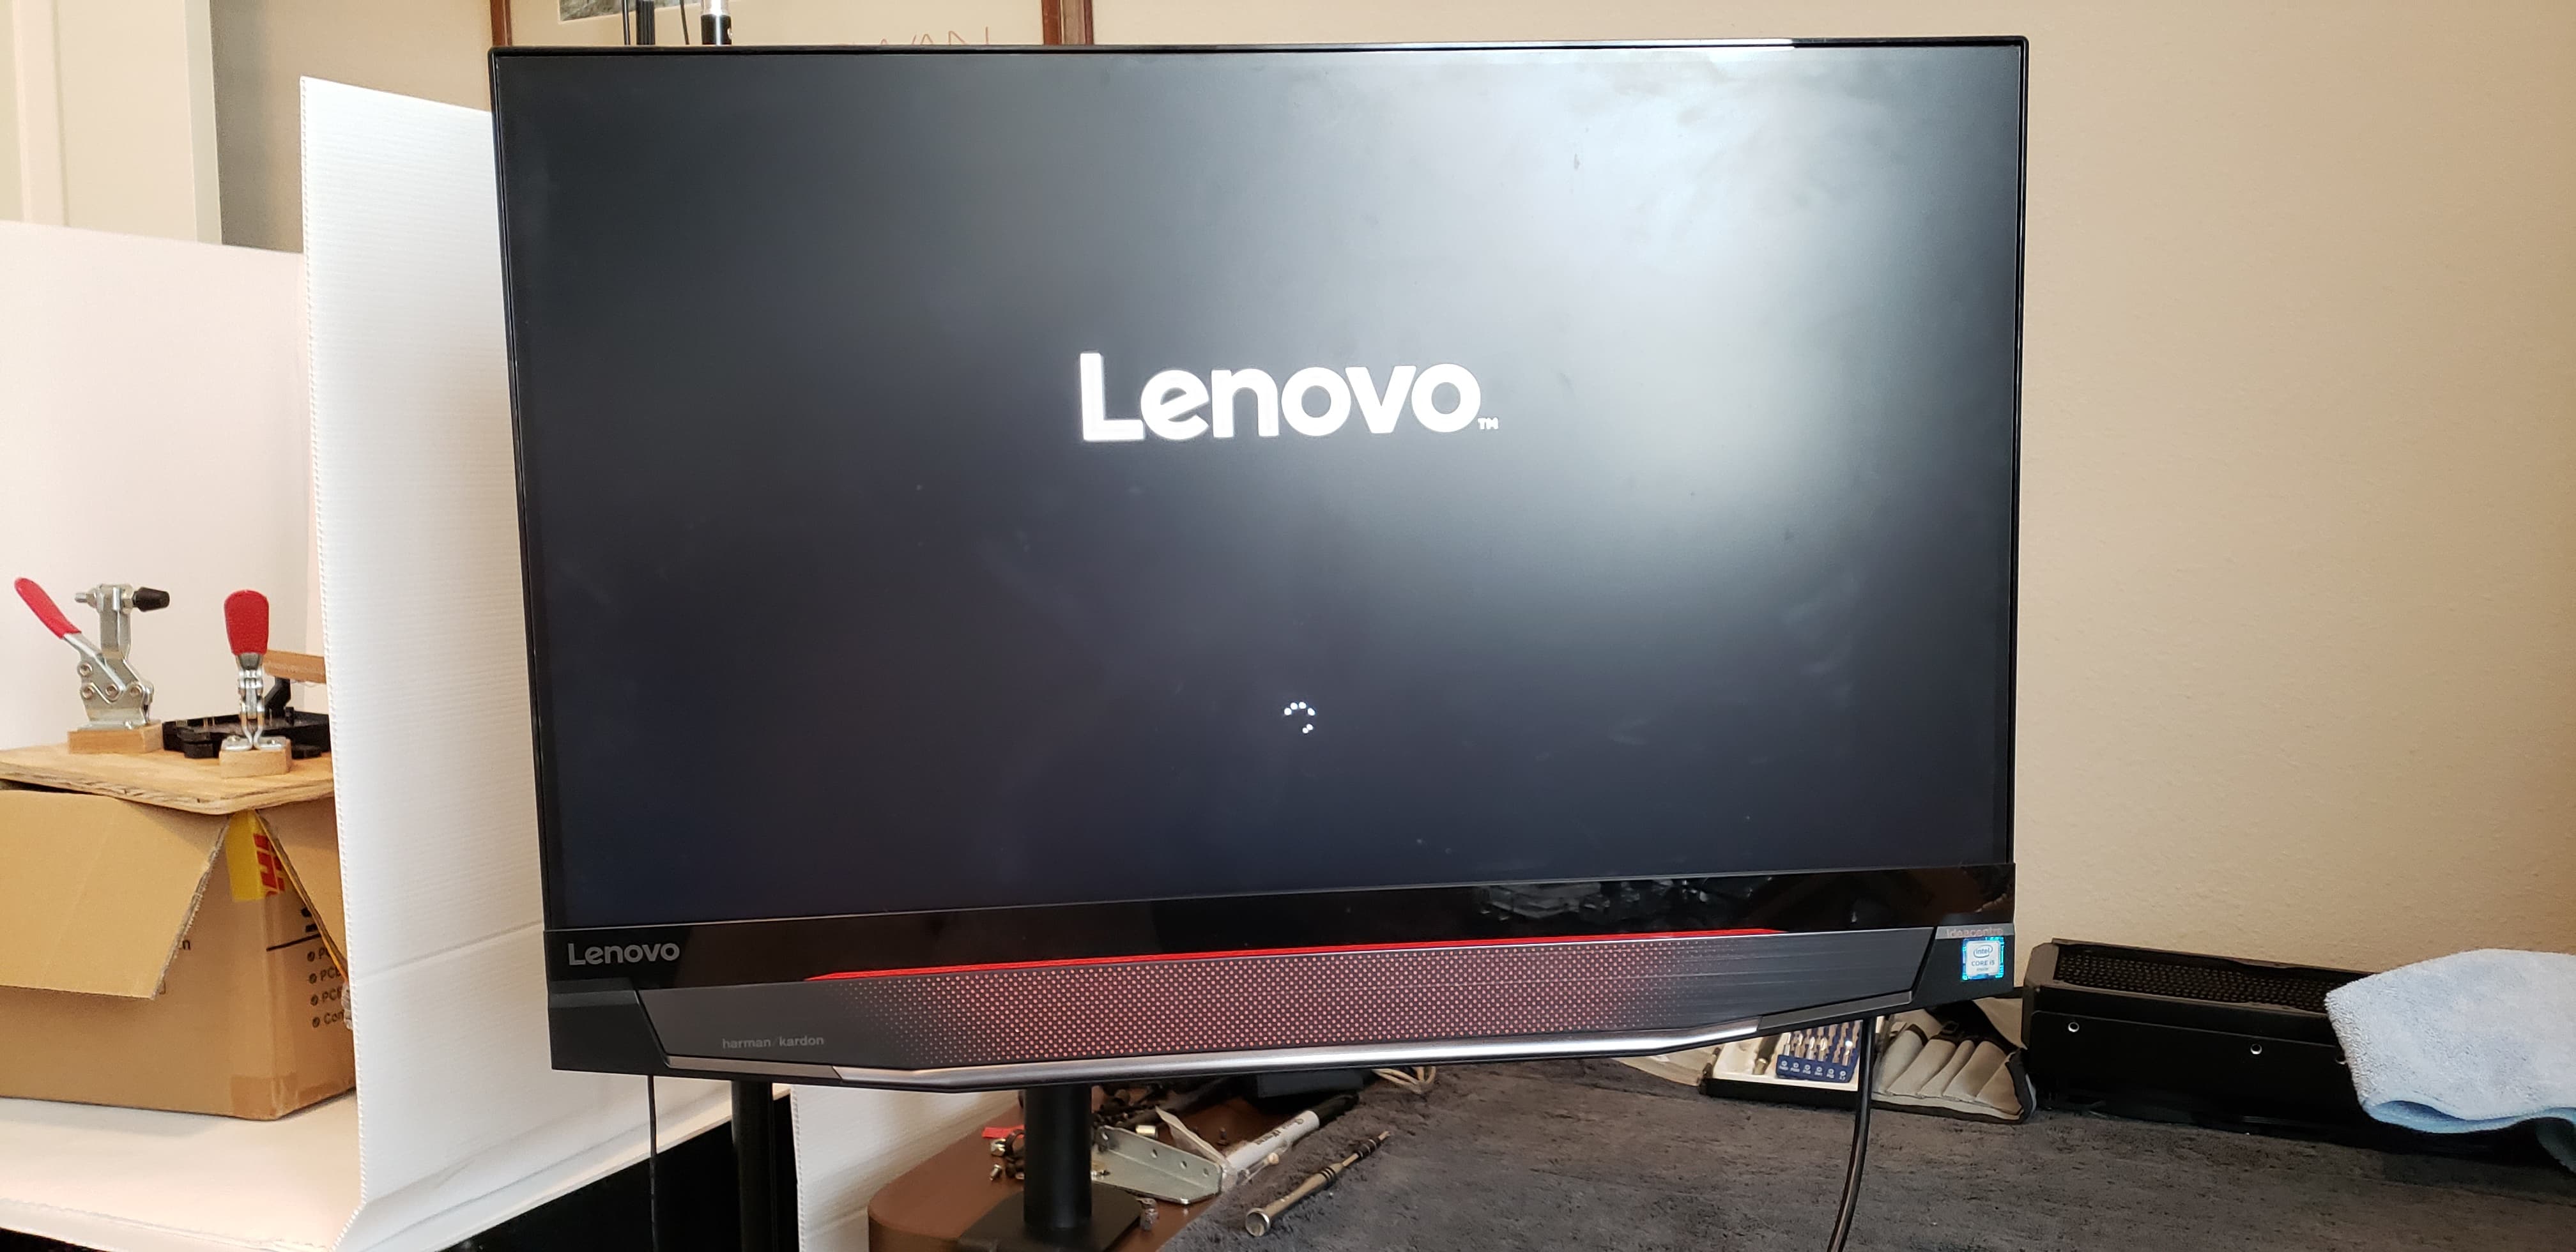
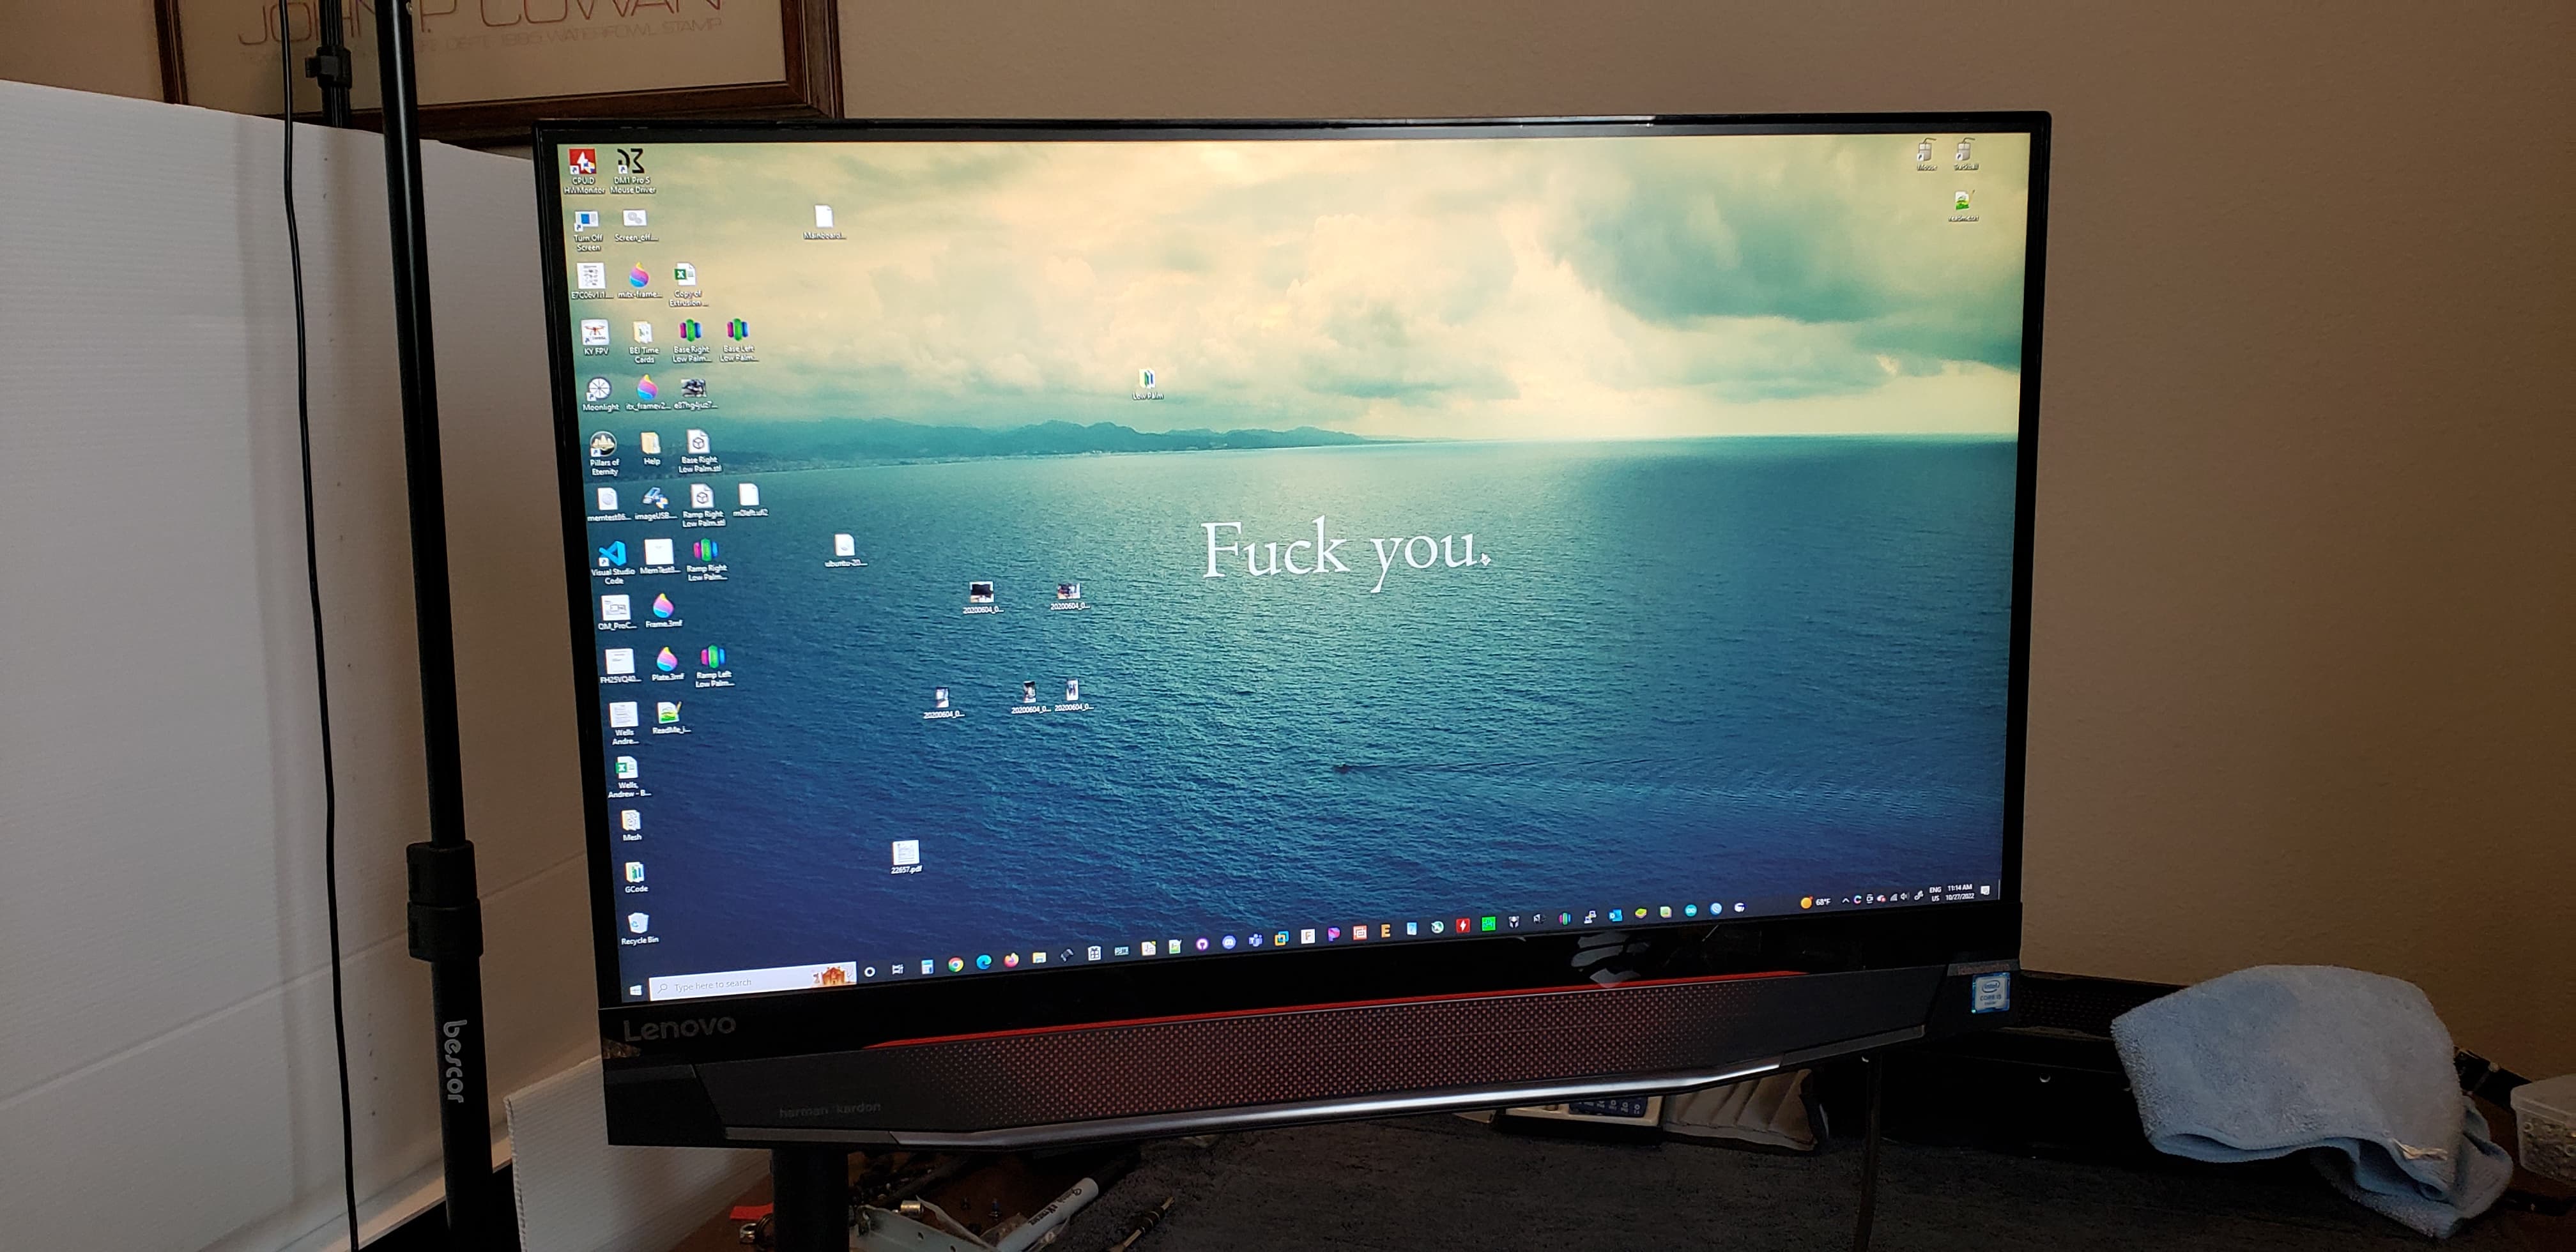
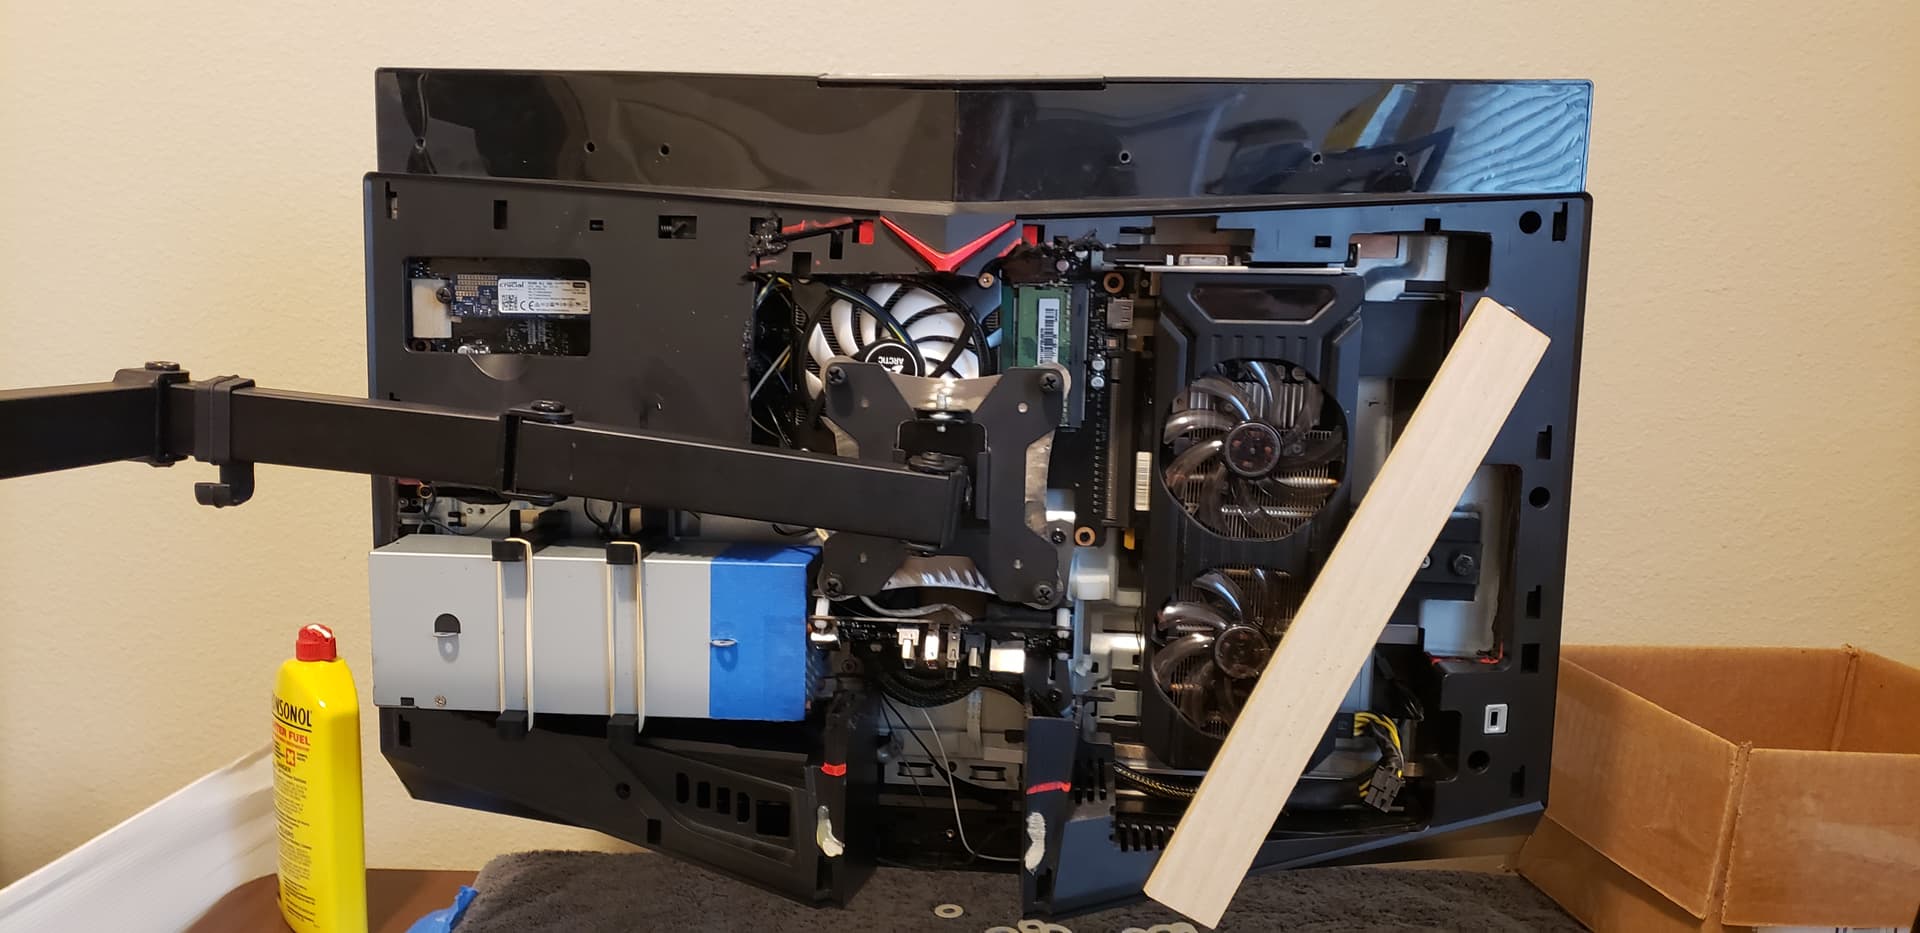
I wanted to do some testing to make sure the hardware was all still functioning properly, so I ended up putting the computer on. . . an adjustable stand.
I’ve got a bit of deja vu, but it’s adjustable now, so. . .